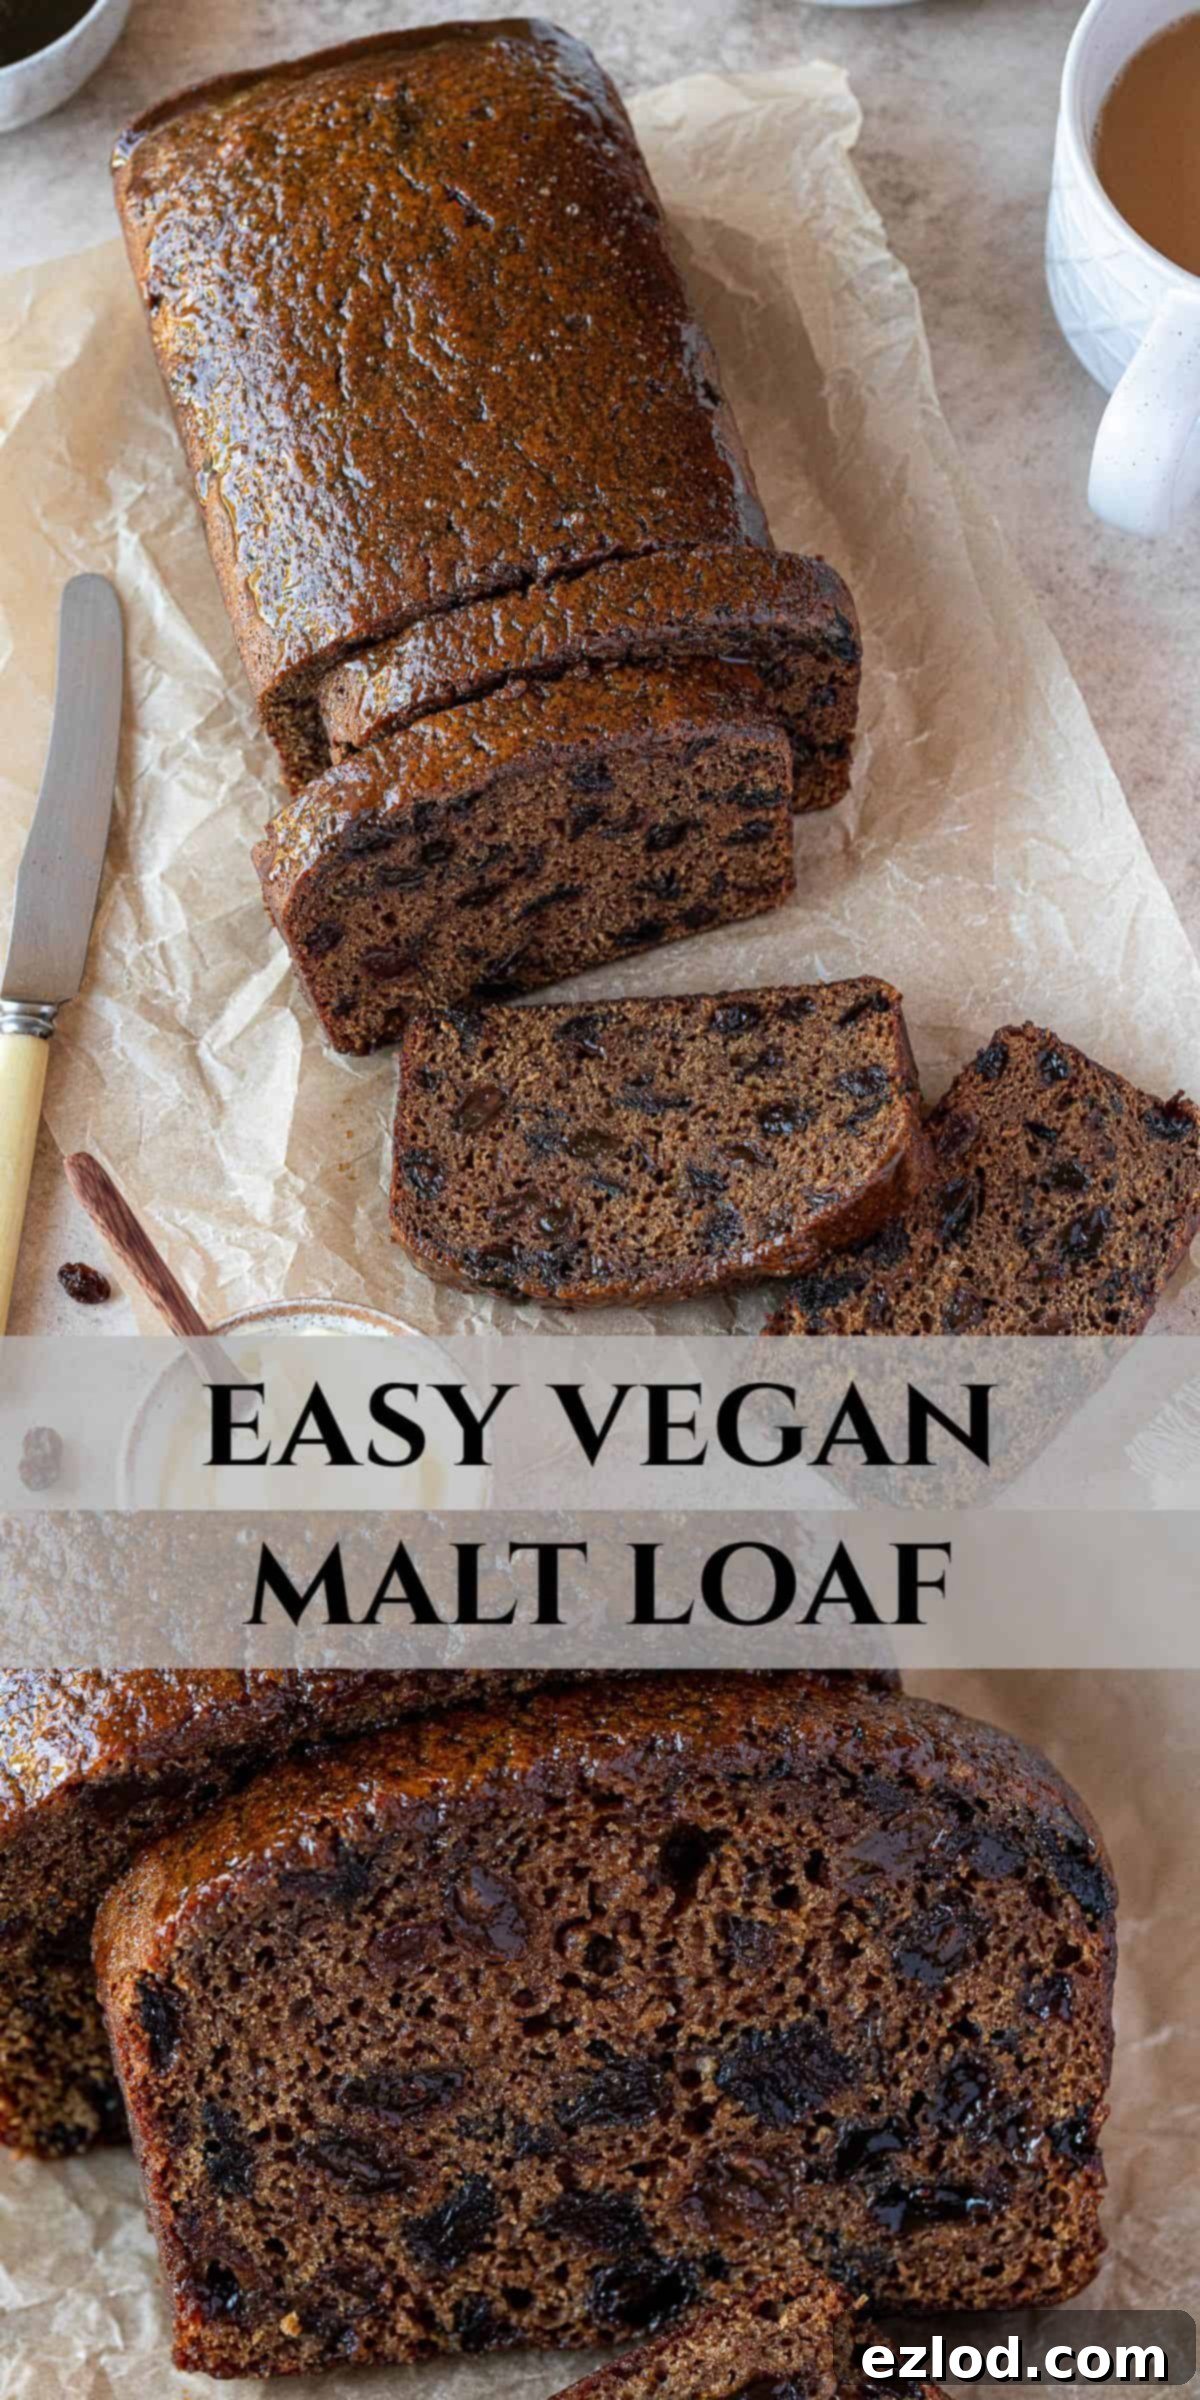
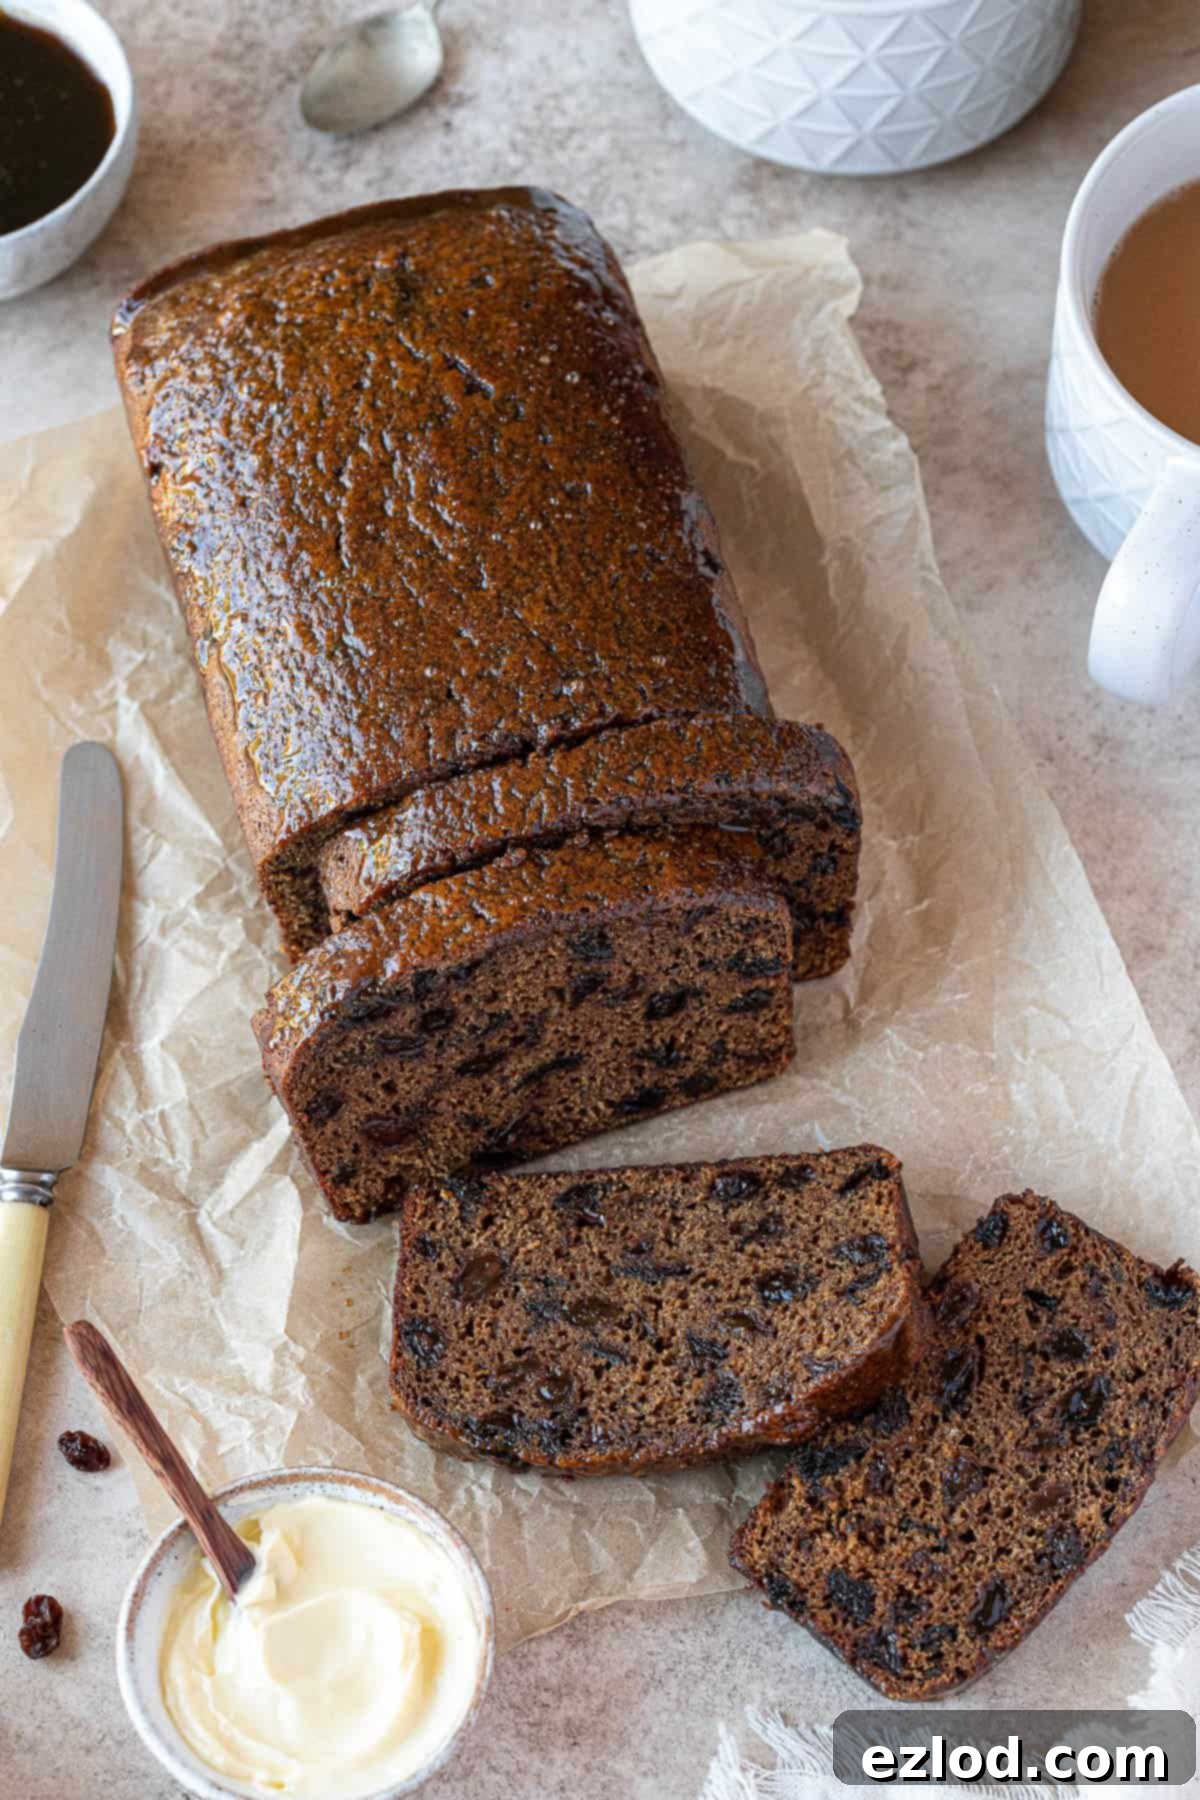
Homemade Vegan Malt Loaf: Sticky, Fruity & Perfectly Plant-Based
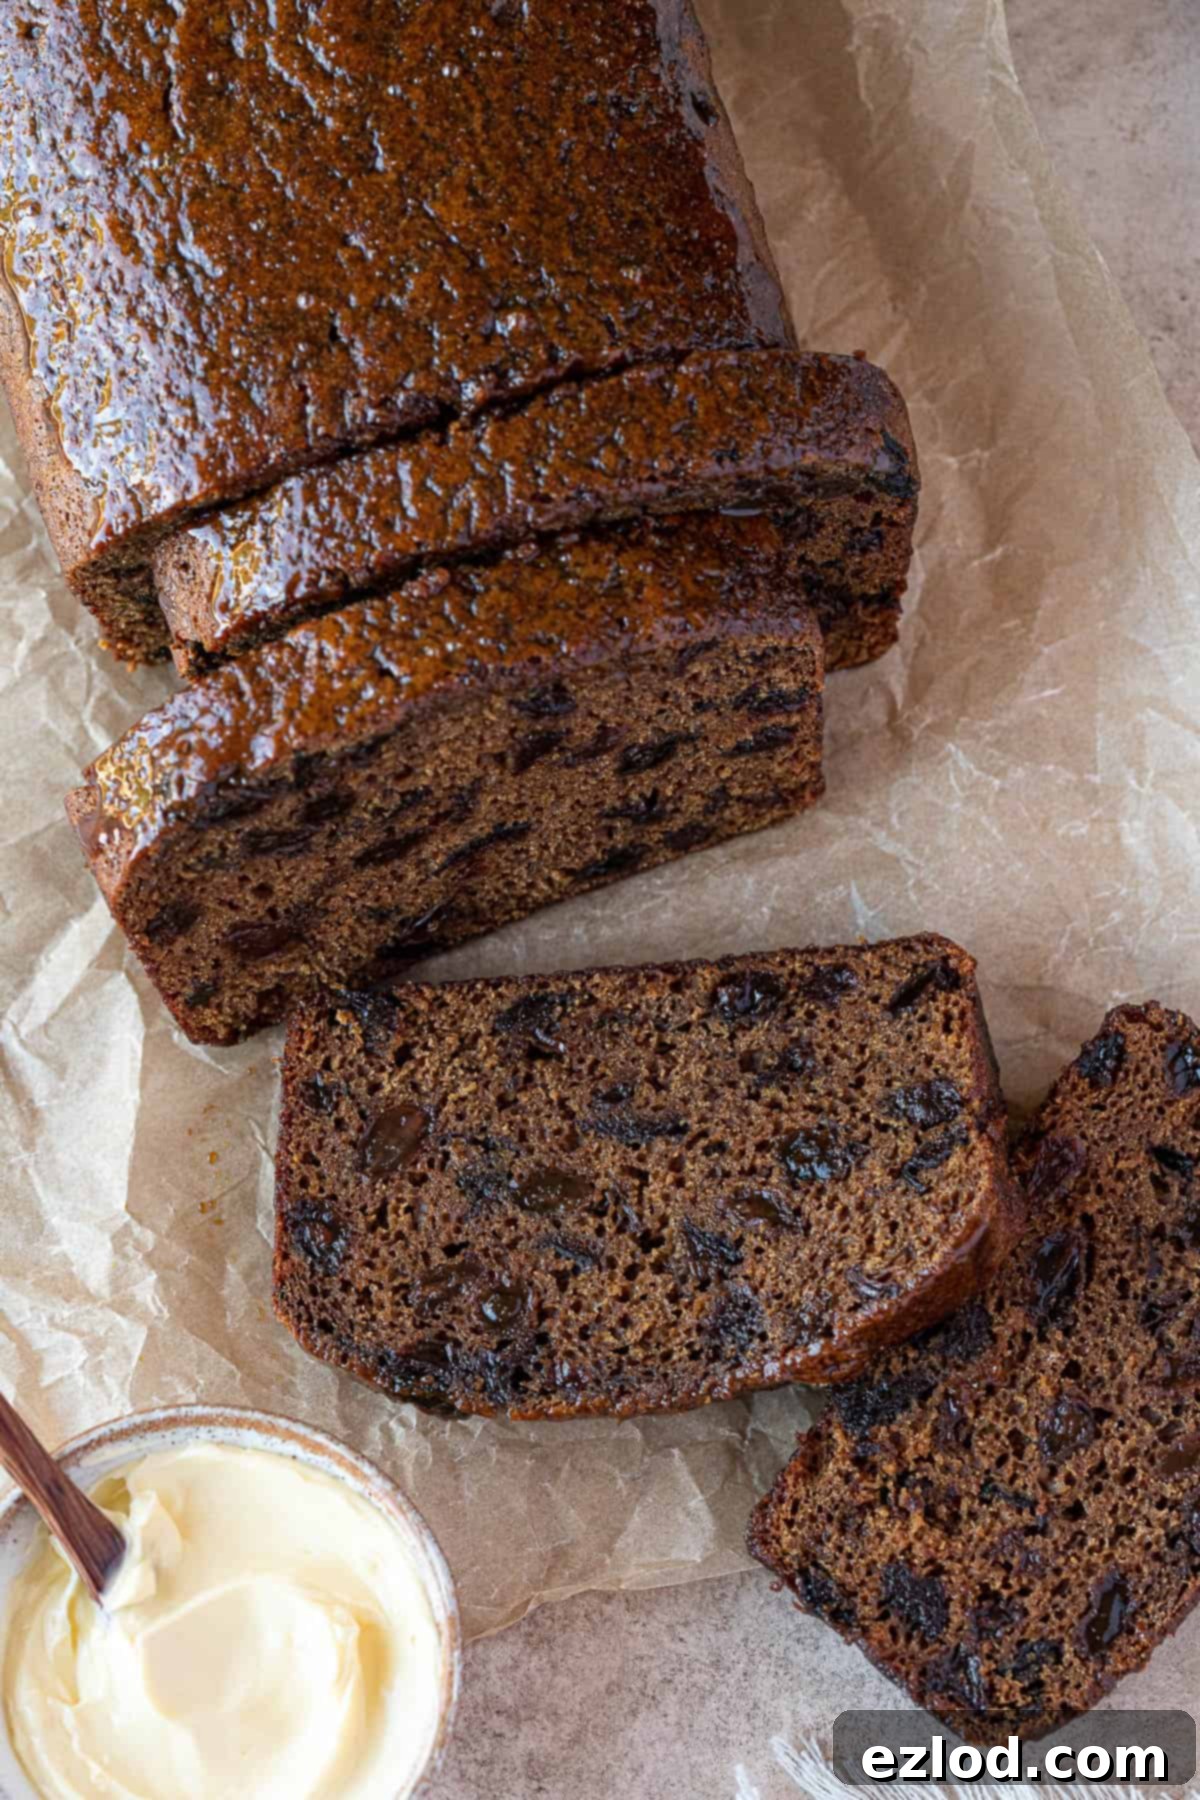
Welcome to the ultimate guide for baking a truly delightful vegan malt loaf! This classic British treat, renowned for its wonderfully sticky, moist, and fragrant qualities, is incredibly easy to prepare in just one bowl. Perfectly plant-based, this recipe delivers a moreish loaf that’s utterly delicious when served with a generous spread of vegan butter and a comforting cup of tea.
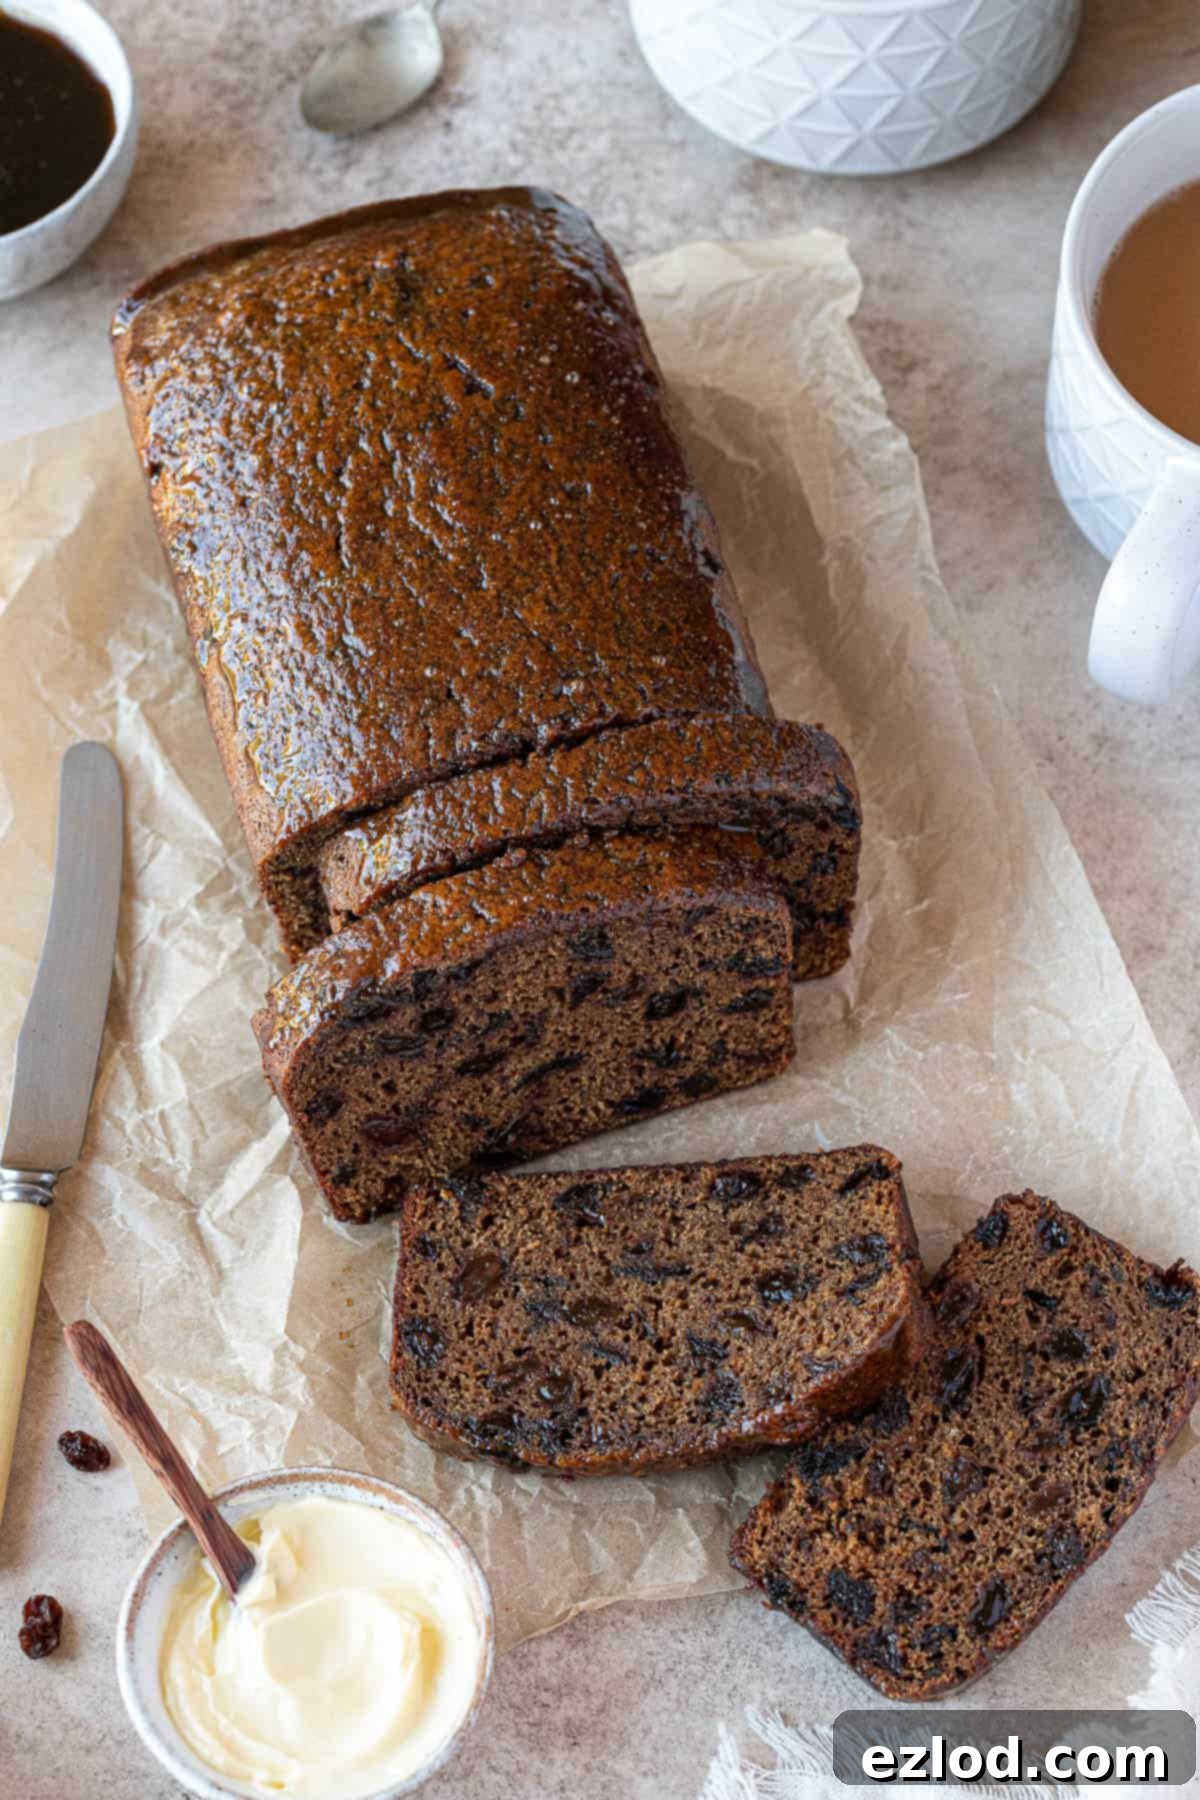
There’s nothing quite like a freshly baked malt loaf to brighten up an afternoon. This vegan version captures all the essence of the traditional recipe, offering a dense, delightfully squidgy texture packed with an abundance of juicy dried fruit. It’s the perfect pick-me-up, especially when slathered with creamy vegan butter and paired with your favourite hot beverage. What’s more, this loaf is virtually fat-free (before the butter, of course!), making it feel like a wholesome indulgence. Yet, it never compromises on the sweet, sticky, and utterly delicious flavour that defines a good malt loaf.
Why You’ll Love This Vegan Malt Loaf Recipe:
- Effortless Preparation: This recipe is designed for simplicity, requiring just one bowl for mixing, which means minimal cleanup and a straightforward baking process.
- Authentic Flavor: Thanks to the malt extract, this loaf boasts that distinctively rich, malty flavour and sticky sweetness that malt loaf lovers adore.
- Wholesome Goodness: Loaded with fruit and containing no added fat, it’s a relatively healthy treat that satisfies your sweet tooth without guilt.
- Versatile Serving: While traditionally enjoyed with butter and tea, its robust flavour makes it a great snack any time of day.
- Perfectly Plant-Based: Enjoy a classic British comfort food without any animal products, making it suitable for vegans and those looking for dairy-free options.
What Exactly Is Malt Loaf? A Traditional British Delight:
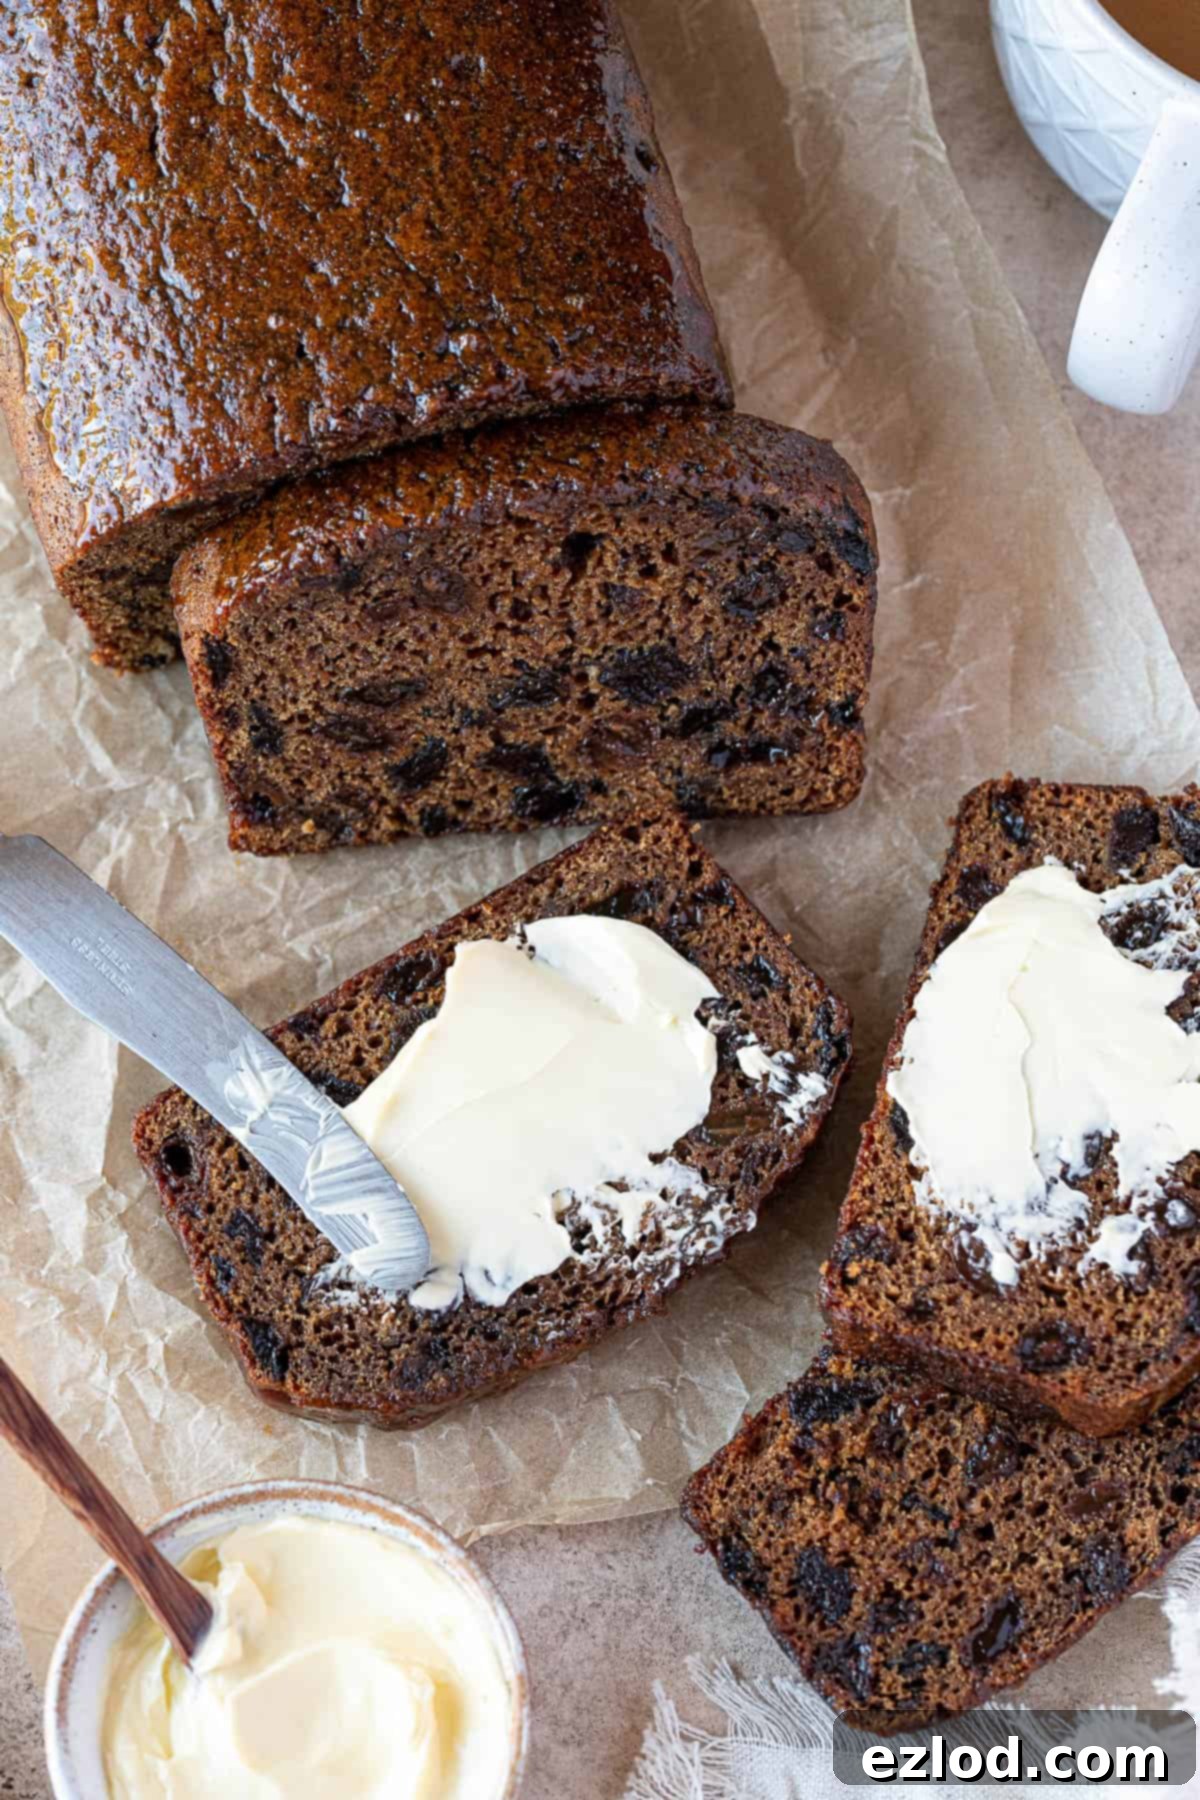
Malt loaf is a beloved traditional British loaf cake, frequently served as a snack or a light dessert alongside a cup of tea. It is characteristically dark in colour, wonderfully dense, and pleasantly chewy, with an irresistible sticky and squidgy texture. The loaf is generously studded with plump, juicy dried fruits, often pre-soaked in tea to enhance their moisture and flavour. A key defining feature of malt loaf is its distinctive, fragrant malty taste, which comes directly from the hero ingredient: malt extract.
Malt extract, a thick, dark, syrupy sweetener, not only imparts the cake with its namesake flavour but is also crucial for creating that signature sweet, sticky, and chewy texture. Historically, malt loaf recipes contain no added fat in the batter itself, a characteristic that often leads to it being generously spread with butter (or, in our case, vegan butter) before serving. This not only adds richness but also complements the malty sweetness beautifully.
While shop-bought malt loaves, like the famous Soreen, are widely popular and convenient, homemade malt loaf offers a truly superior experience. There’s a depth of flavour, a freshness, and a tender texture in a homemade loaf that ready-made versions simply can’t replicate. And despite its gourmet appeal, this vegan malt loaf is incredibly easy to make, calling for just a few simple, wholesome ingredients.
Essential Ingredients for Your Vegan Malt Loaf:
Creating this magnificent malt loaf requires a few key ingredients, each playing a vital role in achieving its unique flavour and texture. Here’s a detailed look at what you’ll need:
- Malt Extract: This is unequivocally the star of the show. Malt extract is a thick, treacly syrup boasting a deep, rich malted flavour. It’s what gives malt loaf its distinct taste and contributes significantly to its sticky, chewy texture. You can often find it in the baking aisle of larger supermarkets, or more reliably, in health food shops. Many online retailers also stock it if you’re struggling to find it locally. Don’t skip this ingredient; it’s irreplaceable for an authentic malt loaf.
- Black Tea: Essential for plumping up the dried fruits and infusing moisture into the loaf, the hot tea ensures your malt loaf remains incredibly moist. English Breakfast tea is a classic choice, lending a robust backdrop without overpowering the malt. Earl Grey would also work beautifully, adding a subtle bergamot note. Avoid overly floral or fruity teas, as these can clash with the traditional malt flavour.
- Brown Sugar: To deepen the treacle-like flavour profile and contribute to the loaf’s rich colour, dark brown soft sugar or muscovado sugar is ideal. These sugars have a higher molasses content, which complements the malt extract perfectly. While light brown sugar can be used in a pinch, for the best results, reach for the dark variety if you have it.
- Dried Fruit: A generous mix of raisins and chopped prunes forms the fruity core of this loaf. Raisins provide a familiar sweetness and chewiness, while the chopped prunes are a fantastic addition. They contribute an unparalleled squidgy texture and a subtle, rich sweetness that isn’t overpowering. If you absolutely must, dates can be substituted for prunes, but I highly recommend sticking with prunes for their unique textural contribution. Consider soaking them slightly longer if they seem particularly dry.
- Non-Dairy Milk: In place of traditional eggs, unsweetened non-dairy milk acts as a binder and adds moisture. My go-to is unsweetened soy milk due to its neutral flavour and protein content, which mimics some of the properties of egg. However, oat milk or cashew milk are excellent alternatives that will also yield a fantastic loaf. Ensure it’s unsweetened to control the overall sugar level.
- Plain Flour: Standard plain (all-purpose) flour works perfectly for this recipe, providing the necessary structure. If you’re looking to add a little more whole grain goodness, a 50/50 blend of plain and wholemeal (whole wheat) flour can be used. Spelt flour can also be a good alternative if you prefer.
- Baking Powder and Bicarbonate of Soda (Baking Soda): Both leavening agents are crucial for achieving the perfect rise and texture in this dense loaf. They react differently with the acidic components in the batter (like brown sugar and tea), ensuring an even lift and a tender crumb. Do not substitute one for the other; they are not interchangeable and both are needed for optimal results.
- Salt: A small pinch of salt enhances all the other flavours, balancing the sweetness and making the malty notes truly sing.
How To Make Your Irresistible Vegan Malt Loaf:
(For precise measurements and detailed step-by-step instructions, please refer to the comprehensive recipe card at the bottom of this page.)
Making this vegan malt loaf is a wonderfully straightforward process, perfect for bakers of all skill levels. Here’s a guided overview:
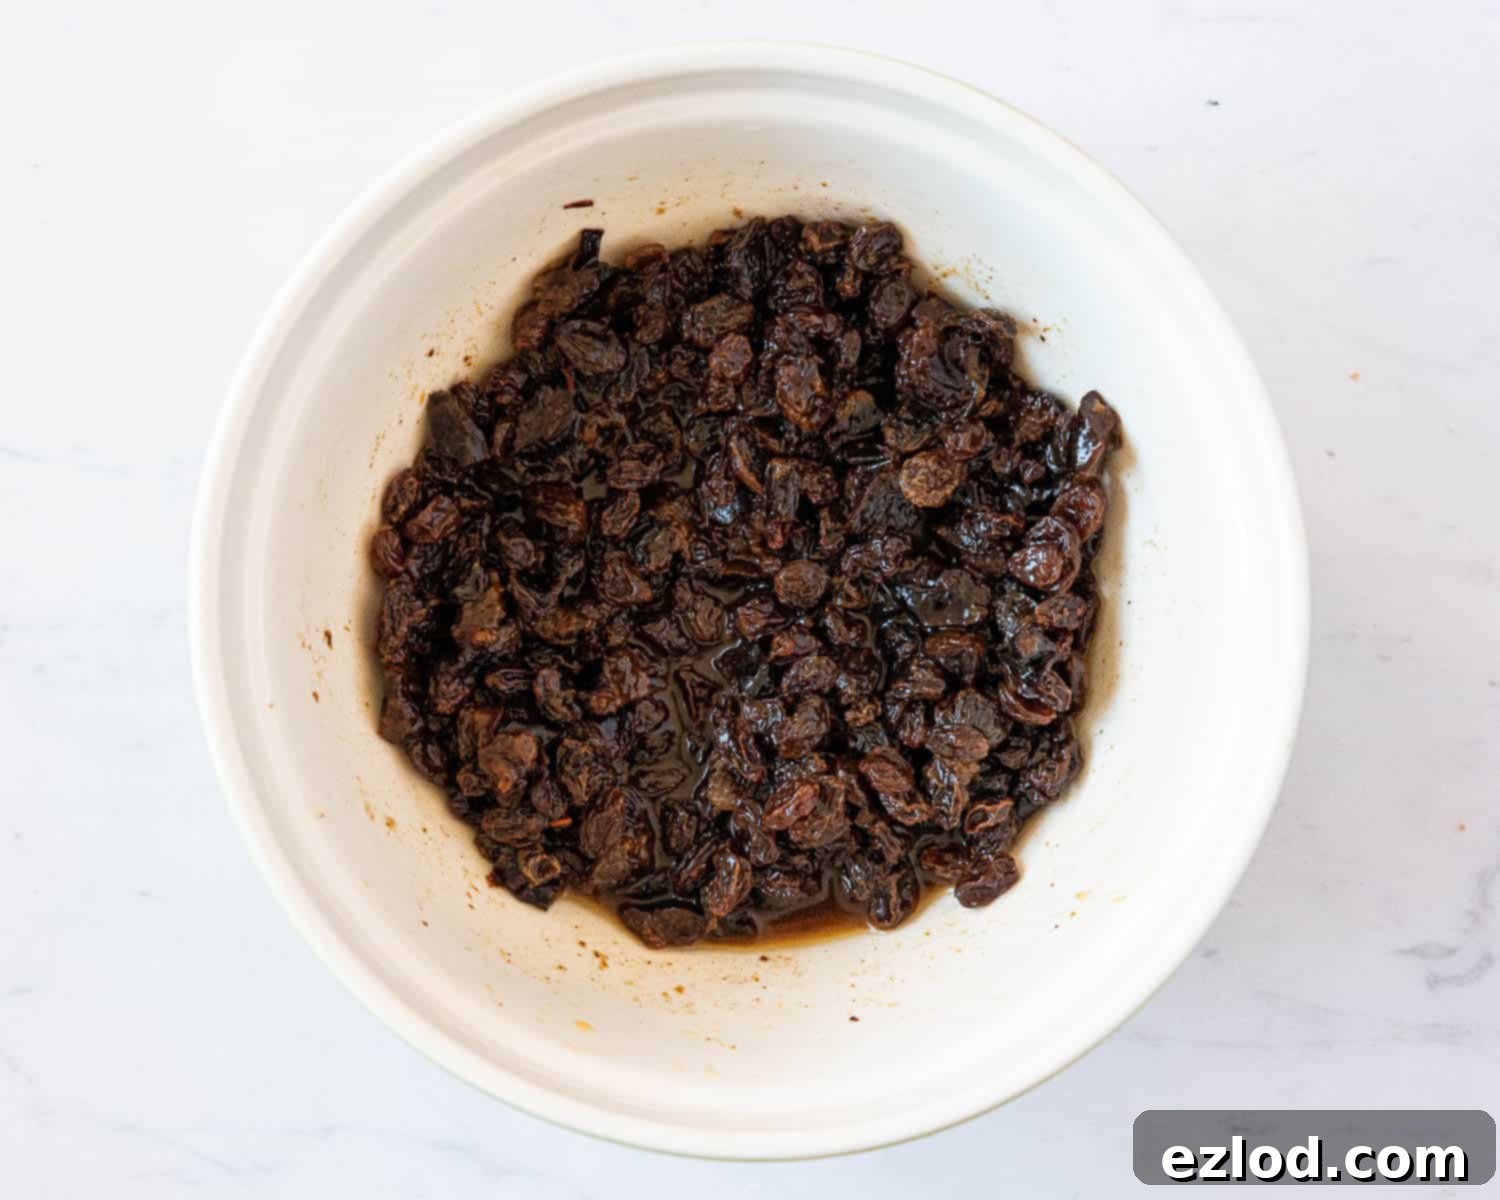
Step 1: Prepare the Fruits. Begin by placing your raisins and chopped prunes into a large mixing bowl. Pour the hot black tea over the fruit, giving it a good stir to ensure all the fruit is submerged. Allow this mixture to sit and soak for approximately 15 minutes. This crucial step rehydrates the fruit, making it plump and juicy, which in turn contributes to the loaf’s overall moistness.
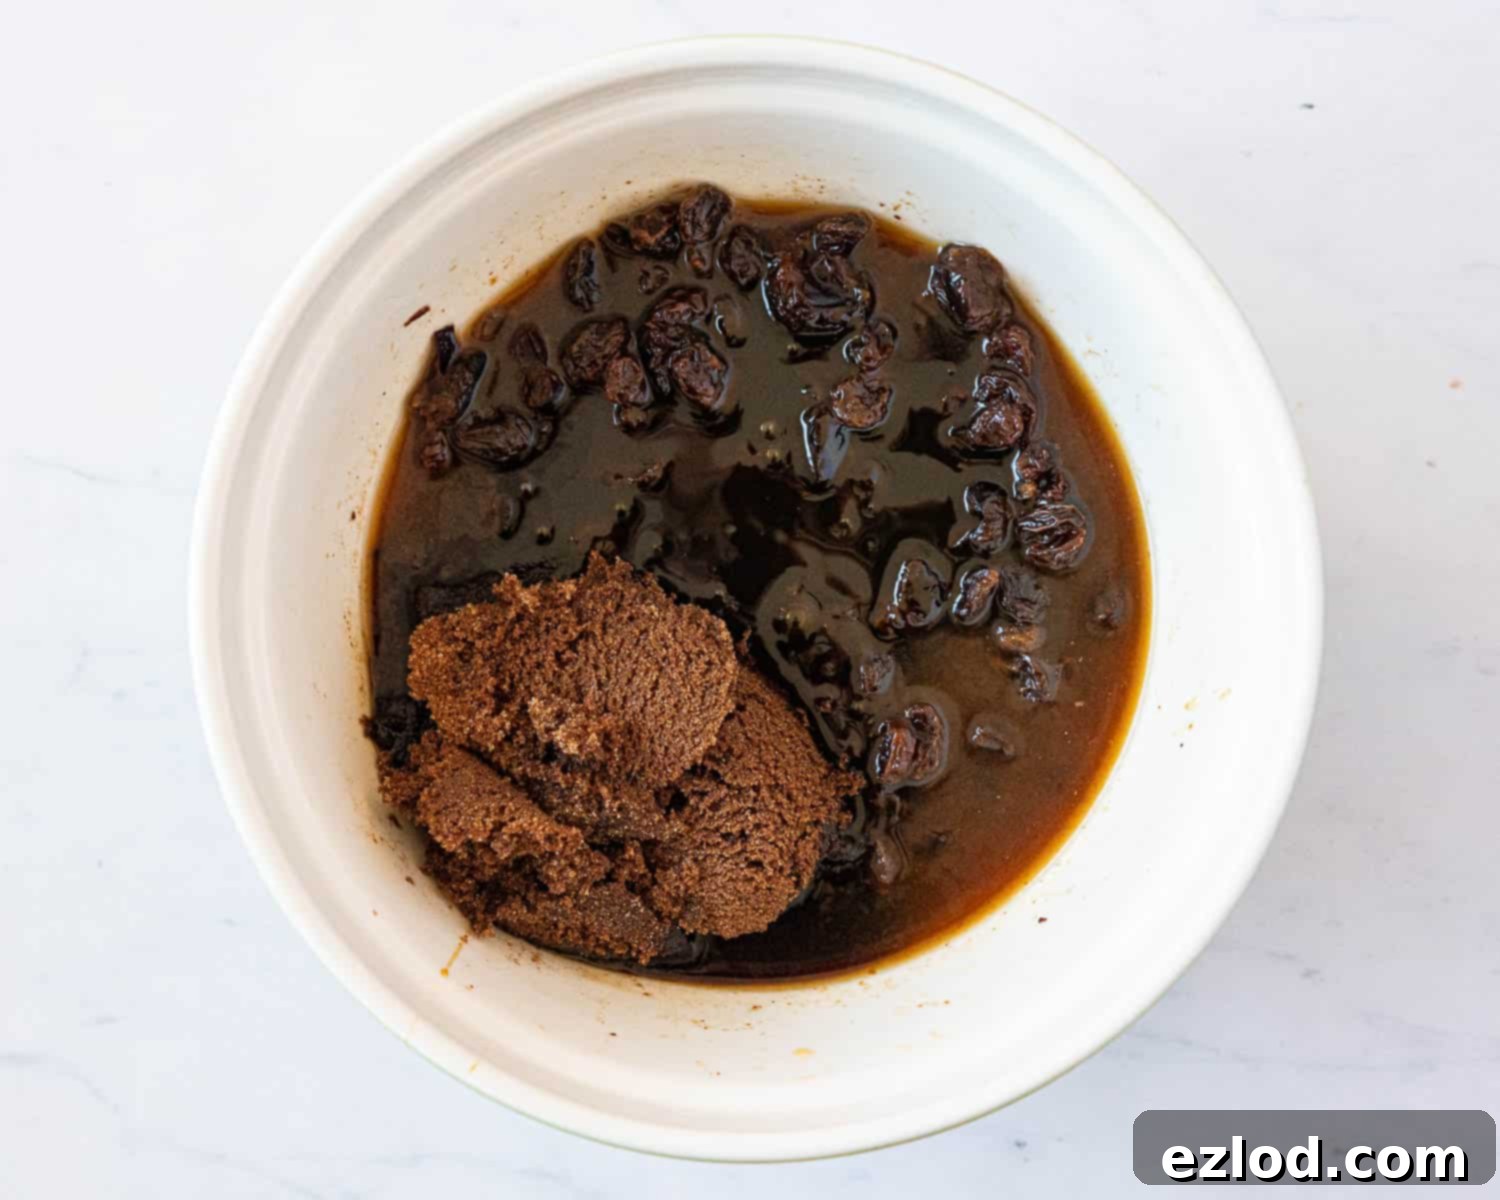
Step 2: Combine Wet Ingredients. Once the fruit has had its soak, stir in the malt extract and dark brown sugar. Mix thoroughly until the sugar has dissolved and everything is well combined into a sticky, fragrant base. The malt extract will blend beautifully, infusing the mixture with its characteristic flavour.
Step 3: Add Liquid and Leavening. Next, incorporate the non-dairy milk, baking powder, bicarbonate of soda, and a pinch of salt. Stir these in gently. The leavening agents will begin to activate once combined with the liquid and acidic components, preparing the batter for a perfect rise.
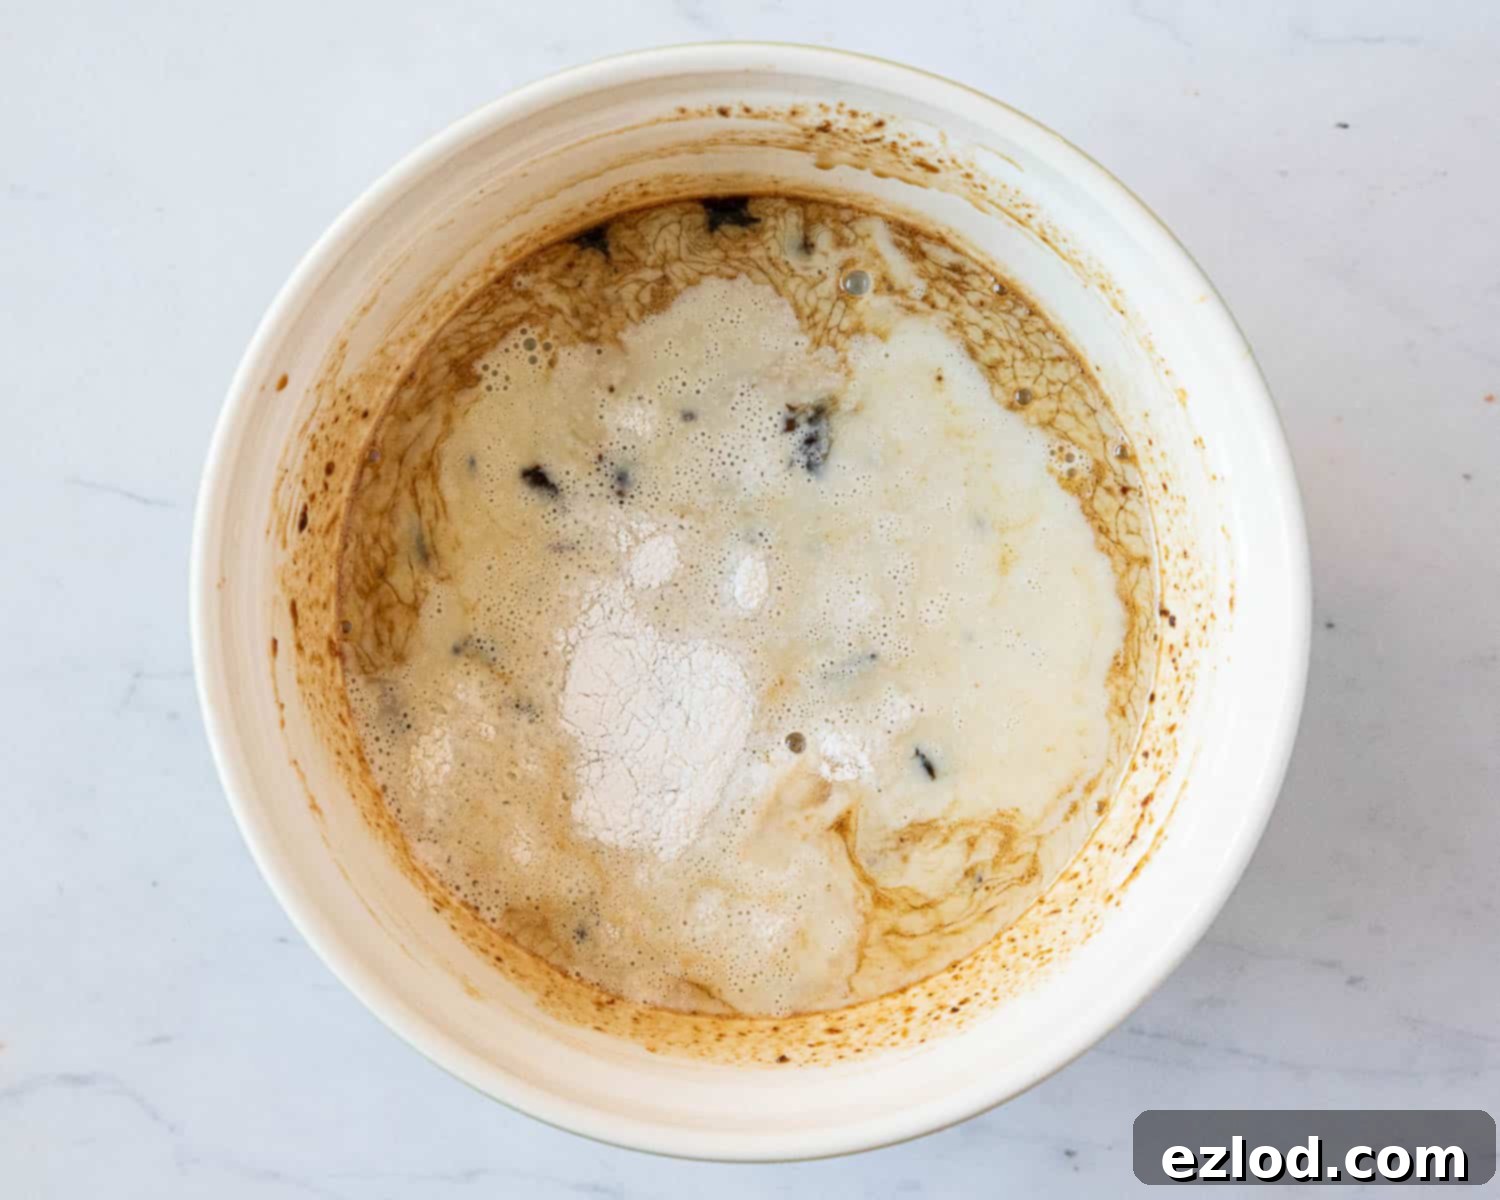
Step 4: Incorporate Flour. Finally, add the plain flour to the bowl. Mix just until no dry lumps of flour remain. Be careful not to overmix the batter, as this can lead to a tough loaf. A few small lumps are fine; overmixing develops gluten unnecessarily. The resulting batter will be thick and rich.
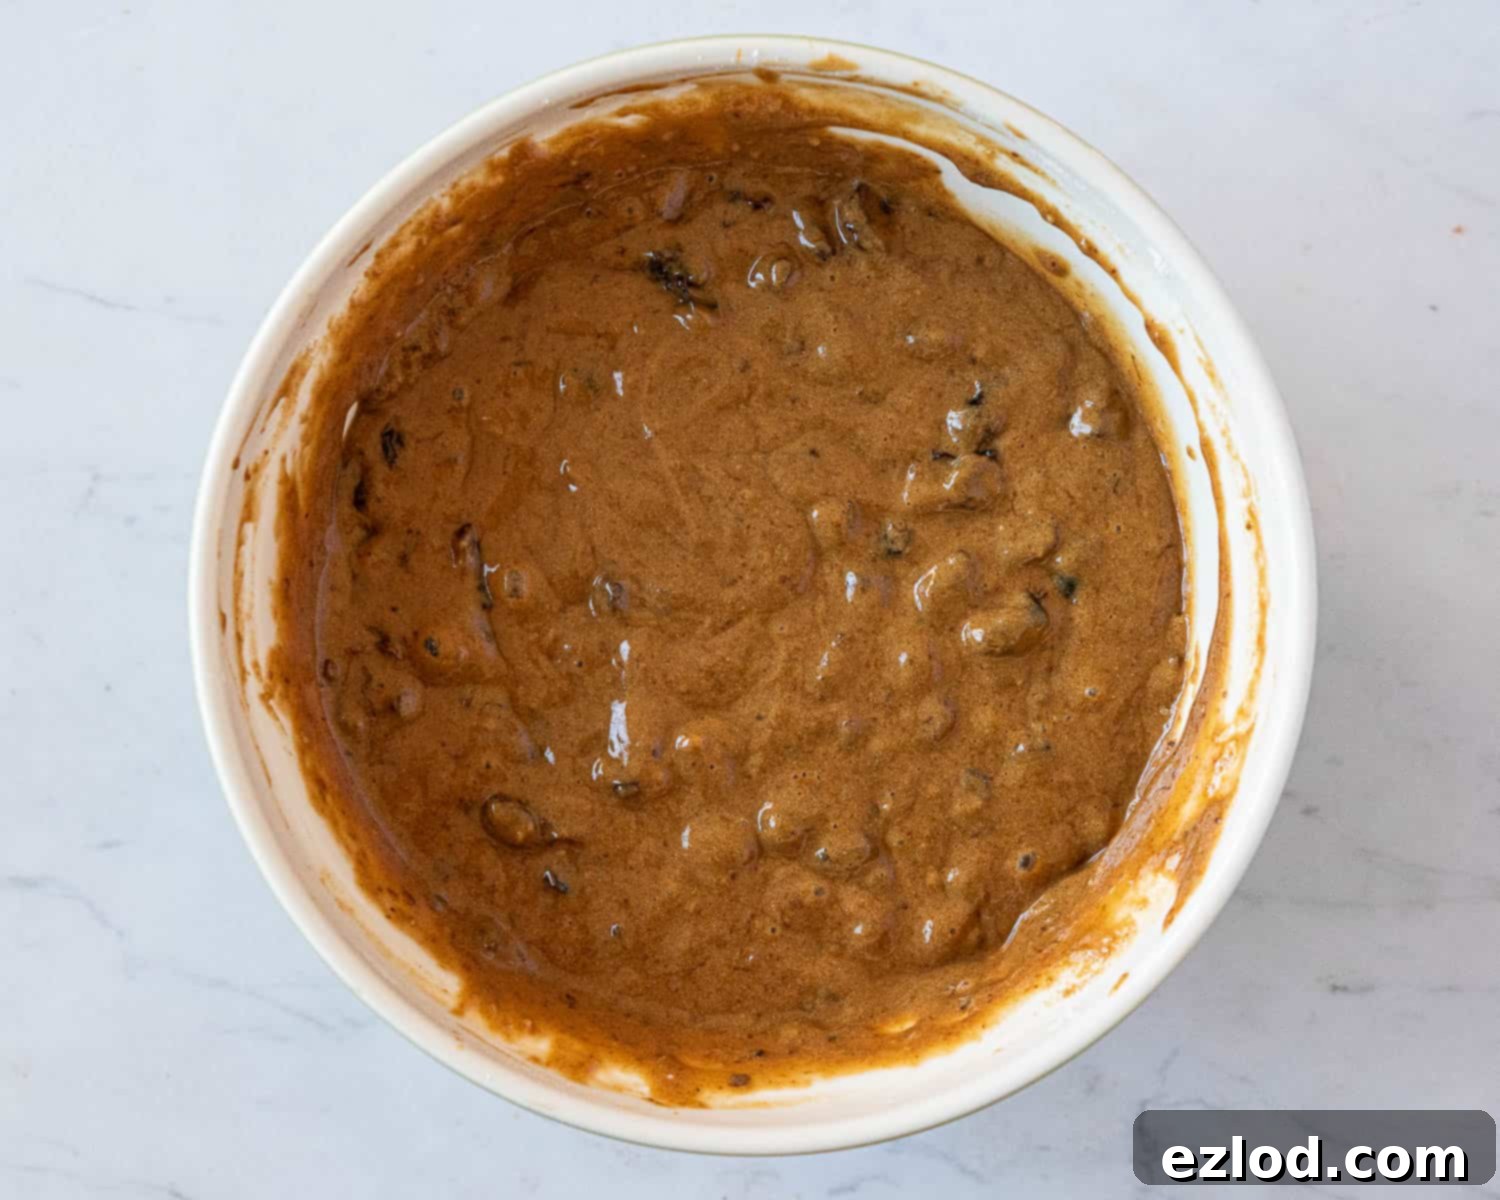
Step 5: Bake to Perfection. Pour the prepared batter into your lined loaf tin. Bake in a preheated oven for approximately 1 hour, or until the loaf is firm to the touch and a skewer inserted into the centre comes out clean. Be mindful of potential bits of prune sticking to the skewer – ensure it’s batter-free. The top should be nicely browned and spring back when gently pressed.
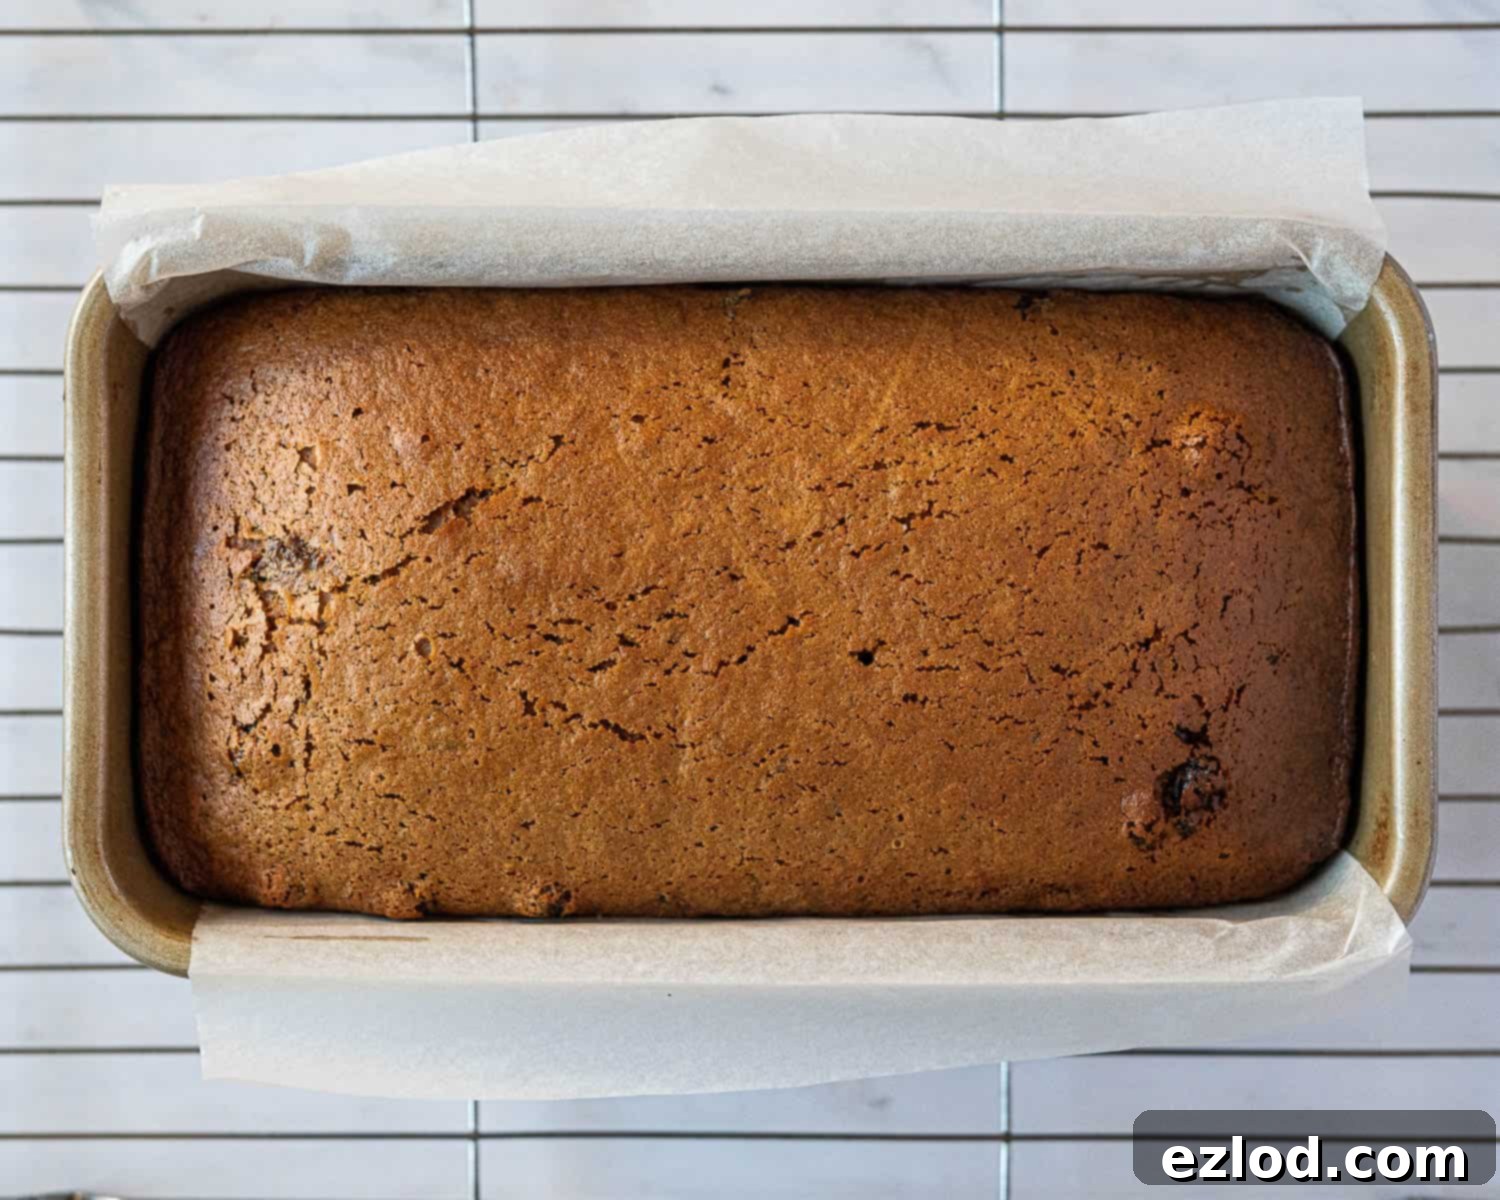
Step 6: The Signature Glaze. As soon as the loaf comes out of the oven, while it’s still warm, brush it generously with a little extra malt extract. This creates that iconic sticky, glistening top layer and further intensifies the malty flavour. The best way to do this is to spoon some malt extract onto the hot loaf and gently spread it with the back of a spoon, allowing it to melt and absorb.
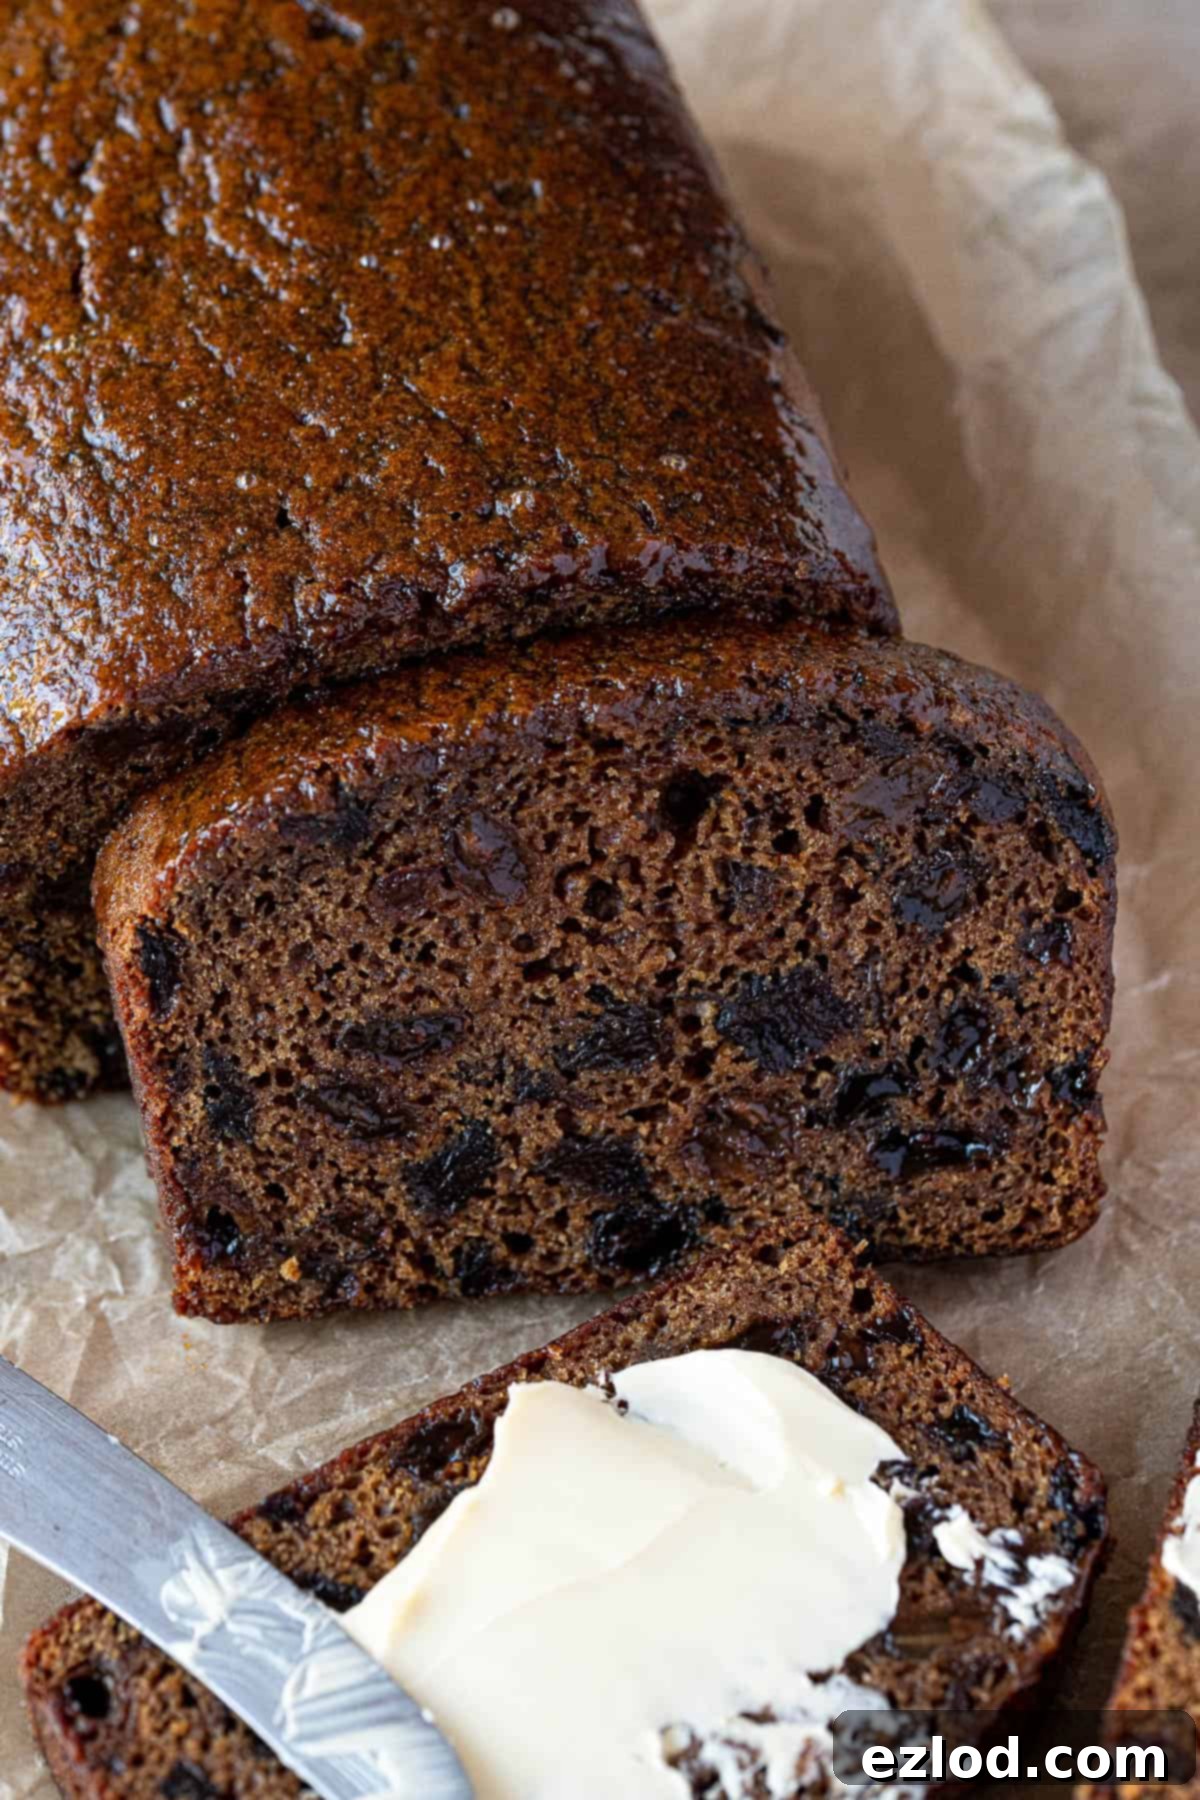
Step 7: Cool and Enjoy. Finally, and perhaps most importantly, allow the malt loaf to cool completely in its tin before turning it out and slicing. This patience is rewarded with a perfectly set, easy-to-slice loaf. Storing it for a day or two before slicing can actually enhance its flavour and texture even further, making it extra squidgy and delicious.
Top Tips for Baking the Perfect Vegan Malt Loaf:
- Embrace Your Digital Scale: For all my baking recipes, and particularly for this malt loaf, I cannot stress enough the importance of using metric measurements with a digital kitchen scale. Cups are notoriously inaccurate and inconsistent. Using a scale guarantees precise ingredient ratios, leading to far better, more consistent results every time. Plus, it’s often much easier and less messy!
- Choose Your Tea Wisely: When soaking your dried fruit, stick to robust black teas. English Breakfast tea is a classic choice, and Earl Grey can also add a lovely dimension. Avoid using green, white, or overly perfumed fruit/herbal teas, as their delicate or strong artificial flavours can detract from the malt loaf’s traditional taste.
- Patience for Perfection – The Art of Maturing: While it’s tempting to dive straight into your freshly baked malt loaf, it truly improves with a little patience. For an even more intense flavour and an incredibly squidgy texture, wrap the cooled loaf well in tin foil and store it in an airtight container for 2-3 days before slicing and serving. This allows the flavours to meld and mature beautifully.
- Don’t Overmix the Batter: Once you add the flour, mix only until just combined and no dry streaks remain. Overmixing can develop the gluten in the flour too much, resulting in a tougher, less tender loaf.
- Loaf Tin Size: A standard 2lb loaf tin (approximately 11.5 x 21.5 cm / 4.5 x 8.5 inches) is ideal for this recipe. Ensure it’s greased and lined with baking parchment, with overhang on the sides, to prevent sticking and make removal easy.
Serving Suggestions for Your Vegan Malt Loaf:
While the classic pairing of vegan butter and a hot cup of tea is unbeatable, don’t limit yourself! Try serving slices with a dollop of vegan cream cheese for a tangy contrast, or lightly toasted and drizzled with a touch more malt extract or agave syrup. It’s also delightful with a side of fresh fruit or a swirl of vegan yogurt for a more substantial breakfast or brunch.
Storing and Freezing Your Vegan Malt Loaf:
This vegan malt loaf keeps beautifully, allowing you to enjoy it over several days or even longer if frozen:
- Room Temperature: Once completely cooled, store the malt loaf in an airtight container at room temperature for up to a week. For best results and to encourage flavour development, wrap it first in tin foil, then place it in the airtight container.
- Freezing: Yes, this vegan malt loaf freezes exceptionally well! You can freeze it whole or in individual slices, which is perfect for portion control. Ensure the loaf has cooled completely before freezing. Wrap it tightly in several layers of cling film (plastic wrap) and then in aluminium foil to prevent freezer burn. It can be stored in the freezer for up to 3 months.
- Defrosting: To serve, simply allow the frozen loaf or slices to defrost at room temperature. You can gently warm slices in a toaster or oven for a “freshly baked” feel.
More Delicious Vegan Loaf Cake Recipes to Explore:
- Vegan Earl Grey Tea Loaf
- Vegan Orange Loaf Cake
- Vegan Lemon Drizzle Cake
- Easy Vegan Banana Bread
- Vegan Marble Cake
- Vegan Pumpkin Bread
- Vegan Orange Cranberry Cake
- Sweet Potato Bread with Pecan Streusel (Vegan)
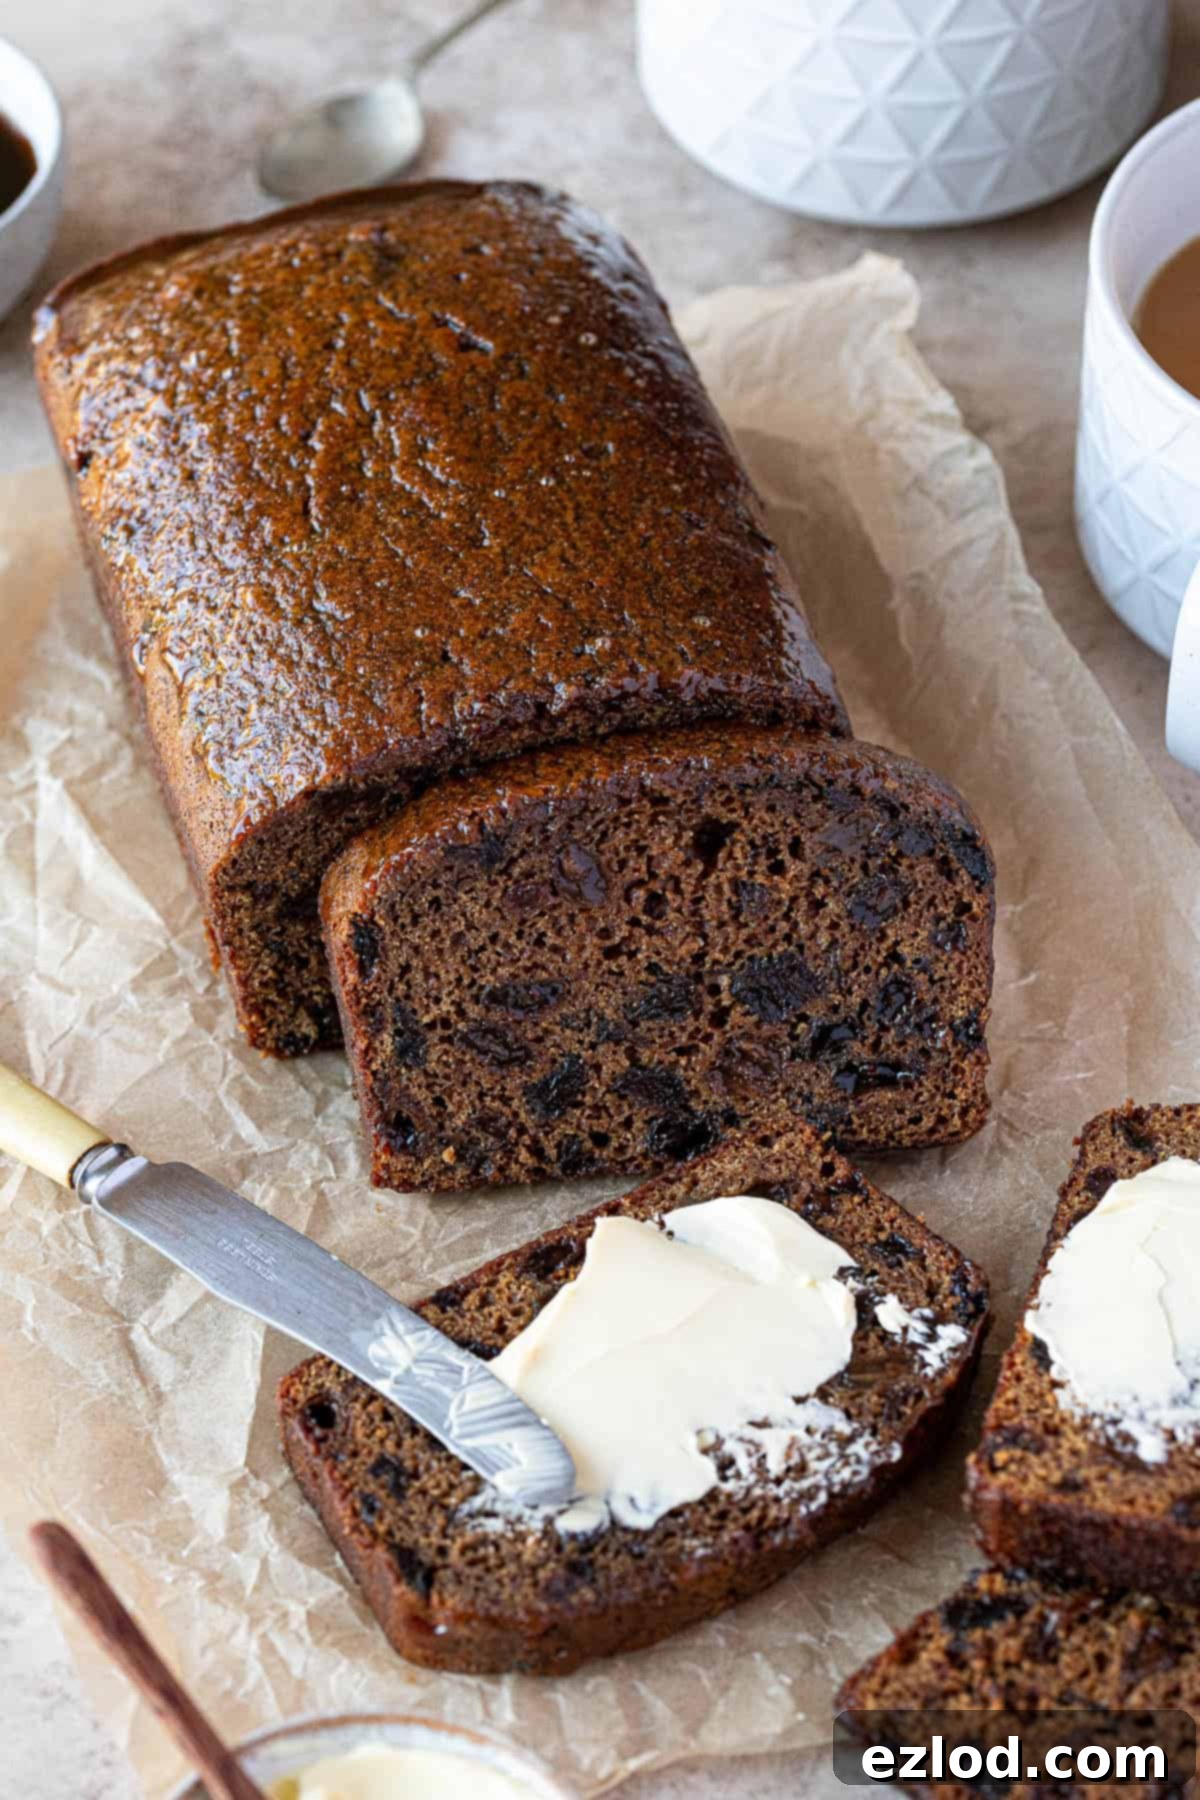
If you’ve tried this delightful vegan malt loaf recipe, I’d love to hear about your experience! Please take a moment to rate it, leave a comment sharing your thoughts, or tag @domestic_gothess on Instagram and use the hashtag #domesticgothess. Your feedback is truly appreciated!
All images and content on Domestic Gothess are copyright protected. If you wish to share this recipe, please do so by utilizing the provided share buttons. Kindly refrain from screenshotting or posting the recipe or content in its entirety. Instead, please include a direct link back to this post for the complete recipe and information. Thank you for your understanding and support!

Vegan Malt Loaf
Course
Breakfast, Dessert, Snack
Cuisine
British
Keyword
cake
Prep Time
25 minutes
Cook Time
1 hour
Servings
10
people
Author
Domestic Gothess
Ingredients
- 200 g (7 oz) raisins
- 100 g (3 ½ oz) chopped pitted prunes (or dates)
- 150 ml (½ cup + 2 Tablespoons) strong, hot black tea
- 150 g (5 ⅓ oz) malt extract (syrup) (plus extra for brushing)
- 100 g (½ cup) dark brown soft sugar
- 60 ml (¼ cup) unsweetened non-dairy milk (I use soy)
- 1 teaspoon baking powder
- ½ teaspoon bicarbonate of soda (baking soda)
- ¼ teaspoon salt
- 250 g (2 cups) plain (all-purpose) flour
Instructions
-
Preheat the oven to 170°C/150°C fan/325°F/gas mark 3. Grease an approx 11.5 x 21.5 cm / 4.5 x 8.5 in loaf tin (2lb loaf tin) and line it with baking parchment.
-
Place the raisins and chopped prunes in a large bowl, pour over the hot tea, stir and set aside to soak for 15 minutes.
-
Stir in the malt extract and brown sugar until well combined.
-
Stir in the milk, baking powder, bicarbonate of soda and salt. Finally, stir in the flour until no dry lumps remain.
-
Pour the batter into the prepared tin and bake for about 1 hour, until firm to the touch and a skewer inserted into the centre comes out clean (watch out for bits of prune).
-
Brush the hot loaf with some malt extract. I find the best way to do this is to spoon some on top and spread it about with the back of the spoon.
-
Leave the malt loaf to cool completely in the tin before turning out and slicing. Store in an airtight container at room temperature.
Notes
- All of my recipes are developed using grams, and as with all of my baking recipes I really do recommend using the metric measurements with a digital scale rather than the cup conversions. Cups are a wildly inaccurate measuring system and you will get far better, more consistent results using a scale, not to mention that it is also easier and less messy than cups!
- See post above for tips, details and step-by-step photos.
- Malt loaf is even better if you store it for a couple of days before slicing it. Wrap it well in tin foil and store in an airtight container for 2-3 days before serving. The flavours will mature and it will become even more squidgy and delicious.
