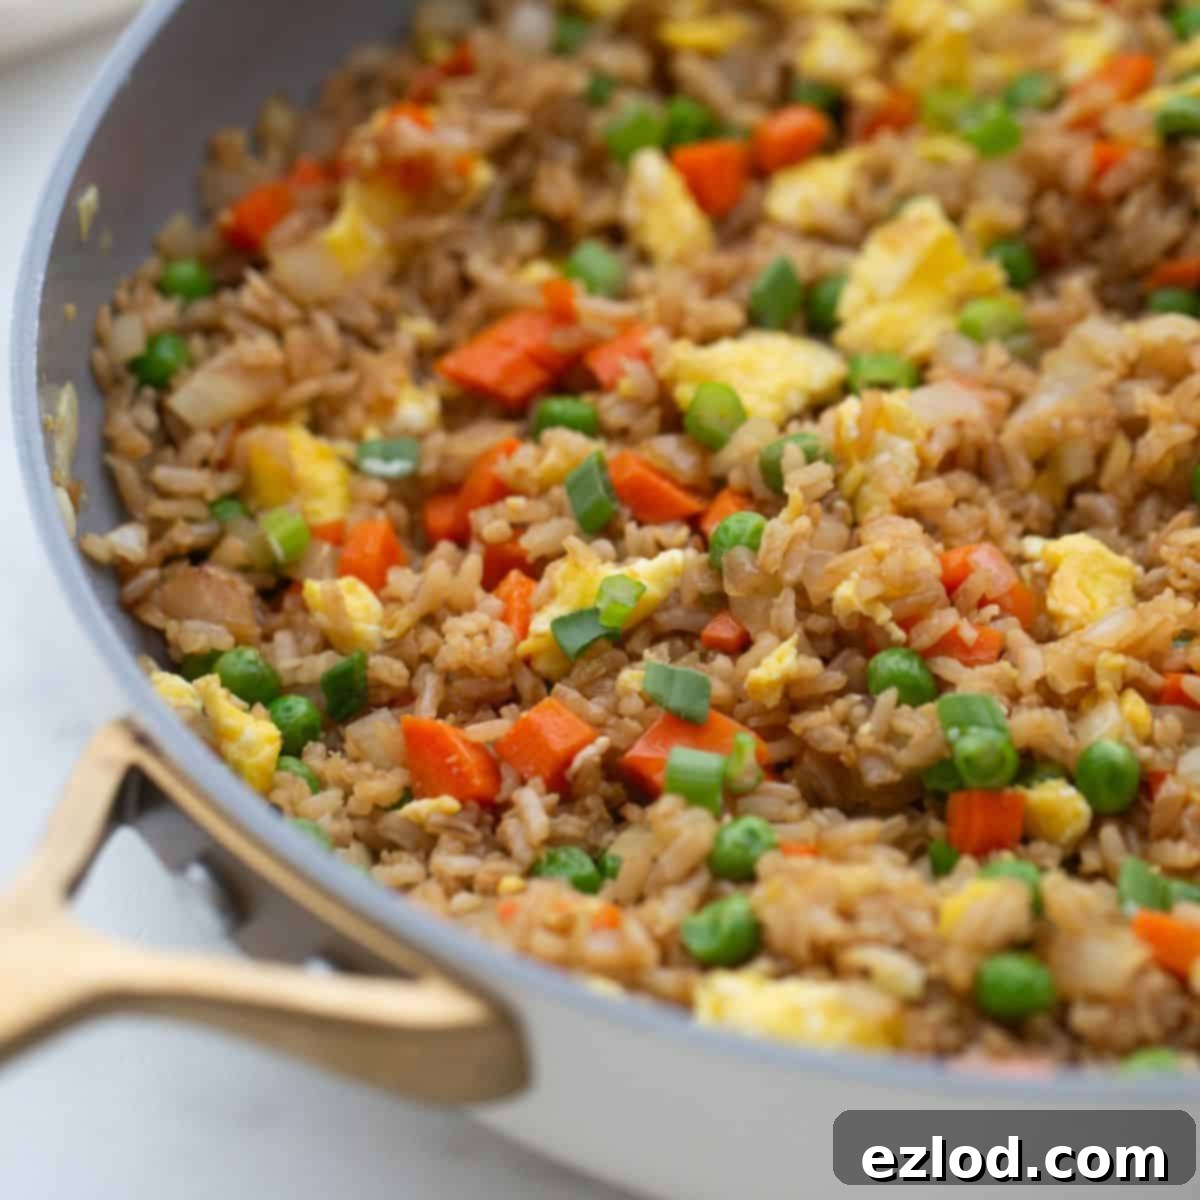
Master the Art of Healthier Hibachi Fried Rice: Easy & Flavorful Homemade Recipe
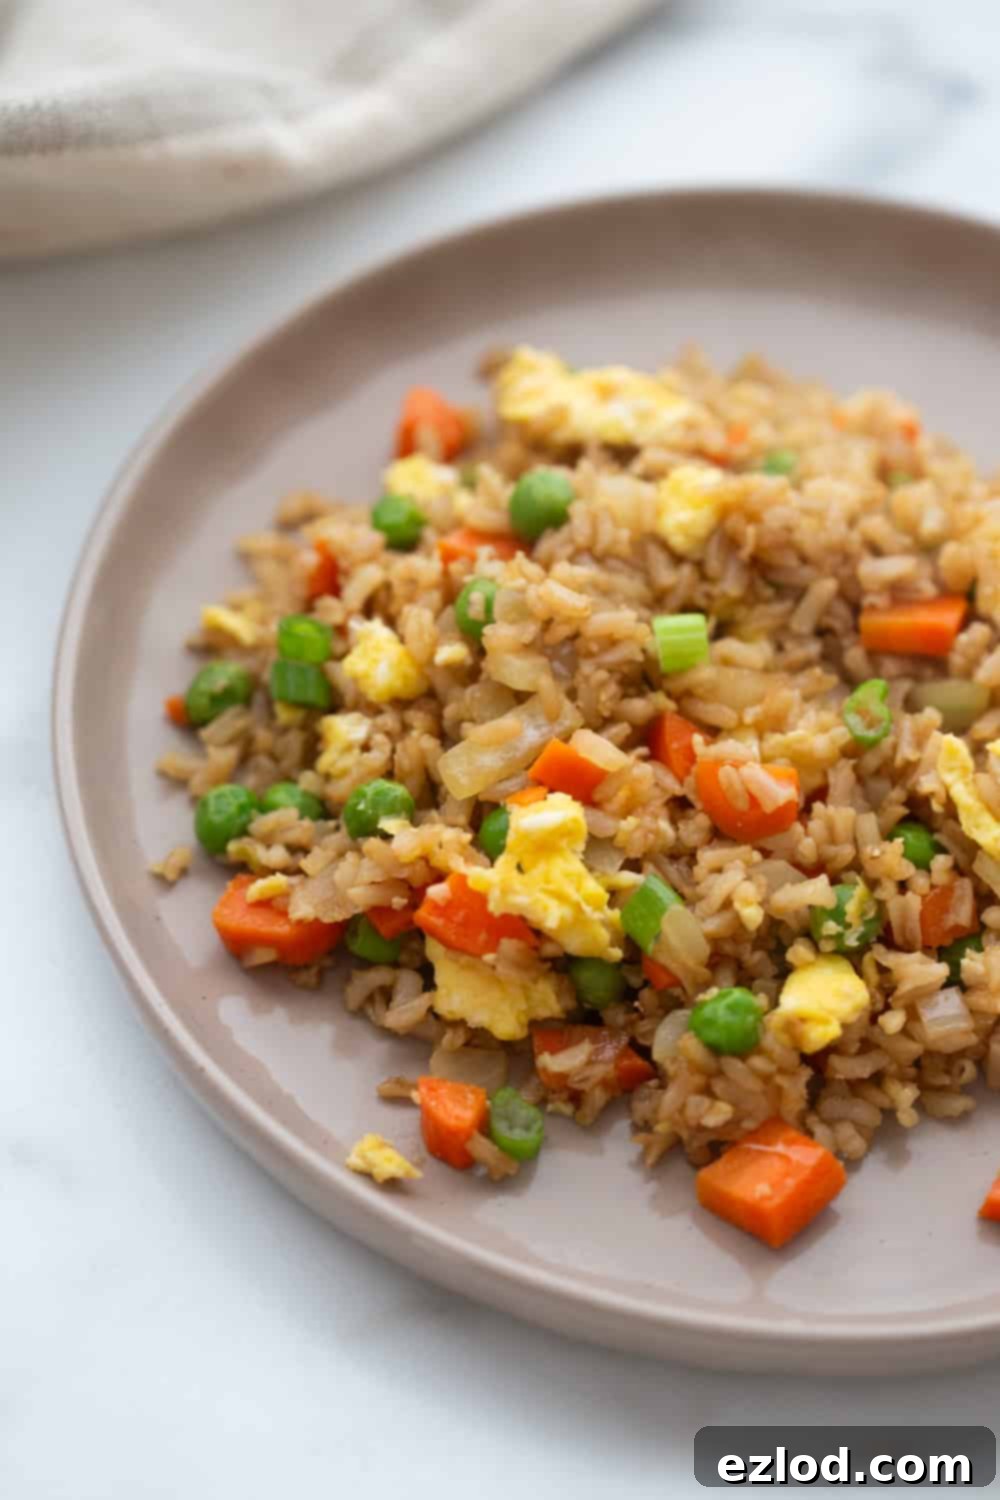
Craving the irresistible flavors of a Japanese steakhouse but looking for a lighter, healthier option? Look no further! This easy and incredibly flavorful healthier hibachi fried rice recipe brings all the magic of hibachi straight to your kitchen. It’s the perfect savory side dish for your homemade hibachi steak and hibachi chicken, or a fantastic base for a quick and nutritious meal. Crafted with nutrient-rich brown rice and an abundance of fresh vegetables, this recipe offers a delicious way to enjoy your favorite fried rice without the guilt. Plus, it’s incredibly versatile – simply top it with your choice of protein, from crispy air fryer shrimp or succulent pan-seared salmon to a flavorful Asian pork tenderloin. Get ready to elevate your weeknight dinners!
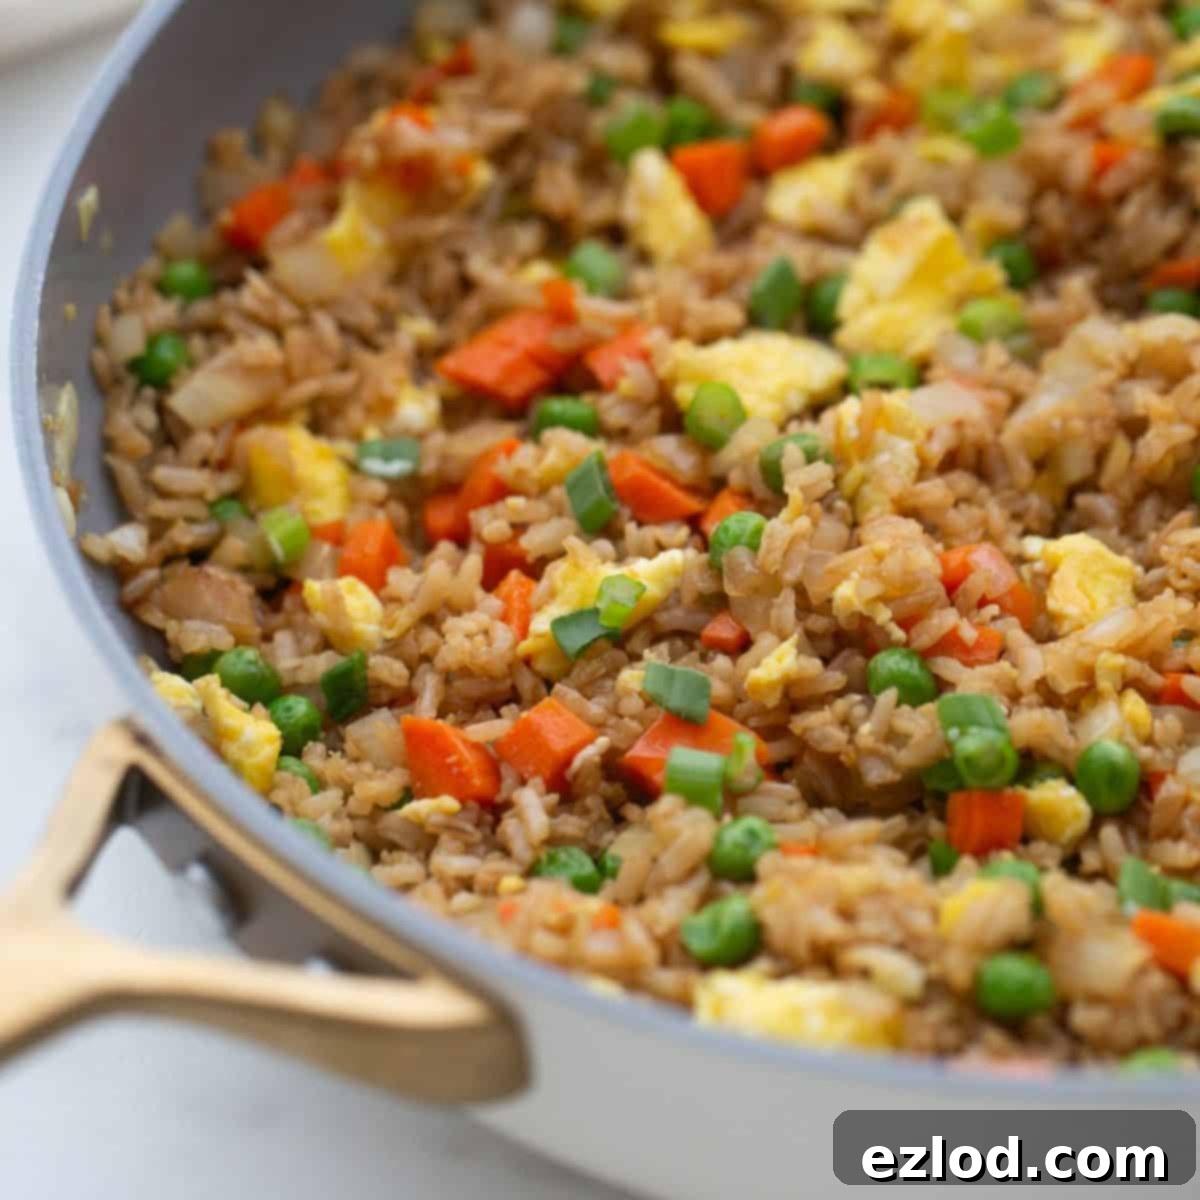
Ever since I shared snapshots of my Hibachi Steak Recipe, complete with a tantalizing side of fried rice, the requests for a healthier hibachi fried rice recipe have been pouring in. I am absolutely thrilled to finally deliver this much-anticipated dish! My rendition of classic Japanese fried rice prioritizes wellness without compromising on that beloved savory flavor. It features day-old brown rice – and here’s a pro-tip, consider freezing cooked brown rice in advance so you can whip up this dish anytime a craving strikes! We also pack in plenty of fresh vegetables and use significantly less oil than traditional hibachi restaurants, yet I guarantee you, every bite is still incredibly delicious and satisfying.
So, let’s complete your homemade hibachi feast with this simple, healthier copycat recipe that’s sure to become a family favorite!
Table of Contents
Toggle
Ingredients for Healthier Hibachi Fried Rice
To create this incredibly flavorful and healthier hibachi fried rice, you’ll need a selection of fresh ingredients. For specific quantities and detailed instructions, please refer to the comprehensive recipe card below. Here’s a closer look at what you’ll be gathering:
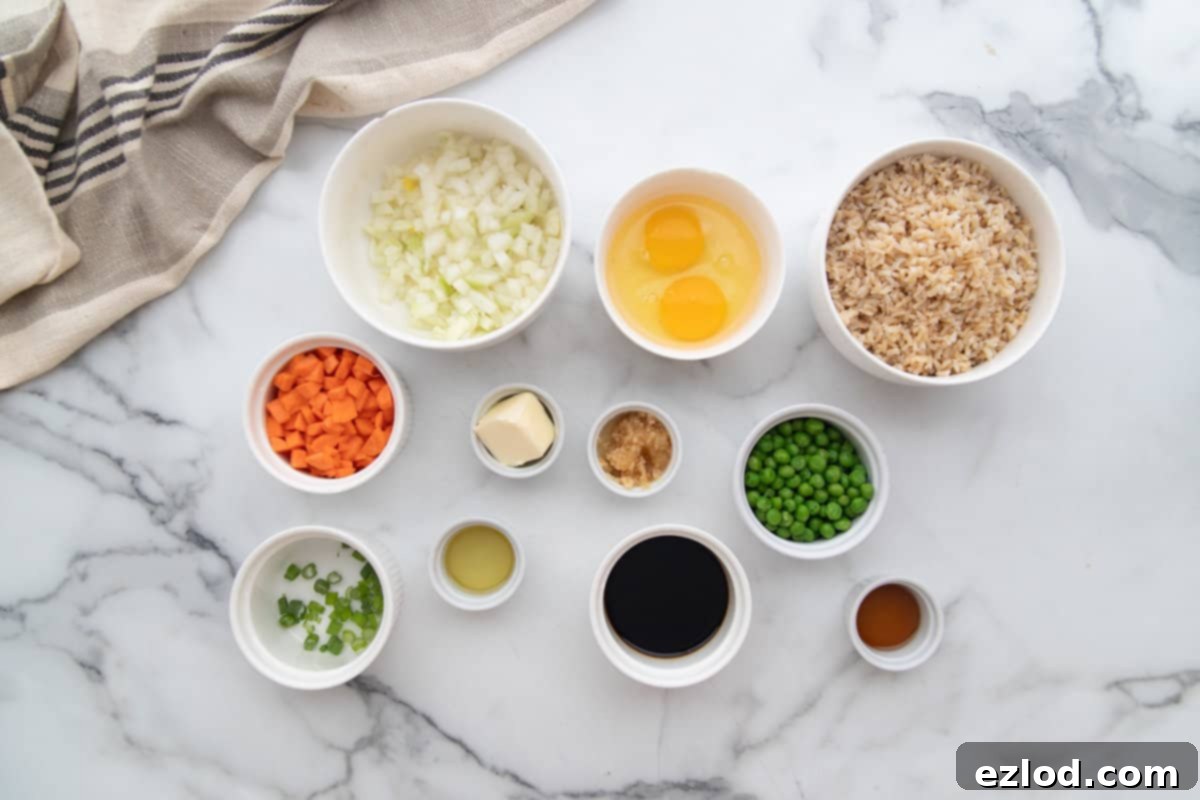
- Brown Rice (cooked and cooled): The foundation of our healthier fried rice! Using day-old or pre-cooked and chilled rice is crucial for achieving that desired crispy texture without it turning mushy. Brown rice adds a wonderful nutty flavor and a boost of fiber compared to white rice, aligning perfectly with our healthier goals.
- Eggs: Fluffy scrambled eggs are a classic component of hibachi fried rice, adding protein and richness. If you have dietary restrictions, they can be easily omitted for an equally delicious egg-free version.
- Avocado Oil (or substitute additional butter/ghee): While restaurants often use vegetable oil, we opt for avocado oil for its higher smoke point and healthier fat profile. It’s excellent for high-heat cooking. Olive oil can also be used, but avocado oil is preferred for its neutral flavor.
- Butter (or vegan butter for dairy-free): We’re mindful of the amount, using just enough butter to impart that signature rich, savory flavor that makes hibachi fried rice so irresistible, without overdoing it. Vegan butter or ghee are fantastic alternatives.
- Carrots and Onions: These fresh vegetables provide a delightful crunch, natural sweetness, and essential nutrients. Finely diced, they cook down beautifully. While fresh is always best, frozen mixed vegetables are a convenient shortcut when you’re short on time. I typically use white or yellow onion.
- Fresh Garlic and Fresh Ginger: The dynamic duo for authentic Asian flavor! Freshly minced garlic and ginger infuse the rice with a pungent, aromatic depth. In a pinch, you can substitute with ground ginger and garlic powder, though fresh truly makes a difference.
- Frozen Green Peas: These vibrant little additions bring a pop of color and a touch of sweetness. They are incredibly easy to incorporate and can be left out if they’re not to your preference.
- Coconut Aminos or Tamari: Both of these are excellent gluten-free alternatives to traditional soy sauce. Coconut aminos also offers a soy-free option, making this recipe accessible to more dietary needs. If gluten isn’t a concern for you, low-sodium soy sauce can be used.
- Drizzle of Sesame Oil: A tiny splash of sesame oil added at the end is key! It provides that distinctive, nutty, aromatic finish that is characteristic of authentic Asian fried rice.
- Salt: Essential for seasoning. The amount will depend on your other ingredients (e.g., salted vs. unsalted butter, sodium content of coconut aminos/tamari). Always taste your fried rice at the end and adjust as needed.
- Garnish (Sliced Green Onions or Sesame Seeds): A flavorful garnish elevates the presentation and adds a fresh, oniony bite. Finely sliced green onions are my favorite, but a sprinkle of toasted sesame seeds also works beautifully.
Substitutions and Variations
One of the best things about fried rice is how adaptable it is! Feel free to get creative with these delicious substitutions and variations to make this healthier hibachi fried rice truly your own:
- Boost Your Veggies: This recipe is a fantastic way to sneak in extra vegetables. Consider adding finely diced green beans, colorful bell peppers (red, yellow, or orange), or tender broccoli florets. Sauté these extra veggies separately before adding them to the rice to ensure they cook evenly and you don’t overcrowd your pan, which can prevent the rice from crisping up. For those following a 21 Day Fix plan, doubling the amount of veggies is an easy way to make this a full green container serving!
- Make it a Complete Stir-Fry Meal: Transform this side dish into a satisfying main course by incorporating your favorite protein. Cubed grilled chicken breast, tender shrimp, or marinated tofu are all excellent additions. Simply cook your protein separately until nearly done, then add it to the pan with the rice and vegetables to combine and warm through.
- Drizzle with Homemade Yum Yum Sauce: For the ultimate hibachi experience, don’t forget the sauce! My homemade yum yum sauce is an absolute game-changer. A generous drizzle over your finished fried rice (and your protein!) takes this dish to another level of deliciousness.
- Griddle Cooking Perfection: If you’re lucky enough to own a Blackstone griddle or a flat-top grill, this recipe is a dream to make on it! The large, even cooking surface allows you to cook all components simultaneously, making the process incredibly efficient and fun. I absolutely love using my Blackstone for this!
- Frozen Veggie Shortcut: For those busy weeknights or when fresh produce isn’t readily available, a bag of frozen mixed vegetables makes a fantastic and convenient substitute for fresh carrots and peas. Just toss them in – no need to thaw them beforehand.
- Alternative Grains: While brown rice is our healthier choice, any type of cooked and cooled rice will work beautifully. Feel free to use jasmine rice, basmati rice, or even regular white rice if that’s what you have on hand. For a gluten-free and higher-protein twist, you could even use quinoa!
Step-by-Step Instructions for Perfect Fried Rice
Creating delicious hibachi fried rice at home is simpler than you might think! Follow these detailed steps to achieve perfectly flavored and textured fried rice every time. Remember, having all your ingredients prepped and ready (mise en place!) will make the cooking process smooth and enjoyable.
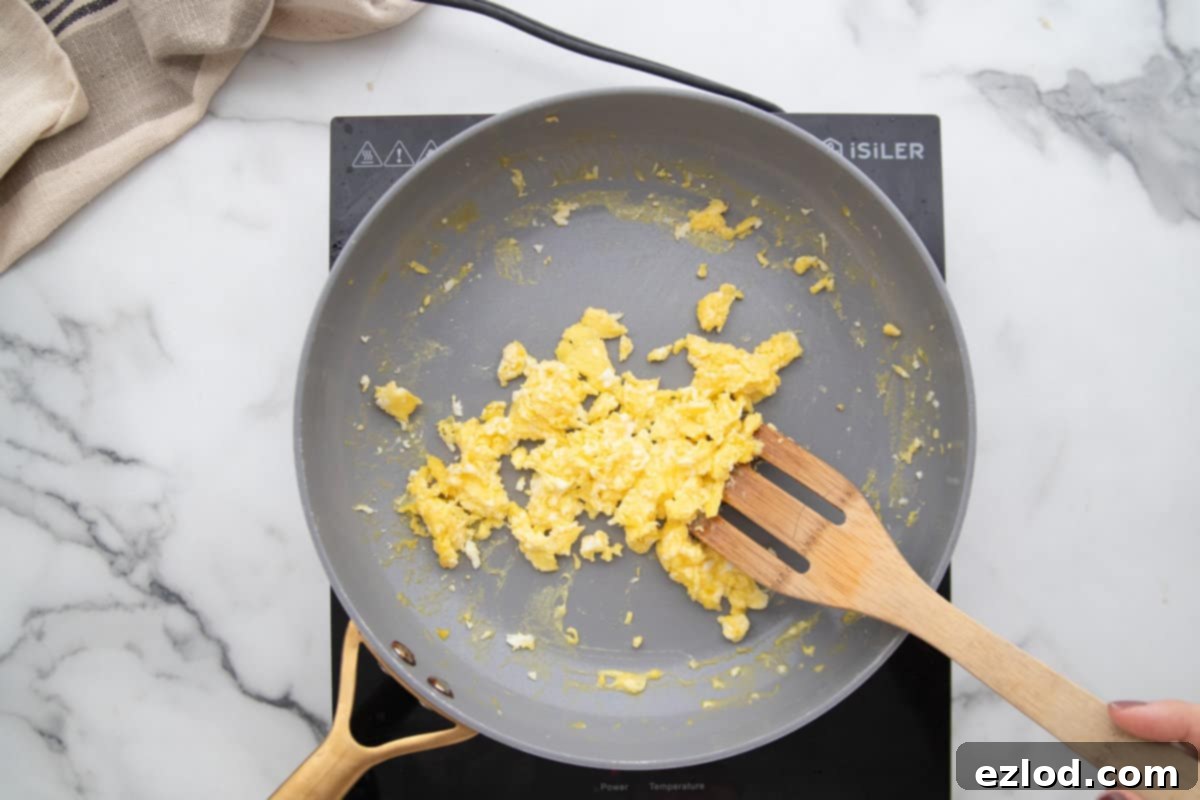
- Scramble the Eggs: Begin by heating ½ teaspoon of butter (or a dairy-free alternative) in a large skillet or wok over medium-high heat. Once the butter is melted and shimmering, add your whisked eggs to the hot pan. Scramble them, stirring occasionally with a spatula, until they are fully cooked through and lightly firm. Promptly remove the cooked eggs from the pan and set them aside. This ensures they don’t overcook or become rubbery when added back later.
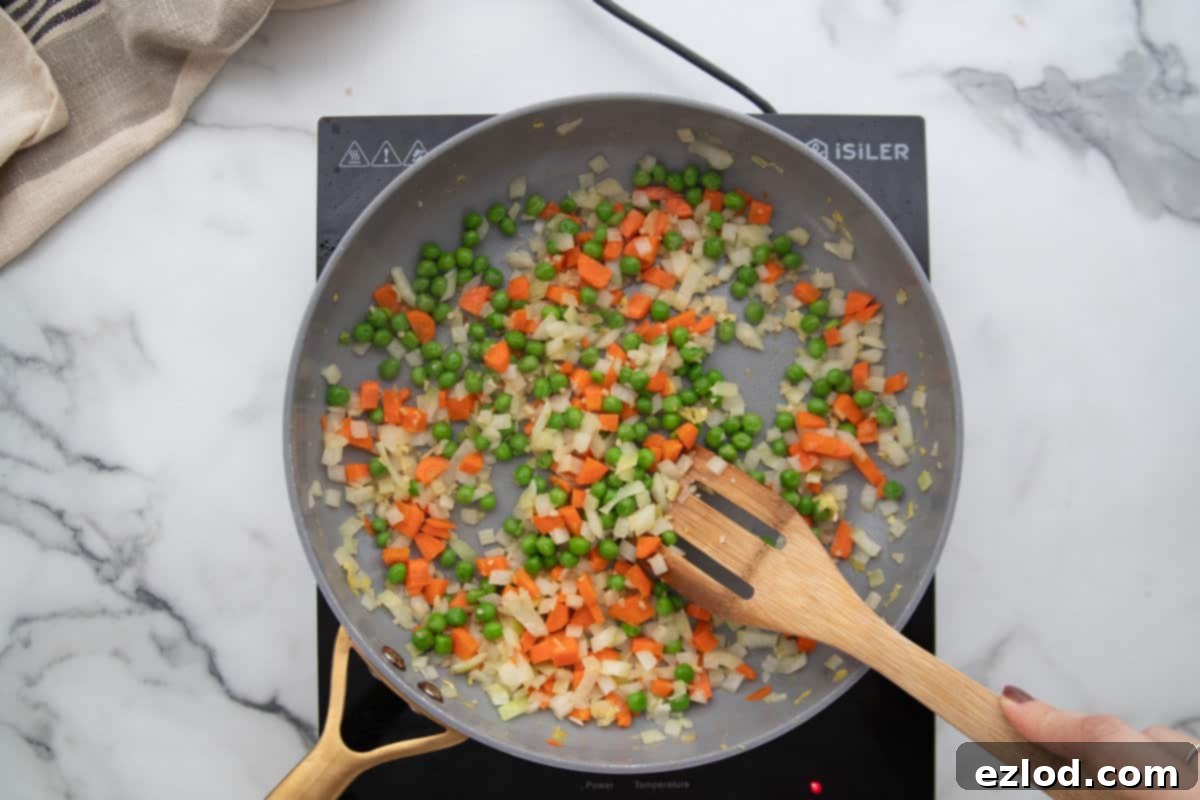
2. Sauté the Vegetables: Add another 1 teaspoon of butter (or alternative) to the same pan and heat until melted. Once hot, add the diced onions and carrots. Sprinkle them lightly with salt and pepper to season. Sauté the vegetables for about 5 minutes, or until they begin to soften. If the pan seems too dry or the veggies are sticking, add 1-2 tablespoons of water to help them cook down without burning. Next, stir in the minced garlic and fresh ginger, cooking for just an additional minute until fragrant – be careful not to burn the garlic! Finally, stir in the frozen green peas and cook for another minute until heated through.
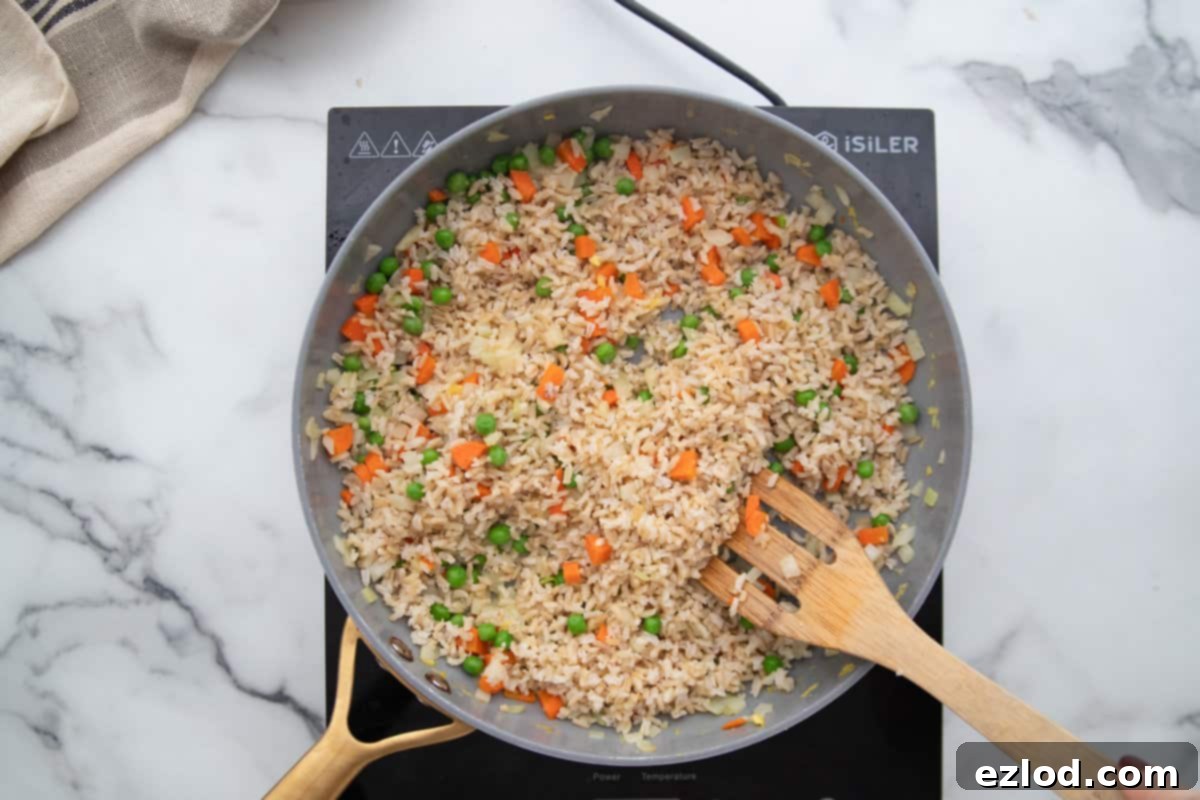
3. Fry the Rice: Now for the main event! Add 2 teaspoons of butter and 2 teaspoons of avocado oil to the pan. Increase the heat to high. As soon as the fats are hot and shimmering, immediately add the cooked, cooled brown rice to the skillet. Season the rice with ¼ teaspoon of salt. Allow the rice to sit relatively undisturbed for 3-5 minutes to really “fry” and crisp up on the bottom. Resist the urge to stir it too frequently, as this is how you develop that desirable crispy texture characteristic of great fried rice.
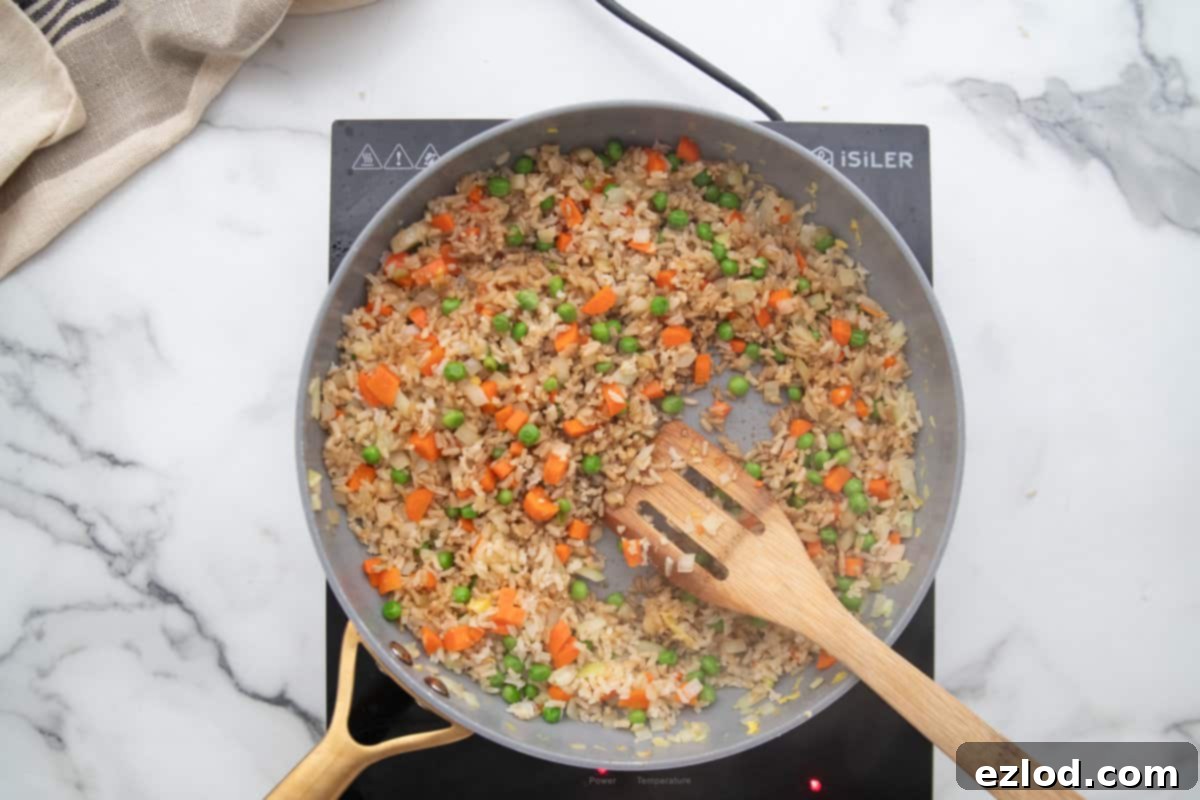
4. Combine and Finish: Once the rice has achieved some crispiness, stir in the coconut aminos (or tamari). Toss everything together to ensure the sauce evenly coats all the rice and vegetables, allowing the flavors to meld beautifully. Reintroduce the scrambled eggs to the pan and continue to stir gently until the eggs are thoroughly warmed through and well incorporated throughout the fried rice mixture. Remove the pan from the heat immediately after this step.
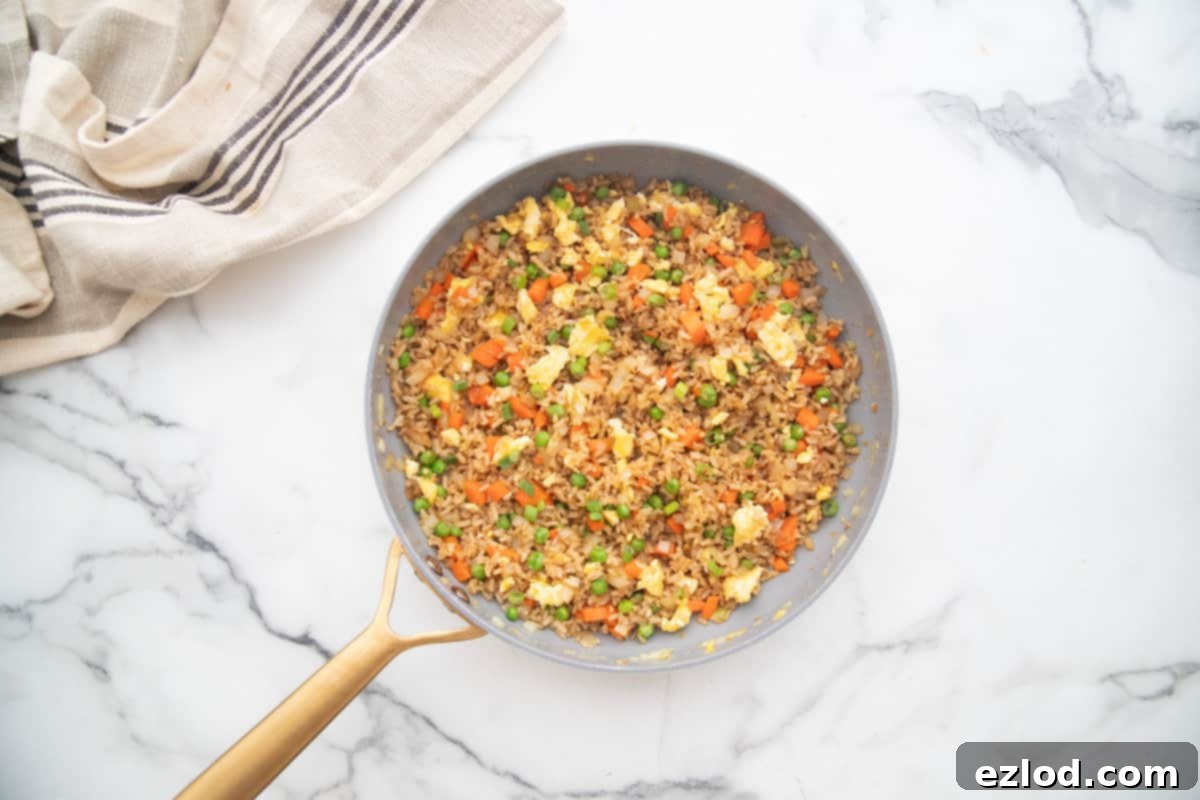
5. Garnish and Serve: For the final touch, drizzle ½ teaspoon of sesame oil over the hot fried rice. Give it one last gentle stir to distribute the aromatic oil. Garnish generously with finely sliced green onions. Before serving, taste the fried rice and add any additional salt if needed to perfectly balance the flavors. Serve immediately and enjoy your homemade hibachi masterpiece!
Expert Tips for the Best Healthier Hibachi Fried Rice
Achieving restaurant-quality fried rice at home is totally possible with a few key techniques. These expert tips will help you master your healthier hibachi fried rice:
- The Golden Rule: Use Cold, Day-Old Rice! This is perhaps the most crucial tip for perfect fried rice. Freshly cooked, warm rice contains too much moisture, which will steam rather than fry in the pan, leading to a mushy, clumpy texture. Cold, day-old rice dries out slightly in the refrigerator, allowing it to separate into individual grains and achieve that signature crispy exterior when stir-fried. It truly makes all the difference!
- Meal Prep Your Rice for Convenience: My absolute favorite method for preparing rice in advance, especially for recipes like this, is my Instant Pot Brown Rice recipe! It’s incredibly easy to make a large batch, and it’s freezer-friendly. This means you can always have perfectly cooked, cold brown rice on hand, ready to transform into this delicious hibachi fried rice whenever you need a quick dinner side or a prepared component for meal prep.
- Don’t Overcrowd the Pan: For truly crispy fried rice and evenly cooked vegetables, avoid stuffing your skillet or wok. If you’re doubling the recipe or adding a lot of extra veggies, consider cooking the rice and vegetables in separate batches, or use a very large surface like a griddle. Overcrowding lowers the pan’s temperature, leading to steamed ingredients rather than fried ones.
- High Heat is Your Friend: Fried rice needs high heat to get that smoky, “wok hei” flavor and crisp texture. Ensure your pan is very hot before adding the rice. This allows the rice to fry quickly and develop a golden crust.
- Minimize Stirring (Initially): When you first add the rice to the hot pan, resist the urge to constantly stir. Let it sit for a few minutes to develop a crust on the bottom. This is where the crispiness comes from. Once it starts to crisp, then you can begin to stir and toss regularly.
Recipe FAQs: Your Hibachi Fried Rice Questions Answered
Absolutely! While day-old, cold rice is ideal for that perfect crispy texture, you can still make this recipe work with freshly cooked rice. The trick is to cool it down as quickly as possible. After your rice has cooked, immediately spread it out in a thin, even layer on a large baking sheet. Place the sheet pan in your refrigerator or freezer for about 20 minutes. This rapid cooling process removes excess moisture and helps the grains firm up, preventing them from clumping and getting mushy when you fry them.
Yes, you certainly can! While this recipe focuses on brown rice for its added fiber and nutrients, white rice (like jasmine or basmati) is traditionally used in many fried rice dishes and will yield delicious results. Feel free to use whatever type of rice you have on hand and prefer. We should note, for readers following the 21 Day Fix program, that only brown rice is on the official food list. However, in terms of calories and macros, the differences between white and brown rice are often fairly comparable in a recipe like this, so choose what works best for your dietary preferences.
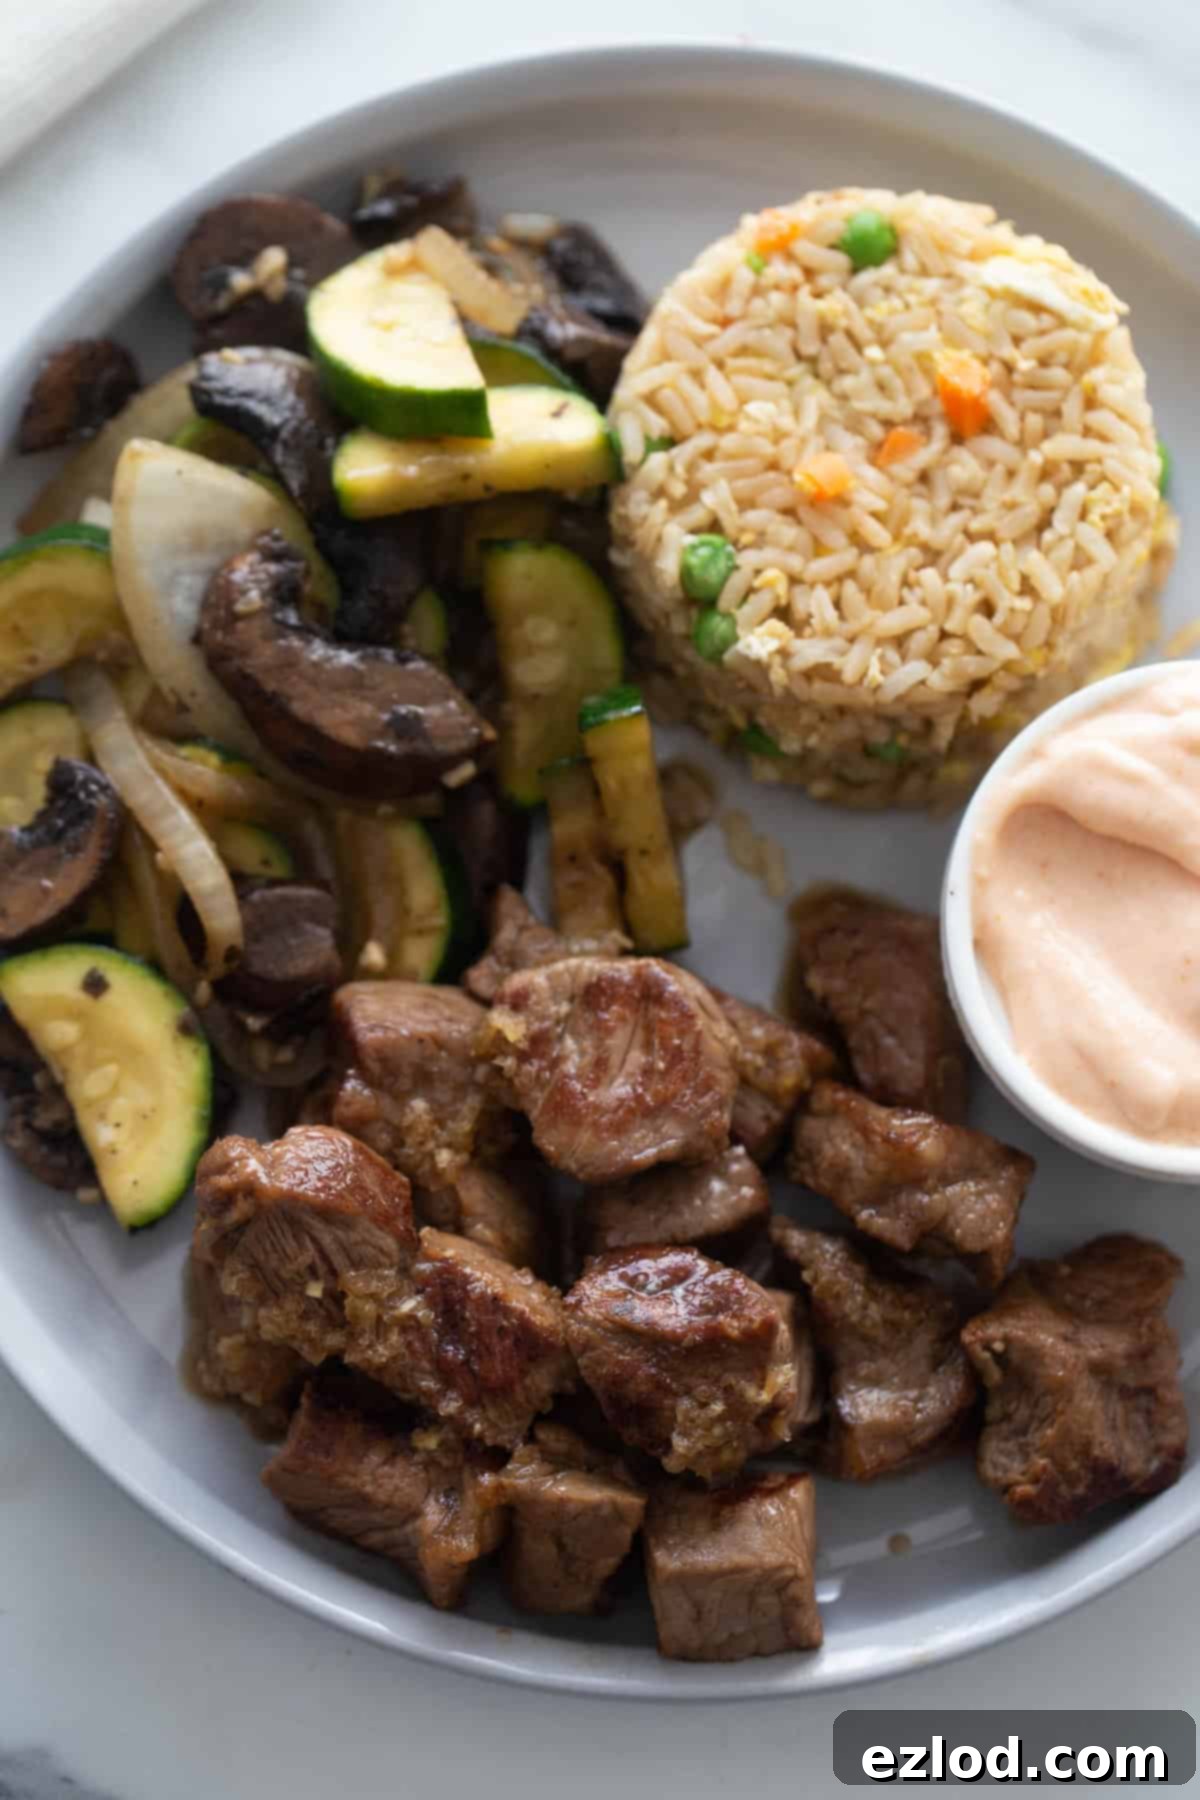
This versatile hibachi fried rice is an incredible complement to a wide array of dishes! It’s designed to pair perfectly with my hibachi chicken or hibachi steak recipes, creating a complete restaurant-style meal at home. Beyond that, it’s fantastic with my honey glazed salmon, or you can easily use leftover protein like air fryer whole chicken to turn it into a quick and satisfying meal. The possibilities are truly endless!
Absolutely! To make this hibachi fried rice vegetarian, simply omit the eggs or replace them with a plant-based egg substitute. For a fully vegan version, ensure you use vegan butter and omit the eggs. You can boost the protein content by adding marinated and pan-fried tofu, tempeh, or edamame.
A large skillet, ideally cast iron or non-stick, or a traditional wok works best for making fried rice. The high heat conductivity and wide surface area allow the rice to properly fry and crisp up without steaming. If using a regular skillet, ensure it’s large enough to comfortably hold all your ingredients without overcrowding, as this is key for achieving the desired texture.
What to Serve With Your Flavorful Fried Rice
This healthier hibachi fried rice is incredibly versatile and makes a perfect companion to many Asian-inspired dishes, or even as a flavorful meal on its own when loaded with protein. Here are some of my favorite ways to enjoy it:
- Classic Hibachi Pairings: I specifically created this recipe to be enjoyed alongside my sizzling Hibachi Chicken and a generous dollop of my homemade Yum Yum Sauce, or with my tender Hibachi Steak Recipe! It’s truly a match made in culinary heaven.
- Hearty Asian Mains: Beyond hibachi, this fried rice makes a delightful side dish to many of my other recipes, including the rich and savory Instant Pot Beef and Broccoli, sweet and tangy Honey Glazed Salmon, or my comforting Crock Pot Asian Chicken.
- Make it a Complete Meal: For a quick and balanced dinner, simply add more protein directly into the fried rice! Cubed chicken breast, succulent shrimp, flavorful pork, or even plant-based options like crispy tofu can be cooked and stirred in for a satisfying one-pan meal.
- Light & Fresh Sides: Complement the richness of the fried rice with a simple side salad dressed in a ginger-sesame vinaigrette, or some steamed edamame for a complete meal experience.
Storage & Reheating Tips
This healthier hibachi fried rice is excellent for meal prep and stores beautifully! Here’s how to keep it fresh and delicious:
- Refrigeration: Store any leftover fried rice in an airtight container in the refrigerator for up to 4 days. Make sure it cools completely before sealing to prevent condensation.
- Freezing: For longer storage, allow the fried rice to cool completely, then transfer it to a freezer-safe airtight container or heavy-duty freezer bag. It can be frozen for up to 3 months. Thaw overnight in the refrigerator before reheating.
- Reheating: For best results, reheat fried rice in a skillet or wok over medium-high heat with a tiny bit of oil or water, stirring occasionally until heated through and slightly crispy again. You can also microwave it, though the texture might not be as crisp.
If You Like This Recipe, Try These Next!
If you’re a fan of the vibrant flavors and healthy approach in this hibachi fried rice, you’ll love exploring more of my delicious and wholesome Asian-inspired recipes. These are perfect for expanding your culinary repertoire:
- Asian Chicken Meatballs: Flavorful and juicy meatballs, perfect for a lighter protein option.
- Kung Pao Cauliflower: A fantastic vegetarian take on a classic, packed with spicy, sweet, and savory notes.
- Instant Pot Chicken and Broccoli: An incredibly easy and healthy weeknight meal made in one pot.
- Healthy Chicken Ramen Noodle Stir Fry: A quick, satisfying, and lighter version of your favorite stir-fry.
Love this healthier hibachi fried rice recipe? Please show your support by leaving a 5-star 🌟🌟🌟🌟🌟rating & a review in the comments section below! Your feedback means the world to us and helps other foodies discover delicious new recipes. Thank you for considering!

Healthier Hibachi Fried Rice
Nancylynn
6
Pin Recipe
10 minutes
15 minutes
25 minutes
Ingredients
- 2 ½ cups brown rice cooked and cooled (day-old is best!)
- 2 large eggs
- 2 tsp avocado oil or neutral cooking oil
- 3 ½ tsp butter vegan butter, or ghee, divided
- 2 medium carrots finely chopped
- ½ white or yellow onion diced
- 2 cloves fresh garlic minced
- 1 Tbsp fresh ginger minced or grated
- ½ cup frozen green peas
- 4 Tbsp coconut aminos or tamari (for gluten-free)
- ½ tsp sesame oil
- salt to taste
- green onions finely sliced, for garnish
Instructions
-
Scramble Eggs: Heat ½ tsp of butter in a large skillet or wok over medium-high heat until melted. Add the whisked eggs to the hot pan and scramble, stirring occasionally until fully cooked through. Remove the cooked eggs from the pan and set aside on a plate.
-
Sauté Veggies: Add another 1 tsp of butter to the same pan and heat until melted and shimmering. Add the finely chopped carrots and diced onions. Sprinkle with a pinch of salt and pepper. Cook, stirring frequently, for about 5 minutes until they begin to soften. If needed, add 1-2 Tablespoons of water to prevent sticking and aid cooking. Stir in the minced garlic and fresh ginger and cook for an additional minute until fragrant. Finally, add the frozen green peas and stir for another minute until warmed through.
-
Fry Rice: Push the vegetables to one side of the pan. Add 2 tsp of butter and 2 tsp avocado oil to the empty side of the pan. Increase the heat to high. Once the oil is hot, immediately add the cold, cooked brown rice to the skillet. Season the rice with ¼ tsp of salt. Allow the rice to cook undisturbed for 3-5 minutes to develop a crispy crust on the bottom. Then, begin to stir and toss to fry all sides of the rice.
-
Combine Flavors: Stir in the coconut aminos into the rice mixture, ensuring all ingredients are well coated and the flavors are evenly distributed. Add the scrambled eggs back into the pan and gently stir until the eggs are thoroughly warmed and fully incorporated with the rice and vegetables. Remove the pan from the heat.
-
Garnish & Serve: Drizzle the finished hibachi fried rice with ½ tsp of sesame oil for an aromatic finish. Garnish generously with finely sliced green onions. Taste the fried rice and add any additional salt if desired to achieve your perfect flavor balance. Serve hot and enjoy!
-
Show Your Love: Last step! If you loved this healthier hibachi fried rice recipe, please take a moment to leave a comment and a 5-star rating below. Your feedback helps us and other home cooks discover delicious new meals! Thank you for considering! 💕
Notes
WW: 5 points (per serving) [Calculated using butter]
- For the best crispy fried rice texture, always use rice that has been pre-cooked and thoroughly chilled in your refrigerator. This reduces moisture content and prevents mushiness.
- If you choose to add extra vegetables, sauté them separately before combining with the rice. This prevents overcrowding the pan and ensures all ingredients cook perfectly without steaming.
- For convenient meal prep, I highly recommend using my Instant Pot Brown Rice recipe! It’s not only easy but also freezer-friendly, making it ideal for quick dinners.
- Store any leftover fried rice in a sealed, airtight container in the refrigerator for up to 4 days for optimal freshness.
- Cooked fried rice can also be frozen in a freezer-safe airtight container for up to 3 months. Thaw completely before reheating for best results.
Nutrition
Calories: 379kcal
Carbohydrates: 67g
Protein: 9g
Fat: 8g
Saturated Fat: 3g
Polyunsaturated Fat: 2g
Monounsaturated Fat: 3g
Trans Fat: 0.1g
Cholesterol: 61mg
Sodium: 284mg
Potassium: 350mg
Fiber: 4g
Sugar: 2g
Vitamin A: 3642IU
Vitamin C: 7mg
Calcium: 49mg
Iron: 2mg
Tried this Recipe? Tag me Today!Tag @confessionsofafitfoodie on Instagram and hashtag it #confessionsofafitfoodie!
