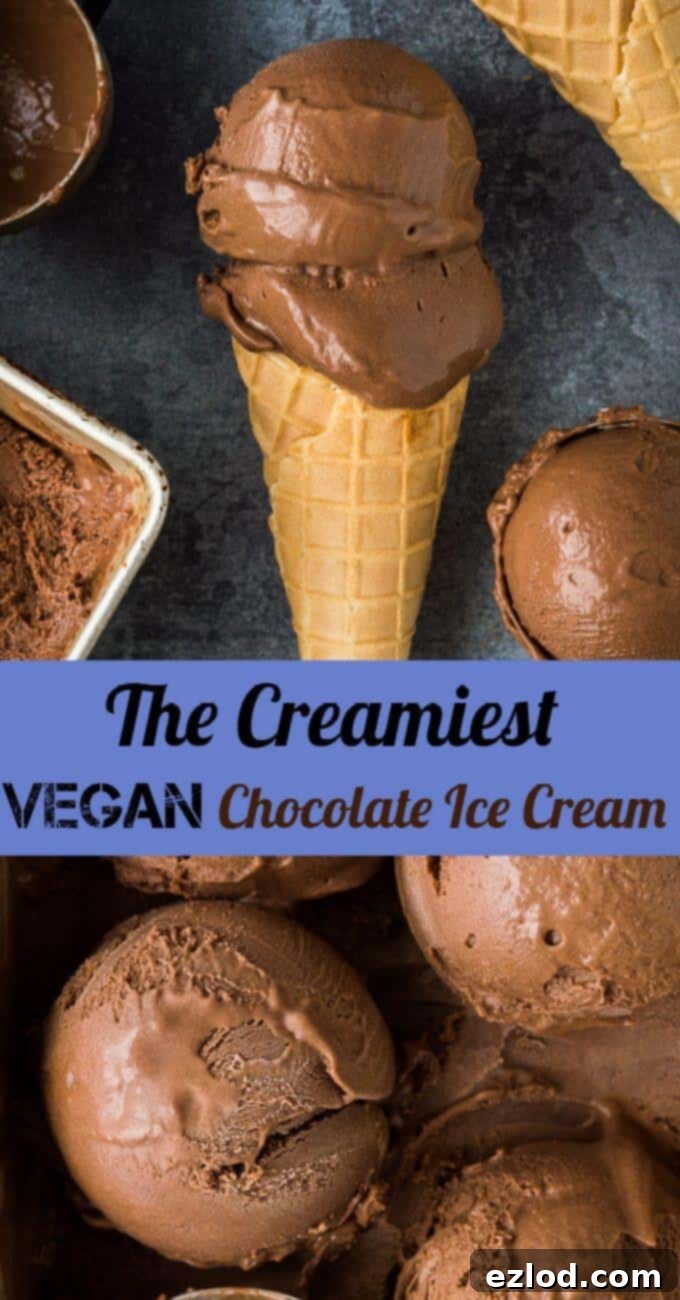
Ultimate Rich & Creamy Vegan Chocolate Ice Cream: Your Guide to Decadent Dairy-Free Bliss
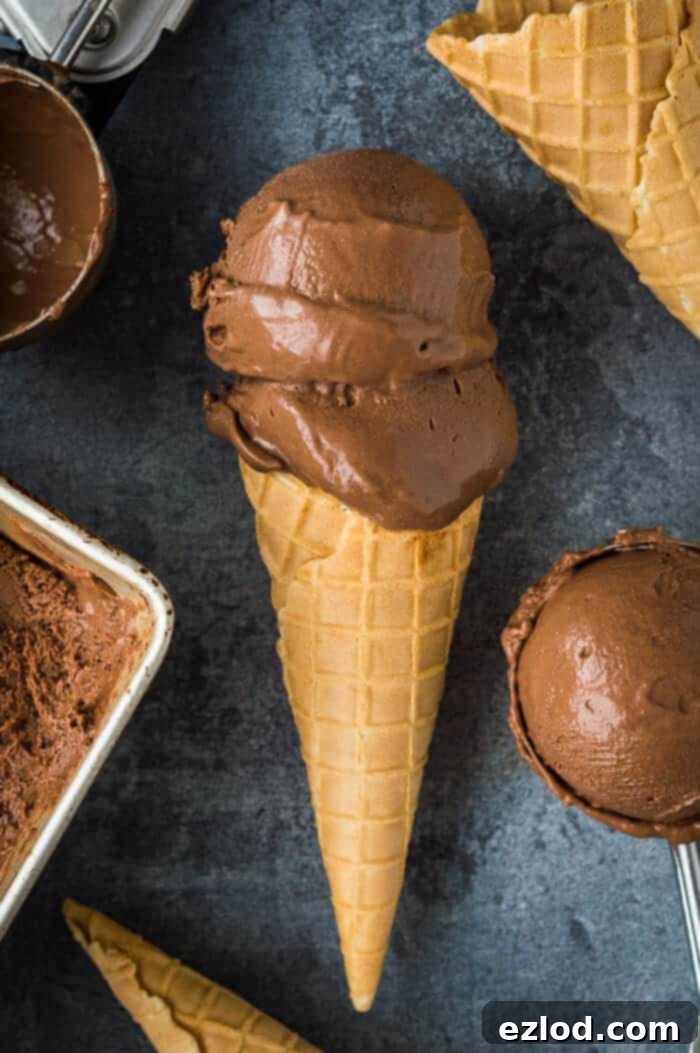
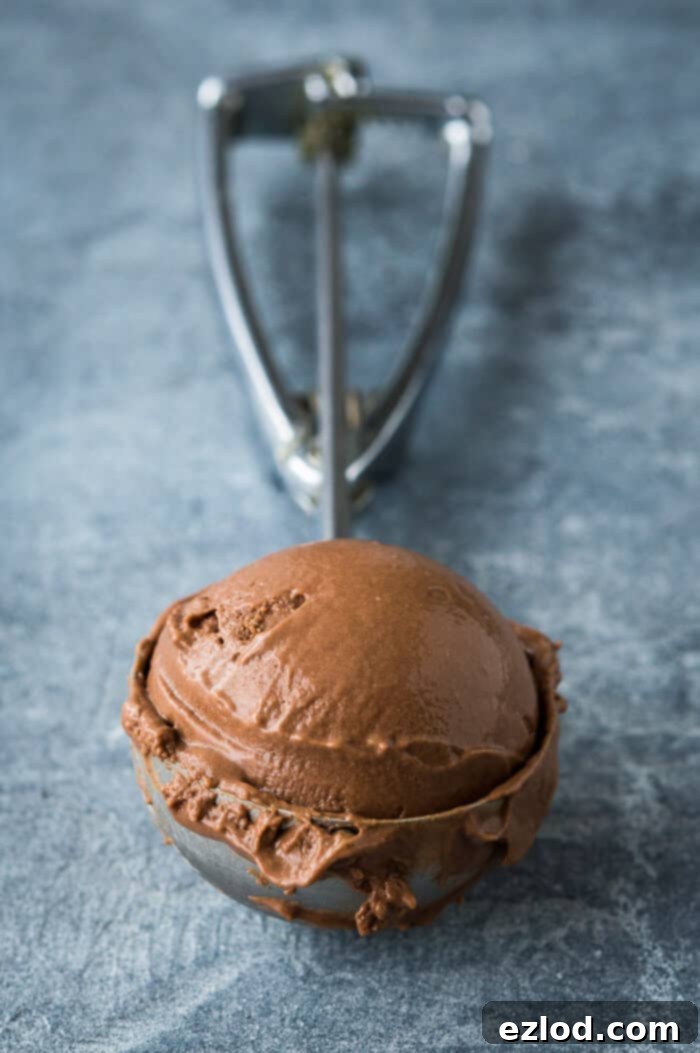
Experience the most luxurious vegan chocolate ice cream imaginable – a truly rich and creamy delight with an intense chocolate flavor and absolutely no trace of iciness. Crafted meticulously with a blend of cashews and full-fat coconut milk, this recipe guarantees the smoothest, most decadent texture. And the best part? Absolutely NO bananas!
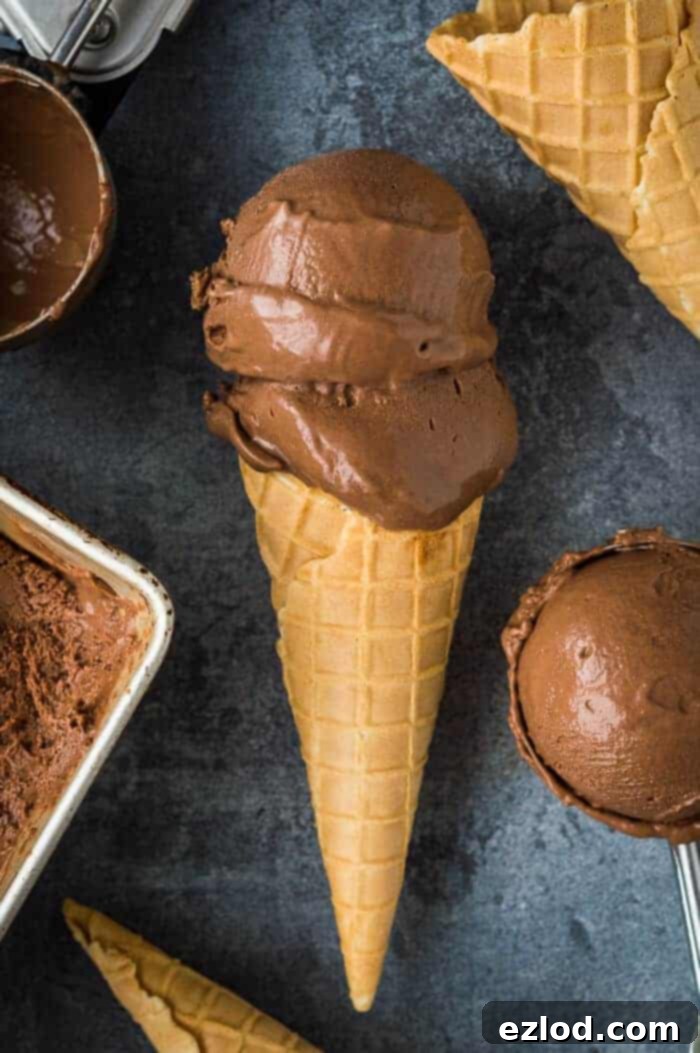
Making vegan ice cream can sometimes feel like a culinary tightrope walk. Many recipes rely heavily on coconut milk as a base, which, while dairy-free, often falls short of delivering that truly rich, thick, and unbelievably creamy texture we all crave. The result can often be an icy, less satisfying scoop that, unless boldly flavored, carries an undeniable coconut aftertaste. While there’s nothing inherently wrong with coconut, being limited to only coconut-flavored desserts can feel restrictive, especially when you’re craving a pure, unadulterated chocolate experience.
We believe that a lighter, healthier vegan ice cream is delightful for certain occasions, but there are times when only pure indulgence will do. This recipe for rich and creamy vegan chocolate ice cream is precisely that – an unapologetically decadent treat that will satisfy even the most discerning ice cream aficionados. Despite utilizing a significant amount of coconut milk, its genius lies in how it completely masks any coconut flavor, leaving you with nothing but an intensely profound chocolate sensation.
The secret to its unparalleled smoothness and richness lies in a carefully balanced base of both full-fat tinned coconut milk and perfectly blended cashews. This strategic combination not only mellows out the inherent coconut flavor, making it easier to infuse with pure chocolate, but the cashews also contribute a natural richness and velvety texture that coconut milk alone simply cannot achieve. This ingenious pairing elevates the ice cream to a level of decadence that rivals, and perhaps even surpasses, traditional dairy versions.
Prepare yourself for an incredibly smooth, luxuriously creamy texture, and an explosive, intense chocolate flavor that truly sets this apart. We genuinely believe this is the finest chocolate ice cream we have ever crafted, vegan or otherwise! Its richness means a small scoop is often enough to satisfy, but we completely understand if you find yourself reaching for a second, third, or even fourth serving!
Diving Deep into Our Decadent Ingredients:
Every ingredient in this rich and creamy vegan chocolate ice cream recipe plays a crucial role in achieving its perfect texture and profound flavor. Let’s explore why each component is essential:
Cashews: These unsung heroes of vegan cuisine are vital for creating a truly smooth and creamy ice cream base. When soaked and then blended with water, cashews transform into a luxurious, neutral-flavored cream. This cream mimics the richness of dairy cream, providing an unparalleled smoothness that prevents ice crystals from forming, thus eliminating any hint of iciness. The soaking process softens them, ensuring they blend into a completely seamless, lump-free mixture, which is paramount for a velvety final product. They contribute significantly to the overall decadent mouthfeel.
Coconut Milk: For this recipe, full-fat tinned coconut milk is non-negotiable. It’s the essential component that adds significant body and a wonderful fatty richness to the ice cream base. Unlike lighter or drinking varieties, which contain more water and would lead to an icy texture, full-fat coconut milk provides the necessary fat content to keep the ice cream soft and pliable when frozen. While it’s a coconut product, the combination with cashews and the potent chocolate flavor ensures that your finished ice cream tastes purely of chocolate, not coconut.
Cocoa Powder: To build a truly deep and complex chocolate flavor, we don’t rely on just one source. Cocoa powder provides the foundational bitterness and intense chocolate aroma. Whether you opt for Dutch-process (which is darker and less acidic), natural (fruitier and more acidic), or cacao powder (often raw and more robust), any variety will contribute significantly to the chocolatey depth. Using a good quality cocoa powder will make a noticeable difference in the final flavor profile.
Instant Espresso Powder: This is our secret weapon for amplifying the chocolate experience. A small amount of instant espresso powder doesn’t make the ice cream taste like coffee at all; instead, it magically enhances and deepens the existing chocolate flavor, making it taste richer and more complex. It’s an optional addition, but highly recommended for a truly elevated chocolate taste. It works by bringing out the subtle nuances of the cocoa and dark chocolate.
Salt: Just like with baking, a pinch of salt in chocolate desserts is transformative. It’s not there to make the ice cream salty, but rather to balance the sweetness and intensify the chocolate flavor, making it pop. Salt is a remarkable flavor enhancer, capable of bringing out the best in sweet ingredients, and chocolate is no exception.
Vanilla Extract: Another powerful flavor enhancer, vanilla extract adds a layer of aromatic complexity that complements and rounds out the deep chocolate notes. It’s often referred to as a “sweetener” for its ability to make other flavors taste more vibrant and appealing. While optional, a good quality vanilla extract will add a subtle warmth and sophistication to your vegan chocolate ice cream.
Caster Sugar: Caster sugar, also known as superfine sugar, is ideal for ice cream because its fine granules dissolve quickly and evenly, ensuring a smooth base. Beyond just sweetness, sugar plays a critical role in the texture of homemade ice cream. It acts as an antifreeze, lowering the freezing point of the mixture and preventing the formation of large, icy crystals. This results in a softer, more scoopable ice cream. While you can experiment with other types of sugar, or even liquid sweeteners like maple syrup or agave, be aware that these can affect the final texture. Liquid sweeteners add moisture and can sometimes lead to a slightly icier or softer product, so adjustments might be needed. Reducing the sugar content too much will almost certainly lead to an undesirably icy ice cream.
Dark Chocolate: For that ultimate intense chocolate flavor, a high-quality dark chocolate is crucial. We recommend using 70% dark chocolate, as it strikes a perfect balance between bitterness and sweetness, providing a profound and complex chocolate taste. Since chocolate is the star here, investing in a good brand will elevate your ice cream from good to extraordinary. Make sure to chop it finely for easier melting and incorporation.
Cornflour/Cornstarch: This ingredient is our secret weapon for achieving an incredibly thick, almost pudding-like texture, without using eggs. Many traditional non-vegan ice creams use egg yolks to create a rich, custard-like base, but the famous Jeni’s ice cream (known for its amazing texture) ingeniously uses cornflour instead. This allows for a creamy texture without any “eggy” flavor that might otherwise overpower the chocolate. The cornflour thickens the base significantly, contributing to its luxurious, dense consistency and preventing iciness. If you prefer a slightly lighter, melt-in-your-mouth texture rather than a dense, pudding-like richness, you can certainly omit it. However, for maximum creaminess and a truly indulgent experience, we highly recommend including it.
How To Craft Your Own Rich and Creamy Vegan Chocolate Ice Cream: A Step-by-Step Guide
(For precise ingredient quantities and comprehensive instructions, please refer to the detailed recipe card conveniently located below.)
*To ensure you achieve the absolute best results with this recipe, it is crucial to follow the instructions meticulously. As always, we strongly advocate for using gram measurements with a reliable digital scale, rather than relying on cup conversions. Cup measurements, especially in baking and ice cream making, simply aren’t precise enough, and we cannot guarantee optimal outcomes if they are used.*
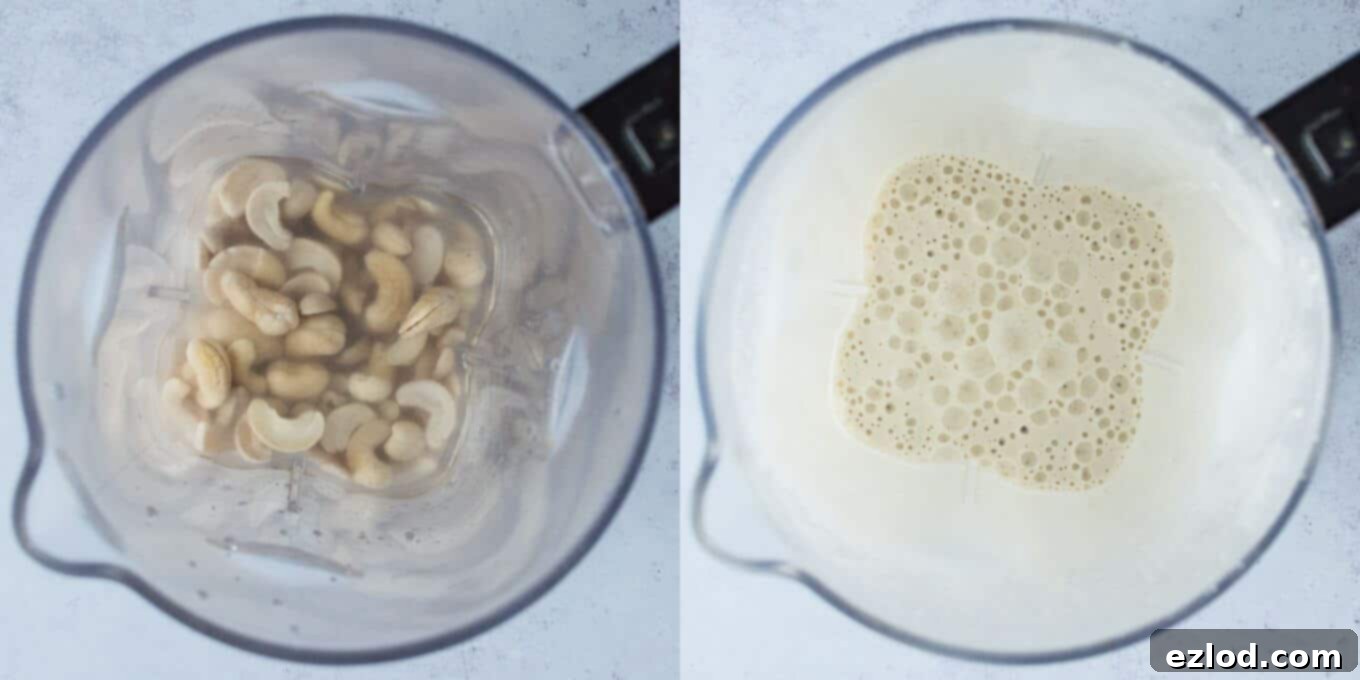
1. Prepare the Cashews for Blending: Begin by placing your cashews in a heatproof bowl. Cover them completely with boiling water and allow them to soak for a minimum of half an hour. This crucial step softens the cashews, ensuring they blend into a perfectly smooth, creamy texture. Alternatively, for even better results and if you have the time, you can soak them in cold water overnight. Once adequately soaked, drain the cas cashews thoroughly and rinse them under cold water.
2. Create the Cashew Cream: Transfer the drained, soaked cashews into a high-speed blender. Add 250ml of fresh water. Blend this mixture on high until it is incredibly smooth and completely free of any gritty texture. This might take a few minutes, so be patient and scrape down the sides of the blender as needed. The goal is a velvety, uniform cashew cream.
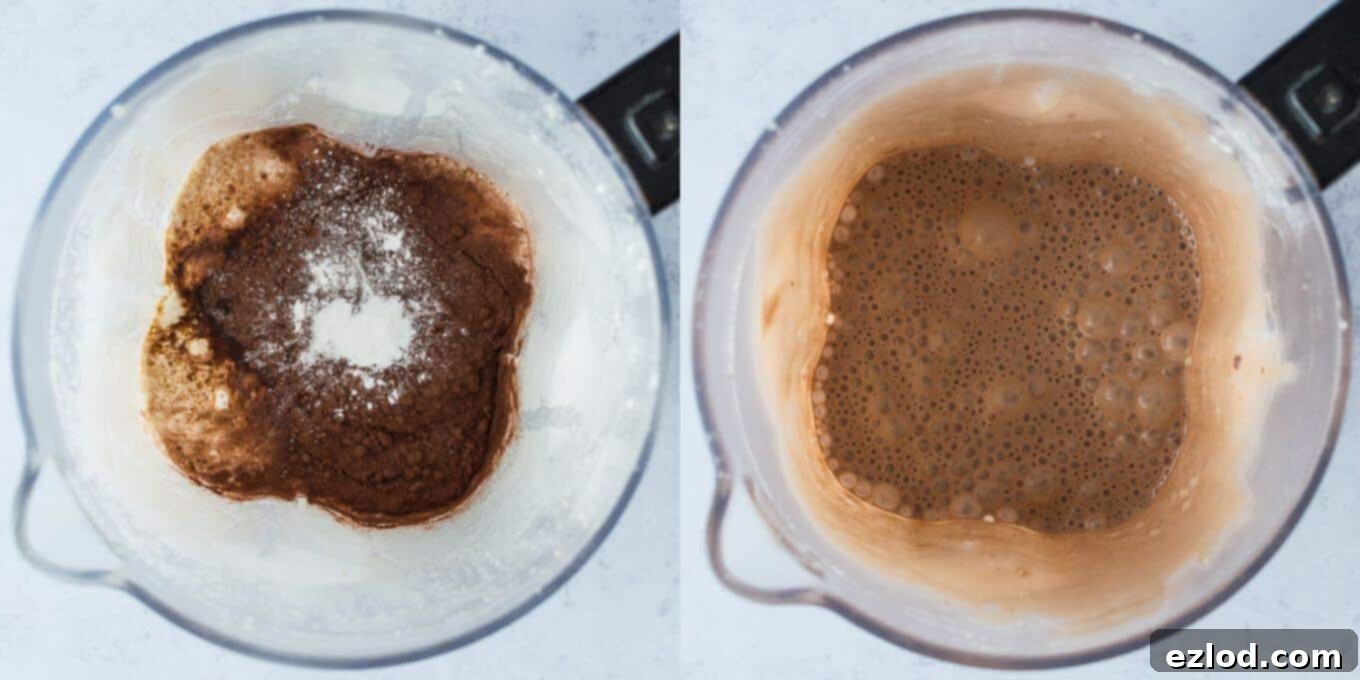
3. Incorporate Remaining Base Ingredients: To the blender with the cashew cream, add the full-fat coconut milk (ensure it’s full-fat and tinned, not the drinking variety), cocoa powder, instant espresso powder (if using), salt, and vanilla extract. Continue blending until this entire mixture is utterly smooth and homogeneous. To test for smoothness, rub a tiny amount between your fingers; there should be no discernible grittiness at all. A perfectly smooth base is key to a perfectly smooth ice cream – no one wants lumpy ice cream!
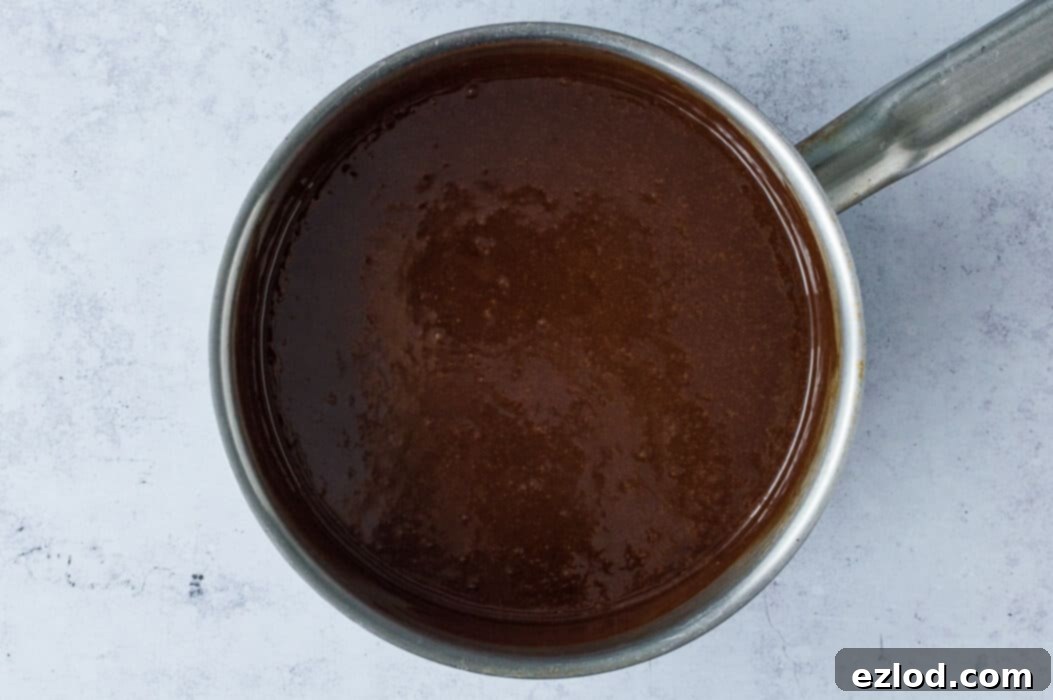
4. Melt Chocolate and Sugar: In a medium saucepan, combine the caster sugar and your finely chopped dark chocolate. Pour in approximately half of the meticulously blended cashew mixture from your blender. Place the saucepan over a low heat and stir continuously. Heat gently until the chocolate has completely melted and the sugar has dissolved, resulting in a smooth, glossy chocolate base. Once smooth, remove the pan from the heat to prevent scorching.
5. Prepare the Cornflour Slurry (if using): If you are including cornflour for that extra thick, pudding-like texture, place the cornflour in a small bowl. Gradually whisk in the remaining half of the cashew mixture, adding just a small drop at first and whisking until totally smooth before adding more. This gradual approach is critical for preventing lumps of cornflour from forming, ensuring a perfectly smooth thickening agent. Once smooth, pour this cornflour slurry into the saucepan containing the warm chocolate mixture in a very thin, steady stream. It is absolutely essential to whisk the chocolate mixture constantly as you pour. Because you are introducing cornflour into a warm liquid, it can thicken very rapidly and create lumps if not thoroughly incorporated immediately.
6. Thicken the Base: Place the saucepan back over a low-medium heat. Continue to whisk constantly and patiently until the mixture comes up to a gentle boil and visibly thickens to a custard-like consistency. This process usually takes a few minutes. Once thickened, immediately remove the pan from the heat and pour the entire mixture into a clean, heatproof bowl. (If you opted to omit the cornflour/cornstarch, you can skip this step; simply heat the mixture enough to melt the chocolate and sugar, then proceed to the chilling step).
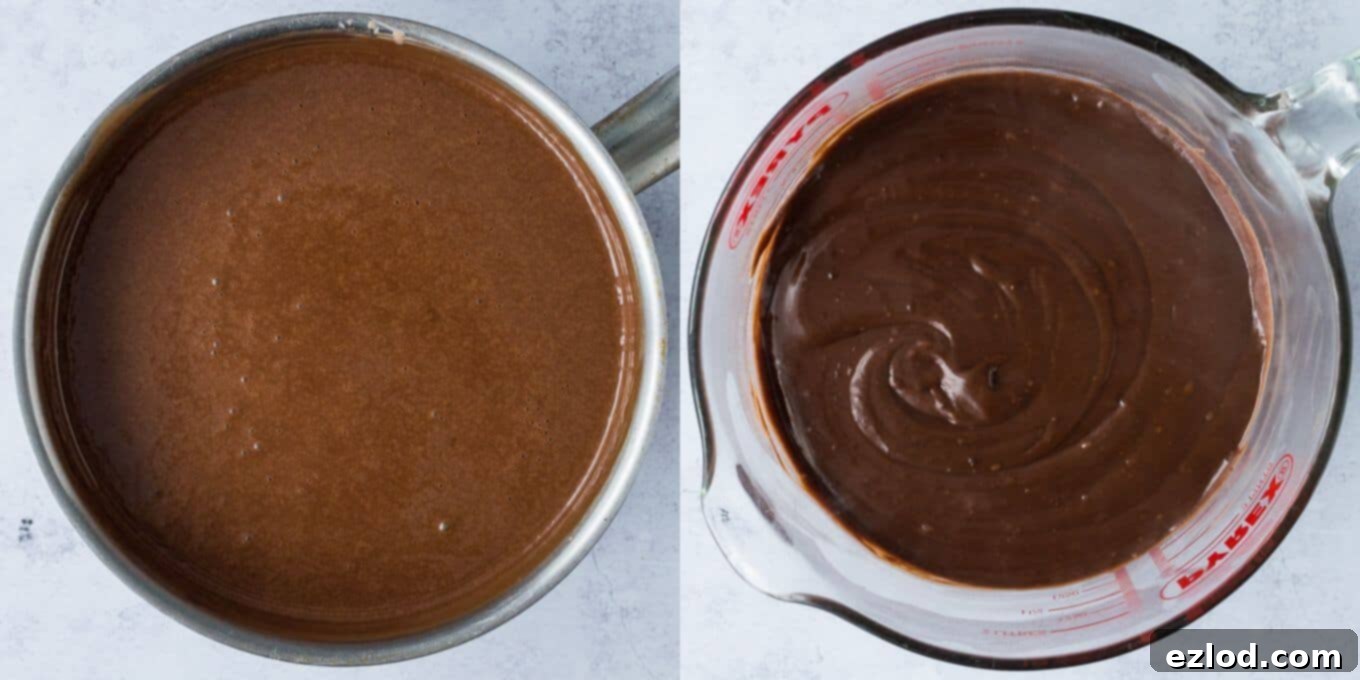
7. Chill Thoroughly: To prevent a “skin” from forming on the surface as the mixture cools, cover the bowl with greaseproof paper, pressing it directly onto the surface of the chocolate base. Place the bowl into the fridge and chill until it is completely cold – this is an essential step for the best ice cream texture. We highly recommend leaving it in the fridge overnight to ensure it is thoroughly chilled. Impatience here can lead to an icier final product.
8. Churn the Ice Cream: Once the base is thoroughly chilled (it will be quite thick), give it a vigorous whisk to ensure it’s uniform before churning. Now, pour the mixture into your ice cream maker and churn it according to the manufacturer’s specific instructions. Churning introduces air and breaks up ice crystals, leading to a smooth texture. (If you don’t have an ice cream maker, please see our detailed instructions below on how to churn it manually).
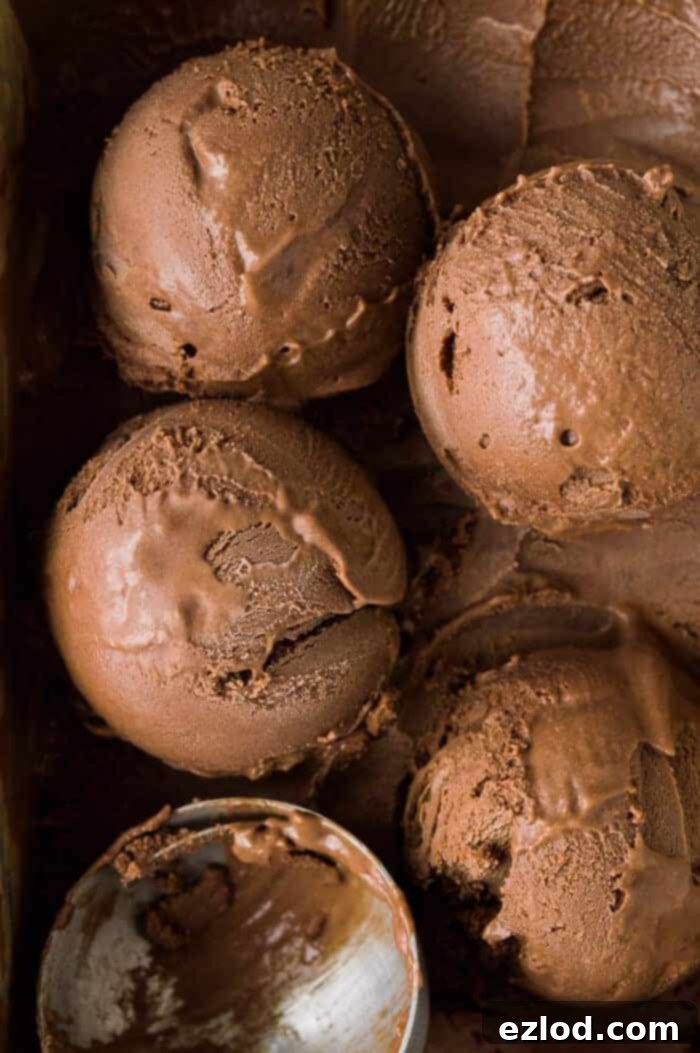
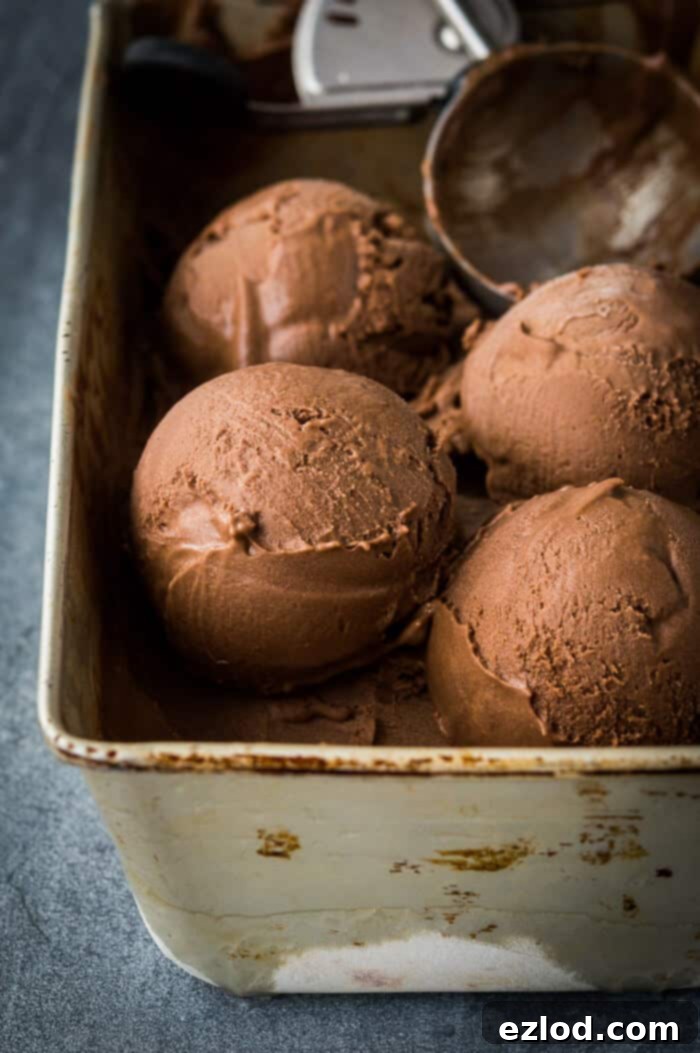
9. Final Freeze and Serve: Transfer the freshly churned, soft-serve consistency ice cream into a freezer-safe container. Place it in the freezer to firm up further before serving. Once the ice cream is fully frozen, it will be quite firm (this is normal for all homemade ice creams, vegan or otherwise). For the perfect scoop, allow it to sit out at room temperature for about 15-20 minutes to soften slightly before scooping and enjoying.
No Ice Cream Maker? No Problem! Here’s How to Make it No-Churn:
Even without a dedicated ice cream maker, you can absolutely create this luxurious vegan chocolate ice cream; it simply requires a bit more manual effort, but the results are still incredibly delicious. The key is to prevent large ice crystals from forming.
Once your chocolate base is completely chilled (refer to step 7), pour it into a large, freezer-safe shallow container with a lid. Place it in your freezer. Every 30-45 minutes, remove the container from the freezer. Using an electric mixer (handheld or stand mixer with whisk attachment) or a sturdy whisk, vigorously beat the mixture for 1-2 minutes. This crucial step breaks up any nascent ice crystals and incorporates air, resulting in a creamier texture. Return the container to the freezer immediately.
Repeat this process diligently every 30-45 minutes for at least 3-4 hours, or until the ice cream reaches a smooth, soft-serve consistency. As this particular recipe, especially with the cornflour, produces a very thick base, you might find it marginally easier to omit the cornflour if you’re going the no-churn route. A slightly thinner base can be easier to whisk manually and may reduce the number of whisking intervals needed, though it might compromise a tiny bit on the ultimate richness. Regardless, consistency and patience are your best friends here!
Tips for Success & Serving Suggestions:
- Don’t Skimp on Chilling: The longer the base chills, the better. Overnight chilling is ideal as it allows the ingredients to fully hydrate and ensures the mixture is as cold as possible before churning, leading to a finer texture.
- Quality Ingredients Matter: Especially for the dark chocolate and cocoa powder, using good quality brands will significantly impact the depth of flavor in your ice cream.
- Serving Temperature: Homemade ice cream, vegan or not, tends to freeze firmer than commercial varieties due to fewer stabilizers. Always allow it to sit at room temperature for 15-20 minutes before scooping for the best creamy texture.
- Mix-ins and Toppings: This rich chocolate base is perfect for customization! Consider folding in vegan chocolate chips, chopped nuts, a swirl of vegan caramel sauce, crushed vegan cookies, or fresh berries after churning.
- Storage: Store your homemade vegan chocolate ice cream in an airtight container in the coldest part of your freezer for up to 2-3 weeks. This helps prevent freezer burn and maintains its optimal flavor and texture.
Explore More Delicious Vegan Ice Cream Recipes!
If you’re looking for a slightly lighter, yet equally delicious vegan chocolate fix, we highly recommend giving my chocolate coconut sorbet a try. It offers a wonderful chocolatey flavor that’s less rich but still incredibly satisfying!
This versatile base is also the inspiration behind some of our other phenomenal creations. You absolutely must check out my amazing vegan peanut butter and cookies ice cream and the irresistible vegan chunky monkey ice cream. Trust us, they are truly incredible and show just how flexible and delicious a cashew-based ice cream can be!
And for those who prefer the classic without any coconut notes, I also have an exceptional coconut-free vegan vanilla ice cream recipe that’s equally creamy and delightful!
If you tried this sensational recipe and loved it, we’d be thrilled to see your creations! Please tag @domestic_gothess on Instagram and use the hashtag #domesticgothess so we can celebrate your delicious success!
*All images and content on Domestic Gothess are copyright protected. If you wish to share this recipe, please do so by using the provided share buttons. Please refrain from screenshotting or posting the recipe or content in its entirety.*

Print
Rich And Creamy Vegan Chocolate Ice Cream
Ingredients
- 120 g (¾ cup) cashews
- 250 ml (1 cup) water
- 400 ml (14oz) full fat coconut milk (tinned, NOT the drinking variety)
- 2 Tbsp cocoa powder
- ½ tsp instant espresso powder
- ½ tsp salt
- 1 tsp vanilla extract
- 200 g (1 cup) caster sugar (or granulated)
- 170 g (6 oz) dark chocolate chopped
- 1 Tbsp cornflour (cornstarch)* optional, see notes below
Instructions
-
Cover the cashews in boiling water and set aside to soak for at least half an hour then drain. (You can also soak them in cold water overnight instead).
-
Place the soaked cashews in a blender along with the 250ml water and blend until smooth.
-
Add the coconut milk, cocoa powder, espresso powder, salt and vanilla extract and continue to blend until it is completely smooth. There should be no hint of grittiness if you rub some of the mixture between your fingers.
-
Place the sugar and chopped chocolate in a saucepan and add half of the cashew mixture. Stir over a low heat until the chocolate has melted and the mixture is smooth then remove from the heat.
-
Place the cornflour in a bowl and gradually whisk in the rest of the cashew mixture, making sure that there are no lumps.
-
Pour the cornflour mixture into the pan of chocolate mixture in a thin stream, whisking constantly.
-
Place the pan over a low heat and whisk until it comes up to the boil and thickens then remove from the heat and pour into a bowl.
-
Cover with greaseproof paper directly on the surface to prevent a skin from forming then place in the fridge until completely cold. (I leave it in there overnight)
-
Once chilled the mixture will be very thick. Give it a good whisk then churn in an ice cream maker according to the manufacturers instructions.
-
Transfer to a container and place in the freezer to firm up a little more before serving. Once the ice cream is fully frozen it will be quite firm; let it sit out at room temperature for a bit before scooping.
Notes
Once fully frozen the ice cream will be quite firm (this is normal for all home-made ice creams, vegan or not.), just let it sit out at room temperature for 20-30 minutes to soften up before scooping.
