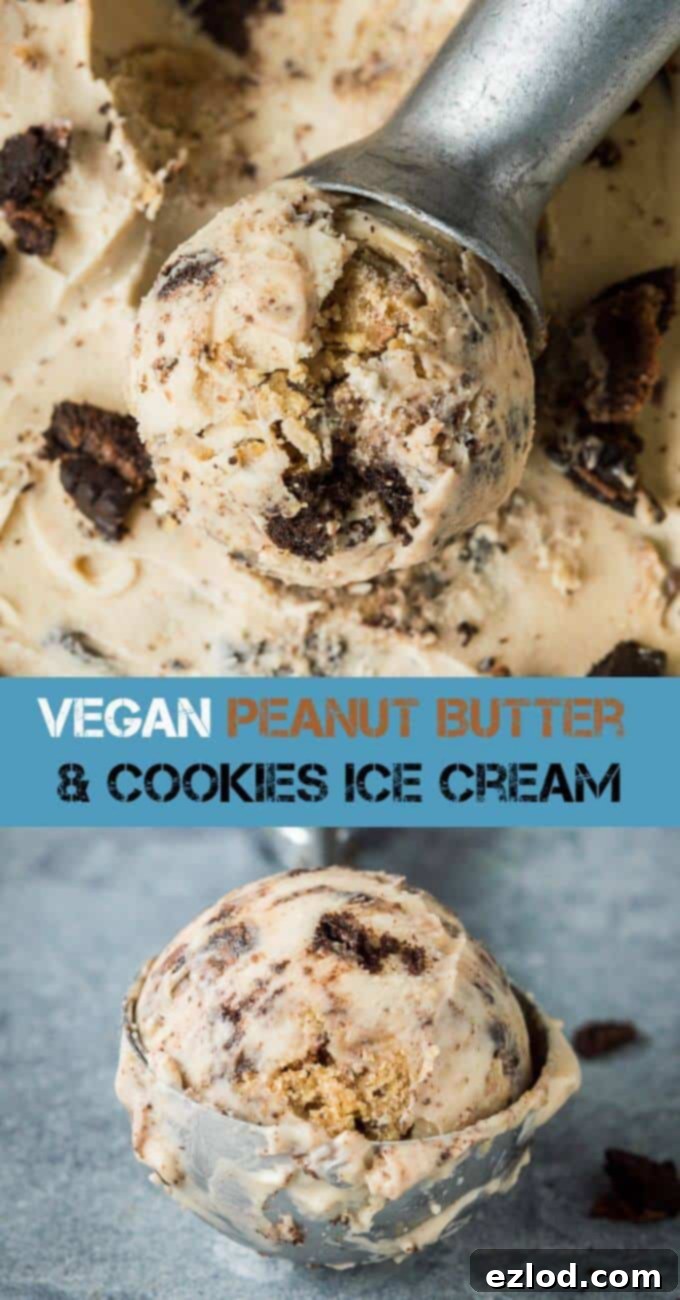
Creamy Vegan Peanut Butter & Cookies Ice Cream: The Ultimate Dairy-Free Treat
Indulge in the ultimate plant-based dessert with this incredibly rich and creamy vegan peanut butter and cookies ice cream. Forget icy textures or unwelcome banana flavors – this recipe delivers a luxuriously smooth, dairy-free, and eggless treat packed with irresistible peanut butter cookie dough chunks and crushed Oreos. It’s a homemade delight that easily rivals any premium store-bought option, promising a truly decadent experience for every scoop.

Crafting the Perfect Vegan Ice Cream Base
After successfully developing a rich and creamy vegan chocolate ice cream recipe, my next goal was to adapt that winning formula to explore new, exciting vegan ice cream flavors. The inspiration for this particular creation came from a personal favorite: Ben & Jerry’s peanut butter and cookies ice cream. I was determined to create a homemade version that not only matched its deliciousness but perhaps even surpassed it. The result, I’m thrilled to say, is nothing short of incredible!
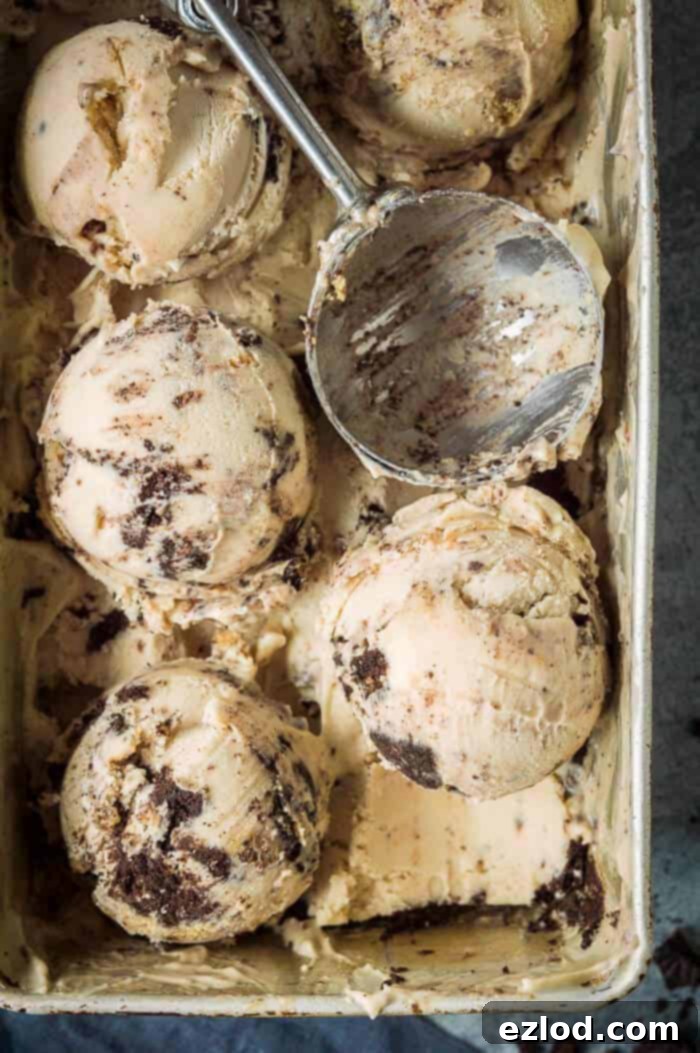
This recipe yields an exceptionally smooth and luscious vegan peanut butter ice cream. It’s generously loaded with delectable chocolate chip peanut butter cookie dough balls and crunchy crushed Oreos, creating a symphony of textures and flavors in every bite. The secret to its unparalleled smoothness and lack of iciness lies in its carefully crafted base, a blend of soaked cashews and full-fat canned coconut milk. This combination ensures a truly rich and creamy texture, and crucially, leaves no discernible coconut flavor, making it perfect even for those who aren’t fans of coconut.
The Key Ingredients: A Detailed Breakdown
Understanding the role of each ingredient is essential to appreciating the magic behind this vegan ice cream. Every component contributes to its rich flavor and flawless texture.
Cashews for Ultimate Creaminess
Soaked and thoroughly blended with water, raw cashews transform into a luxuriously rich and neutral-tasting cream. This cashew cream forms the backbone of our ice cream base, providing an incredibly smooth, dairy-like texture that prevents any hint of iciness. It’s a fantastic plant-based alternative to heavy cream, delivering richness without the dairy.
Full-Fat Tinned Coconut Milk: Richness Without the Coconut Flavor
Don’t be deterred by the word “coconut” if you’re not a fan! When combined with cashews, full-fat tinned coconut milk (the kind used for curries, not drinking varieties) adds an essential layer of fat and creaminess that is crucial for a truly decadent ice cream. The flavor becomes completely masked by the peanut butter and other ingredients, leaving only a wonderfully smooth and rich consistency.
Xanthan Gum: The Secret to Smoothness
Similar to commercial ice creams that use stabilizers like guar gum, a small amount of xanthan gum is incorporated into this recipe. This natural hydrocolloid plays a vital role in preventing ice crystals from forming and ensures the ingredients emulsify properly, resulting in an exceptionally smooth and stable ice cream texture that doesn’t separate. While guar gum can be difficult to source, xanthan gum is readily available in most supermarkets and performs the same function beautifully. If you absolutely cannot find it, you can omit it, but for the best texture, it’s highly recommended.
Peanut Butter: The Star of the Show
For the quintessential peanut butter flavor and texture, I recommend using a smooth, creamy variety like Skippy or Jif. These types of peanut butter tend to have a more consistent texture and a richer, more pronounced flavor that shines through in the ice cream. While a runnier, natural peanut butter might work, a creamy one offers superior results in terms of both taste and consistency.
Salt: Balancing Sweetness
A touch of salt is surprisingly crucial in this sweet dessert. It doesn’t make the ice cream salty, but rather enhances the deep, nutty flavor of the peanut butter and perfectly balances the overall sweetness, preventing it from being cloying.
Vanilla Extract: A Flavor Enhancer
Just a dash of good quality vanilla extract goes a long way in elevating the flavor profile of the ice cream. It adds a subtle warmth and aromatic depth that complements the peanut butter beautifully.
Caster Sugar: For Sweetness and Texture
Caster sugar, also known as superfine sugar, is ideal because its fine granules dissolve quickly and easily into the ice cream base. Sugar is not just for sweetness; it plays a critical role in the texture of ice cream by lowering the freezing point, which helps prevent it from becoming rock-hard and icy. Reducing the sugar content could unfortunately result in a less creamy, more crystalline ice cream. While I haven’t tested liquid sweeteners like maple syrup or agave, swapping them might affect the final texture due to their different sugar concentrations and water content.
Cookie Dough and Oreos: The Ultimate Mix-ins
While the peanut butter ice cream base is absolutely delicious on its own, the addition of homemade chocolate chip peanut butter cookie dough and crushed Oreo-type cookies truly takes this dessert over the top. The chewy cookie dough and crunchy cookie bits provide a fantastic contrast to the smooth ice cream.
- Safe-to-Eat Cookie Dough: The cookie dough is made with oat flour (finely ground oats), making it perfectly safe to eat raw. This is an important consideration as some people can be sensitive to uncooked wheat flour. Making your own oat flour is simple: just blitz rolled oats in a blender or food processor until fine.
- Crushed Oreo-Type Cookies: Feel free to use your favorite vegan-friendly chocolate sandwich cookies. Classic Oreos are surprisingly vegan, as are many similar “Bourbon” biscuits, offering that satisfying crunch and chocolatey goodness.
Step-by-Step Guide: How To Make Vegan Peanut Butter And Cookies Ice Cream
(For a complete list of ingredients and precise measurements, please refer to the detailed recipe card below.)
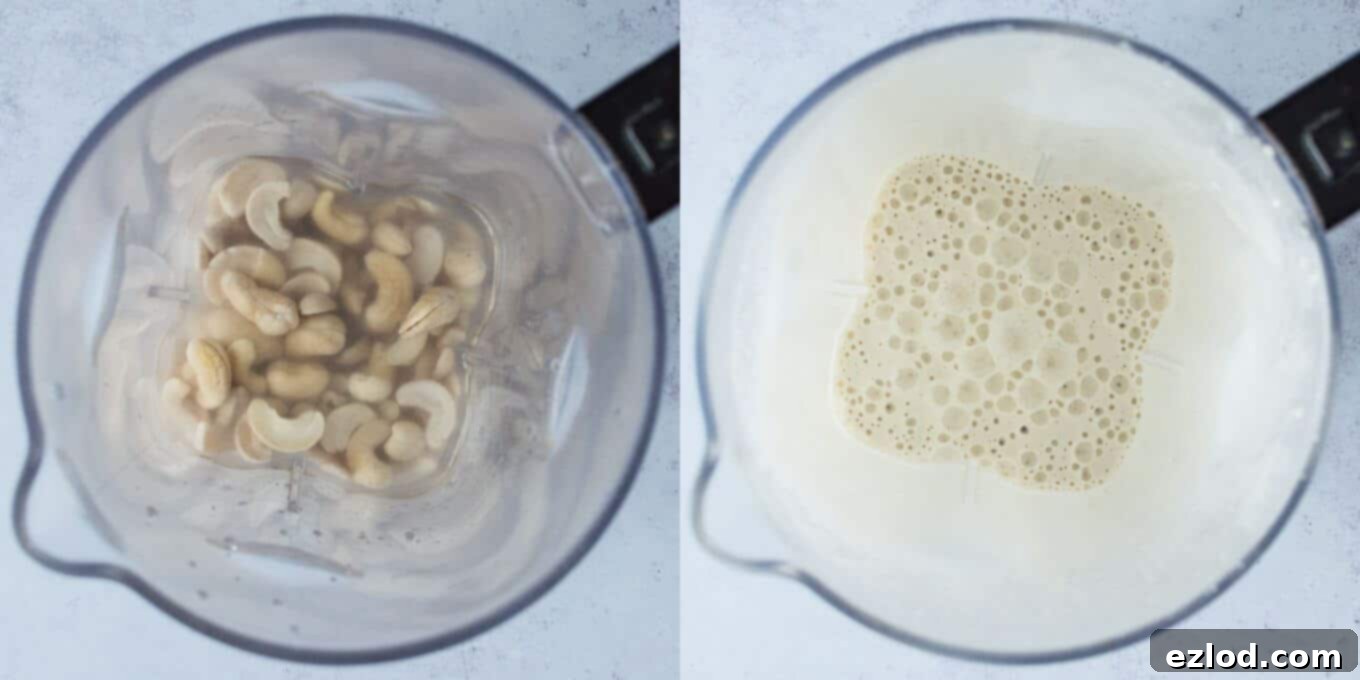
1. Prepare the Cashews: Begin by placing your cashews in a bowl and covering them with boiling water. Allow them to soak for at least 30 minutes. This softens them considerably, which is crucial for achieving a super smooth blend. Alternatively, you can soak them in cold water overnight. Once soaked, drain them thoroughly.
2. Blend the Base Ingredients (Part 1): Transfer the drained, soaked cashews to a high-speed blender. Add 250ml of fresh water. Blend this mixture on high until it is incredibly smooth and creamy. You should not be able to detect any grit when you rub a tiny amount between your fingers.
3. Blend the Base Ingredients (Part 2): To the cashew mixture in the blender, add the full-fat tinned coconut milk, xanthan gum (if using), smooth peanut butter, caster sugar, salt, and vanilla extract. Continue to blend until the entire mixture is perfectly smooth and homogenous. Again, check for any grittiness – a lump-free base is key for smooth ice cream.
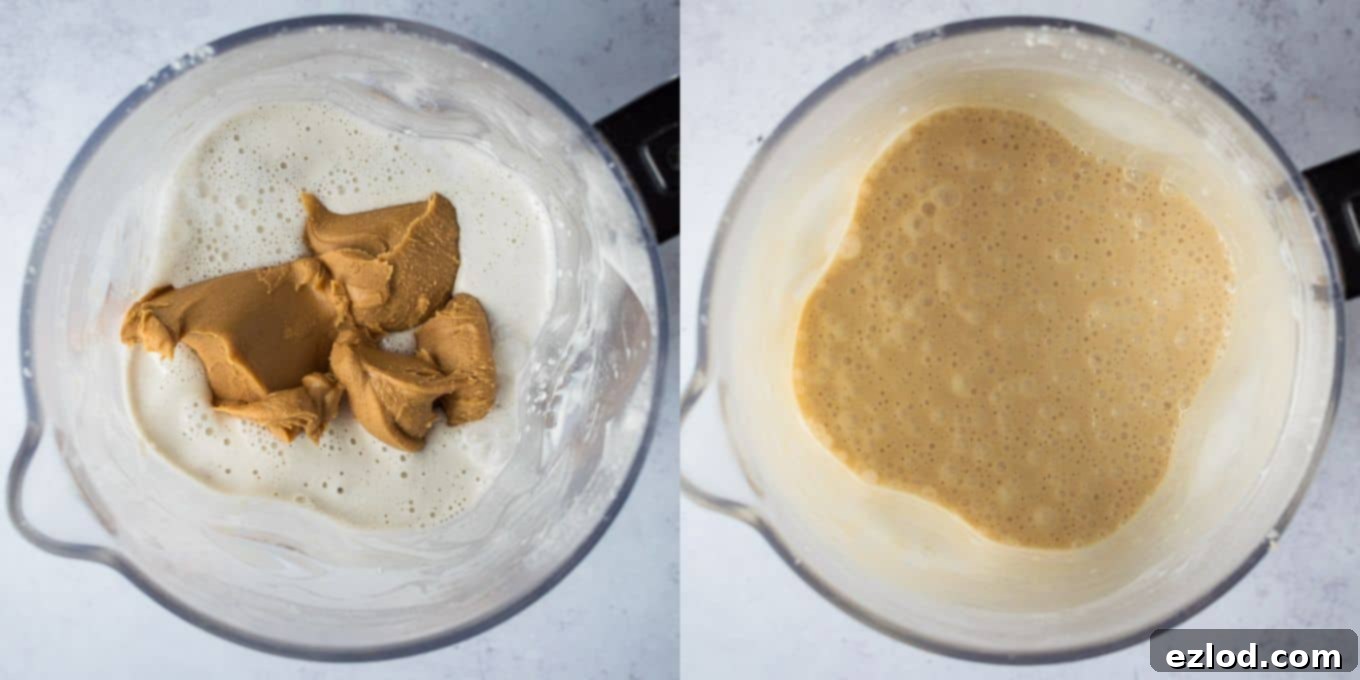
4. Chill the Ice Cream Base: Pour the smooth ice cream base into a container. Place a piece of greaseproof paper directly onto the surface of the mixture to prevent a skin from forming. Transfer the container to the refrigerator and chill it until it is completely cold – ideally overnight, or for at least 4-6 hours. This chilling step is vital for the ice cream maker to work effectively and achieve the right consistency.
5. Prepare the Cookie Dough: While your ice cream base is chilling, it’s time to make the delicious peanut butter cookie dough. In a medium bowl, combine the softened vegan butter, smooth peanut butter, light brown soft sugar, caster sugar, oat flour, non-dairy milk, vanilla extract, and a pinch of salt. Mix these ingredients thoroughly until a cohesive dough forms. Then, fold in the finely chopped dark chocolate pieces. Remember, to make your own oat flour, simply process rolled oats in a blender or food processor until finely ground.
6. Freeze Cookie Dough Balls: Roll the prepared cookie dough mixture into small, bite-sized balls. Arrange them on a tray, ensuring they are spaced apart so they don’t freeze together. Place the tray in the freezer and allow the cookie dough balls to freeze until they are completely solid. Keep them in the freezer until you are ready to mix them into the churned ice cream.
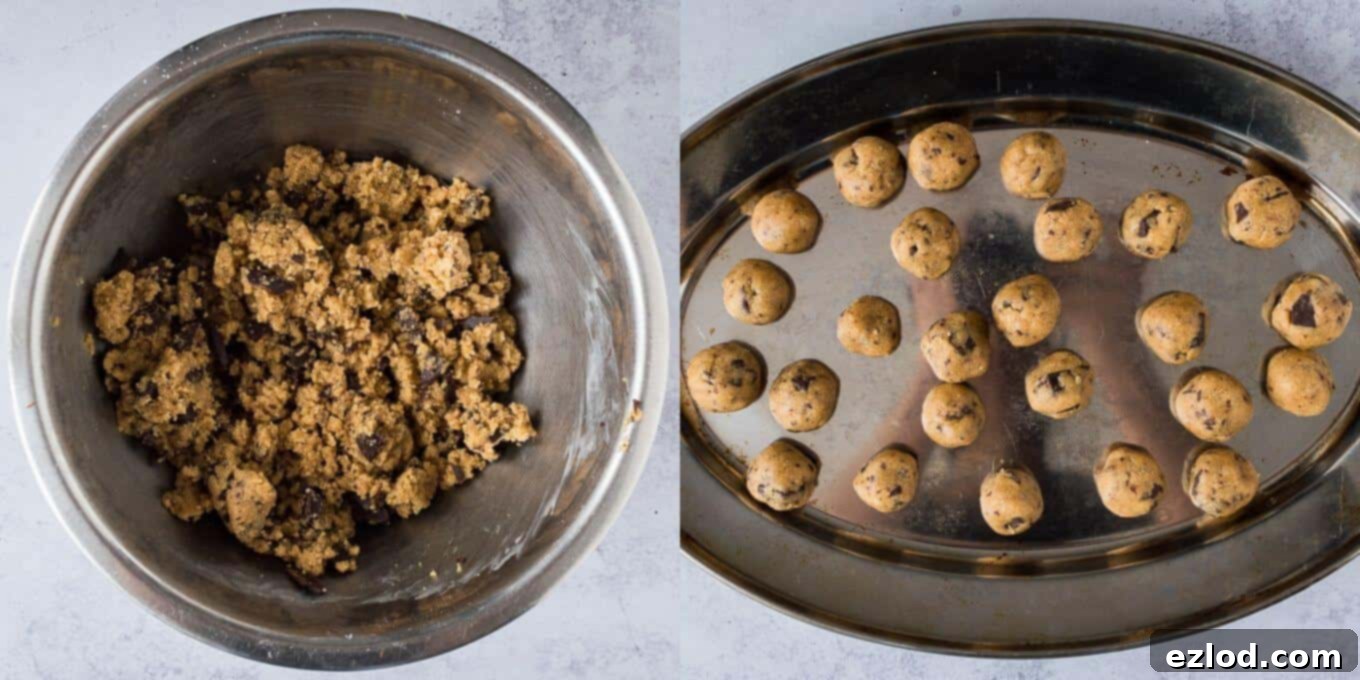
7. Churn the Ice Cream: Once your ice cream base is thoroughly chilled, give it a good whisk to ensure everything is well combined before churning. Pour the base into your ice cream maker and churn it according to the manufacturer’s instructions. Churning typically takes between 20-40 minutes, depending on your machine. The goal is to reach a soft-serve consistency.
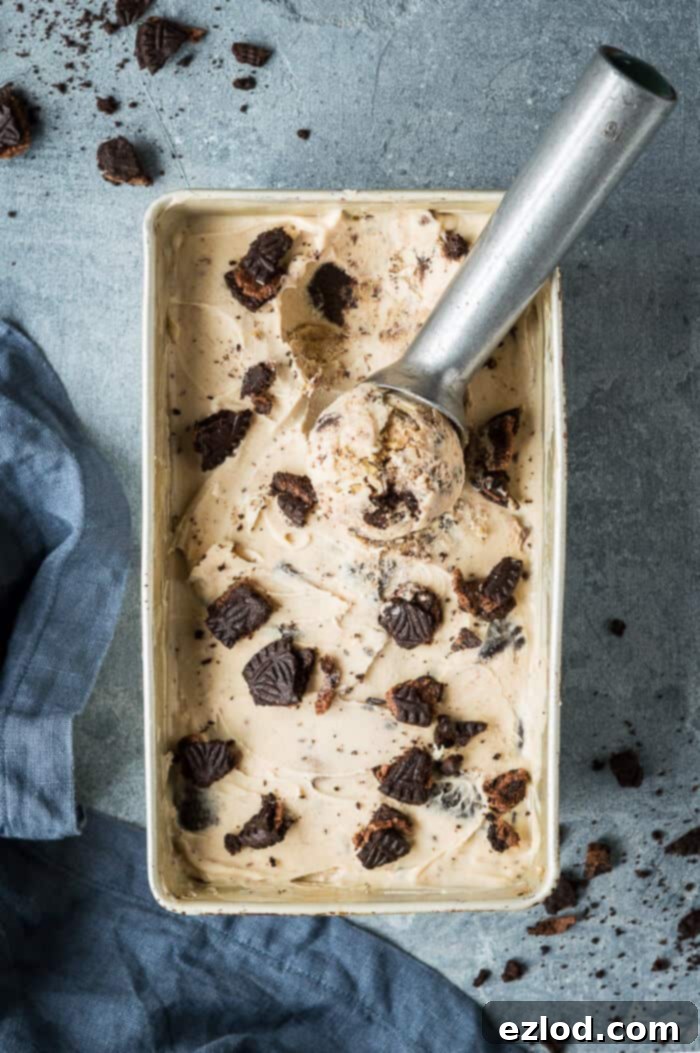
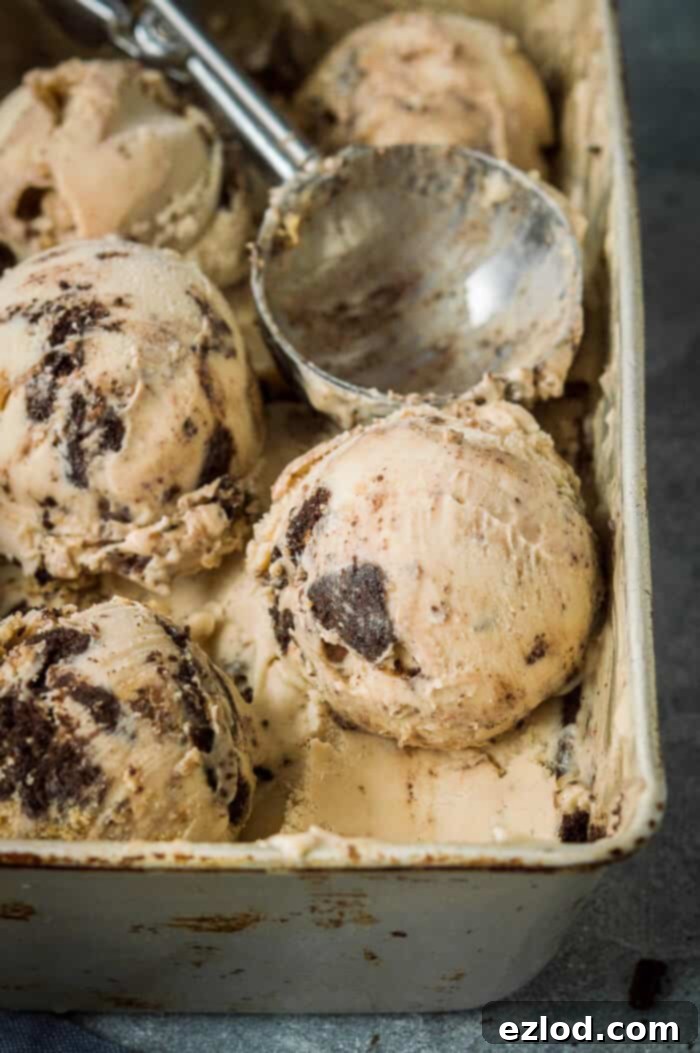
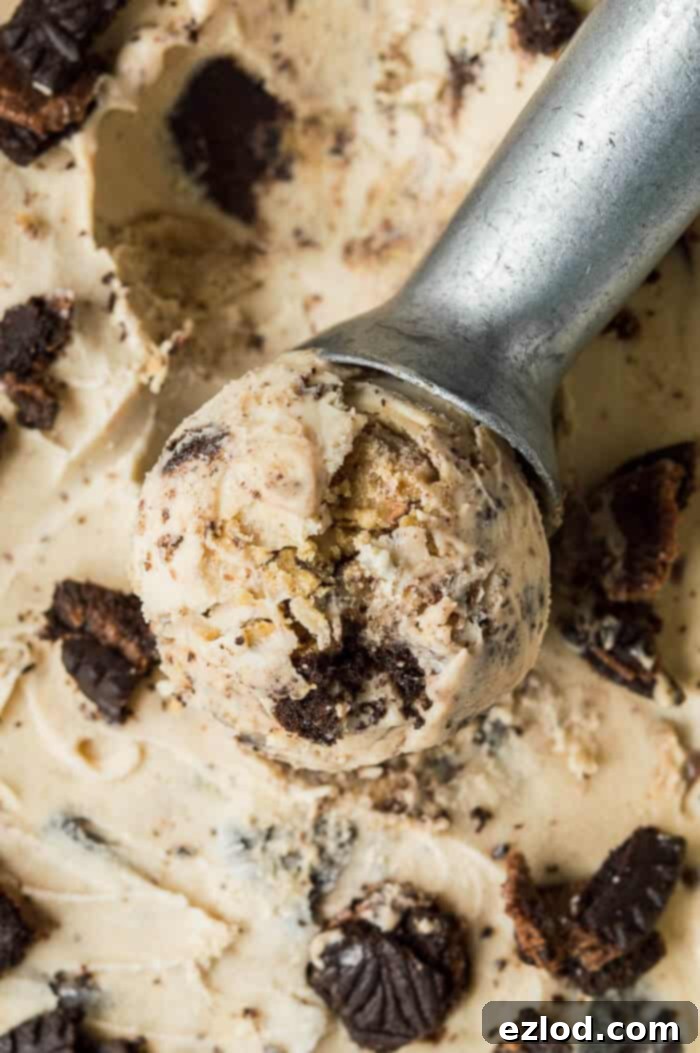
8. Add Mix-ins and Freeze: When the ice cream has achieved a soft-serve consistency, remove it from the ice cream maker. Gently fold in the frozen cookie dough balls and the roughly crushed Oreo-type cookies. Transfer the ice cream mixture into a freezer-safe container, smooth the top, and place it in the freezer for at least two hours to firm up before serving. For the best scooping experience, allow the fully frozen ice cream to sit out at room temperature for 5-10 minutes to soften slightly before serving.
No Ice Cream Maker? No Problem!
Even if you don’t own an ice cream maker, you can still enjoy this decadent vegan peanut butter and cookies ice cream. The process requires a bit more manual effort, but the delicious results are absolutely worth it.
After chilling your ice cream base overnight, pour it into a large, shallow freezer-safe container. Place the container in your freezer. Every 30-45 minutes, remove the container from the freezer and give the mixture a thorough whisk with an electric mixer or a sturdy hand whisk. This crucial step breaks up any forming ice crystals, ensuring a smooth and creamy texture. Continue this process, returning the mixture to the freezer each time, until it reaches a soft-serve consistency – typically after 3-4 hours and several whisking sessions. Once it’s at the desired softness, stir in your frozen cookie dough balls and crushed Oreos. Transfer it to its final storage container and freeze for a few more hours until firm enough to scoop.
Tips for the Perfect Vegan Ice Cream Experience
- Pre-chill your ice cream maker bowl: If using an ice cream maker with a freezer bowl, ensure it’s frozen solid for at least 24 hours prior to churning.
- Ensure thorough blending: The smoother your cashew base, the creamier your ice cream will be. Take your time to blend until absolutely no grit remains.
- Don’t skip the chilling: A well-chilled base freezes faster and more efficiently, leading to a better texture.
- Storage: Store your homemade ice cream in an airtight container in the coldest part of your freezer. Placing a piece of parchment paper directly on the surface before sealing can help prevent freezer burn.
- Softening before serving: As homemade ice cream contains no artificial softeners, it will freeze quite firm. For the best scooping consistency, let it sit out at room temperature for 5-15 minutes before serving.
- Customization: Feel free to experiment with other vegan mix-ins! Chopped vegan chocolate, toasted nuts, or a swirl of vegan fudge sauce would all be delicious additions.
More Delicious Vegan Ice Cream Recipes
If you’re loving this plant-based dessert, be sure to explore some of our other fantastic vegan ice cream creations:
- Rich and creamy vegan chocolate ice cream
- Vegan vanilla ice cream (no coconut!)
- Vegan chunky monkey ice cream (banana ice cream with chocolate and walnuts)
- Chocolate coconut sorbet
- Mango lassi sorbet
If you tried this recipe, we’d love to see your creations! Tag @domestic_gothess on Instagram and use the hashtag #domesticgothess.
*All images and content on Domestic Gothess are copyright protected. If you want to share this recipe, please do so by using the share buttons provided. Do not screenshot or post the recipe or content in full.*

Print
Vegan Peanut Butter and Cookies Ice Cream
Ingredients
Ice Cream Base:
- 120 g (¾ cup) raw cashews
- 250 ml (1 cup) water
- 400 ml (14 oz) full fat tinned coconut milk (not drinking variety)
- 170 g (6 oz / scant ¾ cup) smooth creamy peanut butter
- 160 g (¾ cup + 2 tsp) caster (superfine) sugar
- ½ tsp xanthan gum (optional, but recommended for best texture)
- 1 tsp vanilla extract
- ½ tsp salt
Mix-ins:
- For the Peanut Butter Cookie Dough:
- 20 g (1 Tbsp + 1 tsp) vegan butter softened
- 40 g (2 heaped Tbsp) smooth peanut butter
- 25 g (2 Tbsp) caster sugar
- 25 g (2 Tbsp) light brown soft sugar
- 1 tsp non-dairy milk
- ½ tsp vanilla extract
- ⅛ tsp salt
- 45 g (⅓cup) oat flour/finely ground oats*
- 30 g (1 oz) dark chocolate chopped into small chunks
- For the Cookies:
- 100 g (10 cookies) Oreo type cookies roughly crushed
Instructions
-
Cover the cashews in boiling water and set aside to soak for at least half an hour, then drain thoroughly. (For an alternative, soak them in cold water overnight).
-
Place the soaked and drained cashews in a high-speed blender along with 250ml of water. Blend until the mixture is incredibly smooth and no cashew pieces remain.
-
Add the full-fat coconut milk, xanthan gum (if using), peanut butter, sugar, salt, and vanilla extract to the blender. Continue blending until the mixture is completely smooth and uniform, with no grittiness.
-
Pour the ice cream base into a container, cover its surface directly with greaseproof paper to prevent a skin from forming, and refrigerate until completely cold. This usually takes at least 4-6 hours, but ideally, leave it overnight.
-
While the base chills, prepare the cookie dough. In a bowl, mix together the softened vegan butter, peanut butter, light brown and caster sugars, oat flour, non-dairy milk, vanilla, and salt until a dough forms. Stir in the finely chopped dark chocolate.
-
Roll the cookie dough mixture into small, bite-sized balls. Place them spaced apart on a tray and freeze until solid. Keep them frozen until you’re ready to add them to the churned ice cream.
-
Once the ice cream base is thoroughly chilled, give it a good whisk. Churn the mixture in your ice cream maker according to the manufacturer’s instructions until it reaches a soft-serve consistency. (Refer to the section above for instructions on how to make this without an ice cream maker).
-
When the ice cream has a soft-serve texture, gently fold in the frozen cookie dough balls and the crushed Oreo-type cookies. Transfer the ice cream to a freezer-safe container. Place it in the freezer for a minimum of two hours to firm up before serving.
Note: Once completely frozen, the ice cream will be quite firm. For easier scooping, let it sit at room temperature for 5-10 minutes before serving.
Notes
