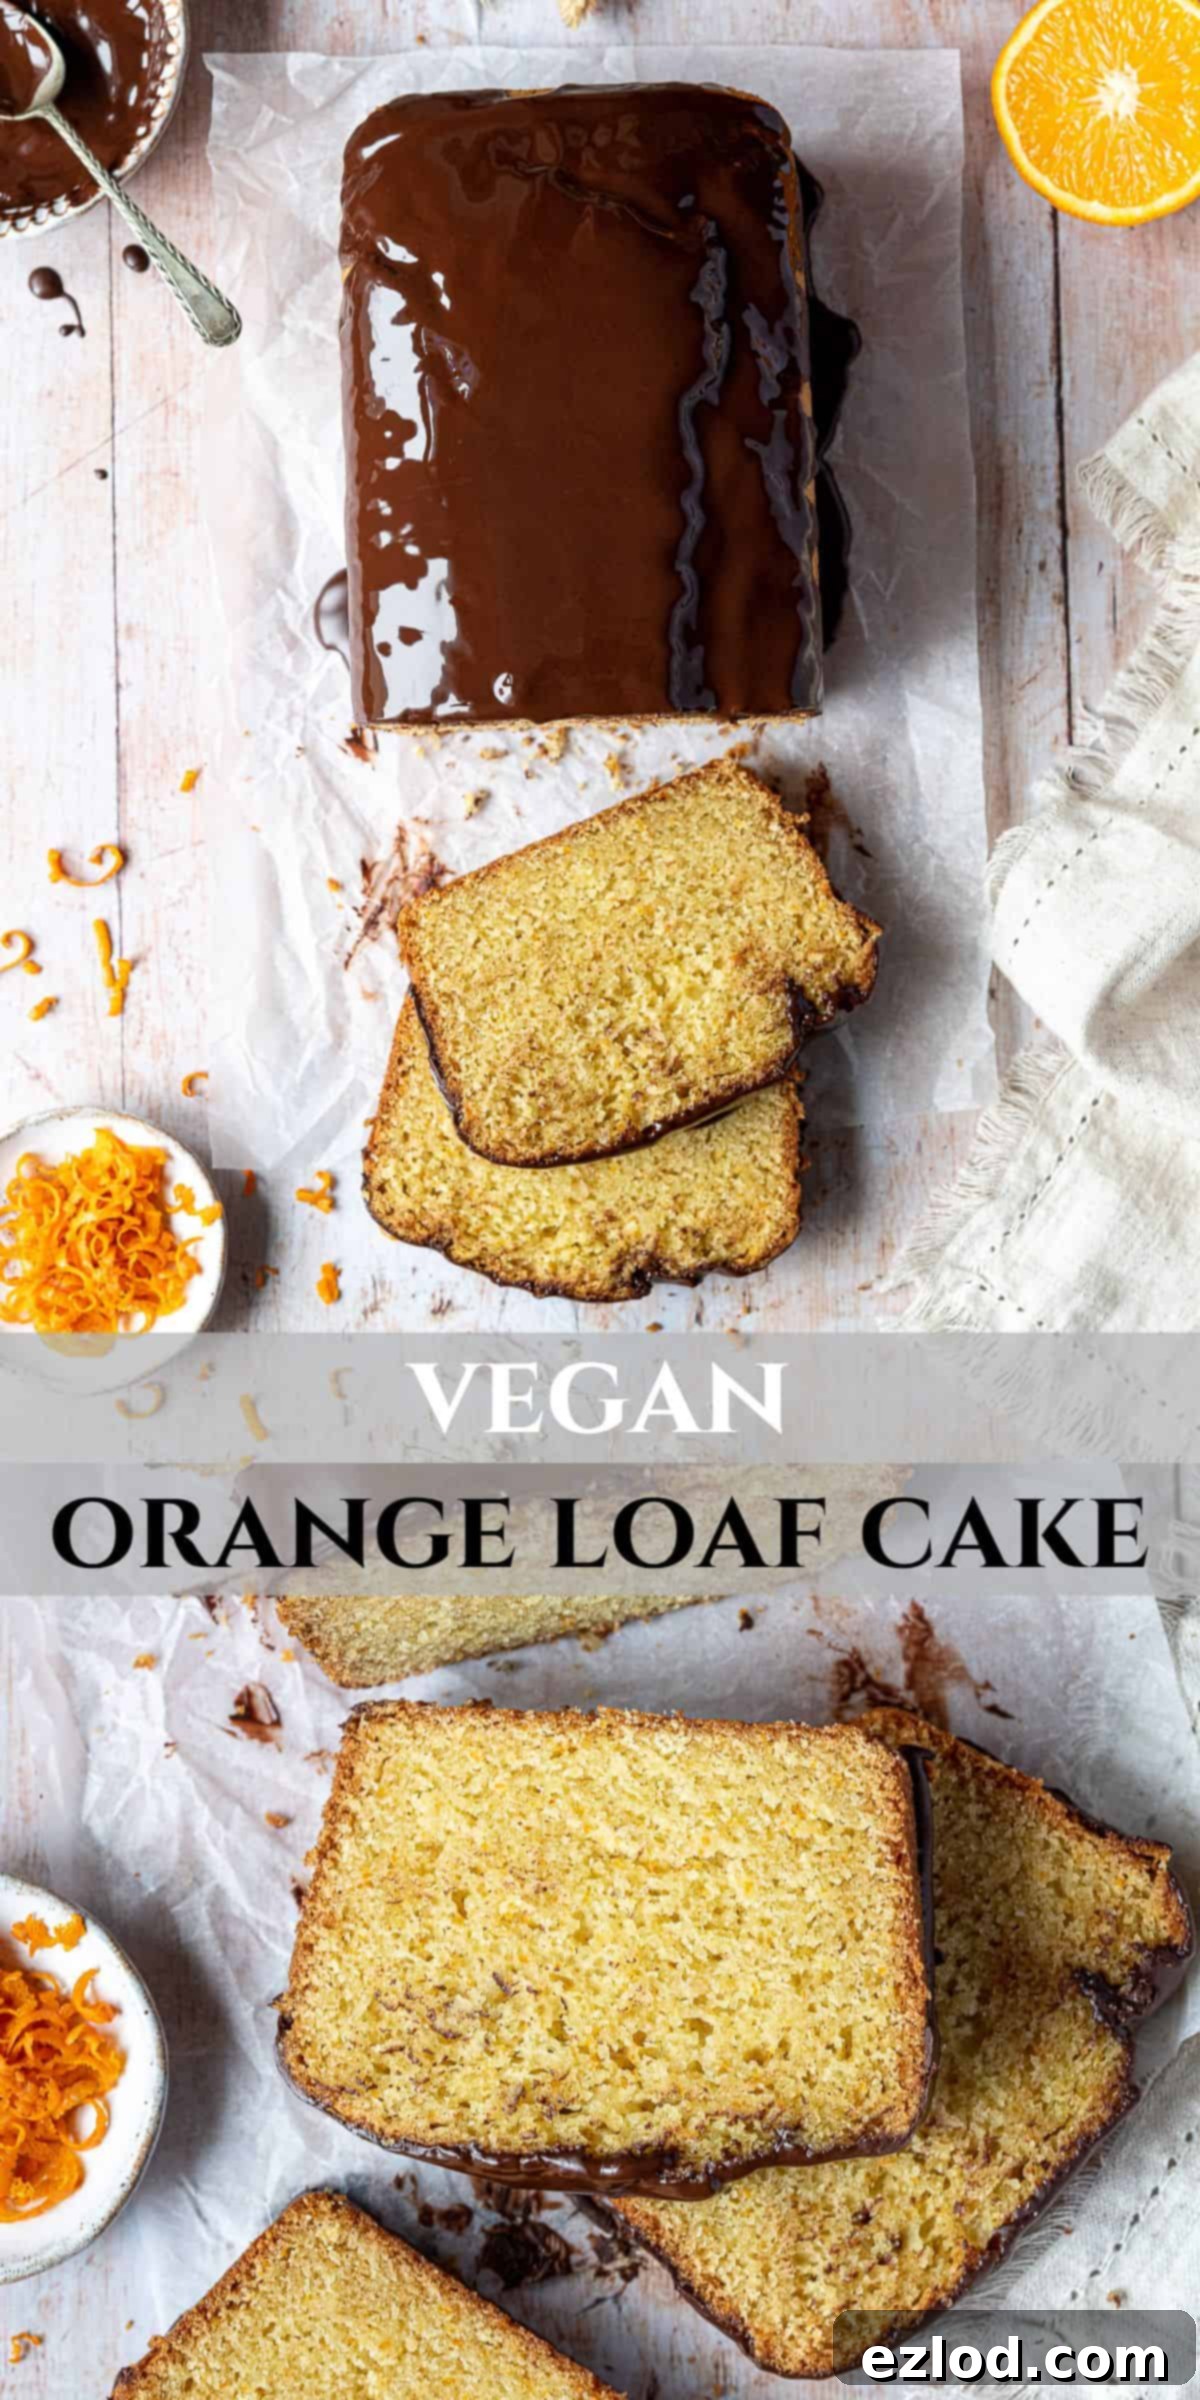
The Ultimate Vegan Orange Loaf Cake: Moist, Zesty, and Topped with Rich Chocolate Glaze
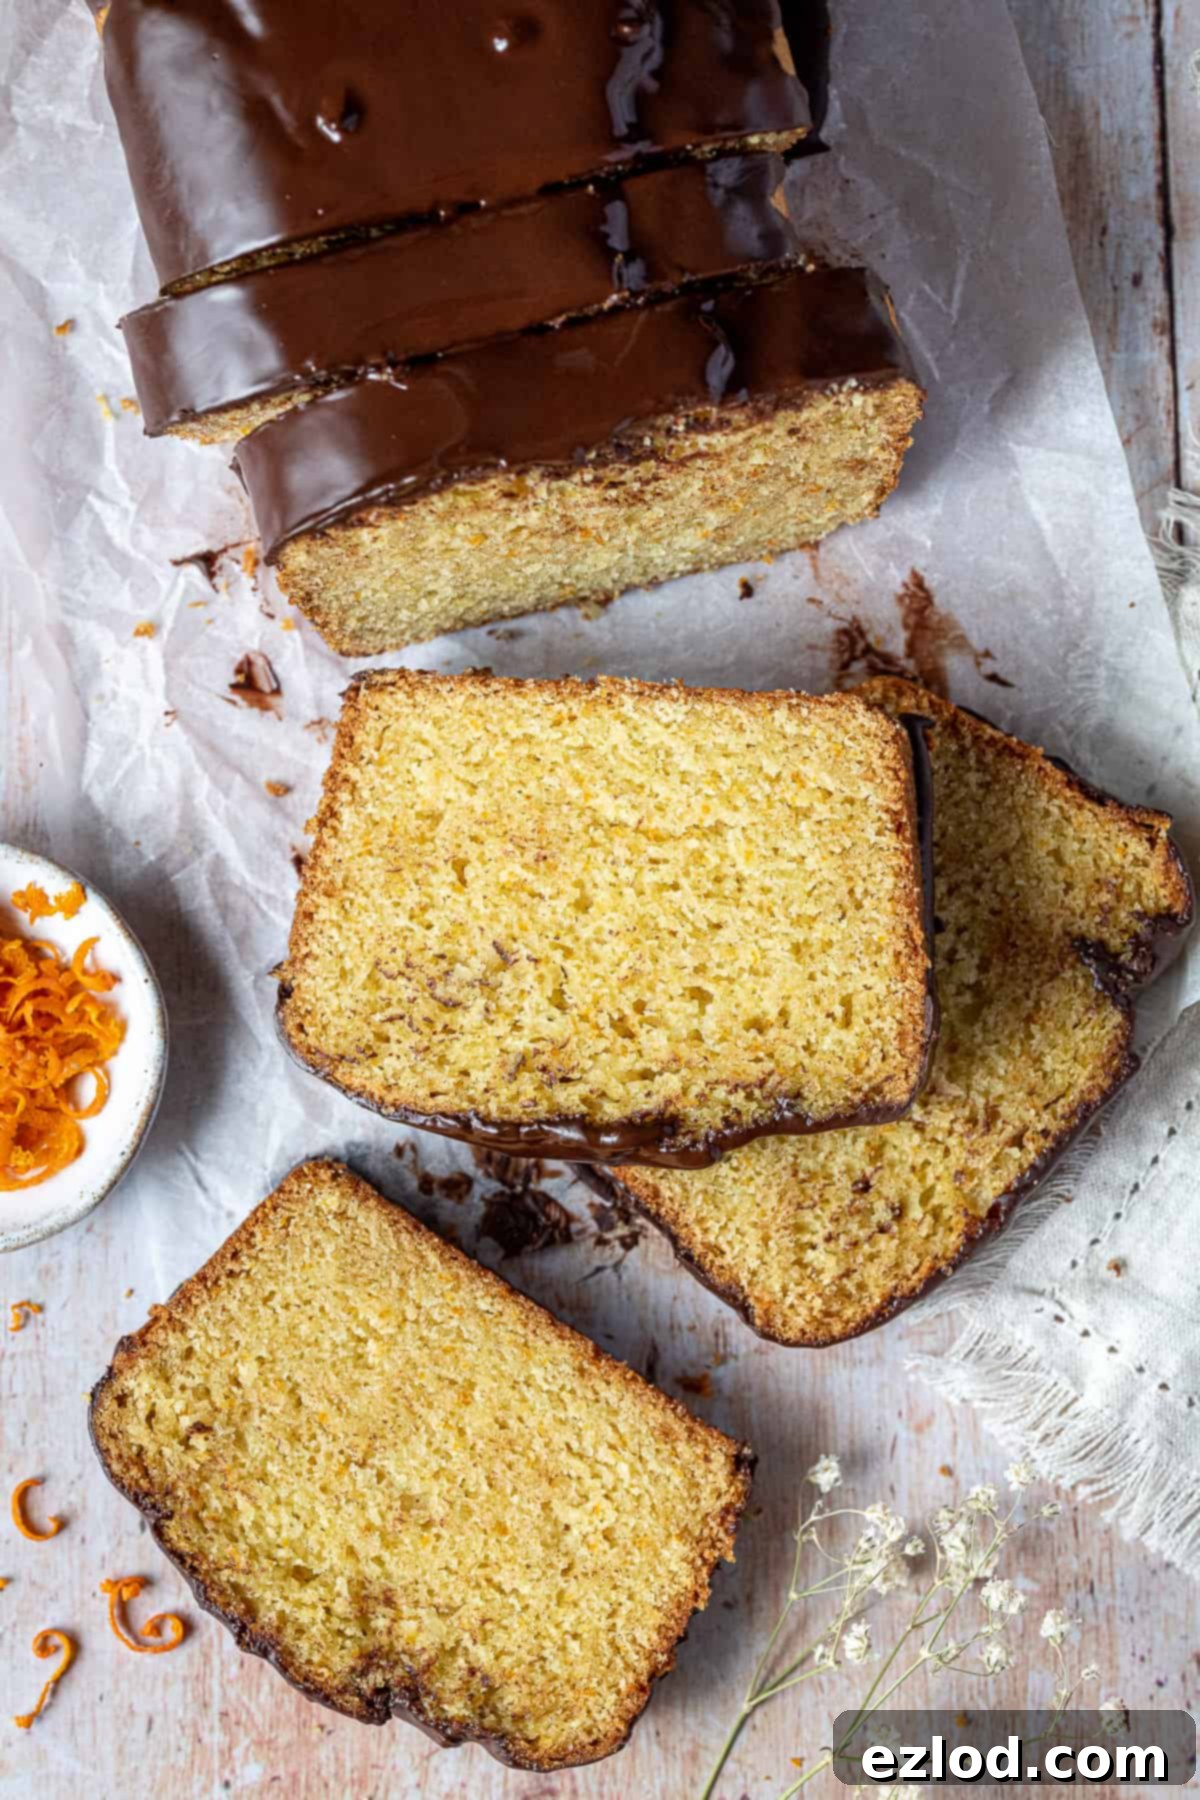
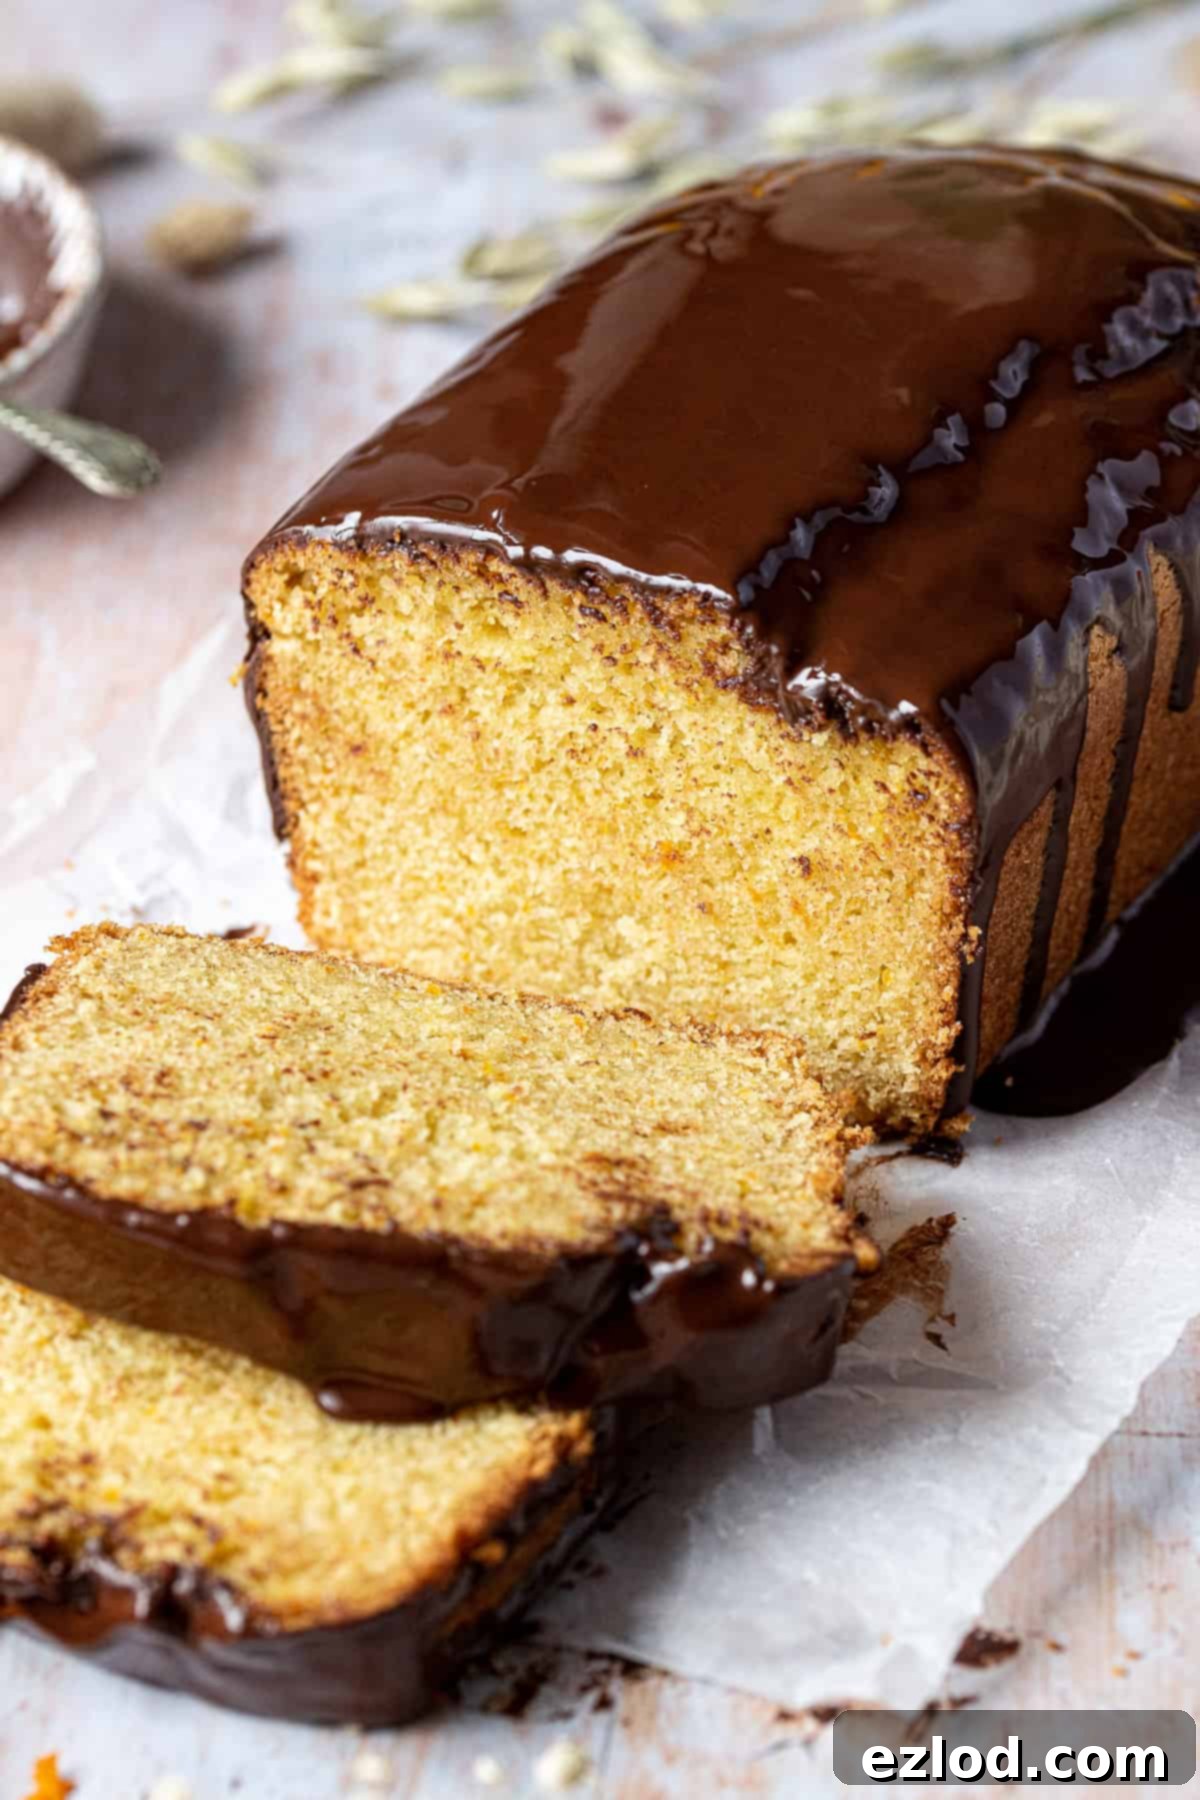
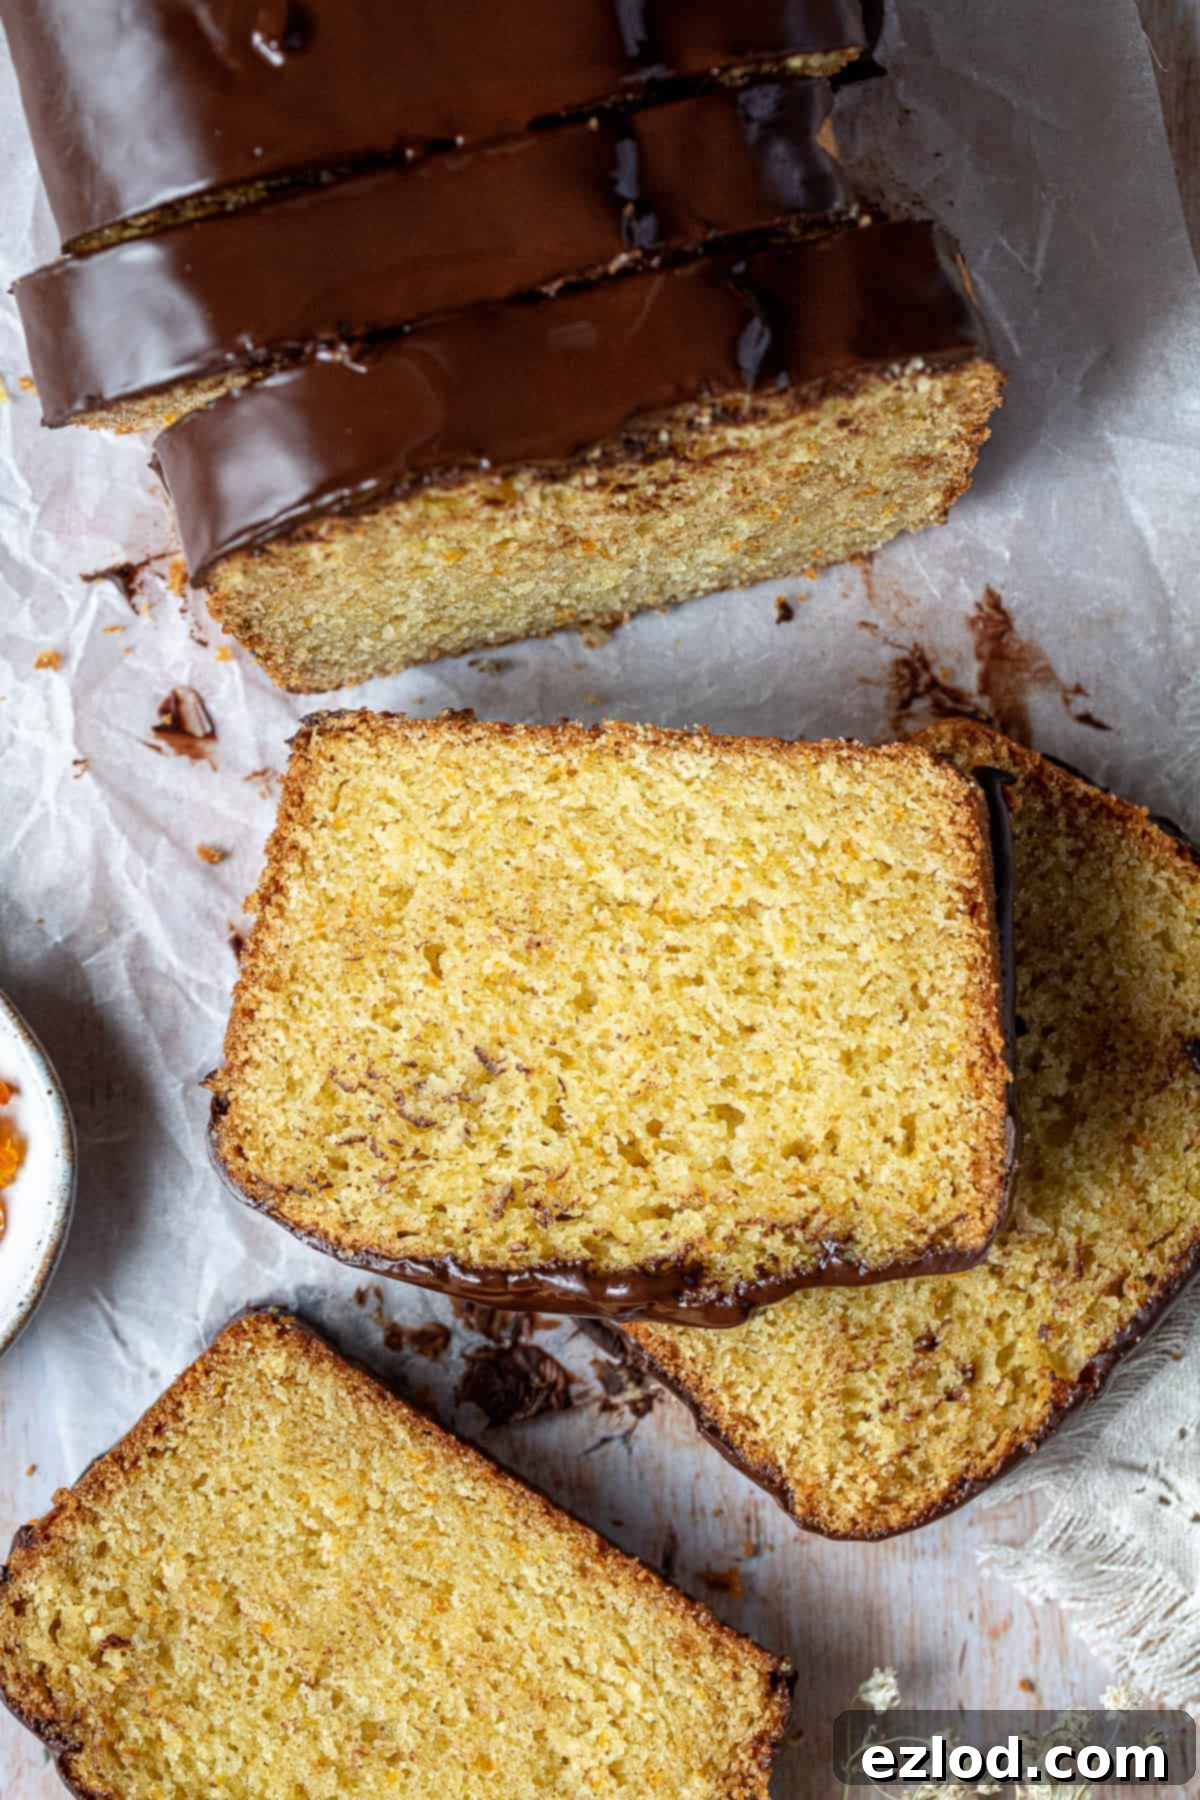
Prepare to fall in love with this incredibly delicious vegan orange loaf cake! Imagine the perfect blend of a vibrant, citrusy orange cake with a decadent chocolate glaze, reminiscent of a giant, gourmet jaffa cake. This recipe delivers a cake that is wonderfully moist, tender, bursting with orangey flavor, and surprisingly easy to prepare. Whether you’re looking for an ideal snack, a delightful addition to afternoon tea, or a show-stopping dessert for a special celebration, this cake is sure to impress.
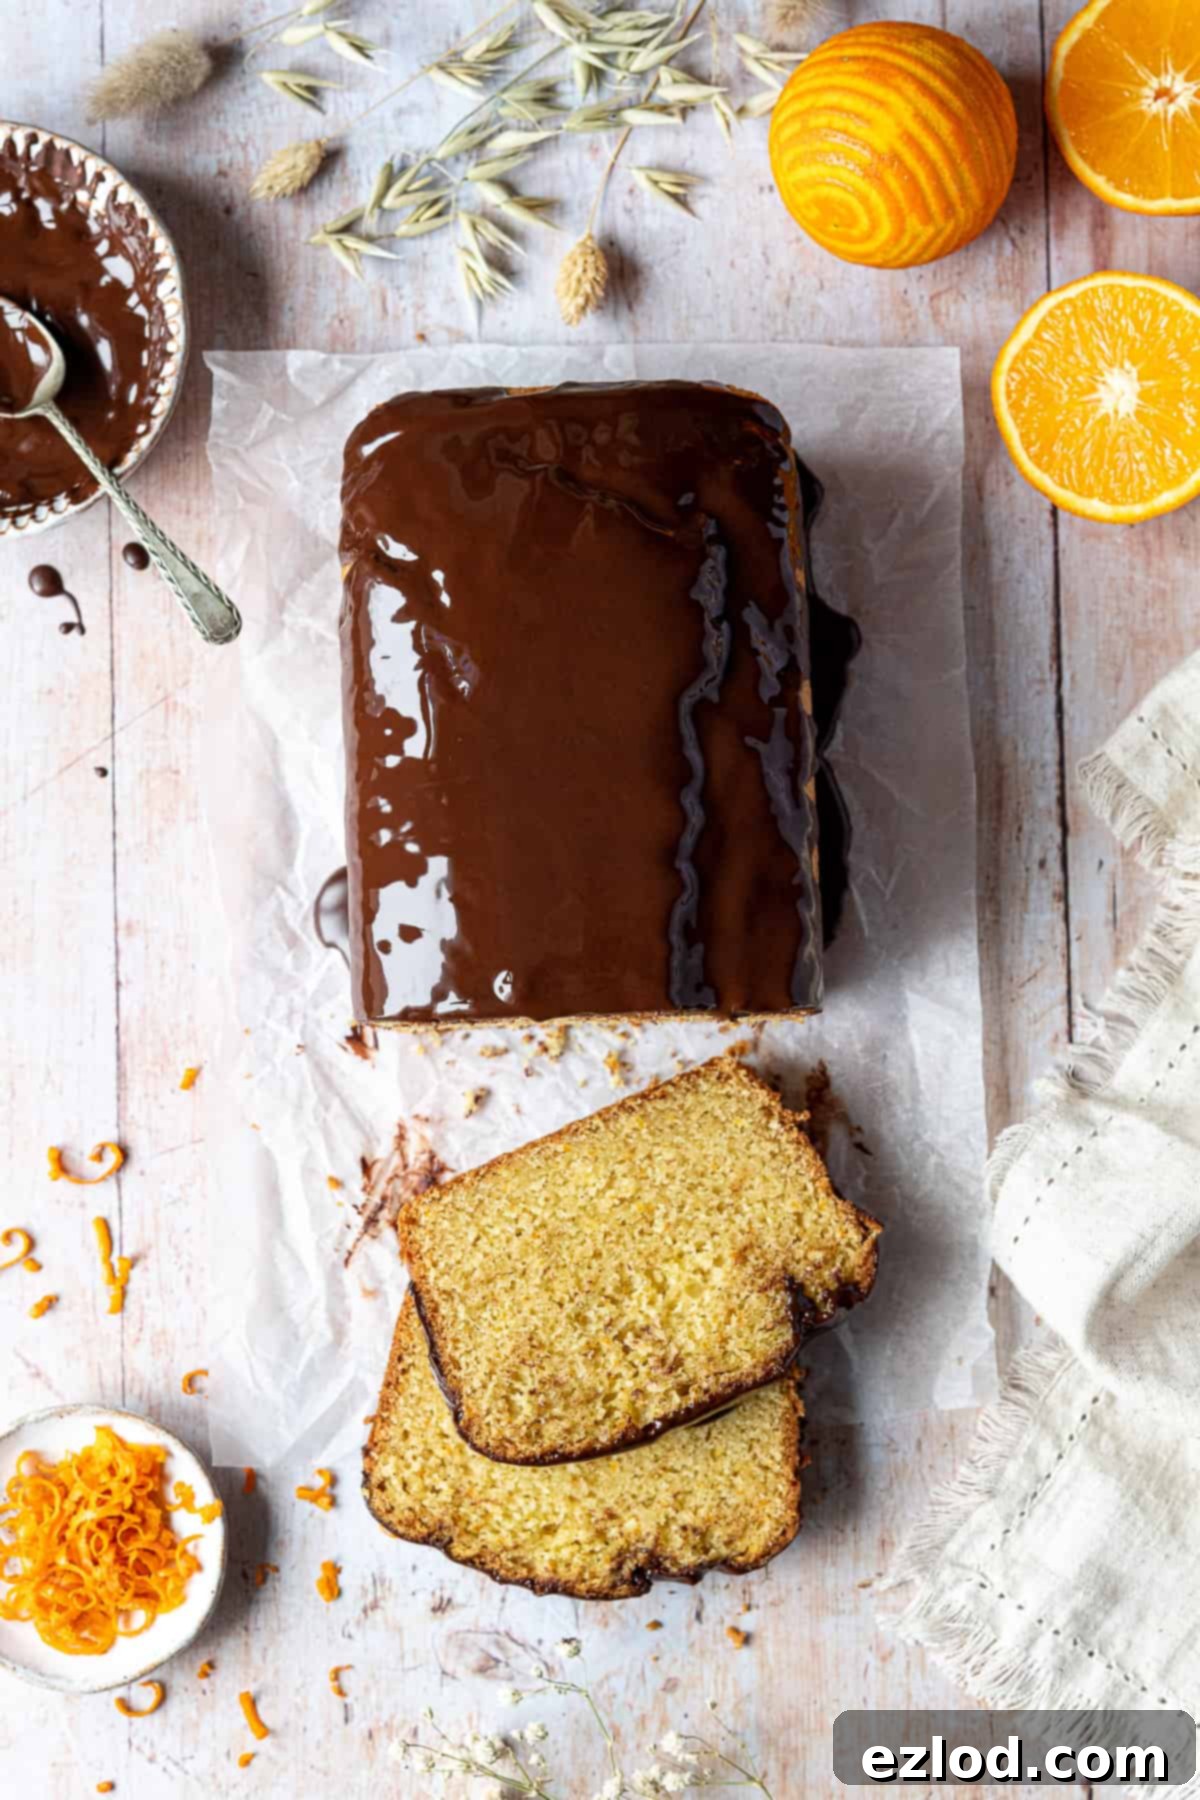
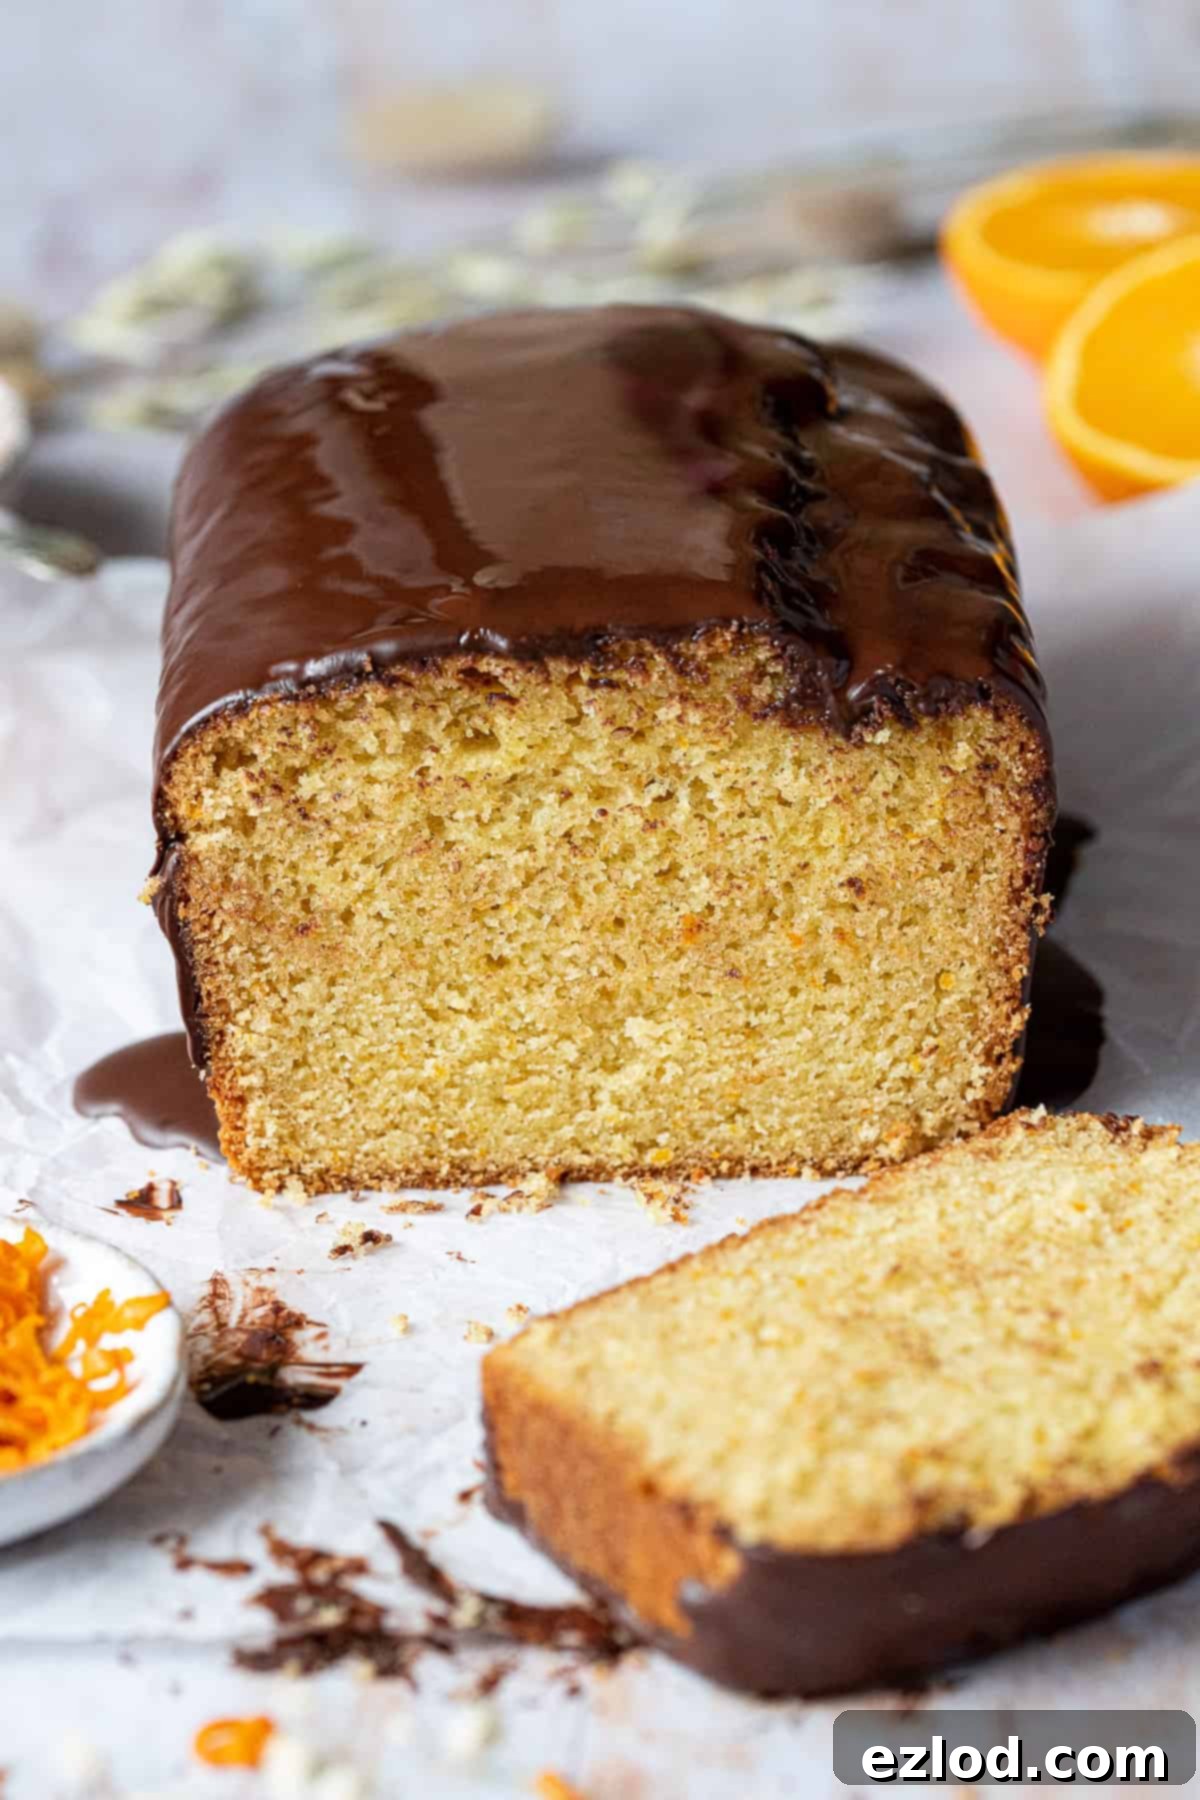
This vegan orange loaf cake is truly addictively good! It’s crafted to be supremely moist and tender, infused with the bright, fresh flavors of real orange juice and zest. Crowned with a luscious layer of melted dark chocolate, it’s a match made in heaven – because, let’s be honest, few combinations are as universally loved as chocolate and orange!
Perfect for any time of year, this cake shines during spring celebrations like Easter, yet remains a comforting and delightful treat for everyday snacking. Its simplicity makes it accessible for bakers of all skill levels, ensuring a successful and delicious outcome every time.
This recipe is a thoughtful adaptation of my highly acclaimed vegan lemon drizzle cake. I discovered that the fundamental structure and ingredients work exceptionally well with oranges, yielding an equally delightful and flavorful result. The subtle tweaks elevate the orange notes, creating a unique and irresistible dessert.
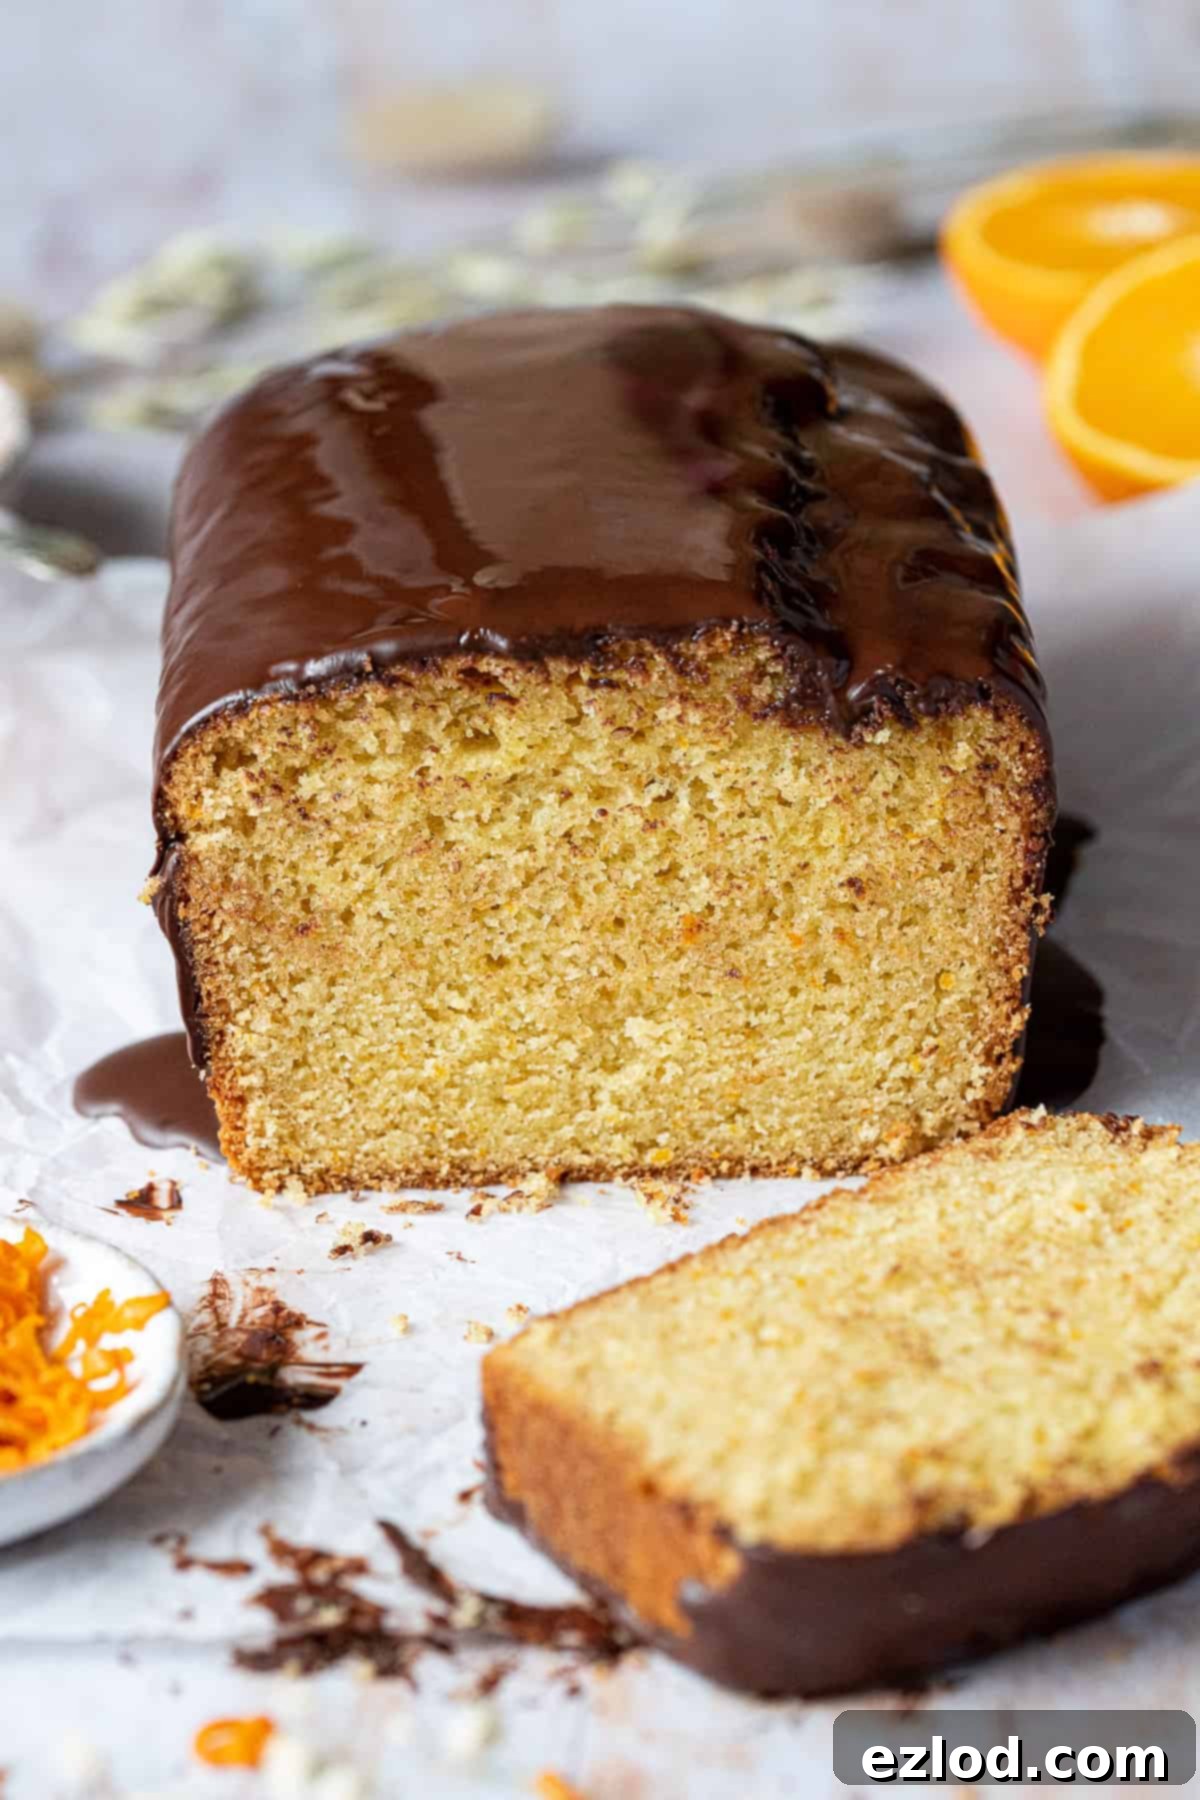
Essential Ingredients for Your Vegan Orange Loaf Cake:
Creating this magnificent cake requires a selection of high-quality ingredients, each playing a crucial role in achieving its perfect texture and flavor profile. Here’s a detailed look at what you’ll need and why:
Oranges: Naturally, oranges are the star of the show! For the most intense and authentic flavor, I recommend using the finely grated zest of three large oranges, along with 120ml (½ cup) of orange juice. The zest is where the majority of the vibrant orange flavor resides, so don’t skip it! Freshly squeezed juice is always preferred for its superior taste, but high-quality carton orange juice can also be used in a pinch.
Non-Dairy Milk: This recipe calls for unsweetened non-dairy milk to maintain control over the cake’s sweetness. While most varieties will work, soy milk is often recommended for baking due to its higher protein content, which contributes to a more stable and tender crumb. It’s my go-to choice for consistent results.
Non-Dairy Yogurt: A secret weapon in vegan baking, non-dairy yogurt significantly enhances the texture of the cake, making it incredibly moist and tender. I’ve had great success with both coconut and soy-based yogurts; the Coconut Collaborative brand is a personal favorite. It acts as a binder and adds richness, and I haven’t tested any direct substitutes for the yogurt, as it’s quite integral to the final texture.
Olive Oil: I specifically choose mild olive oil for this recipe, as its subtle fruity notes beautifully complement the orange flavor. It also contributes to the cake’s moistness. Ensure you use a mild variety, not extra virgin olive oil, which can have too strong a flavor. If you prefer, any other neutral-flavored oil, such as sunflower or canola oil, can be used as a substitute.
Orange Extract: To truly amplify the citrus punch, a good quality orange extract is essential. Look for an “extract” rather than an “essence,” as extracts are typically made with natural oils and provide a more authentic flavor without any artificial aftertaste. If orange extract isn’t available, vanilla extract can be used instead, though the orange flavor will be slightly less pronounced.
Plain Flour and Cornflour (Cornstarch): The combination of regular plain (all-purpose) flour with a touch of cornflour is key to achieving a wonderfully delicate and fine crumb texture. The cornflour lightens the overall structure of the cake. If you don’t have cornflour, you can substitute it with an equal weight of plain flour, but I highly recommend using it if possible for the best results.
Ground Almonds: Ground almonds are a fantastic addition, imparting a beautiful richness and moisture to the cake, alongside a delicate nutty undertone that pairs well with orange. I strongly encourage their use for the best texture. If you have nut allergies, you can try replacing them with an equal weight of plain flour, though the texture will be slightly different.
Baking Powder and Bicarbonate of Soda (Baking Soda): For optimal rise and a perfectly light, airy texture, both baking powder and bicarbonate of soda are crucial. They work in tandem to create the necessary lift, reacting with the acidic ingredients in the batter.
Caster Sugar: Caster (superfine) sugar is ideal for baking as its fine granules dissolve quickly and evenly into the batter, ensuring a smooth and consistent texture without any grittiness. Granulated sugar can be used as an alternative if caster sugar is not available.
For The Luxurious Chocolate Glaze:
The chocolate glaze is the perfect finishing touch, adding a touch of elegance and a burst of complementary flavor.
Dark Chocolate: I typically opt for a 70% dark chocolate for the glaze. This provides a rich, slightly bittersweet counterpoint to the sweet orange cake, preventing the glaze from being overly sweet. However, feel free to use your preferred type of dark or semi-sweet chocolate. It’s important to use a good quality baking chocolate bar, not chocolate chips, as chips are formulated with stabilizers to resist melting completely and will result in a less smooth glaze.
Coconut Oil: A small amount of coconut oil added to the melting chocolate serves a vital purpose: it helps the glaze set to a soft, glossy finish that isn’t too hard or brittle. It ensures the glaze remains easy to slice through without cracking. Vegan butter can be used as a substitute if you prefer.
Step-by-Step Guide: How To Make Vegan Orange Loaf Cake:
(For precise measurements and detailed instructions, please refer to the comprehensive recipe card located at the bottom of this page)
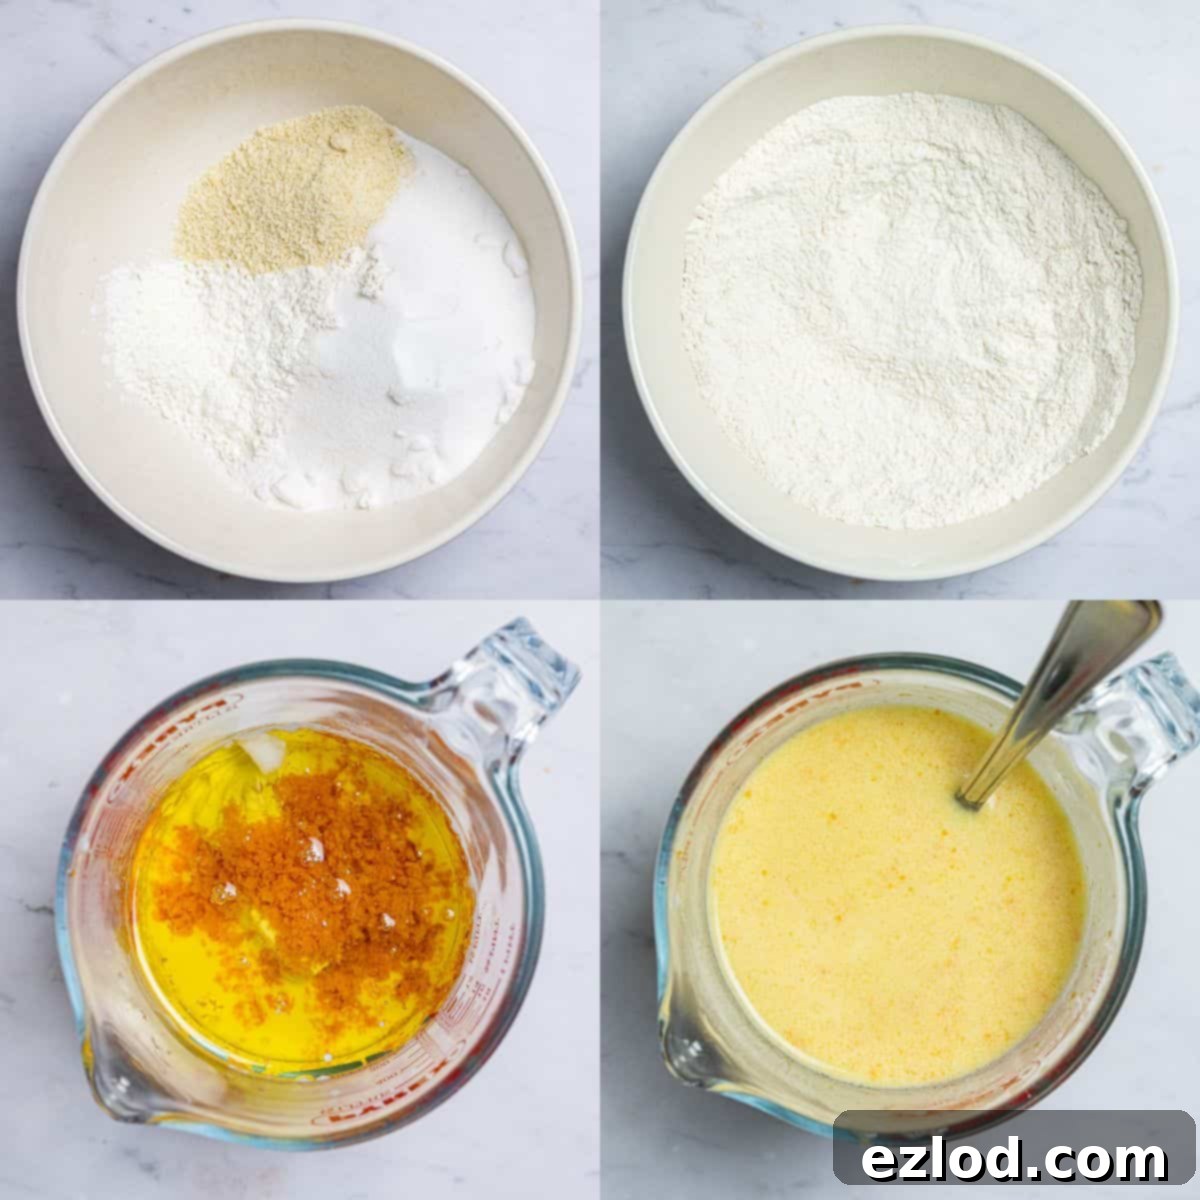
1. Prepare Your Dry Ingredients: Begin by sifting together the plain flour, cornflour, baking powder, and bicarbonate of soda into a large mixing bowl. Sifting is important for removing any lumps and aerating the flour, which contributes to a lighter cake. Once sifted, thoroughly whisk in the ground almonds, caster sugar, and salt. Ensure all dry ingredients are evenly distributed.
2. Combine Wet Ingredients: In a separate jug, whisk together the freshly grated orange zest and juice, non-dairy yogurt, non-dairy milk, mild olive oil, and orange extract. Whisk until the mixture is smooth and well combined. This ensures that the wet ingredients are evenly incorporated before they meet the dry ones.
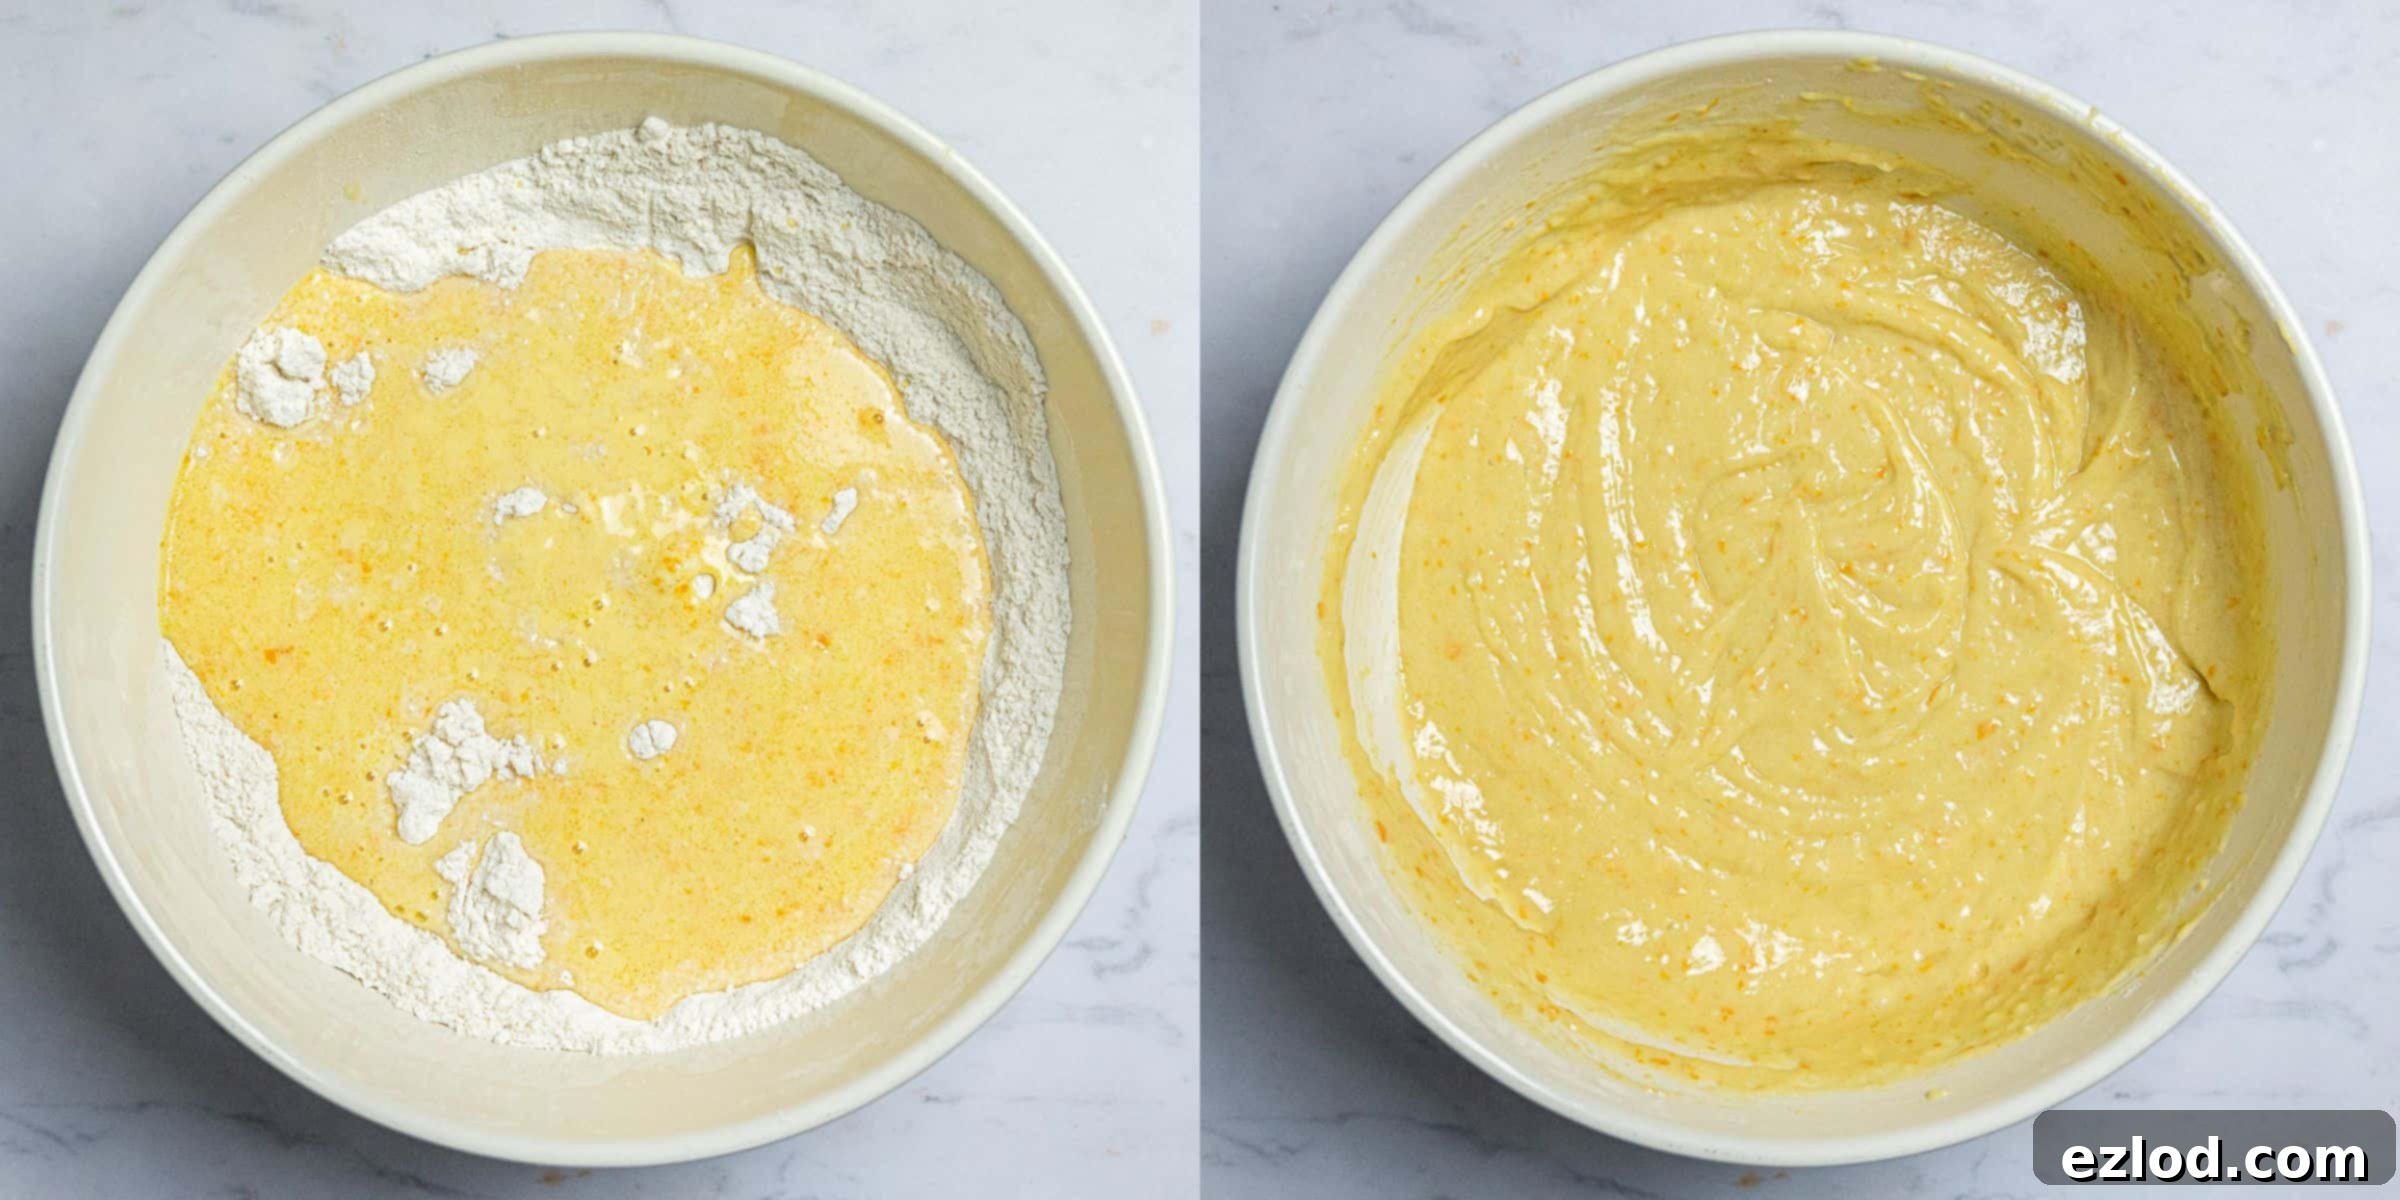
3. Mix Wet and Dry: Pour the combined wet ingredients into the bowl with the dry ingredients. Using a balloon whisk, gently stir the mixture until just combined. The key here is not to overmix the batter; overbeating can develop the gluten in the flour, leading to a tough and dense cake. Stop mixing as soon as no dry lumps are visible.
4. Bake to Perfection: Carefully pour the prepared batter into your greased and parchment-lined 2lb loaf tin. Bake in a preheated oven for approximately 1 hour, or until a skewer inserted into the center of the cake comes out clean. This indicates that the cake is fully cooked through. The exact baking time may vary slightly depending on your oven.
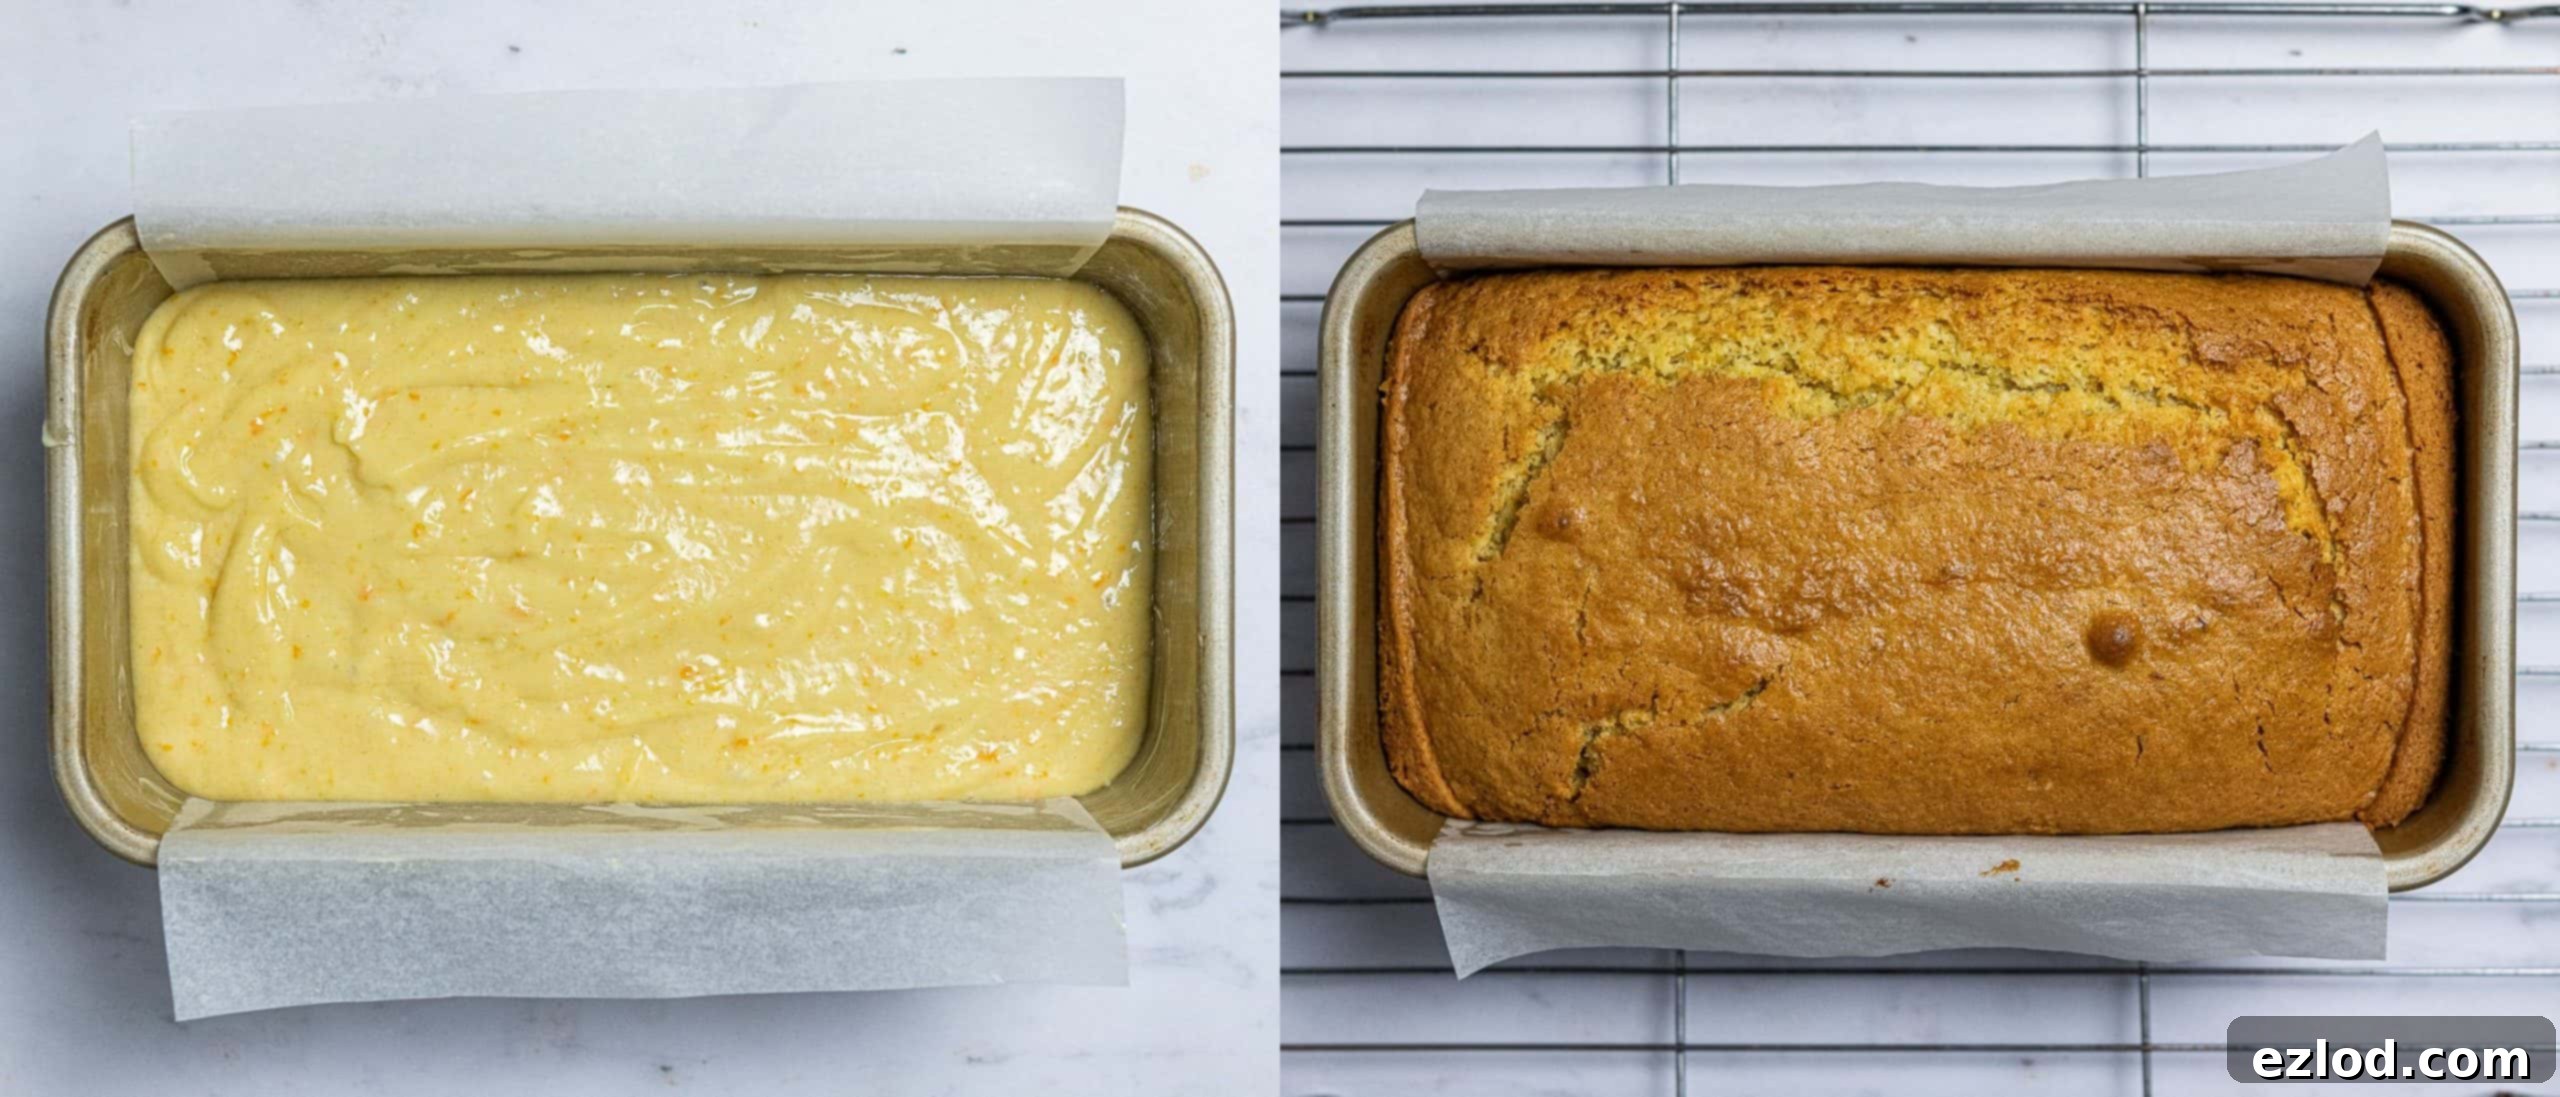
5. Cool and Glaze: Allow the cake to cool in its tin for about 20 minutes before carefully inverting it onto a wire rack. Let it cool completely to room temperature. While the cake cools, prepare your chocolate glaze. Place the chopped dark chocolate and coconut oil in a heatproof bowl set over a pan of gently simmering water (a bain-marie). Stir continuously until the chocolate is just melted and smooth. Be careful not to overheat the chocolate, as it can seize. Remove from heat and allow the glaze to cool slightly and thicken to a pourable consistency. Once the cake is fully cooled, pour the luscious chocolate glaze evenly over the top. Serve and enjoy!
Top Baking Tips for Success:
Achieving a perfect loaf cake is simple with a few expert tips:
- Add Extra Chocolate: For true chocolate lovers, consider folding in a handful or two of vegan chocolate chips into the batter just before baking. This adds an extra layer of chocolatey goodness and texture.
- Avoid Overmixing: This cannot be stressed enough! Over-beating the cake batter is a common pitfall that leads to tough, chewy cakes. Stir gently with a balloon whisk until the wet and dry ingredients are just combined and no dry pockets remain. Prior to combining, ensure your wet ingredients and dry ingredients are very well mixed in their separate bowls.
- Proper Tin Preparation: Always grease your loaf tin thoroughly and line it with baking parchment. Leave an overhang of parchment on two sides; this creates “handles” that make it incredibly easy to lift the baked cake out of the tin without sticking or breaking.
- Storage: To keep your orange loaf cake fresh and moist, store it in an airtight container at room temperature. It will remain delicious for four to five days, though it rarely lasts that long!
Can I Make A Vegan Orange Drizzle Cake Instead?
Absolutely! If you prefer a lighter, tangier finish, this recipe can easily be transformed into a vegan orange drizzle cake. Simply omit the chocolate glaze and follow these steps for a zesty syrup:
- While your cake is baking, prepare the drizzle by combining 3 tablespoons of fresh orange juice, 1 tablespoon of lemon juice, and 50g of caster or granulated sugar in a small saucepan.
- Heat the mixture over low heat, stirring continuously until all the sugar has completely dissolved. Remove from the heat and set aside.
- Once the cake is baked, let it cool in the tin for approximately 10 minutes. Then, using a cocktail stick or a skewer, poke numerous holes all over the top surface of the warm cake.
- Evenly drizzle the prepared syrup over the entire top of the cake, ensuring some of the syrup soaks into the edges as well as the middle.
- Allow the cake to cool completely in the tin, allowing the syrup to fully absorb and create a wonderfully moist and tangy glaze.
Can I Freeze This Vegan Orange Loaf Cake?
Yes, this vegan orange loaf cake is an excellent candidate for freezing, whether you want to freeze it whole or in individual slices. This makes it perfect for meal prep or for having a delicious treat on hand whenever a craving strikes!
- Ensure the cake is completely cooled to room temperature before freezing.
- Wrap the cake tightly in multiple layers of plastic wrap, then an additional layer of aluminum foil, or place it in a freezer-proof container. This helps prevent freezer burn.
- It can be frozen for up to three months.
- If you plan to freeze the entire cake, I highly recommend doing so *before* adding the chocolate glaze. Allow the cake to defrost thoroughly at room temperature, and then prepare and apply the fresh glaze just before serving for the best texture and appearance.
More Irresistible Vegan Loaf Cakes to Try:
If you love this orange loaf cake, you’ll definitely want to explore these other fantastic vegan loaf cake recipes:
Vegan Earl Grey Tea Loaf
Discover this easy, fat-free, and delightfully fruity tea loaf infused with the aromatic notes of Earl Grey. Spread with a dollop of vegan butter, it makes for an ideal mid-morning or afternoon snack. A truly comforting treat!
Vegan Lemon Drizzle Cake
Experience the ultimate vegan lemon drizzle cake! This recipe yields a soft, incredibly moist, and easy-to-make loaf cake that is intensely lemony, soaked in a tangy lemon syrup, and finished with a zesty lemon glaze.
Vegan Marble Cake
Indulge in this delightful vegan marble cake! This vegan chocolate and vanilla pound cake is celebrated for its moist texture, soft crumb, and utterly moreish flavor. A classic, perfected for a vegan diet.
Vegan Carrot Cake Loaf
This is simply the best vegan carrot cake you’ll ever taste! Easy to make, incredibly moist, perfectly sweet, and spiced, all crowned with a zingy lemon glaze. A wholesome and delicious treat.
If you’ve had the pleasure of trying this recipe, I’d love to hear about your experience! Please rate it, leave a comment below, or share your creations by tagging @domestic_gothess on Instagram and using the hashtag #domesticgothess. Your feedback is truly appreciated!
All images and content on Domestic Gothess are copyright protected. If you wish to share this recipe, please do so by utilizing the provided share buttons. Kindly refrain from screenshotting or posting the recipe or its content in full; instead, include a direct link to this post for the complete recipe. Thank you for respecting my work!

Print
Vegan Orange Loaf Cake
Ingredients
Cake:
- 280 g (2 ¼ cups) plain (all-purpose) flour
- 20 g (2 packed Tbsp) cornflour (cornstarch)
- 2 tsp baking powder
- ½ tsp bicarbonate of soda (baking soda)
- 50 g (½ cup) ground almonds
- 200 g (1 cup) caster (superfine) sugar
- ¼ tsp salt
- finely grated zest of 3 large oranges
- 120 ml (½ cup) orange juice
- 90 g (6 Tbsp) non-dairy yogurt (I use the Coconut Collaborative)
- 90 ml (6 Tbsp) non-dairy milk (I use soy)
- 120 ml (½ cup) mild olive oil (or another neutral oil)
- 1 tsp orange extract (or use vanilla)
Chocolate Glaze:
- 100 g (3 ½ oz) dark chocolate chopped
- 10 g (2 ½ tsp) coconut oil
Instructions
-
Preheat your oven to 180°C/160°C fan/350°F/gas mark 4. Lightly grease an approximate 11.5 x 21.5 cm / 4.5 x 8.5 inch loaf tin (a standard 2lb loaf tin) and line it with baking parchment, leaving an overhang on the longer sides to help with removal.
-
In a large mixing bowl, sift together the plain flour, cornflour, baking powder, and bicarbonate of soda. Then, whisk in the ground almonds, caster sugar, and salt until all dry ingredients are thoroughly combined and evenly distributed.
-
In a separate jug, whisk together the fresh orange juice and zest, vegan yogurt, vegan milk, mild olive oil, and orange extract until the mixture is smooth and cohesive.
-
Pour the wet ingredients into the dry ingredients. Using a balloon whisk, gently stir the batter until just combined and no pockets of dry flour remain. Be careful not to overmix, as this can lead to a tough cake.
-
Transfer the batter into the prepared loaf tin, spreading it evenly. Bake for approximately 1 hour, or until a skewer inserted into the center of the cake comes out clean, indicating it’s fully baked.
-
Let the cake cool in the tin for 20 minutes. After this time, carefully lift it out using the parchment overhang and transfer it to a wire rack to cool completely to room temperature.
-
Once the cake is cool, prepare the chocolate glaze. Place the chopped dark chocolate and coconut oil in a heatproof bowl. Set this bowl over a small pan of gently simmering water (a bain-marie), ensuring the bottom of the bowl does not touch the water.
-
Stir the mixture gently until the chocolate is just melted and smooth. Immediately remove the bowl from the heat to prevent the chocolate from overheating and seizing.
-
Allow the melted chocolate glaze to cool slightly and thicken to a pourable consistency. Then, pour it evenly over the top of the completely cooled cake. Let the glaze set slightly before slicing and serving.
Notes
- For the absolute best results, it’s crucial to follow this recipe closely. As always, I strongly advocate for weighing your ingredients using precise gram measurements with a digital scale, rather than relying on cup conversions. Cup measurements can be highly inaccurate for baking, and I cannot guarantee optimal results if they are used. A gram remains a consistent unit of measurement, whereas the volume of a cup can vary significantly depending on how ingredients are packed or measured.
- A common mistake in baking is over-beating the cake batter, which can lead to a tough texture. To avoid this, simply stir the wet and dry ingredients together with a balloon whisk until just combined and no dry lumps are visible. Before combining, ensure that your wet ingredients are thoroughly mixed in their separate bowl, and similarly, that your dry ingredients are perfectly blended in theirs.
- For additional helpful guidance, substitution suggestions, and visual step-by-step photos, please refer to the main article content above. These extra tips can greatly enhance your baking experience and ensure a perfect cake every time.
