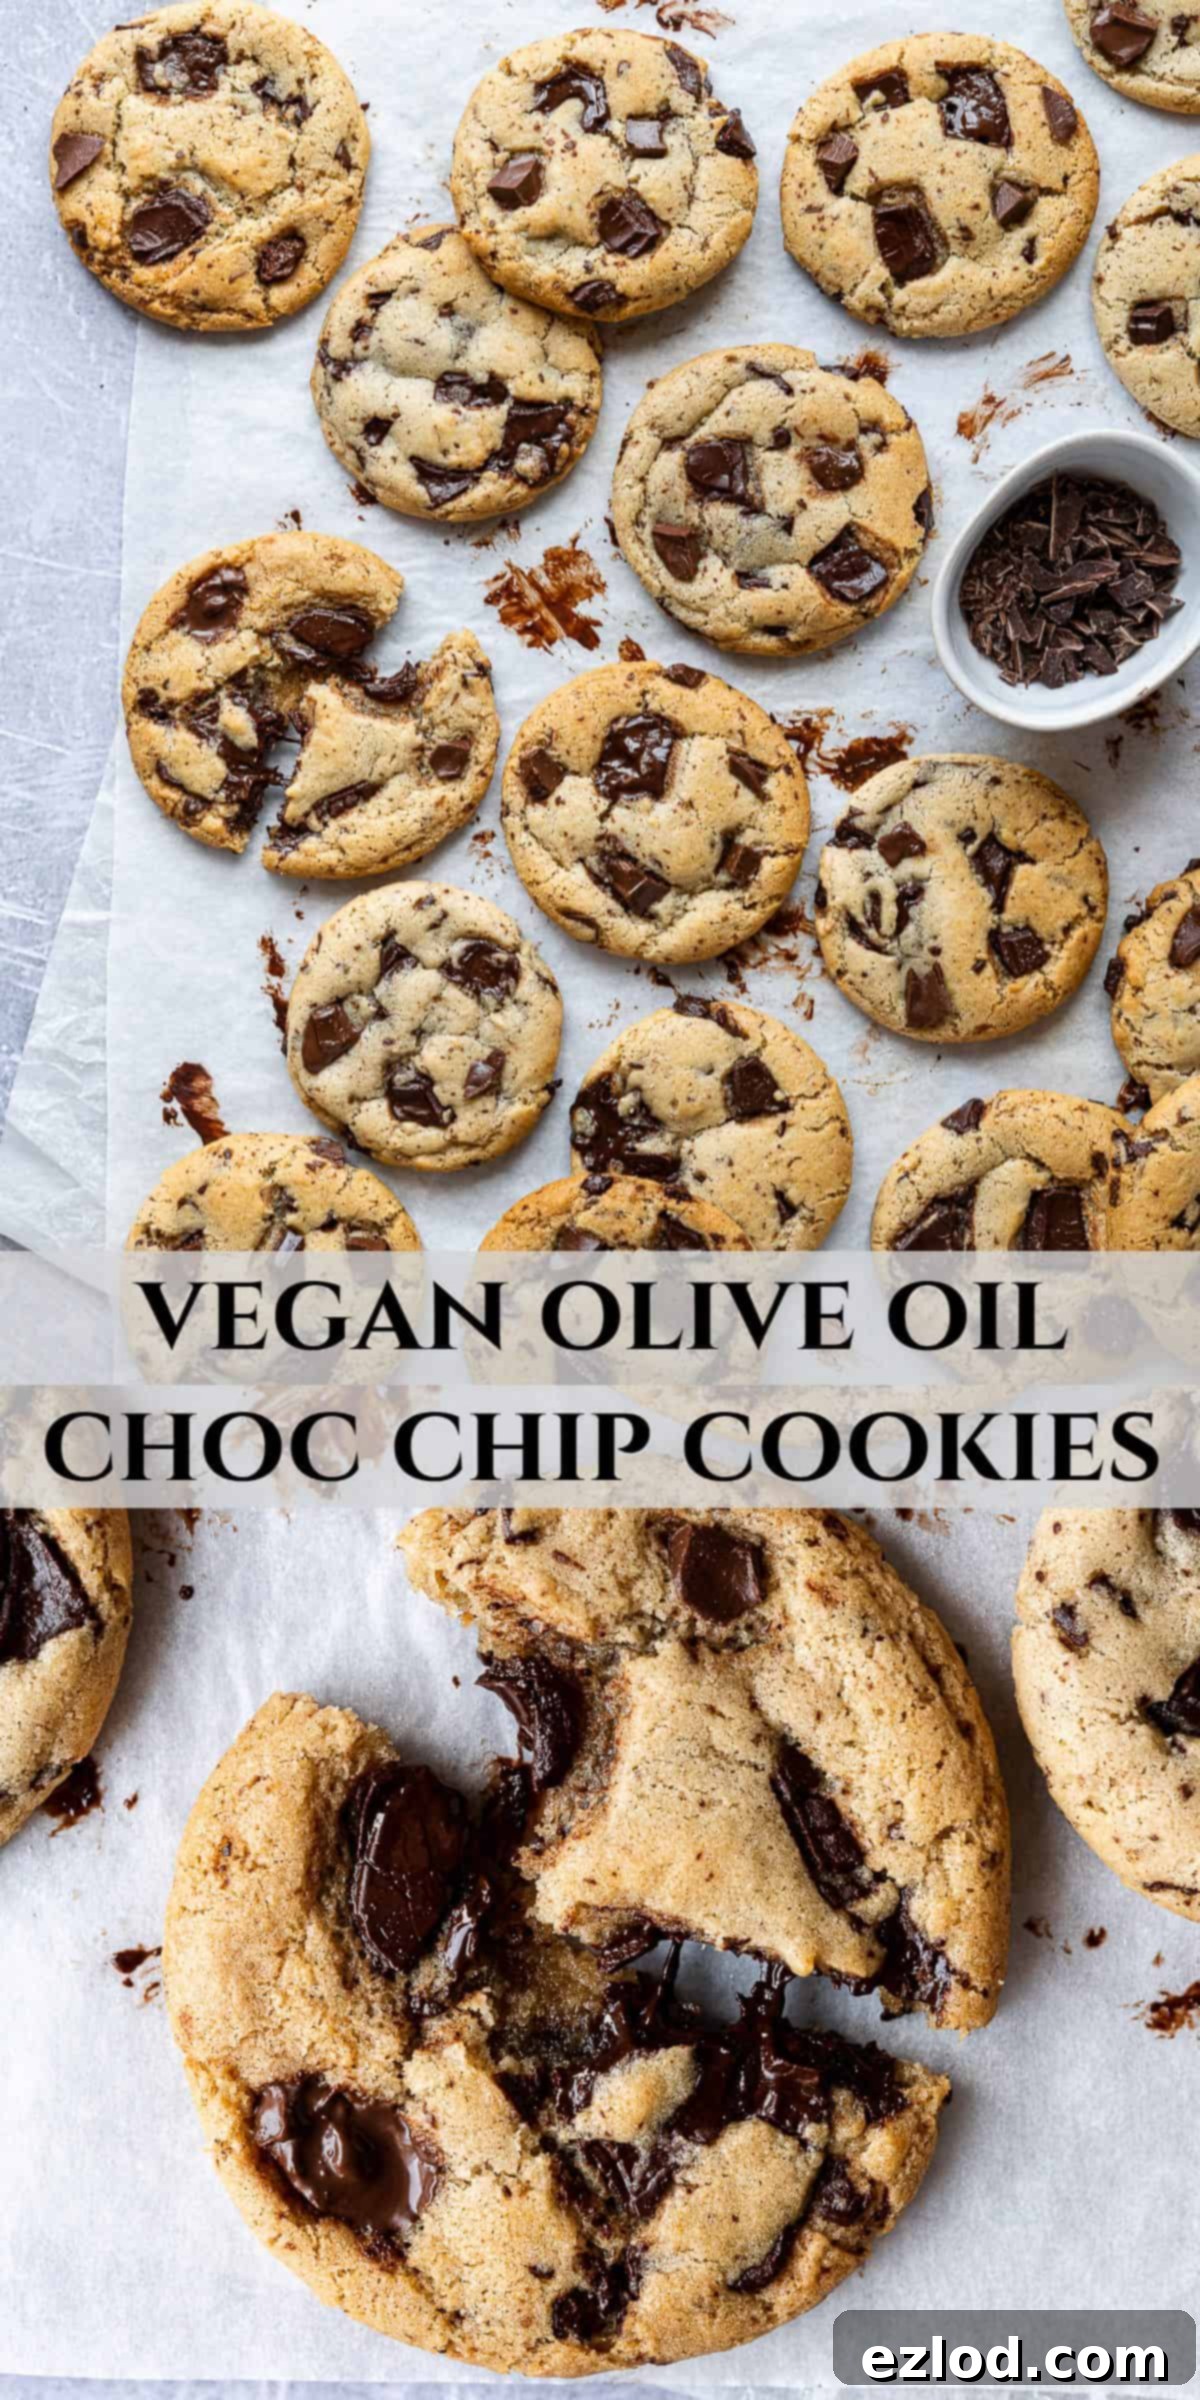
Irresistible Vegan Olive Oil Chocolate Chip Cookies: Crisp, Chewy, and Perfectly Egg-Free
For years, my classic vegan chocolate chip cookies have been a beloved staple on this site, cherished for their incredible ease of preparation and utterly delicious results. However, that recipe relies on a vegan butter substitute, which can sometimes be hard to find or inconsistent in its fat content, leading to varying outcomes in your baking.
Understanding these challenges, I set out to create a new, equally fantastic vegan cookie recipe – one that harnesses the power of oil instead of butter. My goal was to develop an easy vegan cookie that’s accessible to everyone, regardless of their access to specific vegan butter brands, and guaranteed to deliver perfect results every time.
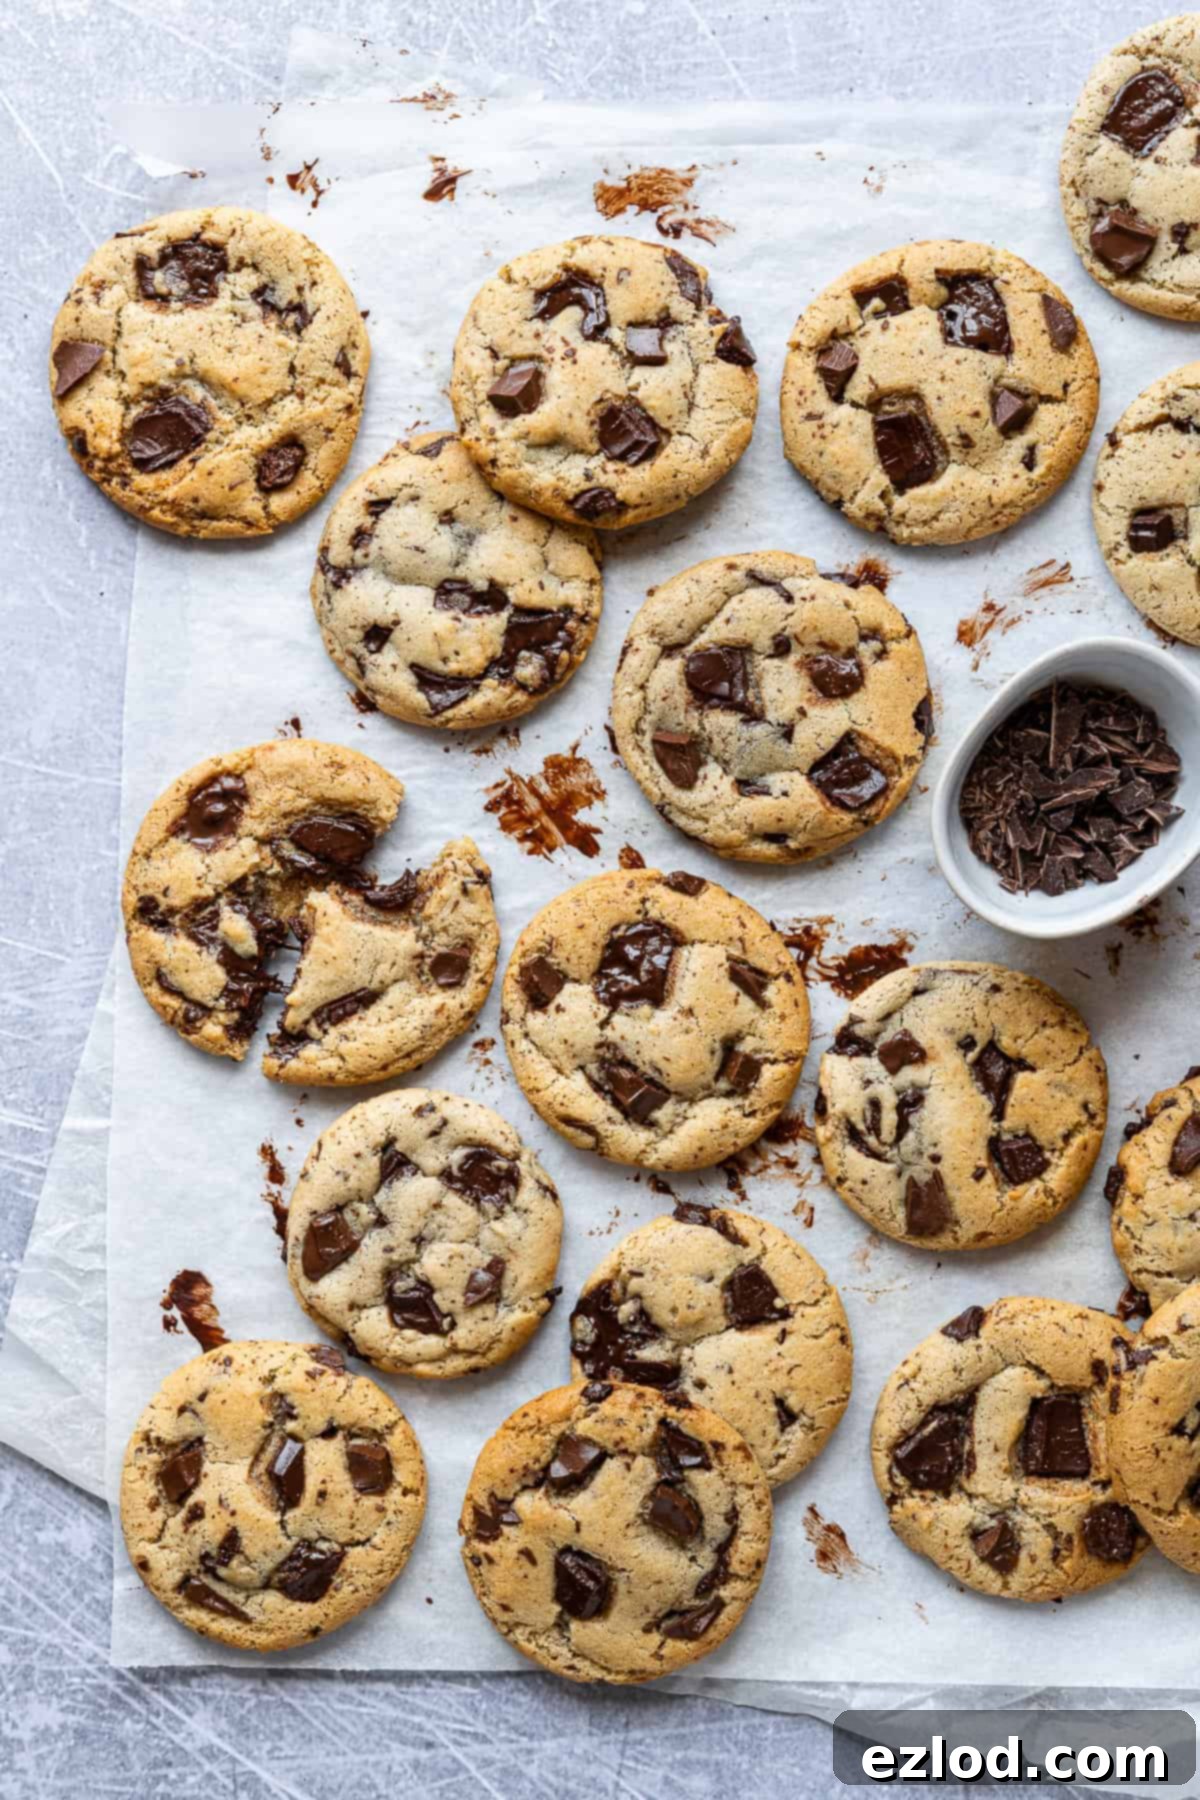
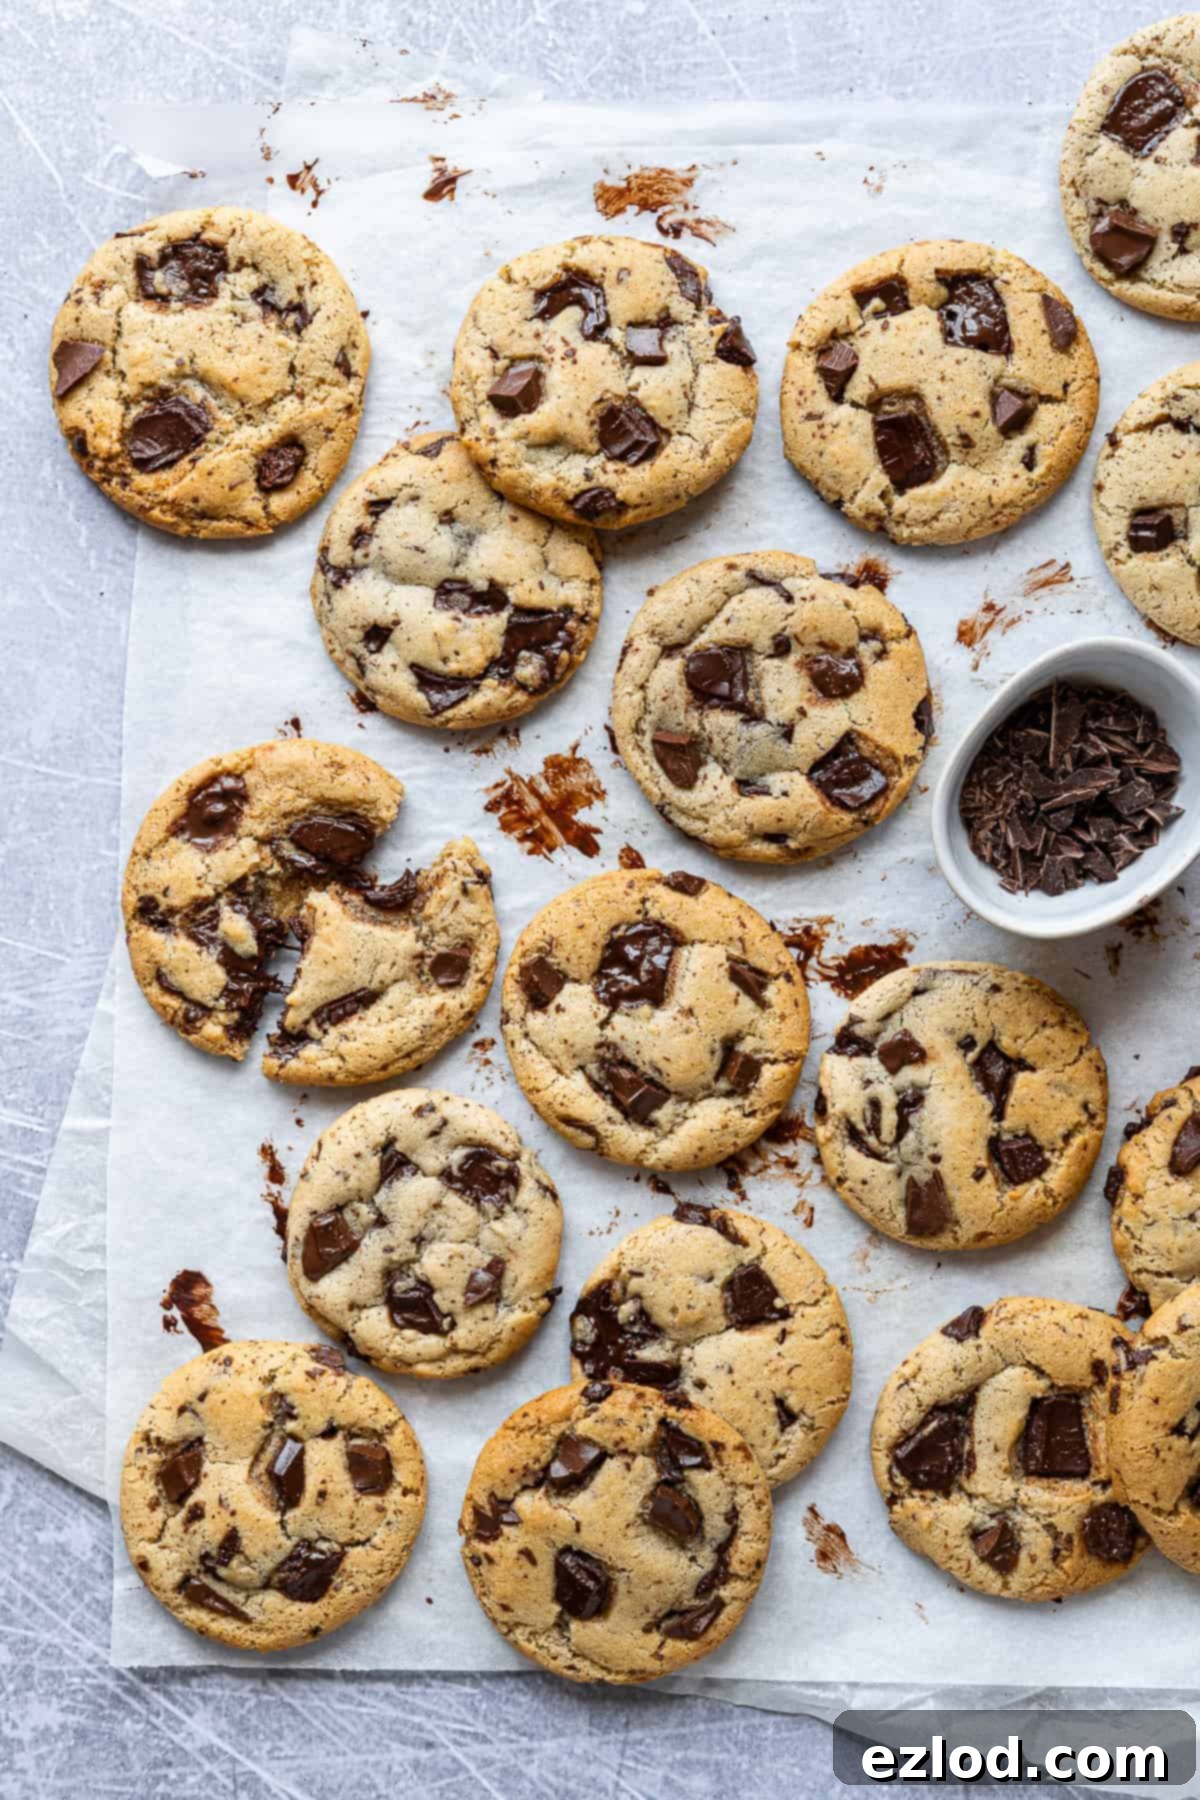
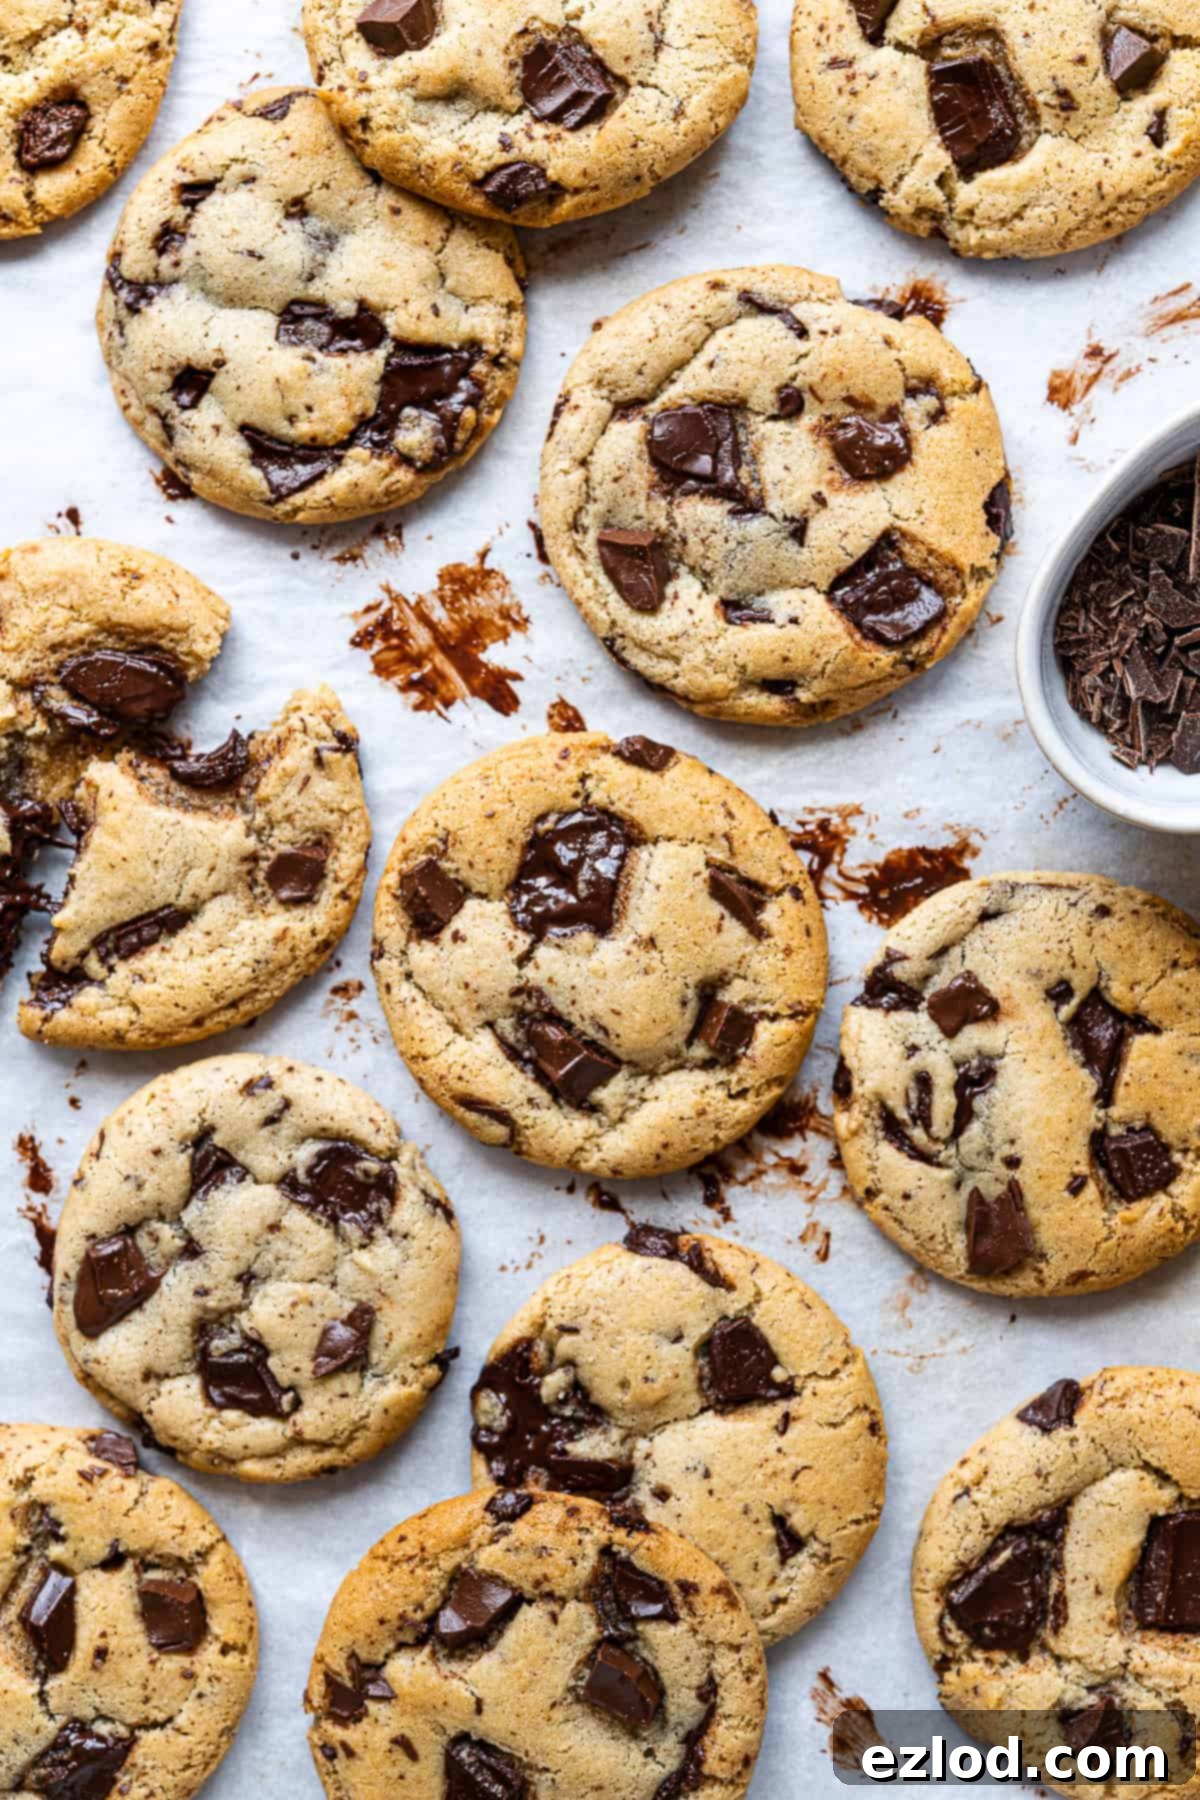
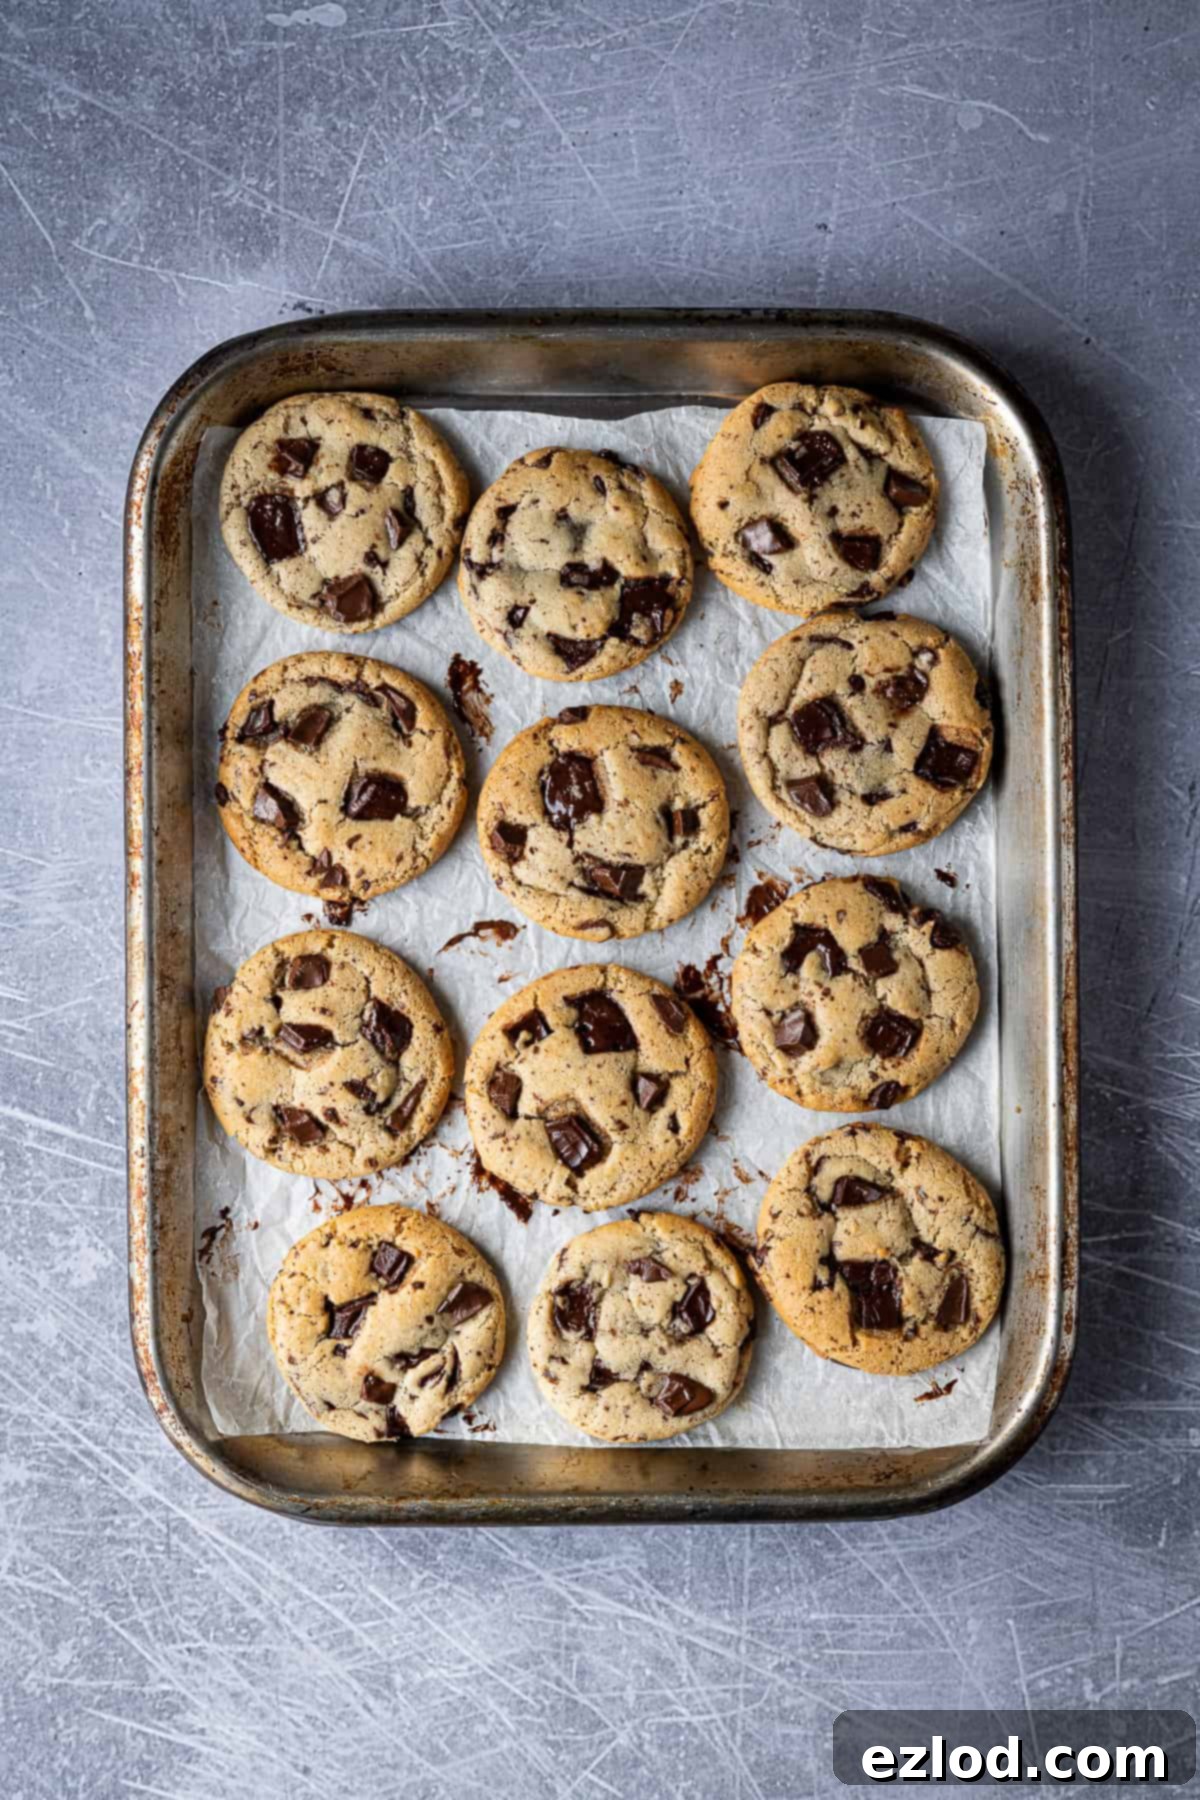
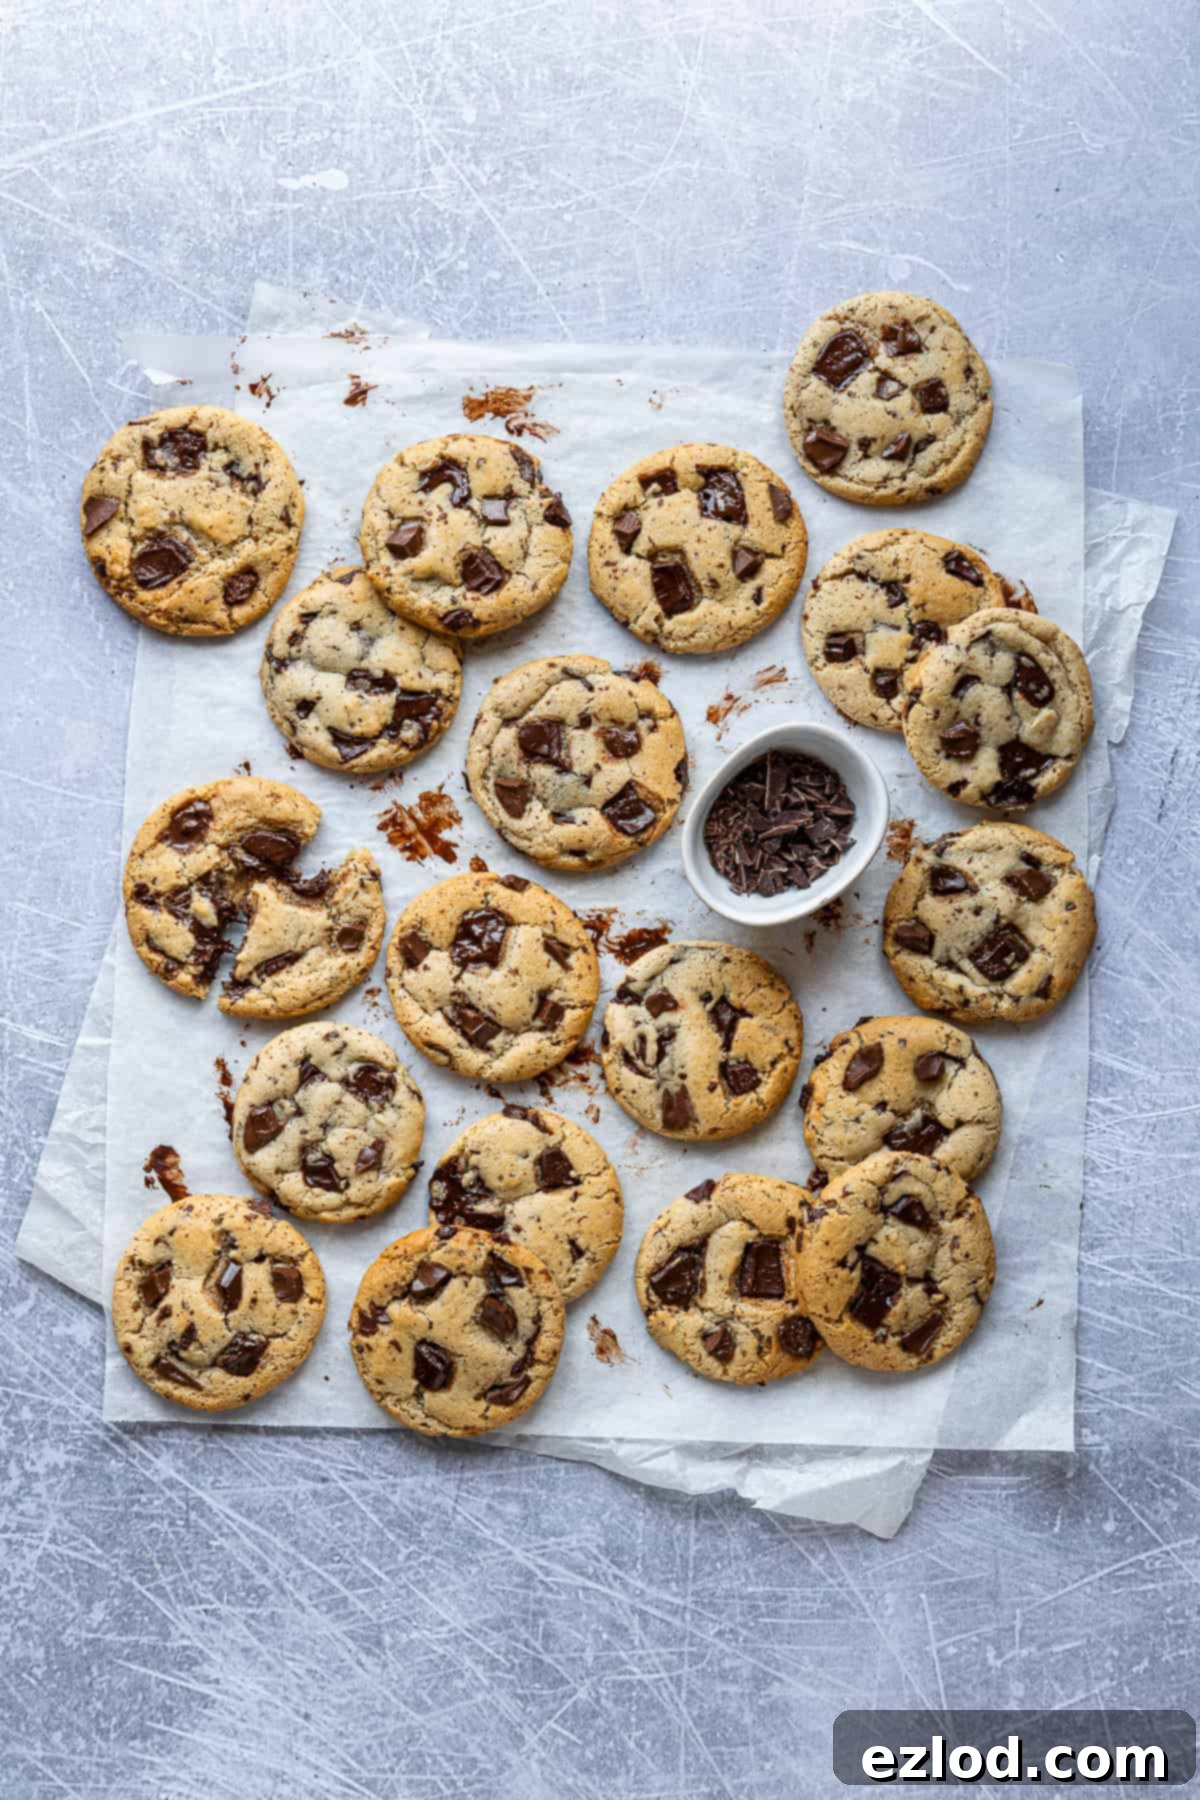
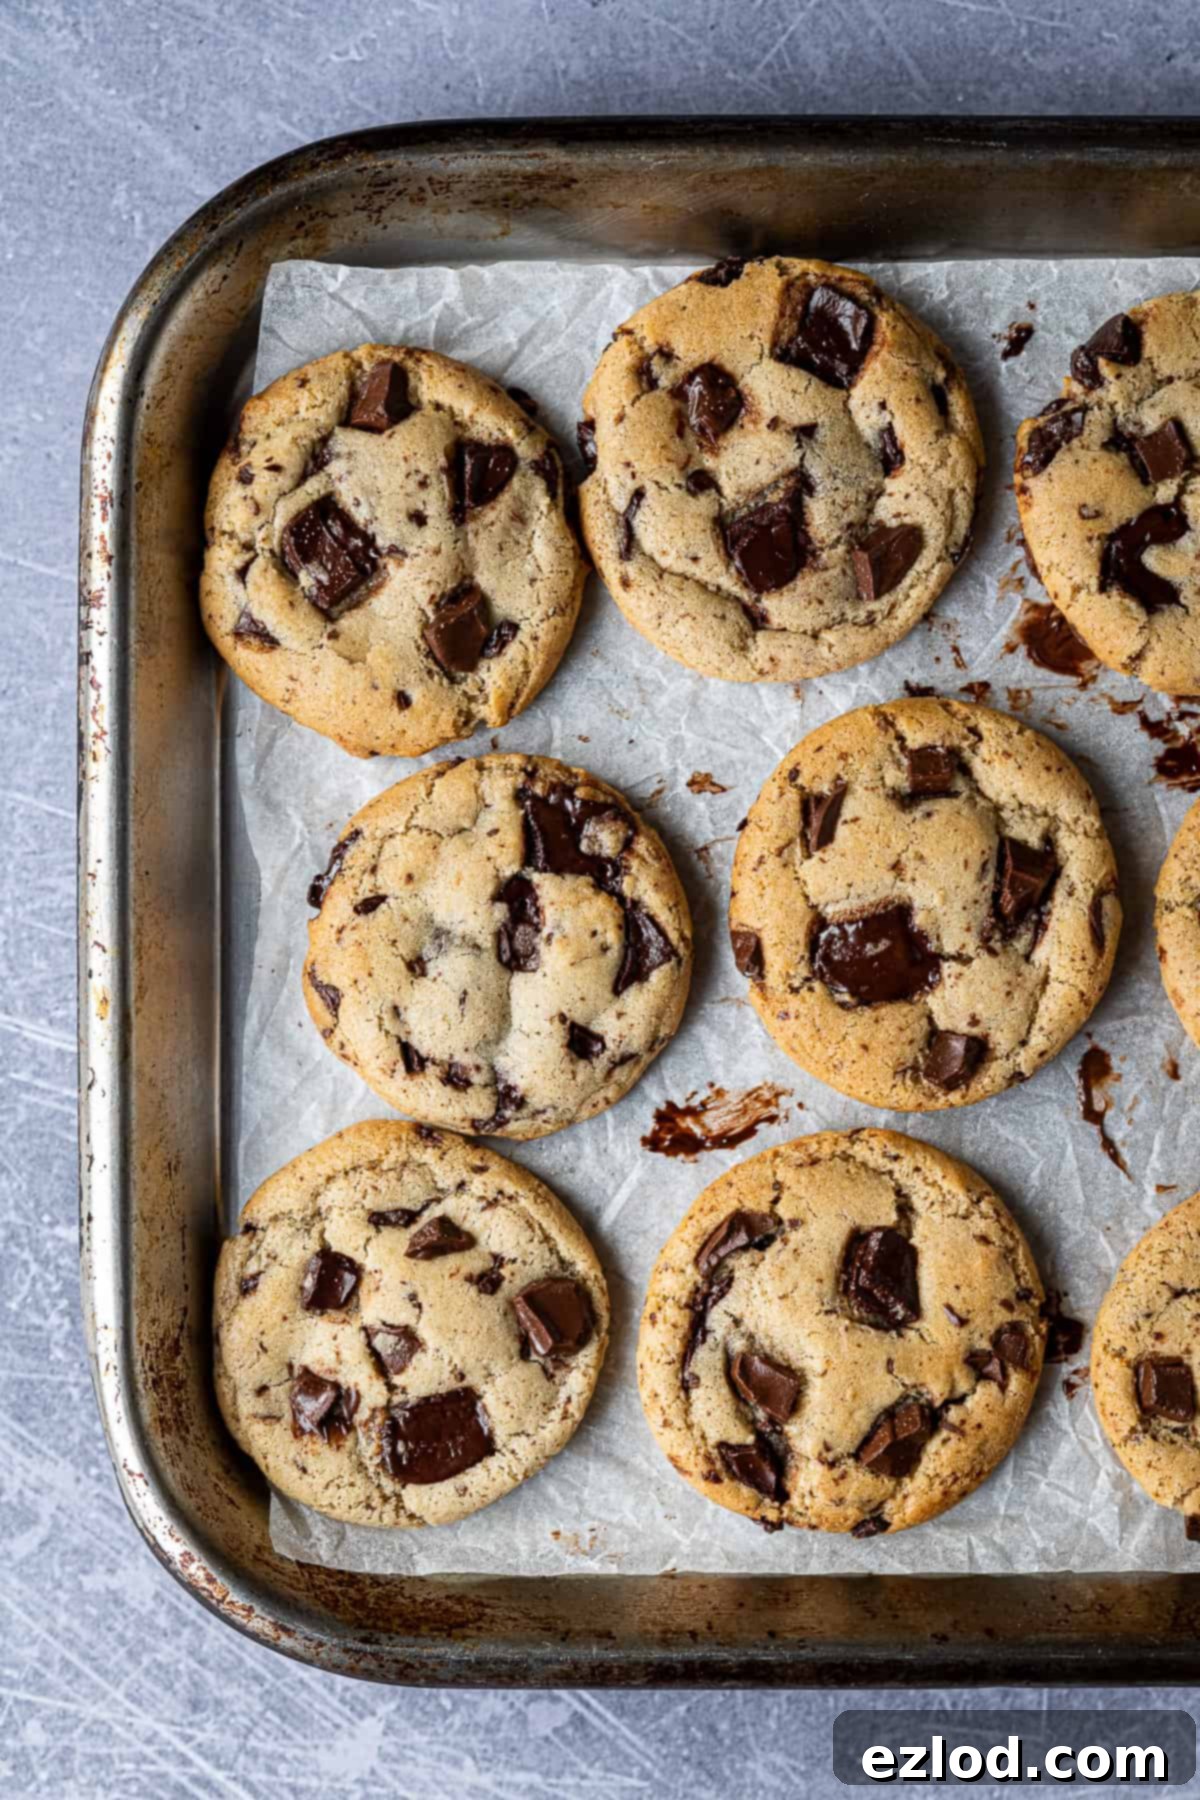
These vegan olive oil chocolate chip cookies are the culmination of that quest. They embody everything I adore in a cookie: beautifully crisp edges, a satisfyingly chewy middle, a rich depth of flavor, and generous chunks of dark chocolate scattered throughout. They’re not just egg-free and dairy-free; they’re a revelation in plant-based baking, proving that you don’t need traditional ingredients to create something truly extraordinary.
The process of making these olive oil cookies is incredibly straightforward, though it does include one crucial step: the dough requires an overnight chill in the refrigerator. This rest period is essential for developing flavor and achieving the ideal texture, so plan ahead and prepare the dough the day before you intend to bake these delightful treats.
Essential Ingredients for Vegan Olive Oil Chocolate Chip Cookies:
Crafting these dairy-free, egg-free chocolate chip cookies requires a thoughtful selection of ingredients. Each component plays a vital role in achieving the desired crisp-chewy texture and rich flavor profile:
- Olive Oil: As the star ingredient, a mild-flavored olive oil is highly recommended. While you might detect a subtle olive oil note in the raw dough, this flavor magically mellows and disappears during baking, leaving behind only richness and a wonderfully tender crumb. Using a mild olive oil ensures the chocolate and other cookie flavors shine through. Avoid extra virgin olive oil, as its robust flavor can be too dominant. If you prefer a very subtle oil flavor, you can opt for a neutral oil like sunflower or canola, but olive oil truly adds a unique depth.
- Plain Flour (All-Purpose) and White Bread Flour: The combination of plain flour and bread flour is key to achieving that perfect chewy texture. Bread flour, with its higher protein content, contributes to the structure and chewiness, making these cookies truly stand out. If bread flour isn’t available, you can substitute it with an equal amount of plain all-purpose flour, though the texture may be slightly less chewy.
- Cornflour (Cornstarch): A small addition of cornflour is a secret weapon for tender cookies. It helps to create a softer, more delicate crumb, balancing the chewiness from the bread flour. If you don’t have cornflour, simply use an equivalent amount of additional plain flour, but I strongly encourage including it for optimal texture.
- Non-Dairy Milk: In these egg-free cookies, unsweetened non-dairy milk acts as the primary liquid, adding moisture and helping to bind the dough. While most unsweetened non-dairy milks (excluding coconut milk, which can be too fatty and alter the flavor) will work, soy milk is my top recommendation. Its higher protein content makes it the closest plant-based substitute for the structural properties that eggs would typically provide.
- Light Brown Soft Sugar and Caster Sugar: A blend of sugars is essential for both flavor and texture. Light brown sugar contributes to a moist, chewy interior and adds notes of caramel, while caster (or granulated) sugar helps with crispiness and spread. Adhering to the specified ratios is crucial, as sugar plays a significant role in the cookie’s final structure and texture. Feel free to swap caster for granulated or light brown for dark brown if that’s what you have on hand, but try to maintain the overall quantities.
- Chopped Dark Chocolate: While chocolate chips are convenient, I passionately advocate for using chopped chocolate. When chopped, the chocolate melts more unevenly, creating delectable pockets of gooey chocolate throughout the cookie rather than uniform chips. Dark chocolate is my preferred choice, as the cookies are already quite sweet, and the slight bitterness of dark chocolate provides a wonderful balance. However, if you adore milk chocolate, a vegan version would work too!
- Salt: Often underestimated, salt is a critical ingredient in cookies. It not only balances the sweetness but also intensifies the other flavors, making them more vibrant. Since olive oil lacks the salt content found in most butters, adding salt separately is non-negotiable for a truly flavorful cookie.
- Vanilla Extract: Vanilla is a foundational flavor in almost all chocolate chip cookies. It adds warmth, depth, and a comforting aroma that truly elevates the entire experience. Please do not skip it!
- Baking Powder and Bicarbonate of Soda (Baking Soda): These leavening agents work in tandem to give the cookies a gentle lift, ensuring they puff up slightly without becoming cake-like. They contribute to the light and airy texture while maintaining the essential chewiness.
Can I Use Another Type Of Oil for These Vegan Cookies?
Absolutely! If olive oil isn’t your preference or you don’t have it on hand, most neutral-flavored oils can be substituted. Excellent choices include sunflower oil, vegetable oil, or rapeseed (canola) oil. These oils have a subtle flavor that won’t overpower the chocolate and other ingredients, making them reliable alternatives for these easy vegan cookies.
I have not, however, tested this specific recipe with coconut oil. Coconut oil is solid at room temperature, which might alter the dough’s consistency and how it spreads during baking. If you experiment with coconut oil, you might need to adjust the chilling time or expect a slightly different texture.
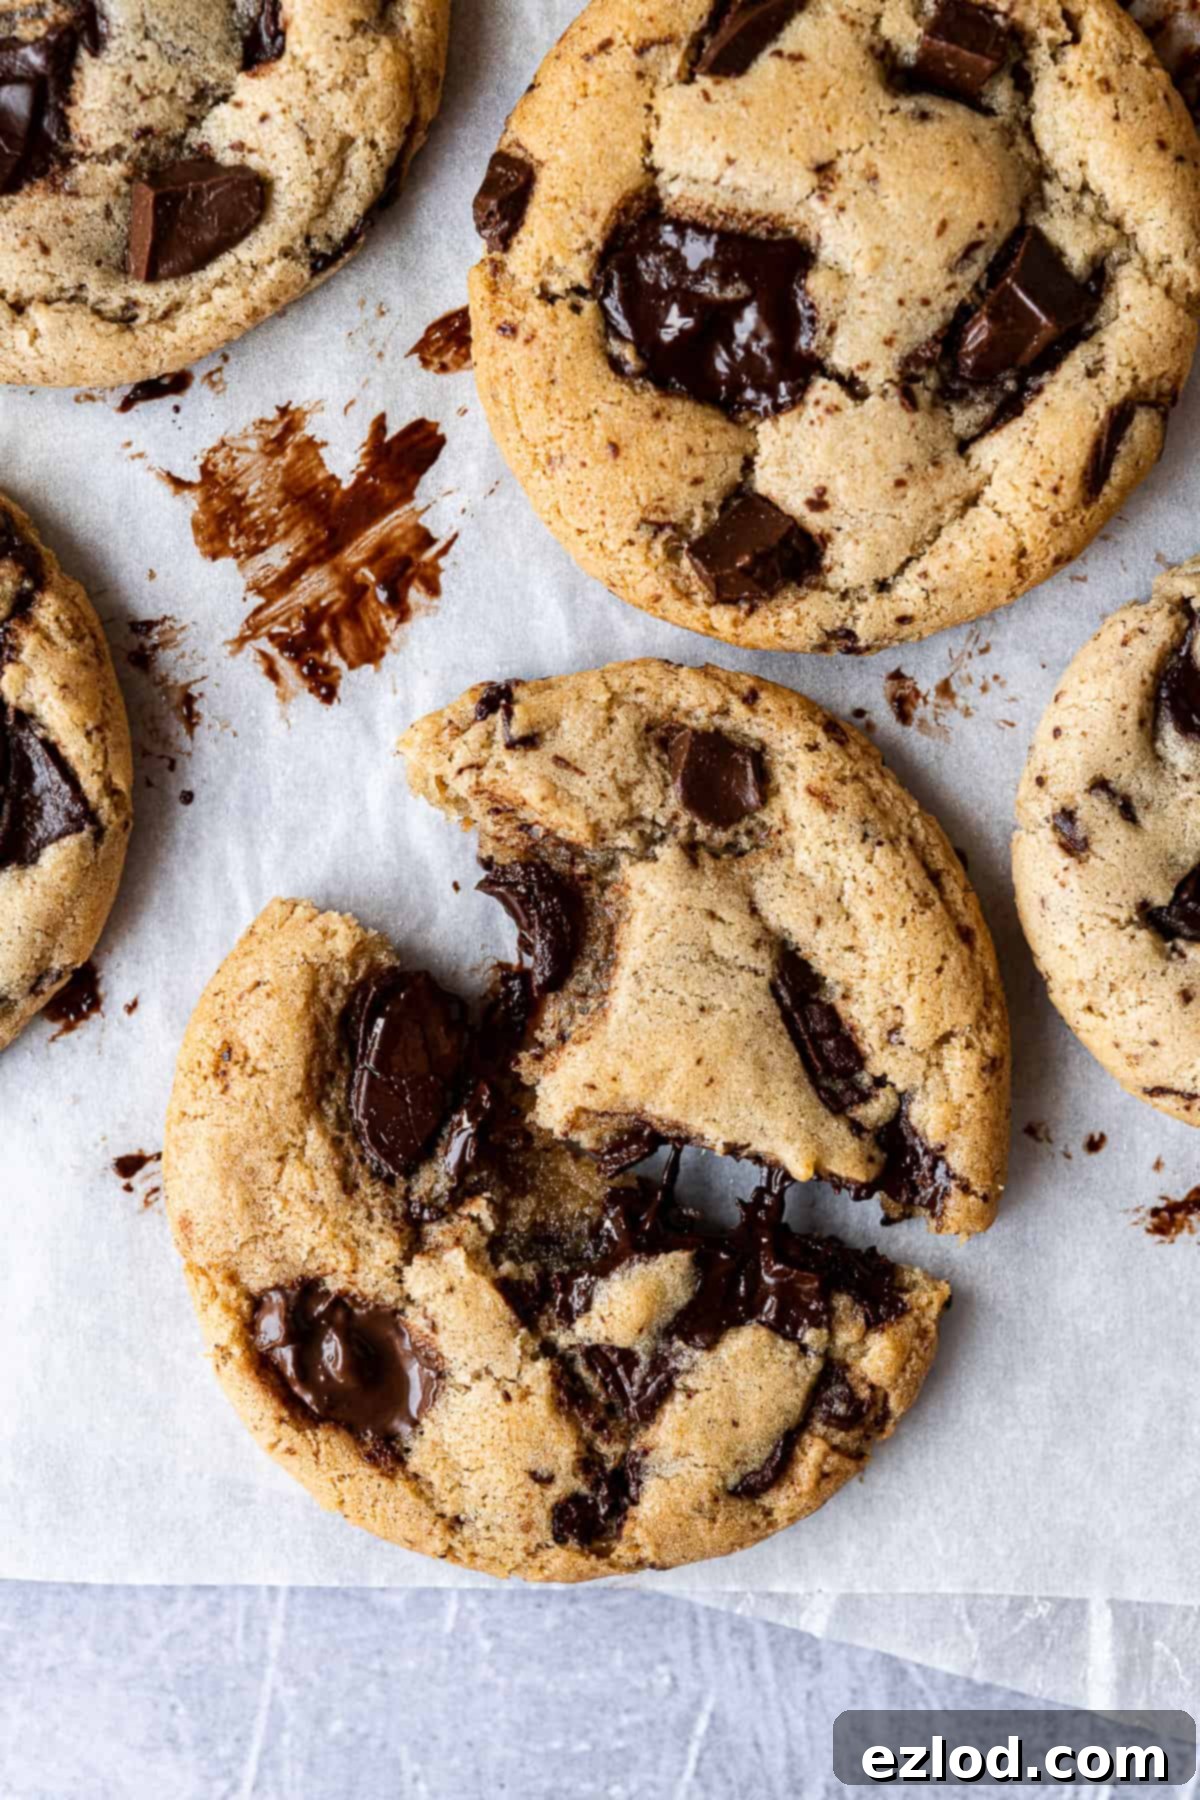
How to Bake the Best Vegan Olive Oil Chocolate Chip Cookies:
(For precise ingredient quantities and comprehensive instructions, please refer to the detailed recipe card below.)
The journey to these incredible egg-free chocolate chip cookies begins with combining your wet ingredients. In a large bowl, thoroughly whisk together the mild olive oil, light brown soft sugar, caster sugar, non-dairy milk, and vanilla extract until the mixture is completely smooth and well-emulsified. This ensures the sugars dissolve properly and the flavors are evenly distributed.
In a separate, medium-sized bowl, prepare your dry ingredients. Sift together the plain flour, bread flour, cornflour, baking powder, bicarbonate of soda, and salt. Sifting helps to aerate the flours and prevents lumps, leading to a smoother dough. Once sifted, stir in your generous chunks of chopped dark chocolate.
A pro tip for perfect vegan cookies: incorporating the chocolate into the dry ingredients before mixing them with the wet prevents overworking the dough. Overmixing can lead to excess gluten development, resulting in tough, rather than chewy, cookies. This simple step helps maintain a tender crumb.
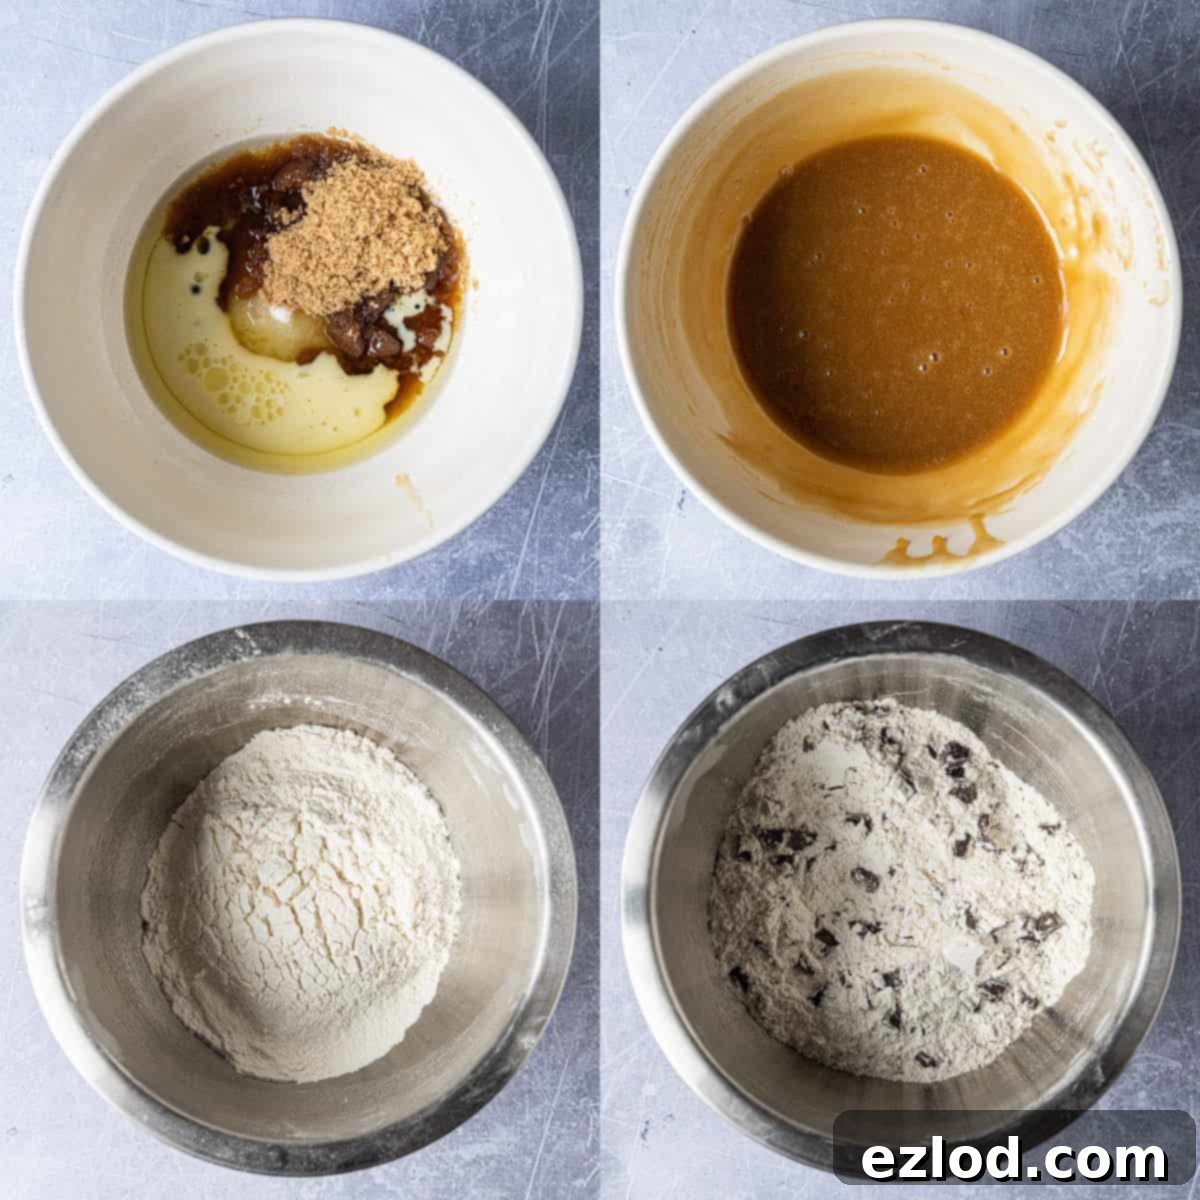
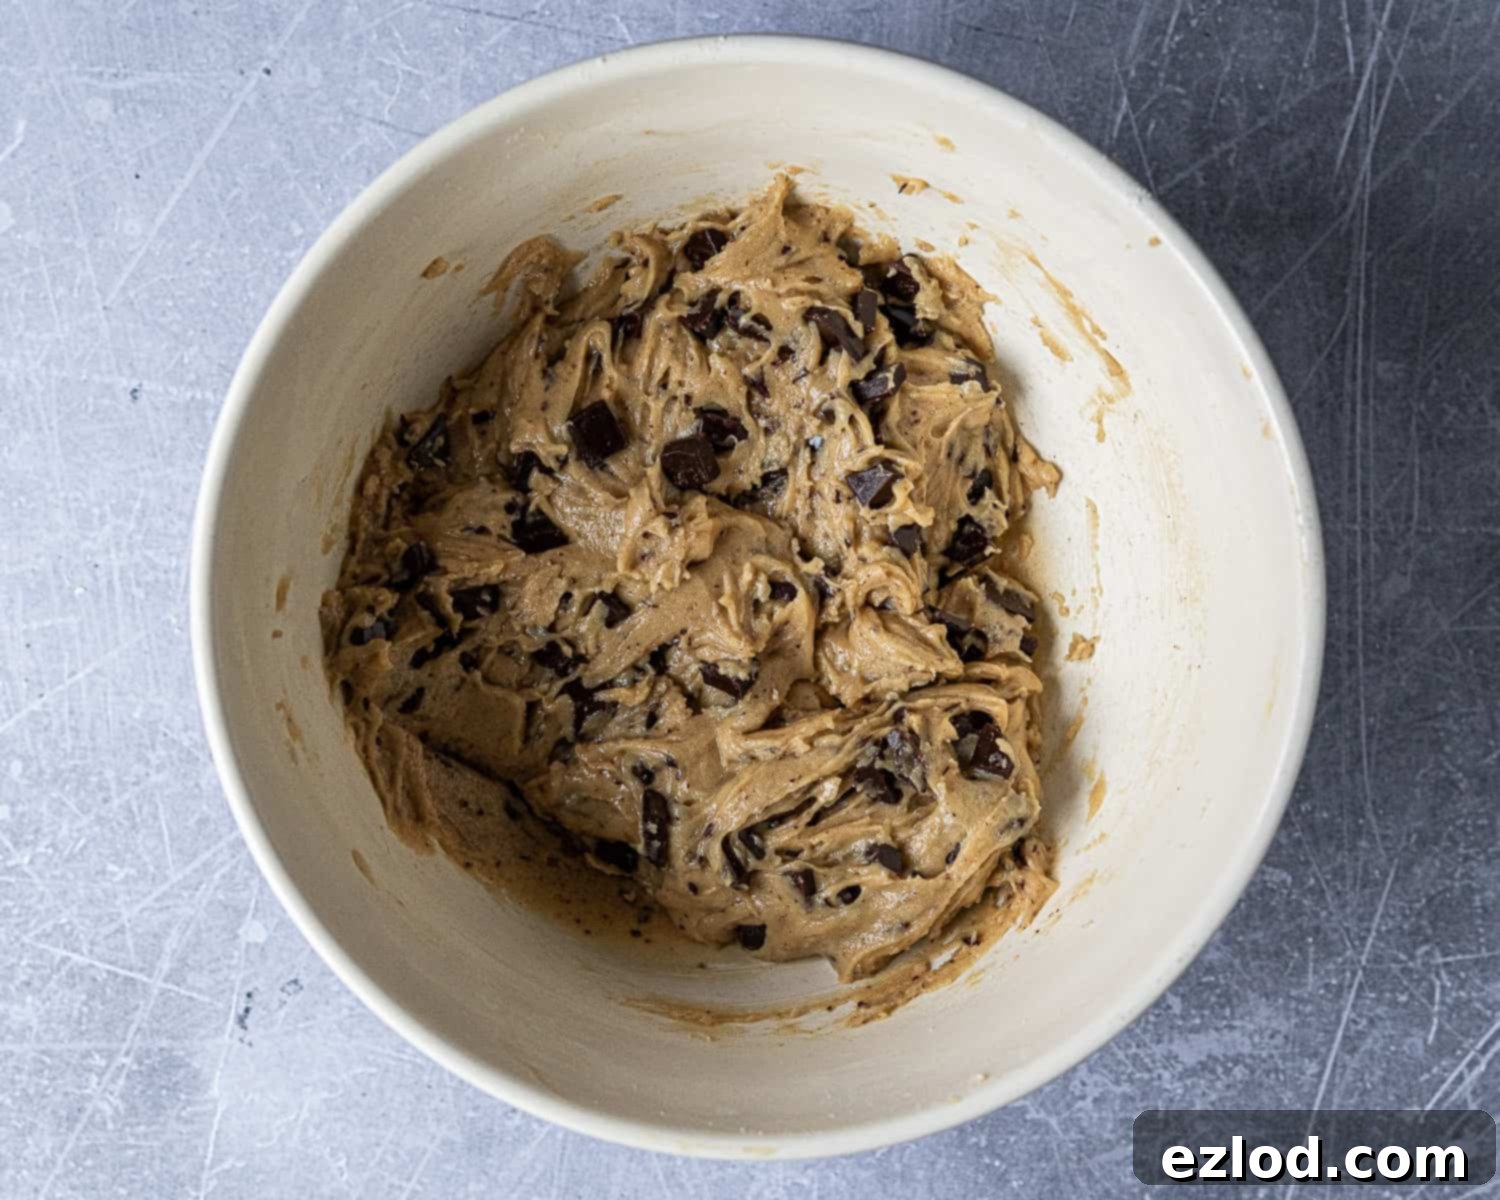
Next, gently fold the dry ingredients into the wet mixture. Stir just until no dry streaks of flour remain. At this stage, the dough will likely be quite soft and pliable, which is perfectly normal. Don’t worry, it will firm up beautifully as it chills.
Cover the bowl tightly with plastic wrap or a reusable lid and transfer it to the refrigerator. Allow the dough to chill overnight, or for a minimum of 12 hours. This extended chilling period is crucial for several reasons: it allows the flours to fully hydrate, enhances the depth of flavor, and firms up the dough, making it much easier to scoop and handle. The dough can be kept chilled for up to two days, offering flexibility.
On baking day, preheat your oven and line a couple of metal baking sheets with parchment paper. Using a cookie scoop (a heaped tablespoon for each cookie works well) ensures uniform size and even baking. Alternatively, you can roll the dough into balls by hand.
Place the dough balls on the prepared baking sheets, ensuring they are adequately spaced apart to allow for spreading. Bake the cookies for approximately 10-15 minutes, or until their edges turn a beautiful golden brown.
For that classic, crinkled cookie appearance, once you remove the baking trays from the oven, gently but firmly bash them on your countertop a couple of times. This simple technique helps the cookies to flatten slightly and encourages those delightful ripples.
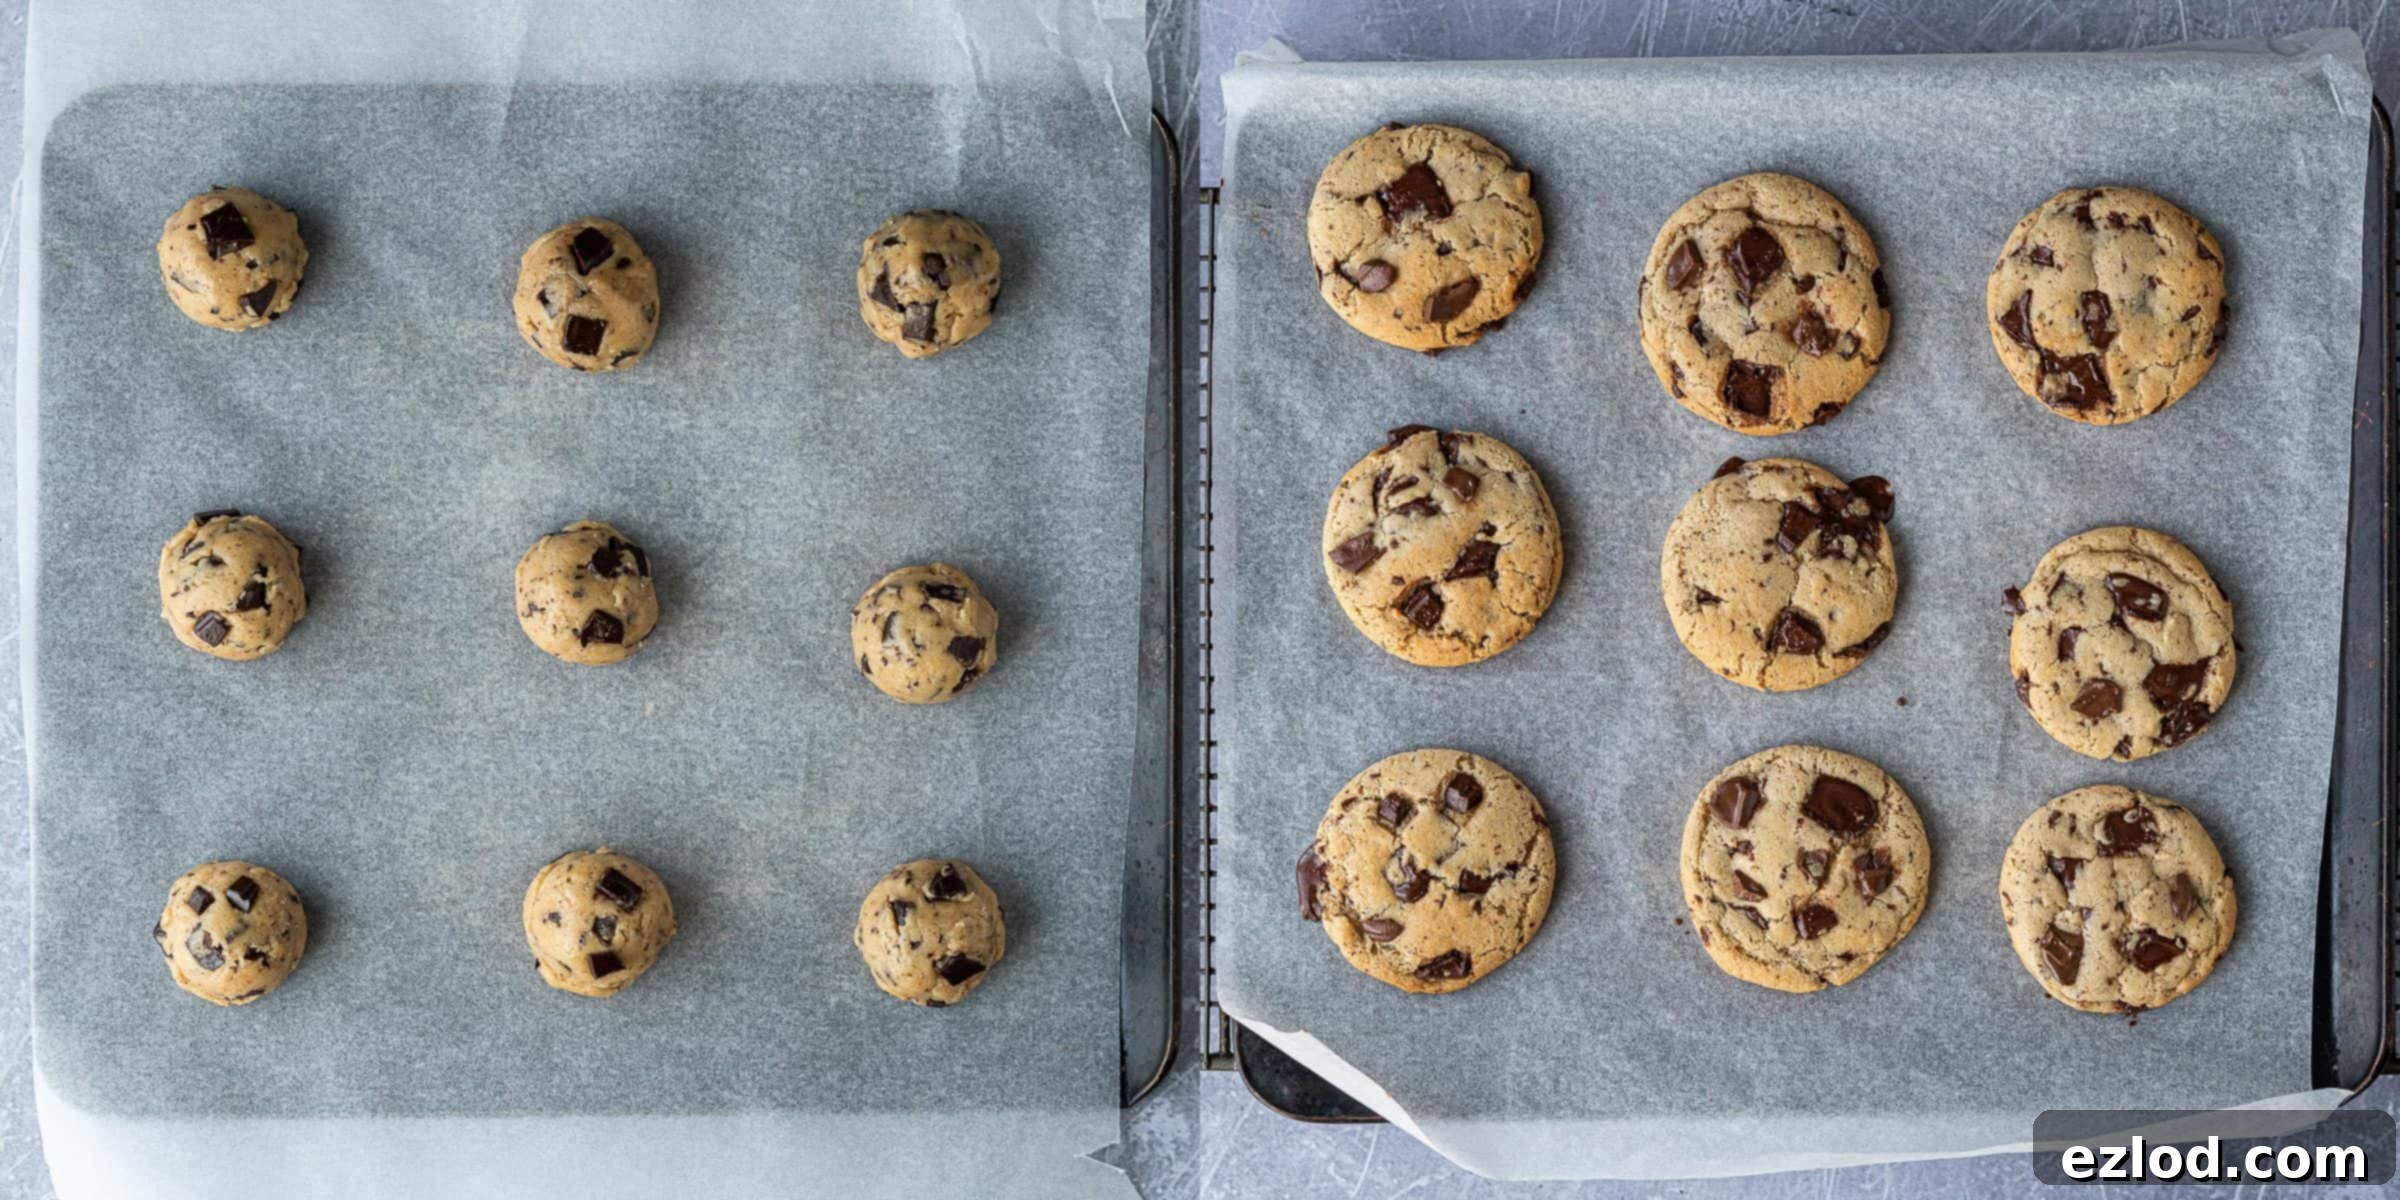
While the countertop-bashing step is entirely optional – if you prefer a puffier cookie, simply skip it – it adds to the visual appeal. Allow the freshly baked olive oil cookies to cool on the baking sheet for about ten minutes. This allows them to set up and prevents them from breaking when transferred. Then, move them to a wire rack to cool completely before storing or serving.
Is Chilling the Cookie Dough Truly Necessary?
Yes, for these specific vegan olive oil chocolate chip cookies, chilling the dough is absolutely essential and non-negotiable. While it requires a bit of patience, this step is critical for achieving the perfect texture and flavor.
Chilling the dough allows the flour to fully hydrate, which leads to a more tender and cohesive cookie. It also gives the flavors a chance to meld and deepen, resulting in a more complex and satisfying taste. Most importantly for this oil-based recipe, chilling helps the dough to firm up considerably, making it much easier to scoop and prevent excessive spreading during baking. If you attempt to bake the dough immediately without chilling, it will be too soft and sticky to handle, and your cookies will likely spread too much, resulting in thin, greasy, and less flavorful results. Trust me, I’ve experimented, and the difference is remarkable!
If you’re in a hurry and craving vegan chocolate chip cookies RIGHT NOW, my standard vegan chocolate chip cookie recipe is a fantastic alternative that does not require chilling.
Can These Vegan Chocolate Chip Cookies Be Frozen?
For the best experience, I highly recommend freezing the unbaked cookie dough rather than the baked cookies. This method allows you to enjoy fresh-from-the-oven cookies whenever a craving strikes!
Once your dough has completed its overnight chill in the fridge, portion it out into individual cookie balls, just as you would for baking. Place these dough balls on a baking sheet lined with parchment paper and freeze them until they are completely solid. Once frozen, transfer the solid dough balls to an airtight freezer-safe container or a zip-top freezer bag. They can be stored this way for up to three months.
When you’re ready to bake, there’s no need to defrost the dough! Simply place the frozen cookie dough balls on a lined baking sheet and bake them directly from the freezer. You might find they need an extra minute or two in the oven compared to chilled dough, but otherwise, the process is the same. This means you can have warm, chewy, homemade vegan olive oil chocolate chip cookies in about 15-20 minutes, anytime you desire!
Expert Tips for Perfect Olive Oil Cookies:
Achieving the best results with these vegan olive oil chocolate chip cookies depends on a few key practices:
- Precision is Key: For optimal results, follow the recipe meticulously. I strongly advocate for weighing your ingredients using a digital kitchen scale (gram measurements) rather than cup conversions. Cup measurements are inherently less accurate for baking, and I cannot guarantee the same perfect outcome if you rely on them. A gram is always a gram, but the volume of a cup can vary significantly.
- Baking is Chemistry: While cookies might seem simple, they can be quite temperamental. Even minor deviations in the recipe or the exact ingredients used can significantly alter the final product. For this reason, try to adhere to the recipe as closely as written.
- Don’t Be Alarmed by Dough Texture: The raw dough may feel a little oily to the touch, and this is entirely normal for an oil-based cookie recipe. Rest assured, the baked cookies will not be greasy at all; they will be perfectly tender and rich.
- Aesthetic Appeal: For cookies that look as good as they taste, reserve a few of your chopped chocolate chunks. Just before baking, gently press these extra chunks onto the tops of the scooped cookie dough balls. This ensures that plenty of visible chocolate is on the surface, making them incredibly appealing.
- Choose the Right Baking Surface: Always bake these cookies on a metal baking sheet, preferably lined with parchment paper. Metal conducts heat evenly, promoting consistent baking and browning. Avoid using glass dishes or silicone sheets, as they do not conduct heat in the same way, which can lead to underbaked or unevenly cooked cookies.
- Storage and Freshness: These vegan olive oil chocolate chip cookies are undoubtedly best enjoyed on the day they are baked, when their edges are crispiest and their centers chewiest. However, they will keep beautifully in an airtight container at room temperature for up to three days. Note that their texture will soften slightly over time.
More Delicious Vegan Cookie Recipes to Explore:
If you’ve loved these olive oil chocolate chip cookies, be sure to check out some of my other popular vegan cookie creations:
Classic Vegan Chocolate Chip Cookies
Vegan Peanut Butter Chocolate Chip Cookies
Vegan Oatmeal Raisin Cookies
Vegan Pumpkin Chocolate Chip Cookies
Vegan Gingerbread Cookies
Vegan Maple Cookies
Chocolate Raspberry Skillet Cookie for Two
Chocolate Chip Cookies for One (Vegan)
If you’ve had the pleasure of trying this recipe, I’d love to hear about your experience! Please rate it, leave a comment below, or tag @domestic_gothess on Instagram and use the hashtag #domesticgothess to share your creations.
*All images and content on Domestic Gothess are copyright protected. If you wish to share this recipe, please do so by using the provided share buttons. Do not screenshot or post the recipe or content in full.*

Print
Olive Oil Chocolate Chip Cookies (Vegan)
Ingredients
- 100 ml (⅓ cup + 1 Tbsp + 1 tsp) mild olive oil
- 115 g (½ cup + 2 Tbsp) light brown soft sugar
- 50 g (¼ cup) caster or granulated sugar
- 60 ml (¼ cup) unsweetened non-dairy milk (soy milk recommended)
- 2 tsp vanilla extract
- 100 g (½ + ⅓ cup) plain (all-purpose) flour
- 100 g (½ + ⅓ cup) white bread flour (or additional plain flour)
- 10 g (1 Tbsp) cornflour (cornstarch)
- 1 tsp baking powder
- ½ tsp bicarbonate of soda (baking soda)
- ½ tsp salt
- 150 g (5 ⅓ oz) dark chocolate chopped
Instructions
-
Begin preparing the dough the day before you plan to bake the cookies, as it requires overnight chilling.
-
In a large bowl, whisk together the olive oil, light brown soft sugar, caster or granulated sugar, non-dairy milk, and vanilla extract until they are very well combined and smooth.
-
In a separate bowl, sift together the plain flour, bread flour, cornflour, baking powder, bicarbonate of soda, and salt. Then, stir in the chopped dark chocolate.
-
Add the dry ingredients mixture to the wet ingredients. Stir gently until no dry patches of flour remain. Be careful not to over-mix the dough; it will be soft at this point but will firm up during chilling.
-
Cover the bowl with plastic wrap and place it in the fridge to chill for at least 12 hours, ideally overnight. The dough can be refrigerated for up to two days.
-
The next day, preheat your oven to 180°C/160°C fan (350°F/gas mark 4). Line two metal baking sheets with baking parchment.
-
Using a cookie scoop or a heaped tablespoon, scoop out uniform balls of dough. Alternatively, roll the dough into balls with your hands.
-
Arrange the dough balls on the prepared baking sheets, ensuring they are well-spaced to allow for spreading. Bake for 10-15 minutes, or until the edges are golden.
-
Immediately after removing the trays from the oven, carefully lift and bash them gently on the countertop two or three times. This optional step helps flatten the cookies slightly and create those signature crinkled edges.
-
Let the cookies cool on the baking trays for ten minutes to set, then transfer them to a wire rack to cool completely. Once fully cooled, store them in an airtight container.
Notes
- For the absolute best results, it is crucial to follow the recipe directions carefully. I highly recommend using a digital kitchen scale for weighing your ingredients in grams rather than relying on cup measurements. Cup measurements are not precise enough for baking, and their use may prevent you from achieving the desired outcome.
- Baking can be a precise science, and cookies, despite their seeming simplicity, are often sensitive to changes. Even minor alterations to the ingredient amounts or substitutes can significantly impact the final texture and appearance. Therefore, please try to prepare the recipe exactly as written for the most consistent and delicious results.
- Don’t be concerned if the raw cookie dough feels slightly oily; this is normal for an olive oil-based recipe. The baked cookies will not be greasy but will have a delightful tender texture.
- For beautifully presented cookies, reserve a few extra chopped chocolate chunks. Press these into the tops of the cookie dough balls just before baking to ensure visible pockets of melted chocolate on the surface.
