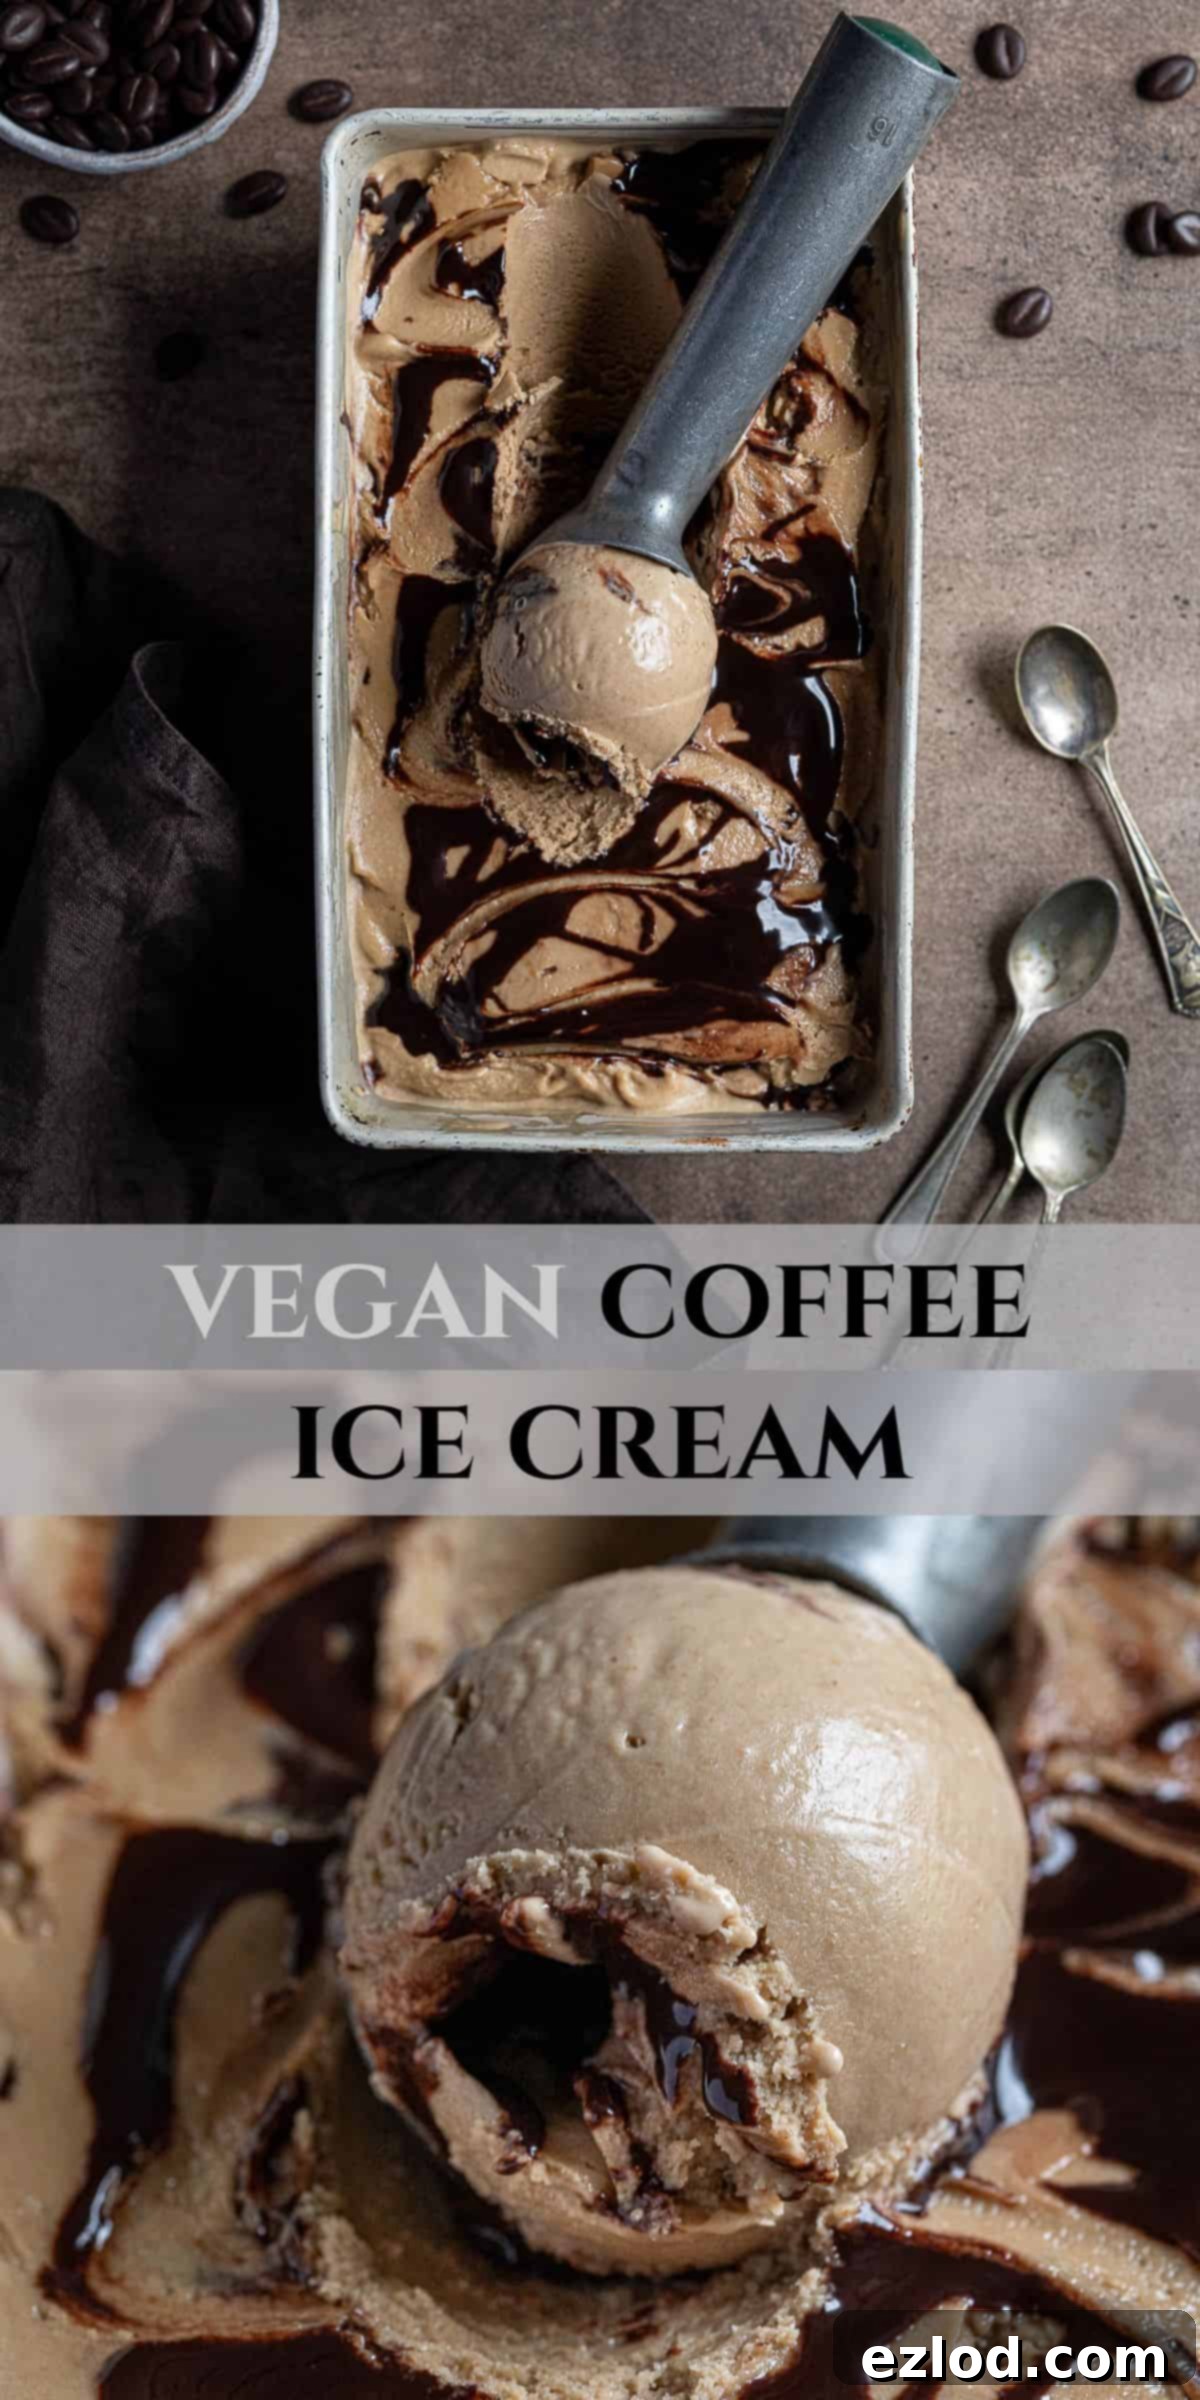
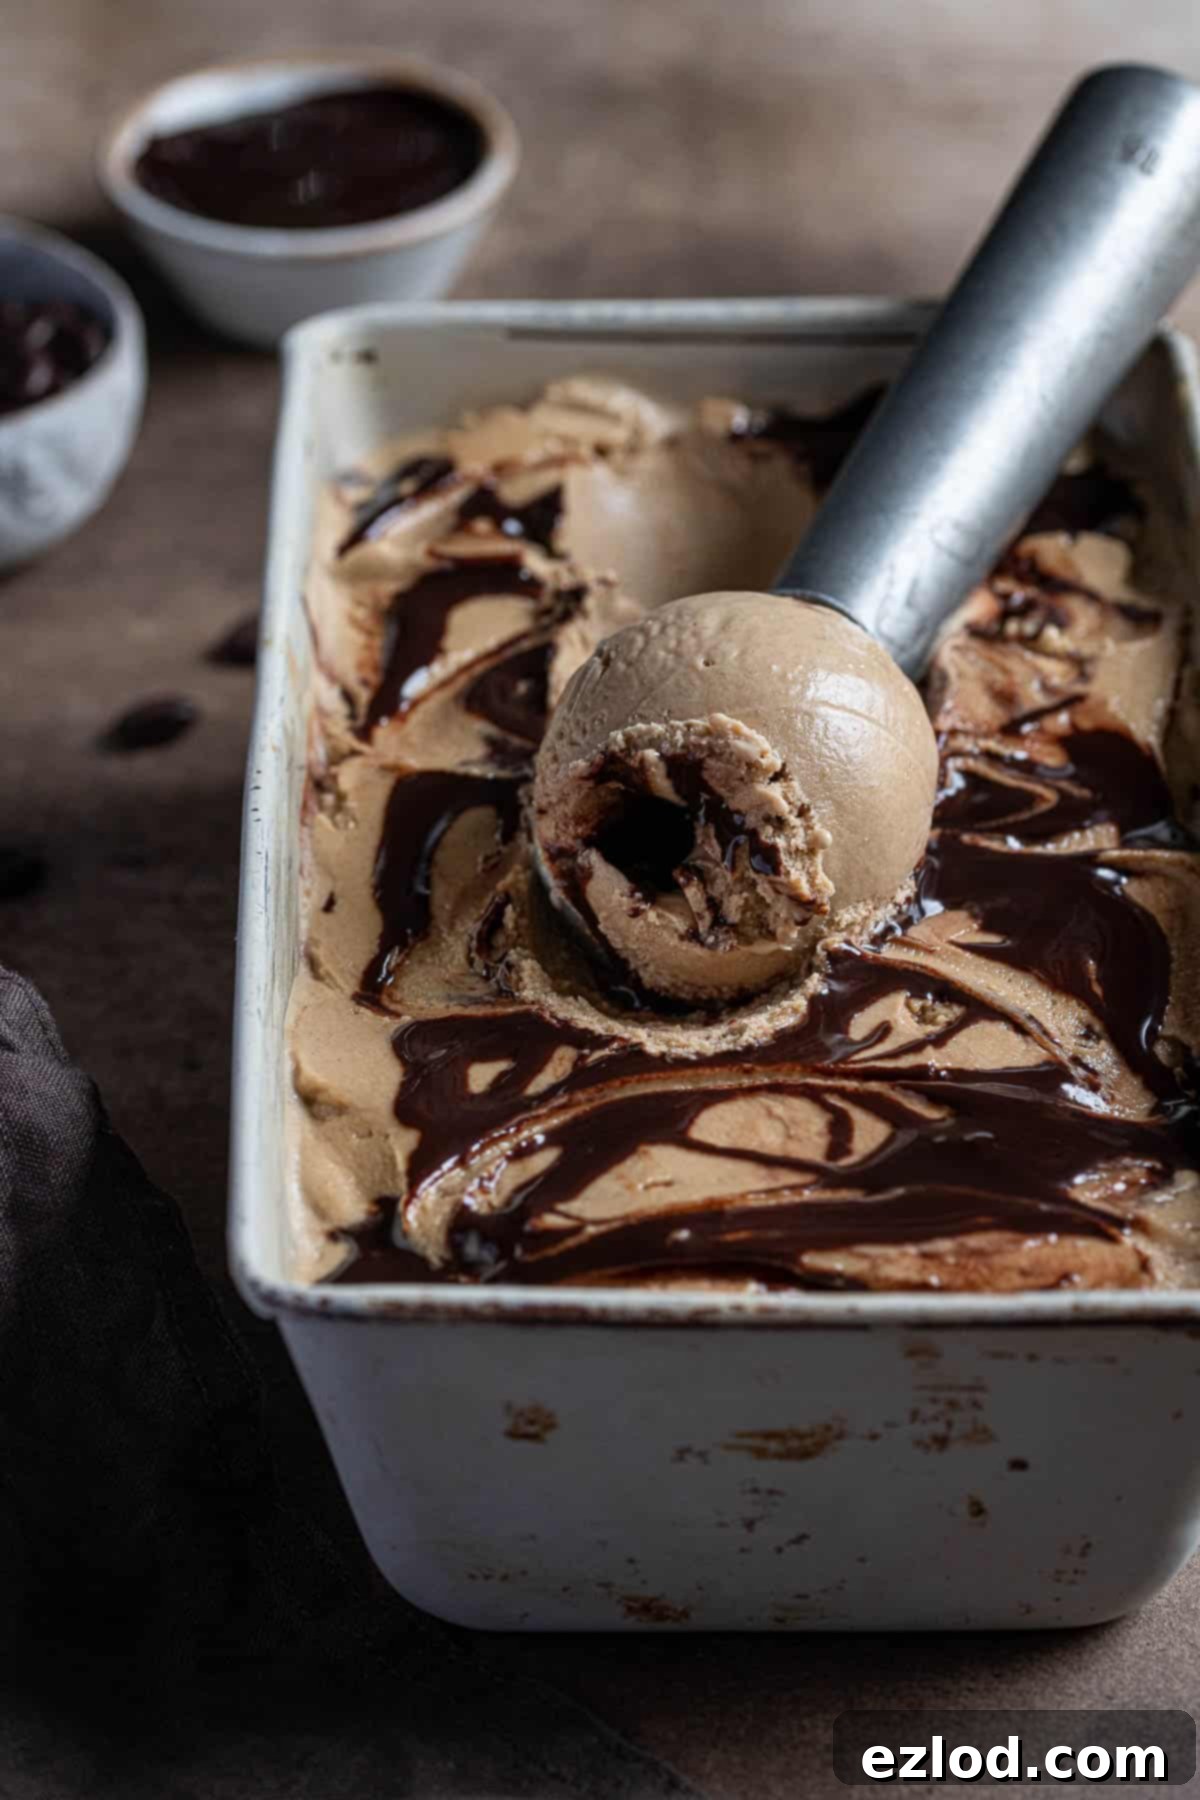
Creamy Vegan Coffee Ice Cream with Chocolate Fudge Swirl (No Coconut!)
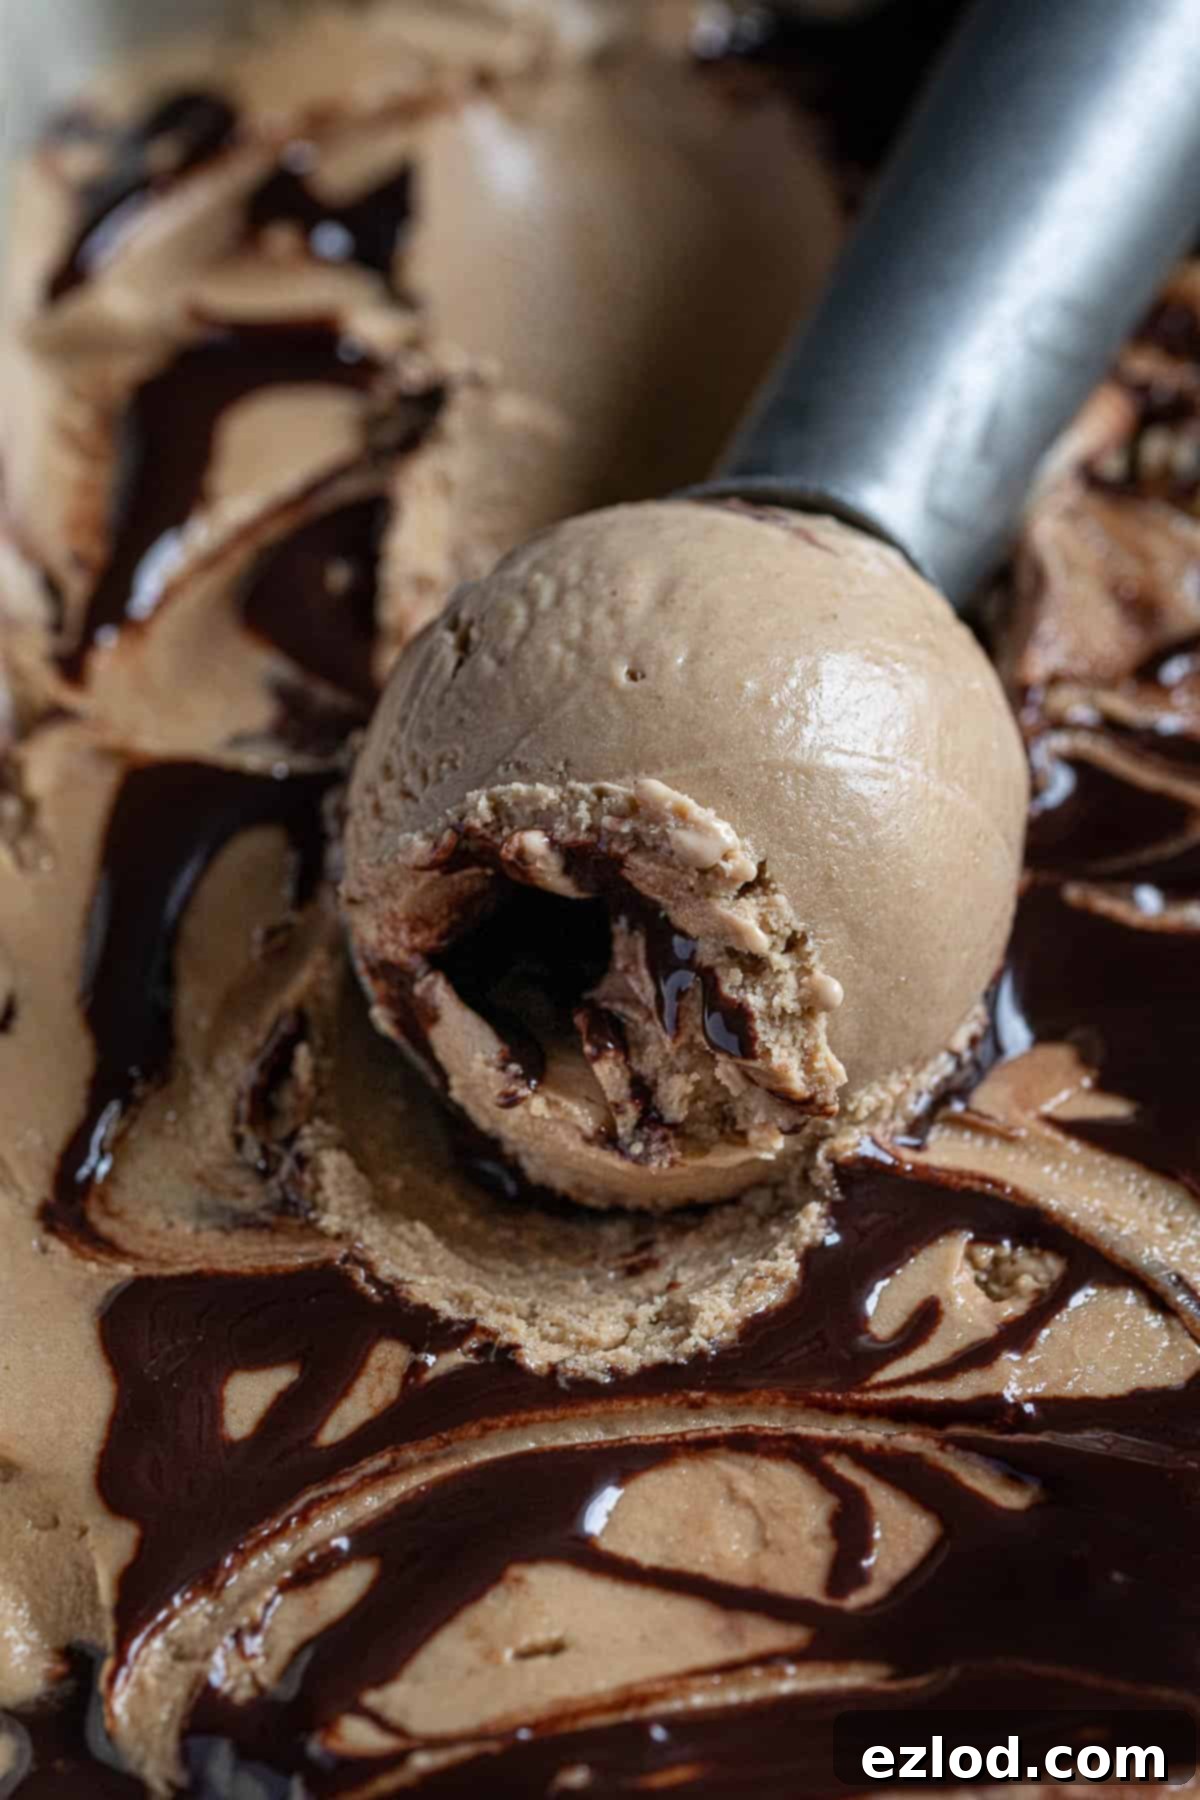
Prepare to be amazed by this truly exceptional vegan coffee ice cream! It’s delightfully smooth and incredibly creamy, bursting with a rich, sweet coffee flavor beautifully complemented by a luscious chocolate fudge swirl. Best of all, it’s surprisingly easy to make and, unlike many other vegan ice cream recipes, contains absolutely NO coconut. The secret behind its wonderfully creamy, dairy-free texture lies in two humble yet powerful ingredients: oats and cashews!
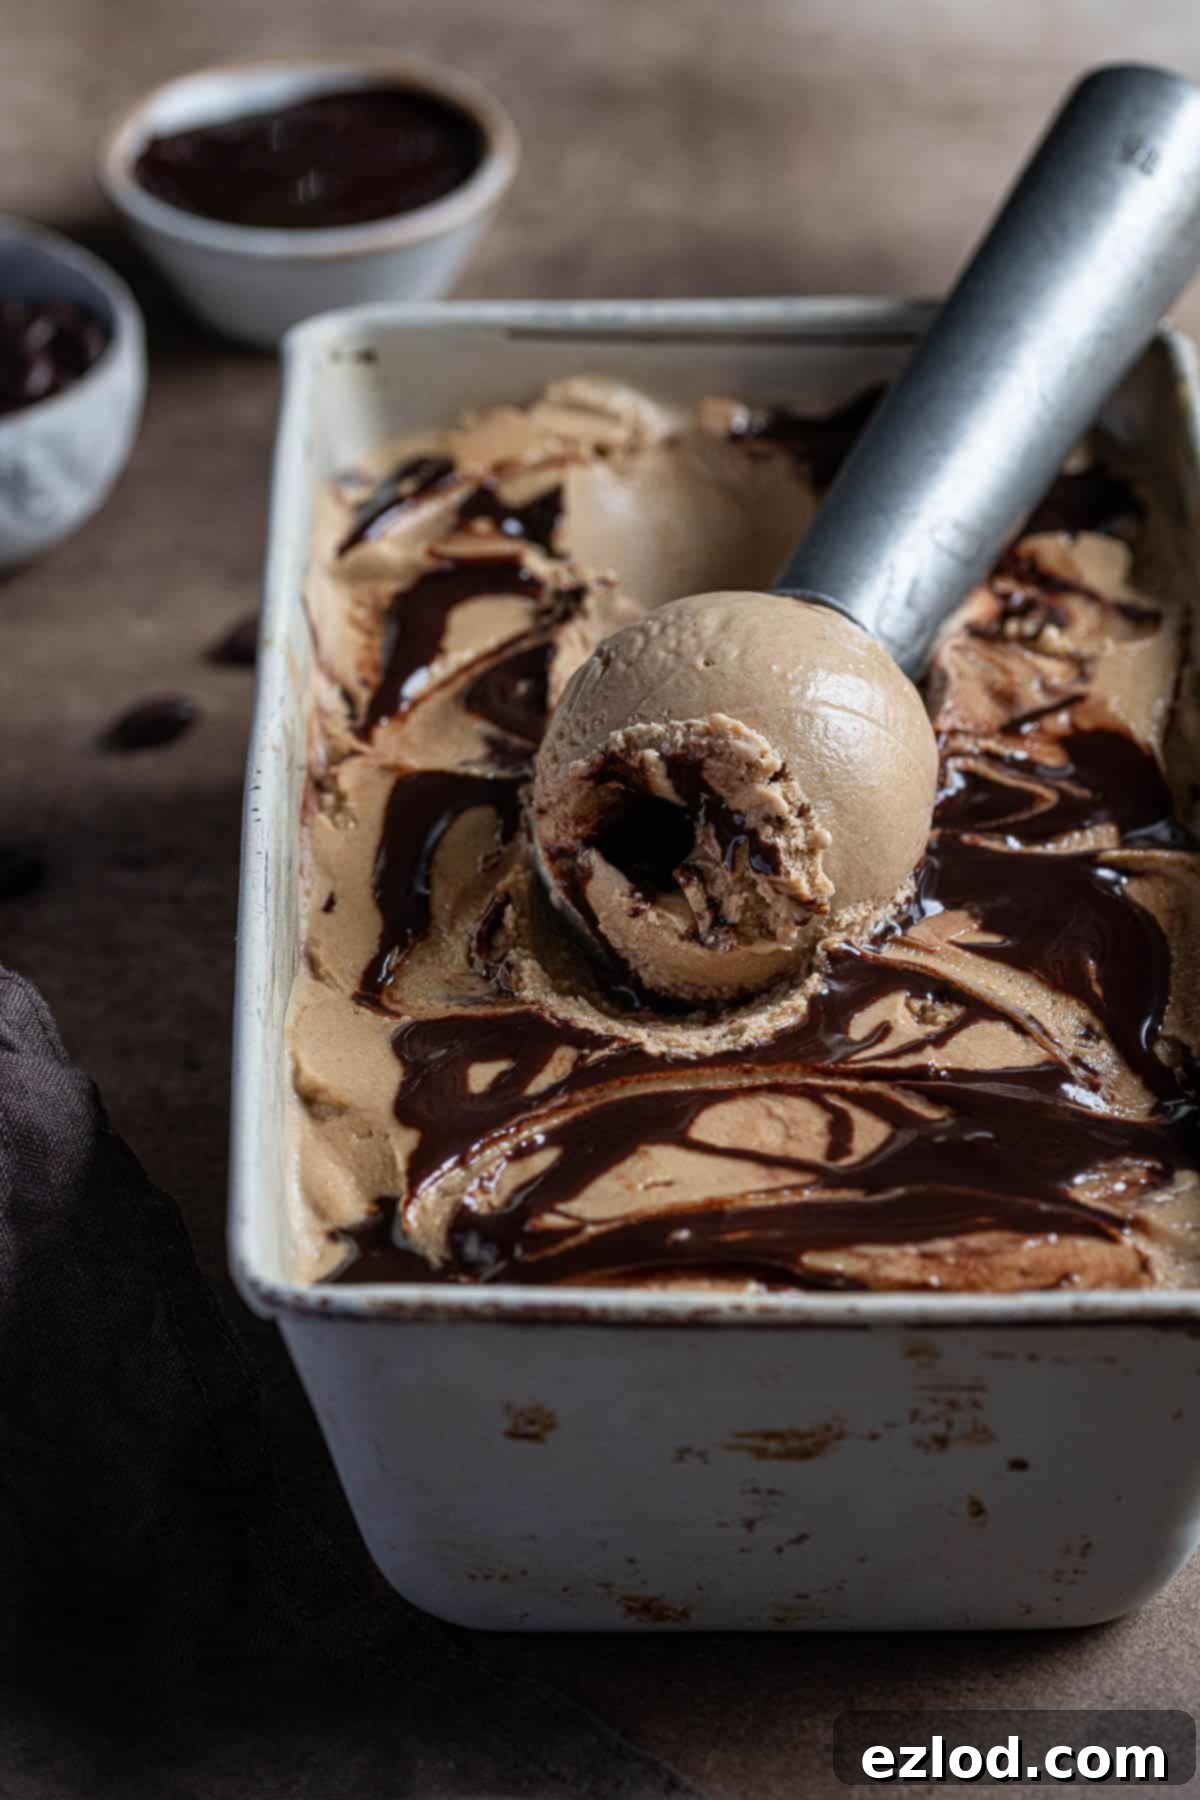
This exquisite vegan coffee ice cream recipe builds upon the foundation of our popular vegan vanilla ice cream. The genius of this base lies in its use of cooked oats and cashews, offering a superb alternative to the often-used coconut milk. By steering clear of coconut, we achieve a more neutral canvas, allowing the pure, unadulterated essence of coffee to truly shine without any competing tropical undertones. This ensures that every spoonful delivers exactly the flavor you’re craving.
While I might not be a daily coffee drinker, coffee ice cream holds a special place in my heart as one of my all-time favorite dessert flavors. And when it’s perfectly paired with chocolate, it transforms into an absolute dream! This particular vegan coffee ice cream is not just smooth and creamy; it’s genuinely delicious. The authentic coffee flavor is pronounced and vibrant, and when combined with the sweet, decadent chocolate fudge swirl, it tastes exactly like a luxurious mocha – arguably the finest way to enjoy coffee, in my humble opinion.
Essential Ingredients for Your Vegan Coffee Ice Cream:
Crafting this delightful ice cream requires a handful of key ingredients, each playing a crucial role in achieving its signature creamy texture and rich flavor. Here’s what you’ll need:
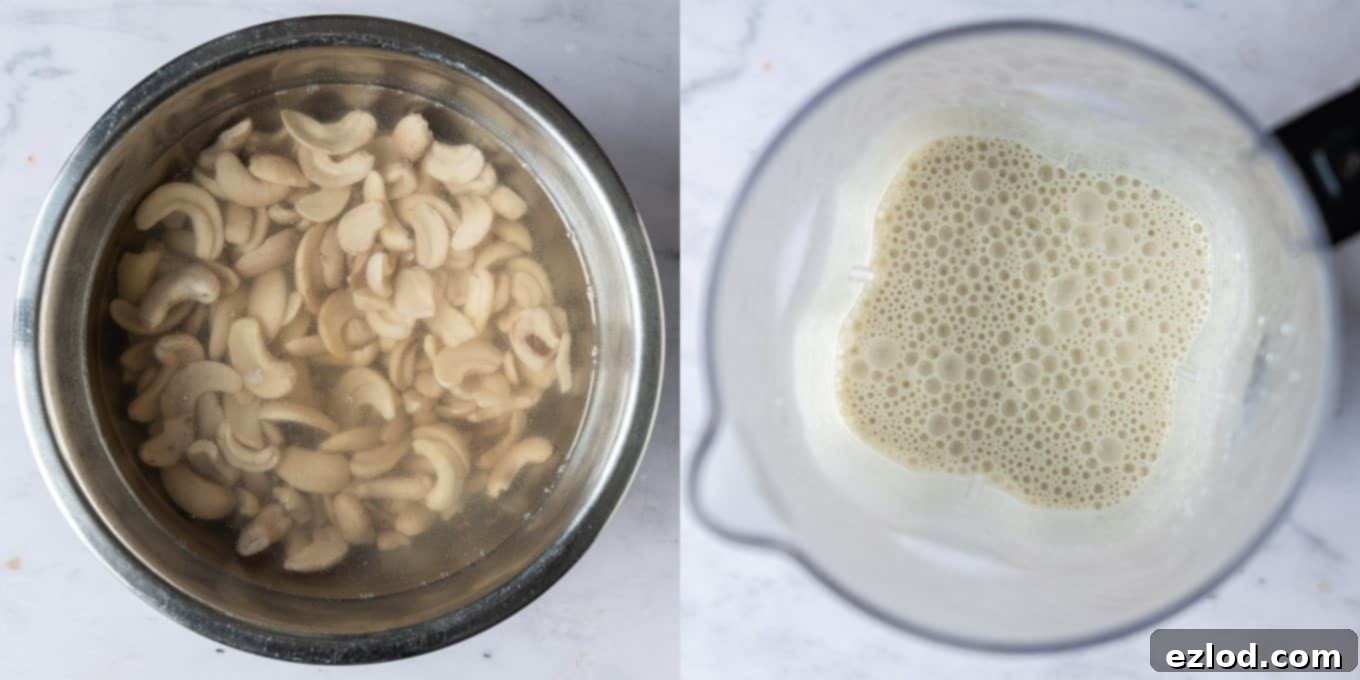
- Cashews: Unroasted cashews are the foundation for the incredible creaminess in this vegan ice cream. Their mild flavor and high fat content, when blended properly, create a wonderfully smooth, rich base. It’s essential to soak them first to soften them sufficiently for a silky-smooth blend. You have two convenient options: either cover them with boiling water and let them soak for approximately an hour, or submerge them in cold water and allow them to soak overnight. This step is critical for avoiding a grainy texture.
- Porridge Oats: Regular rolled porridge oats or quick-cooking oats both work perfectly here. These humble grains are simmered with plant milk until tender before being blended, contributing significant creaminess and body to the ice cream base without any discernible oat flavor. They are the true secret to the “no coconut” magic.
- Plant Milk: For the best results, we highly recommend unsweetened soy milk. It boasts a neutral flavor profile and a naturally creamy texture that closely mimics dairy milk, making it ideal for ice cream. (I personally find Alpro Unsweetened Soya milk to be excellent). While you can experiment with other plant milks like oat, almond, or cashew milk, remember that their distinct flavors will subtly influence the overall taste of your finished ice cream. Choose wisely to complement the coffee.
- Sugar: Our recipe utilizes a combination of white caster sugar (granulated sugar is an acceptable substitute) and light brown soft sugar. This blend not only provides sweetness but also introduces a subtle hint of caramel, which beautifully enhances the coffee flavor. Feel free to use all brown or all white sugar if that’s your preference, or even coconut sugar for a different nuanced sweetness. A crucial note: do not significantly reduce the amount of sugar, as it plays a vital role in the ice cream’s texture, preventing it from freezing too hard and ensuring a creamy consistency.
- Espresso Powder: To infuse this ice cream with an authentic, deep coffee flavor, instant espresso powder is our ingredient of choice. Its concentrated flavor can be added directly to the blender with the other ingredients, dissolving easily. If espresso powder isn’t available, regular instant coffee can be used, though you might need to adjust the quantity to achieve your desired intensity. We strongly advise against using brewed coffee, as it adds too much water, compromising the creaminess, and attempting to infuse milk with whole coffee beans can lead to curdling.
- Xanthan Gum: Most commercial ice creams include a stabilizer, such as guar gum, to prevent ingredient separation and maintain a smooth, creamy texture. As guar gum can be difficult to source, we use xanthan gum, which is widely available in most supermarkets and performs the same function effectively. While optional, it significantly contributes to the ice cream’s luxurious mouthfeel and prevents the formation of large ice crystals. You can omit it if necessary, but the texture might be slightly less smooth.
- Coffee Liqueur: This ingredient is entirely optional but highly recommended. A touch of alcohol not only adds an extra layer of complex coffee flavor but also helps to keep the ice cream from freezing excessively solid (though it will still be quite firm straight from the freezer, requiring a short softening period). Tia Maria is a fantastic choice, but any coffee liqueur will work. If you prefer to avoid alcohol, a teaspoon of very strong, cooled cold brew coffee can be used for an extra coffee kick.
- Vanilla Extract: A splash of vanilla extract deepens and rounds out the overall flavor profile, adding a warm, aromatic note that enhances both the coffee and chocolate.
- Salt: Just a pinch of salt is a game-changer! It expertly balances the sweetness and remarkably brings out the nuanced flavors of both the coffee and chocolate, making every spoonful more vibrant.
For The Decadent Chocolate Fudge Swirl:
No coffee ice cream is complete without a rich, gooey chocolate swirl. Here’s what you’ll need for ours:
- Golden Syrup: Golden syrup is key to the fudge sauce’s signature smooth, sticky texture. It also plays a vital role in preventing the sauce from becoming icy and hard when frozen, ensuring a pleasant swirl throughout the ice cream. If golden syrup is hard to find in your region, corn syrup is a suitable alternative.
- Brown Sugar: Whether you opt for light brown, dark brown soft, muscovado, or coconut sugar, any of these will work beautifully for the fudge swirl. I typically use dark brown soft sugar for its deeper, richer caramel notes, which perfectly complements the coffee.
- Cocoa Powder: You can use Dutch-processed, natural, or cacao powder – all will contribute to the rich chocolate flavor of the swirl. Choose your favorite to achieve the desired chocolate intensity.
- Dark Chocolate: I prefer to use 70% dark chocolate to ensure the fudge sauce is rich and chocolatey without being overly sweet. A bar like Bournville is another excellent option that provides a balanced, intense chocolate flavor. Make sure it’s chopped finely for easy melting.
How To Make This Irresistible Vegan Coffee Ice Cream:
(For precise measurements and detailed instructions, please refer to the comprehensive recipe card located at the bottom of this page.)
Before you begin, ensure your ice cream maker’s bowl has been thoroughly frozen. My machine typically requires at least 11 hours in the freezer to reach optimal freezing temperature, so plan ahead!
Step 1: Prepare the Cashews. The first crucial step is to soften the cashews. Drain any water from the soaked cashews thoroughly. Once drained, place the softened cashews into your blender along with the remaining half of the plant milk. Blend this mixture until it is utterly smooth and creamy. This may take a few minutes, depending on your blender’s power. Scrape down the sides as needed to ensure everything is incorporated.
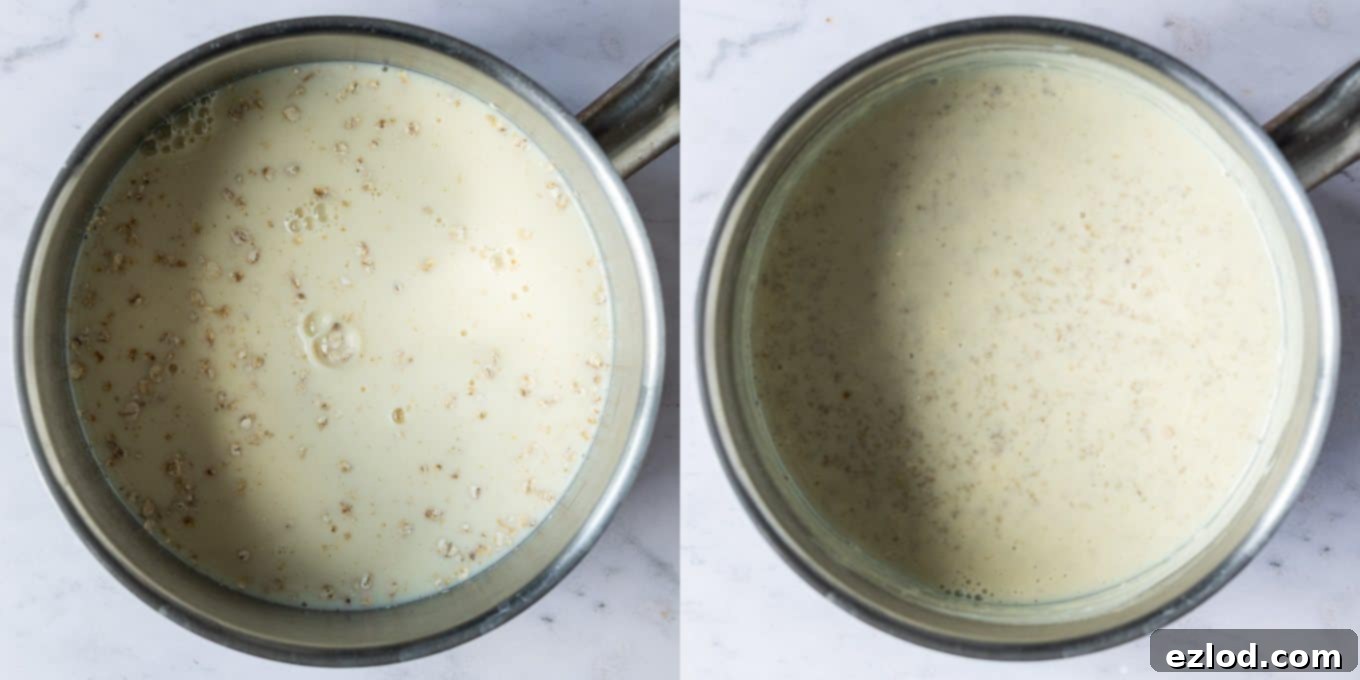
Step 2: Cook the Oats. In a medium saucepan, combine the porridge oats with half of the unsweetened plant milk. Bring this mixture to a gentle simmer over medium heat. Cook for approximately 10 minutes, stirring frequently to prevent the oats from sticking to the bottom of the pan. Continue cooking until the oats are fully softened and the mixture has thickened slightly. Remove from heat.
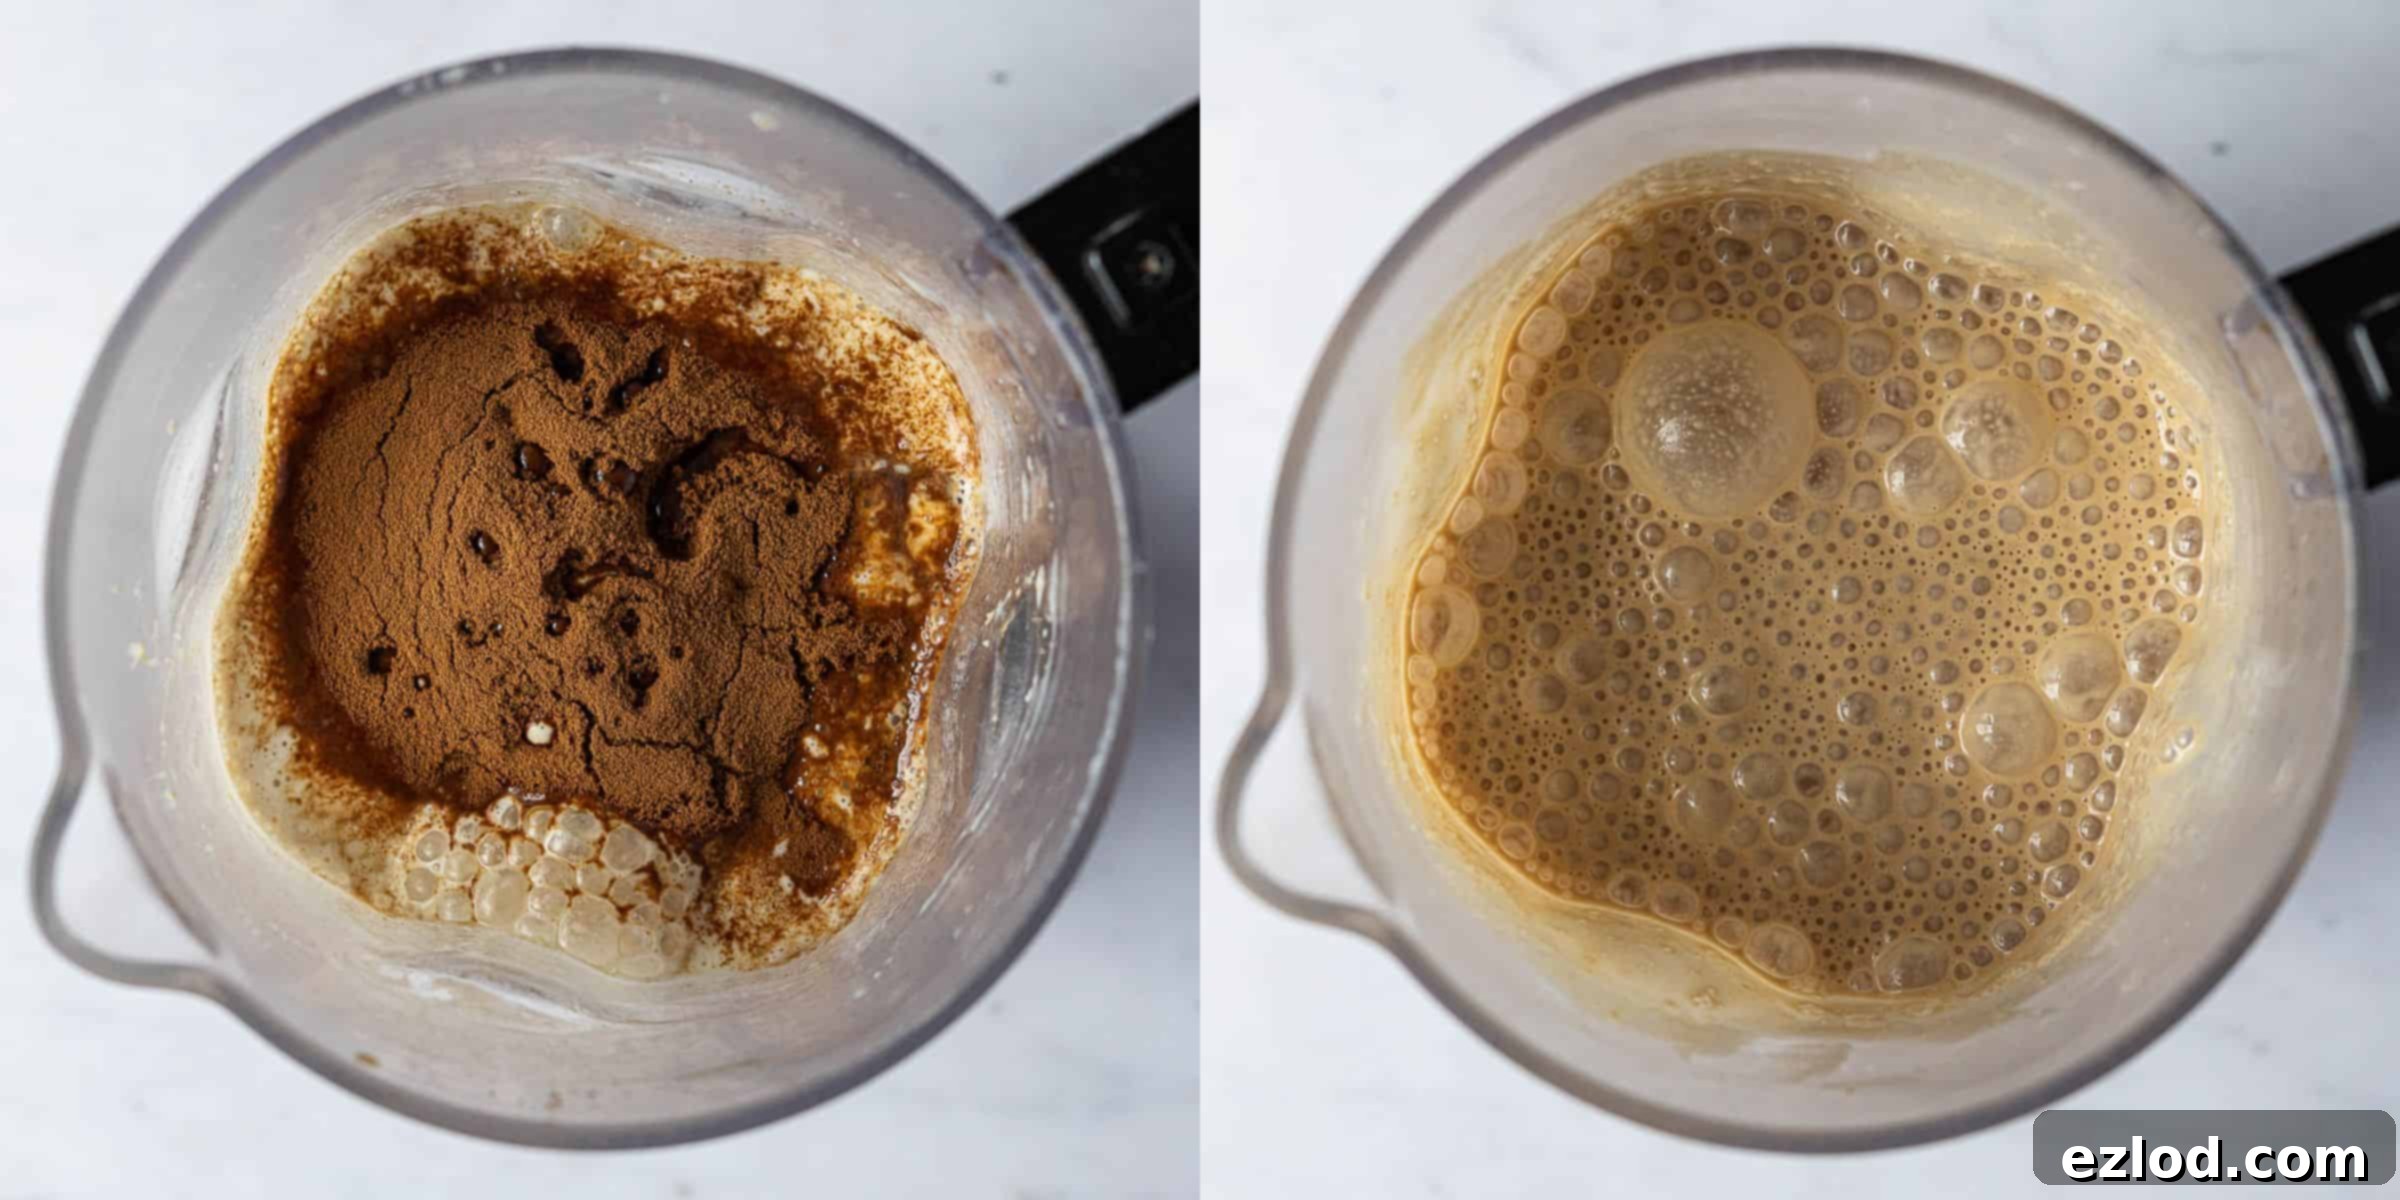
Step 3: Blend the Ice Cream Base. Add the cooked oat mixture directly to the blender with the cashew-milk blend. Now, incorporate the caster sugar, brown sugar, instant espresso powder, xanthan gum (if using), vanilla extract, salt, and coffee liqueur (if using). Blend all ingredients together on high speed until the mixture is incredibly smooth and velvety. There should be no discernible lumps of oats or cashews. This thorough blending is essential for the ultimate creamy texture.
Step 4: Chill the Base. Pour the perfectly blended ice cream base into a clean bowl, cover it tightly (to prevent a skin from forming), and refrigerate until it is completely chilled. This step is critical for a smooth churn. Ideally, leave it to chill overnight, but it will need a minimum of four hours in the refrigerator.
Step 5: Prepare the Chocolate Fudge Swirl. While the ice cream base chills, you can prepare the decadent chocolate fudge swirl. In a small saucepan, whisk together the brown sugar, golden syrup, water, and cocoa powder. Heat this mixture gently over low to medium heat, stirring constantly, until it comes to a gentle simmer. Allow it to simmer for just one minute, then remove the pan from the heat. Add the chopped dark chocolate and vanilla extract, stirring continuously until the chocolate is fully melted and the sauce is completely smooth and glossy. Transfer the fudge sauce to a separate container, cover it, and refrigerate until it is cold and slightly thickened.
Step 6: Churn and Swirl. Once your ice cream mixture is thoroughly chilled, give it a quick whisk to ensure uniform consistency. Pour the mixture into your pre-frozen ice cream maker bowl and churn according to your manufacturer’s instructions. Churn until it reaches the consistency of soft-serve ice cream – typically about 20-30 minutes, depending on your machine.
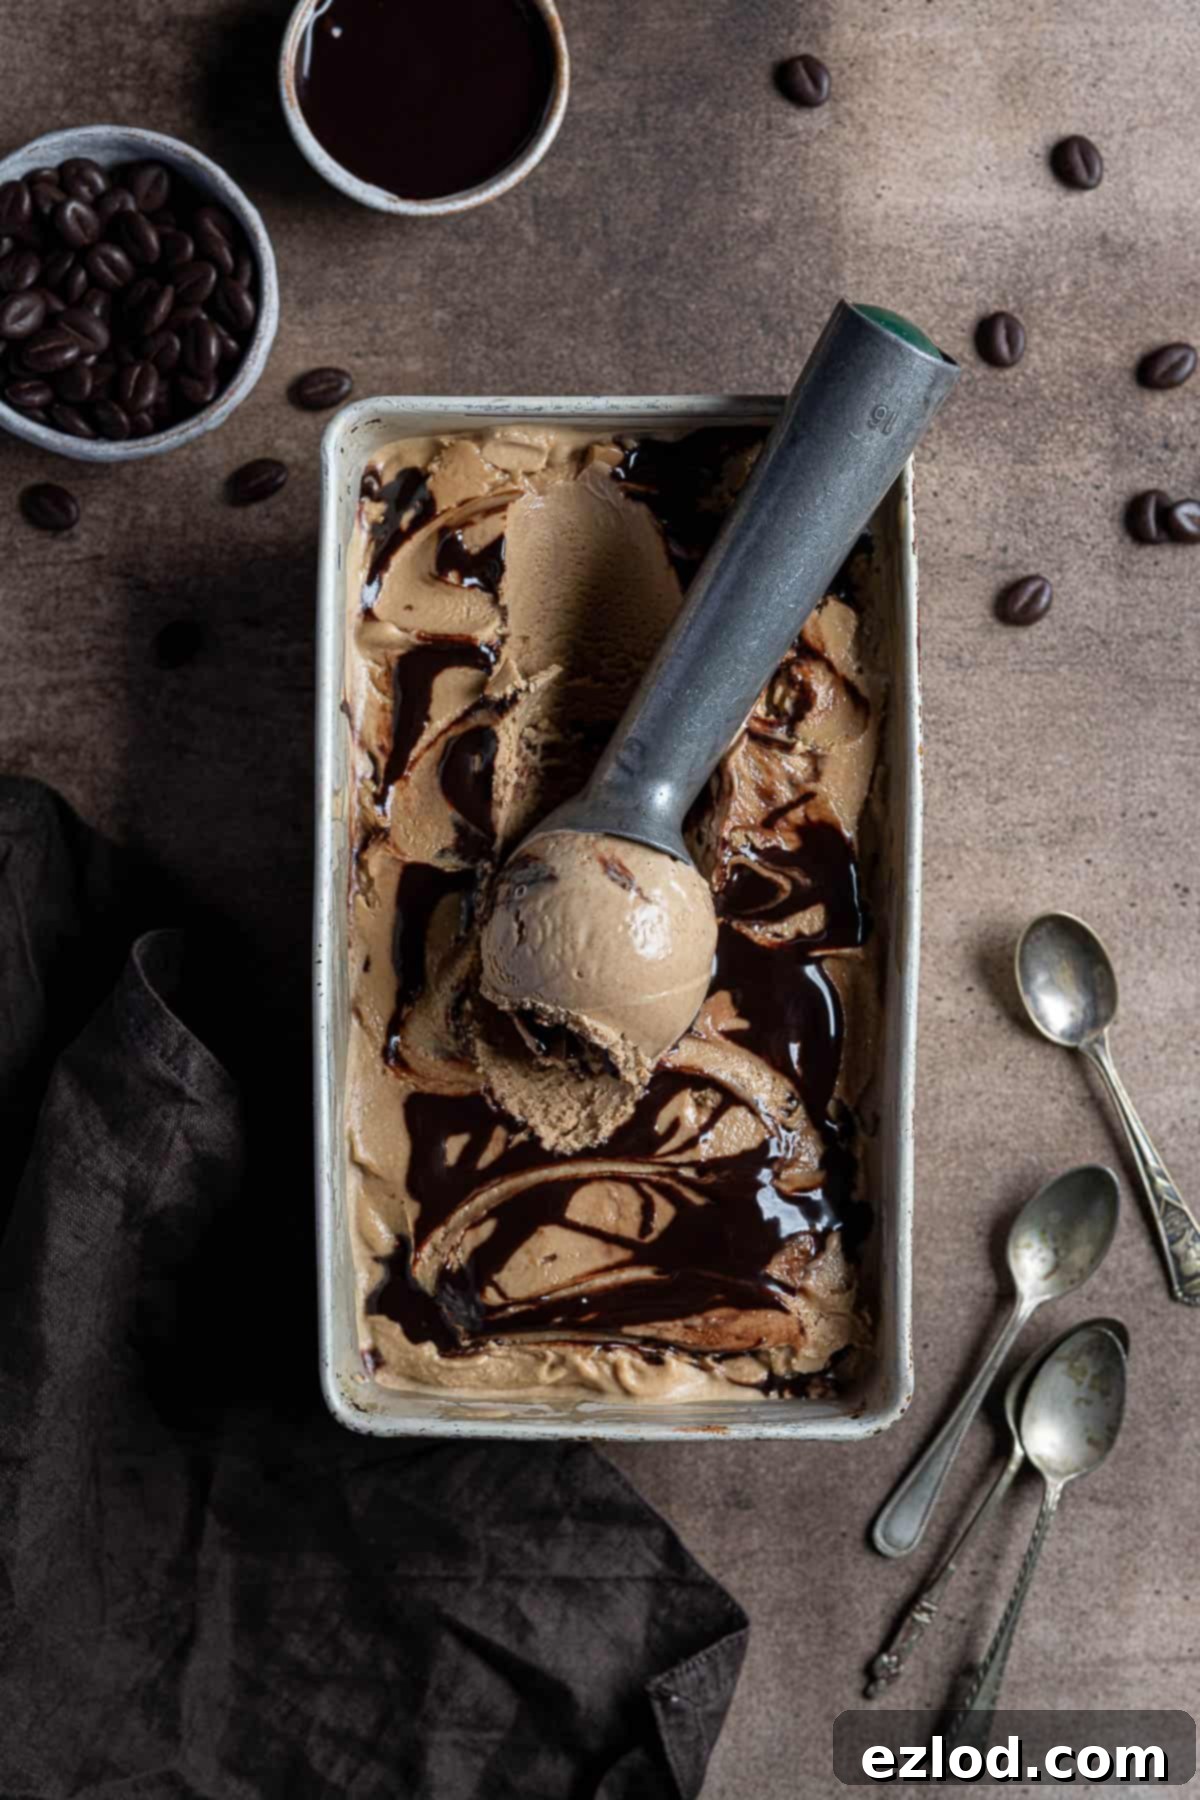
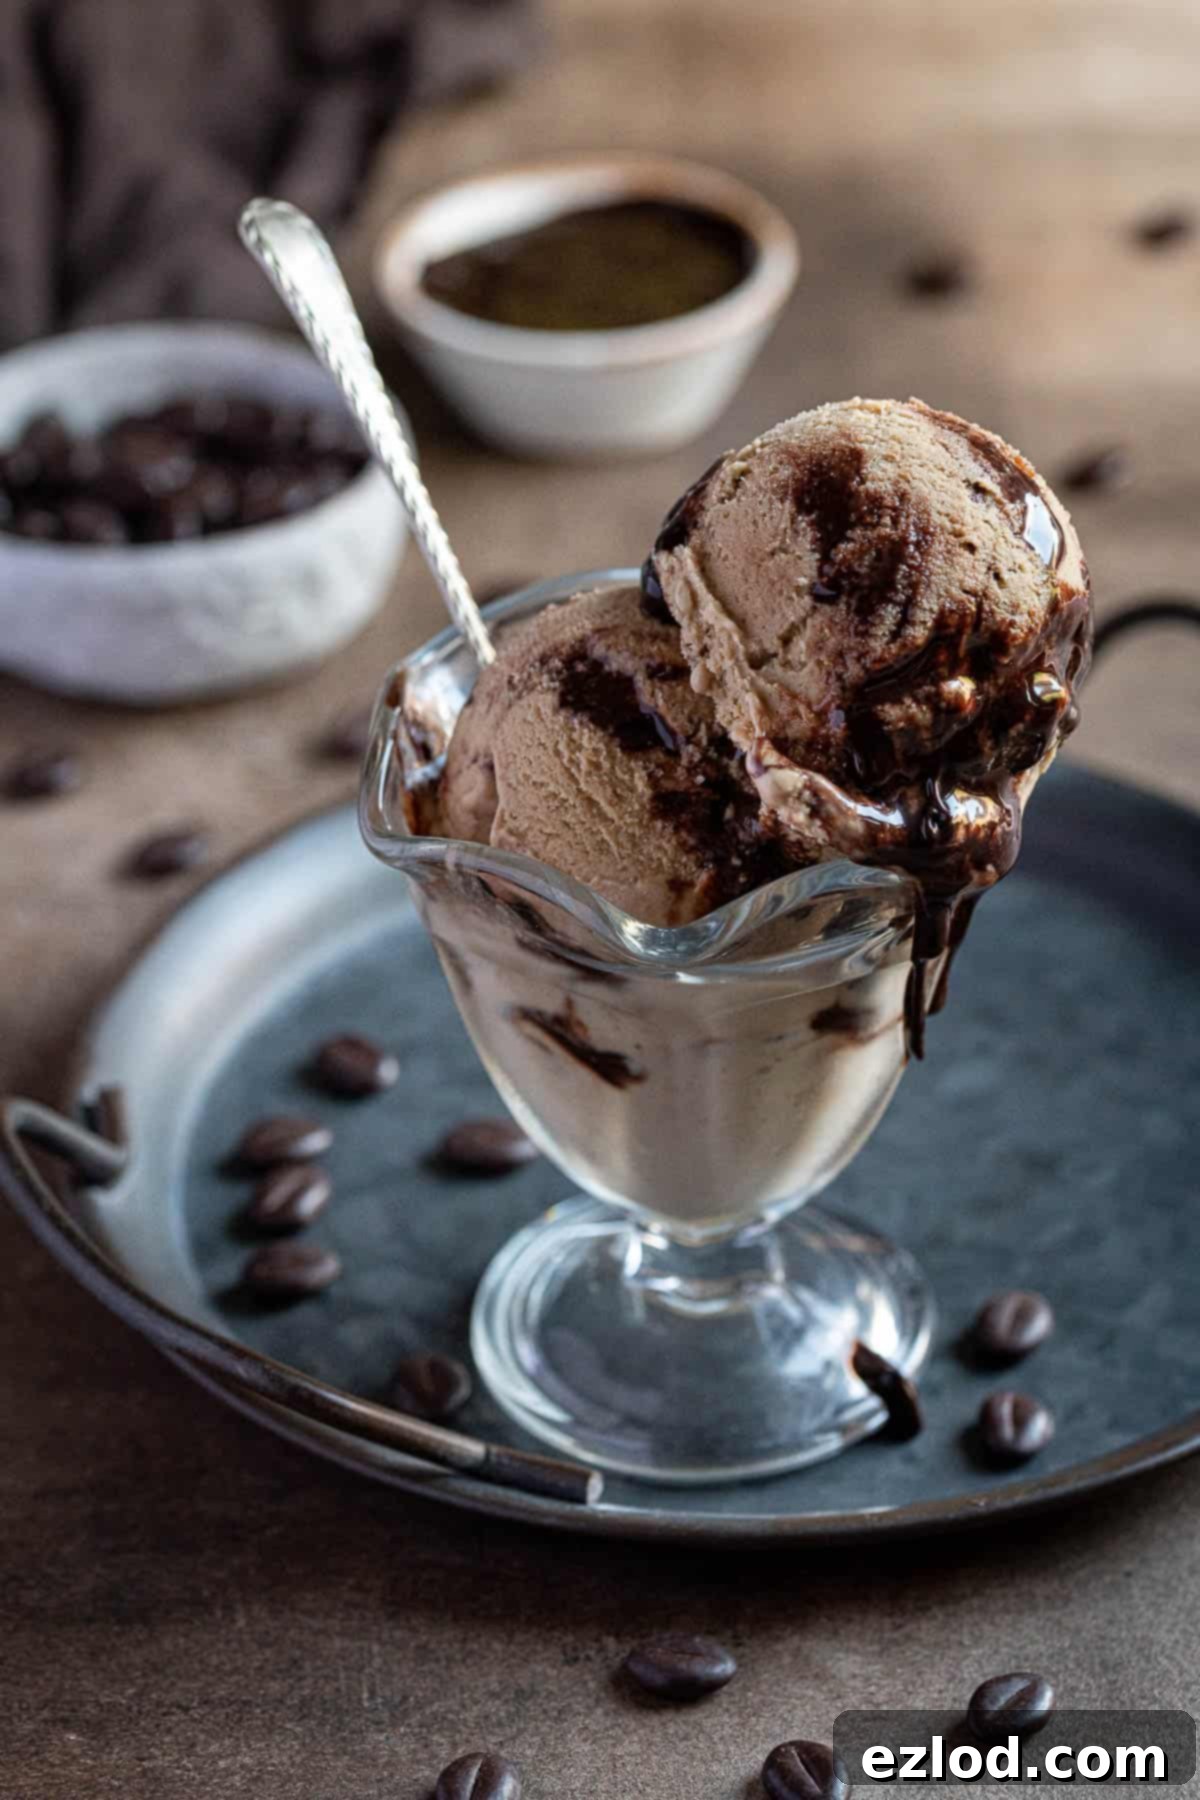
To create the beautiful swirl, drizzle a thin layer of the chilled chocolate fudge sauce over the bottom of a freezer-safe container. Spoon about one-third of the churned coffee ice cream over the fudge. Drizzle more fudge sauce over the ice cream layer, then add another third of the ice cream. Repeat this layering process until all the ice cream is used, finishing with a final drizzle of fudge sauce on top (you might not need all of the sauce). Use a knife or skewer to gently swirl the fudge through the ice cream a few times, being careful not to overmix.
Step 7: Final Freeze. Cover the container tightly and freeze for at least four hours, or preferably overnight, until the ice cream is firm. Once fully frozen, this vegan coffee ice cream will be quite solid straight out of the freezer. For optimal scoopability and a perfect creamy texture, remember to remove it from the freezer about 15 minutes before serving to allow it to soften slightly.
What If I Don’t Own An Ice Cream Maker?
Don’t worry if you don’t have an ice cream maker! You can absolutely still make this incredibly delicious vegan coffee ice cream. It simply requires a little more manual effort, and while the texture will still be delightful, it might be slightly more icy compared to the churned version.
Once your ice cream base is thoroughly chilled (as per Step 4 above), pour it into a large, freezer-safe container. Place the container in your freezer. Every 30-45 minutes, remove the container from the freezer and give the mixture a vigorous whisk with an electric mixer (or a sturdy whisk) to break up any ice crystals that have started to form. This crucial step helps create a smoother, creamier texture by preventing large ice crystal formation. Continue this process of freezing and whisking until the ice cream reaches a soft-serve consistency. At this point, you can swirl in your chocolate fudge sauce. Then, allow it to freeze for a further two to three hours before serving to firm up.
Top Tips for the Best Vegan Coffee Ice Cream:
- Embrace Metric Measurements: As with all my recipes, I strongly advocate for using metric measurements with a digital kitchen scale rather than cup conversions. Cups are notoriously imprecise, and using a scale will yield far more consistent, reliable results – not to mention it’s often cleaner and easier!
- Softening Before Serving: This vegan coffee ice cream tends to freeze quite solid due to its dairy-free nature. For the perfect scoop and creamy texture, make sure to take it out of the freezer at least 15 minutes before you plan to serve it. This allows it to soften just enough to be easily scooped and enjoyed.
- Blender Power Matters: For the ultimate silky-smooth ice cream base, a high-speed, powerful blender (such as a Vitamix or Froothie) is highly recommended. These blenders can fully pulverize the cashews and oats into an incredibly fine consistency. While you can certainly make this recipe with a regular blender, the final texture might not be quite as flawlessly smooth and creamy.
- Don’t Skimp on Chilling: The longer and colder your ice cream base chills, the better your final result will be. A well-chilled base churns faster and produces smaller ice crystals, leading to a much creamier ice cream.
- Perfect Swirl Technique: When adding the chocolate fudge swirl, don’t overmix it. A few gentle passes with a knife or skewer are enough to create beautiful ribbons without completely incorporating the fudge into the ice cream. You want distinct layers of chocolate and coffee goodness!
More Irresistible Vegan Ice Cream Recipes to Try:
- Classic Vegan Vanilla Ice Cream
- Delicate Vegan Pistachio Ice Cream
- Rich and Creamy Vegan Chocolate Ice Cream
- Vegan Peanut Butter and Cookies Ice Cream
- Addictive Vegan Biscoff Ice Cream
- Fun Vegan Chunky Monkey Ice Cream
- Refreshing Vegan Chocolate Coconut Sorbet
If you tried this incredible vegan coffee ice cream recipe, please let me know how it turned out! I’d love for you to rate it, leave a comment below, or share your creations by tagging @domestic_gothess on Instagram and using the hashtag #domesticgothess. Your feedback is greatly appreciated!
All images and content on Domestic Gothess are protected by copyright. If you wish to share this recipe, please do so by utilizing the provided share buttons. Please refrain from screenshotting or posting the recipe or content in its entirety. Instead, kindly include a direct link to this post for the complete recipe details. Thank you for respecting our work!

Vegan Coffee Ice Cream With Chocolate Swirl
Course Dessert
Cuisine vegan
Keyword ice cream, coffee, vegan
Prep Time 10 minutes
Cook Time 10 minutes
Chilling and Freezing Time 9 hours
Servings 10 people
Author Domestic Gothess
Ingredients
Coffee Ice Cream
- 150 g (1 cup) unroasted cashews
- 25 g (¼ cup) porridge oats (rolled oats)
- 800 ml (3 ⅓ cups) unsweetened non-dairy milk (soy is best)
- 100 g (½ cup) caster or granulated sugar
- 60 g (⅓ cup) light brown soft or coconut sugar
- 2 Tbsp instant espresso powder
- ⅛ tsp xanthan gum (optional, for creaminess)
- 2 tsp vanilla extract
- ¼ tsp salt
- 2 Tbsp coffee liqueur (such as Tia Maria) (optional, for flavor and texture)
Chocolate Fudge Swirl
- 30 g (2 ½ Tbsp) dark or light brown soft sugar
- 70 g (3 Tbsp) golden syrup (or corn syrup)
- 80 ml (⅓ cup) water
- 35 g (¼ cup) cocoa powder
- ¼ tsp vanilla extract
- 25 g dark chocolate (chopped)
Instructions
-
Ensure your ice cream maker’s bowl is frozen solid; mine typically takes 11 hours to fully freeze.
-
Soak the cashews to soften them for a smooth blend. Cover them with plenty of boiling water and let them soak for an hour, or use cold water and soak overnight.
-
Combine the porridge oats with half of the plant milk in a saucepan. Bring to a gentle simmer and cook for about 10 minutes, stirring frequently, until the oats are soft.
-
Drain the soaked cashews well, then place them in a blender with the remaining half of the plant milk. Blend until completely smooth.
-
Add the cooked oat mixture, caster sugar, brown sugar, espresso powder, xanthan gum, vanilla, salt, and coffee liqueur to the blender. Blend until the entire mixture is exceptionally smooth and creamy.
-
Pour the blended ice cream base into a bowl, cover, and refrigerate until thoroughly chilled. Ideally, chill overnight, but at least four hours is sufficient.
-
To prepare the chocolate fudge swirl, whisk together the brown sugar, golden syrup, water, and cocoa powder in a saucepan.
-
Heat gently, stirring constantly, until the mixture simmers. Simmer for 1 minute, then remove from heat. Stir in the chopped dark chocolate and vanilla until smooth. Refrigerate until cold.
-
Once the ice cream base is fully chilled, whisk it briefly, then pour into your ice cream maker. Churn according to the manufacturer’s instructions until it reaches a soft-serve consistency.
-
Drizzle some of the chocolate fudge swirl over the bottom of a freezer-safe container, then spoon a layer of the churned ice cream over it.
-
Continue layering with more fudge swirl and ice cream until all the ice cream is added, finishing with a drizzle of fudge sauce on top. Gently swirl with a knife.
-
Freeze for about four hours before serving. When fully frozen, the ice cream will be quite firm; allow it to soften at room temperature for fifteen minutes before scooping for the best texture.
Notes
