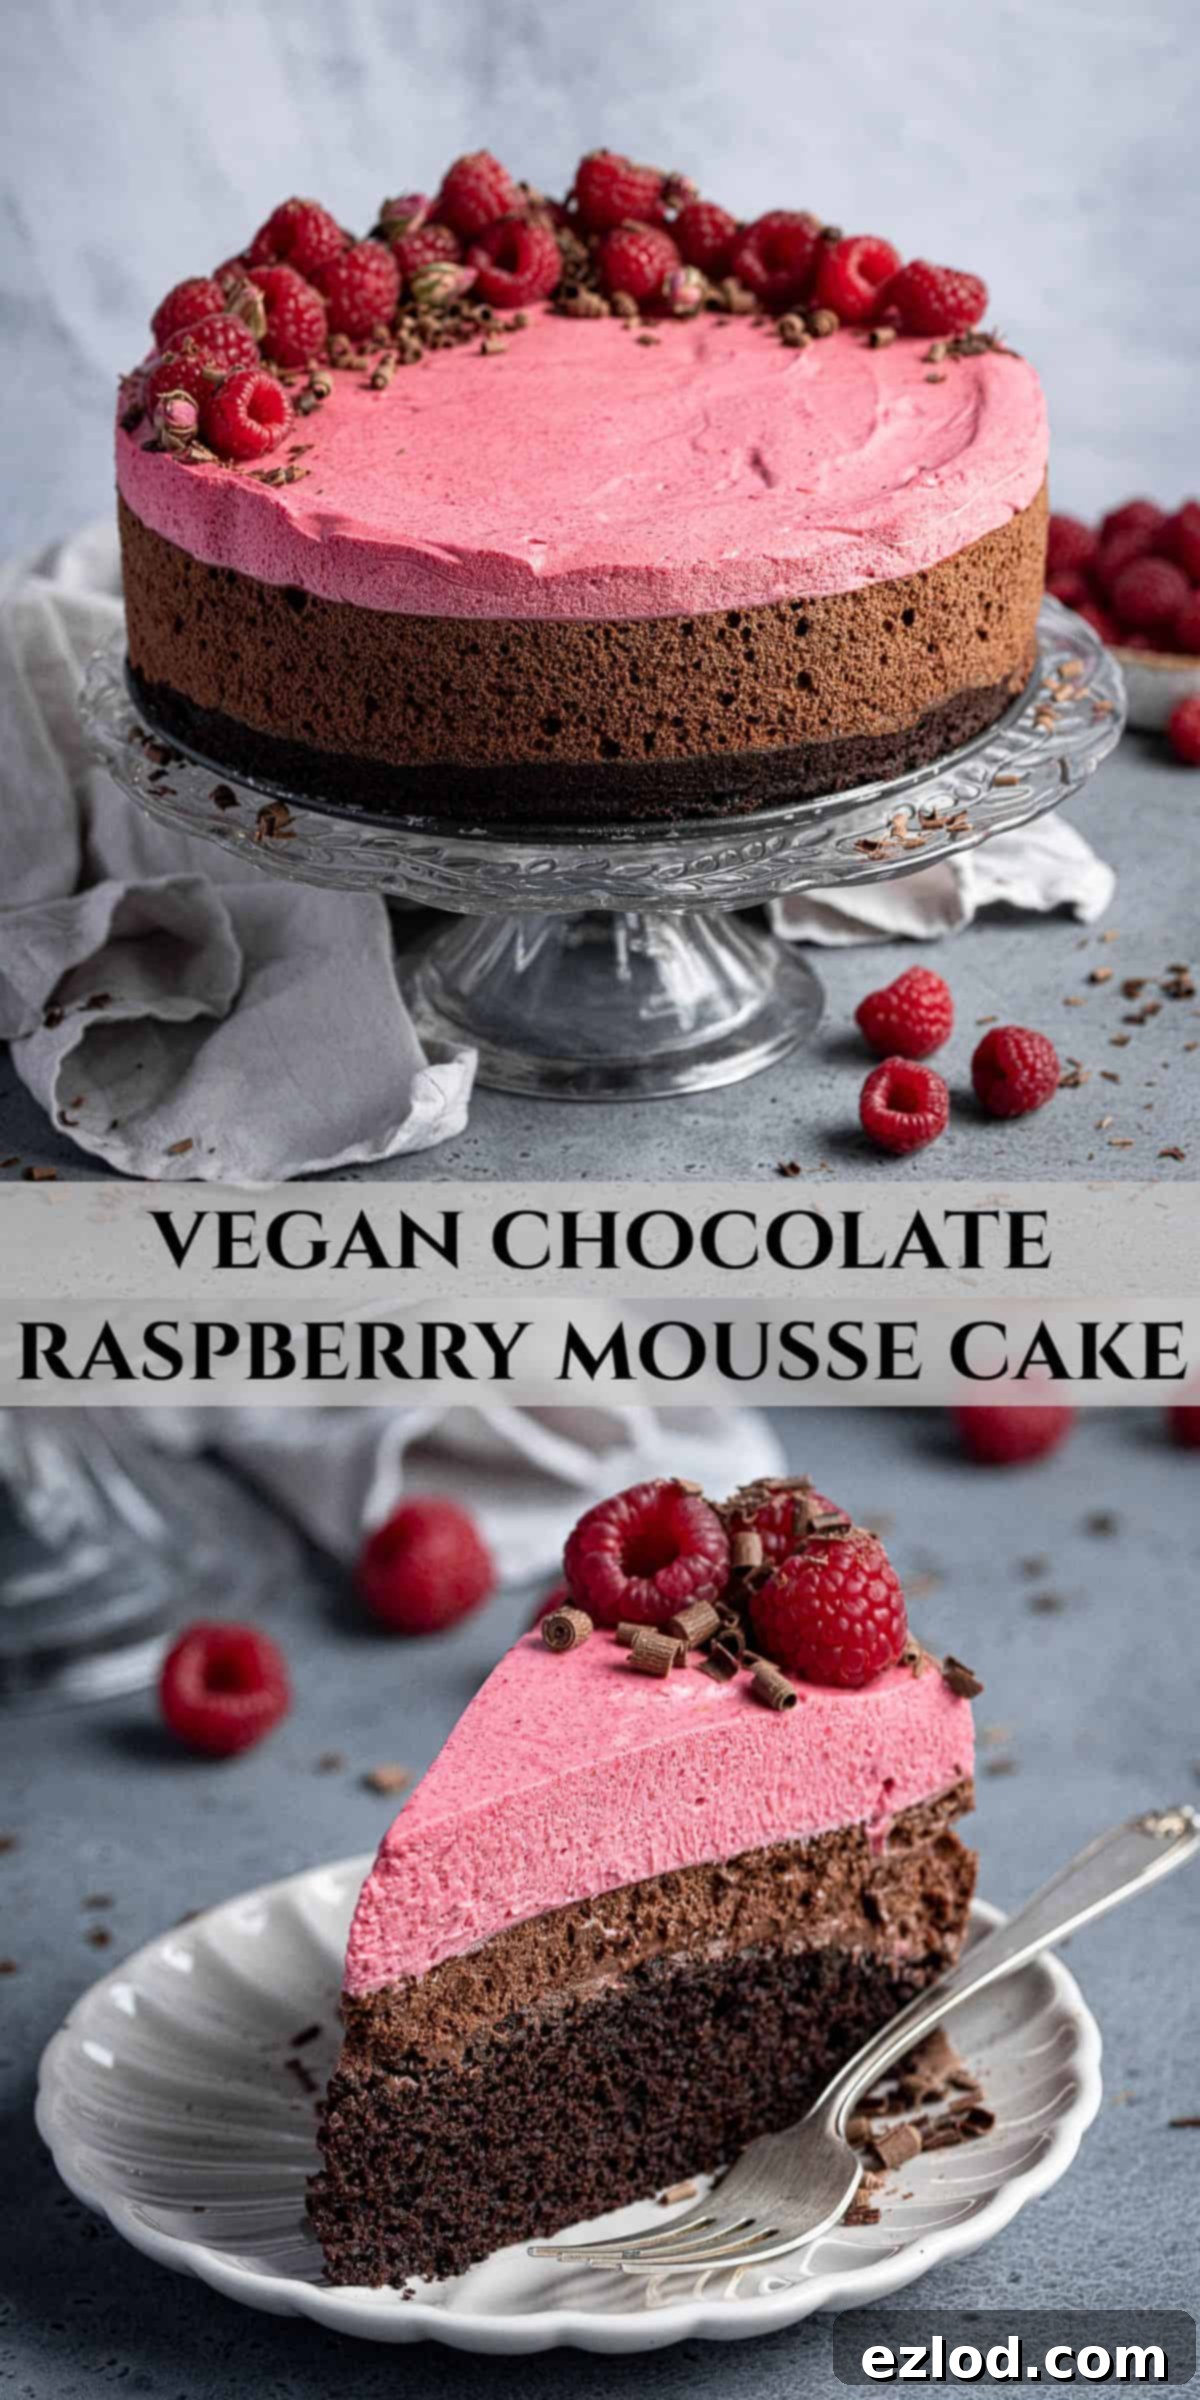
Decadent Vegan Chocolate Raspberry Mousse Cake: Layers of Pure Plant-Based Bliss
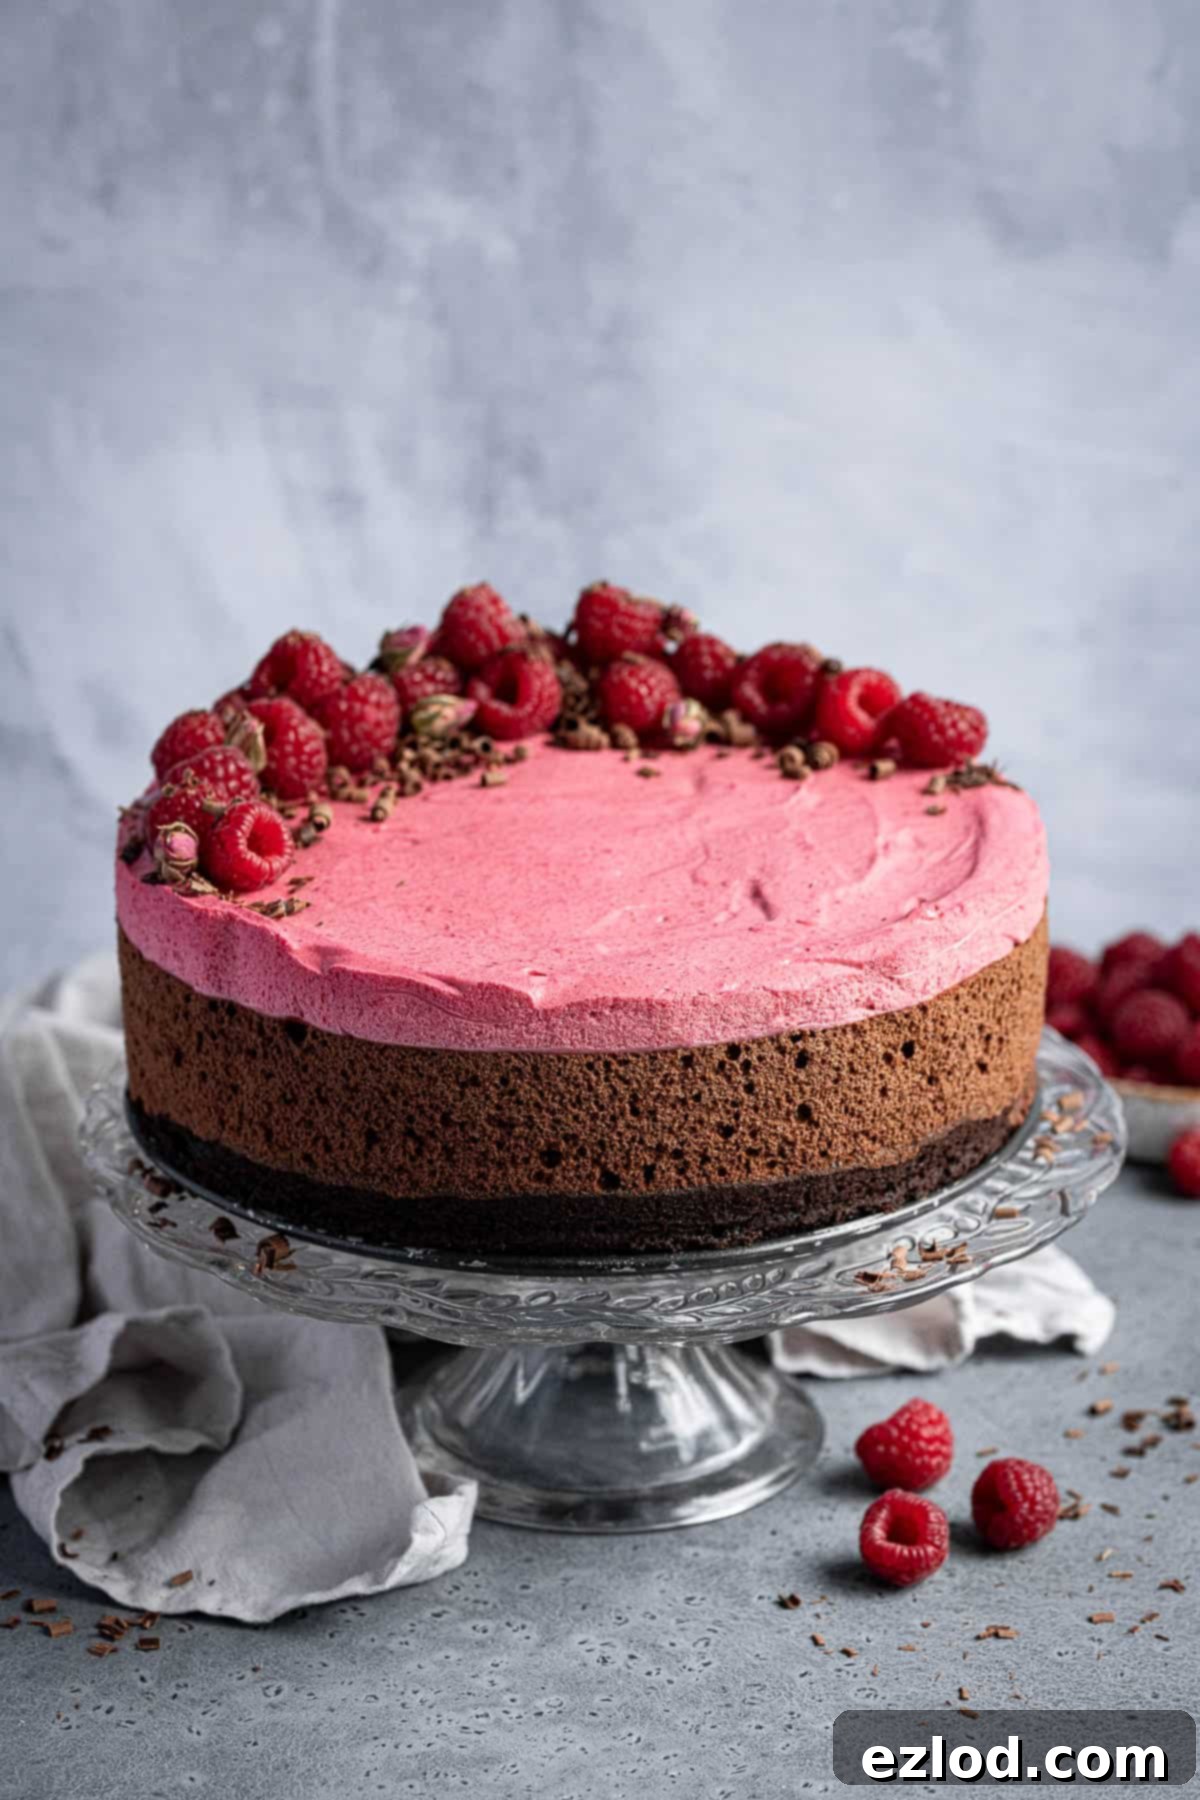
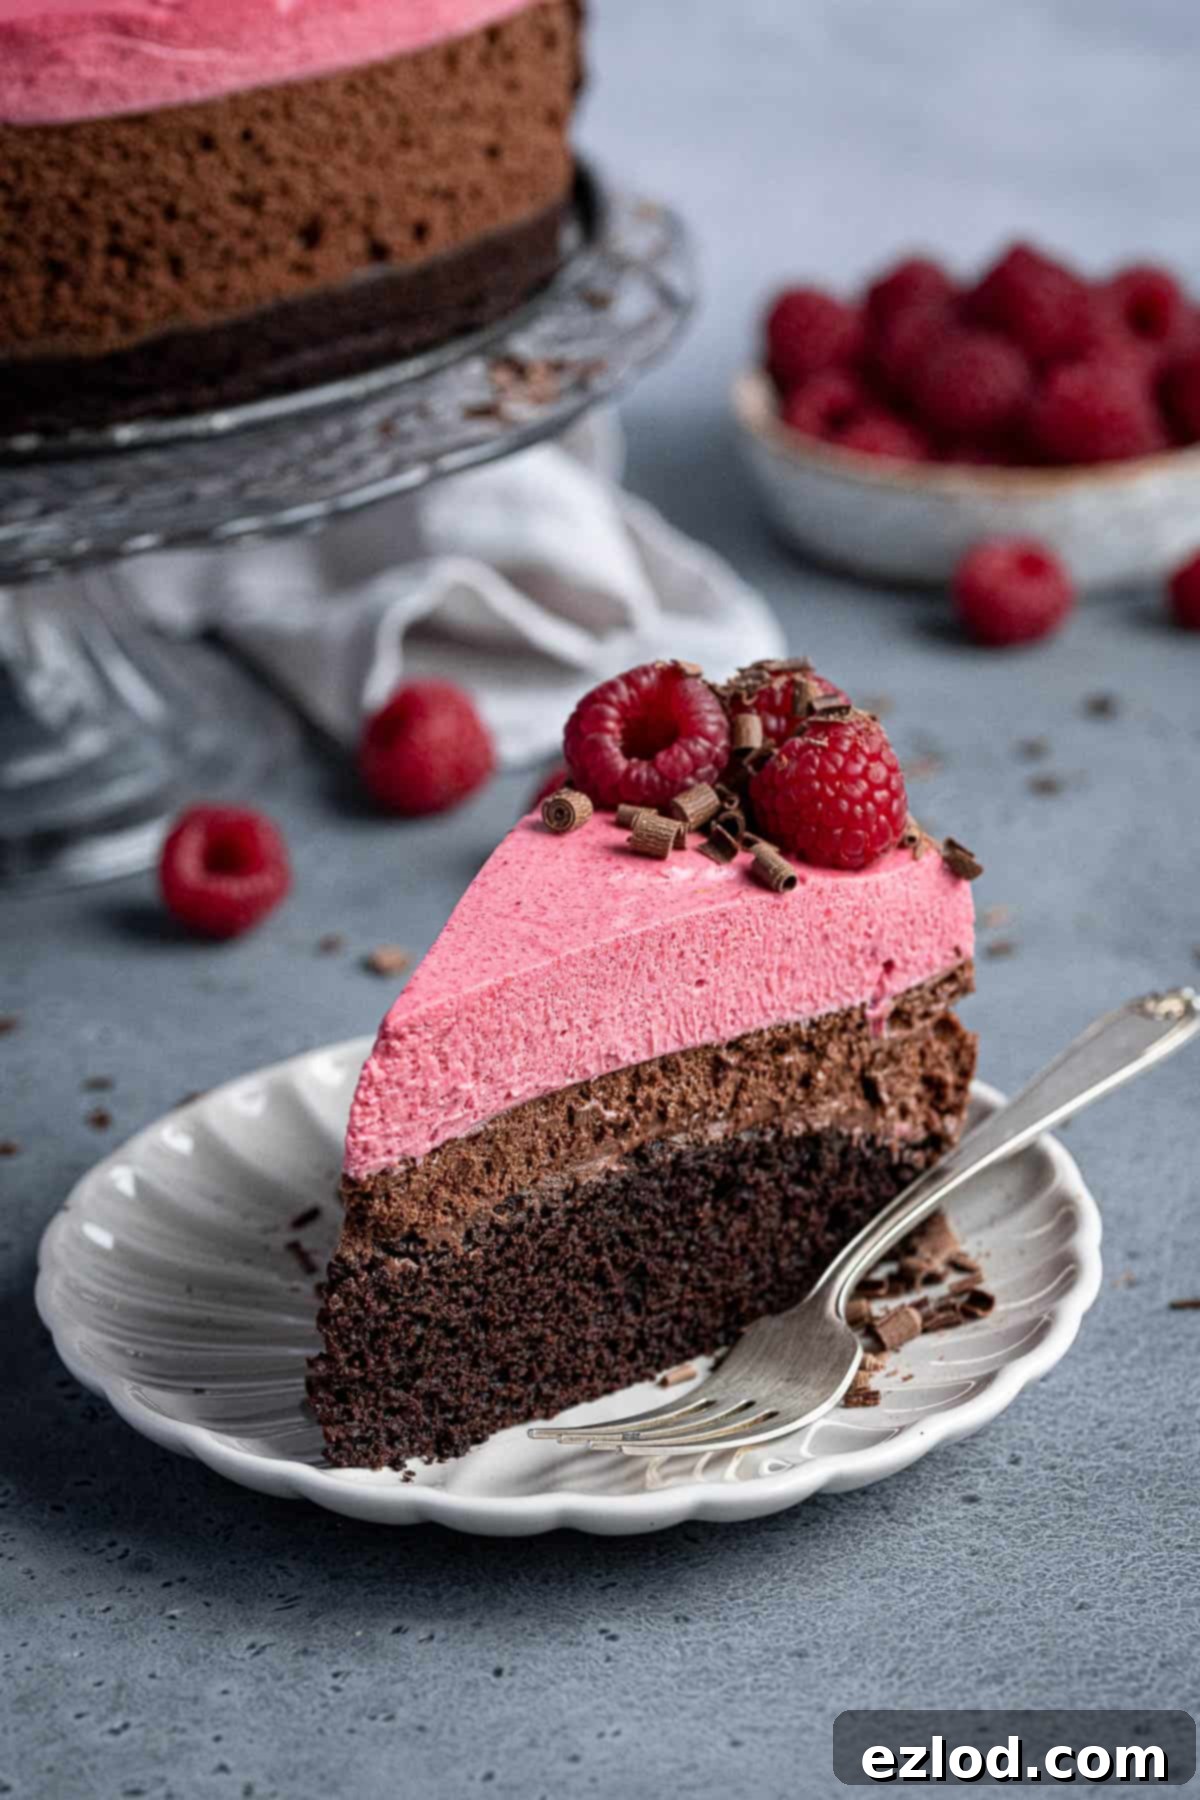
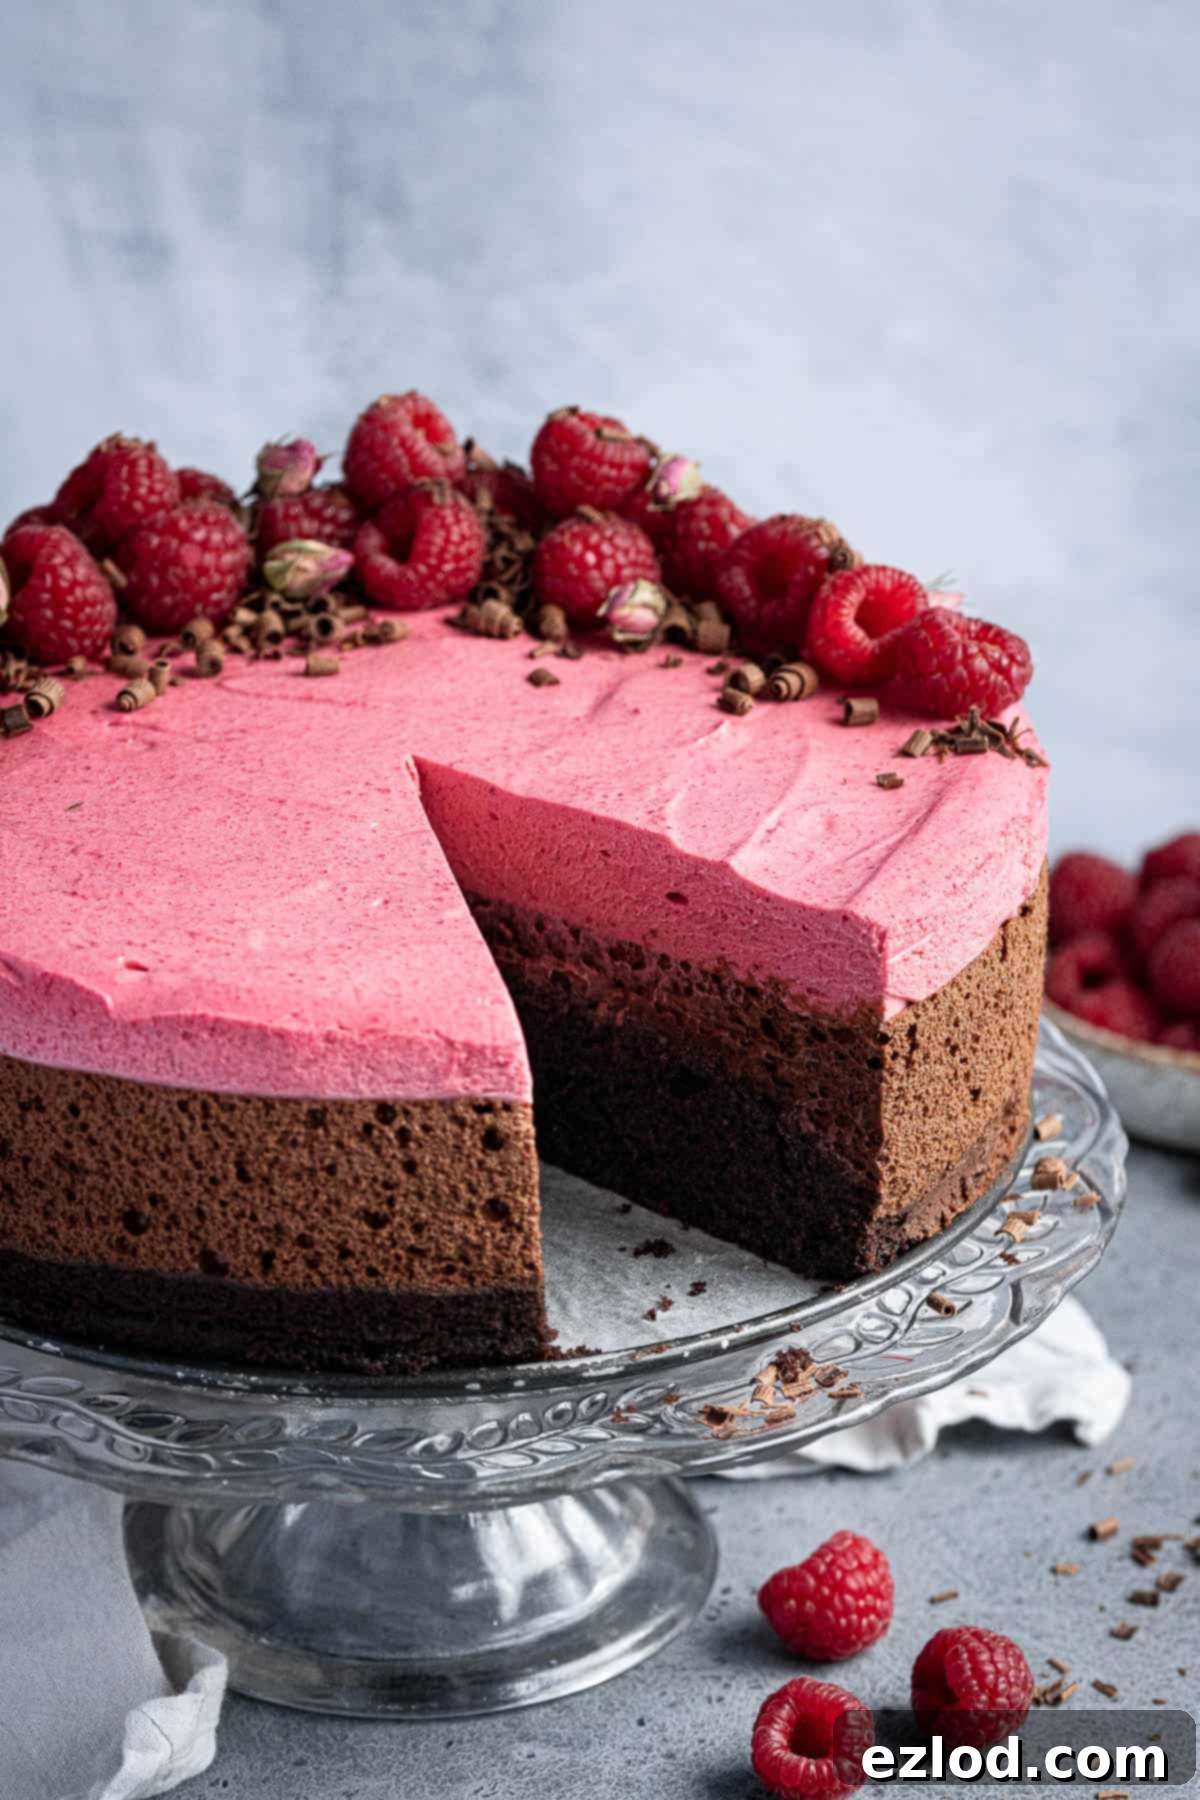
Prepare to be enchanted by this truly spectacular Vegan Chocolate Raspberry Mousse Cake – a dessert that promises to be the crowning glory of any celebration. Imagine layers of intensely rich dark chocolate mousse, harmoniously balanced with a tangy, creamy vegan white chocolate raspberry mousse, all resting atop a wonderfully moist and fluffy chocolate cake. This isn’t just a cake; it’s an experience, a showstopping masterpiece that will impress even the most discerning palates, proving that plant-based desserts can be utterly luxurious and incredibly satisfying.
Crafting this elegant mousse cake might seem like a grand endeavor, but with our detailed guide, you’ll create a dessert that is both visually stunning and exquisitely delicious. Each bite offers a delightful contrast of deep, bitter-sweet chocolate and bright, fruity raspberry, all wrapped in an ethereal, light texture. It’s the perfect grand finale to any meal, indulgent yet surprisingly light, leaving everyone craving another slice of this dairy-free delight.
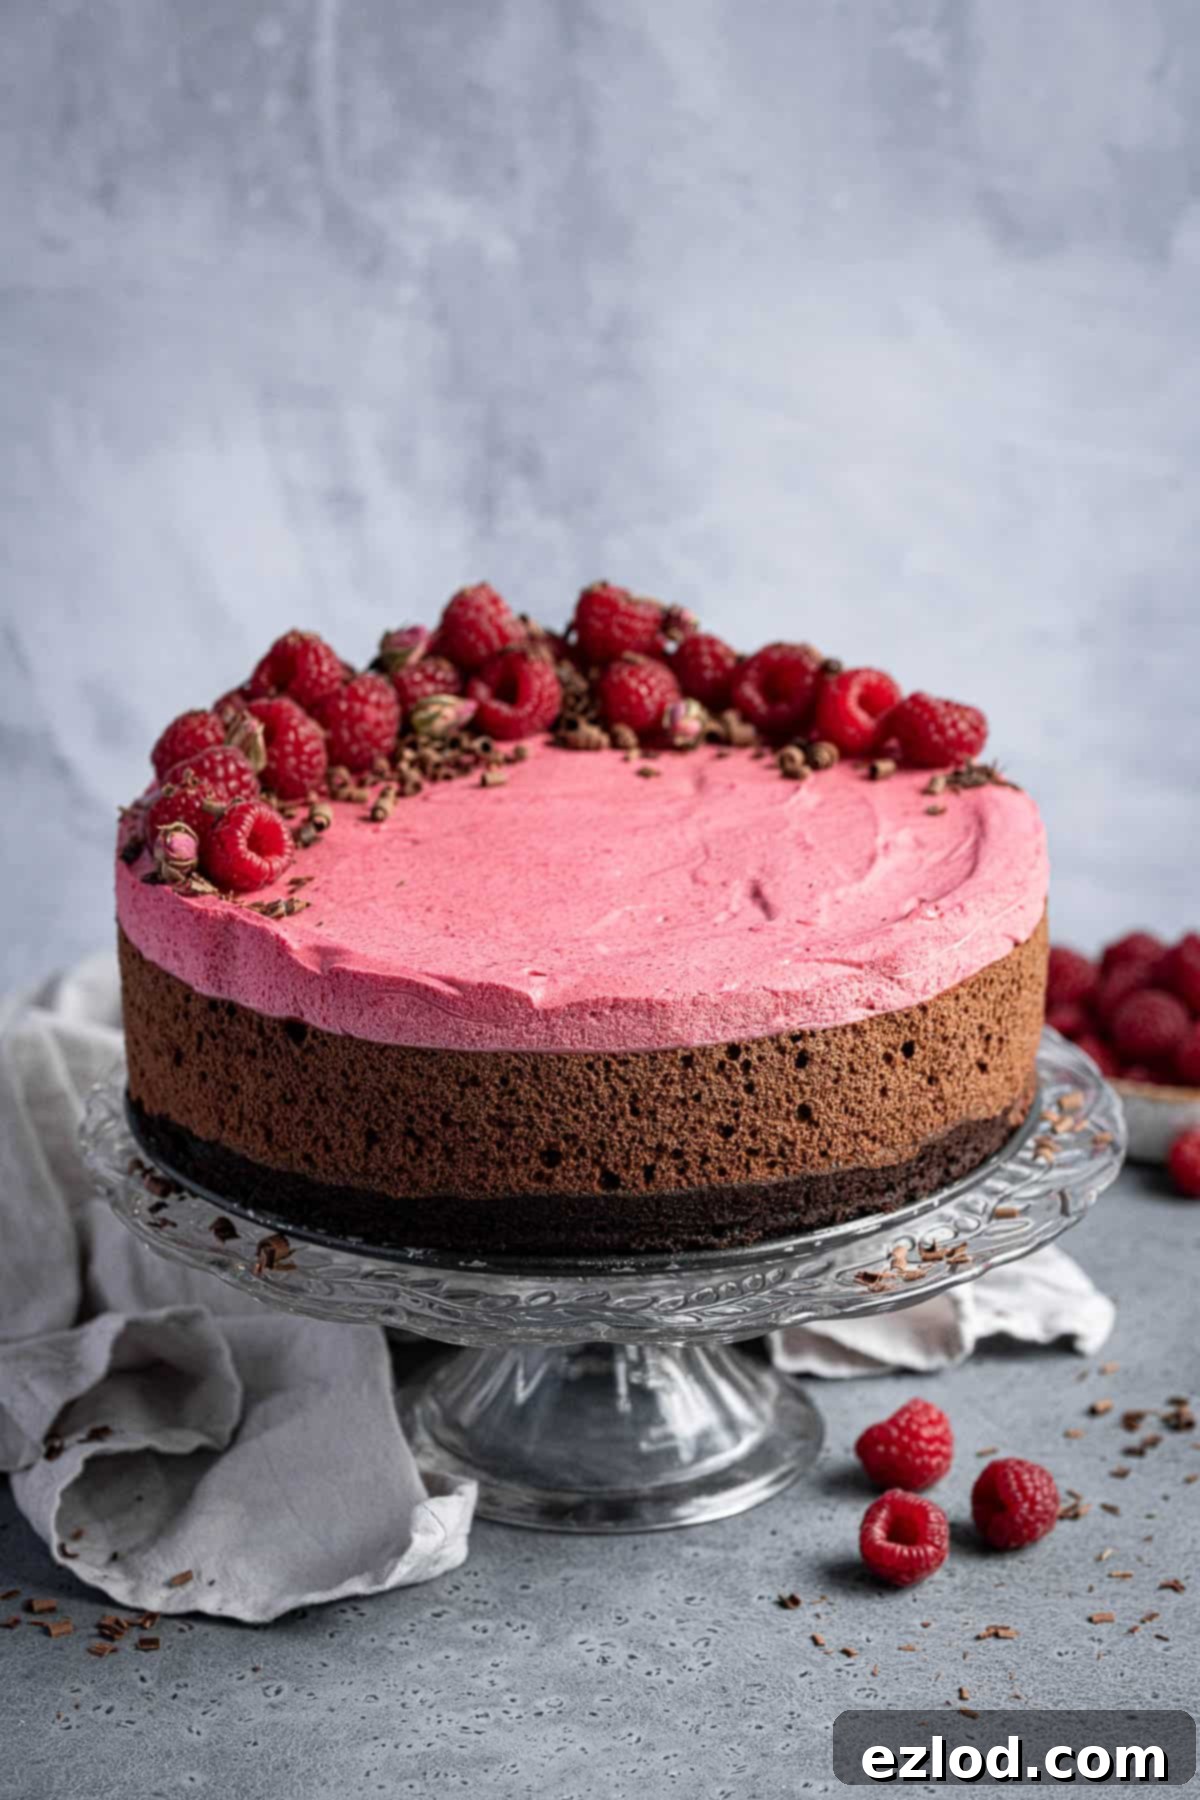
I genuinely believe that this particular vegan chocolate raspberry mousse cake stands out as one of my proudest culinary achievements. Its intricate design and balanced flavors make it truly special. The luscious layers of decadent dark chocolate mousse, complemented by the vibrant, creamy, and slightly tart raspberry white chocolate mousse, create an unforgettable symphony of tastes and textures. And all of this sits gracefully on a foundation of moist, tender, and perfectly fluffy vegan chocolate cake.
The entire dessert is a feast for the eyes, exuding an aura of utter indulgence while maintaining an incredibly light and airy quality. The bright, fresh tang of the raspberry mousse cuts through the richness of the dark chocolate beautifully, preventing the cake from becoming overly heavy. This makes it an ideal dessert for capping off a memorable meal, satisfying sweet cravings without overwhelming the senses.
Essential Ingredients for Your Vegan Chocolate Raspberry Mousse Cake:
Creating this magnificent vegan mousse cake requires specific ingredients to achieve its unique texture and flavor profile. Here’s a detailed breakdown of what you’ll need and why:
Vegan whipping cream: This is a cornerstone for both mousse layers. I highly recommend using Elmlea Plant Double Cream, especially if you are in the UK, as it whips up consistently and provides a rich, creamy texture akin to traditional dairy cream. You will need two tubs to ensure you have enough for both the chocolate and raspberry mousses. If Elmlea isn’t available in your region, look for a plant-based cream specifically labeled for whipping, not a pouring cream. While coconut cream *might* work, please note that I haven’t personally tested it for this recipe, and its flavor might influence the overall taste profile of your mousse cake.
Aquafaba: This incredible vegan egg white substitute is crucial for achieving the light, airy texture of the chocolate mousse. For the best results, I strongly advise using either reduced and cooled aquafaba (instructions for this process can be found further down in this post) or a reliable shop-bought brand like Oggs (which is my preferred choice). These options are superior because they whip up more quickly and produce a more stable meringue-like consistency compared to aquafaba straight from a can, which can sometimes be too thin.
Agar agar: This plant-based gelling agent is absolutely necessary to ensure the vegan white chocolate raspberry mousse sets properly and holds its shape. It’s vital to use agar agar powder, not flakes, as the powdered form has a different strength and will yield more accurate and reliable results in this recipe.
Chocolate: You’ll need two types of chocolate for this cake: dark chocolate and vegan white chocolate. For the dark chocolate, choose one with no more than 70% cocoa solids. Anything higher can be a bit temperamental when melted, increasing the risk of it seizing or becoming difficult to work with. For the vegan white chocolate, I’ve had great success with Sainsbury’s Free From brand, but any high-quality vegan white chocolate will do.
Raspberries: Fresh raspberries can be quite expensive, so for this recipe, I opt for defrosted frozen raspberries. They work just as well, providing excellent flavor and color, and are a much more economical choice. Ensure they are fully defrosted before use.
Cream of tartar: This acidic ingredient plays an important role in stabilizing the aquafaba when it’s whipped, helping it reach and maintain stiff peaks. If you don’t have cream of tartar on hand, a small amount of white vinegar can be used as a substitute, fulfilling a similar function in terms of acidity.
Sugar: Both caster (superfine) sugar and icing (powdered) sugar are specified. Caster sugar is used for its fine granules, which dissolve easily into the cake batter and aquafaba. Icing sugar is preferred for the raspberry mousse as it ensures a smooth, non-grainy texture. If you don’t have icing sugar, you can substitute it with caster sugar, but avoid using granulated sugar, as its larger crystals may make the mousse slightly grainy.
Lemon juice: A splash of fresh lemon juice added to the raspberry mousse is key. It brightens the flavor of the raspberries, enhances their natural tanginess, and helps to balance the sweetness of the white chocolate, creating a more complex and refreshing taste.
Milk: For the moist chocolate cake base, any unsweetened non-dairy milk will work. However, soy milk is generally considered the best option for baking due to its protein content, which contributes to a good structure and texture in vegan cakes.
Oil: A neutral-flavored oil such as sunflower oil is ideal for the cake, as it provides moisture without imparting any dominant flavors. If sunflower oil isn’t available, you can also use olive oil or avocado oil, ensuring they are light in flavor.
Vinegar: This ingredient, usually apple cider vinegar or white vinegar, is vital in vegan cake recipes. It reacts with the baking soda (bicarbonate of soda) in the batter, creating carbon dioxide bubbles that act as a leavening agent, making the cake light, airy, and fluffy.
Plain flour: Standard plain (all-purpose) flour is perfectly suitable for this chocolate cake. While I haven’t personally tested a gluten-free version, I believe it would work well with a good quality plain gluten-free flour blend, provided you add an additional ¼ teaspoon of xanthan gum to help with structure.
Cocoa powder: For a rich, deep chocolate flavor and color in the cake, use Dutch-processed cocoa powder. For those in the UK, this is typically labeled as regular cocoa powder.
Vanilla: Always opt for vanilla extract over vanilla essence. Vanilla extract offers a much purer, more complex, and superior flavor that significantly enhances the overall taste of your cake and mousse layers.
Baking powder and bicarb: The cake recipe calls for both baking powder and bicarbonate of soda (baking soda). It’s crucial not to swap one for the other or use only one, as they react differently and contribute to the cake’s rise and texture in unique ways. Using both ensures the best possible light and fluffy result.
Crafting Your Vegan Chocolate Raspberry Mousse Cake: A Step-by-Step Guide
(Full measurements and comprehensive instructions can be found in the detailed recipe card at the bottom of this page)
Begin your culinary journey by preparing the rich and moist chocolate cake base. In a mixing bowl, thoroughly whisk together the non-dairy milk, neutral oil, vinegar, caster sugar, and vanilla extract until all liquid ingredients are perfectly combined and smooth. The vinegar and milk will react slightly, helping to create a “buttermilk” effect that contributes to the cake’s tenderness.
In a separate, large mixing bowl, meticulously sift together the dry ingredients: plain flour, cocoa powder, baking powder, bicarbonate of soda, and a pinch of salt. Sifting is important here to prevent lumps and ensure even distribution of the leavening agents.
Carefully pour the wet ingredient mixture into the dry ingredients. Using a balloon whisk, gently mix until a smooth batter forms. Be mindful not to over-mix, as this can develop the gluten too much, resulting in a tougher cake. Mix just until no dry streaks of flour remain.

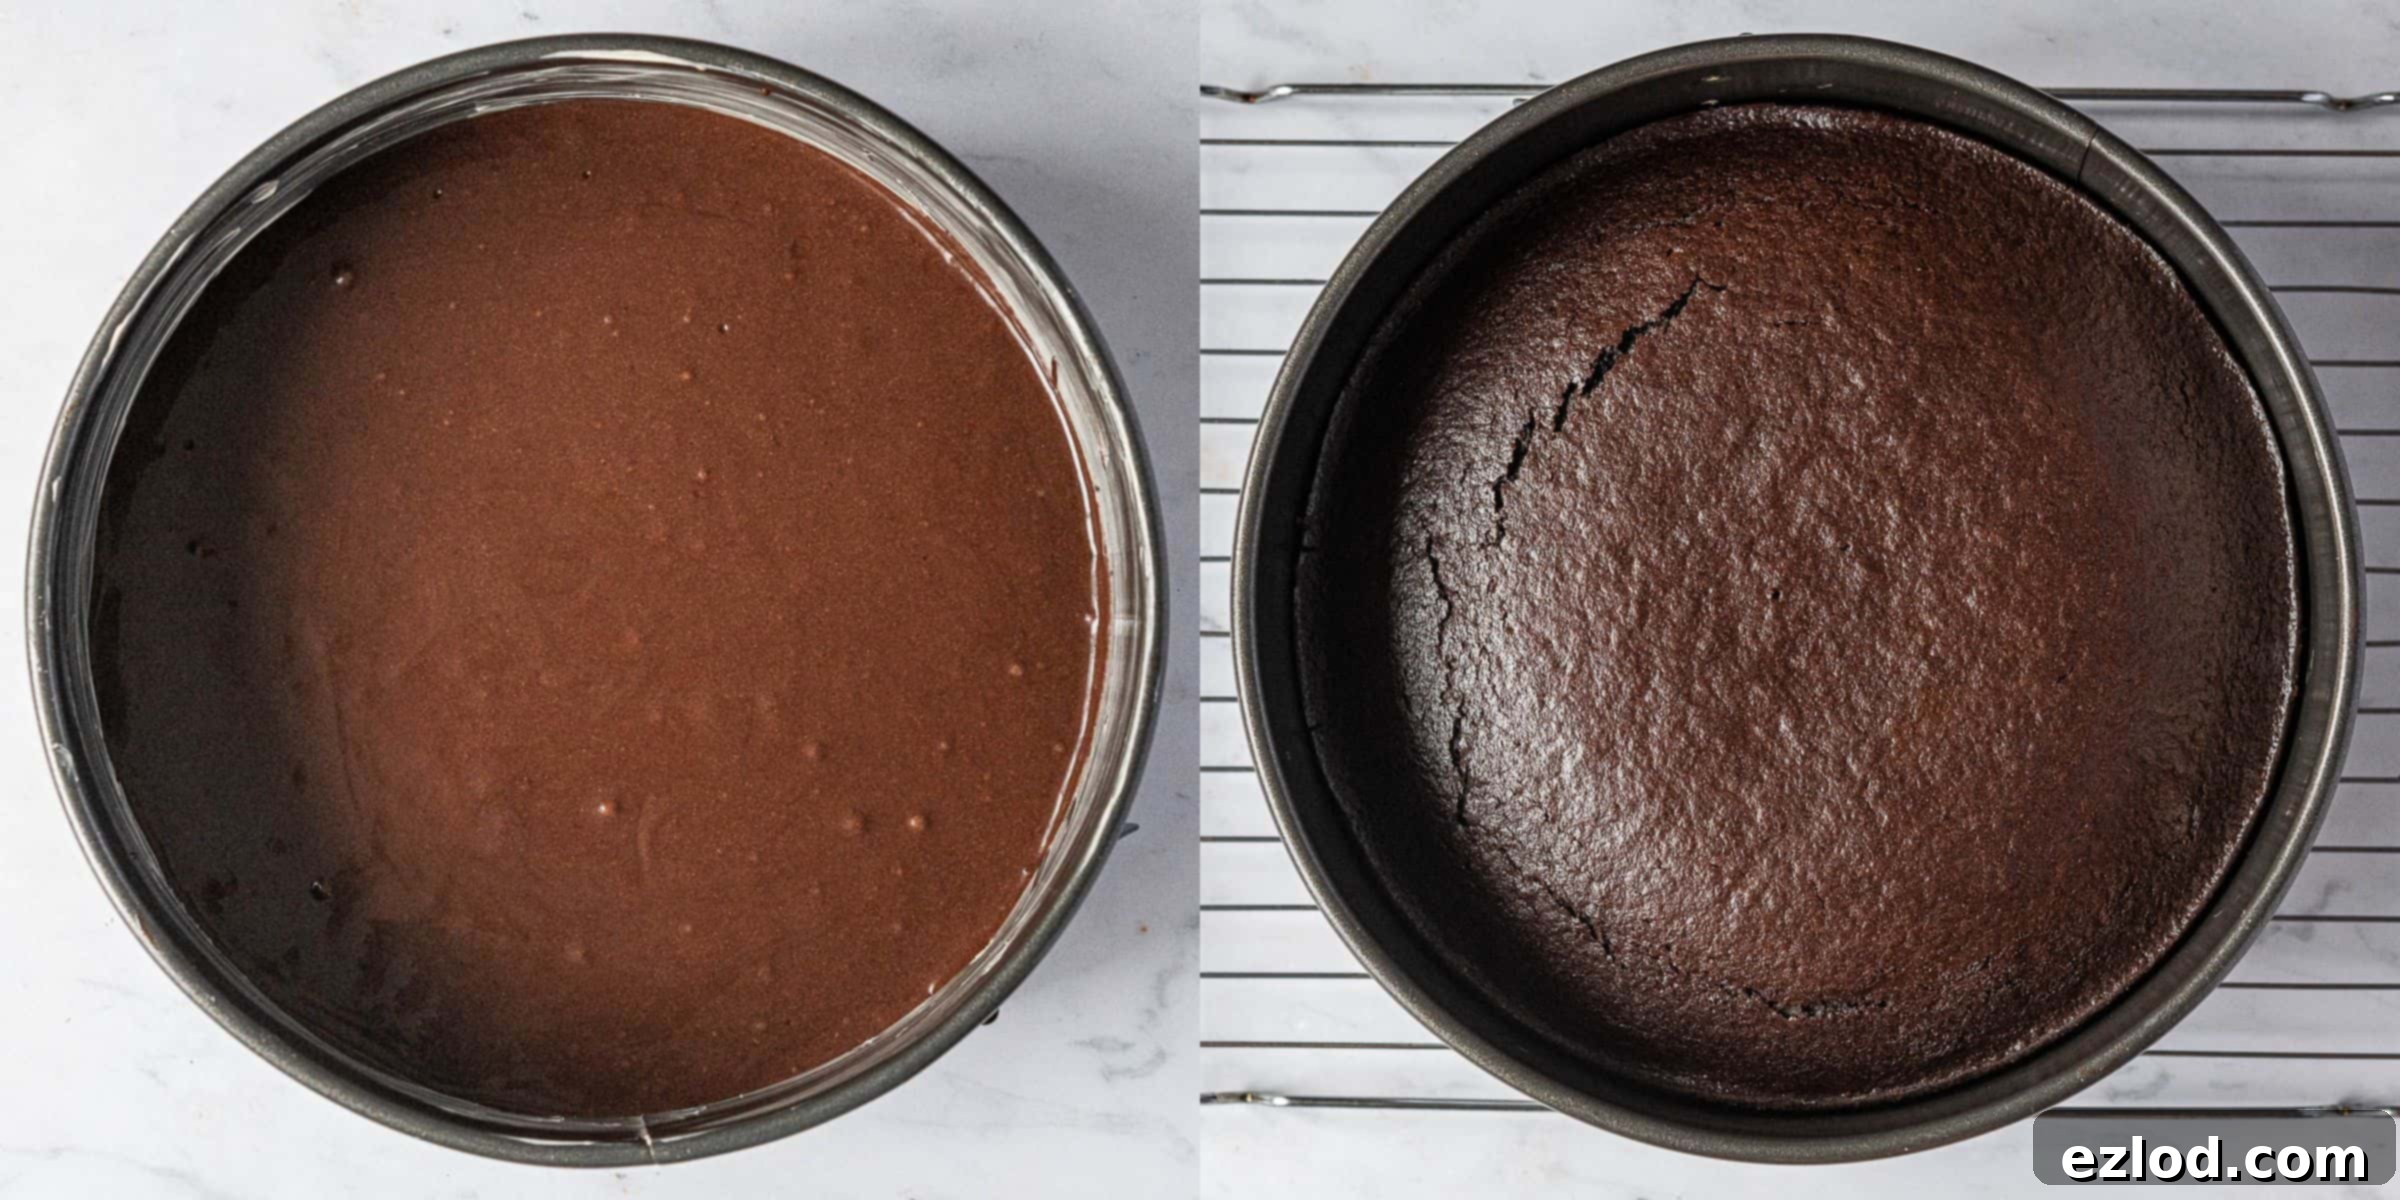
Transfer the smooth cake batter into a prepared 23cm (9-inch) springform cake tin, which should be greased and lined with baking parchment. Spread the batter evenly to ensure a flat top. Bake for approximately 20-25 minutes. To check for doneness, insert a skewer into the center of the cake; it should come out clean. Allow the cake to cool completely before proceeding.
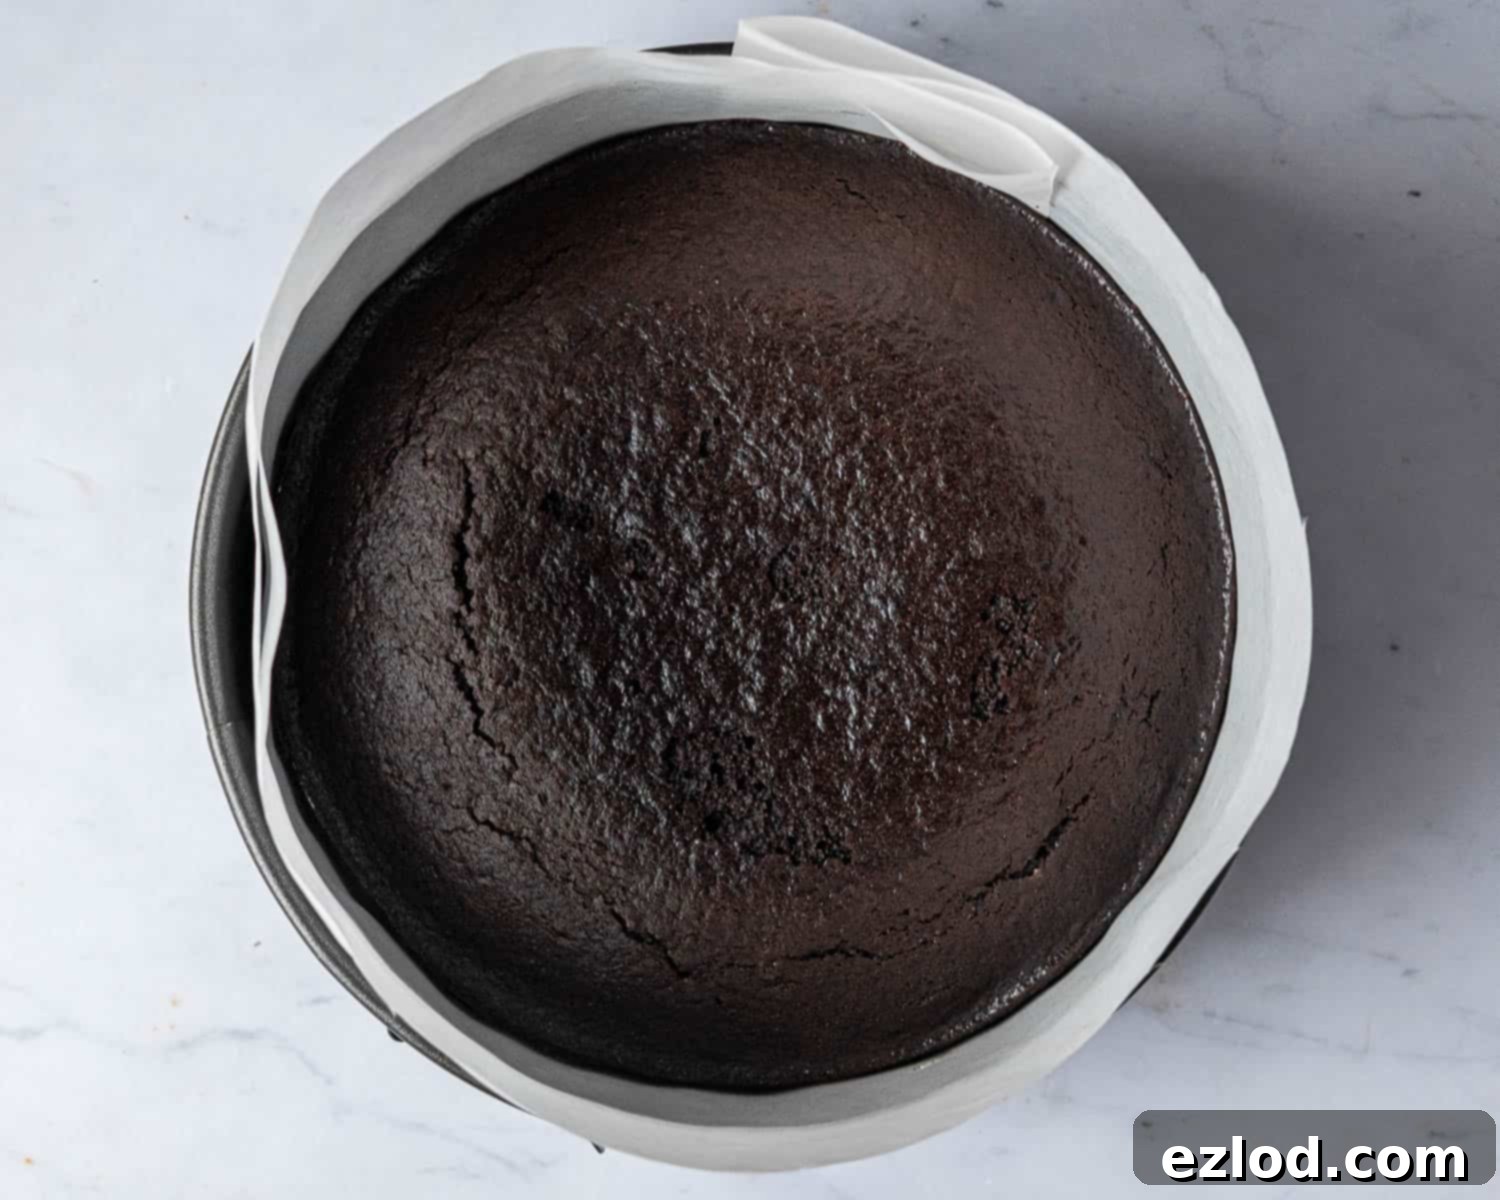
Once the chocolate cake has cooled entirely, meticulously prepare your springform tin for the mousse layers. Line the sides of the tin with a strip of acetate or a double layer of greaseproof paper, ensuring it extends well above the top edge of the tin. This creates a collar that will contain the tall mousse layers. Carefully place the cooled cake back into the lined tin. If you desire exceptionally flat and precise layers, you may wish to trim the top of the cake to level it at this stage.
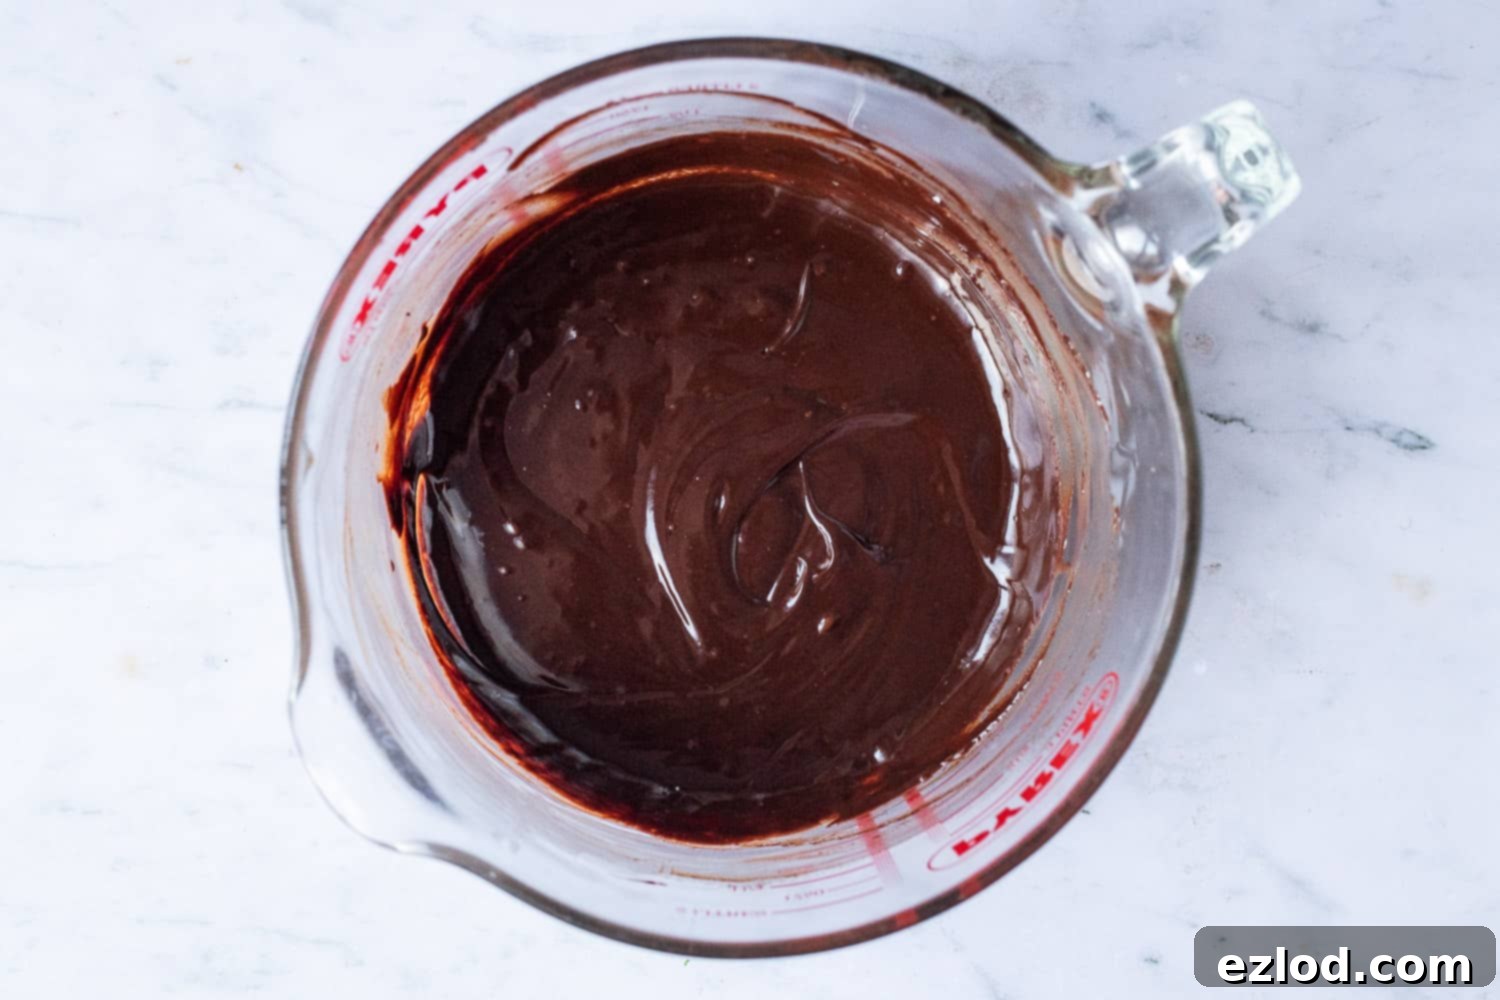
Now, let’s create the decadent dark chocolate mousse. In a heatproof bowl, place your very finely chopped dark chocolate. In a small saucepan, gently heat the vegan whipping cream along with the vanilla extract until it just begins to simmer – do not allow it to boil vigorously. Pour this hot cream mixture over the chopped chocolate. Let it sit undisturbed for 5 minutes, allowing the heat to melt the chocolate. Then, gently stir with a spatula from the center outwards until the mixture is completely smooth and glossy, forming a rich ganache. Set this aside to cool to room temperature. It’s crucial it’s not hot when combined with aquafaba.
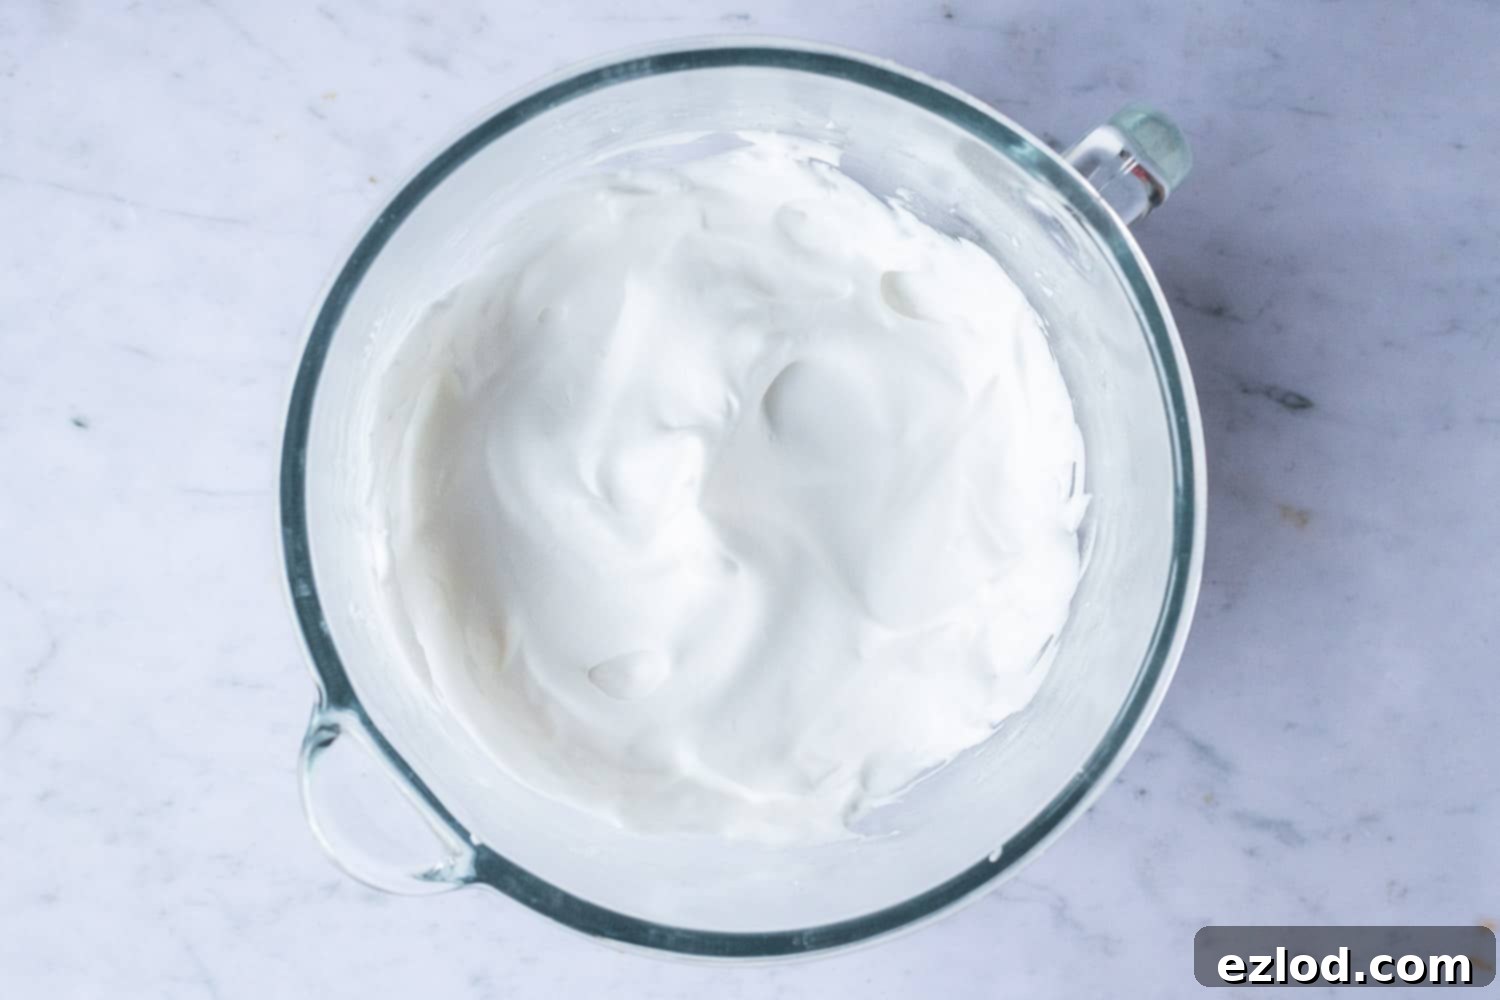
While your chocolate ganache is cooling, prepare the aquafaba. Pour the cold aquafaba and cream of tartar into the bowl of a stand mixer fitted with a balloon whisk attachment, or use a hand mixer with double beaters. Begin whisking the aquafaba on high speed until it becomes frothy and starts to hold some air. Gradually add the caster sugar, one spoonful at a time, whisking well after each addition until it’s fully incorporated. Continue whisking the aquafaba until it transforms into stiff, glossy peaks, similar to a meringue. The mixture should hold its shape firmly.
Ensure the chocolate ganache has cooled completely to room temperature. Take about one-quarter of the whipped aquafaba and gently fold it into the chocolate ganache using a spatula. This initial addition lightens the ganache and makes it easier to incorporate the rest of the aquafaba without deflating the mixture too much. Then, add the remaining aquafaba in three more batches, folding very gently until the mixture is uniformly combined, and no streaks of either chocolate or aquafaba are visible. The key here is gentle folding to preserve the airiness of the mousse. It’s normal for the mousse to lose a little volume and become slightly runnier at this stage, so don’t be alarmed.
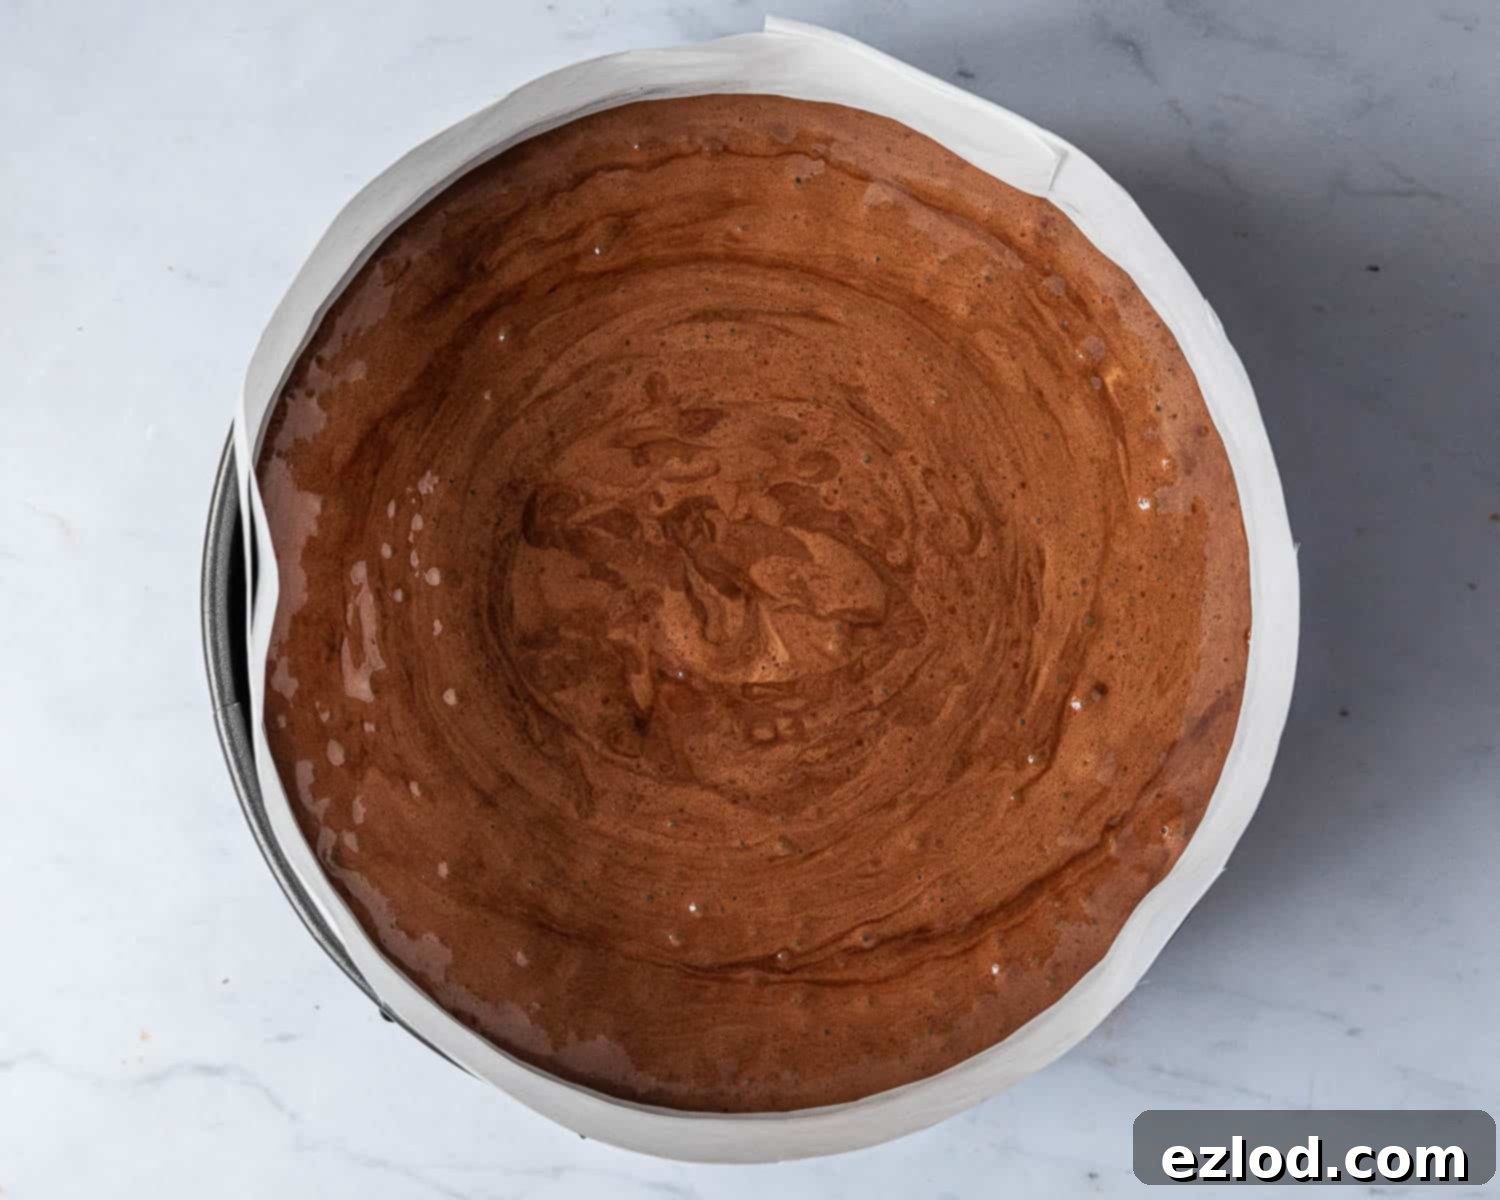
Carefully pour the finished dark chocolate mousse over the cooled chocolate cake in the prepared springform tin. Gently spread it level with a spatula. Transfer the tin to the refrigerator and allow the chocolate mousse to set for a minimum of 2 hours, or until it is firm to the touch.
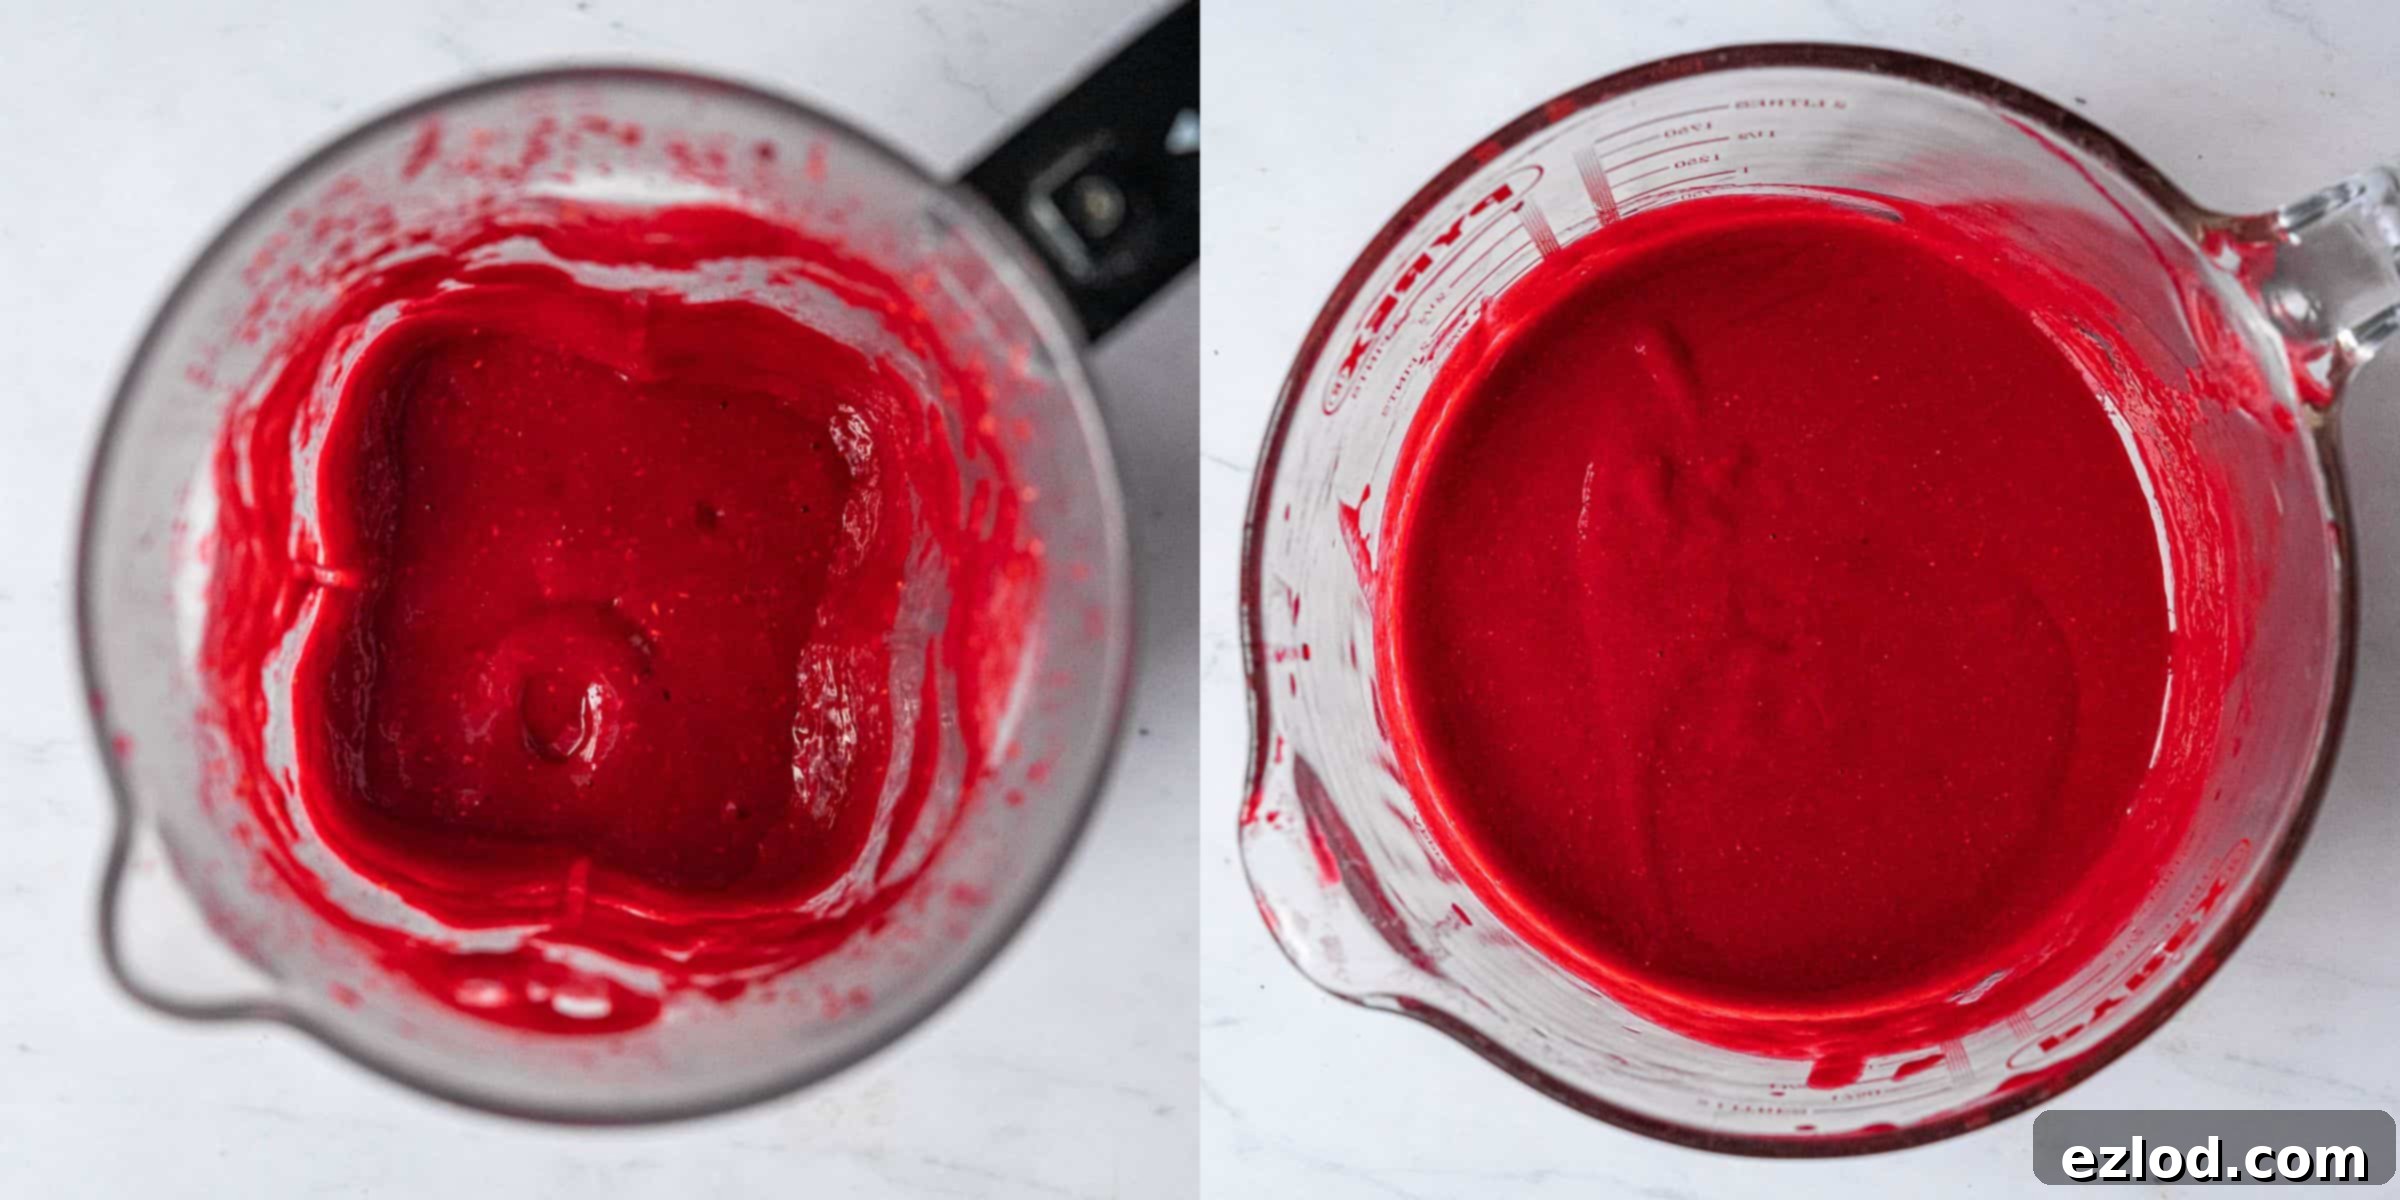
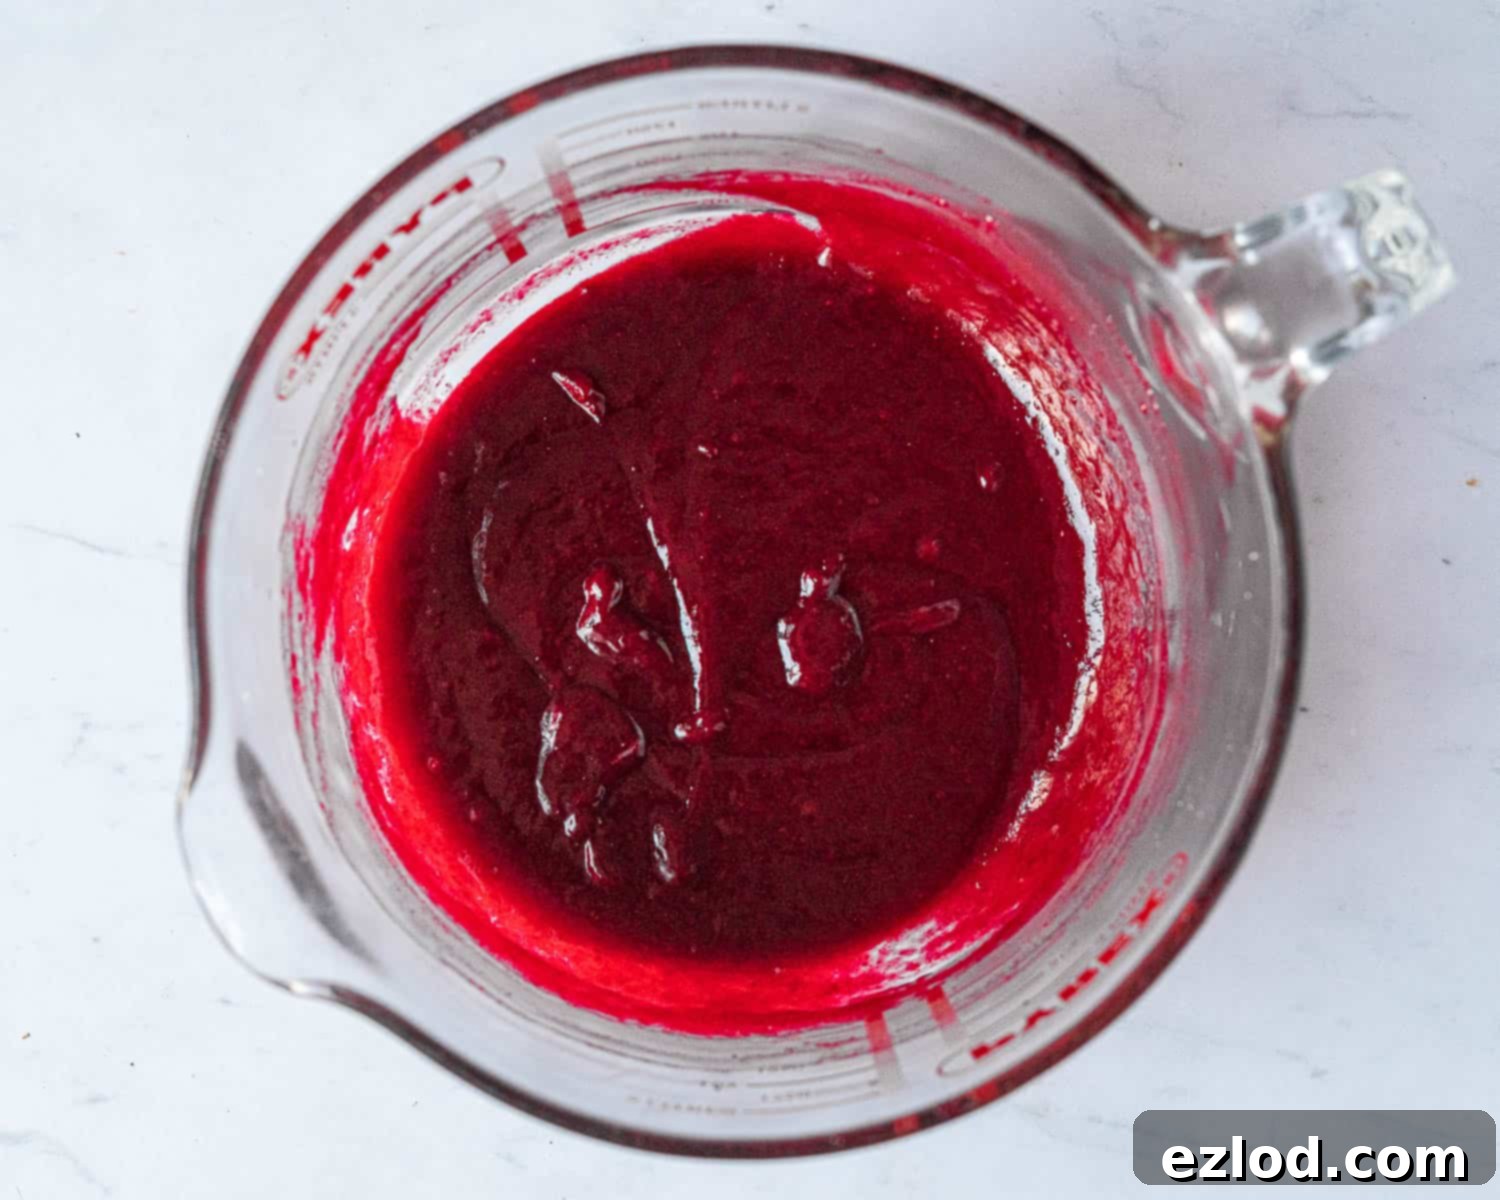
Once the dark chocolate mousse layer is fully set, it’s time to create the vibrant raspberry white chocolate mousse. Begin by blending the defrosted frozen raspberries (along with any accumulated juices) and the lemon juice until you achieve a completely smooth puree. Next, press this raspberry puree through a fine mesh sieve into a clean saucepan to remove all the seeds, ensuring a silky-smooth mousse. Press down firmly on the pulp in the sieve to extract as much liquid and flavor as possible.
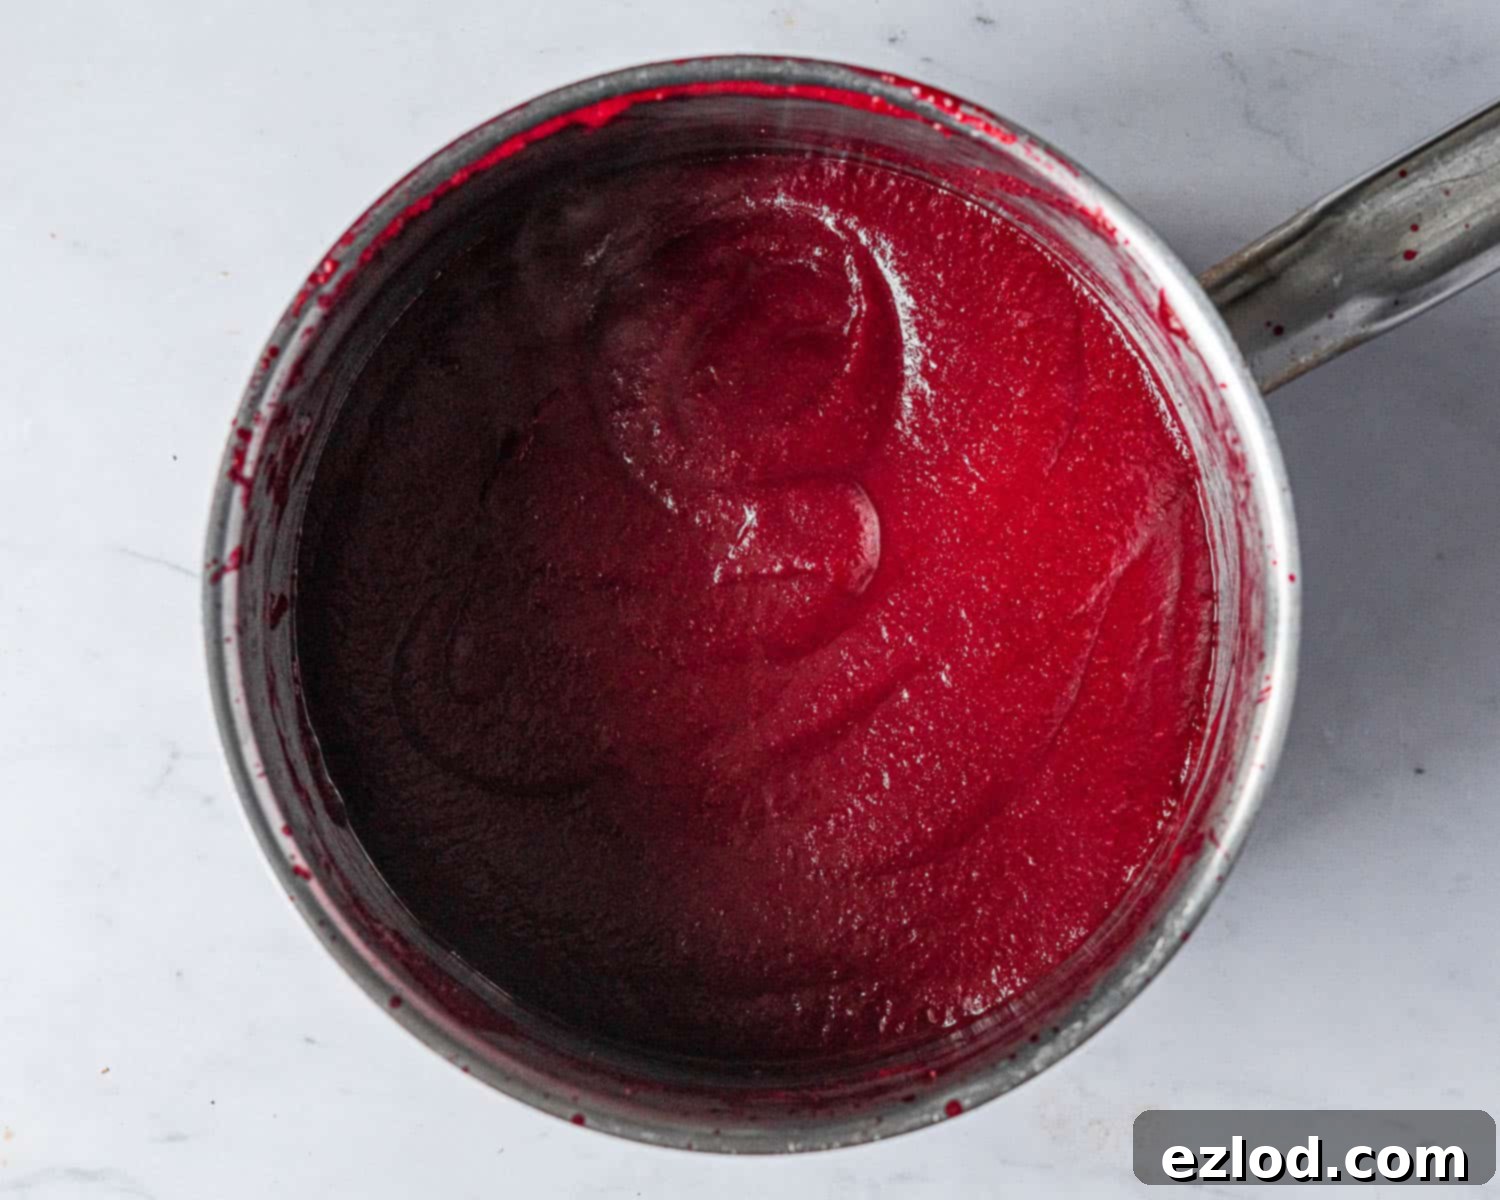
Place the seedless raspberry puree in a saucepan and bring it to a gentle simmer over medium heat. Continue to cook, stirring frequently to prevent sticking, until the puree has reduced by at least half. This process concentrates the raspberry flavor and helps to thicken the puree, which is crucial for the mousse’s consistency. This should take approximately 5-10 minutes.
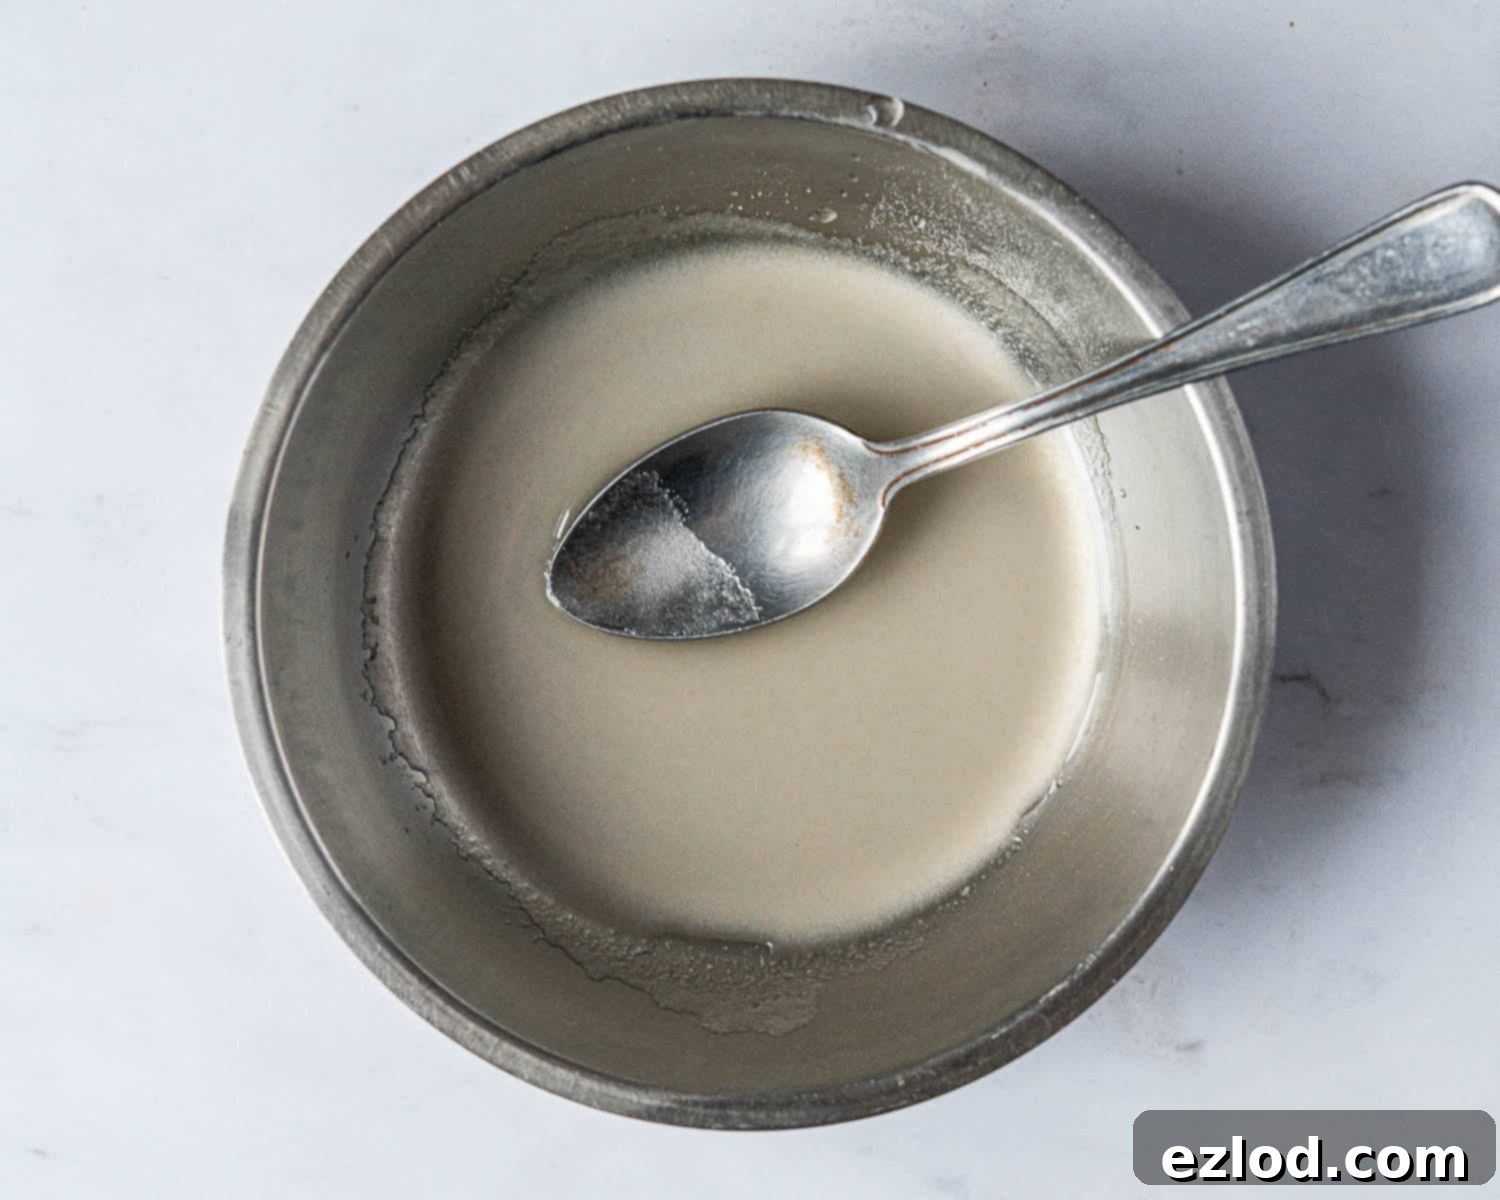
Measure out 150g of the reduced raspberry puree and place it back into a clean saucepan. In a small separate bowl, mix the agar agar powder with 1 tablespoon of cold water until it forms a smooth slurry. Whisk this agar agar mixture into the raspberry puree in the saucepan.
Bring the raspberry-agar agar mixture to a full boil, whisking constantly. Continue to boil for 2 minutes to activate the gelling properties of the agar agar; the mixture will become noticeably thicker. Meanwhile, ensure your finely chopped vegan white chocolate is ready in a heatproof bowl. Pour the hot, thickened raspberry mixture directly over the white chocolate, ensuring all chocolate is covered. Let it sit for 5 minutes to allow the chocolate to melt. Then, stir gently until the mixture is completely smooth and homogeneous, forming a beautiful pink ganache. Set this aside to cool until it is lukewarm – it’s important not to let it get too cold, or the agar agar will begin to set prematurely.
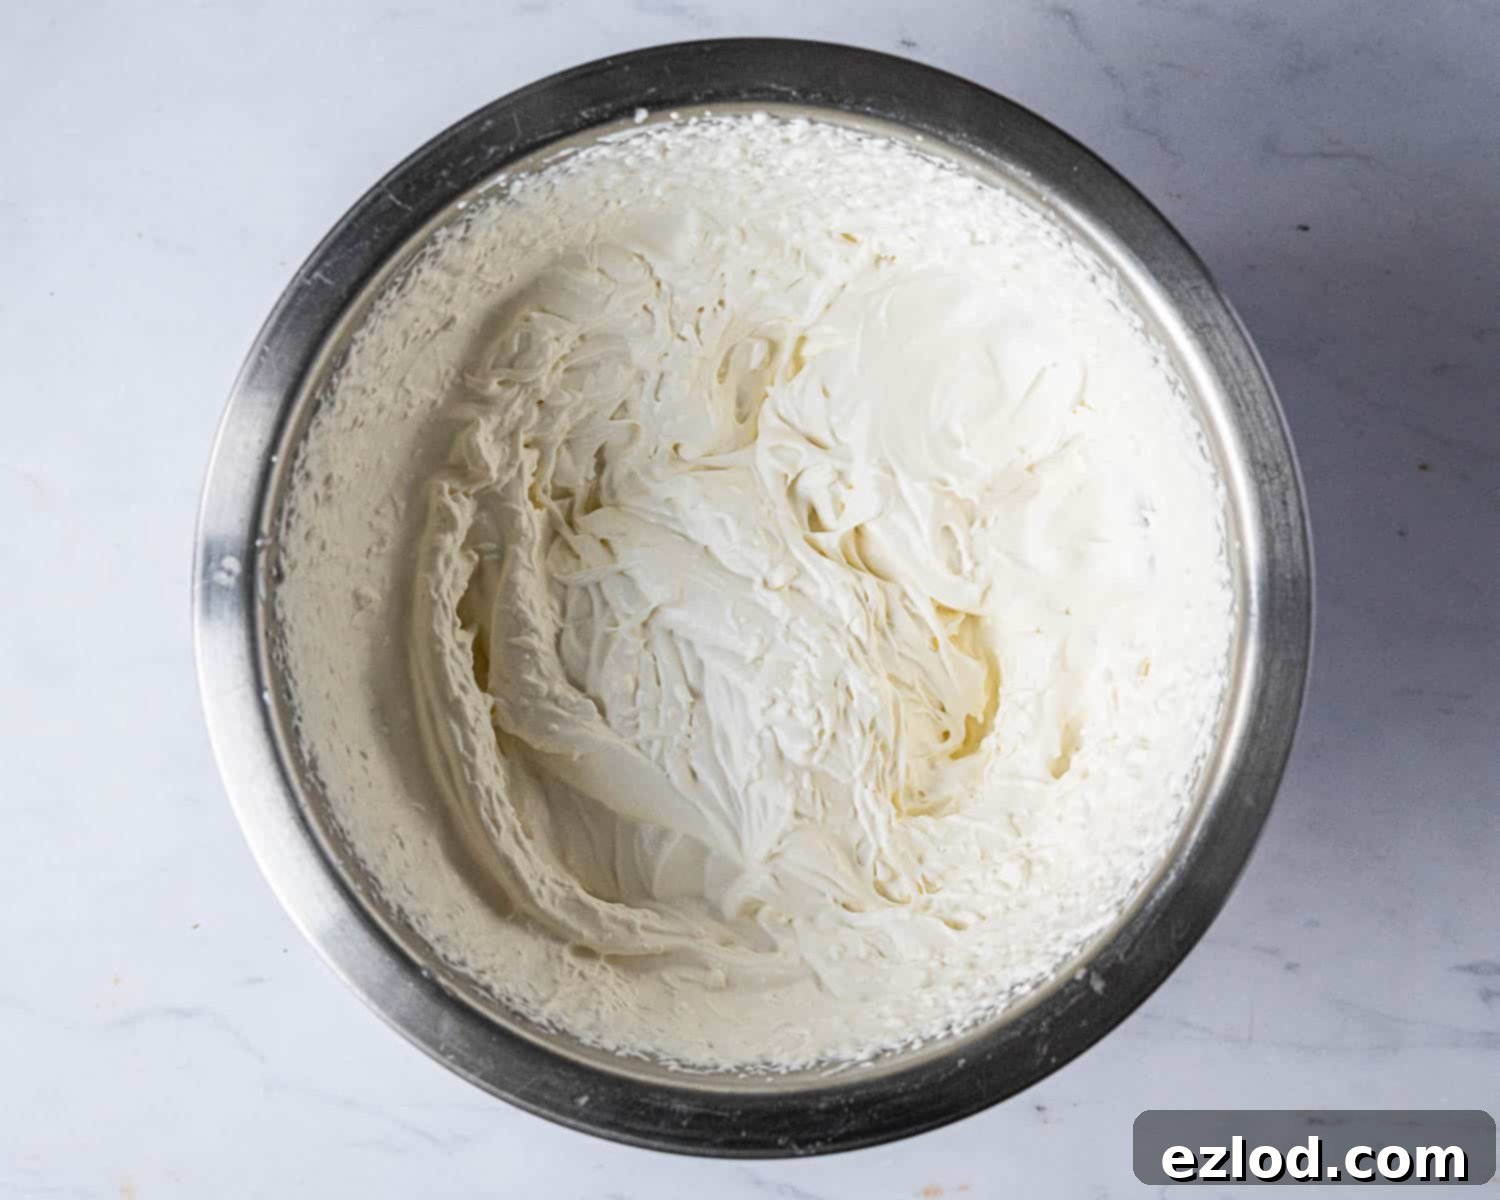
In a clean bowl, using an electric mixer, whisk the remaining cold vegan whipping cream along with the icing sugar until it forms soft peaks. Be patient, as vegan creams often take a little longer to whip than dairy cream, but they will eventually achieve a lovely, airy consistency.
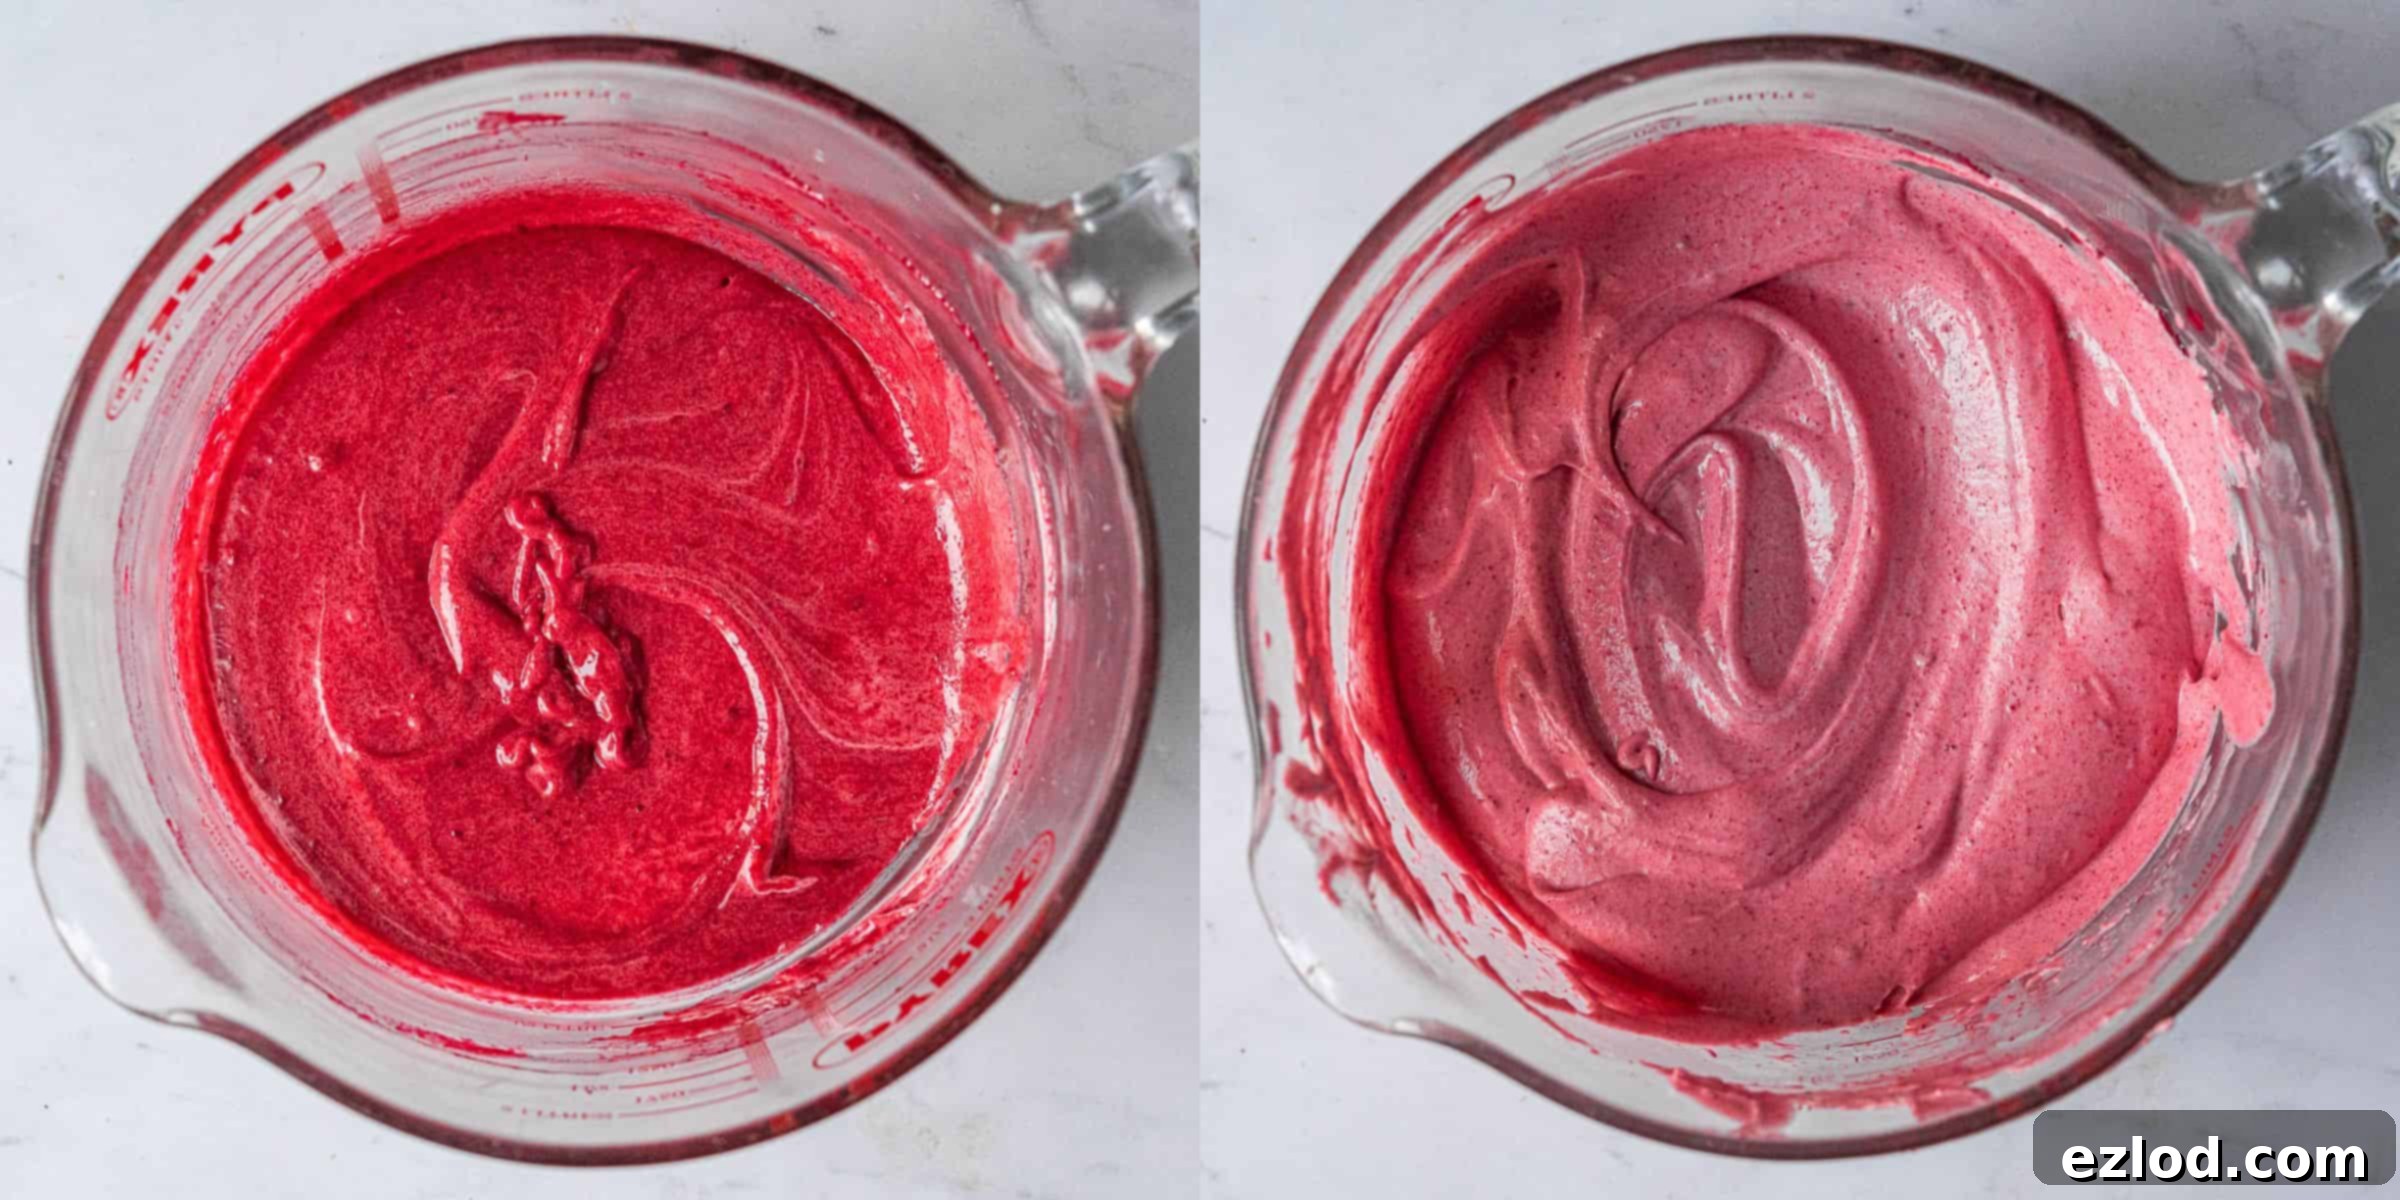
Gently whisk about one-third of the whipped vegan cream into the lukewarm raspberry white chocolate mixture. This helps to lighten the base and ensure a smooth, even blend. Then, carefully fold in the remaining whipped cream in two additions using a spatula. Be very gentle with your folding technique to preserve as much air as possible, which is crucial for a light and airy mousse. Continue folding just until no streaks of white cream or pink raspberry mixture are visible, creating a uniformly colored and textured mousse.
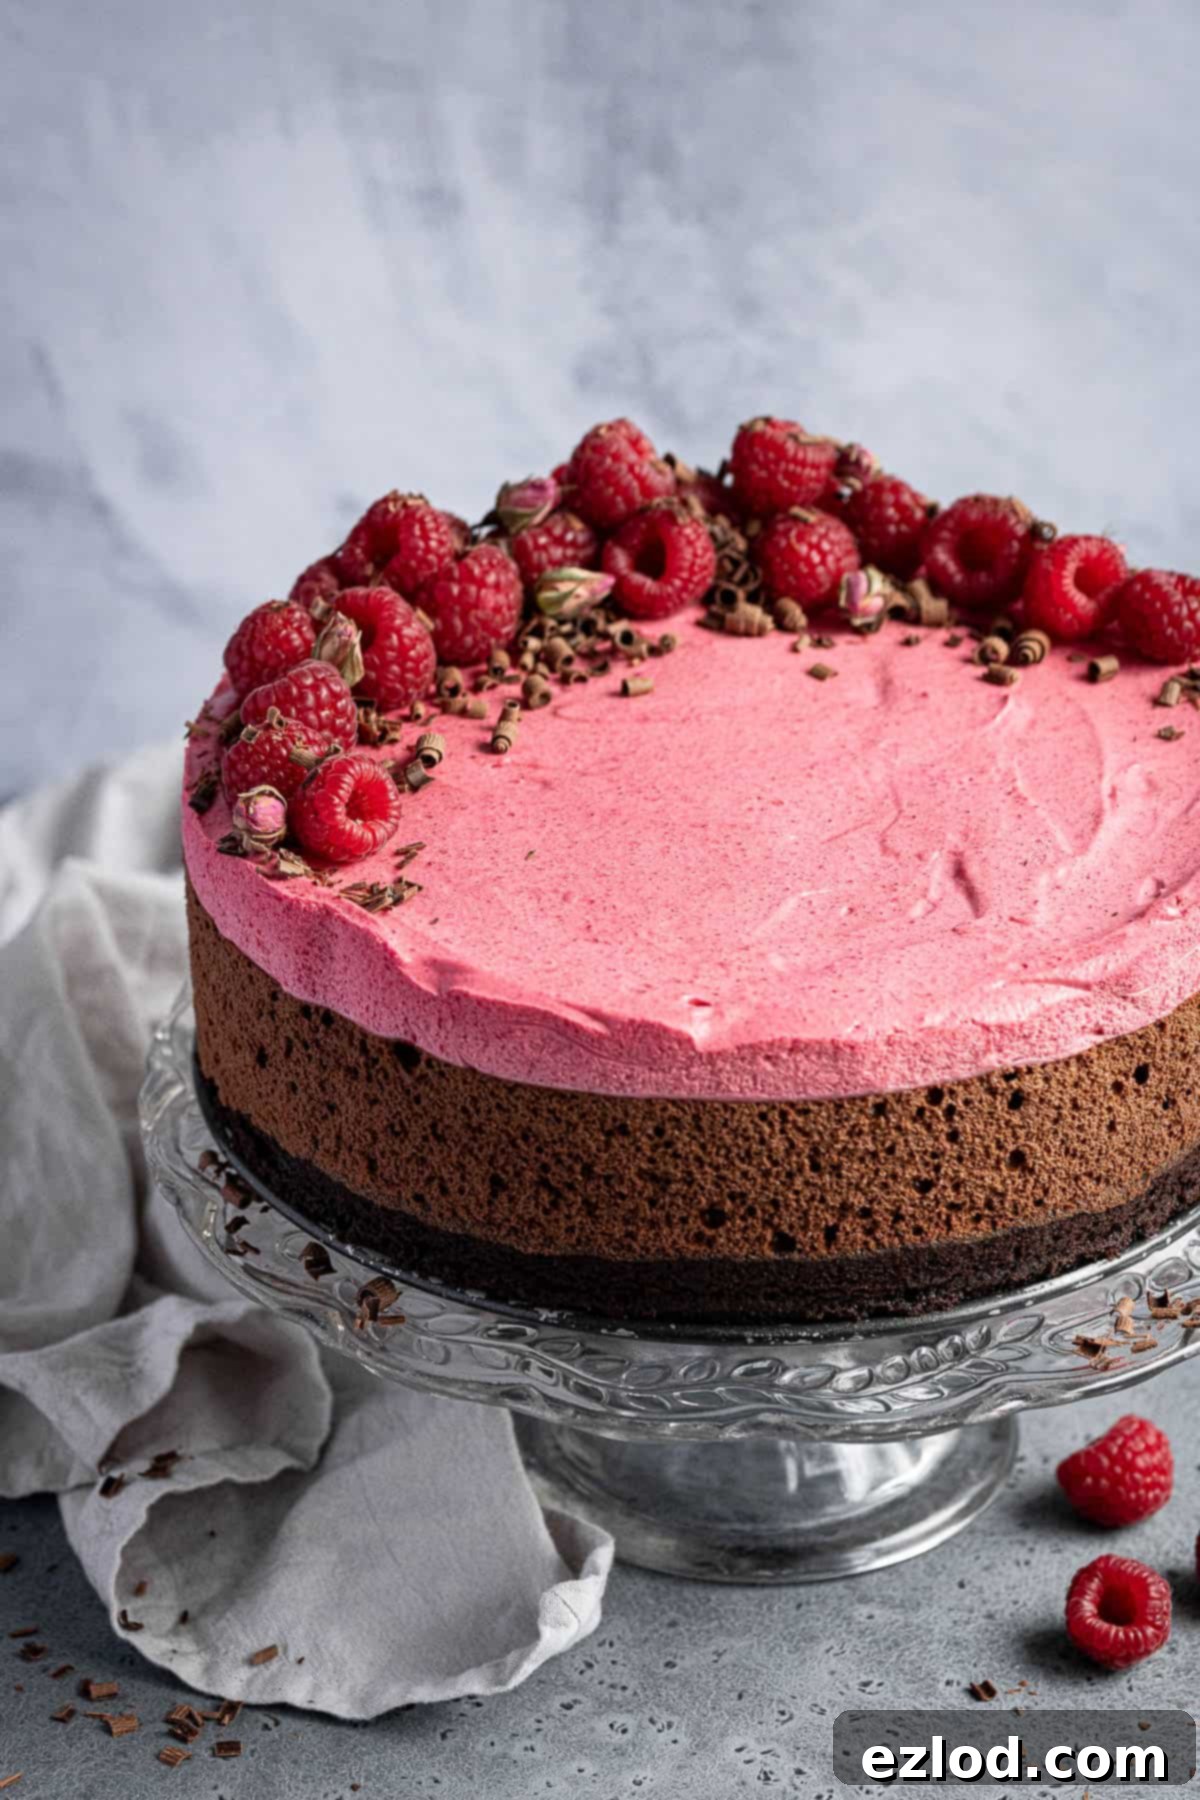
Carefully pour the finished raspberry white chocolate mousse over the set dark chocolate mousse layer in your prepared springform tin. Gently spread it level with a spatula. This top layer will likely reach the very top of your tin, or even slightly above, thanks to the acetate collar. Return the cake to the refrigerator to chill and set for at least 4 hours, or ideally, overnight, to ensure both mousse layers are perfectly firm.
Expert Tips for Mousse Cake Perfection:
Creating this vegan chocolate raspberry mousse cake is a rewarding experience, but it does require attention to detail. Here are some essential tips to ensure your success:
This is a somewhat intricate cake with multiple layers and setting times. Therefore, it is absolutely paramount that you read through the entire recipe thoroughly from start to finish *before* you even begin gathering your ingredients. Understanding each step and its timing will prevent surprises and ensure a smoother process.
As with all my baking recipes, I cannot stress enough the importance of using metric measurements with a digital kitchen scale rather than relying on cup conversions. Cups are notoriously inaccurate and can vary greatly, leading to inconsistent results. A digital scale provides precise measurements, guaranteeing much better and more consistent outcomes, not to mention making cleanup easier with fewer measuring cups to wash!
For truly outstanding results, adhere closely to the recipe as written. Each ingredient and step has been carefully calibrated. Altering any of the ingredients, such as substitutions or changes in quantities, could significantly impact the delicate balance and setting of the mousse cake. While I understand the desire for experimentation, any deviations from the recipe should be done at your own risk, as I cannot guarantee the outcome of such changes.
This magnificent vegan chocolate raspberry mousse cake is not a quick bake; it typically requires about a full day to complete, though most of this is inactive chilling time. You need ample time for the cake base to cool completely and for each individual mousse layer to properly set in the refrigerator. For the best experience and to avoid rushing, I highly recommend starting this cake the day before you plan to serve it. This allows all layers to firm up perfectly, making for easier slicing and a more stable dessert. Alternatively, if serving the same day, start very early in the morning!
Once assembled and set, your vegan chocolate raspberry mousse cake should be stored in a covered container in the refrigerator. When properly stored, it will maintain its deliciousness and beautiful texture for up to 4 days. Always keep it refrigerated until you are ready to slice and serve, as the mousse layers are delicate and best enjoyed chilled.
You will need a 23cm (9-inch) springform cake tin for this recipe. It is crucial that your tin is at least 7cm (2 ¾ inches) deep. The mousse layers, especially with the acetate collar, will come right up to the top of the tin, or even slightly exceed it, so sufficient depth is essential. If your tin is shallower, you risk overflow.
If you wish to remove the finished mousse cake from the metal base of the springform tin for a cleaner presentation, you will need a 23 cm (9-inch) round cake board that fits snugly into the bottom of the tin before you begin layering. This allows you to slide the entire cake off the metal base once it’s set.
Mastering Aquafaba: The Art of Reduction
If you’re not using a convenient shop-bought aquafaba (like Oggs), I cannot overstate the benefits of reducing it yourself. Reduced aquafaba yields consistently better results, whips up more easily, and produces significantly more stable stiff peaks than aquafaba used straight from the can. This stability is crucial for the structure of your chocolate mousse.
For optimal whipping, reduced aquafaba needs to be completely cold. This means you should ideally reduce it the day before you plan to use it and allow it to chill thoroughly in the refrigerator overnight. This cold temperature helps the proteins in the aquafaba to emulsify and aerate more effectively.
To reduce it, simply pour the liquid from two cans of chickpeas (typically around 240-300ml) into a small saucepan. Bring the liquid to a gentle simmer over medium-low heat. Allow it to cook gently for about 10-15 minutes, or until the volume has visibly reduced by almost half. Don’t worry if it still seems quite thin while hot; it will thicken considerably as it cools.
Once the reduction process is complete, remove the pan from the heat and let the aquafaba cool down completely at room temperature. Then, transfer the reduced aquafaba to an airtight container and refrigerate it until it is thoroughly chilled before attempting to whip it. This patience will be rewarded with a superior mousse.
Chocolate Troubleshooting: Preventing and Saving Seized Ganache
While the vegan dark chocolate mousse is relatively straightforward, working with chocolate can sometimes be tricky. Chocolate can be temperamental, and a ganache can seize (become grainy or oily) very easily. Following these tips will give you the best chance of success:
When heating your vegan cream, pay close attention to its temperature. It should only be brought to a gentle simmer, just at the point where tiny bubbles begin to form around the edges of the pan. Crucially, do not allow it to come to a rolling boil, as excessively hot cream is a common culprit for chocolate seizing. I’ve found that using Elmlea Plant Cream (or similar dairy-free double cream alternatives) is more stable for ganache than coconut cream, which tends to split more readily.
Once the cream is simmering, pour it immediately over your finely chopped dark chocolate. Resist the urge to stir right away. Instead, let the mixture sit undisturbed for a full five minutes. This allows the hot cream to gently melt the chocolate from the bottom up. After five minutes, begin to stir very gently from the center of the bowl, slowly expanding your stirring motion outwards until the chocolate is completely melted and the ganache is smooth, glossy, and emulsified.
If, despite your best efforts, you find yourself with a grainy or oily ganache (it happens to the best of us!), don’t despair or throw it away – it can almost always be saved! The most common fix is to add a small amount of hot water, one teaspoon at a time, vigorously stirring after each addition. Continue this process until the ganache miraculously transforms back into a smooth, shiny consistency. Be cautious not to add more than 4 teaspoons of water in total, as too much liquid can make your mousse too soft and prevent it from setting properly.
If hot water alone isn’t enough to bring your ganache back together, a little melted cocoa butter or even coconut oil can work wonders. Add a spoonful of either, melted, and stir vigorously. The added fat can help re-emulsify the mixture. Alternatively, for a more robust rescue, an immersion blender can be your best friend. Submerge the blender directly into the seized ganache and blitz it for a few seconds; the sheer force of the blades often re-emulsifies the fats and liquids, restoring it to a perfectly smooth state.
Storing Your Vegan Chocolate Raspberry Mousse Cake:
This beautiful vegan chocolate raspberry mousse cake is best enjoyed fresh but can be stored effectively to prolong its deliciousness.
Once assembled and fully set, the cake will keep wonderfully in the refrigerator for up to four days. To maintain its delicate flavors and prevent it from absorbing any unwanted fridge odors, it’s highly recommended to store it in an airtight container or, ideally, under a covered cake dome. This barrier will protect the mousse from drying out and keep its taste pristine.
Please note that this particular mousse cake, due to the nature of its mousse layers (especially those made with aquafaba and agar agar), cannot be frozen. Freezing and thawing will alter the texture of the mousses, likely resulting in a watery, grainy, or otherwise unappealing consistency. It’s best to enjoy it fresh from the fridge.
More Delectable Vegan Dessert Recipes to Explore:
- Vegan sticky toffee pudding
- Vegan Tiramisu
- Steamed chocolate pudding
- Vegan pecan pie
- Vegan peanut butter chocolate tart
- Vegan lemon tart
- Vegan lemon blueberry cheesecake
- Vegan pumpkin pie
- Vegan strawberry coconut tart
- Vegan Bakewell tart
- Steamed maple syrup pudding
If you tried this exquisite recipe, I’d love to hear about your experience! Please rate it, leave a comment below, or tag @domestic_gothess on Instagram and use the hashtag #domesticgothess. Your feedback is invaluable!
All images and content on Domestic Gothess are copyright protected. If you wish to share this recipe, please do so by utilizing the provided share buttons. Do not screenshot or post the recipe or content in full; instead, always include a direct link to this post for the complete recipe and instructions. Thank you for respecting intellectual property.

Print
Vegan Chocolate Raspberry Mousse Cake
Ingredients
Chocolate Cake:
- 200 ml (½ + ⅓ cup) unsweetened non-dairy milk (I use soy)
- 80 ml (⅓ cup) neutral oil (such as sunflower)
- 1 teaspoon vinegar
- 140 g (⅔ cup) caster (superfine) sugar
- 1 teaspoon vanilla extract
- 130 g (1 cup + 1 Tablespoon) plain (all-purpose) flour
- 45 g (4 ½ packed Tablespoons) cocoa powder
- ½ teaspoon baking powder
- ½ teaspoon bicarbonate of soda (baking soda)
- pinch salt
Chocolate Mousse:
- 200 g (7 oz) dark chocolate (no more than 70% cocoa solids) very finely chopped
- 120 ml (½ cup) vegan whipping cream (I recommend using Elmlea Plant double cream)
- 1 teaspoon vanilla extract
- 120 ml (½ cup) reduced and cooled or shop bought aquafaba (I use Oggs)* cold
- ¼ teaspoon cream of tartar
- 3 Tablespoons caster (superfine) sugar
Raspberry White Chocolate Mousse:
- 170 g (6 oz) vegan white chocolate very finely chopped
- 450 g (1 lb) frozen raspberries defrosted
- 1 Tablespoon lemon juice
- ½ teaspoon agar agar powder (NOT flakes)
- 1 Tablespoon water
- 240 ml (1 cup) vegan whipping cream (I recommend using Elmlea Plant double cream) cold
- 1 Tablespoon icing (powdered) sugar
Instructions
Chocolate Cake:
-
Preheat the oven to 180°C/160°C fan/350°F/gas mark 4. Grease a 23 cm/9 in round, at least 7 cm/2 ¾ in deep springform cake tin and line it with baking parchment.
-
Whisk together the milk, oil, vinegar, caster sugar and vanilla extract until very well combined.
-
In a large bowl sift together the plain flour, cocoa powder, baking powder, bicarbonate of soda and salt.
-
Pour the wet ingredients into the dry and whisk with a balloon whisk until no dry lumps remain, but be careful not to over-beat the batter.
-
Pour the batter into the prepared tin, spread it level and bake for about 20-25 minutes until a skewer inserted into the centre comes out clean.
-
Allow the cake to cool in the tin for 10 minutes then carefully turn it out onto a wire rack and leave to cool completely.
-
Wash the tin and line it with a strip of acetate or a double layer of greaseproof paper, making sure that it comes at least 5 cm/2 in above the top of the tin. If you have a 23 cm/9 in cake board then it is a good idea to place that in the bottom. If not then just line the base with baking parchment.
-
Place the cold cake back in the lined tin. If you want perfectly flat layers of cake and mousse then you can trim the top to level it first (I didn’t bother).
Chocolate Mousse:
-
Place the finely chopped dark chocolate in a large heat-proof bowl. Heat the cream and vanilla extract until it is just simmering (don’t let it boil) then pour it over the finely chopped chocolate.
-
Let it sit for 5 minutes then stir gently until smooth and glossy. (See post above for what to do if it splits). Set aside to cool to room temperature. (If there are still a few lumps of melted chocolate then you can heat it in 10 second bursts in the microwave, stirring after each one, until it is melted).
-
While the gananche is cooling, place the aquafaba and cream of tartar in the bowl of a stand mixer fitted with a balloon whisk; or use a hand mixer with the double beater attachments.
-
Whisk the aquafaba on a high speed until it is frothy, add a spoonful of the sugar and whisk until well combined; repeat until you have added all of the sugar. Continue to whisk the aquafaba until it forms stiff peaks.
-
Make sure that the chocolate mixture has cooled to room temperature then add ¼ of the whipped aquafaba to the chocolate and stir gently with a spatula until almost combined.
-
Add the rest of the aquafaba in three more batches, folding it in very gently until it is uniformly combined. You don’t want there to be any streaks of chocolate or aquafaba, but don’t keep mixing for too long, you don’t want to deflate the mousse. (It will lose a bit of volume however and become slightly more runny – don’t worry, this is normal).
-
Gently pour the mousse over the top of the cake in the tin, then place it in the fridge for at least 2 hours to set.
Raspberry White Chocolate Mousse:
-
Place the finely chopped white chocolate in a large, heat-proof bowl.
-
Blend the defrosted frozen raspberries (plus any juices) and the lemon juice until smooth.
-
Press the puree through a fine mesh sieve to remove the seeds. Really press down on the pulp to extract as much of the puree as possible. Discard the seeds.
-
Place the puree in a saucepan and bring up to a simmer. Cook until it has reduced by at least half, 5-10 minutes. Stir often to prevent it from catching.
-
Weigh out 150g (½ cup + 2 Tablespoons) of the reduced puree and place it in a saucepan. Mix the agar agar with 1 Tbsp cold water. Whisk the agar mixture into the puree.
-
Bring up to the boil and cook for 2 minutes, whisking constantly. It will be quite thick.
-
Pour the puree over the chopped white chocolate, making sure it is fully covered. Leave for 5 minutes, then stir until melted and smooth. Set aside until lukewarm (don’t let it get too cold however or the agar agar will set). (If there are still a few lumps of melted chocolate then you can heat it in 10 second bursts in the microwave, stirring after each one, until it is melted).
-
Whisk the cream and icing sugar with an electric mixer until it forms soft peaks. This takes a fair bit longer than dairy cream.
-
Gently stir ⅓ rd of the cream into the raspberry mixture with a balloon whisk, then carefully fold in the rest of the cream with a spatula. There shouldn’t be any streaks of cream or raspberry but be very gentle so as not to knock out the air.
-
Pour the raspberry mousse over the chocolate mousse and spread level. It will probably come all the way up to the top of the tin, or even slightly above. Refrigerate for at least 4 hours, or overnight, until set.
-
To serve, unclip the springform tin and remove the rim. Place the cake on a serving plate. If you didn’t have a cake board to place in the tin then you will probably have to leave it on the base of the tin as it is delicate and will be difficult to remove. Gently peel off the acetate/greaseproof paper.
-
Decorate the top of the cake as you like with fresh raspberries and chocolate curls. Store in the fridge, preferably inside a cake dome, until you are ready to serve. It will keep for up to 4 days.
Notes
- *See post above for details on how to reduce aquafaba.
- This is a fairly complex cake so make sure that you read through the recipe fully before starting.
- As with all of my baking recipes I really do recommend using the metric measurements with a digital scale rather than the cup conversions. Cups are a wildly inaccurate measuring system and you will get far better, more consistent results using a scale, not to mention that it is also easier and less messy than cups!
- For the best results follow the recipe closely and make it exactly as written. Changing any of the ingredients could affect the outcome of the mousse cake. I cannot comment on how well any substitutions will work, and any changes to the recipe must be done at your own risk.
- This cake takes about a day to complete (not all active time!) as it needs time for each layer to cool and chill. I recommend making it the day before you want to serve it. Or start early in the morning.
- See post above for tips, details and step-by-step photos.
