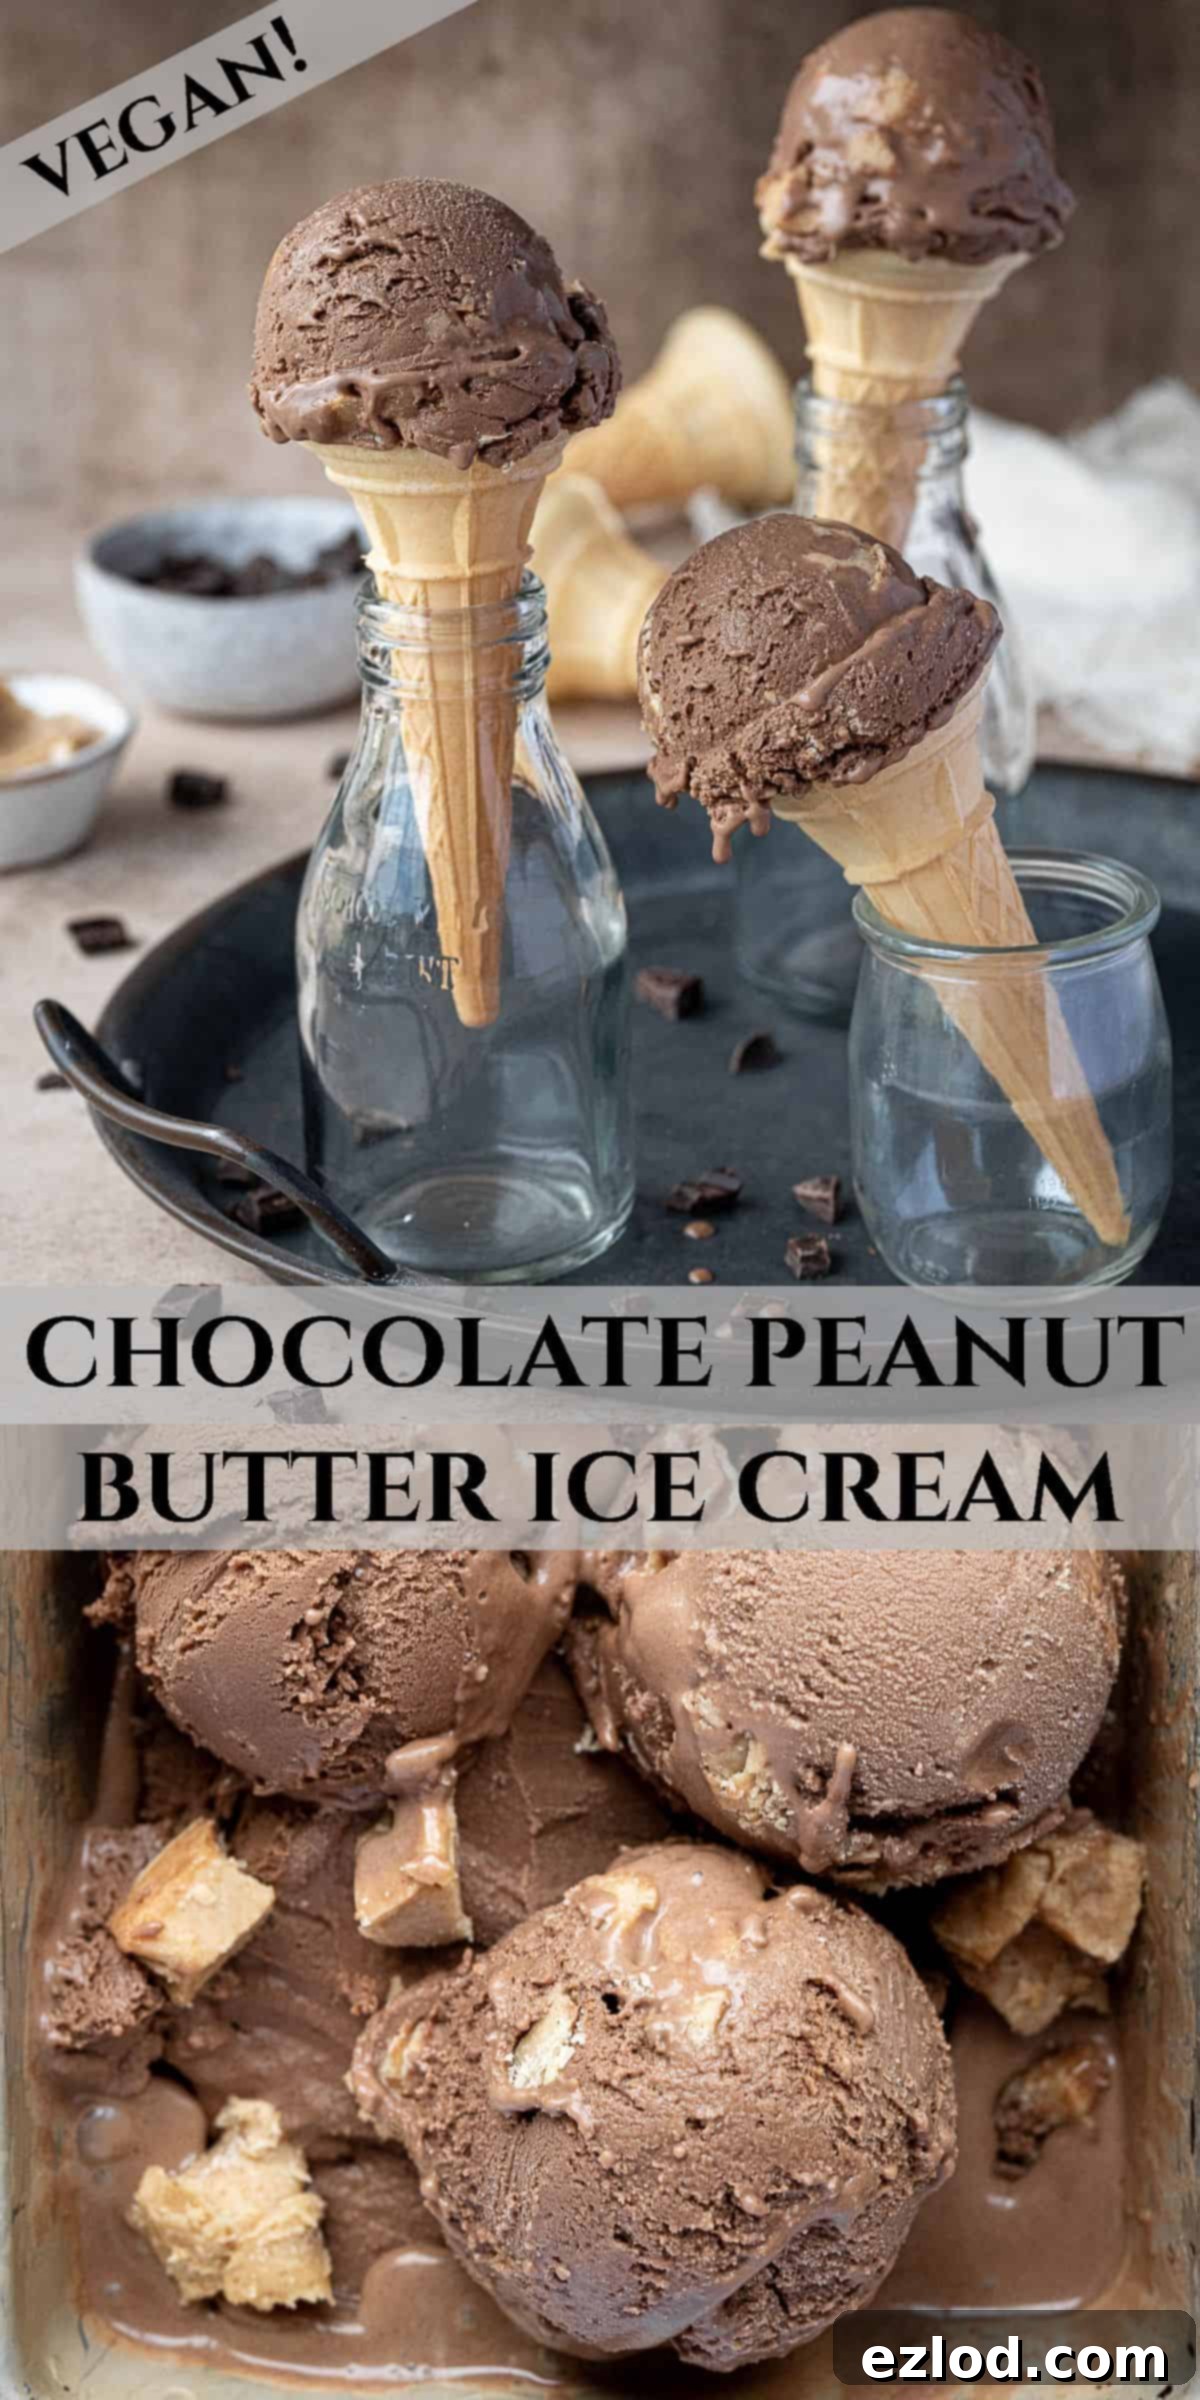
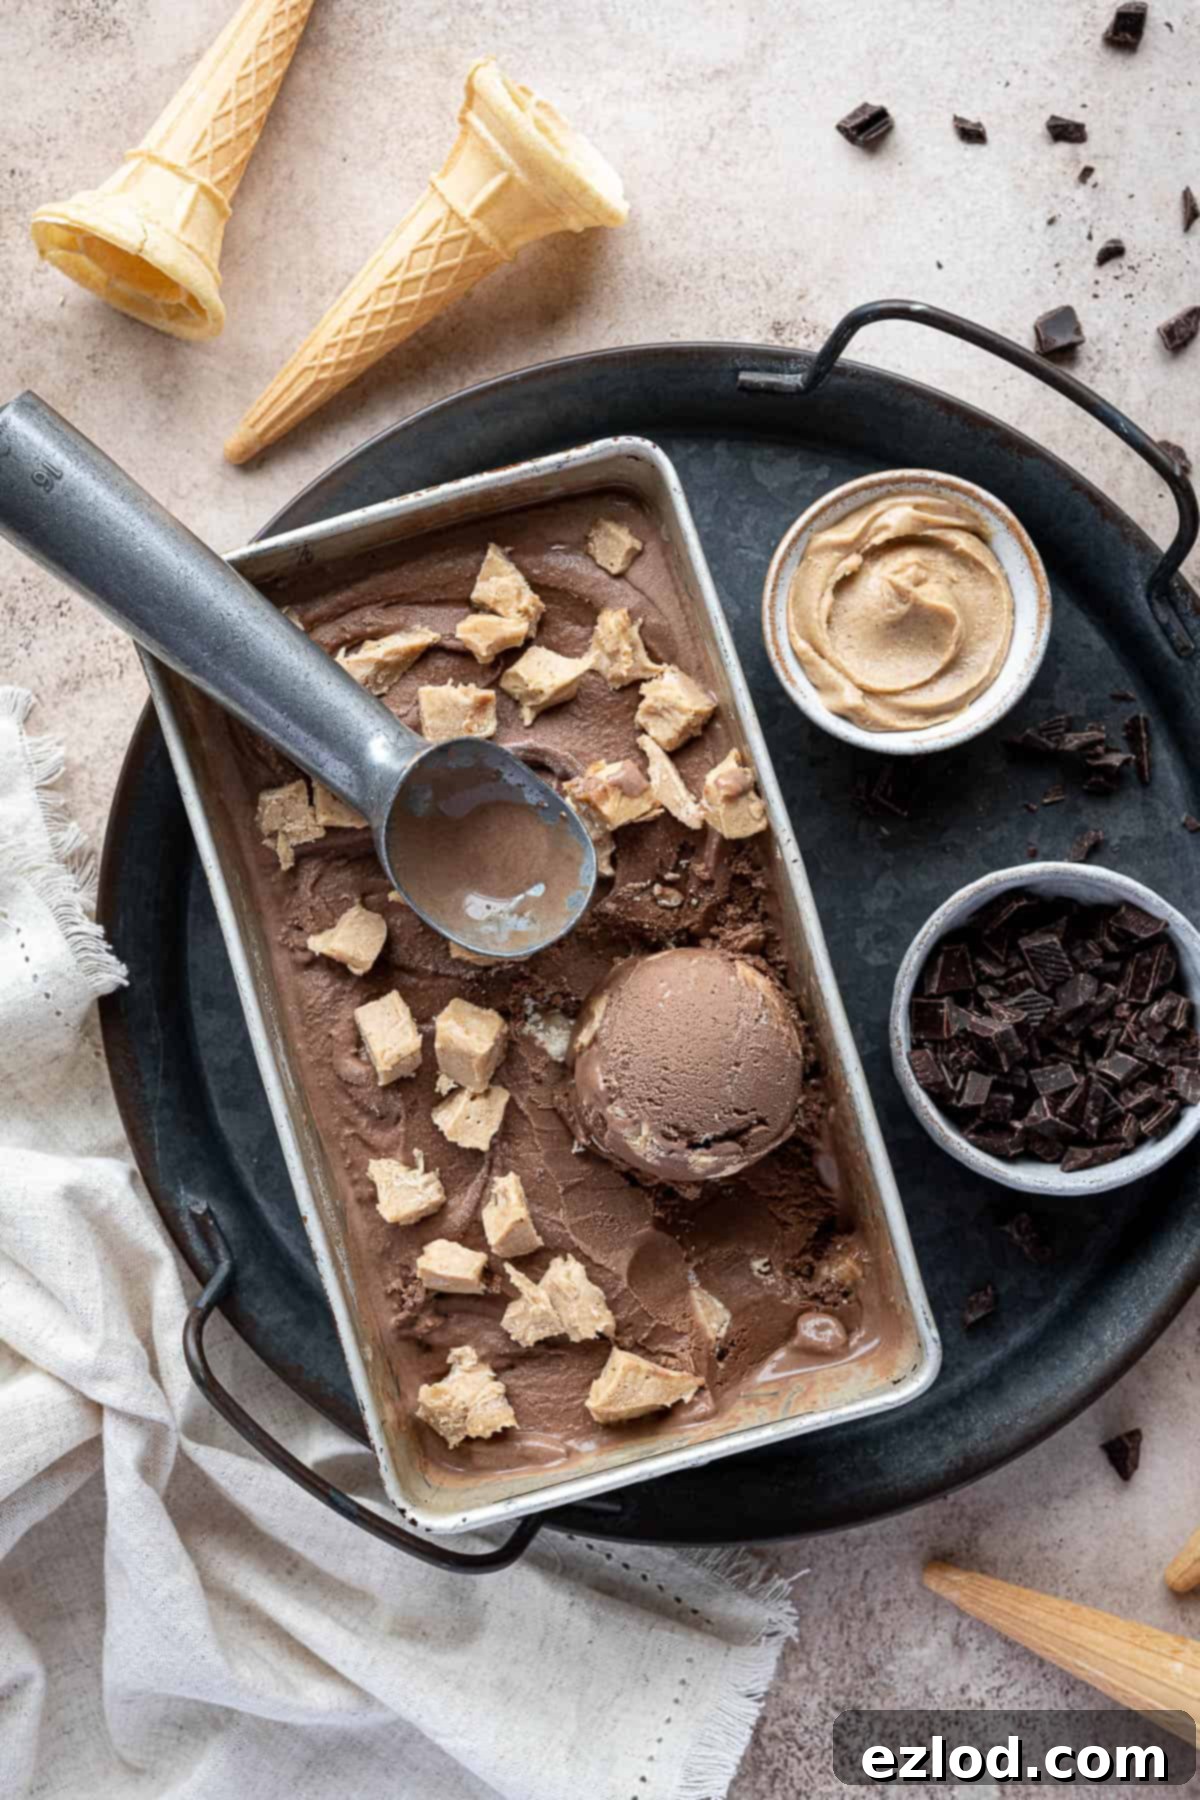
Ultra-Creamy Vegan Chocolate Peanut Butter Ice Cream: The Oat-Based, No-Coconut Recipe You’ll Love
Prepare to be captivated by this incredible chocolate peanut butter ice cream – a truly simple vegan delight that promises a rich, velvety texture and an utterly addictive blend of peanut and chocolate flavors. What makes this recipe truly revolutionary? It’s completely free from coconut and cashews, making it a fantastic option for those with dietary preferences or allergies. The secret to its unparalleled creaminess lies in one humble, yet powerful, ingredient: oats!
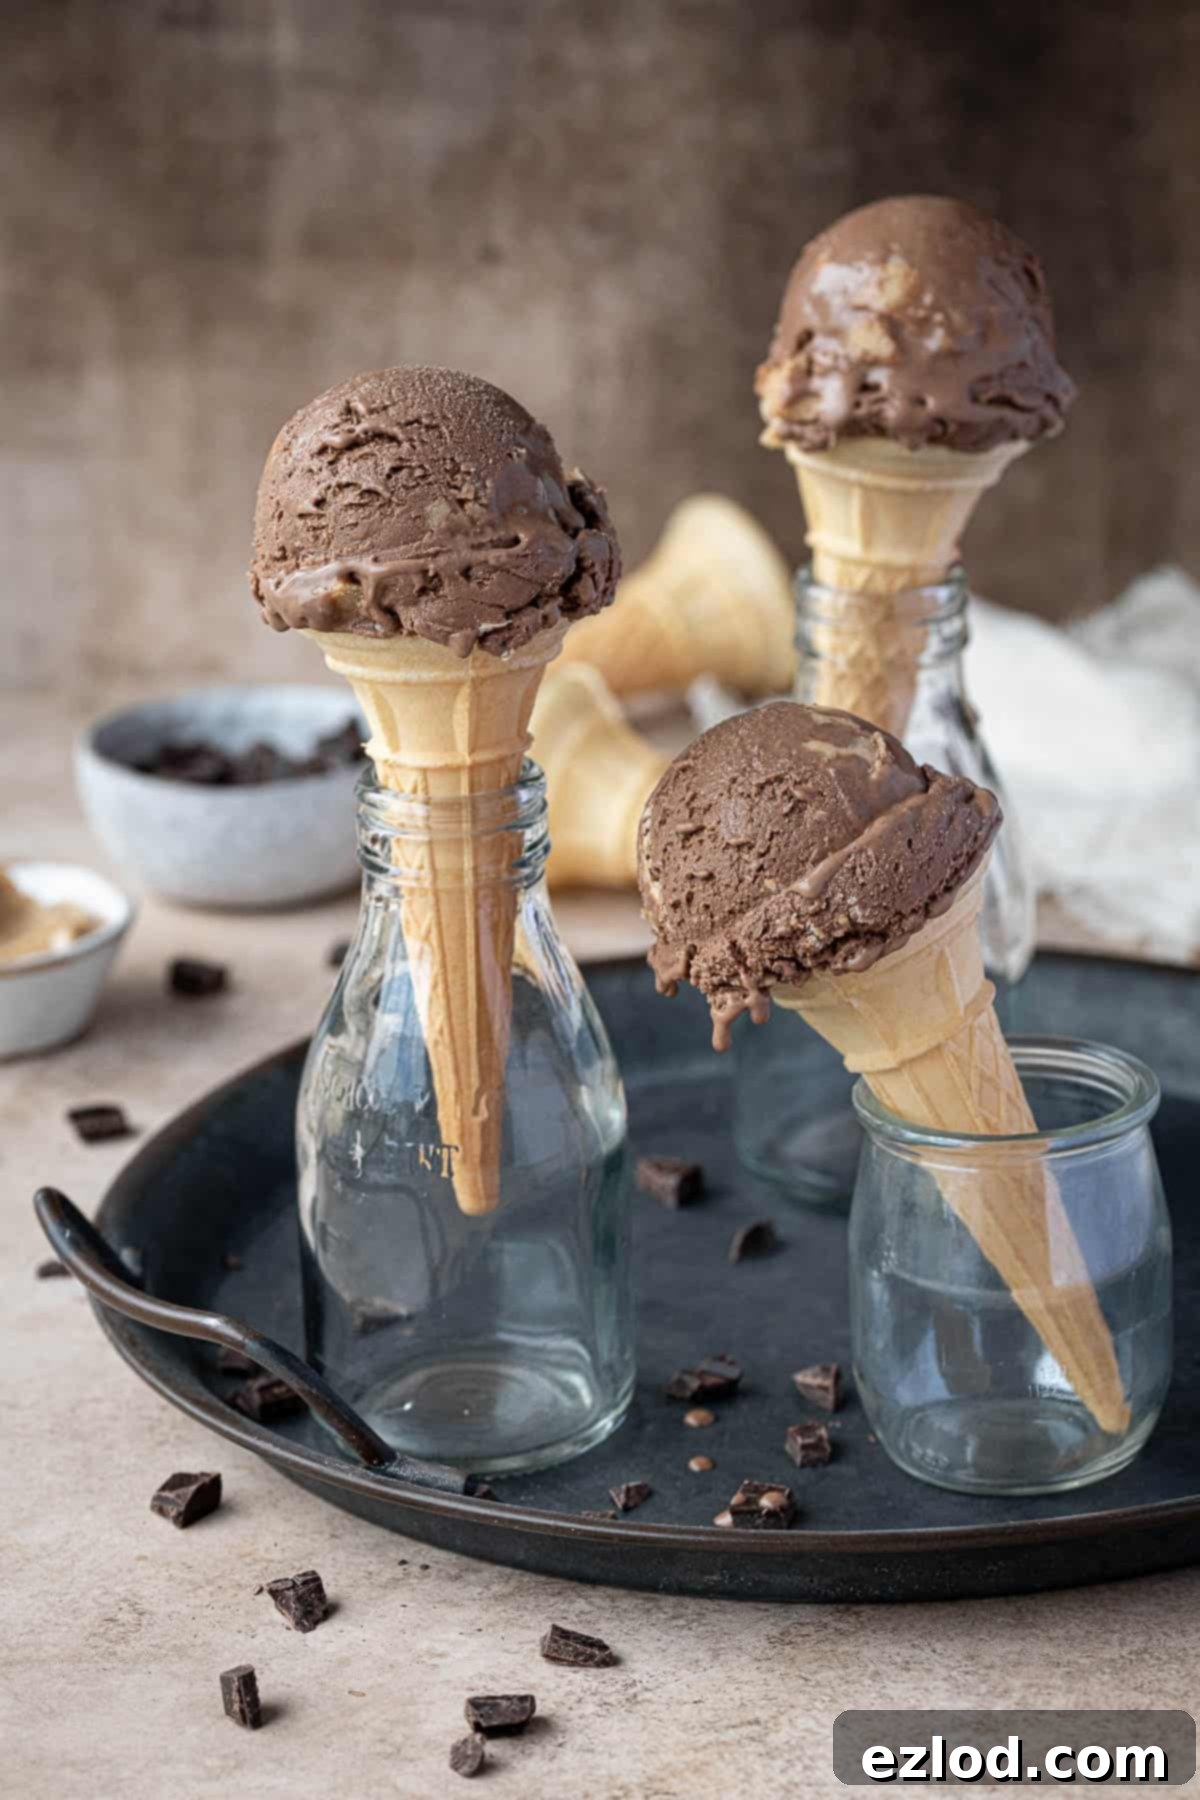
This sensational vegan chocolate peanut butter ice cream builds upon the foundation of my popular vegan vanilla ice cream recipe. That original recipe brilliantly utilizes a base of cooked oats and cashews (for the vanilla version) instead of relying on coconut, which can often impart a distinct flavor that overshadows other ingredients.
By opting for an oat-based foundation, we achieve a wonderfully neutral canvas. This means that whatever delightful flavors you choose to infuse into your ice cream, they can truly shine without having to compete with an underlying coconut taste. This versatile base recipe is not only delicious on its own but also incredibly adaptable, allowing you to effortlessly create a myriad of exciting vegan ice cream flavors.
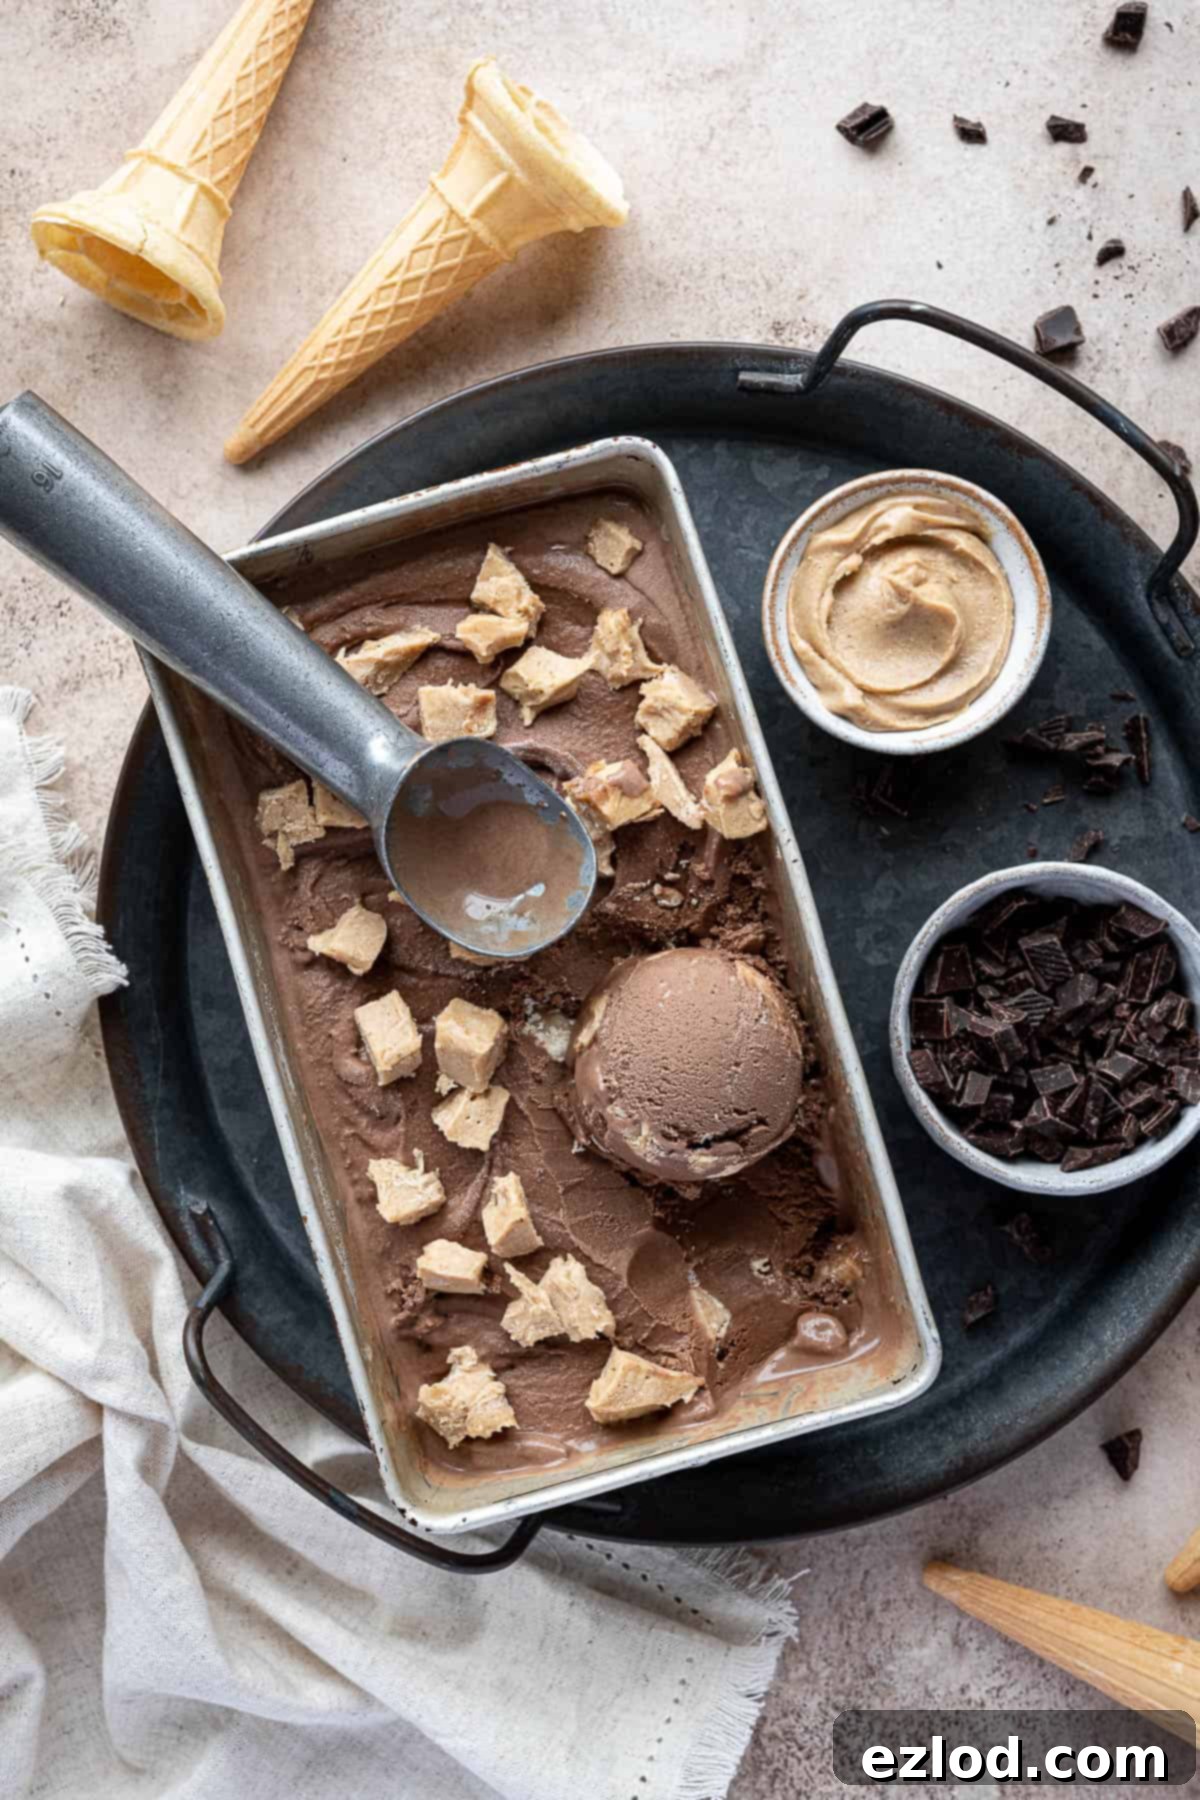
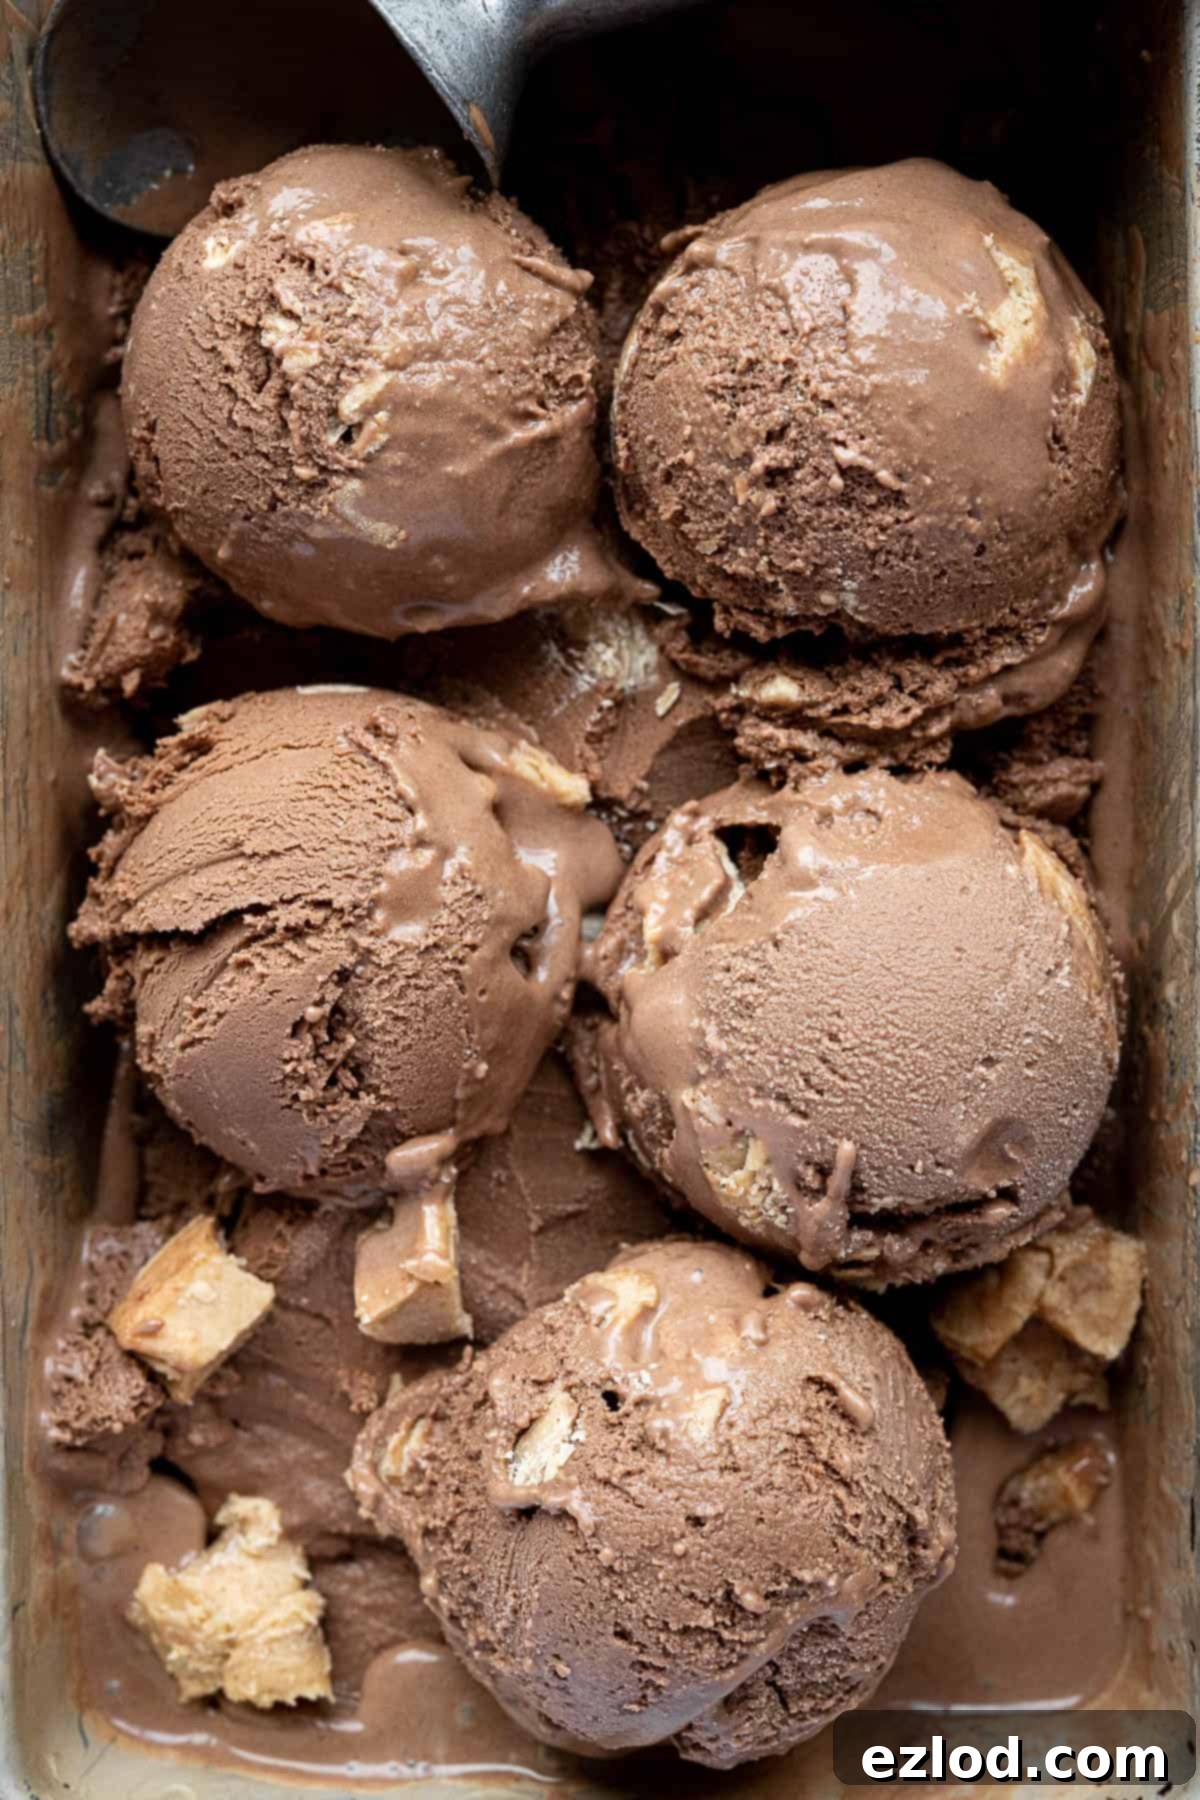
For this particular rendition, I’ve innovatively swapped the cashews for rich peanut butter and introduced decadent chocolate, elevating the experience to a new level. The resulting ice cream is so profoundly satisfying and addictively good that it has quickly become one of my all-time favorite ice cream flavors! To further intensify the peanut butter experience, I’ve included optional frozen peanut butter chunks – a textural marvel that truly ups the ante. However, rest assured, the ice cream is absolutely fantastic even without them, delivering a strong peanut butter punch.
Essential Ingredients for Your Vegan Chocolate Peanut Butter Ice Cream:
Crafting this incredible vegan ice cream requires a few key ingredients, each playing a crucial role in achieving that perfect creamy texture and irresistible flavor profile. Here’s what you’ll need:
Porridge Oats: The star ingredient and secret to our creamy, cashew-free base! Regular rolled porridge oats or quick-cooking oats are both suitable. These oats will be gently simmered with plant milk until they become wonderfully soft, creating a thick, starchy liquid that blends into a luxurious, smooth texture, replacing the need for traditional cream or coconut milk. Oats also help prevent ice crystals from forming, ensuring a consistently smooth scoop.
Plant Milk: Unsweetened soy milk is highly recommended here. It boasts a neutral flavor that won’t interfere with your chocolate and peanut butter, along with a naturally creamy consistency. My personal favorite is Alpro Unsweetened Soya milk for its reliability. While you can certainly experiment with other plant-based milks like almond, oat, or cashew milk, do keep in mind that their unique flavors will subtly influence the final taste of your ice cream. Additionally, less creamy milk alternatives might result in a slightly icier texture, so choose wisely for optimal results.
Light Brown Soft Sugar: This isn’t just for sweetness; it’s a vital component for both flavor and texture. Light brown soft sugar or muscovado sugar adds a delightful caramel note that beautifully complements the chocolate and peanut butter. More importantly, sugar acts as an anti-freeze in ice cream, lowering the freezing point of the mixture. This prevents it from freezing rock-solid and helps maintain that desirable creamy, scoopable consistency. Resist the urge to significantly reduce the sugar quantity, as it will negatively impact both the texture and the deliciousness of your final product. Caster or granulated sugar can be used as alternatives, or a combination of brown and white sugar. If you plan to make the optional peanut butter chunk mix-ins, you will also need a small amount of icing (powdered) sugar for those.
Cocoa Powder: To achieve a deep, rich chocolate flavor, we use a combination of cocoa powder and dark chocolate. Either Dutch process, natural, or cacao powder will work beautifully. Dutch process cocoa tends to be darker and less acidic, offering a smoother chocolate taste, while natural cocoa is brighter and more robust. Choose your favorite, or what you have on hand.
Dark Chocolate: I typically use 70% dark chocolate for its intense flavor, which perfectly balances the sweetness of the sugar and the richness of the peanut butter. Higher quality dark chocolate will undoubtedly elevate the overall taste of your ice cream, contributing to a truly decadent experience. Make sure to chop it finely to ensure it melts smoothly into the warm oat mixture.
Peanut Butter: For the best, creamiest results, opt for a smooth, processed peanut butter over natural varieties. Natural peanut butter, with its separated oils, can sometimes lead to a slightly grainy or less emulsified texture in ice cream. A creamy, homogenized peanut butter will blend seamlessly into the base, contributing to a wonderfully silky final product and ensuring that signature nutty flavor is evenly distributed.
Salt: A tiny pinch of salt goes a long way! It acts as a powerful flavor enhancer, bringing out the sweetness of the sugar and deepening the notes of chocolate and peanut butter, creating a more balanced and complex taste profile that is simply irresistible.
Vanilla Extract: While a minor ingredient, vanilla extract serves as a crucial flavor enhancer, adding depth and warmth to the overall profile of the ice cream. It subtly rounds out the chocolate and peanut butter, preventing the flavors from being one-dimensional. You can omit it if absolutely necessary, but it truly adds that little something extra.
Step-by-Step Guide: How To Make Vegan Chocolate Peanut Butter Ice Cream
(For precise measurements and detailed instructions, please refer to the comprehensive recipe card located at the very bottom of this page.)
The journey to homemade vegan ice cream begins with preparation. Firstly, and crucially, **ensure the bowl of your ice cream maker has been thoroughly frozen for a sufficient period.** This step is non-negotiable for proper churning; for my specific machine, this typically takes around 11 hours to achieve a solid freeze.
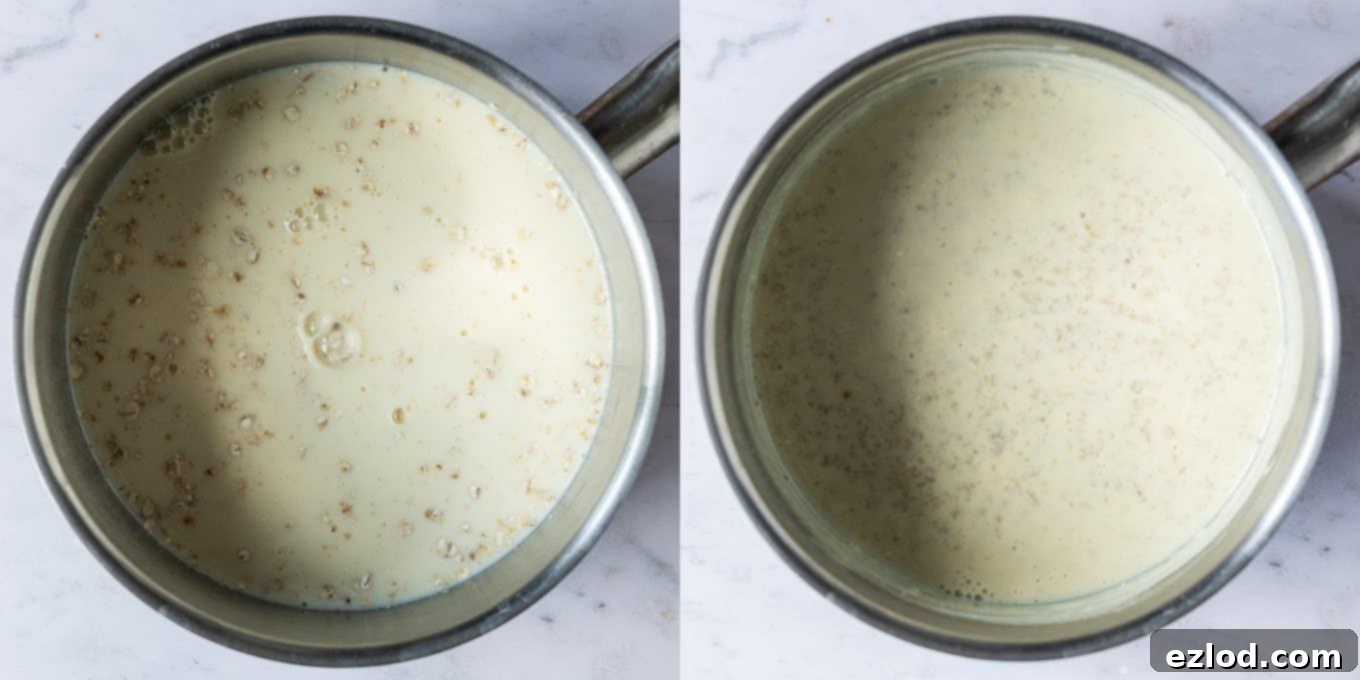
Next, gather your oats. Place the rolled porridge oats into a medium saucepan with half of the unsweetened soy milk. Bring this mixture to a gentle simmer over medium heat. Continue to cook for approximately 10 minutes, stirring frequently to prevent the oats from sticking to the bottom of the pan. You’ll know they’re ready when the oats are wonderfully soft and have absorbed much of the liquid, creating a thick, creamy porridge-like consistency.
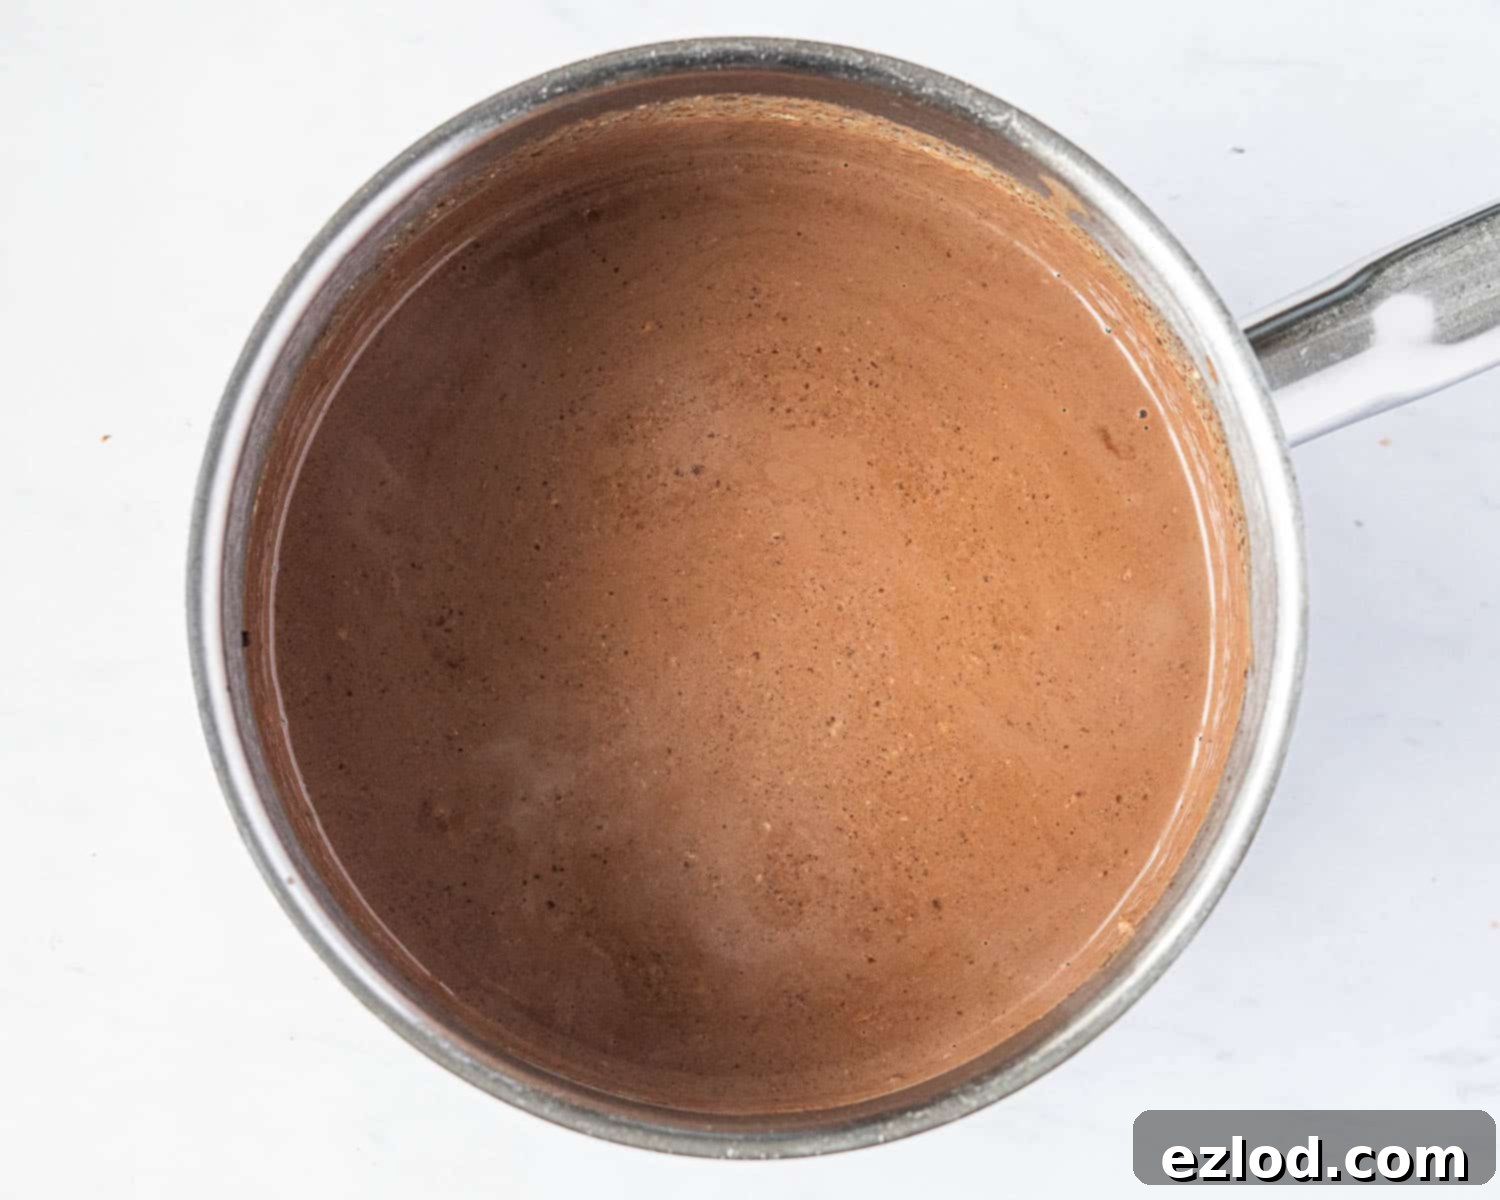
Once the oats are soft, remove the saucepan from the heat. Immediately add the finely chopped dark chocolate to the warm oat mixture. Stir continuously until the chocolate is completely melted and smoothly incorporated, creating a rich, chocolatey oat base. The residual heat from the oats will be perfect for melting the chocolate without scorching it.
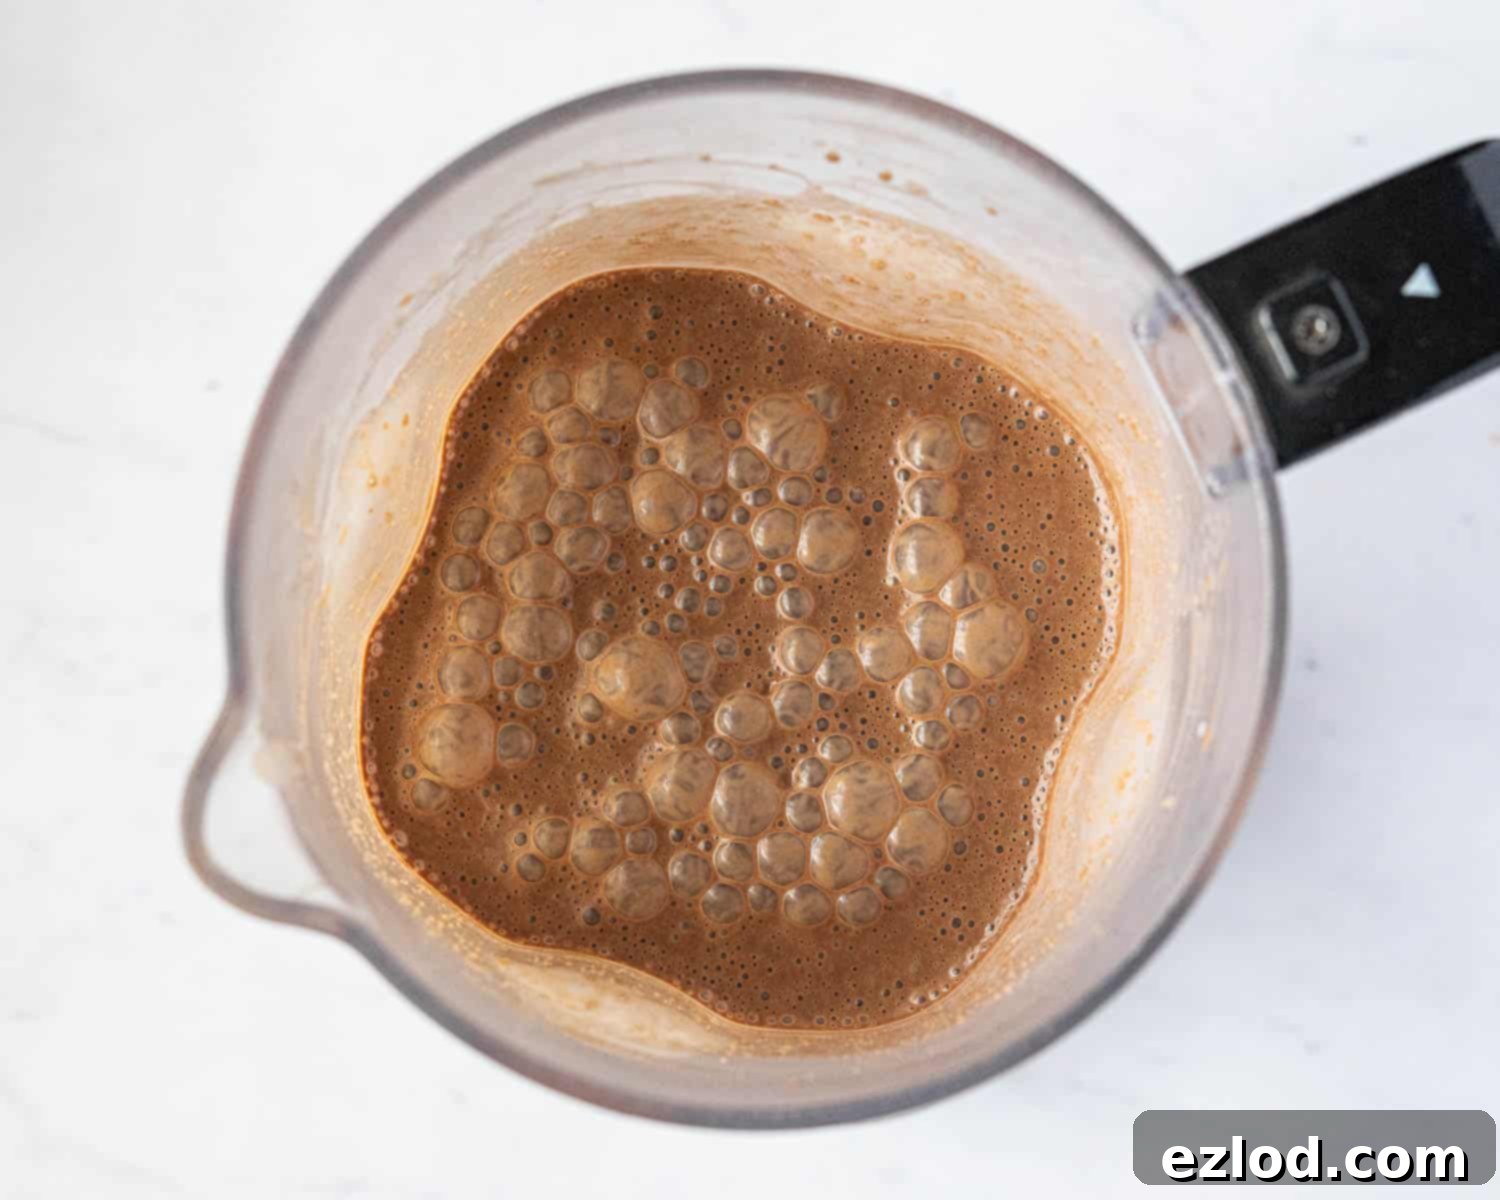
Transfer the warm, chocolatey oat mixture into a high-speed blender. Add the remaining plant milk, smooth peanut butter, cocoa powder, light brown soft sugar, vanilla extract, and a pinch of salt. Blend the mixture thoroughly until it is incredibly smooth and creamy. You want absolutely no visible oat chunks or grainy texture. This may take a few minutes, and you might need to stop the blender occasionally to scrape down the sides, ensuring everything is fully incorporated.
Pour the blended ice cream base into a clean bowl, cover it tightly with cling film or a lid, and refrigerate until it is completely chilled. This step is critical for achieving the optimal texture; a well-chilled base churns more effectively, resulting in a smoother, creamier ice cream. While a minimum of four hours is necessary, I highly recommend chilling it overnight for the best possible results.
Once your ice cream mixture is thoroughly chilled, give it a vigorous whisk to ensure all ingredients are well combined and to introduce a little air. Then, carefully pour the cold base into your pre-frozen ice cream maker bowl. Churn according to your machine’s instructions until the mixture reaches a luscious soft-serve consistency. It should be thick, creamy, and resemble freshly dispensed soft-serve ice cream.
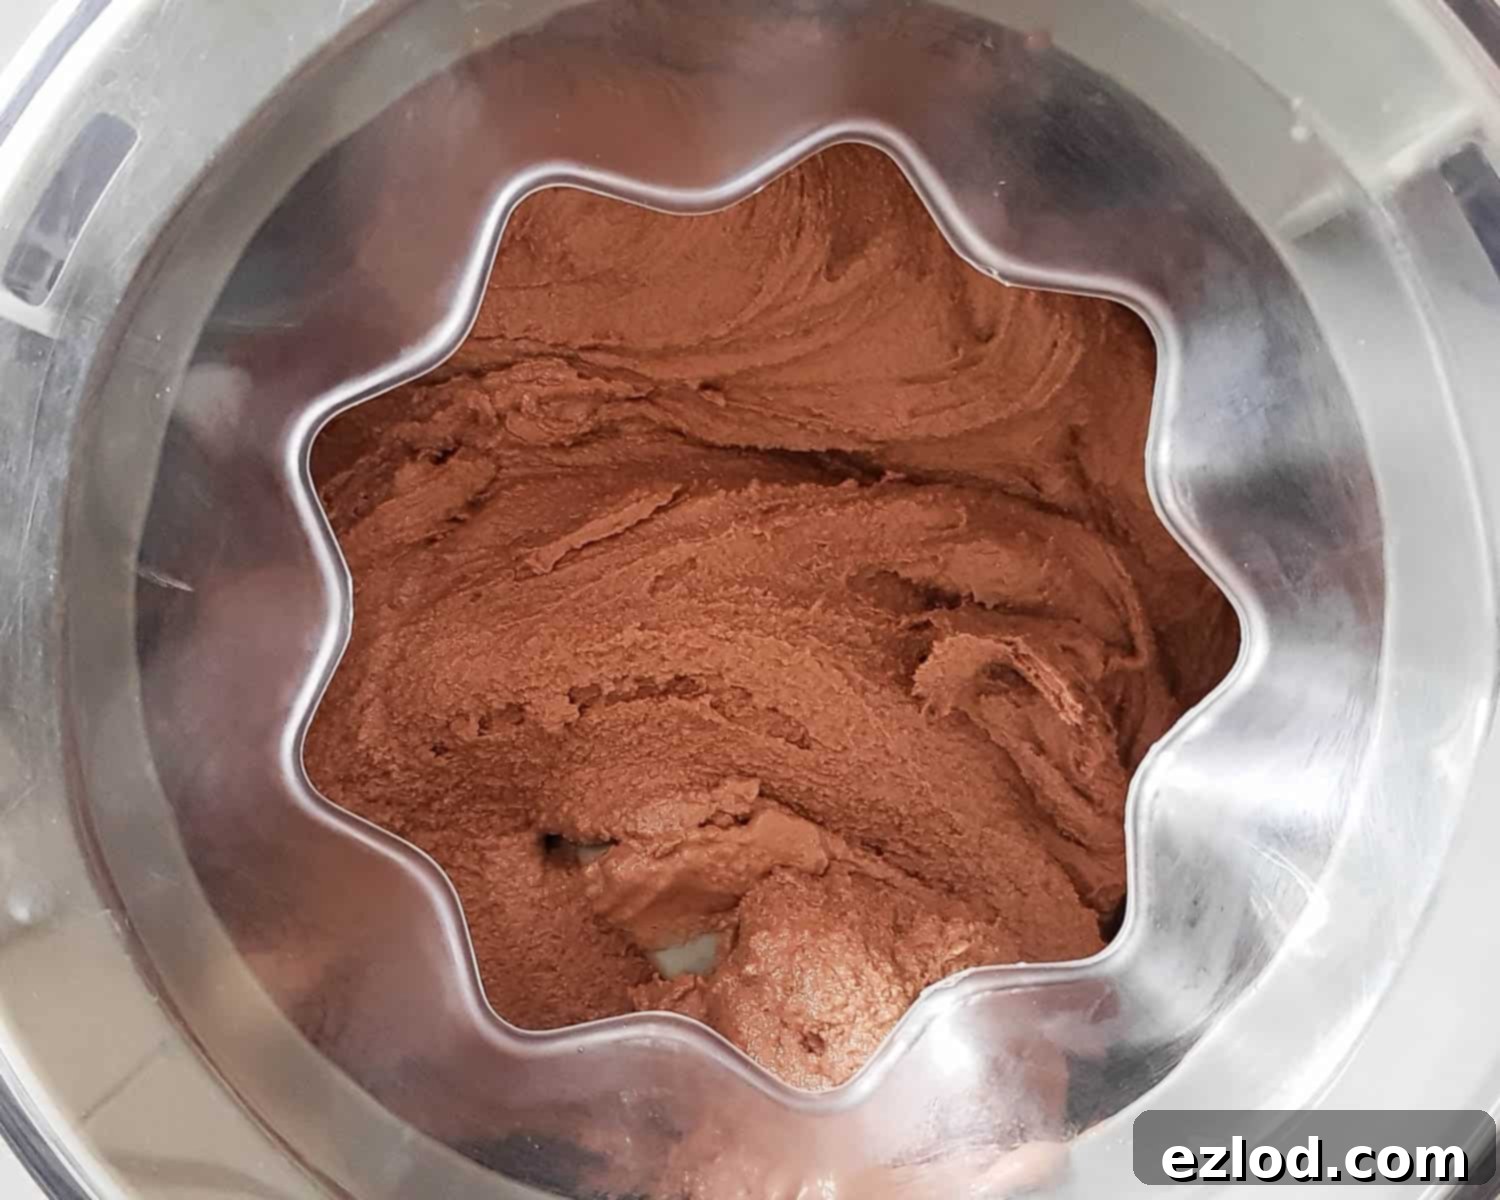
After churning, transfer the soft-serve ice cream into a freezer-proof container. Cover tightly and freeze for approximately 4 hours, or until it reaches a firm, scoopable consistency. This final freezing step allows the ice cream to harden properly before you serve it, ensuring that perfect homemade treat.
Crafting Delightful Peanut Butter Chunk Mix-Ins:
For an extra burst of peanut butter flavor and a delightful textural contrast, consider making these optional peanut butter chunk mix-ins. It’s best to prepare them while your ice cream base is chilling in the refrigerator, *before* you begin the churning process.
In a small bowl, combine the smooth peanut butter with the icing (powdered) sugar. Mix them thoroughly until a thick, pliable paste forms. Spread this mixture evenly onto a small, parchment-lined tray, aiming for a thickness of about 1 centimeter (roughly ⅓ to ½ inch).
Place the tray in the freezer and allow the peanut butter mixture to freeze until it is completely solid. Once firm, carefully remove it from the freezer and use a sharp knife to cut it into small, bite-sized squares or irregular chunks. Return these frozen chunks to the freezer immediately and keep them there until your ice cream is almost finished churning. Add them into the ice cream maker during the final couple of minutes of churning; this ensures they are evenly dispersed throughout the ice cream without getting completely broken down.
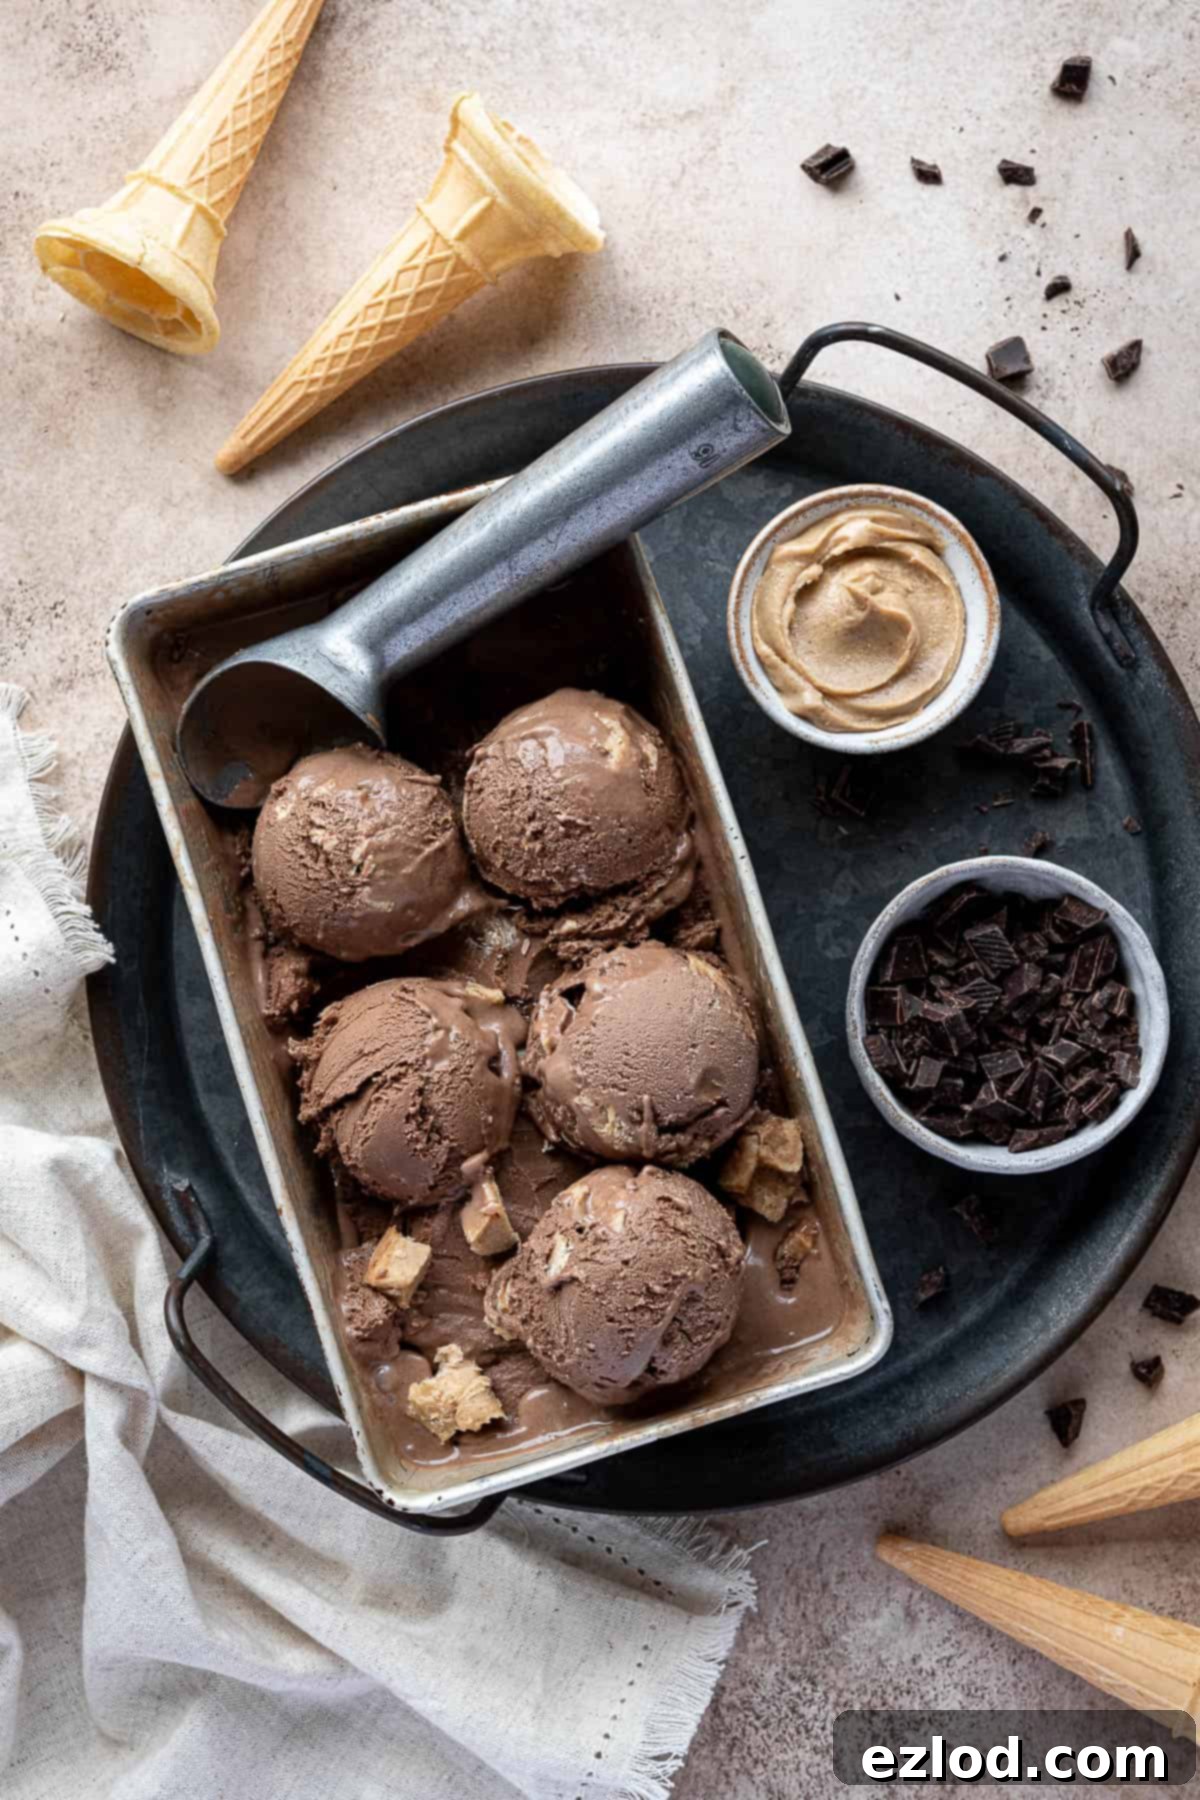
No Ice Cream Maker? No Problem! (Manual Method):
Don’t own an ice cream maker? You can still enjoy this incredible chocolate peanut butter ice cream! While it requires a bit more manual effort and the final texture might be slightly icier than machine-churned ice cream, it will still be utterly delicious.
Once your ice cream base is thoroughly chilled (after blending and refrigerating), pour it into a large, shallow freezer-safe container. Place the container in your freezer. Every 30-45 minutes, remove the container from the freezer and use an electric mixer (or a sturdy whisk) to vigorously beat the mixture. This crucial step helps to break up any forming ice crystals, ensuring a smoother consistency. Return the container to the freezer immediately after whisking.
Repeat this process of freezing and whisking every 30-45 minutes for approximately 2-3 hours, or until the ice cream reaches a soft-serve consistency. Once it’s soft enough to scoop but still somewhat firm, you can stop whisking. Allow it to freeze for a final couple of hours to fully set before serving. Patience is key with this method, but the delicious results are worth the effort!
Creative Chocolate Peanut Butter Ice Cream Add-Ins:
While this vegan chocolate peanut butter ice cream is fantastic on its own, it also serves as a perfect canvas for additional flavors and textures. Whether you’re adding them instead of or alongside the peanut butter chunks, here are some exciting ideas to customize your scoop:
For delectable ripples and sauces, simply layer them with the freshly churned ice cream as you transfer it to a freezer-safe container. This creates beautiful swirls of flavor throughout. For harder mix-ins like cookies, chocolate chips, or nuts, add them to the ice cream maker during the very last minute or two of churning. This ensures they are evenly dispersed throughout the ice cream without being completely pulverized.
Here are some fantastic mix-in ideas that pair exceptionally well with this rich vegan chocolate peanut butter ice cream:
- Candied Peanuts: For an extra layer of sweetness and crunch, a handful of candied peanuts can elevate the nutty profile.
- Chocolate Chips or Stracciatella: Add more chocolate in the form of mini chocolate chips or create delicate stracciatella shards by drizzling melted chocolate into the churning ice cream during the last minute.
- Crushed Cookies: Introduce a delightful textural contrast with chopped Biscoff, Oreo, gingersnap, or oatmeal cookies. Their crunch and distinct flavors will complement the creamy base beautifully.
- Decadent Chocolate Fudge Swirl: Borrow the rich chocolate fudge swirl from this amazing vegan coffee ice cream recipe to create ribbons of pure chocolate bliss throughout your peanut butter ice cream.
- Fruit Jams: A swirl of vibrant strawberry or raspberry jam can add a surprising and refreshing fruity counterpoint to the rich chocolate and peanut butter.
- Mini Pretzels: For a salty-sweet crunch, mini pretzels are an excellent addition, providing a delightful contrast to the creamy texture.
- Vegan Caramel Sauce: Drizzle in a homemade or store-bought vegan caramel sauce for an extra layer of sweet, gooey indulgence.
- Marshmallow Fluff Swirl: For a truly decadent treat, swirl in some vegan marshmallow fluff towards the end of churning for pockets of sweet, airy goodness.
Top Tips for Perfect Vegan Ice Cream:
Achieving perfectly creamy homemade vegan ice cream is easily within reach with a few expert tips:
As with all my recipes, I cannot stress enough the importance of using **metric measurements with a digital kitchen scale** rather than relying on cup conversions. Cups are notoriously imprecise and can significantly impact the delicate balance of ingredients in ice cream, leading to inconsistent results. A scale ensures accuracy, consistency, and often, a less messy cooking experience!
This ice cream, like many homemade varieties, can become quite solid straight out of the freezer. For the best scooping experience and optimal flavor, **make sure to take it out of the freezer at least 15 minutes before serving.** This allows it to soften slightly, reaching that ideal creamy, scoopable texture.
For the smoothest, most luxurious ice cream base, ideally, you’ll want to use a **powerful blender** such as a Froothie or Vitamix. These blenders are designed to break down ingredients completely, ensuring a silky-smooth consistency. While you can certainly use a regular blender, be aware that the final product might not be quite as incredibly smooth and creamy.
I personally use a 2-liter ice cream maker (specifically this one by Cuisinart). If your ice cream maker has a smaller capacity, you may need to **consider making a half batch** to ensure it all fits and churns properly. Overfilling your machine can hinder the churning process and affect the final texture.
Do not be tempted to skimp on the sugar! Sugar is absolutely essential in ice cream, not only for its obvious contribution to flavor but also critically for its role in achieving a **creamy texture.** Sugar lowers the freezing point of the mixture, preventing the formation of large, icy crystals and ensuring your ice cream remains delightfully smooth and scoopable.
Proper Storage: Store your homemade ice cream in an airtight, freezer-safe container. Press a piece of parchment paper or plastic wrap directly onto the surface of the ice cream before sealing the lid. This prevents freezer burn and helps maintain its creamy texture for longer. Homemade ice cream is generally best consumed within 1-2 weeks.
Don’t Over-Churn: Once your ice cream reaches a soft-serve consistency, stop the machine. Over-churning can incorporate too much air, leading to a less dense and sometimes icy texture. The goal is creamy, not airy.
Flavor Customization: Feel free to adjust the amount of cocoa powder or peanut butter to your personal preference. For a stronger chocolate flavor, you can slightly increase the cocoa powder and dark chocolate. For a more intense peanut butter experience, boost the peanut butter quantity. Remember that any significant changes might slightly alter the texture due to fat and sugar content.
Discover More Vegan Ice Cream Recipes:
- Vegan Vanilla Ice Cream
- Vegan Malted Chocolate Ice Cream
- Vegan Mint Choc Chip Ice Cream
- Vegan Coffee Ice Cream with Chocolate Swirl
- Vegan Pistachio Ice Cream
- Rich and Creamy Vegan Chocolate Ice Cream
- Vegan Peanut Butter and Cookies Ice Cream
- Vegan Biscoff Ice Cream
- Vegan Chunky Monkey Ice Cream
- Vegan Lemon Ice Cream
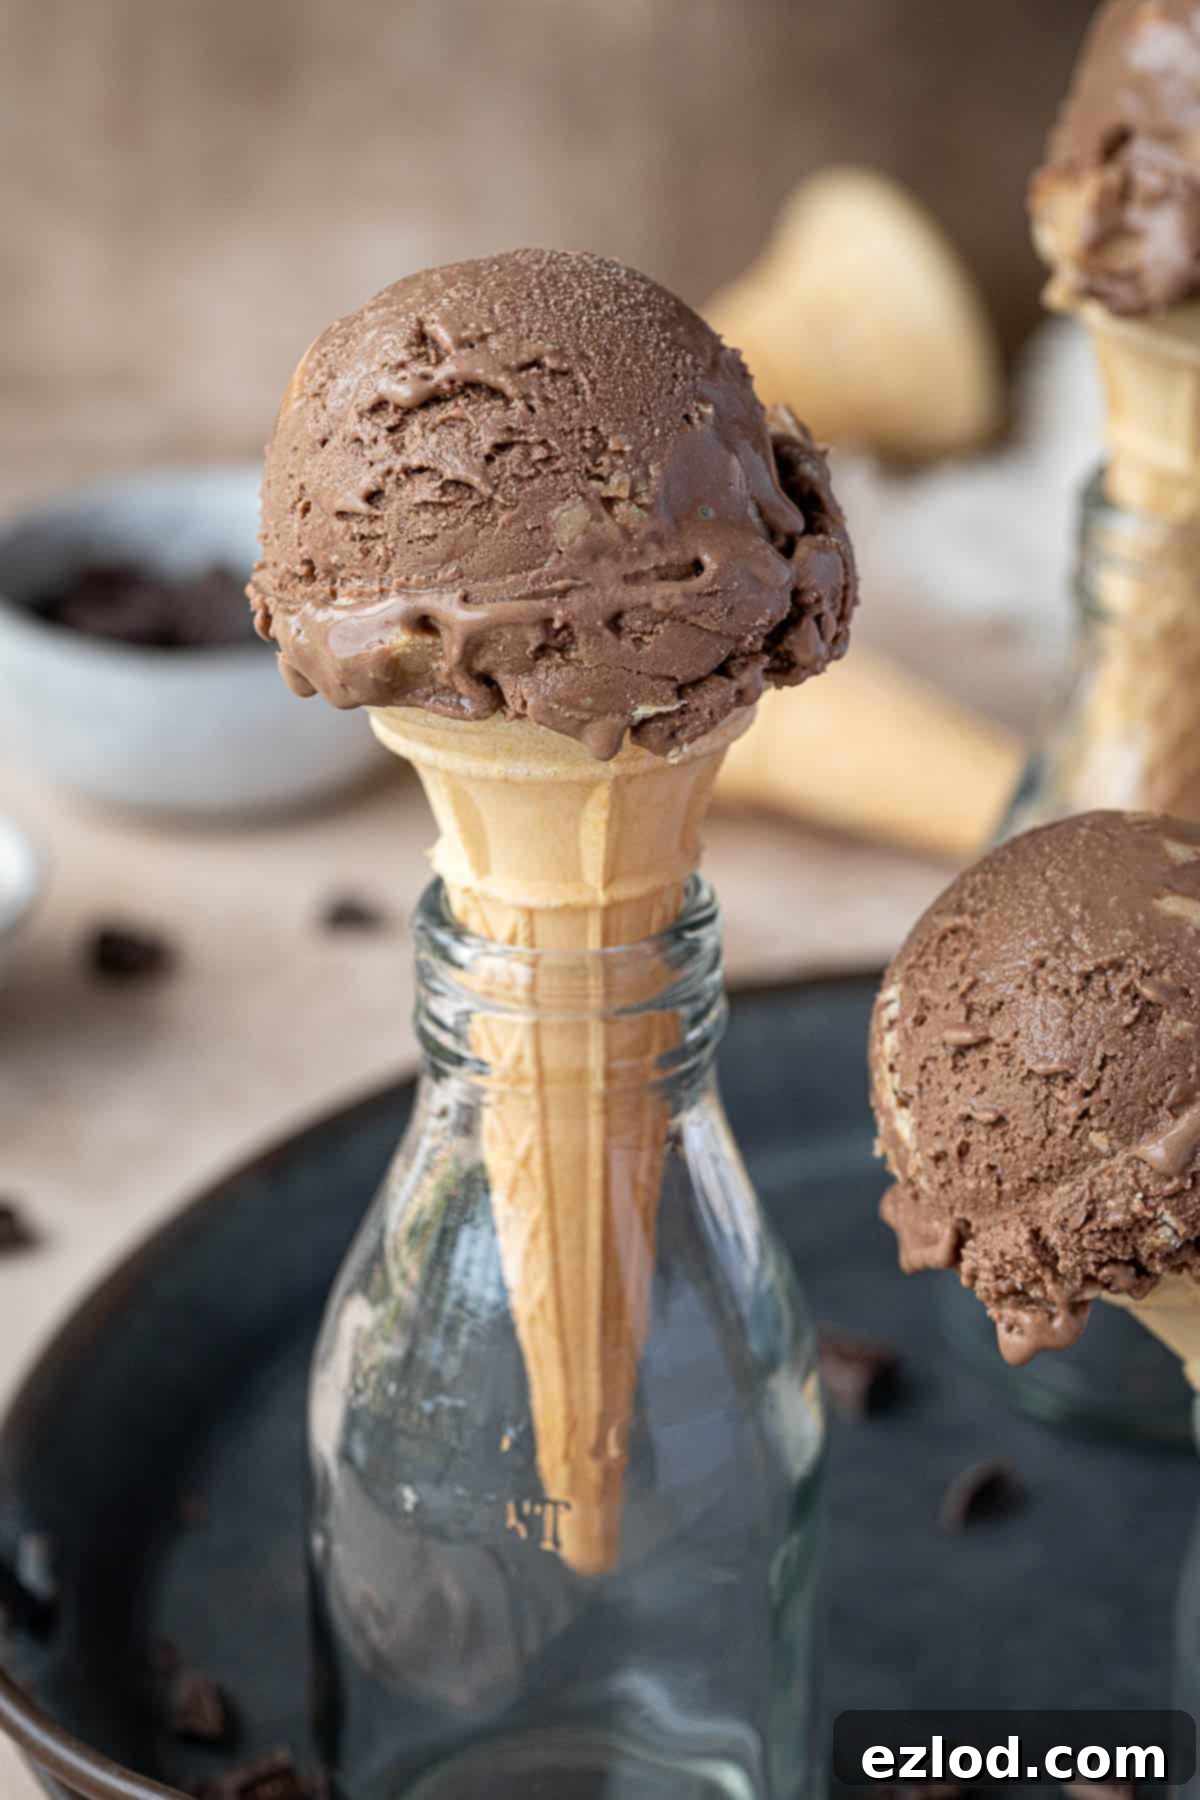
If you’ve tried this incredible recipe, I would absolutely love to hear about your experience! Please take a moment to rate it, leave a comment below, or tag @domestic_gothess on Instagram and use the hashtag #domesticgothess. Your feedback is invaluable!
All images and content published on Domestic Gothess are protected by copyright. If you wish to share this recipe, please do so respectfully by utilizing the provided share buttons. Kindly refrain from screenshotting or posting the recipe or its content in full; instead, please include a direct link back to this original post for the recipe. Thank you for your understanding and support!

Print
Chocolate Peanut Butter Ice Cream (Vegan)
Ingredients
Ice Cream:
- 25 g (¼ cup) porridge oats (rolled oats)
- 800 ml (3 ⅓ cups) unsweetened non-dairy milk (soy is best)
- 60 g (2 ¼ oz) dark chocolate finely chopped
- 160 g (⅔ cup) smooth peanut butter
- 160 g (½ + ⅓ cup) light brown soft sugar
- 15 g (2 Tablespoons) cocoa powder
- 2 teaspoons vanilla extract
- pinch salt
Peanut Butter Chunks:
- 200 g (¾ cup + 1 Tablespoon) smooth peanut butter
- 25 g (¼ cup) icing (powdered) sugar
Instructions
-
Make sure that the bowl of your ice cream maker has been in the freezer for long enough, mine takes 11 hours to fully freeze
-
Place the porridge oats in a saucepan with half of the soy milk and bring to a gentle simmer, cook for about 10 minutes, stirring often to prevent the bottom from catching, until the oats are soft.
-
Remove from the heat, add the chopped chocolate and stir until melted.
-
Place the cooked oat mixture in a blender along with the rest of the milk, the peanut butter, cocoa powder, sugar, vanilla and salt and blend until the mixture is very smooth. Stop and scrape down the sides as needed.
-
Pour into a bowl, cover and refrigerate until completely cold; I leave mine in there overnight but it will take at least four hours.
-
While the ice creasm base is chilling make the peanut butter chunk mix-ins (optional). Mix the peanut butter and icing sugar and spread it out on a small, parchment lined tray to about 1cm thick.
-
Freeze until solid then use a sharp knife to cut it into small squares. Return them to the freezer.
-
Once the ice cream mixture is thoroughly chilled, give it a good whisk then pour it into your ice cream maker and churn until it reaches soft serve consistency.
-
Add the frozen peanut butter chunks in the laast couple of minutes of churning.
-
Once the ice cream is done churning, transfer it to a freezer-proof container and freeze for about 4 hours, until firm, before serving.
Notes
