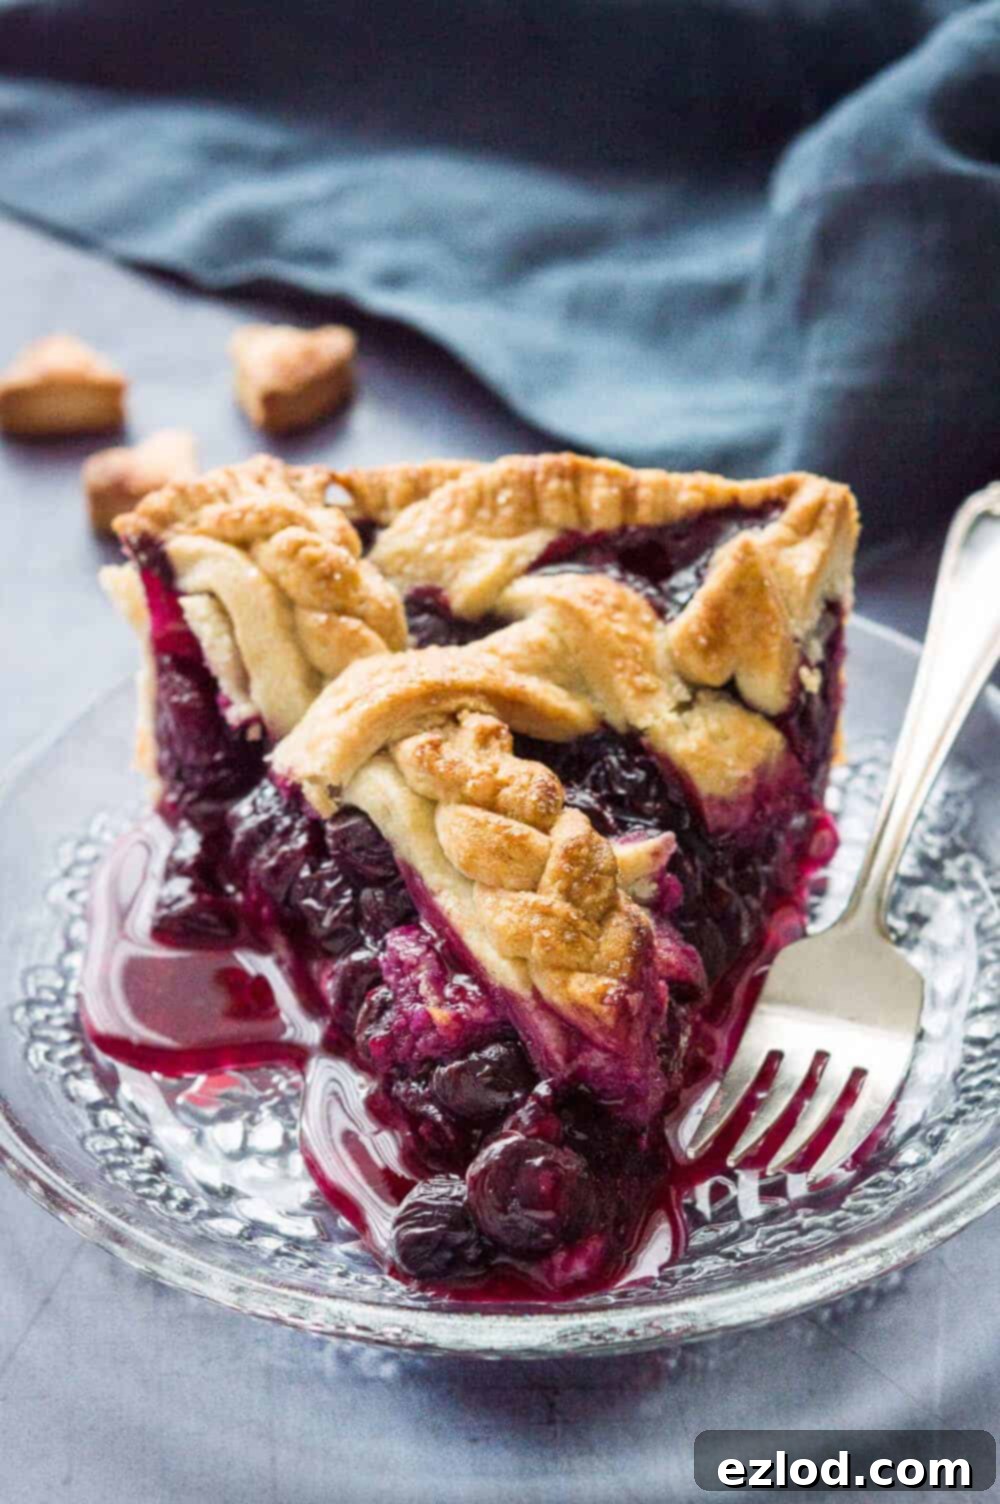
The Ultimate Vegan Blueberry Pie: Flaky Coconut Oil Crust & Juicy Berry Filling
Discover an incredible vegan, egg, and dairy-free blueberry pie featuring a perfectly flaky lattice crust made with our special coconut oil pastry. This comprehensive guide includes step-by-step instructions for mastering both the unique coconut oil pastry and the art of the lattice topping. Get ready to bake a show-stopping dessert that everyone will love!
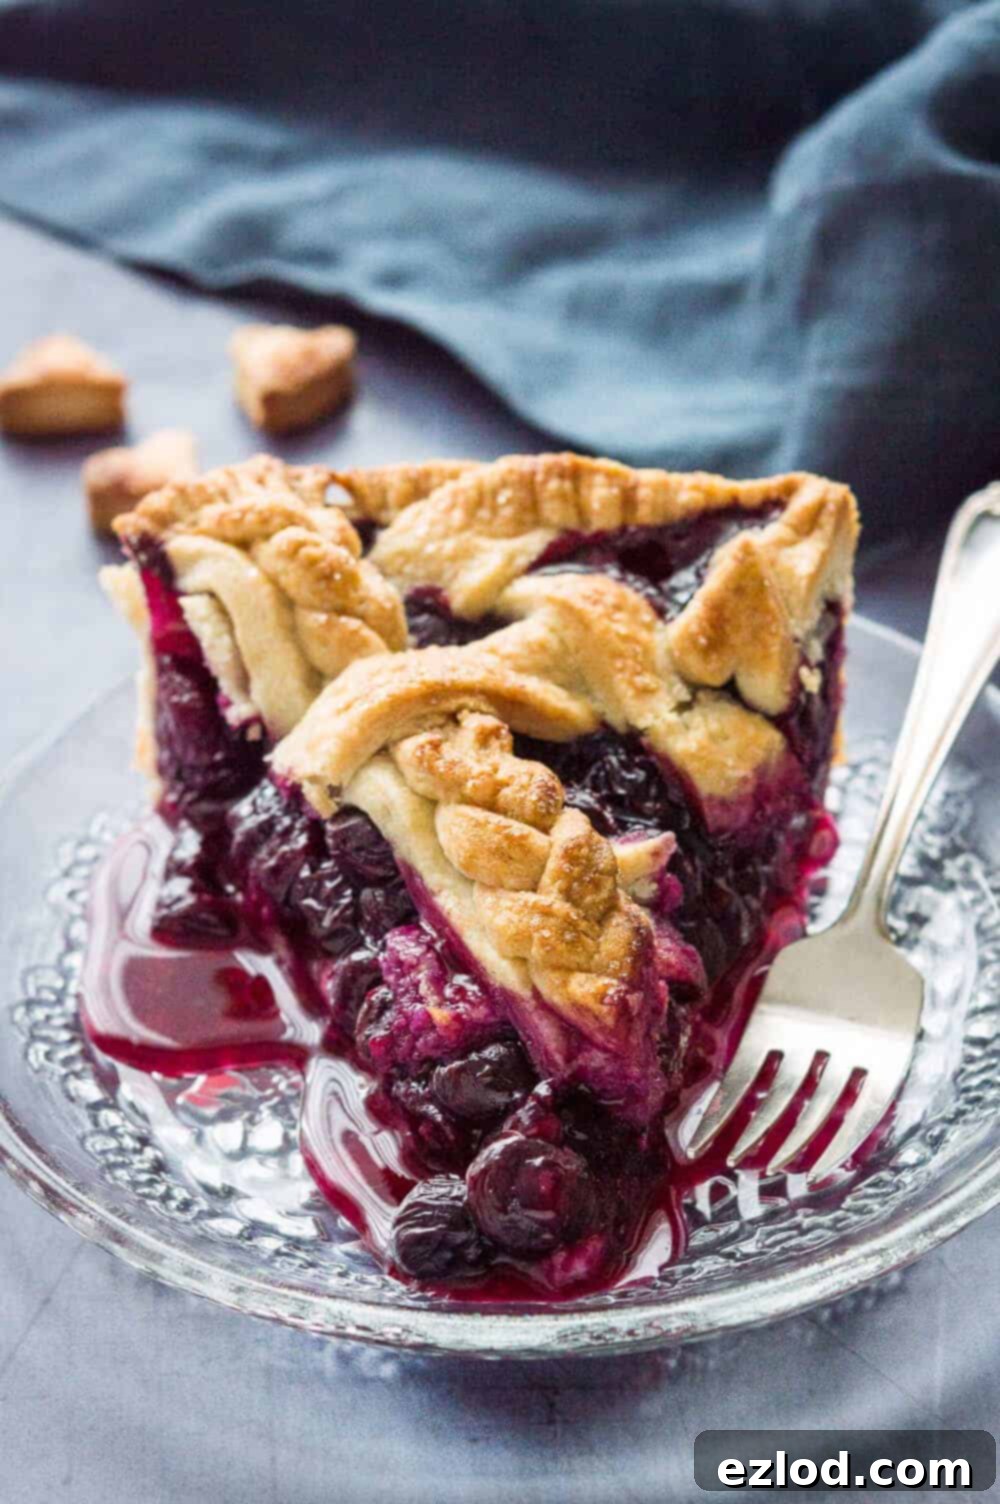
There’s nothing quite like the comforting aroma of a freshly baked pie filling your kitchen. After what felt like an eternity since my last pie-making adventure, finding a bounty of fresh blueberries on sale recently was the perfect inspiration. It was an irresistible call to create a magnificent blueberry pie, but with a delightful twist: a pioneering attempt at a coconut oil crust.
For a while now, I’ve harbored the ambition to experiment with vegan pastry alternatives, and coconut oil seemed like the ideal candidate. I’m absolutely thrilled to report that this endeavor was a resounding success! The resulting pie is not only incredibly delicious but also a triumph for plant-based baking, offering a wonderful alternative for those seeking egg-free and dairy-free desserts.
Why Choose Coconut Oil for Your Pie Crust?
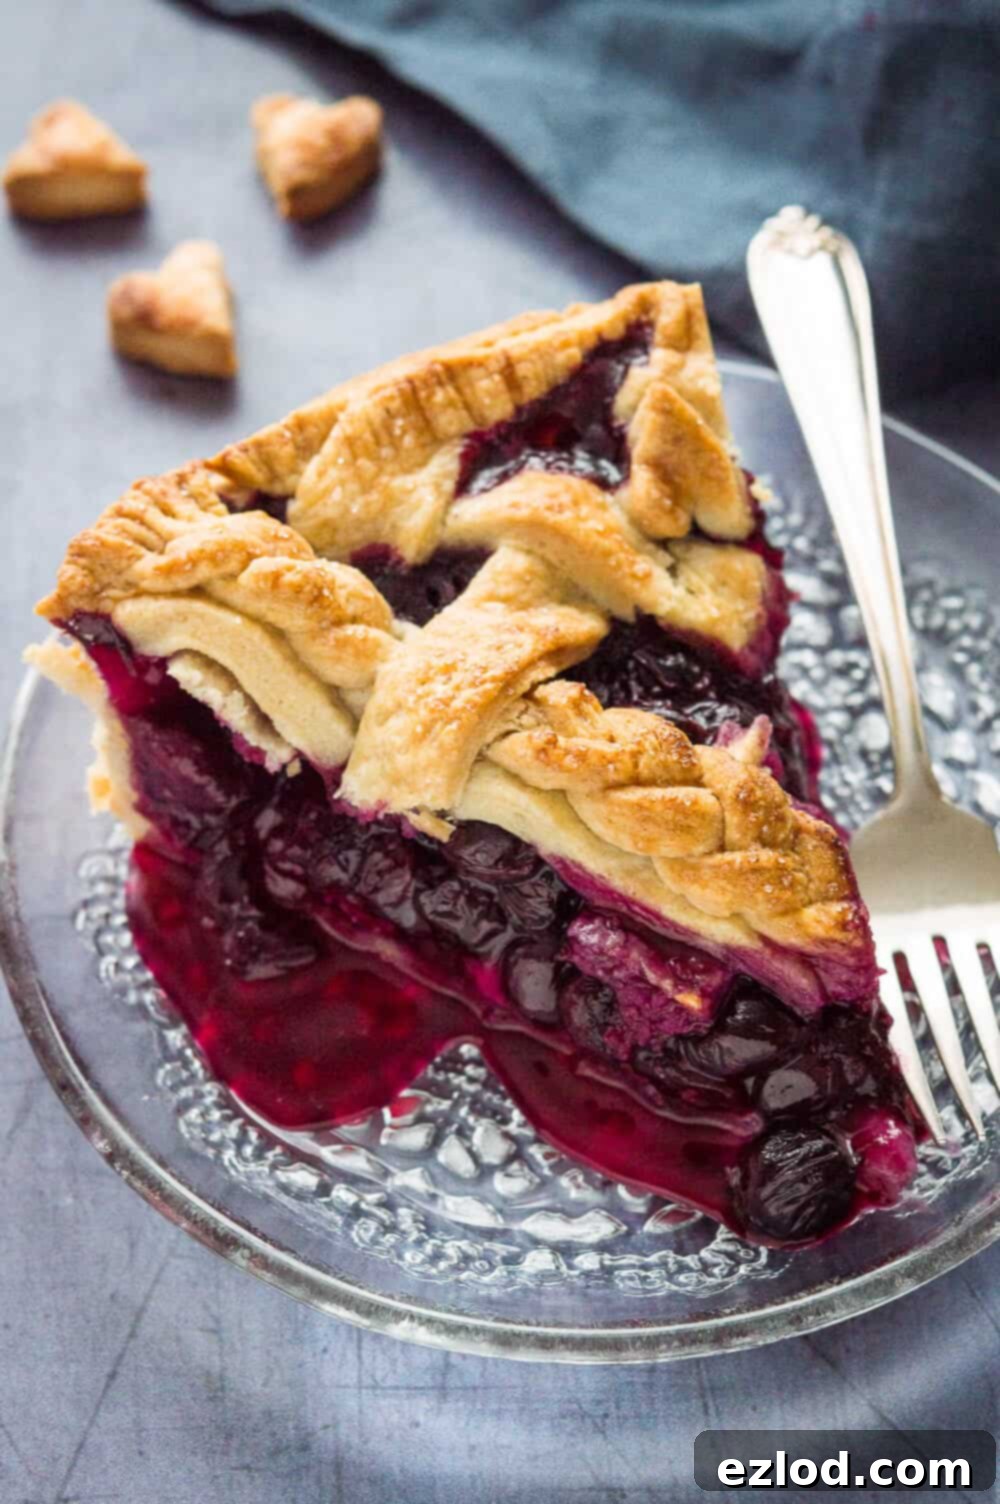
Opting for coconut oil instead of traditional butter transforms this classic dessert into a truly vegan, egg-free, and dairy-free blueberry pie. But the benefits extend beyond dietary considerations. This innovative coconut oil pastry yields a crust that is wonderfully crisp, remarkably flaky, and utterly delicious. While it does carry a subtle hint of coconut flavor, this note beautifully complements the sweet and tart blueberry filling, creating a harmonious taste experience that will surprise and delight.
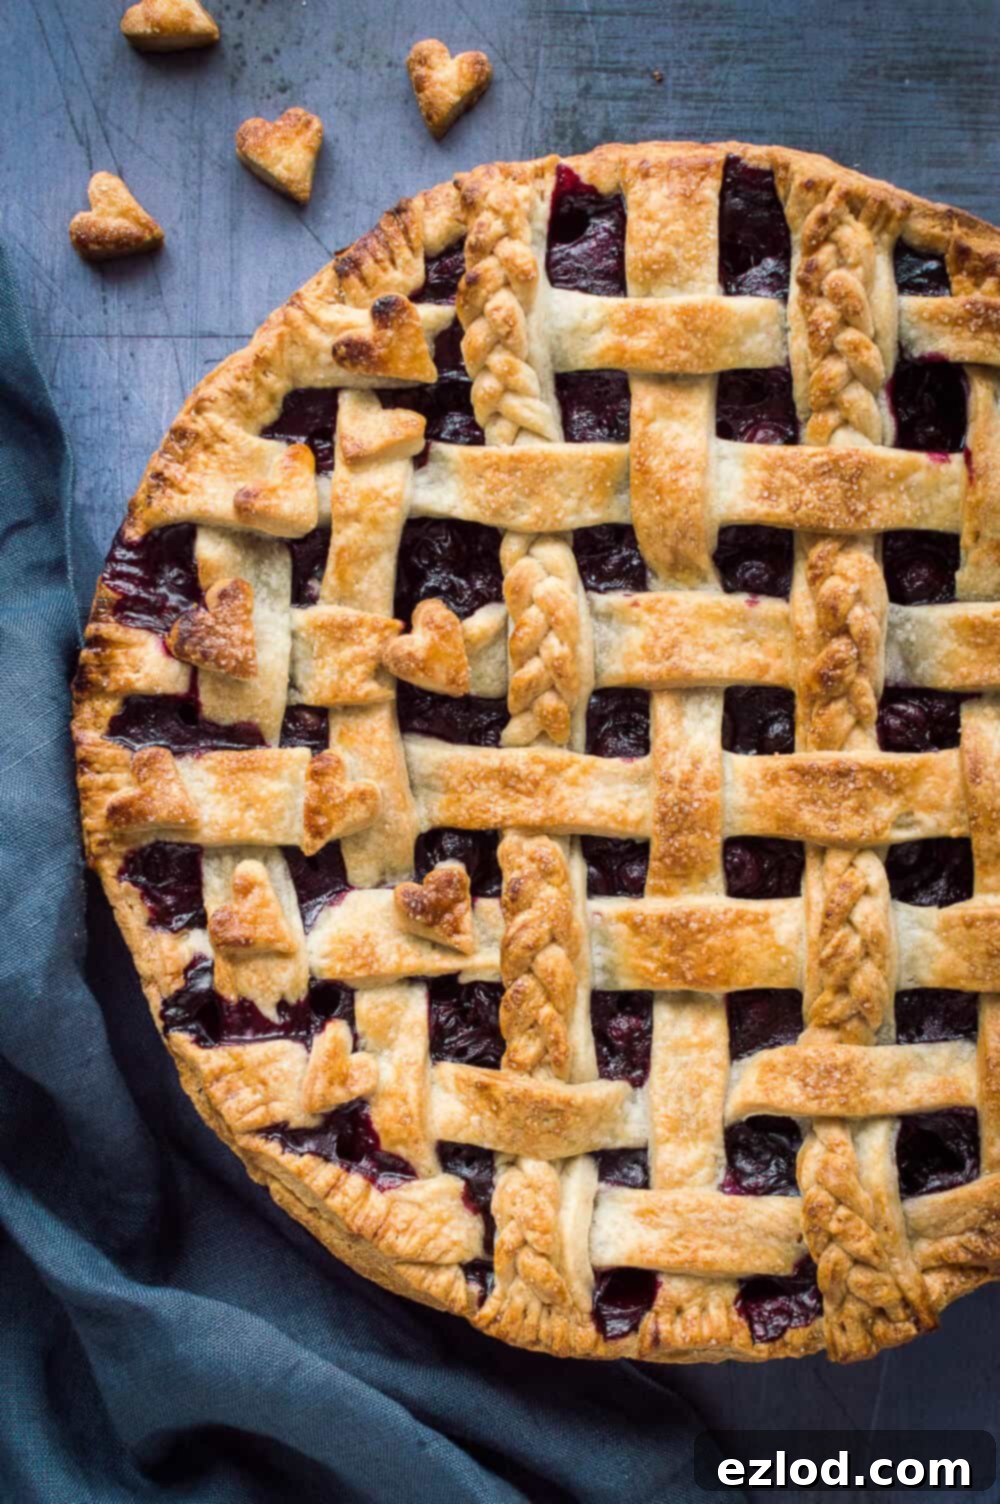
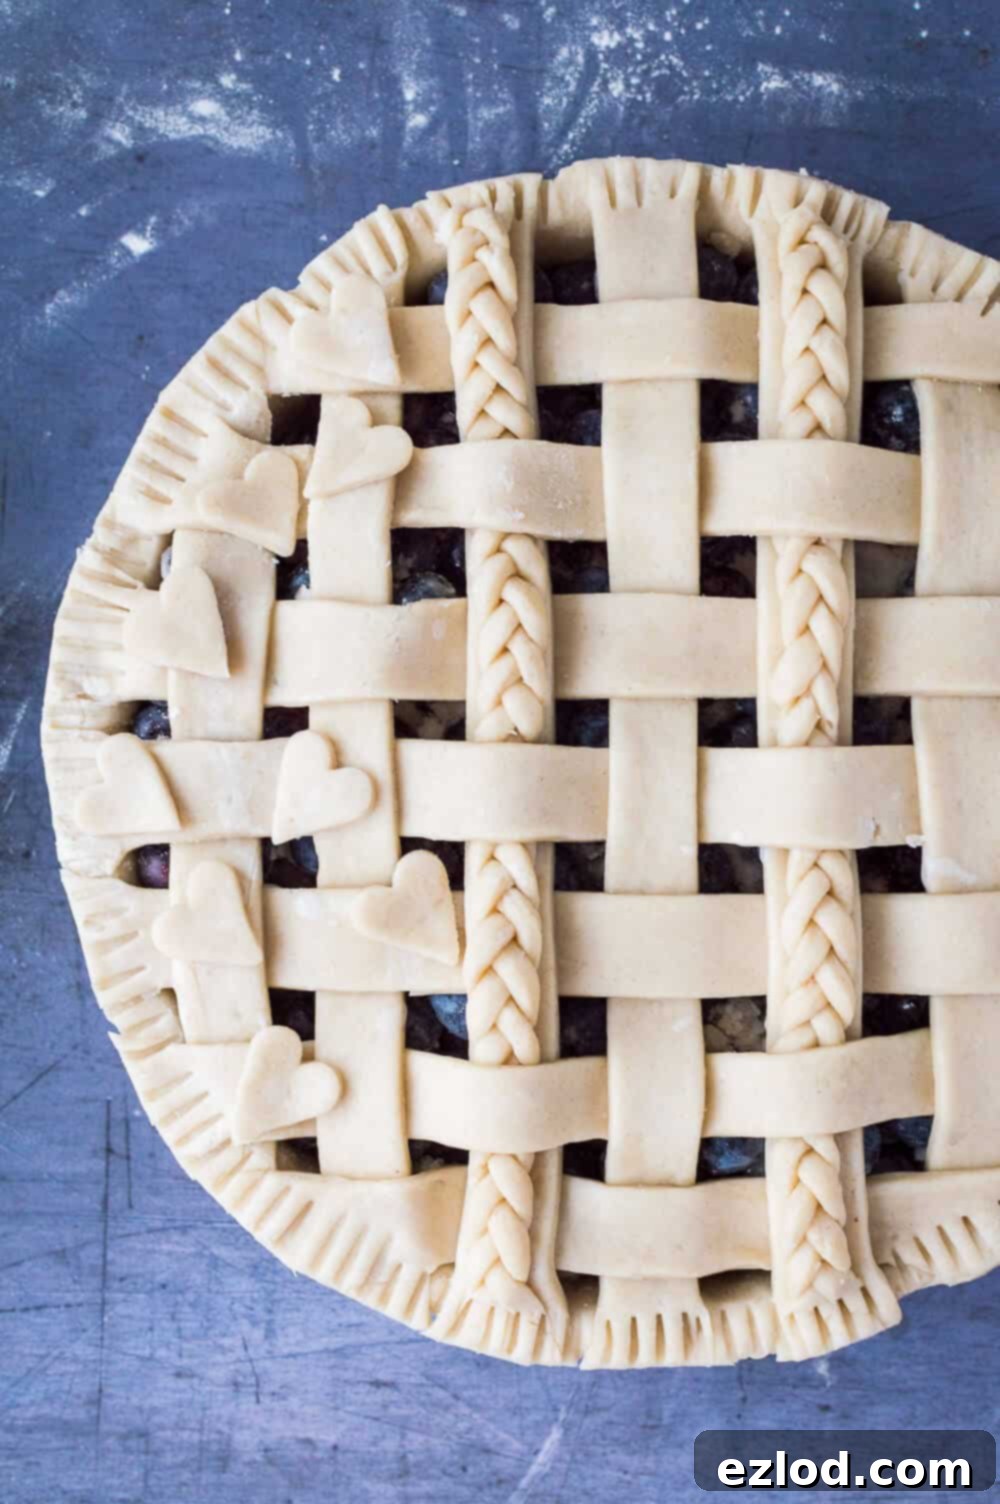
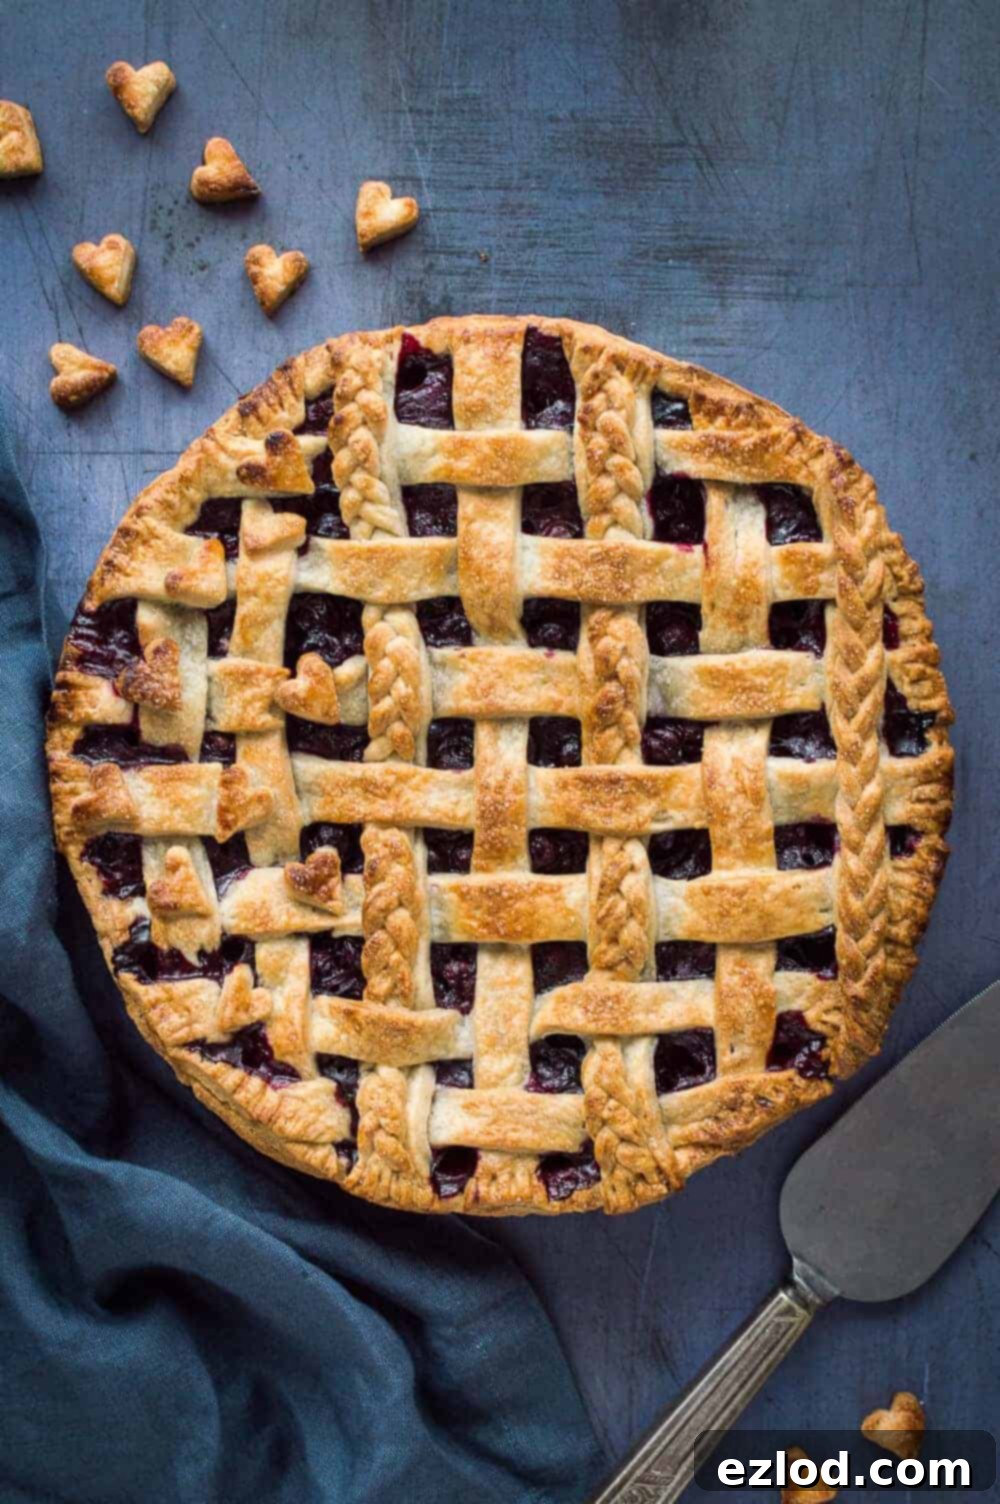
One of the unexpected joys of working with coconut oil pastry is its remarkable pliability. This dough is incredibly easy to handle, allowing for creative freedom in your pie design. For this recipe, I chose a classic lattice crust, adding a few braided strips and delicate heart cutouts for an extra touch of charm. Don’t hesitate to experiment with your favorite designs – this dough is forgiving and a pleasure to work with, making it perfect for both beginners and experienced bakers alike.
Crafting the Perfect Blueberry Filling
For the most exquisite results, I wholeheartedly recommend using fresh blueberries for this pie. While frozen blueberries might seem convenient, they tend to release excess moisture during baking, which can make your pie filling overly wet and compromise the texture. Furthermore, working with frozen berries can chill the pastry, making it more prone to cracking during the lattice construction. Fresh blueberries ensure a vibrant flavor, optimal texture, and a more enjoyable pie-making process.
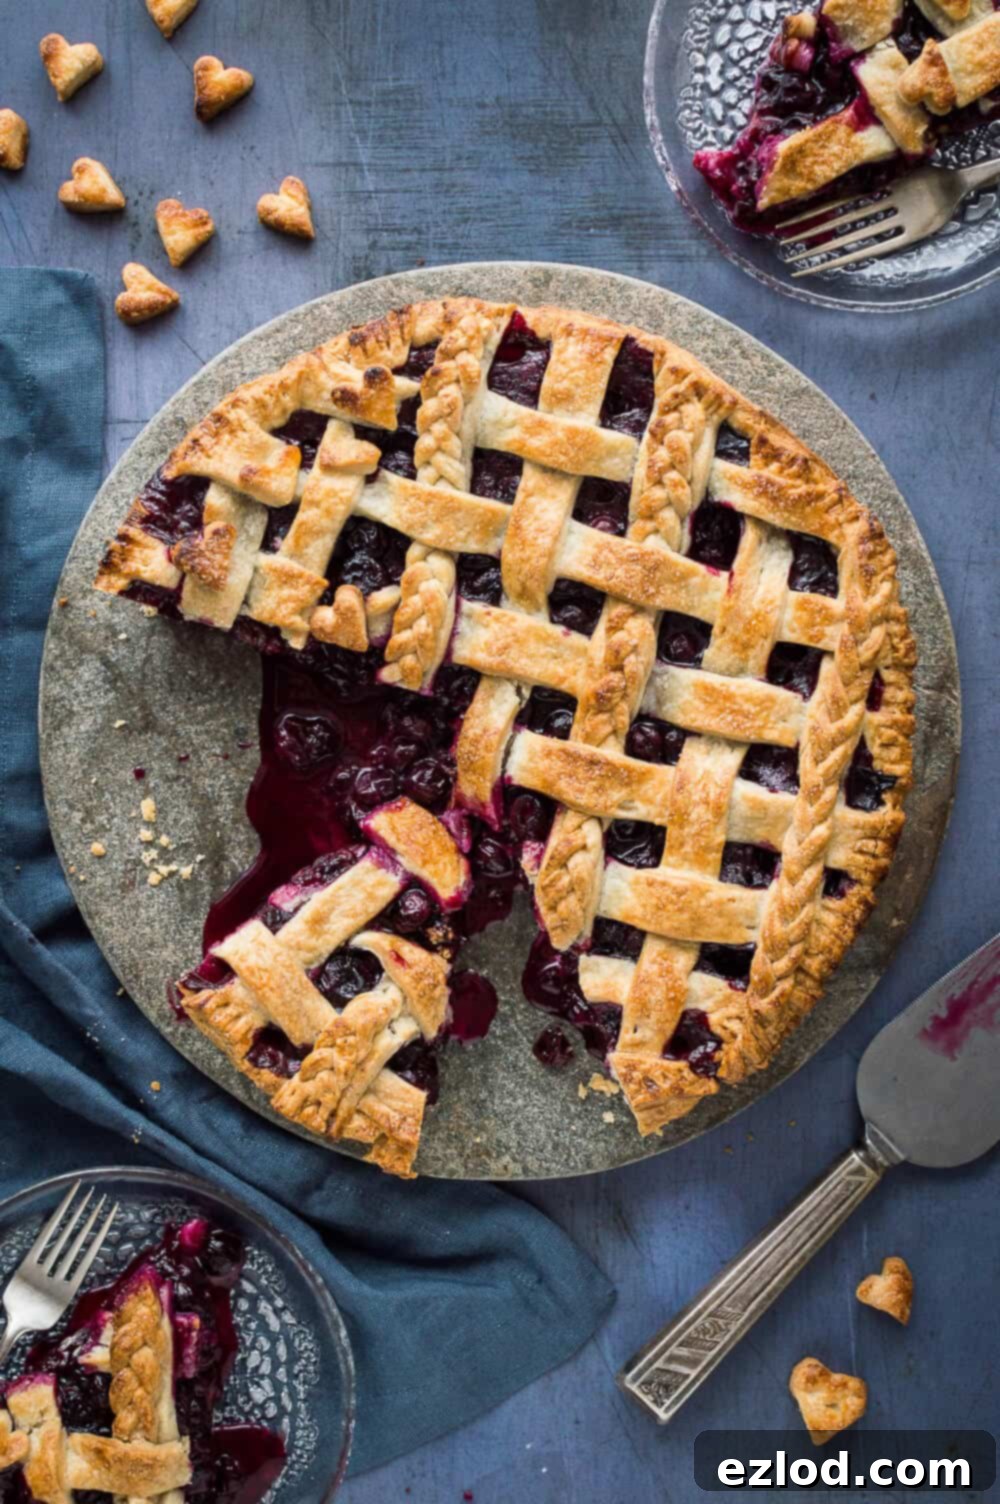
Patience is a virtue, especially when it comes to pie. After baking, allow your blueberry pie to cool for at least three hours before serving. I know, waiting can be agonizing when the aroma of warm blueberries and flaky crust fills the air! However, this crucial cooling period allows the filling to properly set, preventing it from being too runny when you slice into it. The anticipation makes that first bite all the more rewarding, trust me.
How To Make Flaky Coconut Oil Pastry: A Step-by-Step Guide
Crafting a crisp, flaky, and flavorful coconut oil pastry is an immensely rewarding experience. While it’s relatively easy to work with once prepared, the initial mixing process differs slightly from traditional butter-based pastries. The key to success lies in understanding that coconut oil is not a direct substitute for butter and requires a unique approach.
Firstly, I strongly advise against rubbing the solid coconut oil into the flour by hand. This method is considerably more challenging than with butter, and it can result in uneven distribution, leading to pockets in your finished pastry. Instead, a food processor is your best friend here.
Ensure your coconut oil is solid, not melted, when you begin. Add the solid coconut oil to the flour in your food processor and blend until no visible lumps of coconut oil remain. Given that this recipe calls for a generous batch of pastry, you might need to process it in two separate batches, depending on the capacity of your food processor, to ensure thorough incorporation.
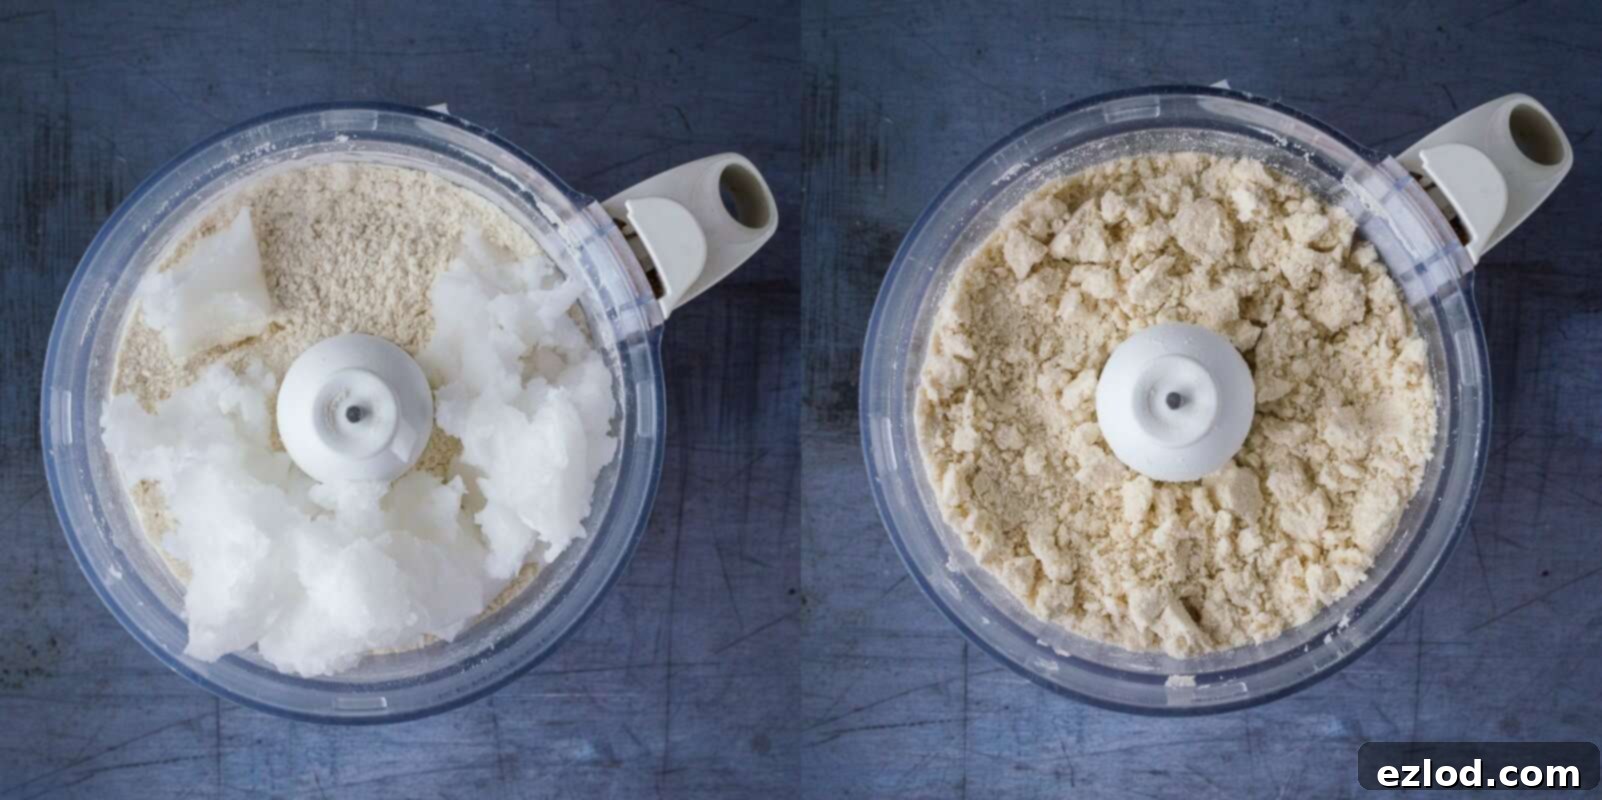
Next, we introduce a homemade buttermilk alternative, created by combining unsweetened almond milk and apple cider vinegar. This addition is vital; it tenderizes the pastry and contributes significantly to its desirable flaky texture. You might notice that the amount of liquid seems greater than what you typically use for pastry. This is because coconut oil contains less water than butter, so a bit of extra liquid is necessary to achieve the perfect consistency.
Once combined, the dough should come together easily. When squeezed, it should stick, indicating it’s well-hydrated. If it remains crumbly, a tiny drop of ice water can help bind it. Turn the dough out onto a lightly floured surface and gently bring it together into a cohesive ball. Avoid overworking the dough to maintain its delicate texture.
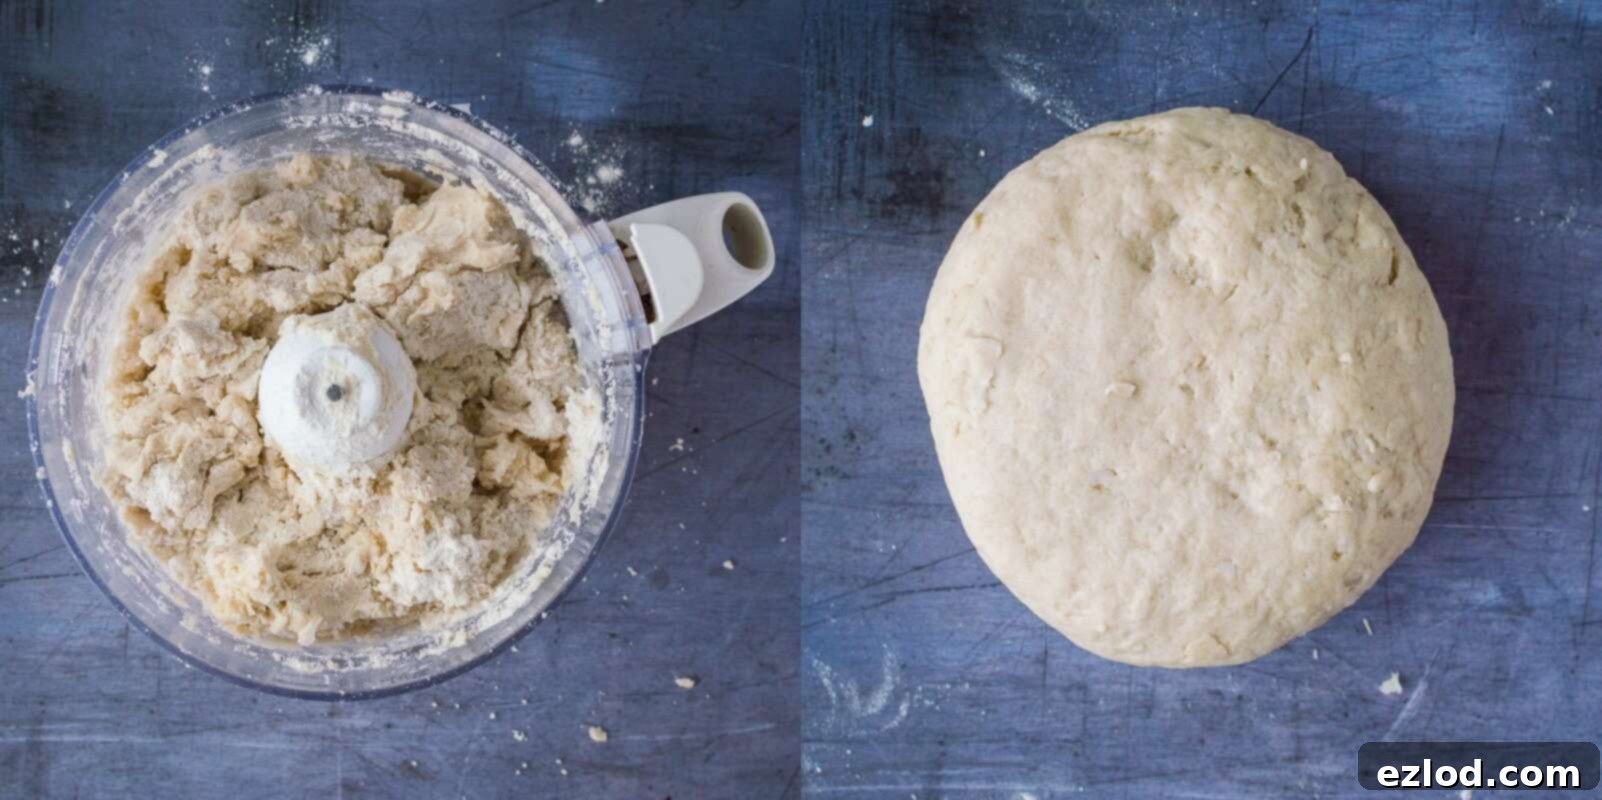
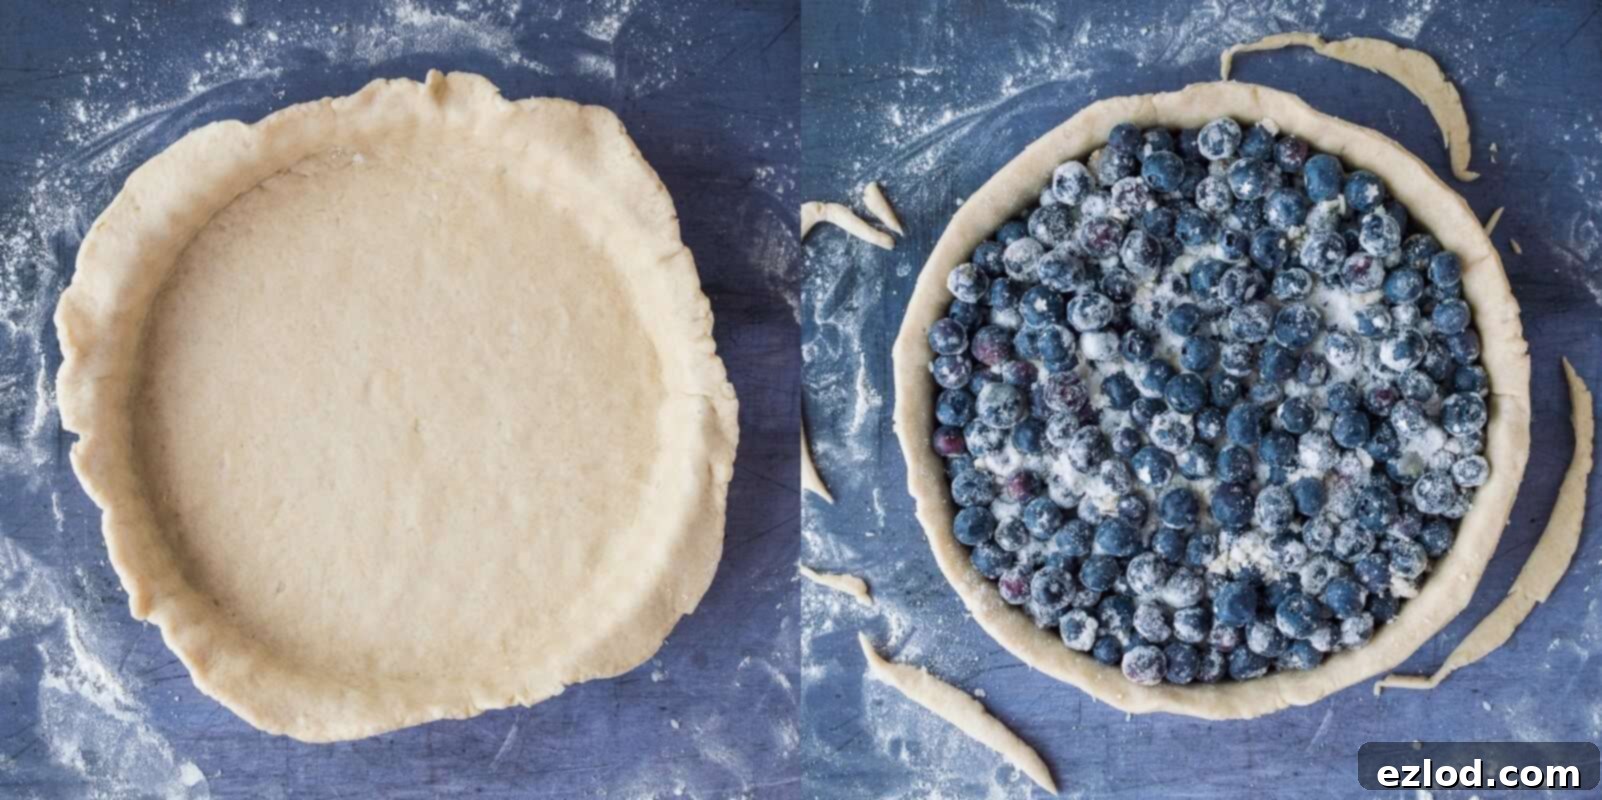
One of the fantastic advantages of this coconut oil pastry is that it’s ready to use immediately – no chilling required before rolling! In fact, you want the dough to be at room temperature; if it’s too cold, it becomes stiff, difficult to work with, and prone to cracking. If you need to prepare it in advance, the dough can be wrapped tightly and stored in the refrigerator for a couple of days. Just remember to let it come back to room temperature for about an hour before you’re ready to roll it out for effortless handling. Divide the pastry into two equal balls. Take one half and roll it out on a floured surface into a large circle, aiming for a thickness similar to a pound coin. Carefully transfer this rolled pastry into your 9-inch pie tin, gently pressing it into the contours and adding your vibrant blueberry filling.
How To Create a Stunning Lattice Pie Crust: An Artistic Touch
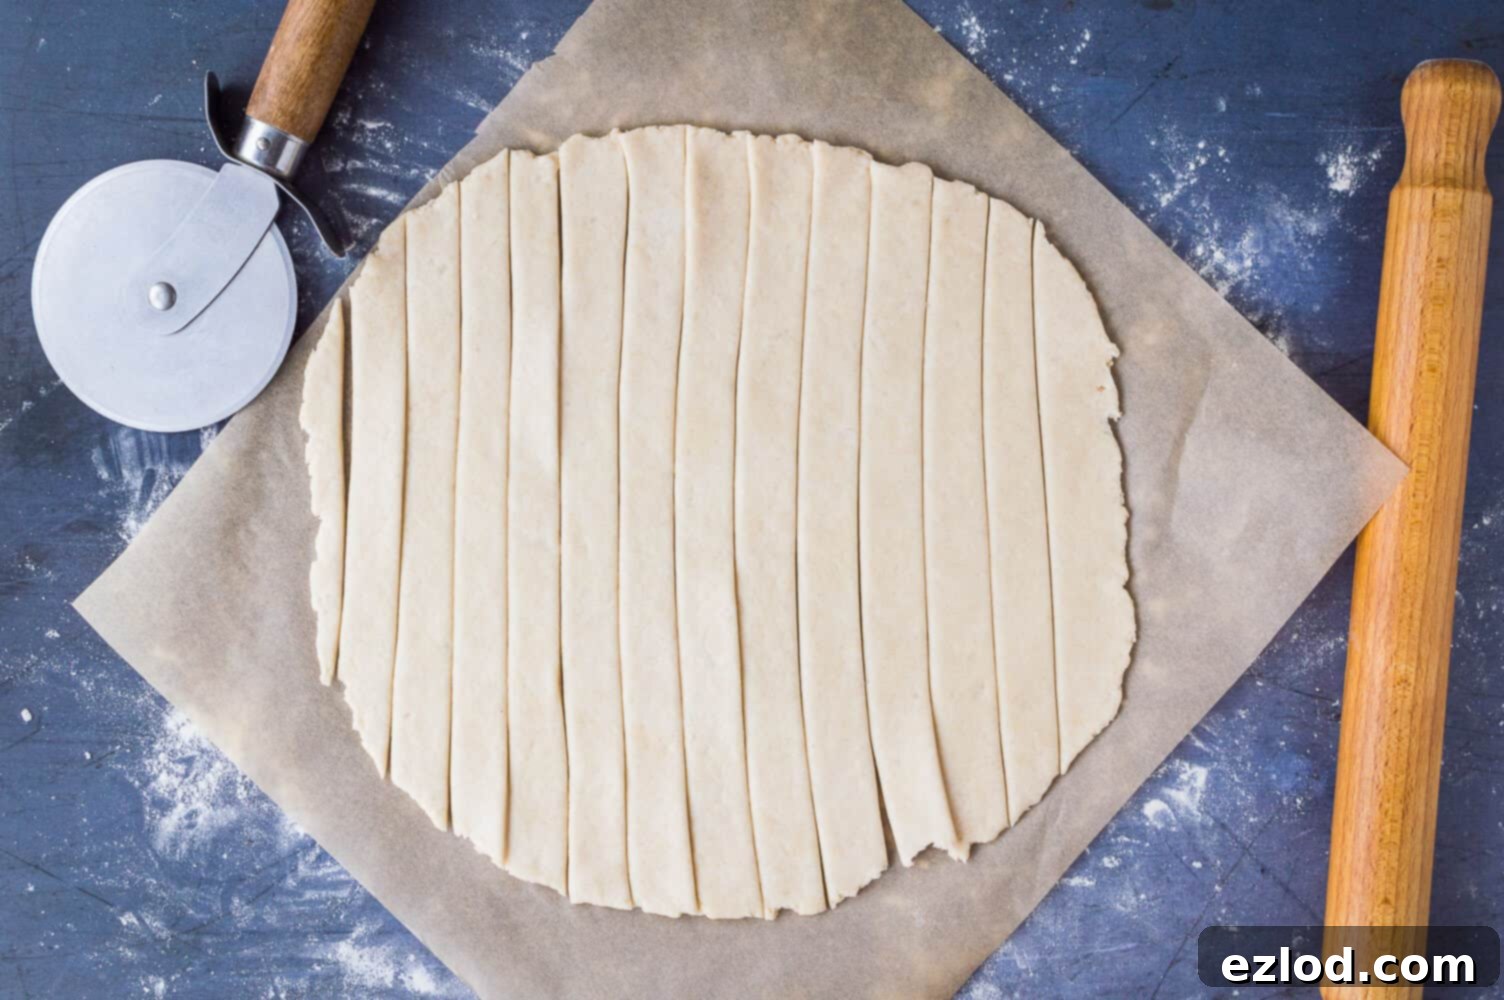
The lattice crust is a classic and elegant way to top your pie, offering both visual appeal and practical ventilation for the filling. With our pliable coconut oil pastry, crafting a beautiful lattice is more straightforward than you might imagine. Begin by rolling out the second ball of pastry to the same thickness as the base crust. Using a pizza wheel or a sharp knife, carefully cut the dough into strips, approximately 1 to 2 inches wide. Consistency in width will contribute to a more professional-looking lattice.
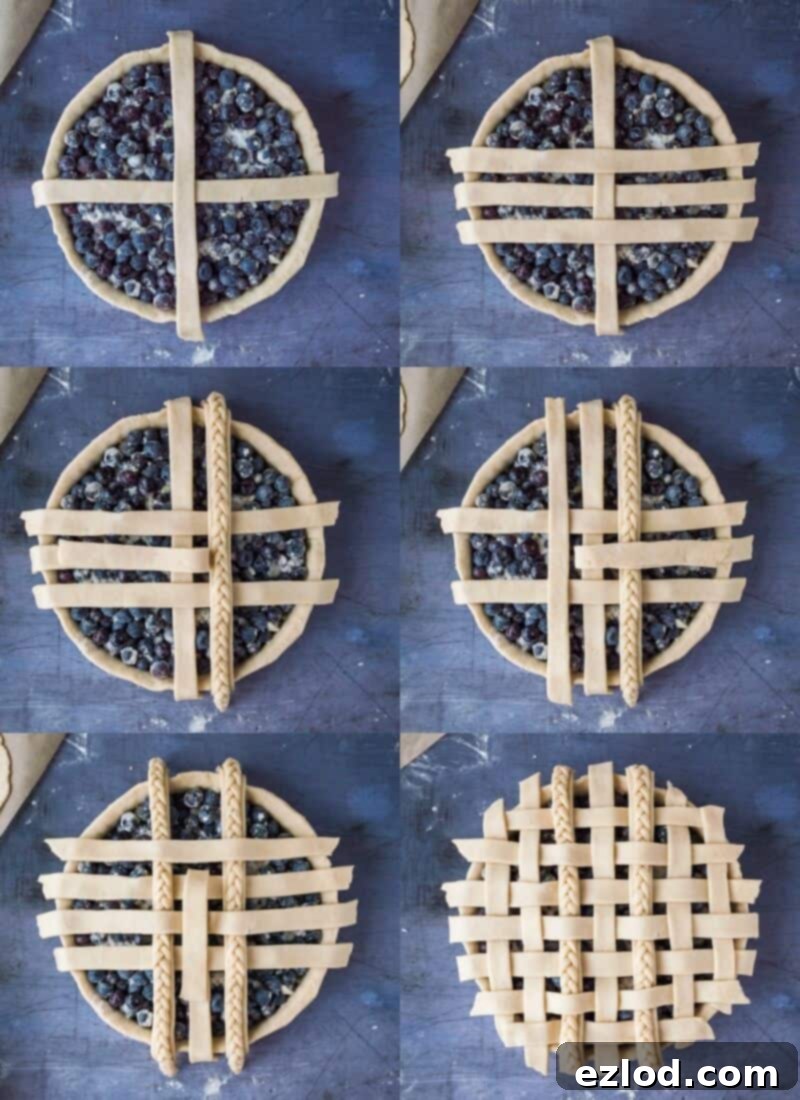
To start your lattice, select two of your longest pastry strips. Lay one vertically and one horizontally across the center of your pie, forming a cross. Ensure the vertical strip is on top. Do not attach these initial strips to the pie dish edges yet. Next, lay two more strips of pastry horizontally, one on either side of the central horizontal strip.
Now, let’s weave. Gently fold the middle horizontal strip back over itself, towards the left side of the pie. Place a new vertical strip on the tart to the right of this folded-back strip. Carefully unfold the original horizontal strip back into its position, locking the new vertical strip in place. Repeat this weaving technique on the other side of the pie.
Once you’ve completed the horizontal weave, switch to the vertical strips. Fold up the middle vertical strip, place a new horizontal strip at the bottom, then fold the middle vertical strip back down. Continue this weaving pattern on all sides until the entire pie filling is covered with your intricate lattice design. The goal is to create an interwoven pattern of pastry strips.
Once your lattice is complete, press all the edges of the pastry down firmly to seal them to the bottom crust. Trim off any excess pastry, then finish the edges by either crimping them decoratively with your fingers or pressing them down with the tines of a fork for a neat, classic look.
For an elevated touch, consider adding delicate pastry braids. Cut three long, thin strips of pastry. Gently pinch and roll them out slightly to make them a little longer and thinner. Pinch one end of the three strips together, then carefully and tightly braid them. Repeat this process to create as many braids as desired.
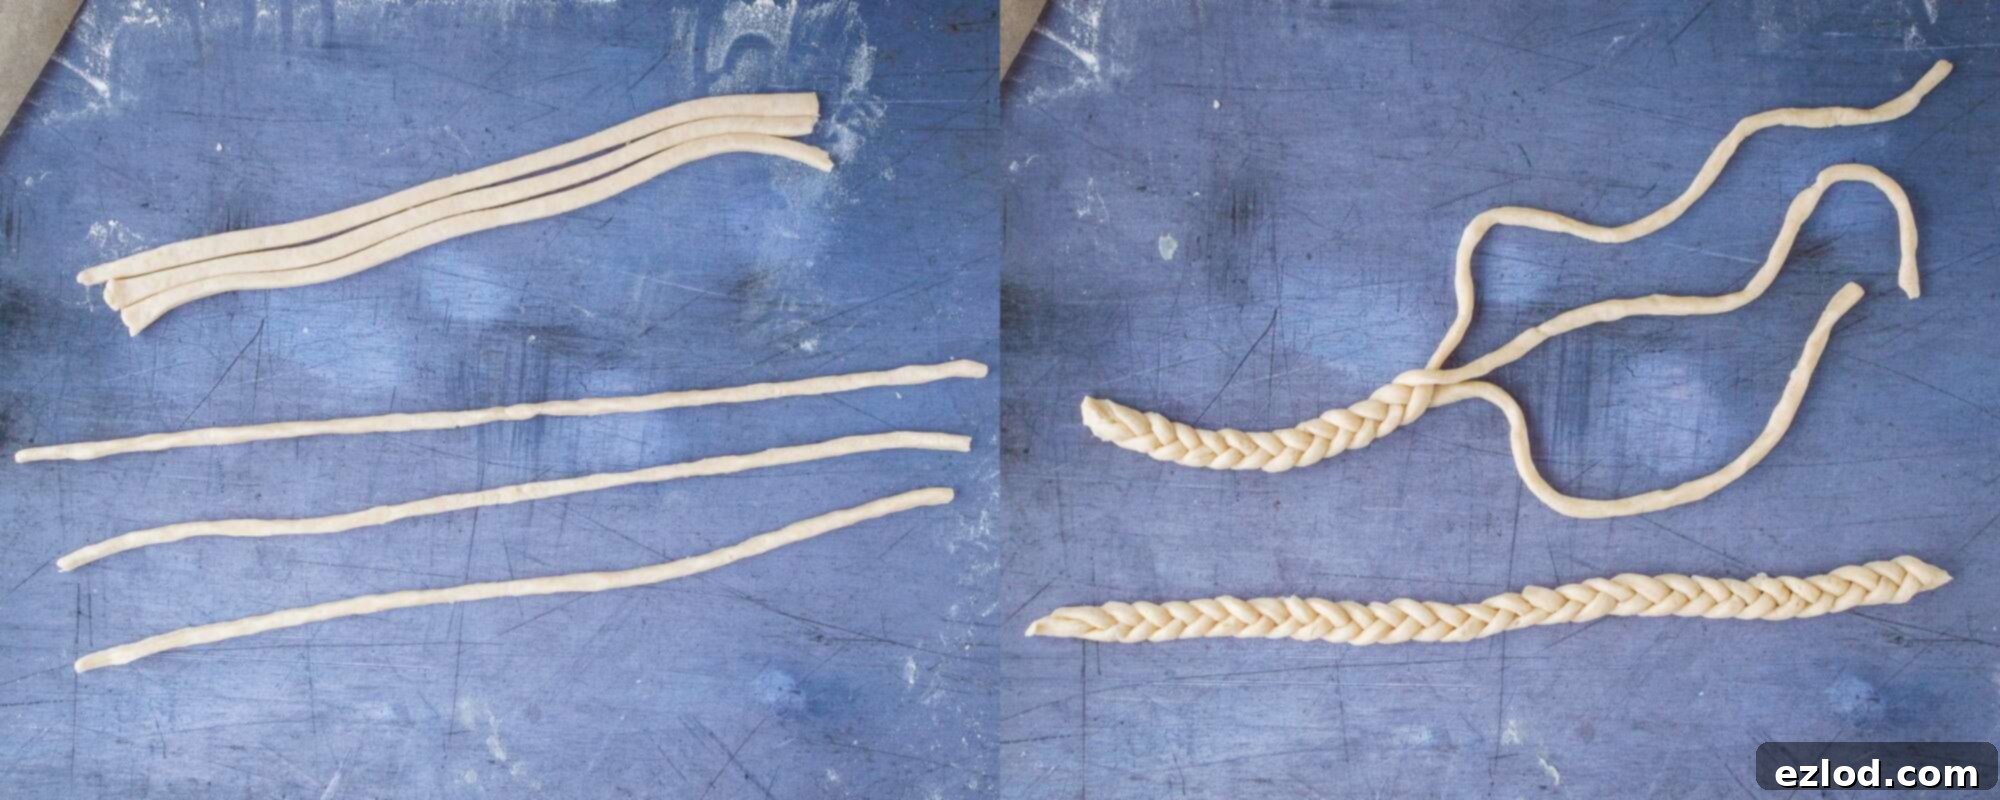
These beautiful braids can be incorporated into your lattice design by placing them over some of the existing pastry strips as you weave, or simply laid on top of the finished lattice for a decorative flourish. A small dab of water will help them adhere securely to the underlying pastry. *Note that you might need to re-roll some pastry trimmings to ensure you have enough dough to create both a full lattice and additional braids or decorative cutouts.
Before baking, place your beautifully assembled pie in the fridge for 20-30 minutes. This chilling period helps the pastry firm up, ensuring it holds its shape perfectly during baking. While it chills, preheat your oven. Just before baking, gently brush the top of the pie with a little soy milk (or your preferred plant-based milk) and sprinkle generously with granulated sugar for a lovely golden crust and added sparkle. Then, bake until the filling is wonderfully bubbly and the crust is golden brown and irresistible.
If you tried this recipe and loved it, we’d be thrilled if you shared your creation! Tag @domestic_gothess on Instagram and use the hashtag #domesticgothess. Your delicious photos inspire us all!
*All images and content on Domestic Gothess are copyright protected. If you want to share this recipe then please do so by using the share buttons provided. Do not screenshot or post the recipe or content in full.*
Blueberry Pie With Coconut Oil Crust (Vegan) Recipe:

Print
Blueberry Pie With Coconut Oil Crust (Vegan)
Ingredients
Coconut Oil Pastry:
- 160 ml (⅔ cup) unsweetened almond milk
- 3 tsp apple cider vinegar
- 435 g (3 ½ cups) plain (all-purpose) flour
- 60 g (¼ cup) caster sugar
- 1 tsp salt
- 225 g (1 cup + 2Tbsp) coconut oil solid, for best results
Blueberry Filling:
- 800 g (28 oz/about 6 cups) fresh blueberries highly recommended, not frozen
- 125 g (½ cup + 2 Tbsp) caster sugar
- 30 g (¼ cup) cornflour (cornstarch)
- ¼ tsp ground cinnamon
- 1 Tbsp fresh lemon juice
- 1 Tbsp semolina
- soy milk and granulated sugar to glaze
Instructions
Coconut Oil Pastry:
-
In a small bowl, mix together the unsweetened almond milk and apple cider vinegar; set aside to curdle slightly (this creates a homemade buttermilk).
-
Combine the plain flour, caster sugar, and salt in a food processor and pulse briefly to mix. Add the solid coconut oil and blend thoroughly until no lumps of coconut oil are visible. Depending on your food processor’s size, you might need to divide this into two batches to ensure even blending.
-
With the food processor running, gradually drizzle in the prepared almond milk mixture until the pastry begins to clump together. You may not need all of the liquid, or conversely, a teaspoon of ice water might be necessary if the dough is still too crumbly to come together.
-
Turn the pastry out onto a lightly floured surface and gently knead it into a ball. Be careful not to overwork the dough. Set it aside to rest while you prepare the blueberry filling.
-
*If not using immediately, the pastry can be refrigerated or frozen. Double-wrap it in cling film before freezing. To use, defrost overnight in the refrigerator, then allow the dough to sit at room temperature for an hour before rolling to make it more pliable.
Blueberry Pie:
-
In a large bowl, gently mix together the fresh blueberries, caster sugar, cornflour (cornstarch), ground cinnamon, and fresh lemon juice. Set aside.
-
Divide the pastry dough in half and gently shape each half into a ball. On a lightly floured surface, roll one half out into a large circle, approximately 3mm (1/8 inch) thick. Carefully transfer this rolled pastry into a 9-inch pie dish, pressing it gently into the edges. Trim off any excess pastry, leaving about a couple of centimeters overhanging.
-
Sprinkle the tablespoon of semolina evenly over the bottom crust (this helps absorb excess moisture). Then, pour in the prepared blueberry filling and spread it level. Set aside.
-
Roll the other ball of pastry out as described above, then use a pizza wheel or a sharp knife to cut it into strips, each about 1-2 inches wide, for the lattice crust.
-
To begin the lattice, lay your two longest pastry strips over the tart to form a cross in the center, ensuring the vertical strip is on top. Do not yet attach the strips to the pie dish edges.
-
Next, lay two more strips of pastry horizontally, positioning one on either side of the central horizontal strip.
-
Gently fold the middle horizontal strip back over itself, towards the left. Place a new vertical strip on the tart to the right of the folded strip. Carefully unfold the original horizontal pastry strip back to its initial position. Repeat this exact process on the other side of the pie.
-
Now, repeat the weaving process with the vertical strips: fold up the middle vertical strip, place a new horizontal strip at the bottom of the exposed area, then fold the middle vertical strip back down. Continue this pattern on all sides until the pie’s surface is beautifully covered with the woven lattice.
-
Press all the lattice edges down firmly to seal them to the bottom crust (a tiny drop of water can help if needed). Trim off any excess pastry. Finish the pie edges by either crimping them decoratively or pressing with a fork for a clean finish.
-
*Refer to the detailed instructions and photos in the post above for visual guidance on making the lattice and creating pastry braids.
-
Place the prepared pie in the fridge for 20-30 minutes to chill while you preheat your oven to 200°C/400°F/gas mark 6.
-
Brush the top of the pie crust with soy milk and sprinkle generously with granulated sugar. Bake for 20 minutes, then reduce the oven temperature to 180°C/350°F/gas mark 4 and continue baking for an additional 30-40 minutes, or until the blueberry filling is visibly bubbling and the crust is beautifully golden brown. If the crust begins to brown too quickly, loosely cover it with aluminum foil partway through the baking process.
-
Allow the pie to cool completely at room temperature for at least 3 hours before slicing and serving. This crucial step allows the filling to set properly. Store any leftover pie in the refrigerator for up to 5 days, enjoying a taste of summer with every bite.
Notes
