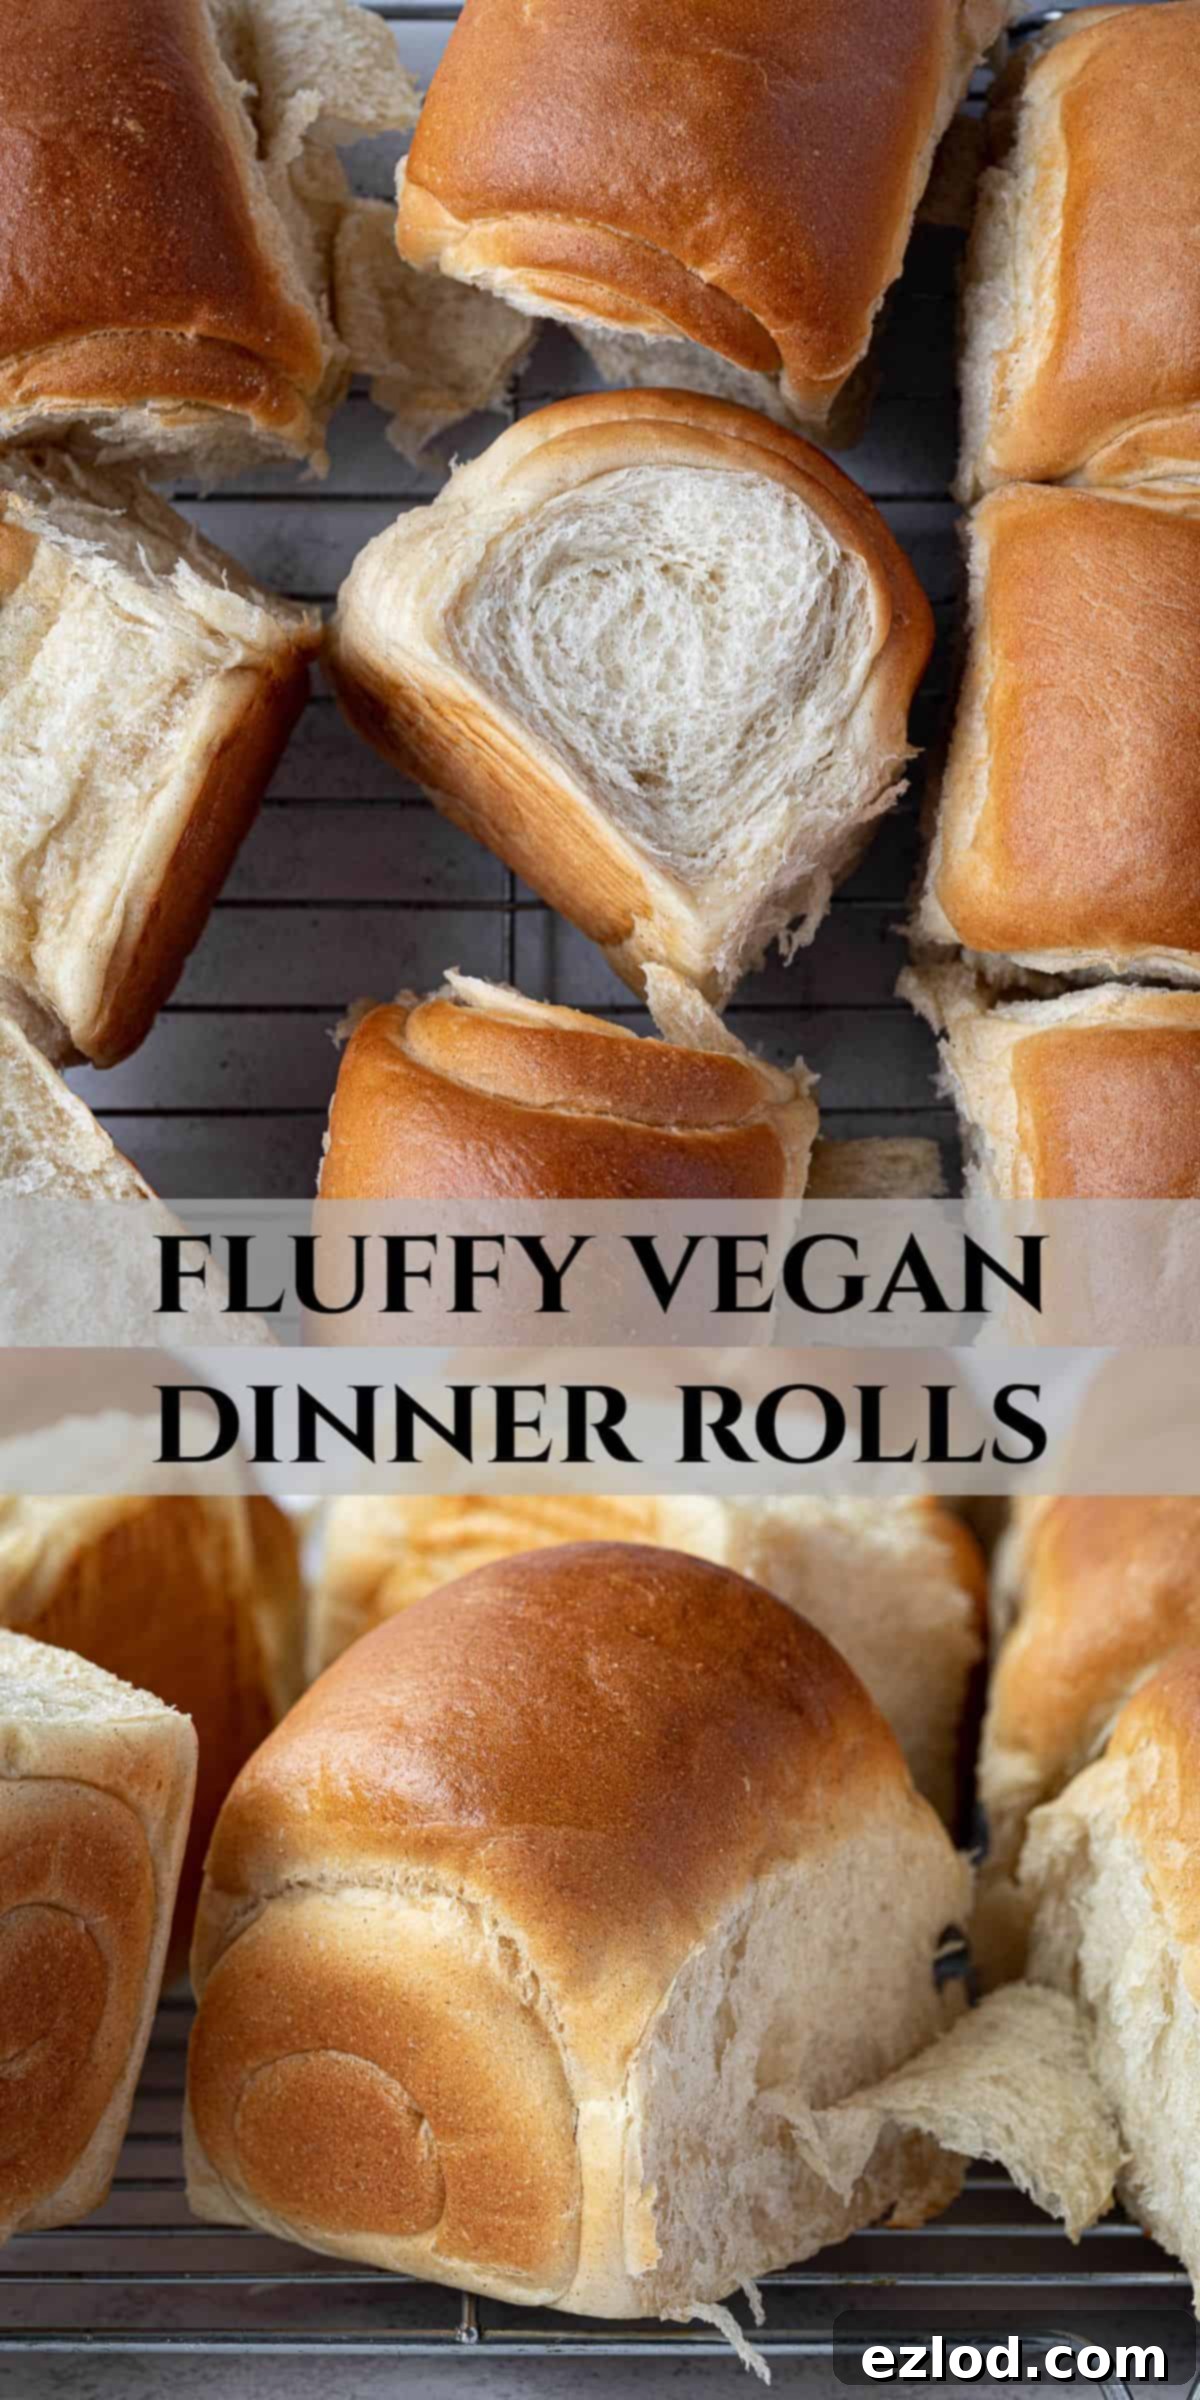
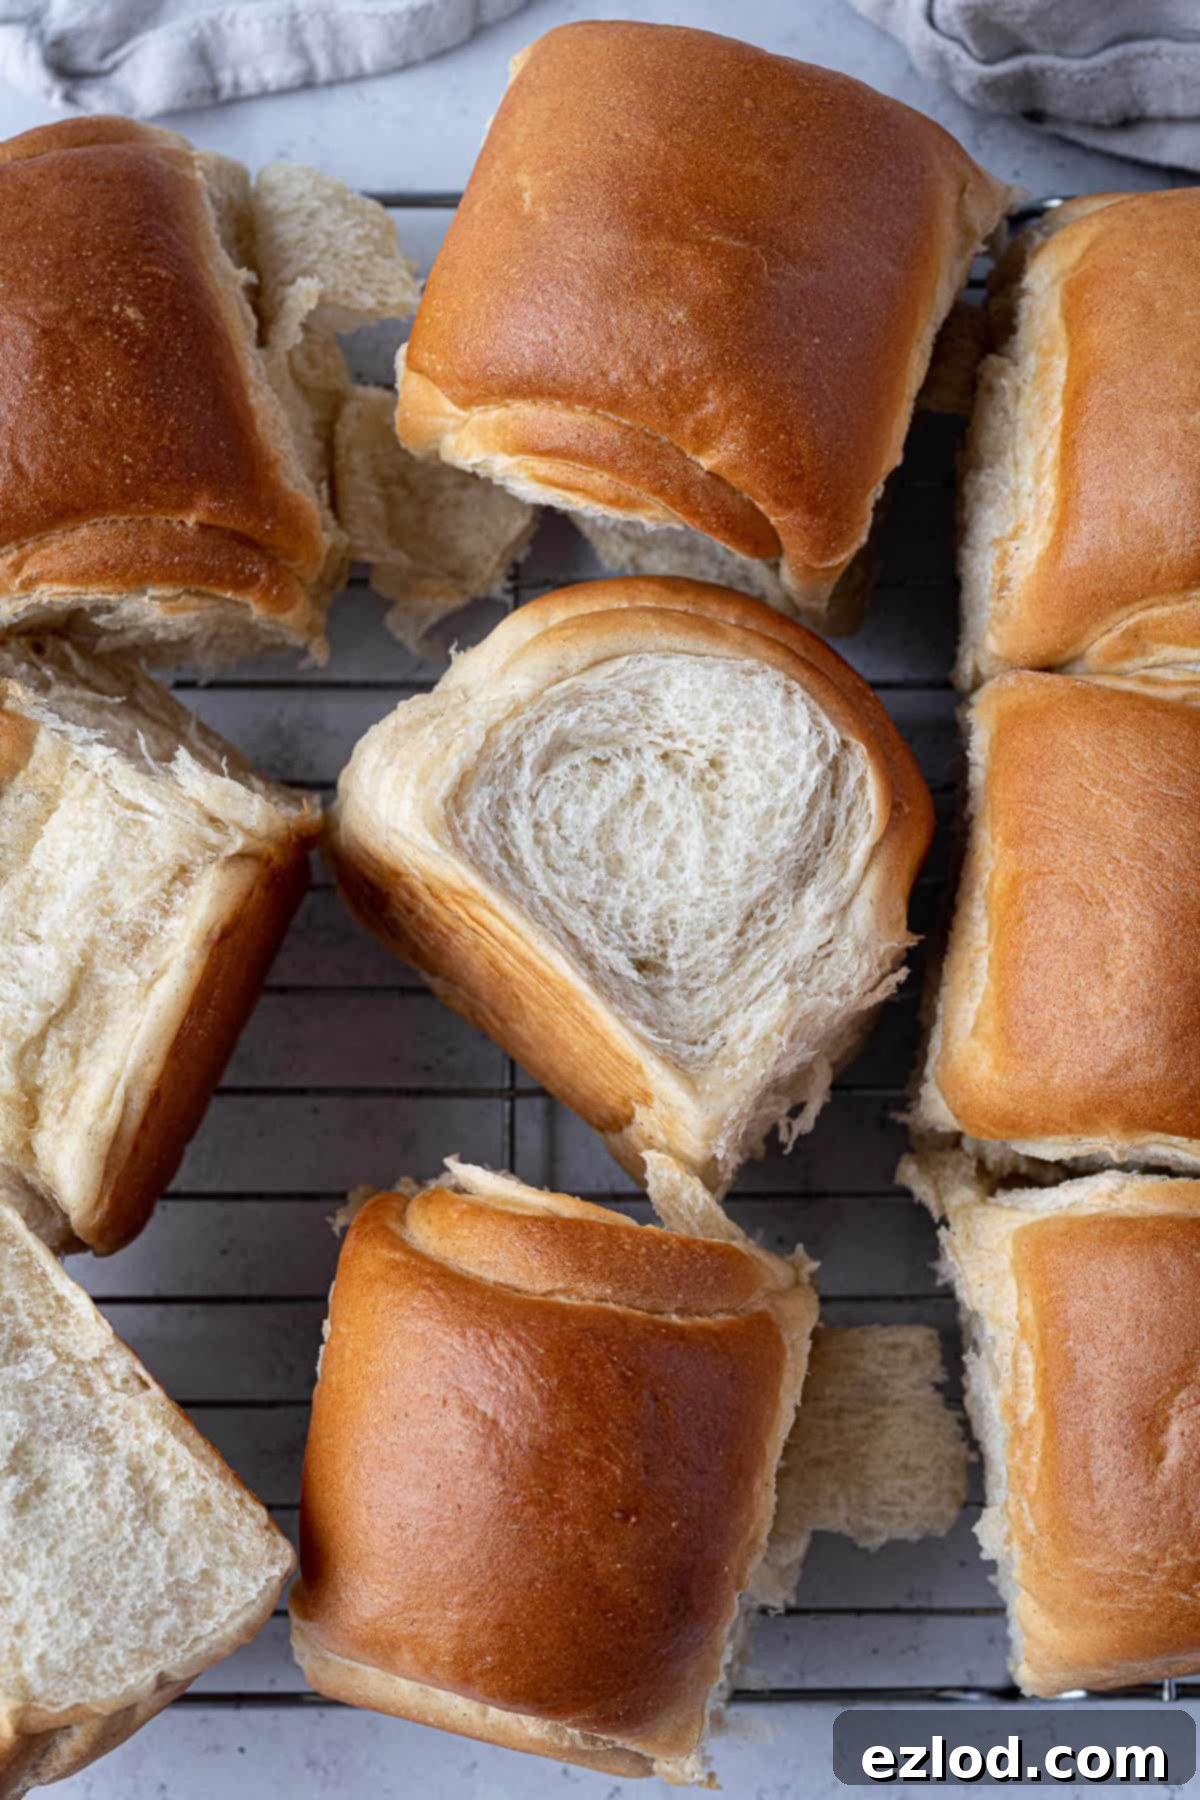
Pillowy Soft Vegan Dinner Rolls: The Ultimate Guide to Fluffy Plant-Based Milk Bread
Prepare to fall in love with these utterly delightful vegan dinner rolls! Based on the beloved Japanese Hokkaido milk bread, this plant-based adaptation delivers an unparalleled level of softness and fluffiness. Each roll boasts a tender crumb, a subtle buttery flavor, and a hint of sweetness, making them truly irresistible. Whether served warm as a side dish, accompanying a hearty soup, or as the foundation for your favorite sandwiches, these rolls are sure to become a staple in your kitchen.
The secret to their incredible texture and extended freshness lies in the tangzhong method, a simple technique that yields bread so soft it stays fresh for days without needing excessive amounts of fat. Don’t let the name intimidate you – it’s surprisingly easy to master!
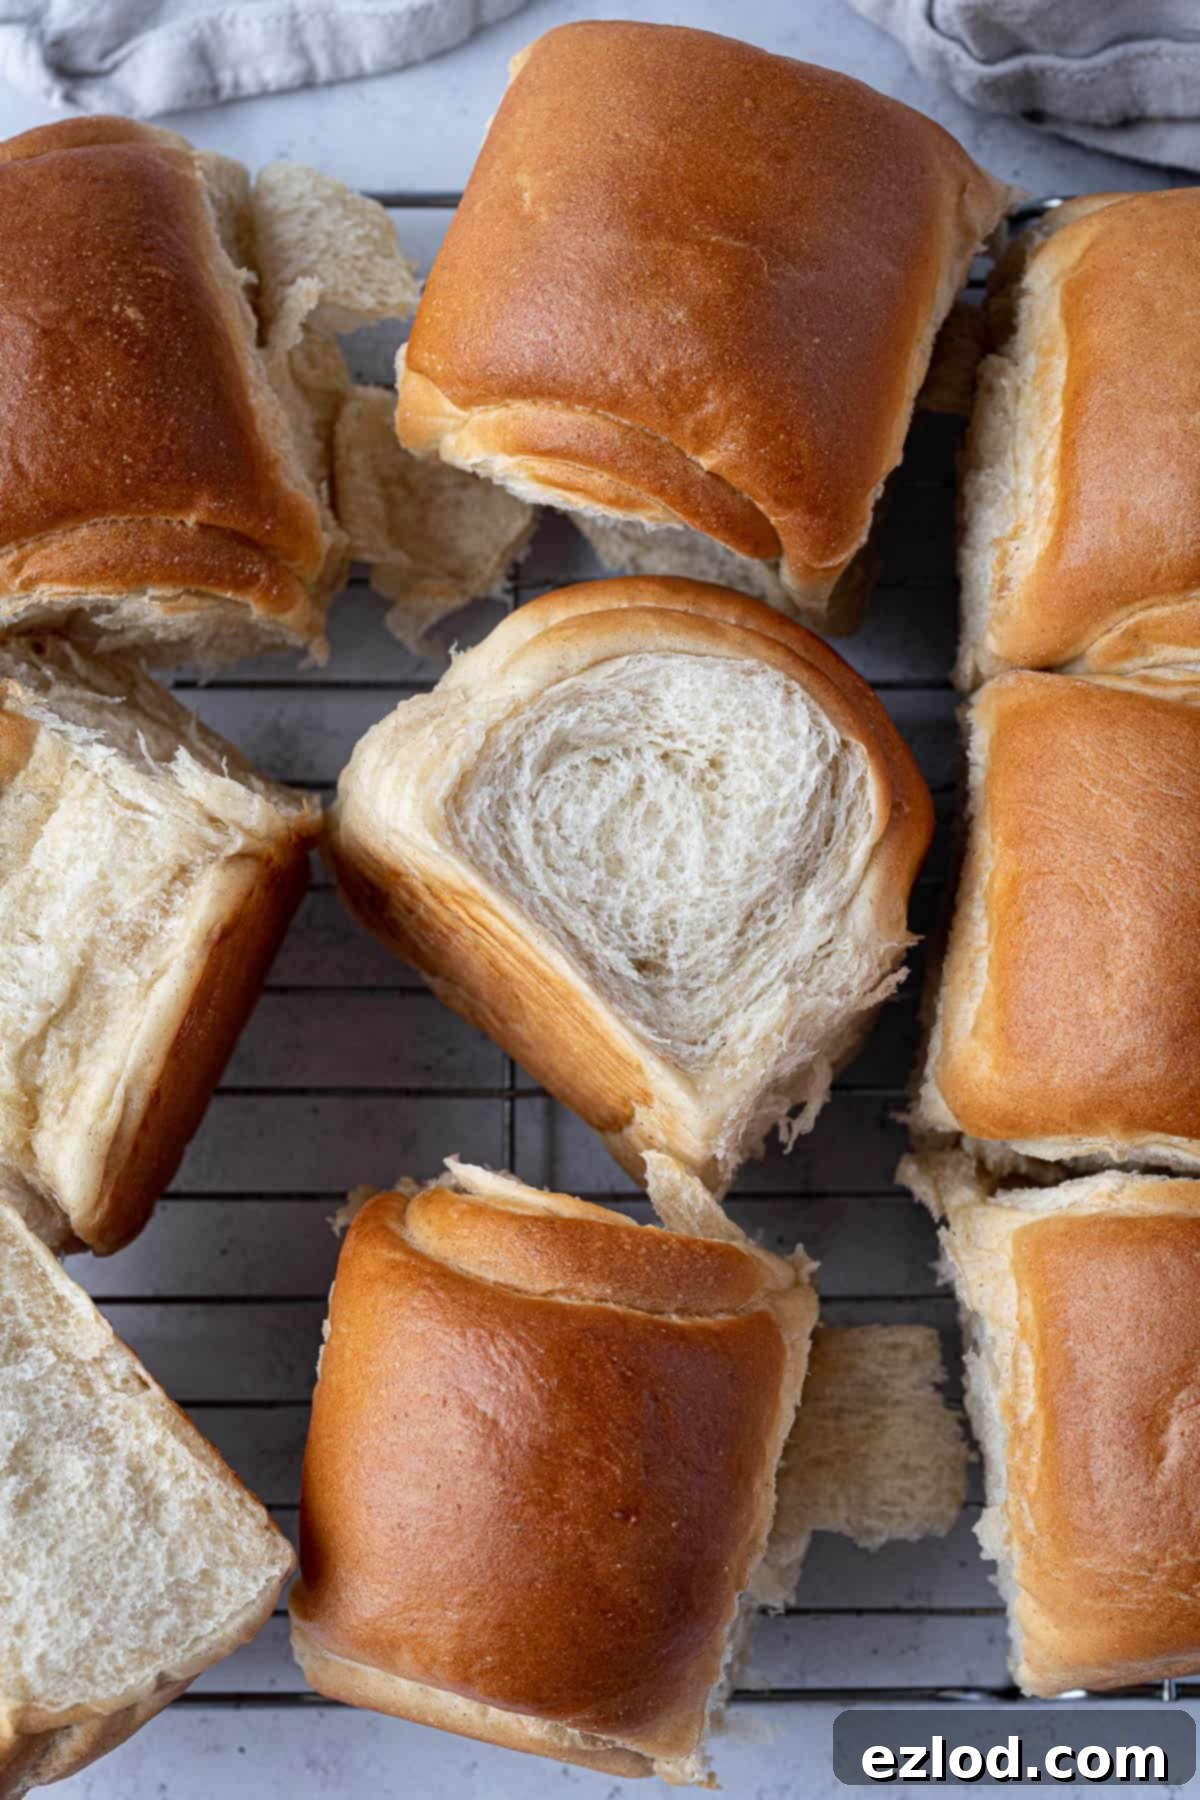
These incredibly soft vegan dinner rolls are a variation of my highly popular vegan Hokkaido milk bread recipe. If you’ve tried that recipe, you’ll know it produces some of the softest, fluffiest, and most flavorful bread you can imagine. This roll adaptation brings all those wonderful qualities into perfectly portioned buns, making them incredibly versatile for any meal.
Their tender, buttery, and slightly sweet profile means they pair beautifully with a wide array of dishes. Beyond being a fantastic side, they make excellent slider buns, mini burger buns, or even gourmet hot dog rolls. Feel free to experiment – this foundational recipe is incredibly adaptable!
Understanding the Magic of Tangzhong: The Secret to Super Soft Bread
The tangzhong method, also known as a water roux, is a Japanese baking technique that has revolutionized bread making, especially for achieving incredibly soft and airy loaves that stay fresh for longer. It involves cooking a small portion of the flour and liquid from your recipe until it forms a thick, pudding-like paste. Once cooled, this paste is then incorporated into the main bread dough.
But what exactly does this seemingly simple step accomplish? The magic lies in the pre-gelatinization of the starches in the flour. When flour is heated with liquid (water or milk) to a specific temperature (around 65°C or 149°F), the starches absorb significantly more moisture than they would in an unheated state. In fact, flour can absorb up to twice as much hot water or milk compared to lukewarm liquid typically used in yeasted doughs. This increased hydration is crucial for the rolls’ superior texture.
The gelatinized starches are then able to trap and hold onto this extra moisture throughout the entire bread-making process—from kneading and rising to baking and cooling. This means a higher moisture content in the final baked goods. Why is this important? More water in the dough translates to more internal steam during baking, which in turn contributes to a greater rise in the oven, working in harmony with the carbon dioxide produced by the yeast. The result is a lighter, taller, and more open crumb structure.
Ultimately, because the bread retains more water during baking, it emerges from the oven incredibly soft, wonderfully moist, and enjoys a significantly extended shelf life, staying fresh and delicious for several days. This is precisely why the tangzhong method is essential for achieving these pillowy soft vegan dinner rolls.
What You’ll Need: Essential Ingredients for Vegan Dinner Rolls
Crafting these delicious vegan dinner rolls requires a few key ingredients. Each plays a vital role in achieving their signature soft and fluffy texture. Here’s a detailed look at what you’ll need:
- Bread Flour: For that wonderfully soft, yet slightly chewy texture characteristic of milk bread, white bread flour is highly recommended. Its higher protein content (typically 12-14%) helps to develop strong gluten strands, which are essential for trapping air and creating a light, airy crumb. While plain (all-purpose) flour can be used in a pinch, expect a slightly less chewy and potentially denser result. I strongly advise against using wholemeal (whole wheat) flour for this recipe, as its bran content can inhibit gluten development, leading to a much denser loaf that won’t have the desired pillowy texture.
- Instant/Fast Action Yeast: My preference for bread baking always leans towards fast action or instant yeast. The convenience is unmatched – it can be added directly to the flour without needing prior activation in liquid. This saves time and simplifies the process. If you only have active dry yeast, don’t worry! I’ve included specific instructions below on how to properly activate it before proceeding with the recipe.
- Salt: A non-negotiable ingredient in any good bread recipe, salt is crucial for both flavor and dough structure. It enhances the taste of the bread, bringing out its inherent sweetness and richness. Furthermore, salt helps to control the yeast’s activity, preventing the dough from rising too quickly and allowing for better flavor development. Never omit the salt in bread baking!
- Non-Dairy Milk: The choice of non-dairy milk significantly impacts the final texture and flavor. Soy milk is my absolute favorite for baking, particularly in recipes like this, due to its higher protein content. This protein structure most closely mimics that of dairy milk, contributing to a richer flavor and a more tender crumb. While other unsweetened non-dairy milks like almond, oat, or cashew milk will also work, their lower protein content might result in a very subtle difference in texture. Always opt for an unsweetened variety to control the sweetness of the rolls.
- Sugar: Caster sugar (superfine granulated sugar) is my go-to for this dough because its fine granules dissolve quickly and evenly, ensuring consistent sweetness throughout the dough. Granulated sugar can be used as a direct substitute if caster sugar isn’t available. Beyond contributing sweetness, sugar also serves as food for the yeast, aiding in fermentation, and promotes beautiful golden-brown crust development.
- Vegan Butter: Good quality vegan butter is key for adding richness and a lovely buttery flavor to these rolls. While for many baking applications I’d insist on a block-style vegan butter for its firmer consistency, for these rolls, a good quality tub variety will also work perfectly fine, as long as it’s not a low-fat spread. Low-fat spreads contain too much water and not enough fat, which can negatively impact the dough’s texture and richness. I’ve had excellent results with brands like Flora Original, but feel free to use your preferred high-quality vegan butter.
Step-by-Step: How to Make Irresistible Vegan Dinner Rolls
(For precise measurements and detailed instructions, please refer to the complete recipe card located at the bottom of this page.)
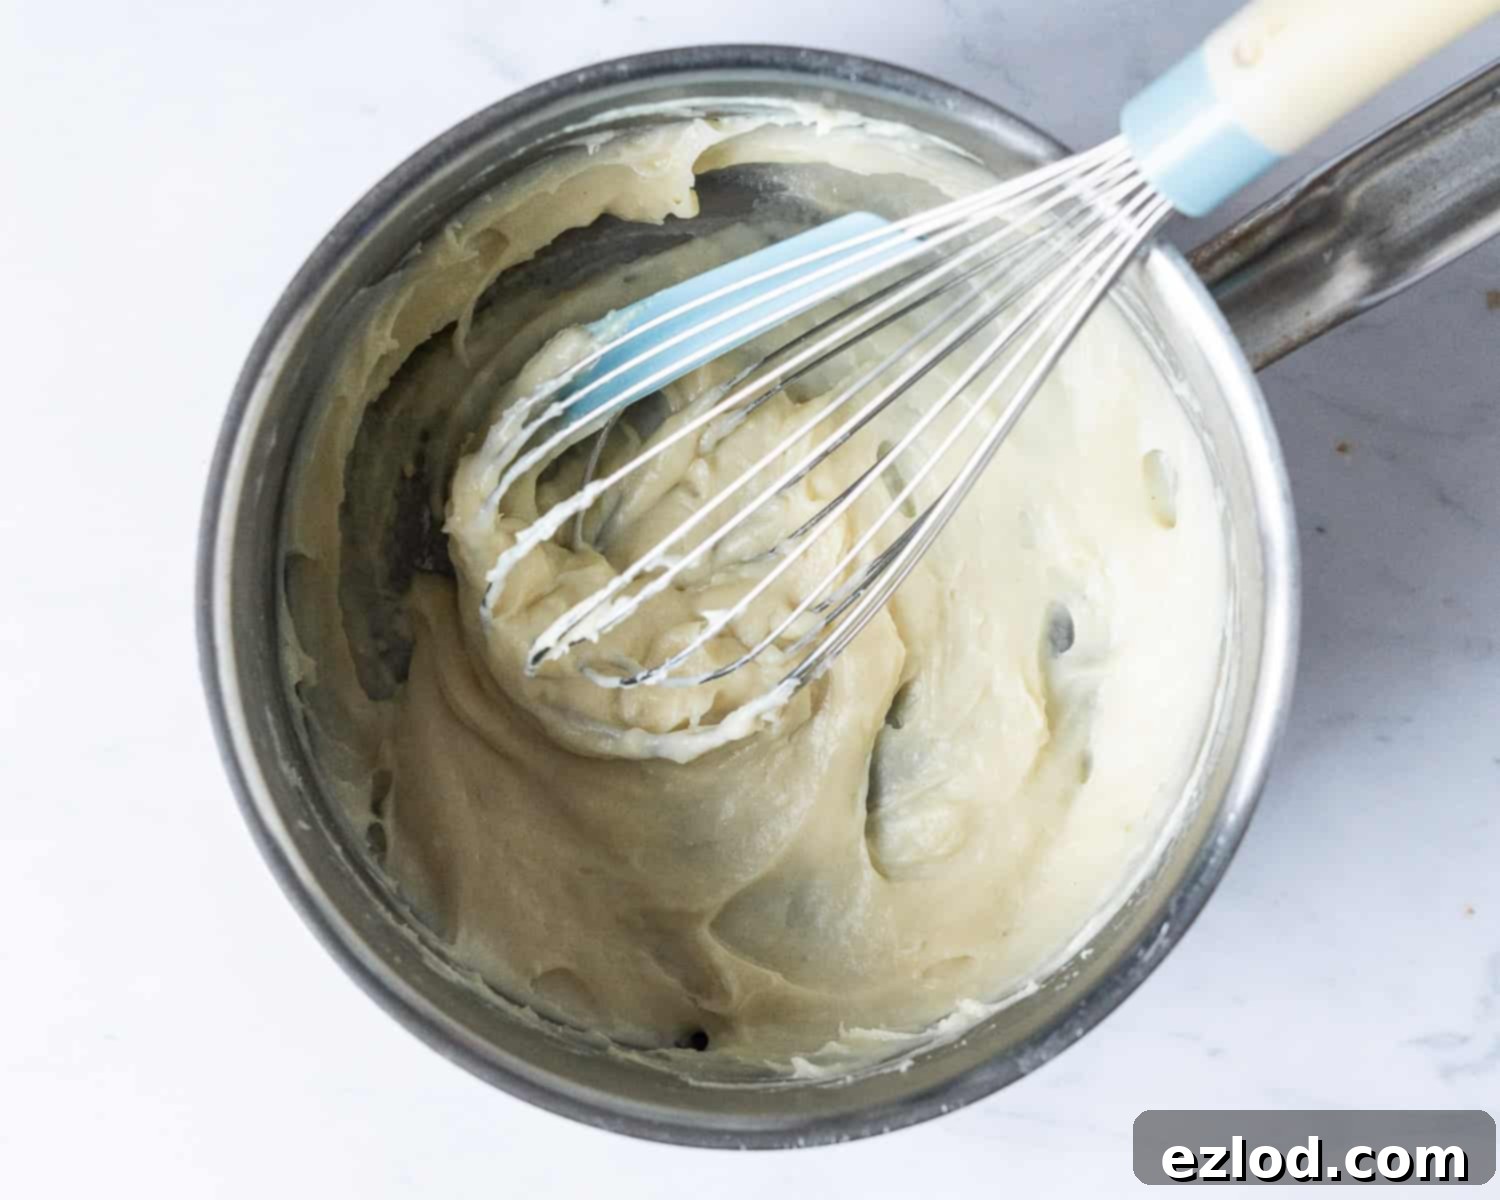
Begin by preparing the tangzhong. In a small saucepan, combine the bread flour and gradually whisk in the non-dairy milk. This slow addition and continuous whisking are important to prevent any lumps from forming, ensuring a smooth paste.
Place the saucepan over a medium-low heat. Continue whisking constantly. The mixture will slowly thicken and transform into a paste or pudding-like consistency. This usually takes only a few minutes. Once it reaches this stage, remove it from the heat.
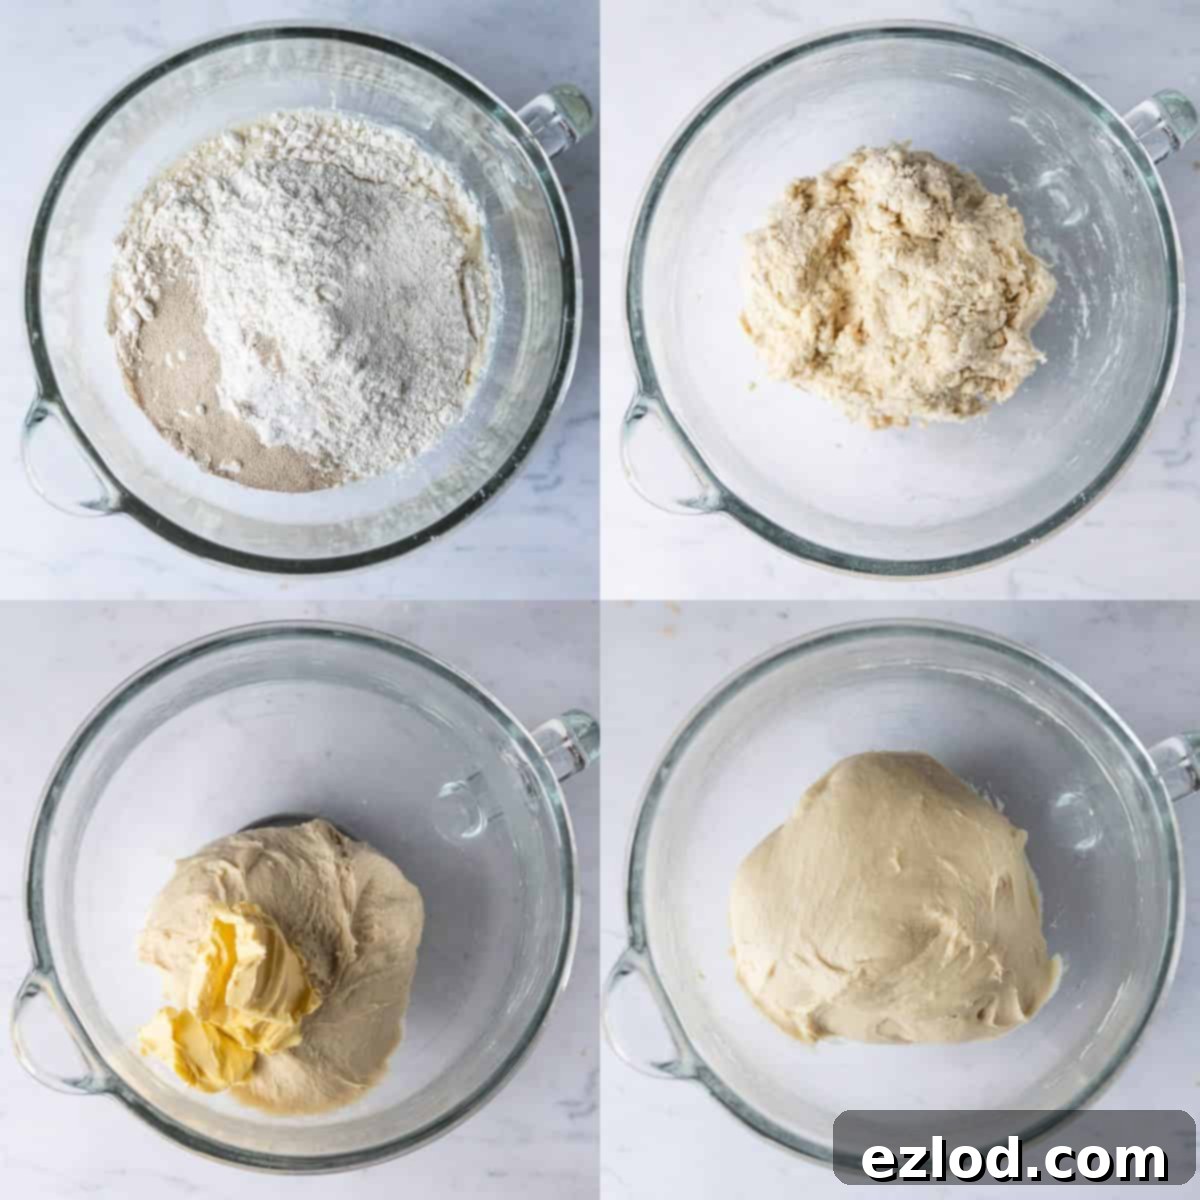
Carefully scrape the warm tangzhong mixture into the bowl of your stand mixer, equipped with a dough hook attachment. Immediately pour the remaining cold non-dairy milk directly over the tangzhong. This crucial step rapidly cools down the hot tangzhong, preventing it from overheating and potentially killing the yeast when it’s added later.
Next, add the sugar, salt, and the bulk of the bread flour to the mixer bowl. Finally, sprinkle in the instant yeast. Begin mixing on a low speed until the ingredients just come together to form a shaggy, rough dough. Increase the stand mixer speed to medium and continue mixing for approximately 8-10 minutes. During this time, the dough will transform, becoming smooth, elastic, and stretchy. It should start pulling away from the sides of the bowl.
Now, add the softened vegan butter, piece by piece, allowing it to fully incorporate into the dough. Continue kneading for another 5 minutes or so. The dough will become even smoother, more elastic, and should no longer feel greasy to the touch. You might need to pause and scrape down the sides of the bowl a couple of times to ensure everything is evenly mixed.
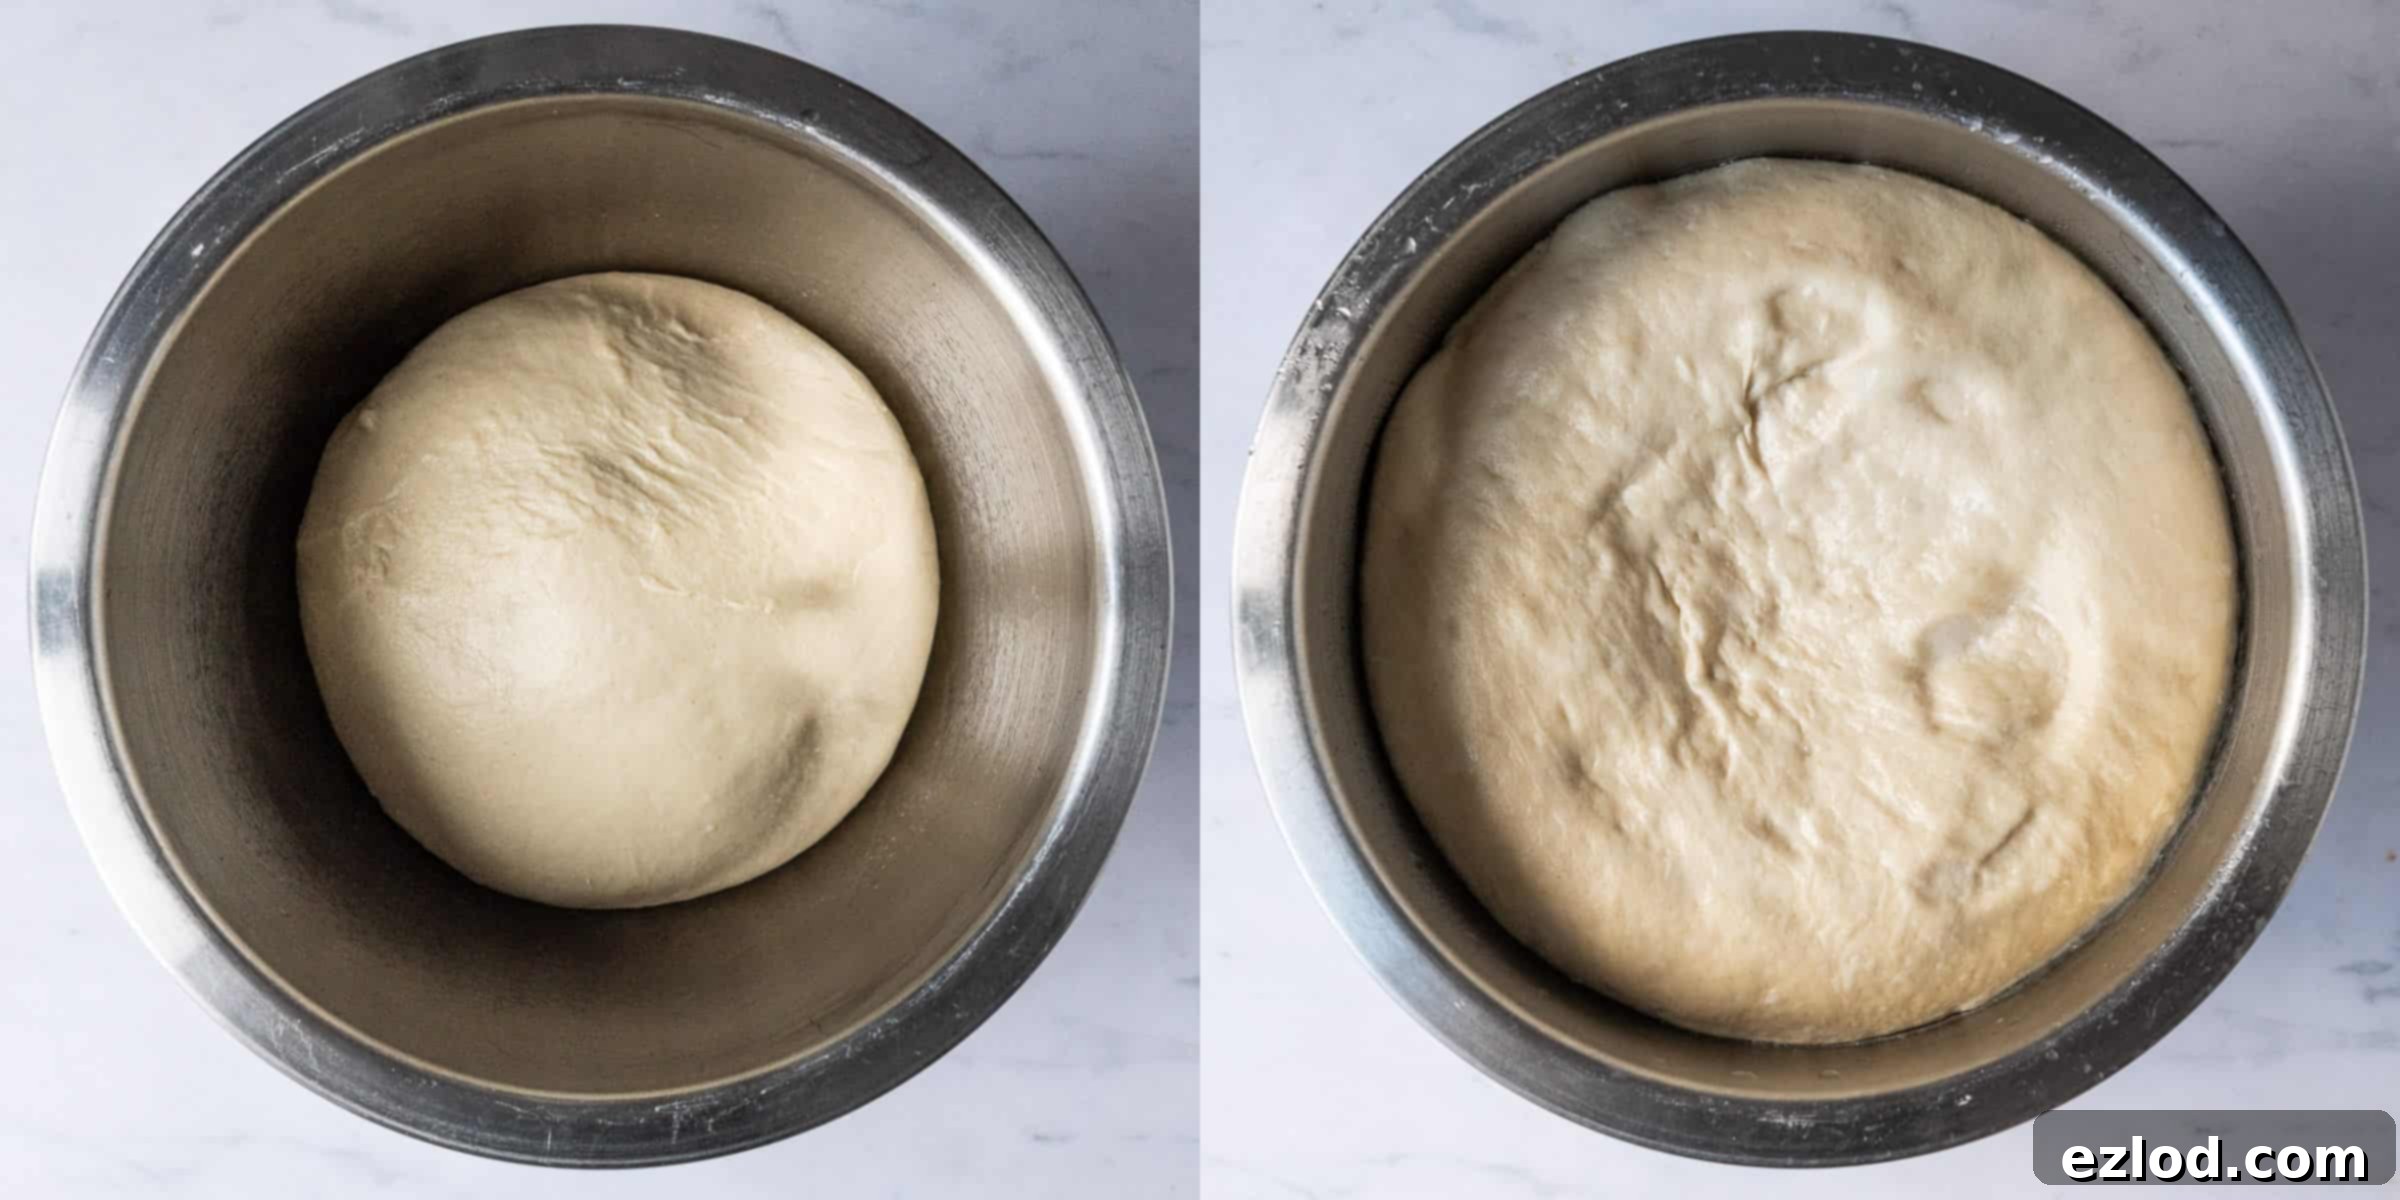
Once your dough is perfectly kneaded, transfer it to a lightly oiled large bowl. Turn the dough once to coat it evenly in oil. Cover the bowl tightly with plastic wrap or a damp tea towel. You have two options for the first rise: either place it in the refrigerator overnight (8-12 hours) for a slow fermentation that develops deeper flavors, or find a warm spot in your kitchen and let it rise for 1-2 hours until it has visibly doubled in size.
Shaping Your Vegan Dinner Rolls for Perfection
After the first rise, gently punch down the dough to release the accumulated air bubbles. A brief 30-second knead is usually sufficient to “knock back” the dough and prepare it for shaping.
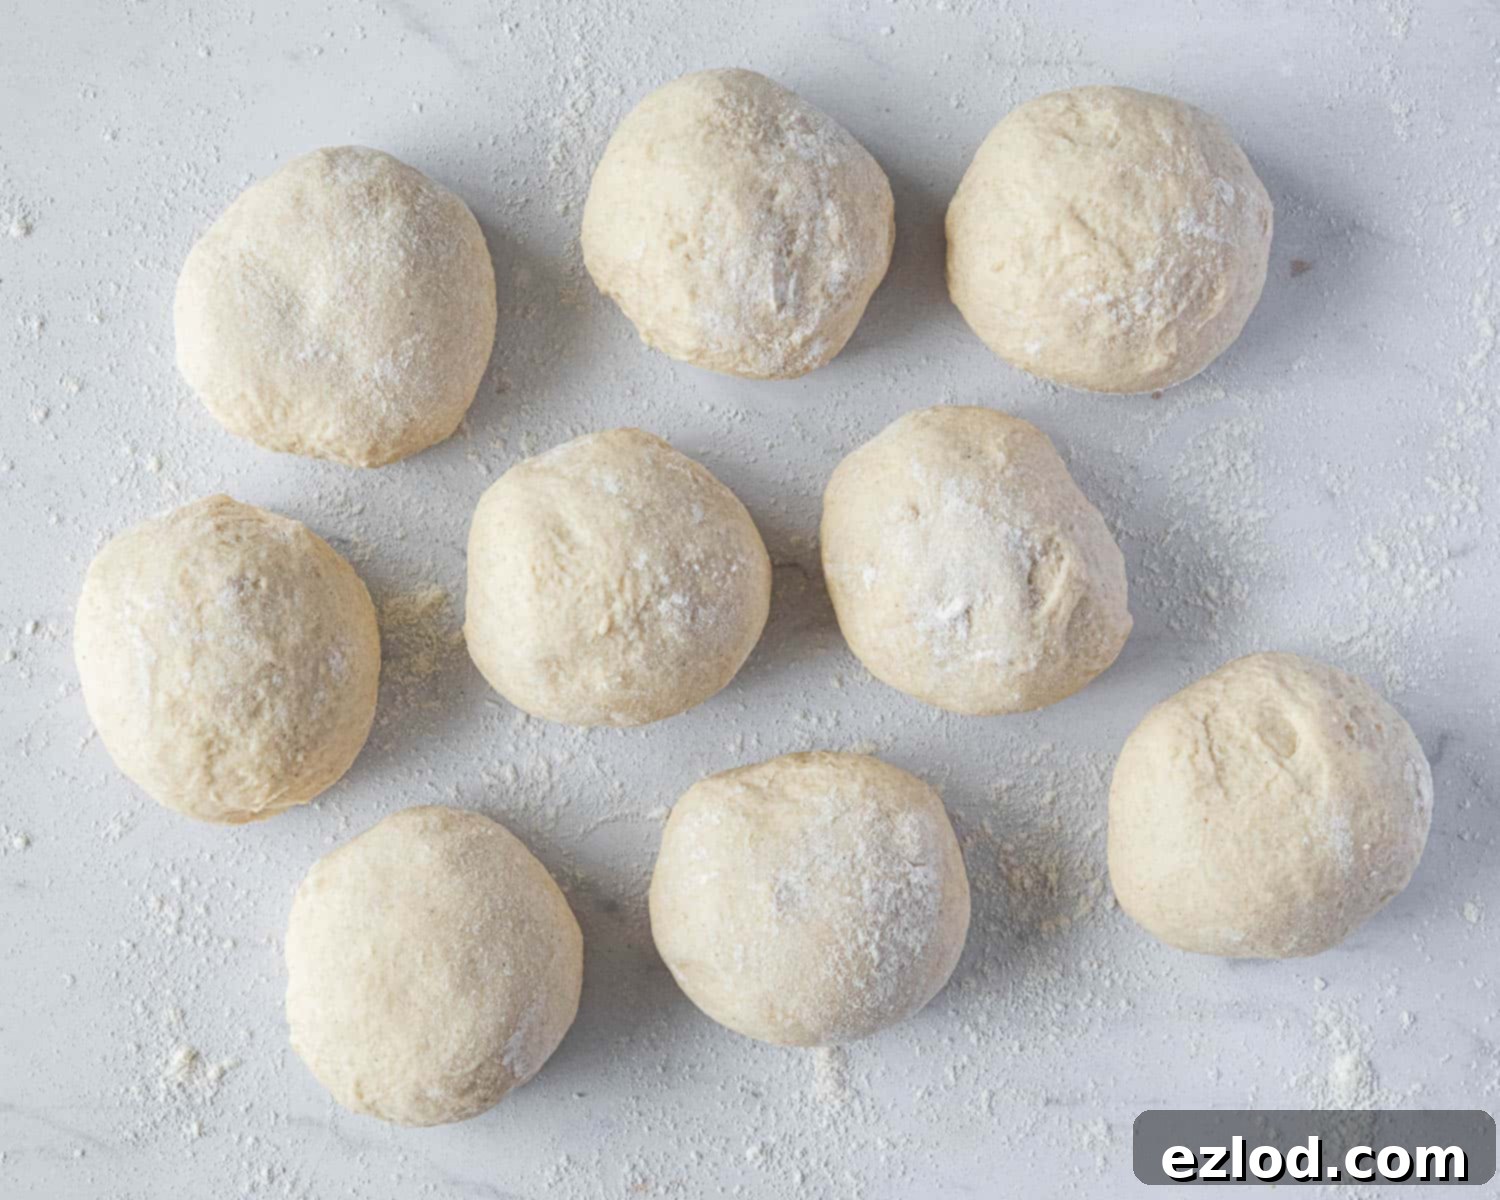
Lightly flour your work surface, then divide the dough into 9 equal pieces for larger, more generous rolls, or 12 pieces for smaller, more delicate ones. For classic round buns, simply roll each portion into a smooth, tight ball. However, to achieve the taller, more pull-apart texture seen in the photos, follow these specific shaping instructions:
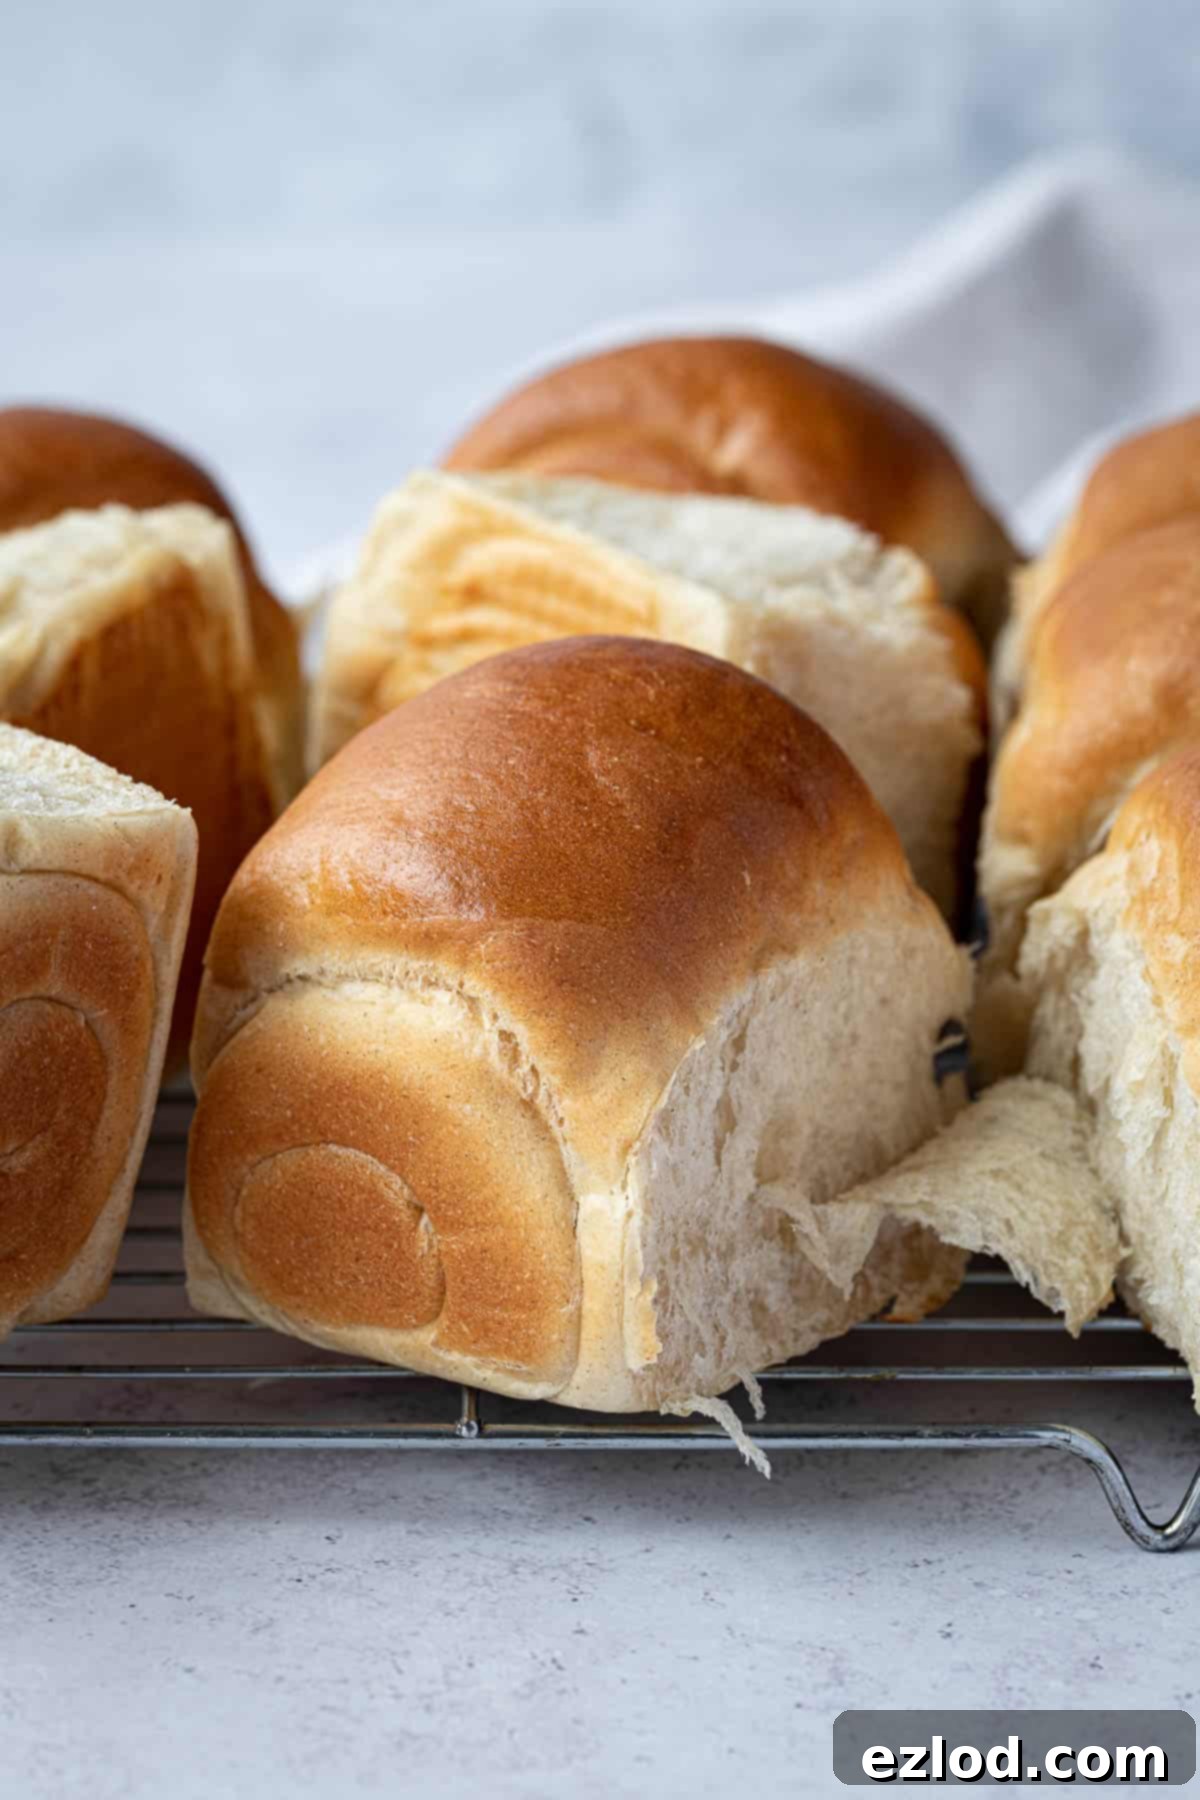
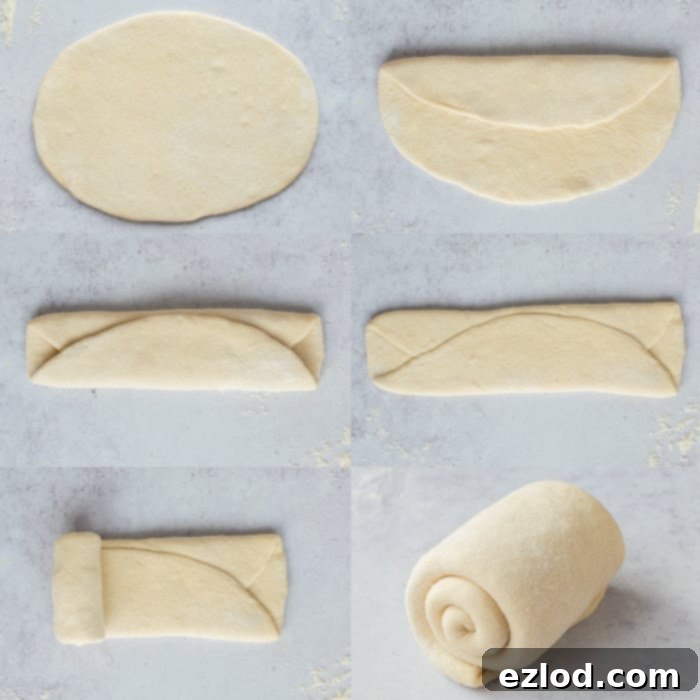
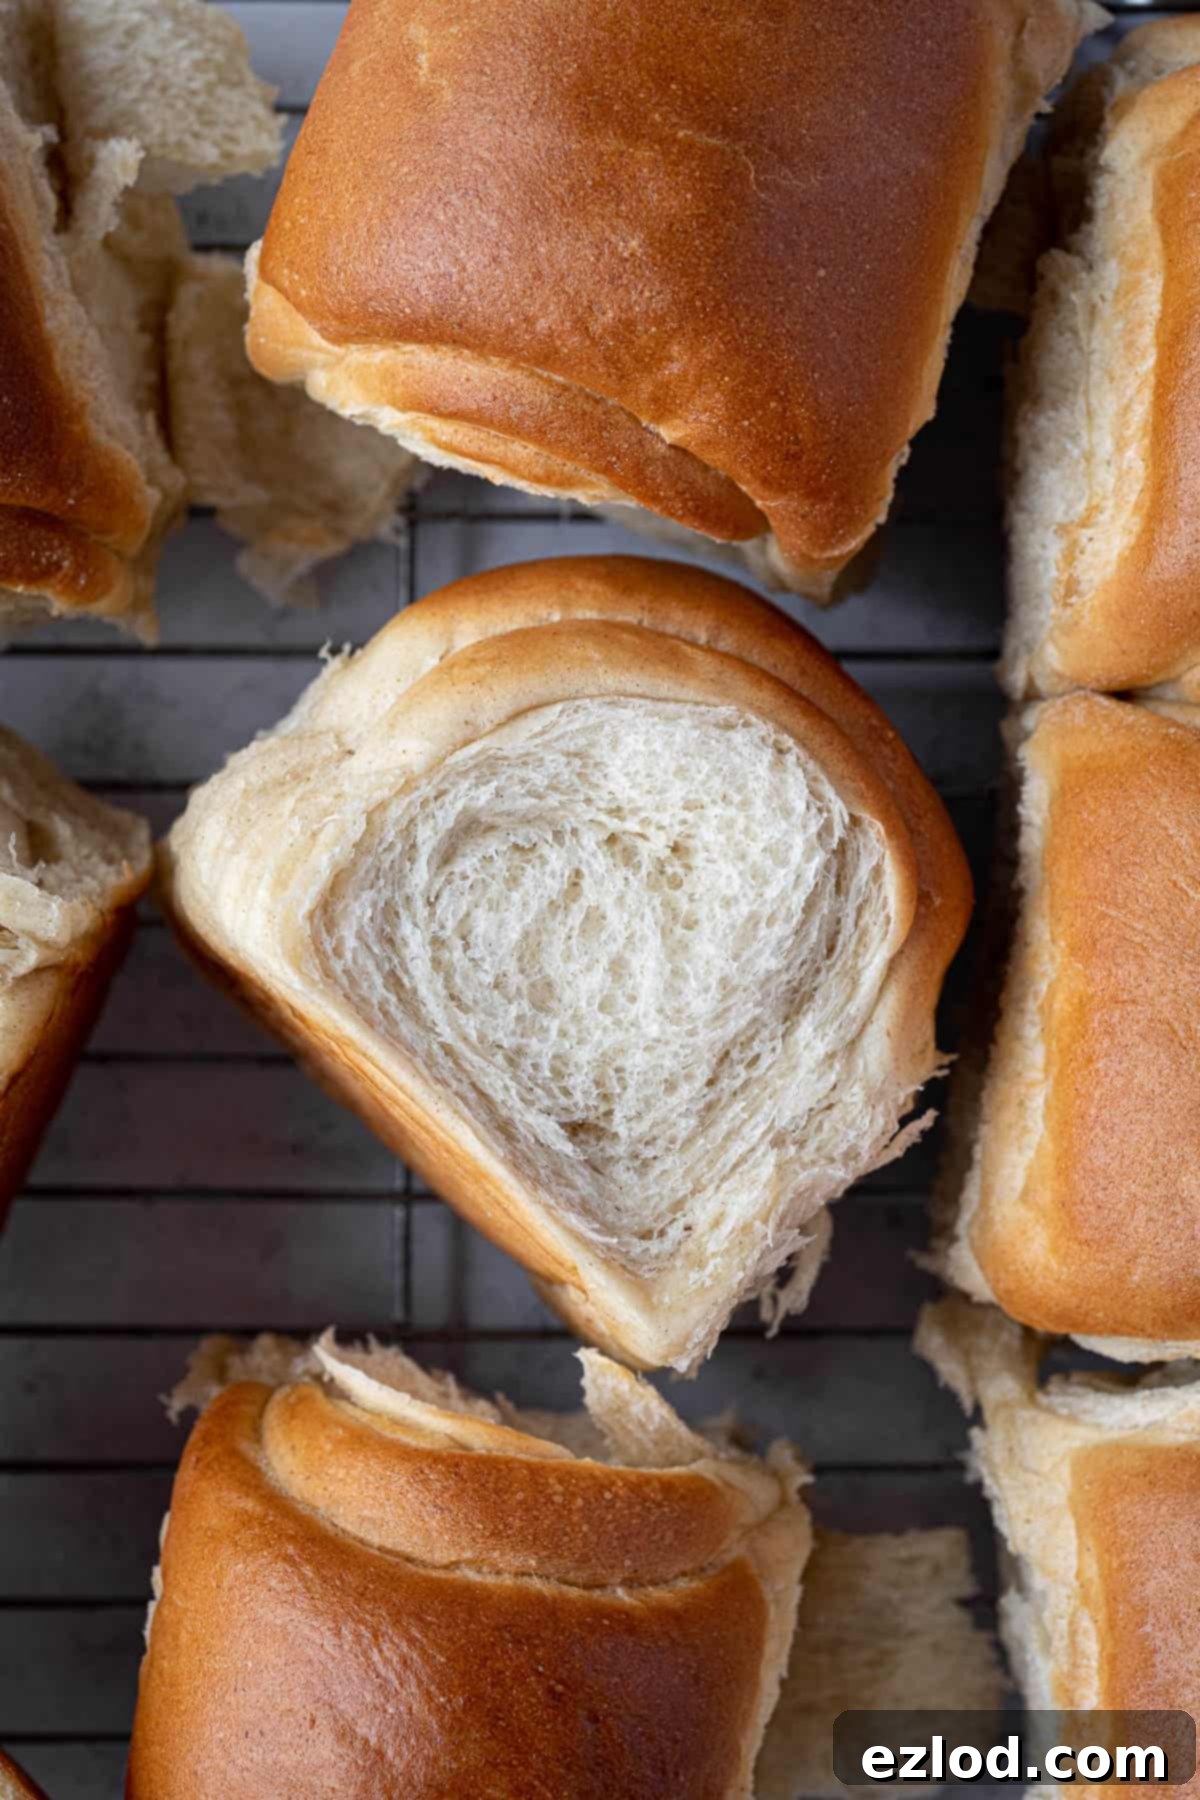
Take one dough ball and gently roll it out into a rough oval shape. Now, take one-third of the oval from the side (not the top or bottom) and fold it over the middle. Then, take the other third and fold it over the top of the first fold, creating a long, narrow packet. This layering technique contributes to the flaky, pull-apart texture.
Flip the packet over so the seam is facing down. Gently roll over the seam with your palm or a rolling pin to flatten and seal it. Finally, starting from one end, tightly roll up the packet into a compact, fat sausage shape. This firm rolling creates tension and helps the rolls rise nicely. Repeat this process for all remaining dough portions. Once shaped, arrange the rolls in your prepared baking tin, ensuring they have enough space to expand during their second rise.
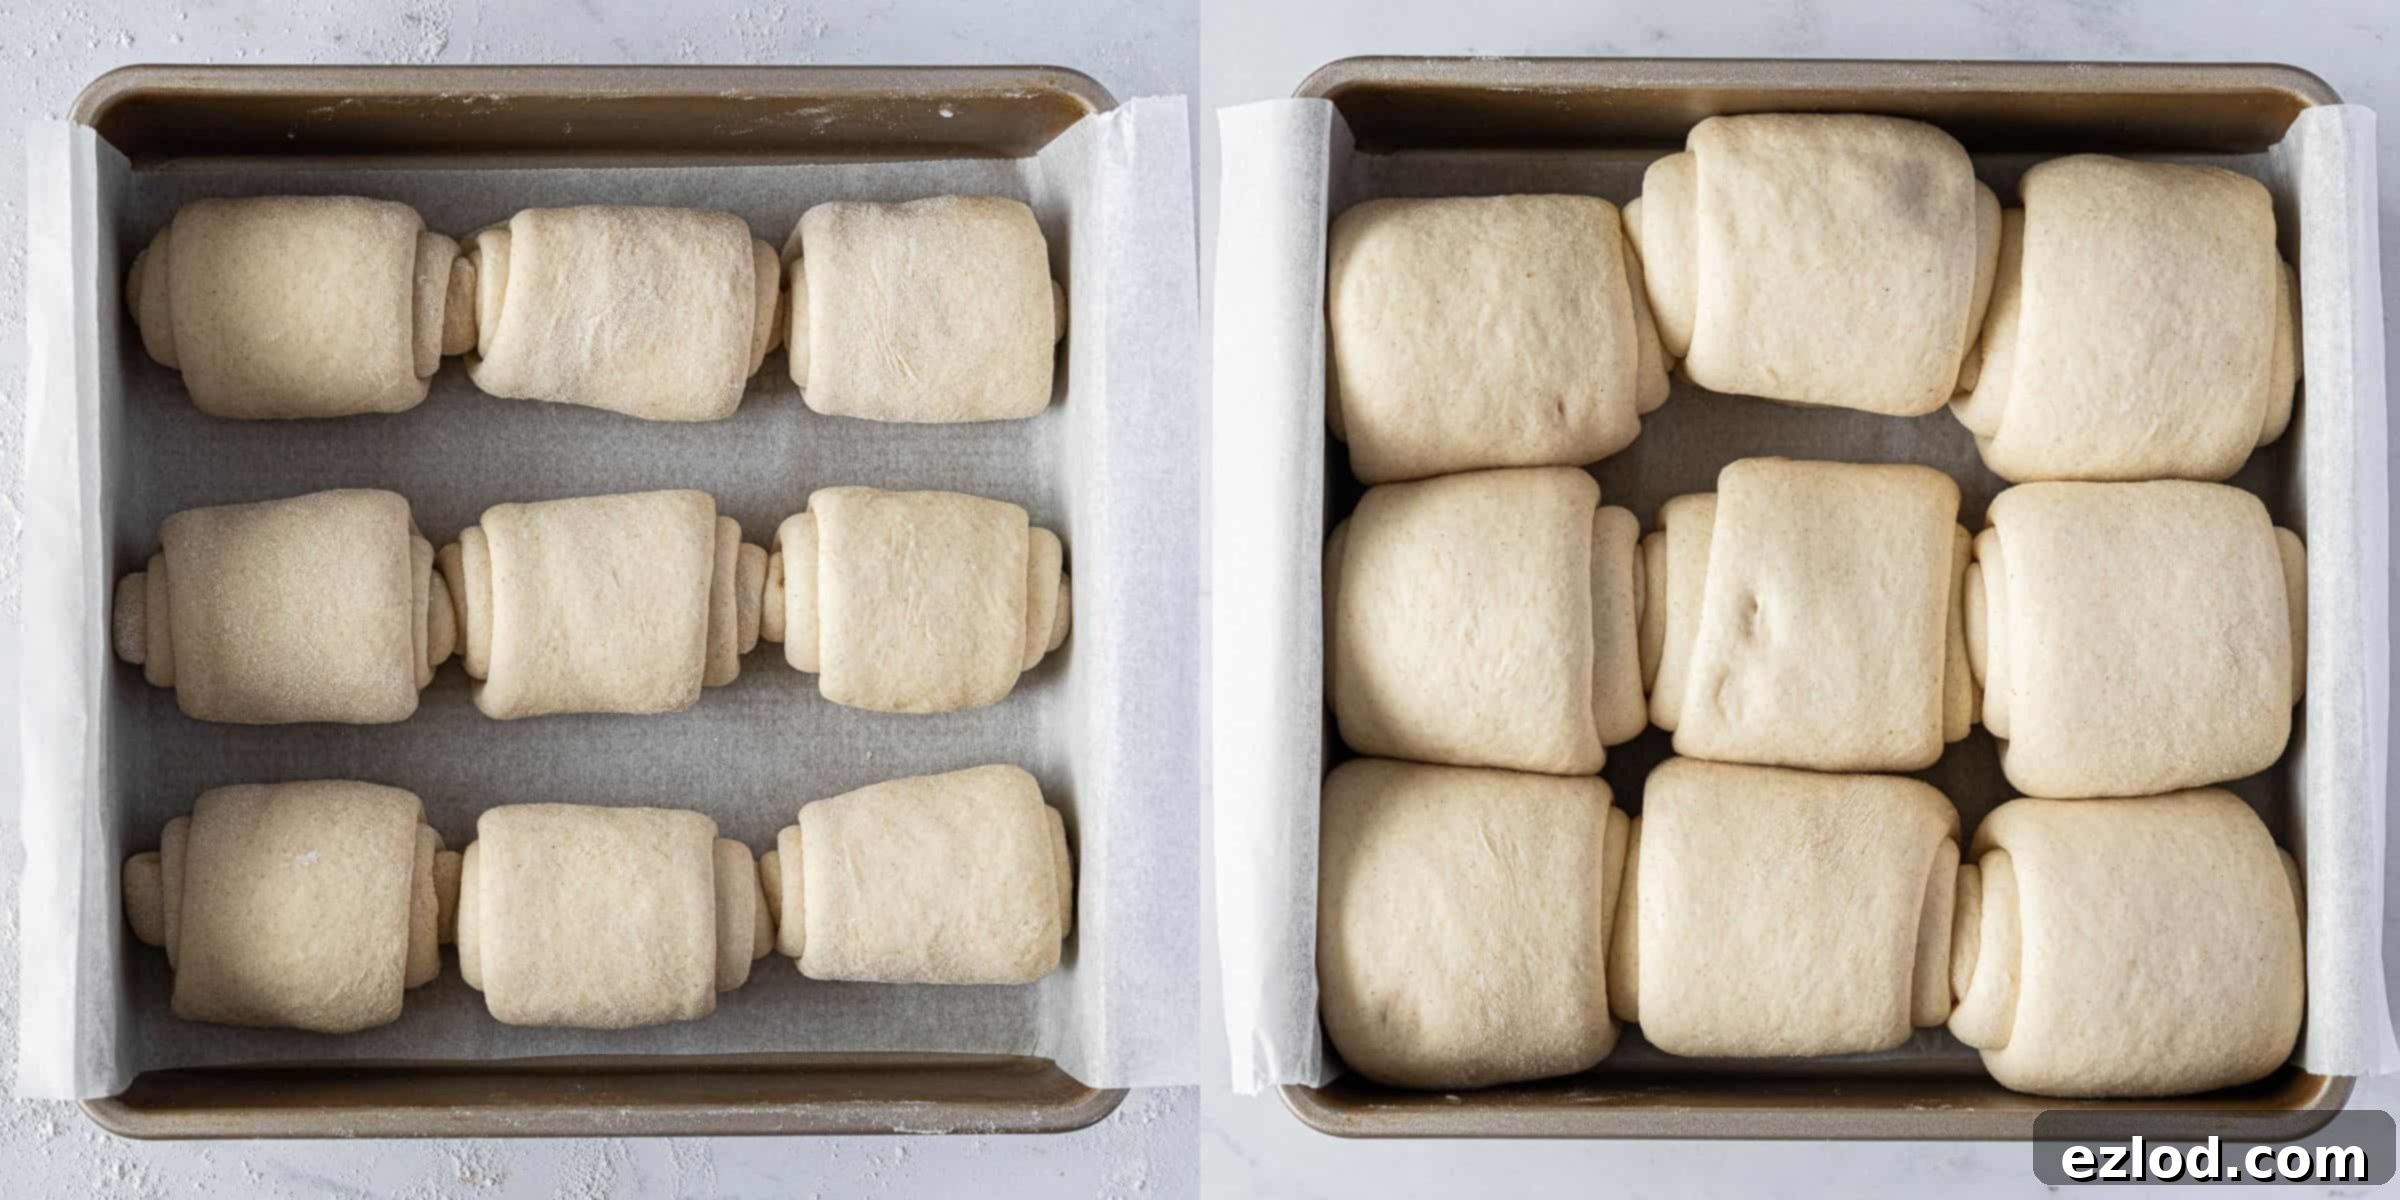
Cover the tin loosely with plastic wrap or a damp cloth and set it aside in a warm place for the second rise. This usually takes about 45-60 minutes, or until the rolls look visibly puffy and have nearly doubled in size. To test if they are ready, gently poke a roll with a floured finger; if it springs back slowly and leaves a slight indentation, they’re ready for the oven. If it springs back immediately, it needs more time. If the indentation remains and the dough deflates, it’s over-proofed.
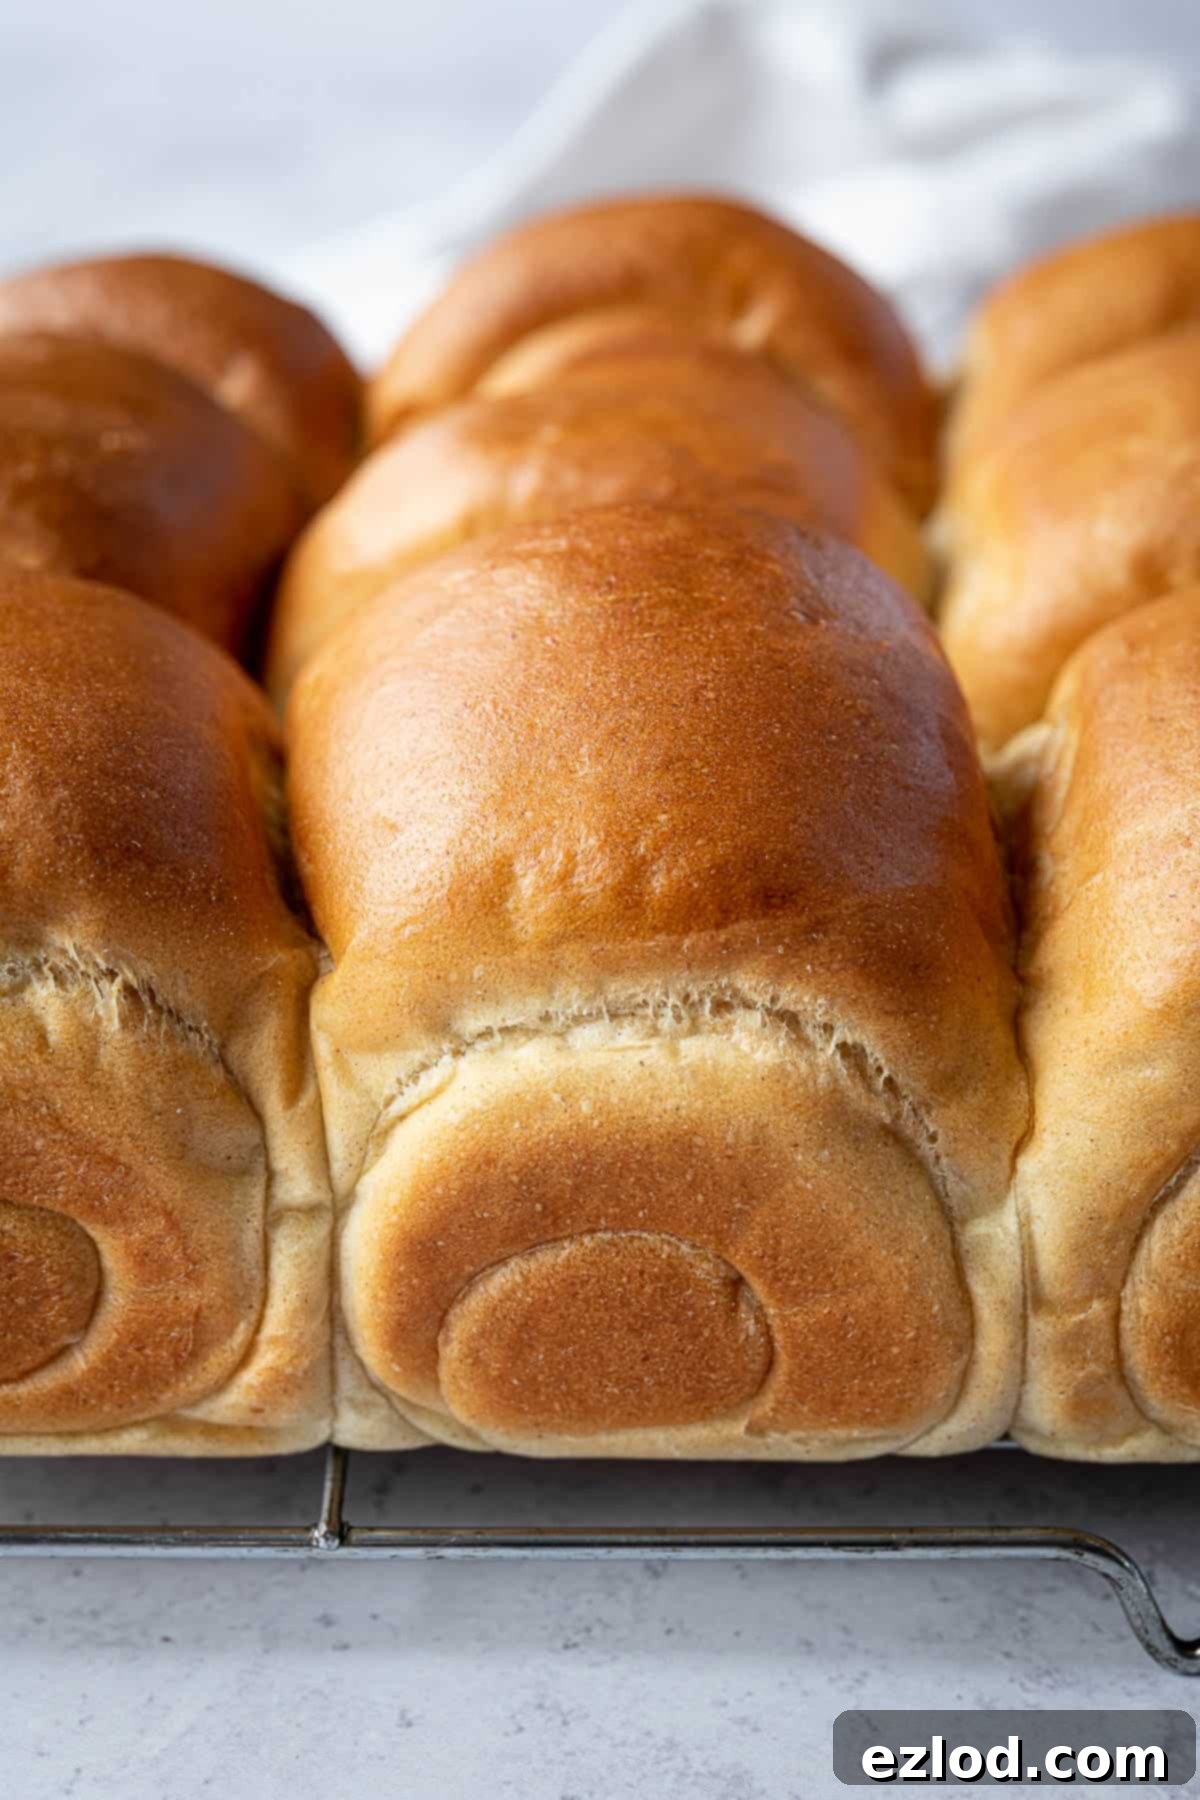
Just before baking, gently brush the tops of the rolls with a little non-dairy milk. This helps create a beautiful golden-brown crust. Bake them in a preheated oven for approximately 30 minutes, or until they are deeply golden and sound hollow when tapped on the bottom.
Expert Tips for Perfect Vegan Dinner Rolls Every Time
Achieving bakery-quality vegan dinner rolls is easier than you think with these helpful tips:
- Embrace Metric Measurements: For all my baking recipes, and especially for precision-reliant bread making, I cannot stress enough the importance of using metric measurements with a digital scale. Cups are an inherently inaccurate measuring system prone to significant inconsistencies, whereas a scale ensures precise ingredient amounts every time. This leads to far better, more consistent results, and often a less messy kitchen too!
- Yield and Pan Size: This recipe is designed to yield 9 generously sized dinner rolls. If you prefer smaller portions, you can easily divide the dough into 12 pieces instead. I bake my rolls in a 23 cm (9-inch) square tin, which allows them to rise into each other, creating those lovely soft sides. If you use a larger 23 x 33 cm (9 x 13-inch) baking dish, you can space them further apart, which might result in slightly crispier sides. Be aware that a larger, more spread-out arrangement may also cause them to bake a bit quicker, typically in about 20-25 minutes.
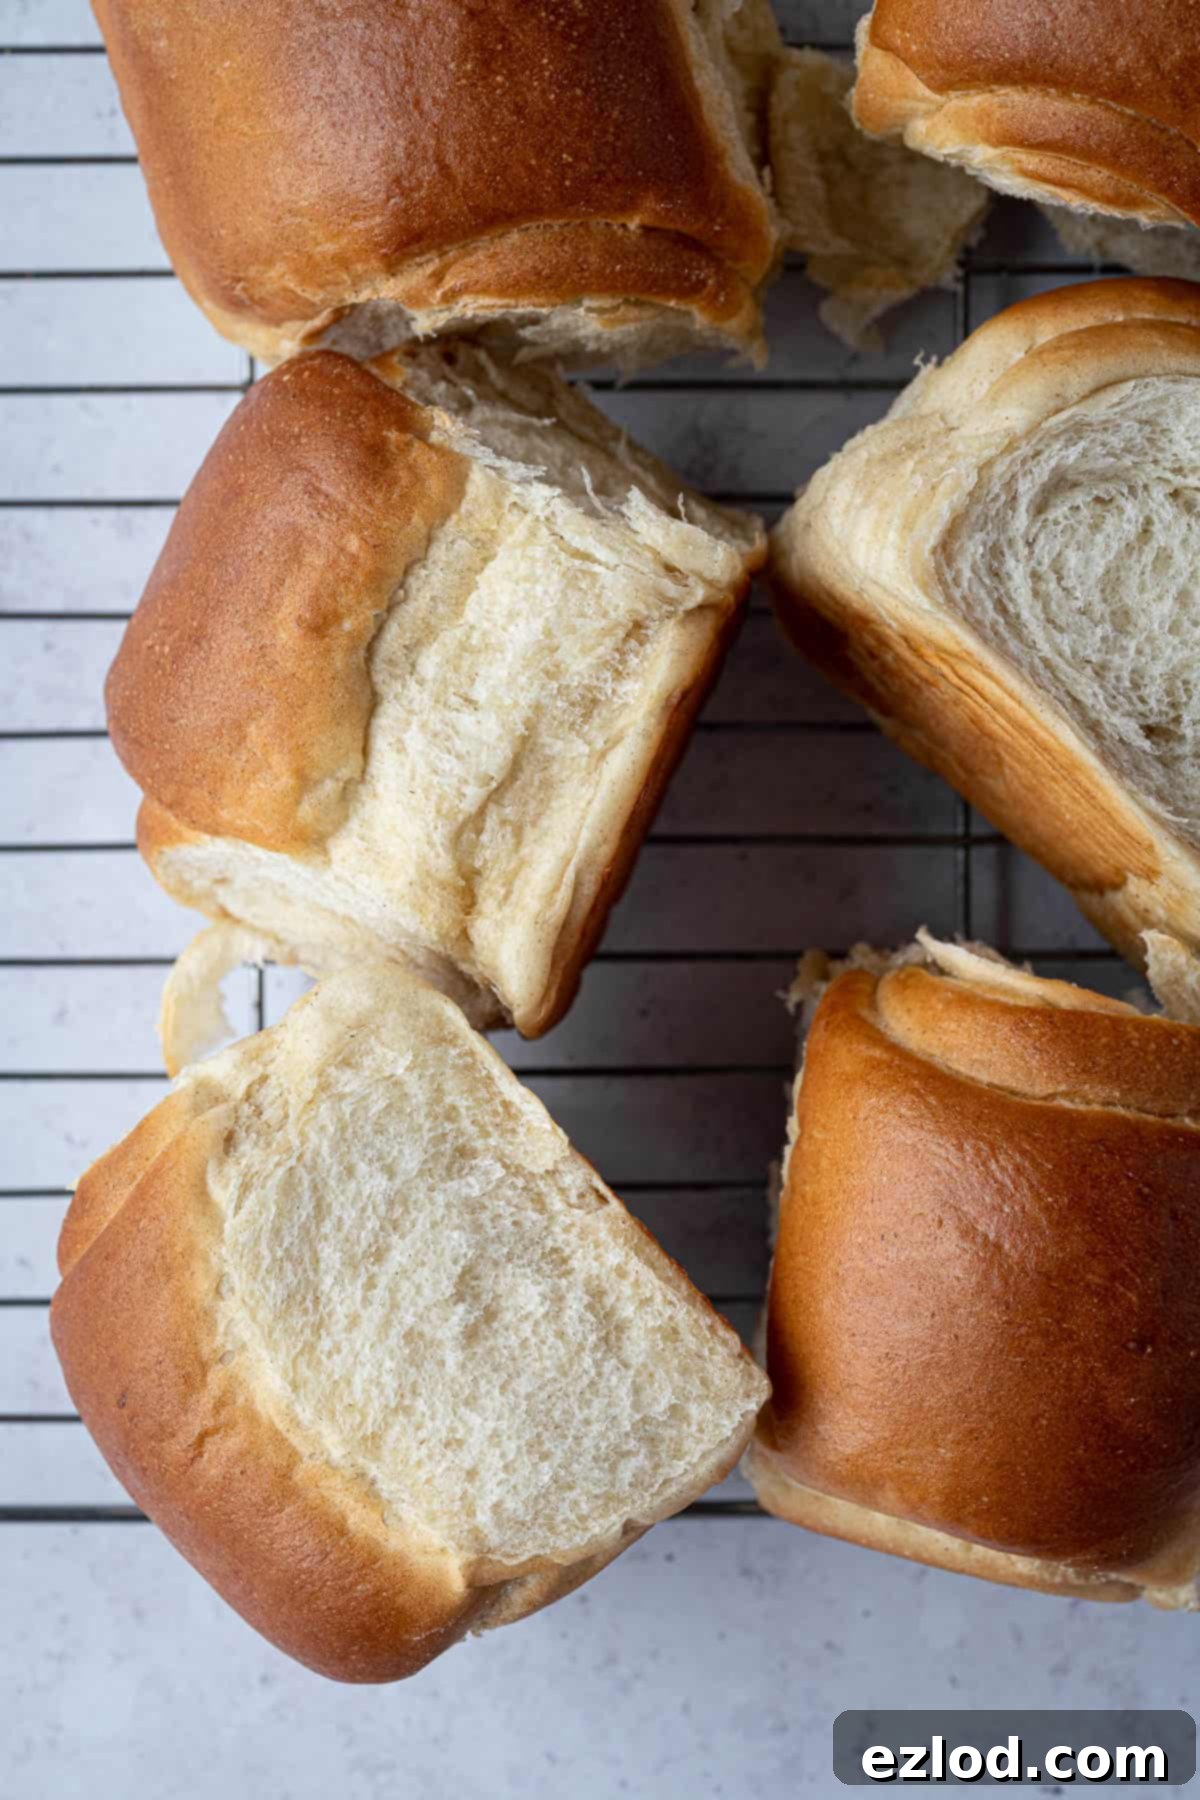
- Shaping for Texture: The detailed shaping method I’ve provided (rolling into an oval, folding, then rolling into a sausage) creates taller rolls with a more distinct “pull-apart” and slightly flaky texture, reminiscent of traditional milk bread. If you prefer a more classic, uniformly round bun, you can simply shape the dough portions into smooth balls. Both methods result in delicious rolls, so choose what suits your preference!
- Flavor Boost: For an extra layer of indulgence, consider brushing the warm rolls with melted vegan garlic butter immediately after they come out of the oven. The aroma and flavor are absolutely divine and perfect for serving with savory meals.
- Check Your Yeast: Yeast is a living organism, and its freshness is paramount for successful bread. Always double-check the expiration date on your yeast packet. Old or expired yeast will lead to a dough that struggles to rise, resulting in dense, heavy bread. If in doubt, perform a quick proofing test with a small amount of yeast, warm water, and sugar to ensure it’s active and bubbly.
- Flour Hydration is Key: The exact amount of flour needed can sometimes vary. Different brands of flour absorb liquid differently, and even atmospheric humidity can play a role. Start with the specified quantity in the recipe. If your dough feels excessively wet and sticky after kneading, add a little more flour, one tablespoon at a time, until it reaches the desired smooth, elastic consistency that pulls away from the sides of the bowl. Remember, this is meant to be a soft and somewhat sticky dough to ensure maximum tenderness, so avoid adding too much extra flour, as this will lead to dry, tough rolls.
- Overnight Rise for Enhanced Flavor: While the recipe offers a quicker room-temperature rise, opting for an overnight cold proof in the refrigerator for the first rise is highly recommended. This slow fermentation not only breaks up the workload, making baking day less hectic, but also allows for deeper flavor development in the dough. The cooler temperature slows down yeast activity, leading to a more complex and nuanced taste.
- Controlling Rising Time: The ambient temperature of your kitchen significantly influences how quickly dough rises. On warmer days, your dough will proof much faster than on colder ones. If you chose to refrigerate your dough for its first rise, be prepared for the second rise at room temperature to take a bit longer than if both rises were done at room temperature. Always observe the dough, not just the clock, to determine when it’s ready.
Can I Knead the Dough by Hand?
Absolutely, you can knead this dough by hand! While using a stand mixer with a dough hook certainly makes the process easier, especially for this relatively soft and sticky dough, hand kneading is entirely possible. Be prepared for a bit of a workout – it’s a wonderfully tactile and rewarding experience!
When hand kneading, a common mistake is to continuously add flour to prevent sticking. Resist this urge! Adding too much flour will make your dough dry and dense. Instead, if the dough is sticking excessively to your work surface and hands, you can lightly oil your surface and hands. Alternatively, embrace the stickiness and use a bench scraper. This inexpensive tool is incredibly handy for scraping dough off the surface and folding it back onto itself, making hand kneading much more manageable.
Understanding Yeast: Instant vs. Active Dry
The type of yeast you use can slightly alter your baking process. I consistently recommend instant yeast for bread baking due to its convenience. Instant yeast is finely granulated and designed to be added directly to your dry ingredients without prior activation. This means no waiting for it to bloom, simplifying your workflow.
However, if active dry yeast is what you have on hand, you can certainly use it, but the method will differ slightly:
- You will need approximately 10g (3 teaspoons) of active dry yeast.
- Prepare the tangzhong as instructed, then transfer it to a separate bowl. Cover the tangzhong directly with clingfilm or greaseproof paper to prevent a skin from forming, and allow it to cool completely to room temperature. This is vital, as active dry yeast is more sensitive to heat than instant yeast.
- Instead of using cold non-dairy milk for the dough, it must be lukewarm. Test it by comfortably holding your finger in it for several seconds; it should feel warm, not hot. Crucially, if the milk is too hot, it will kill the active dry yeast, and your dough won’t rise.
- In a separate small bowl, combine the lukewarm milk, the active dry yeast, and a small pinch of sugar. Stir gently and let this mixture sit for 10-20 minutes. The yeast should become frothy and bubbly, indicating it’s active and ready.
- Once your active dry yeast mixture is bubbly and your tangzhong is cooled, proceed with the rest of the recipe as written, adding the activated yeast mixture when the recipe calls for milk.
Smart Ways to Speed Up Dough Rising Time
Dough rising can sometimes feel like the longest part of bread making, especially on a chilly day. Here are a couple of methods to create a warm, optimal environment and speed up the rising process:
- The Warm Oven Method:
- Preheat your oven to its absolute lowest temperature setting for just a few minutes – typically 1-2 minutes is enough.
- Turn the oven off completely.
- Open the oven door for about 30 seconds to let out any excessive heat.
- Test the temperature with your hand: it should feel comfortably warm, like a pleasant summer day, not hot. If it’s too hot, it can kill your yeast, so always err on the side of caution.
- Place your covered dough in the warm, switched-off oven and close the door. The residual warmth will provide a perfect environment for proofing. On very cold days, you might need to re-warm the oven slightly after an hour or so, but often, one warming cycle is sufficient.
- The Boiling Water Method:
- Place a heat-safe bowl or loaf tin in the bottom rack of your (cold, switched-off) oven.
- Place your covered dough on the middle rack.
- Carefully fill the bowl on the bottom rack with boiling water.
- Close the oven door. The steam from the hot water will create a warm, humid environment that is ideal for yeast activity and encourages a steady rise. This method is particularly effective for preventing the dough from drying out during proofing.
How to Know When Your Bread Is Perfectly Baked
Determining when your vegan dinner rolls are perfectly baked is crucial for optimal taste and texture. Overbaked bread can be dry and tough, while under-baked bread will have a gummy texture and an unappetizing raw dough consistency.
The most reliable method to ensure your bread is fully cooked is to check its internal temperature using a probe thermometer. For most enriched bread, including these rolls, the internal temperature should reach at least 90°C (194°F). Insert the thermometer into the center of a roll, avoiding direct contact with the baking tin, and wait for a stable reading. Investing in a good probe thermometer is one of the best upgrades any home baker can make – it’s an incredibly versatile and handy kitchen tool!
If you don’t have a thermometer, here are a couple of traditional indicators:
- Hollow Sound Test: Gently tap the bottom of a baked roll. If it sounds hollow, it’s generally a good sign that it’s cooked through.
- Toothpick Test (less reliable for bread): While commonly used for cakes, a toothpick inserted into the center of a roll *should* come out clean and with little resistance if the bread is done. However, for bread, the internal temperature is a much more definitive test.
Remember, baking times are always approximate because all ovens vary. Trust your visual cues and, ideally, your thermometer, over strict timing.
Storage and Freezing Guidelines for Freshness
These vegan dinner rolls are undeniably at their best when enjoyed fresh, straight from the oven. However, thanks to the magic of the tangzhong method, they retain their incredible softness and freshness for an impressive 2-3 days.
To store them, allow the rolls to cool completely to room temperature. Then, transfer them to an airtight container or a large zip-top bag. Keep them stored at room temperature, away from direct sunlight or excessive heat. When you’re ready to serve them again, a quick re-warming in a low oven (around 150°C/300°F for 5-10 minutes) will bring them back to their tender, fresh-baked glory.
Can I Freeze Leftover Vegan Dinner Rolls?
Yes, these vegan dinner rolls freeze exceptionally well! Freezing is a fantastic way to preserve their freshness, ensuring you have delicious homemade rolls ready whenever a craving strikes. For best results, freeze them on the same day they are baked, but only once they have cooled completely to room temperature.
Place the cooled rolls in an airtight freezer-safe container or a heavy-duty ziplock freezer bag, removing as much air as possible to prevent freezer burn. They can be stored in the freezer for up to 2-3 months.
When you’re ready to enjoy them, simply allow the frozen rolls to defrost at room temperature for several hours or overnight. Once thawed, you can refresh them in a low oven (150°C/300°F) for 5-10 minutes until warmed through and soft again. They’ll taste almost as good as freshly baked!
Can These Vegan Dinner Rolls Be Made Gluten-Free?
Unfortunately, this particular recipe for vegan dinner rolls is not suitable for a gluten-free adaptation. The structure and texture of these rolls rely heavily on the gluten development from white bread flour, which is essential for achieving their characteristic softness, chewiness, and ability to rise. The tangzhong method itself is designed to enhance gluten’s capacity to absorb and retain moisture.
Baking truly delicious gluten-free bread is a complex art that requires entirely different flour blends and specific techniques designed to mimic gluten’s properties. It’s an area of expertise that falls outside the scope of this recipe, and I cannot confidently provide advice on converting it. Attempting to simply substitute gluten-free flour in a recipe designed for wheat flour would likely result in a dense, crumbly, and disappointing product.
For successful gluten-free baking, it is always best to seek out and use a recipe that has been specifically developed and tested to be gluten-free from the outset, rather than trying to adapt a traditional wheat-based recipe.
More Delicious Vegan Sharing Bread Recipes:
If you’ve enjoyed making these vegan dinner rolls, you might love exploring other plant-based bread recipes that are perfect for sharing:
- Herby vegan breadsticks – Savory and aromatic, perfect for dipping.
- Sun dried tomato breadsticks – Bursting with Mediterranean flavor.
- Vegan garlic dough balls – Garlicky, soft, and addictive.
- Vegan pretzel bites – Salty, chewy, and fun to make.
- Vegan garlic pull apart bread – A crowd-pleasing, tear-and-share loaf.
- Vegan pesto bread – Beautifully swirled with aromatic pesto.
- Vegan beer pretzels – A savory twist on a classic.
- Sea salt and rosemary focaccia – An elegant and rustic Italian flatbread.
- Vegan naan bread – Soft, fluffy, and perfect for curries.
- Easy flatbreads – Versatile and quick to prepare for any meal.
If you tried this recipe, I’d love to hear about your experience! Please rate it, leave a comment below, or share your creation on Instagram by tagging @domestic_gothess and using the hashtag #domesticgothess. Your feedback means the world!
All images and content on Domestic Gothess are copyright protected. If you wish to share this recipe, please do so by using the provided share buttons. Please refrain from screenshotting or posting the full recipe or content; instead, kindly include a link back to this original post for the recipe. Thank you for your understanding and support!

Print
Vegan Dinner Rolls
Ingredients
Tangzhong:
- 30 g (¼ cup) white bread flour
- 160 g (⅔ cup) unsweetened non-dairy milk (soy is best)
Dough:
- 180 g (¾ cup) cold unsweetened non-dairy milk (soy is best)
- 30 g (2 Tablespoons) caster or granulated sugar
- 1 teaspoon salt
- 400 g (3 ¼ cups) white bread flour
- 8 g (2 ½ teaspoons) instant yeast
- 45 g (3 Tablespoons) vegan butter softened
Instructions
-
To make the tangzhong, place the flour in a saucepan and gradually whisk in the milk to avoid lumps.
-
Place the pan over a medium/low heat and whisk constantly until the mixture has thickened to a paste/pudding-like consistency.
-
Scrape the tangzhong into the bowl of a stand mixer fitted with a dough hook and pour the rest of the cold milk on top. This will cool the tangzhong down so that the heat doesn’t kill the yeast.
-
Add the sugar, salt and flour and finally the yeast. Stir until it forms a rough dough then set the stand mixer to a medium speed and mix until the dough is smooth and stretchy, this can take about 10 minutes.
-
Add the vegan butter and knead for about another 5 minutes until it is fully incorporated and the dough is smooth, elastic and no longer feels greasy. You may need to scrape down the sides of the bowl a couple of times.
-
The dough should still be soft and sticky, but it should pull away from the sides of the bowl cleanly. If it seems too wet then you can knead in a little extra flour, a tablespoon at a time. Be careful though, this is meant to be a soft dough and adding too much extra flour will make the bread dry.
-
Place the dough in a lightly oiled bowl, cover and place in the fridge to rise overnight, or in a warm spot for 1-2 hours, until doubled in size.
-
The following day (or once the dough has doubled in size at room temperature), knock back the dough and give it a brief 30 second knead to knock out the air bubbles. Line a 23 cm/9 in square tin with baking parchment.
-
Divide the dough into 9 or 12 even pieces and shape each one into a ball. You can either arrange them in the tin now, or follow the shaping instructions below for rolls shaped like the ones in the photos.
-
Roll each ball out into a long oval, fold one third of the oval over the middle (from the side, not the top), then the other third over the top to form a long, narrow packet.
-
Roll over the seam to flatten it, then roll it up tightly from one end to make a fat sausage. Repeat with the other balls of dough then arrange them in the tin, seam side down.
-
Loosely cover and leave to rise until puffy, about 45-60 minutes. If you gently press the dough with your finger it should spring back slowly, and maybe leave a slight indentation. If it springs back quickly then it needs a little longer, and if the dough deflates then it is over-prooved so keep an eye on it!
-
When the bread is nearly ready, preheat the oven to 180°C/160°C fan/350°F/gas mark 4.
-
Gently brush any exposed dough with a little milk, then bake the rolls for 30 minutes. They should be deep golden and a probe thermometer inserted into the centre should reach at least 90°C/194°F.*
-
Allow to cool in the tin for 10 minutes then carefully lift it out onto a wire rack and leave to cool for about 30 minutes before serving.
Notes
- See post above for tips, details and step-by-step photos. If you have a question I may have already answered it above!
- As with all of my baking recipes I really do recommend using the metric measurements with a digital scale rather than the cup conversions. Cups are a wildly inaccurate measuring system and you will get far better, more consistent results using a scale, not to mention that it is also easier and less messy than cups!
- I find it easier to weigh out the liquid ingredients using my scale, which is why I have given the amounts in grams. The quantity is the same if using a measuring jug (160ml milk for the tangzhong and 180ml for the dough).
- *If you don’t have a thermometer then a toothpick inserted into the centre of a roll should go in and out smoothly with little resistance and come out clean.
