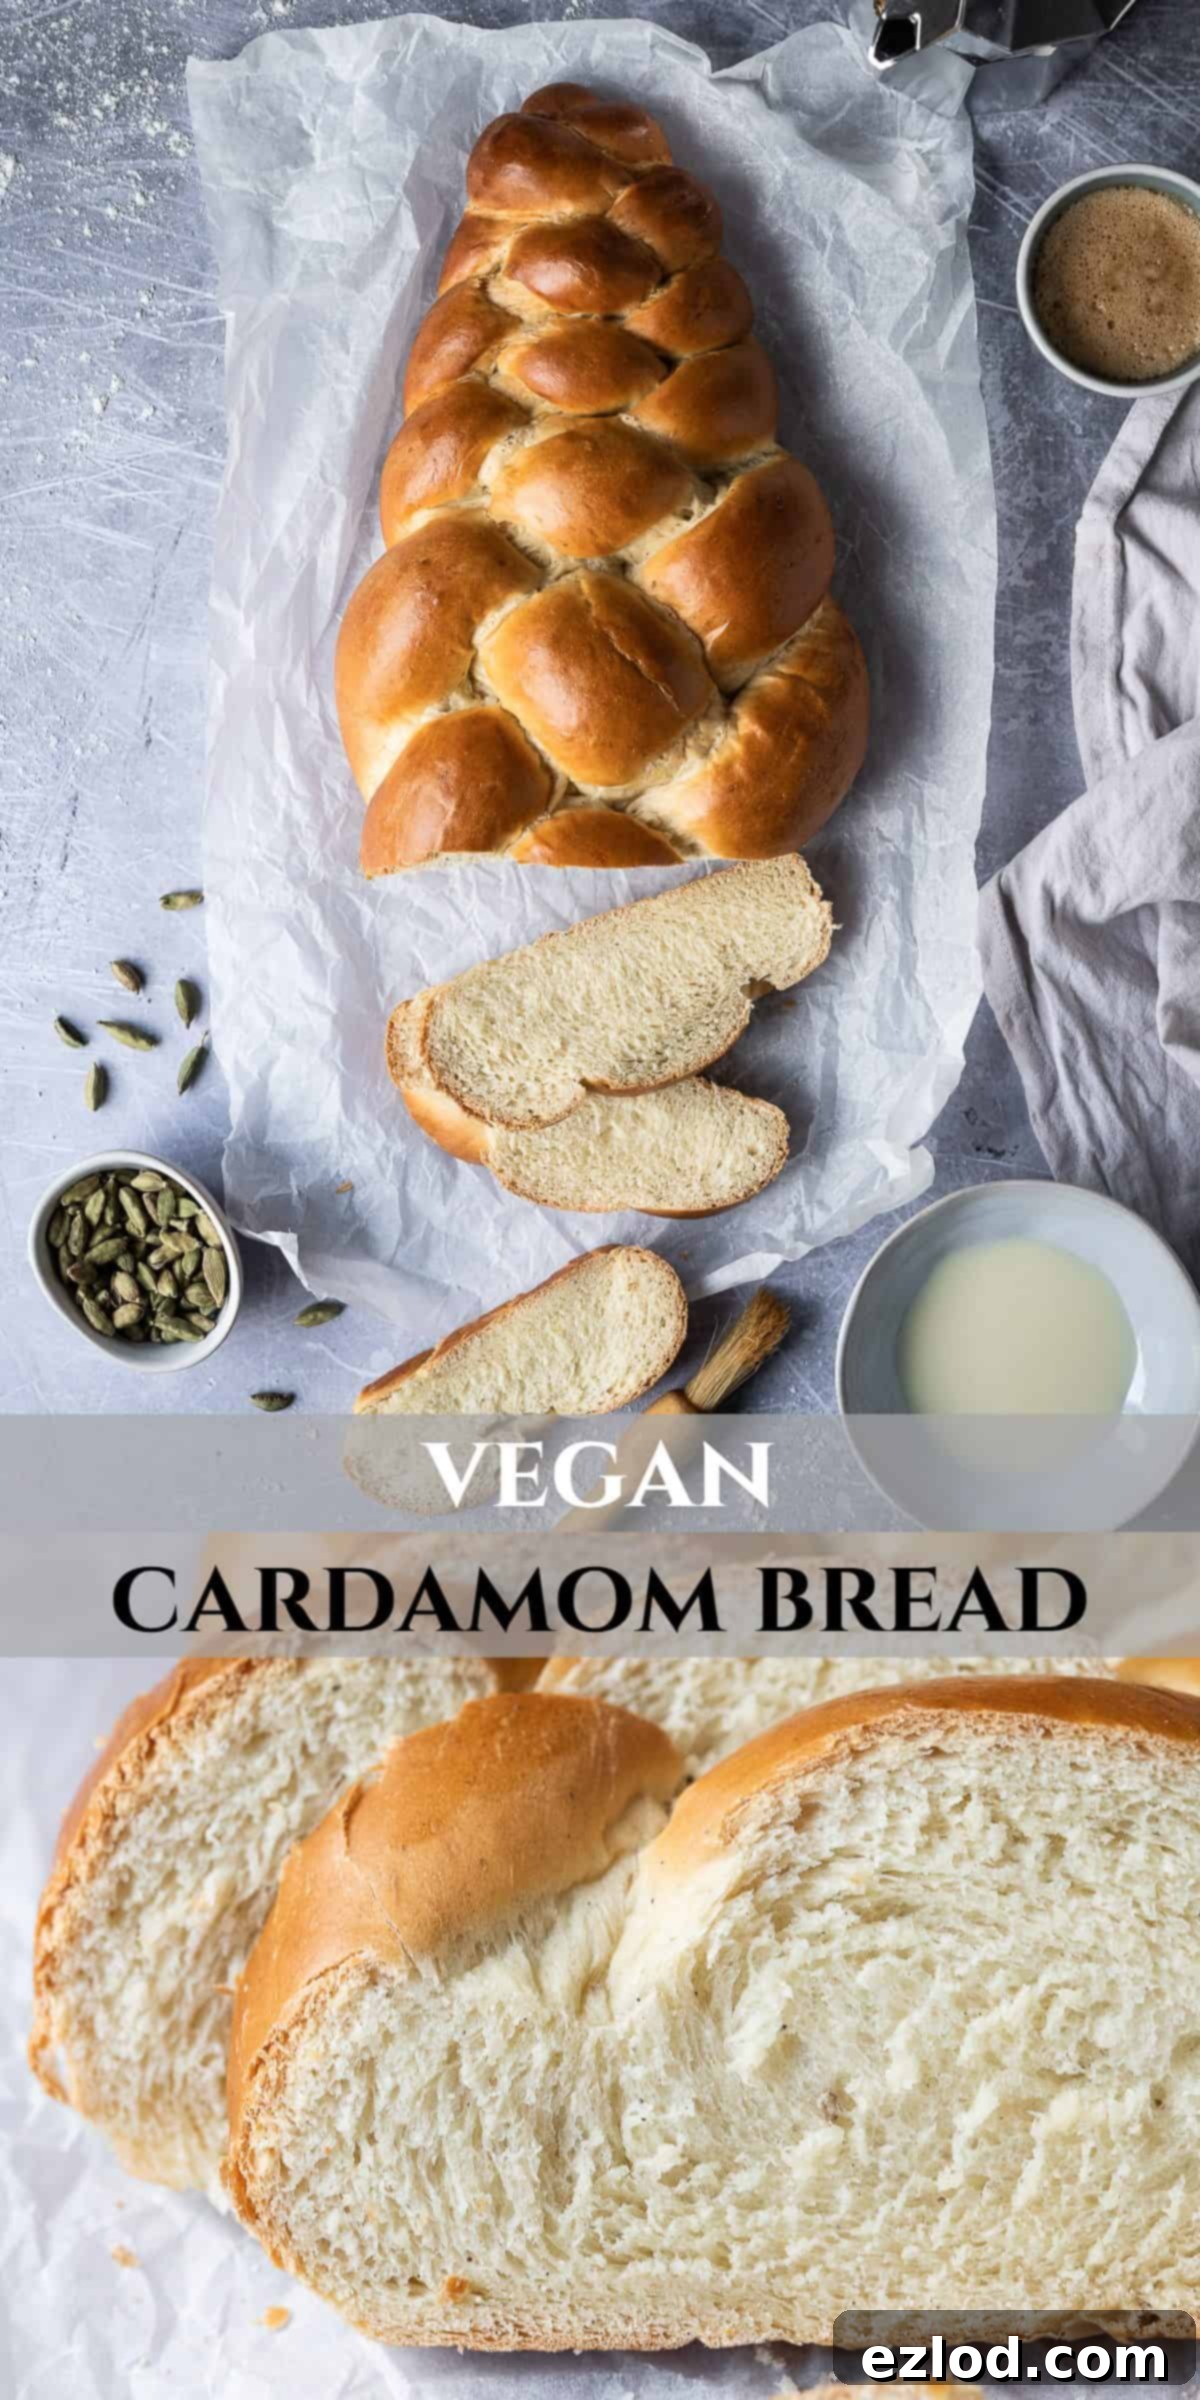
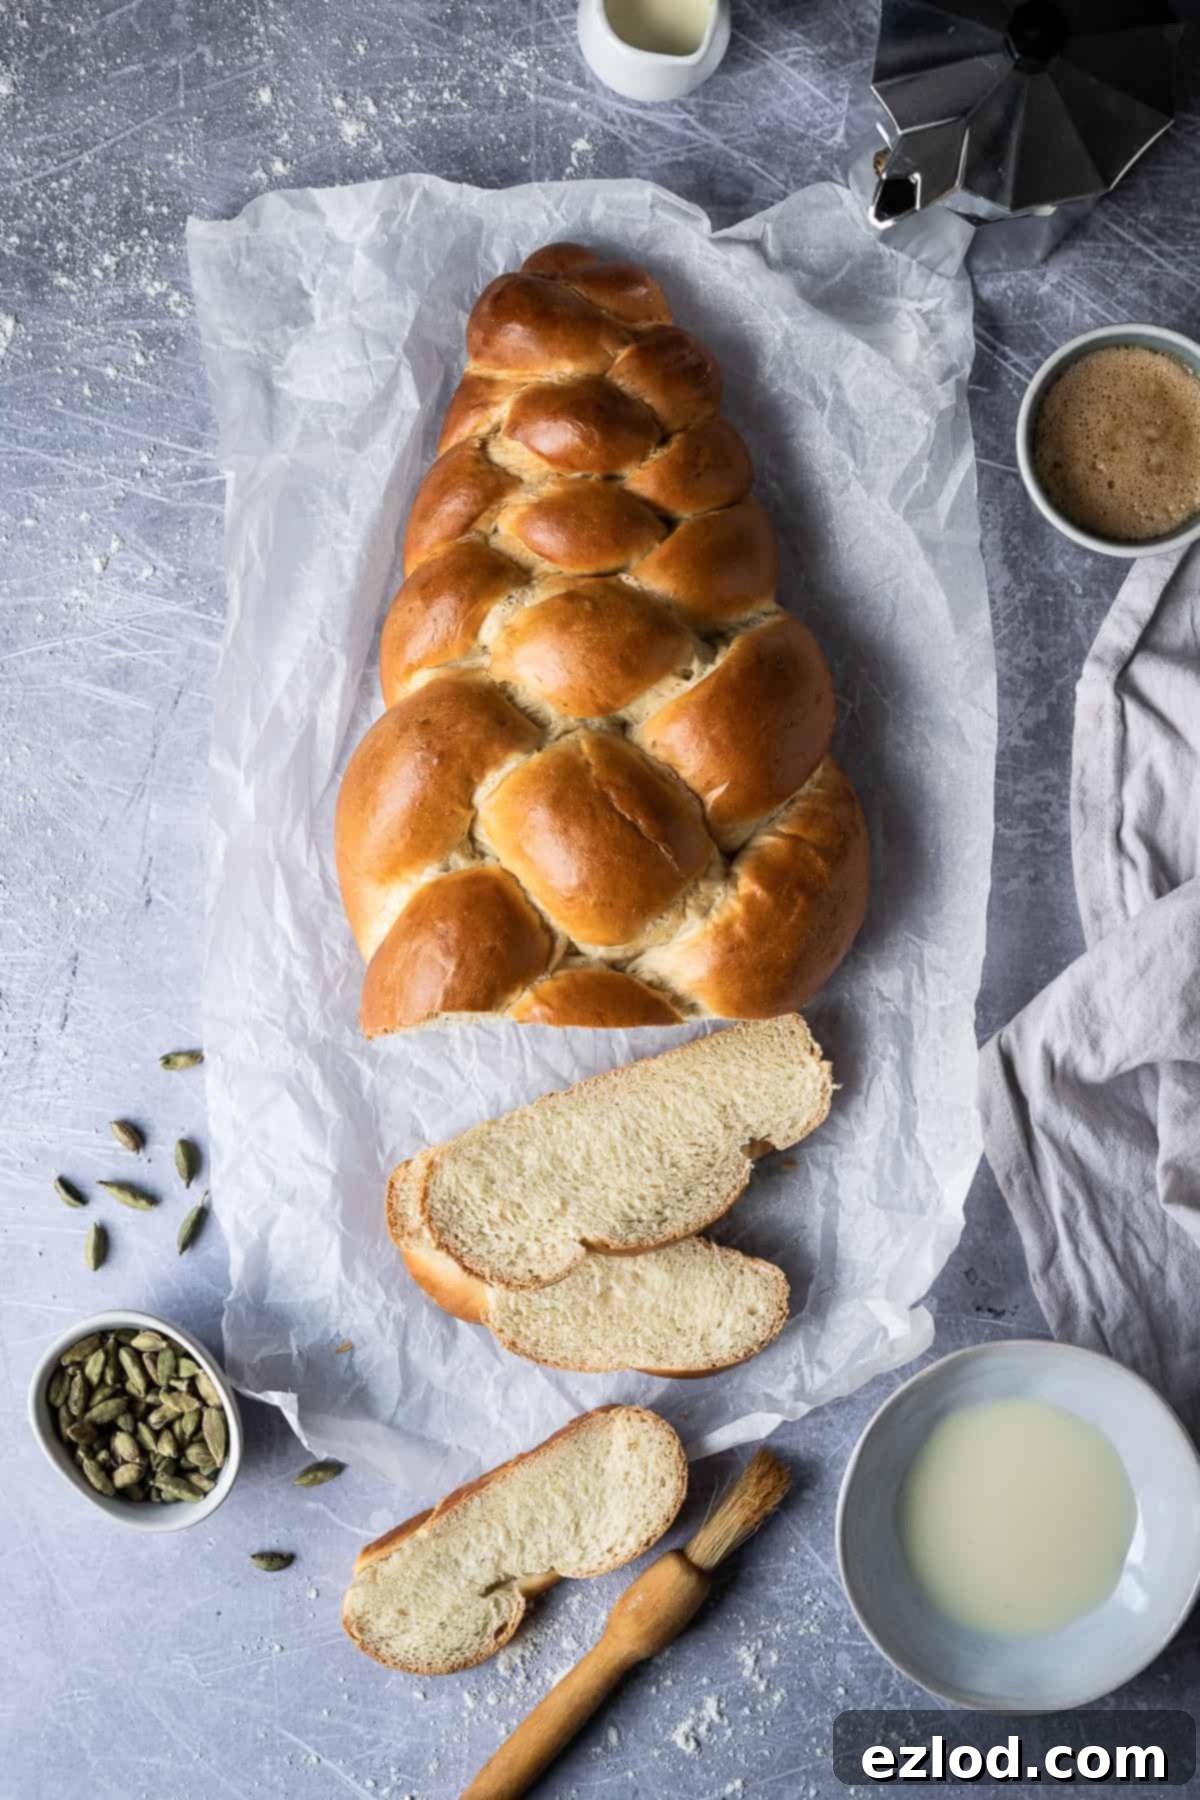
Mastering Vegan Pulla Bread: Your Guide to Finnish Cardamom Braided Perfection
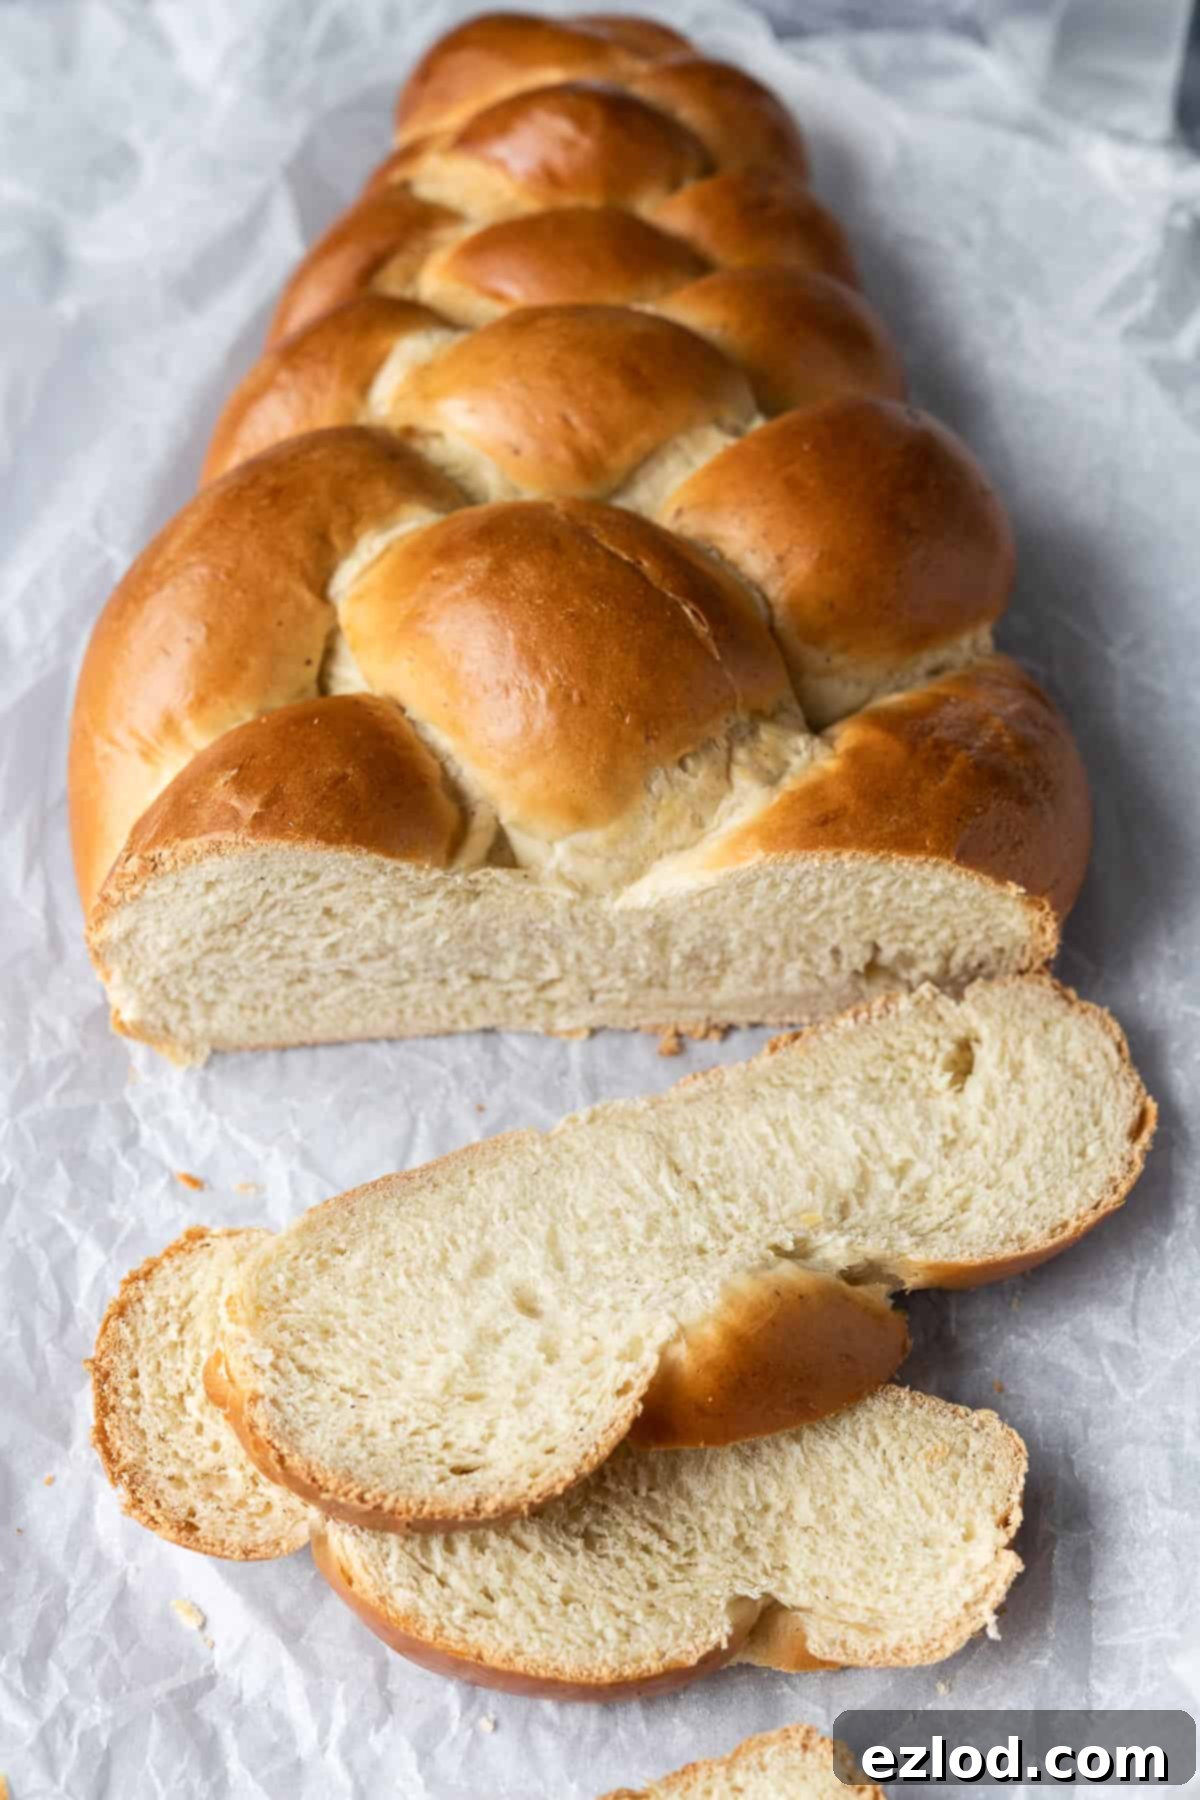
Welcome to the delightful world of Vegan Pulla Bread – a compassionate take on Finland’s cherished braided cardamom bread. This recipe promises a loaf that is exquisitely soft, gently sweet, and profoundly aromatic, making it an irresistible treat. Whether served simply with vegan butter or your favorite jam, alongside a steaming cup of coffee (a Finnish tradition!), or transformed into incredible toast, this pulla is sure to become a cherished addition to your vegan baking repertoire.
Crafting the impressive four-strand braid might appear daunting at first glance, but you’ll be pleasantly surprised by its simplicity. This technique elevates the visual appeal of your homemade bread, making it a showstopper for any occasion. Embrace the joy of baking from scratch; you’ll discover how straightforward it is to create this delicious, comforting bread right in your own kitchen!
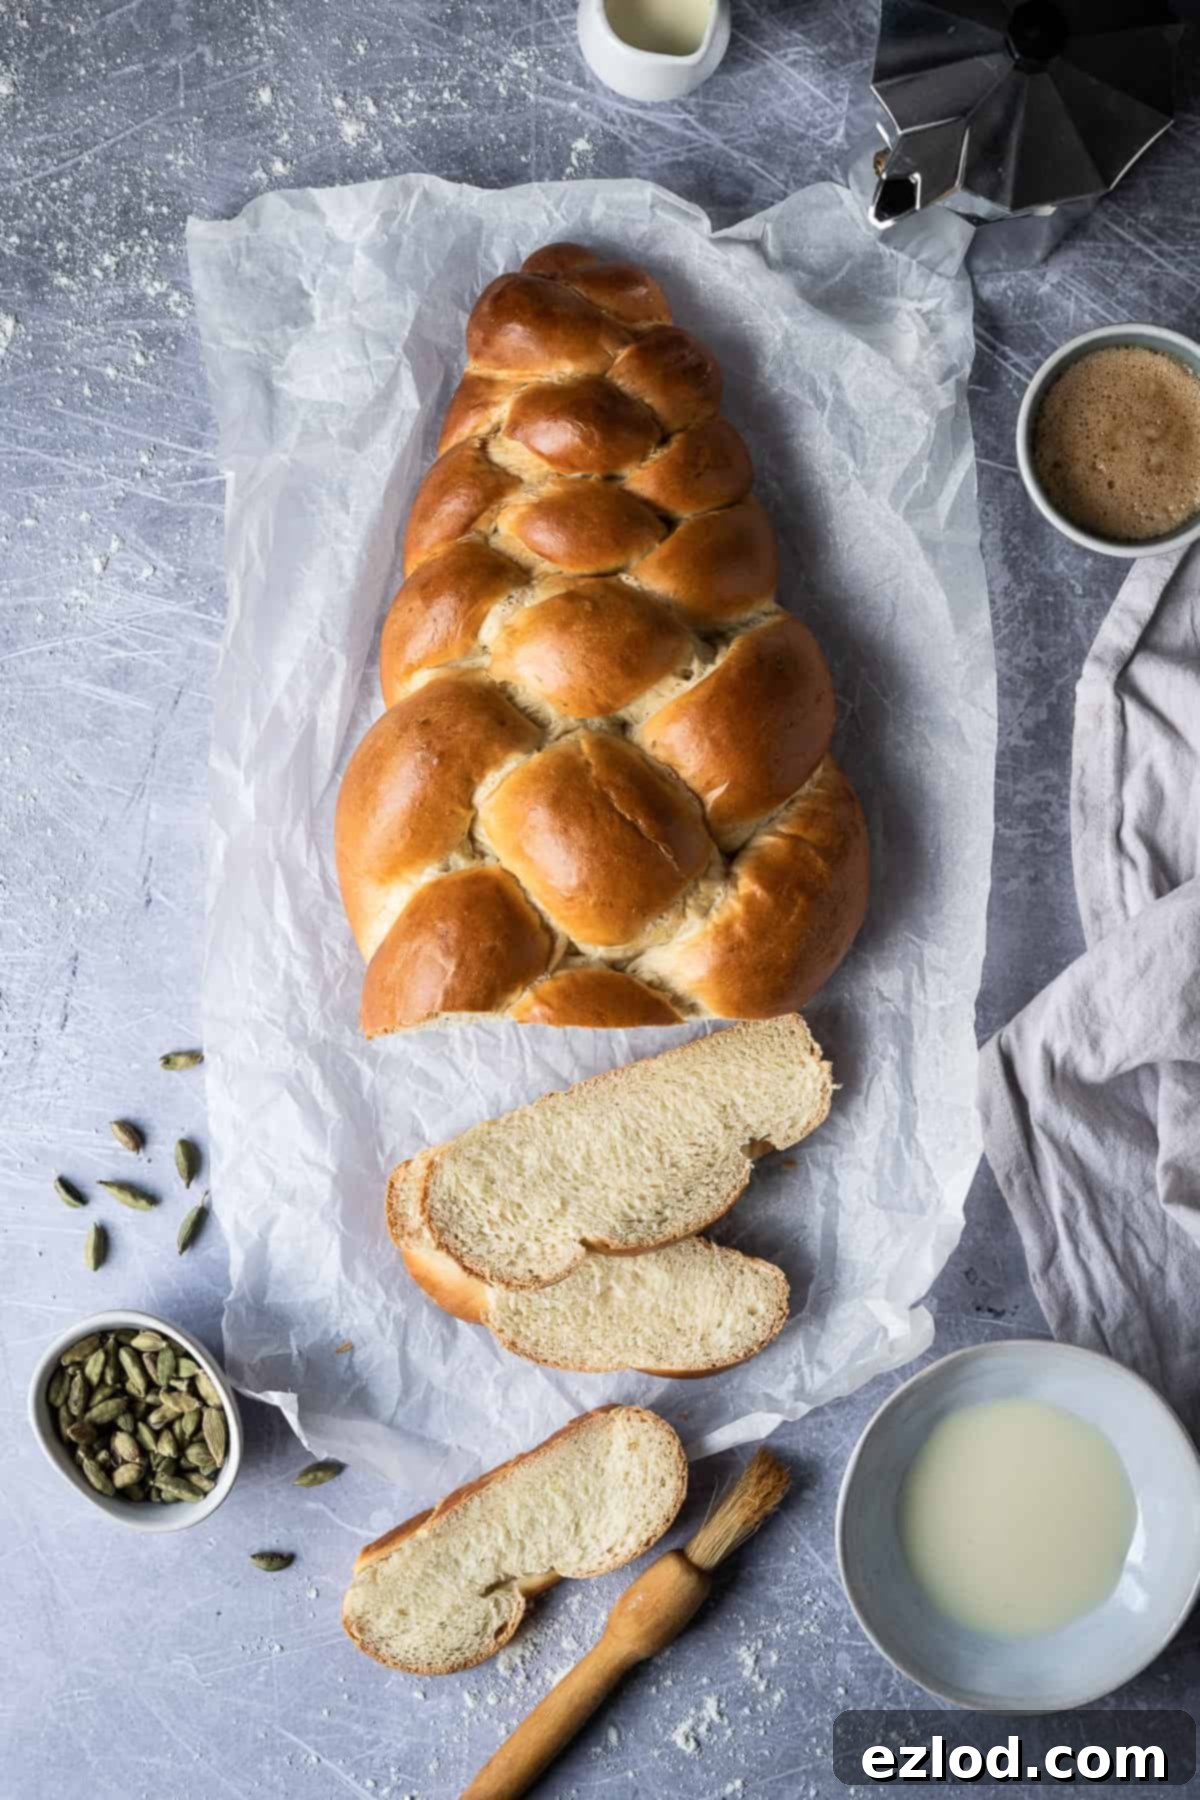
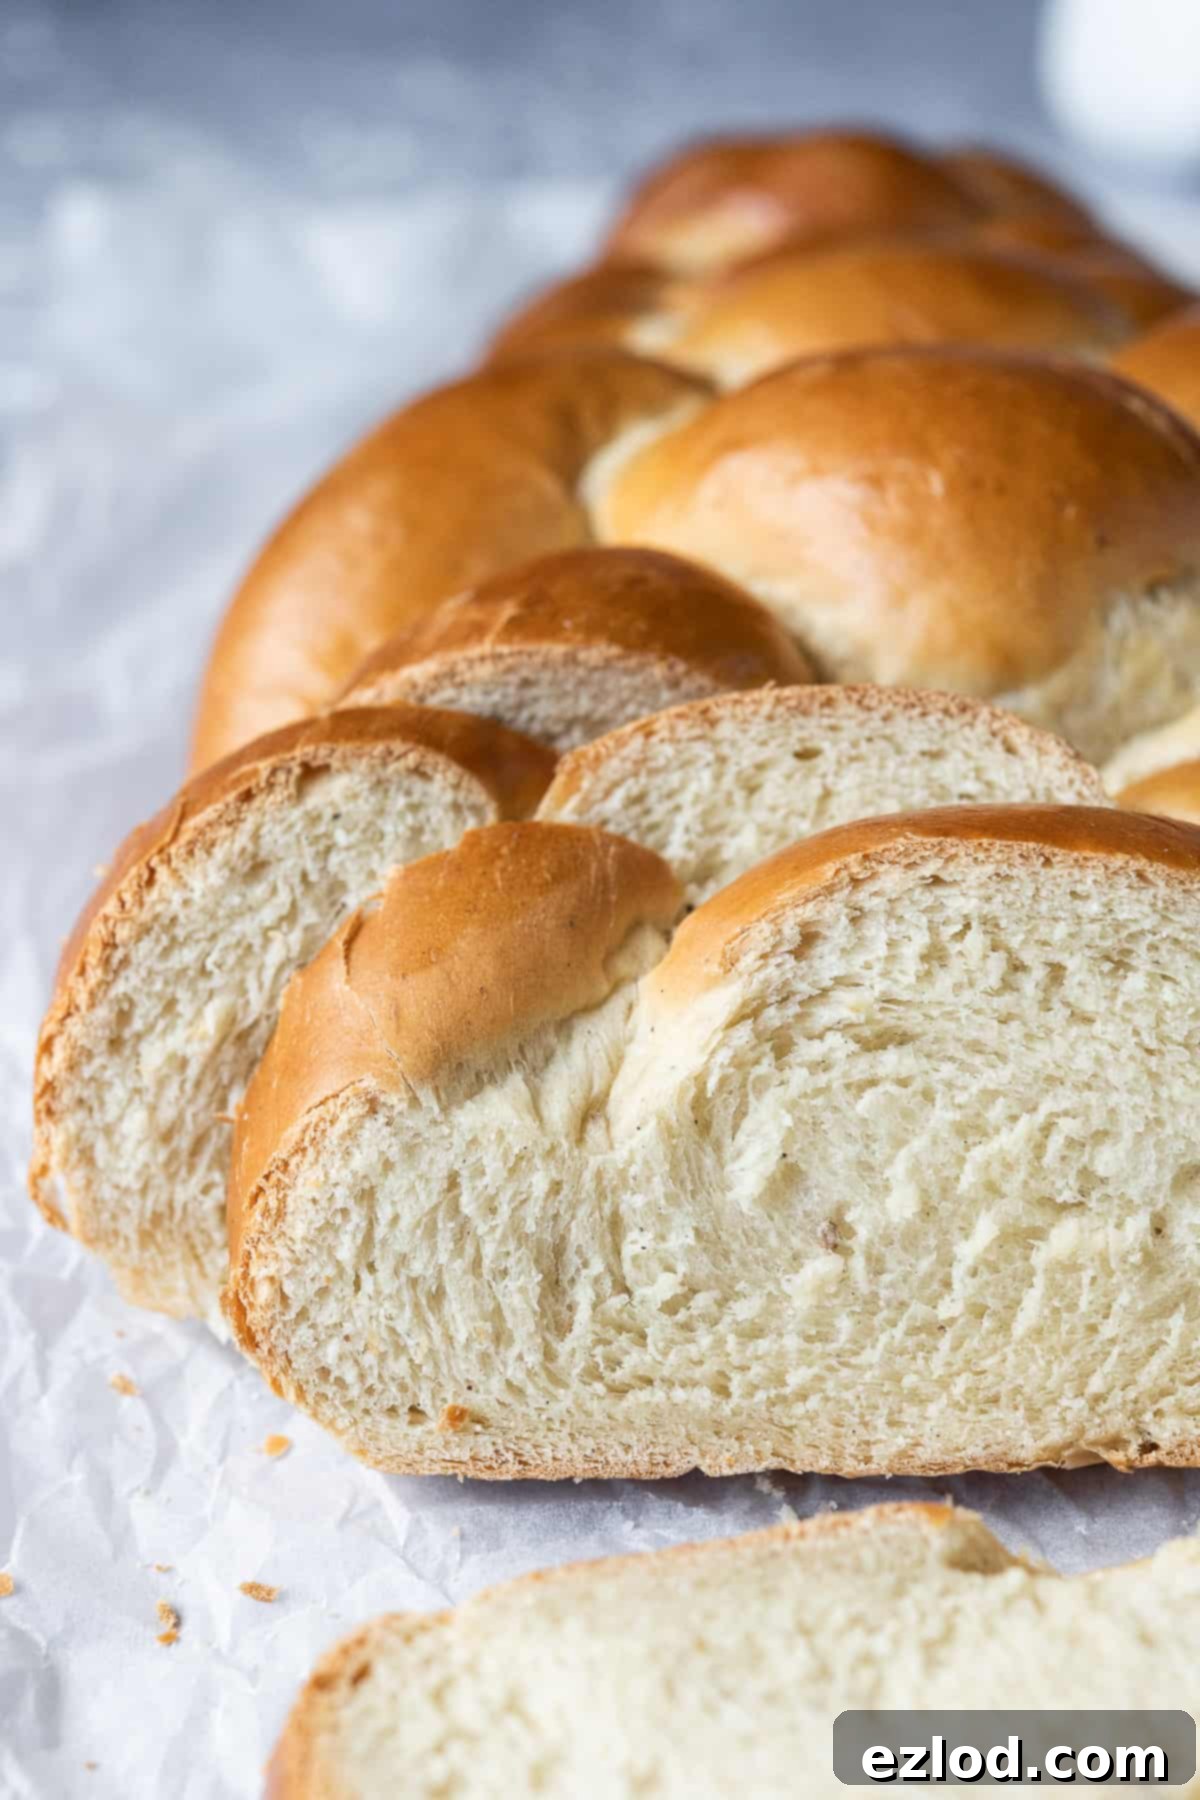
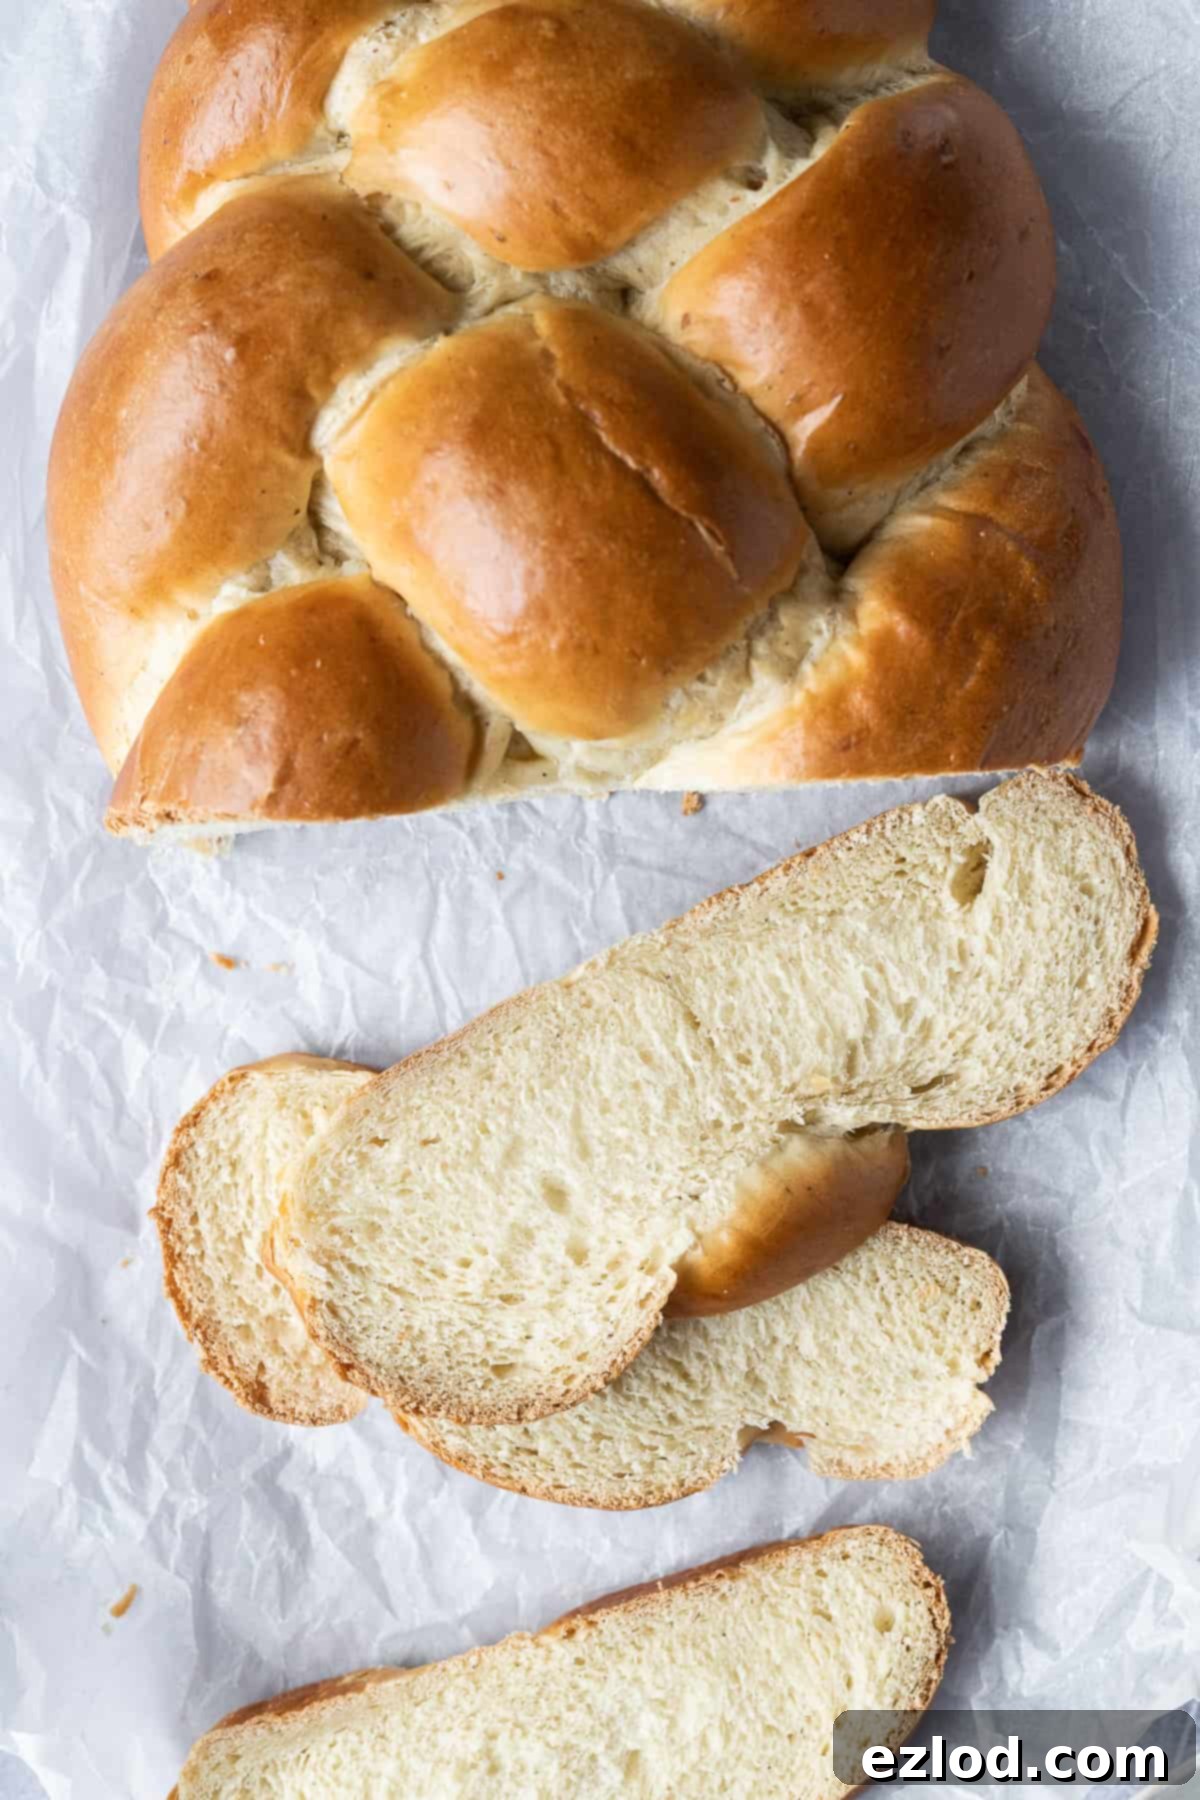
This exquisite vegan pulla bread is a testament to the fact that plant-based baking can achieve the same levels of comfort and flavor as traditional recipes. Each slice is incredibly soft, delicately sweet, and infused with the warming, enchanting aroma of ground cardamom. It’s a sensory experience that brings a touch of Nordic charm to your home.
Shaping this bread into a beautiful four-strand braid, or a simpler three-strand if you prefer, adds an elegant touch that’s much easier to accomplish than you might imagine. The braiding process is not only satisfying but also results in a visually stunning loaf that’s perfect for sharing.
Enjoy your freshly baked vegan pulla with a dollop of creamy vegan butter, a spoonful of sweet berry jam, or alongside a comforting cup of tea or coffee. It’s an ideal choice for a leisurely breakfast, a delightful mid-morning pick-me-up, or a cozy afternoon snack. Don’t forget that any leftover slices make for truly amazing toast, offering a second life to this delectable bread.
What Exactly is Pulla Bread? Unveiling Finnish Cardamom Delight
Pulla bread, also widely known as Nisu, is a cherished soft, slightly sweet, and aromatic cardamom-scented bread that holds a special place in Finnish culinary traditions. It’s a staple often enjoyed with coffee, reflecting Finland’s impressive status as having the highest per capita coffee consumption in the world!
This delightful bread occupies a unique space, offering a texture and richness somewhere between a Jewish challah and a French brioche. However, Pulla distinguishes itself with its unmistakable flavor, thanks to the generous inclusion of fragrant cardamom. While “pulla” can refer to a variety of sweet breads and rolls, the defining characteristic that unites them all under this name is the essential addition of cardamom to the dough, creating its signature taste.
Traditionally, Pulla is often formed into a beautiful braided loaf, adding to its artisanal appeal. It’s frequently adorned with a sparkling sprinkle of pearl sugar or delicate flaked almonds, which not only enhance its flavor but also provide an inviting crunch and visual elegance. This vegan version captures all the essence of the classic, ensuring everyone can enjoy its heartwarming charm.
Why Choose Vegan Pulla Bread?
Opting for a vegan version of Pulla bread allows everyone to enjoy this traditional Finnish treat, regardless of dietary restrictions. By removing animal products like eggs and dairy, we create an equally delicious, soft, and fragrant loaf that’s inclusive and kind. This recipe ensures that the integrity of Pulla’s signature flavor and texture is maintained, offering a delightful experience that’s rich in cardamom and comfort, without compromise. It’s perfect for those seeking dairy-free or eggless baking options, opening up a world of traditional flavors to a broader audience.
Essential Ingredients for Your Vegan Pulla Bread Journey
To create the most authentic and delicious vegan pulla bread, selecting the right ingredients is key. Here’s a breakdown of what you’ll need and why each component is important:
Bread flour: For that wonderfully soft, fluffy, and slightly chewy texture characteristic of traditional pulla, white bread flour is your best friend. Its higher protein content develops gluten effectively, creating the ideal structure. While plain (all-purpose) flour can be used, anticipate a slightly different, less chewy texture. I strongly advise against using wholemeal (whole wheat) flour, as its density will result in a heavy loaf, rather than the light, airy pulla we’re aiming for.
Instant yeast: My preferred choice for bread baking is instant yeast, primarily for its convenience. It can be mixed directly into the dry ingredients without needing prior activation, streamlining the process. If active dry yeast is what you have on hand, don’t worry – I’ve included specific instructions below on how to activate it before adding it to your dough mixture.
Salt: Salt is not just for flavor; it’s a critical component in bread making. It controls yeast activity, strengthens gluten, and prevents the bread from tasting bland. Never omit it from your dough; a good bread relies on its presence.
Sugar: Caster sugar is my go-to for the dough because its fine granules dissolve quickly and evenly, ensuring consistent sweetness throughout. Granulated sugar can be used as a substitute if necessary, but caster sugar offers a slightly smoother incorporation into the dough. The sugar also feeds the yeast, contributing to a good rise and helping the crust to brown beautifully.
Vegan block butter: For superior texture and richness in your baked goods, a vegan block butter or margarine is highly recommended over spreadable varieties found in tubs. Block butter has a lower water content, mimicking dairy butter more closely and yielding better baking results. Naturli Vegan Block is a personal favorite, but any high-quality vegan block butter will work wonderfully. While spreadable margarine can be used in a pinch, be aware that the final texture might be slightly different due to its higher water content.
Non-dairy milk: Unsweetened soy milk is my top recommendation for vegan baking due to its higher protein content, which most closely mirrors the properties of dairy milk, contributing to a rich, tender crumb. However, any unsweetened non-dairy milk variety (almond, oat, or rice milk) will also work. If you have the option, definitely choose soy milk for the best outcome.
Cardamom: The soul of pulla bread is undoubtedly cardamom. Its distinctive warm, spicy, and slightly citrusy notes are what give this Finnish bread its classic, irresistible flavor. For the most potent and aromatic experience, I always opt for freshly ground cardamom. This involves shelling whole cardamom pods to extract the black seeds and then grinding them using a pestle and mortar or a spice grinder. While it takes a little extra effort, the unparalleled depth of flavor is absolutely worth it. If you only have pre-ground cardamom, you might need to increase the quantity slightly (perhaps an additional ¼ to ½ teaspoon) to achieve a comparable flavor intensity, as its potency diminishes over time compared to freshly ground.
Step-by-Step Guide: Crafting Your Vegan Pulla Loaf
(For precise ingredient quantities and comprehensive instructions, please refer to the detailed recipe card provided below.)
To begin the dough-making process, combine the non-dairy milk and vegan block butter in a saucepan. Heat this mixture gently over a low flame, stirring continuously until the butter has completely melted and is fully incorporated. Once melted, remove the pan from the heat and set the mixture aside to cool down. It is crucial that the liquid reaches a lukewarm temperature before proceeding. Adding hot liquid to your dry ingredients will unfortunately kill the yeast, preventing your bread from rising. A simple test is to comfortably hold your finger in the milk – if it feels pleasantly warm but not hot, it’s just right.

While your milk and butter mixture is cooling, this is the perfect opportunity to prepare your cardamom. Take the time to shell the cardamom pods, extracting the fragrant black seeds. Then, use a pestle and mortar or a spice grinder to finely grind these seeds. This step is a small effort that yields immense flavor rewards. For this particular loaf, I typically use the seeds from about 15 cardamom pods to achieve that perfect aromatic balance.
Once your milk mixture has cooled to lukewarm, measure your bread flour into the bowl of a stand mixer. If you’re using a stand mixer, fit it with a dough hook attachment. Carefully add the instant yeast to one side of the flour, and the sugar, salt, and freshly ground cardamom to the other side. This separation ensures the yeast isn’t directly exposed to the salt, which can inhibit its activity initially. Give these dry ingredients a quick mix to combine them evenly.
Now, pour the lukewarm butter and milk mixture into the bowl with the dry ingredients. Begin mixing on a low speed until a shaggy, rough dough forms. Increase the speed to medium and knead the dough for approximately 5-10 minutes. The goal is a dough that is smooth, elastic, and stretchy. It should still feel a little sticky to the touch, but critically, it should pull away cleanly from the sides of the mixing bowl.
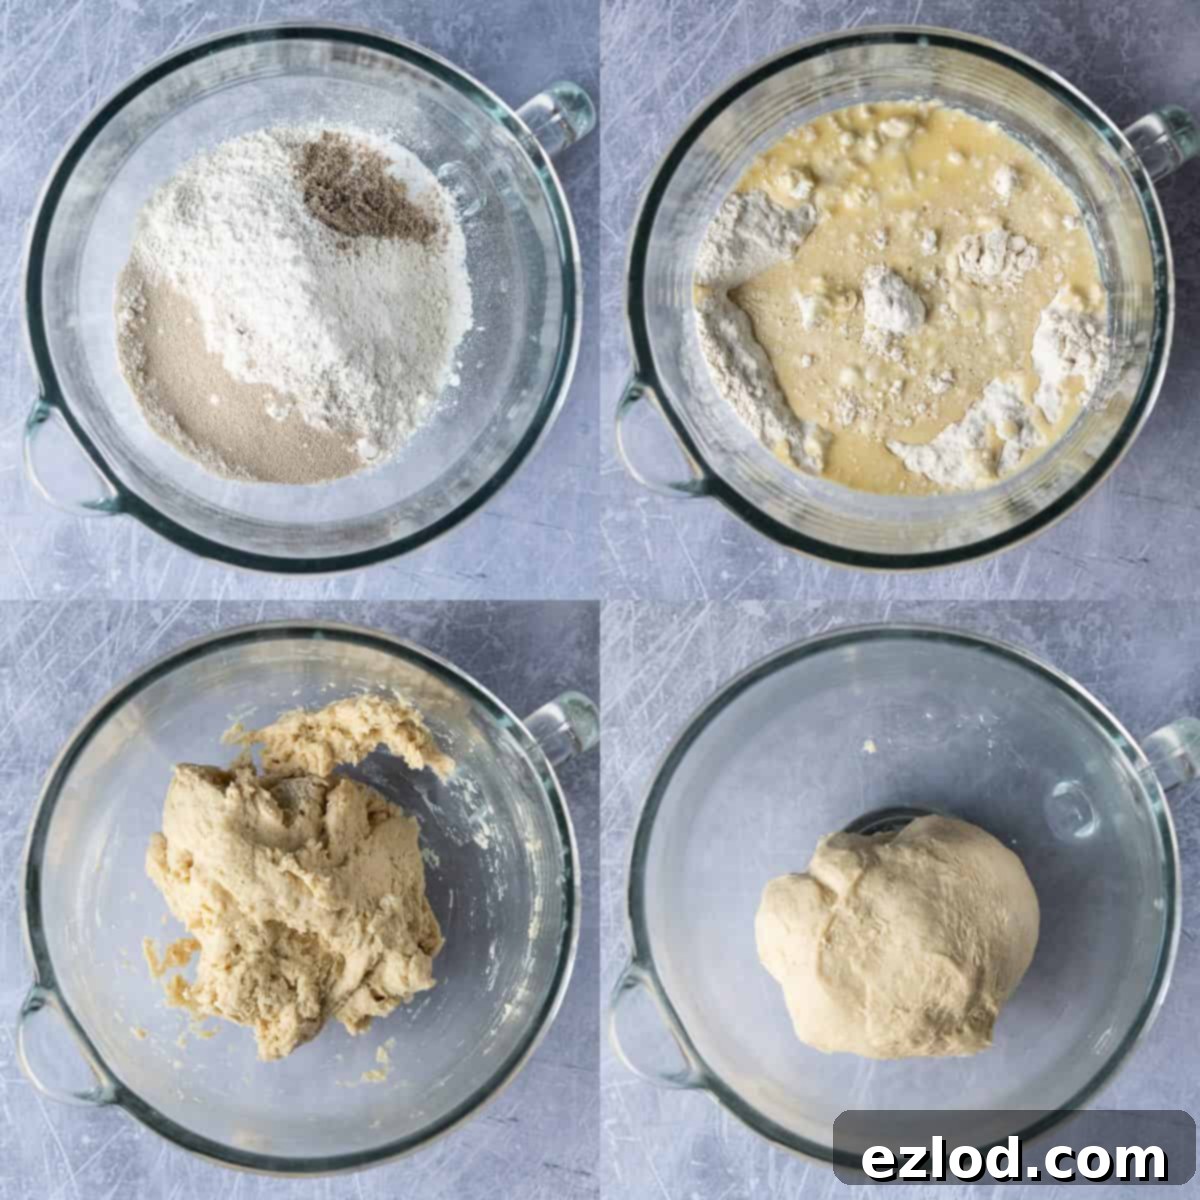
If, during kneading, your dough appears excessively wet, you can incrementally add a small amount of flour, one tablespoon at a time. Exercise caution, however, as adding too much flour will result in a dry, dense bread rather than the desired soft texture. If you don’t own a stand mixer, this dough can absolutely be kneaded by hand on a clean, unfloured surface until it reaches the same smooth and elastic consistency.
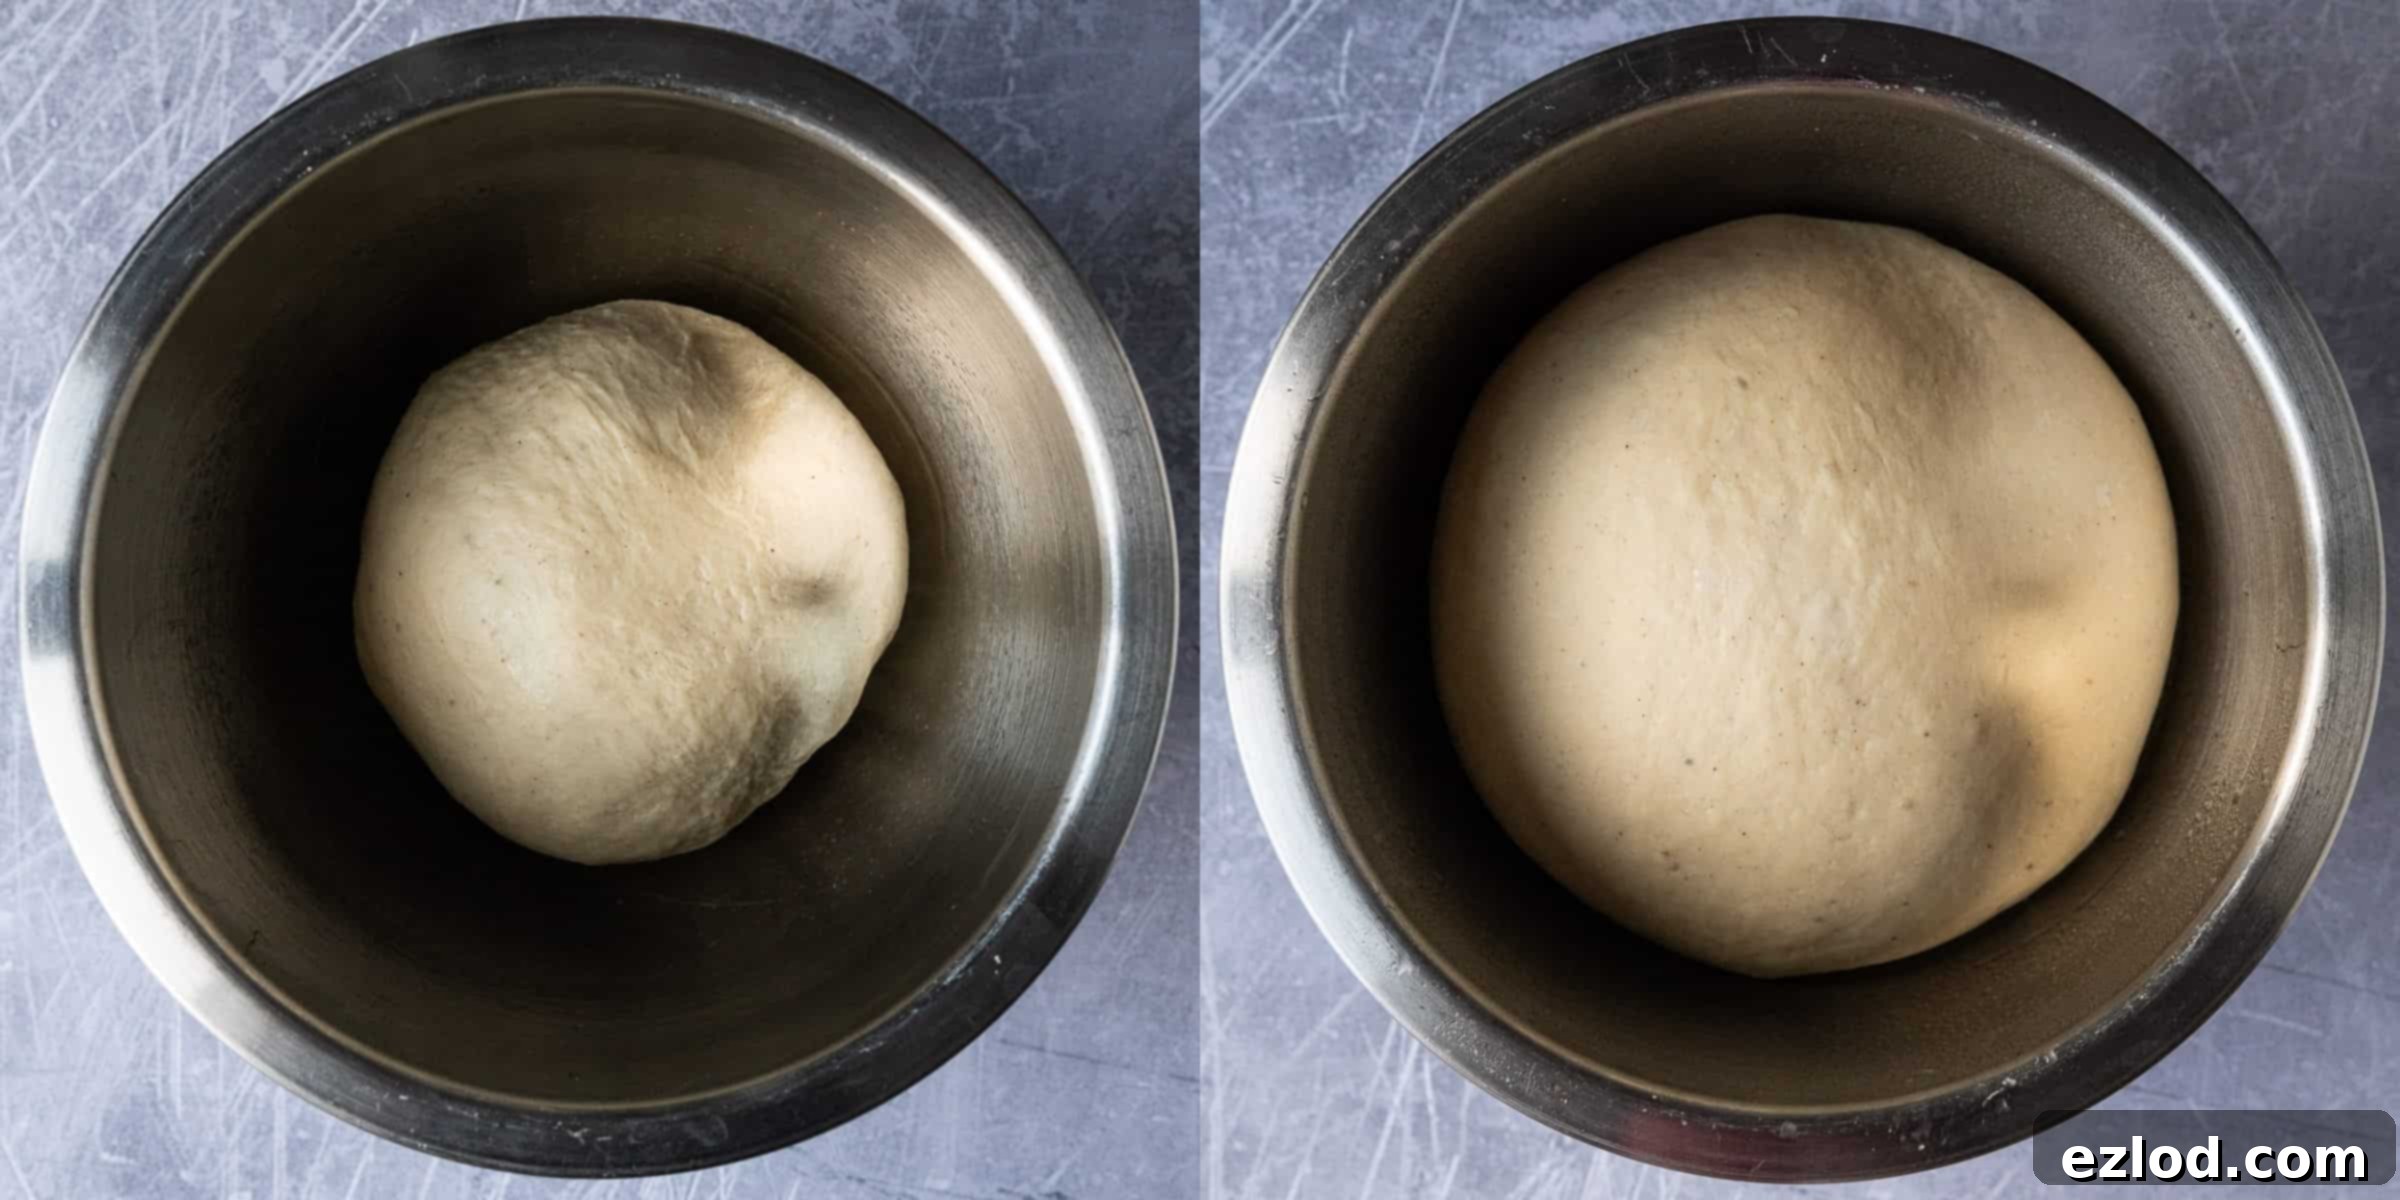
Transfer your well-kneaded dough into a clean bowl that has been lightly oiled to prevent sticking. Cover the bowl with plastic wrap or a clean kitchen towel. Place the covered dough in a warm spot and allow it to rise until it has visibly doubled in size. This process typically takes about 1-2 hours at room temperature, or you can opt for a slower, overnight rise in the refrigerator, which can develop more flavor.
Mastering the Four-Strand Braid: The Art of Shaping Pulla
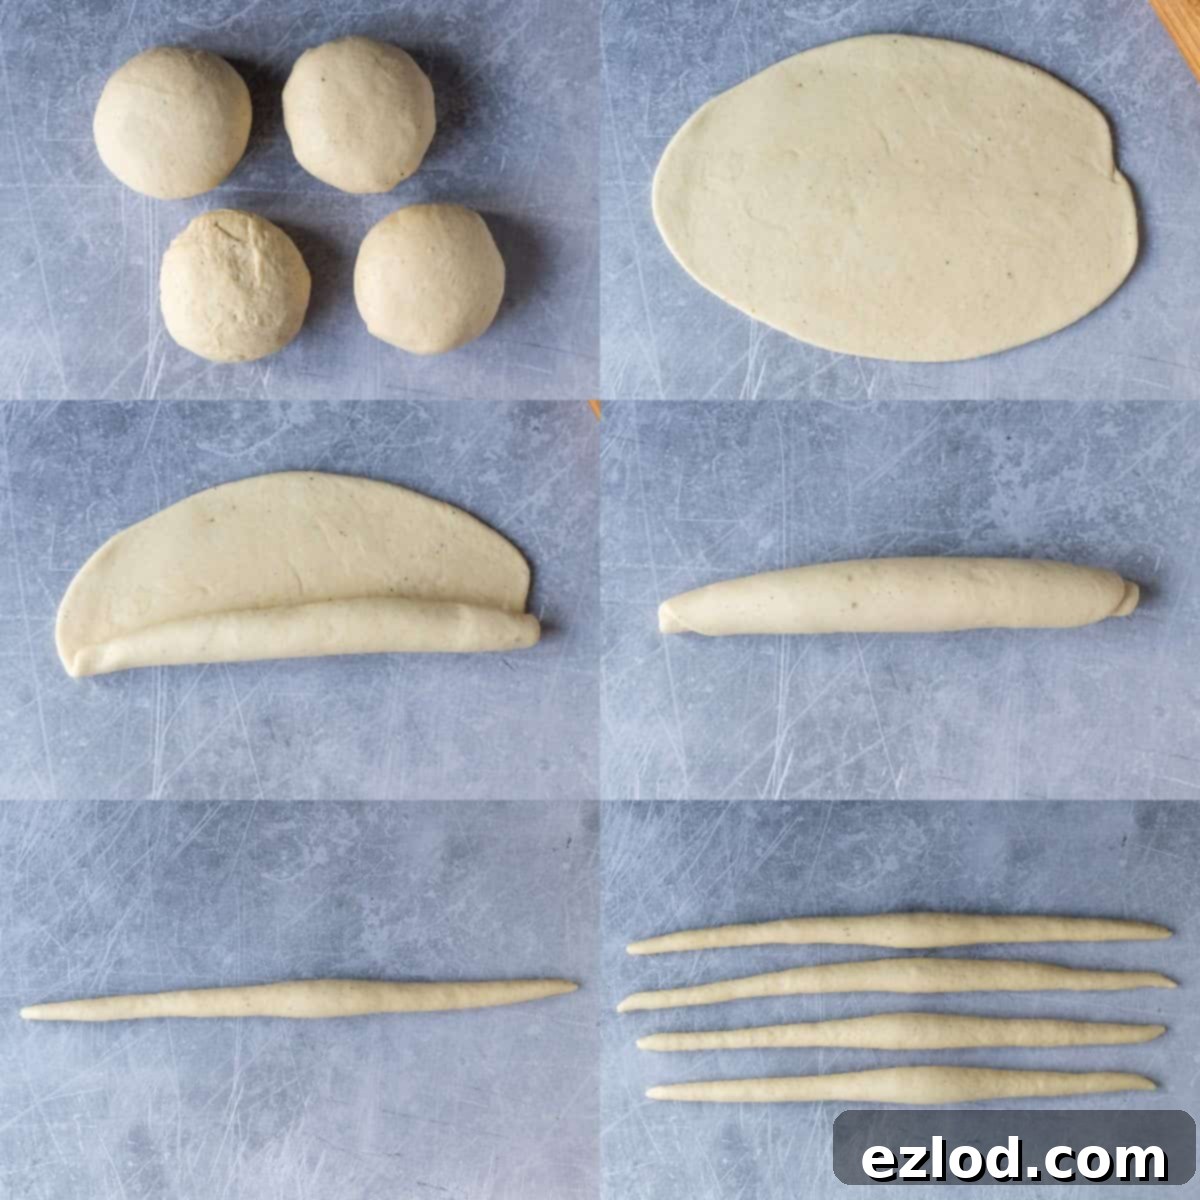
Once your dough has successfully doubled in size, gently punch it down to release the trapped air. Give it a very brief knead – just enough to de-gas it. Now, divide the dough into four equal pieces. For precision, especially for evenly sized braids, using a kitchen scale to ensure each piece weighs exactly the same is highly recommended. Roll each of these pieces into a smooth ball.
Next, take one ball of dough and, on a lightly oiled (not floured, to avoid drying out the dough) work surface, roll it out into a thin oval shape. If you find the dough is a little sticky, a touch of oil on your hands and rolling pin can help.
Starting from one of the long edges of the oval, tightly roll the dough up into a sausage shape. Once rolled, use your hands to further lengthen and thin this sausage. Begin rolling from the middle outwards, applying gentle, even pressure. This technique helps to create a long, uniform strand. As you work towards the ends, gradually increase the pressure to taper them, aiming for pointy ends and a slightly thicker middle for each strand. This tapering will give your braid an elegant finish.
Repeat this process for the remaining three portions of dough, ensuring that all four strands are as close to the same length and thickness as possible. Consistency here will lead to a more beautiful and even braid.
With your four strands ready, arrange them parallel to each other on a lightly floured surface. At one end, gather the tips of all four strands together and pinch them firmly to secure them, ensuring they stick together and won’t unravel during braiding. This forms the starting point of your braid.
To execute the four-strand plait, follow this simple, repetitive pattern: take the strand positioned furthest to the right. Weave it over the next strand, then under the following strand, and finally over the last strand. This completes one pass. Now, the strand you just moved is the new furthest right strand.
Repeat this exact process, always starting with the current furthest right strand, and weaving it over, under, over the remaining three strands. Continue this rhythmic pattern until the entire loaf is beautifully plaited. It’s important to be gentle and avoid plaiting the dough too tightly, as a very tight braid might lead to the loaf splitting open in the oven as it expands during baking.
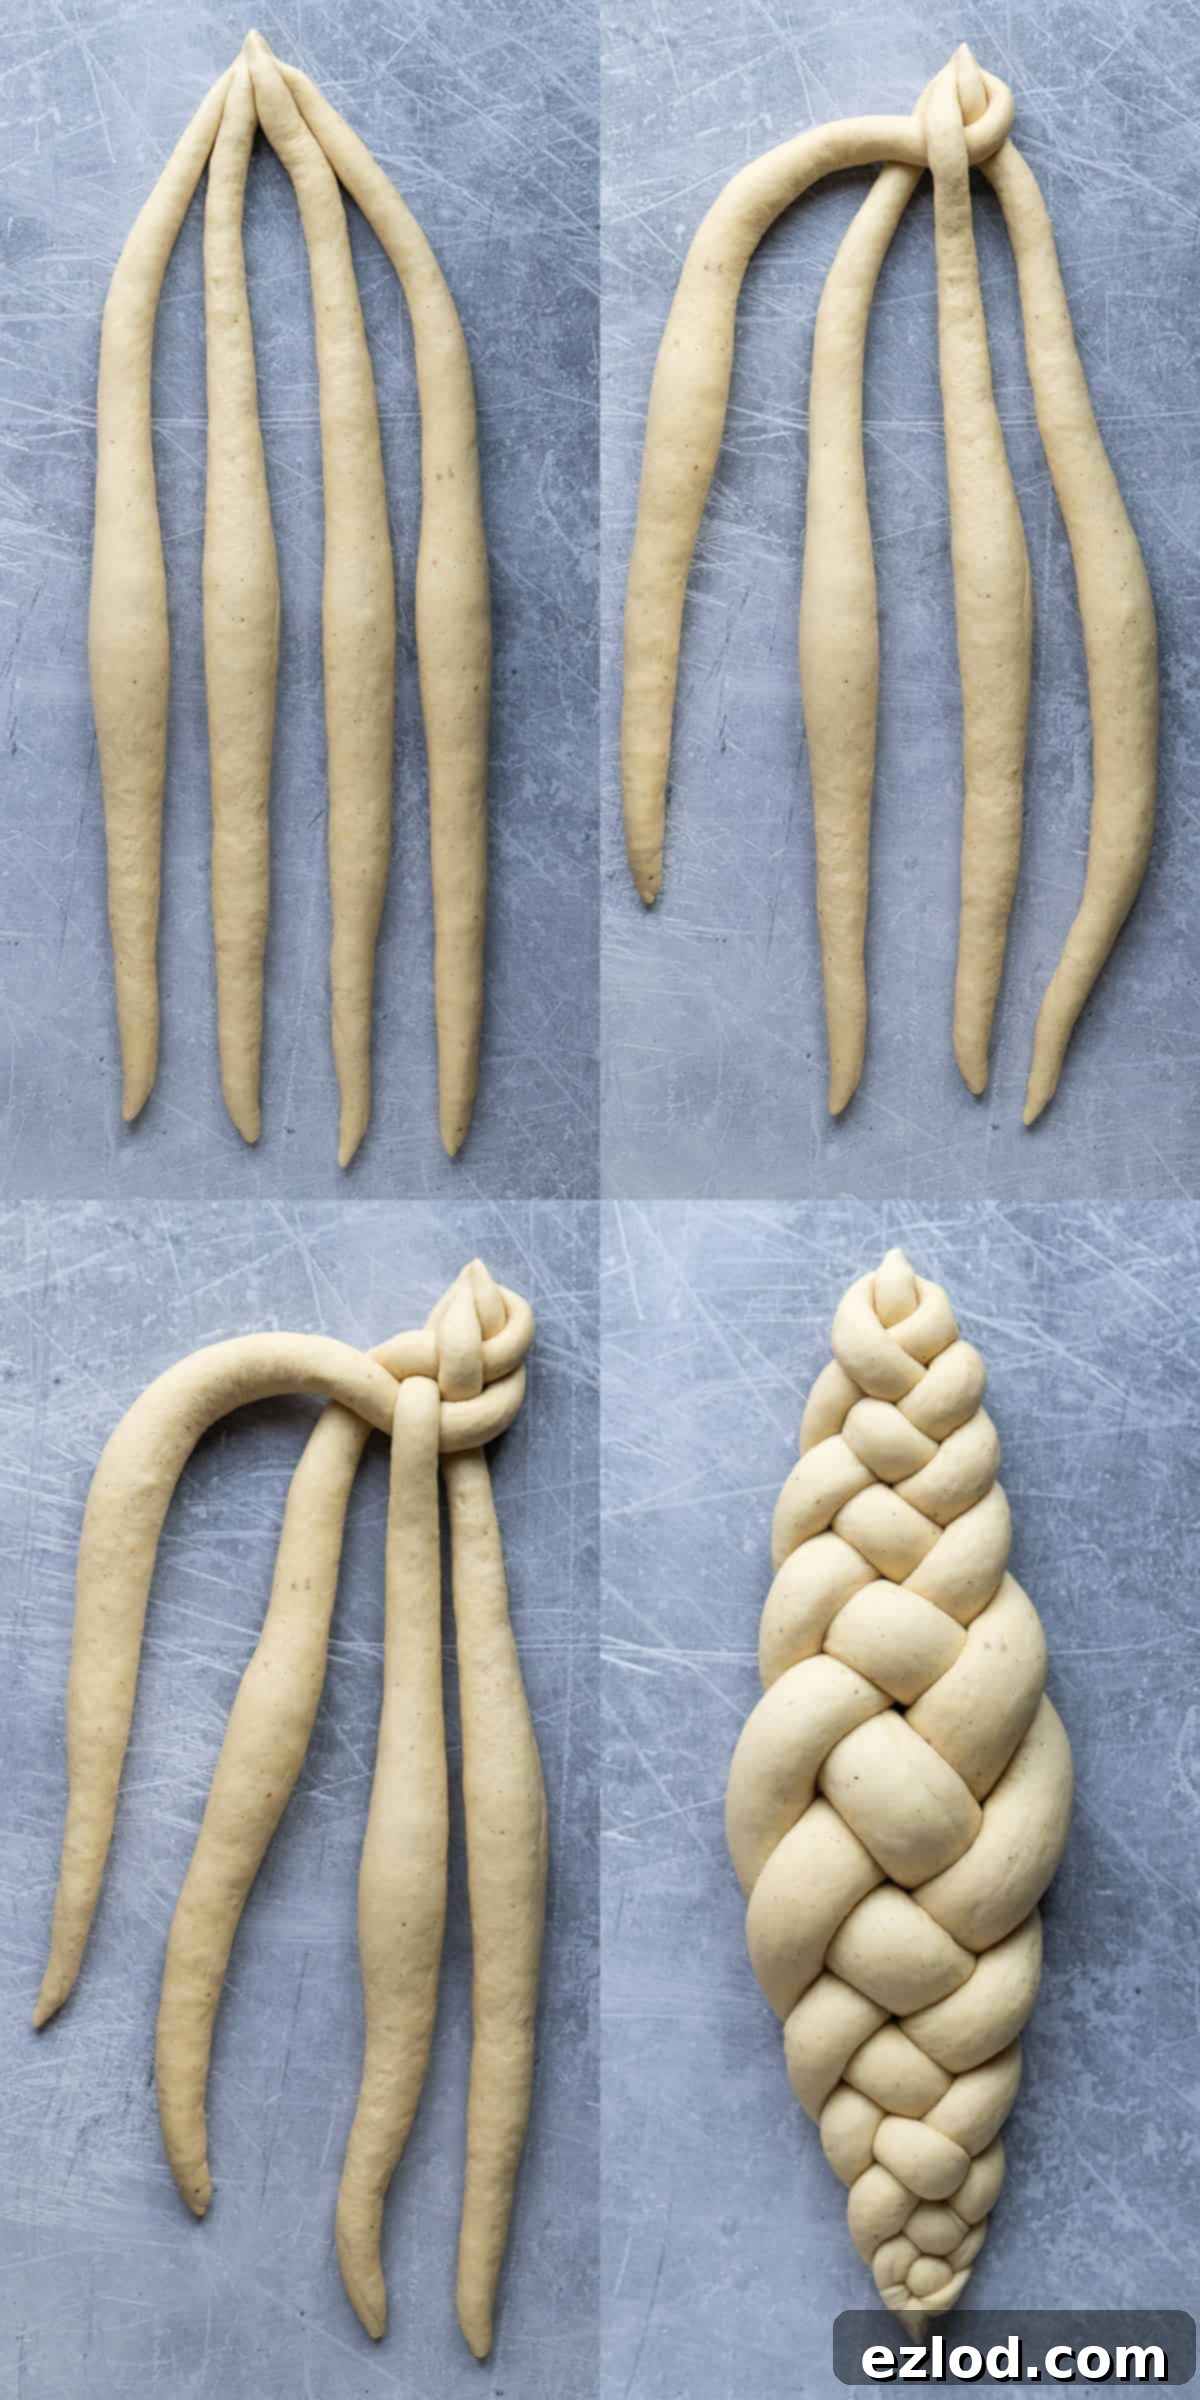
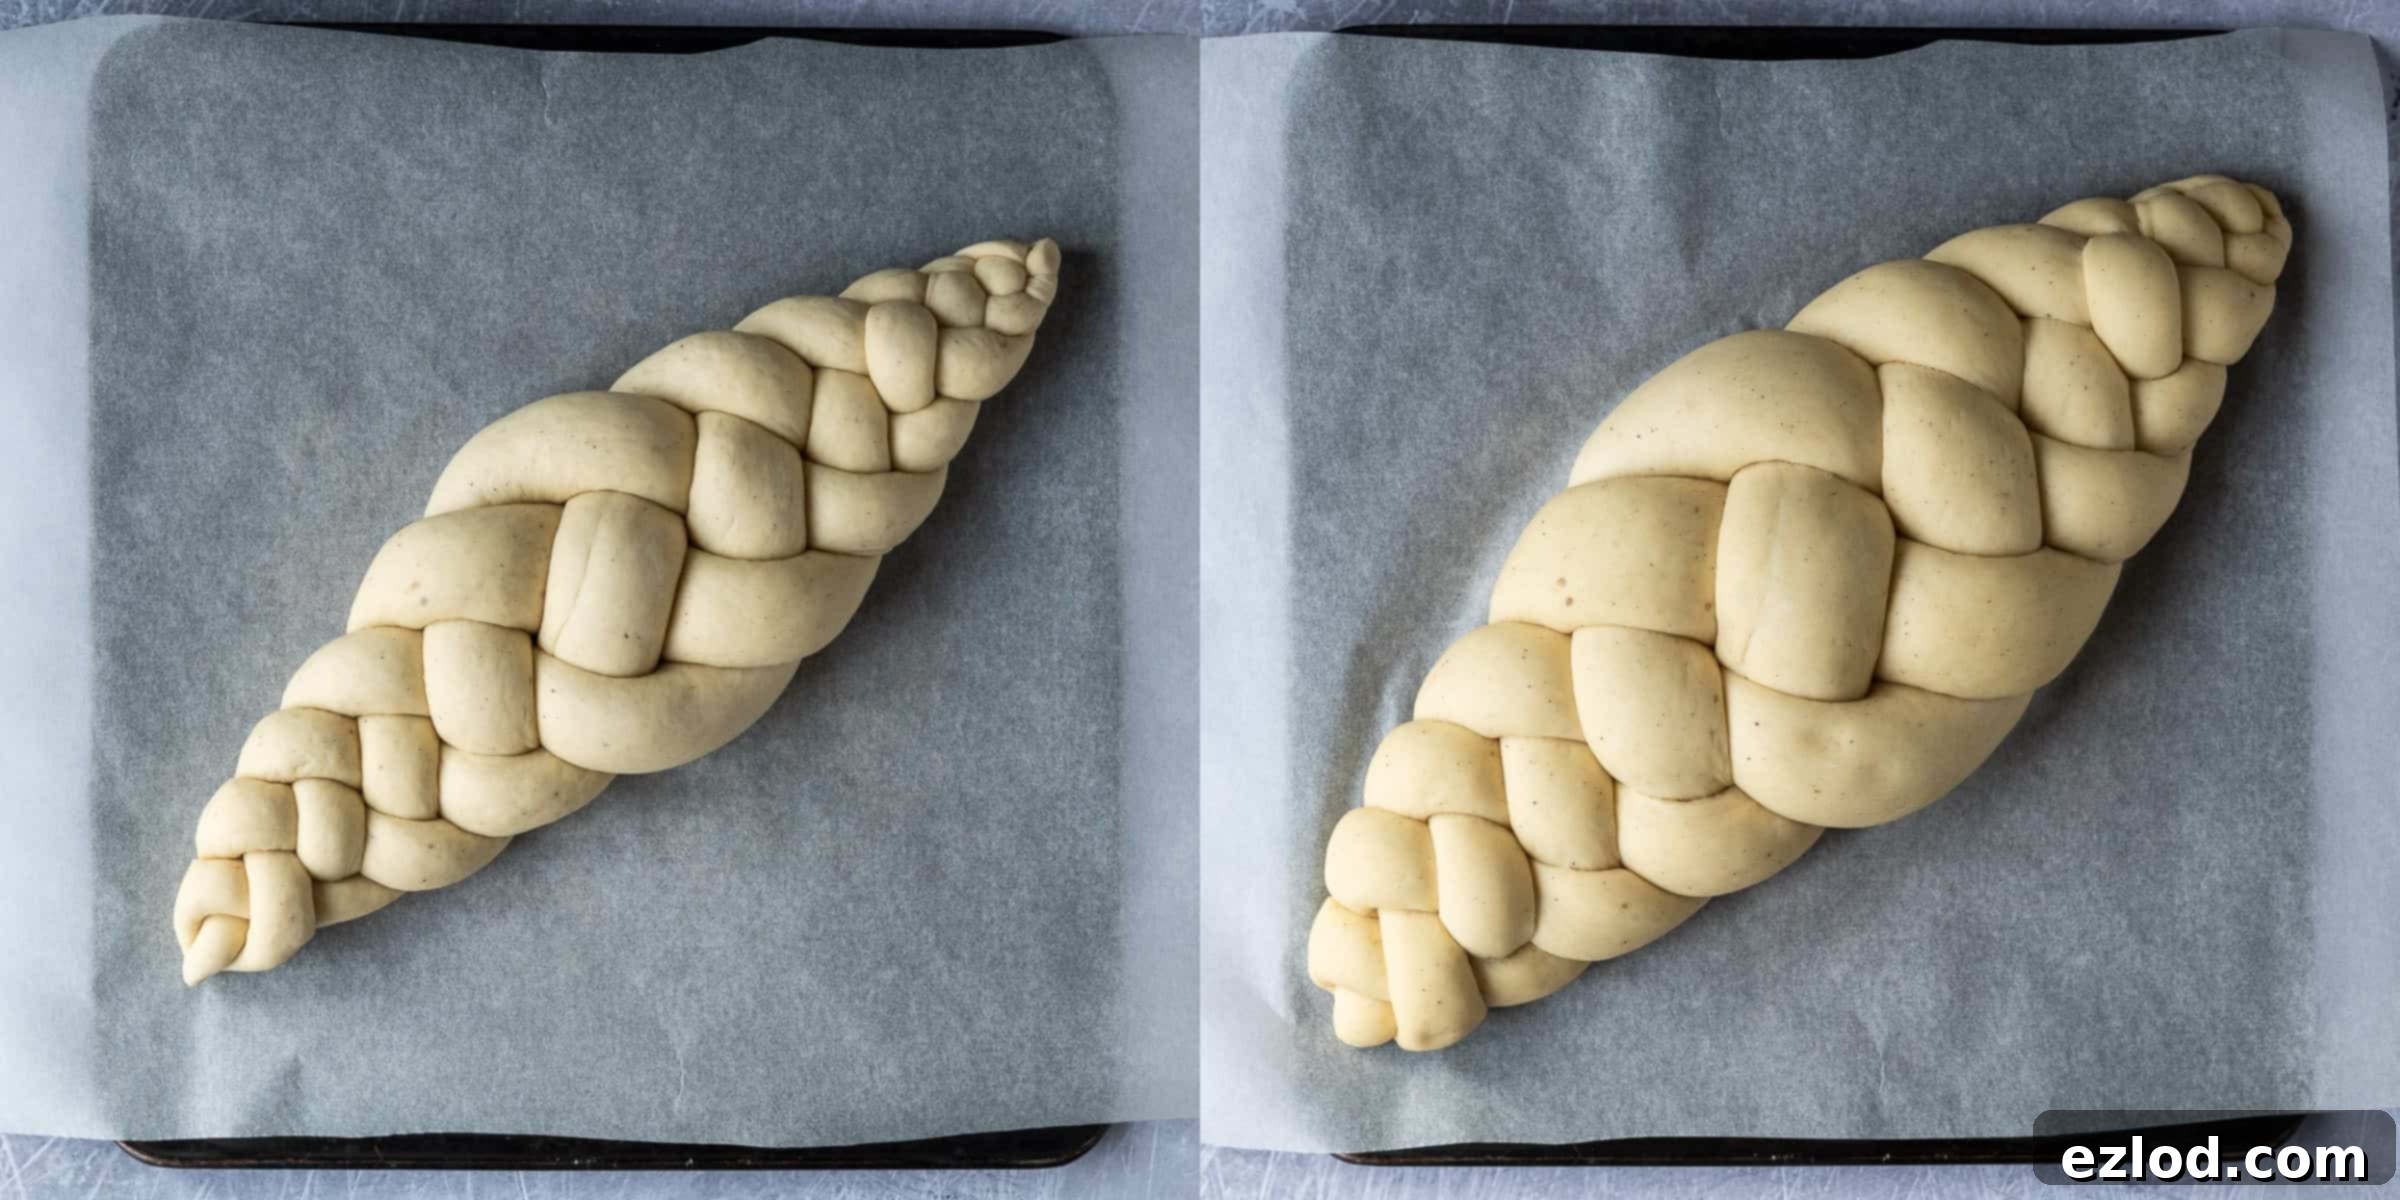
Once your braid is complete, pinch the ends of the strands together tightly to seal them and prevent any unraveling during the final rise and baking. Carefully transfer the beautifully braided loaf to a baking sheet that has been lined with baking parchment. Loosely cover the loaf with a piece of cling film (plastic wrap) or a clean, damp tea towel. This covering helps maintain moisture and prevents a crust from forming.
Place the covered loaf in a warm spot for its second rise (proofing). Allow it to rise until it looks visibly puffy and has almost doubled in size again. The duration of this second rise can vary significantly, typically ranging from 45 minutes to 2 hours. Factors like whether you refrigerated the dough for its first rise and the ambient room temperature will influence this time. Cold dough from the fridge will take longer to warm up and rise.
To determine if your bread is ready for the oven, perform a gentle “poke test.” Lightly press the dough with a finger; if it springs back slowly most of the way, leaving a slight indentation, it’s perfectly proofed and ready. If the indentation springs back quickly and completely, the dough needs more time to rise. Conversely, if the indentation remains fully pressed in and doesn’t spring back at all, the dough may be over-proofed, which can affect the final texture.
When your pulla has completed its final proofing and is nearly ready for the oven, preheat your oven to 180°C (160°C fan/350°F/gas mark 4). This ensures the oven is at the correct temperature when the bread goes in, promoting a good oven spring.
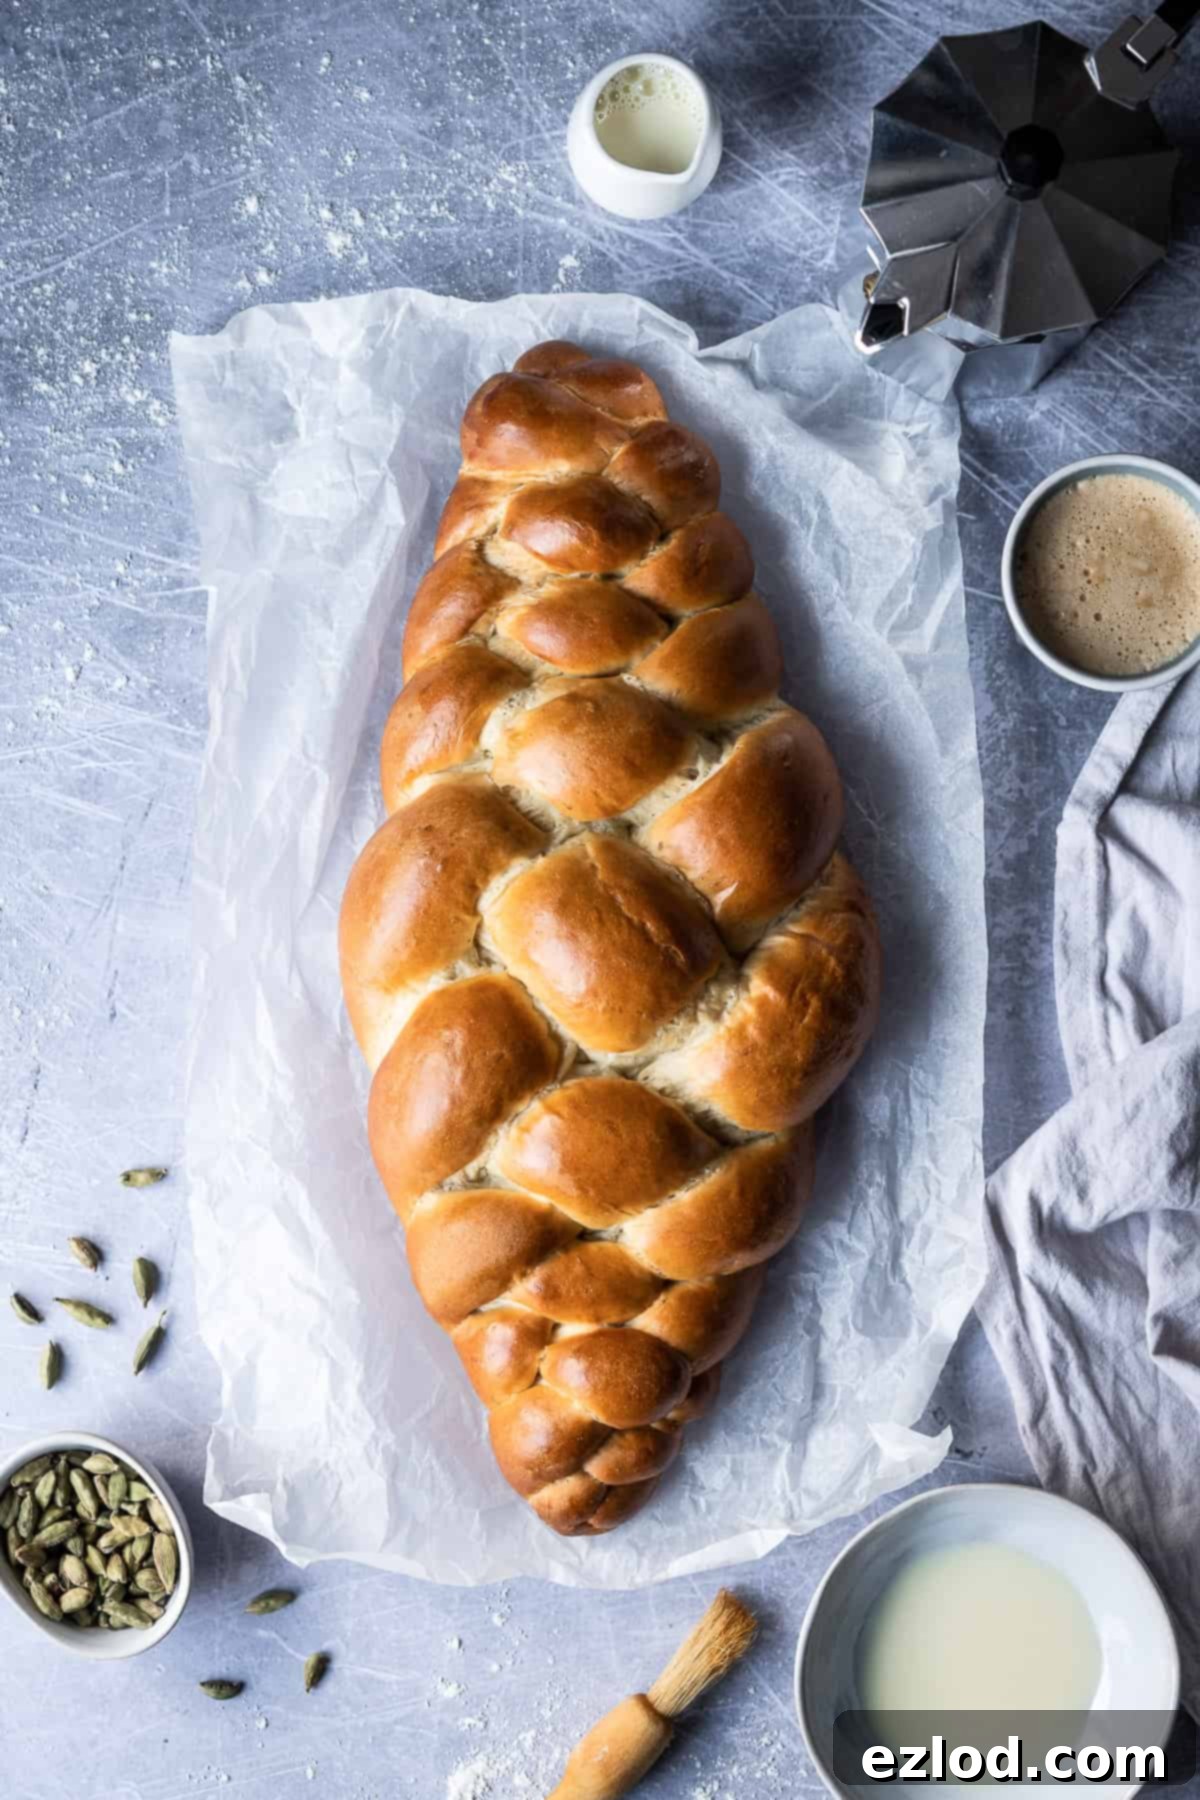
Just before baking, gently brush the entire surface of the pulla loaf with a little non-dairy milk. This milk wash will help the crust achieve a beautiful golden-brown color and a lovely sheen. Place the loaf in the preheated oven and bake for approximately 30 minutes. Baking times can vary between ovens, so keep a close eye on it. If you notice the top browning too quickly, you can loosely cover it with a piece of aluminum foil partway through baking to prevent over-browning while the interior finishes cooking.
Understanding Yeast: Instant vs. Active Dry
The type of yeast you use can slightly alter your baking process. I consistently favor instant yeast for bread making because of its remarkable convenience. It’s designed to be added directly into your dry ingredients without the need for prior activation in a liquid, making the initial steps quicker and simpler. If you have the choice, instant yeast is highly recommended for its ease of use.
However, if active dry yeast is what you have available, rest assured, you can absolutely still make this delicious pulla. The method will simply require a slight adjustment to ensure the yeast is properly activated. After you’ve heated your non-dairy milk and vegan butter and allowed it to cool to a lukewarm temperature (remember, NOT hot, as high heat will kill the yeast – it should feel comfortably warm to the touch), stir in approximately 10g (2 ½ teaspoons) of active dry yeast along with a pinch of the sugar from your recipe. Allow this mixture to sit undisturbed for 10-20 minutes. During this time, you should observe a frothy, bubbly layer forming on the surface, indicating that the yeast is active and ready to work. Once activated, you can proceed with the remainder of the recipe as instructed, incorporating this bubbly mixture into your dry ingredients.
Clever Ways to Speed Up Dough Rising Time
Dough rising, or proofing, can sometimes feel like the longest part of bread making, especially in a cool environment. Here are a few reliable methods to create a warm, optimal rising environment for your vegan pulla dough:
The Warm Oven Method: Briefly heat your oven to its absolute lowest temperature setting for just a couple of minutes. Then, switch the oven off completely and open the door for about 30 seconds to release some of the intense heat. Before placing your dough inside, test the temperature with your hand; it should feel pleasantly warm, akin to a warm summer day, but never hot. Crucially, if it’s too hot, the yeast will be killed. Once the temperature is ideal, place your covered dough in the oven and shut the door. For very cold days, you might need to re-warm the oven briefly after an hour or so, but often, one warming is sufficient.
The Steamy Oven Method: Alternatively, place a heatproof bowl or loaf tin in the bottom of your (cold, switched off) oven. Position your covered dough on a middle shelf. Fill the bowl at the bottom with boiling water and quickly close the oven door. The steam generated will create a consistently warm and humid environment, which is perfect for yeast activity and promotes a lovely rise.
How to Tell When Your Vegan Pulla Bread is Perfectly Baked
Achieving the perfect bake is crucial for a delicious pulla, preventing either a dry, overcooked loaf or a raw, unappetizing interior. The most accurate way to confirm your bread is done is by checking its internal temperature with a probe thermometer. Insert the thermometer into the very center of the loaf; it should register at least 90°C (194°F). This tool is an incredibly handy investment for any baker, ensuring consistent results.
If you don’t have a probe thermometer, there are other indicators. A toothpick inserted into the center of the loaf should come out clean, with little to no resistance when pushed in and pulled out. Additionally, when you tap the bottom of the baked loaf, it should sound hollow. These tactile and auditory cues can help, but for absolute certainty, a thermometer is best. Remember, all ovens vary, so relying solely on a fixed baking time can be misleading.
Storage, Freezing, and Reheating Your Vegan Pulla
This vegan pulla bread is wonderfully versatile when it comes to storage, allowing you to enjoy its deliciousness over time.
Freezing: Yes, this vegan pulla bread freezes exceptionally well, either as a whole loaf or conveniently pre-sliced. For optimal freshness, ensure the bread has cooled completely to room temperature before freezing, and ideally, freeze it on the same day it was baked. To protect against freezer burn, wrap the loaf or slices tightly in plastic wrap, then place them in an airtight container or a freezer-safe bag. When ready to enjoy, allow it to defrost at room temperature. If you’ve frozen an entire loaf, you can refresh it beautifully by warming it in a low oven (around 150°C/300°F) for 5-10 minutes, which will bring back some of its freshly baked softness and aroma.
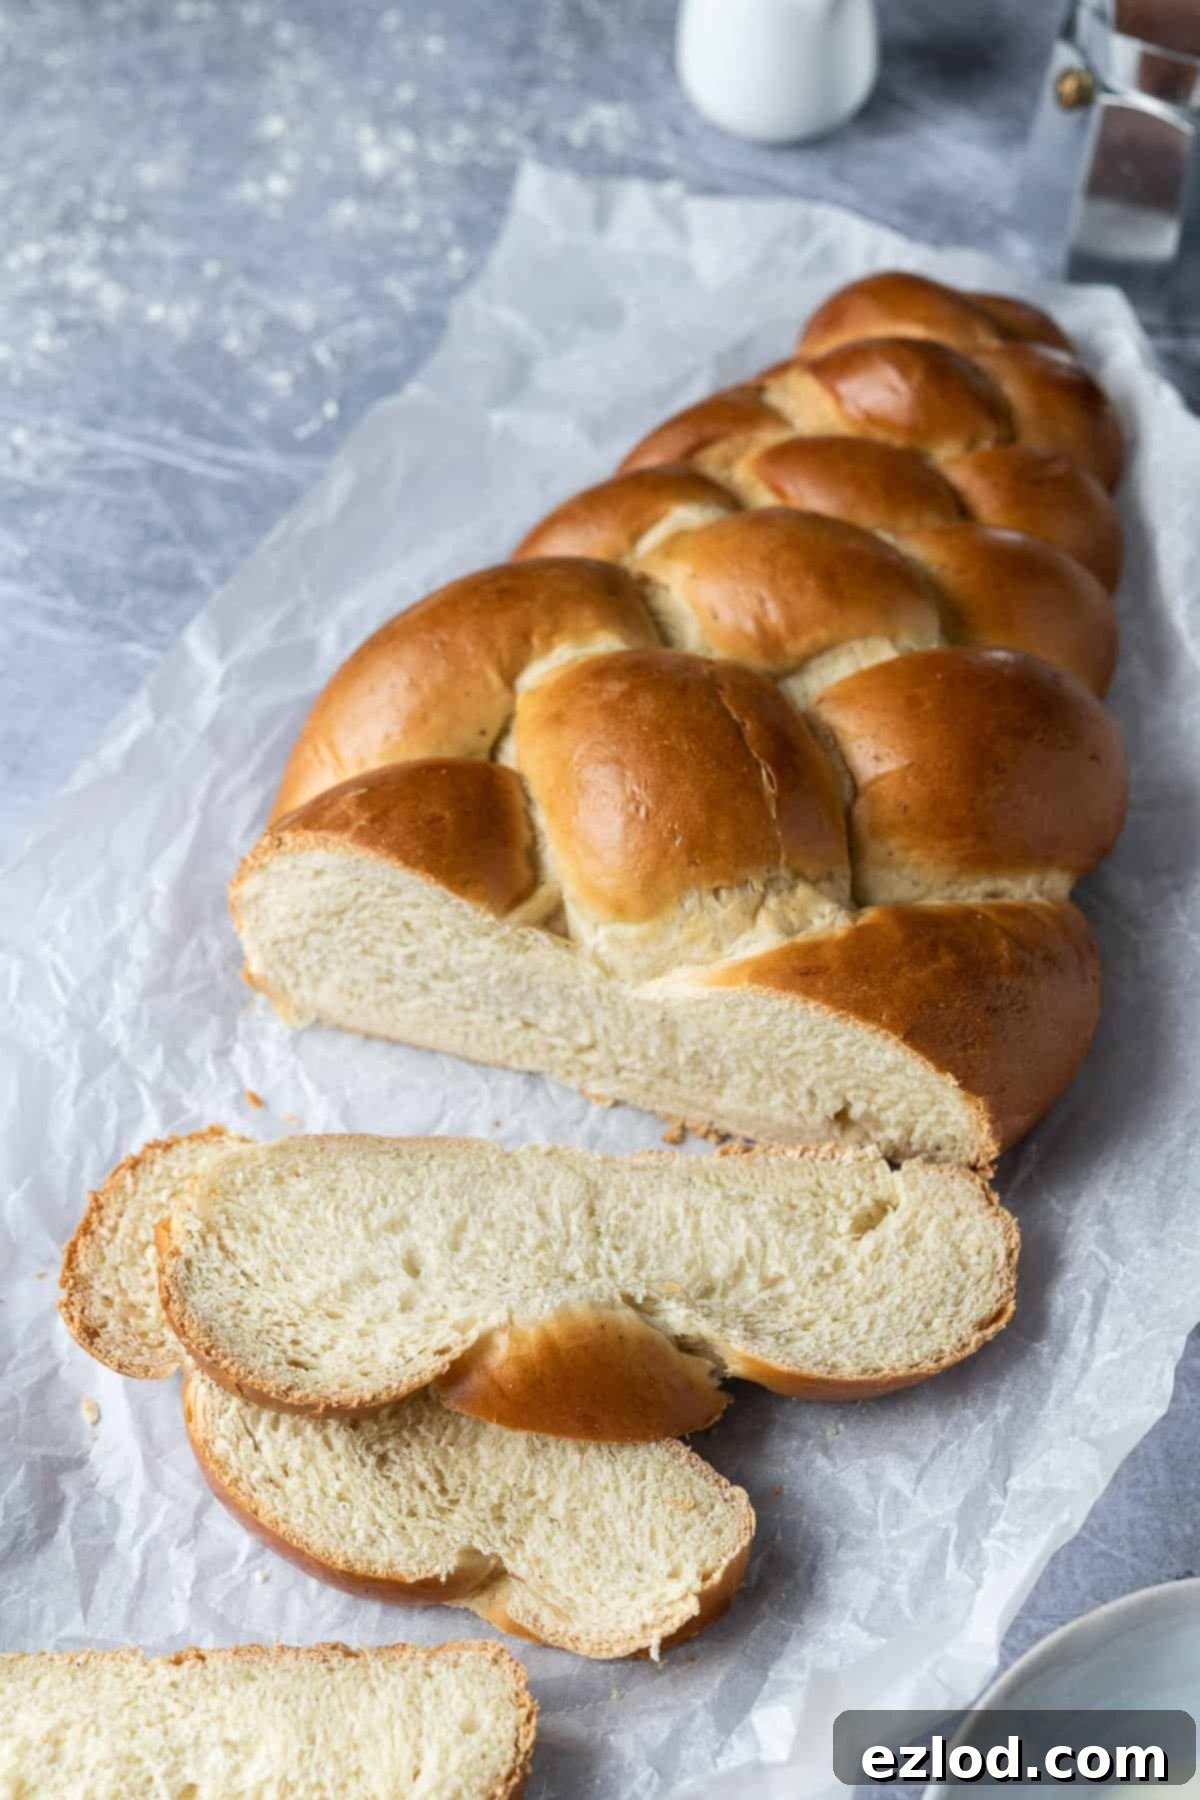
Storage: While pulla is always best enjoyed on the day it’s baked, any leftovers will keep well for a couple of days when stored in an airtight container at room temperature. This prevents it from drying out too quickly. If it does start to feel a little dry after a day or two, don’t despair! It makes absolutely fantastic toast, especially with a spread of vegan butter or jam.
Can This Recipe Be Made Gluten-Free?
Unfortunately, this specific vegan pulla bread recipe is not suitable for gluten-free flour substitutions. Baking gluten-free bread is a complex process that requires an entirely different formulation of ingredients and techniques to achieve a desirable texture and rise. Since gluten-free baking is not my area of expertise, I cannot confidently advise on adapting this recipe.
For successful gluten-free results, it is always best to seek out and use a recipe specifically designed to be gluten-free, rather than attempting to modify a traditional wheat-based recipe. This ensures the correct balance of flours, binders, and leavening agents for a delicious and well-structured gluten-free loaf.
Expert Tips for Vegan Pulla Baking Success
Achieving a perfect vegan pulla loaf is both rewarding and delicious. Here are my top tips to ensure your baking journey is a success:
- Precision in Ingredients: For consistently excellent results, always adhere closely to the recipe. I cannot stress enough the importance of weighing your ingredients using a digital kitchen scale and the gram measurements provided, rather than relying on cup conversions. Cup measurements can be notoriously inaccurate for baking, leading to inconsistent outcomes. A gram is an absolute, while a cup’s volume can vary.
- Check Your Yeast: Ensure your yeast is fresh and not past its expiration date. Old or inactive yeast is a common culprit for bread that fails to rise, resulting in a dense loaf.
- Resist Adding More Flour: The dough for this pulla is designed to be a bit soft and sticky. It’s crucial not to be tempted to add excessive amounts of extra flour during kneading. Over-flouring will lead to a dry, dense, and heavy pulla, rather than the light, airy, and fluffy texture we desire.
- Mind the Temperature: The rising time of your dough (proofing) is significantly influenced by the ambient room temperature. On warmer days, your dough will rise much faster than on colder days. Adjust your rising time expectations accordingly, using the visual cues and poke test as your guide rather than a strict timer.
- Flour Choice Matters: Bread flour will consistently provide the best texture, contributing to the soft, chewy crumb. However, if bread flour isn’t available, plain (all-purpose) flour can be used as an alternative, though expect a slightly less developed texture. Avoid using wholemeal or whole wheat flour, as its higher fiber content will result in a dense and heavy pulla bread.
- Optional Toppings: For an extra touch of sweetness and texture, consider sprinkling your pulla bread with pearl sugar or flaked almonds (or even both!) after brushing it with non-dairy milk and before baking. This adds a delightful crunch and traditional aesthetic.
- Braid Variations: While I prefer the impressive four-strand braid, feel free to opt for a simpler three-strand braid if you’re newer to braiding or simply prefer it. This recipe is also versatile enough to be used for making individual vegan pulla rolls, though be aware that the baking time will be shorter, typically around 20 minutes.
- Cardamom Intensity: Adjust the amount of freshly ground cardamom to suit your personal preference for flavor strength. Using 1 teaspoon provides a noticeable yet subtle aroma, while 2 teaspoons will deliver a much more pronounced and strong cardamom kick. I find 1 teaspoon, derived from about 15 cardamom pods, offers a perfectly balanced flavor for this recipe.
- Overnight Rise Option: This vegan pulla bread can be made all in one day, or you can split the process. Prepare the dough in the evening, place it (covered) in the refrigerator for an overnight rise, and then continue with shaping and baking the following morning. The cold dough will be easier to handle and shape into a braid, though the second rise will likely take longer as the dough needs to warm up.
- Enjoy Fresh or Reheat: While this vegan pulla bread is undoubtedly at its peak flavor and texture on the day it’s baked, it remains delicious for a couple of days when stored in an airtight container. If it begins to lose a bit of its initial softness, slicing and toasting it makes for an incredible snack.
More Delicious Vegan Bread Recipes to Explore:
- Vegan White Sandwich Bread
- Vegan Hokkaido Milk Bread
- Vegan Brioche
- Vegan Challah Bread
- Vegan Beer Pretzels
- Easy Flatbreads
- Vegan Naan Bread
If you’ve had the pleasure of trying this wonderful recipe, I would love to hear about your experience! Please rate it, share your thoughts in a comment, or tag @domestic_gothess on Instagram and use the hashtag #domesticgothess. Your feedback and creations inspire us!
*All images and content on Domestic Gothess are copyright protected. If you wish to share this recipe, please do so by utilizing the provided share buttons. Reproduction of the full recipe or content, including screenshots, is strictly prohibited.*

Print
Vegan Pulla Bread: Finnish Cardamom Braided Loaf
Ingredients
- 260 ml (1 cup + 1 Tbsp + 1 tsp) unsweetened non-dairy milk (soy milk is highly recommended for best results)
- 60 g (¼ cup) vegan block butter (such as Naturli Vegan Block, for superior texture)
- 400 g (3 cups + 2 Tbsp) strong white bread flour
- 8 g (2 ½ tsp) instant yeast (see notes for active dry yeast alternative)
- 60 g (¼ cup + 1 Tbsp) caster or granulated sugar
- 1-2 tsp freshly ground cardamom seeds (I use 1 tsp, from about 15 pods, for balanced flavor)
- ½ tsp fine sea salt
- additional non-dairy milk for brushing the loaf
Instructions
-
To prepare the dough, combine the measured non-dairy milk and vegan butter in a saucepan. Heat gently over a low heat, stirring until the butter has fully melted. Remove from heat and allow the mixture to cool until it is lukewarm (you should be able to comfortably hold your finger in it without discomfort). While cooling, prepare your cardamom by shelling and grinding the seeds.
-
Once the milk mixture is lukewarm, place the bread flour into the bowl of a stand mixer fitted with a dough hook. Add the instant yeast to one side of the bowl, and the sugar, salt, and freshly ground cardamom to the other side. Briefly mix these dry ingredients to combine.
-
Pour the lukewarm butter and milk mixture into the dry ingredients. Mix on low speed until a shaggy dough forms, then increase to medium speed and knead for 5-10 minutes until the dough is smooth, elastic, and stretchy. It should still be slightly sticky but should pull cleanly away from the sides of the bowl. If the dough seems too wet, add flour one tablespoon at a time; avoid adding too much, as this will result in a dry bread. If you don’t have a stand mixer, knead the dough by hand on a clean, unfloured surface.
-
Transfer the kneaded dough to a lightly oiled bowl, cover it tightly with plastic wrap or a clean tea towel, and place it in a warm spot to rise until it has doubled in size. This will typically take 1-2 hours, or it can be left in the refrigerator overnight for a slower rise.
-
After the dough has doubled, gently punch it down to release the air, then give it a very brief knead. Divide the dough into four equal pieces (or three for a simpler braid), ideally using a kitchen scale for precision. Shape each piece into a smooth ball.
-
Take one dough ball and roll it out into a thin oval shape on a lightly oiled work surface.
-
Starting from one of the long edges, tightly roll the oval into a sausage shape. Then, using your hands, roll the sausage from the middle outwards to form a long, thin strand, tapering the ends to a point for a neat finish.
-
Repeat the rolling and shaping process for the remaining dough portions, ensuring all four strands are as uniform in length and thickness as possible.
-
Arrange the four strands parallel to each other on a lightly floured surface. Gather and firmly pinch the tips of all strands together at one end to secure them.
-
To create a four-strand braid, continuously repeat this pattern: take the strand furthest to the right, weave it over the next strand, then under the following strand, and finally over the last strand. Continue this “over, under, over” motion, always starting with the new furthest right strand, until the entire loaf is plaited. Be careful not to braid too tightly, as this can cause the loaf to split during baking.
-
Pinch the ends of the braided loaf tightly to prevent unraveling. Carefully transfer it to a baking sheet lined with baking parchment and loosely cover with cling film or a clean tea towel. Allow the loaf to rise in a warm spot until visibly puffy and almost doubled in size, typically 45 minutes to 2 hours, depending on dough temperature and environment.
-
To check if the bread is ready for baking, gently poke it with a finger. It should spring back slowly most of the way, leaving a slight indentation. If it springs back quickly and completely, it needs more time. If the indentation remains, it might be over-proofed.
-
While the pulla is finishing its second rise, preheat your oven to 180°C (160°C fan/350°F/gas mark 4).
-
Once the pulla is perfectly proofed, gently brush its entire surface with a little non-dairy milk for a golden crust. Bake for approximately 30 minutes. The bread is done when a probe thermometer inserted into the center reads at least 90°C (194°F). If you don’t have a thermometer, a toothpick inserted into the center should come out clean, and the bottom of the loaf should sound hollow when tapped. If the top begins to brown too quickly, loosely tent the loaf with aluminum foil.
-
Carefully slide the baked loaf onto a wire rack and allow it to cool completely before slicing. This is crucial for the internal structure to set. Once cool, store any leftovers in an airtight container to maintain freshness.
Notes
- For the best and most consistent results, always weigh your ingredients using gram measurements and a digital scale, rather than relying on cup conversions. Cup measurements are not accurate enough for baking and can significantly affect the outcome. A gram is always a gram, but a cup can vary in volume.
- For comprehensive tips, detailed explanations, and answers to common questions about making perfect vegan pulla bread, please refer to the detailed sections in the article above.
- Enhance your pulla bread by topping it with a sprinkle of pearl sugar or flaked almonds (or both!) after brushing it with milk and just before baking. This adds a beautiful texture and a traditional touch.
