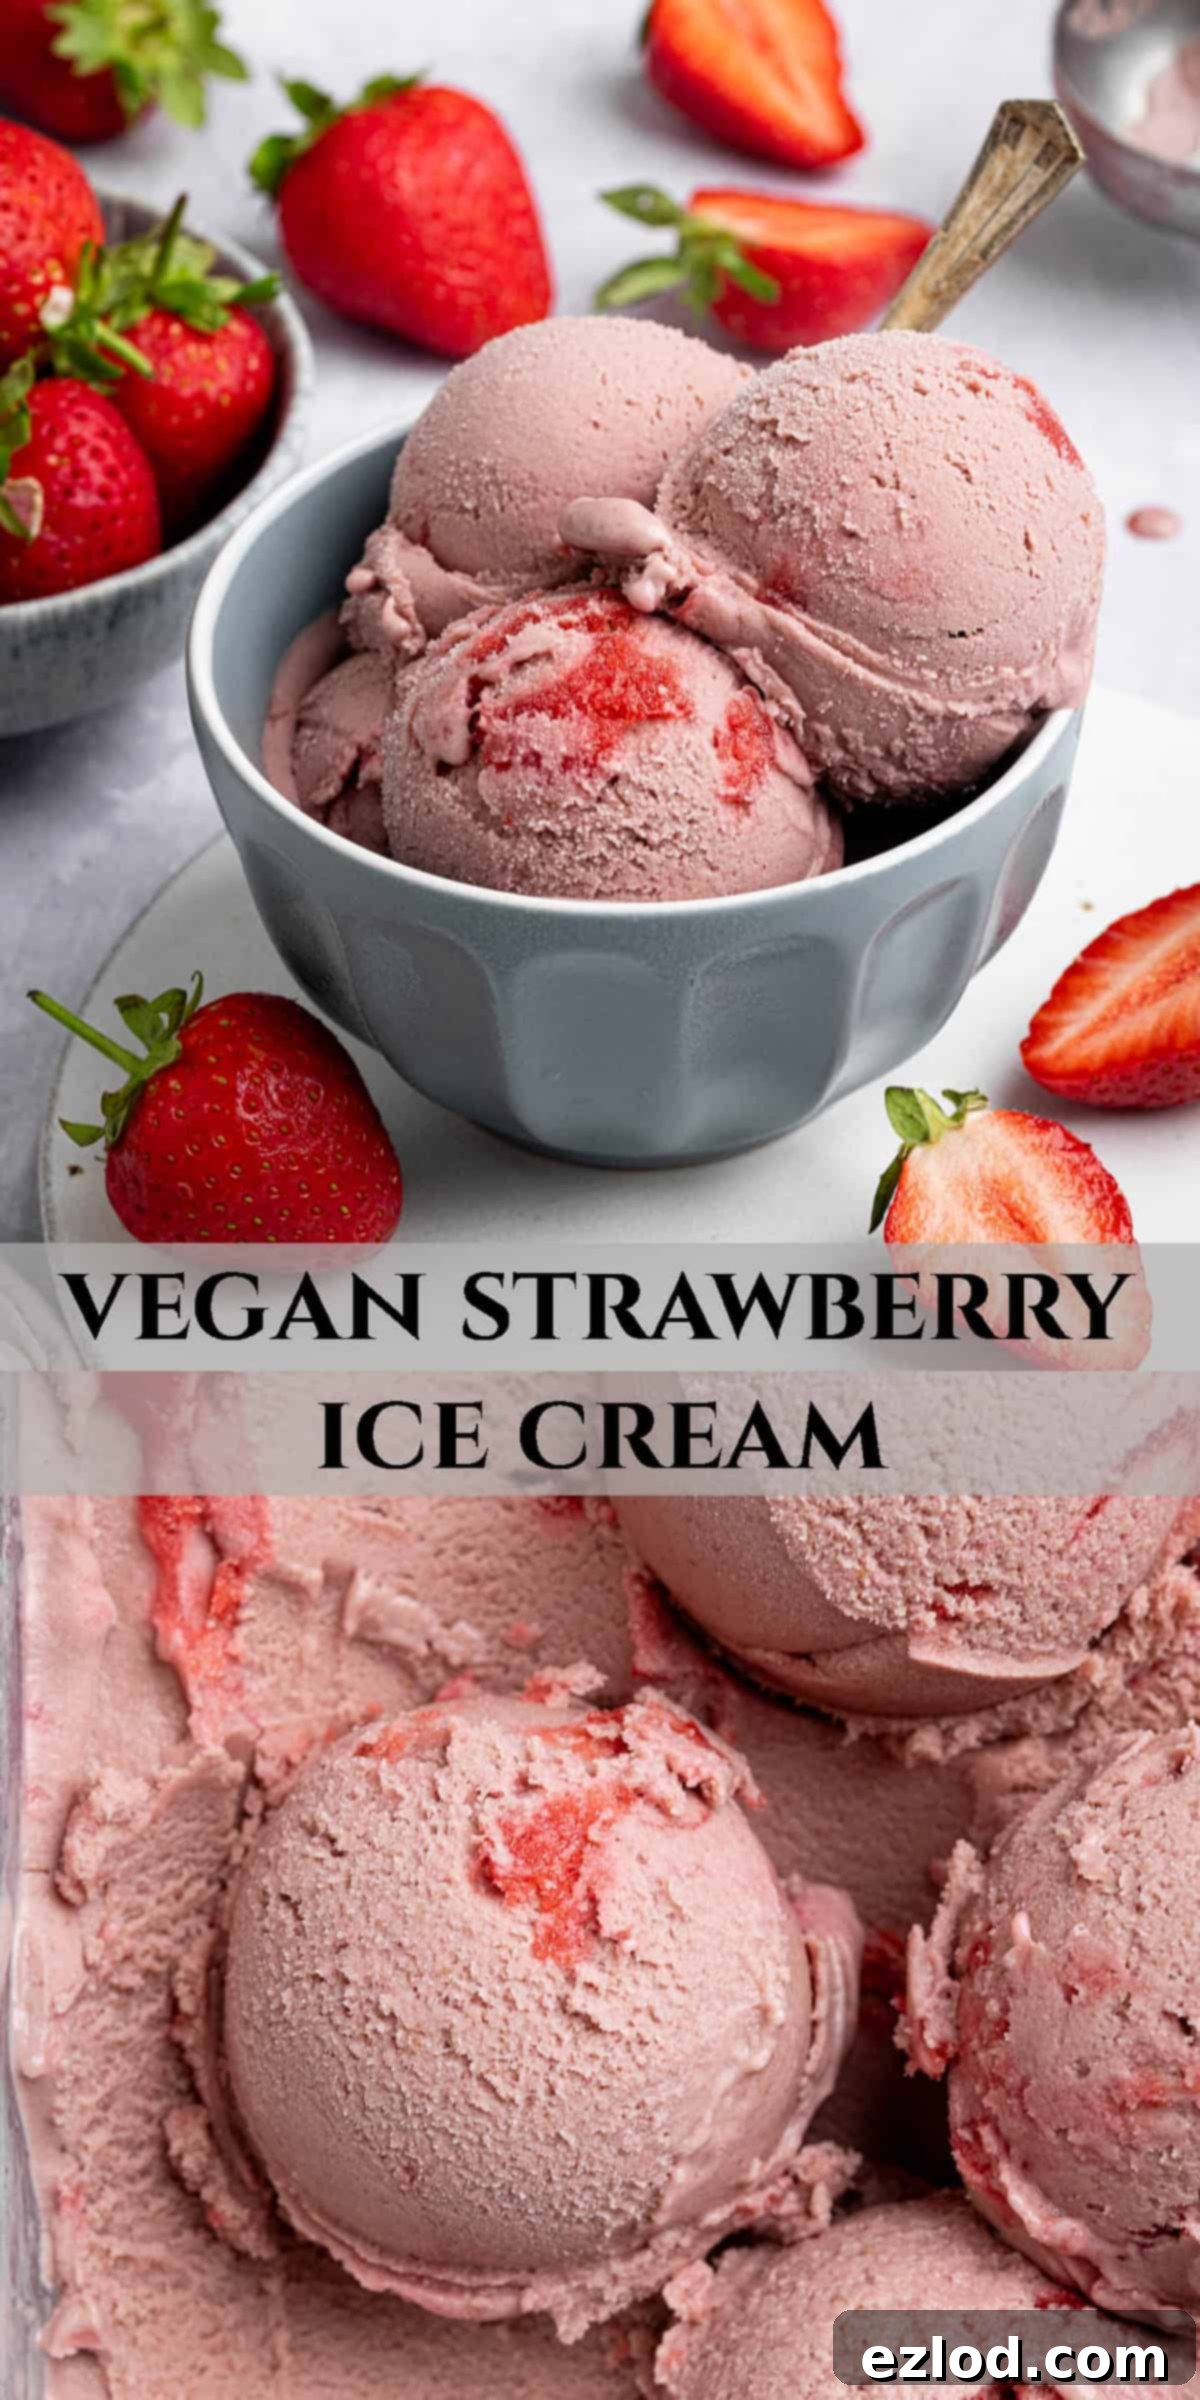
Creamy Vegan Strawberry Ice Cream: The Ultimate Coconut-Free, Oat-Powered Recipe
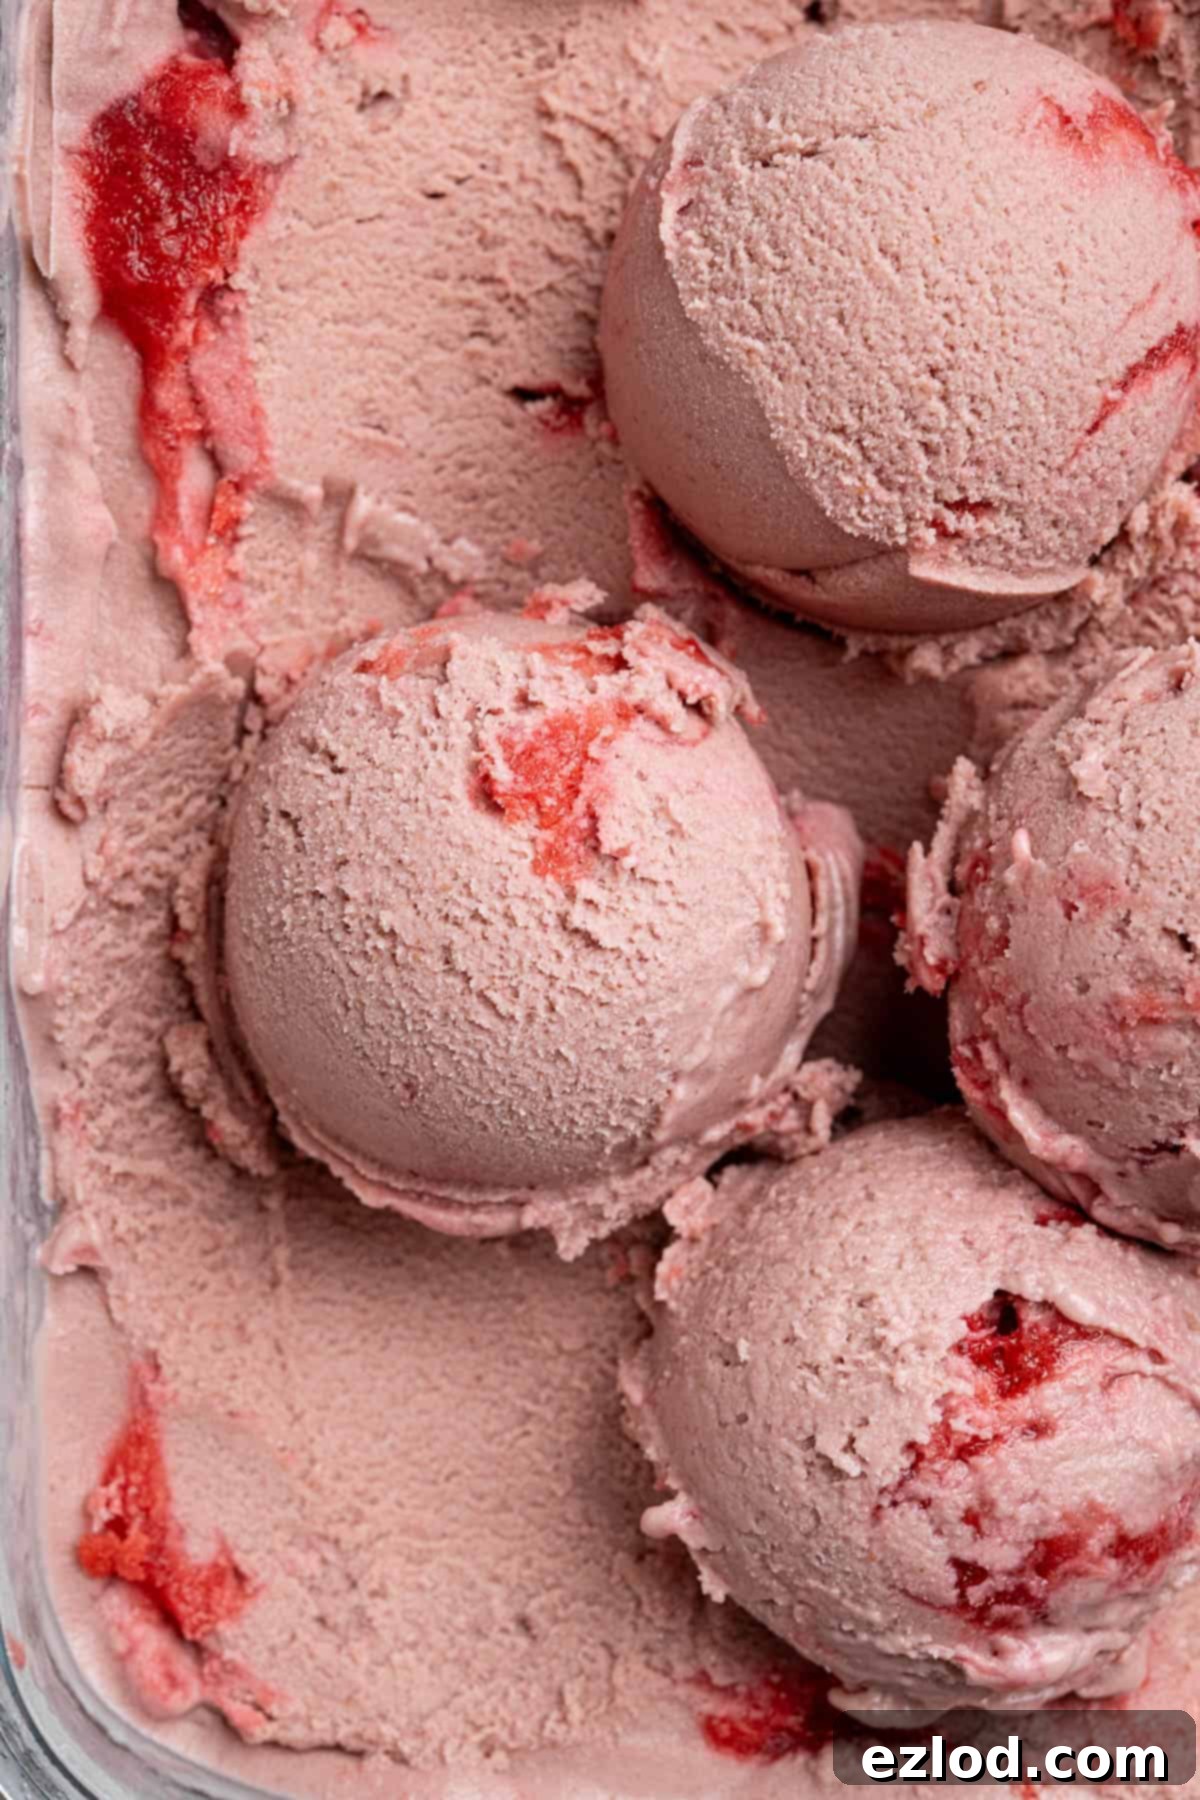
Prepare to delight your taste buds with this incredible vegan strawberry ice cream recipe! It’s not just easy to make, but promises a gorgeously smooth, wonderfully creamy texture, and an intensely refreshing strawberry flavor that will have you coming back for more. What sets this recipe apart is its clever use of both roasted strawberries in the base and a vibrant strawberry swirl, ensuring every spoonful bursts with fruity goodness. Whether you have an abundance of fresh summer berries or a stash of frozen ones, this recipe is perfectly adaptable, making it a year-round treat.
And here’s the best part for many: it contains absolutely NO coconut! For those who aren’t fans of coconut flavor in their ice cream, this recipe is a game-changer. The secret to its remarkably rich and creamy consistency lies in a surprising, yet effective ingredient: oats! This innovative base allows the bright, natural flavor of strawberries to truly shine, without any competing tropical notes.
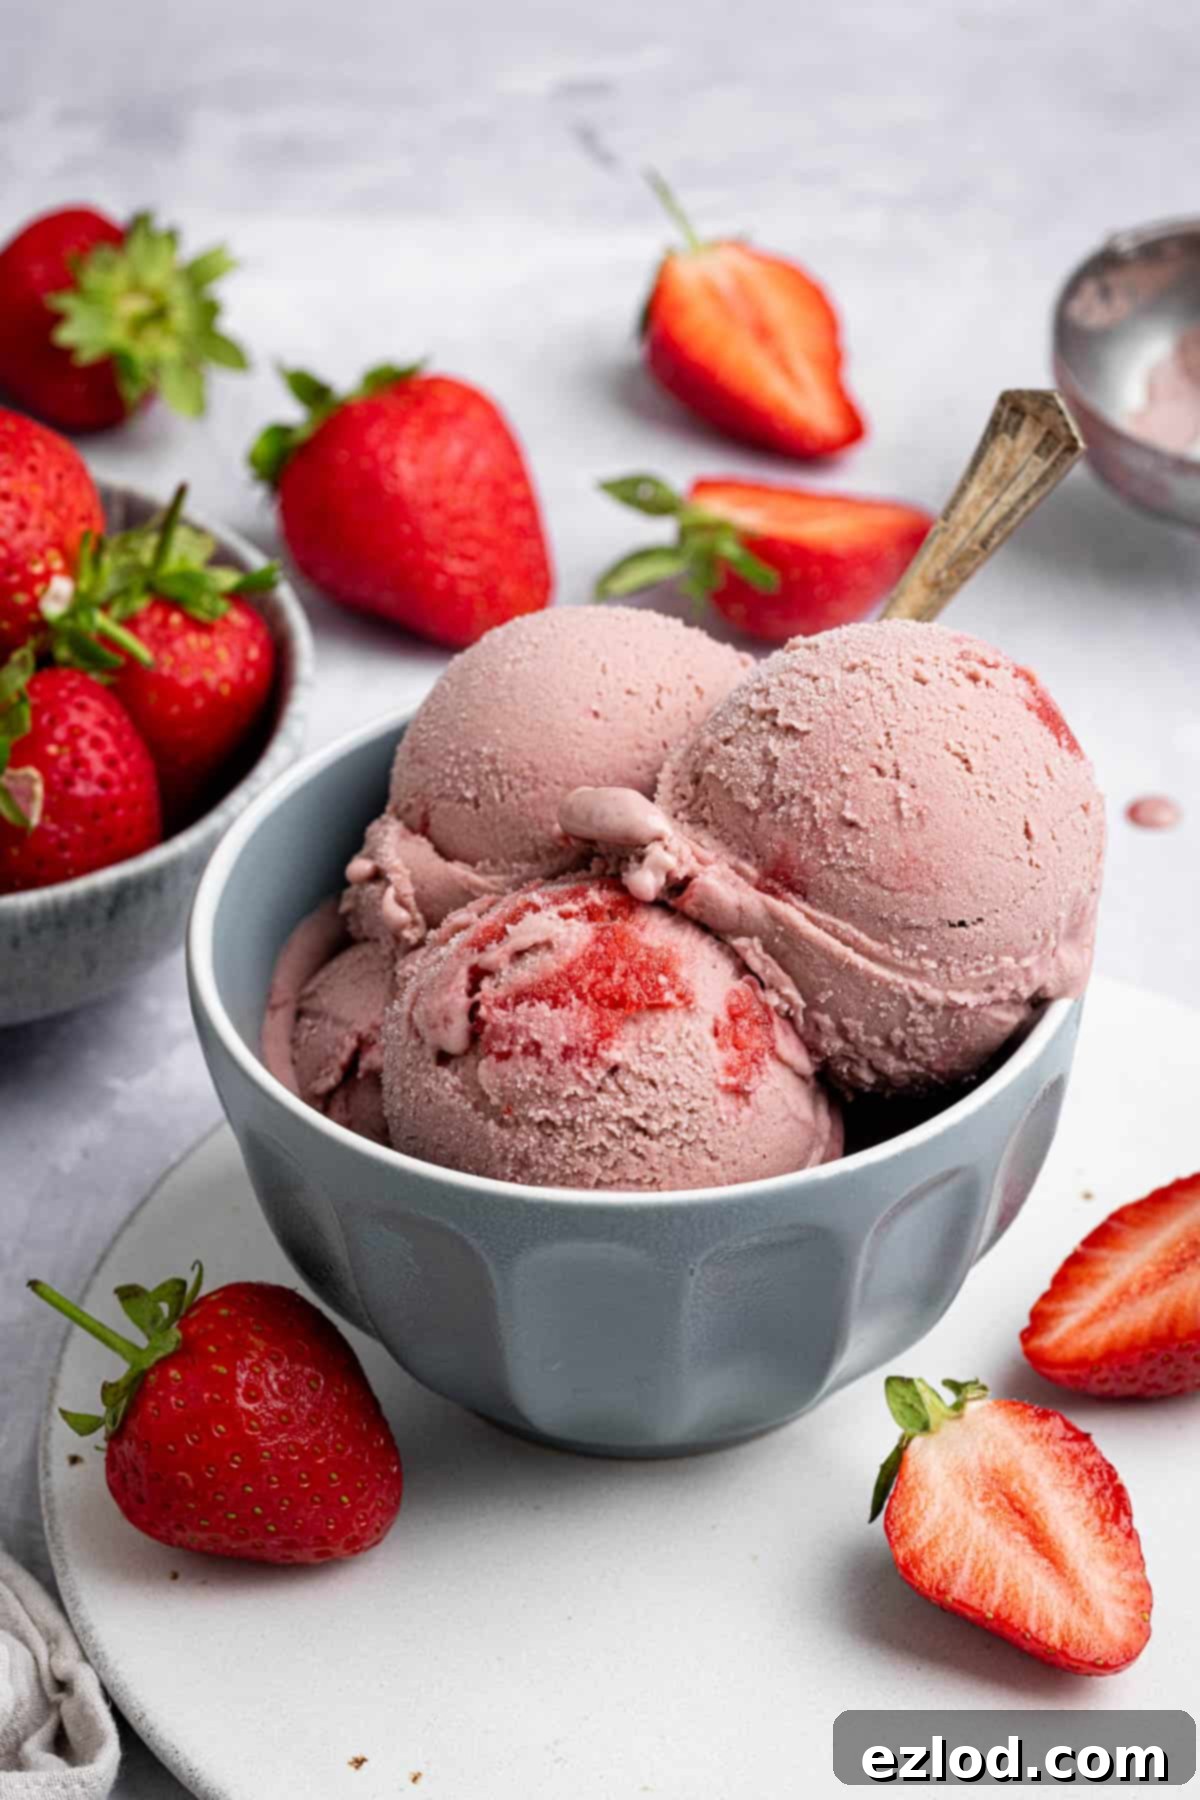
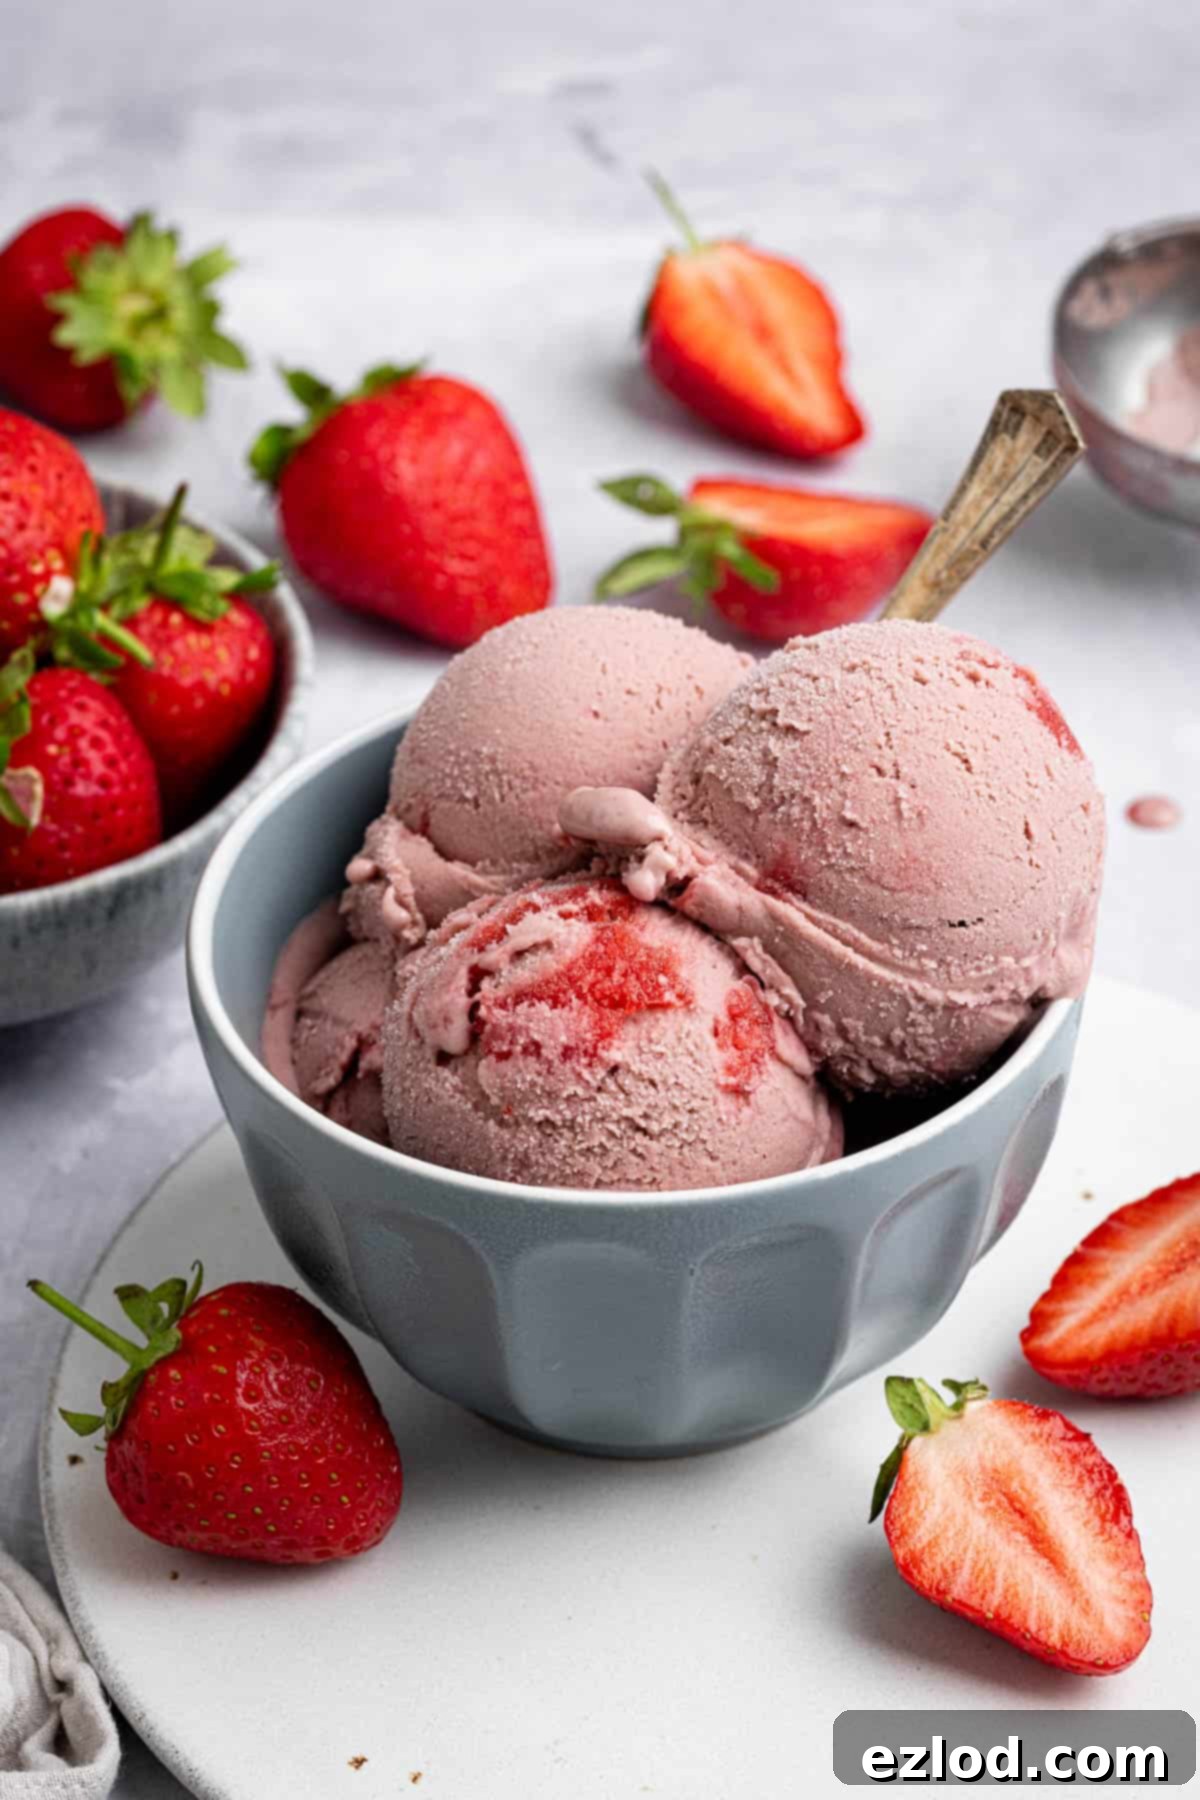
This delightful vegan strawberry ice cream builds upon the foundation of my popular vegan vanilla ice cream recipe. That original recipe pioneered an ingenious base made from cooked oats and cashews, intentionally sidestepping the use of coconut milk. This approach yields a wonderfully neutral canvas for your ice cream, ensuring that the star flavor—in this case, luscious strawberries—is fully appreciated without any underlying coconut taste. It’s a revelation for anyone seeking a truly pure fruit ice cream experience.
The beauty of an oat and cashew base is its incredible versatility. Unlike coconut-based ice creams which inherently carry a distinct flavor, this neutral base is highly adaptable. It provides a rich, creamy texture without imposing its own taste, allowing you to explore an endless array of flavors. From rich chocolates to zesty citrus or, as with this recipe, vibrant fruits, your chosen flavor will always be the hero.
This particular strawberry version truly capitalizes on the neutral base, resulting in an ice cream that is profoundly rich, exquisitely creamy, and absolutely bursting with authentic strawberry flavor. To amplify the fruitiness even further, I’ve incorporated a generous strawberry swirl. This double dose of strawberries ensures a deep, natural taste that artificial flavors simply cannot replicate. It’s a true celebration of strawberry season, or a way to enjoy summer flavors any time of year.
Strawberries, while delicious, have a naturally high water content. If added raw to ice cream, they can lead to an icy, less flavorful result. To counteract this and achieve a sublime, non-icy, intensely flavorful ice cream, the strawberries must be cooked down to reduce their liquid and concentrate their natural sugars and aroma. I’ve found roasting them to be the superior method, as it deepens their flavor and caramelizes their sugars beautifully. However, you can also achieve a great result by simply chopping them and simmering them gently in a saucepan until a syrupy reduction forms. This crucial step is what transforms ordinary strawberries into an extraordinary ice cream experience.
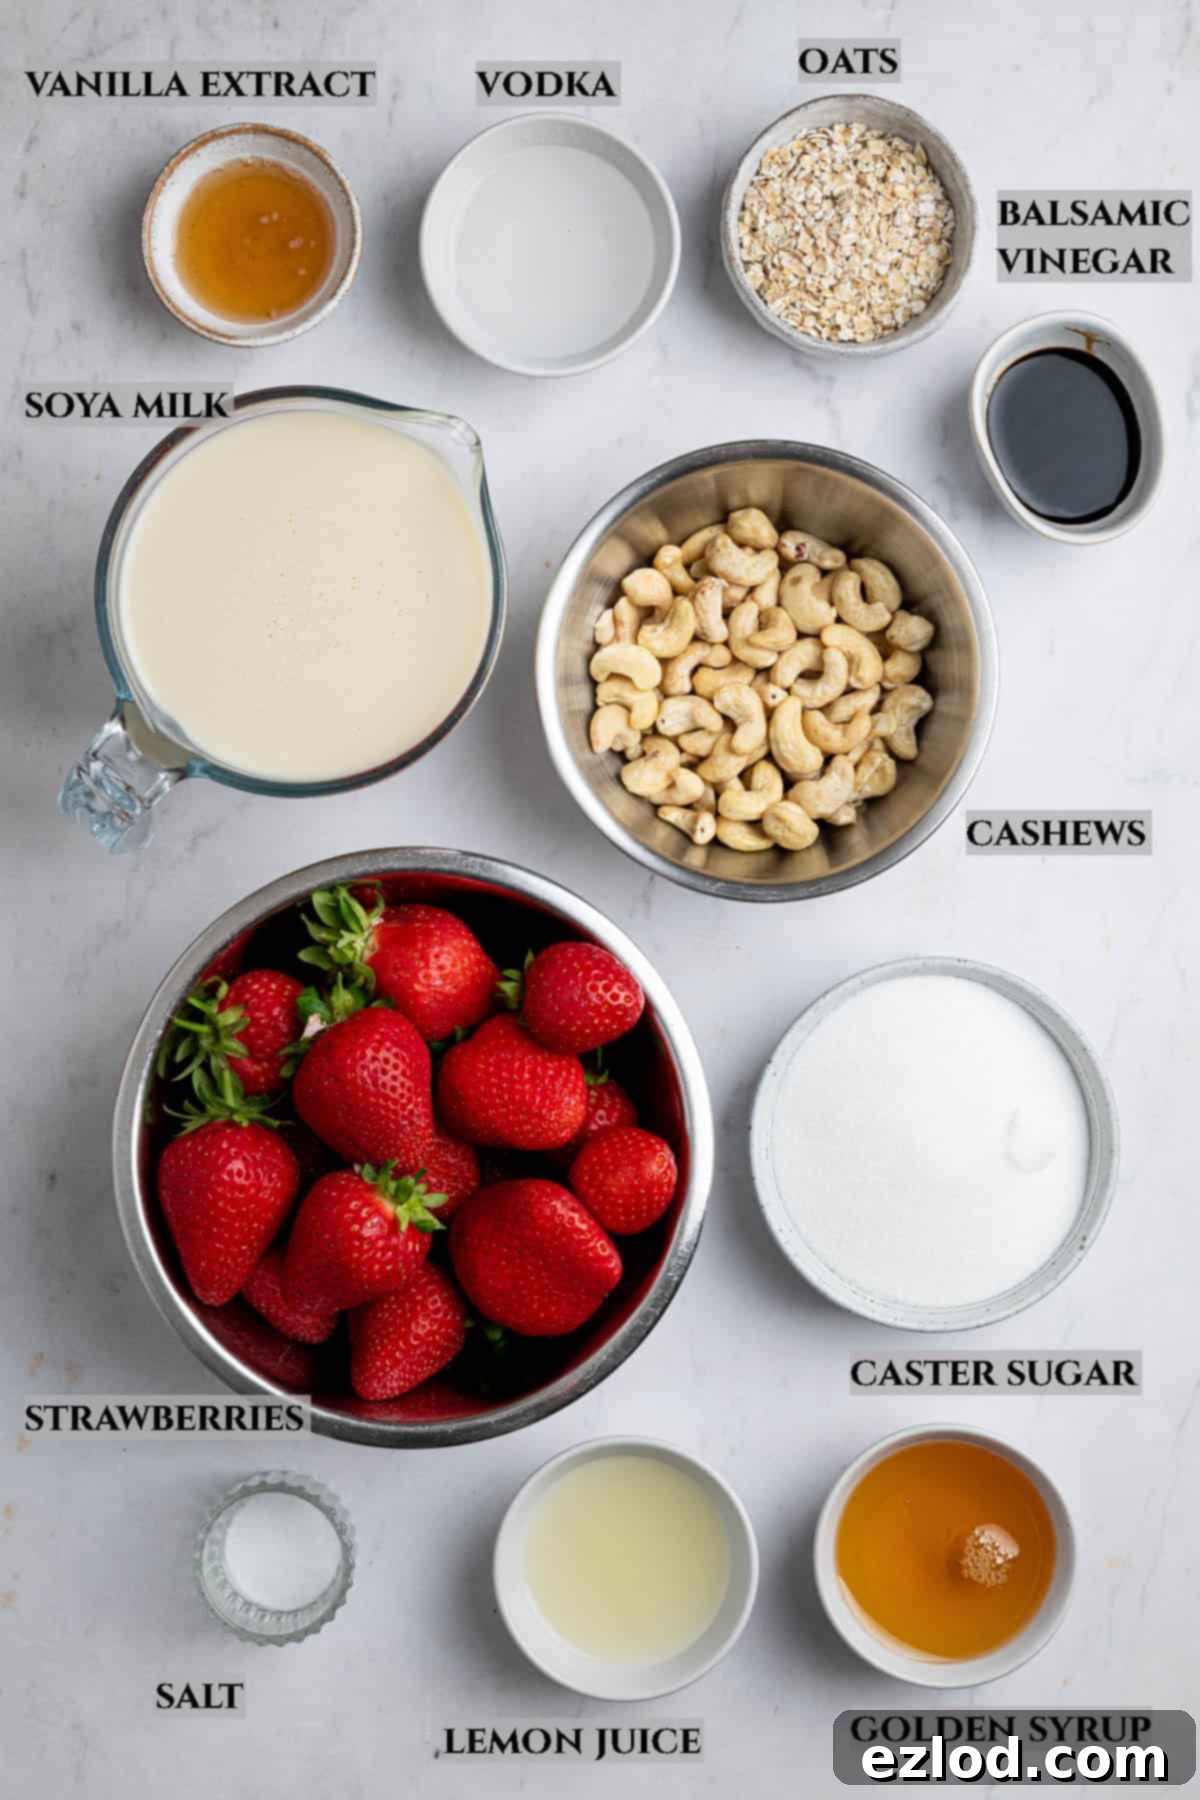
Key Ingredients for Your Creamy Vegan Strawberry Ice Cream
Crafting the perfect vegan strawberry ice cream requires a thoughtful selection of ingredients, each playing a vital role in achieving that coveted creamy texture and vibrant flavor. Here’s a closer look at what you’ll need and why:
Strawberries: The star of the show! You have the flexibility to use either fresh, ripe strawberries or convenient frozen ones. As mentioned, their high water content necessitates cooking them first. This process not only evaporates excess liquid, preventing an icy texture, but critically concentrates their natural sweetness and intensifies their flavor, ensuring your ice cream truly tastes like summer strawberries.
Cashews: Unroasted cashews are a cornerstone of this coconut-free creamy base. When properly soaked and blended, they transform into a silky, rich cream that provides the luscious mouthfeel traditionally associated with dairy ice cream. Soaking is key; it softens them sufficiently for a super smooth blend. You can quick-soak them in boiling water for about an hour, or for optimal smoothness, soak them in cold water overnight.
Porridge Oats: Don’t underestimate the power of humble oats! Regular rolled porridge oats or quick-cooking oats work equally well here. When simmered with plant milk, they become soft and contribute significantly to the ice cream’s body and creamy texture. Oats act as a natural thickener and emulsifier, helping to create a stable, smooth base that isn’t gummy.
Plant Milk: For the most neutral flavor profile, unsweetened soy milk is highly recommended. It offers a naturally creamy texture and won’t compete with the delicate strawberry flavor. (My personal favorite is Alpro Unsweetened Soya milk). While you can experiment with other plant milks, be mindful that alternatives like almond or oat milk might impart their own subtle flavors to the finished ice cream.
Caster Sugar: I prefer white caster sugar (granulated works too) because of its neutral sweetness, allowing the natural brightness of the strawberries to be the dominant flavor. Sugar isn’t just for sweetness in ice cream; it’s crucial for texture too! It helps to lower the freezing point, resulting in a softer, more scoopable ice cream. Significantly reducing the sugar content will lead to a harder, less creamy, and ultimately less enjoyable dessert.
Golden Syrup: Incorporating an invert sugar syrup like golden syrup is a brilliant trick for homemade ice cream. It helps prevent the formation of large ice crystals, which can make ice cream feel hard and icy in the freezer. Golden syrup is my preference, but corn syrup, agave syrup, or maple syrup can also be used effectively, offering slightly different flavor notes.
Lemon Juice: A splash of fresh lemon juice is not just for acidity; it’s a flavor enhancer! It brightens and elevates the natural tang and sweetness of the strawberries, making their flavor pop even more.
Balsamic Vinegar: This is an optional, yet highly recommended, ingredient. Just a touch of balsamic vinegar during the strawberry roasting process works wonders to intensify and deepen the strawberry flavor, adding a subtle complexity that’s truly delicious.
Vanilla Extract: Much like salt in savory dishes, vanilla extract in sweet recipes enhances and rounds out other flavors. In this case, it beautifully complements and brings forward the aromatic notes of the strawberry.
Vodka: Another entirely optional, but useful, addition. A small amount of alcohol in homemade ice cream can significantly improve its texture by helping to prevent it from freezing solid. It results in a softer, easier-to-scoop consistency straight from the freezer.
How To Craft This Delicious Vegan Strawberry Ice Cream
Creating this rich and creamy vegan strawberry ice cream is a rewarding process. Follow these steps carefully to ensure a perfect, smooth, and intensely flavored frozen treat:
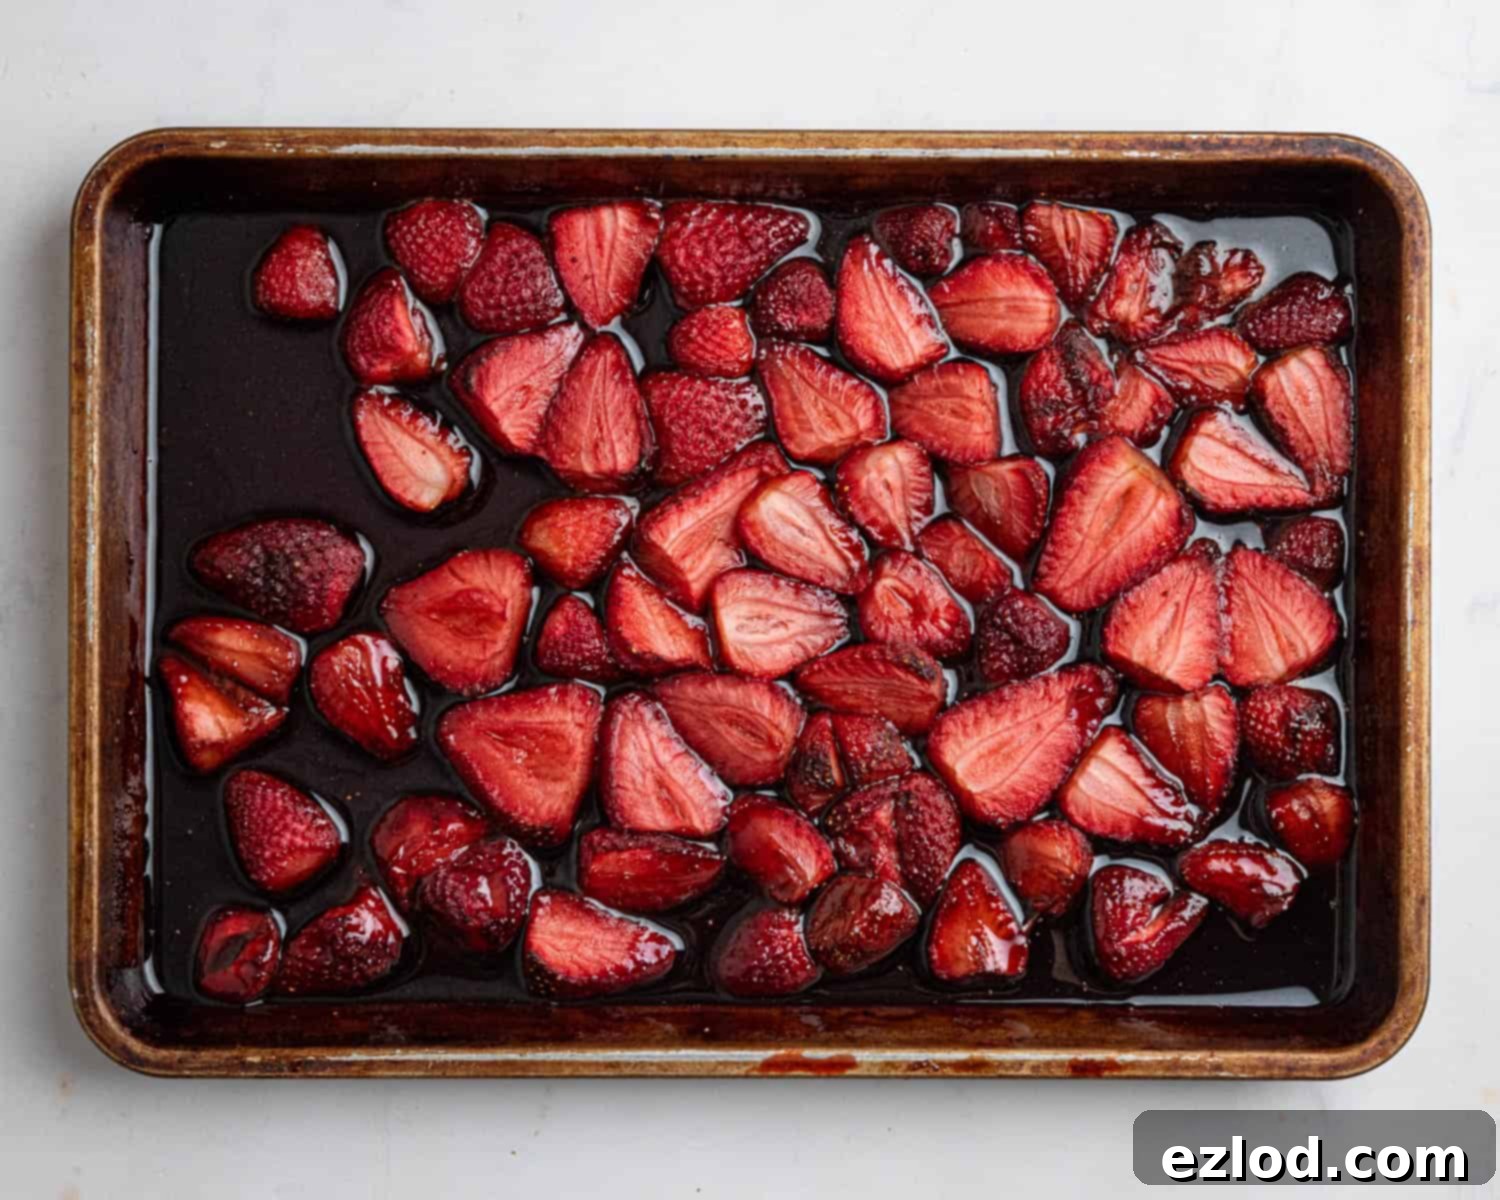
Step 1: Begin by preparing your strawberries. Roast them in the oven with golden syrup and balsamic vinegar until they are beautifully caramelized and their juices have thickened into a luscious syrup. Roasting not only concentrates their flavor but also adds a depth that fresh strawberries alone cannot provide.
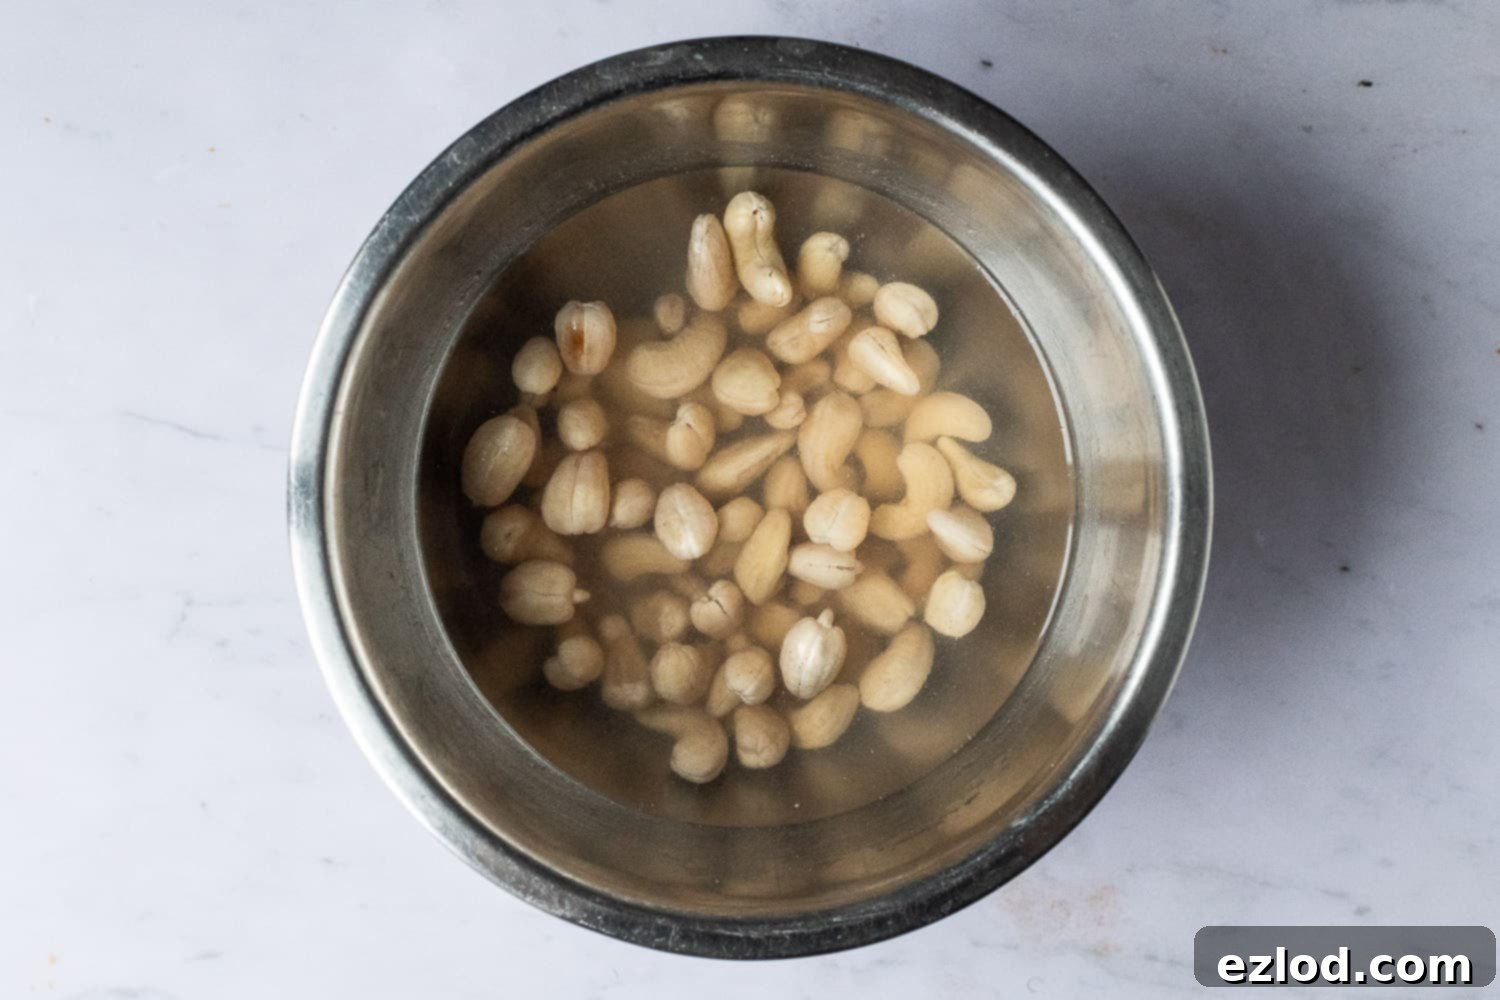
Step 2: While the strawberries are roasting, soak your cashews. Place the unroasted cashews in boiling water to soften them. This crucial step ensures they will blend into an incredibly smooth and creamy paste, free from any gritty texture.
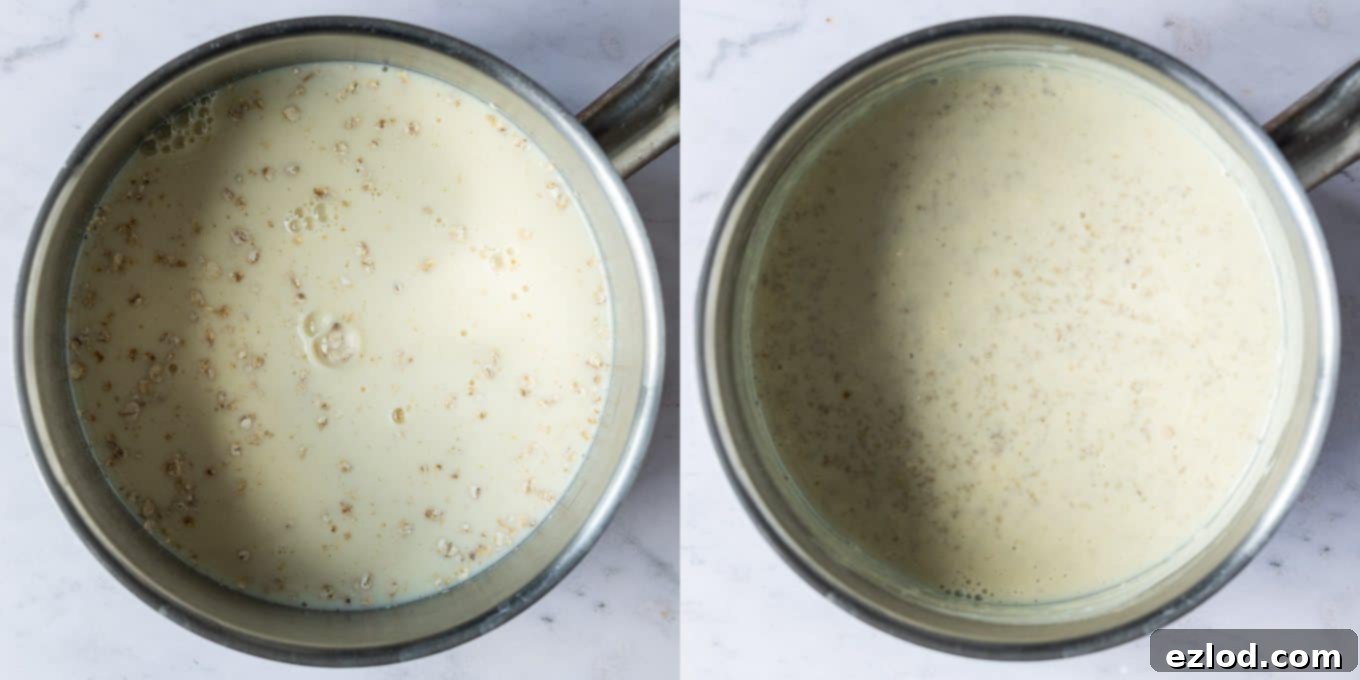
Step 3: Next, prepare the oat component of your base. Combine the porridge oats with a portion of the plant milk in a saucepan. Bring it to a gentle simmer and cook for approximately 5 minutes, stirring frequently. You’ll know they’re ready when the oats are completely soft and the mixture has thickened slightly, contributing to the body of your ice cream.
Step 4: Now it’s time to combine the main components. Transfer the roasted strawberries (including their delicious syrupy juices), the cooked oat mixture, and the thoroughly drained cashews into a high-speed blender. Add the remaining plant milk, sugar, vanilla extract, lemon juice, a pinch of salt, and the optional vodka. Blend until the mixture is incredibly smooth and uniform, pausing to scrape down the sides as needed to ensure everything is fully incorporated.
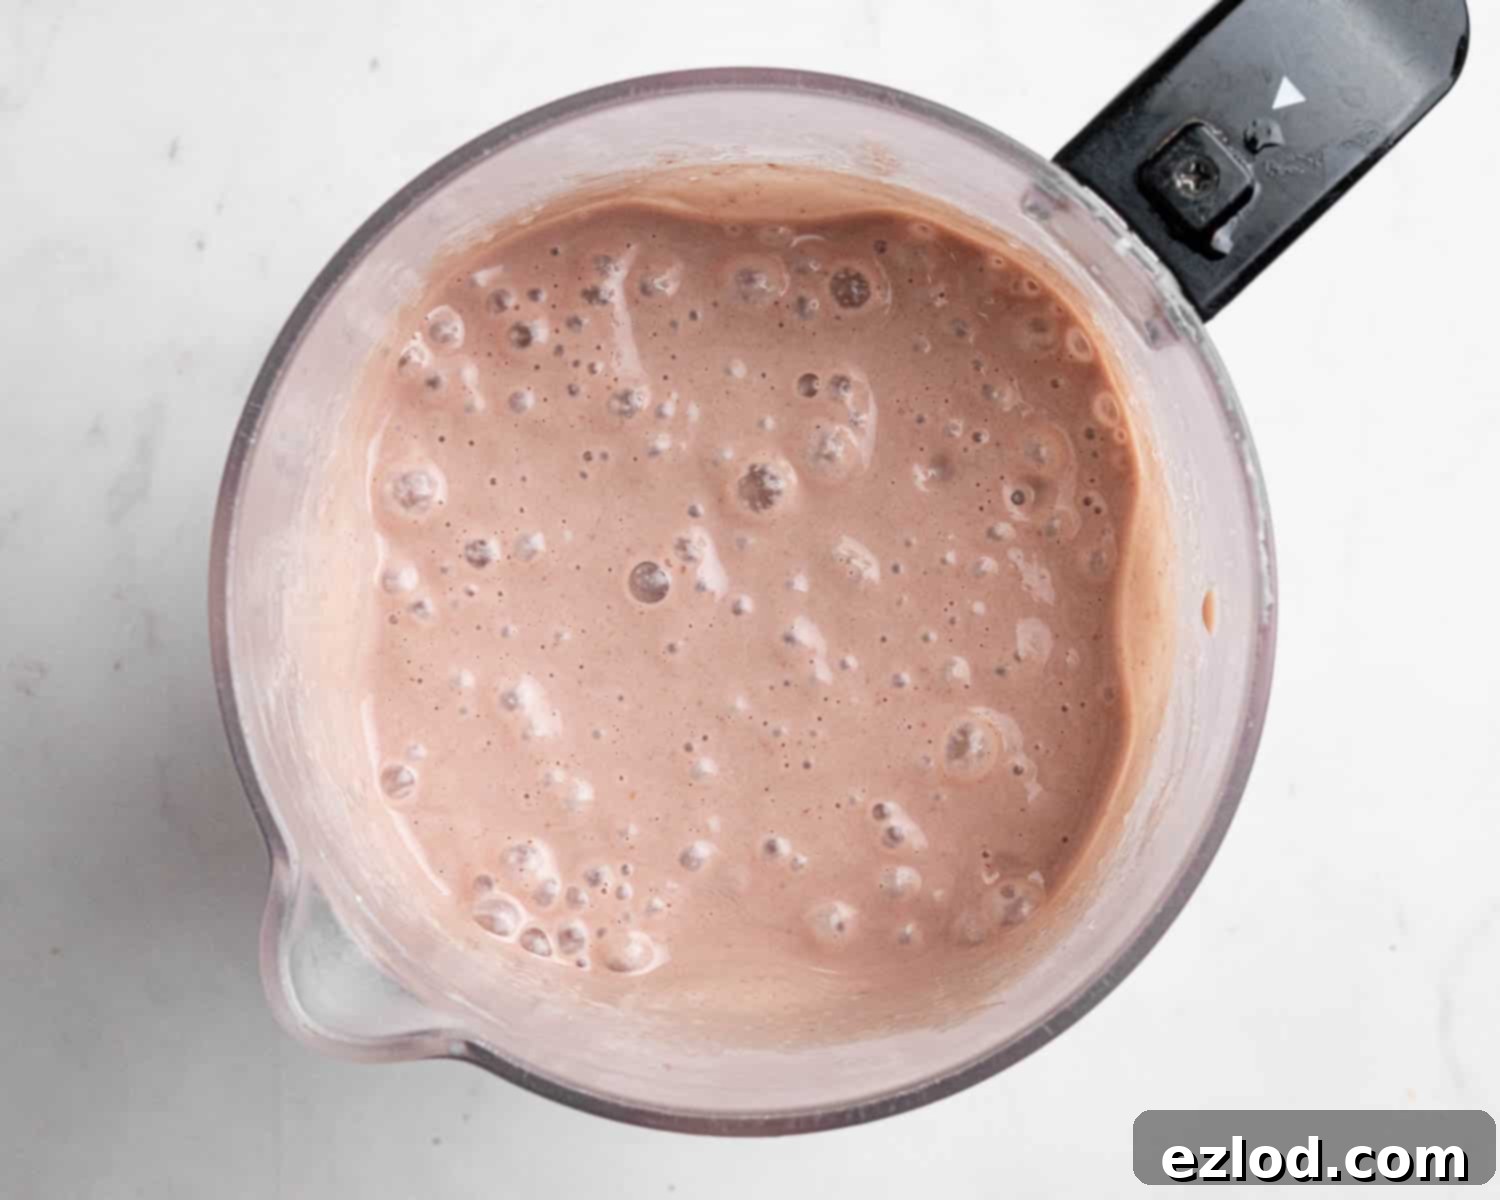
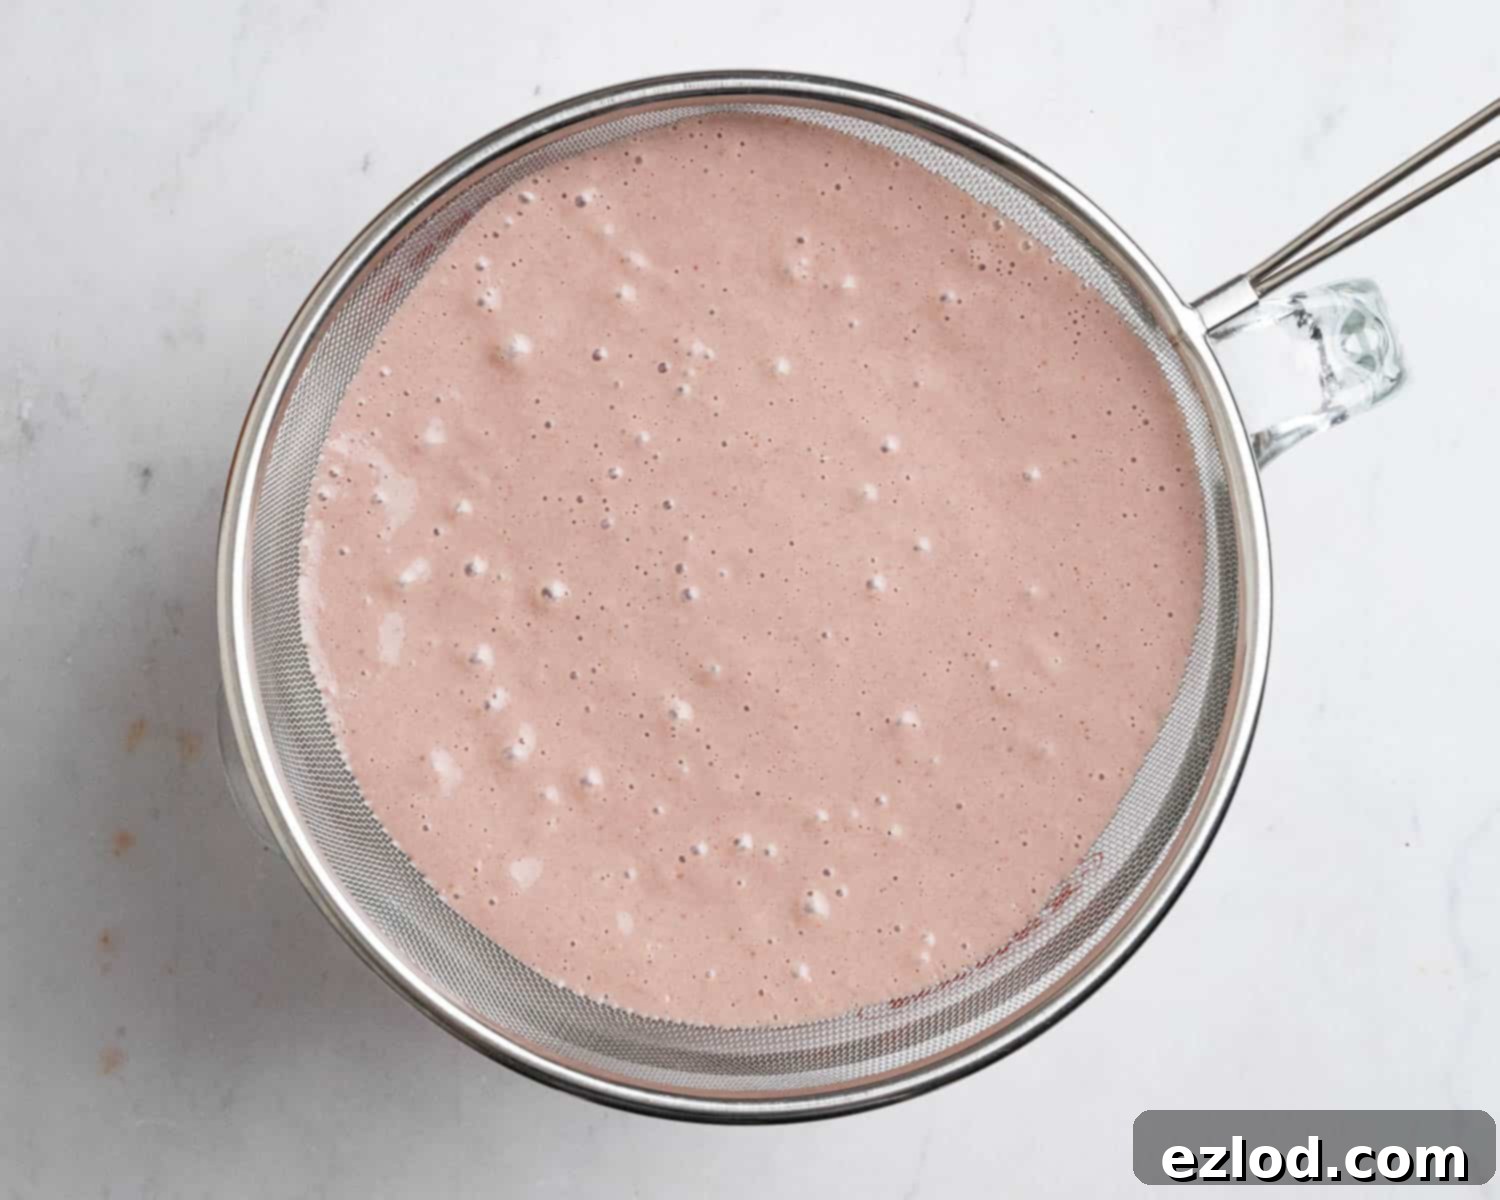
Step 5: For the ultimate silky texture, pour the blended ice cream base through a fine mesh sieve into a large jug or bowl. This step removes any tiny, unblended oat or cashew particles, guaranteeing a perfectly smooth result. Once strained, cover the mixture and refrigerate it until it’s completely cold. This chilling process, ideally overnight or for at least four hours, is vital for achieving the best consistency during churning.
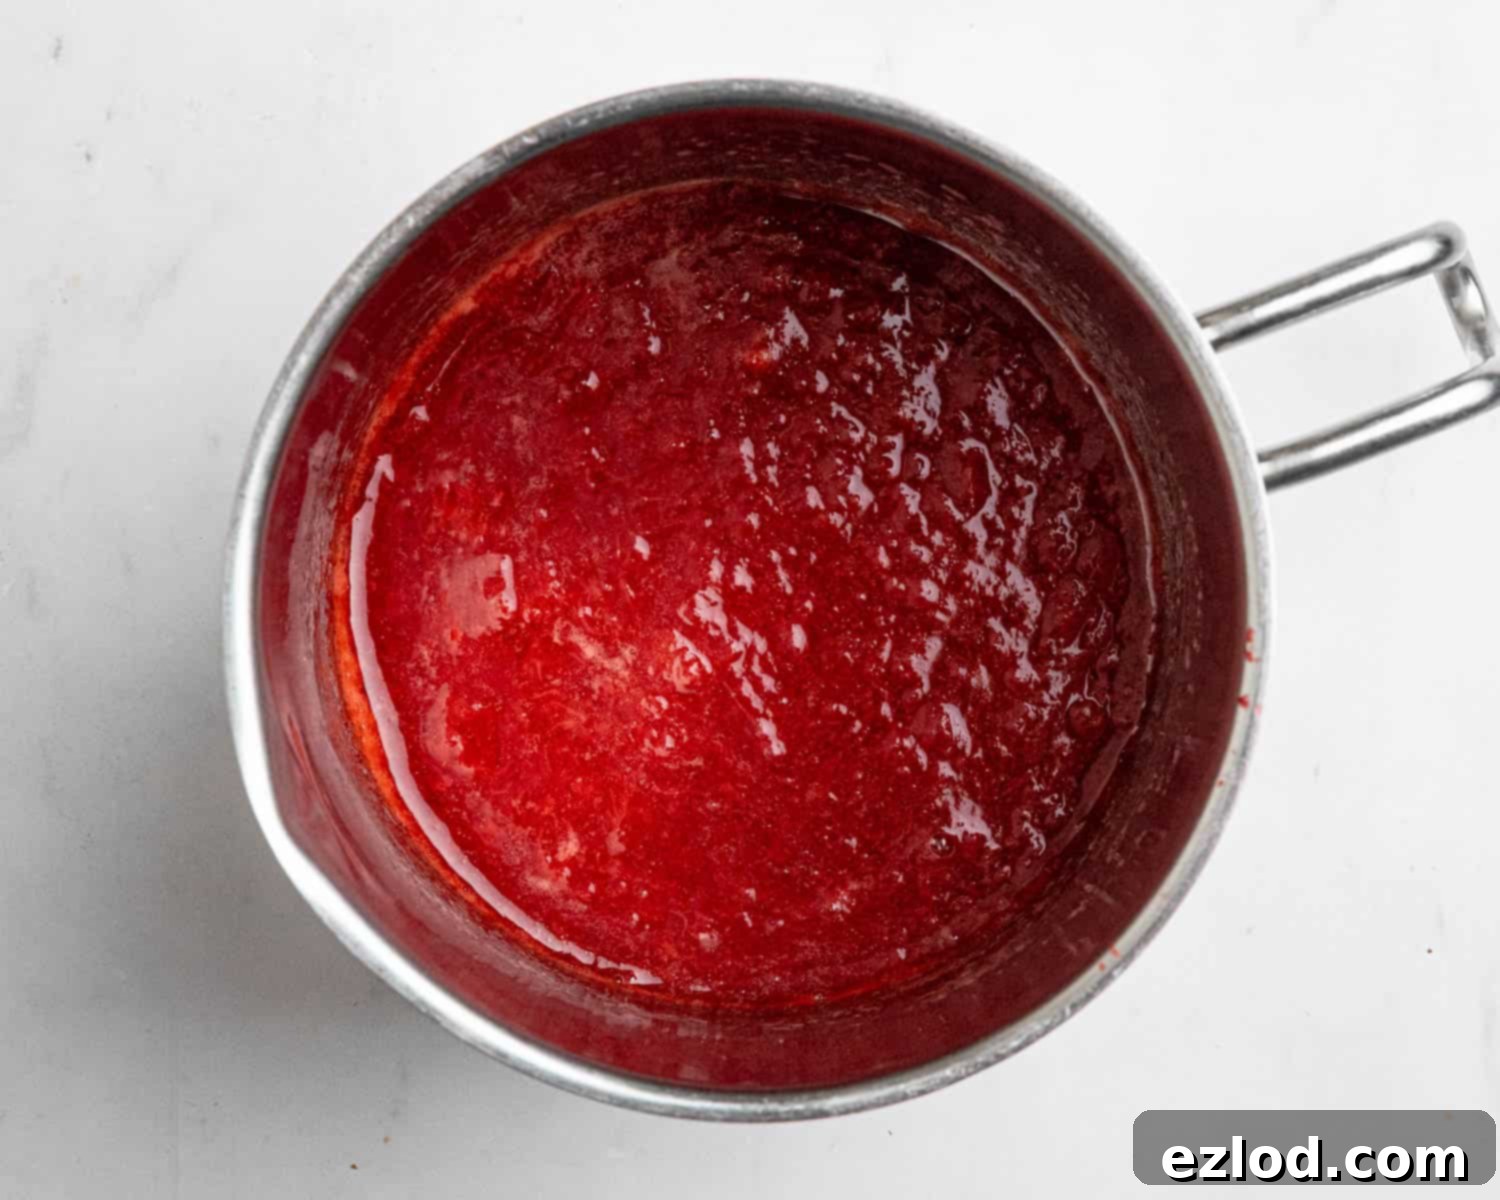
Step 6: While the base chills, prepare the vibrant strawberry swirl. In a small pan, combine the roughly chopped fresh strawberries, golden syrup, and a tablespoon of lemon juice. Bring to a simmer and cook for about 5 minutes, until the strawberries have softened and the mixture has reduced slightly into a thick compote. Remove from heat, let it cool completely, and then refrigerate until cold.
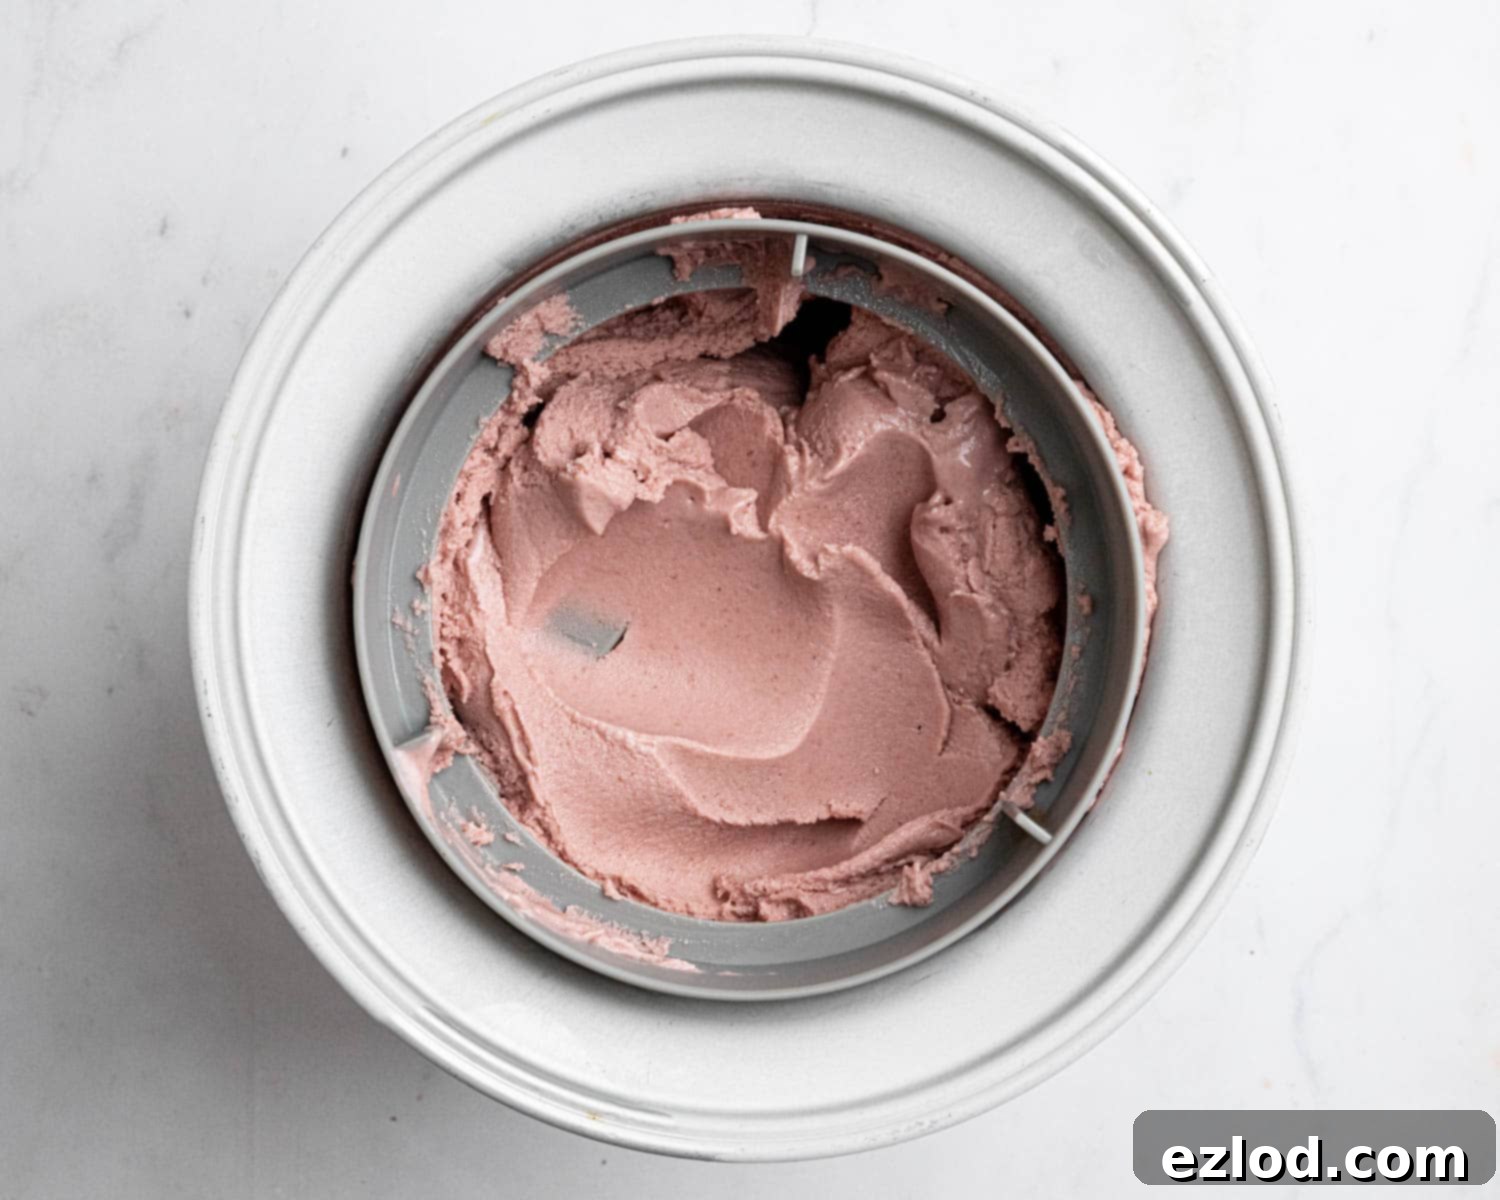
Step 7: Once your ice cream base is thoroughly chilled, give it a good whisk to ensure everything is well combined. Pour it into your ice cream maker (ensure the bowl has been pre-frozen according to manufacturer instructions) and churn until it reaches a soft-serve consistency. It should be thick and creamy, much like soft-serve ice cream.
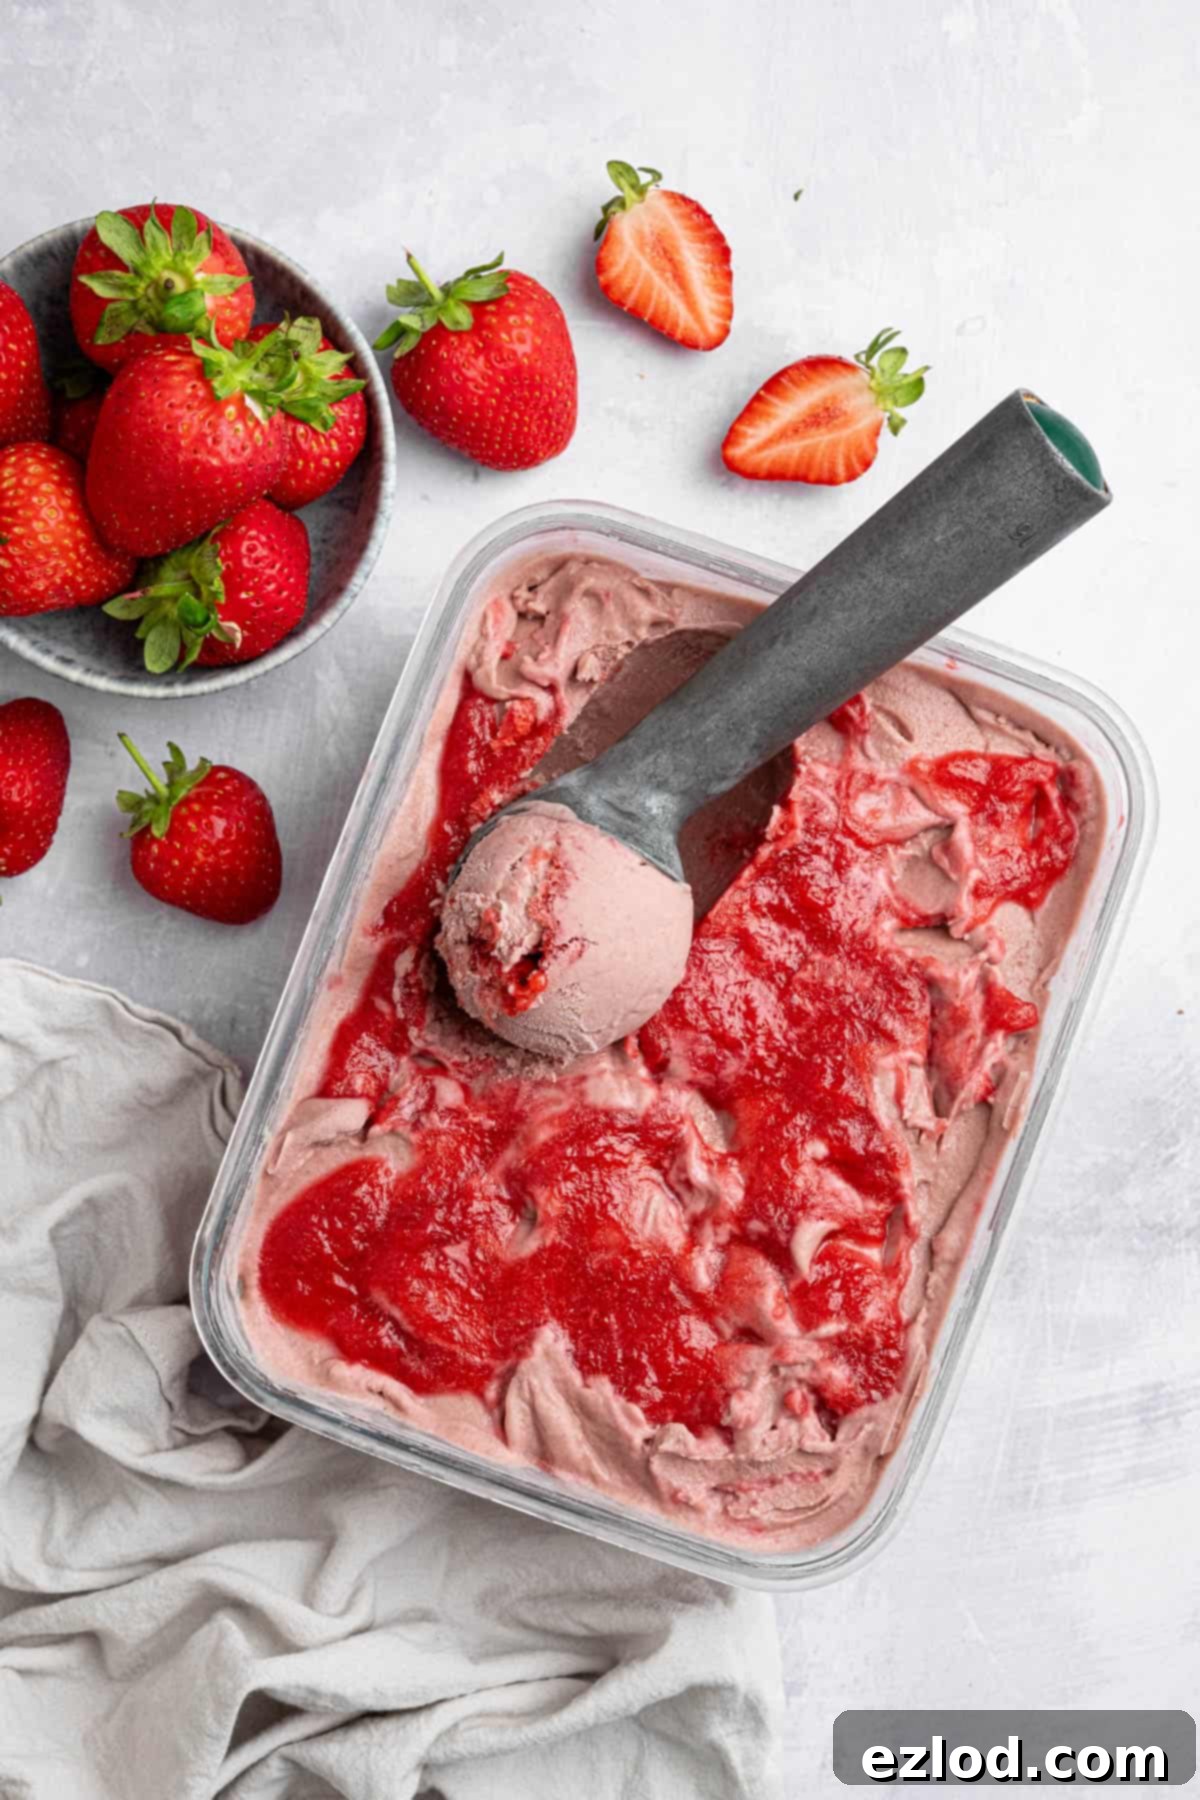
Step 8: To create the beautiful swirl, spoon a layer of the strawberry compote into a freezer-safe container. Top with half of the churned ice cream, then spoon more compote over it. Add the remaining ice cream, followed by a final layer of compote. Use a knife or a skewer to gently swirl the compote through the ice cream, creating ribbons of intense strawberry flavor. Freeze for at least 4 hours, or until firm. Remember to let it warm up at room temperature for about fifteen minutes before scooping, as homemade ice cream tends to be quite solid.
What If I Don’t Own An Ice Cream Maker?
Don’t despair if you don’t have an ice cream maker! You can still enjoy this delicious vegan strawberry ice cream, though it will require a bit more effort, and the final texture might be slightly icier than machine-churned versions. The key is to prevent large ice crystals from forming.
Once your ice cream base is thoroughly chilled, pour it into a large, freezer-safe container. Place it in the freezer. Every 30-45 minutes, remove the container and give the mixture a vigorous whisk with an electric mixer. This process breaks up any forming ice crystals, ensuring a smoother result. Continue repeating this whisking process for about 2-3 hours, or until the ice cream reaches a thick, soft-serve consistency. After achieving this, allow it to freeze undisturbed for a couple more hours until it’s firm enough to scoop and enjoy. Patience is your best friend here!
Top Tips for Perfect Vegan Strawberry Ice Cream
Achieving outstanding homemade ice cream, especially a vegan version, often comes down to a few key techniques and considerations. Here are my top tips to ensure your vegan strawberry ice cream is nothing short of perfect:
As with all my recipes, I wholeheartedly recommend using metric measurements with a digital kitchen scale rather than imprecise cup conversions. Baking and ice cream making are a science, and scales provide far greater accuracy and consistency, leading to superior results every time. Plus, it’s often less messy and more efficient!
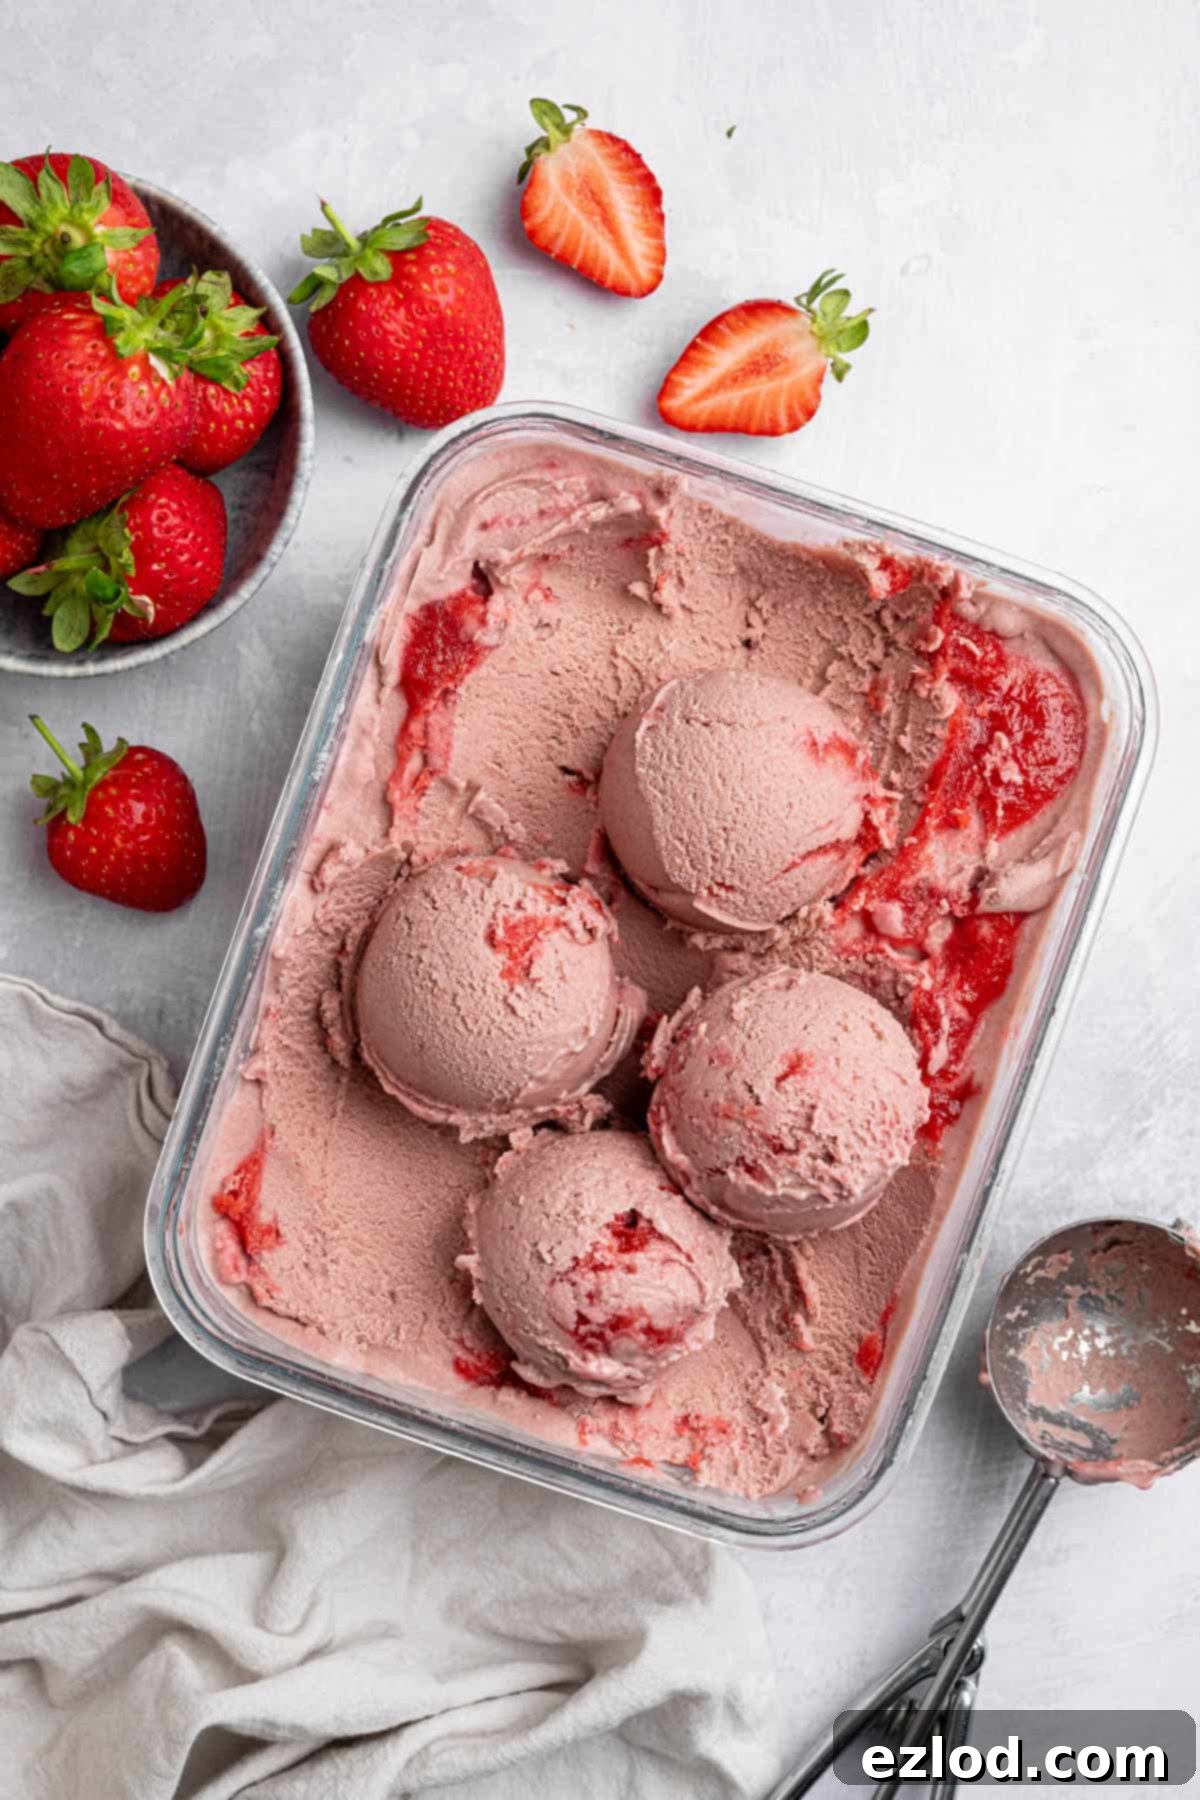
Homemade ice cream, particularly those without traditional dairy fats, tends to freeze quite solid. To enjoy its optimal creamy texture, make sure to take your ice cream out of the freezer at least 15 minutes before serving. This allows it to soften slightly, making it much easier to scoop and a joy to eat.
For the smoothest, most luxurious ice cream, a high-speed power blender (such as a Vitamix or Froothie) is highly recommended. These blenders can truly pulverize the cashews and oats into an incredibly fine, velvety cream. While a regular blender will still work, your ice cream might not be quite as flawlessly smooth.
I strongly advise making the ice cream base the day before you plan to churn it. This extended chilling time is crucial. The colder your base is when it enters the ice cream maker, the more efficiently it will churn, resulting in smaller ice crystals and a wonderfully creamy texture.
If you desire a more vibrant pink hue for your ice cream, feel free to whisk in a couple of drops of red or pink food coloring into the base just before churning. This is purely for aesthetic appeal and won’t affect the flavor.
For reference, I personally use a 2-liter capacity ice cream maker (this Cuisinart model), which is ideal for this recipe’s yield.
A smart trick to minimize melting during transfer: place the container you plan to store your churned ice cream in into the freezer to chill while the ice cream is churning. A pre-chilled container helps to maintain the ice cream’s consistency as you move it from the machine.
Whatever you do, don’t skimp on the sugar! Sugar is not merely for sweetness in ice cream. It plays a critical role in developing the smooth, scoopable texture by interfering with ice crystal formation. Furthermore, cold temperatures diminish our perception of sweetness, so the unfrozen base should taste a bit sweeter than you want the final frozen ice cream to be.
Delicious Variations for Your Vegan Strawberry Ice Cream
While this vegan strawberry ice cream is perfect as is, there are always exciting ways to customize it and explore new flavor combinations. Here are a few ideas to inspire you:
Instead of the classic strawberry swirl, imagine this creamy base paired with a decadent chocolate fudge swirl! You could adapt the recipe for the chocolate fudge swirl from my popular vegan coffee ice cream recipe for a truly irresistible combination.
For a quicker option for the swirl, feel free to use your favorite high-quality strawberry jam instead of making your own compote. Simply warm it slightly to make it easier to swirl through the ice cream.
When it comes to mix-ins, the possibilities are endless! Crunchy chocolate chunks or roughly crushed Oreo cookies would add a fantastic textural contrast and complementary flavor. Simply add your chosen mix-ins to the ice cream maker during the last minute or two of churning to ensure they are evenly distributed.
More Irresistible Vegan Ice Cream Recipes:
- Vegan Vanilla Ice Cream
- Vegan Malted Chocolate Ice Cream
- Vegan Mint Choc Chip Ice Cream
- Vegan Coffee Ice Cream with Chocolate Swirl
- Vegan Pistachio Ice Cream
- Vegan Raspberry Ice Cream
- Vegan Peanut Butter and Cookies Ice Cream
- Vegan Biscoff Ice Cream
- Vegan Chunky Monkey Ice Cream
- Vegan Lemon Ice Cream
- Chocolate Peanut Butter Ice Cream
- Vegan Rice Ice Cream
If you tried this recipe, I’d love to hear from you! Please rate it, leave a comment below, or tag @domestic_gothess on Instagram and use the hashtag #domesticgothess to share your creation!
All images and content on Domestic Gothess are copyright protected. If you wish to share this recipe, please do so by using the provided share buttons. Do not screenshot or post the recipe or content in full; instead, please include a link to this post for the complete recipe.

Vegan Strawberry Ice Cream
Ingredients
Roasted Strawberries:
- 450 g (1 lb) fresh or frozen strawberries (hulled weight)
- 45 g (2 Tablespoons) golden syrup
- 2 teaspoons balsamic vinegar
Ice Cream Base:
- 100 g (⅔ cup) unroasted cashews
- 15 g (2 ½ Tablespoons) porridge (rolled) oats
- 430 ml (1 ¾ cups + 1 Tablespoon) unsweetened non-dairy milk (soy is best)
- 85 g (7 Tablespoons) caster or granulated sugar
- 2 teaspoons vanilla extract
- 1 ½ Tablespoons lemon juice
- pinch salt
- 2 Tablespoons vodka (optional, for softer texture)
Strawberry Swirl:
- 200 g (7 oz) fresh strawberries (roughly chopped)
- 40 g (2 Tablespoons) golden syrup
- 1 Tablespoon lemon juice
Instructions
-
Ensure the bowl of your ice cream maker has been in the freezer for the required duration (mine takes 11 hours to fully freeze and be ready for churning).
-
Preheat the oven to 180°C/160℃ fan/350°F/gas mark 4. If using fresh strawberries, chop them into halves (or quarters if very large). For whole frozen strawberries, roast them for 5-10 minutes first until they defrost, then snip them up with kitchen scissors.
-
Spread the prepared strawberries in a single layer in a roasting tin. Drizzle evenly with golden syrup and balsamic vinegar. Roast in the oven for about 30 minutes if fresh, or 40 minutes if frozen, until the strawberries are tender, slightly darkened, and their juices have reduced into a rich, syrupy consistency.
-
Meanwhile, place the cashews in a heatproof bowl. Cover them generously with boiling water and let them soak for 30-60 minutes to soften.
-
In a saucepan, combine the porridge oats with half of the specified soy milk. Bring the mixture to a gentle simmer and cook for approximately 5 minutes, stirring frequently to prevent sticking, until the oats are thoroughly soft and the mixture has thickened.
-
Transfer the roasted strawberries (along with all their juices) to a blender. Drain the soaked cashews and add them to the blender. Incorporate the cooked oat mixture, the remaining plant milk, sugar, vanilla extract, lemon juice, a pinch of salt, and the optional vodka. Blend until the mixture is exceptionally smooth, stopping to scrape down the sides as necessary.
-
Pour the blended mixture through a fine mesh sieve into a large jug or bowl. This step ensures a perfectly silky texture. Cover the jug/bowl and refrigerate the base until it is completely cold – ideally overnight, but at least four hours.
-
To prepare the strawberry swirl, place the chopped fresh strawberries, golden syrup, and lemon juice in a small pan. Bring to a simmer and cook for about 5 minutes, until the berries are soft and the mixture has reduced slightly to a compote-like consistency. Remove from heat, allow to cool completely, then refrigerate until cold.
-
Once the ice cream mixture is thoroughly chilled, give it a good whisk to re-combine any separated ingredients. Pour it into your ice cream maker and churn according to the manufacturer’s instructions until it reaches a thick, soft-serve consistency.
-
To layer, spoon some of the cooled strawberry compote into a freezer-safe container. Add half of the churned ice cream on top, followed by more compote. Spoon in the remaining ice cream, then finish with a final layer of compote. Use a knife or skewer to gently swirl the compote through the ice cream to create beautiful ribbons.
-
Freeze the ice cream for approximately 4 hours, or until it is firm. As homemade ice cream can be quite solid when fully frozen, let it sit at room temperature for fifteen minutes before scooping to allow it to soften to the perfect consistency.
Notes
