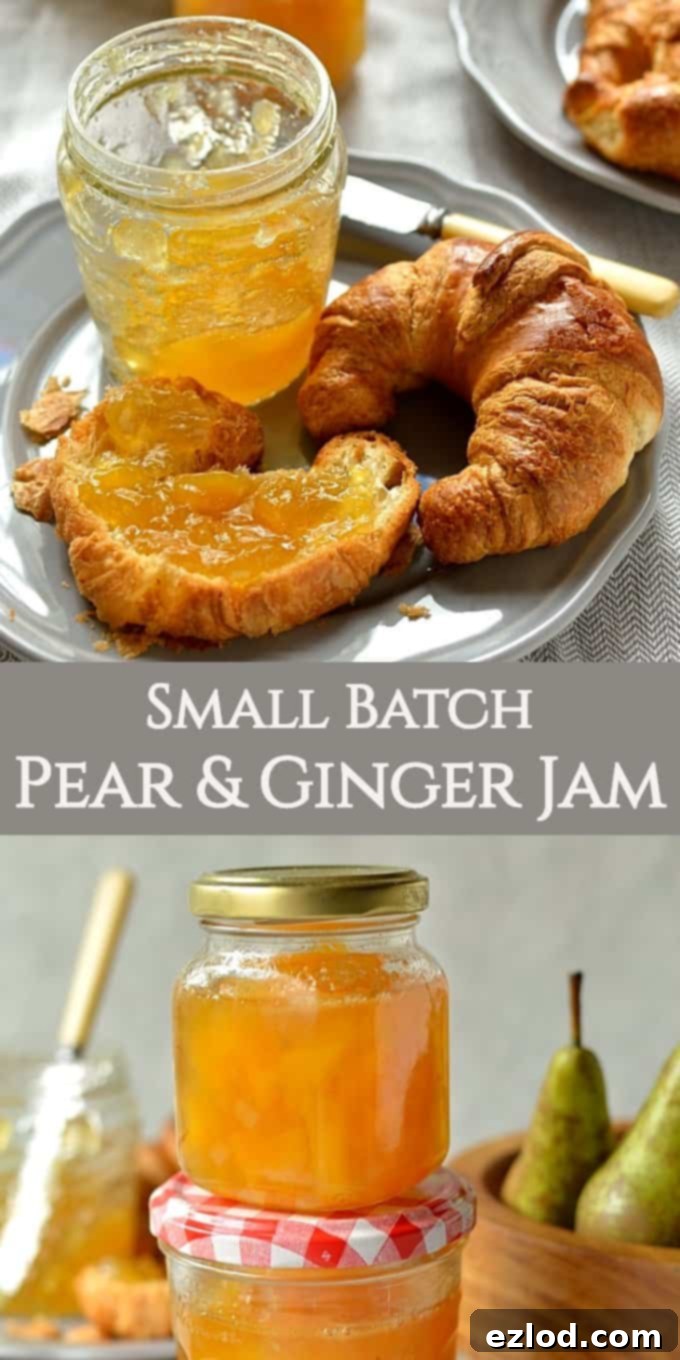
Homemade Pear and Ginger Jam: A Delicious Small-Batch, No-Pectin Preserve for Winter Delights
Discover how to create a luscious pear and ginger jam – a small-batch recipe producing three delightful jars without added pectin. Perfect for a cozy winter breakfast, as a versatile cake filling, or as heartwarming homemade gifts.
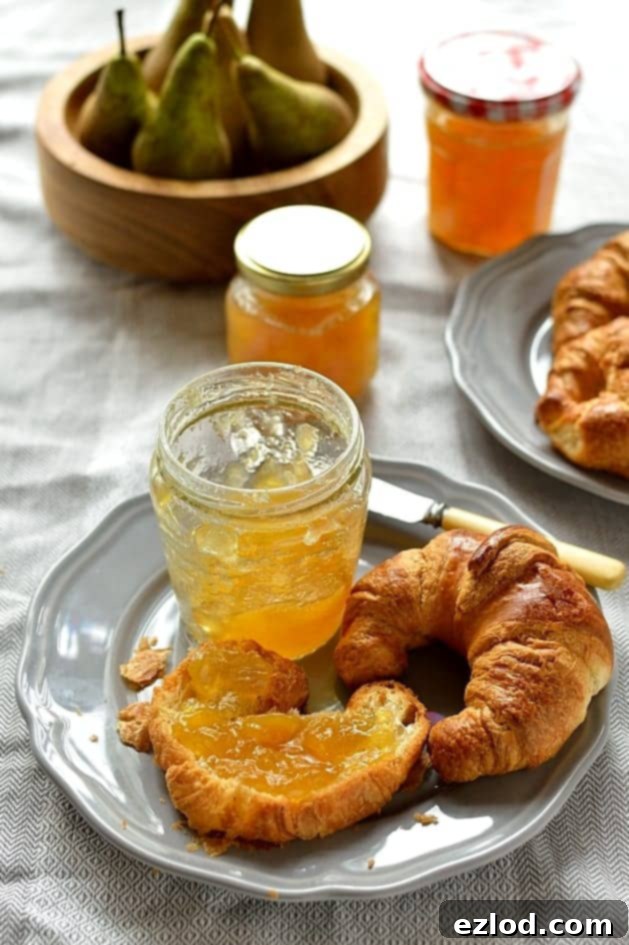
There’s a unique satisfaction that comes with growing your own fruit, especially when you’re blessed with a bountiful harvest. However, this abundance often comes with its own delightful challenge: what to do with all that produce? While sharing the surplus with friends and family is always a joy, even after generous giveaways, you might find yourself with a bowl overflowing with fruit that’s perfectly ripe, perhaps even a little beyond its prime for eating fresh, but still ideal for preserving. This was precisely my situation recently, with a generous harvest of pears from my garden. They were a touch too soft for crisp snacking, yet too good to waste.
My immediate thought turned to jam. Not only is homemade jam an exquisite way to capture the essence of fresh fruit, but it also provides a practical solution for extending its shelf life significantly beyond that of fresh produce. And with the festive season approaching, small jars of homemade pear and ginger jam make truly thoughtful and cherished gifts, showcasing your culinary effort and creativity.
Crafting the Perfect Pear and Ginger Jam
To elevate the simple sweetness of pear jam, I decided to infuse it with the comforting warmth of ginger, transforming it into a truly autumnal and wintry preserve. This recipe calls for a dual approach to ginger, utilizing both freshly grated ginger for its vibrant, spicy notes and finely chopped stem ginger for an extra layer of concentrated, candied warmth and a pleasant textural chew. This combination creates a rich, multifaceted ginger kick that complements the pears beautifully. If you prefer a more subtle hint of ginger, you can easily omit the stem ginger and rely solely on the fresh variety.
Addressing Pectin Challenges Naturally
Pears, while delicious, are naturally low in pectin, the gelling agent essential for achieving that perfect jam consistency. Many recipes call for commercial pectin or jam sugar to counteract this, but I prefer a more natural approach. My solution, which also came directly from my garden, was to incorporate very finely minced cooking apples. Cooking apples are renowned for their high pectin content and are excellent natural thickeners, ensuring a beautiful, firm set for the jam without any artificial additives. This not only makes the jam taste more wholesome but also adds a slight tartness that balances the sweetness of the pears and sugar.
However, if you wish to make an all-pear jam, you can certainly do so. Simply replace the weight of the cooking apples with an equal amount of pears. To ensure a proper set in this case, you would need to either use jam sugar (which contains added pectin) instead of regular granulated sugar, or incorporate some liquid pectin according to package directions.
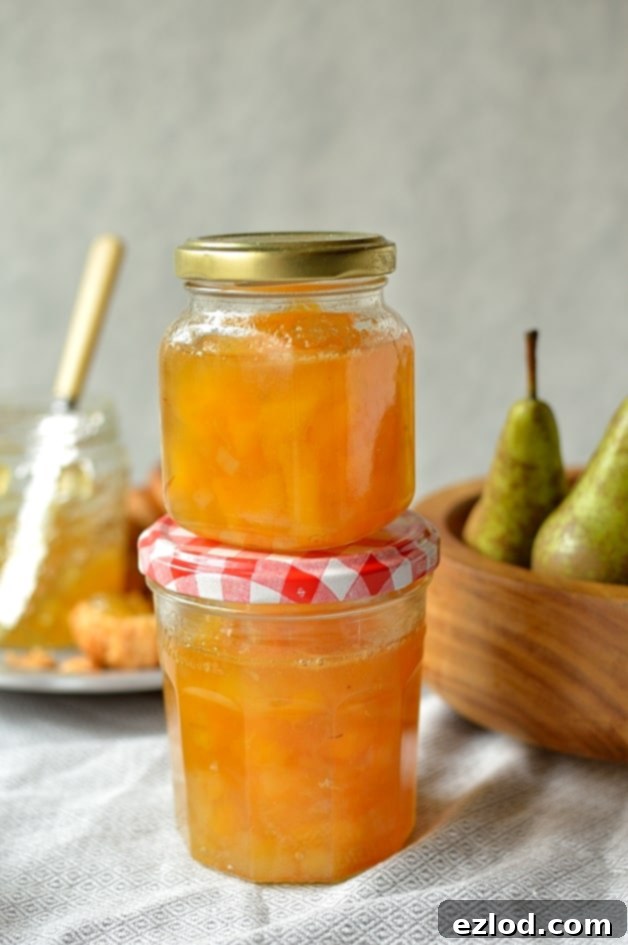
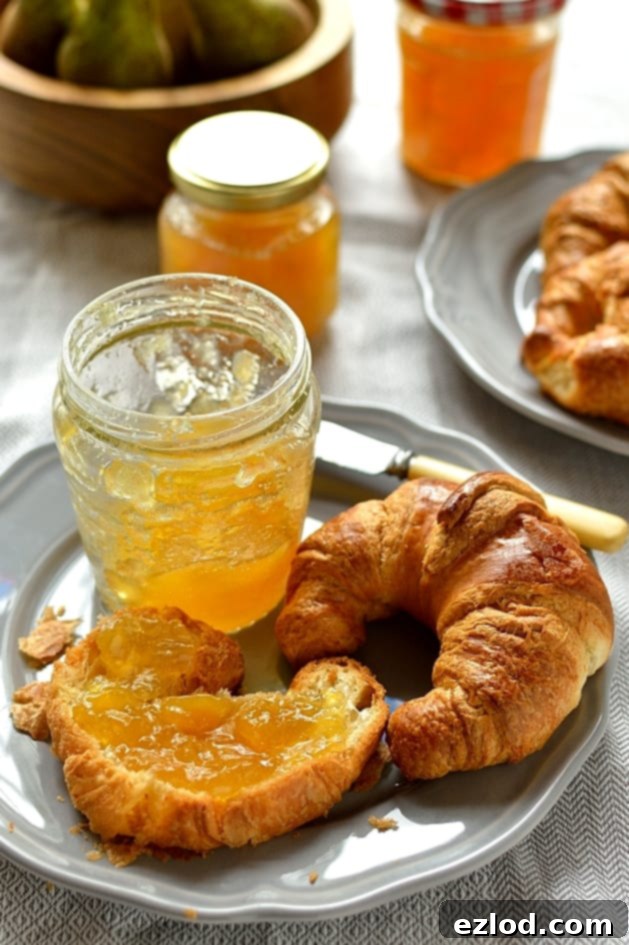
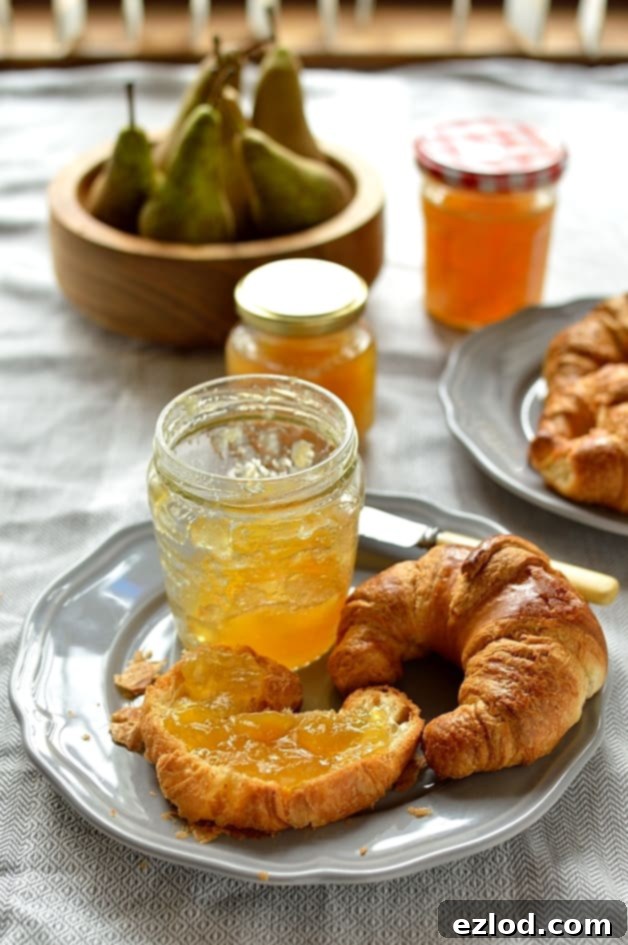
The result is a beautifully firm-set jam, boasting a comforting and aromatic warming flavor profile. It’s truly perfect for slathering generously on toast, crumpets, or warm croissants as part of a hearty winter breakfast spread. Beyond breakfast, this pear and ginger jam also makes an exceptional filling for cakes. I’ve already started dreaming of a festive twist on a classic Victoria sponge, with this wonderfully spiced jam taking center stage.
Small Batch, Big Flavor: Perfect for Gifting
This recipe is designed for a small batch, yielding approximately three medium-sized jars (212-250ml each). It’s the ideal quantity for keeping one for yourself and sharing the other two as thoughtful gifts. The recipe is also incredibly easy to double or even triple if you’re looking to make more. Just remember, when scaling up, it’s crucial to use a really deep pan. Jam boils vigorously and bubbles up considerably, and you certainly want to avoid any messy and potentially dangerous boil-overs of molten sugar.
Essential Tips for Successful Homemade Jam Making
Embarking on your first jam-making adventure might seem a little intimidating, but it’s actually a straightforward process with incredibly rewarding results. Homemade jam, made with simple, fresh ingredients, is far superior in taste and quality to anything you’ll find in a store. Follow these tried-and-true tips, and you’ll be well on your way to creating your own delicious preserves.
- Choose the Right Pot: Always, and I mean always, use a much larger and deeper pan than you anticipate needing. Jam bubbles up intensely when boiling, and a large pot is your best defense against sticky, molten, red-hot sugar overflowing onto your stovetop – a situation you definitely want to avoid for safety and ease of cleanup.
- Understand Fruit Pectin Levels: Pectin is the natural gelling agent in fruit that gives jam its set. Some fruits are naturally high in pectin (like apples, citrus, sour berries), while others are low (like most sweet berries, ripe peaches, plums, and pears). For low-pectin fruits, you’ll either need to combine them with a high-pectin fruit (as we did with apples in this pear jam recipe), use jam sugar which has added pectin, or incorporate commercial liquid pectin. For high-pectin fruits, plain granulated sugar is usually sufficient. Knowing your fruit’s pectin content is key to a good set.
- The Importance of Acid: If your chosen fruit isn’t naturally acidic (like pears), always add some form of acid, typically lemon juice. Acid plays a crucial role in jam making: it helps to extract the natural pectin from the fruit, which is vital for setting, and it also brightens both the flavor and the color of your finished jam, preventing it from tasting overly sweet or appearing dull.
- Optimal Fruit Selection: For the best flavor and texture, use fruit that is just ripe or slightly underripe, and ideally unblemished. While you can certainly make jam with less-than-perfect or slightly bruised fruit (which is often the reason for making jam in the first place!), the quality and vibrant taste of the final product will be noticeably better with prime produce.
- Mastering the Setting Point: Jam typically sets at 105ºC (220ºF). A sugar thermometer is a handy tool to confirm this, but it’s not strictly necessary. The reliable “wrinkle test” works beautifully: Before you start cooking, place a couple of small saucers in the freezer to chill. Once your jam has boiled rapidly for 5-10 minutes, remove it from the heat. Spoon a small dollop onto one of the cold saucers. Place it in the fridge for about a minute, then gently push the surface with your finger. If the surface wrinkles and the jam doesn’t immediately flow back together to fill the gap, it’s ready. If not, return the pot to a rapid boil for another five minutes, then test again until the desired consistency is achieved.
- Pre-soften Tough Skins: Sugar has a hardening effect on fruit. If you’re working with fruits that have tough skins, like some plums or even firm pears, simmer them gently in water or juice until they are tender *before* adding the sugar. This ensures the fruit pieces in your jam will be pleasantly soft, not tough or chewy.
- Ensure Sugar is Fully Dissolved: Before bringing the jam to a rapid boil, it’s absolutely essential to heat the mixture gently and stir until all the sugar crystals have completely dissolved. If the sugar isn’t fully dissolved, your jam may not set properly, and it can also result in a grainy texture, which is far from ideal.
- Avoid Over-Batching: Resist the temptation to make a huge quantity of jam in a single pot. Very large batches take too long to reach the setting point, making it difficult to achieve a proper set and often resulting in a thicker, less vibrant jam. Stick to manageable batch sizes for best results.
- Skim at the Right Time: Any “scum” or foam that forms on the surface of the jam should only be skimmed off once the jam has reached its setting point. You can use a ladle for this, or a little trick: stir in a small knob of butter (about half a teaspoon) at the very end. The butter fat helps to disperse the foam, leaving you with a clear, beautiful jam.
- Sterilize Your Jars Diligently: Proper sterilization of your jars is non-negotiable for safe, long-lasting preserves. Wash your jars and lids thoroughly in hot, soapy water, then rinse them well. Lay them on a roasting tray and place them in a low oven (around 130-150°C / 275-300°F) for about 30 minutes. Both the jars and the jam should be hot when you fill them, so sterilize your jars just before you start making the jam and leave them in the warm oven until they are needed.
- Troubleshooting a Failed Set: Don’t panic if your jam doesn’t set after it has been potted and cooled. It’s a common issue and easily fixable! Simply tip the jam back into a clean saucepan, add the juice of half a lemon (to boost acidity and pectin extraction), and re-boil it rapidly until the setting point is reached again (use the wrinkle test). Then, re-pot into freshly sterilized jars.
More Delicious Jam Recipes to Explore:
- Plum and Amaretto Jam
- Clementine Marmalade
- Strawberry Lime Jam
- Tomato Chilli Jam
If you tried this delicious pear and ginger jam recipe, we’d love to see your creations! Tag @domestic_gothess on Instagram and use the hashtag #domesticgothess.
*All images and content on Domestic Gothess are copyright protected. If you want to share this recipe then please do so by using the share buttons provided. Do not screenshot or post the recipe or content in full.*

Print
Pear And Ginger Jam
Ingredients
- 400 g (14oz) (prepared weight) peeled and cored pears chopped into small dice
- 150 g (5.5oz) (prepared weight) peeled and cored cooking apple very finely minced (essential for a natural set!)
- finely grated zest and juice of 1 small lemon
- 1 tbsp grated fresh ginger
- 100 ml (scant ½ cup) water
- 400 g (2 cups) granulated sugar
- 2 balls stem ginger finely chopped (optional, for extra ginger kick)
Instructions
-
First, prepare for jam setting and storage: place a couple of small saucers into your freezer. Then, sterilise your jars and lids. A reliable method is to wash them thoroughly in hot, soapy water, rinse them well, and then place both jars and lids on a roasting tray in a low oven (around 130-150°C / 275-300°F) for about 30 minutes. Keep them in the warm oven until needed, ensuring they are hot when the jam is ready to be potted.
-
In a deep, heavy-bottomed saucepan (remember our tip about using a large pot!), combine the diced pears, finely minced cooking apples, lemon zest, lemon juice, grated fresh ginger, and water. Bring the mixture to a gentle simmer over medium heat and continue to simmer for approximately 15 minutes, or until the fruit pieces are tender and have softened nicely. Stir occasionally to prevent sticking.
-
Carefully stir in the granulated sugar and the finely chopped stem ginger (if using). Continue to heat the mixture gently, stirring constantly, until all the sugar crystals have completely dissolved. This step is crucial for preventing a grainy jam and ensuring a proper set later on.
-
Once the sugar is fully dissolved, increase the heat and bring the jam to a rapid, rolling boil. Maintain this rapid boil for about 10 minutes. If you are using a sugar thermometer, aim for a temperature of 105°C (220°F). Remember to stir regularly during this stage to prevent the jam from catching and burning at the bottom of the pan.
-
Remove the saucepan from the heat. Retrieve one of your cold saucers from the freezer and place a small teaspoonful of the hot jam onto it. Pop the saucer back into the fridge for about a minute to cool rapidly. Then, push the surface of the cooled jam with your finger. If the surface wrinkles and doesn’t immediately flow back together, your jam has reached its setting point and is ready. If it remains liquid, return the pan to a rapid boil for another five minutes, then repeat the wrinkle test until the jam sets properly.
-
Once the jam has reached setting point, allow it to cool slightly in the pan for 5-10 minutes. This helps the fruit pieces distribute more evenly throughout the jam. Ladle the hot jam into your hot, sterilised jars, filling them almost to the brim. Seal them immediately with their lids. As the jam cools, a vacuum seal will form, preserving your delicious creation. Once completely cooled, store your sealed jars in a cool, dark place. After opening, always keep refrigerated and consume within a few weeks. Enjoy your homemade pear and ginger jam!
