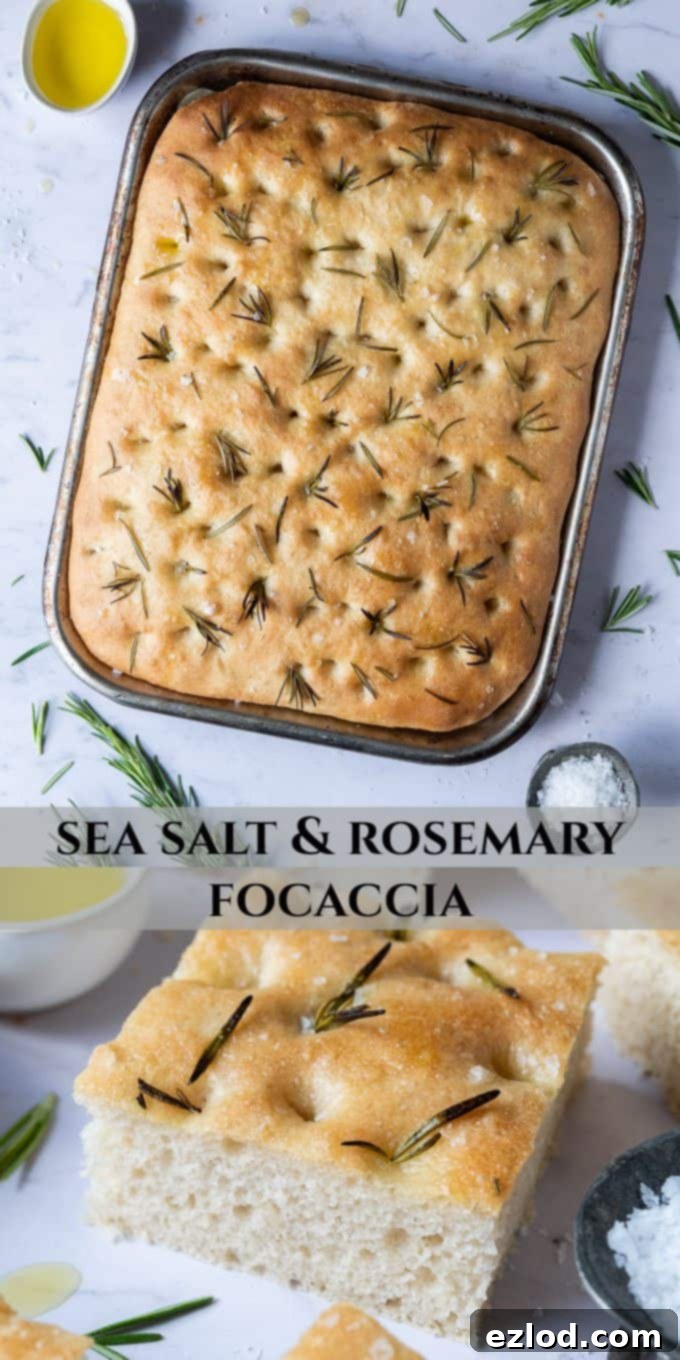
Irresistible Sea Salt & Rosemary Focaccia: Easy Vegan Recipe for the Perfect Italian Flatbread
Discover how to make the most exquisite sea salt and rosemary focaccia at home! This delightful Italian flatbread is incredibly soft, tender, and chewy, bursting with aromatic rosemary and savory sea salt. It’s a surprisingly easy-to-make, naturally vegan, and dairy-free bread, perfect for any occasion. Serve it as an impressive side dish, with your favorite dips, or as the foundation for gourmet sandwiches.
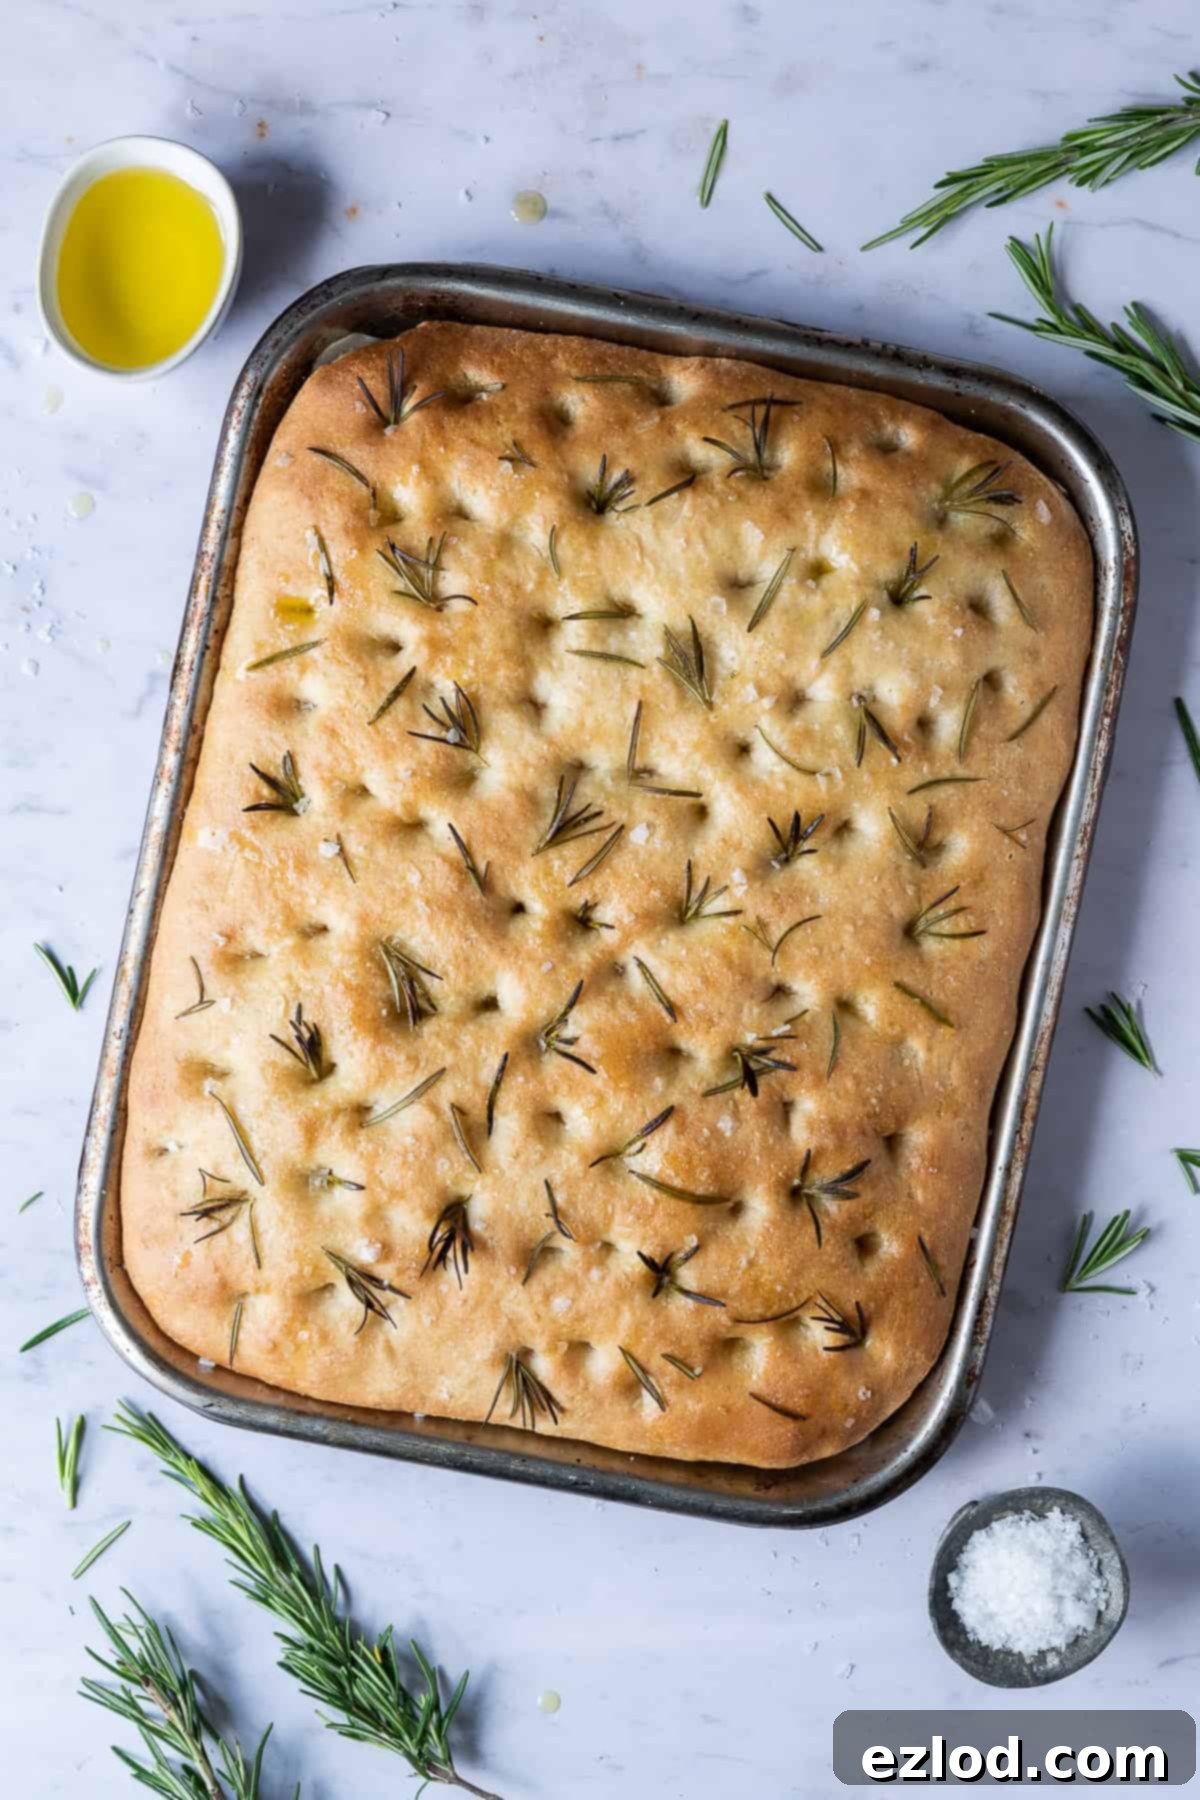
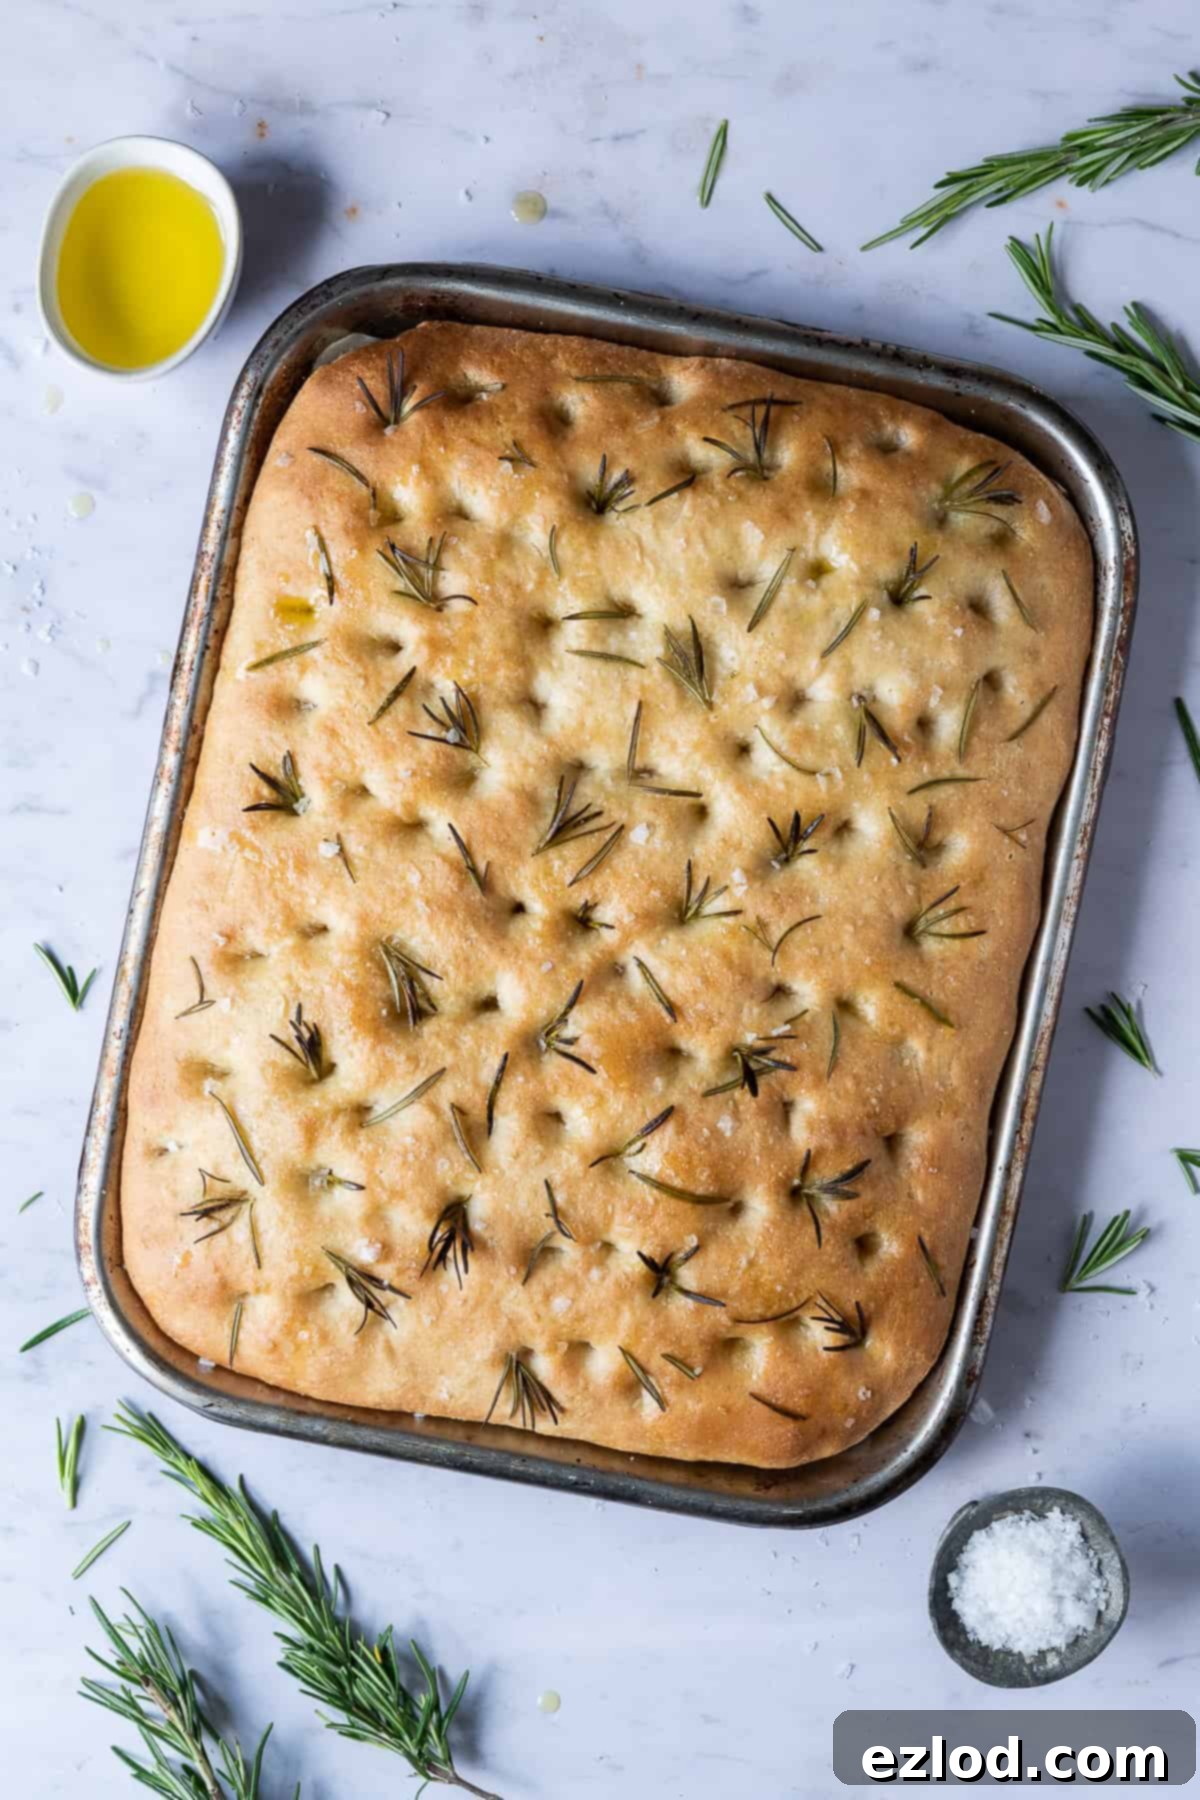
This sea salt and rosemary focaccia holds a special place in my heart as one of my absolute favorite breads to bake. Its simple preparation, coupled with its utterly delicious flavor and satisfying texture, makes it an ideal project for bakers of all skill levels. There’s no complex shaping involved, just a straightforward process that yields truly spectacular results every time.
Compared to many other homemade bread recipes, focaccia is a relatively quick one. While it does require two essential rises for that characteristic airy texture, the hands-on time is minimal. Especially if you have a stand mixer, throwing the dough together takes mere minutes. The shaping process is incredibly simple, and the baking time in the oven is a swift 15-20 minutes, allowing you to enjoy fresh, warm bread in no time.
I often begin a batch of this flavorful dough in the morning, letting it slowly develop its rich taste, and by lunchtime, I have a glorious loaf of fresh sea salt and rosemary focaccia ready to be devoured. Its versatility is truly remarkable.
This exquisite Italian flatbread is fantastic for dipping into creamy hummus, vibrant pesto, or any of your preferred dips. Beyond appetizers, it creates the most fabulous sandwiches, elevating everyday lunches to a gourmet experience. It’s also an incredible companion to hearty soups, warming stews, or comforting casseroles, perfect for soaking up every last drop of delicious broth.
What Is Focaccia? A Dive into this Delicious Italian Flatbread
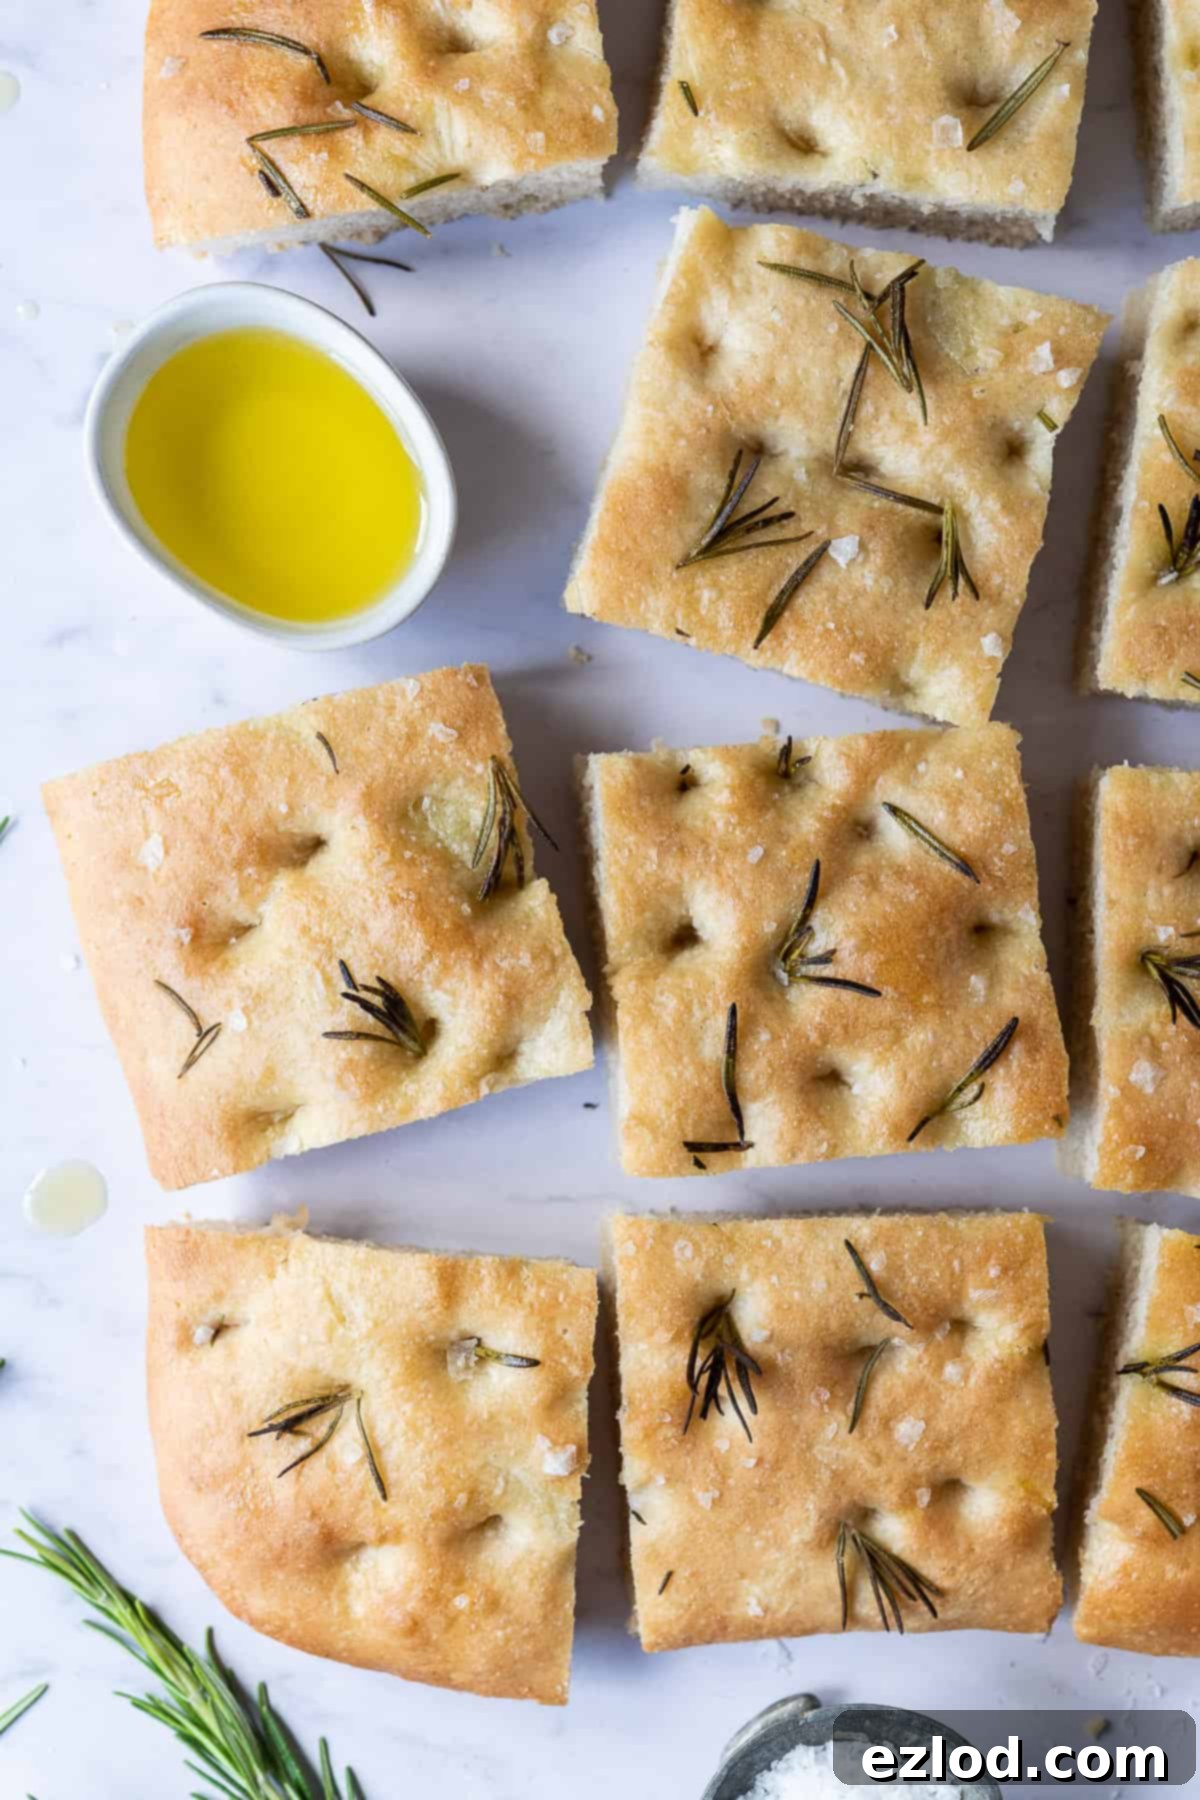
Focaccia is a cherished traditional Italian flatbread, known for its distinct dimpled surface and wonderfully airy, chewy crumb. Originating in Italy, its name is thought to derive from the Roman “panis focacius,” meaning “hearth bread,” indicating its ancient baking methods over an open fire or in the ashes. Throughout Italy, countless regional varieties of focaccia exist, each boasting unique ingredients and preparations, including some delightful sweet versions.
Outside of Italy, the most universally recognized and beloved variety is arguably focaccia al rosmarino, which translates to focaccia with rosemary. This particular version, celebrated for its aromatic herbs and robust olive oil flavor, is what this recipe aims to recreate and perfect.
A true focaccia is characterized by its light, incredibly soft, and satisfyingly chewy texture. It shares some similarities with pizza dough, but typically results in a thicker, softer loaf. The signature dimpled top, created by pressing fingers into the risen dough, traps pools of rich olive oil and provides pockets for the savory sea salt and fragrant rosemary to reside. Naturally, this traditional bread is made without dairy, making it inherently vegan – a fantastic option for everyone to enjoy!
In Italian cuisine, focaccia is incredibly versatile. It’s often served as an antipasto (an appetizer before the main meal), a delightful snack, or as a staple table bread accompanying various dishes. Its robust structure also makes it an ideal base for crafting gourmet sandwiches, holding up well to a variety of fillings. This particular sea salt and rosemary focaccia recipe is my meticulously developed version of focaccia al rosmarino, designed to bring an authentic taste of Italy right into your kitchen.
How To Make Sea Salt And Rosemary Focaccia: A Step-by-Step Guide
Making this sea salt and rosemary focaccia is a rewarding culinary experience, resulting in a bread that tastes as if it came from a professional bakery. Below, you’ll find detailed instructions to guide you through each stage of the process. For precise ingredient quantities and a comprehensive overview, please refer to the complete recipe card provided further down the page.
Preparing the Dough
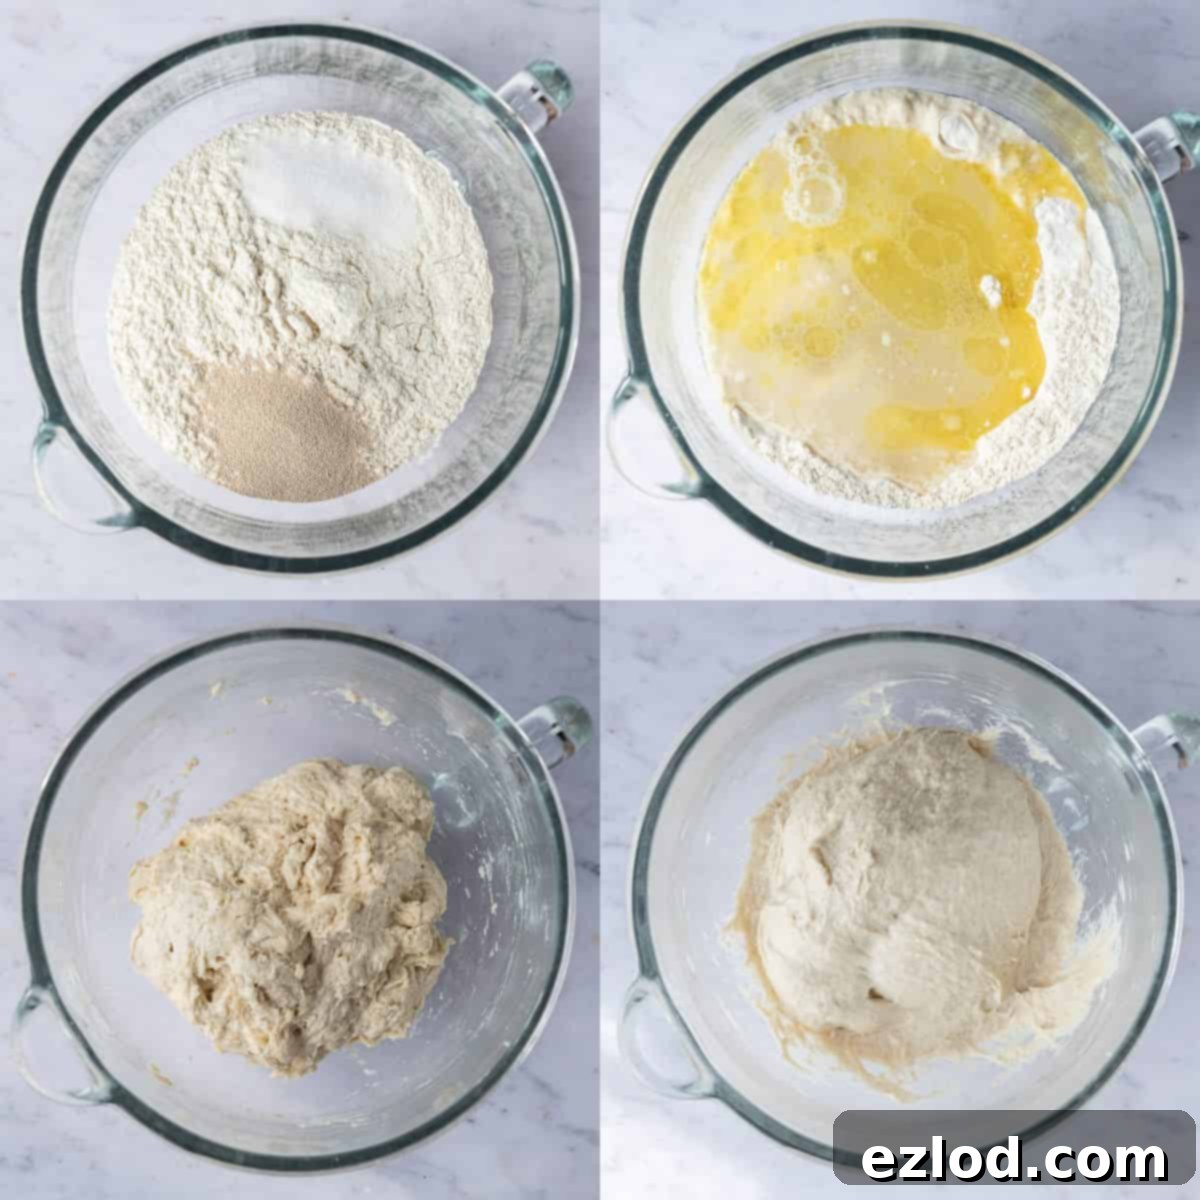
Begin by placing your bread flour into the bowl of your stand mixer. If you don’t have a stand mixer, a large mixing bowl will work perfectly. Carefully add the salt to one side of the bowl and the instant yeast to the other side. This separation is crucial because direct contact with salt can inhibit yeast activity, slowing down or preventing your dough from rising effectively.
Next, pour in the olive oil, followed by approximately three-quarters of the lukewarm water. Start mixing these ingredients, gradually adding the remaining water until all the flour from the sides of the bowl is incorporated, forming a soft, sticky dough. It’s important to note that focaccia dough is intentionally quite wet and much softer than a standard bread dough. This high hydration is key to achieving its signature chewy and airy texture, so resist the urge to add more flour at this stage.
If you’re using a stand mixer, knead the dough on a medium speed for about 5 minutes. You’ll notice the dough transform, becoming smooth and elastic, although it will remain very sticky to the touch. For those kneading by hand, lightly oil your work surface with olive oil instead of dusting it with flour. Turn the dough out onto the oiled surface and knead for 5-10 minutes. The dough will be incredibly sticky, and a dough scraper will be your best friend here, helping you manage and work the dough without it adhering completely to your hands or the counter. Continue kneading until it develops elasticity and a smooth surface, again, without adding extra flour.
The First Rise (Bulk Fermentation)
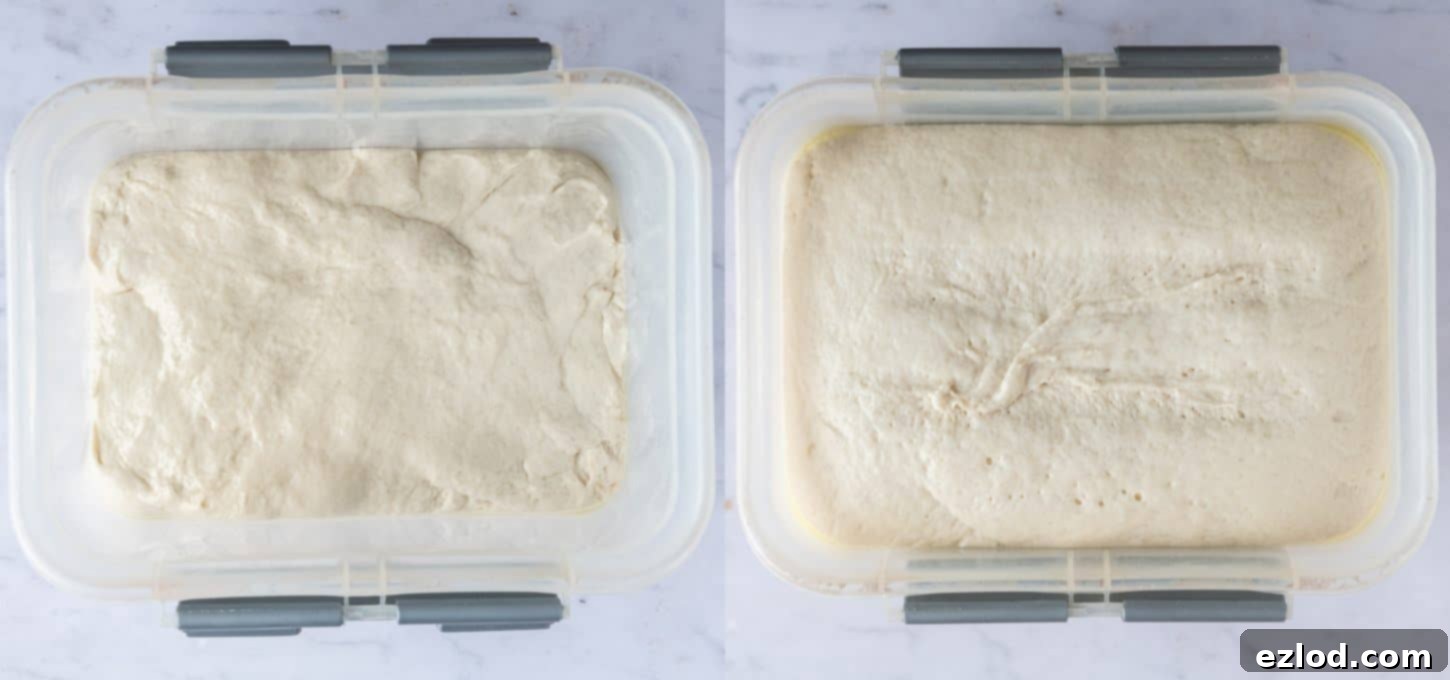
Generously oil a 2-3 litre square or rectangular plastic container. While a round bowl works, a square container can simplify the subsequent shaping process. Transfer the sticky dough into the oiled container, ensuring it’s well-coated. Cover the container with a lid or plastic wrap, and allow the dough to rise in a warm place until it has at least doubled in size. This typically takes about 1-2 hours at room temperature. For an even deeper flavor development and to better manage your baking schedule, you can opt for an overnight rise in the refrigerator. This slow, cold proofing significantly enhances the focaccia’s taste and texture.
Shaping and Second Rise (Proofing)
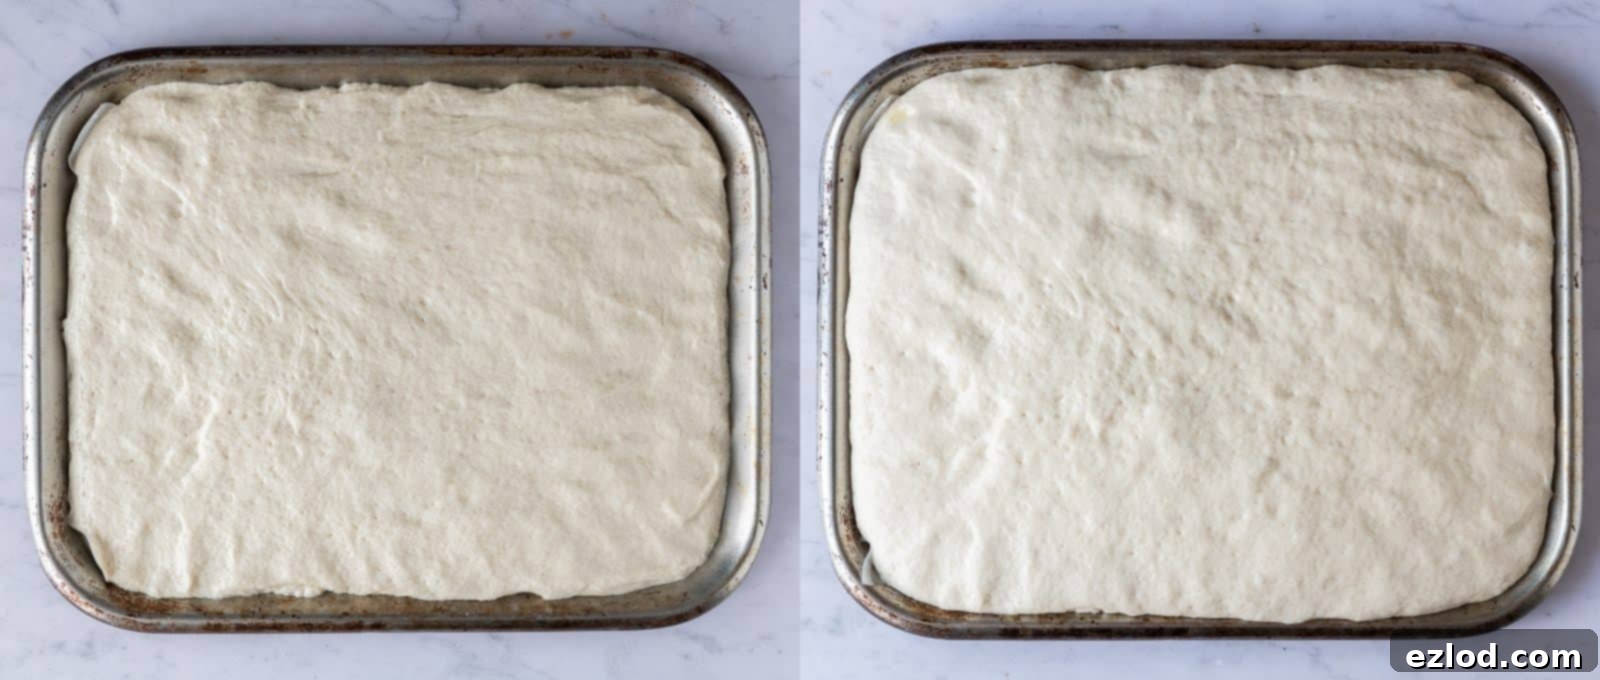
Prepare your baking tin by lining an approximate 23 x 33cm (9 x 13in) baking or roasting tin with baking parchment. For an extra layer of flavor and a wonderfully crisp bottom crust, sprinkle the parchment generously with semolina or cornmeal. Carefully tip the risen dough out onto the prepared baking tray. Unlike other breads, you should not “knock back” or vigorously degas focaccia dough. Instead, lightly oil your hands with olive oil and gently stretch the dough out into a rectangle, filling the entire tin. The goal is to handle the dough minimally to preserve the air bubbles that developed during the first rise.
Once shaped, loosely cover the dough with oiled clingfilm or place the entire tray inside a large plastic bag. Allow it to undergo its second rise, or proof, for about 45 minutes to 1 hour, or until the dough looks visibly puffy and has nearly doubled in size again. While the dough is proofing, preheat your oven to 220°C/425°F/Gas Mark 7, ensuring it reaches the correct temperature before baking.
Dimpling and Topping
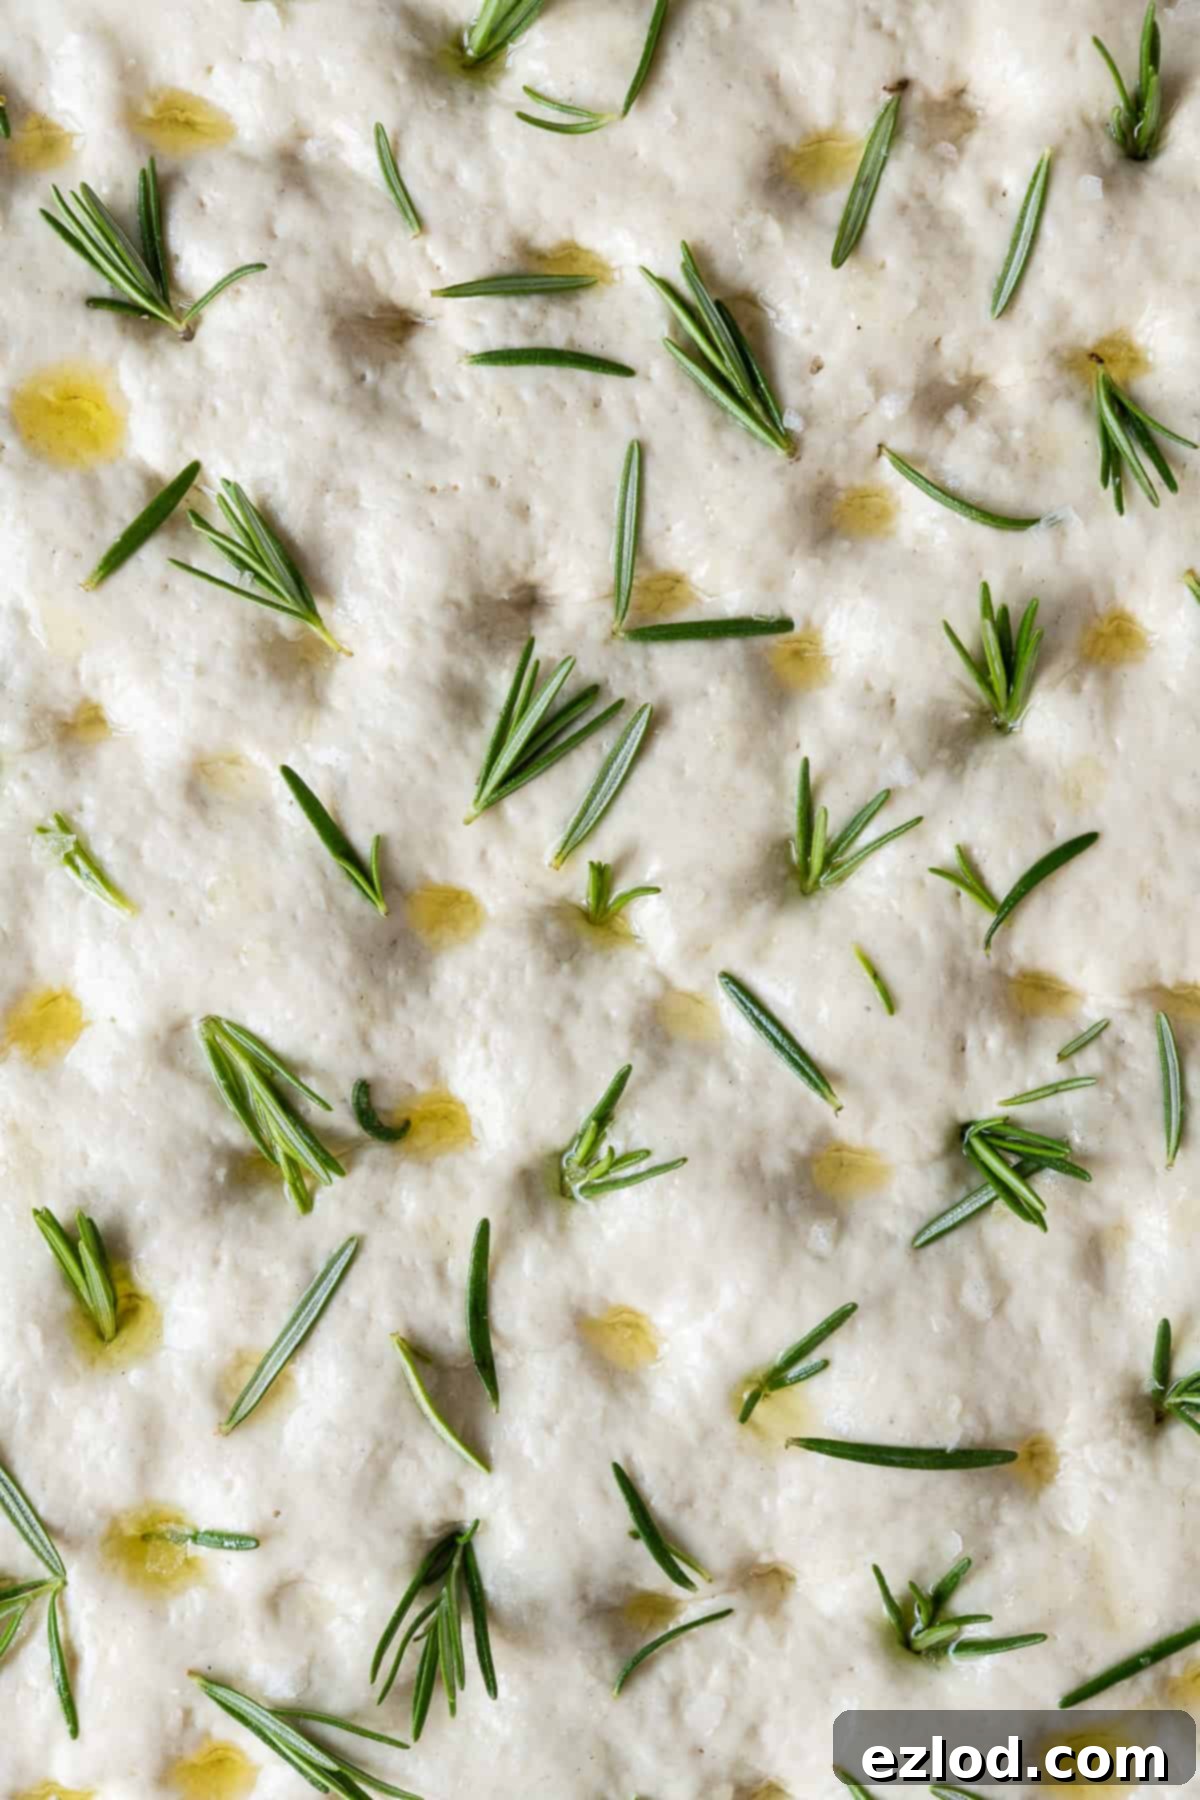
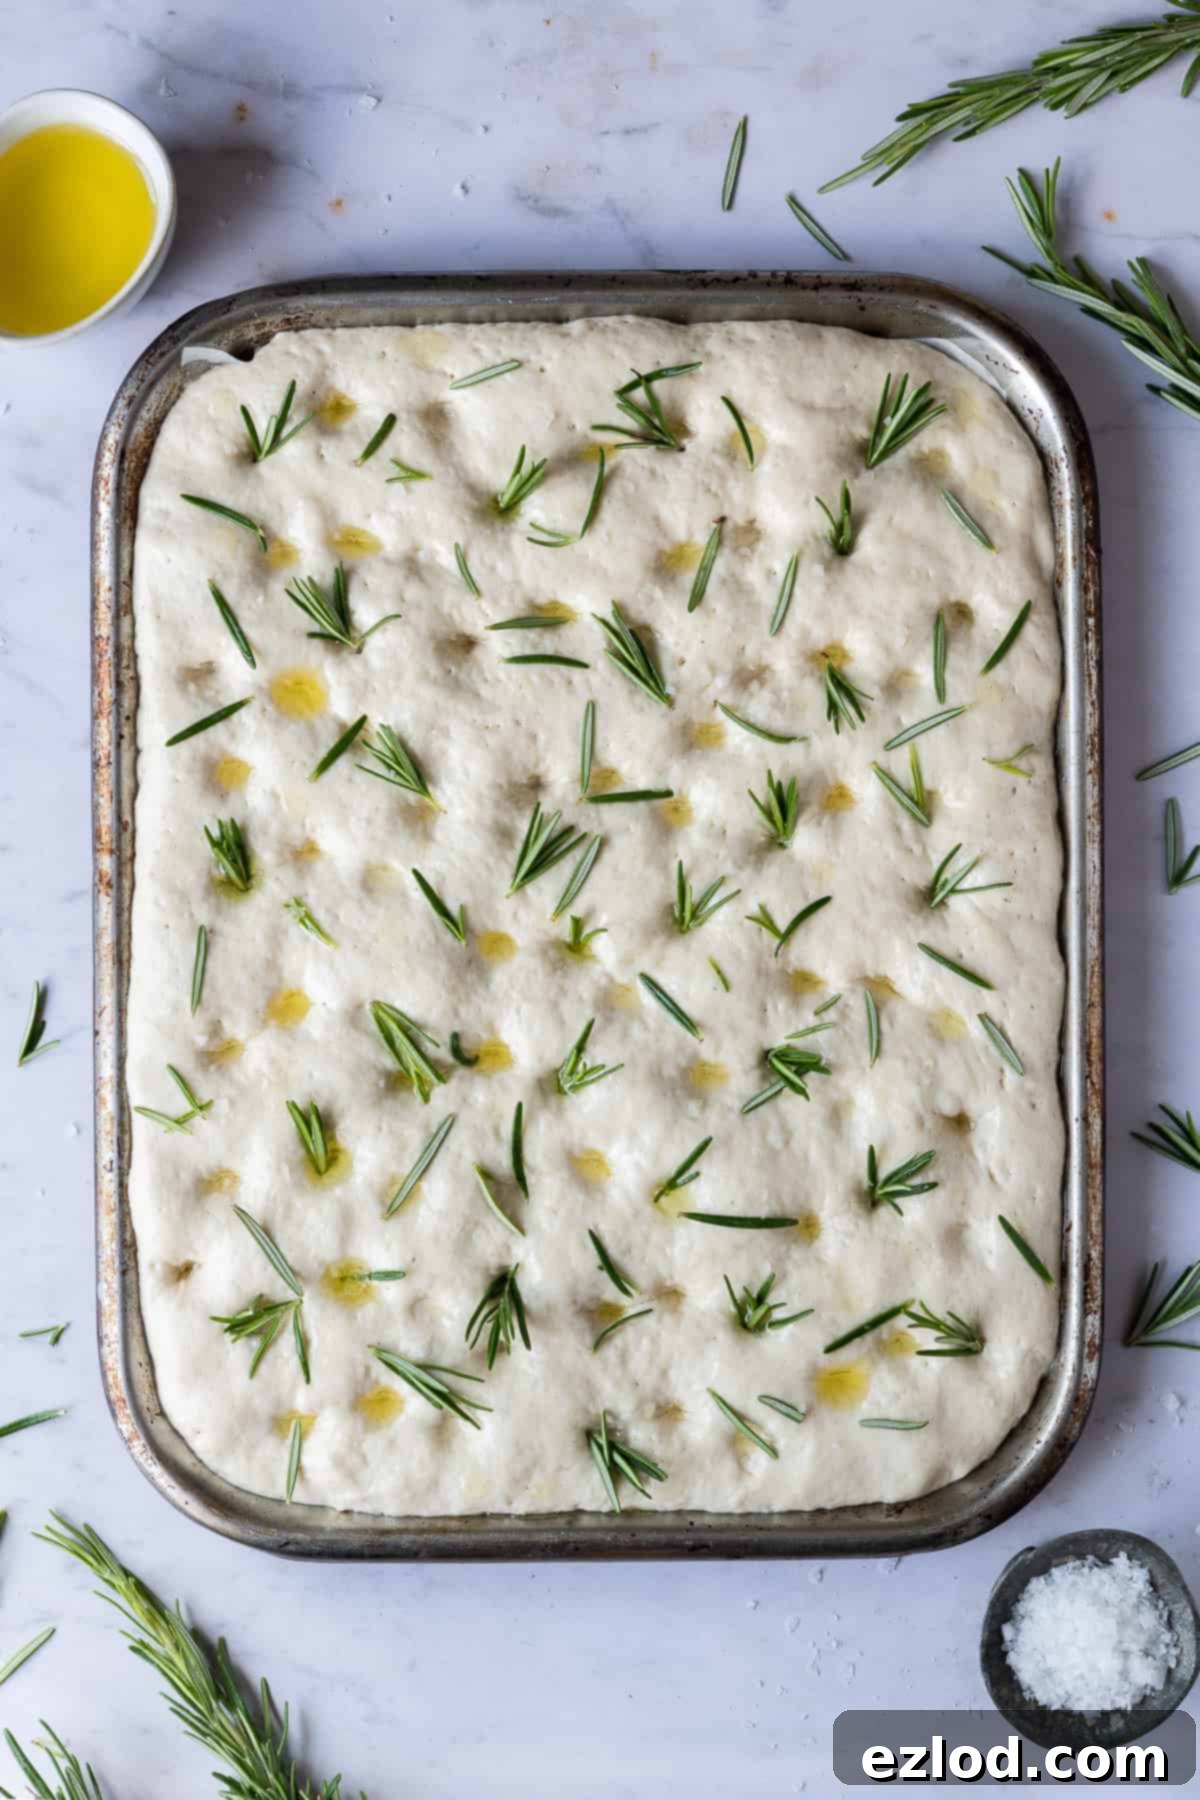
Now comes the fun part – creating those iconic focaccia dimples! Lightly oil your fingers to prevent them from sticking to the soft dough. Gently prod the dough all over with your fingertips, pushing them firmly all the way through to the bottom of the tin. Don’t worry if the dough deflates slightly; this is completely normal and helps create the characteristic chewy texture and airy pockets. After dimpling, generously drizzle the entire surface of the dough with a good quality olive oil. Finish by liberally sprinkling with flaky sea salt, a dash of dried oregano (optional but highly recommended), and plenty of fresh rosemary sprigs. These toppings not only add incredible flavor but also contribute to the beautiful golden crust.
Baking and Cooling
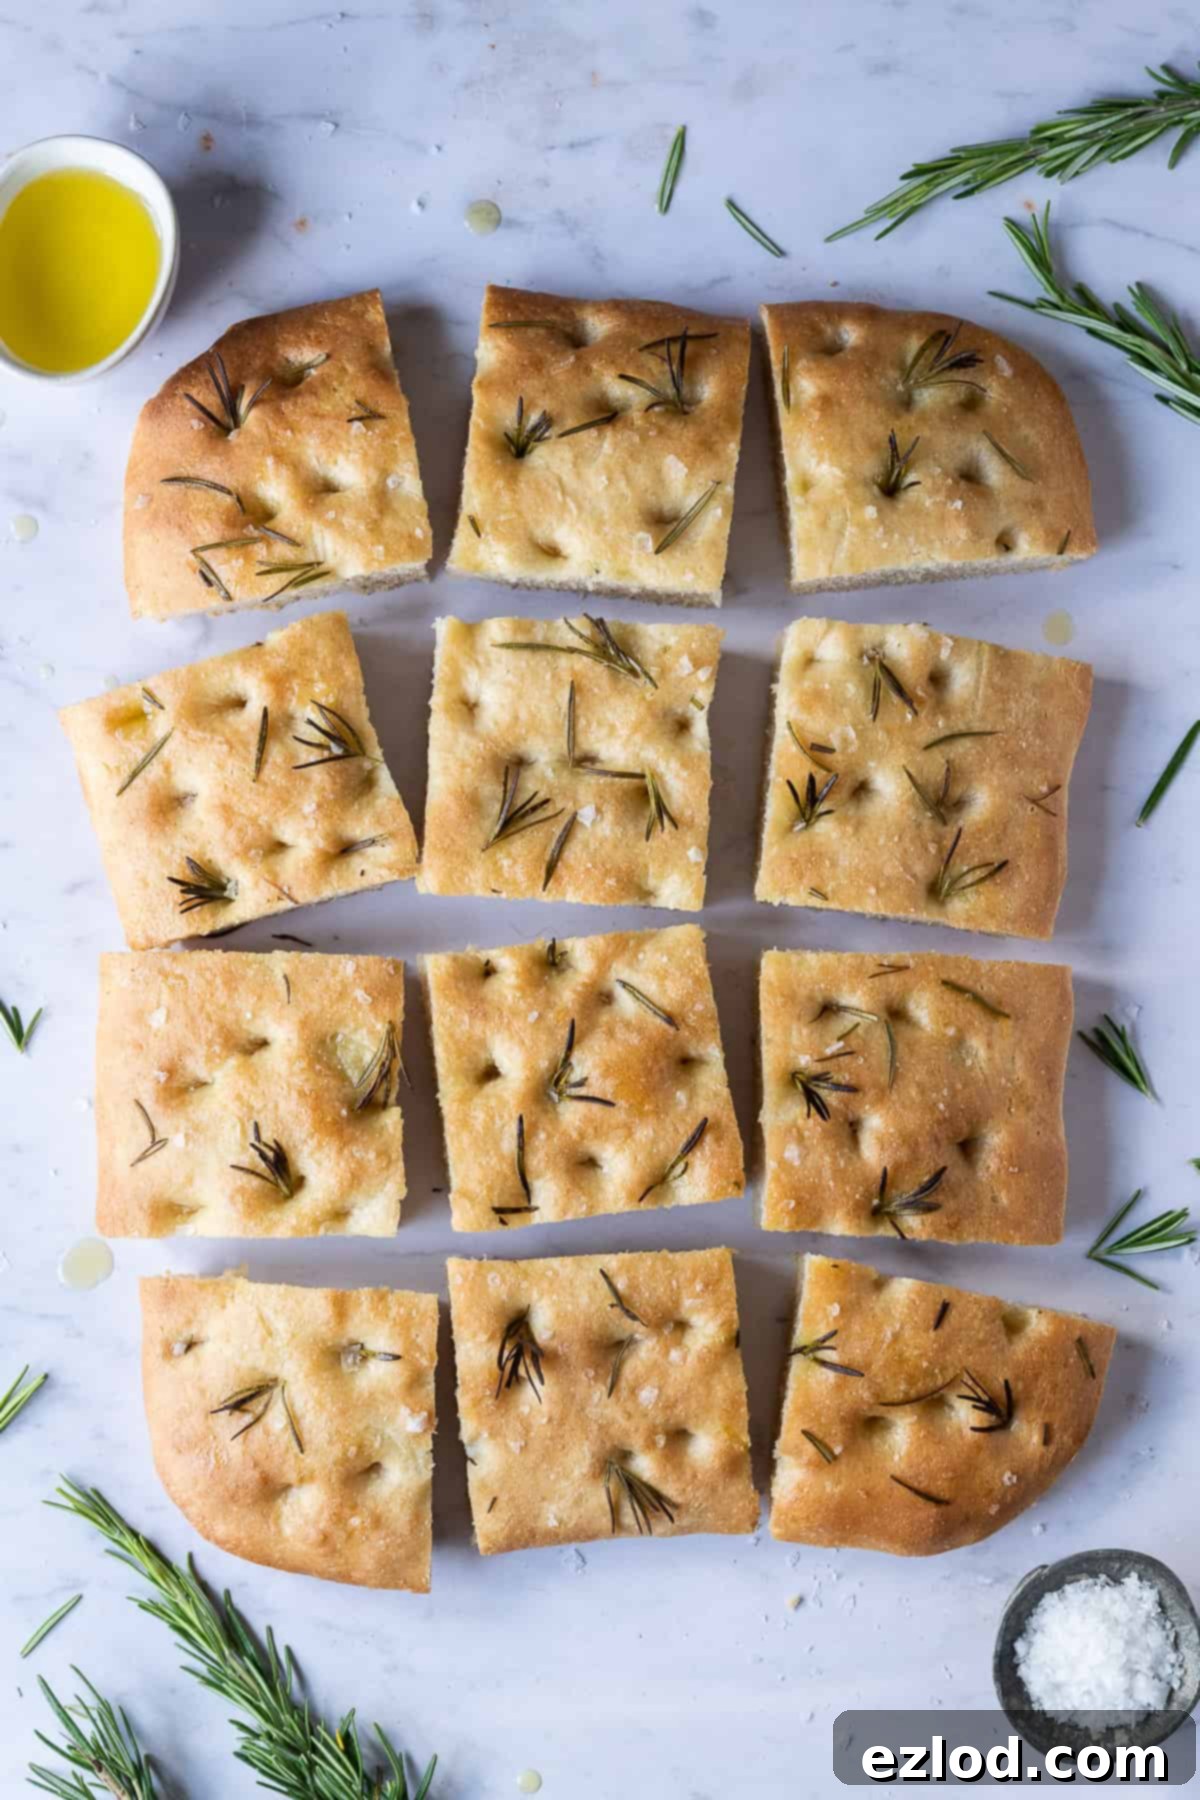
Carefully transfer the tin to your preheated oven and bake for approximately 15-20 minutes. The focaccia is ready when its top is a beautiful golden brown and, when tapped on the bottom, it sounds hollow. This indicates it’s cooked through and has achieved a wonderful internal structure. Once baked, immediately transfer the focaccia loaf to a wire rack to cool completely. While it’s tempting to cut into it right away, allowing it to cool helps set the crumb and ensures the best possible texture and flavor.
Top Tips for Baking the Best Sea Salt and Rosemary Focaccia
Achieving bakery-quality focaccia at home is entirely possible with these essential tips:
- Precise Measurements Are Key: For the most consistent and best results, always prioritize using gram measurements with a digital scale rather than cup conversions. Baking is a science, and volumetric cup measurements can be highly inaccurate due to variations in how ingredients are packed, which can significantly impact the dough’s hydration and overall outcome.
- Embrace Sticky Dough: Focaccia dough is designed to be very wet and sticky. This high hydration is not a flaw but a crucial characteristic that, when combined with a hot oven, creates the distinctive chewy, airy, and open-holey structure that makes focaccia so irresistible. Do not be tempted to add more flour, even if it feels challenging to handle; trust the process!
- Leverage Your Stand Mixer: If you are fortunate enough to own a stand mixer, definitely use it for kneading focaccia dough. Its sticky nature makes hand kneading quite a messy and strenuous task. However, if you’re kneading by hand, a dough scraper will prove incredibly useful for managing the dough and cleaning your work surface efficiently.
- Consider an Overnight Rise for Enhanced Flavor: While a warm-place rise works perfectly, giving the dough its first rise overnight in the refrigerator (cold fermentation) can significantly improve the focaccia’s flavor complexity and texture. This slow rise allows the yeast to work more gradually, developing deeper, more nuanced notes. It also conveniently breaks up the workload, making baking day less rushed.
- Get Creative with Toppings: While sea salt and rosemary are classic, feel free to personalize your focaccia with other delicious toppings. Olives (kalamata or green), sun-dried tomatoes, caramelized onions, roasted peppers, cherry tomatoes, and various fresh herbs like thyme or sage all make fantastic additions. Even a sprinkle of vegan cheese can be a lovely touch!
- Choose Your Olive Oil Wisely: The quality of your olive oil truly shines in focaccia. Use a good quality extra virgin olive oil for the best flavor, especially for the final drizzle. If you prefer a milder olive oil flavor, you can use a lighter-flavored one for incorporating into the dough, then switch to a robust extra virgin variety for the top.
- Don’t Skip the Semolina or Cornmeal (Optional but Recommended): Sprinkling the baking tray with semolina or fine cornmeal before placing the dough is an optional step that I highly recommend. It creates a beautiful, subtly crisp bottom crust, adding another delightful textural element to your focaccia.
Can I Bake Sea Salt and Rosemary Focaccia in Advance?
Unfortunately, focaccia, like many fresh breads, is best enjoyed on the day it’s baked. Its tender crumb and crisp crust begin to soften and dry out quite quickly, so I generally don’t recommend baking it too far in advance for optimal freshness. Ideally, plan to serve it within a few hours of coming out of the oven. While it will still be palatable the next day, it may lose some of its initial softness and chewiness.
However, if you find yourself with leftovers, they can be preserved! Freeze any remaining focaccia in an airtight container or freezer bag on the day it’s baked to lock in as much freshness as possible. It will keep well in the freezer for up to three months. When you’re ready to enjoy it, allow the focaccia to defrost at room temperature, then warm it through in a moderate oven (around 180°C/350°F) for 5-10 minutes before serving to revive its texture and flavor.
More Delicious Vegan Bread Recipes to Explore
If you’ve enjoyed baking this sea salt and rosemary focaccia and are looking for more plant-based bread adventures, explore these other fantastic vegan bread recipes:
- Vegan Challah Bread
- Vegan Hokkaido Milk Bread
- Vegan Brioche
- Vegan Naan Bread
- Vegan Wholemeal Maple Cinnamon Rolls
- Pumpkin Bread Rolls
- Vegan Cornbread
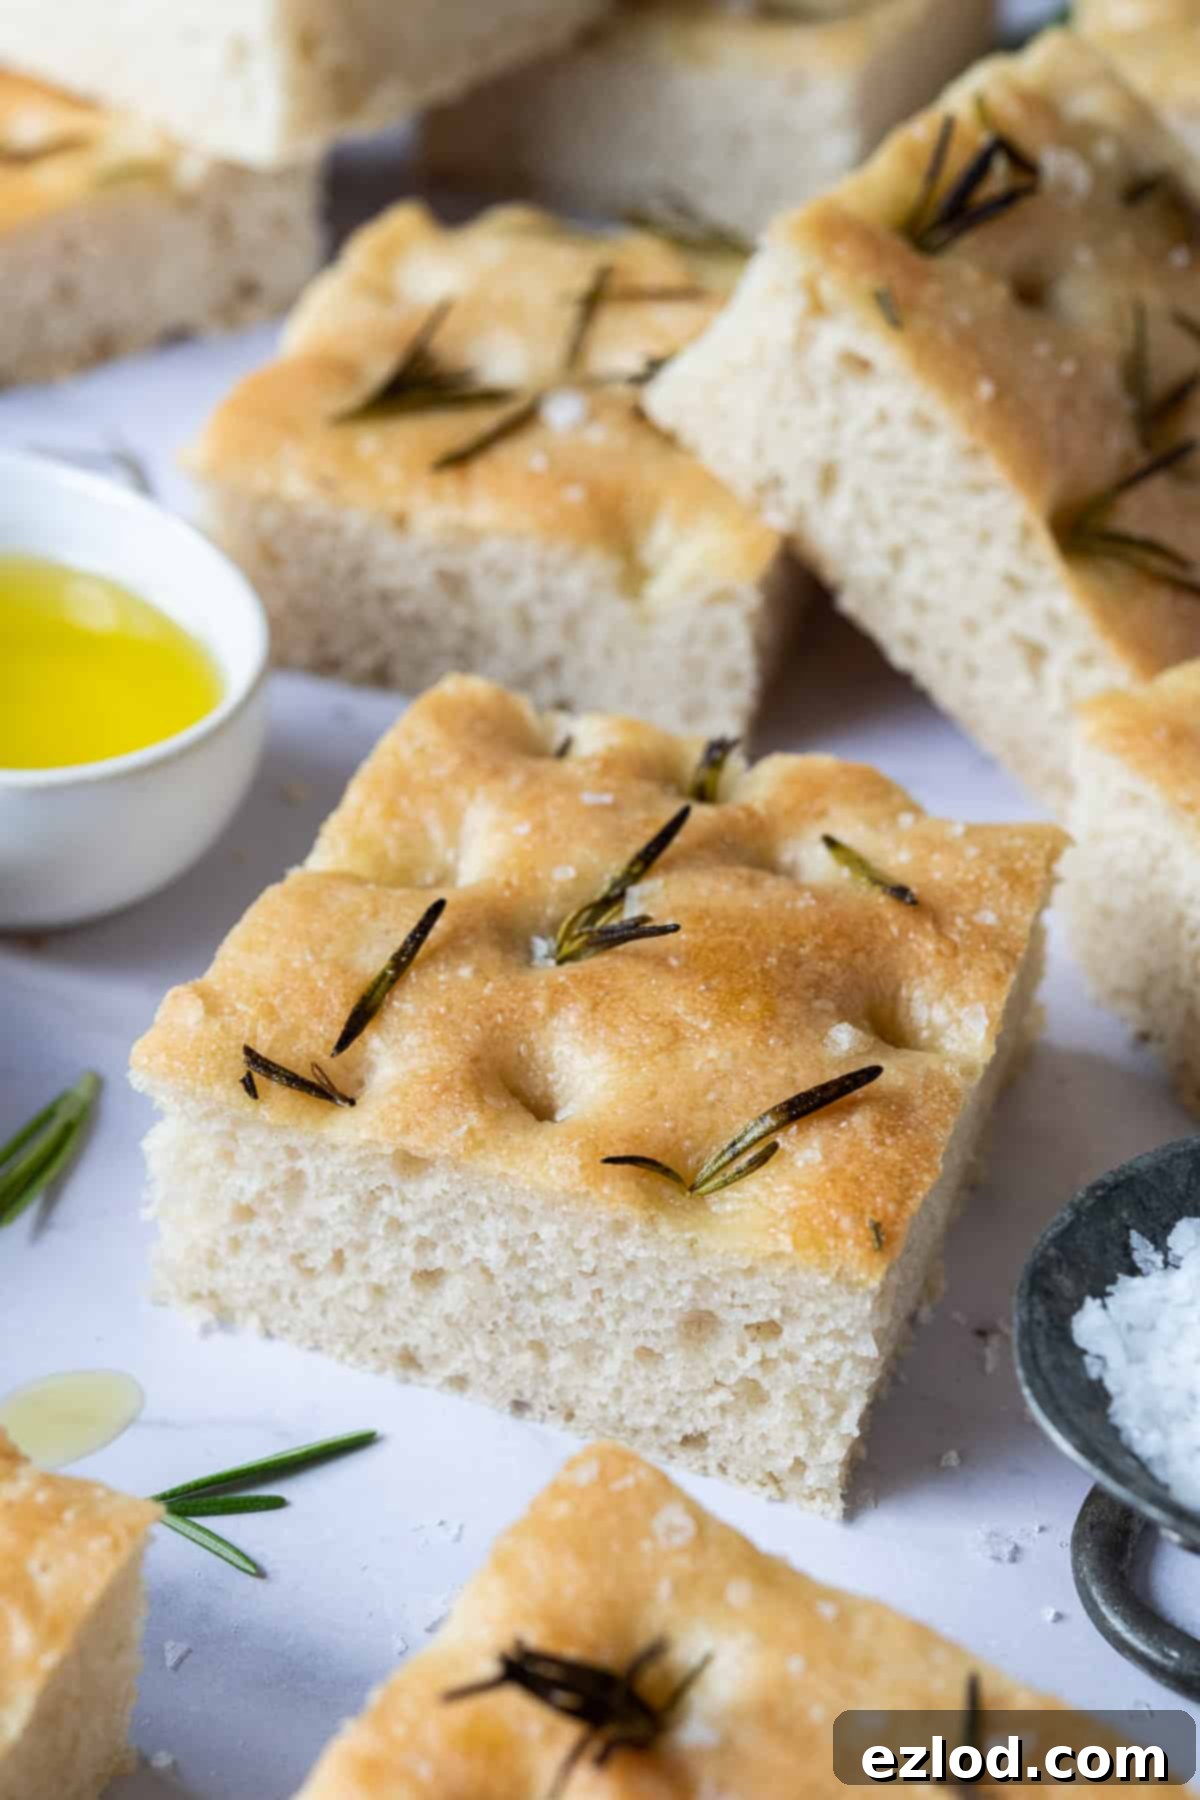
If you tried this incredible sea salt and rosemary focaccia recipe, we would love to see your creations! Share your photos on Instagram and tag @domestic_gothess, and don’t forget to use the hashtag #domesticgothess. Happy baking!
*All images and content on Domestic Gothess are copyright protected. If you want to share this recipe then please do so by using the share buttons provided. Do not screenshot or post the recipe or content in full.*
Print
Sea Salt & Rosemary Focaccia
Ingredients
- 500 g (4 ¼ cups) white bread flour
- 10 g (2 tsp) salt
- 7 g (2 tsp) fast action/instant yeast
- 60 ml (¼ cup) olive oil (plus extra for drizzling)
- 350 ml (1 + ½ cups) lukewarm water
- semolina or cornmeal for dusting (optional)
- fresh rosemary
- dried oregano (optional)
- flaky sea salt (I use Maldon)
Instructions
-
Place the flour in the bowl of your stand mixer (if you have one) and add the salt to one side and the yeast to the other. Pour in the olive oil and three quarters of the water. Mix, adding the rest of the water gradually, until you have picked up all the flour from the sides of the bowl and formed a soft, sticky dough. The dough should be quite wet – much softer than a standard bread dough.
-
Knead with the mixer on a medium speed for about 5 minutes until the dough is smooth and elastic. It will still be very sticky. If you don’t have a stand mixer, oil a work surface with olive oil and turn the dough out onto it. Knead the dough for 5-10 minutes until it feels elastic; it will still be very sticky – resist the urge to add more flour.
-
Oil a 2-3 litre square or rectangular plastic container (you can use a bowl if you don’t have one, using a square container just makes it a bit easier to shape once it has proved.), place the dough into the oiled container, cover, and leave to rise until at least doubled in size – about 1-2 hours in a warm place or overnight in the fridge.
-
Line an approx 23x33cm / 9x13in baking/roasting tin with baking parchment and sprinkle it with semolina or cornmeal. Carefully tip the dough out onto the baking tray. Don’t knock it back as you usually would, just oil your hands and stretch the dough out into a rectangle, filling the tin. Loosely cover with oiled clingfilm or place the tray inside a large plastic bag and leave to prove for about 45 minutes to 1 hour until the dough is puffy and doubled in size.
-
Meanwhile heat the oven to 220°C/425°F/gas mark 7.
-
To make the dimpled effect, oil your fingers to stop them from sticking to the dough, then prod the dough all over with your fingers, pushing all the way through to the bottom. The dough will deflate a little, not to worry.
-
Drizzle the dough with olive oil and sprinkle generously with sea salt, oregano and rosemary.
-
Bake for about 15-20 minutes, until the loaf is golden brown and it sounds hollow when tapped. Transfer to a wire rack to cool.
Notes
- For the best results make sure that you follow the recipe closely. As always, I highly recommend using the gram measurements (with a digital scale), rather than the cup conversions. Cup measurements are simply not accurate enough for baking and I cannot guarantee the best results if you use them.
- If you want, you can give the dough it’s first rise overnight in the fridge rather than at room temperature. This breaks up the workload and gives the bread an even better flavour.
- Feel free to vary the toppings to suit you – olives, cheese, tomatoes, onions, nuts, herbs, grapes, roasted peppers etc.
- Sprinkling the tray with semolina or cornmeal is optional but it does give the loaf a lovely crust.
Adapted from How to Bake by Paul Hollywood
