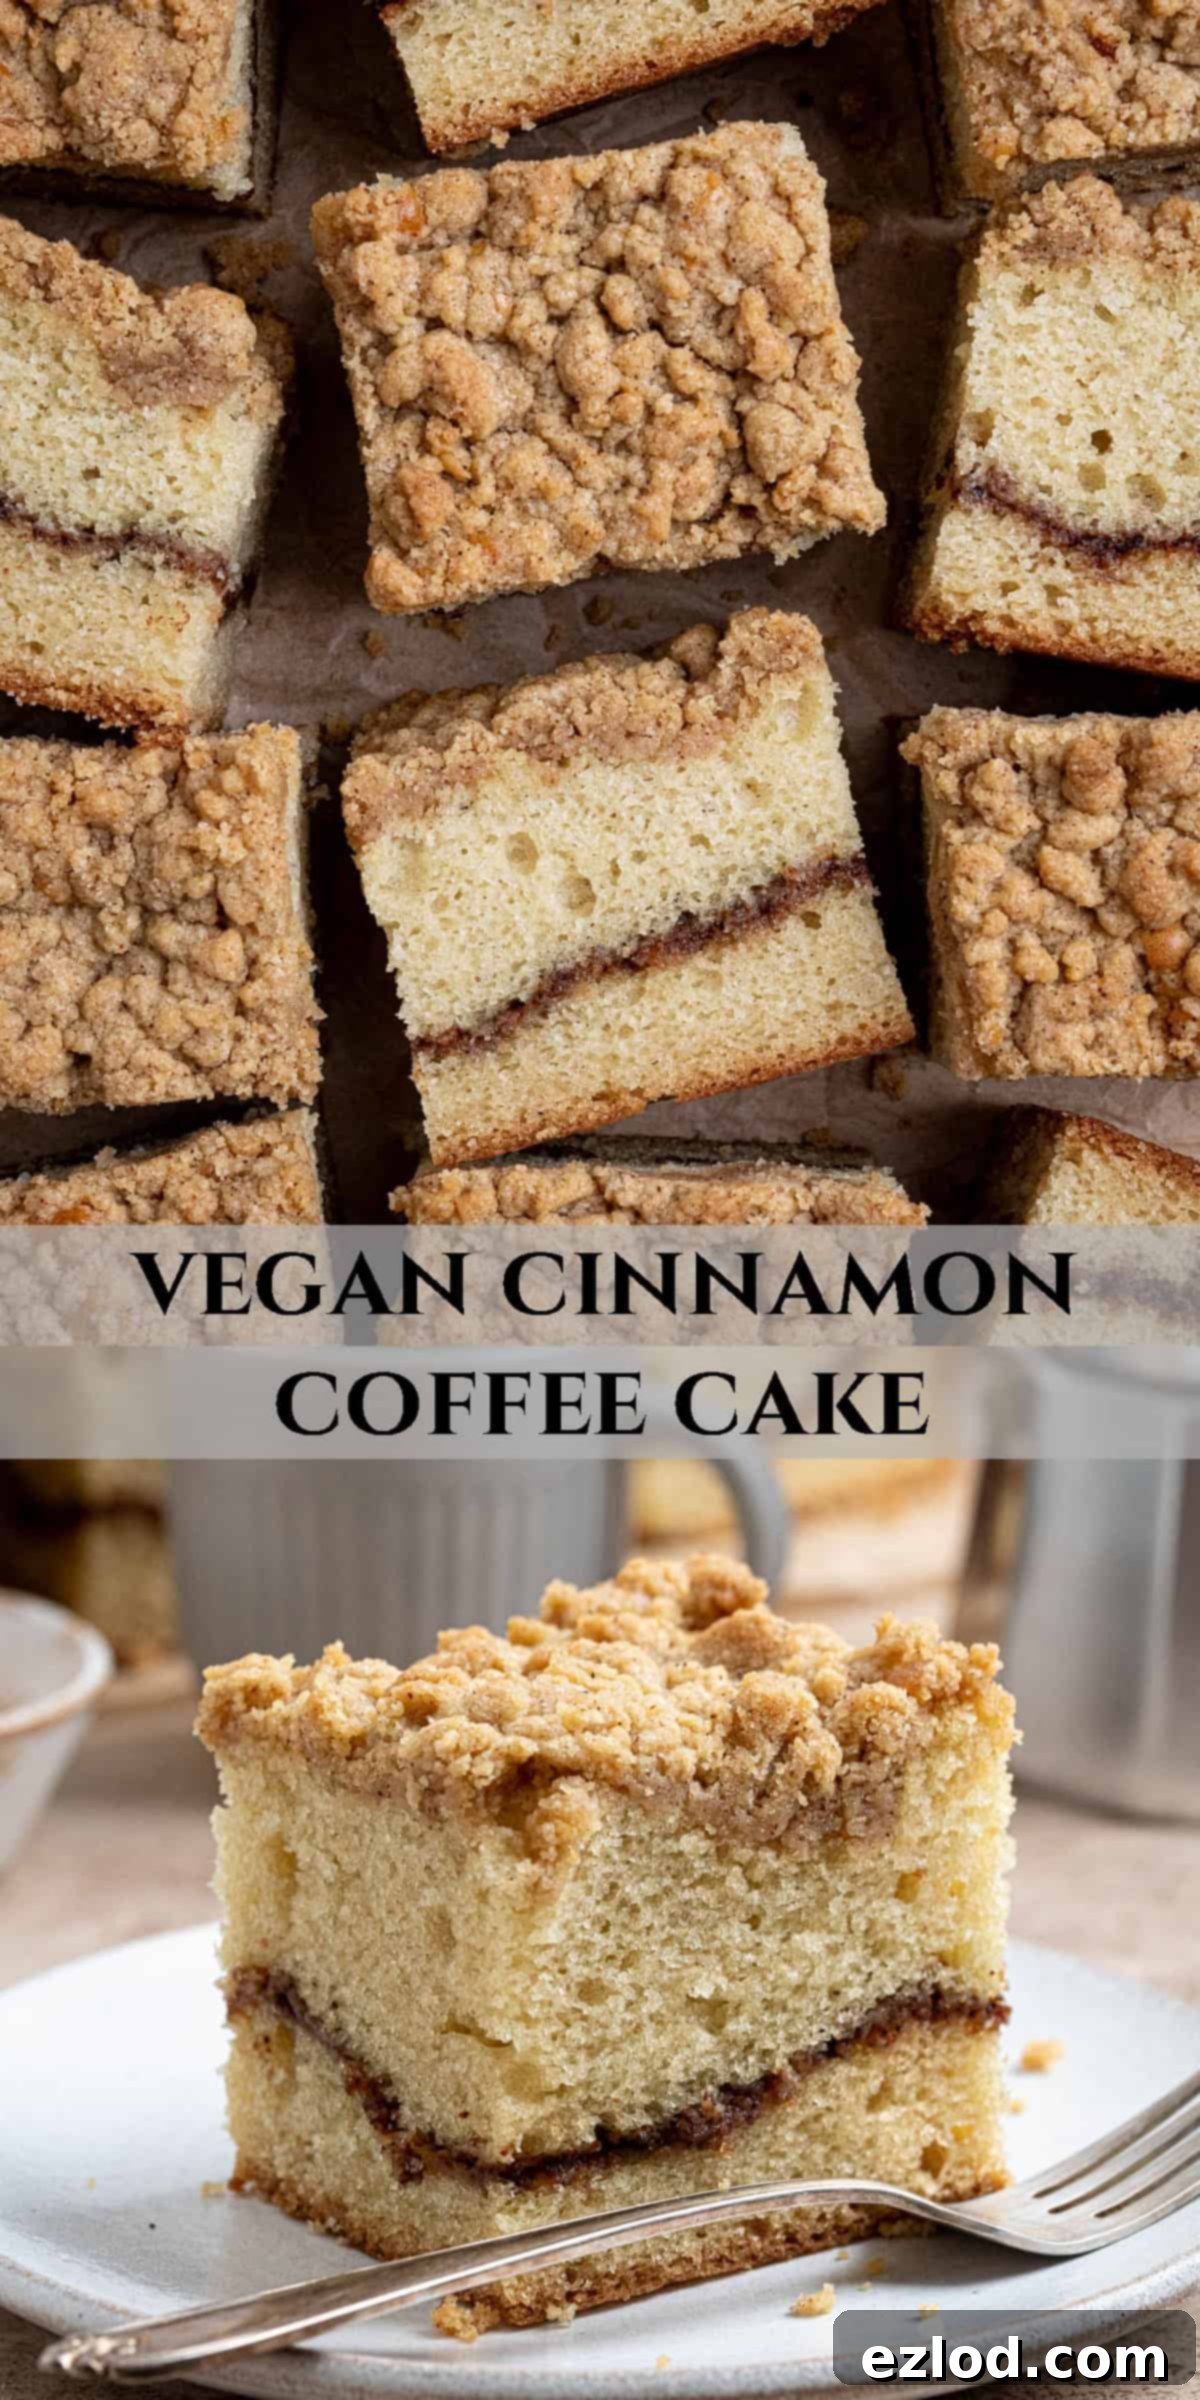
The Ultimate Vegan Coffee Cake: Moist, Fluffy, and Irresistibly Cinnamony
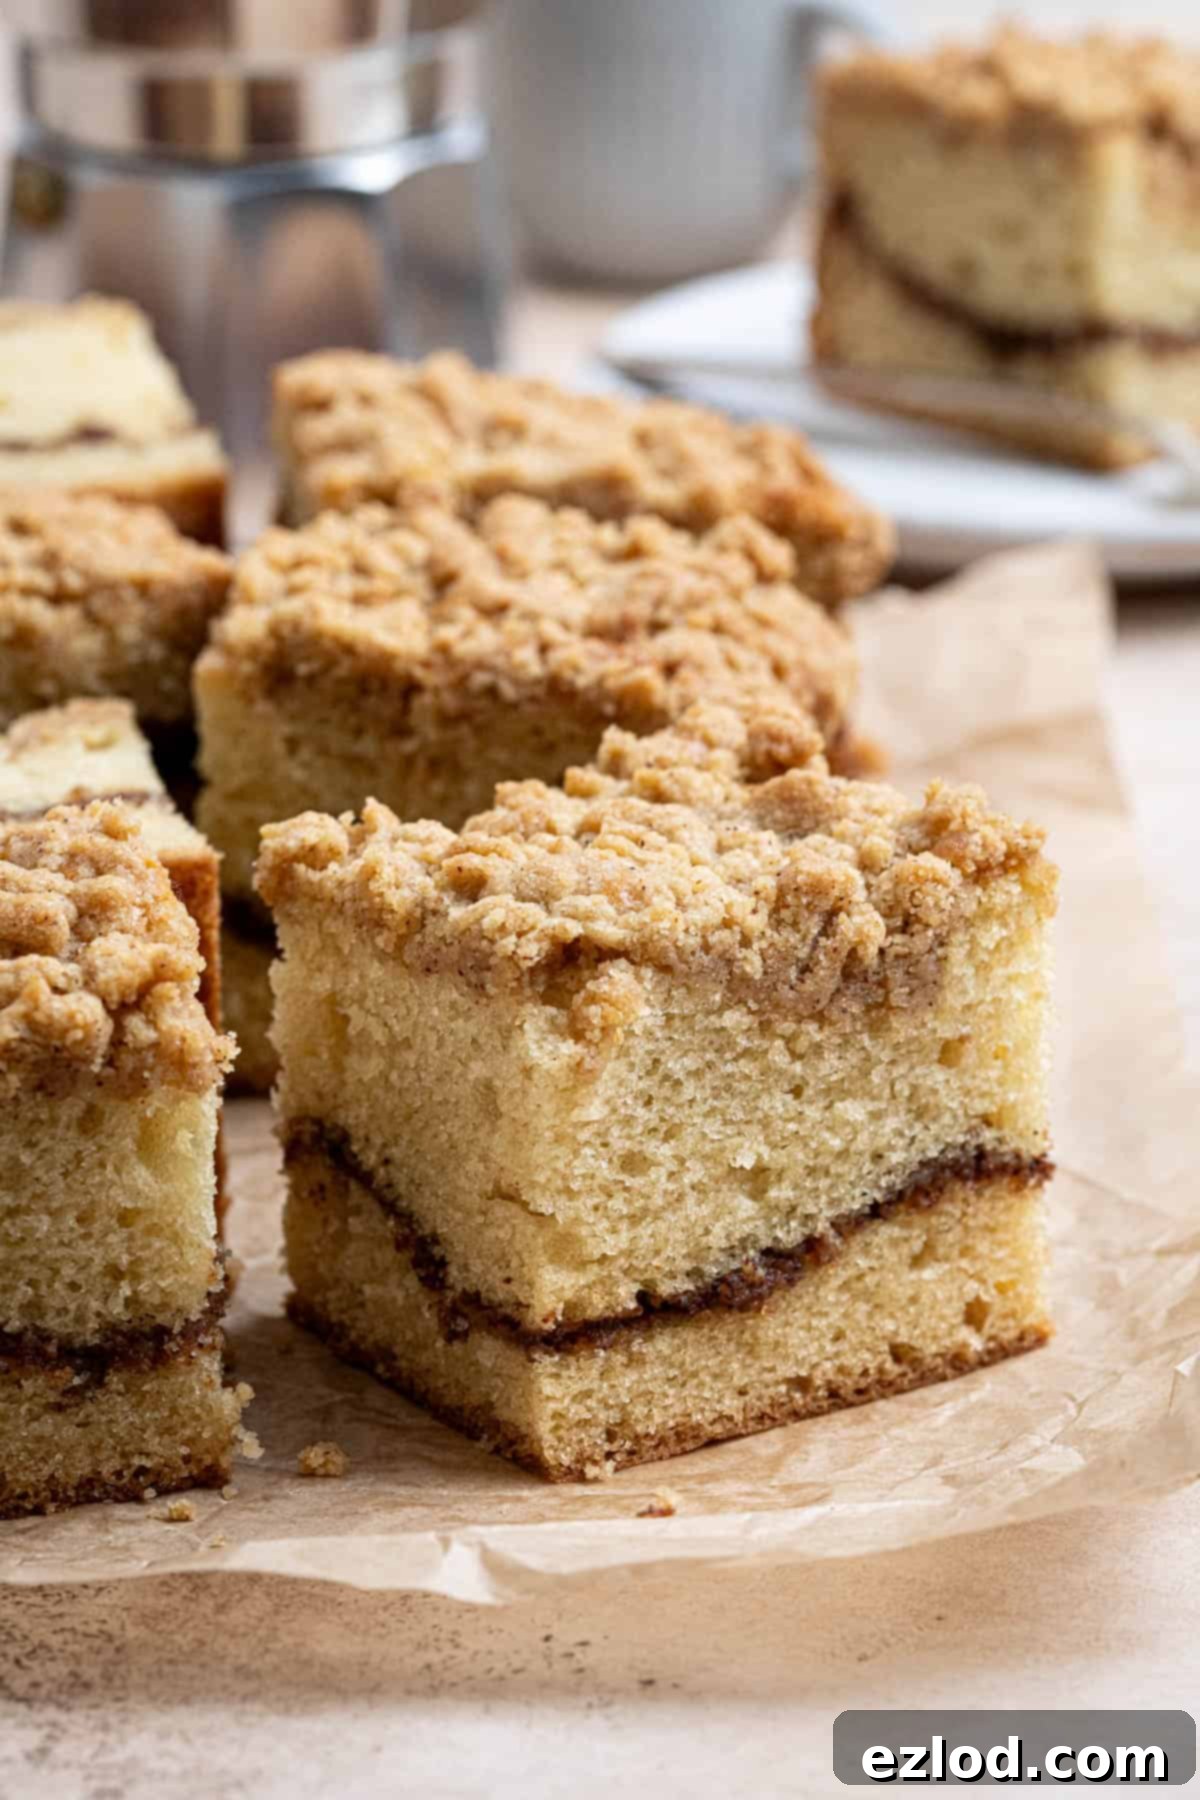
There’s nothing quite like a warm, comforting slice of homemade coffee cake, especially when it’s perfectly moist, delightfully fluffy, and crowned with a crisp, buttery streusel topping. This particular vegan coffee cake recipe delivers on all fronts, offering an American-style cinnamon-infused delight that’s entirely plant-based and surprisingly simple to master. Imagine a tender vanilla cake with a sweet swirl of cinnamon sugar tucked into its heart, all finished with an irresistible, crunchy streusel. It’s the perfect companion to your morning coffee or an afternoon pick-me-up.
This recipe is designed to be easy to follow, using readily available ingredients that you likely already have in your pantry. The result is a cake so incredibly moreish that you’ll want to bake it again and again! As its name suggests, this is the ultimate treat to enjoy alongside a freshly brewed cup of coffee, making any moment feel a little more special.
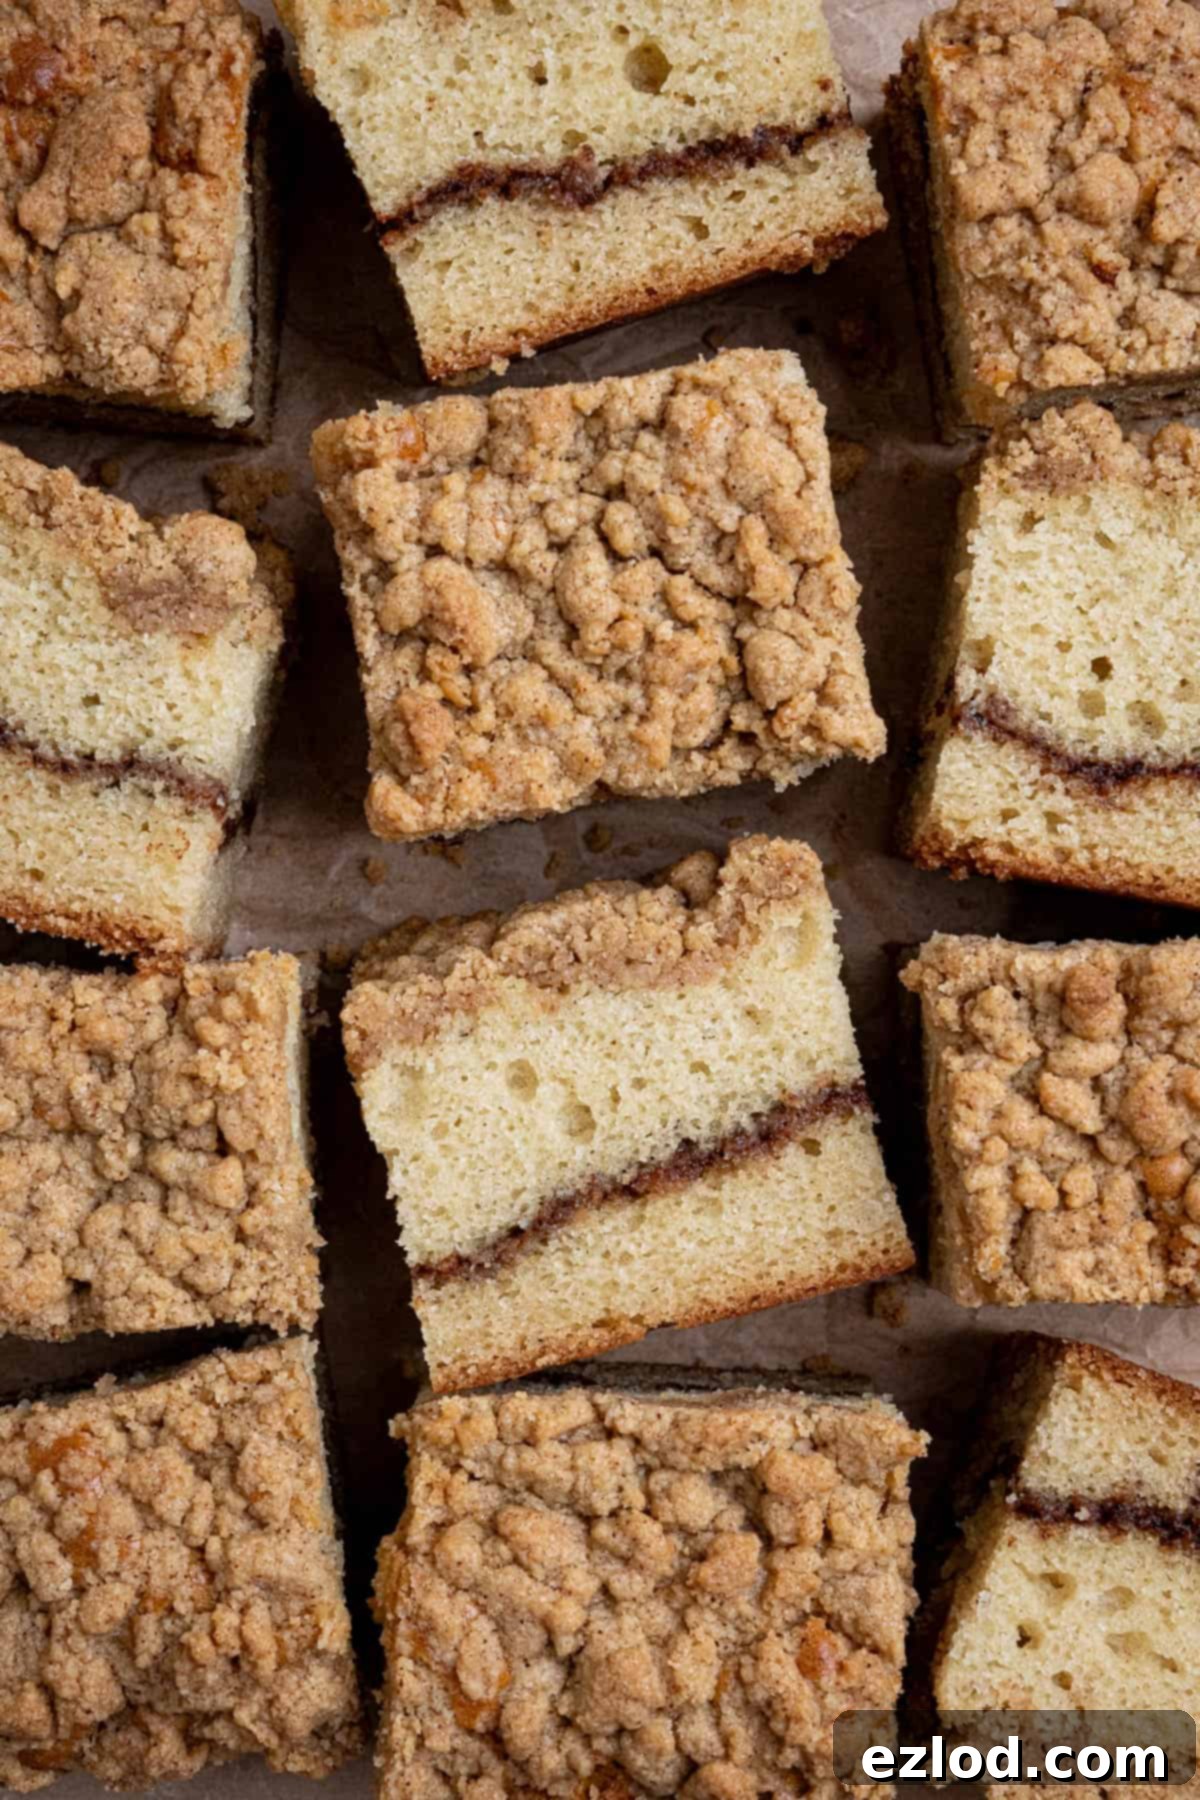
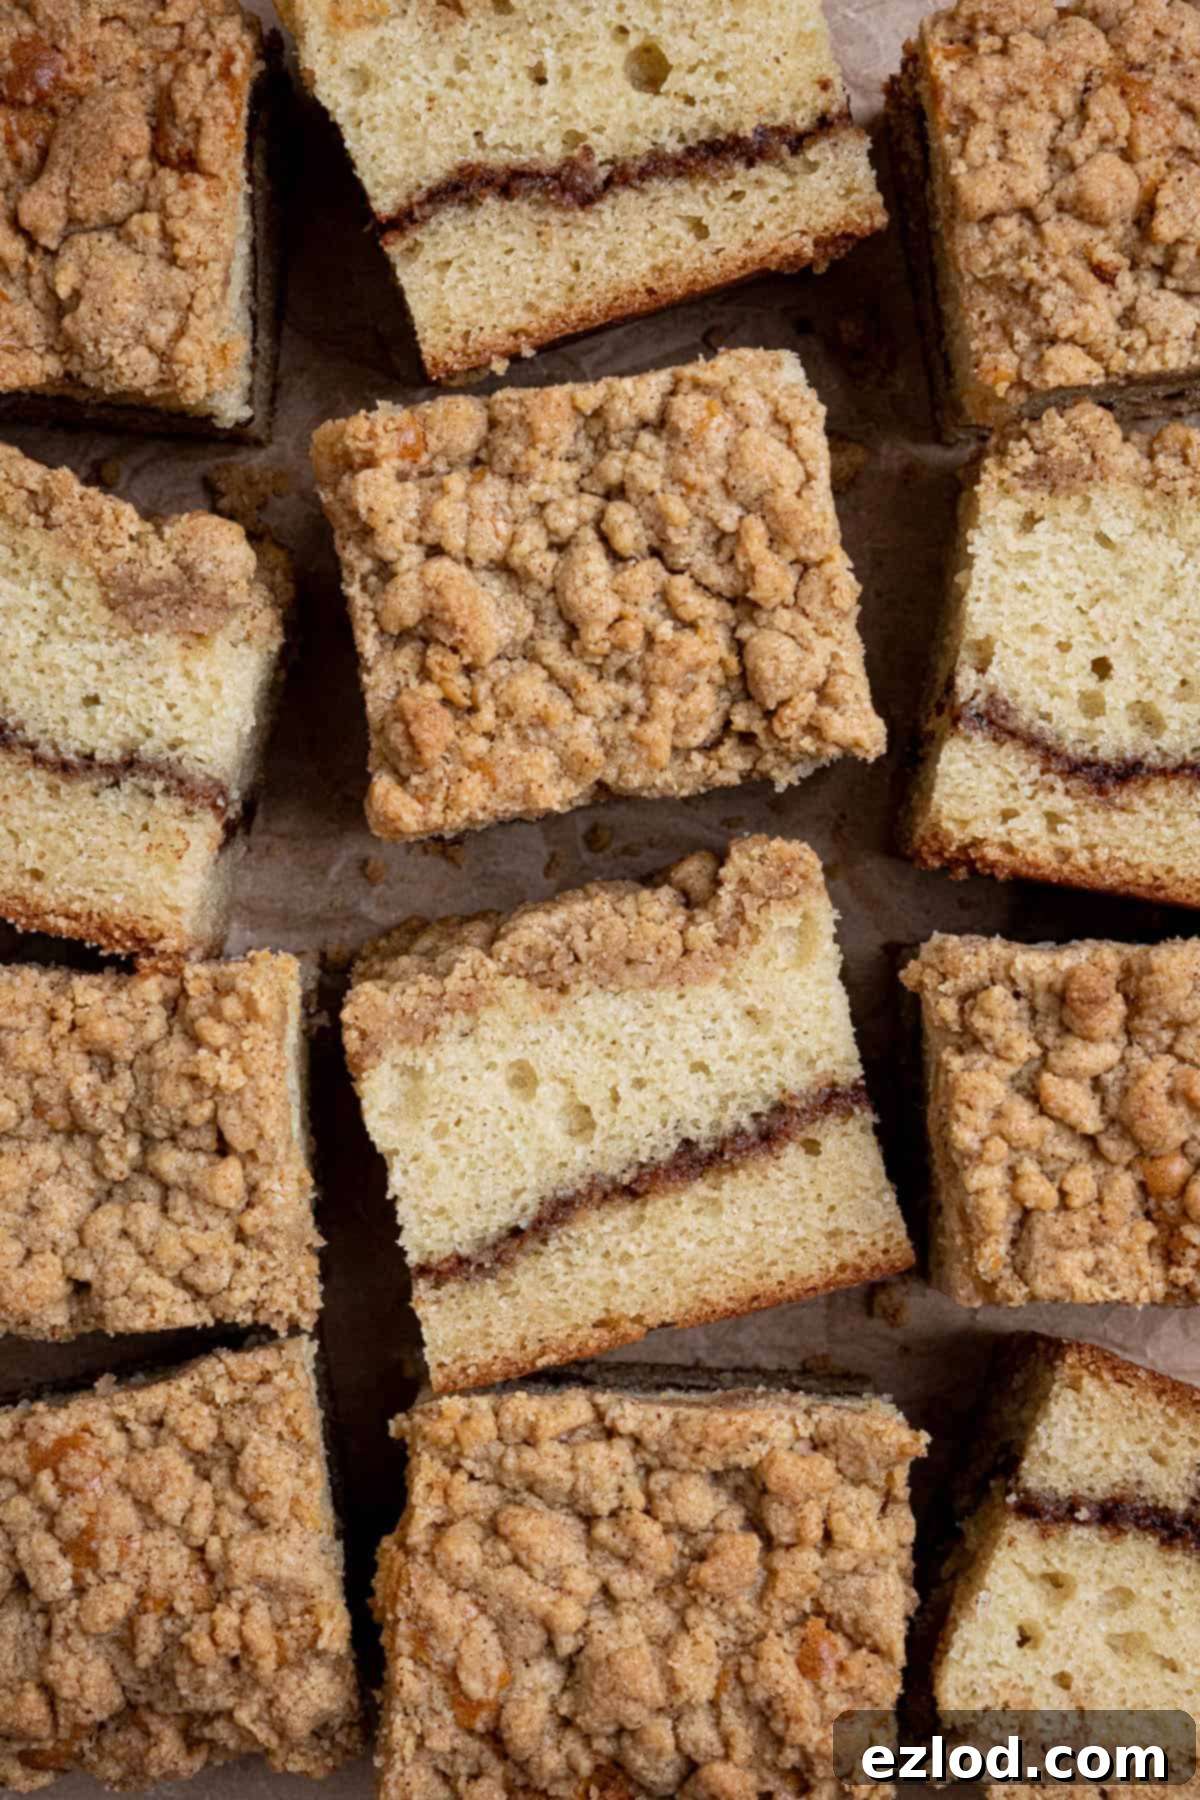
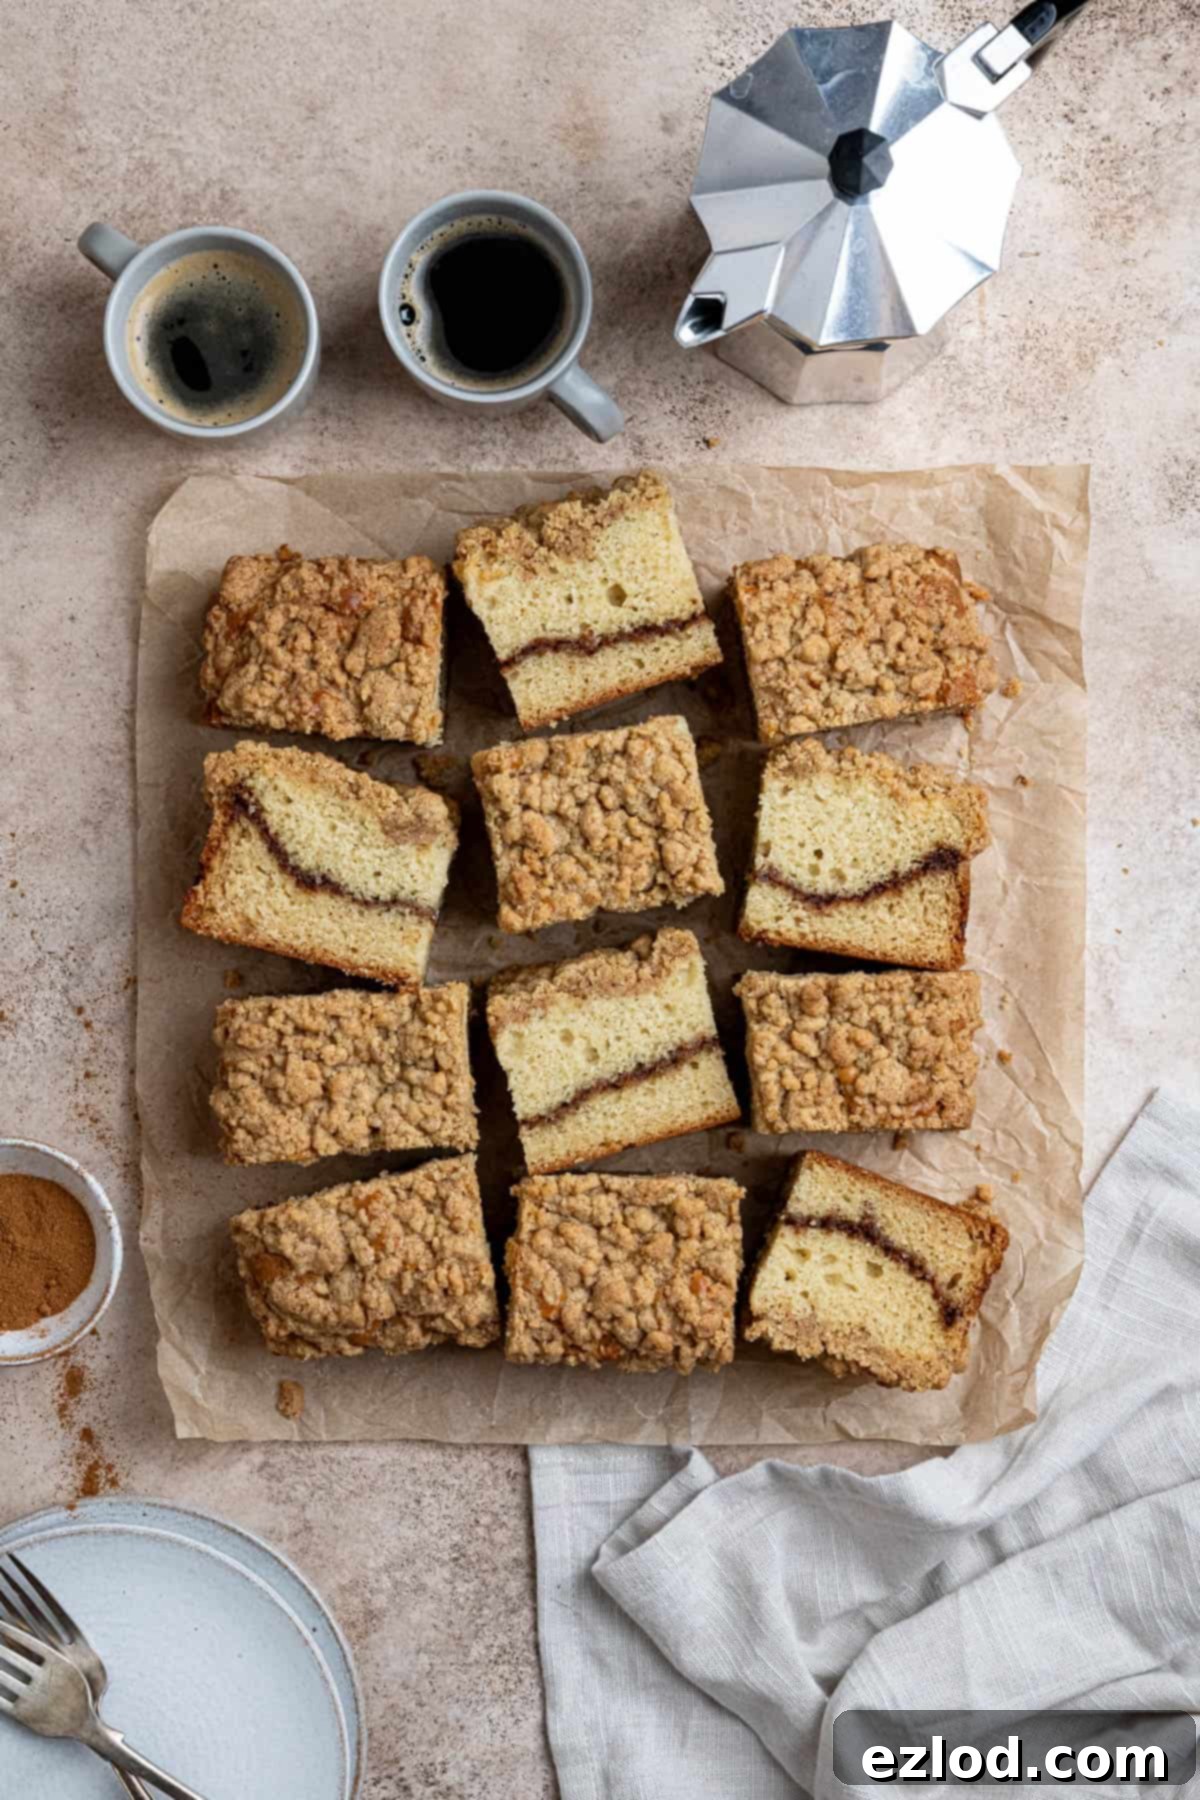
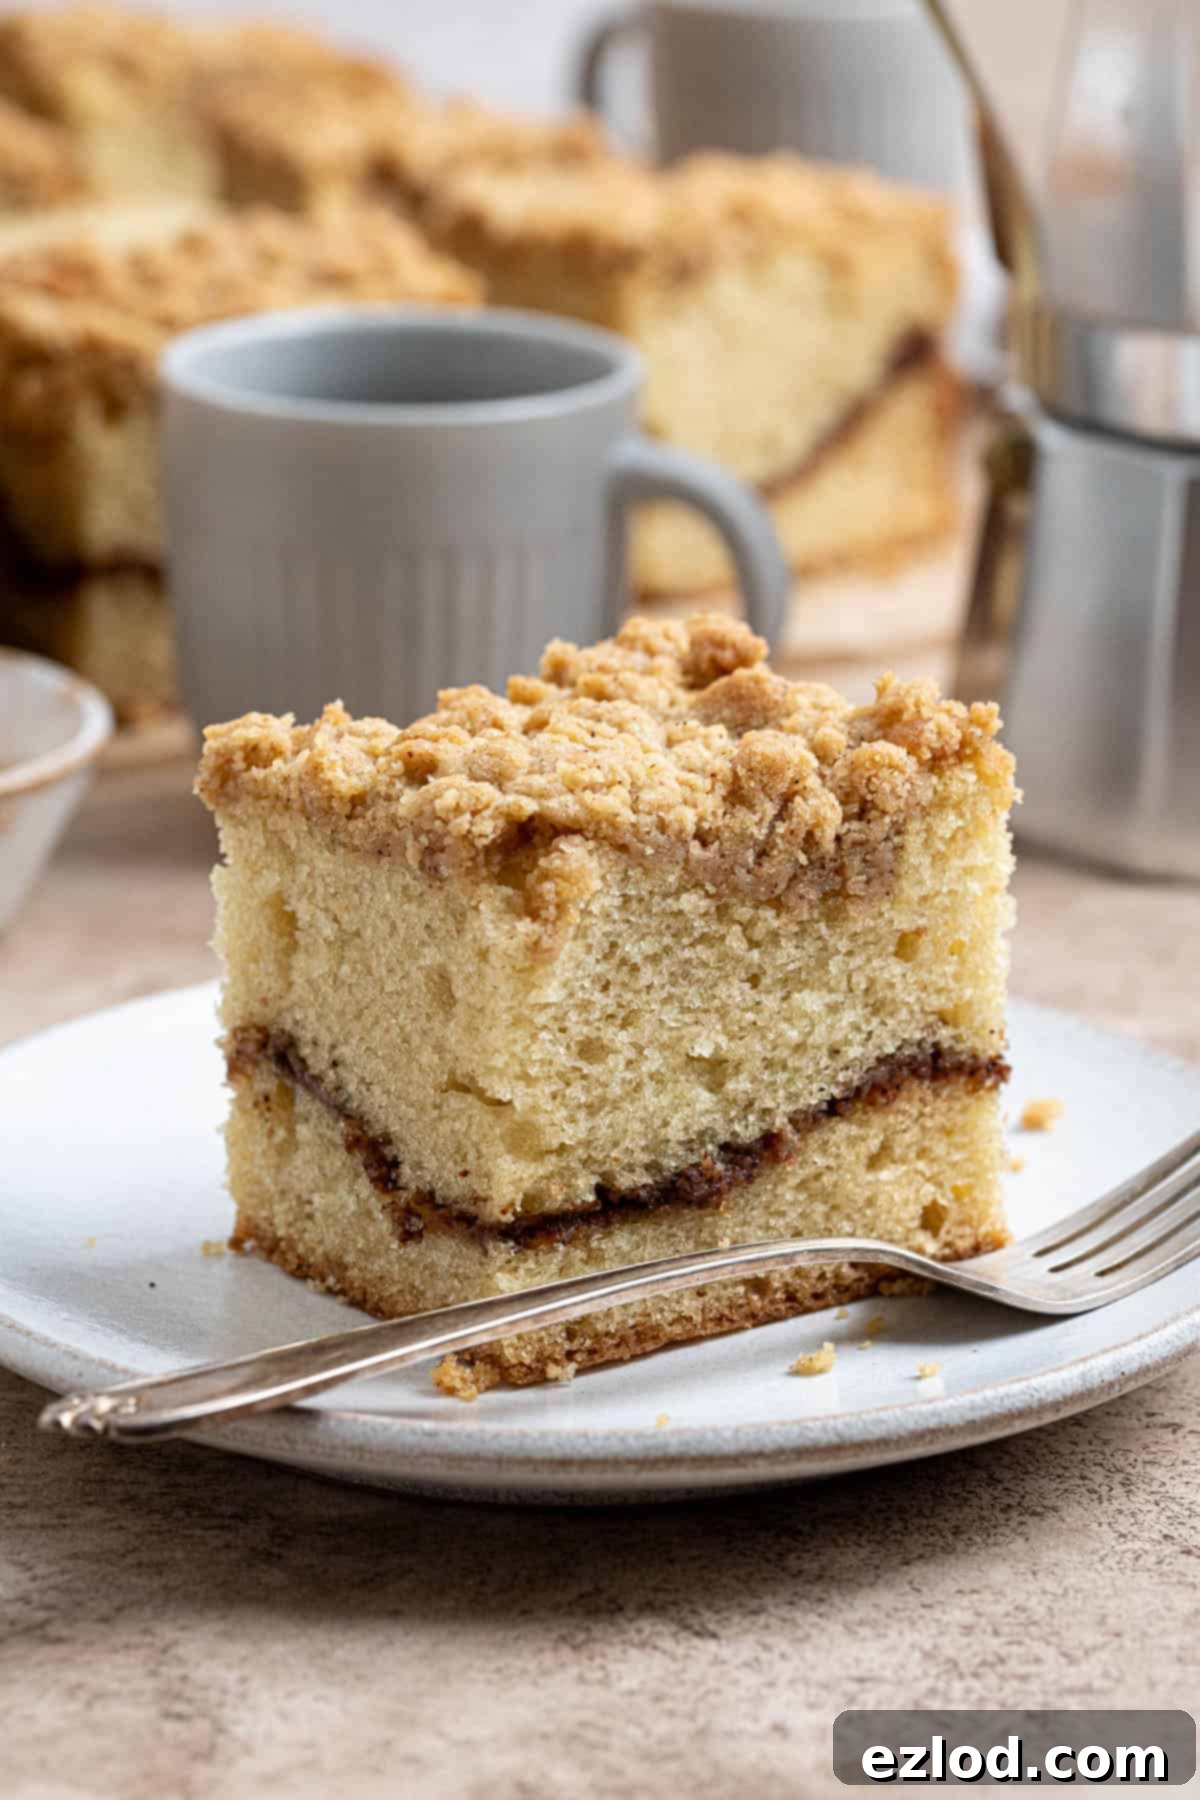
This vegan coffee cake transcends the ordinary snacking cake. It features a wonderfully soft, moist, and fluffy vanilla sponge that serves as the perfect canvas for a generous layer of aromatic cinnamon sugar running through its middle. But the true crown jewel is the crisp, buttery cinnamon streusel topping, which adds an incredible textural contrast and a burst of warm spice with every bite. It’s a harmonious blend of textures and flavors that makes this cake truly exceptional.
For those new to the concept of “coffee cake,” it’s important to clarify: this isn’t a cake flavored with coffee. Instead, it’s an American baking tradition where the cake is specifically designed to be served alongside coffee. These delightful cakes often feature a crumbly streusel topping and frequently incorporate a ribbon of spiced sugar, usually cinnamon, within the cake layers, as ours does.
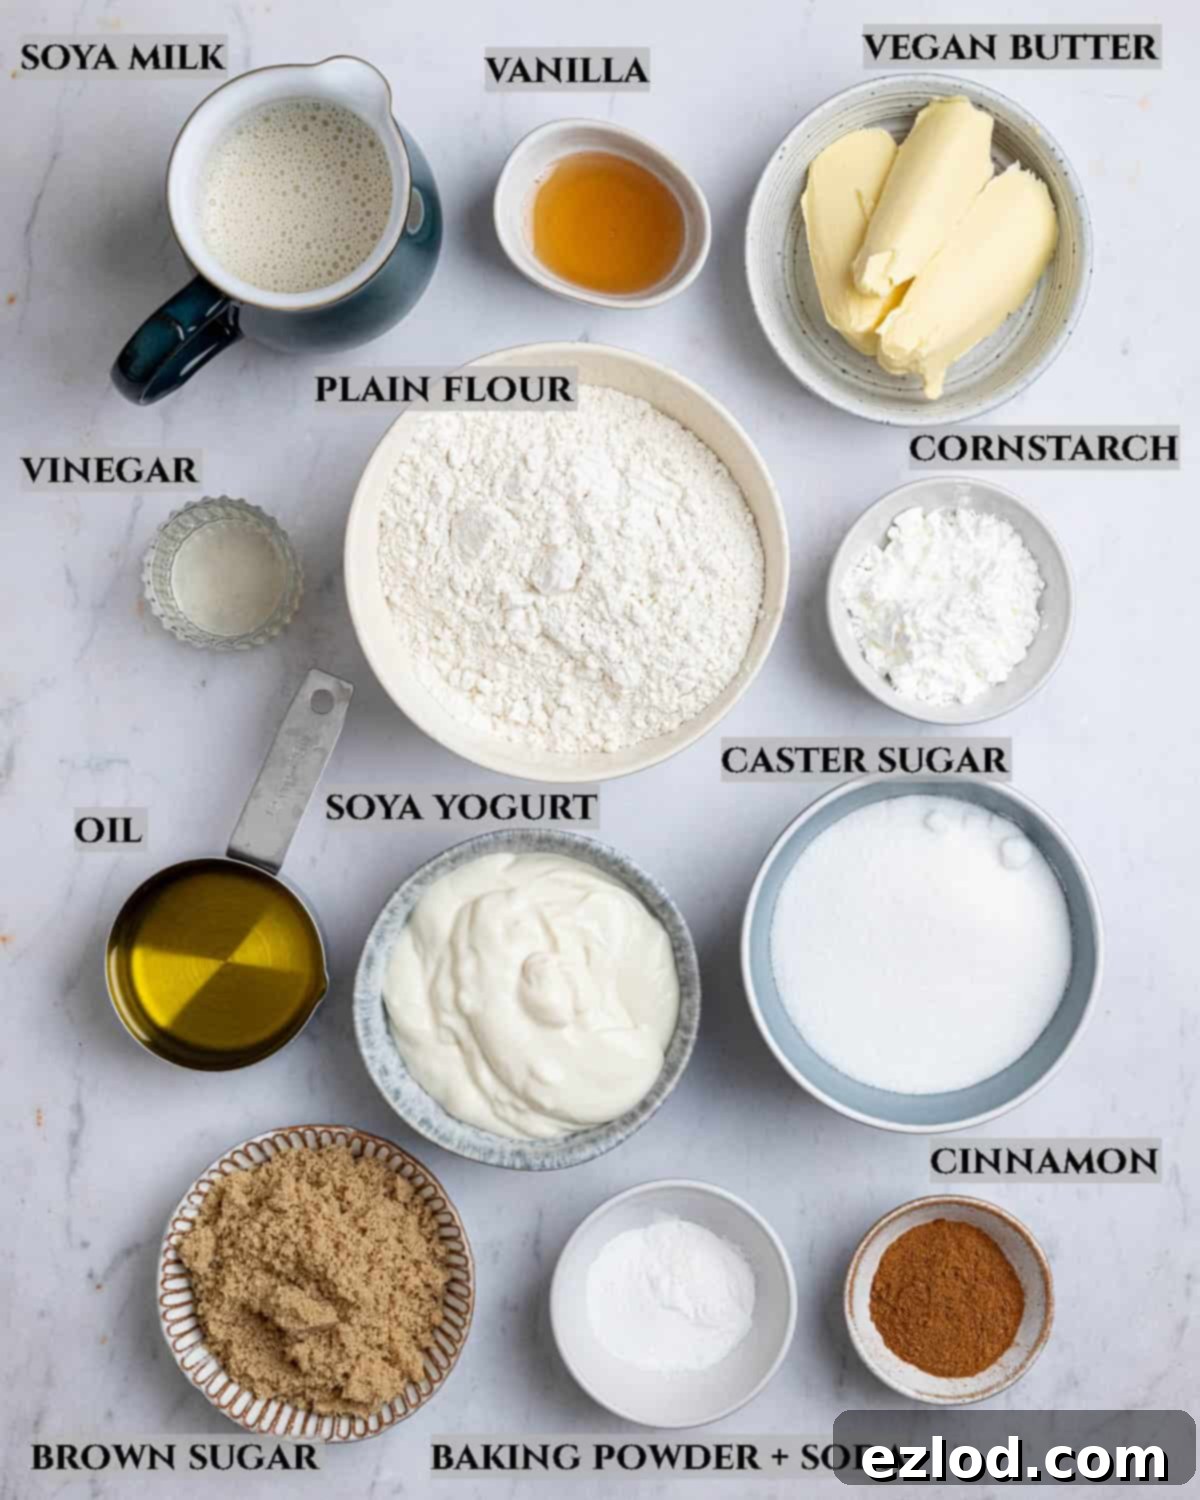
Essential Ingredients for Your Vegan Coffee Cake
Crafting the perfect vegan coffee cake starts with understanding the role of each ingredient. Here’s a detailed look at what you’ll need and why:
Plain (all-purpose) flour: For the best results, regular plain or all-purpose flour is ideal. It provides the necessary structure and tenderness for the cake. I strongly advise against swapping it for wholemeal flour, as the higher fiber content can lead to a much denser and heavier cake. I have not tested this recipe with gluten-free flour blends, so I cannot guarantee the same results for a gluten-free version, as texture can be quite different.
Baking powder and bicarbonate of soda (baking soda): Both leavening agents are crucial for achieving that wonderfully fluffy and light texture. They are not interchangeable. Baking soda reacts with acidic ingredients (like vinegar and yogurt) to produce carbon dioxide, aiding in the cake’s rise. Baking powder is a complete leavener, containing both acid and base, providing additional lift and tenderness.
Non-dairy milk: Any variety of unsweetened non-dairy milk will work beautifully, with the exception of thick tinned coconut milk, which has a different fat content and consistency. I personally find soy milk to be the best choice for baking, as its higher protein content often contributes to a more stable and tender crumb. Other options like almond or oat milk are also suitable.
Vinegar: This simple ingredient plays a vital role in activating the bicarbonate of soda (baking soda). The chemical reaction between the acid in the vinegar and the baking soda creates carbon dioxide bubbles, which are essential for helping the cake rise and ensuring it has a light, airy, and fluffy texture.
Vegan yogurt: Adding vegan yogurt is key to making this cake exceptionally moist, tender, and flavorful. It also contributes to the cake’s structure and a subtle tang that complements the sweet cinnamon. Opt for a plain variety, and unsweetened if possible, to control the overall sweetness of the cake. I typically use soy yogurt, but unsweetened coconut yogurt or almond yogurt will also yield excellent results.
Olive oil: I prefer to use a light-tasting olive oil in this recipe for its neutral flavor profile and ability to contribute to a moist crumb without adding heaviness. However, feel free to substitute it with any other neutral-flavored oil you prefer, such as sunflower, canola, or vegetable oil.
Vanilla: For the most robust and authentic vanilla flavor, vanilla extract is superior to vanilla essence. If you have it on hand, vanilla bean paste is an even better option, providing visible specks of vanilla bean for an elevated flavor and appearance.
Vegan butter: A good quality vegan butter or spread is essential for creating the rich, crisp streusel topping. Both block and spreadable varieties work well, but it’s important to avoid ‘light’ or low-fat versions, as they often contain too much water and won’t give you the desired crumbly texture for the streusel.
Sugar: We use different types of sugar for different components of this cake. For the vanilla sponge, caster sugar or granulated sugar provides the perfect level of sweetness and dissolves easily. For the streusel topping and the cinnamon sugar layer, light brown soft sugar (or even muscovado sugar if you want a deeper molasses flavor) is preferred. These brown sugars add a wonderful caramel-like note and extra moisture.
Cinnamon: The star spice of this coffee cake! While the cinnamon sugar layer is technically optional, it is highly recommended as it truly elevates the flavor profile and adds that signature coffee cake swirl. Ensure your cinnamon is fresh for the best aromatic impact.
How To Make the Perfect Vegan Coffee Cake: A Step-by-Step Guide
(Full measurements and detailed instructions can be found in the recipe card at the bottom of the page)
Making this delightful vegan coffee cake is a straightforward process. Follow these steps carefully for a perfect result every time:
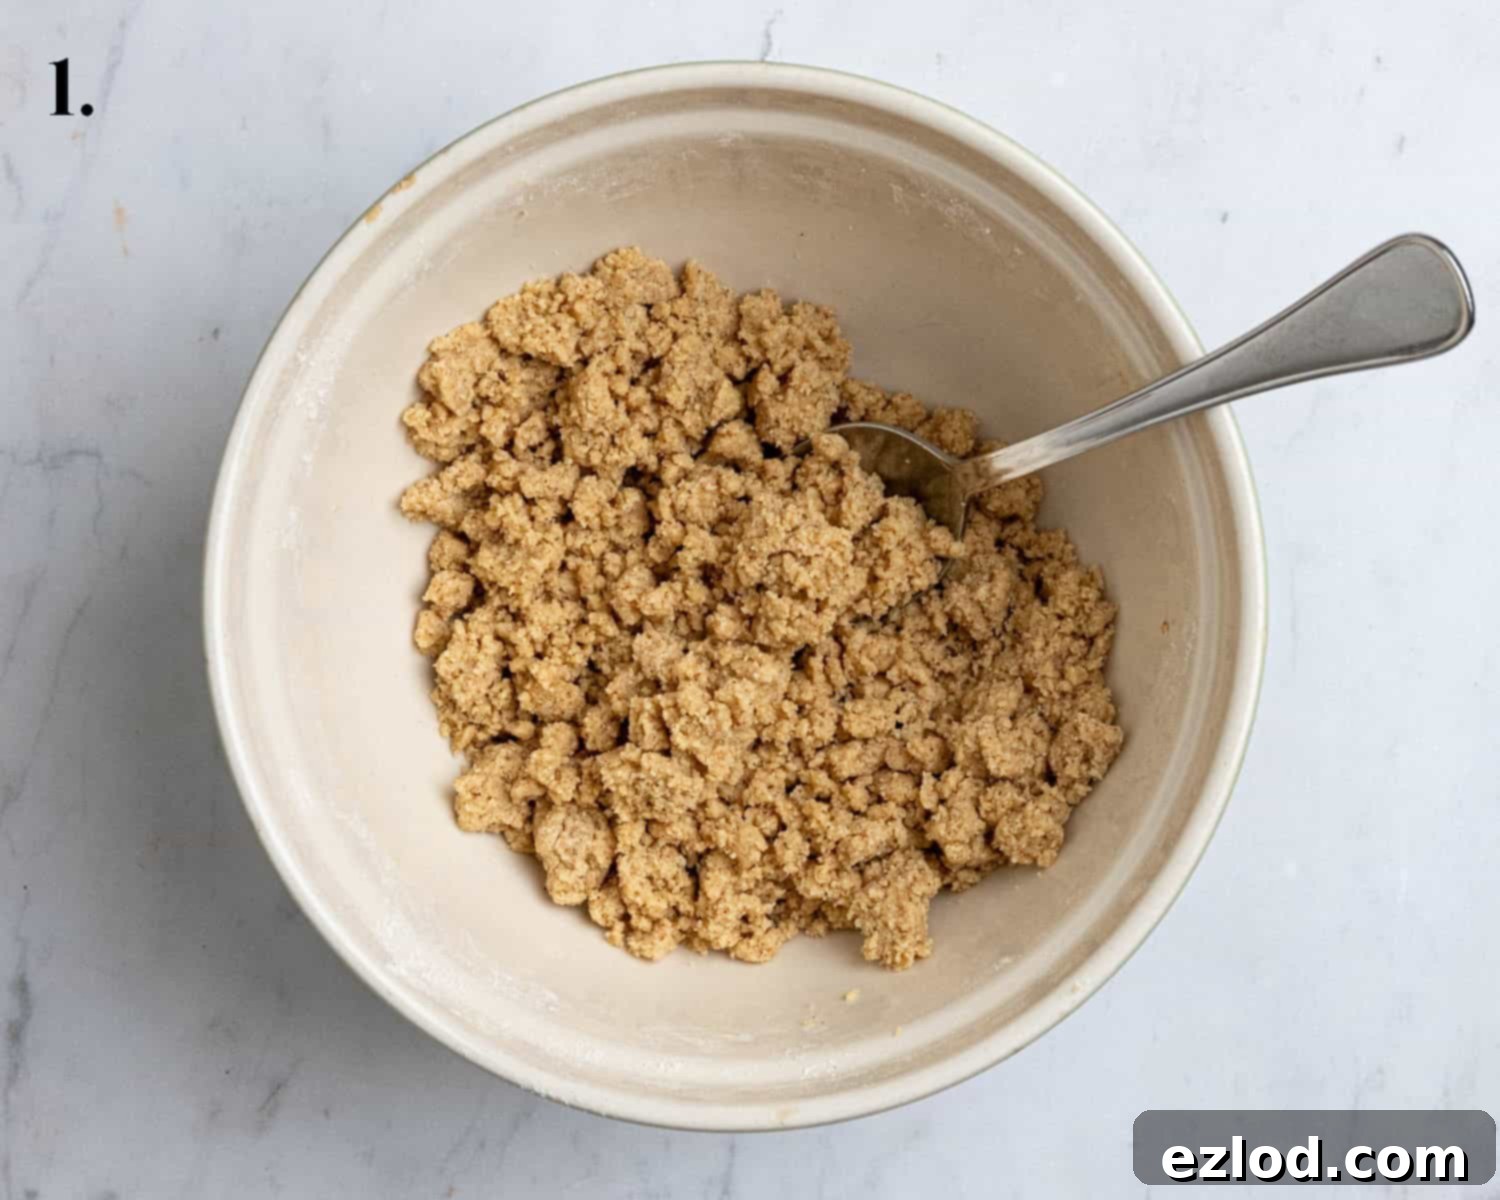
Step 1: Preparing the Irresistible Streusel Topping. Begin by combining the plain flour, light brown soft sugar, and cinnamon in a medium-sized bowl. Whisk them together to ensure the spices and sugars are evenly distributed. Next, add the slightly softened vegan butter. Using your fingertips, gently rub the butter into the dry ingredients. Continue rubbing until the mixture resembles coarse crumbs and no large lumps of butter remain. This ensures a beautifully crisp and even streusel. Place the bowl in the fridge to keep the streusel firm while you prepare the rest of the cake.
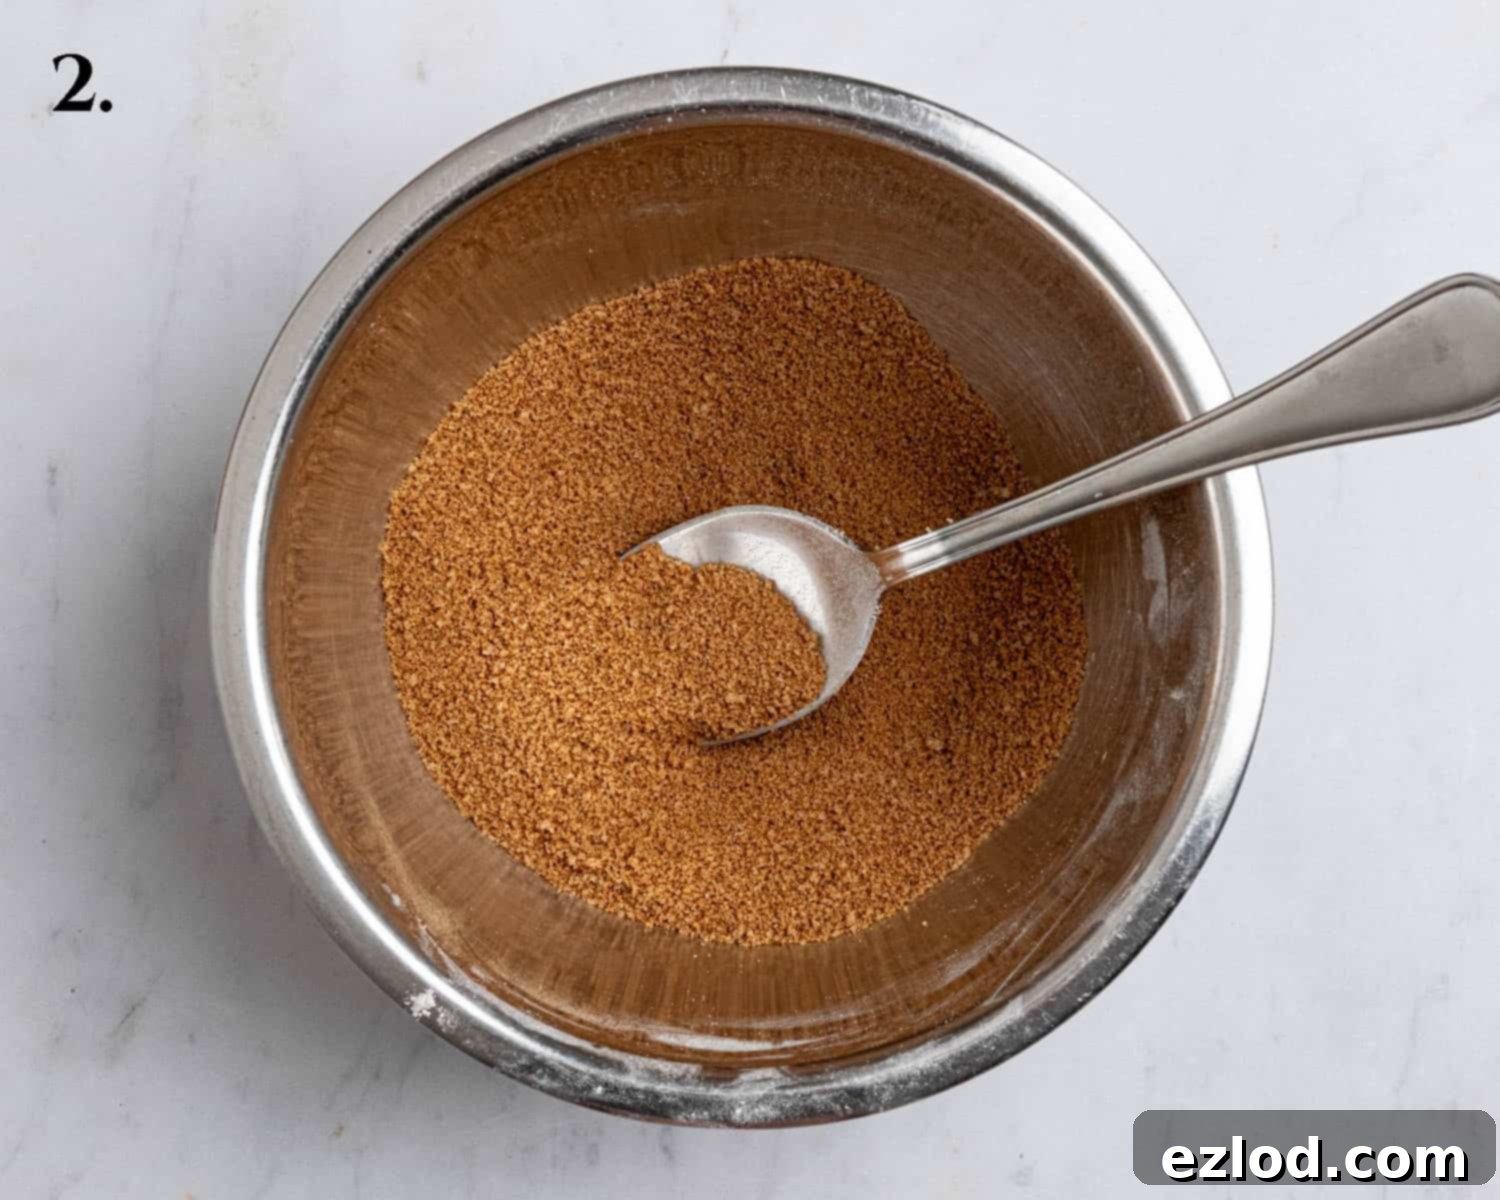
Step 2: Crafting the Cinnamon Sugar Swirl. In a separate small bowl, combine the light brown soft sugar and ground cinnamon. Stir well to ensure the cinnamon is thoroughly mixed with the sugar. This simple yet crucial layer will create that signature sweet and spicy swirl within your coffee cake. Set this bowl aside for later use.
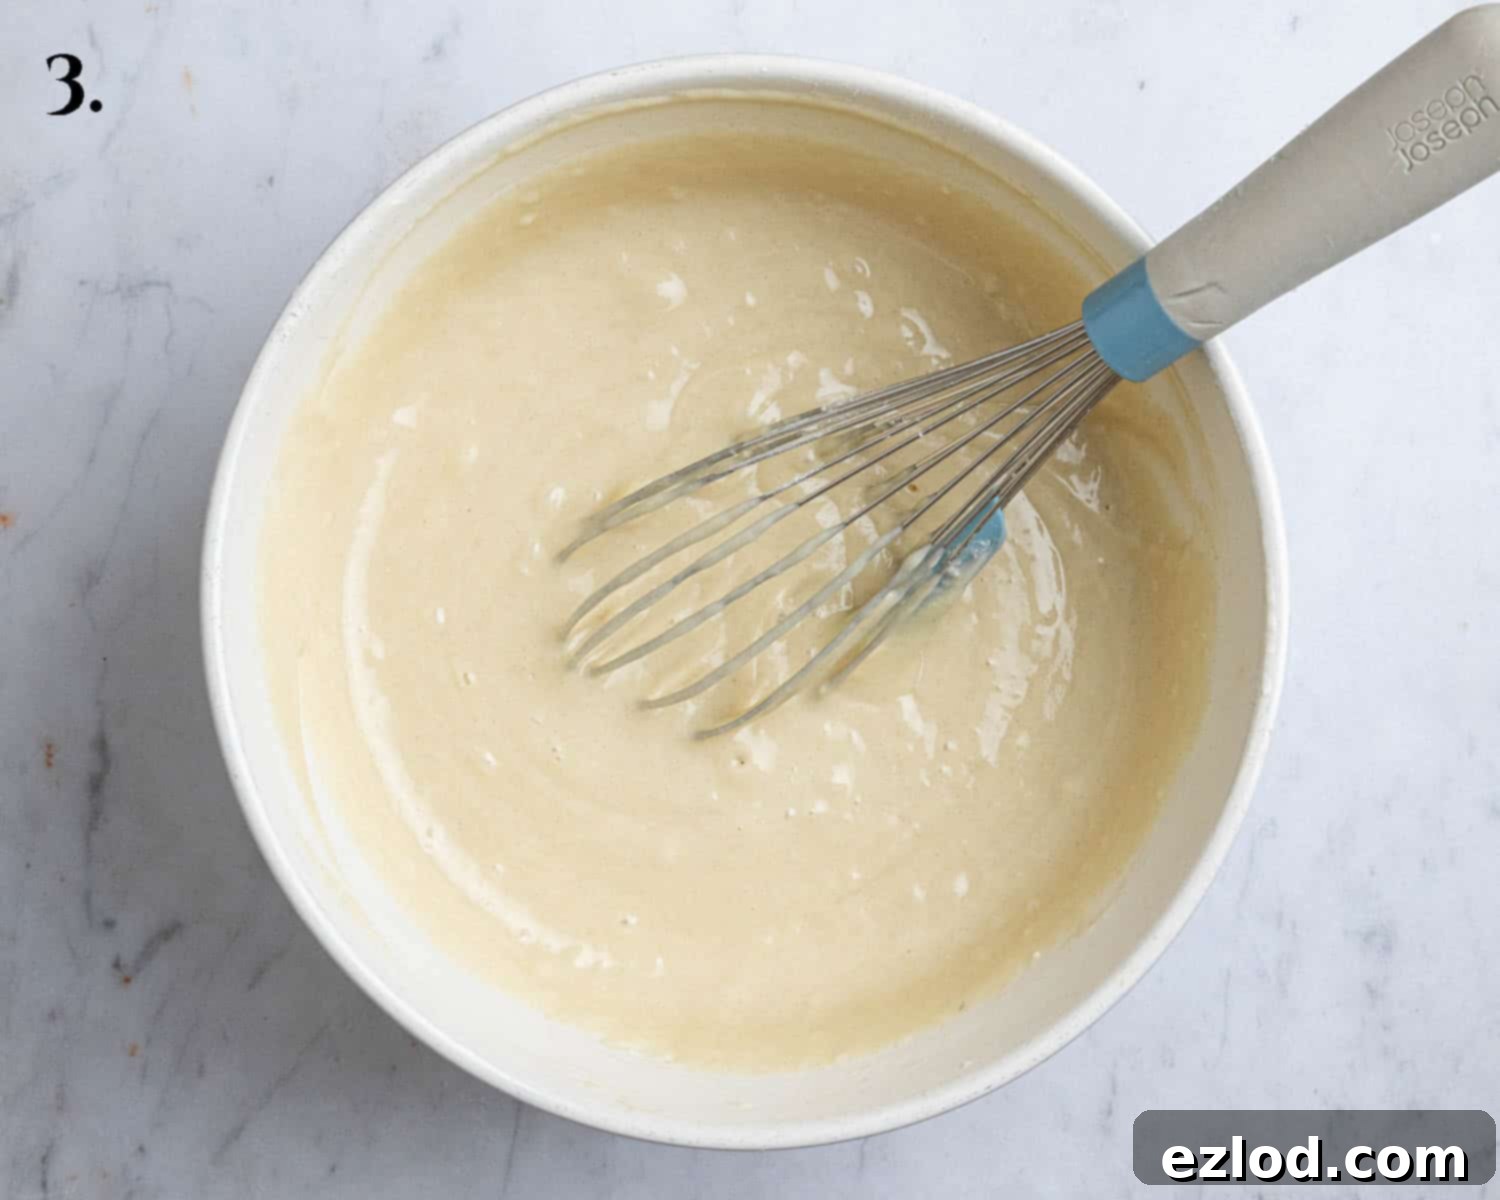
Step 3: Mixing the Fluffy Cake Batter. In a large mixing bowl, start by whisking together the wet ingredients: vegan yogurt, non-dairy milk, neutral oil, vinegar, and vanilla extract. Add the caster or granulated sugar and continue whisking until everything is very well combined and the sugar has largely dissolved. Next, add the cornflour (cornstarch), baking powder, bicarbonate of soda, and salt. Whisk these into the wet mixture. Finally, add the plain flour to the bowl. Gently stir with a balloon whisk until just combined and no dry lumps of flour remain. Be careful not to over-mix, as this can lead to a tough cake.
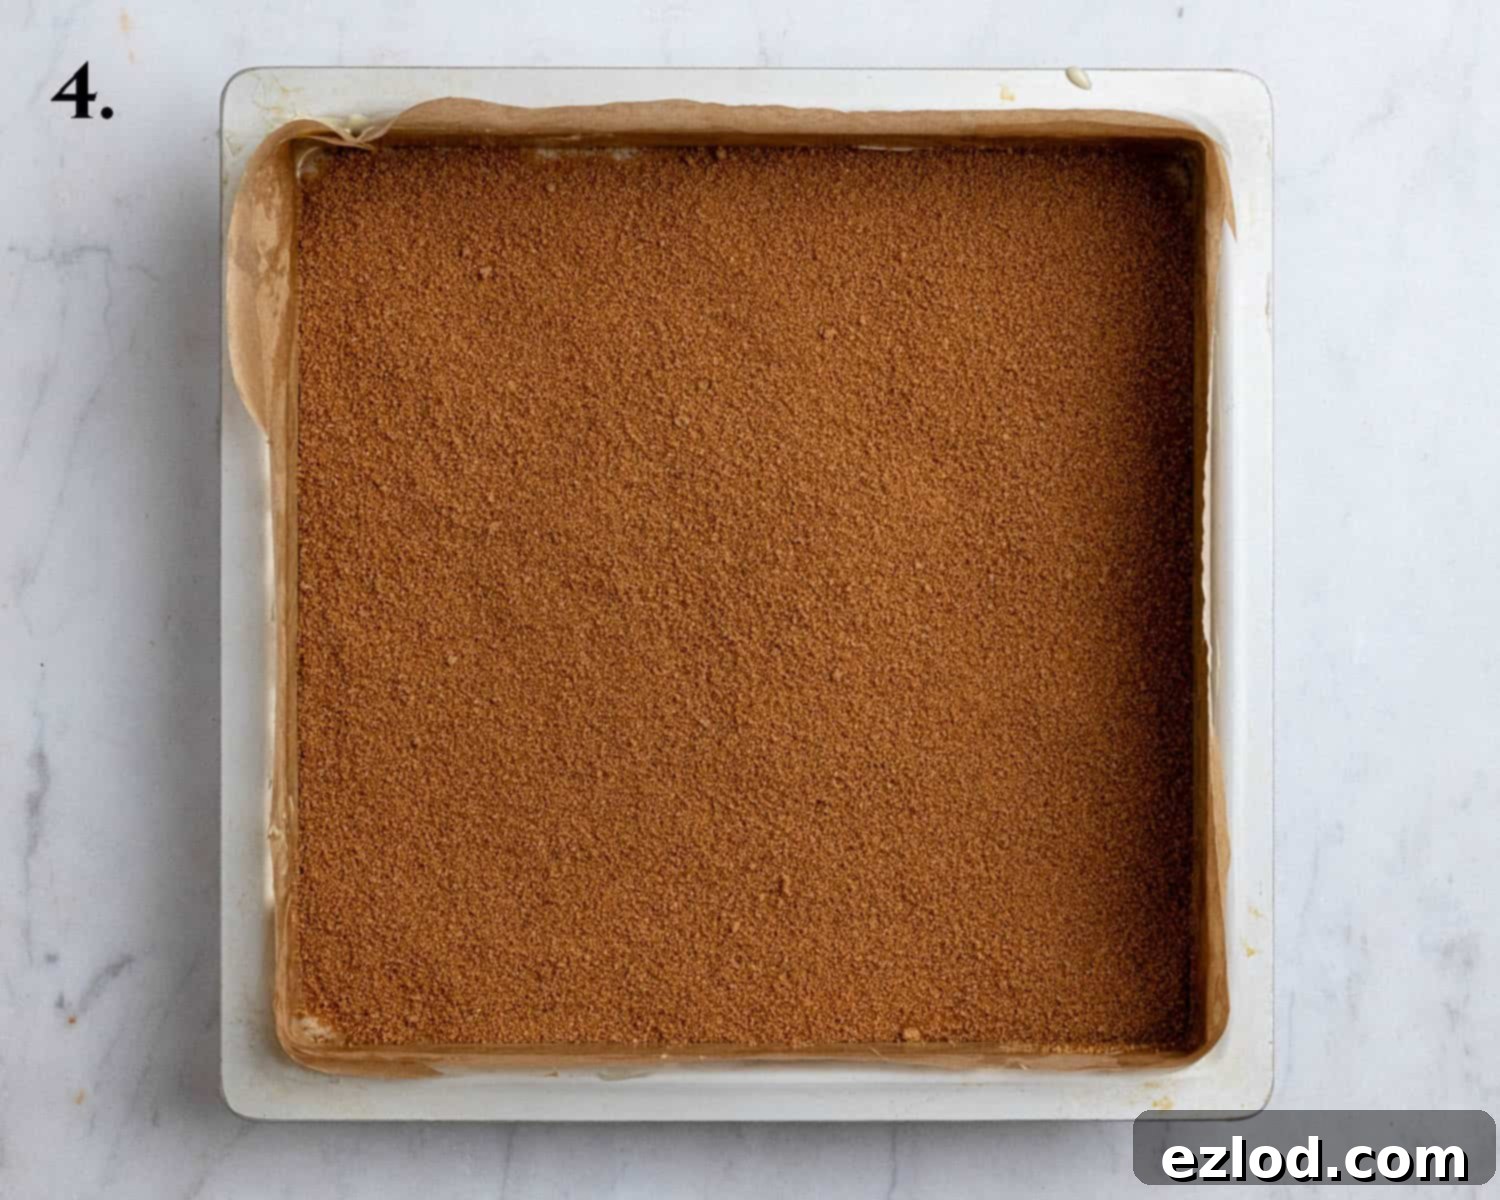
Step 4: Layering the Cake Base. Prepare your 20 cm (8 in) or 23 cm (9 in) square cake tin by lining it with baking paper. Pour approximately half of the prepared cake batter evenly into the lined tin. Use a spatula to gently spread it out to cover the bottom of the tin. Then, take the cinnamon sugar mixture you prepared earlier and scatter it evenly over the top of this first layer of batter.
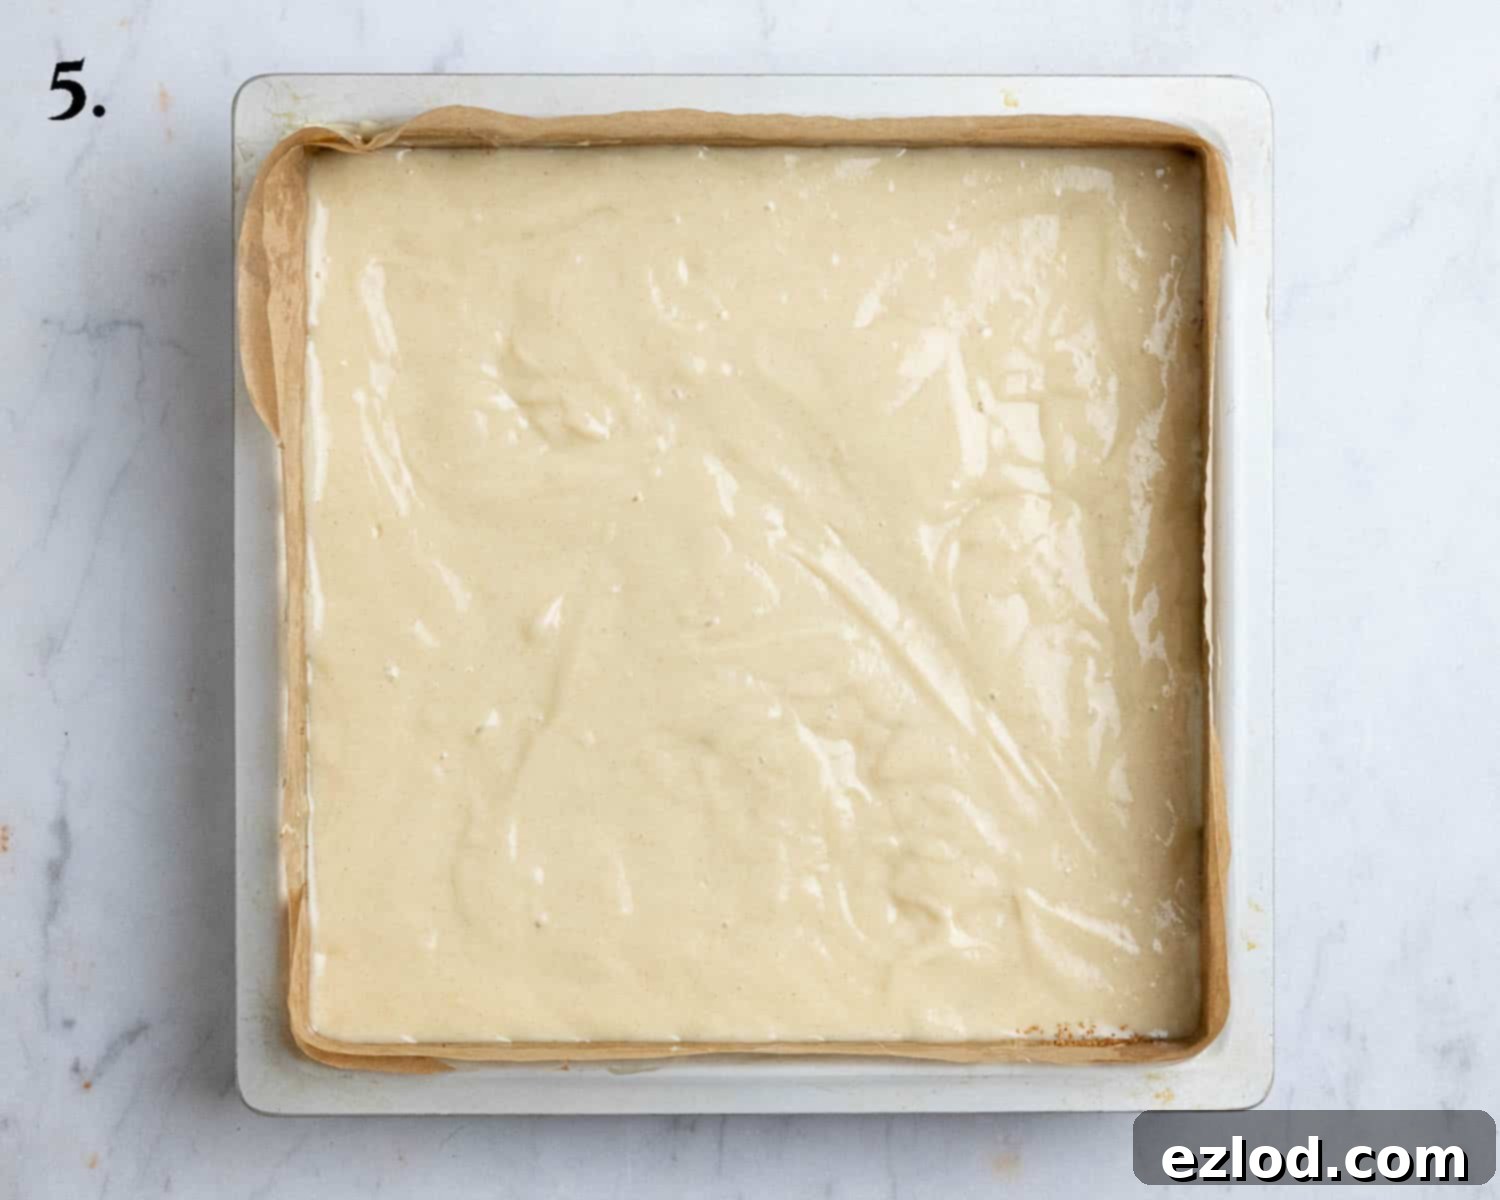
Step 5: Adding the Remaining Batter. Carefully dollop the remaining cake batter over the cinnamon sugar layer. The batter might not want to stick perfectly to the sugar layer, so spread it out very gently with a spatula or the back of a spoon. Try to use light, coaxing motions and lift your spoon or spatula as little as possible to avoid disturbing the cinnamon sugar beneath and creating a messy swirl.
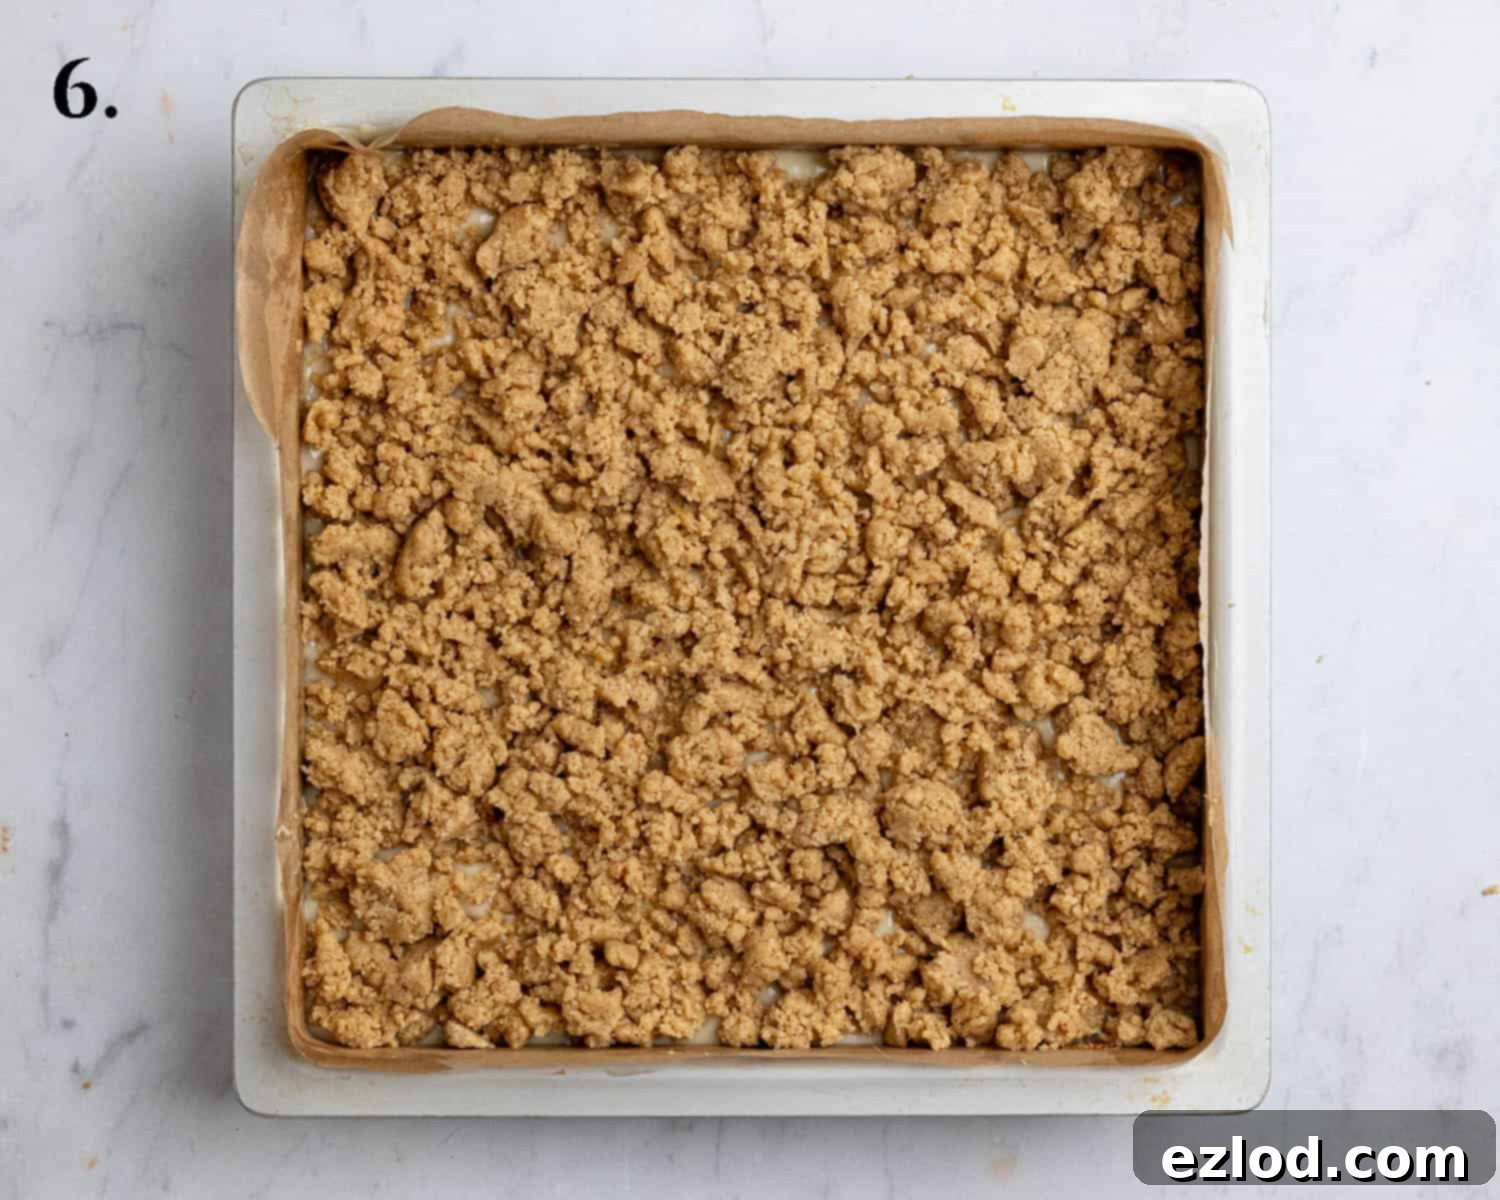
Step 6: Finishing with Streusel. Retrieve the chilled streusel topping from the fridge. Evenly scatter the streusel over the top of the cake batter. This generous layer will bake into a wonderfully crisp and flavorful crust, providing the signature texture of a classic coffee cake.
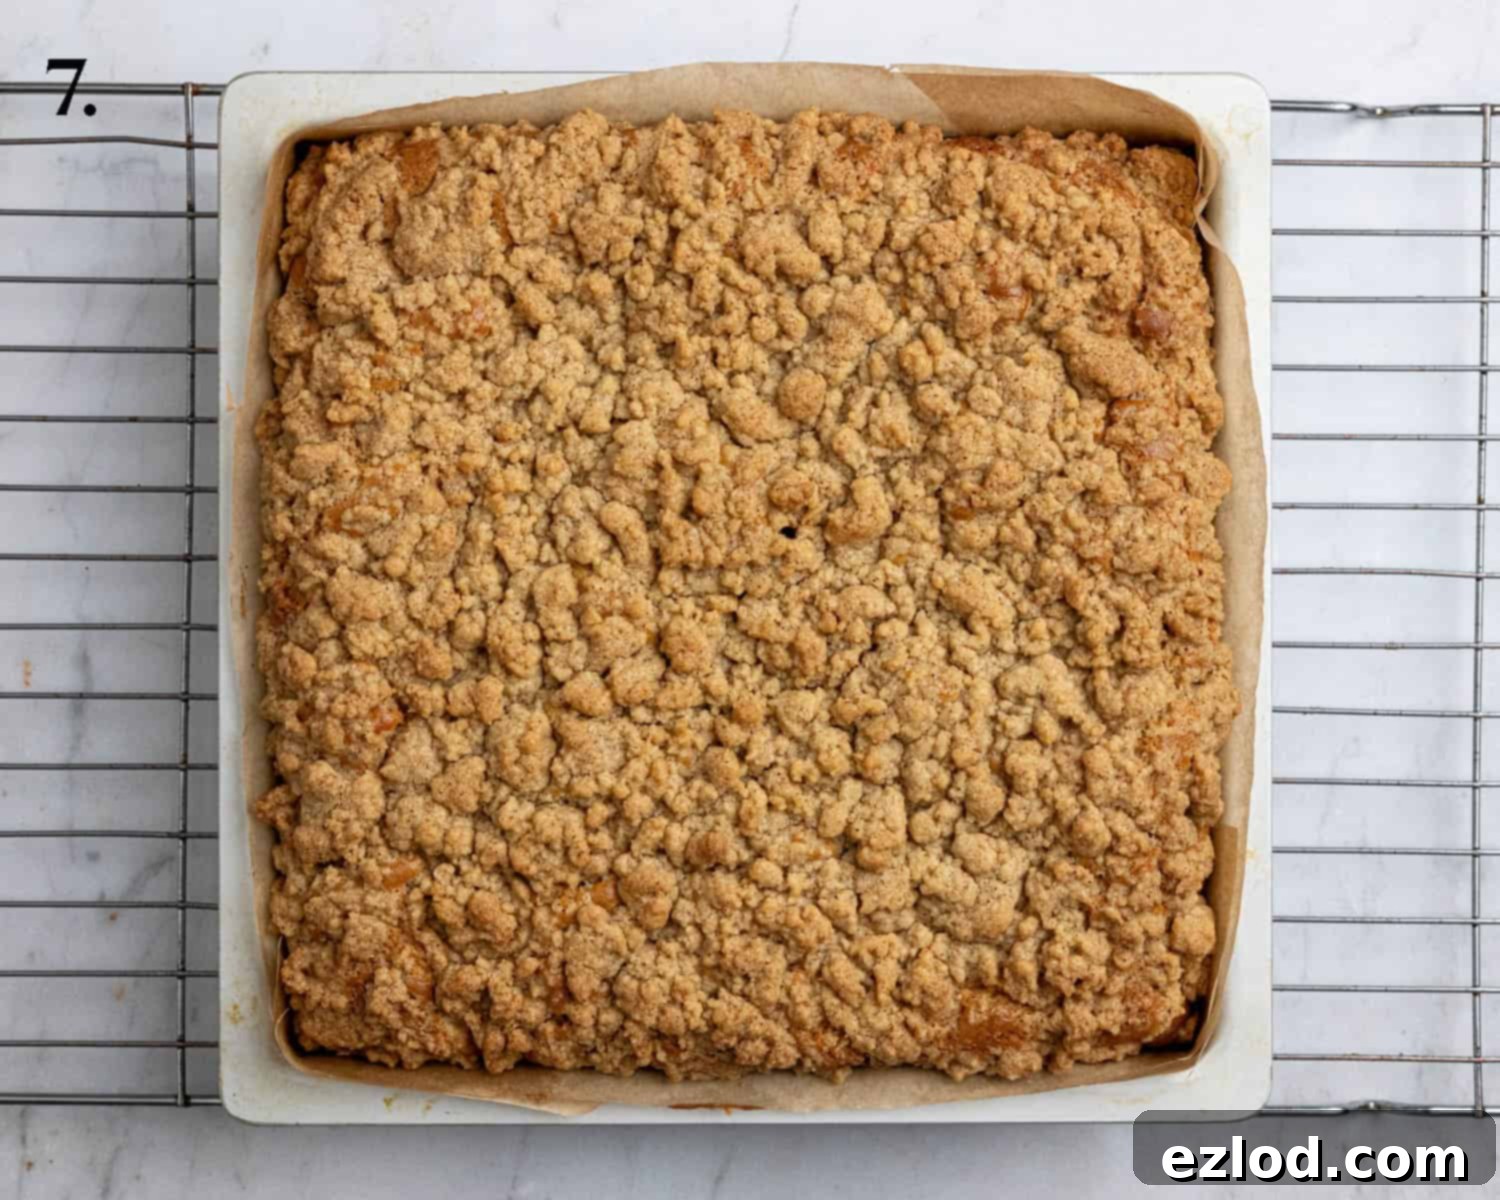
Step 7: Baking to Golden Perfection. Place the cake tin in your preheated oven (180°C/160℃ fan/350°F/gas mark 4). Bake for approximately 35-45 minutes. The baking time can vary slightly depending on your oven, so keep an eye on it. The cake is ready when it is firm to the touch, golden brown on top, and a skewer inserted into the center comes out clean or with a few moist crumbs, but no wet batter. Allow the cake to cool in the tin on a wire rack before attempting to slice and serve. This allows it to fully set and makes for cleaner cuts.
Top Tips for Vegan Coffee Cake Success
Achieving a consistently perfect vegan coffee cake relies on a few key baking principles. Here are my best tips to ensure your cake turns out beautifully every time:
- Embrace Metric Measurements: As with all my baking recipes, I wholeheartedly recommend using metric measurements with a digital kitchen scale rather than relying on cup conversions. Volume measurements (cups) can be wildly inaccurate due to variations in how ingredients are packed, leading to inconsistent results. A scale provides far better precision, ensures more reliable outcomes, and often results in less mess too!
- Avoid Over-mixing the Batter: Once you add the dry ingredients to the wet, mix just until no dry streaks of flour remain. Over-beating the cake batter develops the gluten too much, which can result in a tough, chewy cake rather than a tender, fluffy one. A gentle stir with a balloon whisk is usually sufficient.
- Checking for Doneness: The cake is ready when it feels firm and springy to the touch in the center. A wooden skewer or toothpick inserted into the very center should come out clean, or with a few moist crumbs clinging to it, but absolutely no wet batter. If it’s still wet, bake for a few more minutes and check again.
- Pan Size Matters: I typically bake this cake in a deep 20cm/8in square cake tin to achieve the tall, impressive slices pictured. However, if you prefer a slightly flatter cake or don’t have a deep tin, a 23cm/9in square tin will also work well, though baking time might be slightly reduced. Always adjust your baking time accordingly.
- Scaling Down for Smaller Portions: If you’re baking for a smaller crowd or simply want a more modest cake, a half batch of this recipe works wonderfully in a standard 2lb loaf tin. This is a great option for a weekend treat without too many leftovers.
- Boost Your Streusel: For those who truly adore a thick, generous layer of crunchy streusel (and who doesn’t?), feel free to make 1 ½ times the streusel recipe. This extra crumb topping adds an even more decadent texture and flavor.
- Cooling is Crucial: Allow the cake to cool completely in its tin on a wire rack before attempting to slice it. Warm cake is very delicate and prone to crumbling. Cooling allows the cake to set, making for much cleaner cuts and preventing it from falling apart.
Frequently Asked Questions (FAQ’s)
Yes, absolutely! This coffee cake freezes exceptionally well, whether you want to freeze it whole or in individual slices. To prevent freezer burn, ensure the cake has cooled completely to room temperature before freezing. Wrap it tightly in several layers of plastic wrap, then an additional layer of aluminum foil. When you’re ready to enjoy, simply allow it to defrost at room temperature for a few hours. The texture will remain surprisingly good!
To maintain its freshness and best texture, store the cake in an airtight container at room temperature. It will generally keep well for about 3-4 days. However, it’s worth noting that the streusel topping is at its crispiest and most delightful on the day it is baked. Over time, in an airtight container, the streusel will naturally soften slightly due to moisture from the cake.
While I haven’t specifically tested this recipe with gluten-free flour, many readers have successfully adapted similar recipes using a good quality 1:1 gluten-free baking flour blend that contains xanthan gum. Be aware that the texture might be slightly different, potentially a bit denser, but it should still be delicious. I recommend following the instructions precisely and monitoring the baking time, as GF flours can sometimes behave differently.
Absolutely! This recipe is quite versatile. You can fold about ½ to 1 cup of fresh or frozen berries (like blueberries or raspberries) into the cake batter before layering, or sprinkle them over the cinnamon sugar layer. Chopped nuts such as pecans or walnuts can also be added to the streusel topping for extra crunch and flavor. Just be mindful that adding moist fruit might slightly increase baking time.
More Delicious Vegan Streusel Cakes to Try
- Blueberry crumb cake
- Vegan pumpkin coffee cake
- Vegan banana crumb cake
- Sweet potato bread with pecan streusel
If you tried this delicious vegan coffee cake recipe, I would love to hear how it turned out for you! Please take a moment to rate it and leave a comment below. You can also tag @domestic_gothess on Instagram and use the hashtag #domesticgothess to share your beautiful creations!
All images and content on Domestic Gothess are copyright protected. If you wish to share this recipe, please do so by using the provided share buttons. Please do not screenshot or post the recipe or content in full. Instead, include a link directly to this post for the complete recipe. Thank you for respecting my work!

Print
Vegan Coffee Cake
Ingredients
Streusel:
- 135 g (1 cup + 1 Tablespoon) plain (all-purpose) flour
- 60 g (⅓ cup) light brown soft sugar
- 1 teaspoon cinnamon
- 90 g (6 Tablespoons) vegan butter slightly softened
Cinnamon Sugar:
- 60 g (⅓ cup) light brown soft sugar
- 1 Tablespoon cinnamon
Cake:
- 180 g (¾ cup) plain non-dairy yogurt (I use soy)
- 150 ml (½ cup + 2 Tablespoons) unsweetened non-dairy milk (I use soy)
- 135 ml (124g/½ cup + 1 Tablespoon) neutral oil (I use olive)
- 1 teaspoon vinegar
- 1 Tablespoon vanilla extract
- 200 g (1 cup) caster or granulated sugar
- 25 g ( 2 ½ packed Tablespoons) cornflour (cornstarch)
- 2 teaspoons baking powder
- ¾ teaspoon bicarbonate of soda (baking soda)
- ¼ teaspoon salt
- 300 g (2 ½ cups) plain (all-purpose) flour
Instructions
-
Preheat the oven to 180°C/160℃ fan/350°F/gas mark 4. Line a deep 20 cm (8 in) or a 23 cm (9 in) square cake tin with baking paper.
-
To make the streusel topping, mix the flour, sugar and cinnamon together in a bowl. Add the butter and rub it in using your fingertips until no lumps of butter remain. Place in the fridge.
-
To make the cinnamon sugar layer, mix the sugar and cinnamon together in a bowl. Set aside.
-
To make the cake batter, whisk together the yogurt, milk, oil, vinegar, caster sugar and vanilla extract in a large bowl until very well combined.
-
Whisk in the cornflour, baking powder and soda and salt then add the plain flour and gently stir with a balloon whisk until no dry lumps remain.
-
Pour half of the batter into the lined tin and spread it level. Sprinkle over the cinnamon sugar evenly.
-
Dollop over the rest of the batter and gently spread it out with a spatula or the back of a spoon. It will not want to stick to the cinnamon sugar so just gently coax it and try to lift the spoon/spatula as little as possible.
-
Scatter over the streusel topping evenly.
-
Bake for 35-45 minutes until firm to the touch and a skewer inserted into the centre comes out clean (apart from a bit of cinnamon).
-
Leave the cake to cool in the tin before slicing.
Notes
- See post above for tips, details and step-by-step photos.
- As with all of my baking recipes I really do recommend using the metric measurements with a digital scale rather than the cup conversions. Cups are a wildly inaccurate measuring system and you will get far better, more consistent results using a scale, not to mention that it is also easier and less messy than cups!
