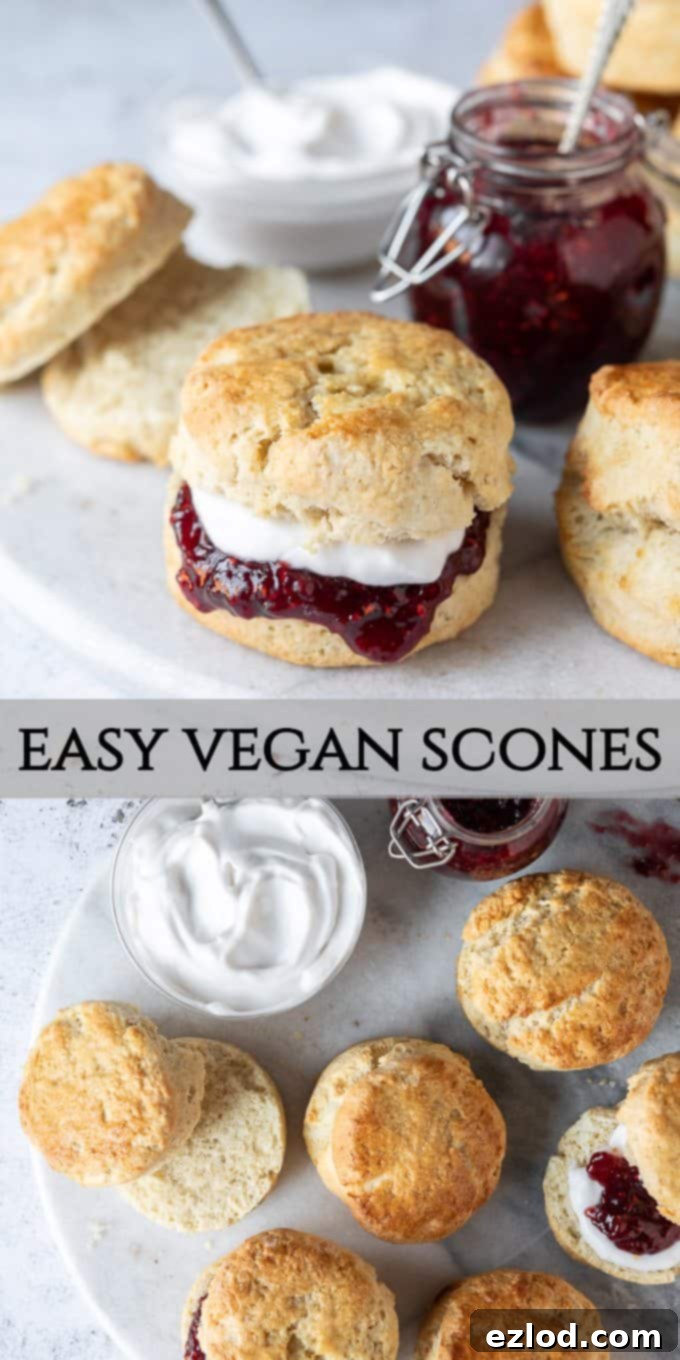
The Ultimate Easy Vegan Scones Recipe: Dairy-Free & Eggless British Afternoon Tea Perfection
Discover how to make perfect vegan scones that are light, fluffy, and utterly delicious. These easy eggless and dairy-free British scones are a quintessential tea-time treat, quick to prepare, and ideal for serving with your favorite jam and plant-based cream.
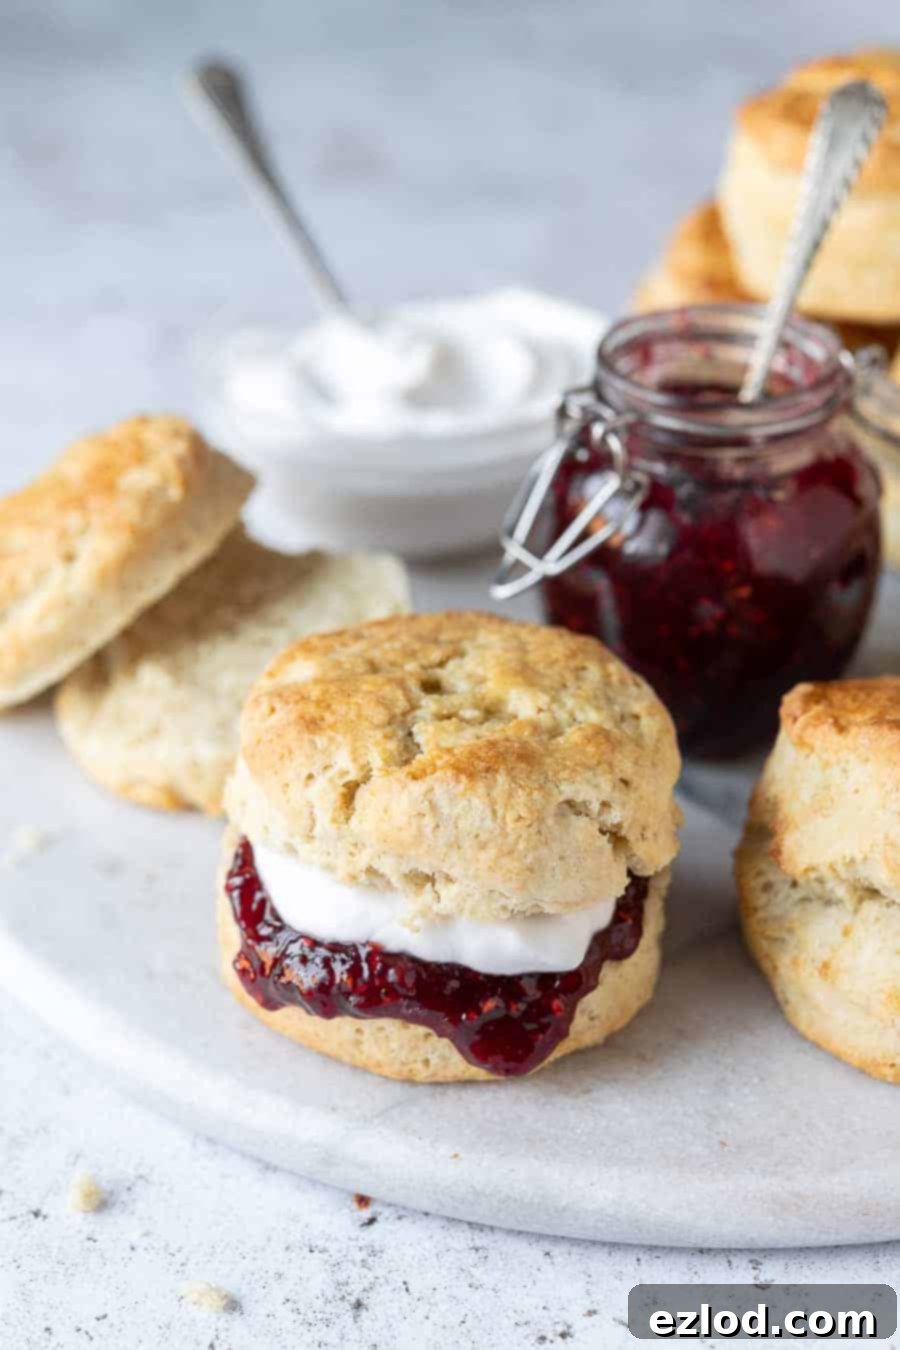
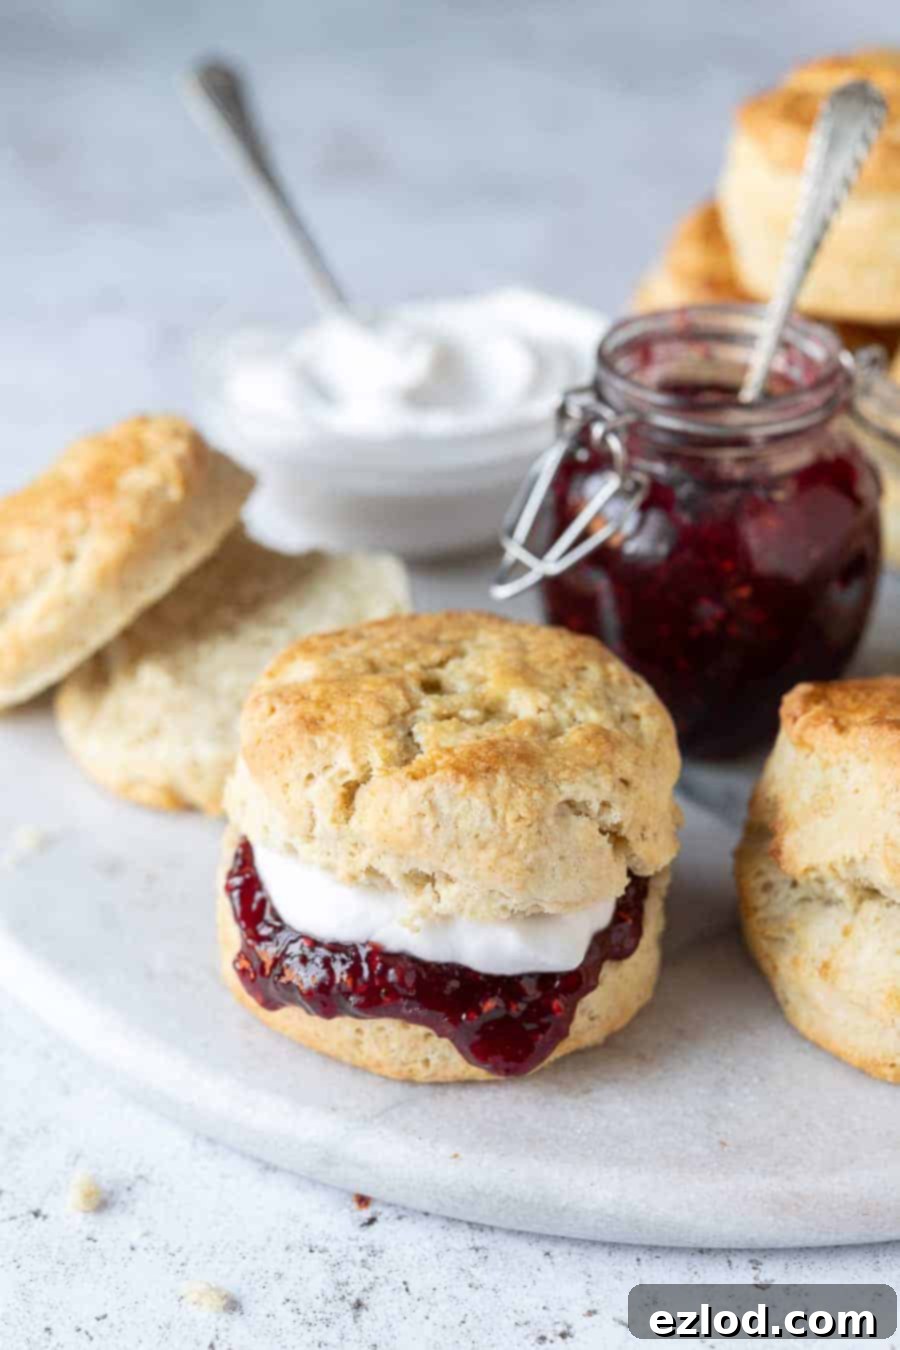
Scones are an undeniable cornerstone of British afternoon tea, evoking a sense of cozy tradition and simple elegance. While traditionally made with butter, eggs, and dairy milk, the good news is that creating a truly exceptional vegan version is not only possible but surprisingly straightforward. This carefully developed recipe for vegan scones yields a result that is virtually indistinguishable from the classic, promising a light, moist, and delightfully crumbly texture that will impress even the most discerning scone connoisseurs.
Developing this ultimate vegan scone recipe involved extensive testing to ensure every element contributed to perfection. I experimented with various plant-based fats, non-dairy milks, and even vegan ‘buttermilk’ and yogurt alternatives. After numerous trials, this specific combination of ingredients and techniques proved to be the absolute favorite. The resulting scones are beautifully light, wonderfully moist, boast a pleasing amount of natural crumble, and carry just the right touch of sweetness – making them the ideal centerpiece for any vegan afternoon tea spread.
Key Ingredients for Flawless Vegan Scones
Achieving outstanding vegan scones requires only a handful of basic, readily available ingredients from your pantry. Each component plays a vital role in creating the perfect texture and rise, so understanding their functions is key to success:
Self-raising flour: This is the foundation of any good scone. Using self-raising flour is crucial as it contains a leavening agent (baking powder) already mixed in, which is essential for giving the scones their signature light and airy lift. While you could technically substitute with all-purpose flour and additional baking powder, self-raising flour provides a more consistent rise and texture.
Baking powder: Even with self-raising flour, scones benefit from an extra boost of baking powder. This ensures a truly impressive rise, contributing to that desirable tall and fluffy characteristic. Don’t skip this extra teaspoon; it makes all the difference in achieving maximum height and a tender crumb.
Vegan block butter: The choice of vegan fat is paramount. Opting for a solid vegan block butter or margarine, rather than the spreadable kind typically found in tubs, is critical for texture. Block butters have a higher fat content and a firmer consistency when cold, which is vital for rubbing into the flour mixture to create those pockets of steam that result in a flaky, light scone. Brands like Naturli Vegan Block, Stork, Vitalite block, Tormor, or Earth Balance Buttery Sticks are excellent choices. Remember, the butter must be fridge-cold, not at room temperature, to achieve the best results.
Refined coconut oil: My extensive testing revealed that a combination of half vegan block butter and half refined coconut oil yielded the most superior flavor and texture profile. While you can certainly use all vegan block butter or all coconut oil if preferred, the 50/50 split creates an unparalleled balance. It’s crucial to use *refined* coconut oil to ensure your scones don’t carry any coconut flavor; virgin coconut oil will impart a distinct taste. Furthermore, the coconut oil should be solid and firm, not soft or melted. If necessary, refrigerate it beforehand to achieve the ideal consistency for rubbing into the flour.
Caster sugar: Also known as superfine sugar, caster sugar is preferred over granulated sugar because its finer crystals dissolve more easily and evenly into the dough, preventing any gritty texture. British scones are traditionally not overly sweet, so this recipe uses a moderate amount. However, you can adjust the quantity to your personal preference – add a little extra if you enjoy a sweeter scone, or reduce it if you prefer a more “puritanical” or less sweet profile, perhaps even preparing them for savory toppings.
Soy milk: For the liquid component, unsweetened soy milk is my top recommendation due to its higher protein content, which can contribute to a better structure in baked goods. However, most other non-dairy milks will work well; unsweetened oat milk would be my second choice for its creamy consistency. Almond milk is also an option, though it’s typically thinner. The recipe also includes a simple glaze made from a mixture of soy milk and maple syrup. This glaze provides a beautiful golden-brown finish and a hint of extra sweetness, though plain milk can also be used for glazing if you prefer.
How to Serve and Enjoy Your Vegan Scones
Scones are notoriously fickle when it comes to freshness; they are at their absolute best when eaten as soon as possible after baking, ideally within a couple of hours. The good news is that even if they aren’t consumed immediately, there are delicious ways to enjoy them (see below for freezing and make-ahead tips).
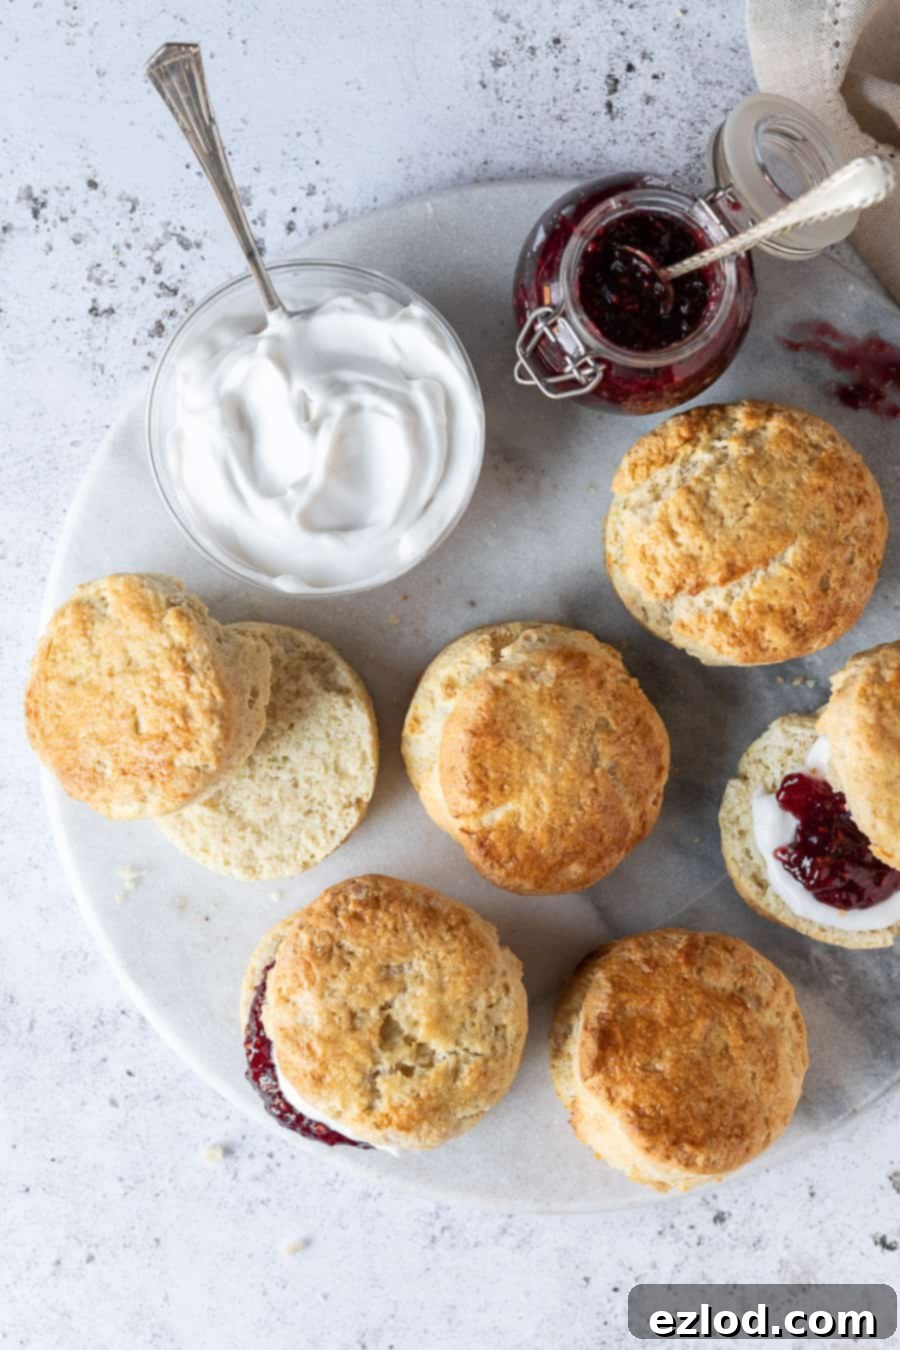
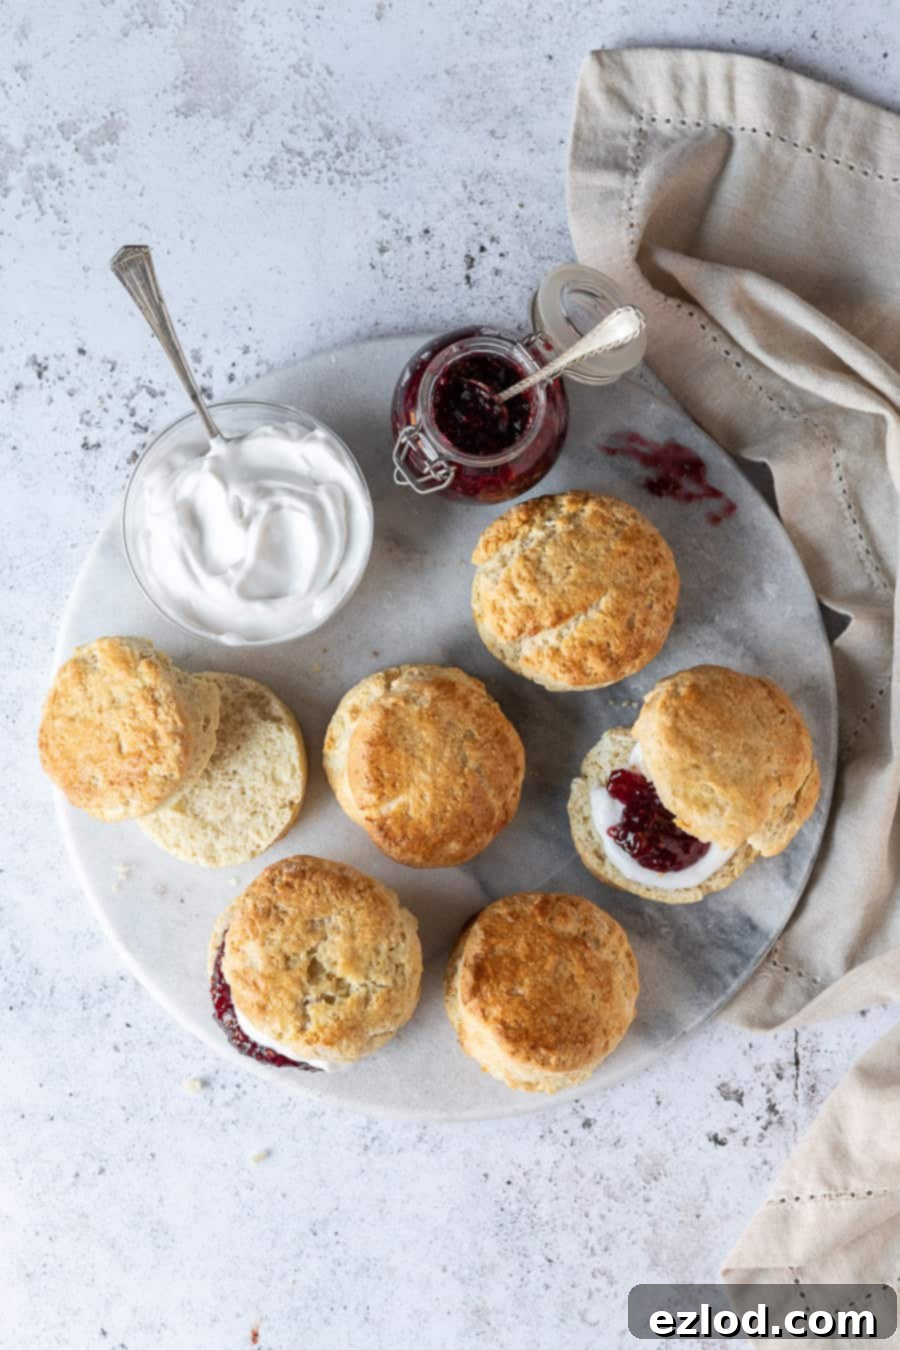
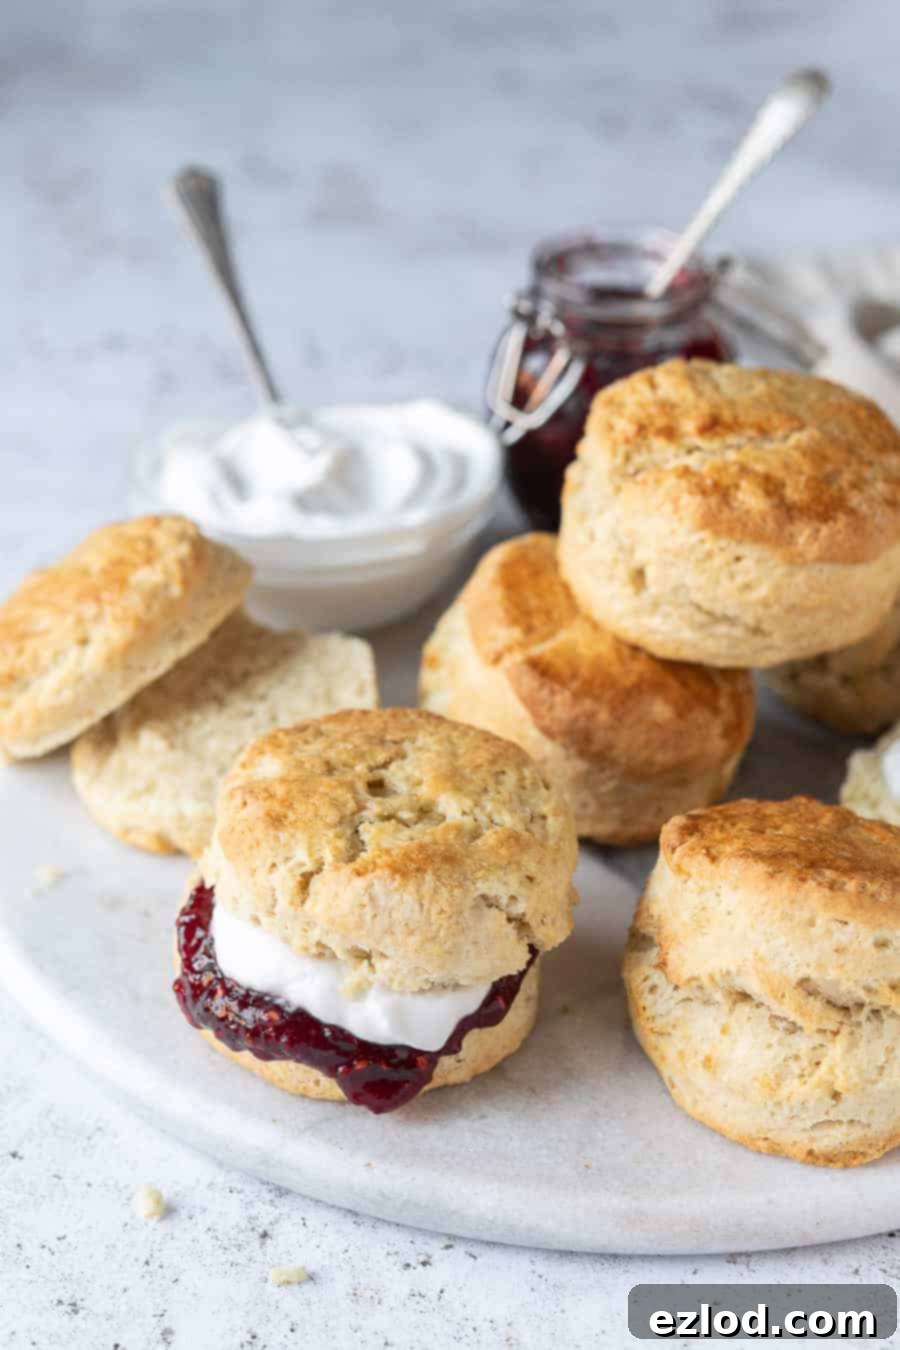
Traditionally, British scones are served with a generous dollop of clotted cream and a spoonful of strawberry or raspberry jam. While clotted cream isn’t vegan, there are fantastic plant-based alternatives that perfectly capture the spirit of this classic pairing. A rich vegan whipped cream, such as a store-bought plant-based double cream (Elmlea in the UK offers a great option) or a can of vegan squirty cream from most supermarkets, works wonderfully. For a homemade touch, coconut whipped cream offers a delightful, slightly tropical flavor that complements the scones beautifully. Personally, I’ve always been a fan of just jam – especially raspberry – but my husband swears by splitting, toasting, and generously buttering his scones with a good vegan spread, which is, incidentally, the absolute best way to revive any slightly stale leftovers!
Beyond the classic jam and cream, these versatile vegan scones also pair beautifully with other toppings. Consider serving them with a vibrant vegan lemon curd for a zesty twist, or perhaps a rich plum and amaretto jam for something a little more adventurous. Fresh berries, a drizzle of maple syrup, or even a thick vegan yogurt can also make for delightful accompaniments. Don’t be afraid to get creative and find your perfect scone pairing!
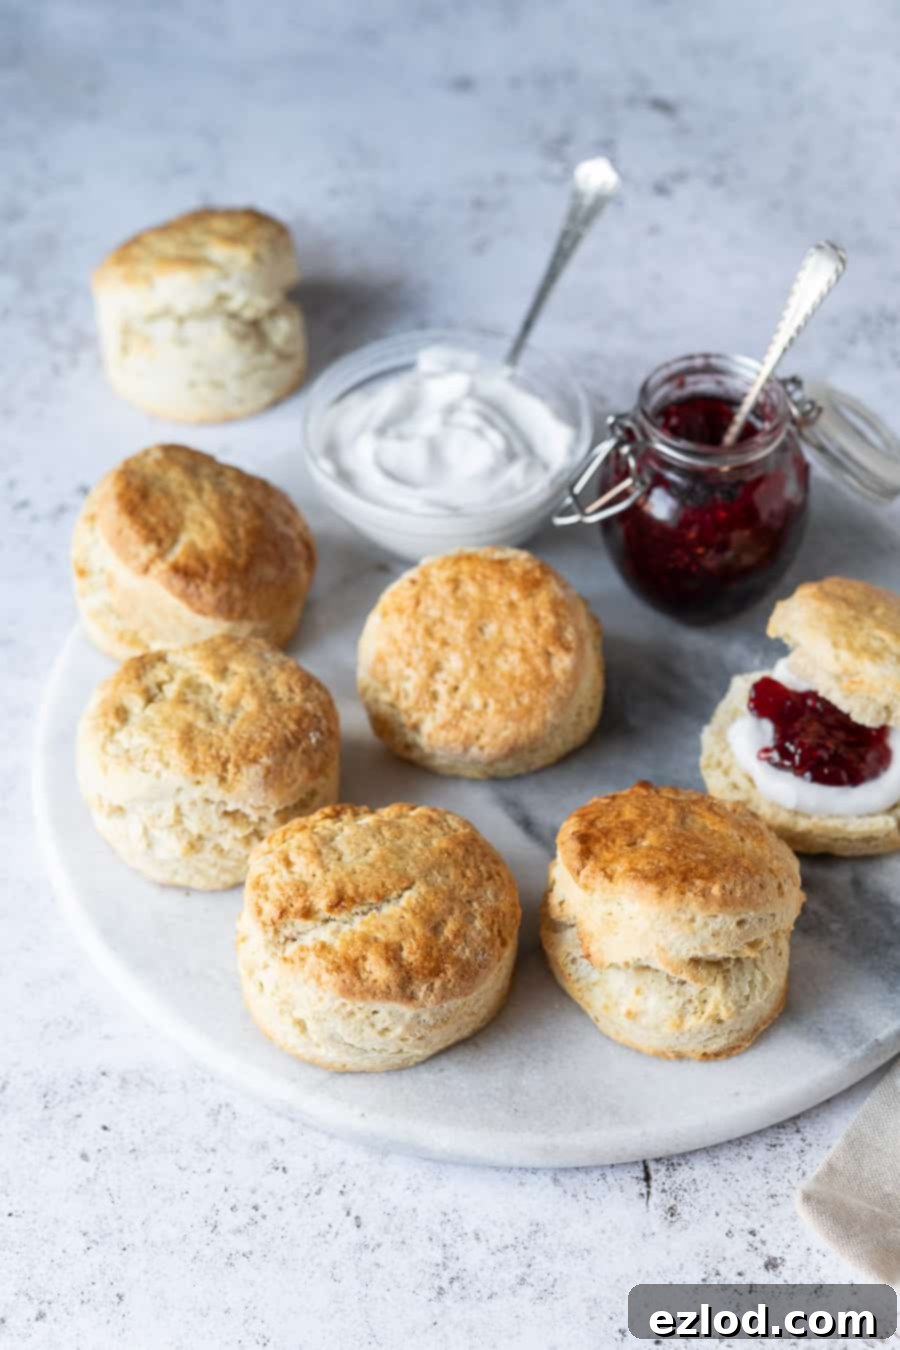
How To Make These Perfect Vegan Scones: A Step-by-Step Guide
(For a detailed list of ingredients and precise instructions, please refer to the recipe card provided below.)
*For optimal results in baking, I strongly recommend adhering closely to the recipe and utilizing gram measurements with a digital kitchen scale. Cup measurements, by their nature, lack the precision required for consistent baking success, and I cannot guarantee the same high-quality outcome if they are used.*
Before you begin, ensure your oven is preheated to 220°C/200°C fan/400°F/gas mark 6, and line a baking tray with baking parchment.
Step 1: Combine Dry Ingredients and Rub in Fats. Start by thoroughly mixing the self-raising flour and baking powder in a large mixing bowl until they are evenly combined. Next, add the cold, diced vegan block butter and solid refined coconut oil to the flour mixture. Using your fingertips, gently rub the fats into the flour. The goal is to break down the fat until no large lumps remain and the mixture resembles fine breadcrumbs. This process is crucial for creating the pockets of air that lead to a light and flaky scone. Take your time, especially with the coconut oil, to ensure a uniform consistency. For speed and ease, a food processor can also be used for this specific step.
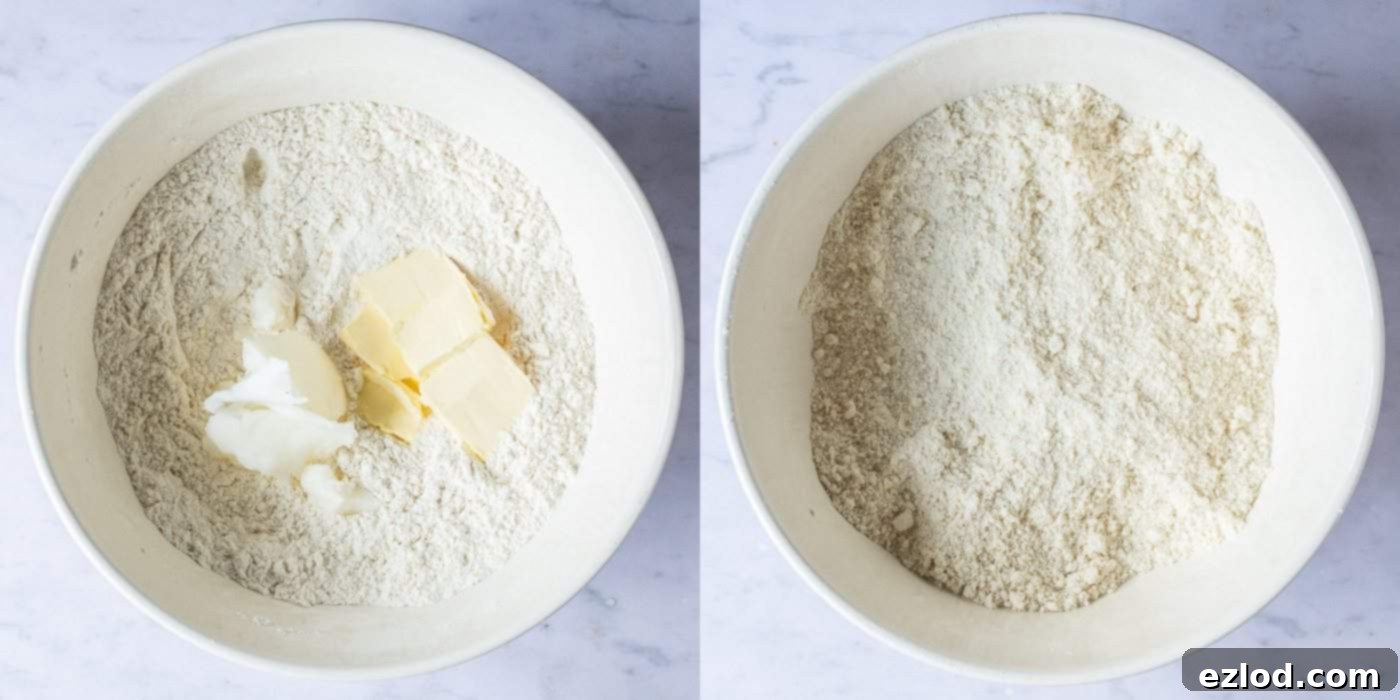
Once the fats are incorporated, stir in the caster sugar until it’s evenly distributed.
Step 2: Form the Dough. Gradually add the unsweetened soy milk to the dry ingredients, stirring gently with the back of a table knife. This method helps to cut the liquid through the mixture without overworking the dough, which is vital for tender scones. Continue adding milk until a soft, slightly sticky dough forms. Be mindful of the consistency; you might not need all the milk, or you might require a tiny bit more, depending on your flour and environment. Avoid overmixing, as this can develop the gluten too much, leading to tough scones.
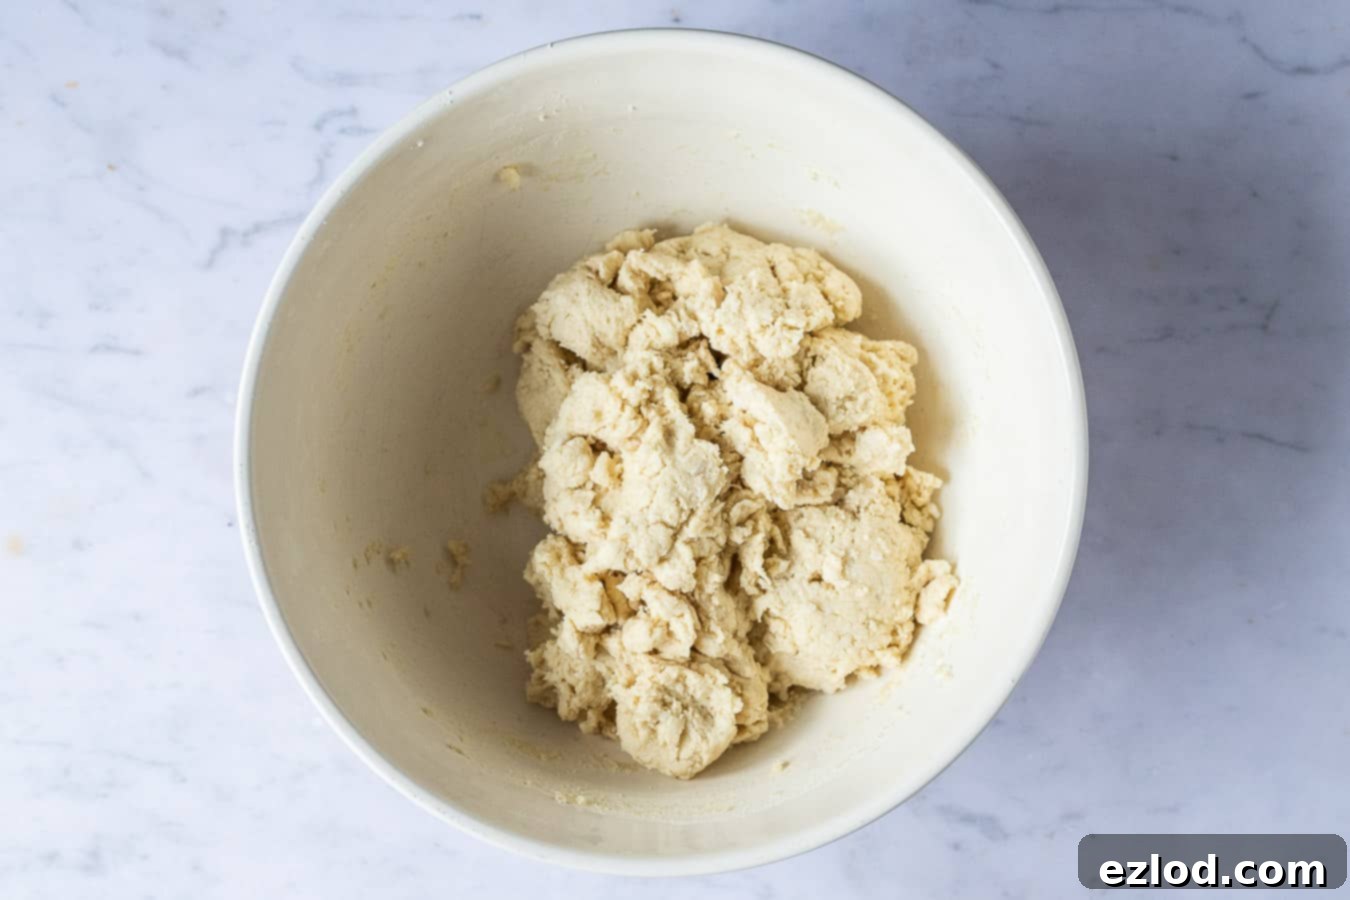
Step 3: Shape and Cut the Scones. Turn the soft, slightly sticky dough out onto a lightly floured surface. Resist the urge to knead it vigorously; instead, use your hands to gently bring the dough together and pat it out into a round shape, approximately 4cm (1 ½ inches) thick. Using a floured 6cm (2 ⅓ inch) round cutter (either plain or fluted edges are fine), press straight down through the dough to cut out your scones. Avoid twisting the cutter, as this can seal the edges and inhibit their rise. Carefully place the cut scones onto your prepared baking sheet, leaving a small space between each one.
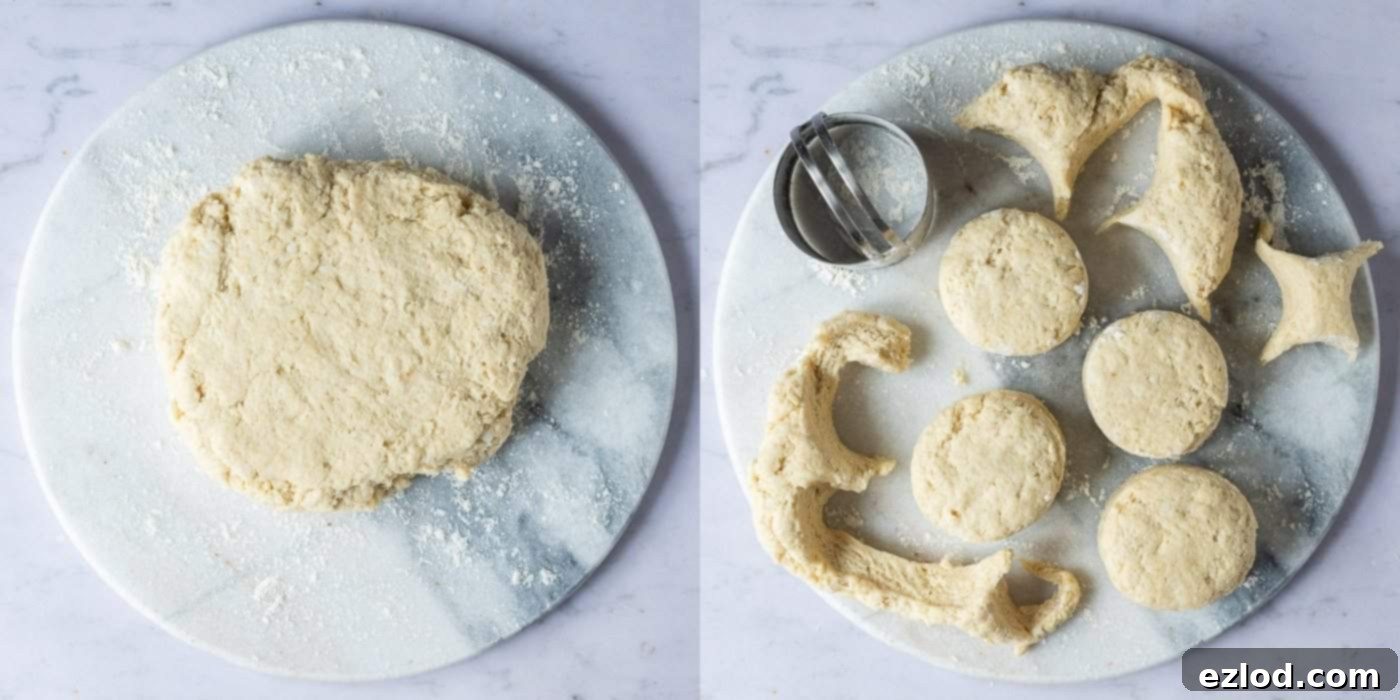
Gently gather any dough scraps, pat them out again, and cut out an additional two or three scones. Remember to handle the dough as little as possible to maintain its tenderness.
Step 4: Glaze and Bake. In a small bowl, whisk together the soy milk and maple syrup for the glaze. Lightly brush the tops of the scones with this mixture, being very careful not to let any glaze drip down the sides. Glaze running down the sides can hinder the scones from rising evenly. Transfer the baking tray immediately to the preheated oven. Bake for 15-18 minutes, or until the scones are beautifully golden brown on top. To check for doneness, gently tap the underside of a scone; it should sound hollow, similar to bread. Once baked, remove them from the oven and place them on a wire rack to cool slightly before serving.
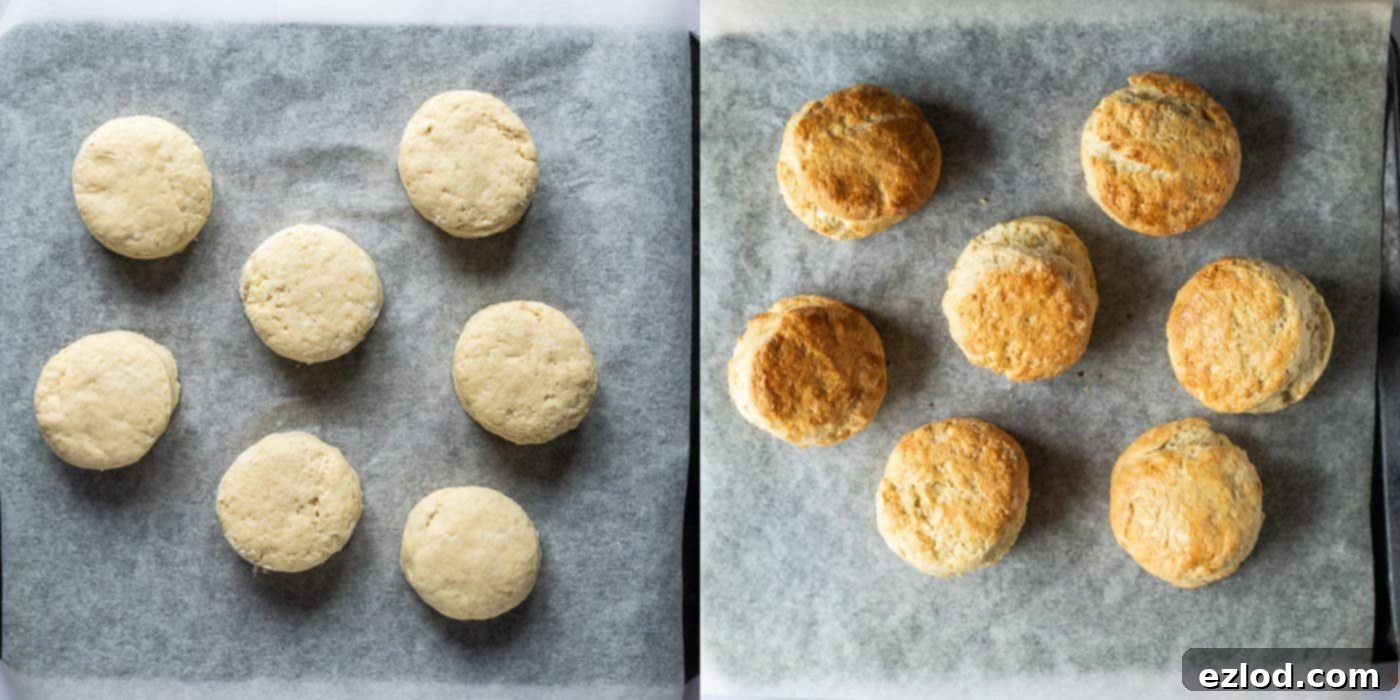
Top Tips for Perfectly Raised Vegan Scones
While making scones is relatively simple, adhering to a few fundamental rules will ensure you achieve tall, light, moist, and utterly delicious results every time, rather than dense “hockey pucks”:
-
Keep Ingredients Cold: Always use fridge-cold vegan block butter and non-dairy milk. If using coconut oil, ensure it is solid and firm; refrigerate it if it’s too soft. Cold fats melt slower in the oven, creating steam that lifts the dough and results in those desirable flaky layers.
-
Avoid Overworking the Dough: This is perhaps the most crucial rule for tender scones. Mix the dough just until it comes together, and no more. Never knead scone dough like you would bread dough. Overworking develops the gluten, leading to a tough, chewy texture rather than a light, crumbly one. Embrace a slightly craggy, rustic appearance – it’s a sign of a perfectly tender scone!
-
Maintain a Soft, Sticky Dough: The ideal scone dough should feel soft, almost a little sticky to the touch. This high hydration contributes directly to the lightest, moistest possible scones. Don’t be tempted to add too much extra flour to make it less sticky.
-
Pat, Don’t Roll: Instead of using a rolling pin, gently pat the dough out with your hands. This prevents overworking the dough and helps maintain its delicate structure. Keep the dough quite thick, ideally around 4cm (1 ½ inches), for a good rise.
-
Press Straight Down When Cutting: When using your scone cutter, press it straight down through the dough. Do not twist the cutter, as this can seal the edges of the scone, preventing an even rise and creating a lopsided shape.
-
Consider Inverting Scones for an Even Rise: A clever trick some bakers use is to place the cut scones onto the baking tray upside down. This can encourage them to rise more evenly in the oven, creating a more uniform shape.
-
Glaze Tops Only: When brushing the scones with your milk and maple syrup glaze, apply it only to the tops. Avoid letting the glaze drip down the sides, as it can hinder the rising process by “gluing” the edges to the baking sheet.
-
Bake Immediately: Get your cut scones into the preheated oven as quickly as possible. The raising agents start working as soon as they come into contact with liquid, so waiting too long can diminish their effectiveness and result in less rise.
-
Eat Fresh: Scones are truly best enjoyed as fresh as possible, ideally just cooled from the oven and definitely on the same day they are baked. If you happen to have any leftovers the next day, they are wonderfully revived by being split, toasted, and generously buttered.
Can I Freeze These Vegan Scones for Later?
Absolutely! Freezing is an excellent way to enjoy freshly baked scones at your convenience. You have two main options:
Freezing baked scones: Once your scones have completely cooled (this is important to prevent ice crystals), you can freeze them. Wrap them individually or place them in an airtight freezer-safe container or bag. To enjoy, simply defrost them at room temperature, then pop them into a low oven (around 160°C/fan 140°C/320°F/gas mark 3) for a few minutes. This warming process helps to refresh their texture, making them taste almost as good as freshly baked.
Freezing unbaked scones: For true “fresh from the oven” taste with minimal effort, you can freeze the unbaked scone dough. As soon as you have cut out your scones, arrange them on a baking sheet lined with baking paper and freeze until solid. Once frozen, transfer them to a freezer-safe tub or zip-seal bag for longer storage. When you’re ready for fresh scones, simply place the frozen unbaked scones directly onto a prepared baking tray (no need to thaw!) and bake them straight from frozen in a preheated oven. You may need to add an extra couple of minutes to the baking time to ensure they are cooked through and golden.
If you tried this recipe, we’d love to see your creations! Tag @domestic_gothess on Instagram and use the hashtag #domesticgothess.
*All images and content on Domestic Gothess are copyright protected. If you want to share this recipe, please do so by using the share buttons provided. Do not screenshot or post the recipe or content in full.*

Print
Vegan Scones
Ingredients
- 350 g (3 cups minus 2 Tbsp) self-raising flour
- 1 tsp baking powder
- 50 g (1 ¾ oz) vegan block butter (I use Naturli Vegan Block) cold
- 50 g (1 ¾ oz) solid refined coconut oil refrigerated if necessary
- 40 g (3 Tbsp) caster (superfine) sugar
- 160-180 ml (⅔ to ¾ cup) unsweetened soy milk (or another non-dairy milk)
Glaze:
- 1 Tbsp soy milk
- ½ Tbsp maple syrup
To Serve:
- jam and vegan cream or thick coconut yogurt
Instructions
-
Preheat the oven to 220°C/200°C fan/400°F/gas mark 6. Line a baking tray with baking parchment.
-
Mix together the self-raising flour and baking powder in a large bowl until they are well combined.
-
Add the cold, diced vegan block butter and solid refined coconut oil and rub them in using your fingertips until no lumps of fat remain and the mixture resembles breadcrumbs.
The coconut oil in particular can be difficult to rub in so do take your time to ensure that there are no lumps remaining. You can also use a food processor instead for this step (this step only) to save time.
-
Stir in the caster sugar.
-
Gradually stir in the milk using the back of a knife until it forms a soft, almost sticky dough. If there are any dry, floury bits left in the bottom of the bowl add a drop more milk to mix them in. You may not need to use all of the milk, or you may need a little more.
-
Bring the dough together into a ball, it should be soft and a bit sticky. Turn it out onto a lightly floured surface, don’t knead it but use your hands to kneaten it a little and pat it out into a round about 4cm/1 ½ inches thick.
-
Use a floured 6cm/2 ⅓ inch round cutter (plain or fluted is fine) to cut out four scones. Press the cutter straight through the dough, don’t twist it. Place them slightly spaced apart on the baking sheet.
-
Very gently bring the scraps of dough back together, pat out into a round again and cut out two or three more scones.
-
For the glaze, mix together the milk and maple syrup in a small bowl.
-
Brush the tops of the scones with the glaze. Don’t let it drip down the sides as that can inhibit the rise.
-
Bake for 15-18 minutes, until golden. If you tap the underside they should sound hollow, like bread. Remove from the oven and place on a wire rack to cool a little before serving.
Notes
- For the best results make sure that you follow the recipe closely. As always, I highly recommend using the gram measurements (with a digital scale), rather than the cup conversions. Cup measurements are simply not accurate enough for baking and I cannot guarantee the best results if you use them.
- You can use all vegan block butter or all coconut oil instead of 50/50 if you prefer; but half of each will give the best flavour and texture.
- Your butter and milk should be fridge cold, not room temperature; and the coconut oil (if using) should be solid. If it is a bit soft then refrigerate it first until firm.
- Make sure that you do not overwork the dough, you want to mix it until it comes together, no more than that.
- Placing the cut scones on the baking tray upside down can help them to rise more evenly.
- Get the scones into the oven as soon as possible, don’t leave them sitting around as the raising agents start to work straight away.
- Scones are best eaten as soon as possible, ideally just cooled, and definitely on the same day as they are baked. If you do happen to have any leftovers the next day then they are best eaten split, toasted and buttered.
- You can freeze the scones once they have cooled (ideally as soon as they are completely cold). To eat, defrost them then place in a low oven (160C/fan140C/320F/gas mark 3) for a few minutes to refresh.
- You can also freeze the unbaked scones as soon as you have cut them out. Freeze them on some baking paper on a baking tray before storing them in a freezer-safe tub or zip seal bag. Then, when you want your scones, transfer them to a prepared tray and pop them straight into the preheated oven from frozen. You might need to add a couple of minutes to the baking time.
