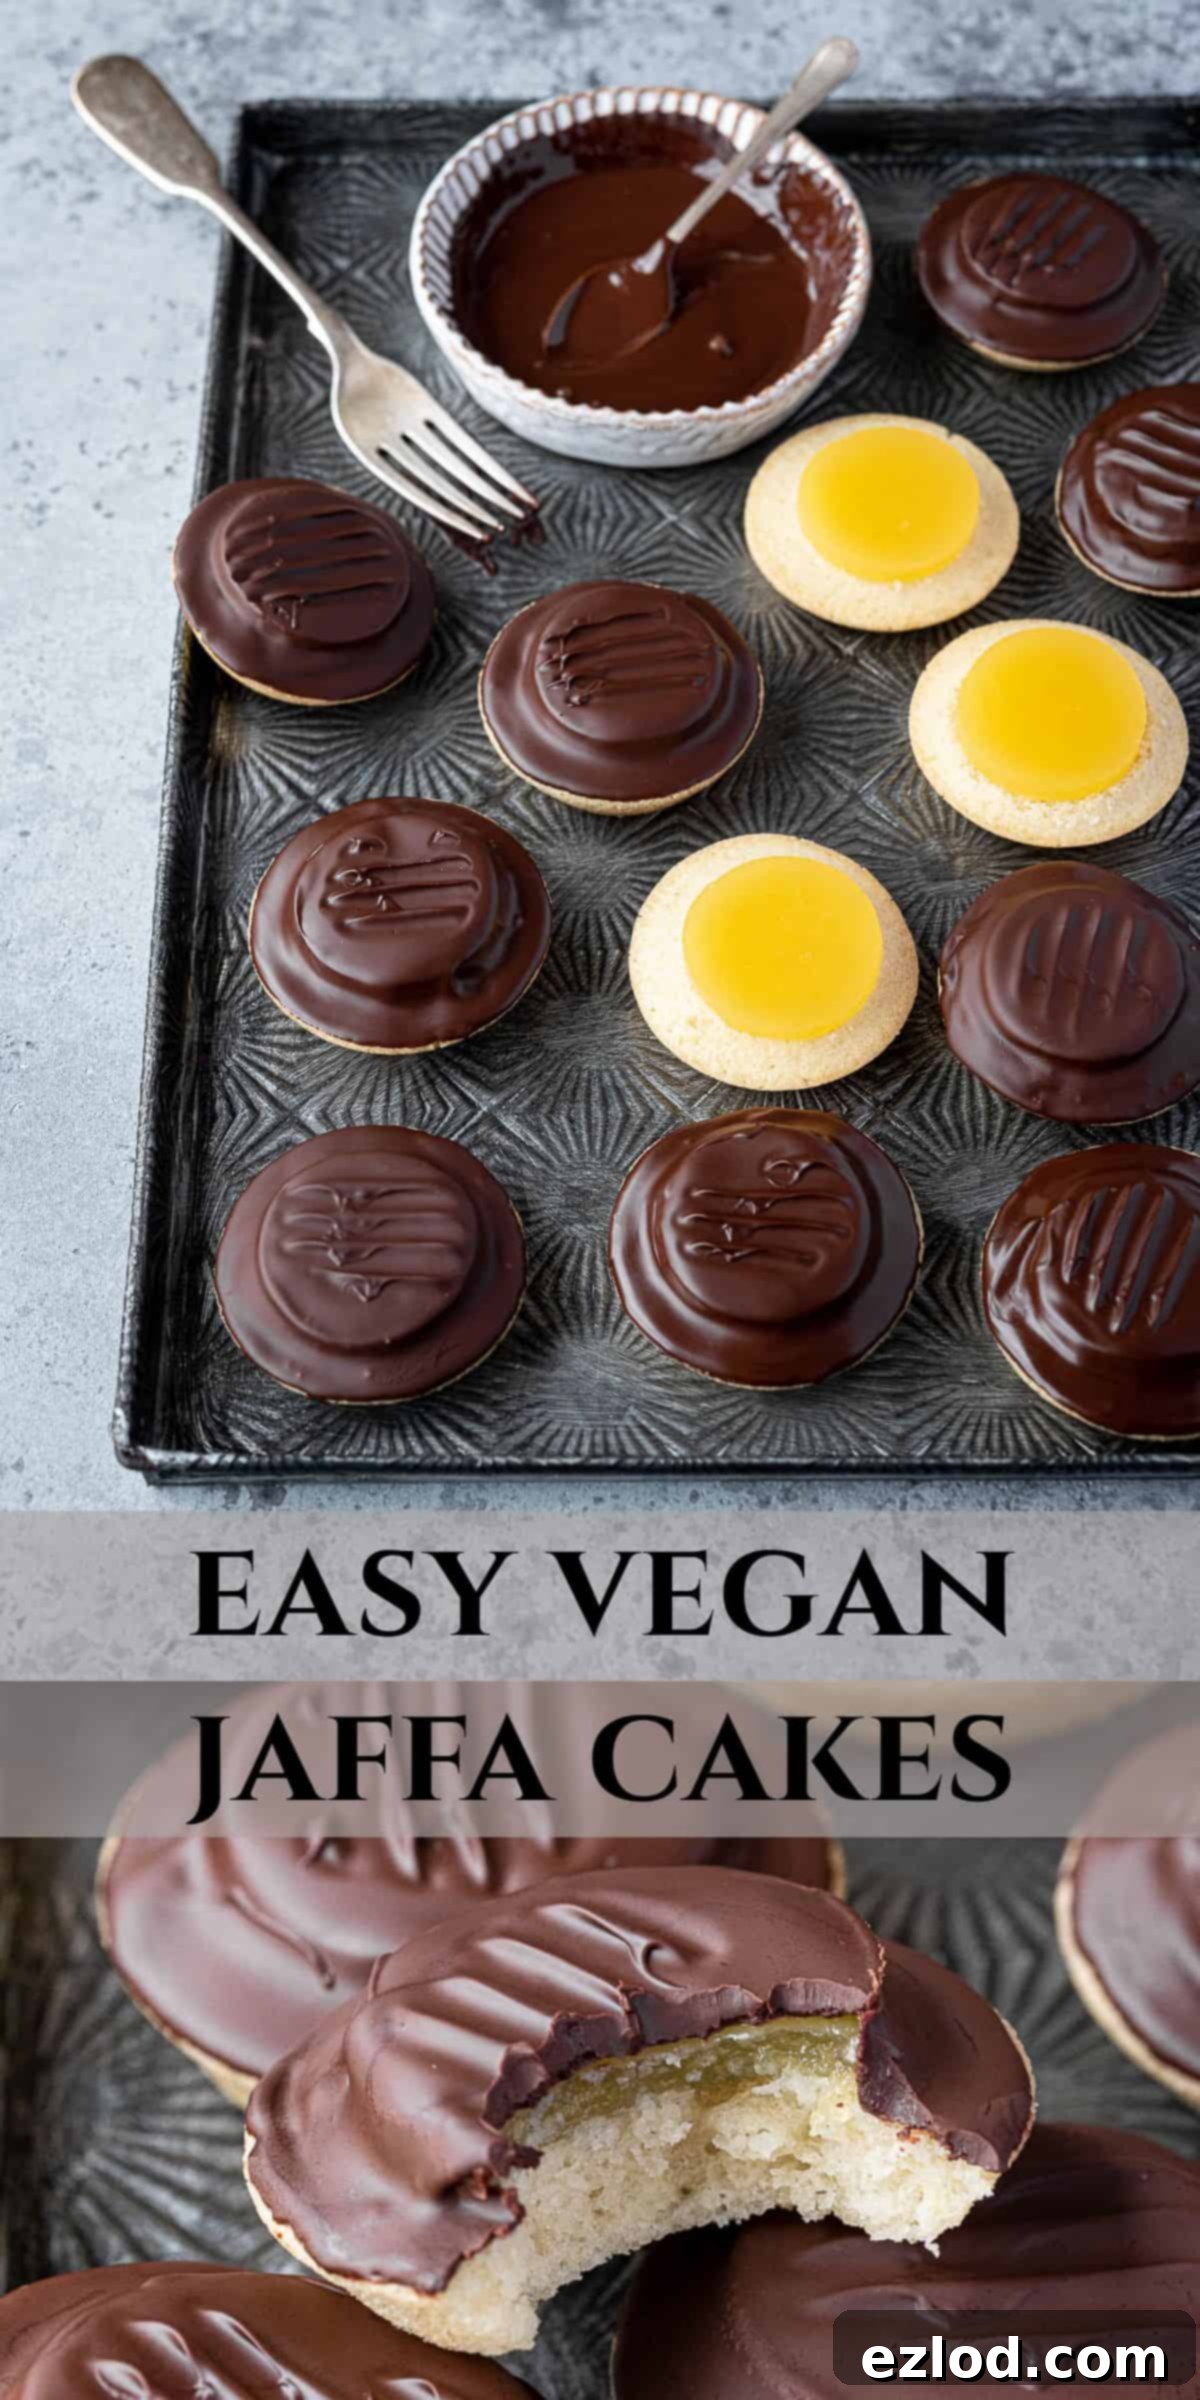
Delicious Homemade Vegan Jaffa Cakes: The Ultimate Eggless & Dairy-Free British Classic
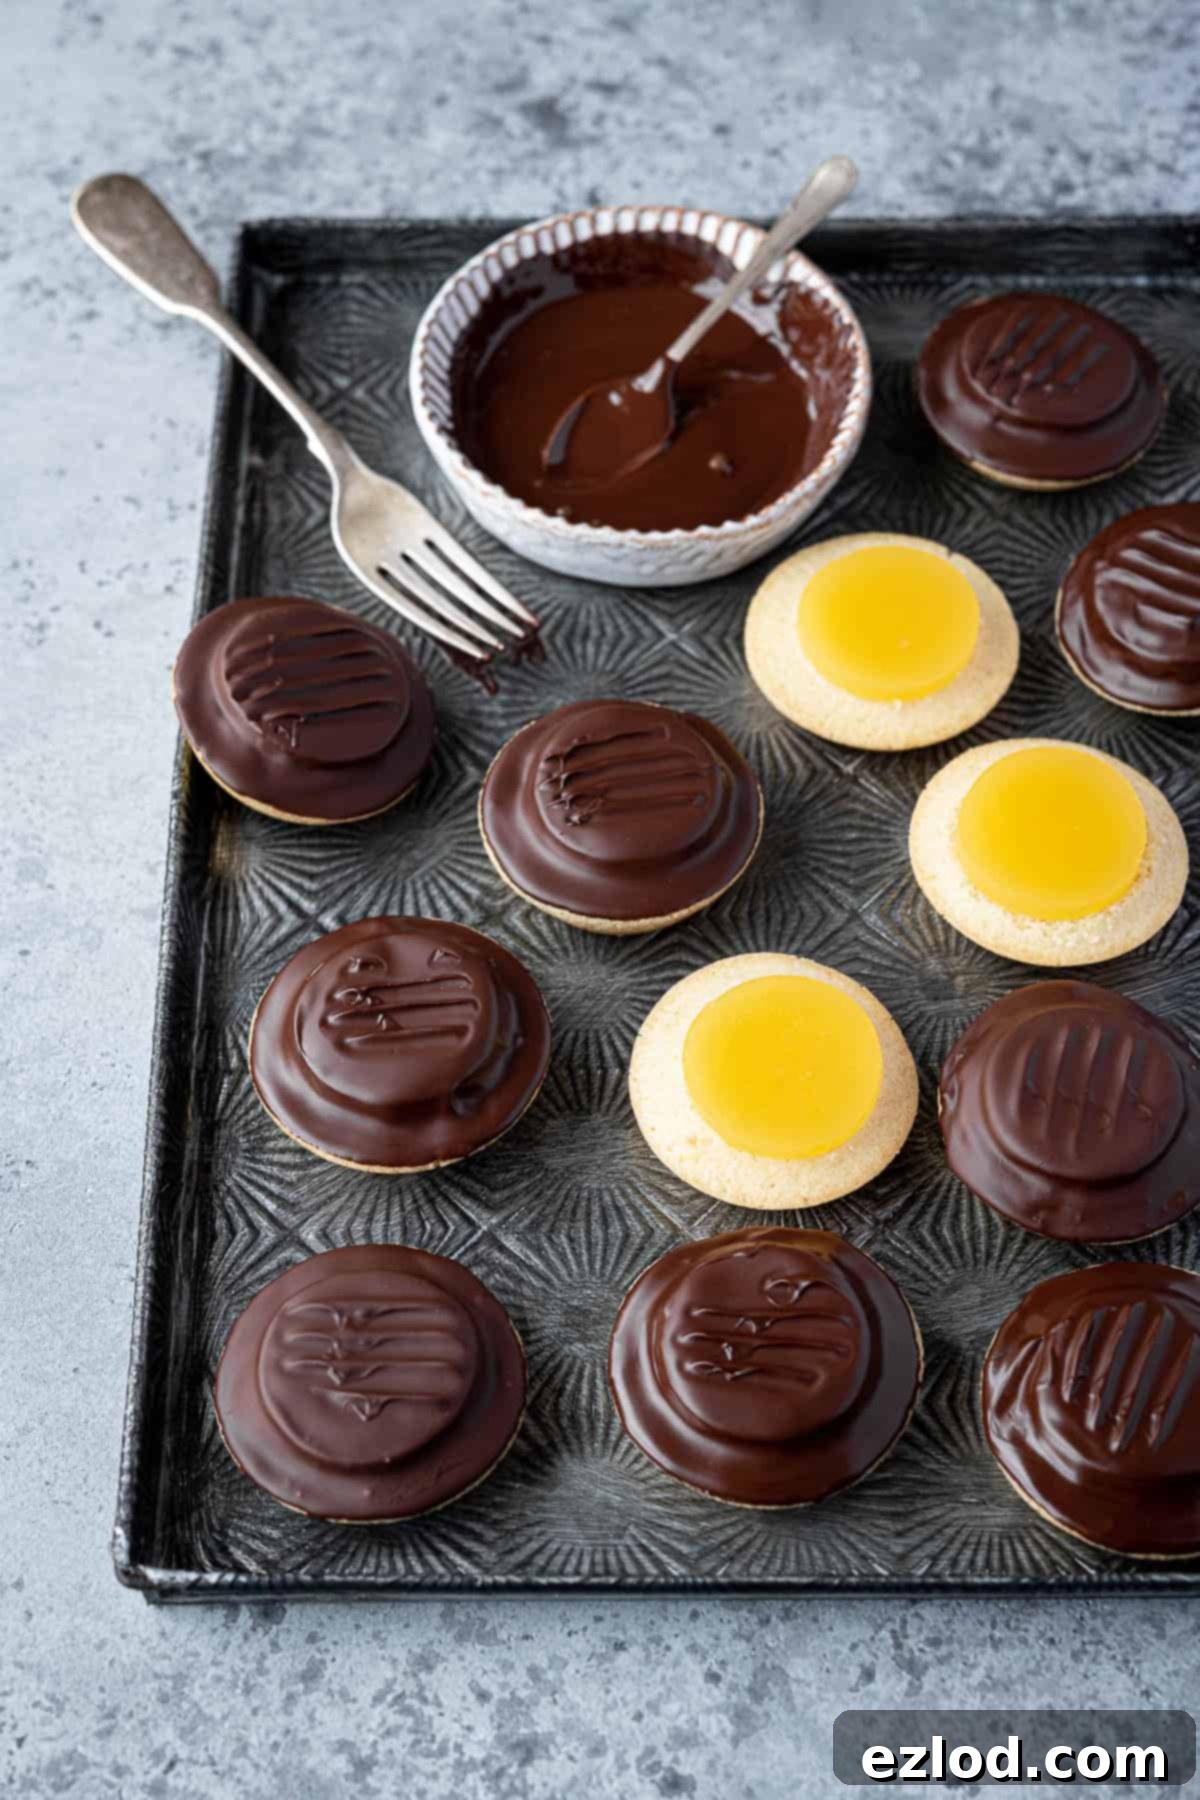
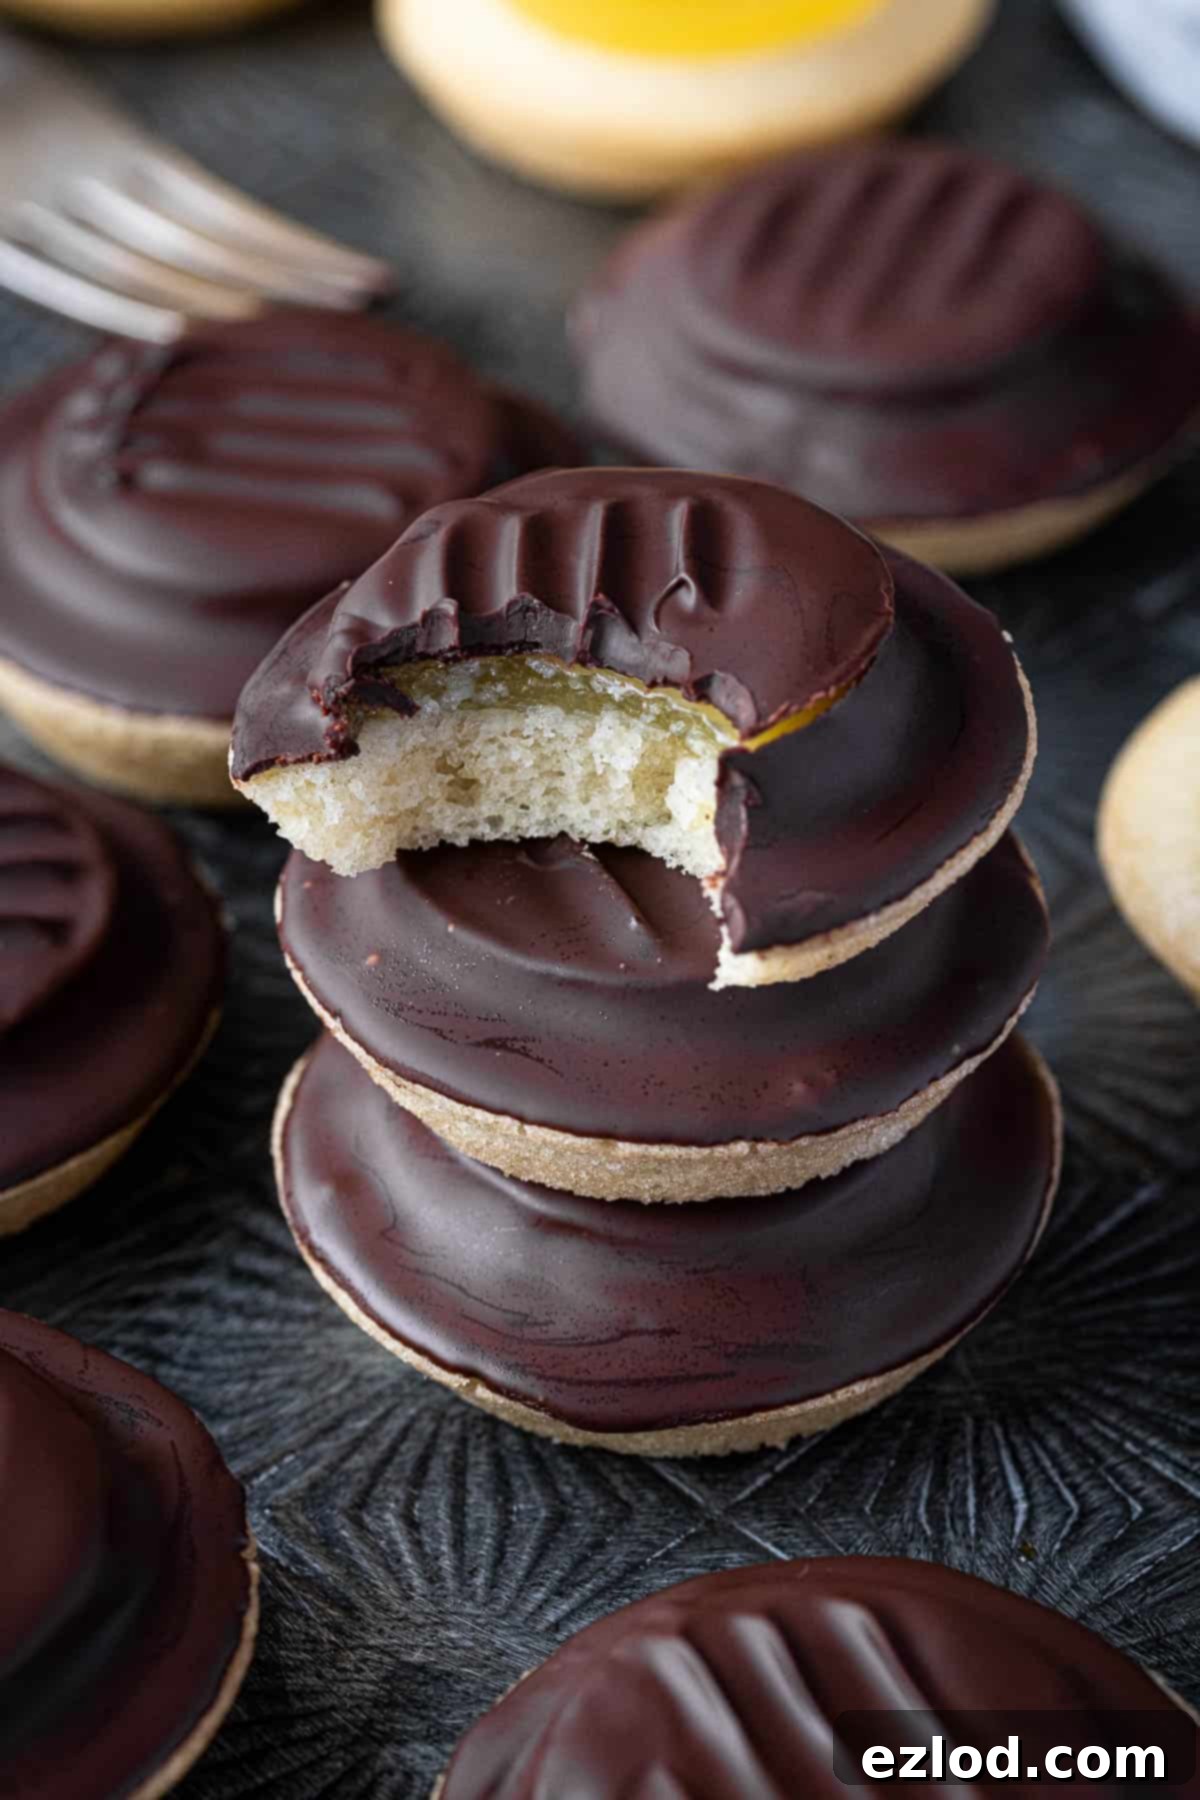
Indulge in the delightful taste of classic British Jaffa Cakes, now available in a completely vegan, eggless, and dairy-free version! These charming treats feature a light, fluffy sponge cake base, generously topped with vibrant orange jelly, and enrobed in a crisp layer of rich dark chocolate. This homemade recipe makes it incredibly easy for everyone to enjoy these iconic, more-ish delights without compromise.
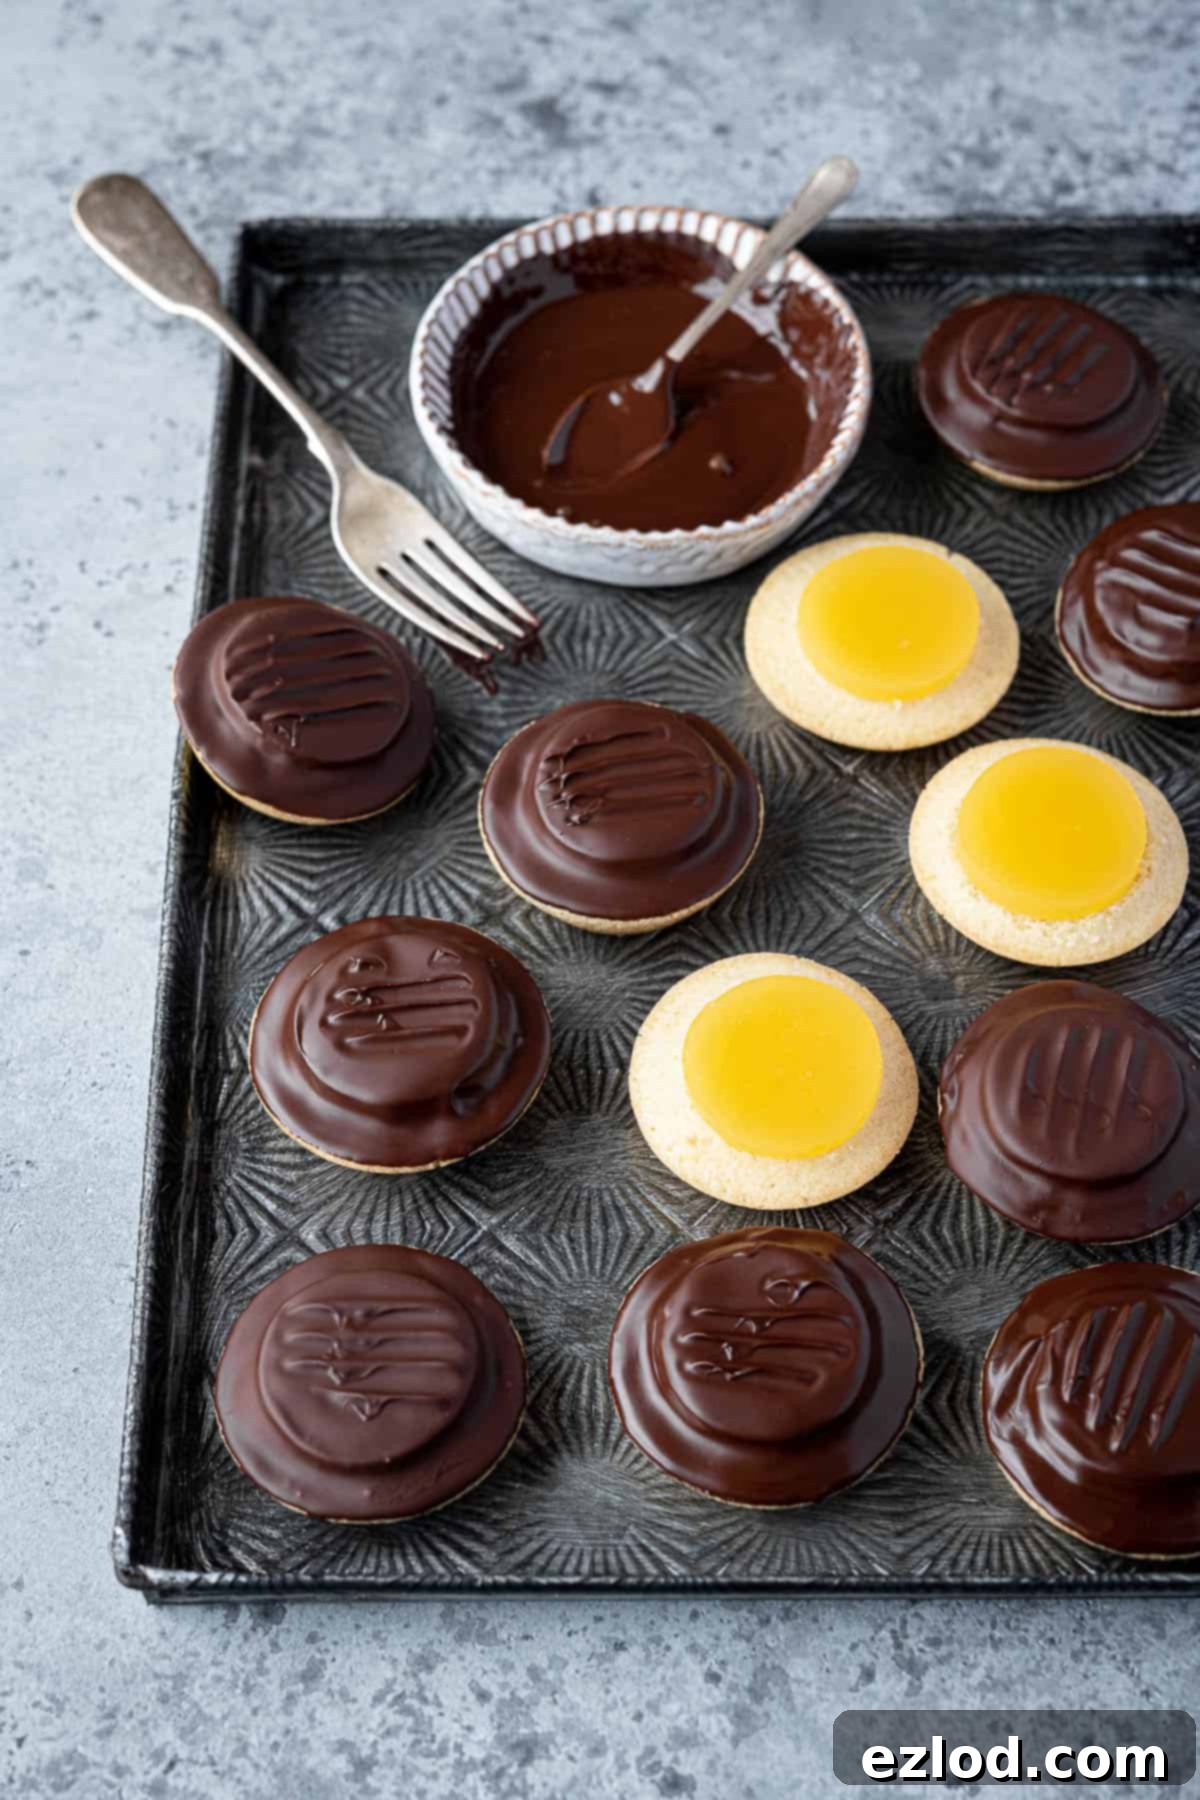
For those who cherish traditional British confectionery but follow a vegan lifestyle or have dietary restrictions, the wait is over! These homemade vegan Jaffa cakes are remarkably quicker and simpler to prepare than you might imagine, utilizing a collection of readily available, basic ingredients. While they offer a unique homemade charm that differs slightly from the commercial (and non-vegan) versions, they come incredibly close in taste and texture, promising an utterly delicious and highly addictive experience.
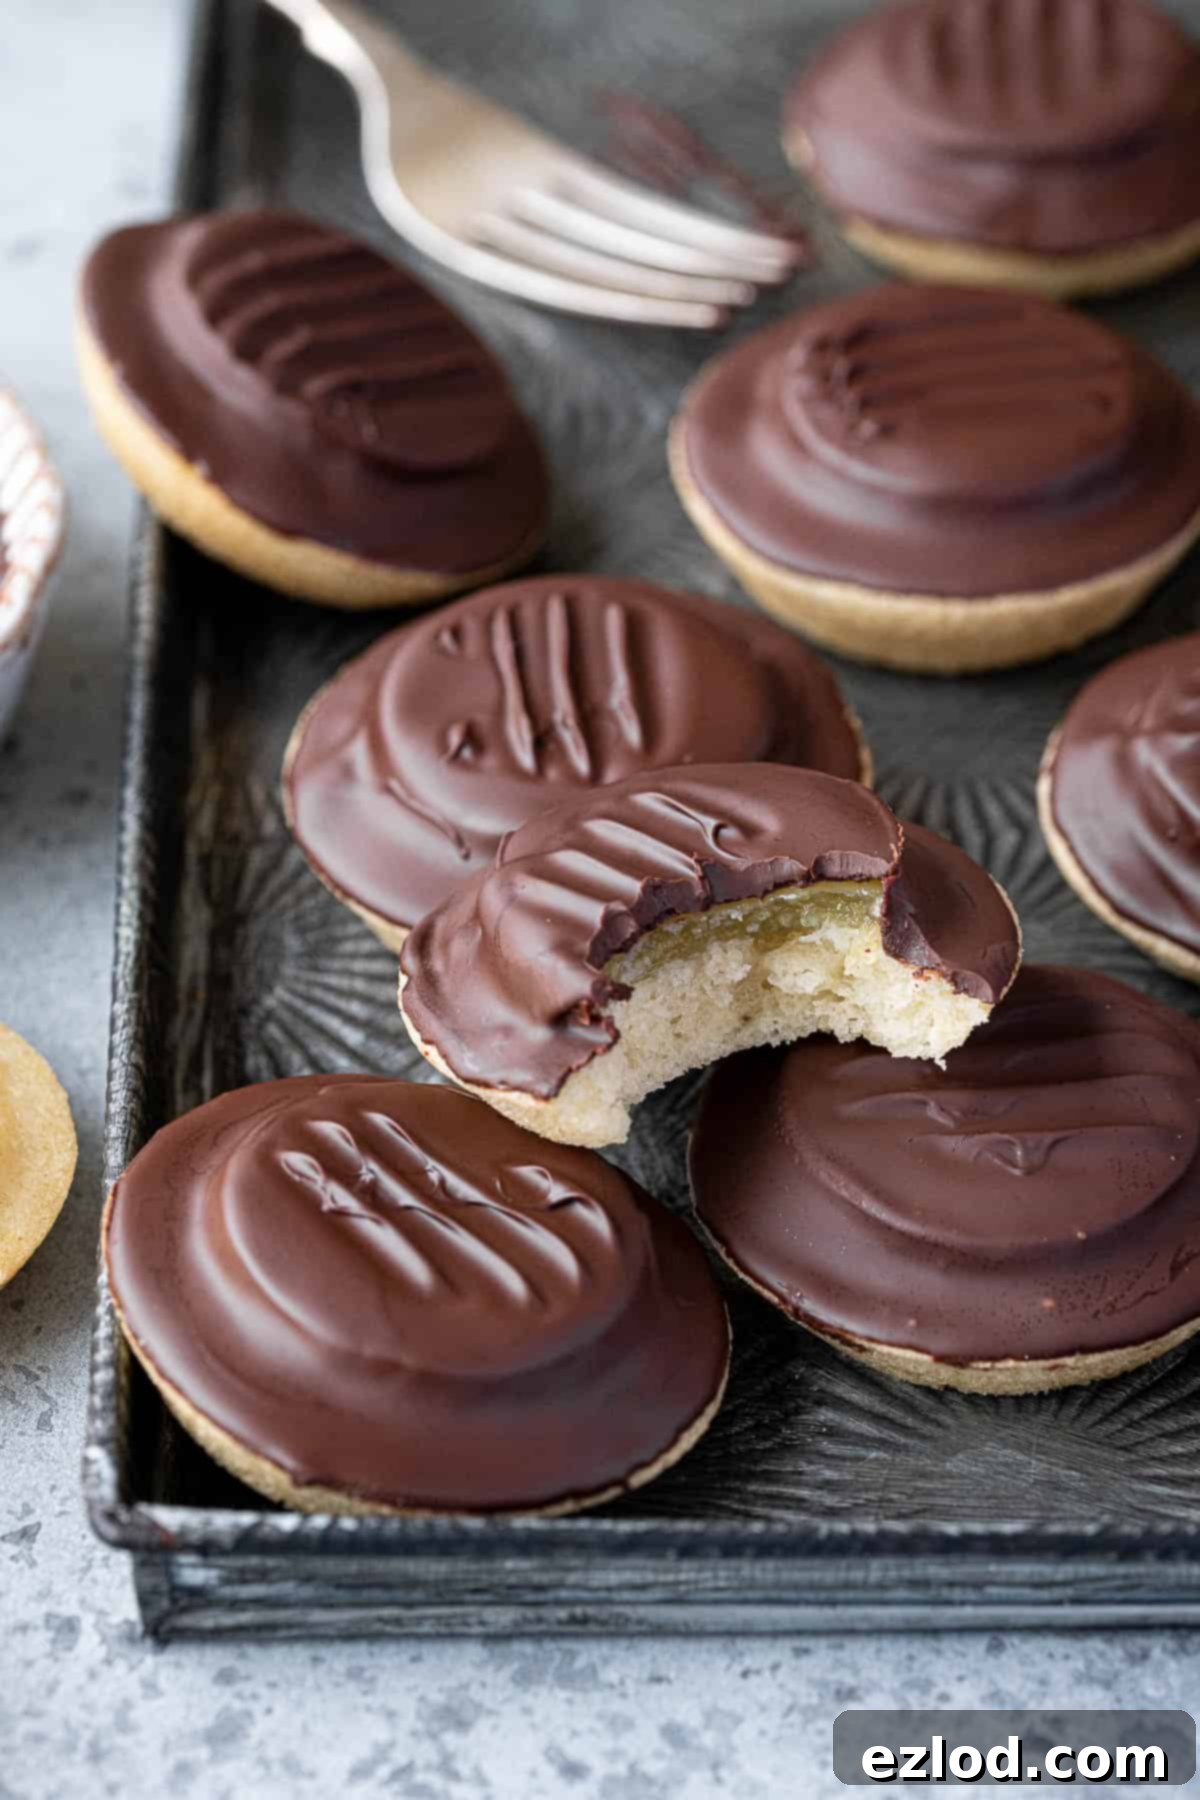
For our friends outside of the United Kingdom, Jaffa Cakes hold a special place in British hearts and are consistently one of the nation’s best-selling cakes or biscuits (the great cake vs. biscuit debate rages on!). Introduced in 1927 by McVitie’s, these beloved treats are characterized by a delicate mini Genoise sponge base, crowned with a vibrant disc of orange-flavoured jelly, and finished with a satisfying crack of chocolate. Traditionally, they are not vegan-friendly due to the use of eggs in the sponge and gelatin in the jelly. However, this meticulously crafted recipe ensures that nobody has to miss out on this beloved confection. Prepare to create a batch of these exquisite vegan Jaffa cakes that will surprise and delight everyone!
Essential Ingredients for Your Vegan Jaffa Cakes:
Crafting the perfect vegan Jaffa cake relies on a few key components. Let’s explore each one and understand its role in achieving that authentic flavour and texture.
For the Zesty Orange Jelly:
- Orange Juice: The heart of your jelly’s flavour! You can opt for freshly squeezed orange juice for the brightest, most natural taste, or use a good quality carton orange juice for convenience. Ensure it’s 100% orange juice with no added sugars if possible, as you’ll be controlling the sweetness yourself. The quality of your orange juice significantly impacts the final jelly flavour.
- Agar Agar Powder: This is the crucial plant-based gelling agent that replaces traditional gelatin, making your Jaffa cakes completely vegan. Agar agar is derived from seaweed and creates a firmer, clearer jelly than gelatin. It’s vital to use agar agar POWDER, not flakes, as the two have different setting strengths and require different ratios. Powder is much stronger and dissolves more easily. You can usually find it in health food stores, Asian supermarkets, or online.
- Lemon Juice: A splash of fresh lemon juice is a secret weapon here. It doesn’t make the jelly taste lemony, but rather brightens and intensifies the natural orange flavour, adding a delightful tang that balances the sweetness.
- Granulated Sugar: To sweeten the jelly to your preference. You have the flexibility to adjust the amount of sugar based on the sweetness of your orange juice and your personal taste. Start with the recommended amount and taste test before setting if you wish to experiment.
For the Light & Fluffy Sponge Cakes:
- Plain (All-Purpose) Flour & Cornflour (Cornstarch) Blend: This combination is ideal for achieving a light and tender sponge, mimicking the delicate texture of a traditional Genoise cake without eggs. The plain flour provides structure, while the cornflour contributes to a finer, softer crumb. If you don’t have cornflour, you can use all cake flour or plain flour, though the texture might be slightly denser. For an even lighter cake, ensure your flour is sifted well.
- Baking Powder: This leavening agent is essential for creating the signature light and airy texture of the sponge cakes, especially in an egg-free recipe. It reacts with liquids and heat to produce carbon dioxide bubbles, giving the cakes their lift and fluffiness.
- Caster or Granulated Sugar: Both types of sugar work well here. Caster sugar, with its finer crystals, dissolves more quickly and creates a smoother batter, leading to a slightly more delicate crumb. Granulated sugar is a perfectly acceptable substitute if caster sugar isn’t available.
- Neutral Flavoured Oil: A neutral-tasting oil, such as sunflower oil, light olive oil (not extra virgin), or canola oil, is used to provide moisture and richness to the vegan sponge. It replaces the fats typically found in eggs and butter, ensuring a tender and moist cake without imparting any strong flavours.
- Unsweetened Non-Dairy Milk: Any unsweetened plant-based milk will work for this recipe, but soy milk is often preferred in vegan baking for its protein content, which can contribute to a slightly better structure and richness. Almond, oat, or rice milk are also viable options. Just make sure it’s unsweetened to control the overall sugar content.
- Orange Extract: To truly capture the essence of a classic Jaffa cake, a good quality orange extract is highly recommended for the sponge. It infuses the cake with a concentrated citrus flavour that complements the jelly beautifully. If you don’t have orange extract, vanilla extract can be used as an alternative, offering a lovely, albeit different, flavour profile.
- Dark Chocolate: The crowning glory! Dark chocolate is recommended for coating the Jaffa cakes as its slight bitterness perfectly balances the sweetness of the sponge and jelly. A mix of dark and vegan milk chocolate can also work if you prefer a sweeter coating, but all milk chocolate might make the overall treat overly sweet. Ensure you choose a certified vegan chocolate, as some dark chocolates can still contain dairy.
Step-by-Step Guide: How To Make Vegan Jaffa Cakes:
(Full measurements and detailed instructions can be found in the comprehensive recipe card at the bottom of the page)
Creating these delightful vegan Jaffa cakes is a fun and rewarding process. Follow these steps carefully for the best results:
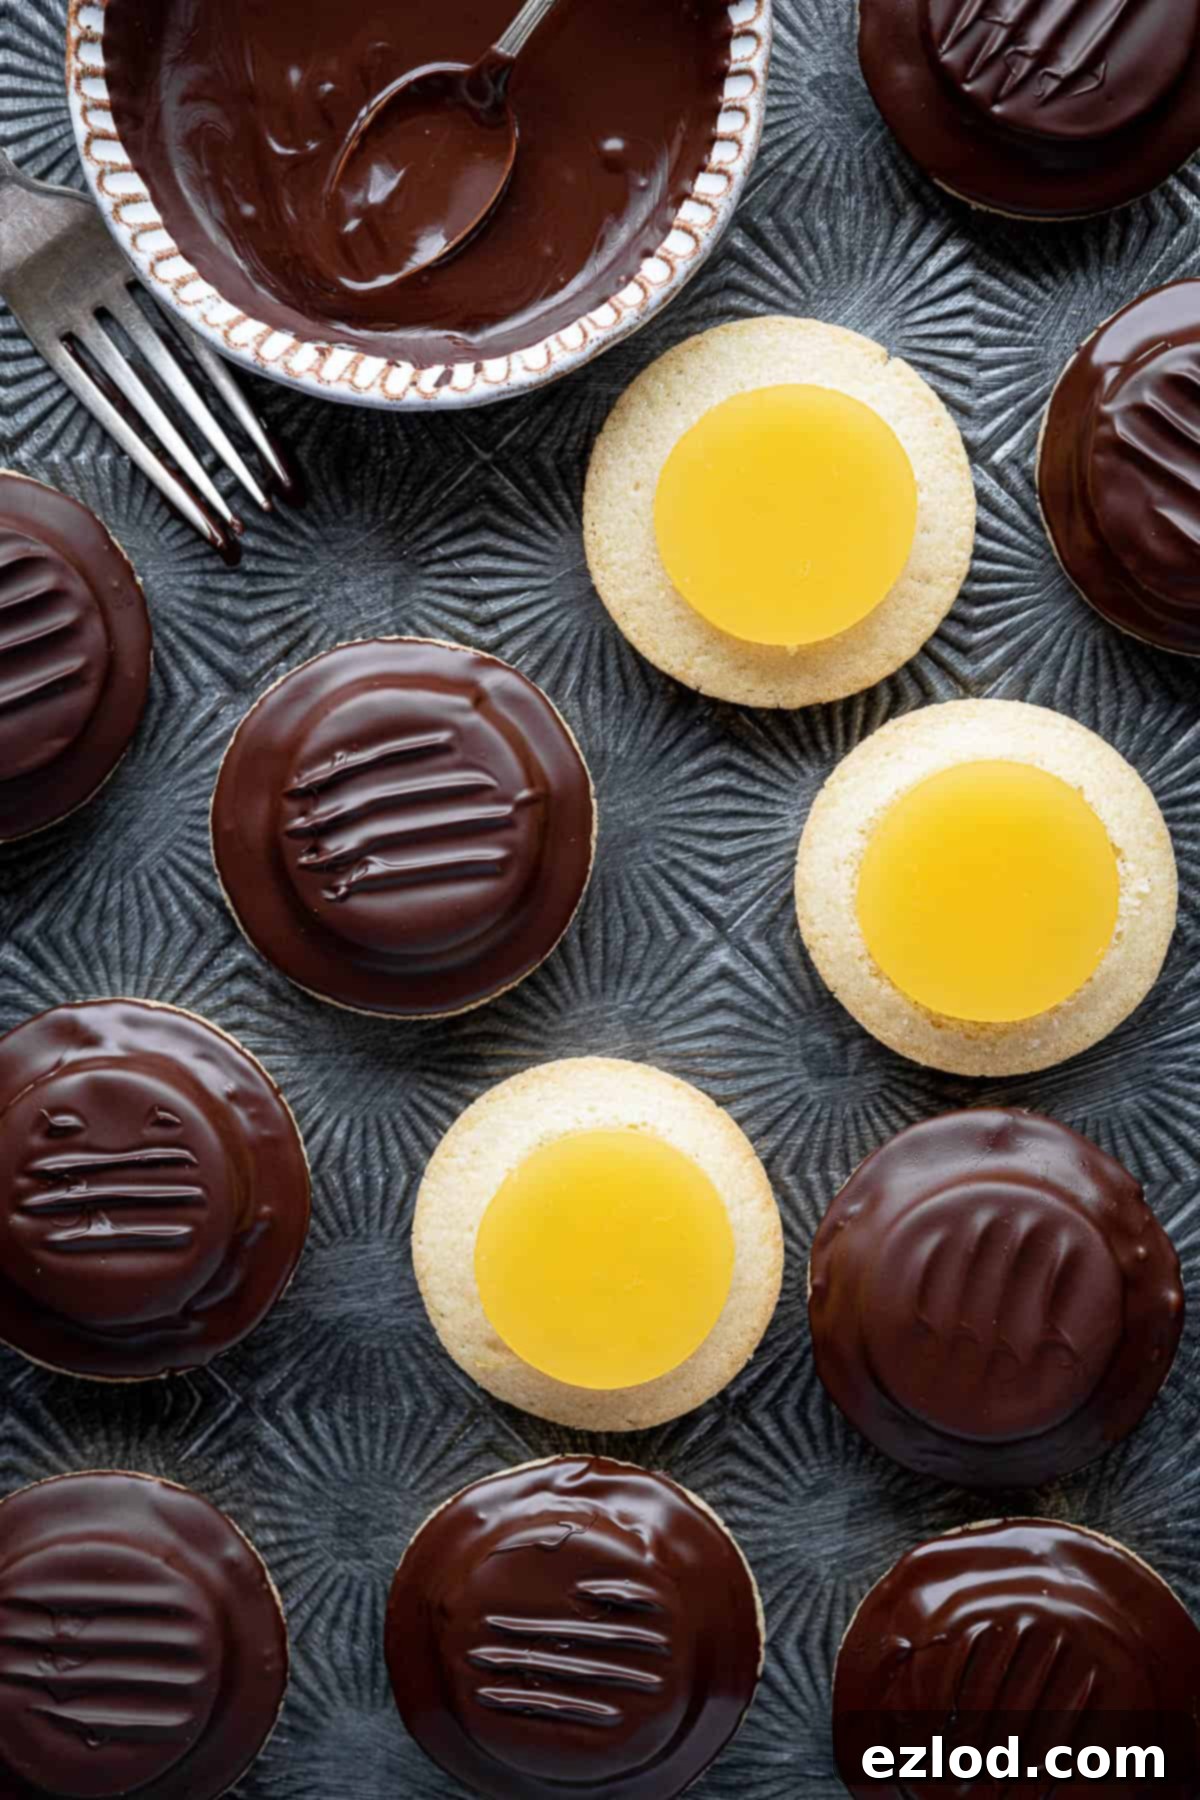
1. Prepare the Orange Jelly: Begin by lining a 20cm (8-inch) square cake tin with baking parchment; this will make it easier to remove the set jelly. In a medium saucepan, combine the agar agar powder. Gradually whisk in the orange juice, ensuring there are no lumps of agar agar. This slow addition helps prevent clumping and ensures a smooth jelly. Add the lemon juice and your chosen sugar, then bring the mixture to a rolling boil over medium heat. Continue to boil, stirring constantly, for exactly 1 minute. This crucial step activates the agar agar and ensures proper setting. Promptly pour the hot jelly mixture into your prepared tin and transfer it to the refrigerator to set, which typically takes about 1 hour.
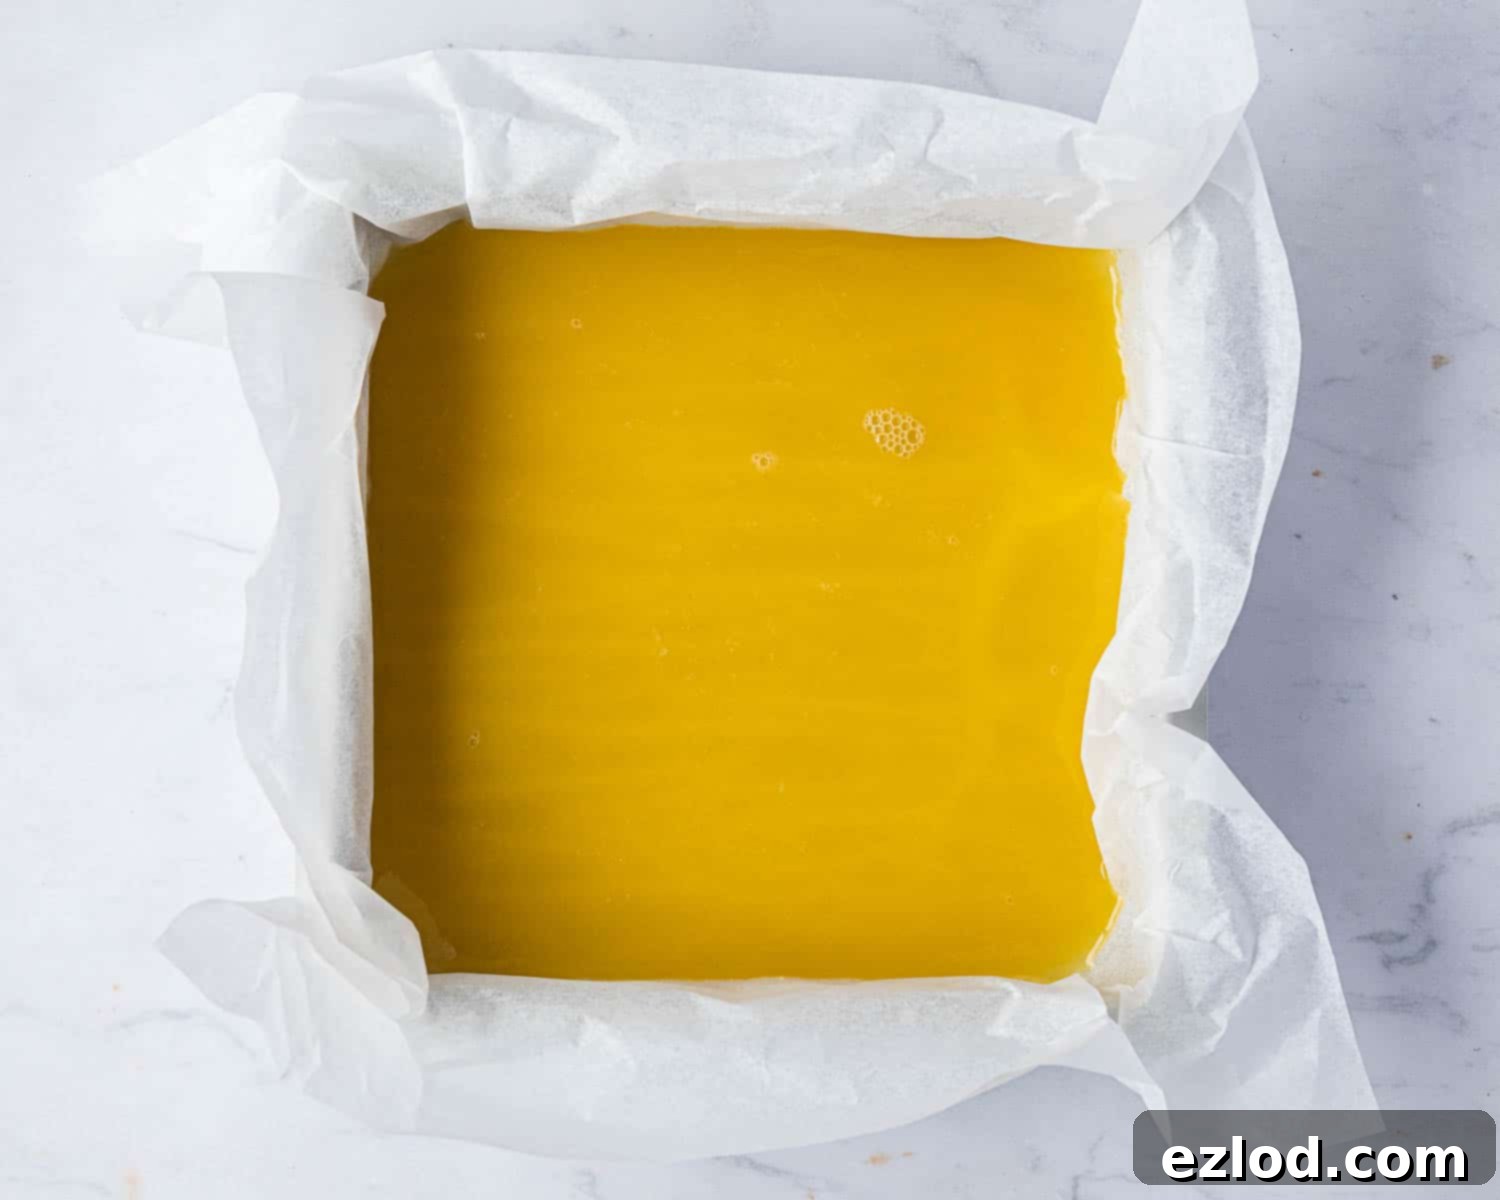
2. Prepare the Sponge Batter: While the jelly chills, you can prepare the cake batter. First, preheat your oven to 180°C/160°C fan/350°F/gas mark 4. Lightly grease a 12-hole shallow bun or muffin tin. In a large mixing bowl, sift together the plain flour, cornflour, and baking powder. Sifting aerates the dry ingredients and prevents lumps, contributing to a lighter sponge. Add the caster sugar, unsweetened non-dairy milk, neutral oil, and orange extract to the dry ingredients. Using a balloon whisk, whisk everything together until the batter is smooth and well combined. Be careful not to overmix, as this can lead to a tougher cake.
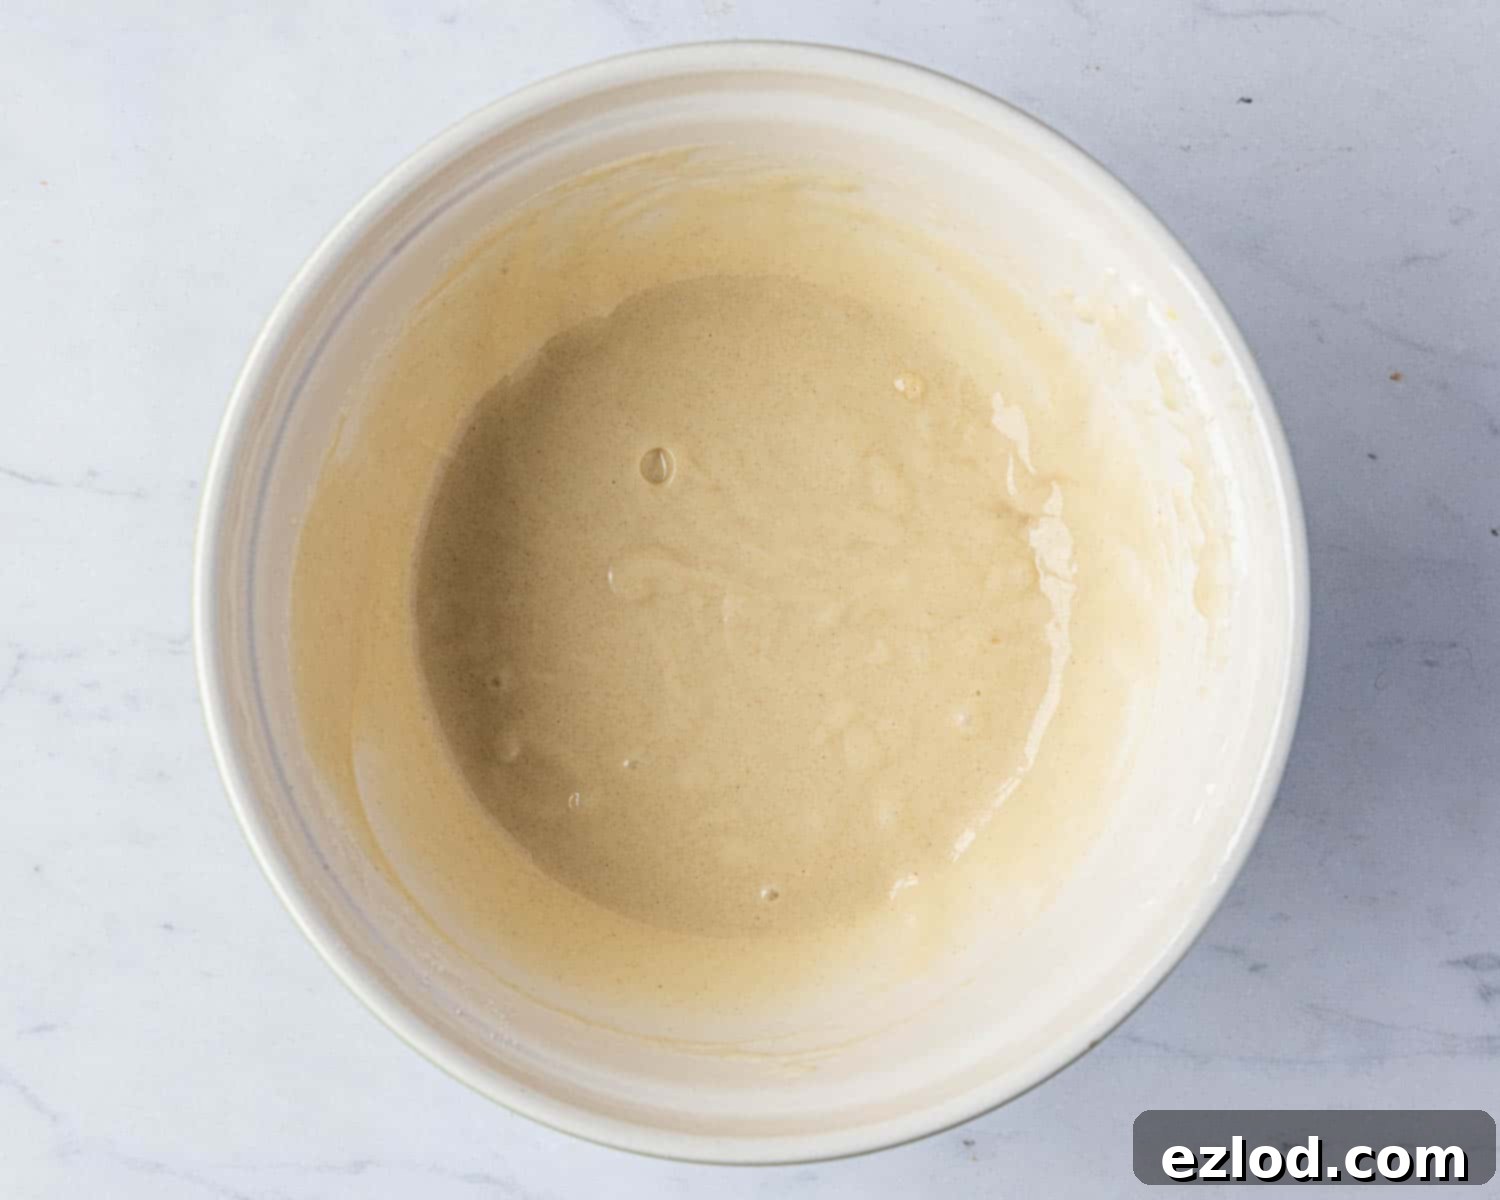
3. Bake the Sponges: Divide the prepared batter evenly among the 12 holes of your greased tin, using approximately 1 tablespoon of batter per hole. The batter should fill each indentation about two-thirds of the way. Once filled, gently bash the tin on your counter a couple of times. This helps to burst any large air bubbles in the batter, resulting in a more even and finer crumb. Bake for 12 minutes, or until a skewer inserted into the centre of one of the cakes comes out clean. The cakes should be lightly golden and spring back when gently pressed.
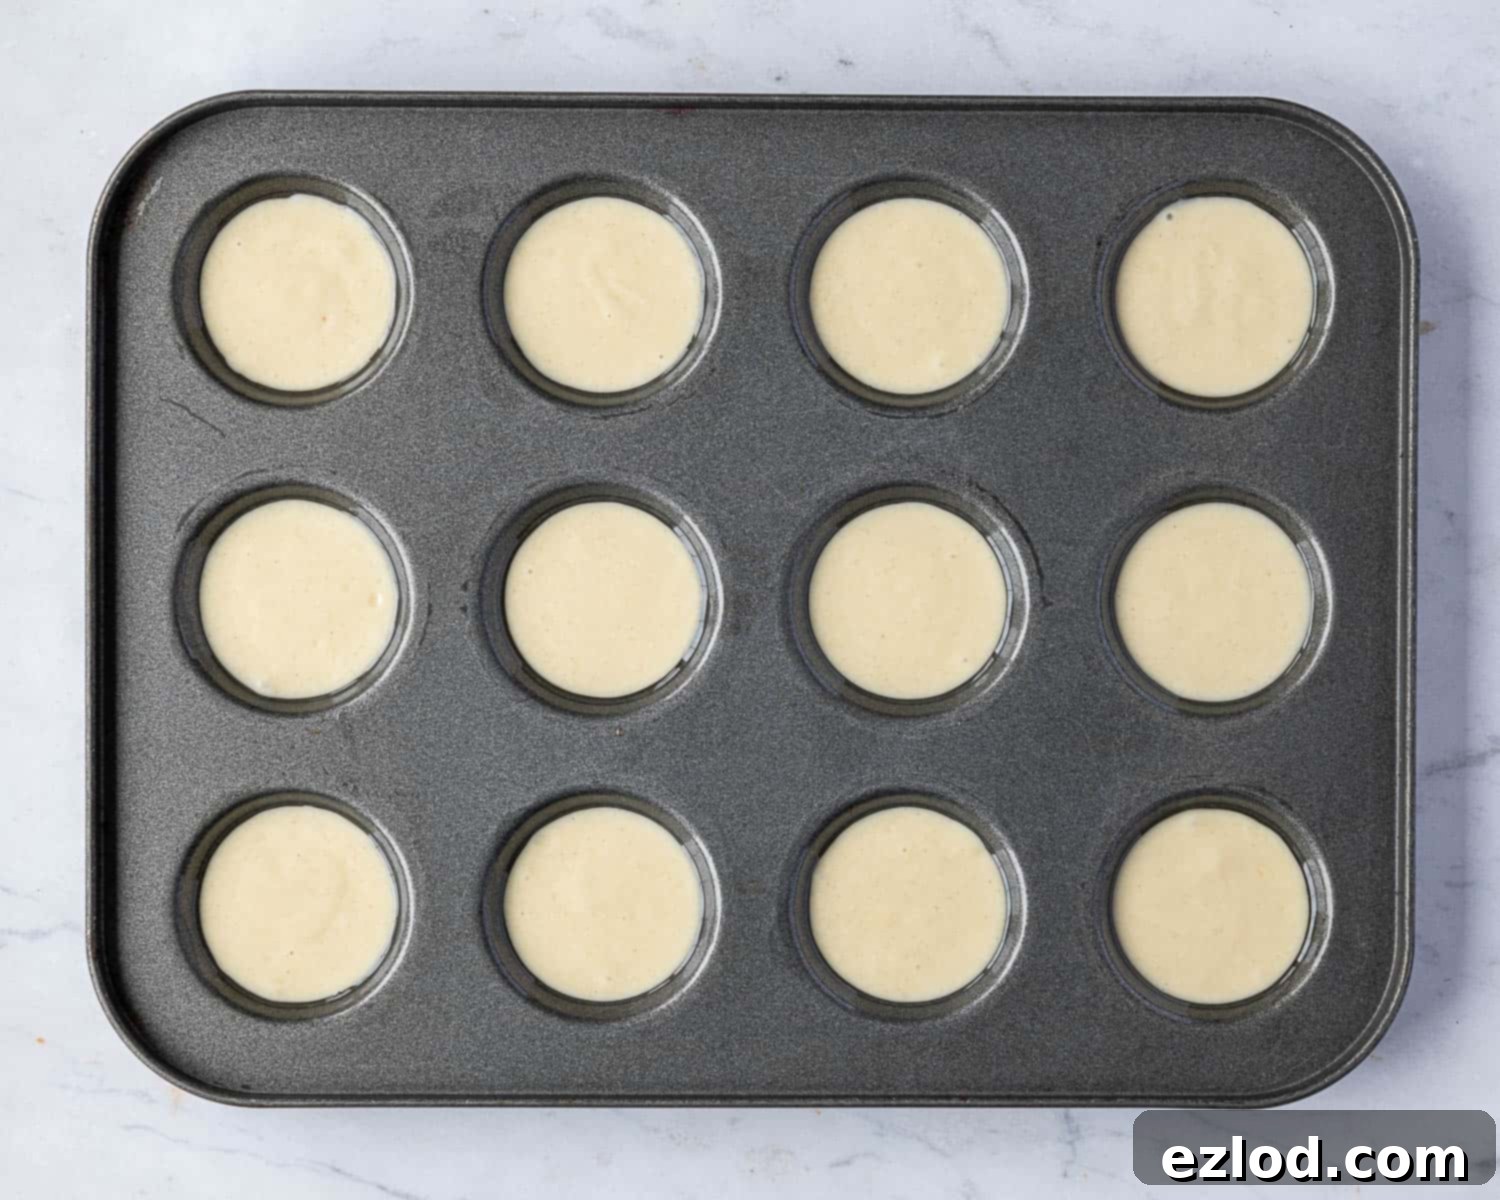
4. Cool the Cakes: Once baked, remove the tin from the oven and allow the cakes to cool in the tin for 5-10 minutes. This initial cooling period helps the cakes firm up before you handle them. After this time, carefully turn them out onto a wire rack to cool completely. Ensure they are fully cooled before proceeding to prevent the chocolate from melting prematurely.
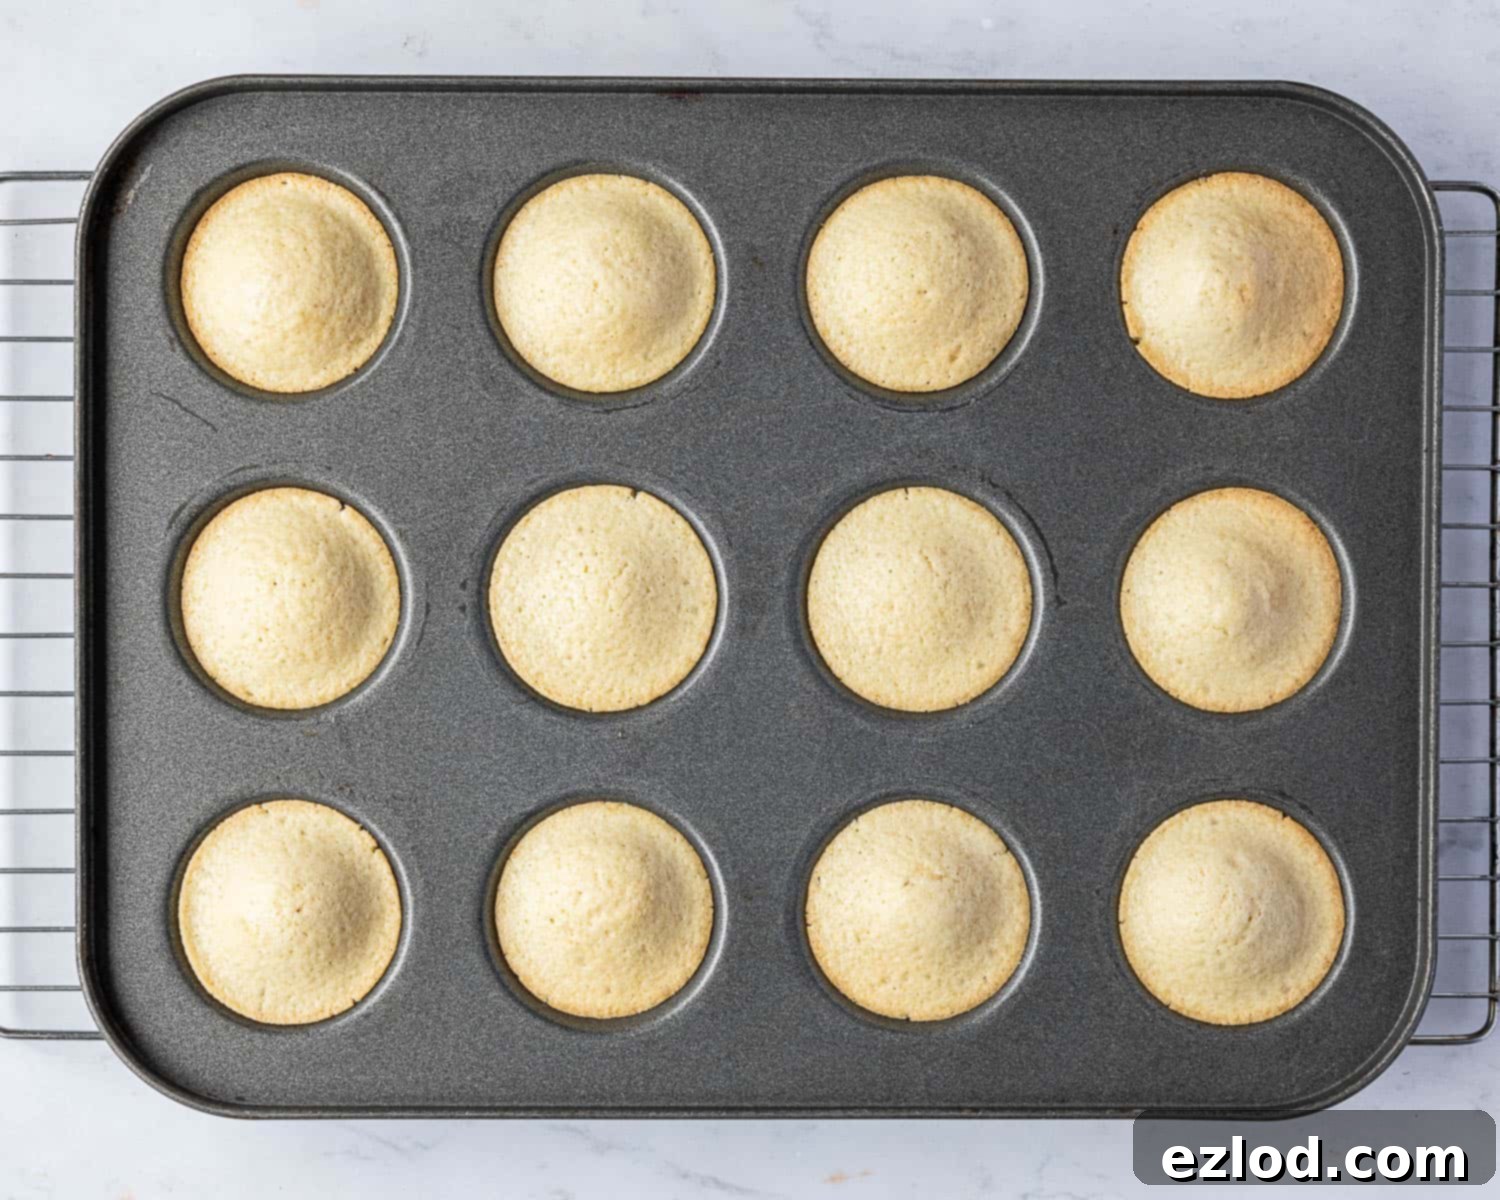
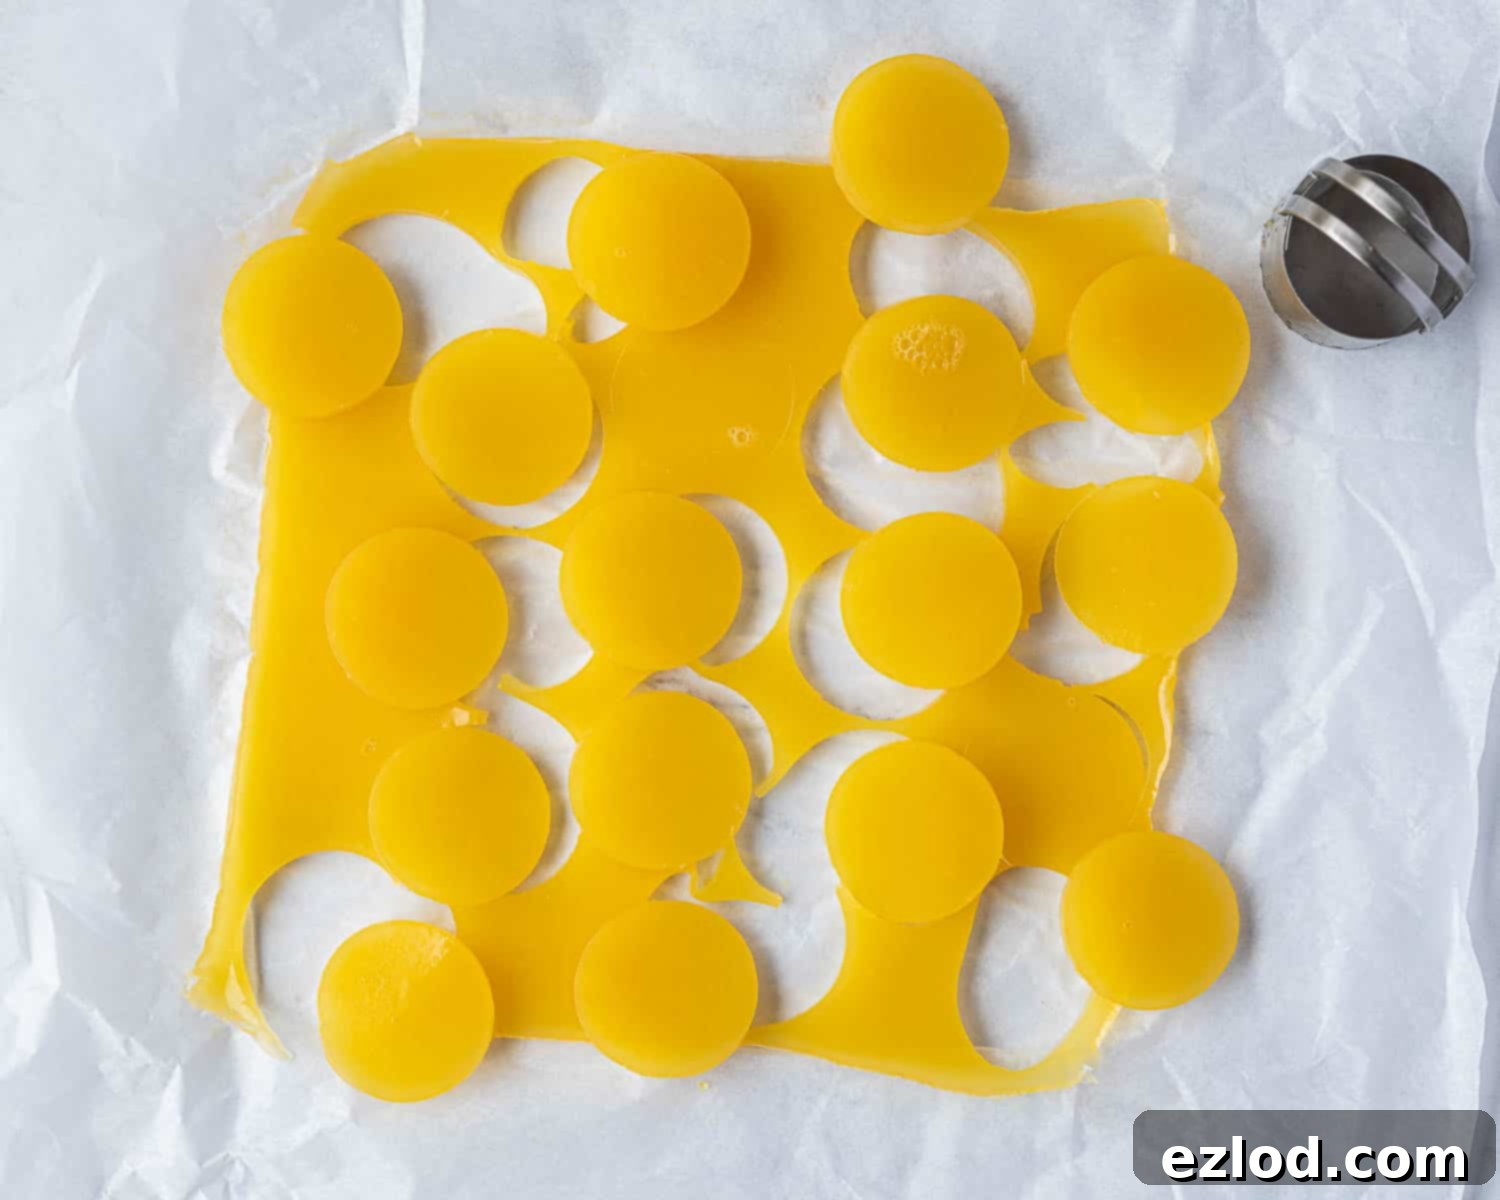
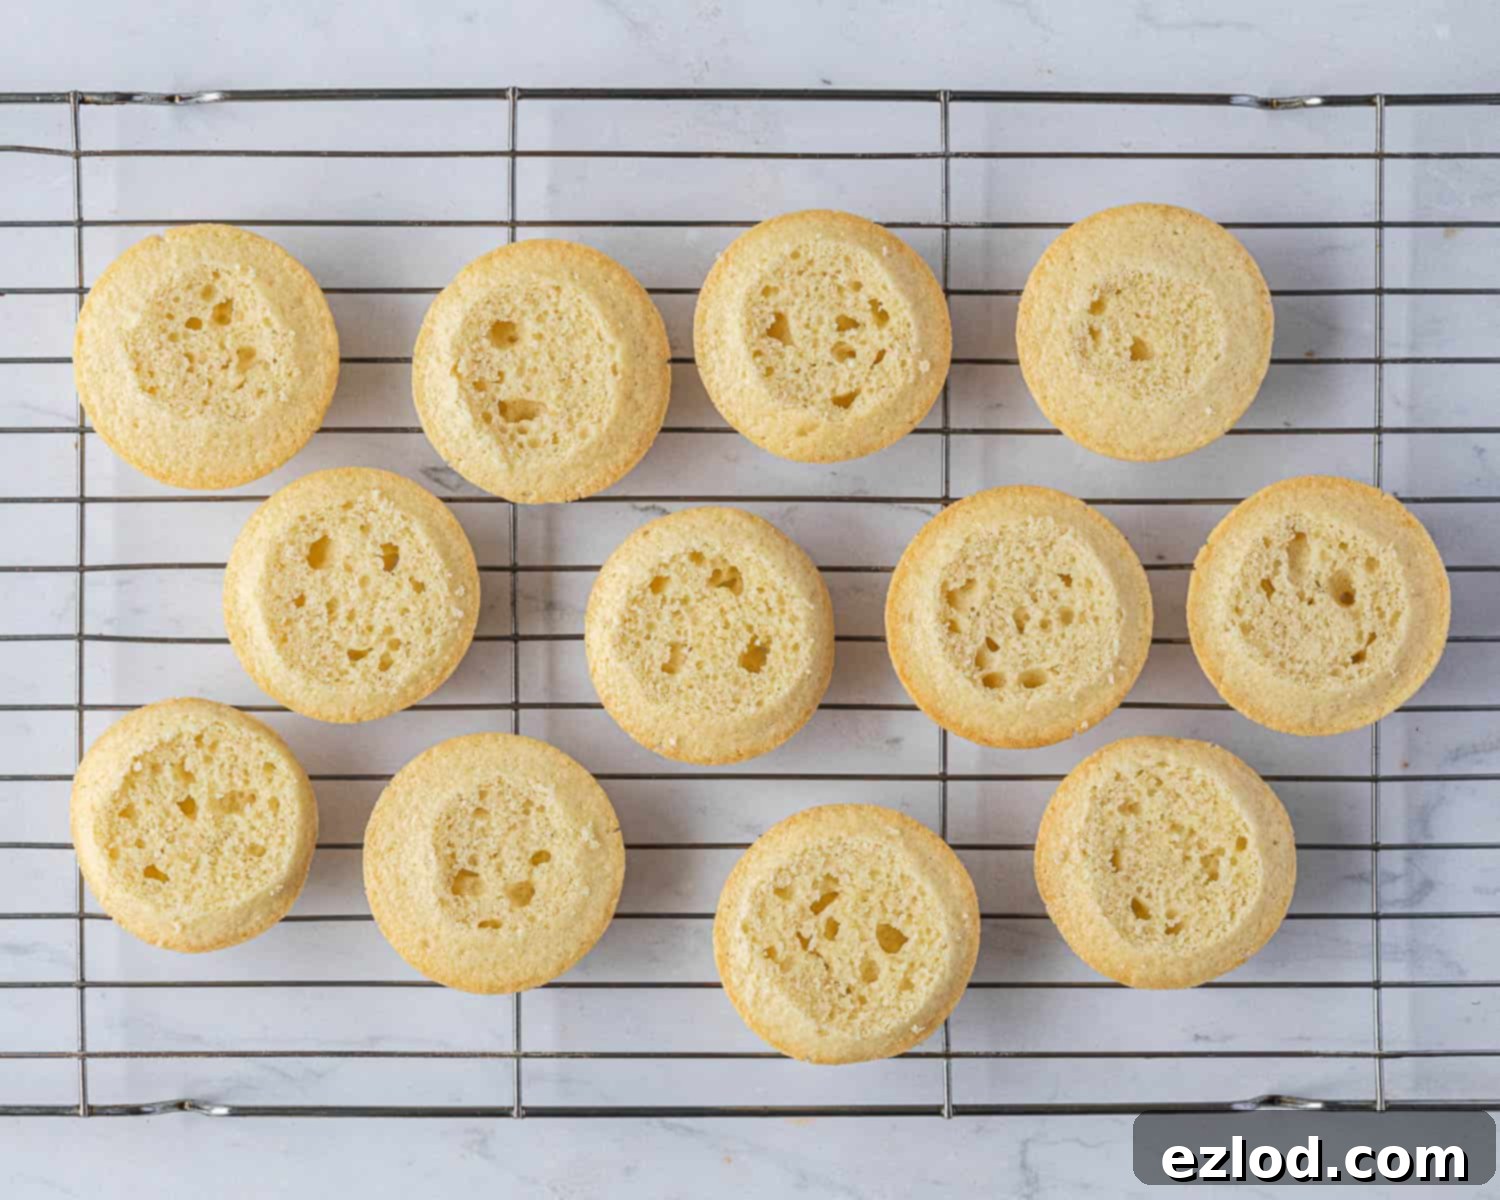
5. Assemble the Jaffa Cakes: Once the orange jelly is firm and set, carefully lift it from the tin using the baking parchment. Use a 4cm (approximately 1.6-inch) round cutter to cut out perfect jelly circles. You will need one for each cake. Take your cooled sponge cakes and, using a sharp serrated knife, gently trim the tops to level them if necessary. This creates a flat surface for the jelly and chocolate. Place a jelly circle neatly on top of each trimmed cake.
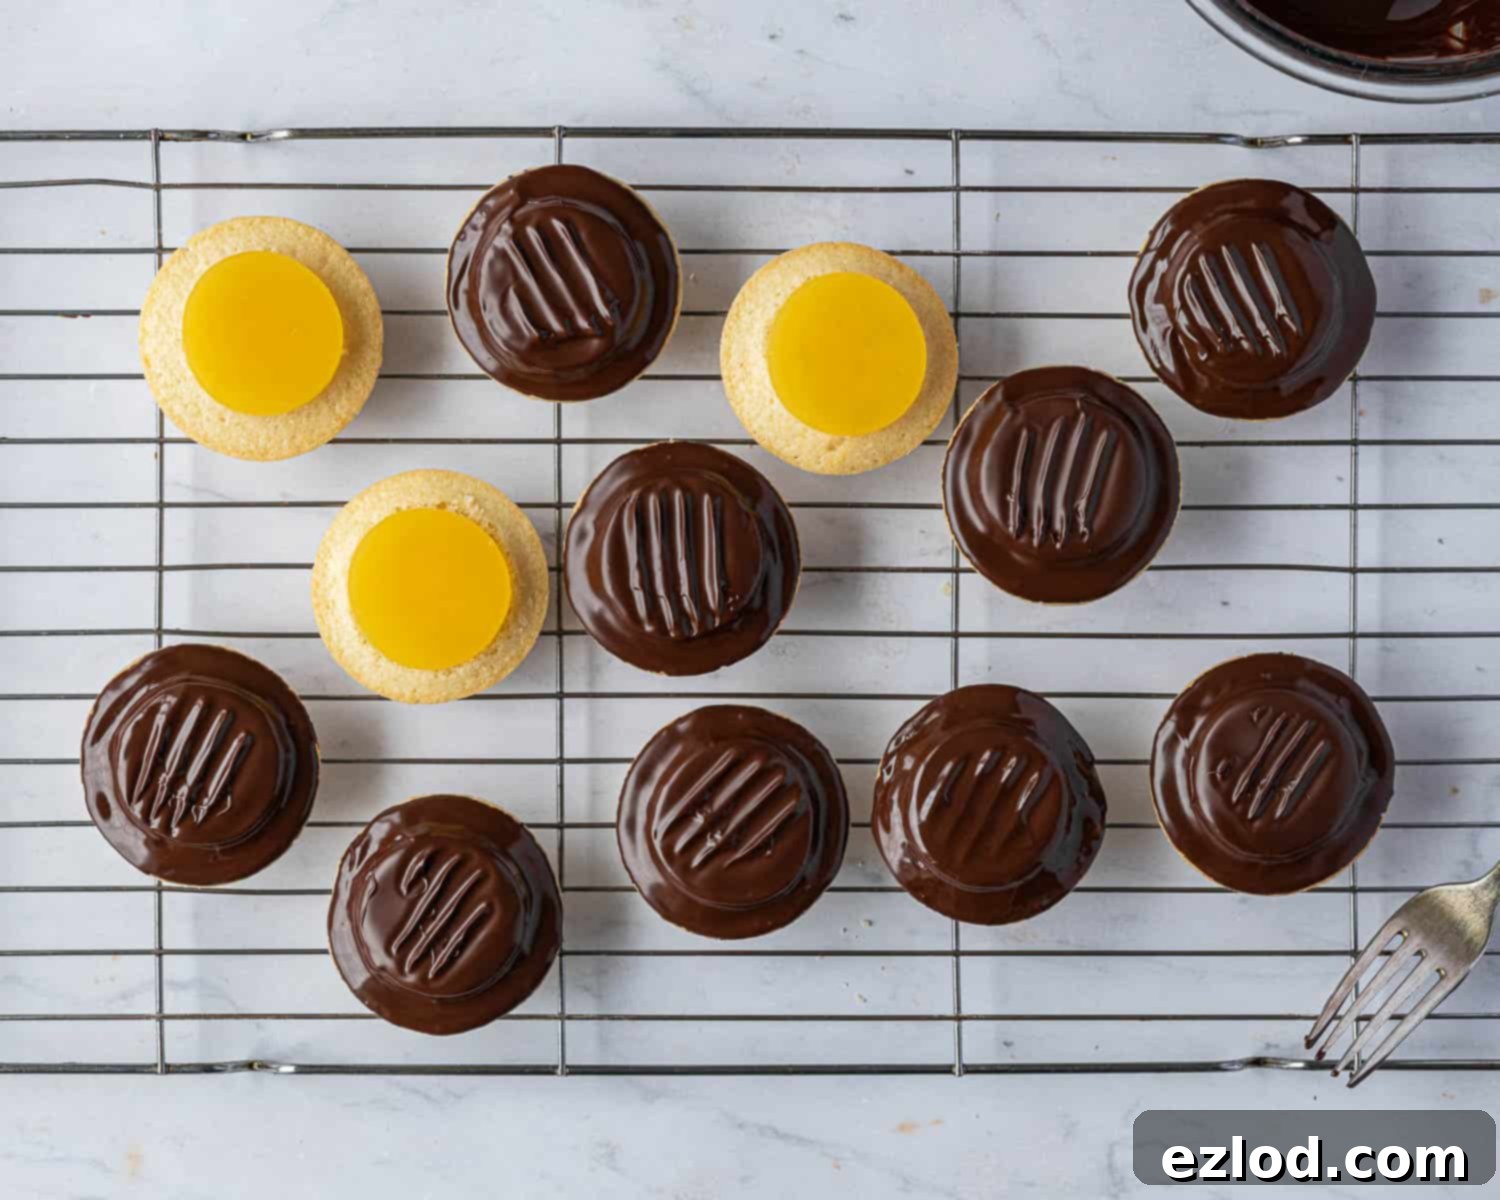
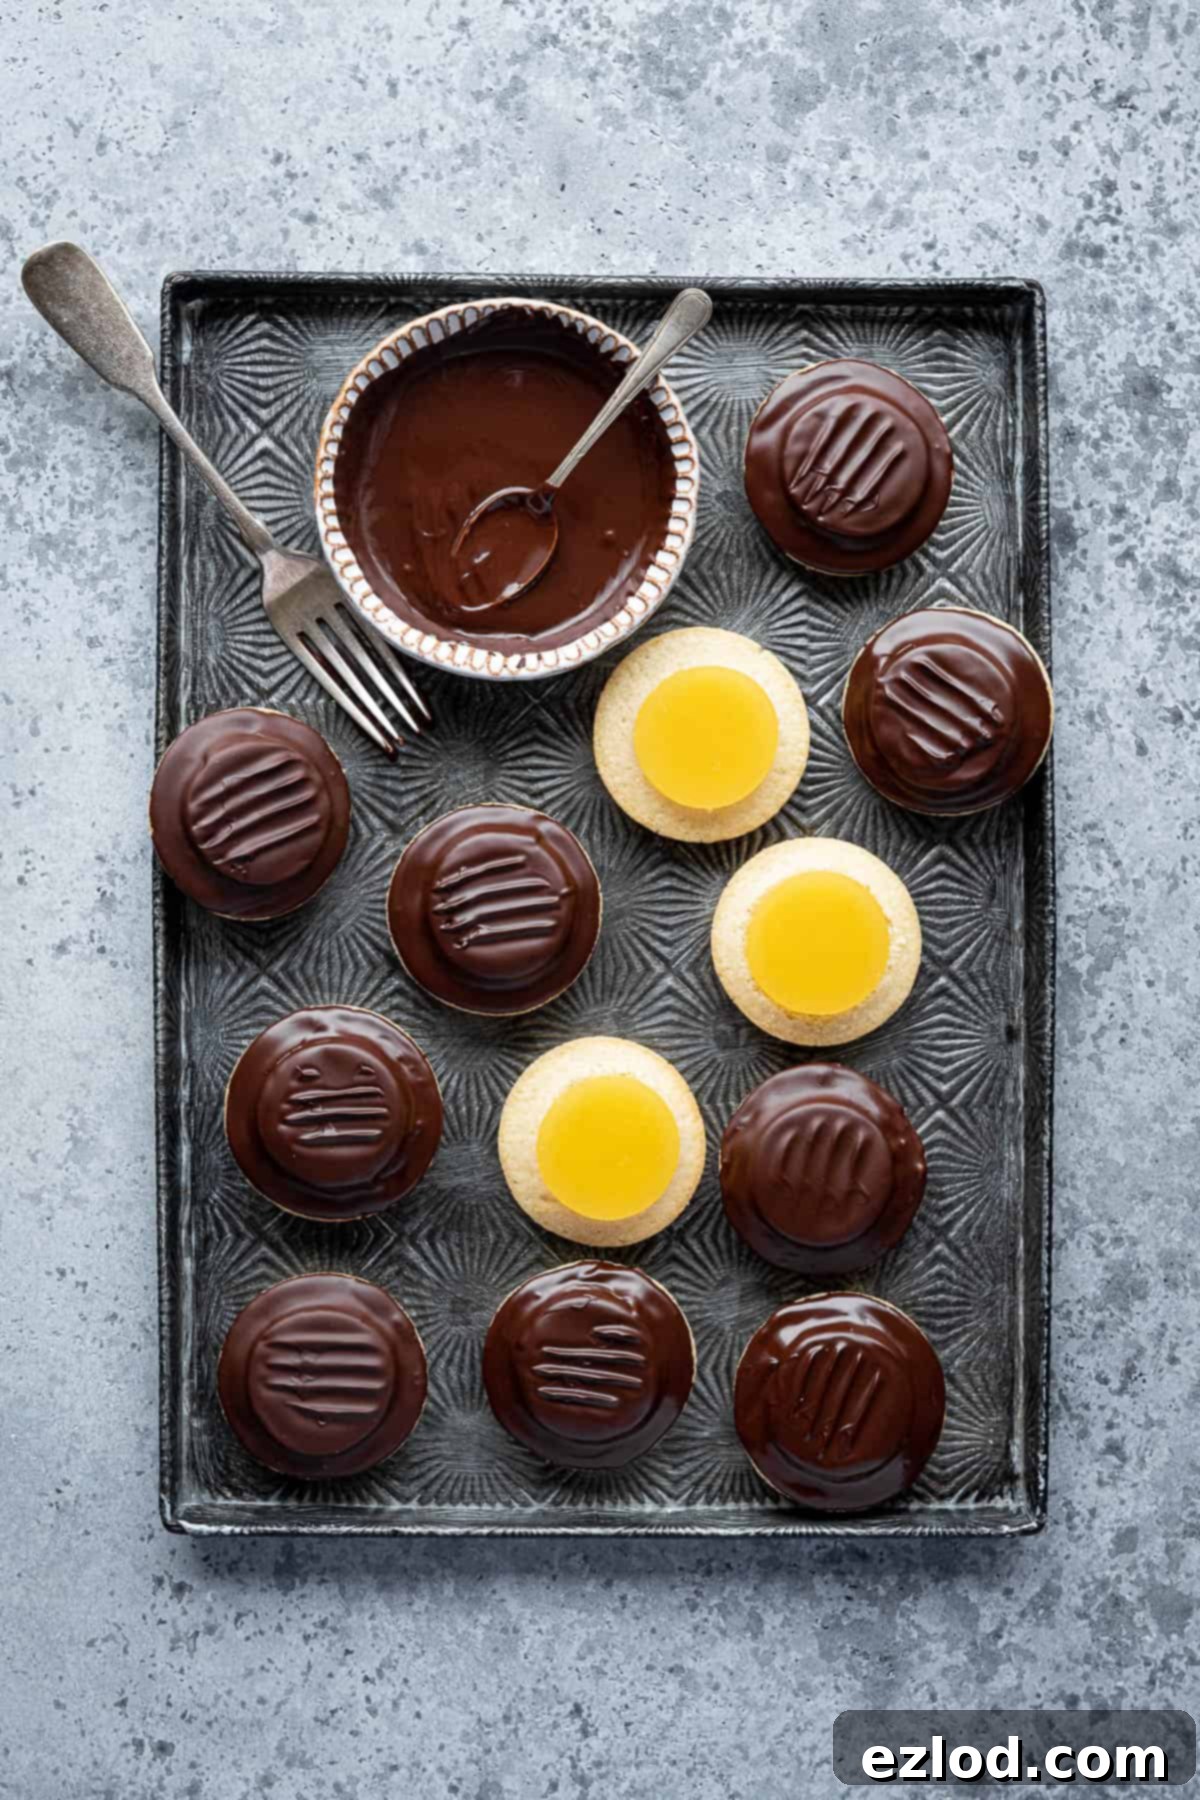
6. Chocolate Coating: Melt your chosen dark chocolate. This can be done in short bursts in the microwave, stirring frequently until smooth, or by placing the chocolate in a heatproof bowl set over a saucepan of gently simmering water (ensuring the bowl does not touch the water). Once melted, use a small teaspoon to carefully spread a little melted chocolate over the top of each cake, making sure the orange jelly is completely enclosed by the chocolate layer. Work quickly but carefully to achieve a smooth finish.
7. Finishing Touch (Optional): For that authentic Jaffa cake look, gently use the back of a fork to make a slight criss-cross or wavy indentation on the top of the still-wet chocolate layer. This step is purely for aesthetics. Finally, allow the chocolate to set completely before serving. You can speed this up by placing the finished Jaffa cakes in the refrigerator for a short period. Once set, they are ready to be enjoyed!
Expert Tips for Perfect Vegan Jaffa Cakes:
Achieving the best results in vegan baking often comes down to precision and a few clever tricks. Here are some top tips to ensure your vegan Jaffa cakes are nothing short of perfect:
- Measure with Precision: All baking recipes, especially vegan ones where the chemistry of ingredients is vital, benefit greatly from precise measurements. My recipes are developed using grams, and I strongly recommend using a digital kitchen scale for all dry ingredients and liquids where possible, rather than relying on cup conversions. Cups can be wildly inaccurate, leading to inconsistent results. A scale ensures far better consistency and often results in less mess too!
- The Right Baking Tin: To achieve the classic Jaffa cake shape, you will need either a 12-hole shallow bun tin or a regular muffin tin. The shallower depressions of a bun tin are ideal, but a muffin tin works well too. Make sure to grease it thoroughly to prevent sticking.
- Alternative to Jelly: If you’re short on time or prefer a different texture, you can replace the homemade orange jelly with a dollop of good quality orange marmalade. Simply place a teaspoon of marmalade on top of each cooled sponge, then pop the cakes into the freezer for about 15 minutes before coating them with chocolate. This helps firm up the marmalade so it doesn’t run when the warm chocolate is applied. While less authentic, it’s a delicious shortcut!
- Maximize Your Batch: The jelly recipe provided makes slightly more than you’ll need for a single batch of 12 Jaffa cakes. If you have more than one muffin or bun tin, consider making 1½ times the sponge recipe to yield 18 Jaffa cakes. This will utilize most of the leftover jelly. Remember to increase your chocolate quantity to 150g if you’re making a larger batch.
- Chocolate Tempering (Optional): For a professional-looking chocolate coating that is smoother, shinier, and less prone to melting at room temperature, you would typically temper the chocolate. This involves a precise heating and cooling process. However, for everyday homemade treats, I personally don’t bother with tempering. Simply melting the chocolate is perfectly fine for delicious results that still look great.
- Ingredient Temperature: For the sponge batter, ensure your non-dairy milk and oil are at room temperature. This helps them combine more smoothly with the dry ingredients, resulting in a more uniform batter and a better rise.
- Agar Agar Setting: Be patient with the jelly setting. While agar agar sets quickly, giving it the full hour (or even slightly longer) in the fridge ensures it’s perfectly firm and easy to handle when cutting.
Storing Your Vegan Jaffa Cakes:
Once your vegan Jaffa cakes are complete and the chocolate has set, proper storage is key to keeping them fresh and delicious.
- Room Temperature Storage: These delightful treats will keep beautifully in an airtight container at room temperature for up to 3 days. There’s no need to store them in the refrigerator unless your kitchen is particularly warm or humid. Refrigeration can sometimes cause the chocolate to bloom (develop a white film) or make the sponge slightly drier, so room temperature is often preferred.
- Freezing for Longer Shelf Life: Vegan Jaffa cakes are also freezer-friendly, making them perfect for meal prep or enjoying later. To freeze, arrange the finished Jaffa cakes in a single layer on a tray (this prevents them from sticking together). Once frozen solid, transfer them to a freezer-safe airtight container or a robust freezer bag. They can be frozen for up to 3 months. When you’re ready to enjoy them, simply allow them to defrost at room temperature for a few hours.
More Classic British Vegan Treats to Explore:
If you’ve enjoyed making these vegan Jaffa cakes, you’ll be thrilled to discover my extensive collection of vegan versions of other cherished British recipes. You can find them all on my dedicated British recipes page. Here is a curated selection of some of my most popular vegan British bakes:
- Vegan Cherry Bakewells: A delightful almond sponge tart with a jam centre, topped with glacé cherries.
- Vegan Belgian Buns: Soft, sweet buns filled with sultanas and topped with a sticky icing and a glacé cherry.
- Vegan Rock Cakes: Rustic, scone-like cakes, famously simple and satisfying.
- Vegan Jam Doughnuts: Perfectly pillowy, sugar-dusted doughnuts with a sweet jam filling.
- Vegan Battenberg Cake: The iconic checkerboard cake, pastel-coloured and almond-flavoured.
- Vegan Welsh Cakes: Traditional griddle cakes, subtly spiced and utterly more-ish.
- Vegan Scones: The cornerstone of a British cream tea, light and fluffy, perfect with jam and vegan cream.
We hope you love this recipe for vegan Jaffa cakes! If you tried this recipe, please let us know how it went by rating it, leaving a comment below, or tagging @domestic_gothess on Instagram and using the hashtag #domesticgothess. Your feedback helps other bakers and is greatly appreciated!
All images and content on Domestic Gothess are copyright protected. If you wish to share this recipe, please do so by utilizing the provided share buttons. Please do not screenshot or repost the recipe or content in full. Instead, kindly include a direct link to this post for the complete recipe. Thank you for respecting intellectual property.

Print
Vegan Jaffa Cakes
Ingredients
Jelly:
- 230 ml (scant cup) orange juice
- ¾ teaspoon agar agar powder (not flakes)
- 1 Tablespoon lemon juice
- 40 g (3 Tablespoons) caster or granulated sugar
Sponge Cakes:
- 75 g (½ cup + 2 Tablespoons) plain (all-purpose) flour
- 5 g (½ Tablespoon) cornflour (cornstarch)
- 1 teaspoon baking powder
- 50 g (¼ cup) caster sugar
- 80 ml (⅓ cup) unsweetened non-dairy milk
- 30 ml (2 Tablespoons) neutral oil (such as sunflower)
- 1 teaspoon orange extract
- 125 g (4 ½ oz) dark chocolate finely chopped
Instructions
-
Start by making the jelly. Line a 20cm/8in square cake tin with baking parchment. Place the agar agar powder in a saucepan and gradually whisk in the orange juice, making sure that there are no lumps.
-
Whisk in the lemon juice and sugar then bring the mixture to a boil. Boil for 1 minute, stirring constantly. Pour the jelly into the tin and refrigerate until set (about 1 hour).
-
Preheat the oven to 180°C/160°C fan/350°F/gas mark 4. Grease a 12 hole bun or muffin tin.
-
Sift together the plain flour, cornflour and baking powder into a bowl. Add the sugar, milk, oil and orange extract and whisk with a balloon whisk until smooth.
-
Divide the batter between the tin, about 1 Tablespoon of batter per hole. Bash the tin on the counter to burst any air bubbles.
-
Bake for 12 minutes until a skewer inserted into the centre of one of the cakes comes out clean.
-
Let the cakes cool in the tin for 5-10 minutes then carefully turn them out onto a wire rack to cool completely.
-
Once the jelly is set, use a 4cm round cutter to cut out circles.
-
Use a sharp serrated knife to trim the tops of the cooled cakes to level them. Place a jelly circle on top of each cake.
-
Melt the chocolate, either in short bursts in the microwave, or in a bowl over a pan of gently simmering water (don’t let the bottom of the bowl touch the water).
-
Use a teaspoon to spread a little melted chocolate over the top of each cake, making sure that the jelly is fully enclosed.
-
Use the back of a fork to gently make an indentation in the top of the chocolate (optional, purely for looks) then leave them to set before serving.
Notes
- See post above for tips, details and step-by-step photos.
- All of my recipes are developed using grams, and as with all of my baking recipes I really do recommend using the metric measurements with a digital scale rather than the cup coversions. Cups are a wildly inaccurate measuring system and you will get far better, more consistent results using a scale, not to mention that it is also easier and less messy than cups!
- The jelly recipe makes more than you will need for the jaffa cakes. If you have more than one muffin or bun tin then you can make 1 ½ times the sponge recipe to make 18 jaffa cakes which will use most of the jelly. Increase the chocolate to 150g if doing this.
- If you want the chocolate to be smoother, shinier and less melty then you will need to temper it. I don’t bother.
- Recipe adapted from Ms. Cupcake, The Naughtiest Vegan Cakes In Town.
