Easy Vegan Coffee Hazelnut Biscotti: Perfectly Crunchy, Nutty & Dipped in Chocolate
Discover the delightful world of homemade vegan biscotti with this incredibly simple and satisfying recipe for coffee hazelnut biscotti. These American-style delights are meticulously crafted to be crunchy yet wonderfully tender, strike the perfect balance of sweetness, and require only a handful of readily available ingredients. Whether you’re a seasoned baker or just starting your plant-based culinary journey, you’ll find these biscotti surprisingly easy to whip up.
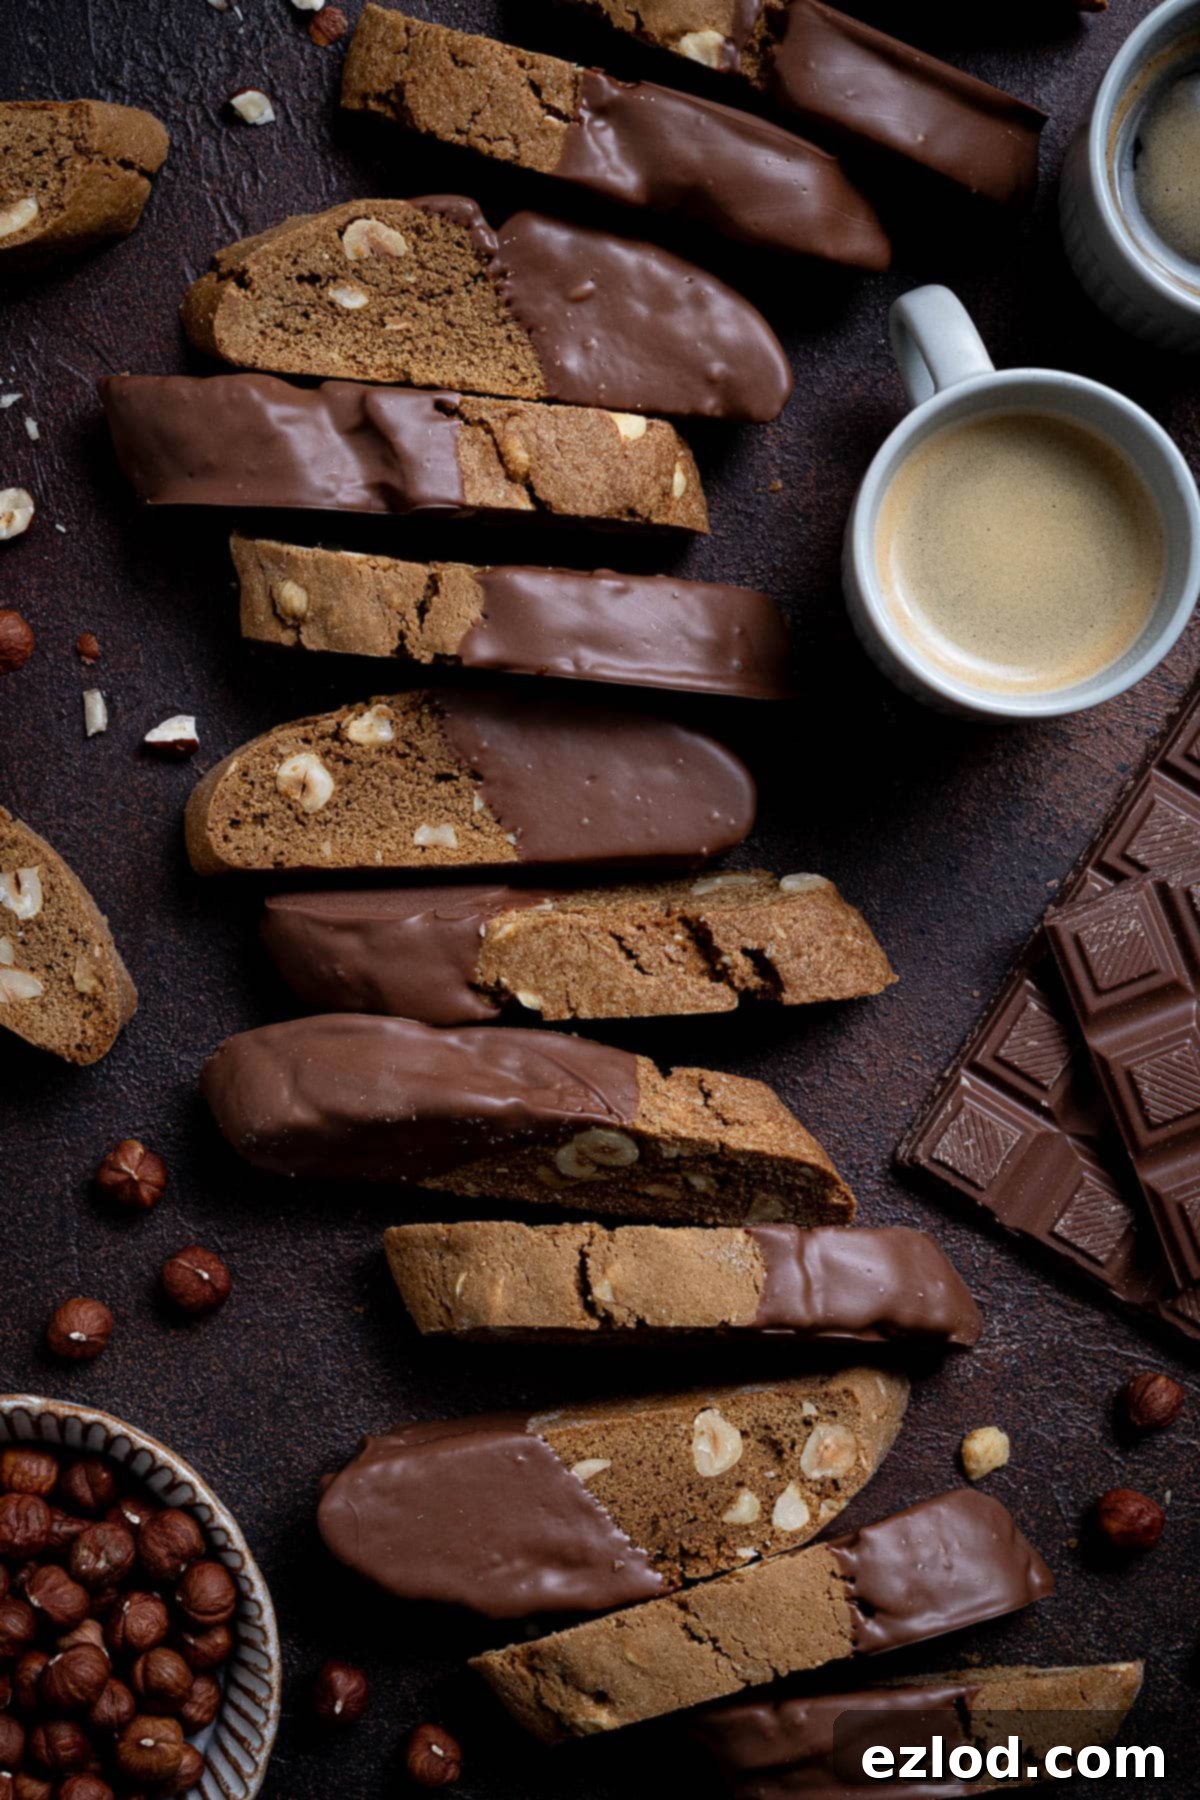
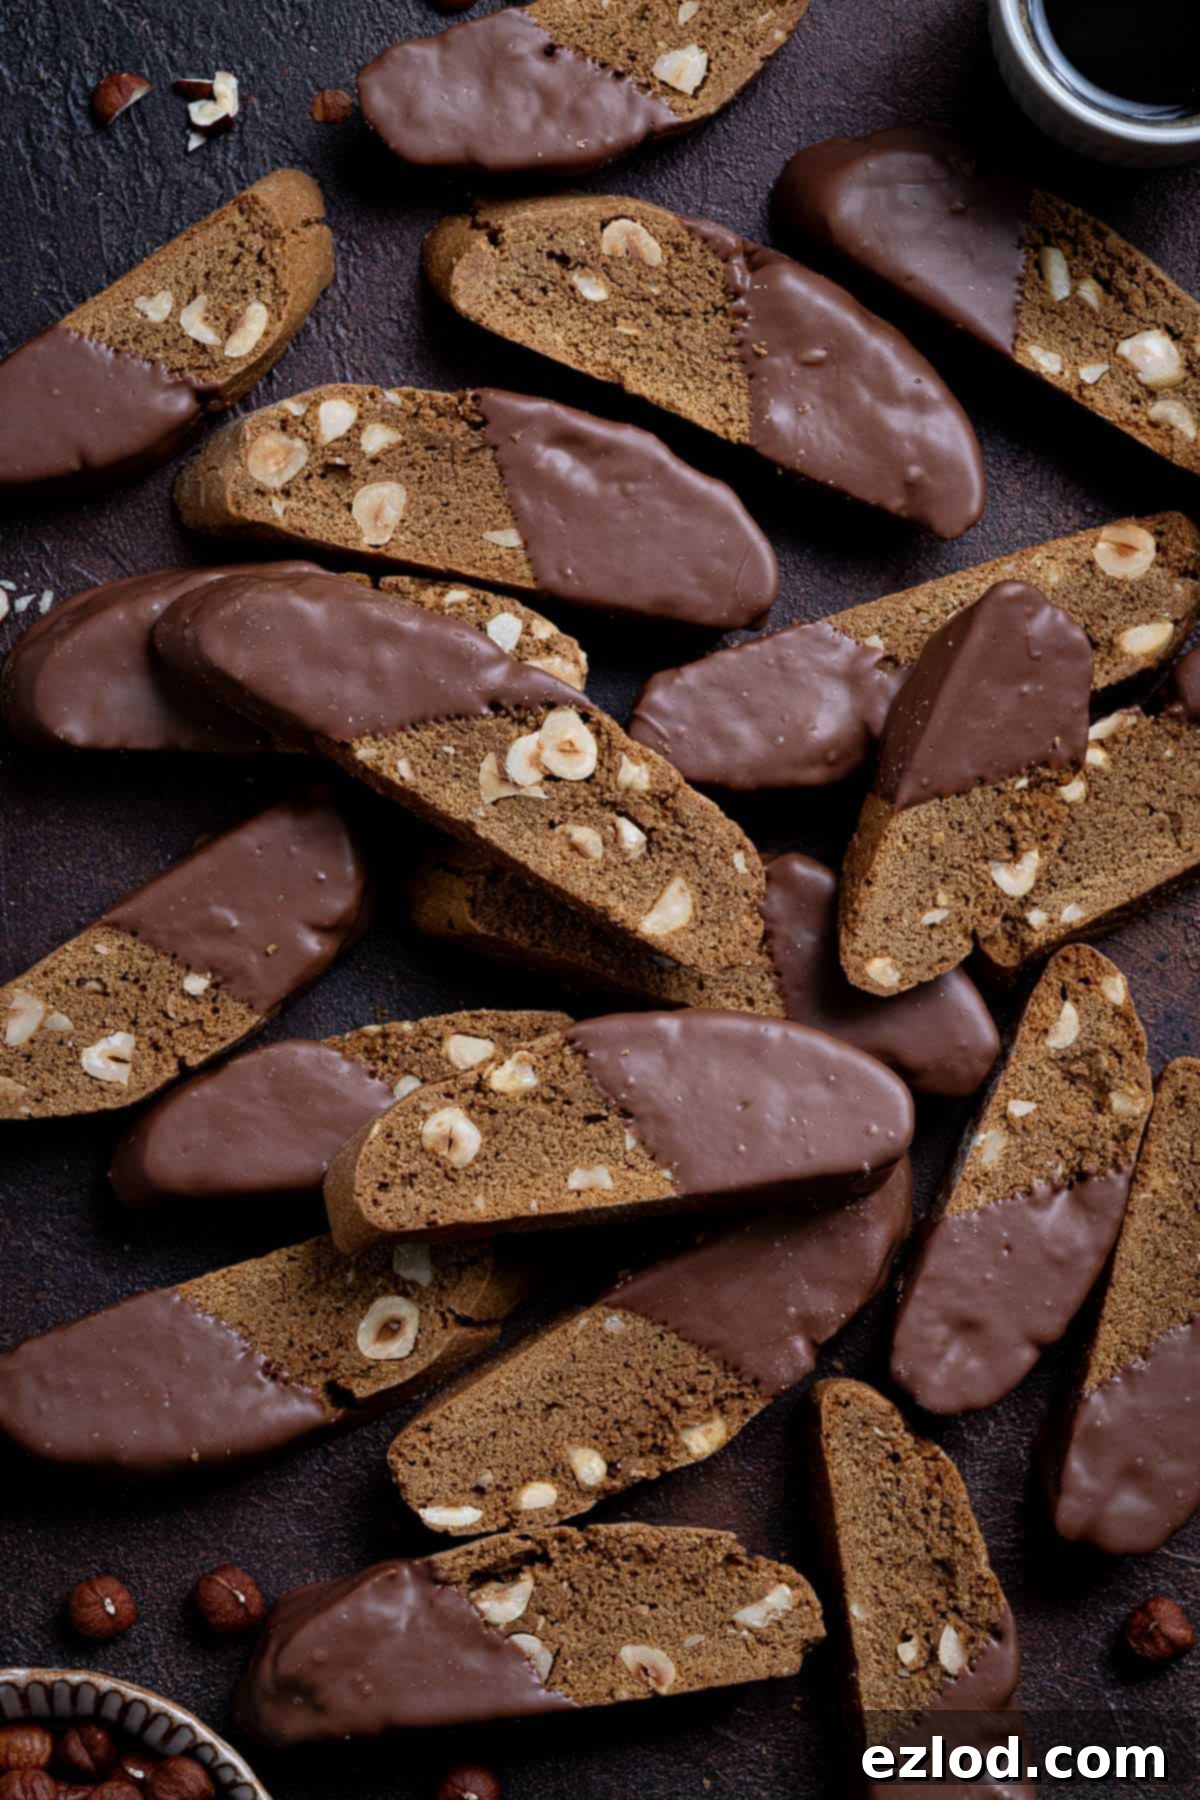
Each biscotto is infused with the rich aroma of espresso, generously packed with toasted hazelnuts, and optionally, but highly recommended, dipped in a luscious layer of melted chocolate. They are truly the quintessential companion to your morning coffee, afternoon tea, or a comforting mug of hot chocolate, elevating your beverage experience to a whole new level.

While biscotti are famously enjoyed *with* coffee, imagine the double delight when the biscotti themselves are bursting with coffee flavor! This recipe takes that concept a step further by harmoniously blending robust espresso with the earthy, warm notes of toasted hazelnuts and the decadent sweetness of chocolate. This trio creates an irresistible flavor profile that appeals to nearly everyone.
These vegan coffee hazelnut biscotti are a fantastic treat to enjoy any time of the year. However, their comforting and inviting flavors make them especially perfect for the crisp air of Autumn, and they would undoubtedly be a welcome addition to any festive gathering during the Christmas season, bringing warmth and joy to your holiday table.
What Exactly Are Biscotti? Understanding the Beloved Twice-Baked Cookie
The term “biscotti” is simply the Italian word for biscuits or cookies, literally translating to “twice-baked.” This unique double-baking process is what gives them their signature crisp texture and extended shelf life. However, what most people in the UK and US recognize as biscotti are technically known as cantucci (or cantuccini if they are smaller), or sometimes biscotti di Prato, as they originated in the picturesque city of Prato in Tuscany, Italy.
Traditional Italian cantucci are typically very hard and dense, primarily because they are made without the addition of any butter or oil, relying only on the fat present in egg yolks. This lack of added fat ensures a remarkably long shelf life and contributes to their distinctly dry and crunchy texture. They are traditionally served alongside a glass of sweet Vin Santo dessert wine or a shot of strong espresso, into which they are dipped to soften them sufficiently for comfortable eating without risking a chipped tooth!
American-style biscotti, like the ones in this recipe, adopt the core principle of being baked as a log, then sliced into individual fingers, and baked a second time to achieve that desirable crunchy exterior. However, they diverge from their Italian cousins by typically incorporating butter or oil into the dough. This crucial addition results in a lighter, more tender interior that is crunchy on the outside but pleasantly chewy in the middle. This softer texture means they can be enjoyed straight out of hand without needing to be dunked, though of course, dipping them into your favorite beverage remains a delightful option!
Our coffee hazelnut biscotti proudly fall into the American-style category, offering a delightful balance of crunch and tenderness. To make them entirely vegan, we’ve thoughtfully replaced traditional butter with a neutral olive oil and swapped out eggs for a creamy hazelnut milk, which not only ensures a plant-based treat but also subtly enhances the rich hazelnut flavor.
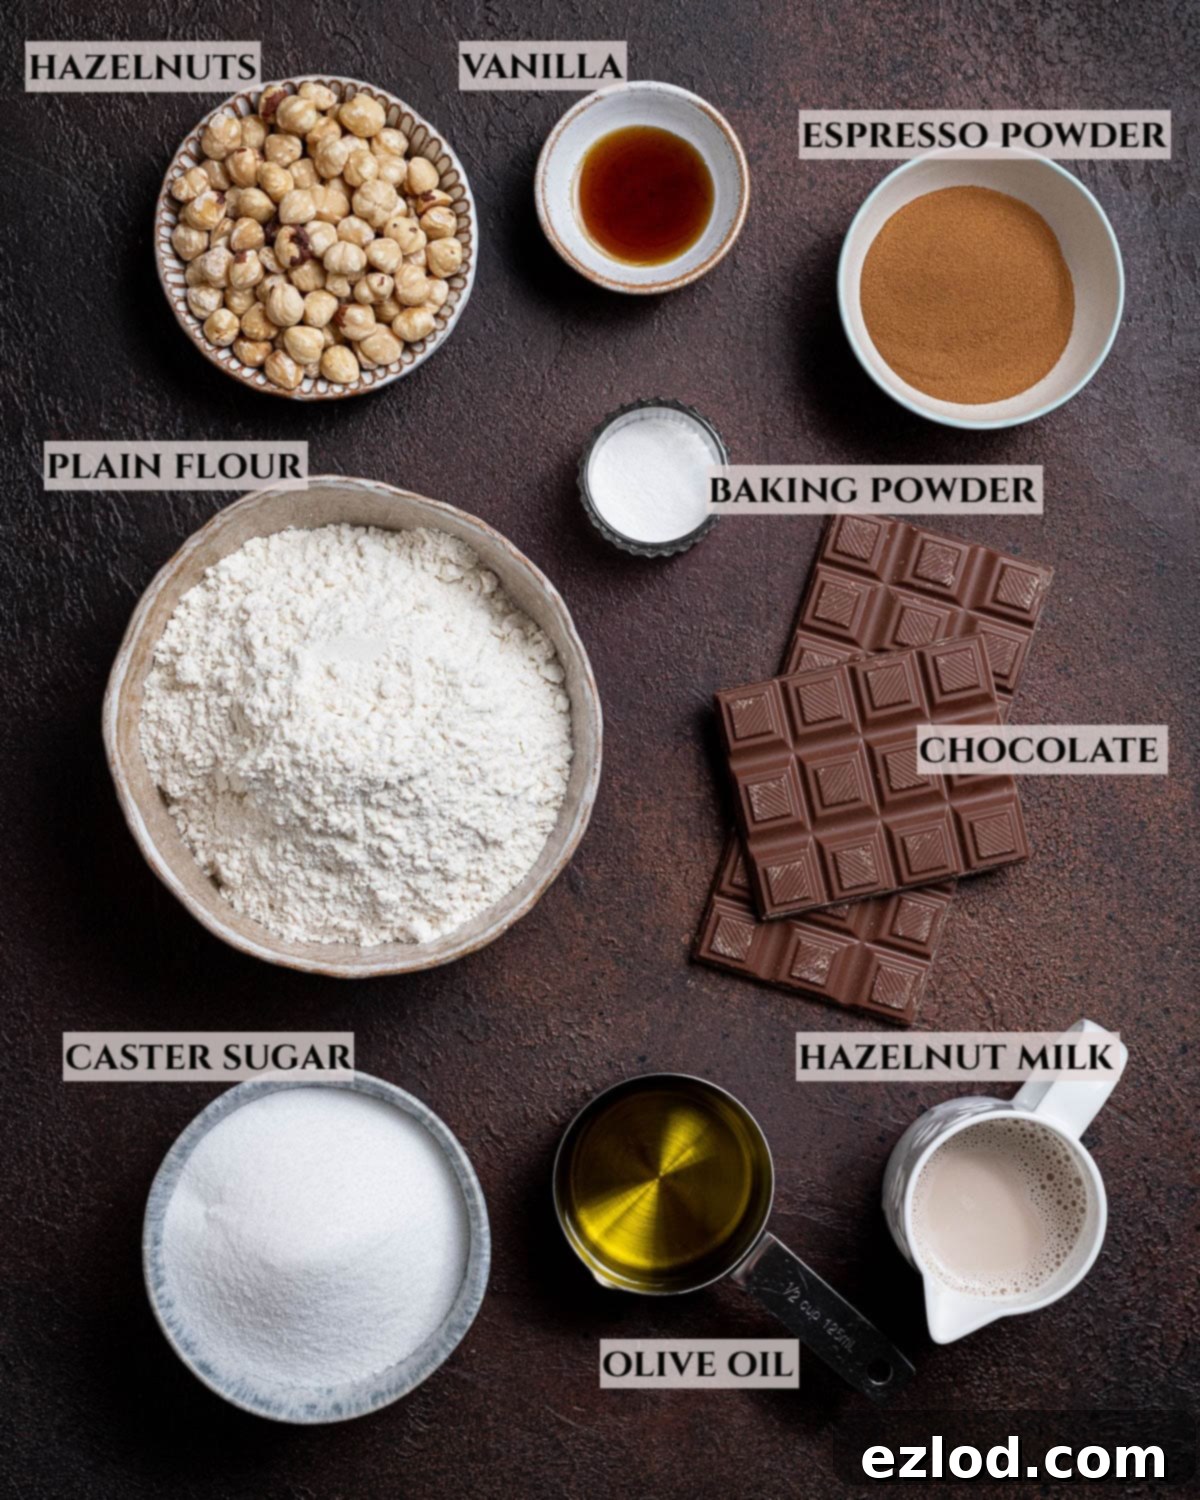
Ingredient Spotlight: Crafting Your Vegan Biscotti
Creating perfect vegan coffee hazelnut biscotti starts with understanding each ingredient and its role. Here’s a closer look at what you’ll need and why:
- Instant Espresso Powder: This is the secret to that deep coffee flavor. I highly recommend using instant espresso powder over regular instant coffee granules because it dissolves much more easily into the wet ingredients, ensuring an even distribution of flavor without any gritty bits. However, if instant espresso powder isn’t available, instant coffee granules can be used; just ensure they are finely ground and dissolved thoroughly. Alternatively, for a liquid coffee extract, such as Camp coffee extract, you would need to slightly reduce the amount of plant milk in the recipe to maintain the correct dough consistency. For a bolder coffee punch, feel free to increase the amount to 4 tablespoons.
- Hazelnuts: These nuts are key to the biscotti’s nutty depth. I typically use roasted and skinned hazelnuts for convenience and enhanced flavor, as roasting brings out their natural sweetness and aroma. However, unroasted hazelnuts will also work beautifully, just ensure they are roughly chopped. If you’re not a fan of hazelnuts or want to experiment, feel free to substitute them with other nuts like almonds or walnuts. For a chocolate lover’s twist, you could even swap them entirely for chocolate chips, creating a double chocolate coffee biscotti.
- Flour: Plain (all-purpose) flour is the foundation of these biscotti. Its moderate protein content provides the perfect structure. I have not yet tested this recipe with gluten-free flour blends, so I cannot guarantee the same results for a gluten-free version. If attempting a gluten-free substitution, choose a reliable all-purpose gluten-free blend designed for baking.
- Oil: Any neutral-flavored oil will work wonderfully in this recipe, helping to create the tender interior of our American-style biscotti. I prefer using olive oil for its subtle fruitiness that complements the other flavors, but sunflower, vegetable, or canola oil are excellent neutral alternatives. For those who prefer a more buttery taste, melted vegan block butter or even melted coconut oil (ensure it’s refined if you want to avoid a coconut flavor) can be used as direct substitutes.
- Milk: This recipe is incredibly versatile and will work with virtually any non-dairy milk, making it accessible to various dietary preferences. Almond, soy, or oat milk are all great choices. However, for an extra layer of hazelnut richness that truly amps up the flavor profile, I specifically recommend using hazelnut milk. It creates a cohesive and deeply flavored biscotto that you’ll adore. Just be sure to avoid canned coconut milk, as its high fat content can drastically alter the texture of the dough.
- Baking Powder: This leavening agent is crucial for giving the biscotti their slight rise and contributing to their tender crumb. It’s important not to confuse baking powder with baking soda; they are not interchangeable in this recipe, as they react differently and require different acidic components to activate properly.
- Caster Sugar: Both caster sugar (fine granulated sugar) and regular granulated sugar work well here, providing the necessary sweetness and contributing to the biscotti’s crisp texture. If you opt for light brown soft sugar, be aware that it may result in a slightly softer-textured biscotti due to its molasses content, which can retain more moisture.
- Chocolate: While entirely optional, dipping these biscotti in melted chocolate is a highly recommended step that takes them from delicious to utterly divine. The rich bitterness of dark chocolate or the creamy sweetness of vegan milk chocolate pairs exceptionally well with both the coffee and hazelnut flavors, creating a truly irresistible treat. Finely chop your chosen chocolate to ensure it melts smoothly for dipping.
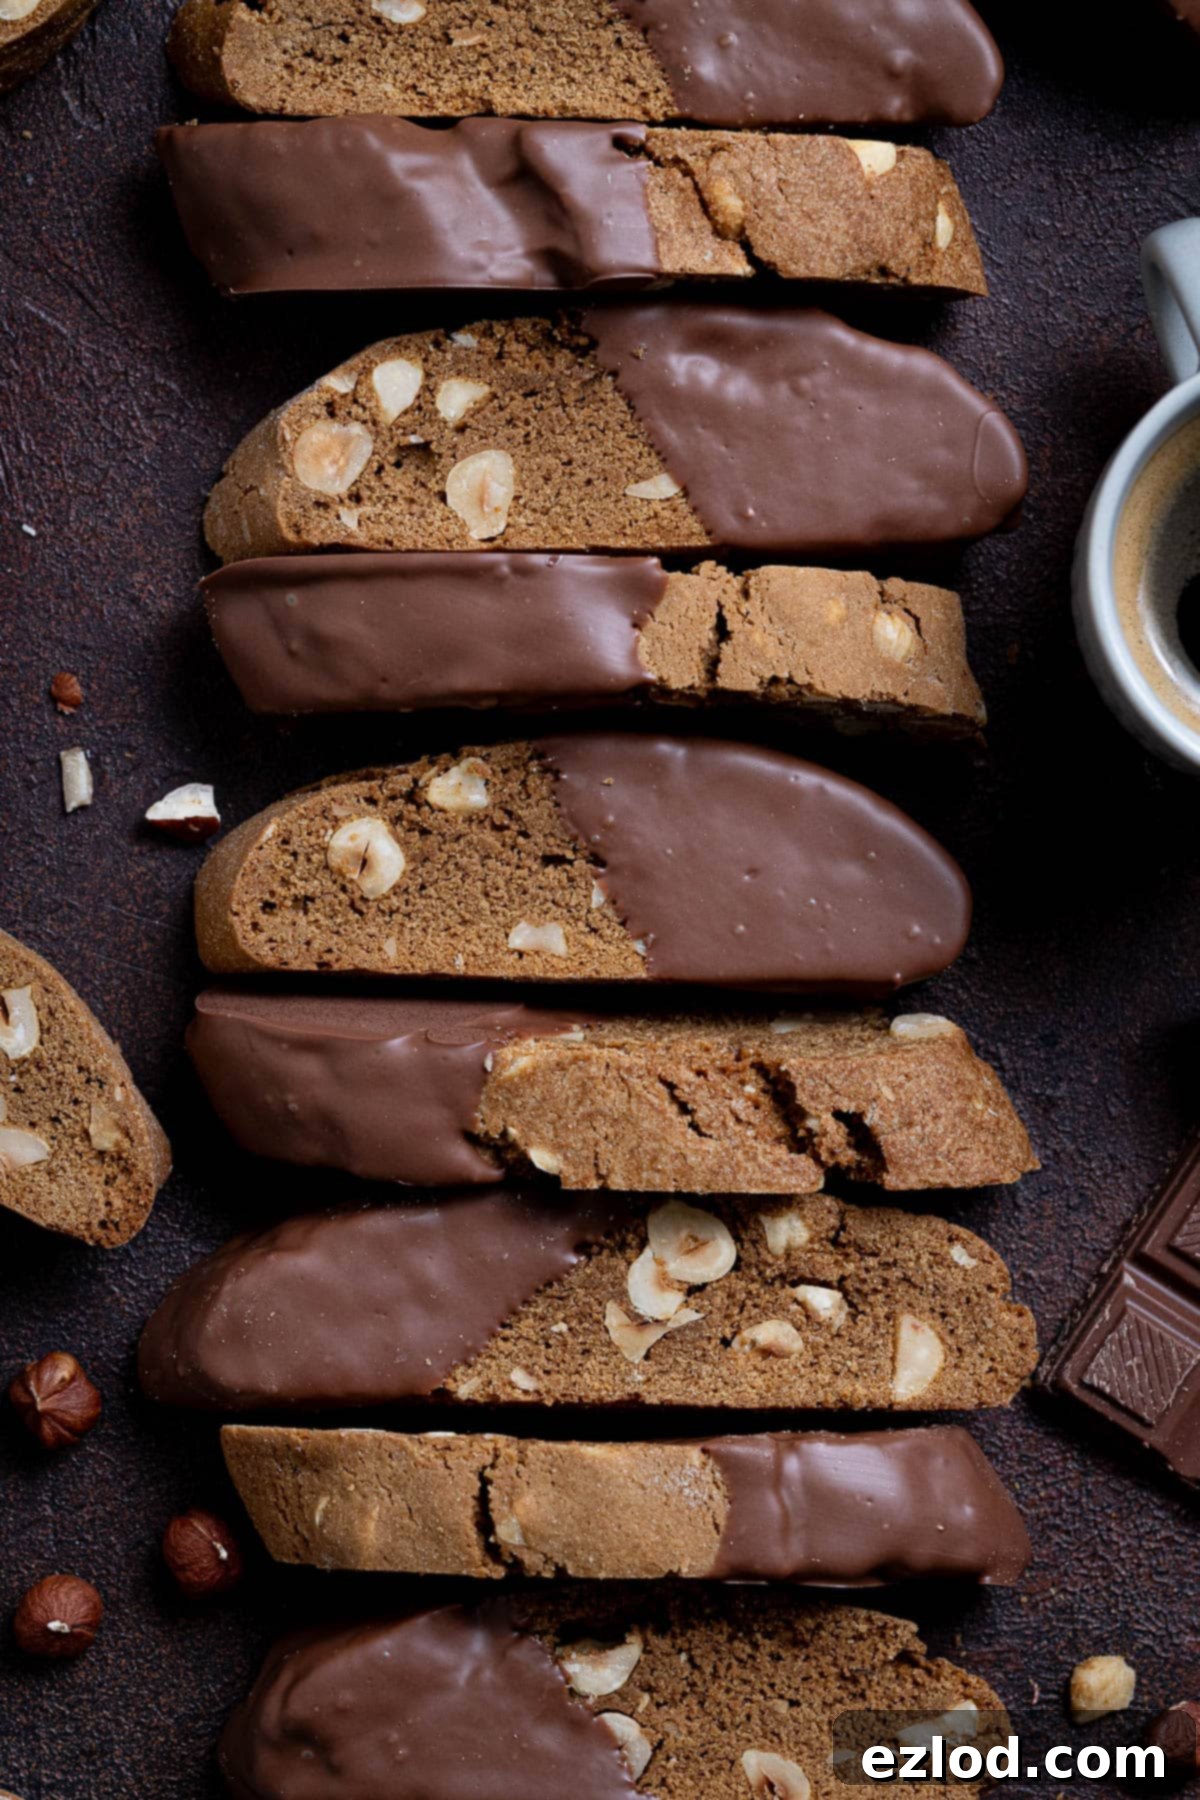
How To Make Vegan Coffee Hazelnut Biscotti: A Step-by-Step Guide
(Full measurements and detailed instructions can be found in the recipe card at the bottom of the page)
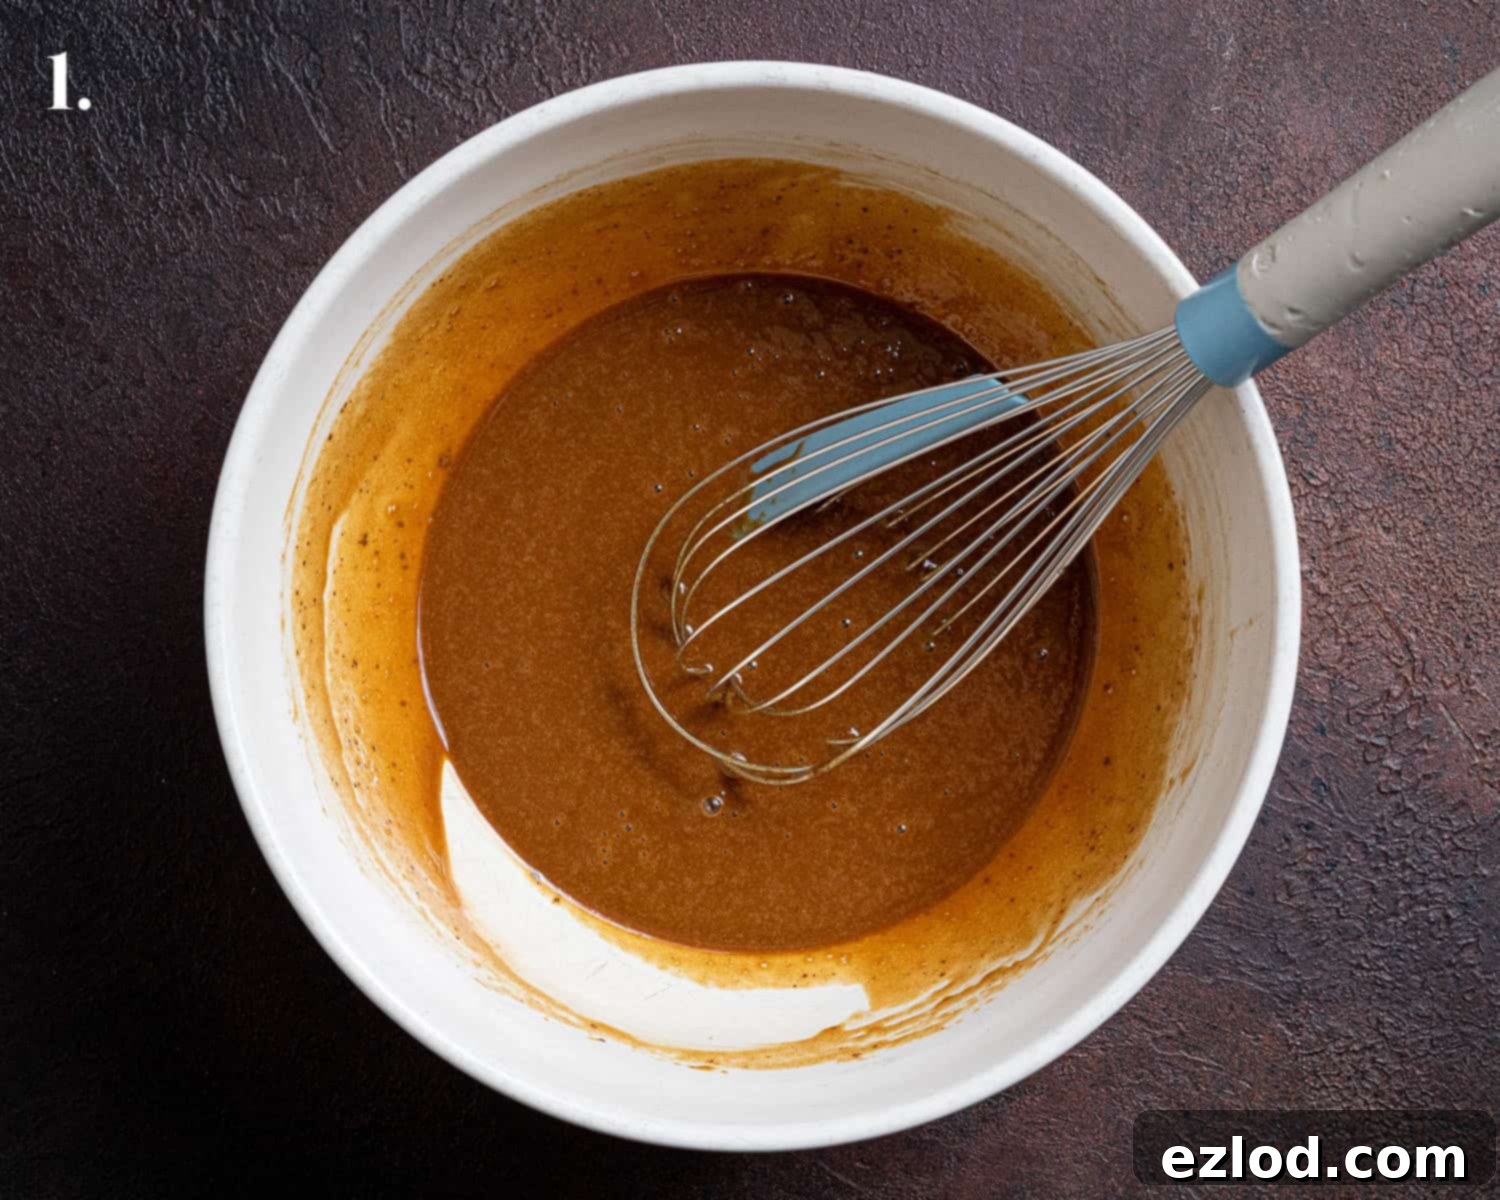
- Step 1: Combine Wet Ingredients. In a spacious mixing bowl, whisk together the olive oil (or your chosen neutral oil), hazelnut milk, caster sugar, instant espresso powder, and vanilla extract until the sugar has largely dissolved and the mixture is well combined. The espresso powder should dissolve seamlessly, imparting a rich coffee hue.
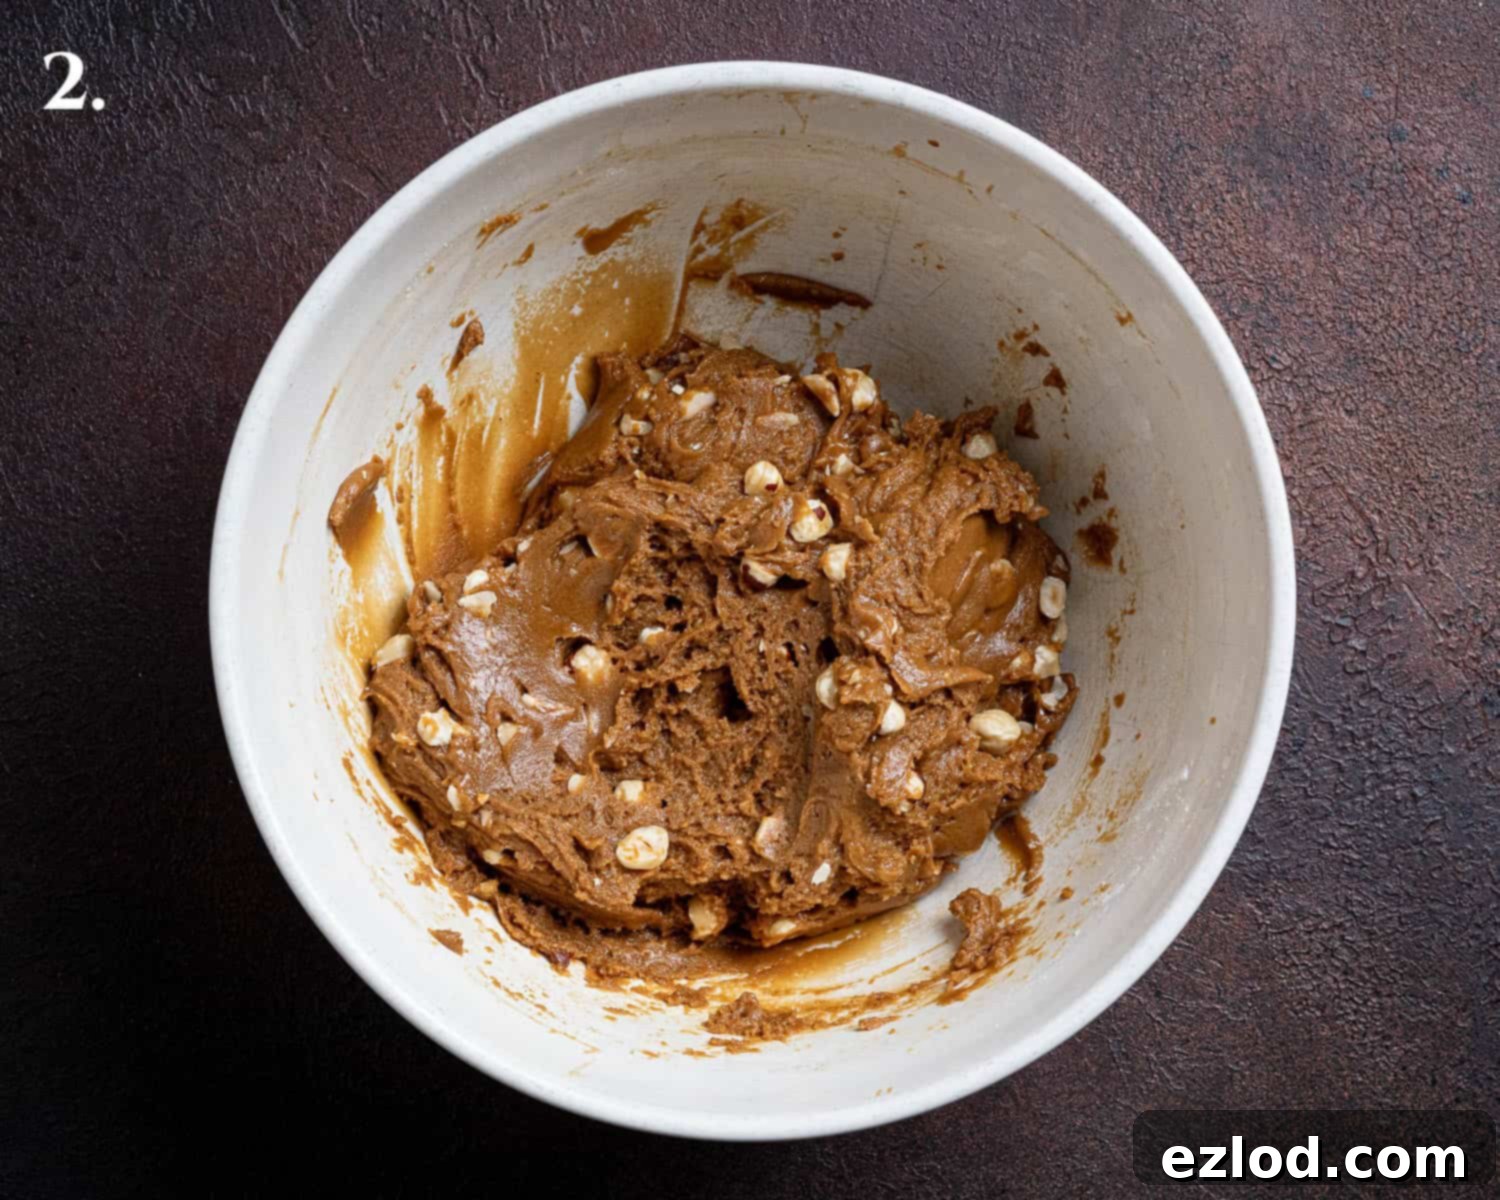
- Step 2: Add Dry Ingredients & Hazelnuts. Into the wet mixture, whisk in the baking powder and salt. Then, gradually add the plain flour, stirring gently until a soft and slightly sticky dough forms. Avoid overmixing, as this can lead to tough biscotti. If your dough feels excessively wet rather than merely sticky, you may add up to an additional 25g of flour, one tablespoon at a time, until the desired consistency is reached. Finally, fold in the roughly chopped hazelnuts, ensuring they are evenly distributed throughout the dough.
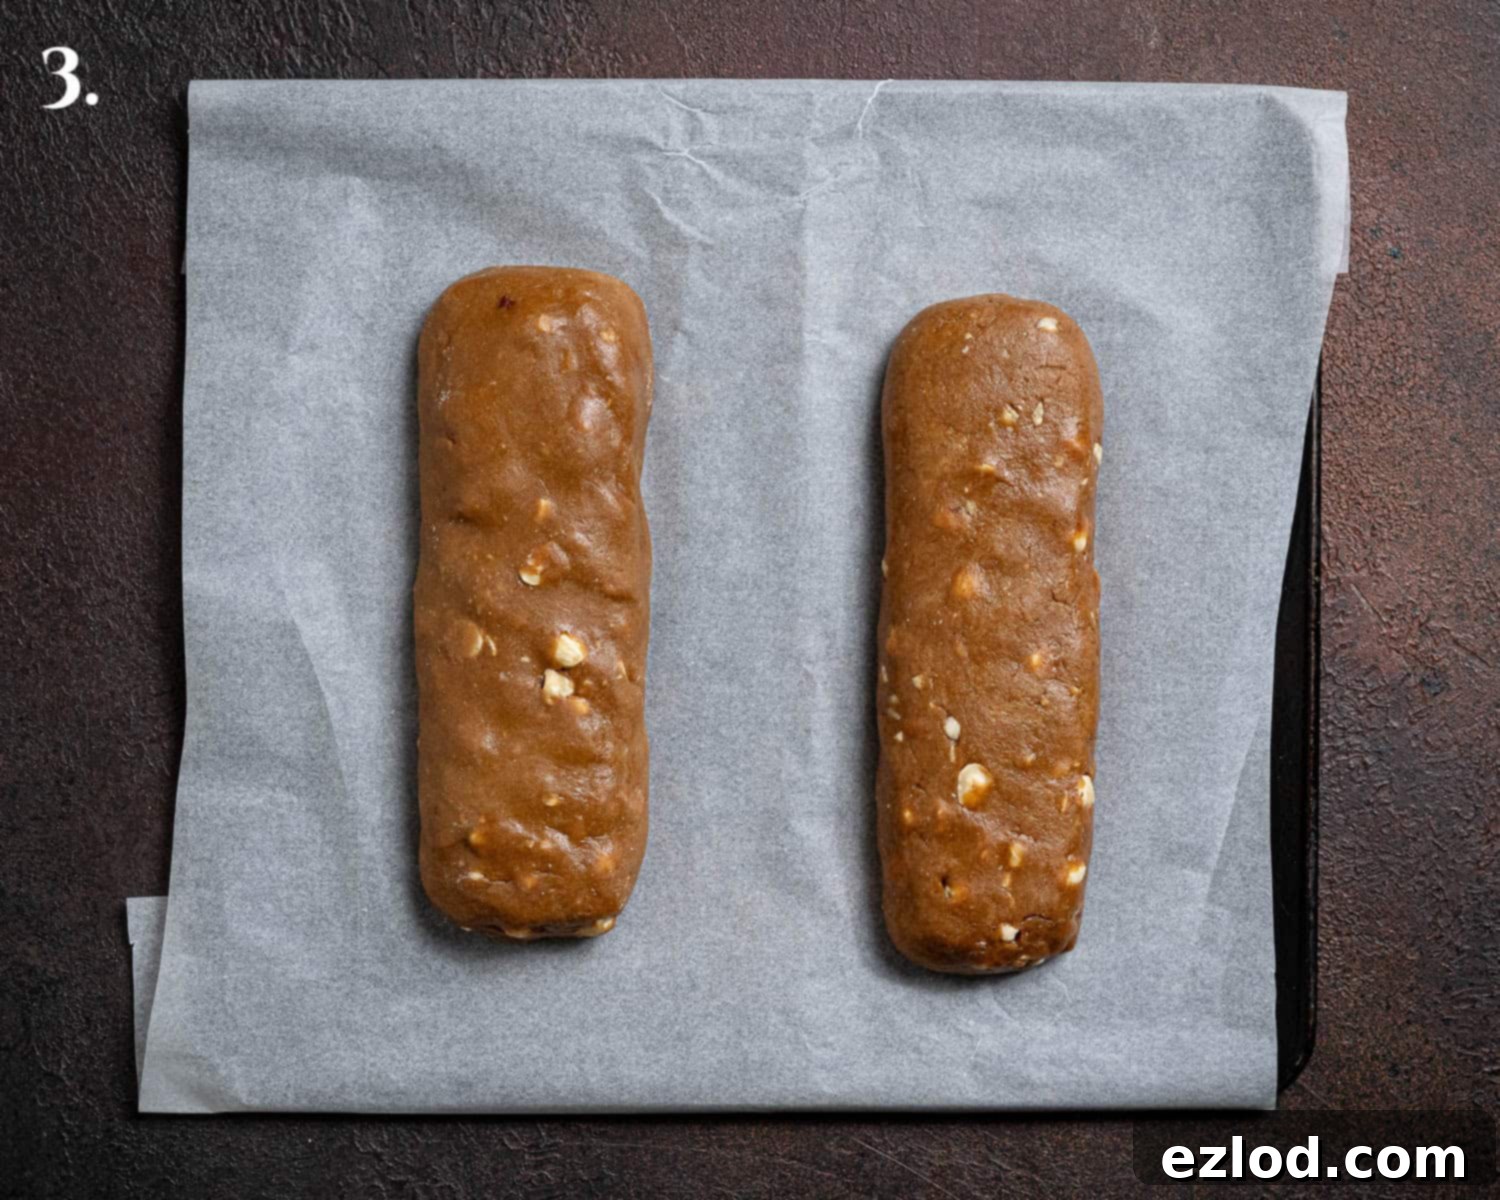
- Step 3: Shape the Dough Logs. Lightly flour your hands to prevent sticking. Divide the dough into two equal portions. Gently shape each portion into a log, approximately 6cm (2.5 inches) wide and 18cm (7 inches) long. Place these logs onto a baking sheet lined with parchment paper, ensuring they are well-spaced to allow for expansion. Use your hands to slightly flatten the tops and square off the edges of each log for a neater biscotti shape.
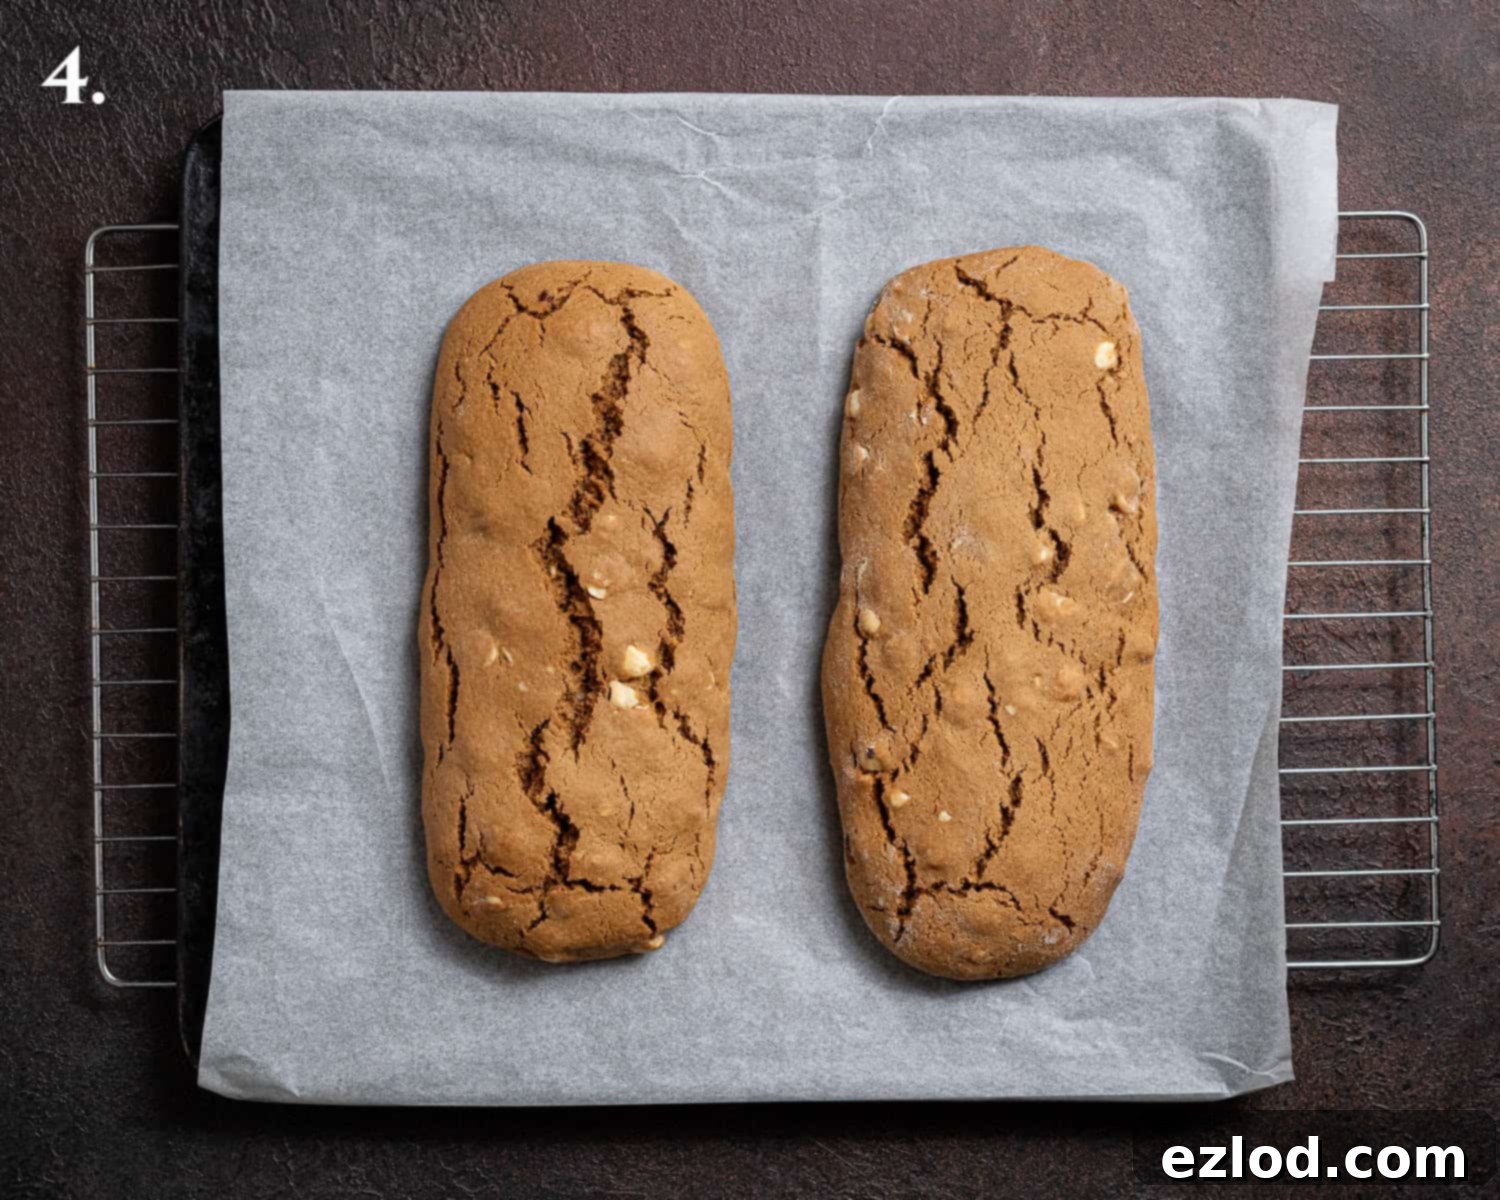
- Step 4: First Bake. Bake the dough logs in a preheated oven (180°C/160°C fan/350°F/gas mark 4) for approximately 35 minutes. They should appear lightly golden and be firm to the touch. This initial bake sets the shape and begins the drying process.
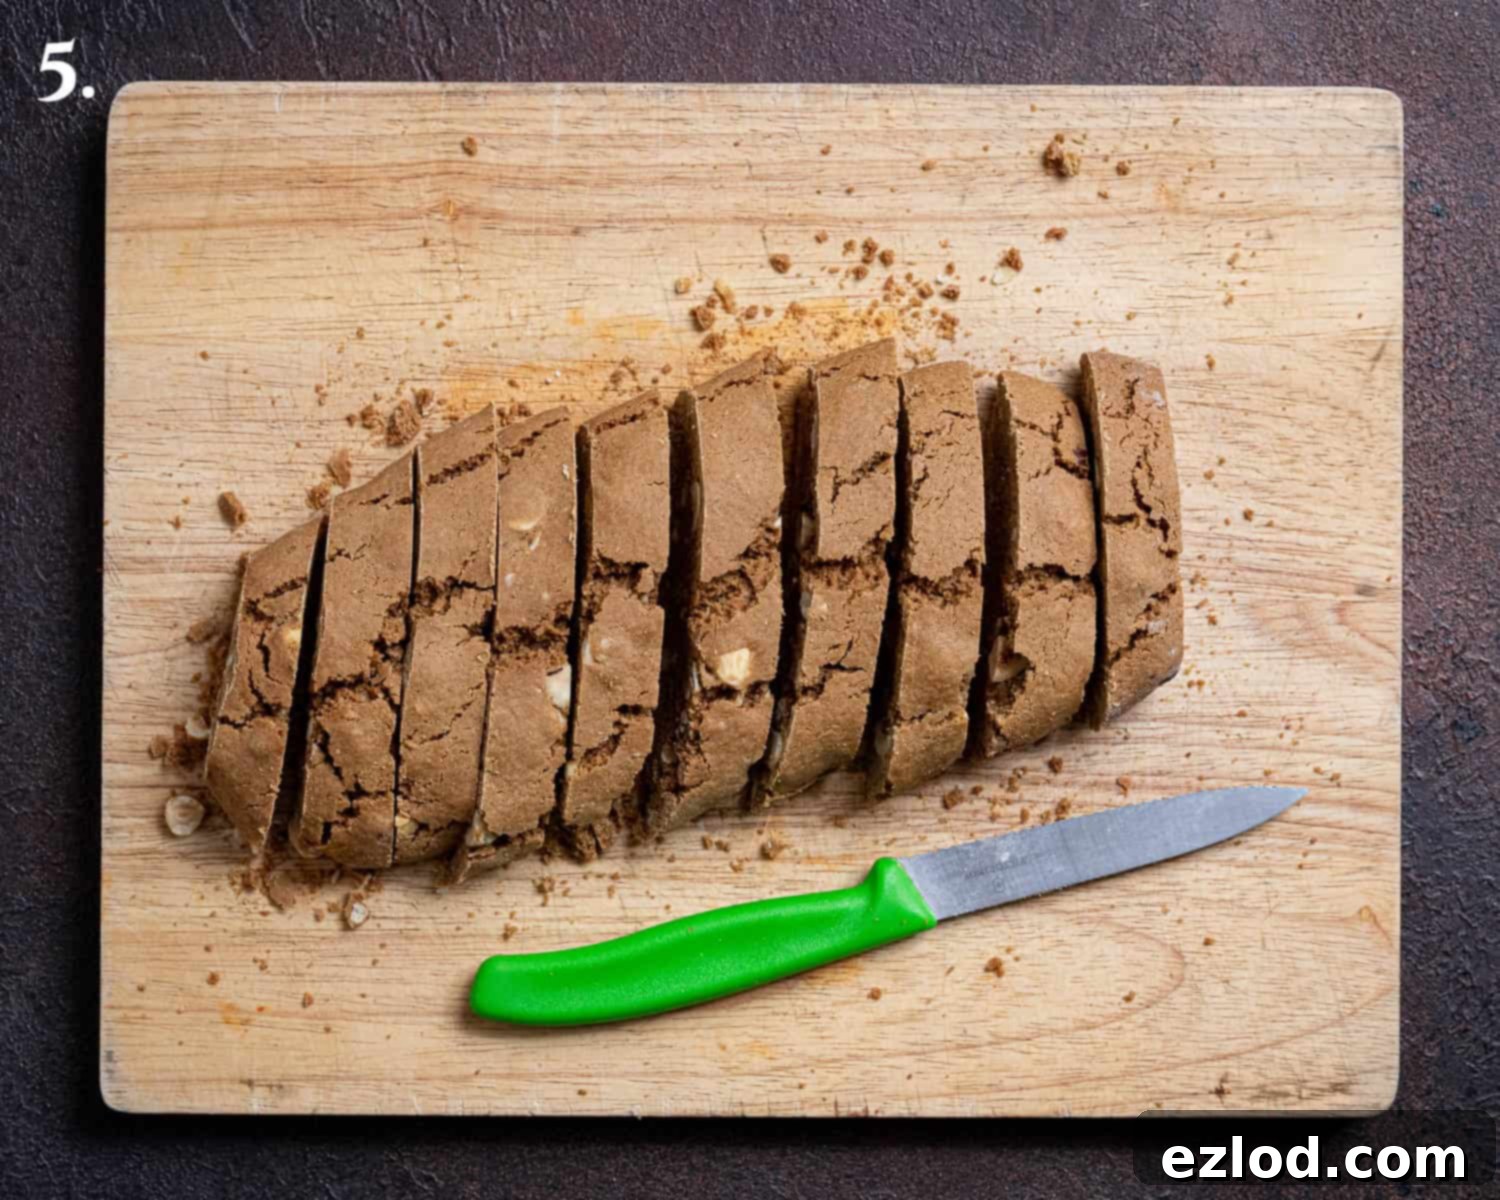
- Step 5: Cool & Slice. Carefully remove the baked logs from the oven and transfer them to a wire rack to cool for precisely 20 minutes. This cooling period is crucial; the logs need to be cool enough to handle but still warm enough to slice without crumbling excessively. Using a very sharp serrated knife, ideally one with a narrow blade, slice the logs diagonally into pieces about 1.5 cm (½ to ¾ inch) thick. Use a gentle “sawing” motion rather than pressing down hard to minimize crumbling.
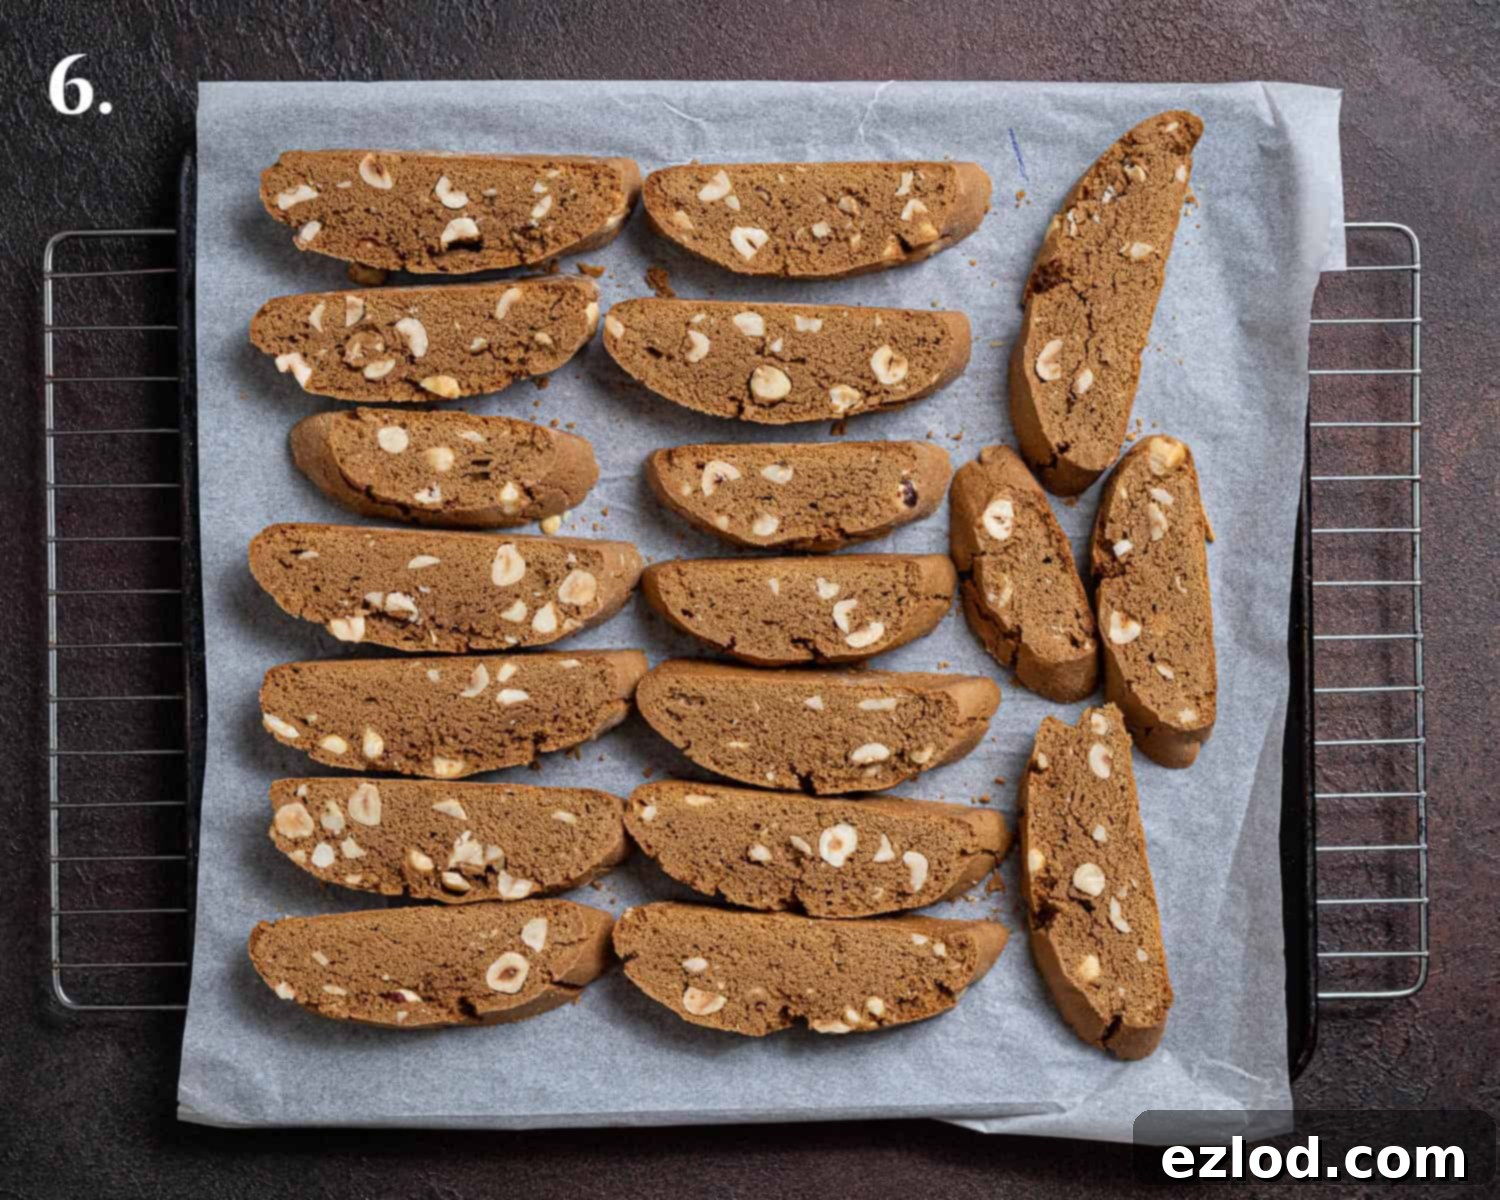
- Step 6: Second Bake for Crispness. Reduce the oven temperature to 160°C/140°C fan/325°F/gas mark 3. Arrange the sliced biscotti cut-side down on the same parchment-lined baking sheet. Return them to the oven and bake for 10 minutes. Then, flip each biscotto over and bake for another 10 minutes. They should look dry and feel firm. For extra crispy biscotti, you can extend this second bake by an additional 5-10 minutes. Once baked to your desired crispness, remove them from the oven and transfer them to a wire rack to cool completely. They will continue to firm up as they cool.
Top Tips for Perfect Vegan Coffee Hazelnut Biscotti
Achieving bakery-quality biscotti at home is entirely possible with a few insider tricks:
- Precision is Key: Use a Digital Scale! As with all my baking recipes, I cannot stress enough the importance of using metric measurements with a digital kitchen scale instead of cup conversions. Cups are notoriously inaccurate and inconsistent, leading to varying results. A scale ensures precise ingredient ratios, giving you far better, more consistent, and ultimately more delicious results every single time. It also makes for a cleaner baking experience!
- Standard Spoon Measurements: When the recipe calls for tablespoons (15ml) and teaspoons (5ml), these refer to standard measuring spoons, not your everyday kitchen cutlery. Using correct measuring spoons is crucial for balanced flavors and proper dough consistency.
- Hazelnut Substitutions: While hazelnuts are fantastic in this recipe, feel free to get creative! You can easily swap them for an equal amount of chopped almonds, walnuts, or pecans. For a truly decadent treat, replace some or all of the hazelnuts with vegan chocolate chips or chopped dark chocolate.
- Adjusting Coffee Flavor: This recipe delivers a delightful, mild coffee flavor. If you’re a true coffee aficionado and crave a stronger, more intense kick, simply increase the instant espresso powder to 4 tablespoons. Feel free to adjust to your personal preference!
- Tailor Your Texture: Do you prefer your biscotti slightly softer with a chewier center? Reduce the second baking time by 5-10 minutes. For those who adore a truly super crunchy, almost rock-hard biscotti perfect for serious dunking, you can increase the second bake time by an extra 5-10 minutes. Keep a close eye on them to prevent burning.
- Customizing Biscotti Size: The shape of your logs dictates the final size of your biscotti. For smaller, daintier biscotti, shape the dough into longer, thinner logs and slice them straight across. If you prefer larger, more substantial biscotti, create shorter, fatter logs and slice them at a more acute angle to maximize their length.
- Avoid Overmixing the Dough: Once the flour is added, mix just until the ingredients are combined and a soft dough forms. Overmixing develops gluten too much, which can result in tough, dense biscotti instead of the desired tender-crisp texture.
- Pre-Toast Hazelnuts (Optional): If using raw hazelnuts, lightly toasting them in a dry pan or in the oven for a few minutes before adding them to the dough will significantly enhance their flavor and aroma, adding another layer of deliciousness to your biscotti.
Frequently Asked Questions (FAQ’s)
How do I slice the biscotti logs without them crumbling?
Slicing biscotti neatly can be one of the trickiest parts of the process, whether they are vegan or not, and a few crumbles are almost inevitable. Don’t be discouraged – practice makes perfect! The key is timing and technique. Make sure you allow the logs to cool for the recommended 20 minutes before slicing. They need to be firm enough to handle but still warm, which helps prevent excessive breakage. If they cool too much, they become very brittle. You absolutely need an incredibly sharp serrated knife, preferably with a thin blade. Instead of pressing down hard, use a gentle, back-and-forth “sawing” motion to carefully cut through the crust. If you’re still struggling, a little trick is to lightly spray the crusts of the logs with a fine mist of water and let it sit for a minute or two before slicing. This can help soften the crust just enough to make cutting easier.
How should I store these vegan biscotti to keep them fresh?
To maintain their optimal crunch and freshness, store your cooled vegan coffee hazelnut biscotti in an airtight container at room temperature. A cookie tin or a glass jar with a tight-fitting lid works perfectly. Stored correctly, they should remain wonderfully fresh and delicious for at least a couple of weeks, making them ideal for meal prep or gifting. If you live in a humid environment, ensure the container is extra sealed to protect them from moisture.
Can I freeze vegan biscotti?
Yes, you can absolutely freeze biscotti! They freeze exceptionally well. Once they are completely cooled (and dipped in chocolate, if desired), place them in a single layer on a baking sheet and freeze until solid. Then, transfer the frozen biscotti to a freezer-safe airtight container or a heavy-duty freezer bag, layering them with parchment paper to prevent sticking. They can be frozen for up to 2-3 months. To enjoy, simply thaw them at room temperature for an hour or two, or briefly warm them in a low oven for a few minutes to restore their crispness.
More Vegan Biscotti Recipes to Explore:
- Vegan Pumpkin Biscotti
- Vegan Gingerbread Biscotti
- Vegan Chocolate Pistachio Biscotti
- Vegan Biscotti With Almonds And Cranberries
Stay in touch with me through social media @ Instagram, Pinterest and Facebook, and subscribe via email to get all our latest recipes!
All images and content on Domestic Gothess are copyright protected. If you want to share this recipe then please do so by using the share buttons provided. Do not screenshot or post the recipe or content in full, instead include a link to this post for the recipe.

Print Recipe
Coffee Hazelnut Biscotti (Vegan)
These American-style vegan coffee hazelnut biscotti are crunchy yet tender, not too sweet and very easy to make with simple ingredients.
Ingredients
- 74 g (⅓ cup) olive oil (or another kind of oil such as sunflower/vegetable)
- 90 g (6 tablespoons) hazelnut milk (or another plant milk)
- 150 g (¾ cup) caster or granulated sugar
- 3 Tablespoons instant espresso powder
- 1 teaspoon vanilla extract
- 1 ½ teaspoons baking powder
- ½ teaspoon salt
- 300 g (2 ½ cups) plain (all-purpose) flour
- 100 g (¾ cup) hazelnuts (roughly chopped)
- 200 g (7 oz) dark chocolate or vegan milk chocolate (finely chopped, optional for dipping)
Instructions
- Preheat the oven to 180°C/160°C fan/350°F/gas mark 4. Line a baking sheet with baking parchment.
- Whisk together the oil, milk, sugar, espresso powder and vanilla extract in a large bowl.
- Whisk in the baking powder and salt then stir in the flour to form a softish sticky dough. If it is wet rather than sticky you can add up to an extra 25g of flour.
- Add the hazelnuts and stir until they are well distributed throughout the dough.
- Divide the dough into two even pieces and using floured hands shape each one into a log about 6cm wide, 18cm long.
- Place them well spaced apart on the lined baking sheet and use your hands to slightly flatten them and square off the edges for perfectly shaped biscotti.
- Bake the logs for about 35 minutes until they are just firm to the touch.
- Remove the logs from the oven and set them aside on a wire rack to cool for 20 minutes. Turn the oven down to 160°C/140°C fan/325°F/gas mark 3.
- Once the 20 minutes is up, use a very sharp serrated knife to cut the logs into diagonal slices about 1 ½ cm wide. Don’t put too much pressure on the knife, try and gently saw through. Handle the sliced biscotti gently as they are delicate and prone to breaking.
- Lay the slices cut side down on the baking sheet and return them to the oven for 10 minutes. Turn the slices over and bake for another 10 minutes. They should look dry though they will firm up more as they cool. If you want really crunchy biscotti you can leave them in the oven for a further 5-10 minutes.
- Remove from the oven and transfer to a wire rack to cool completely.
- Optional Chocolate Dip: Place ⅔ of the chopped chocolate in a heat-proof bowl over a pan of gently simmering water, do not let the base of the bowl touch the water.
- Heat, stirring often, until the chocolate is just melted, do not let it get too hot. Remove the bowl from the heat and add the remaining ⅓ of the chocolate a bit at a time, stirring well after each addition until it is melted before adding more. This is a basic method for tempering chocolate, which helps it set with a nice shine and snap.
- Pour the chocolate into a deep, narrow container, such as a mug. Dip each of the cooled biscotti in the chocolate, shake off the excess, then place them on a baking parchment lined tray to set.
Notes
- See post above for additional tips, ingredient details, and step-by-step photos.
- For the best and most consistent results, always use the gram measurements with a digital scale rather than cup conversions. Cup measurements are not accurate enough for baking, and I cannot guarantee optimal results if they are used.
- If you prefer a stronger coffee flavor, increase the instant espresso powder to 4 Tablespoons.
- Adjust the second bake time to achieve your desired level of crunchiness (less time for softer, more time for extra crispy).
If you tried this recipe, I’d love to hear how it went! Please rate it, leave a comment below, or tag @domestic_gothess on Instagram and hashtag it #domesticgothess. Your feedback is truly appreciated!
