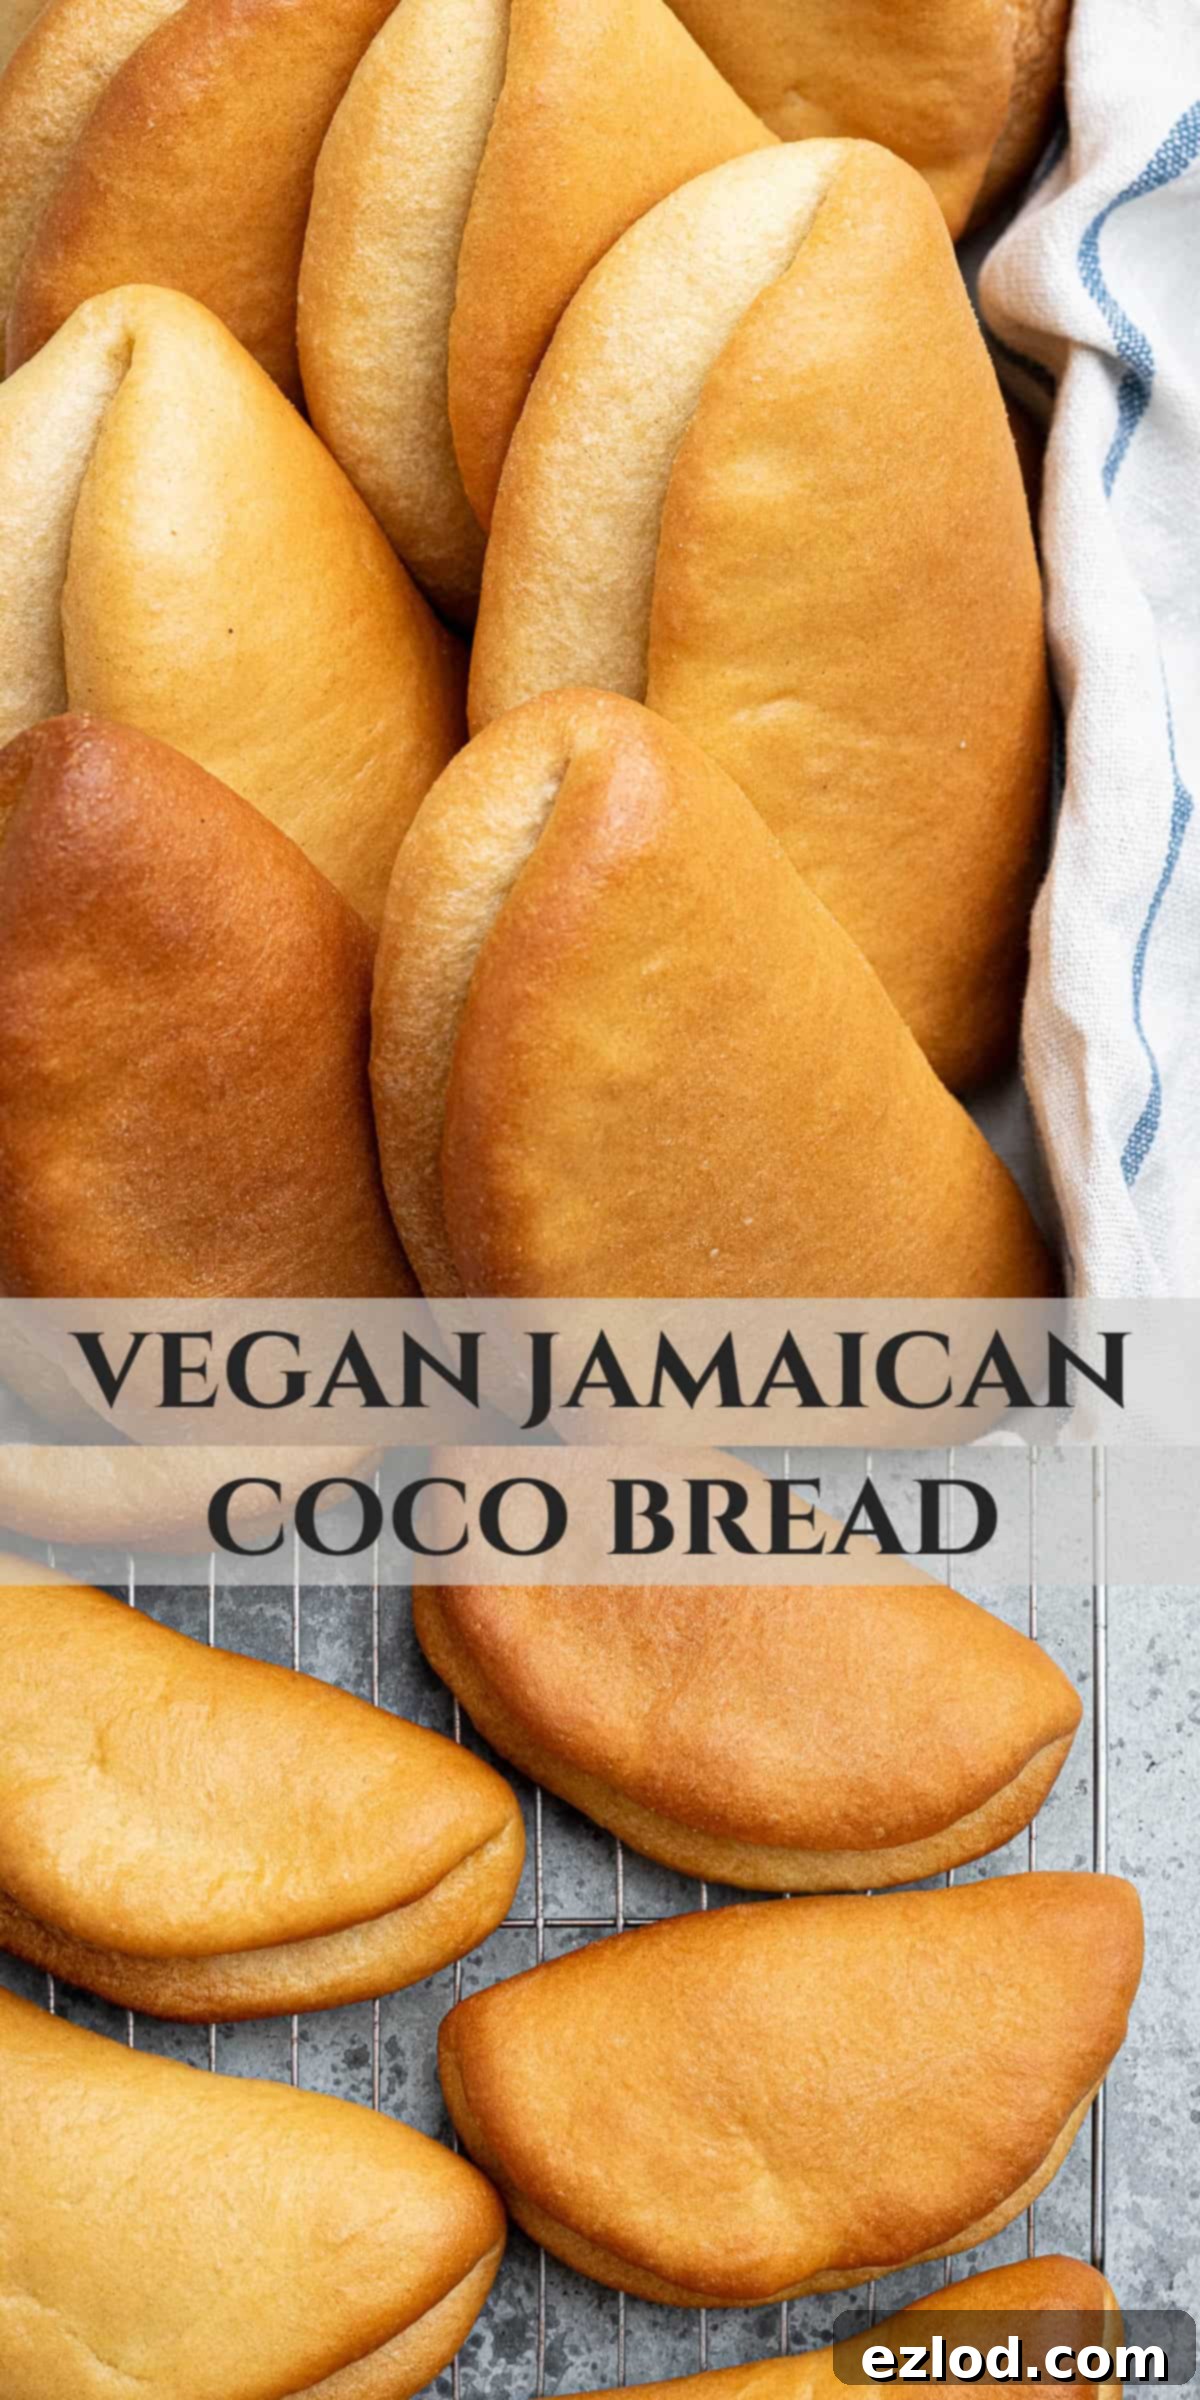
Ultimate Guide to Vegan Coco Bread: Fluffy Jamaican Rolls Made with Coconut Milk
Discover the joy of homemade **Vegan Coco Bread**, a delightful plant-based rendition of the beloved Jamaican classic. These irresistibly fluffy, subtly sweet, and wonderfully tender bread rolls are crafted with the richness of coconut milk, giving them a unique depth of flavor and an incredibly soft texture that melts in your mouth. Perfect for sandwiches or simply enjoyed on their own, these pocket-shaped buns are surprisingly easy to make with just a few staple ingredients, bringing a taste of the Caribbean right into your kitchen.
What Exactly Is Coco Bread? A Jamaican Staple
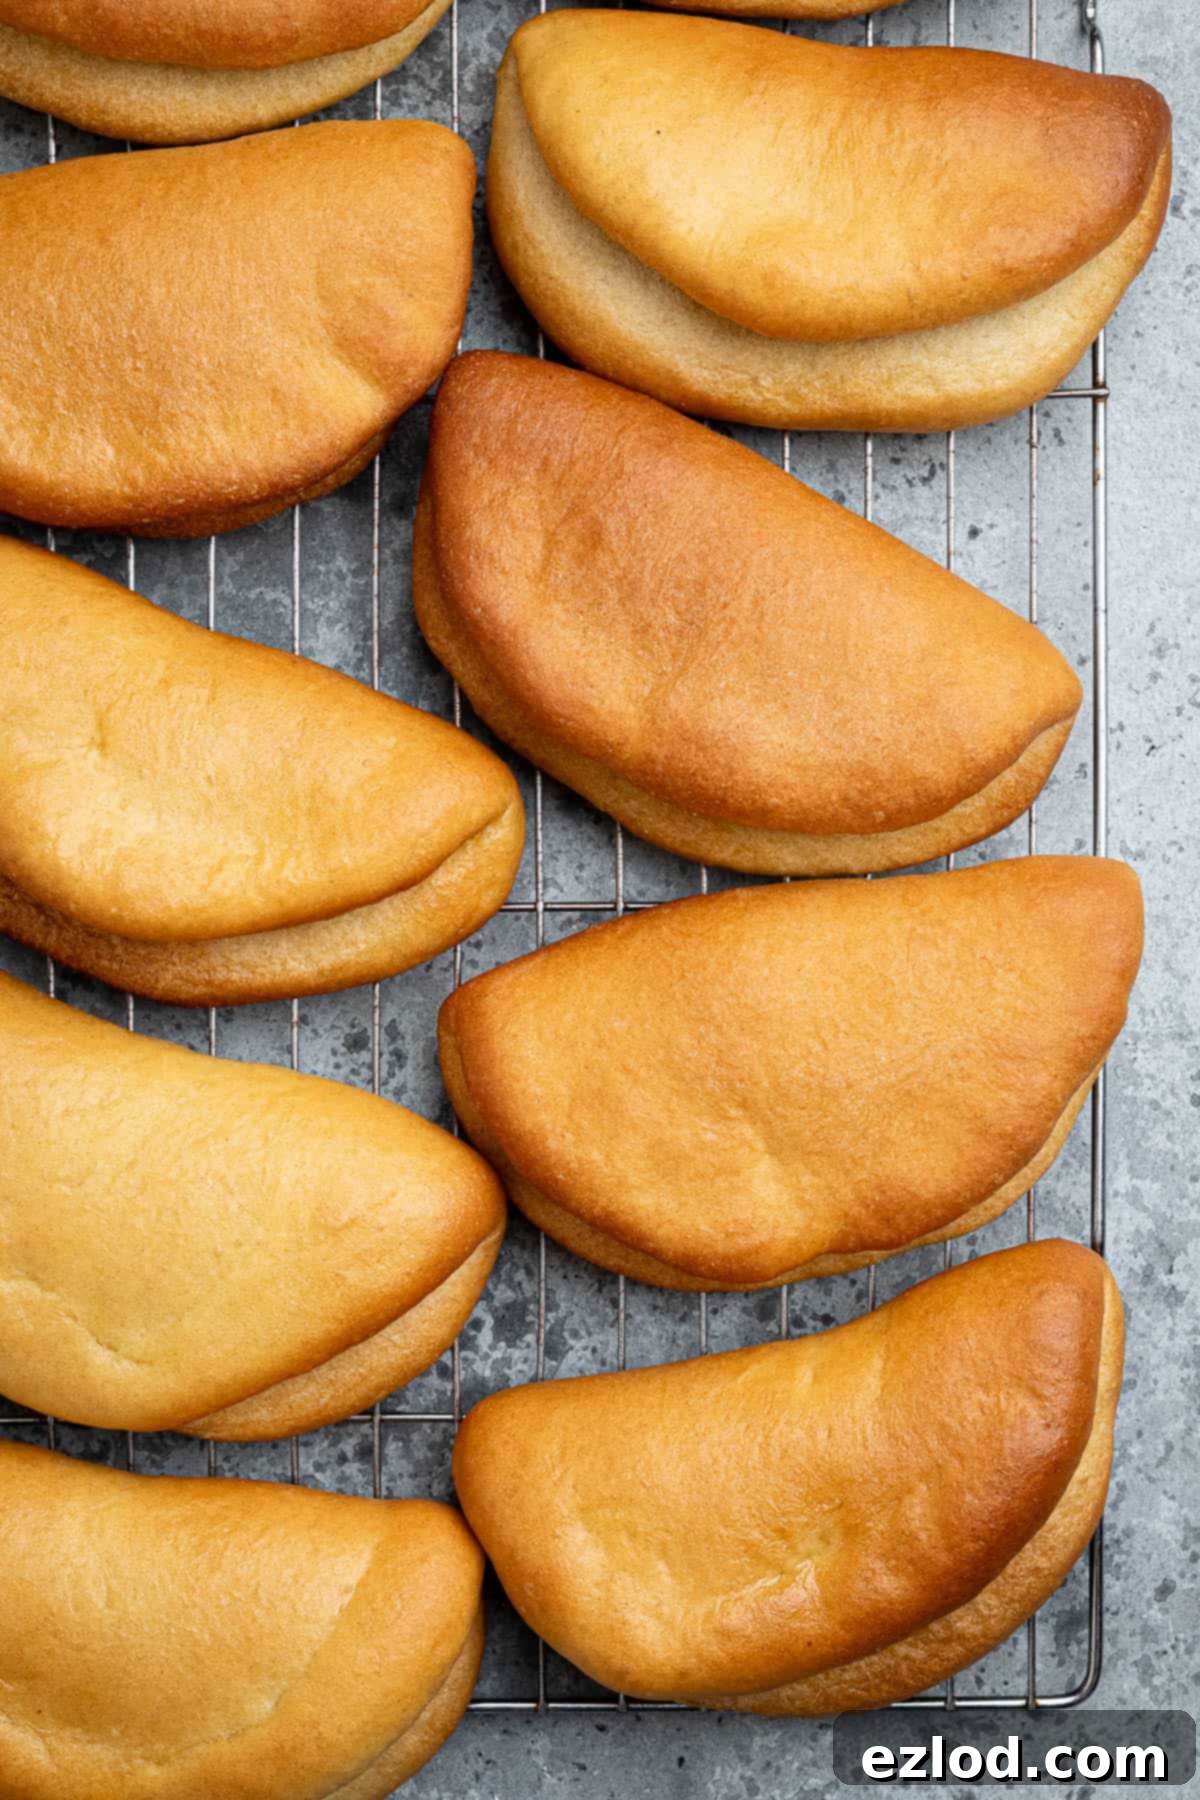
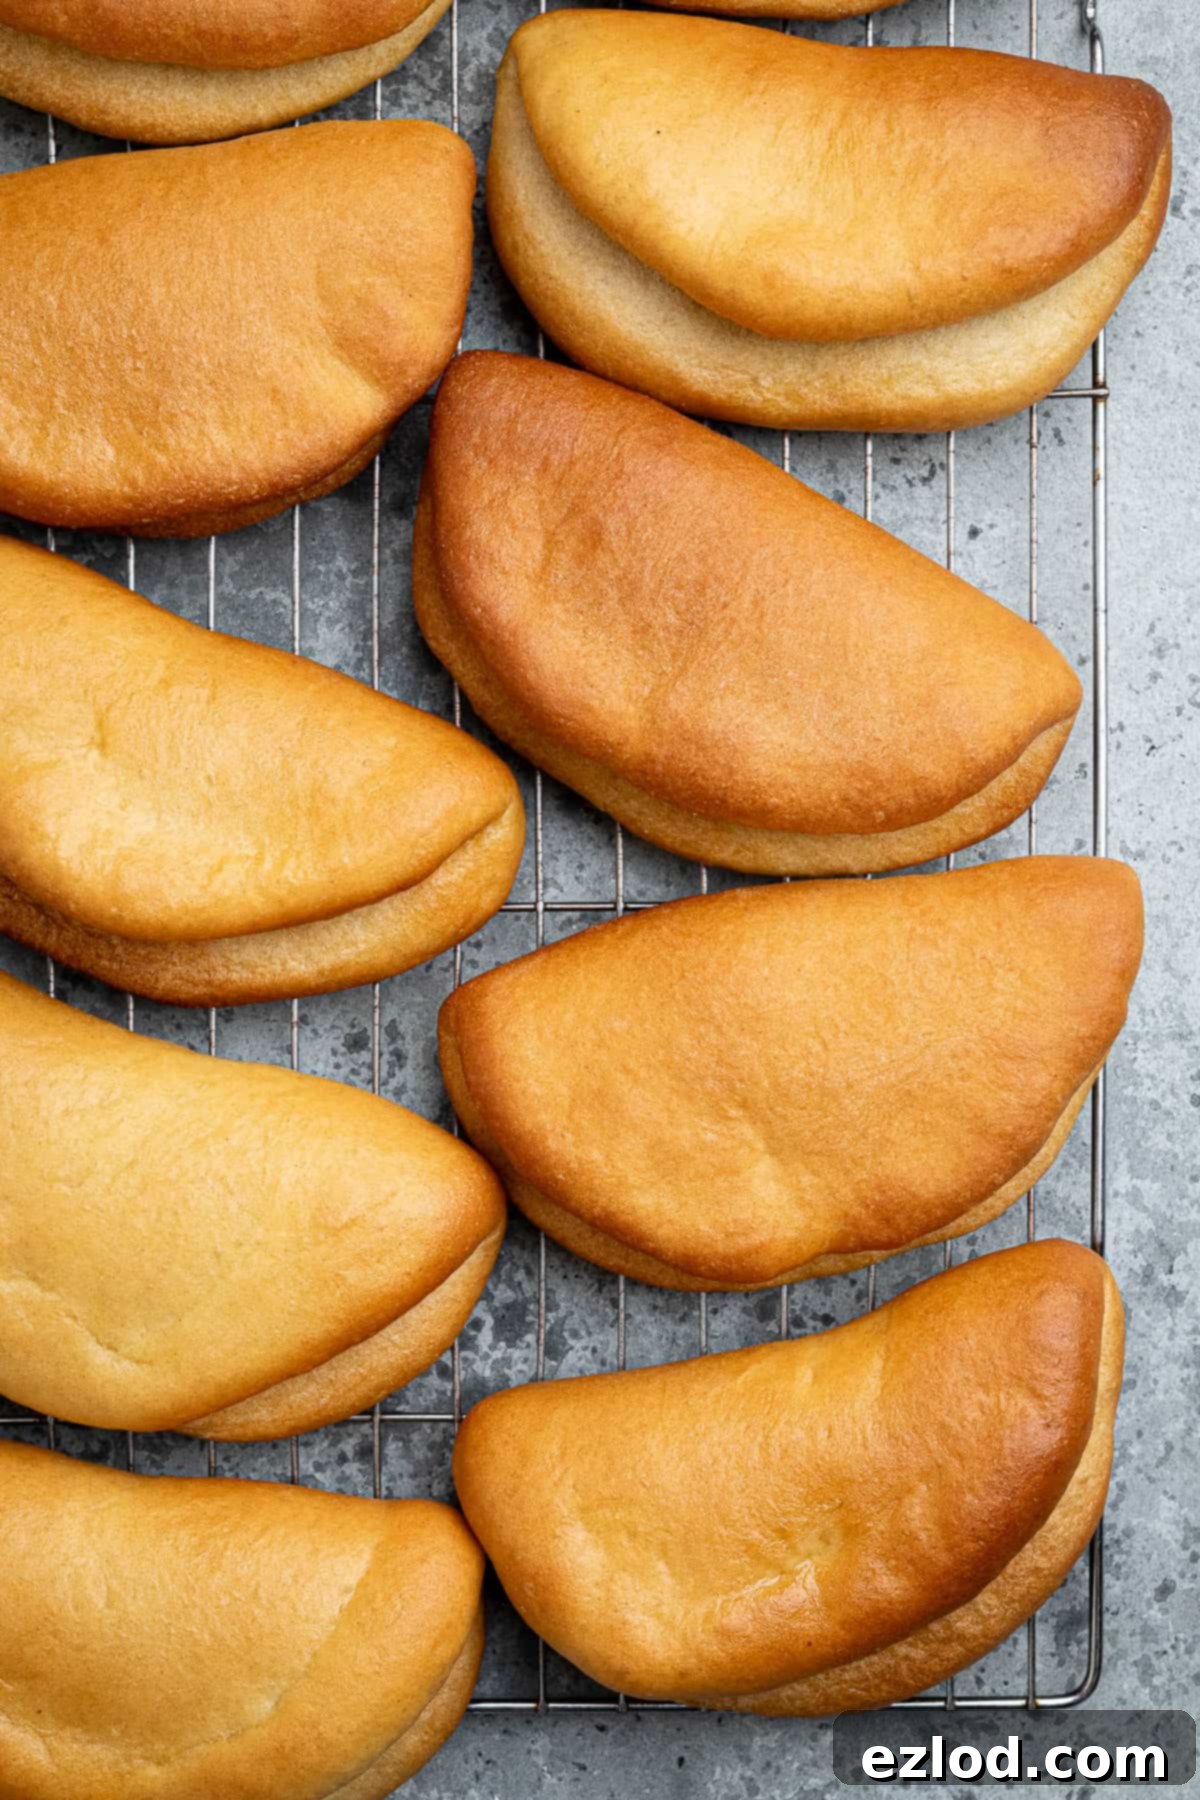
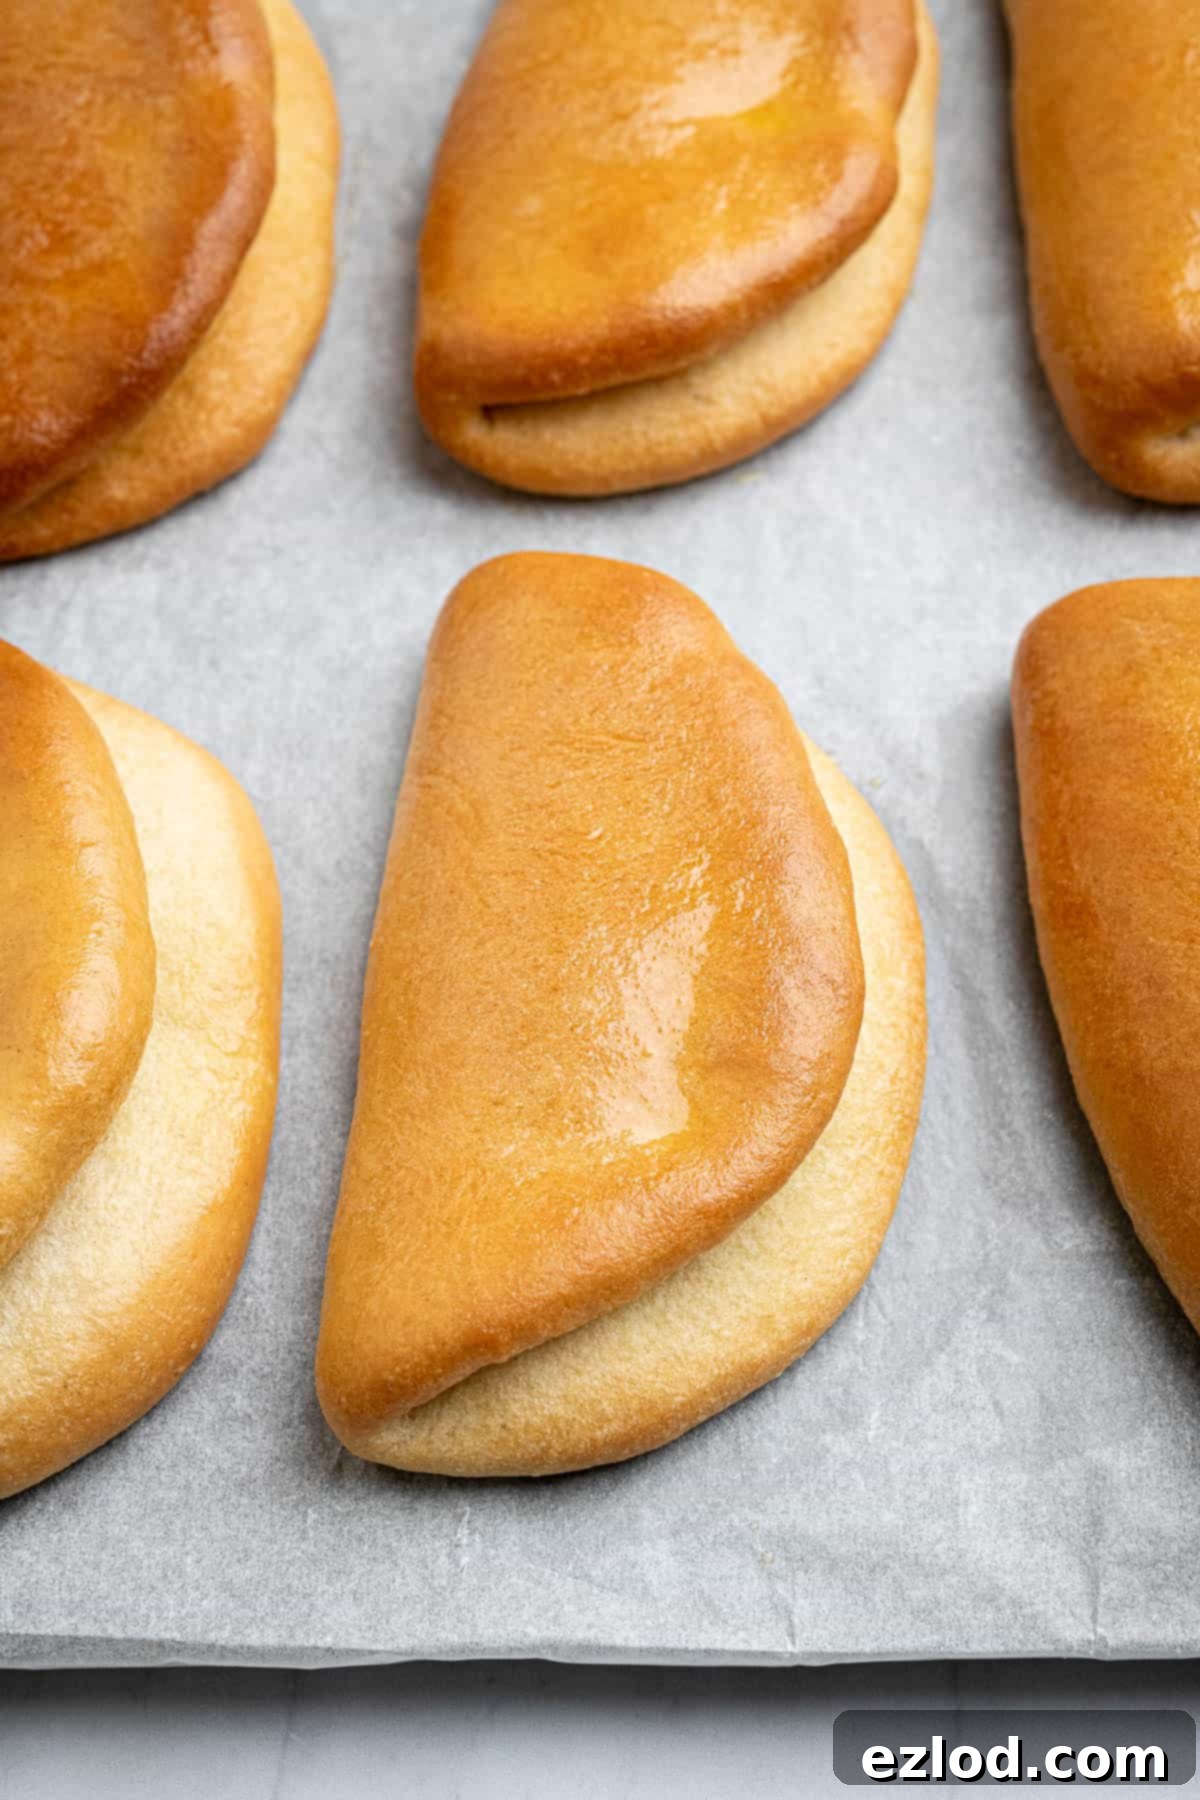
Jamaican coco bread is a quintessential Caribbean delicacy, renowned for its soft, tender, and slightly sweet characteristics. Traditionally made with coconut milk, it offers a subtle tropical flavor that enriches the bread’s texture rather than overpowering it. The coconut milk contributes significantly to its signature moist and luxurious crumb, setting it apart from other bread varieties. These delightful rolls are typically shaped into distinct folded half-moons or triangles, creating a natural ‘pocket’ that makes them exceptionally versatile for stuffing with various fillings.
One of the most popular ways to enjoy coco bread is by pairing it with a savory Jamaican patty, creating a harmonious blend of textures and flavors. While many traditional coco bread recipes include eggs, this vegan adaptation ensures everyone can enjoy these fantastic rolls without compromising on taste or texture. Our recipe skillfully omits eggs and dairy, proving that a plant-based approach yields equally delicious, if not superior, results, maintaining the authentic essence of this beloved Jamaican treat.
Why Choose Vegan Coco Bread? Benefits of a Plant-Based Bake
Opting for vegan coco bread isn’t just about dietary restrictions; it’s a choice that comes with numerous benefits. By eliminating animal products like eggs and dairy butter, this recipe becomes accessible to a wider audience, including those with allergies, ethical considerations, or those simply looking to explore healthier plant-based options. Coconut milk, the star ingredient, not only provides a lovely sweetness and rich texture but also offers healthy fats and certain vitamins and minerals. Furthermore, baking vegan can often result in lighter, more digestible products, and it’s a fantastic way to experiment with alternative ingredients that contribute unique flavors and textures to your baking repertoire. This recipe demonstrates that going vegan doesn’t mean sacrificing flavor or the comforting quality of classic baked goods.
Versatile Serving Suggestions for Your Vegan Coco Bread
These homemade vegan coco bread rolls are incredibly versatile, making them a perfect addition to any meal or snack occasion. Their subtle sweetness and tender texture make them suitable for both sweet and savory accompaniments. Here are some fantastic ways to enjoy your freshly baked coco bread:
- Classic Jamaican Pairing: Stuff them generously with a savory Jamaican vegetable patty for an authentic and satisfying meal that transports your taste buds straight to the Caribbean.
- Breakfast Delight: Warm them up and spread with your favorite vegan butter and a dollop of fruit jam or marmalade for a simple yet delicious start to your day.
- Soup & Stew Companion: Serve alongside hearty soups and stews. Their soft texture is perfect for soaking up every last drop of flavorful broth, adding substance to your meal.
- Curry Sidekick: Pair with a fragrant curry, such as a mushroom and tofu korma. The mild sweetness of the bread beautifully complements the spices of the curry.
- Gourmet PB&J: Elevate your classic peanut butter and jelly sandwich by using coco bread. The fluffy, slightly sweet buns transform this simple treat into an extraordinary delight.
- Custom Lunchtime Sandwiches: Unleash your creativity! Use these pocket-shaped buns to make any lunchtime sandwich with your preferred vegan fillings, from hummus and veggies to plant-based deli slices.
- Sweet Treats: Try spreading with a chocolate hazelnut spread or a sprinkle of cinnamon sugar for a quick and satisfying sweet snack.
Essential Ingredient Details for Perfect Vegan Coco Bread
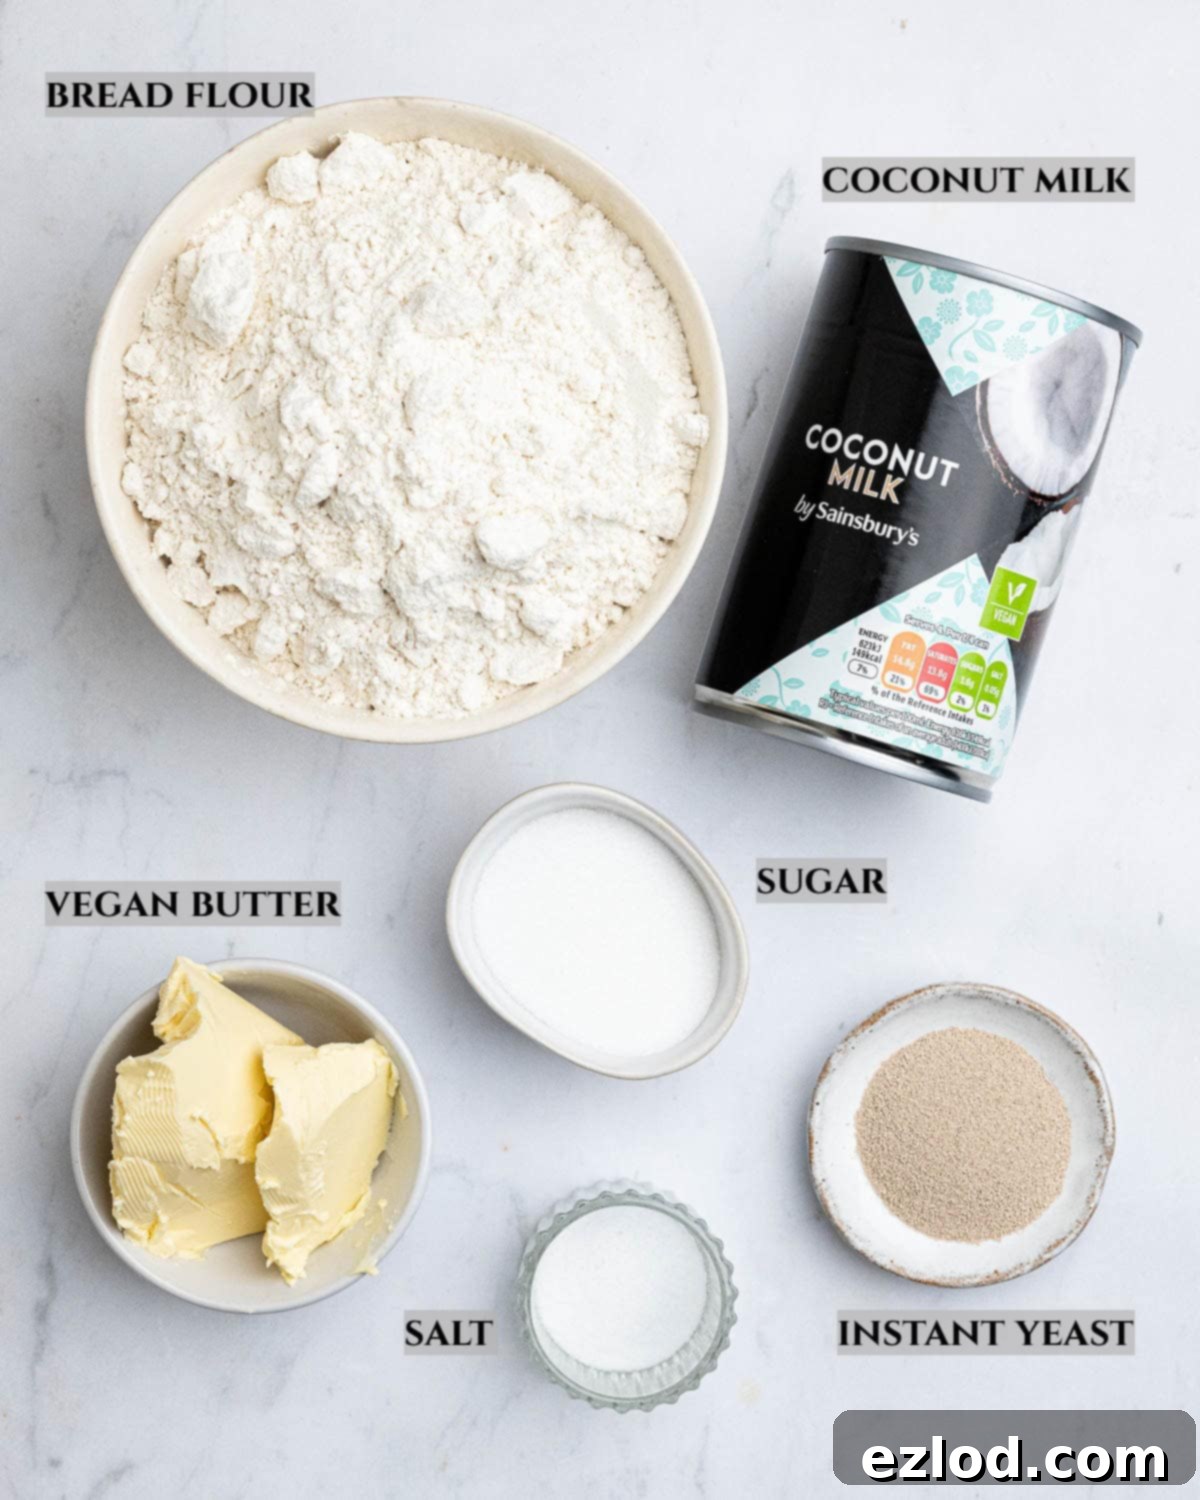
Crafting exceptional vegan coco bread starts with understanding the role of each ingredient. Here’s a detailed look at what you’ll need and why it matters for achieving that perfect fluffy, tender texture:
- Full-Fat Tinned Coconut Milk: This is the cornerstone of our vegan coco bread. Using full-fat tinned coconut milk is crucial as it provides the necessary richness, moisture, and subtle coconut flavor that defines this bread. The higher fat content contributes to a tender crumb and a beautiful browning. Avoid light coconut milk, which may result in a drier bread, and definitely do not substitute with coconut drinking milk, as it lacks the fat and creaminess required for this recipe. Remember to give it a good shake or whisk before measuring to ensure the fats and liquids are well combined.
- White Bread Flour: For that signature soft, fluffy, and chewy texture, white bread flour is highly recommended. Its higher protein content (typically 12-14%) develops strong gluten, which is essential for trapping the gasses produced by the yeast, leading to a wonderfully airy and elastic crumb. While plain (all-purpose) flour can be used in a pinch, be aware that the final texture may not be quite as robust or chewy. Wholemeal flour is not suitable for this recipe as it will produce a significantly denser bread due to its bran content interfering with gluten development.
- Instant/Fast Action Yeast: For convenience and consistent results, instant or fast action yeast is my preferred choice. Unlike active dry yeast, it doesn’t require prior activation in warm liquid and can be added directly to the dry ingredients, streamlining the baking process. Always check the expiry date of your yeast to ensure it’s fresh and active; old yeast is the most common reason for bread failing to rise.
- Salt: A non-negotiable ingredient in bread making, salt is vital for flavor, controlling yeast activity, and strengthening the gluten structure. It brings out the inherent sweetness of the bread and prevents it from tasting bland. Never omit it.
- Vegan Butter: This recipe calls for vegan butter to achieve that buttery richness without dairy. While I often recommend block butter for baking for structural integrity, a good quality tub variety (ensure it’s not a low-fat spread) works well here due to the liquid nature of the dough. I personally use Flora Original, but any reliable vegan butter substitute will work. For an even more pronounced coconut flavor and richness, you can also swap the vegan butter for coconut oil.
- Sugar (Caster or Granulated): Sugar plays multiple roles: it provides food for the yeast, aids in browning the crust, and imparts a mild sweetness to the bread. Either caster sugar (superfine) or granulated sugar will work perfectly. I do not recommend substituting with liquid sweeteners like maple syrup or agave, or alternative sugars like brown sugar, as these can significantly alter the dough’s hydration and texture.
How to Make Vegan Coco Bread: A Step-by-Step Guide
(For precise measurements and comprehensive instructions, please refer to the detailed recipe card conveniently located at the bottom of this page.)
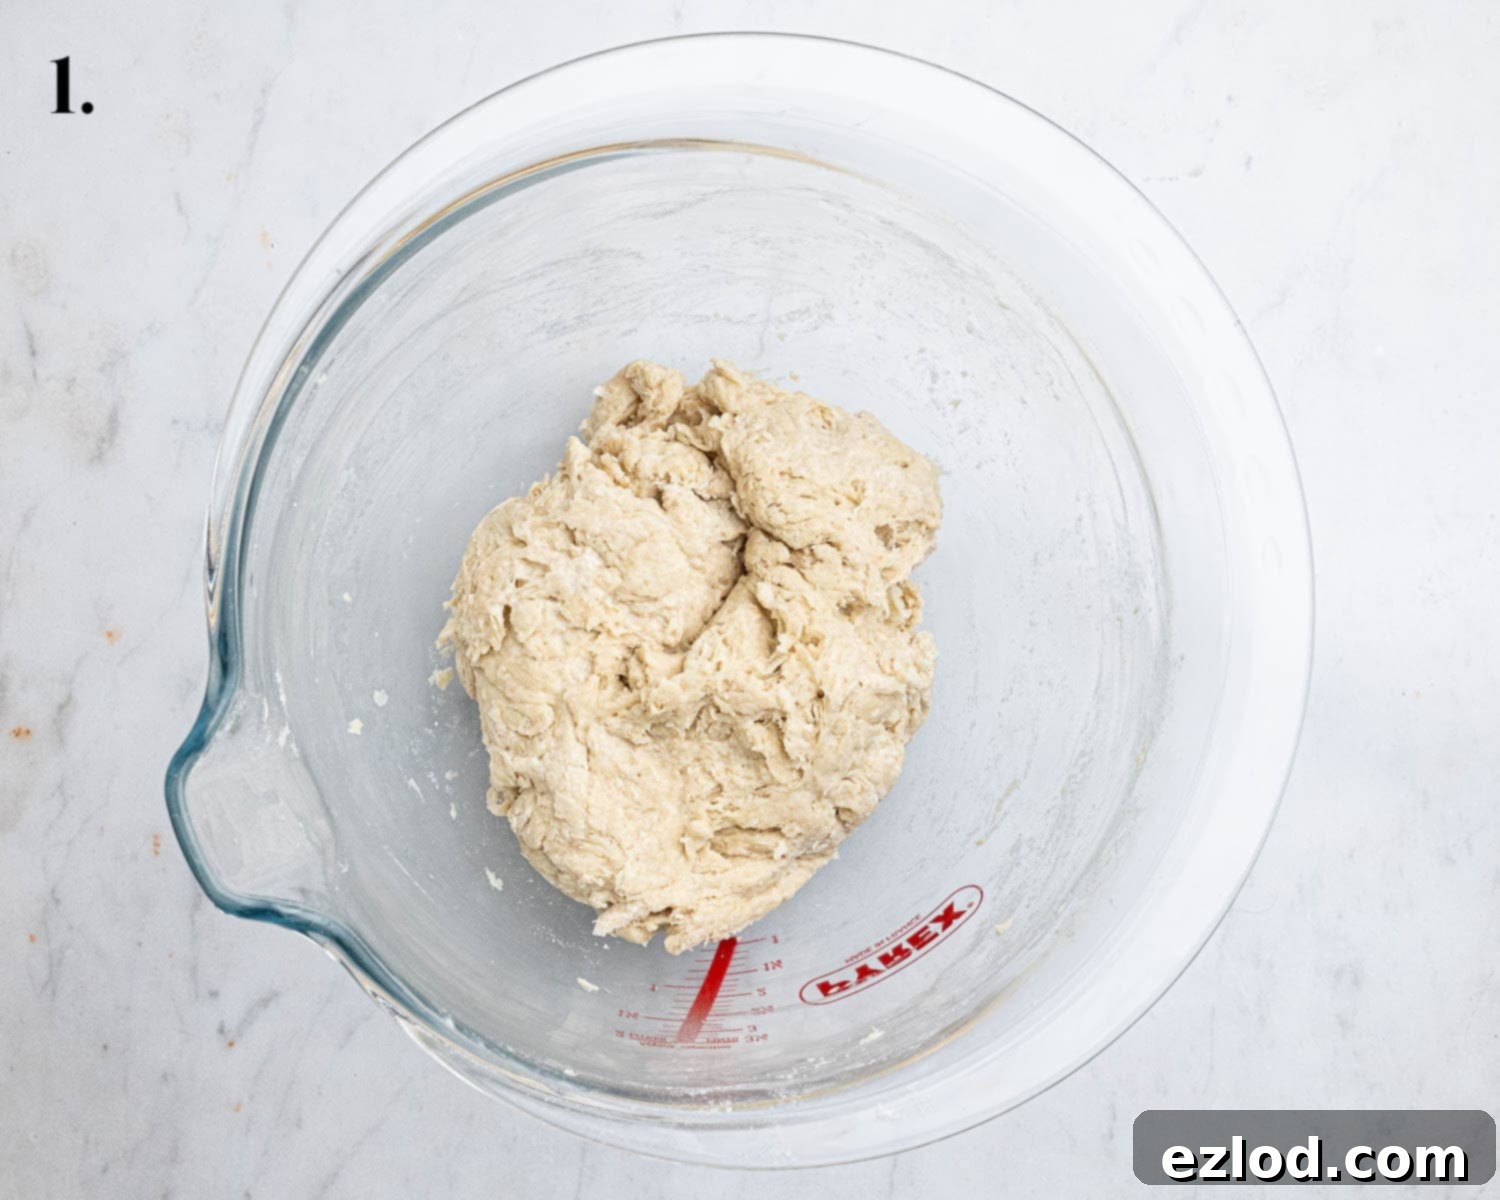
- Step 1: In a large mixing bowl, combine the flour, sugar, salt, and yeast. Incorporate the coconut milk, melted butter, and a small splash of water as needed. Mix thoroughly until a rough, shaggy dough forms.
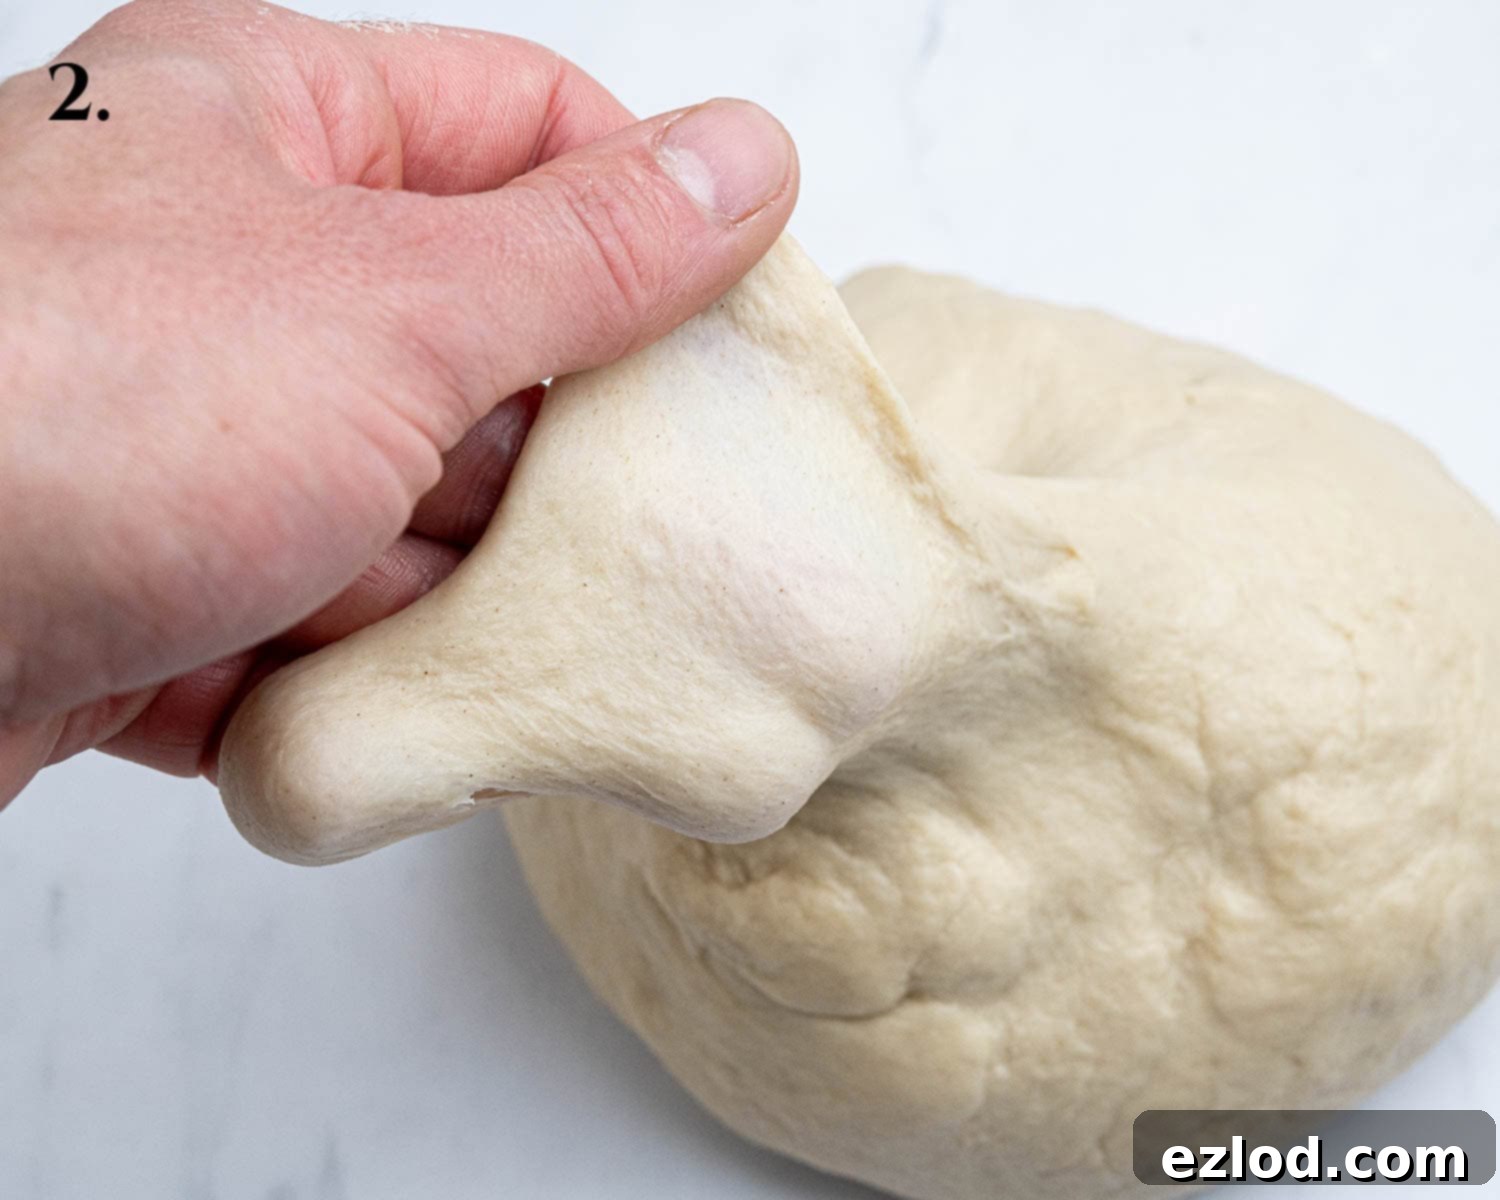
- Step 2: Transfer the dough to a clean, unfloured surface. Knead diligently for approximately 10 minutes. The dough should transform into a smooth, elastic, and stretchy consistency, capable of passing the windowpane test (where a small piece can be stretched thinly enough to see light through without tearing).
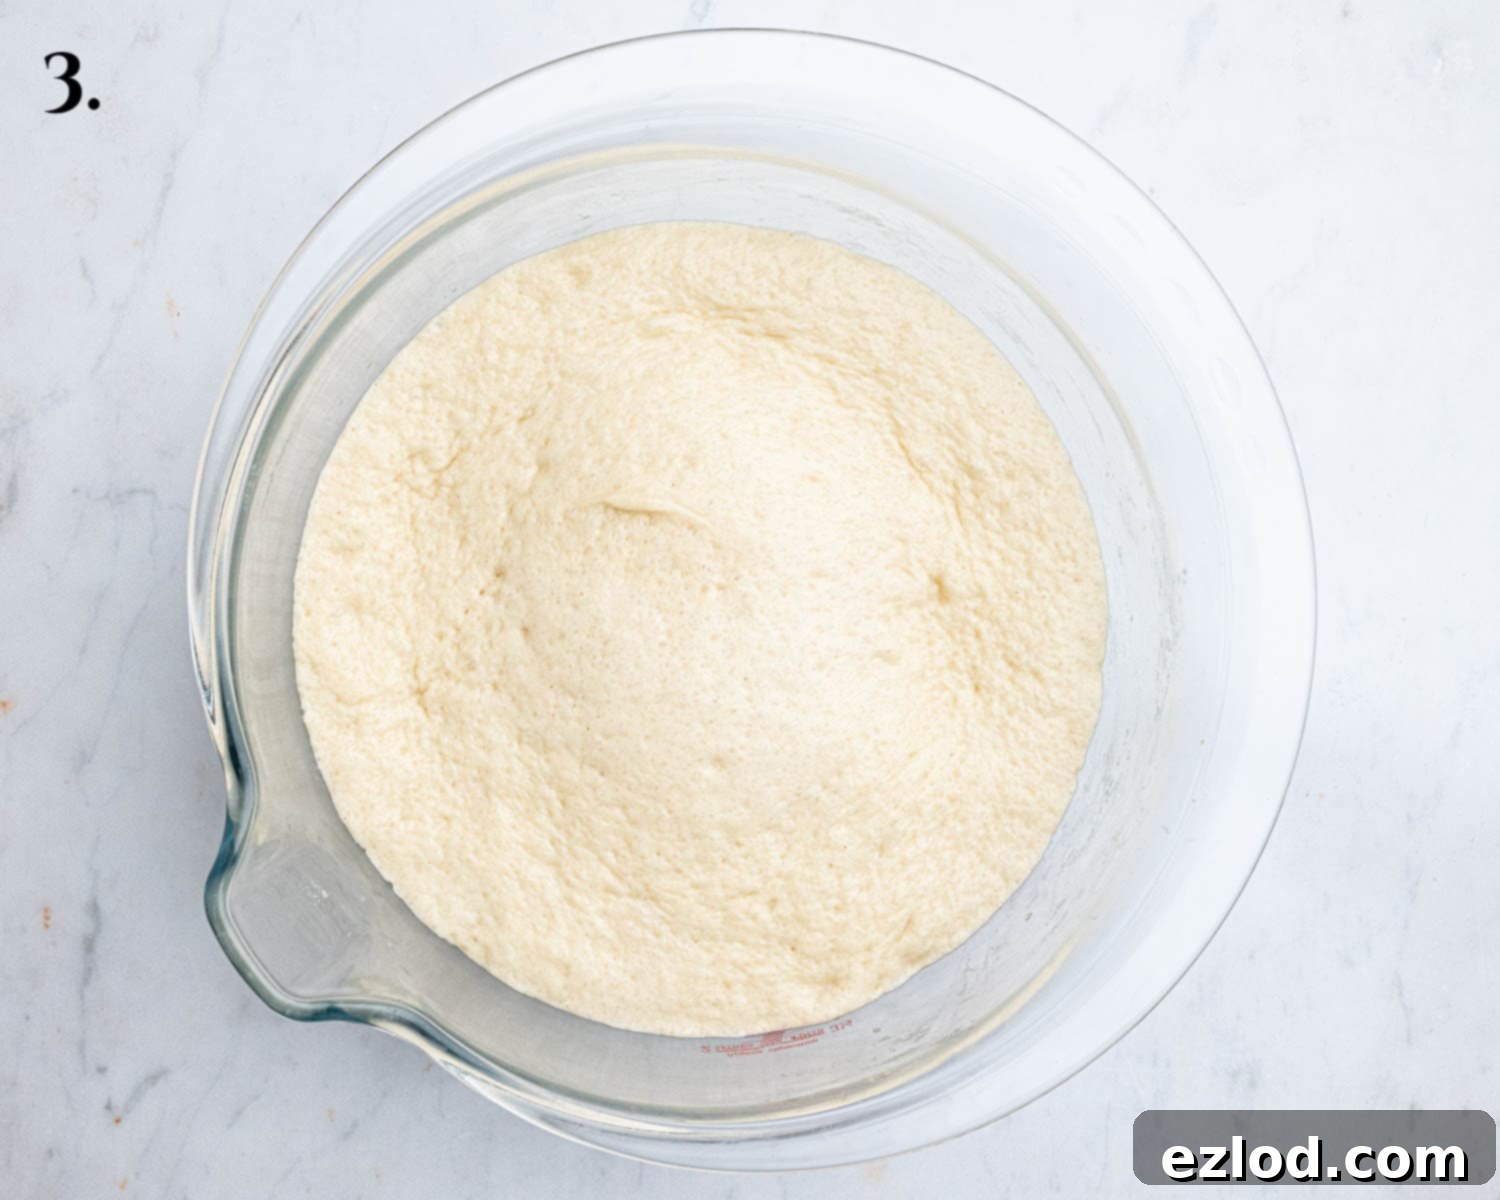
- Step 3: Shape the kneaded dough into a ball and place it in a lightly oiled bowl. Cover the bowl securely and allow the dough to rise in a warm environment until it has visibly doubled in size. This process typically takes 1-2 hours, depending on room temperature.
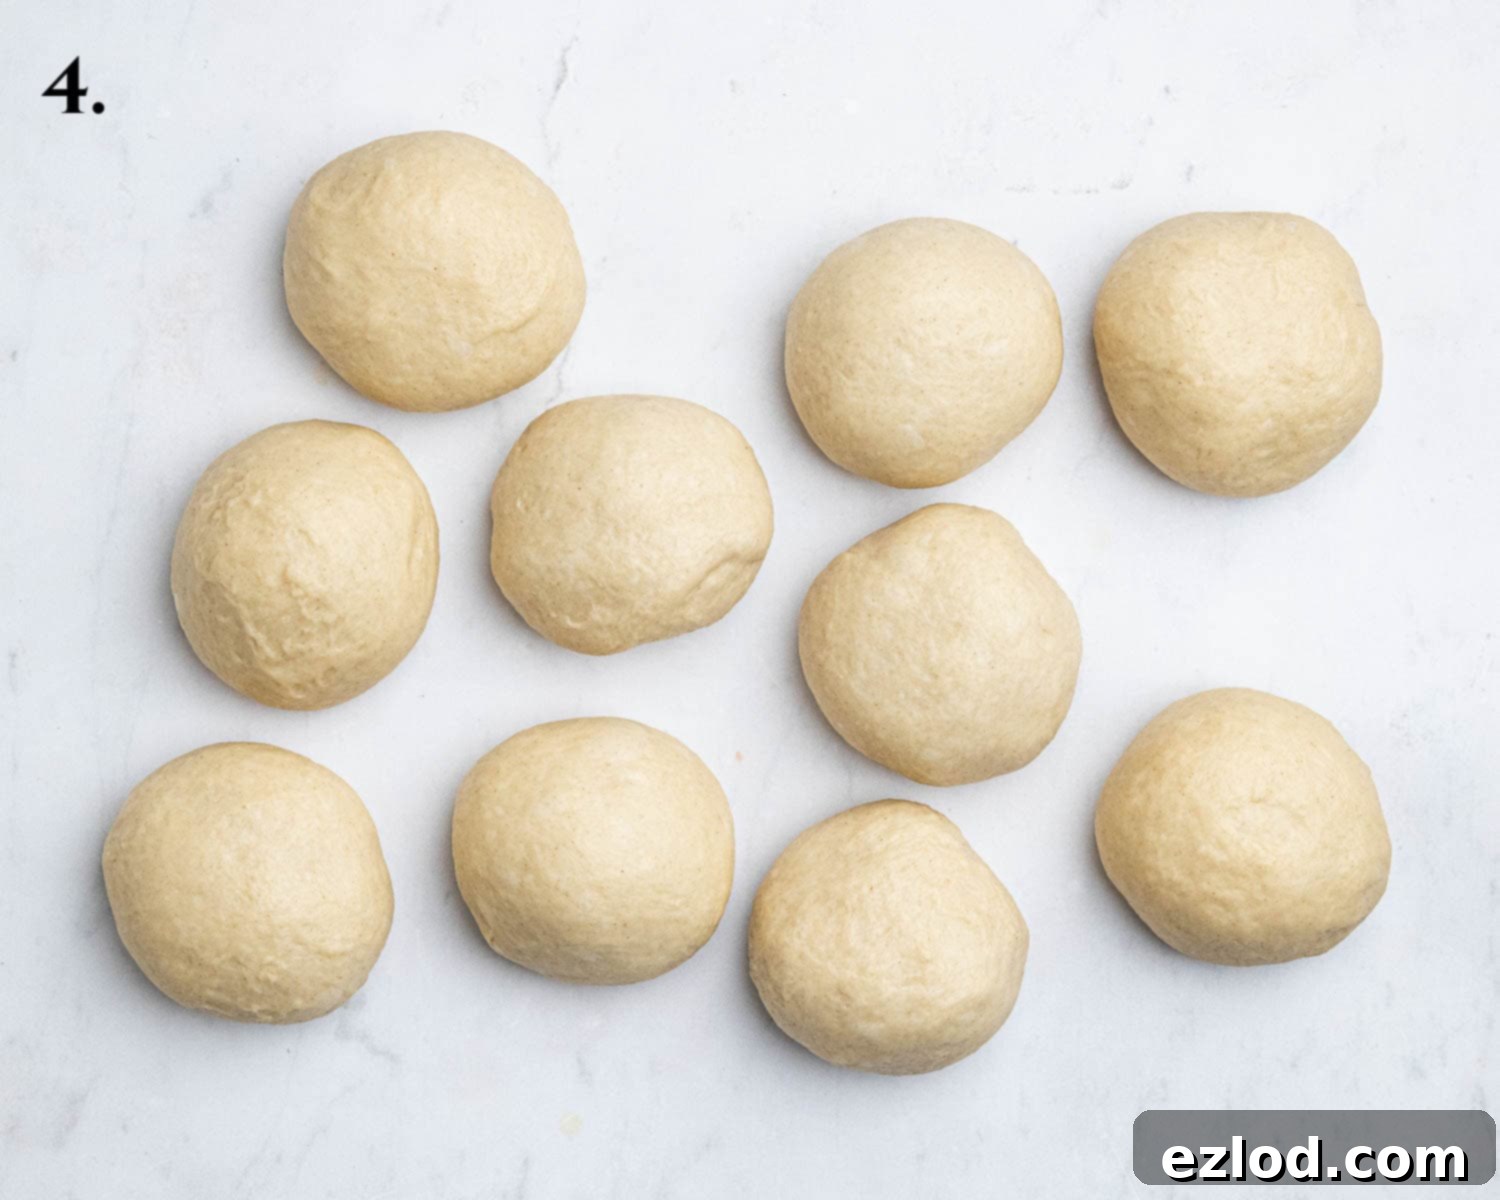
- Step 4: Once risen, gently punch down the dough to release the air. Knead it briefly, then divide it into 10 equal portions. For accuracy, using a kitchen scale is recommended. Roll each portion into a smooth ball.
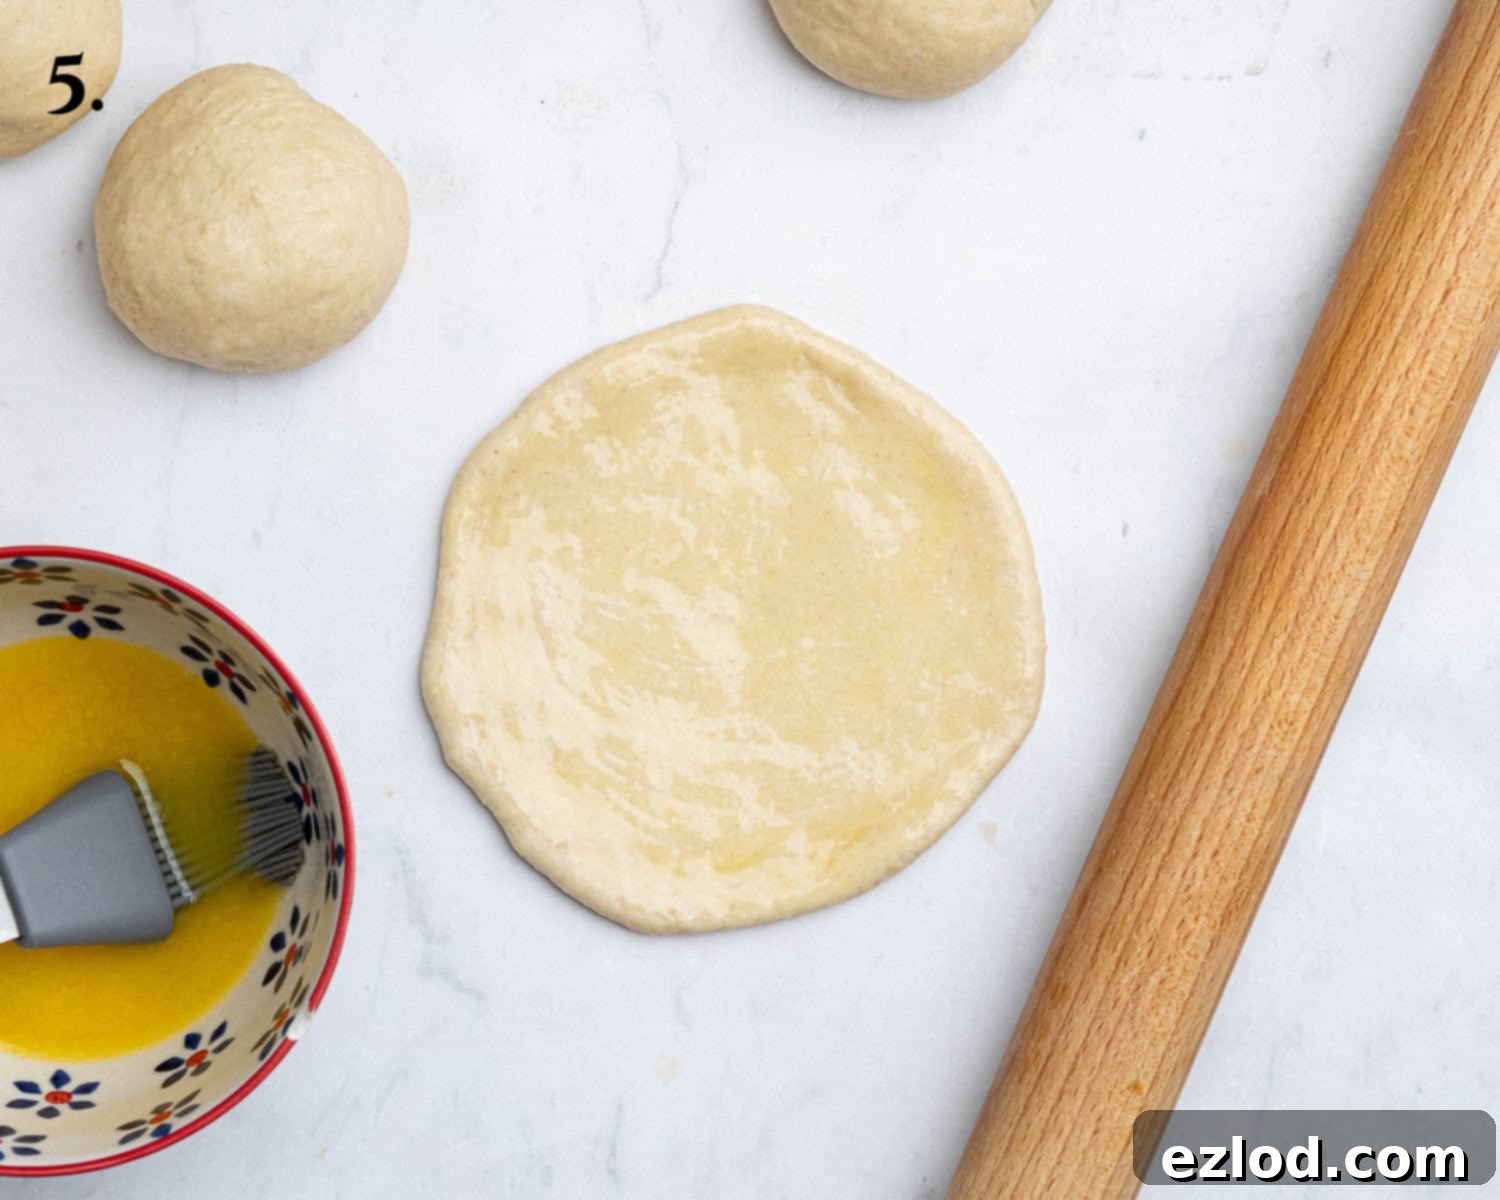
- Step 5: On a lightly floured surface, take one ball of dough and roll it out into a circle, approximately 15 cm (6 inches) in diameter. Generously brush the entire surface of the dough circle with melted vegan butter.
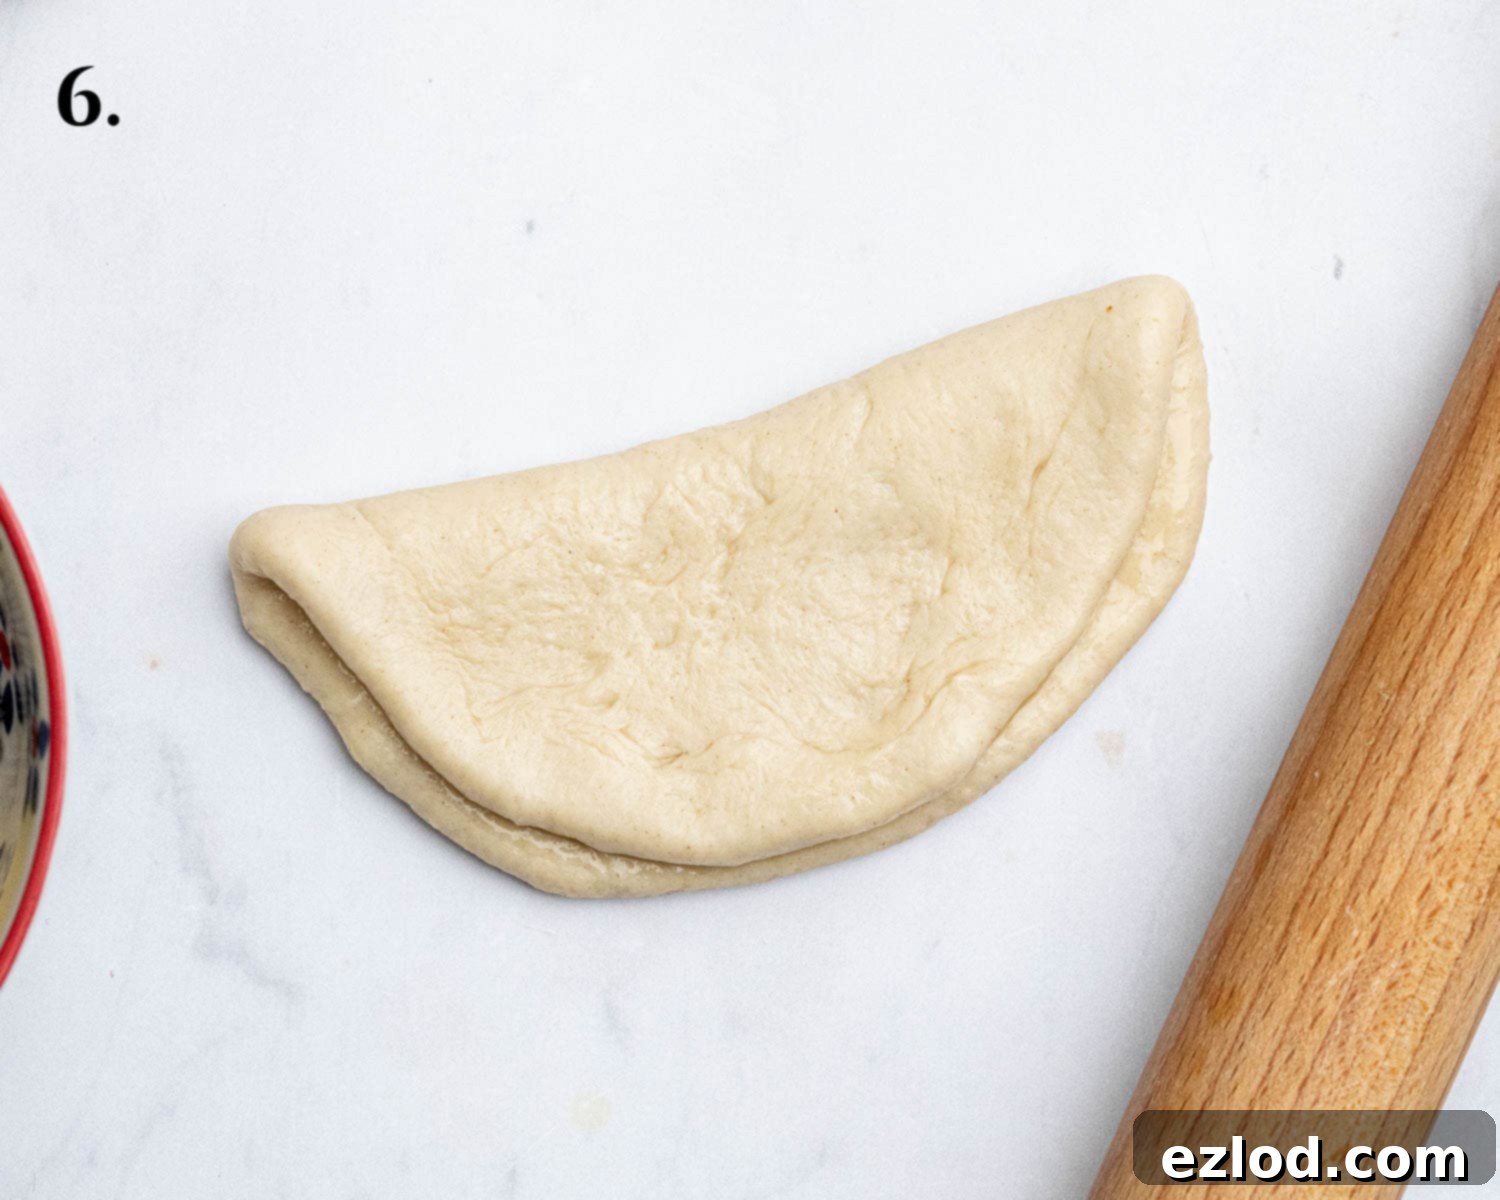
- Step 6: Carefully fold the buttered dough circle in half, creating a crescent shape. This creates the signature pocket for your fillings.
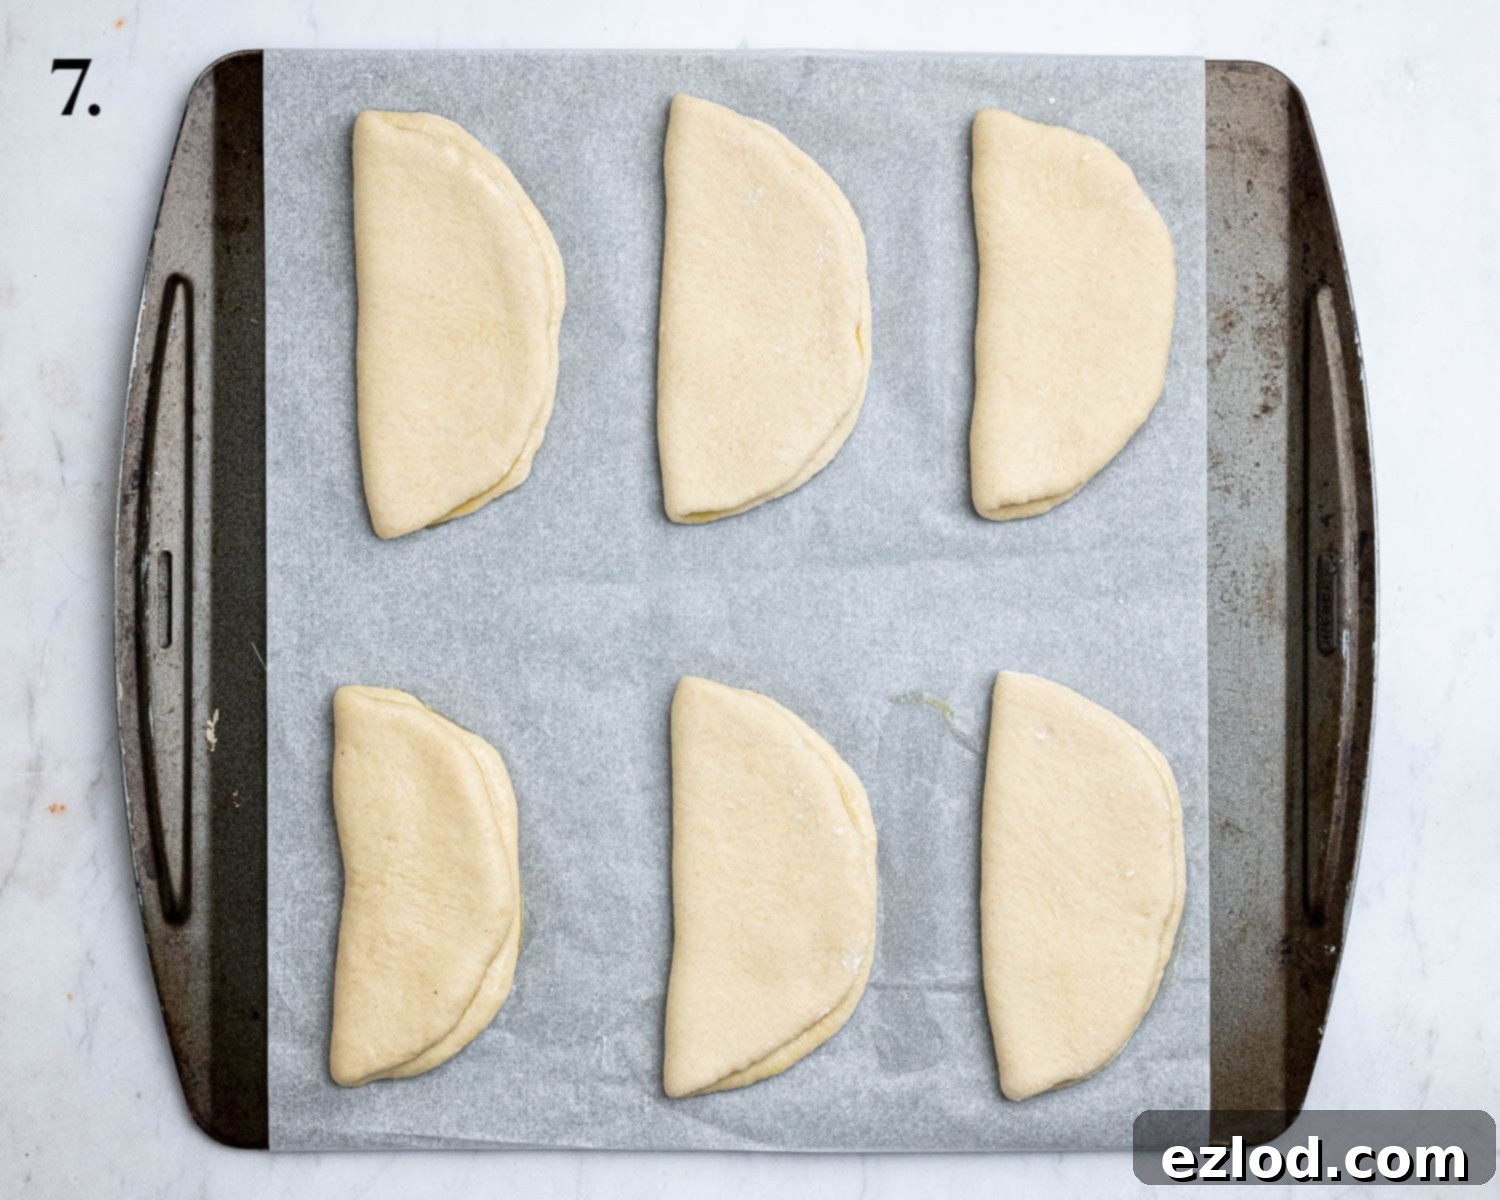
- Step 7: Repeat the rolling, buttering, and folding process for the remaining dough balls. Arrange the shaped coco breads on one or two baking sheets lined with parchment paper, ensuring they are spaced adequately apart to allow for expansion during the final rise.
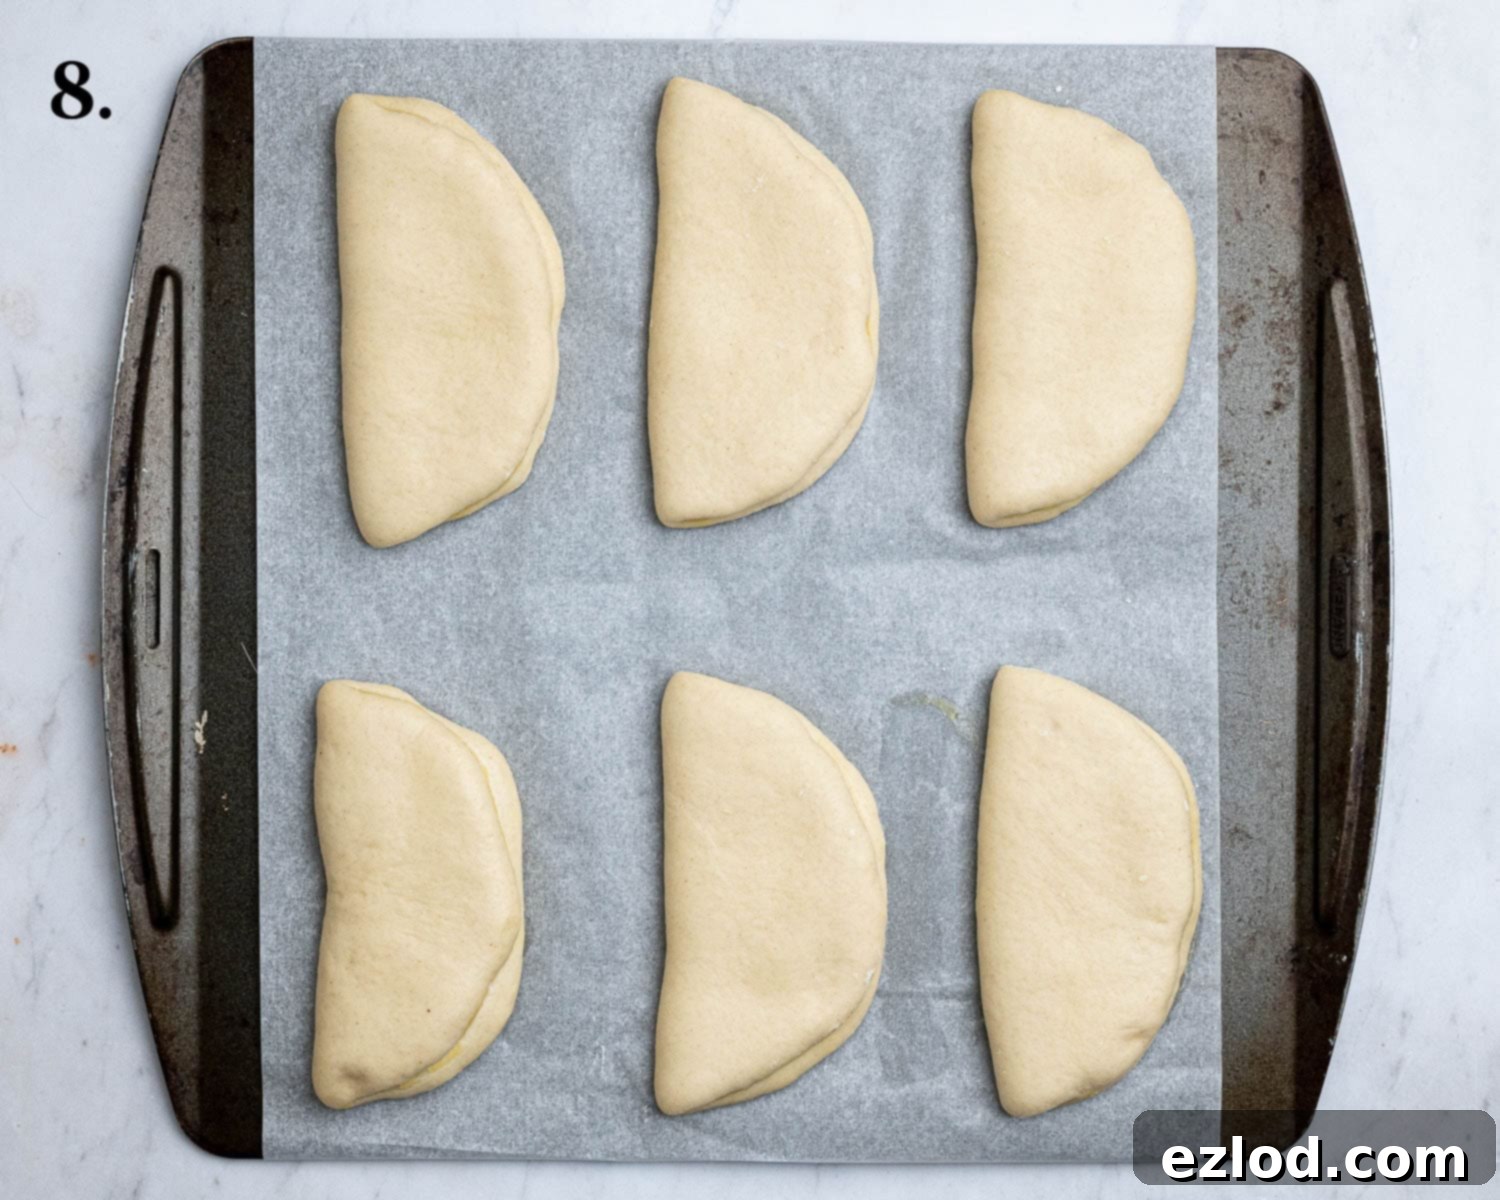
- Step 8: Loosely cover the baking sheets with oiled cling film or a clean kitchen towel. Allow the coco breads to undergo their second rise in a warm place until they appear noticeably puffy, which usually takes 30-45 minutes. A gentle touch with your finger should leave a slight indentation that springs back slowly.
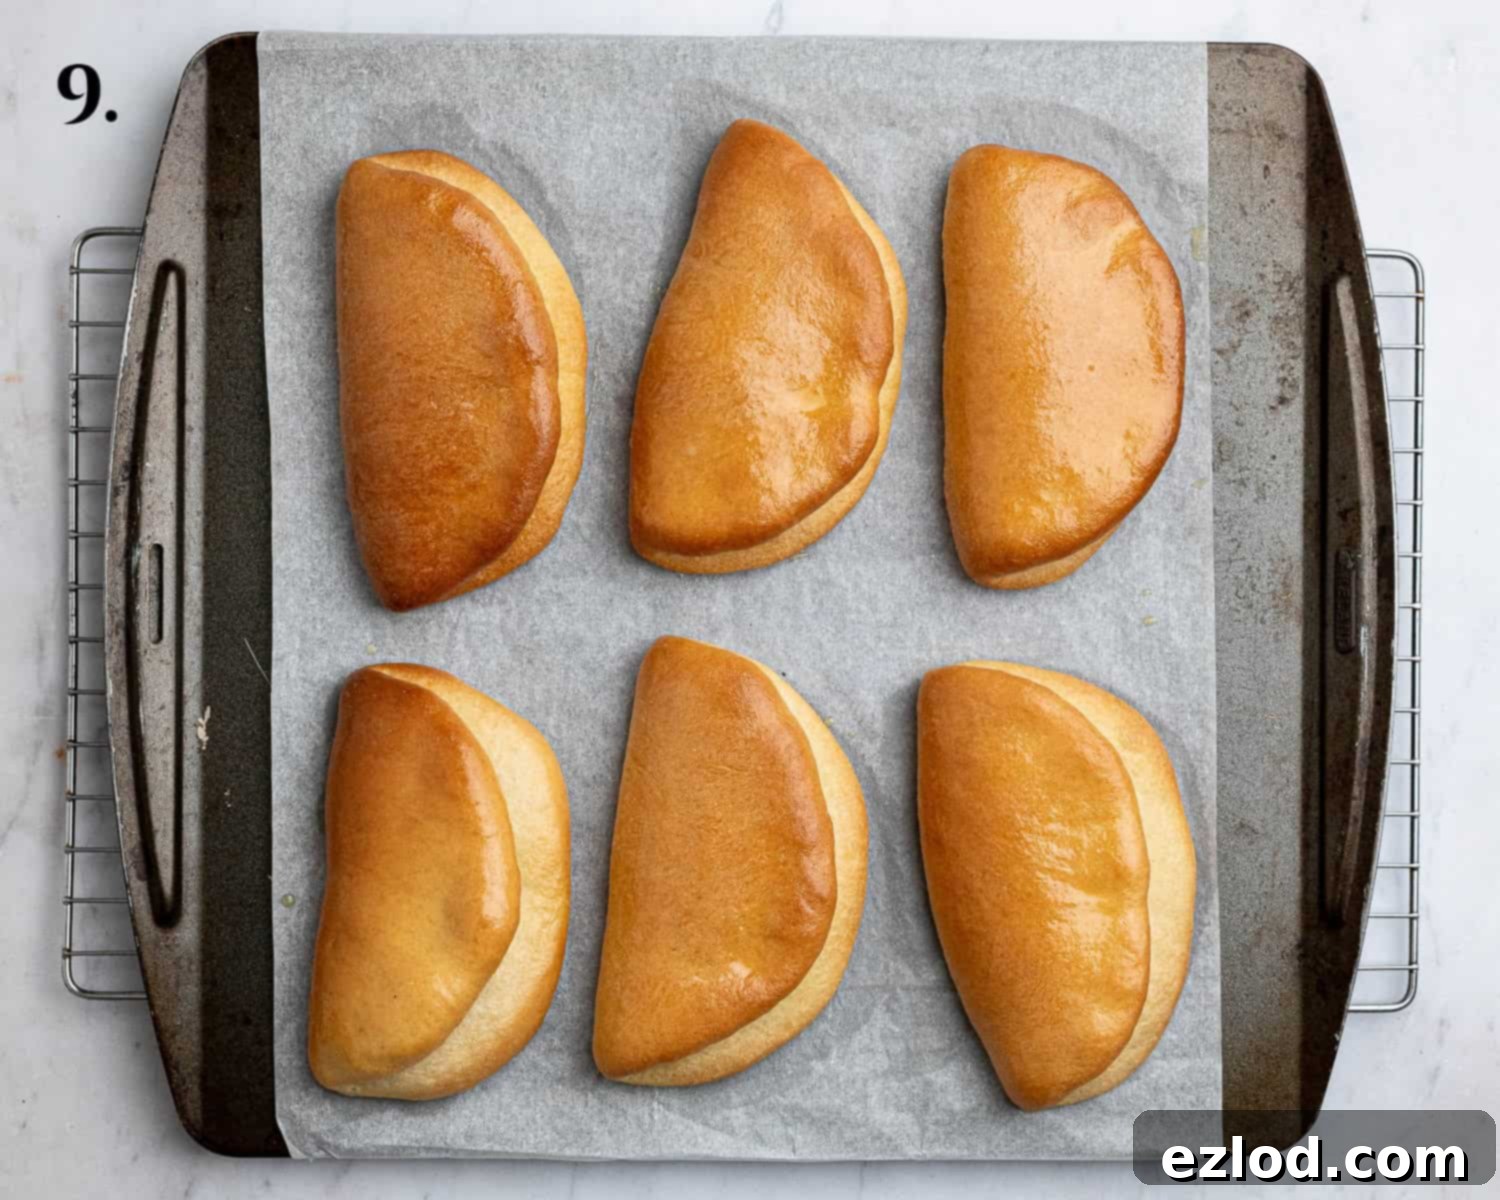
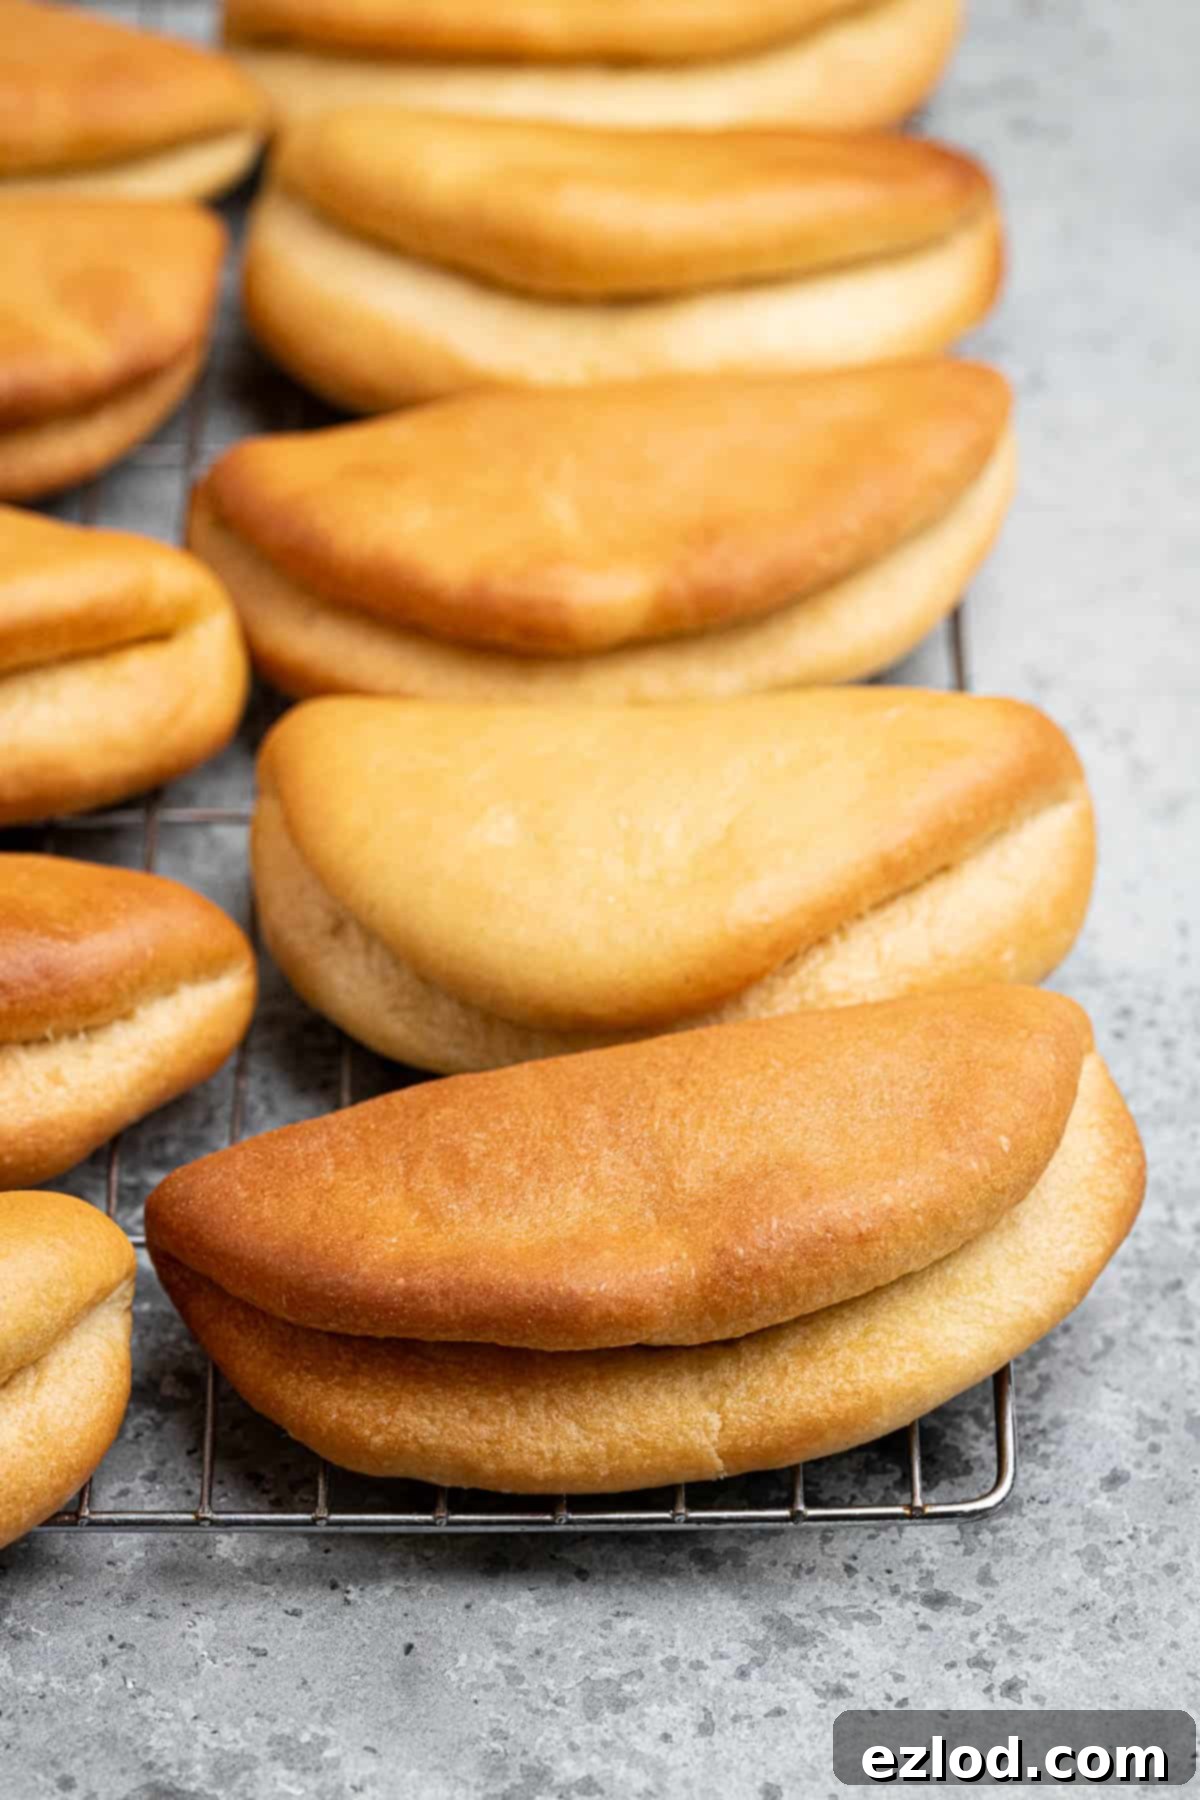
- Step 9: Preheat your oven to 180℃/160℃ fan/350℉/gas mark 4. Bake the vegan coco breads for 15-20 minutes, or until they achieve a beautiful golden-brown color and a probe thermometer inserted into the center reads at least 90°C/194°F. Immediately after baking, brush the warm rolls with additional melted vegan butter for extra richness and shine. Transfer them to a wire rack to cool completely before serving.
Top Tips for Baking the Best Vegan Coco Bread
Achieving bakery-quality vegan coco bread at home is entirely possible with a few key techniques and considerations. Follow these expert tips for guaranteed success:
- Embrace Digital Scales for Accuracy: As with all precision baking, I cannot stress enough the importance of using metric measurements with a digital kitchen scale over volumetric cup conversions. Cups are notoriously inaccurate and inconsistent, especially for flour. Using a scale ensures precise ingredient ratios, leading to far better, more consistent results, and often a less messy process. Remember that a Tablespoon is 15ml and a teaspoon is 5ml, and these should be level, not heaped, for accuracy.
- Verify Yeast Freshness: Yeast is a living organism, and its potency diminishes over time. Always double-check the expiry date on your yeast package. Old or inactive yeast is the primary culprit behind dough that fails to rise, leading to dense, heavy bread. If in doubt, perform a quick proofing test by mixing a small amount with warm water and a pinch of sugar; it should become frothy within 5-10 minutes.
- Understand Rising Time Variability: The time required for dough to rise is highly dependent on ambient temperature. On warmer days, the yeast will be more active, and the dough will rise much faster. Conversely, in colder conditions, rising times will be extended. Find a warm, draft-free spot for your dough – a turned-off oven with the light on, or a sunny windowsill, can work wonders.
- Overnight Cold Proofing for Flavor: For an even deeper, more complex flavor and to break up the workload, consider giving the dough its first rise overnight in the refrigerator. The cold temperature slows down fermentation, allowing the flavors to develop beautifully. Just remember to bring the dough back to room temperature before proceeding with shaping.
- Proper Coconut Milk Preparation: Full-fat tinned coconut milk can separate into a thick cream layer and a watery liquid. Before measuring, give the tin a vigorous shake, or pour it into a bowl and whisk it thoroughly until uniformly combined. Gently warming it slightly can also help in achieving a smooth, homogenous mixture, making it easier to incorporate into the dough.
- Resist Adding Extra Flour: It can be tempting to add more flour if your dough feels sticky, but resist this urge! A soft, slightly sticky dough is generally a good indicator that you’re on track for light, tender, and airy bread. Adding too much extra flour will inevitably result in a dense, dry, and less enjoyable texture. Trust the recipe and the kneading process to develop the gluten.
- Portion Control and Size: This recipe yields 10 modestly sized rolls, perfect for individual servings or sandwiches. If you prefer larger, more substantial buns, you can easily divide the dough into 8 portions instead. Adjust baking time accordingly if making larger rolls.
- Customizing Puffiness: The thickness to which you roll out the dough before folding will directly impact the final puffiness of your coco bread. For a lighter, airier bun, roll it a bit thinner. For a more substantial, denser bread, roll it slightly thicker.
Frequently Asked Questions (FAQ’s) about Vegan Coco Bread
These delicious vegan coco breads are truly at their best when enjoyed on the day they are baked. However, they can be stored in an airtight container at room temperature for up to 3 days, maintaining a good level of freshness. For optimal taste and texture after the first day, a quick warm-up in the oven or microwave is recommended.
Absolutely! The baked vegan coco breads freeze beautifully. Once they have completely cooled, wrap them individually or place them in an airtight freezer-safe container or bag. For best results and to preserve their fresh quality, freeze them on the day they are baked. This protection helps prevent freezer burn. To serve, allow them to defrost at room temperature, then refresh in a low oven (around 150°C/300°F) for about 10 minutes, or microwave for 20-30 seconds until warmed through. I do not recommend freezing the unbaked dough, as the yeast activity can be unpredictable after thawing.
Unfortunately, this particular recipe is not suitable for gluten-free flour substitutions. Baking gluten-free bread is a highly specialized skill, as gluten-free flours behave very differently and require a completely different formulation of ingredients and techniques to achieve a comparable texture. The entire recipe would need to be redeveloped to be successful as a gluten-free option. As gluten-free baking is not my area of expertise, I cannot provide reliable advice for adapting this recipe. It is always best to seek out and use a recipe specifically designed for gluten-free ingredients to ensure the best possible outcome.
Yes, absolutely! While hand kneading is a rewarding experience, a stand mixer fitted with a dough hook is an excellent tool for making this dough. Follow the same steps, mixing the dry ingredients, then adding the wet. Knead on medium-low speed for about 7-8 minutes, or until the dough is smooth, elastic, and passes the windowpane test. Using a stand mixer can significantly reduce the physical effort and time spent kneading.
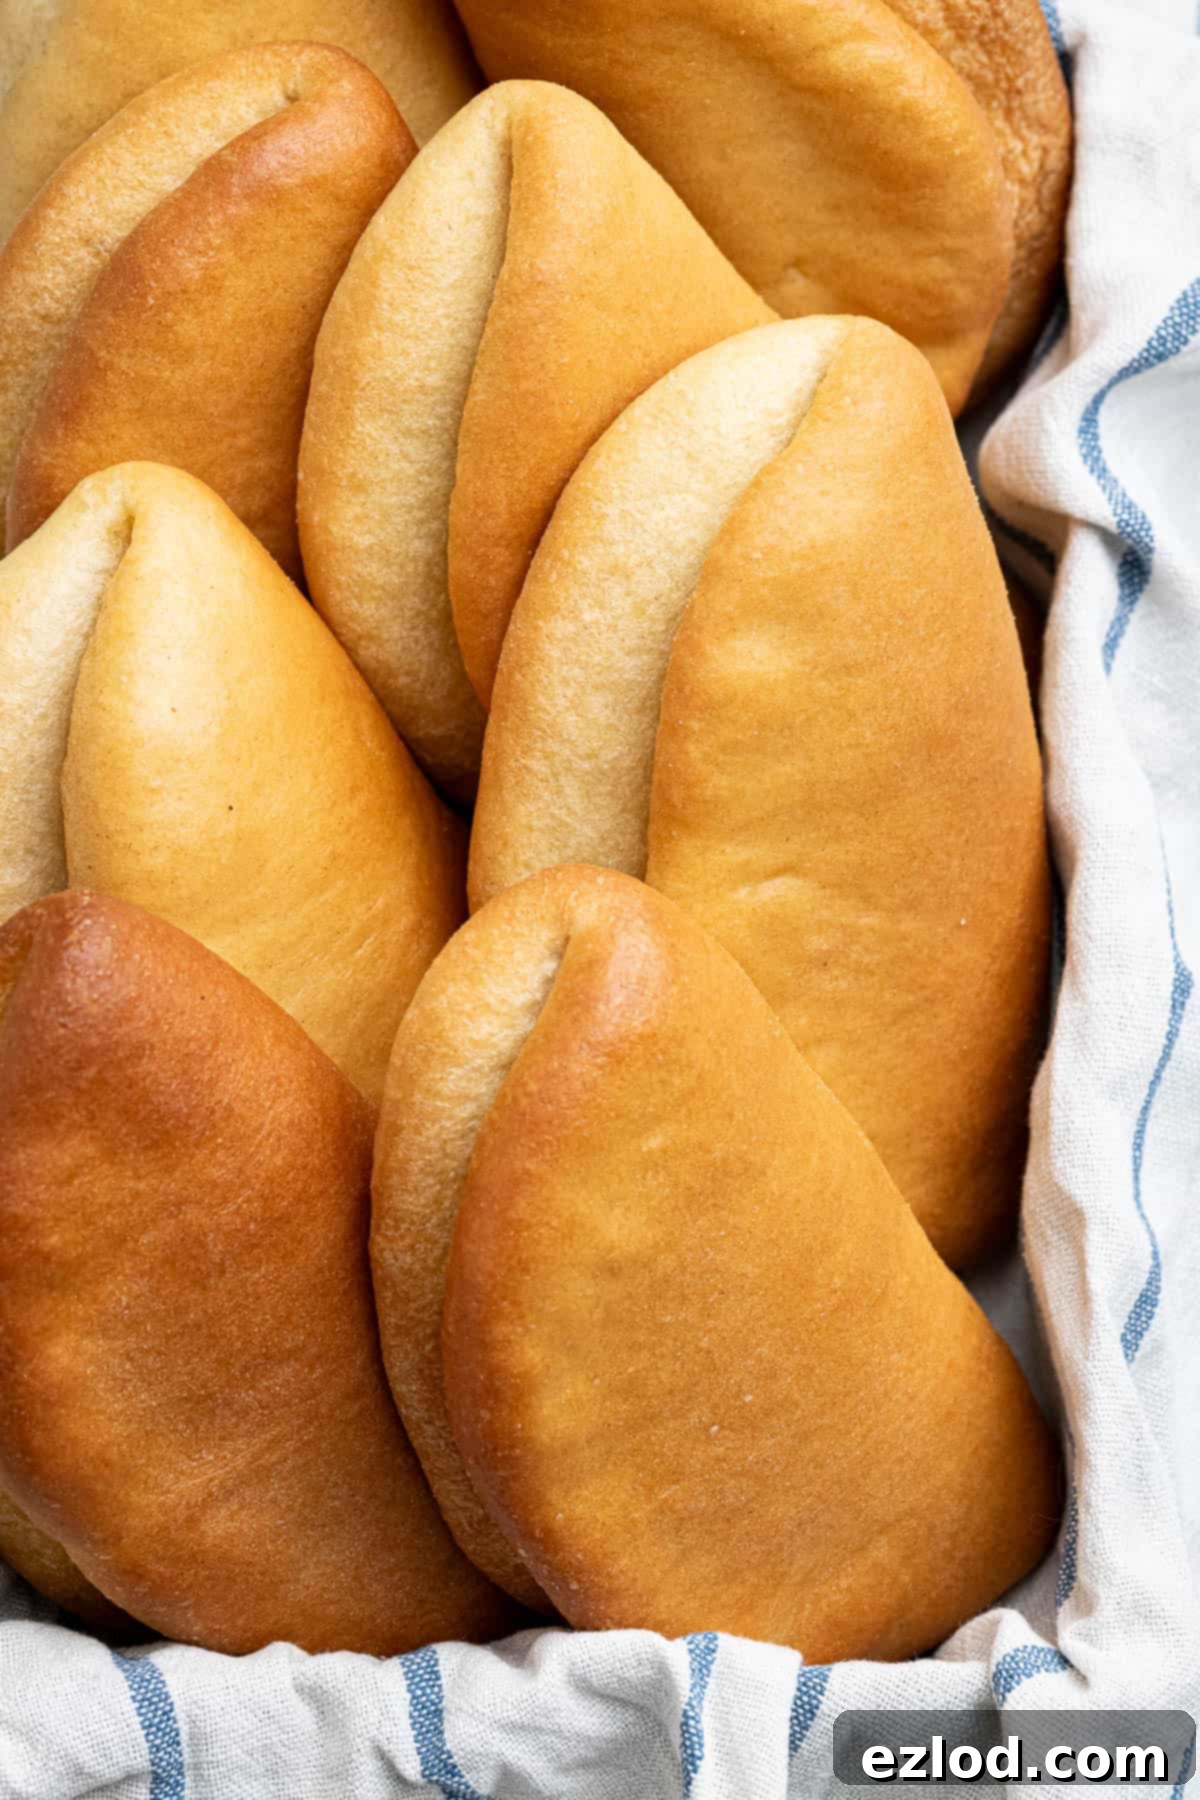
We hope you enjoy baking and savoring these incredible vegan coco bread rolls! If you tried this recipe, we would love to hear from you. Please rate it, leave a comment below, or tag @domestic_gothess on Instagram and use the hashtag #domesticgothess to share your creations!
All images and content on Domestic Gothess are copyright protected. If you wish to share this recipe, please do so by utilizing the provided share buttons. We kindly request that you do not screenshot or post the recipe or content in its entirety. Instead, please include a direct link back to this original post for the recipe. Your understanding and support are greatly appreciated!

Vegan Coco Bread
Ingredients
- 435 g (3 + ⅔ cups) white bread flour
- 2 Tablespoons caster or granulated sugar
- 1 teaspoon salt
- 7 g (2 ¼ teaspoons) instant/fast action yeast
- 250 g (1 cup) full fat tinned coconut milk well shaken/whisked
- 45 g (3 Tablespoons) vegan butter melted
- 1-2 Tablespoons water
- 45 g (3 Tablespoons) vegan butter melted, for brushing
Instructions
-
Combine the flour, sugar, salt, and yeast in a large bowl.435 g (3 + ⅔ cups) white bread flour, 2 Tablespoons caster or granulated sugar, 1 teaspoon salt, 7 g (2 ¼ teaspoons) instant/fast action yeast
-
Stir in the coconut milk and melted butter. Add 1-2 Tablespoons of warm water as needed to pick up all the dry flour and form a soft, slightly sticky dough.250 g (1 cup) full fat tinned coconut milk, 45 g (3 Tablespoons) vegan butter, 1-2 Tablespoons water
-
Turn the dough out onto an unfloured surface and knead for about 10 minutes until it becomes very smooth, stretchy, and passes the windowpane test – where you can stretch a portion thinly enough to see light through without it tearing.
-
Shape the dough into a ball and place it in a lightly oiled bowl. Cover and set aside to rise in a warm spot until doubled in size, about 1-2 hours.
-
Once risen, give the dough a brief knead to knock out any air bubbles, then divide it into 10 even portions (using a scale for accuracy is recommended). Shape them into smooth balls.
-
On a lightly floured surface, roll one of the dough balls out into a circle approximately 15 cm (6 inches) wide. Brush the entire surface with melted vegan butter.45 g (3 Tablespoons) vegan butter
-
Fold the dough in half to form a crescent shape, creating the characteristic pocket.
-
Repeat the rolling and folding process with the rest of the dough balls. Arrange the shaped coco breads spaced apart on one or two lined baking sheets.
-
Loosely cover with oiled clingfilm or a clean kitchen towel and set aside to rise until puffy, about 30-45 minutes. If you gently press the dough with your finger, it should spring back slowly and perhaps leave a slight indentation. If it springs back quickly, it needs a little longer. If the dough deflates, it is over-proofed, so keep a close eye on them during this stage!
-
While the coco bread is rising for the second time, preheat your oven to 180℃/160℃ fan/350℉/gas mark 4.
-
Bake the risen bread for 15-20 minutes until they are nicely browned. A probe thermometer inserted into the center should reach at least 90°C/194°F to confirm they are cooked through.
-
Immediately after baking, brush the warm coco breads with more melted vegan butter. Then, transfer them to a wire rack to cool completely before serving and enjoying.
Notes
- Refer to the post above for detailed tips, ingredient insights, and step-by-step photos to guide you through the process. Many common questions are addressed there!
- For consistently excellent baking results, I highly recommend using metric measurements with a digital kitchen scale rather than imprecise cup conversions. A scale ensures accuracy and less mess.
- Before incorporating tinned coconut milk, give it a good shake or whisk thoroughly to ensure the fat and liquid components are well combined. Gently warming it can also facilitate easier mixing.
