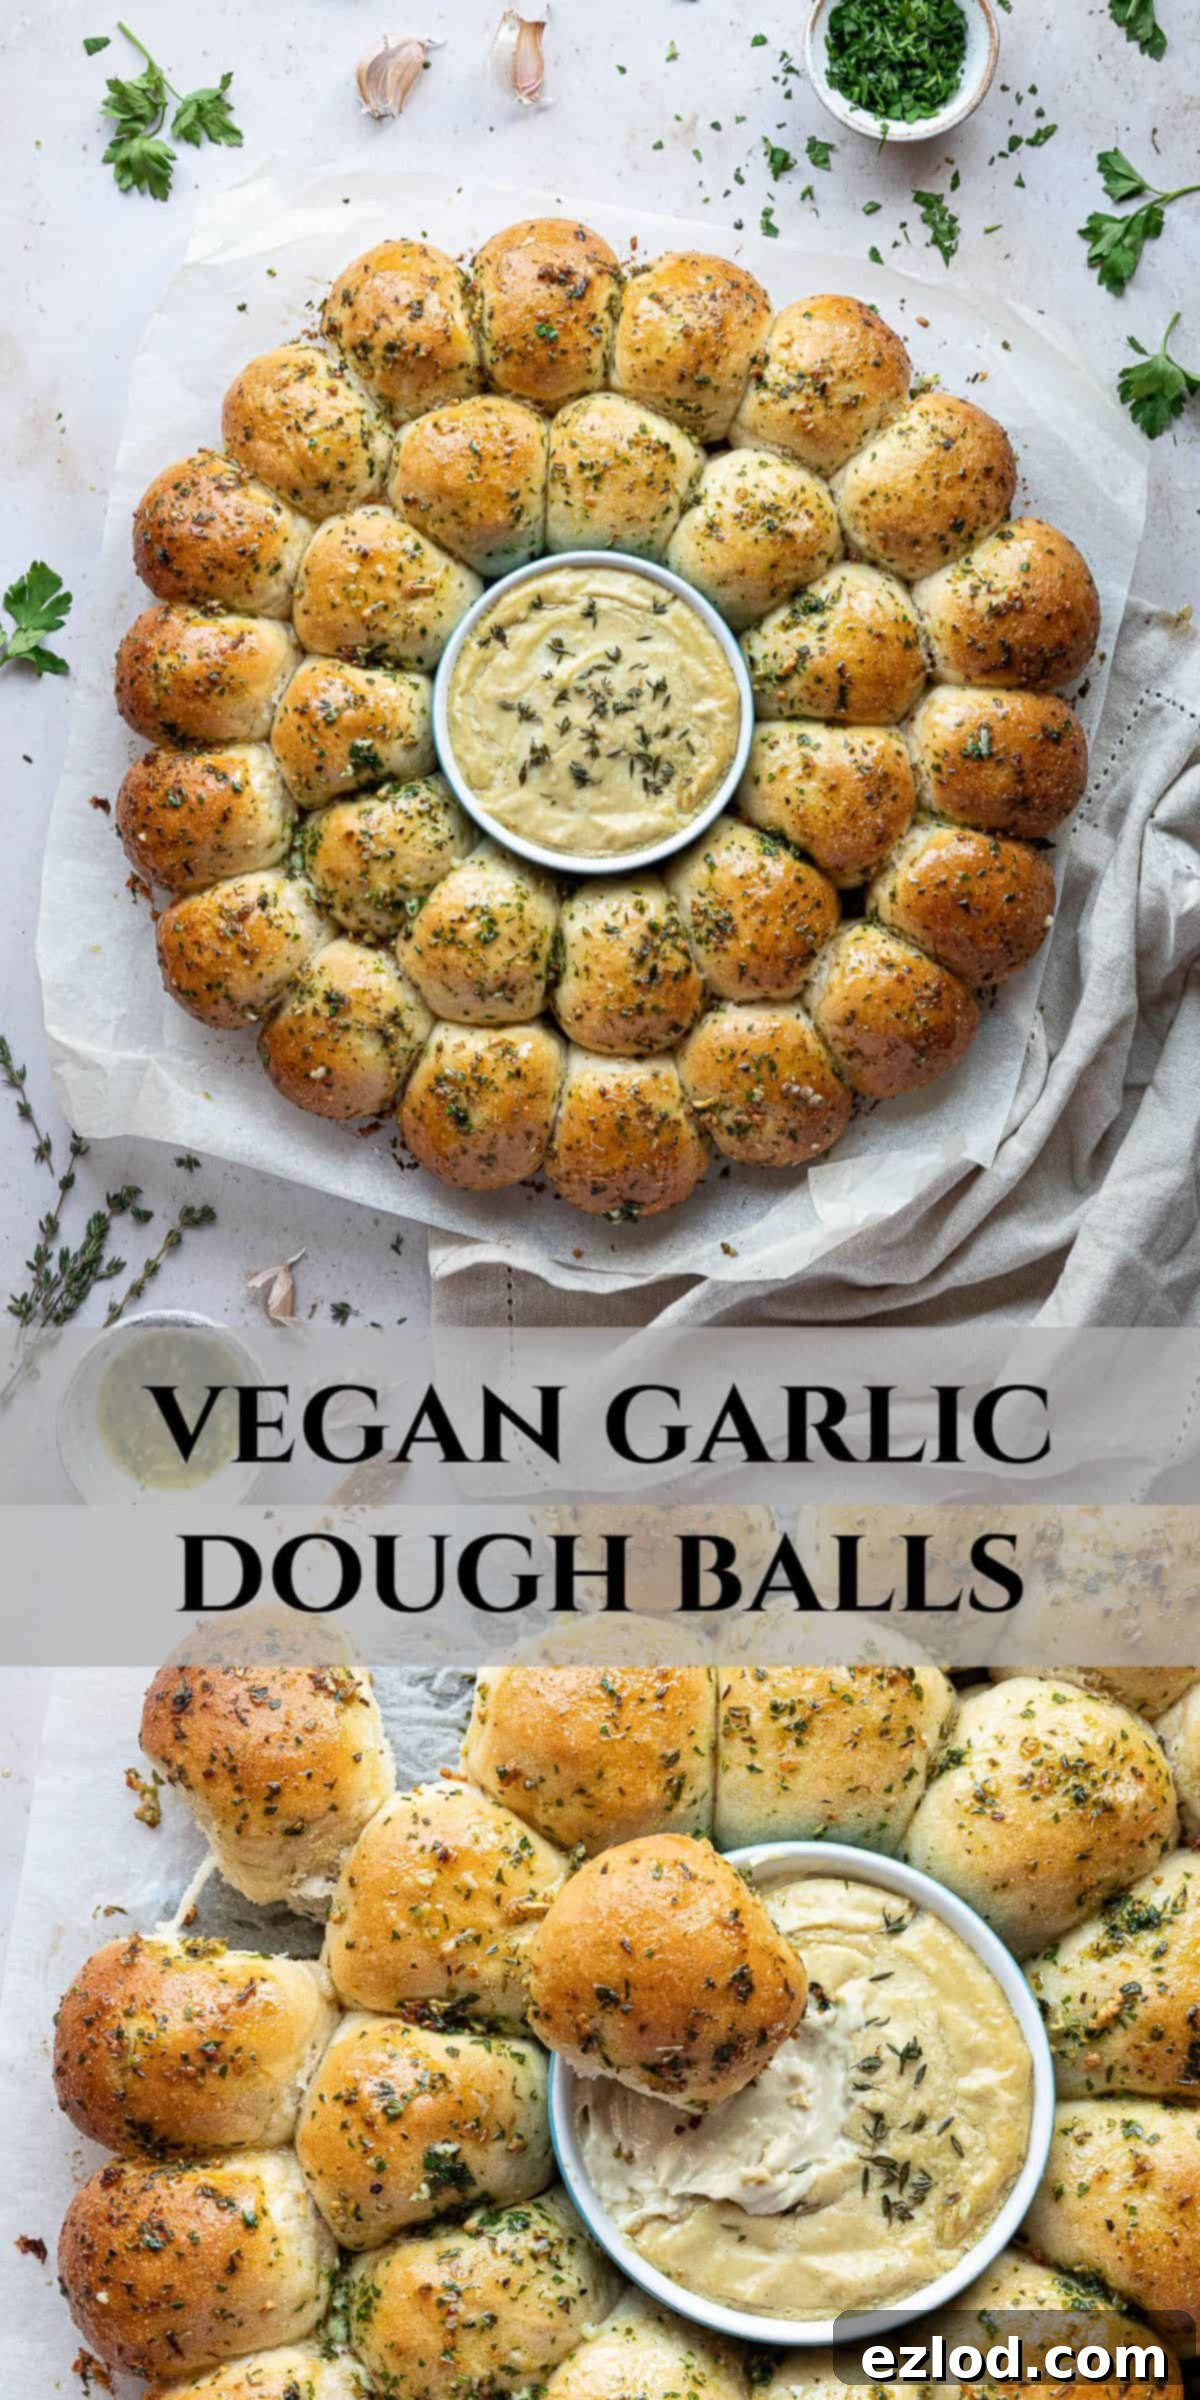
Irresistible Vegan Garlic Dough Balls with Cheesy Cashew Dip: Your New Favorite Party Appetizer
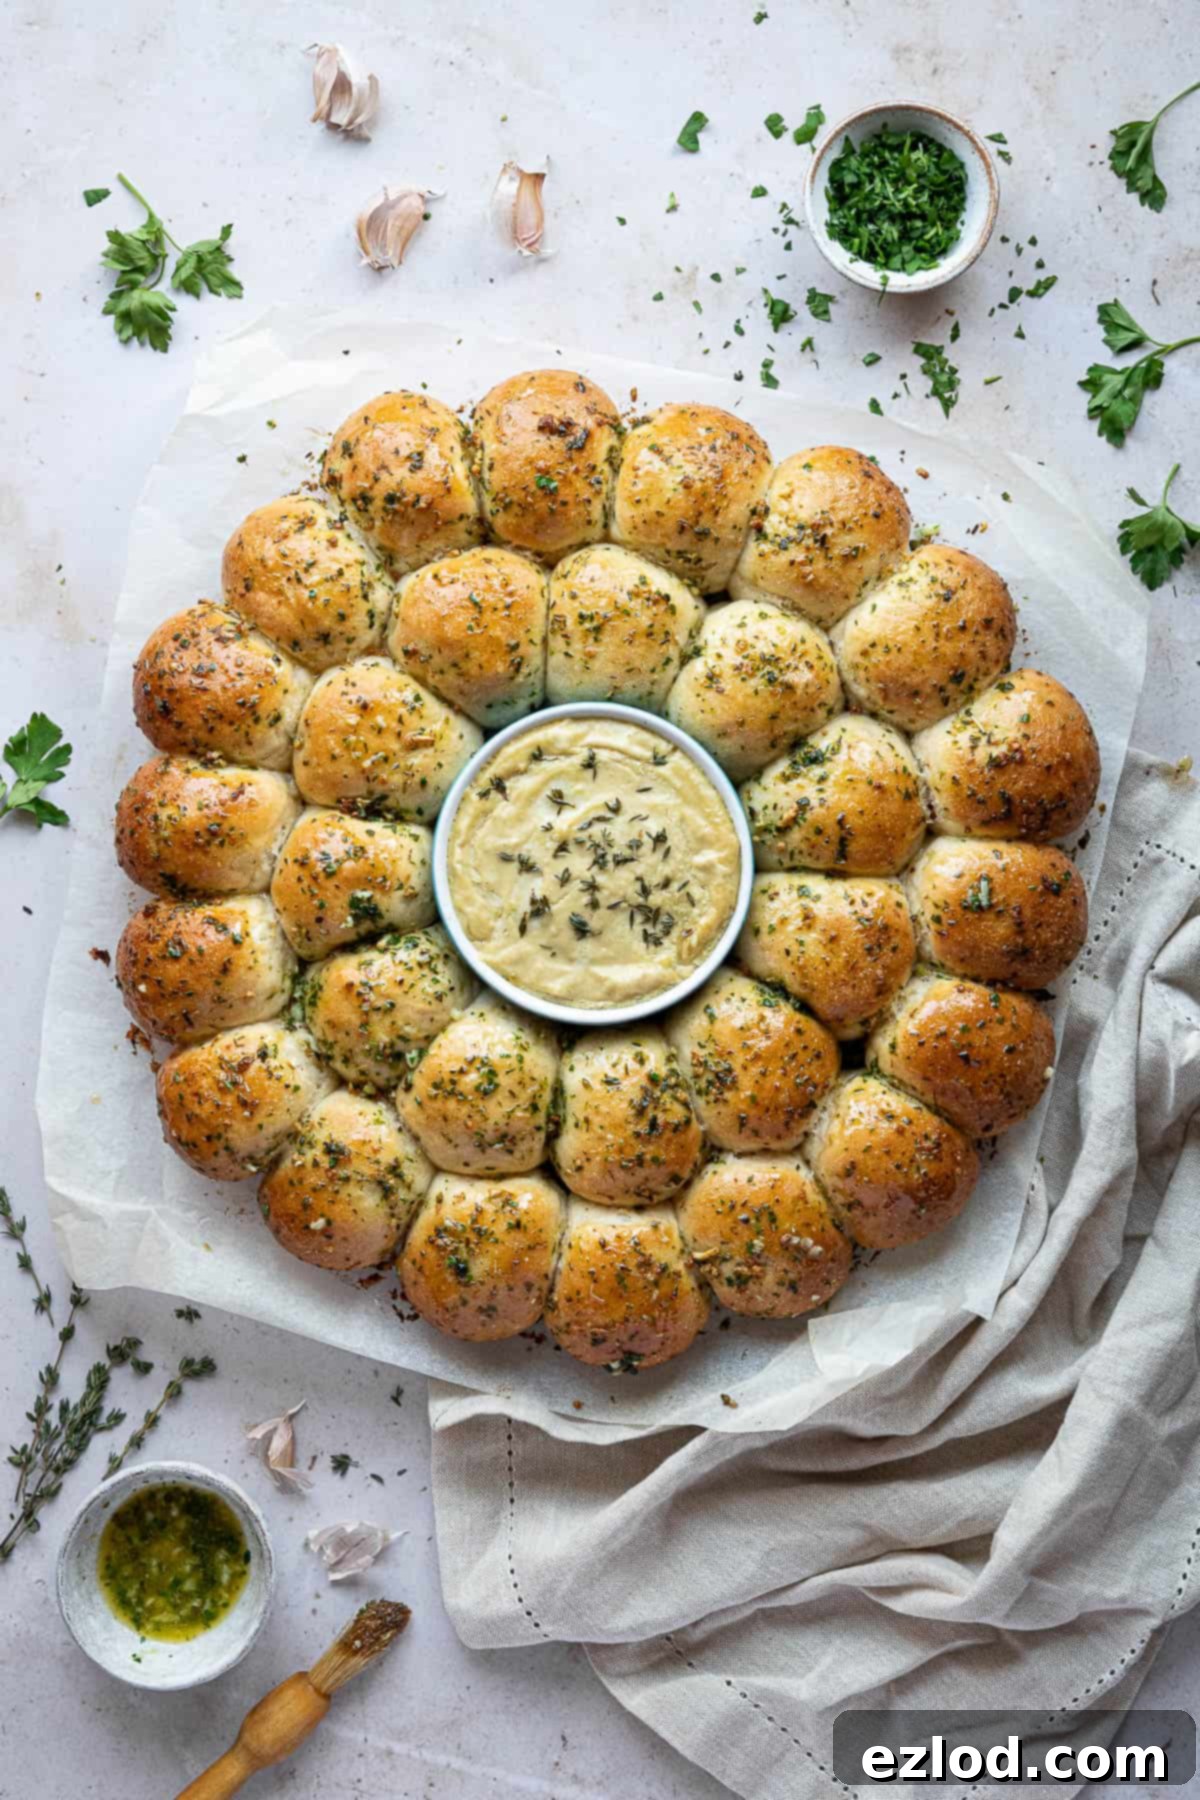
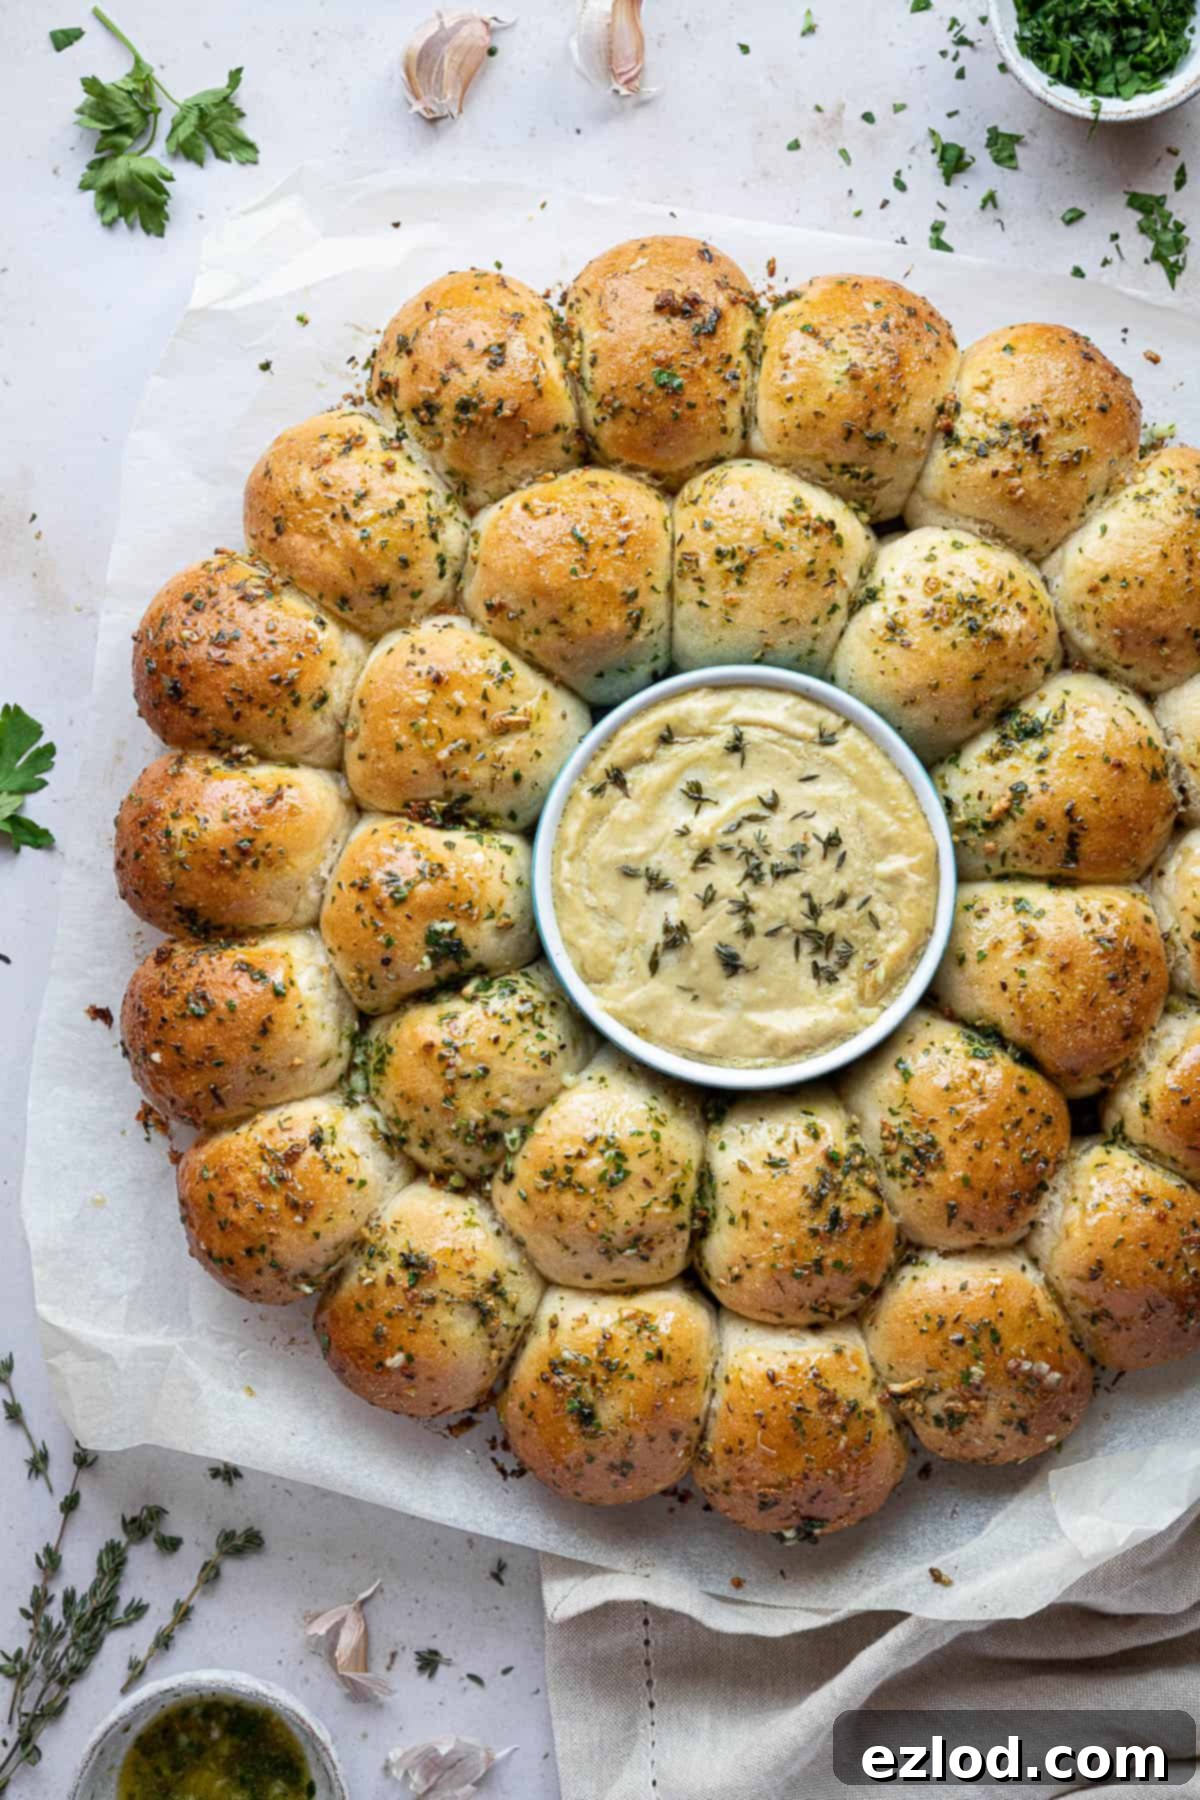
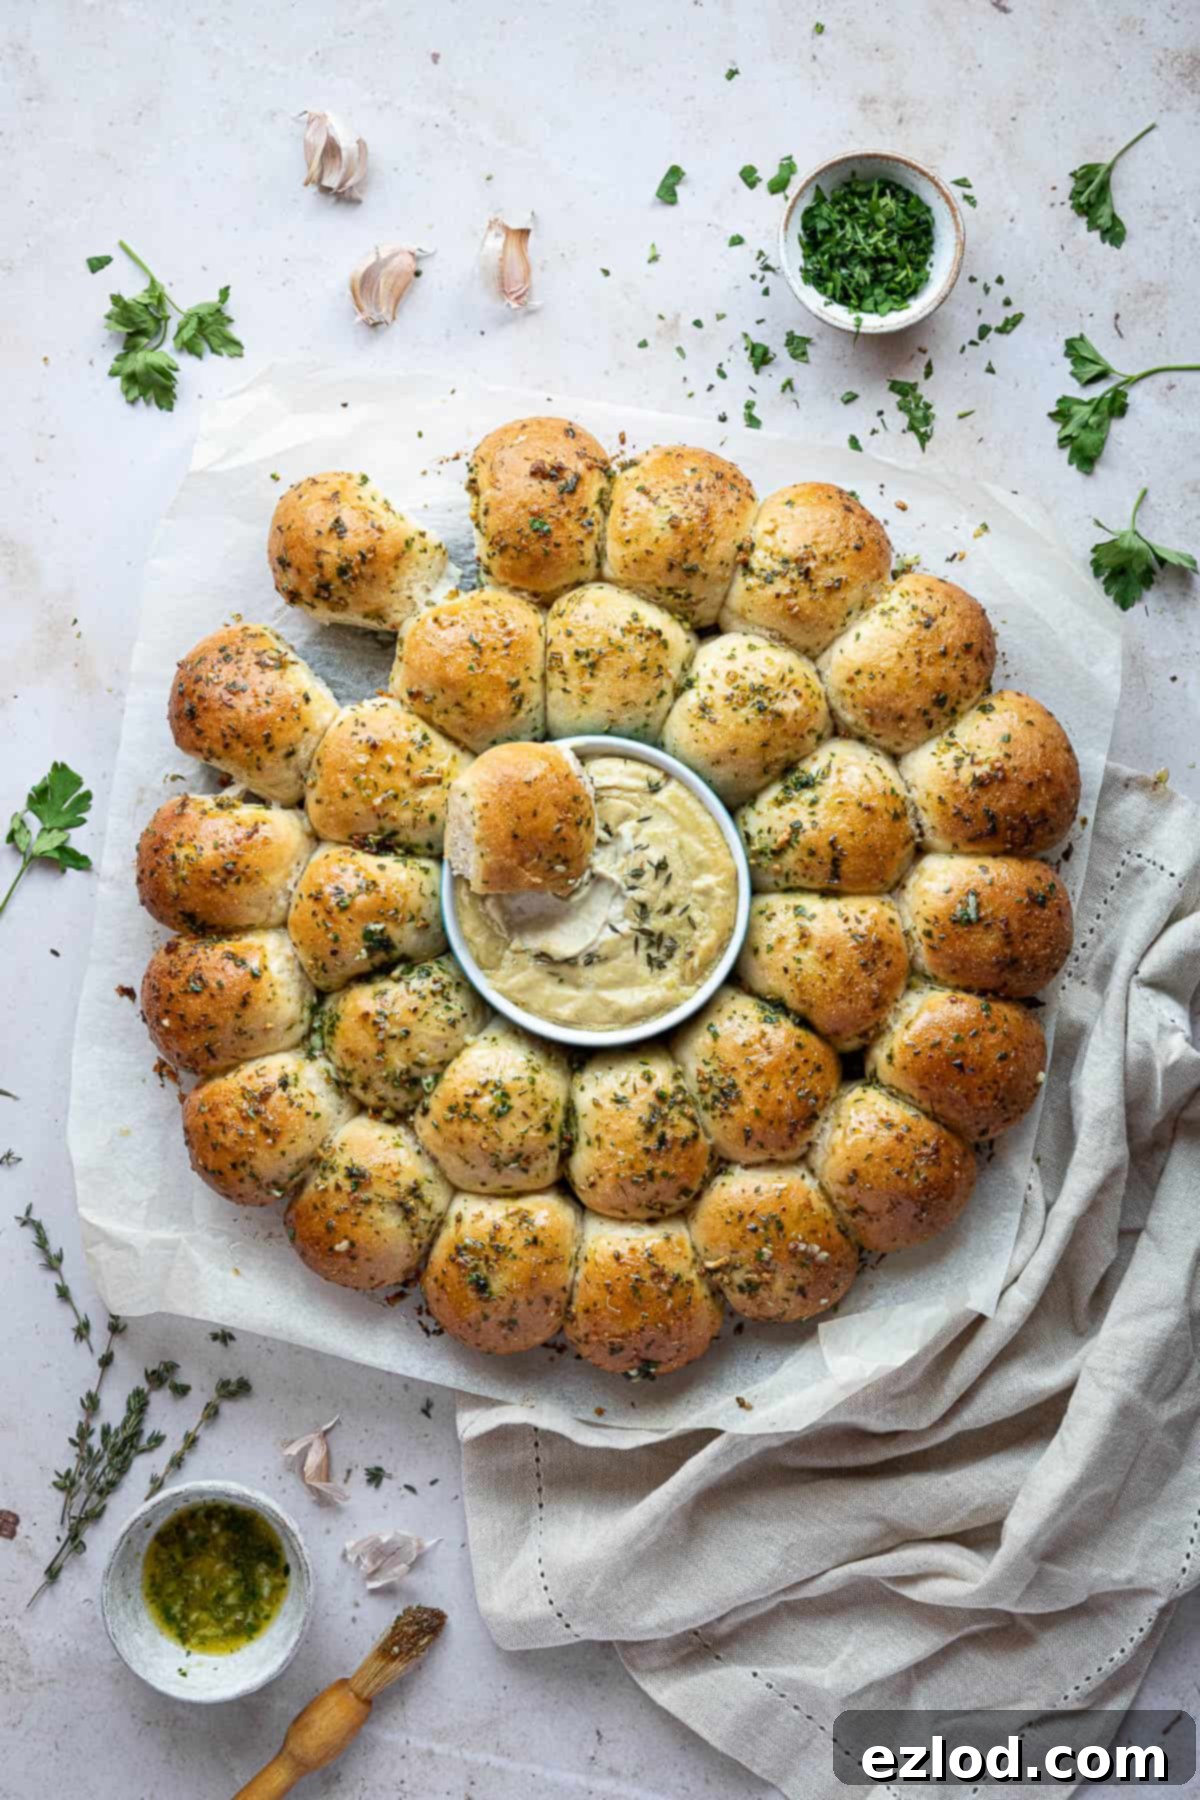
Get ready to impress your guests and delight your taste buds with these incredible vegan garlic dough balls! Soft, fluffy, and bursting with rich garlic butter flavor, they are truly irresistible. Served with a luscious, creamy cashew cheese dip, these pull-apart dough balls form an attractive wreath, making them a stunning centerpiece for any celebration or the perfect companion for a cozy movie night. While crafting homemade bread might seem daunting, this recipe is surprisingly easy to follow and absolutely worth every moment spent in the kitchen.
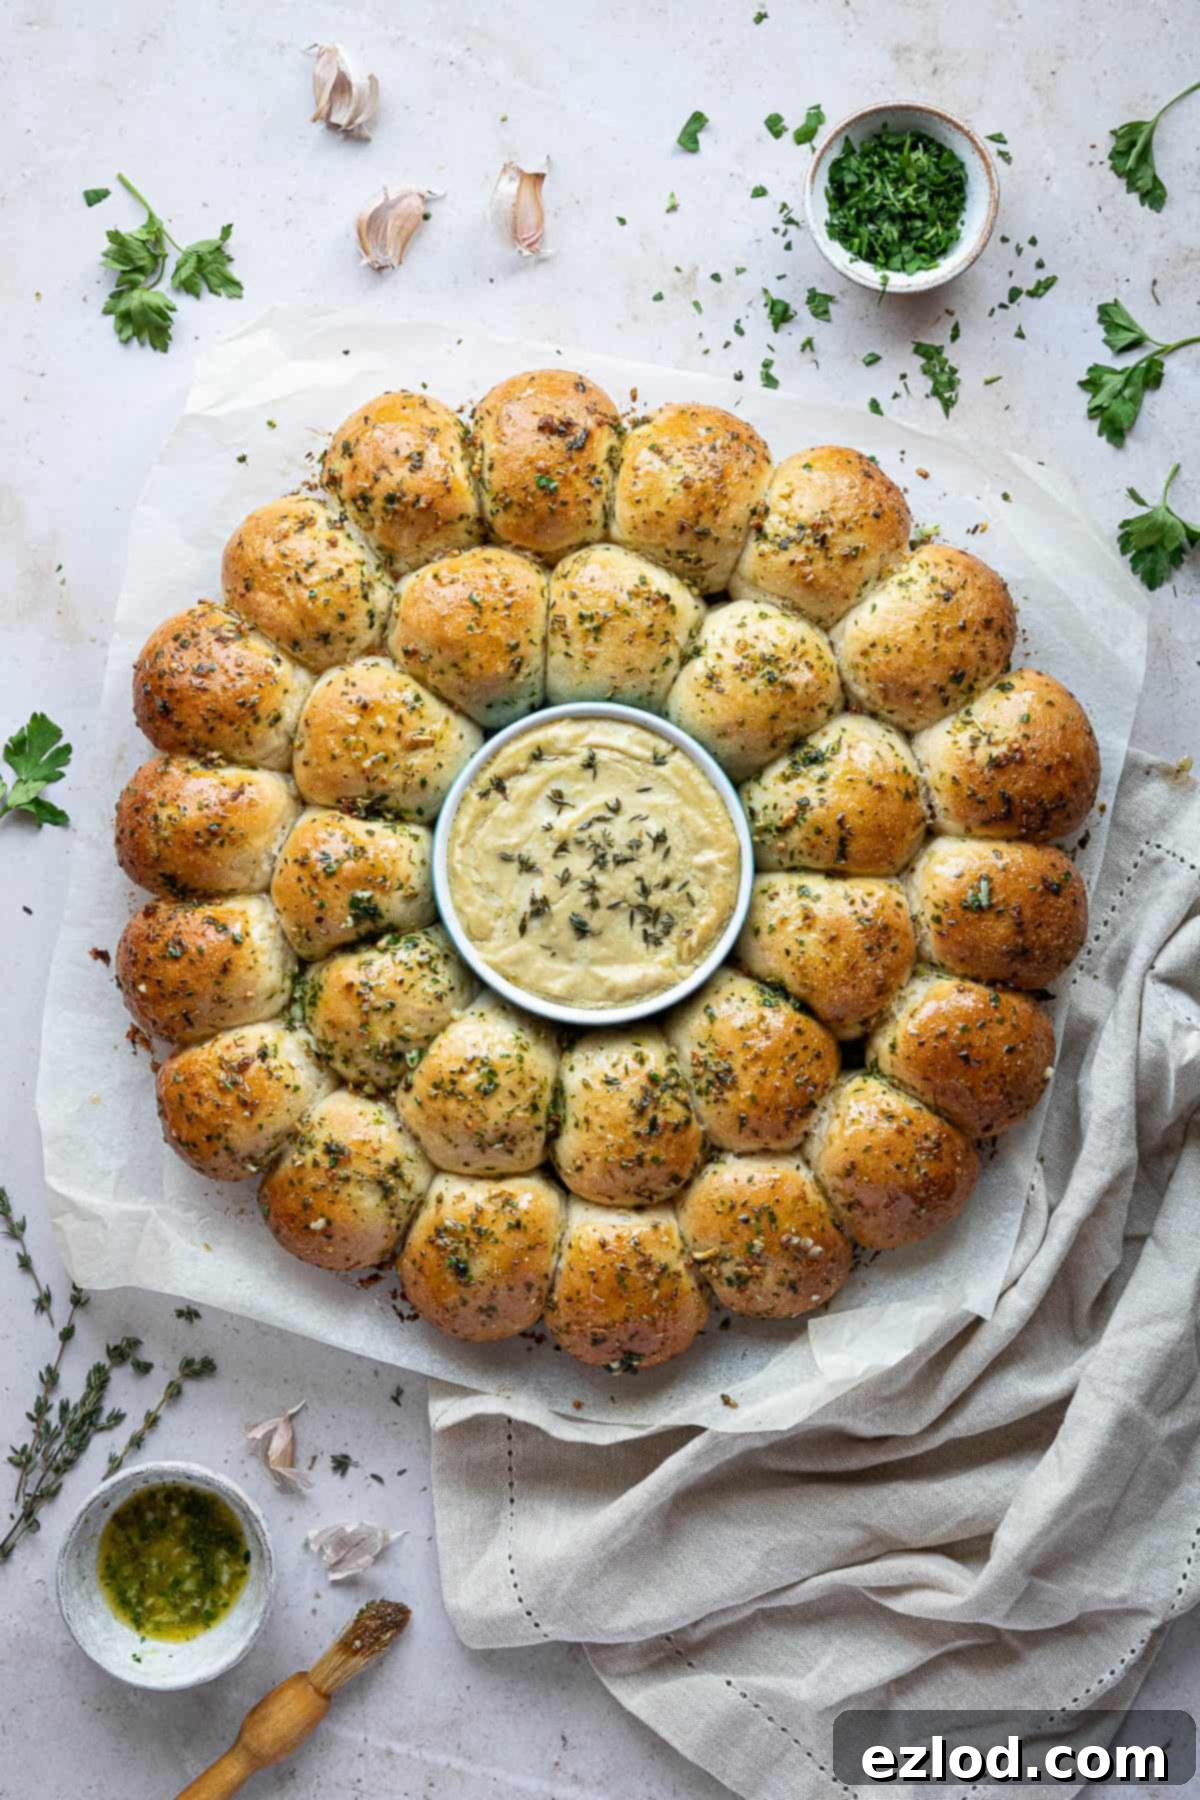
These vegan garlic dough balls are a culinary revelation – light, airy, wonderfully buttery, and intensely garlicky. The addition of fresh herbs elevates their aroma and taste, making them incredibly moreish. The pull-apart wreath design isn’t just visually appealing; it encourages sharing and makes these an ideal choice for social gatherings, family dinners, or simply as a luxurious snack.
Making bread always requires a little patience, as fermentation and rising are key steps, but the process for these dough balls is straightforward. Don’t be intimidated; the result is a deeply satisfying, savory treat that you’ll want to make again and again. Let’s dive into what you’ll need to create this fantastic dish.
Key Ingredients for Your Vegan Garlic Dough Balls:
Crafting the perfect dough balls begins with selecting the right ingredients. Each component plays a vital role in achieving that sought-after fluffy texture and rich flavor.
For the Dough:
- Bread Flour: This is a non-negotiable for achieving the ideal chewy, yet light and fluffy texture. White bread flour boasts a higher protein content than all-purpose (plain) flour, which is essential for developing strong gluten networks. This gluten is what gives bread its characteristic structure and elasticity. While plain flour can work in a pinch, expect a slightly denser result. Avoid wholemeal flour, as its higher fiber content tends to make the dough balls too heavy.
- Instant Yeast: My preferred choice for bread making. Instant yeast can be mixed directly with dry ingredients, saving you the step of activating it in liquid first. This makes the process quicker and more convenient. If you only have active dry yeast, refer to our tips section below for activation instructions.
- Olive Oil: A touch of olive oil in the dough contributes to its softness and adds a subtle depth of flavor. Opt for a mild variety, as extra virgin olive oil can sometimes be too strong. Any other neutral-flavored oil, such as sunflower or canola oil, can also be used as a substitute.
- Non-Dairy Milk: Unsweetened soy milk is my top recommendation due to its higher protein content, which closely mimics dairy milk in baking and contributes to a tender crumb. However, any unsweetened non-dairy milk (almond, oat, cashew) will work well. Just ensure it’s not sweetened, as this can alter the final taste.
- Salt: Essential for both flavor and dough structure. Salt regulates yeast activity and strengthens the gluten, making for a better rise and a more palatable finished product. Never omit it!
- Sugar: A small amount of sugar acts as food for the yeast, helping it to activate and multiply, leading to a robust rise and a perfectly airy dough.
For the Garlic Butter:
- Vegan Butter: The star of the show for the rich, melt-in-your-mouth garlic butter. Both block and tub varieties of vegan butter or margarine work wonderfully. I’ve had great success with brands like Flora original.
- Garlic: Lots of it! You’ll need fresh garlic for both the aromatic butter topping and the savory cashew cheese dip. For the garlic butter, four large cloves provide a wonderfully pungent flavor; feel free to reduce it to three if you prefer a milder taste.
- Herbs: I typically use a combination of dried oregano and fresh parsley for a classic flavor profile. However, feel free to experiment with your favorite finely chopped herbs. Fresh rosemary and thyme would also be delicious additions, offering a fragrant twist.
For The Cheesy Cashew Dip:
This creamy, savory dip is the perfect accompaniment, adding a rich, cheesy tang without any dairy.
- Cashews: Soaked raw cashews are the foundation of this incredibly creamy, dairy-free cheese dip. Their mild flavor and high fat content create a luxuriously smooth base when blended. I don’t recommend substituting them with other nuts, as the texture and flavor won’t be quite the same.
- Tapioca Flour (or Starch): This ingredient is crucial for achieving that slightly gooey, stretchy, and thick consistency reminiscent of melted cheese. Tapioca flour works uniquely to create this texture, so I advise against swapping it for other starches like cornstarch, as the results will differ.
- Nutritional Yeast: The secret to the cheesy, savory depth of flavor in this dip. Nutritional yeast provides a distinct umami profile that is vital for replicating a cheese-like taste in vegan recipes.
- Cider Vinegar: Adds a bright, tangy acidity that balances the richness of the cashews and enhances the overall cheesy flavor. Lemon juice can be used as an alternative, but you might need a slightly larger quantity to achieve the same level of tang.
Step-by-Step Guide: How To Make Vegan Garlic Dough Balls:
(For precise measurements and detailed instructions, please refer to the comprehensive recipe card located at the end of this page.)
Making these delightful dough balls is a journey, but each step is simple and rewarding. Follow these instructions carefully for the best results:
- Prepare the Dough Base: Begin by combining the bread flour in a large mixing bowl. If using a stand mixer, attach the dough hook. Add the instant yeast to one side of the bowl and the salt and sugar to the other. Keeping salt separate from yeast initially is good practice, as direct contact can sometimes inhibit yeast activity.
- Form the Dough: Pour in the olive oil, lukewarm non-dairy milk, and lukewarm water. Mix all the ingredients until they come together to form a shaggy, rough dough.
- Knead for Elasticity: Transfer the dough to a lightly floured surface or continue kneading with your stand mixer on a medium-high speed. Knead for 5-10 minutes. The goal is to develop the gluten, transforming the dough into a smooth, elastic, and slightly tacky ball that pulls cleanly away from the sides of the bowl. Resist the urge to add too much extra flour if it feels sticky; a slightly tacky dough is desirable for soft bread.

- First Rise: Lightly oil a clean bowl, place the dough inside, and turn it once to coat. Cover the bowl loosely with plastic wrap or a damp tea towel. Let it rise in a warm place for about 1-2 hours, or until it has visibly doubled in size. A warm spot, like a slightly warmed oven (turned off!), can expedite this process.
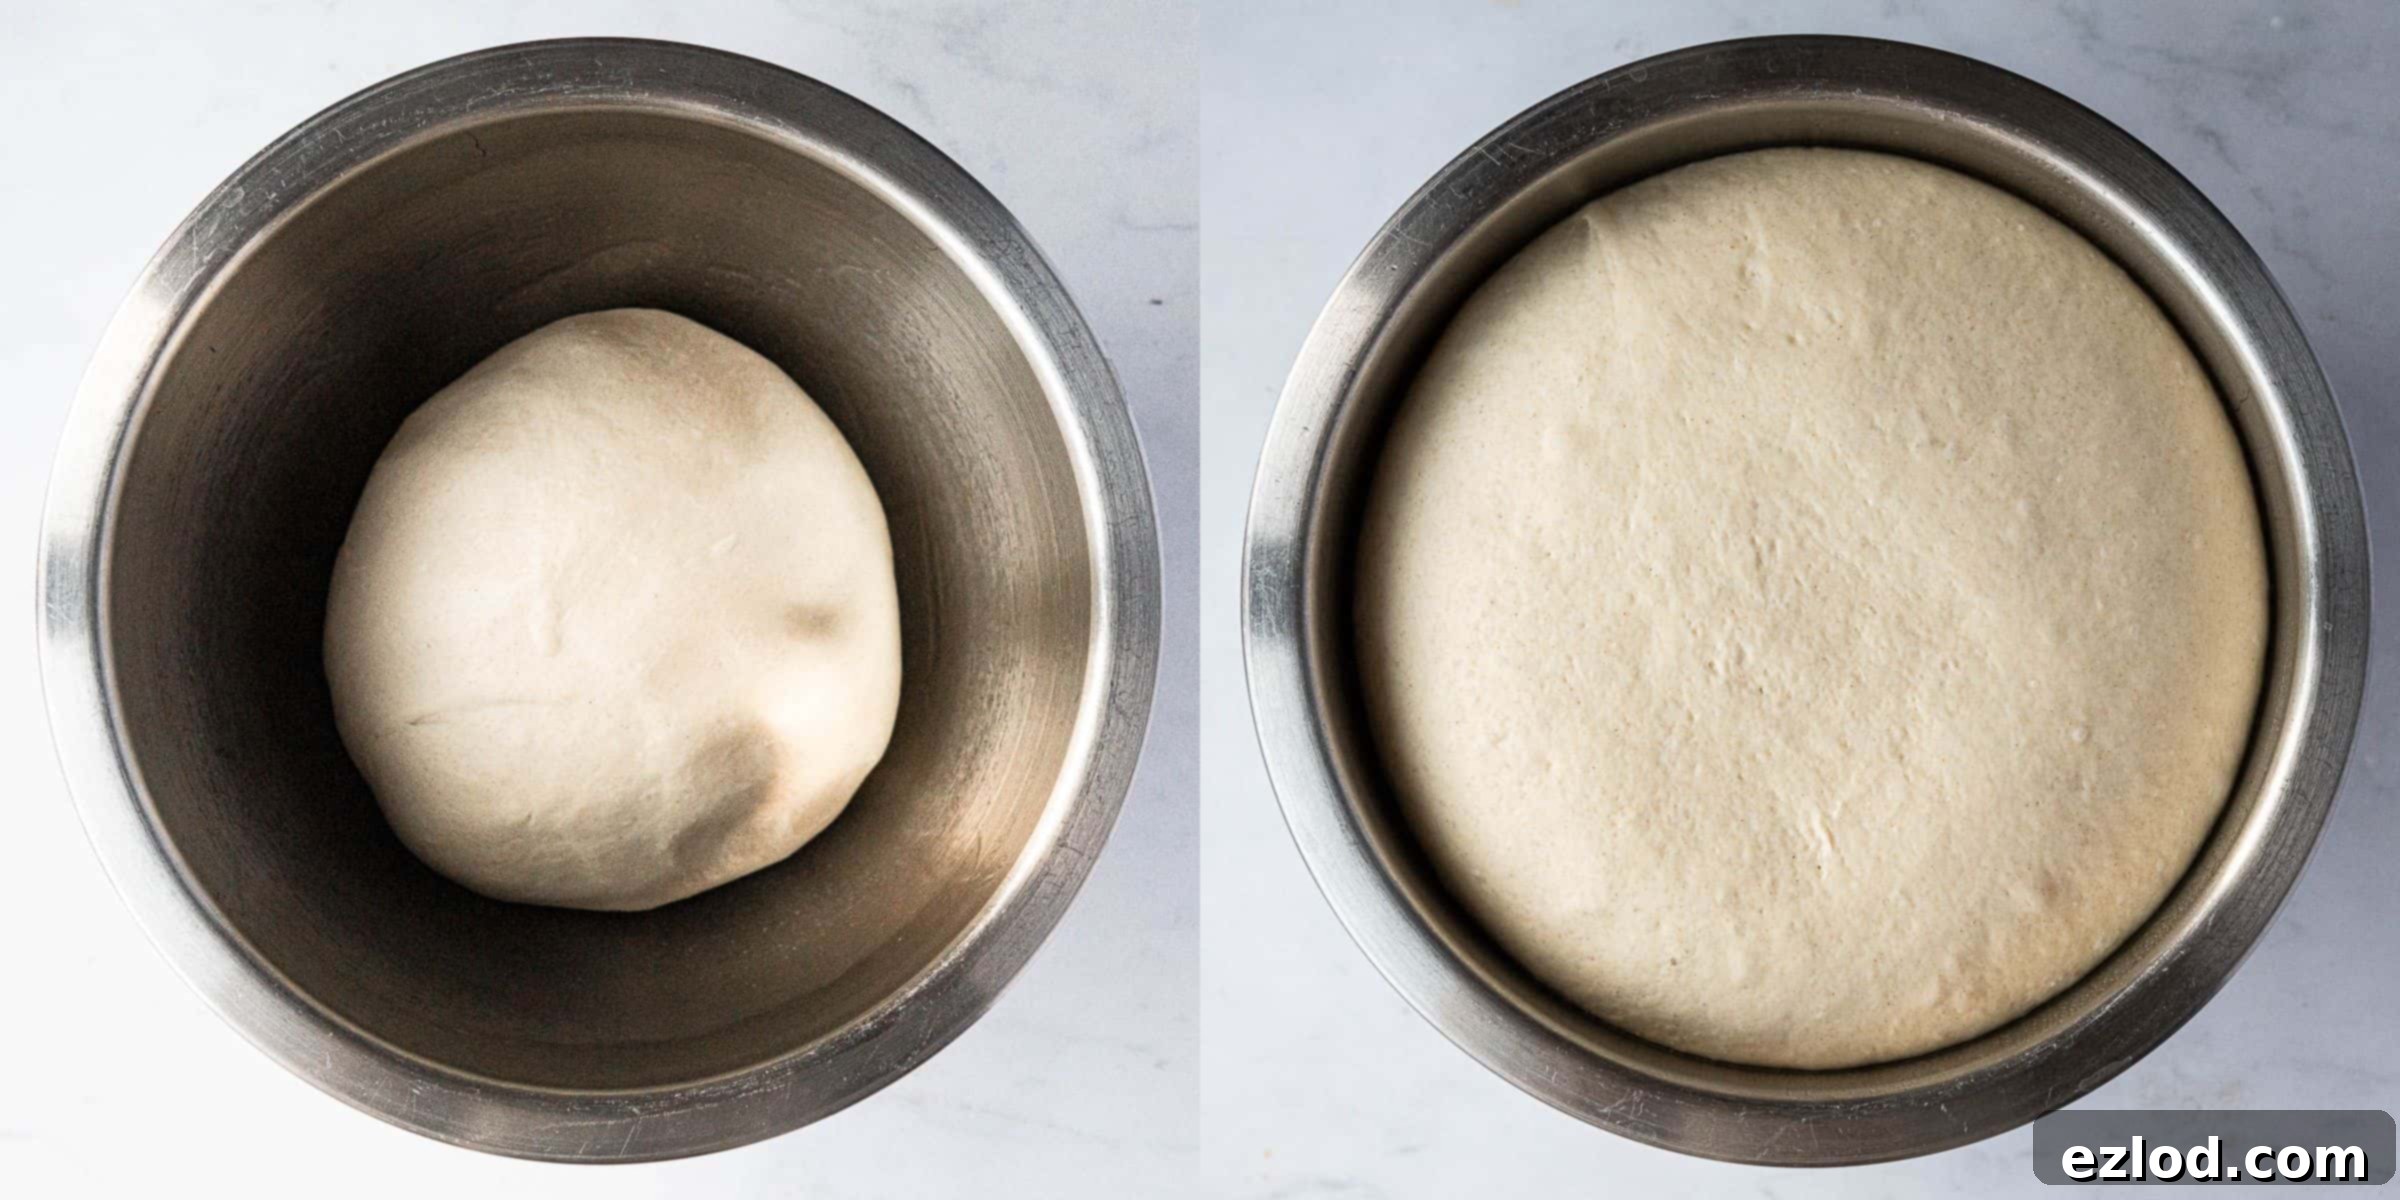
- Prepare for Shaping: Gently punch down the risen dough to release the accumulated air. Give it a brief, gentle knead to smooth it out.
- Divide the Dough: Divide the dough into approximately 29 small, even pieces, each weighing about 30g. Using a kitchen scale ensures accuracy and uniform dough balls, which will bake more evenly.
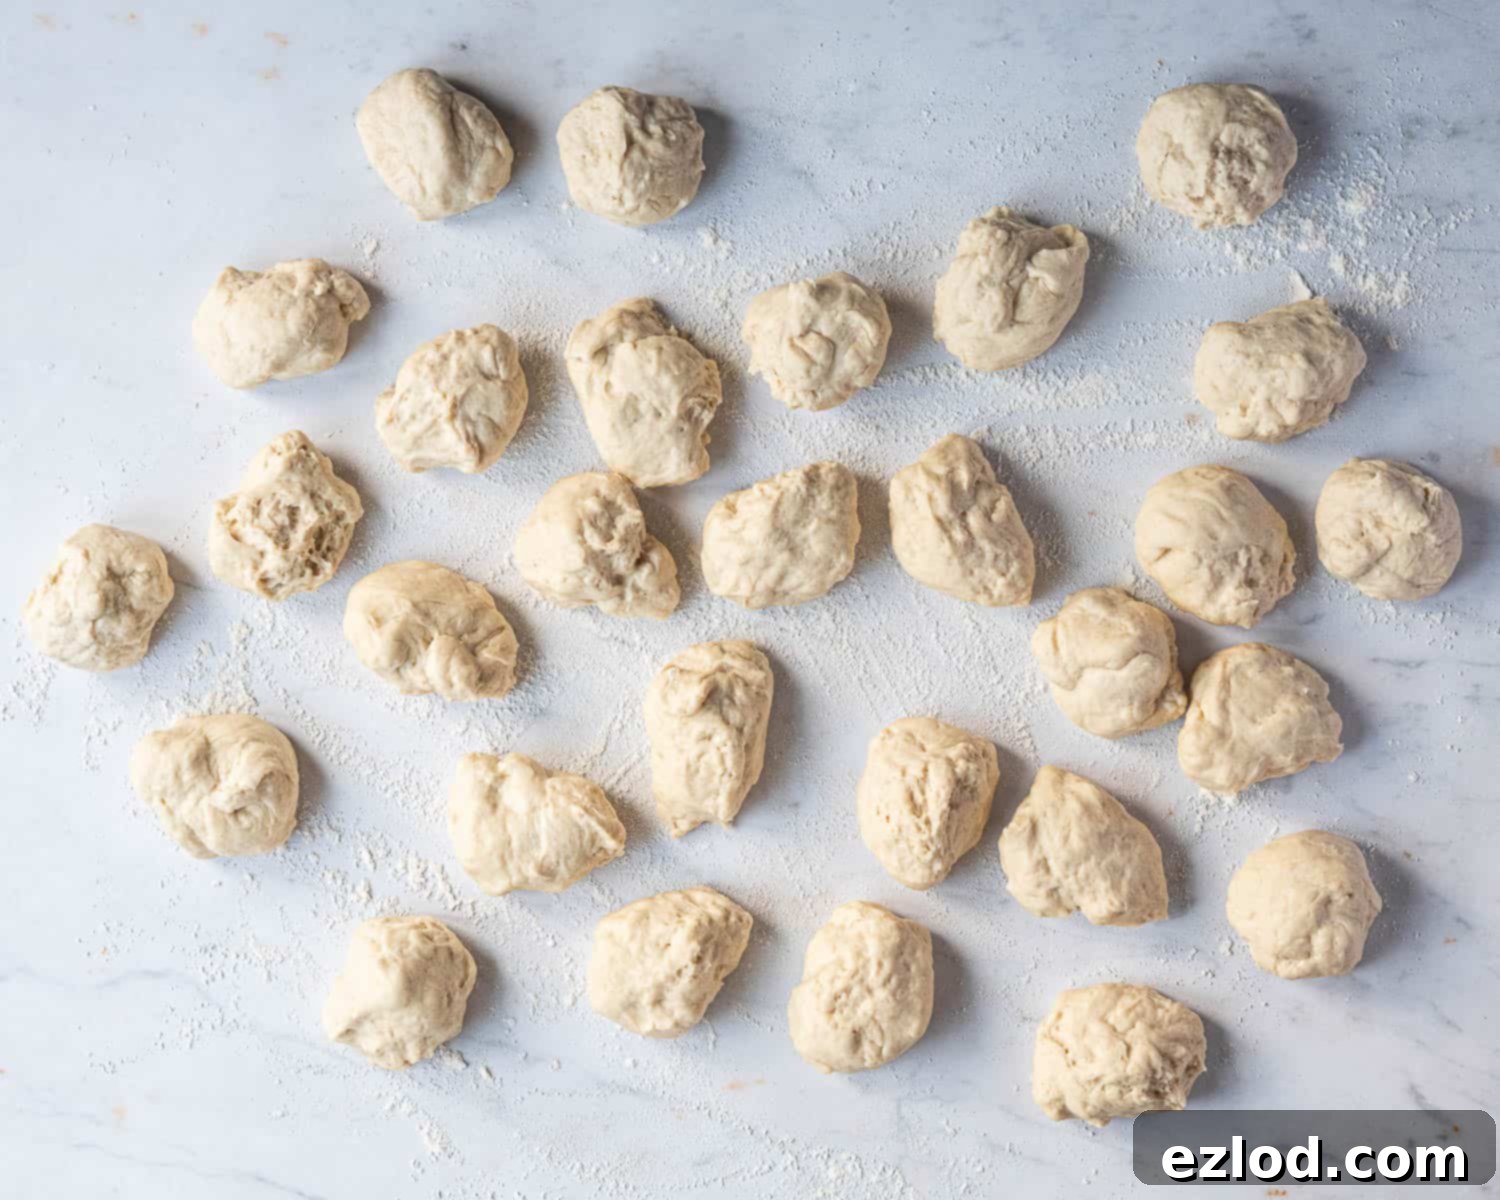
- Shape the Dough Balls: Take each small piece of dough and shape it into a neat ball. To do this, gather the edges of the dough and pinch them firmly together at the bottom to create a smooth, taut surface on top. Flip the ball over so the pinched seam is underneath, then cup it with your hand and roll it gently on the counter in a circular motion until it forms a perfectly smooth, well-sealed sphere.
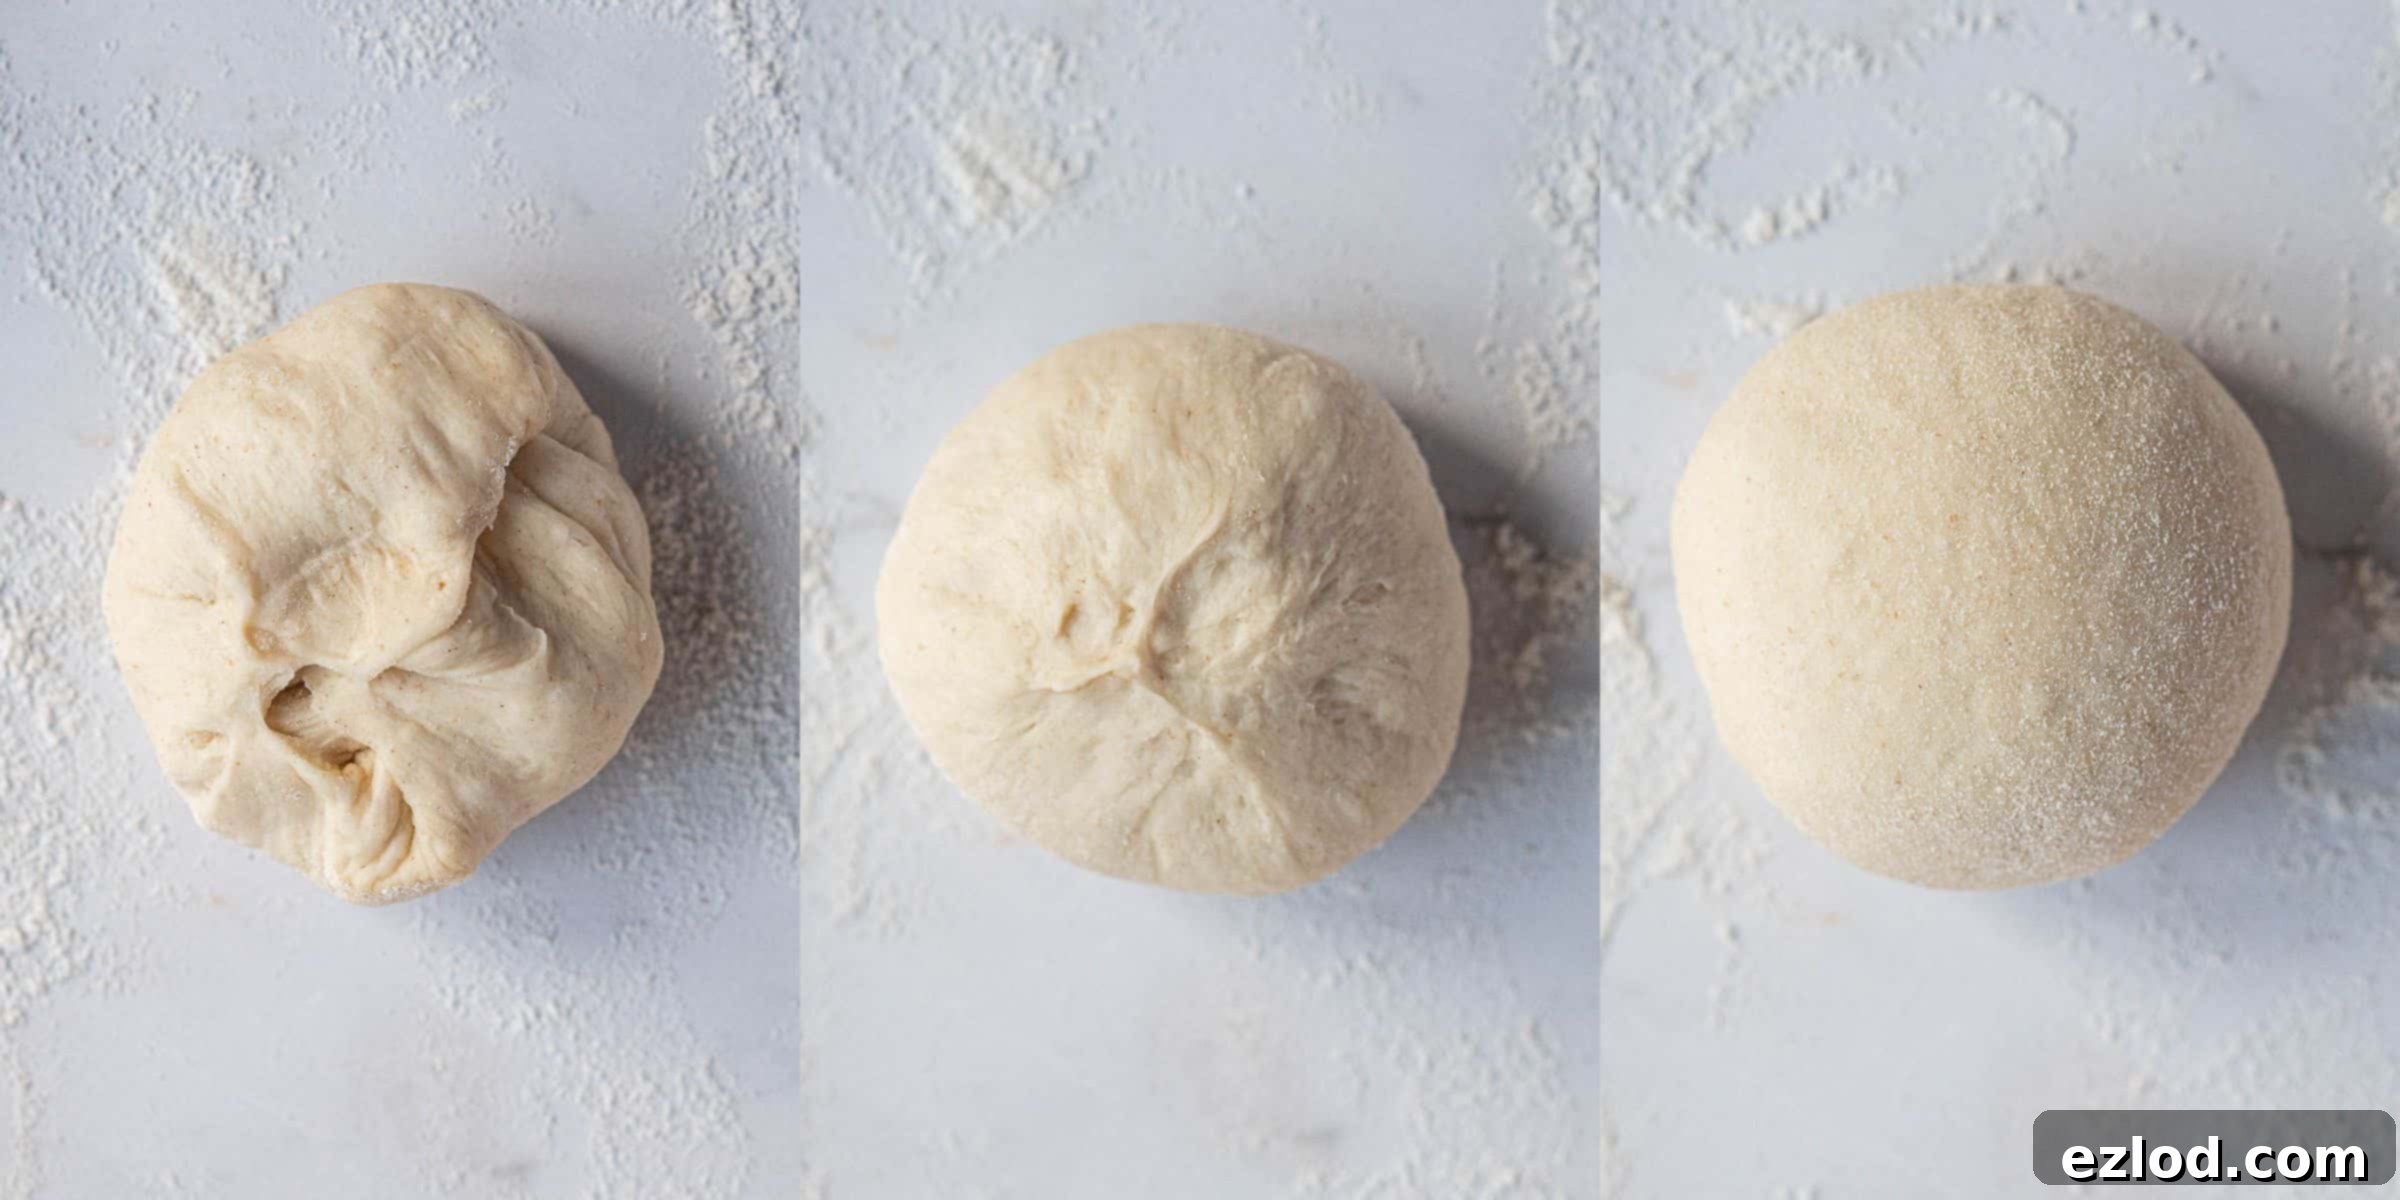
- Arrange for Second Rise: Line a large baking sheet with baking parchment. Grease both the interior and exterior of an approximately 11cm wide, 4cm deep ramekin, and center it on the prepared baking sheet. Arrange the shaped dough balls in two concentric circles around the ramekin, leaving a small space between each ball and between the circles. This allows room for them to expand during the second rise and baking.
- Second Rise: Loosely cover the baking sheet with plastic wrap or a light kitchen towel. Let the dough balls rise in a warm spot for about 30-40 minutes. They should become visibly puffy and appear plump. To test if they’re ready, gently poke one with a floured finger; if it springs back slowly most of the way, they are perfectly proofed. If it springs back immediately, they need a little more time.
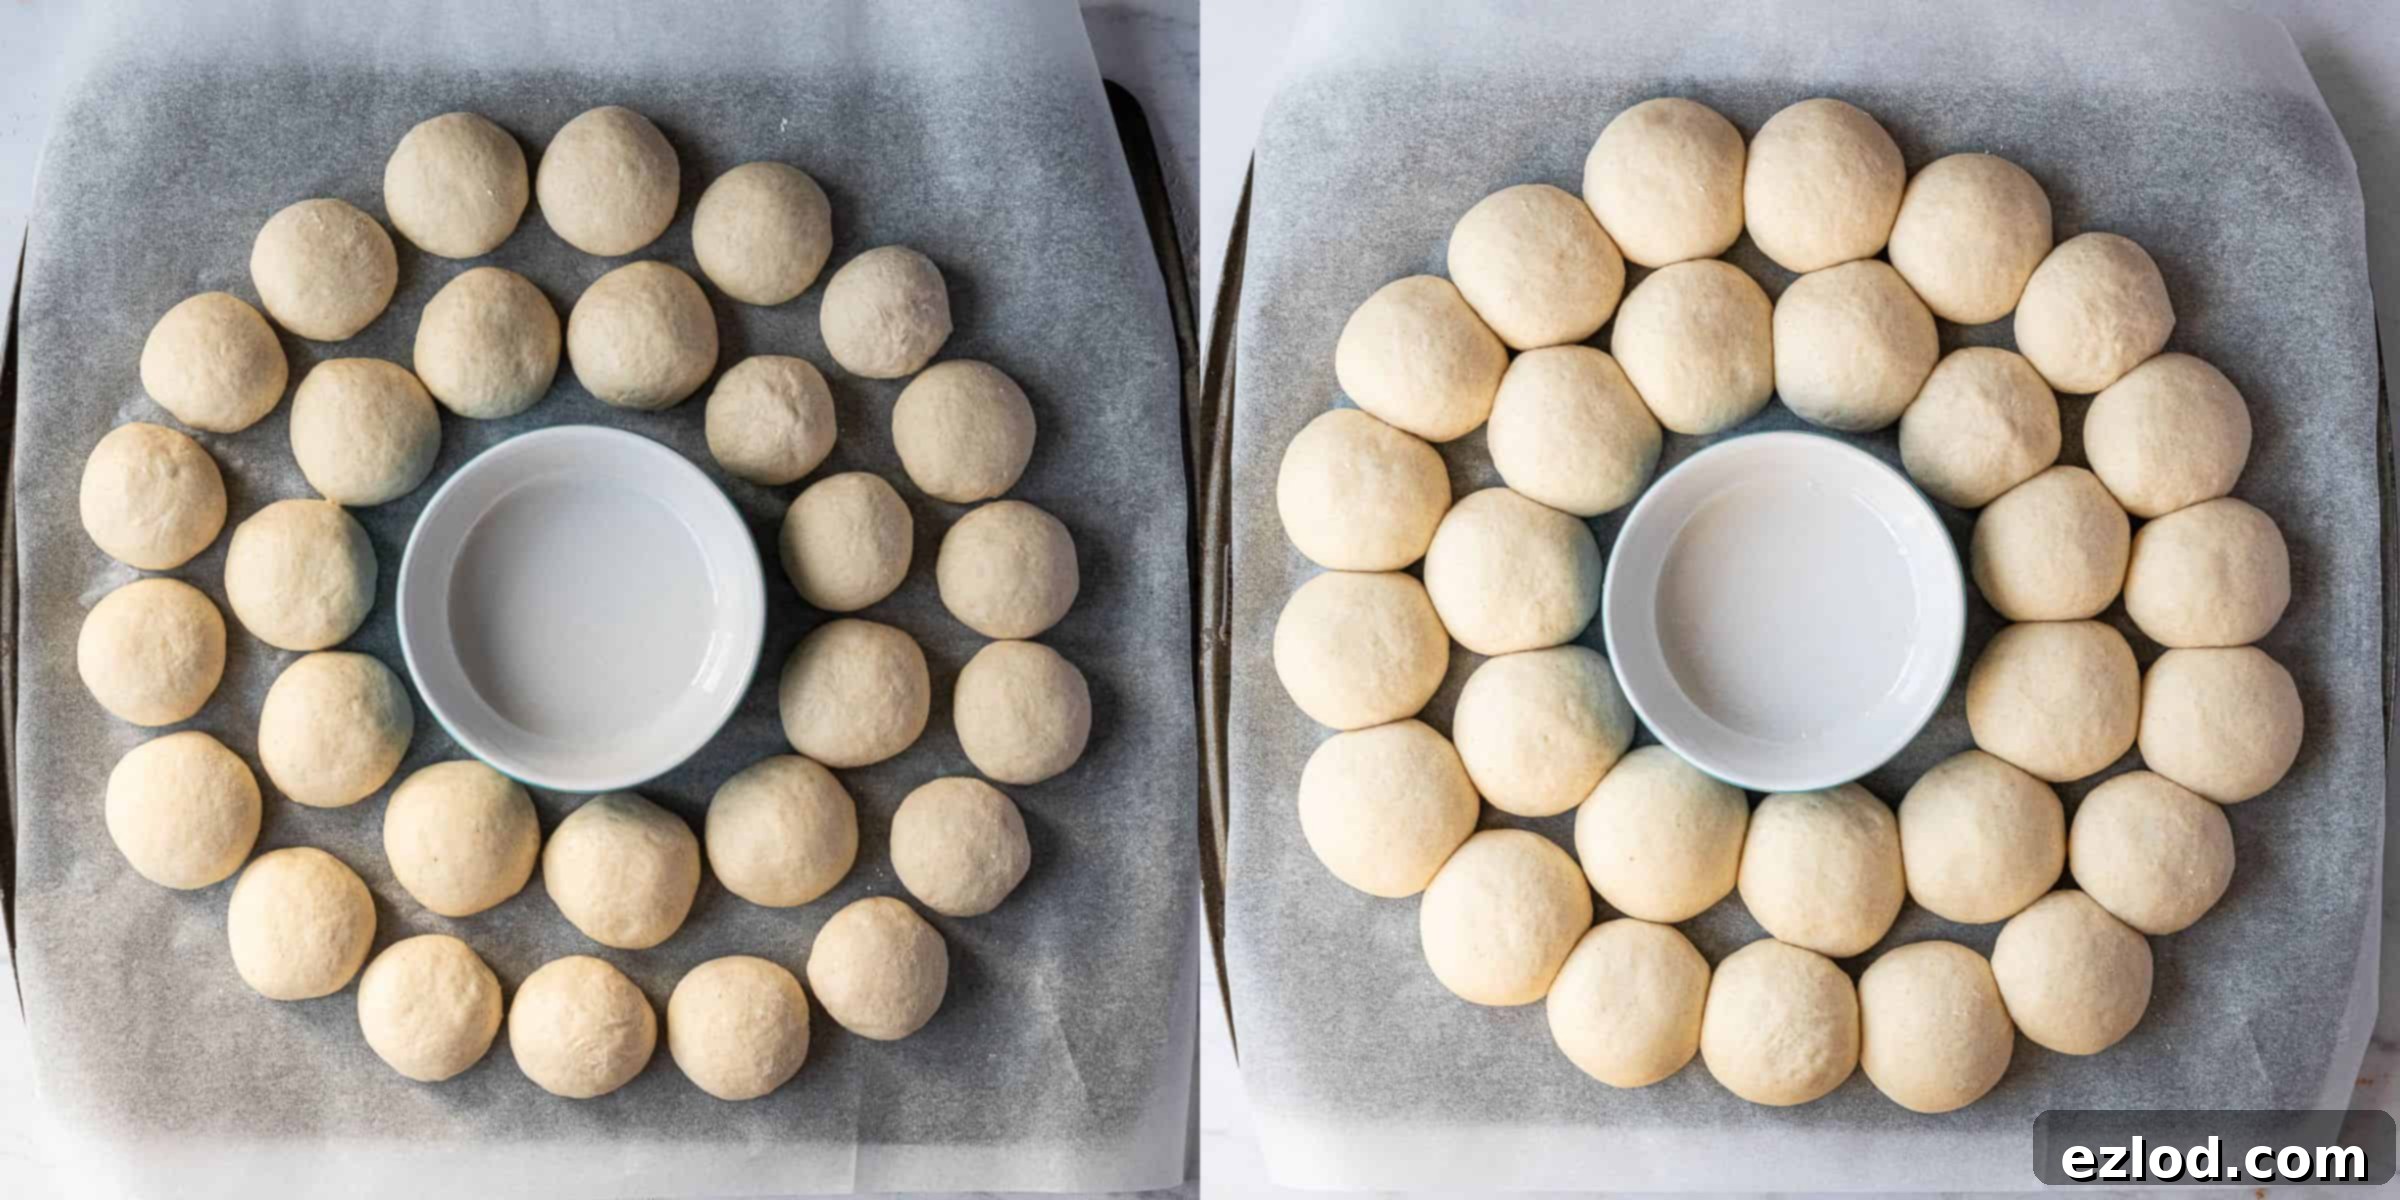
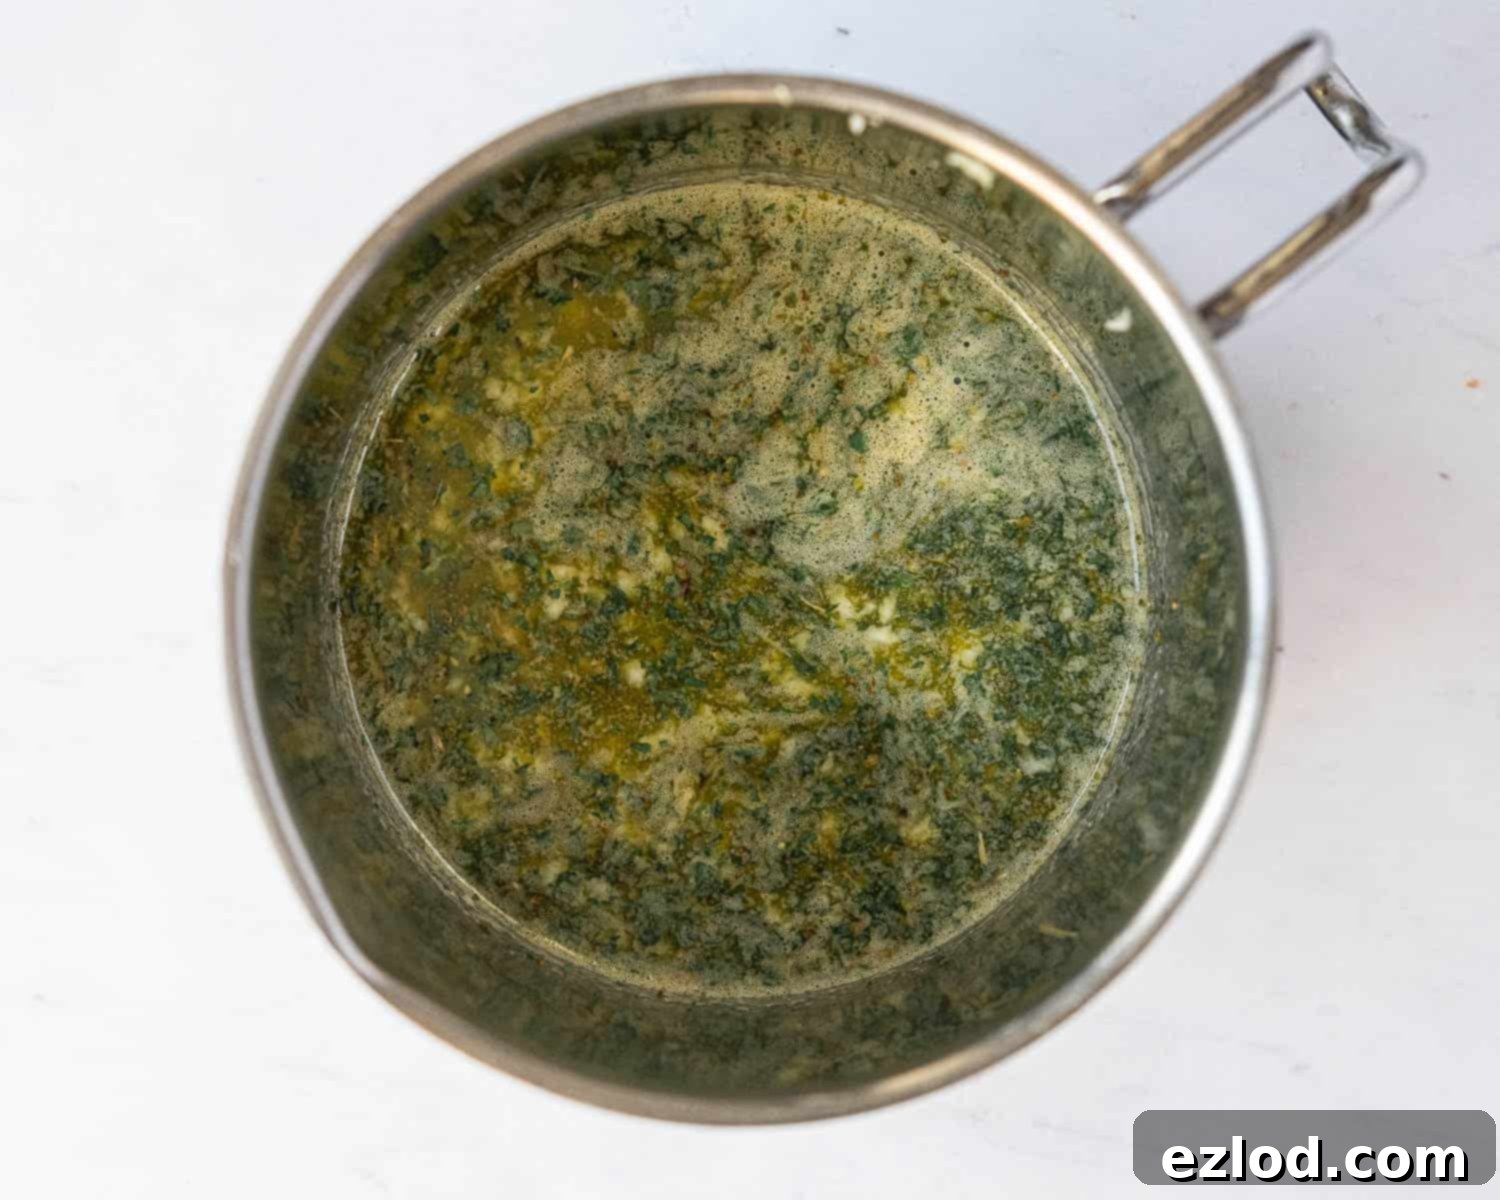
- Prepare Garlic Butter and Dip: While the dough balls undergo their second rise, prepare the flavorful garlic butter and the cheesy cashew dip. For the garlic butter, simply melt the vegan butter in a small pan with the crushed garlic and chosen herbs. Set aside.
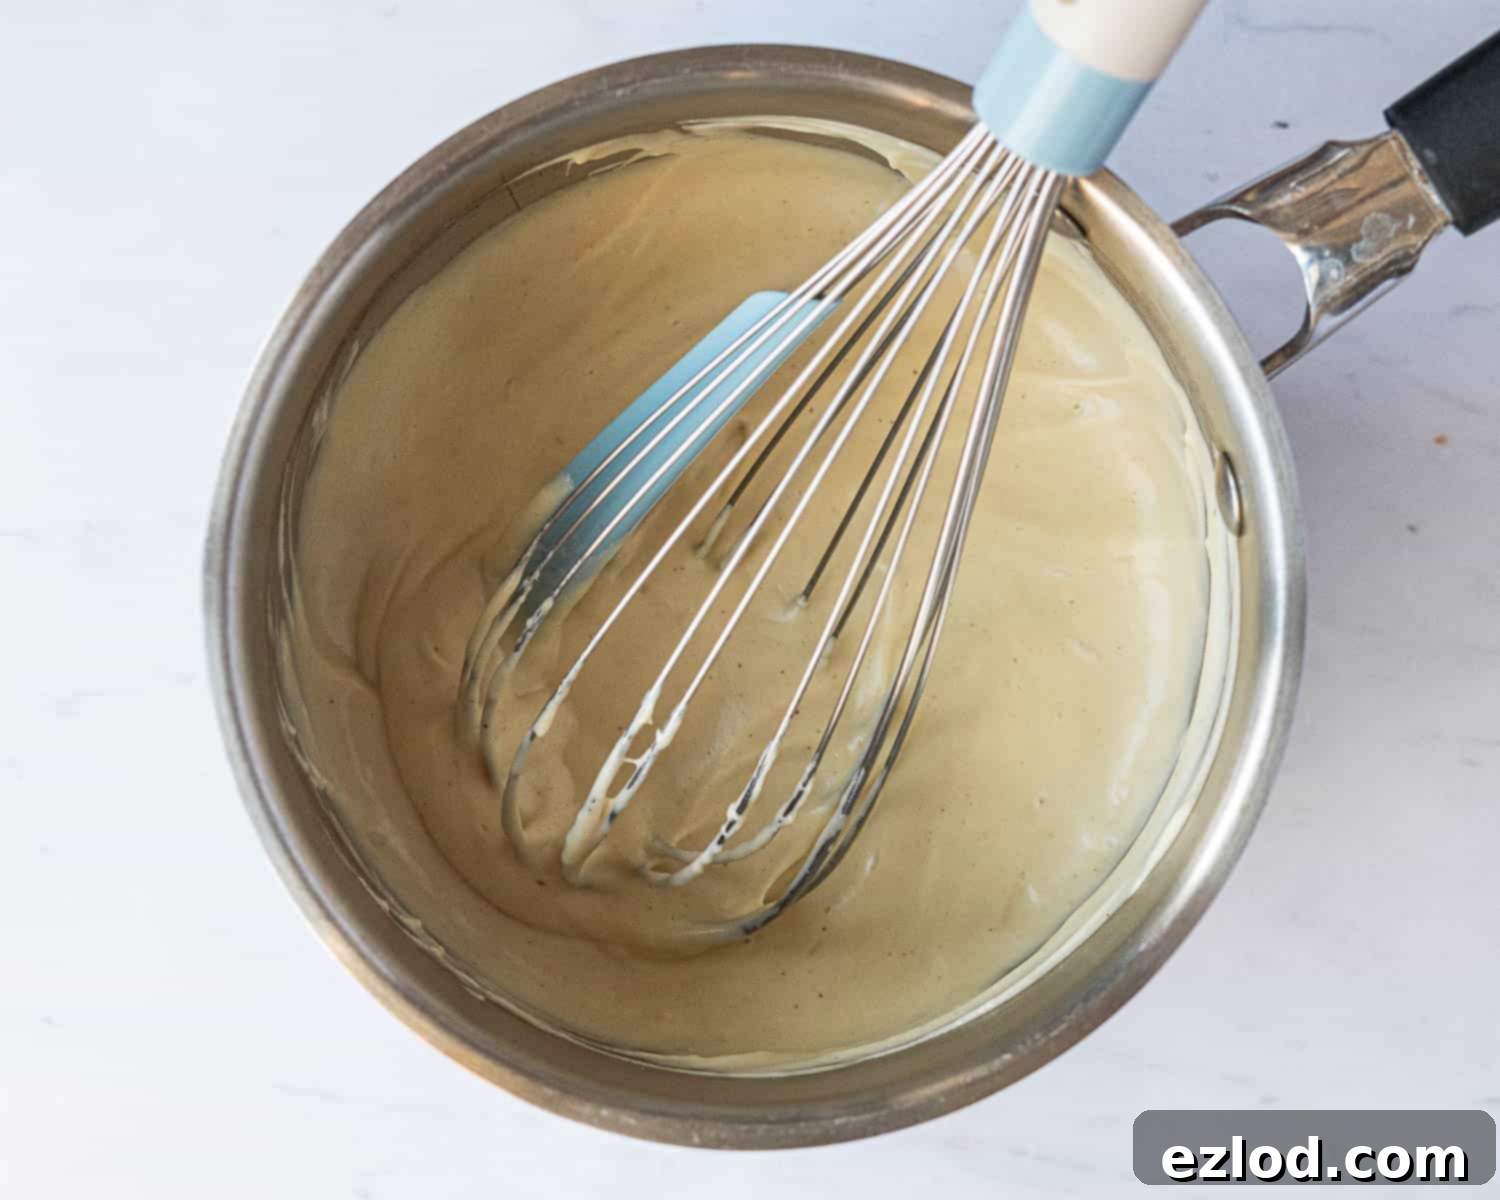
- Make the Cheesy Dip: For the cashew cheese dip, ensure your cashews are well-soaked (overnight or hot water for 30 minutes). Drain them thoroughly and combine them in a high-speed blender with the tapioca starch, nutritional yeast, garlic, cider vinegar, and water. Blend until the mixture is exceptionally smooth and creamy, scraping down the sides as needed to ensure everything is incorporated. Pour this blended mixture into a saucepan over medium heat. Whisk continuously as it heats until it comes to a simmer and thickens considerably. This thickening process is crucial for the cheesy texture. Remove from heat and cover the surface directly with a piece of parchment paper to prevent a skin from forming.
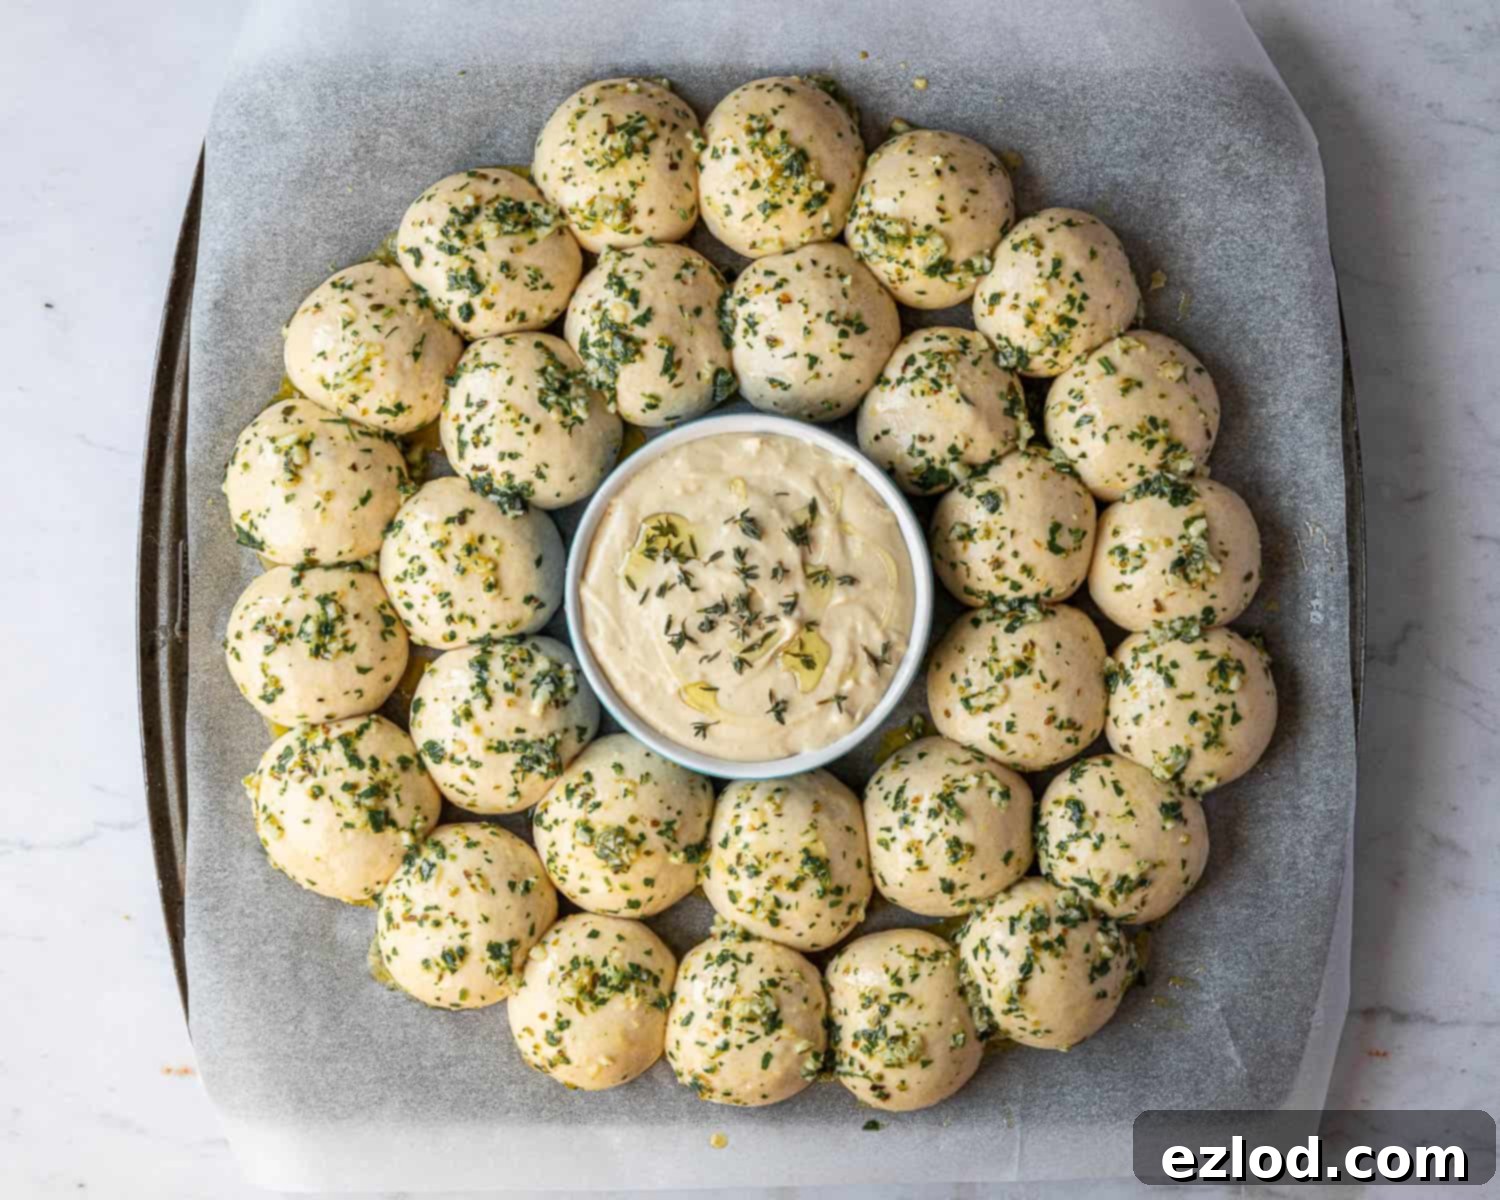
- Final Prep for Baking: Once the dough balls are adequately risen, carefully pour the thickened cashew cheese mixture into the greased ramekin in the center of the baking sheet, spreading it evenly. If desired, drizzle a little extra virgin olive oil over the dip for added richness and sprinkle with fresh thyme leaves. Gently brush the tops and sides of the dough balls with about two-thirds of the prepared garlic butter.
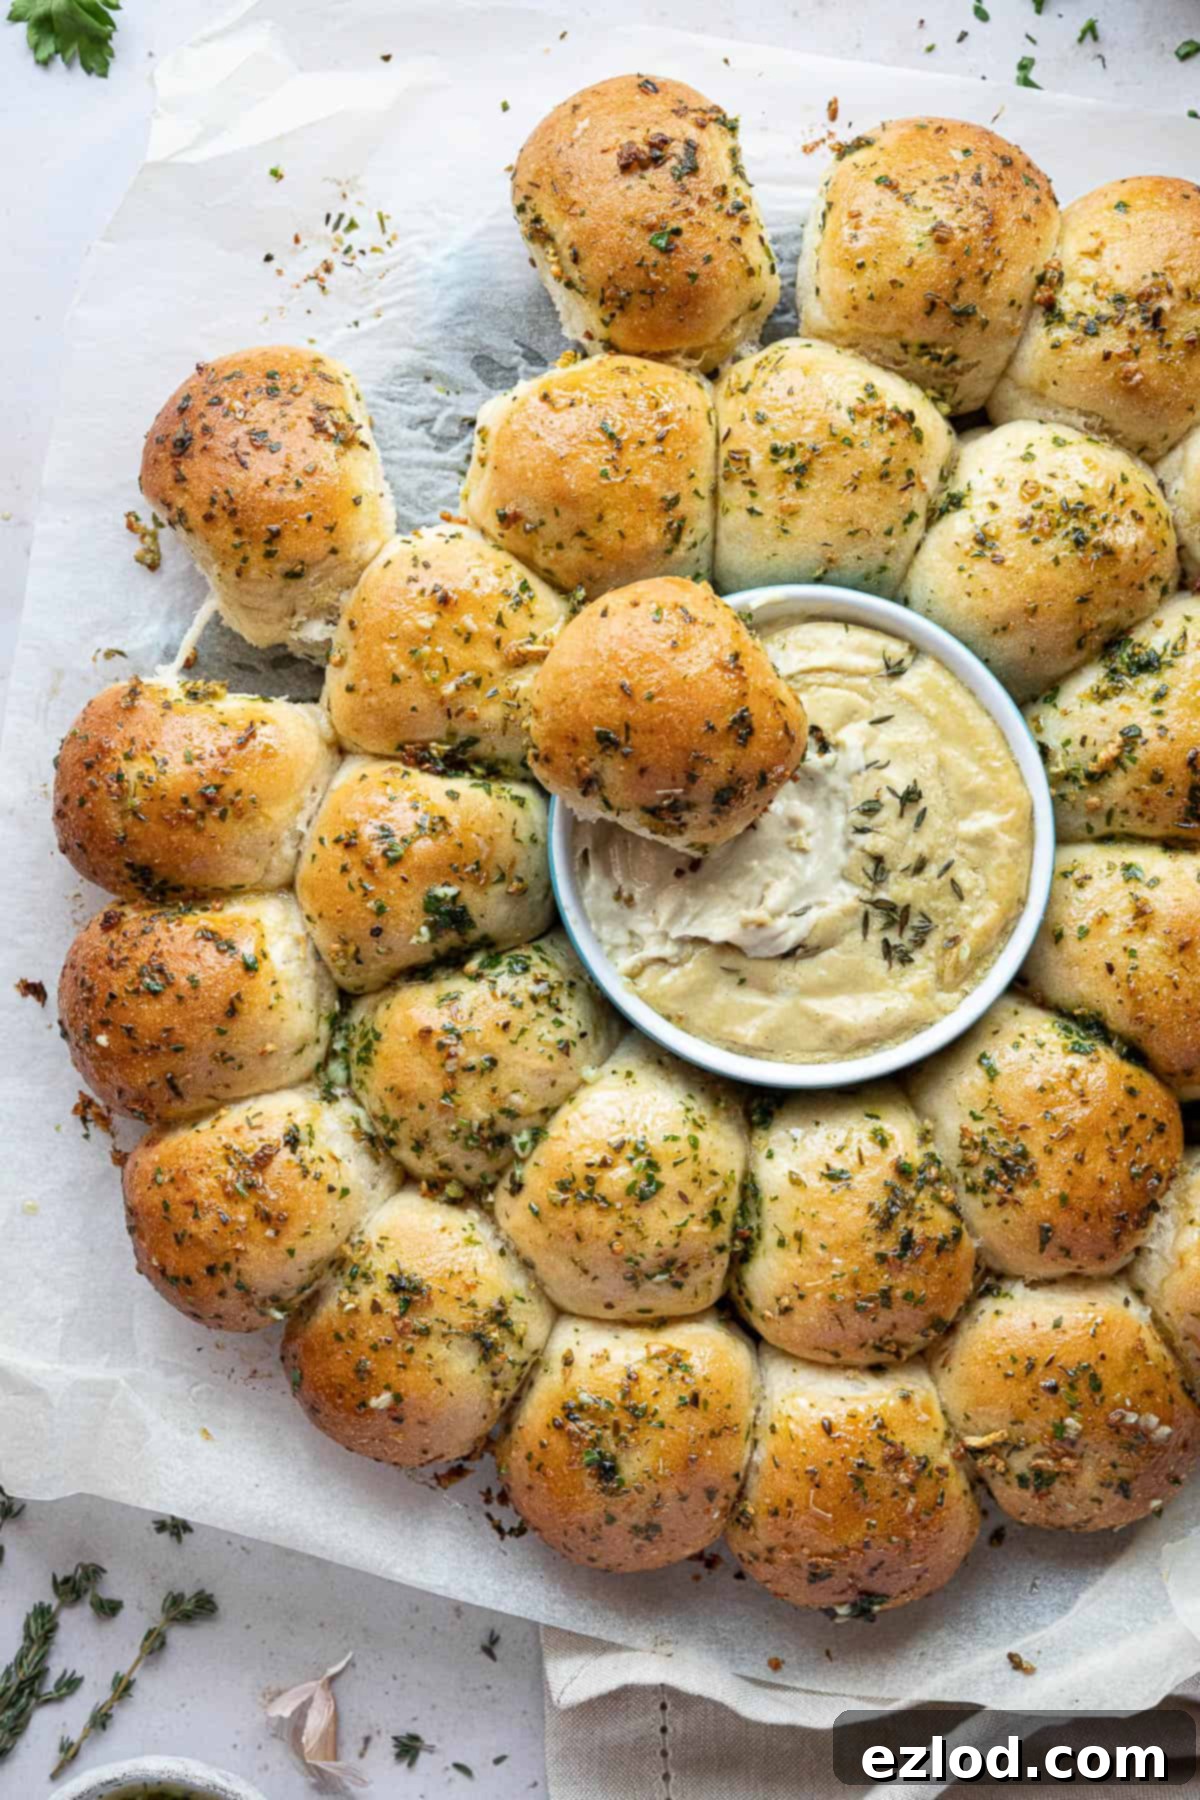
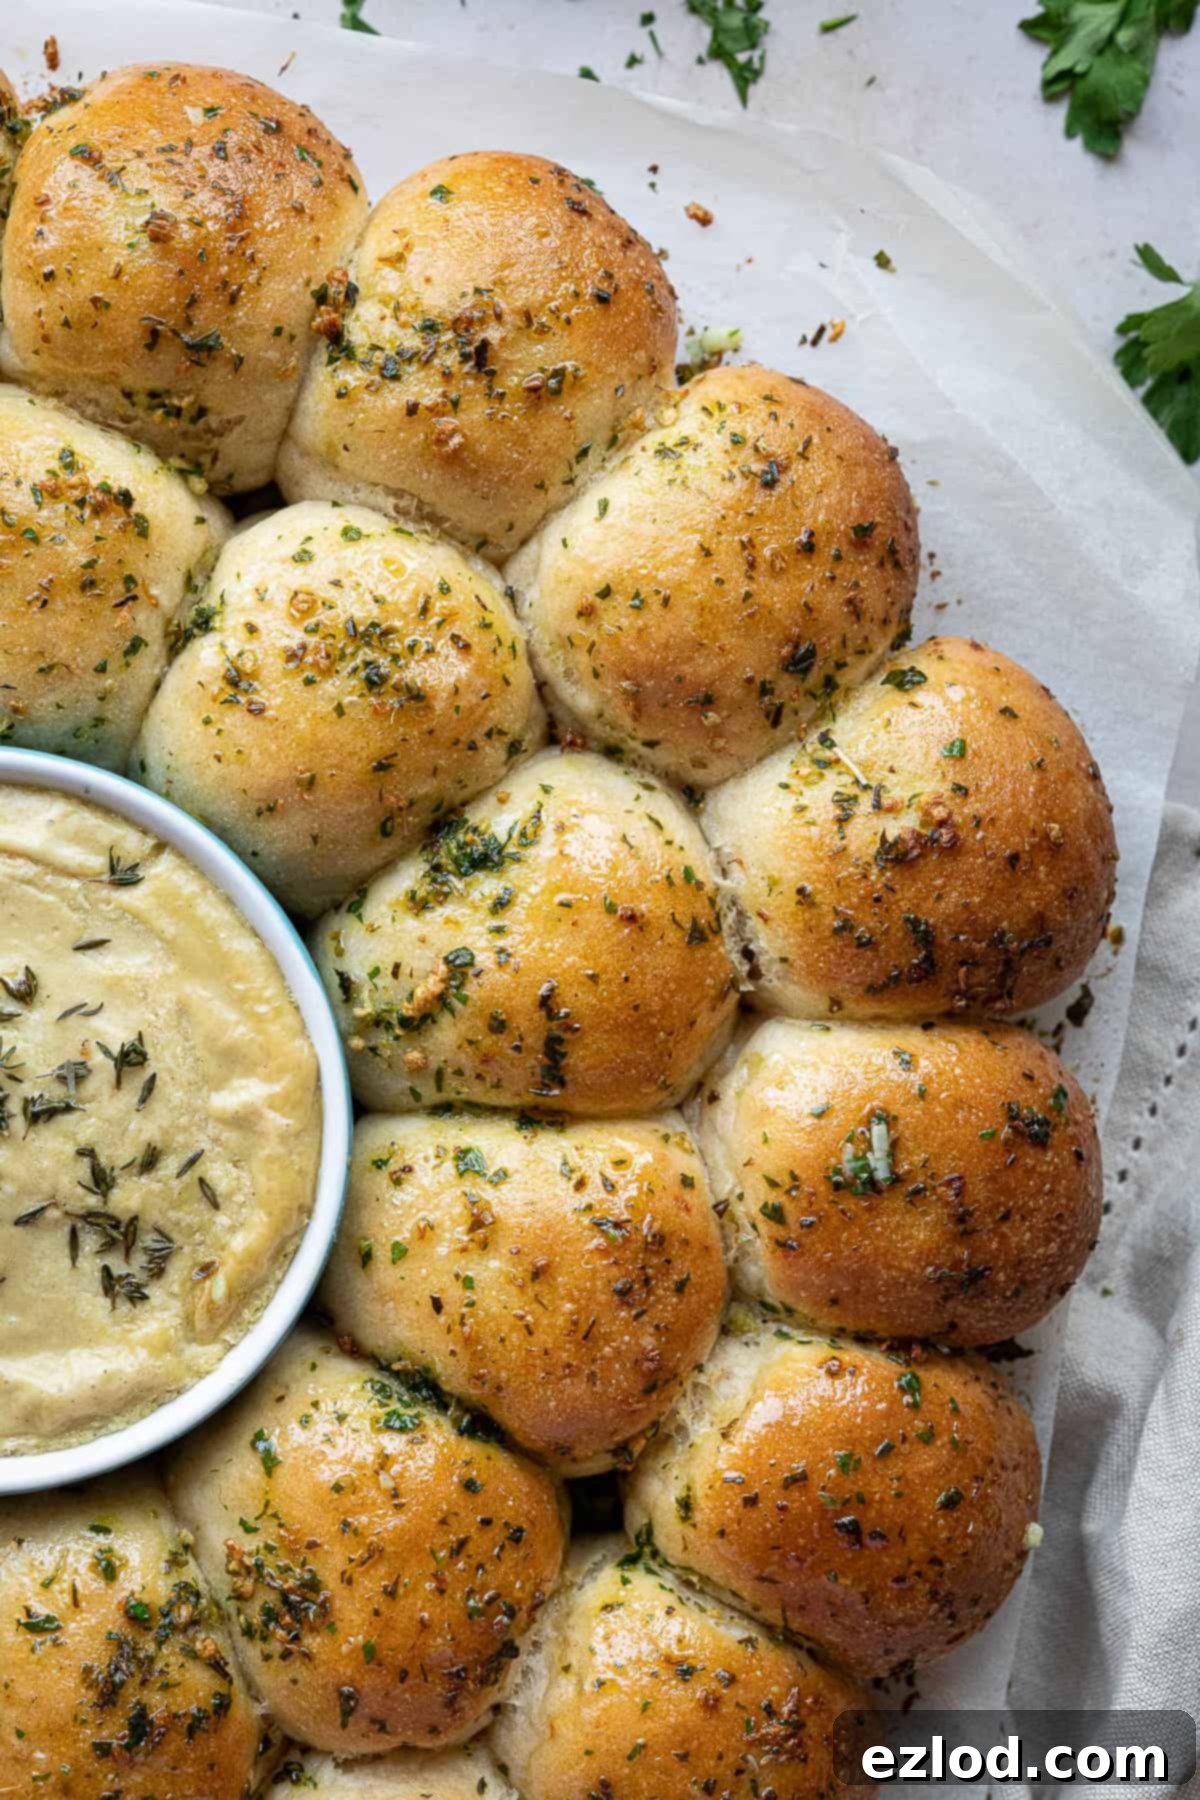
- Bake and Serve: Bake the dough balls in a preheated oven (refer to recipe card for temperature) for approximately 20 minutes, or until they turn a beautiful golden brown. For absolute certainty, use a probe thermometer to check the internal temperature of a dough ball; it should register at least 90°C/194°F. Immediately after removing from the oven, brush the warm dough balls generously with the remaining garlic butter. Serve warm, pulling apart the fragrant balls and dipping them into the creamy cashew cheese.
Top Tips for Perfect Vegan Garlic Dough Balls:
- Precision is Key: For consistent and superior baking results, I strongly recommend using metric measurements and a digital kitchen scale. Cups can be wildly inaccurate, leading to varied outcomes. A scale offers precision, consistency, and often less mess!
- Check Your Yeast: Always ensure your instant yeast is fresh and not expired. Old or inactive yeast is the primary culprit behind bread that fails to rise. A quick test for active dry yeast (if using) is to mix it with warm liquid and sugar; if it doesn’t foam, it’s likely dead.
- Avoid Over-Flouring: It’s tempting to add more flour if your dough feels sticky, but resist the urge to add too much. A slightly soft and tacky dough is ideal for light and fluffy dough balls. Adding excessive flour will result in dense, dry bread.
- Temperature Matters: The rising time for dough can vary significantly based on ambient temperature. On warmer days, the dough will prove much faster than on cooler days. Adjust your rising times accordingly.
- Overnight Rise Option: For convenience, you can prepare the dough the evening before you plan to bake. After the initial kneading, place the dough in an oiled bowl, cover it, and refrigerate it overnight for a slow, cold rise. Remember that the second rise the next day may take longer as the dough will be cold and needs time to warm up.
- Best Enjoyed Fresh: These vegan garlic dough balls are truly at their best when eaten warm, fresh from the oven. However, leftovers can be stored in an airtight container at room temperature for up to 2 days.
Understanding Yeast Types:
I consistently use instant yeast (also known as fast-action or easy-bake yeast) in my bread recipes because of its convenience. It doesn’t require prior activation in liquid; you can simply mix it directly into the flour. If possible, I highly recommend purchasing instant yeast.
If active dry yeast is your only option, you can still use it, but the preparation method will be slightly different. To activate 12g of active dry yeast, stir it along with the teaspoon of sugar into the lukewarm non-dairy milk and water mixture specified in the recipe. Allow this mixture to sit for 10-20 minutes until it becomes visibly foamy and bubbly. This indicates the yeast is active and ready to use. Once activated, proceed with the rest of the recipe as written.
How To Tell When Your Bread is Perfectly Baked:
The most reliable method for determining if bread is fully baked is by checking its internal temperature with a probe thermometer. Insert the thermometer into the center of one of the dough balls; it should read at least 90°C (194°F). Overbaked bread will be dry, while under-baked bread will result in a raw, doughy interior – definitely something to avoid! Since oven temperatures can vary significantly, relying solely on a set baking time isn’t always foolproof. Investing in a good probe thermometer is a highly recommended kitchen tool for any baker.
If you don’t have a thermometer, a less precise but still useful indicator is the toothpick test. Insert a clean toothpick or skewer into the center of a dough ball; it should slide in and out smoothly with minimal resistance and emerge clean, without any wet dough clinging to it.
Can I Freeze These Vegan Garlic Dough Balls?:
Absolutely! Any leftover dough balls freeze beautifully. For optimal freshness, freeze them on the same day they are baked, ensuring they have cooled completely beforehand. Store them in an airtight container or a heavy-duty freezer bag. When you’re ready to enjoy them, allow them to defrost at room temperature, then refresh them in a low oven until warmed through and slightly crispy on the outside. This helps to revive their texture and flavor.
Can I Make Them In Advance?:
While the dough balls are best served warm and freshly baked, you can certainly prepare parts of the recipe ahead of time. The most effective way to make them in advance is by preparing the dough the evening before. After the initial kneading, place the dough in an oiled, covered bowl and let it rise slowly in the refrigerator overnight. The next day, you can continue with the recipe as written, allowing for a potentially longer second rise since the dough will be cold. I do not recommend fully baking them in advance, as their texture is best when fresh.
Can I Make Them Gluten-Free?:
Unfortunately, this recipe is not suitable for gluten-free flour substitutes. Achieving the correct texture in gluten-free bread is a complex process that requires specific formulations and techniques. Simply swapping wheat flour for a gluten-free blend will likely not yield satisfactory results. My expertise does not extend to gluten-free baking, so I cannot advise on adaptations. For a successful gluten-free version, it’s best to seek out a recipe specifically developed for gluten-free ingredients.
What To Serve With Vegan Garlic Dough Balls:
Beyond the delightful cheesy cashew dip, these versatile garlic dough balls pair wonderfully with a variety of accompaniments. Consider serving them with:
- Classic hummus for a creamy, earthy complement.
- A rich vegan pâté for a more sophisticated appetizer.
- Warm marinara sauce for a comforting, Italian-inspired twist.
- Spicy olive tapenade for a burst of Mediterranean flavor.
- Or simply enjoy them on their own, savoring the garlicky goodness!
More Delicious Vegan Sharing Bread Recipes:
If you loved these garlic dough balls, be sure to explore more of my favorite vegan bread recipes perfect for sharing:
- Vegan pretzel bites
- Vegan beer pretzels
- Vegan garlic pull-apart bread
- Vegan pesto bread wreath
- Easy flatbreads
- Vegan garlic naan bread
- Easy vegan cornbread
- Pumpkin bread rolls
If you tried this delightful recipe, please let me know how it turned out! Rate it, leave a comment below, or share your creation on Instagram by tagging @domestic_gothess and using the hashtag #domesticgothess.
All images and content on Domestic Gothess are copyright protected. If you wish to share this recipe, please do so using the provided share buttons. Do not screenshot or post the full recipe or content; instead, kindly include a link back to this original post.

Print
Vegan Garlic Dough Balls with Cheesy Cashew Dip
Ingredients
Dough:
- 500 g (4 cups) white bread flour
- 10 g (3 teaspoons) fast action (instant) yeast
- 1 teaspoon salt
- 1 teaspoon sugar
- 3 Tablespoons olive oil
- 160 ml (⅔ cup) unsweetened non-dairy milk (I use soy) lukewarm
- 160 ml (⅔ cup) water lukewarm
Cheese Dip:
- 75 g (2 + ⅔ oz / ½ cup) raw cashews
- 2 cloves garlic peeled
- 1 ½ teaspoons tapioca starch
- ½ teaspoon salt
- 2 Tablespoons nutritional yeast
- 1 teaspoon cider vinegar
- 160 ml (⅔ cup) water
Garlic Butter:
- 85 g (rounded ⅓ cup) vegan butter/spread
- 4 cloves garlic peeled and crushed
- 1 Tablespoon finely chopped fresh parsley
- 1 heaped teaspoon dried oregano
Instructions
-
Place the bread flour in a large bowl (or the bowl of a stand mixer fitted with a dough hook), add the yeast to one side and the salt and sugar to the other (if salt comes into direct contact with the yeast it can kill it).
-
Pour in the olive oil, milk and water and mix to form a rough dough.
-
Knead, either by hand on an unfloured surface, or with the stand mixer on a medium/high speed for 5-10 minutes until the dough is smooth and elastic. It should be tacky to the touch but should pull away from the sides of the bowl cleanly. If it feels too wet you can add a little more flour as needed, don’t add too much though or the bread will be dry.
-
Place the dough in a lightly oiled bowl, cover and set aside to rise in a warm spot until doubled in size, about 1-2 hours.
-
While the dough is rising, place the cashews for the cheese dip in a bowl, pour over enough boiling water to generously cover them and set aside to soak.
-
Line a baking sheet with baking parchment. Grease both the inside and outside of an approximately 11cm wide, 4cm deep ramekin and place it in the middle of the baking sheet.
-
Punch down the risen dough and give it a brief knead to knock out any air bubbles.
-
Divide the dough into small pieces, about 30g each. I use a scale for accuracy. You should have around 29 pieces.
-
Shape each piece into a ball by gathering the edges up and pinching them together. Keep going until you have a neat, well-sealed ball. Flip the ball over, cup it with your hand over the top and roll it until it is smooth.
-
Arrange the dough balls slightly spaced apart in two circles around the ramekin. About 11 on the inner circle and 18 on the outer circle (depending on how many balls you have).
-
Loosely cover the baking sheet and set aside to rise for about 30-40 minutes until the dough balls are puffy and spring back slowly most of the way if you poke one gently with a finger. If they spring back quickly then they need a little longer.
-
While the dough balls are rising preheat the oven to 210°C/190°C fan/425°F/gas mark 7.
-
Make the garlic butter – place the vegan butter, crushed garlic, parsley and oregano in a pan and heat gently until melted. Set aside.
-
Make the cheese dip – drain the soaked cashews well and place them in a blender with the garlic, tapioca, salt, nutritional yeast, vinegar and water. Blend until very smooth, scraping down the sides as necessary.
-
Pour the mixture into a pan over a medium heat. Whisk constantly until it comes up to a simmer and thickens. Remove from the heat and cover with parchment directly on the surface to prevent it from forming a skin, set aside.
-
When the dough balls are ready to bake, pour the cheese mixture into the ramekin and spread it level. Drizzle a little extra virgin olive oil over the top if you like and sprinkle with fresh thyme leaves. Gently brush the dough balls with about ⅔ rds of the garlic butter.
-
Bake for 20 minutes until golden. A probe thermometer inserted into the centre of one of the balls should reach at least 90°C/194°F. Brush the balls with the rest of the garlic butter then serve warm.
Notes
- Refer to the post above for in-depth tips, detailed explanations, ingredient insights, and step-by-step photos that complement this recipe. Many common questions are addressed there!
- For consistent baking success, I highly recommend using a digital kitchen scale for metric measurements rather than volumetric cup conversions. Scales provide far greater accuracy and lead to more reliable, mess-free results.
- The delicious cheese dip component of this recipe has been adapted from the culinary creations found in “Bish, Bash, Bosh” by Henry Firth and Ian Theasby.
