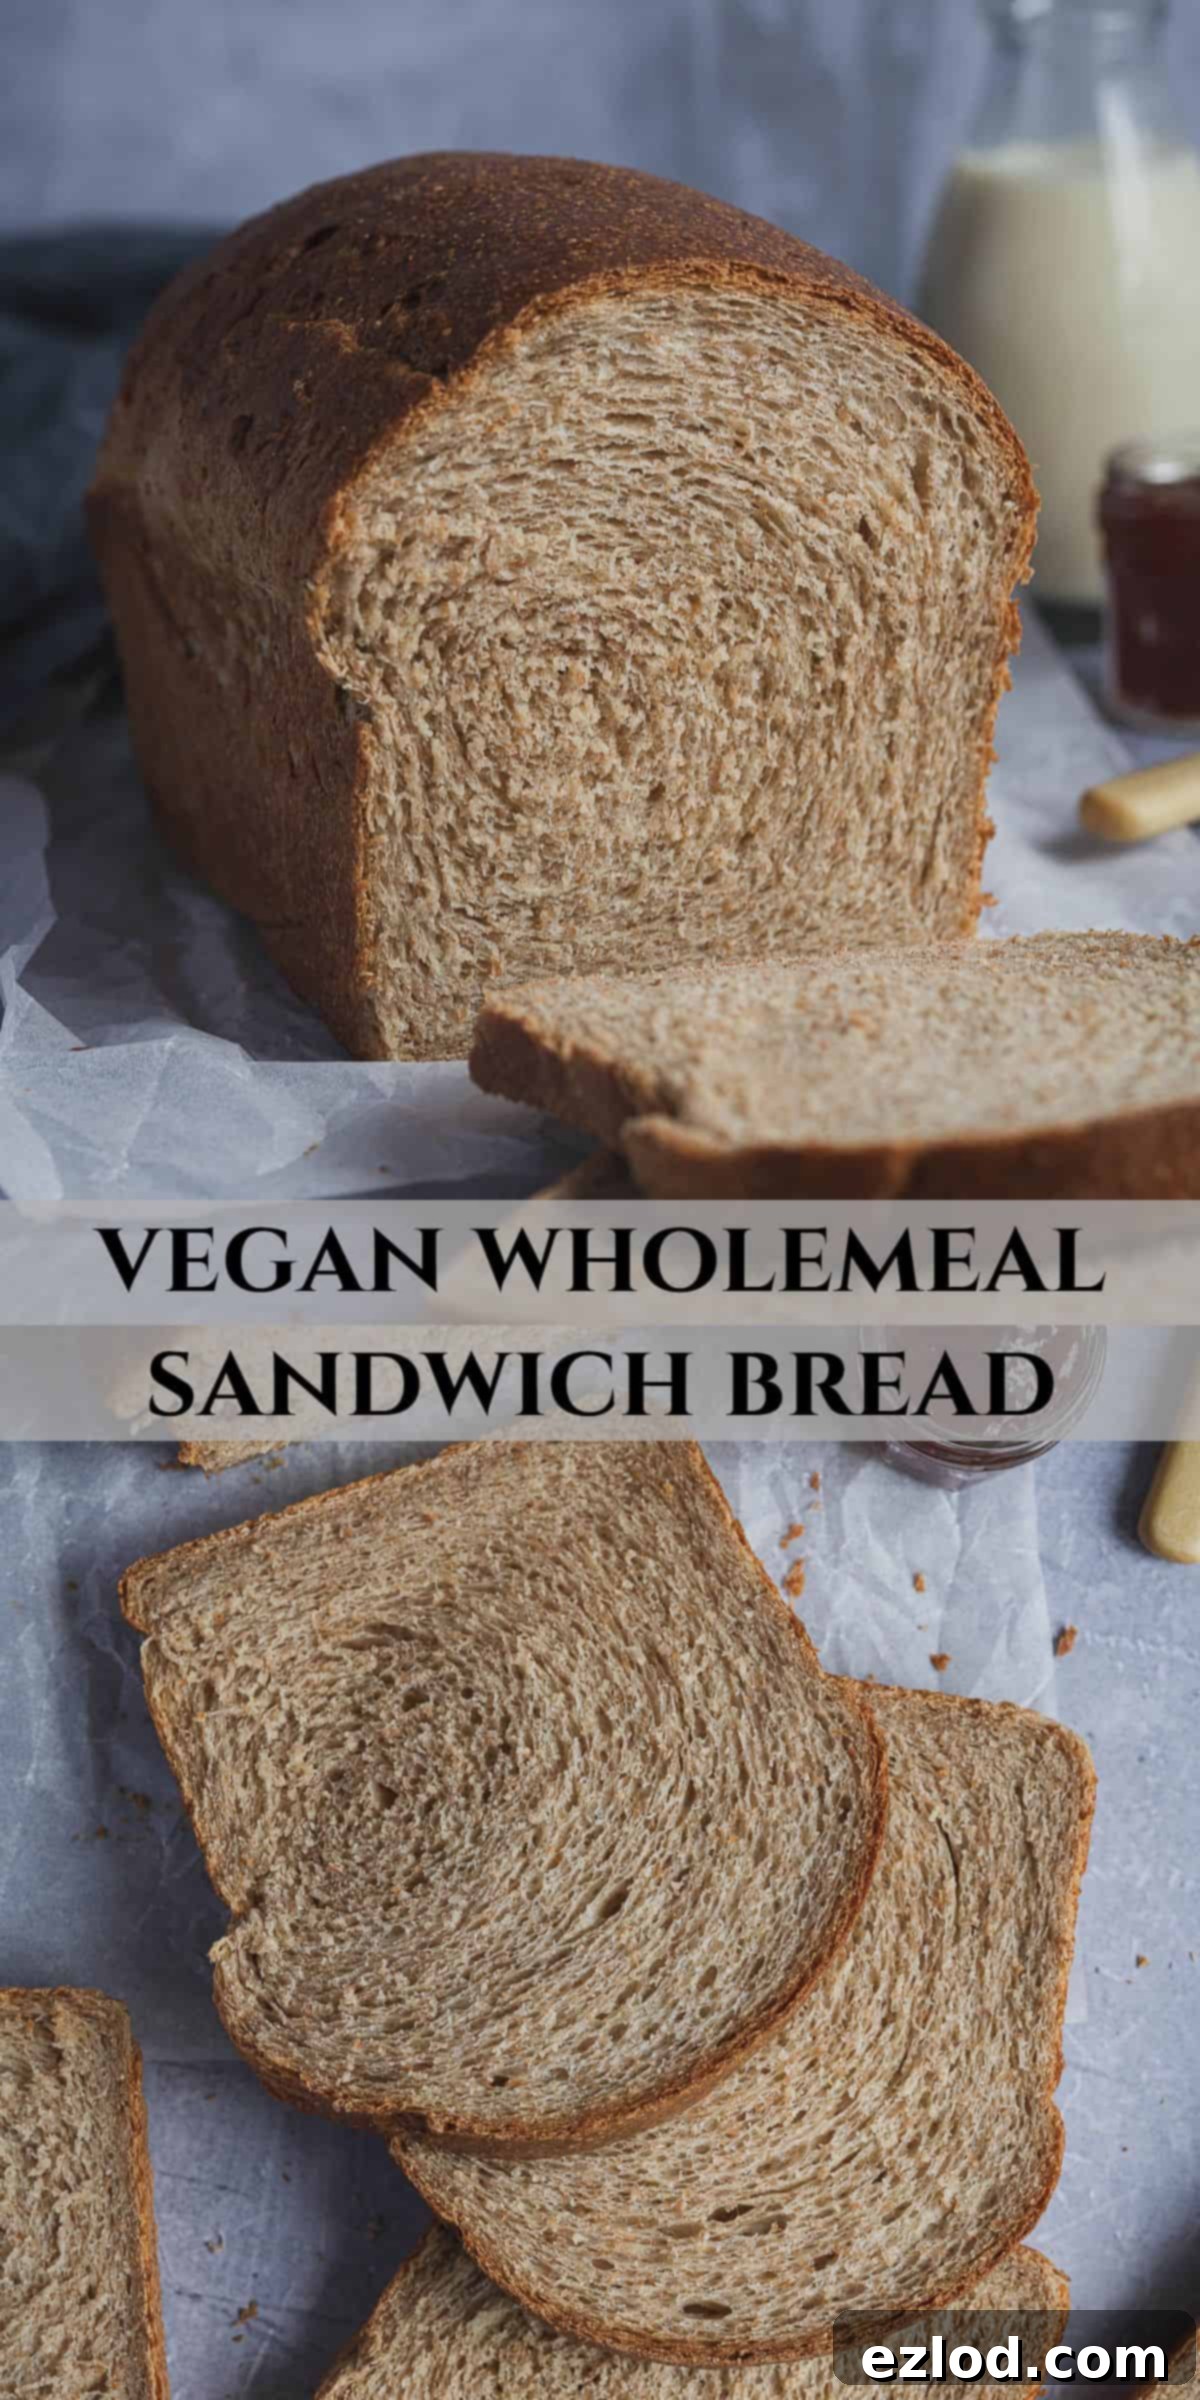
Perfectly Soft & Moist Vegan Wholemeal Sandwich Bread: The Ultimate Tangzhong Recipe
Discover the secret to incredibly soft and moist homemade vegan wholemeal sandwich bread with this easy-to-follow recipe, utilizing the revolutionary tangzhong method. This versatile, plant-based bread loaf is ideal for everyday sandwiches, morning toast, quick snacks, or even dunking into your favorite hearty soup.
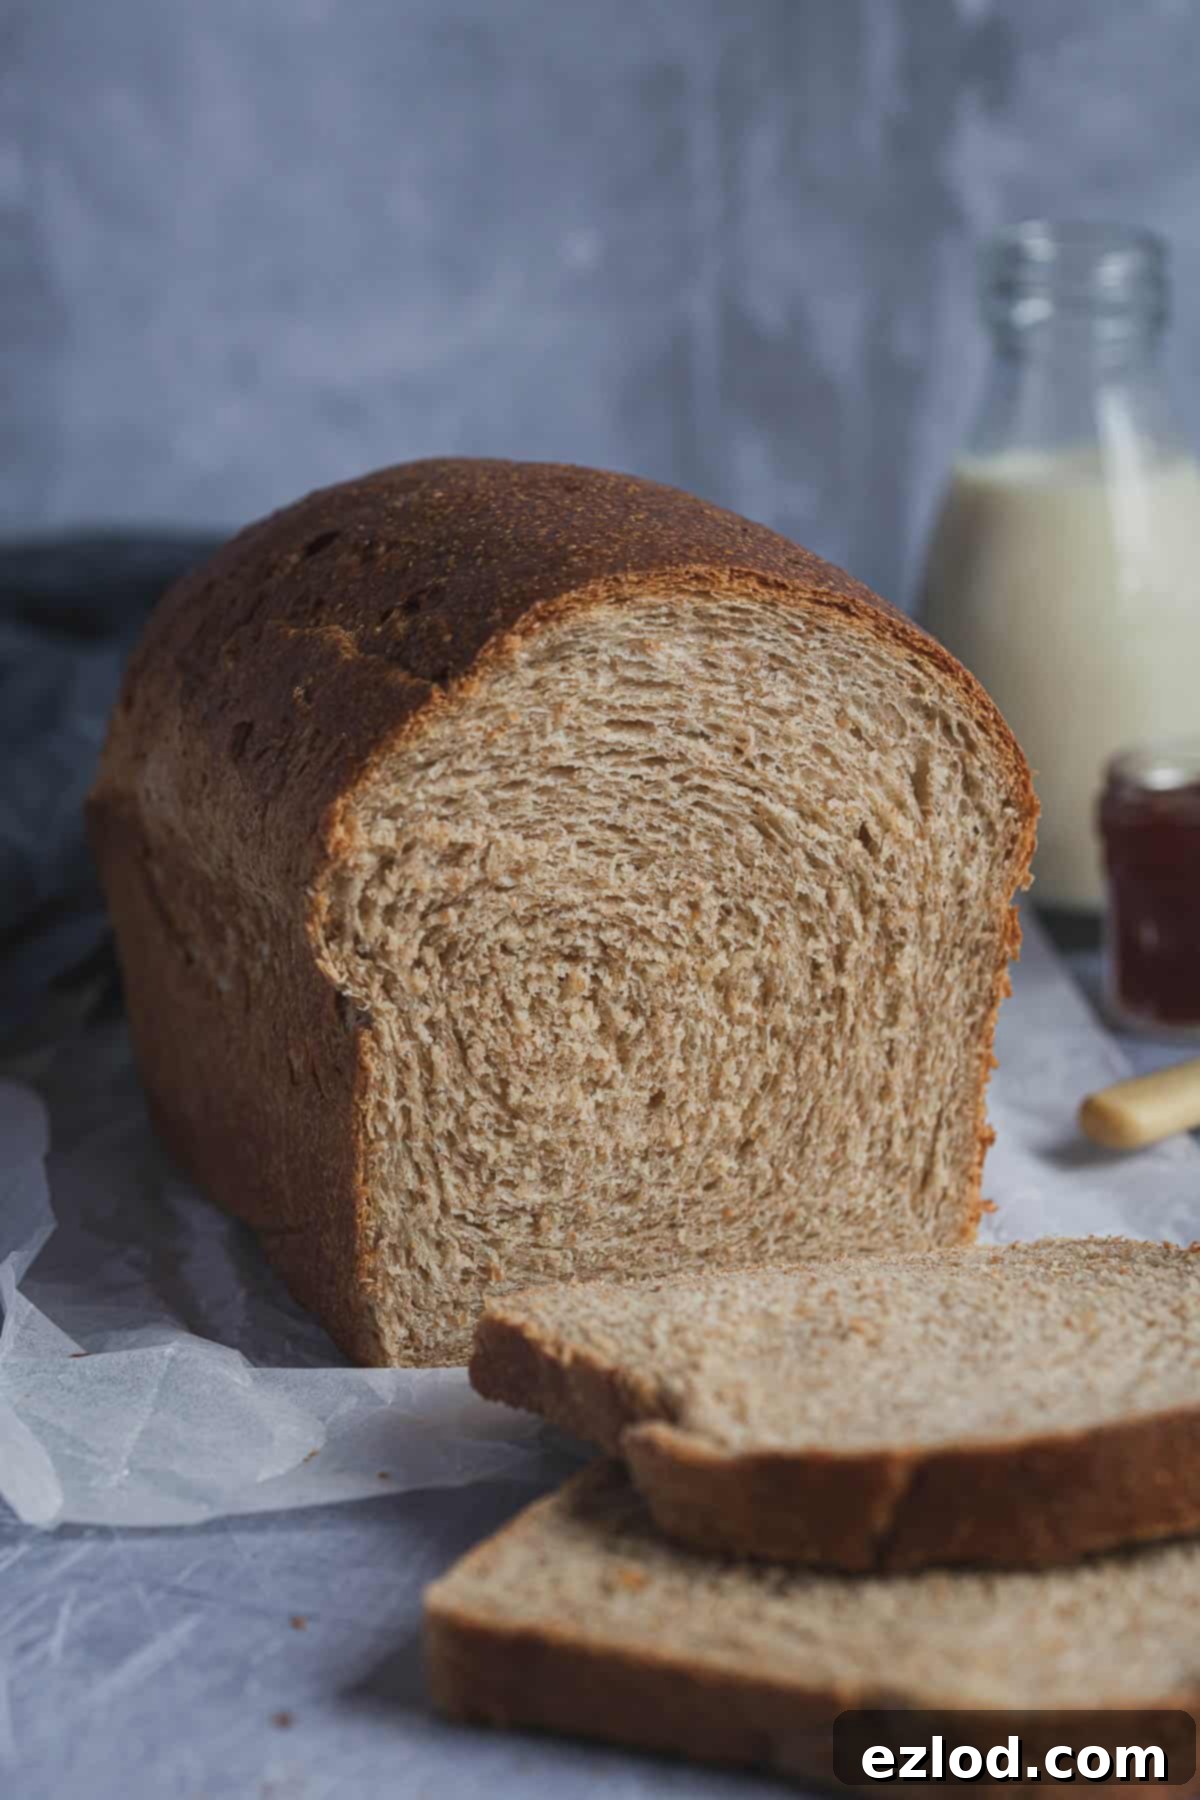
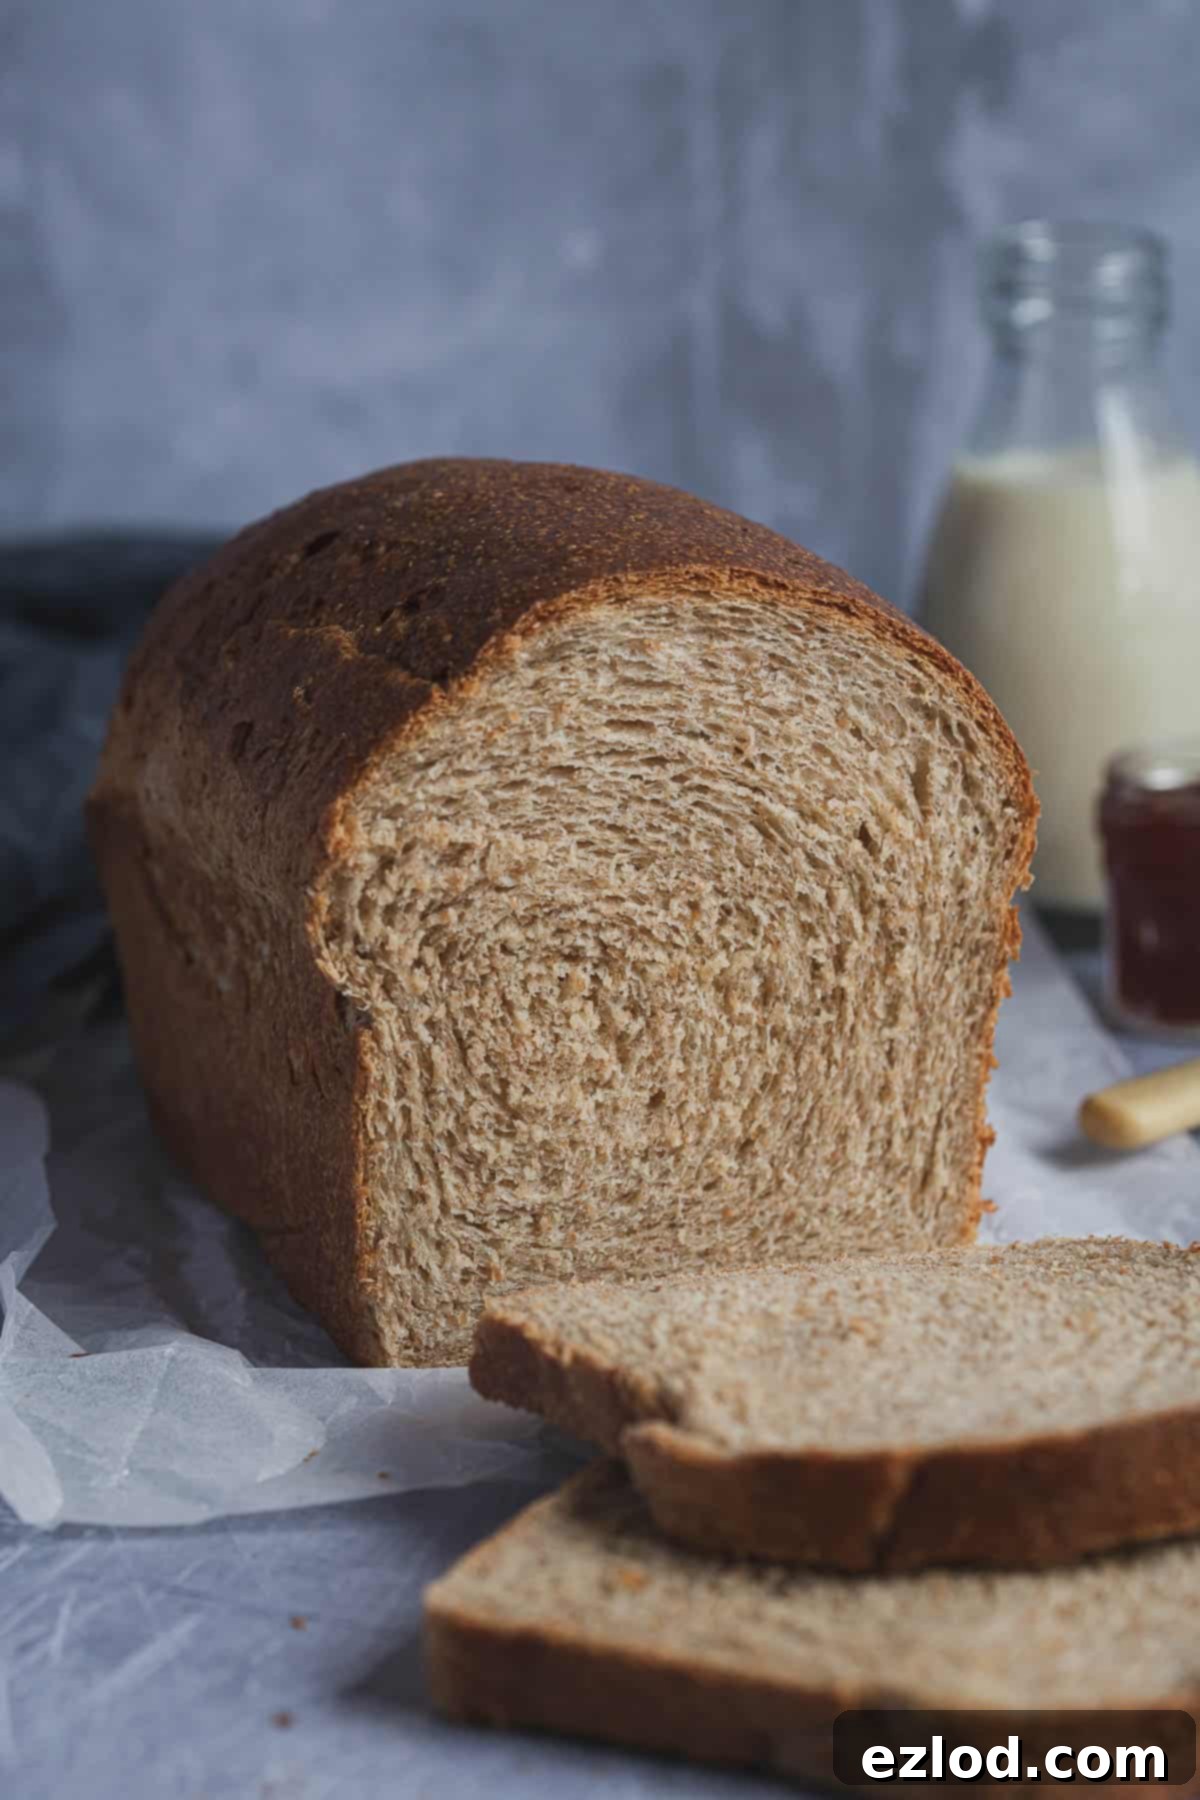
This vegan wholemeal sandwich bread recipe has quickly become my absolute favorite for crafting a wholesome yet incredibly delicious loaf. It’s my preferred choice when I’m looking for a slightly more nutritious alternative to my popular vegan white sandwich bread. If you appreciate the unique softness and extended freshness of Asian-style milk breads, you’ll love this wholemeal adaptation.
Essentially, this recipe brings the magic of a wholemeal Hokkaido milk bread into your kitchen, all thanks to the ingenious tangzhong method. Don’t let the name intimidate you – this technique is surprisingly simple and unlocks unparalleled levels of softness and moisture in your bread. While wholemeal or wholewheat bread often has a reputation for being dense and dry, the tangzhong method expertly counteracts this, infusing the dough with extra moisture that results in a remarkably soft crumb and keeps your loaf fresh for significantly longer.
Although it might not reach the ethereal cloud-like fluffiness of a pure white vegan Hokkaido milk bread, this wholemeal version comes incredibly close, proving that healthy can also be incredibly indulgent. Get ready to bake a loaf that will revolutionize your perception of wholemeal bread!
Understanding the Tangzhong Method: The Secret to Superior Softness
At the heart of this exceptionally soft and moist vegan wholemeal bread is the tangzhong method, also known as a water roux. This ancient Chinese technique has been perfected in Japanese baking, particularly for Hokkaido milk bread, and is now celebrated worldwide for its incredible ability to transform ordinary bread into something extraordinary. But what exactly is tangzhong, and how does it work its magic?
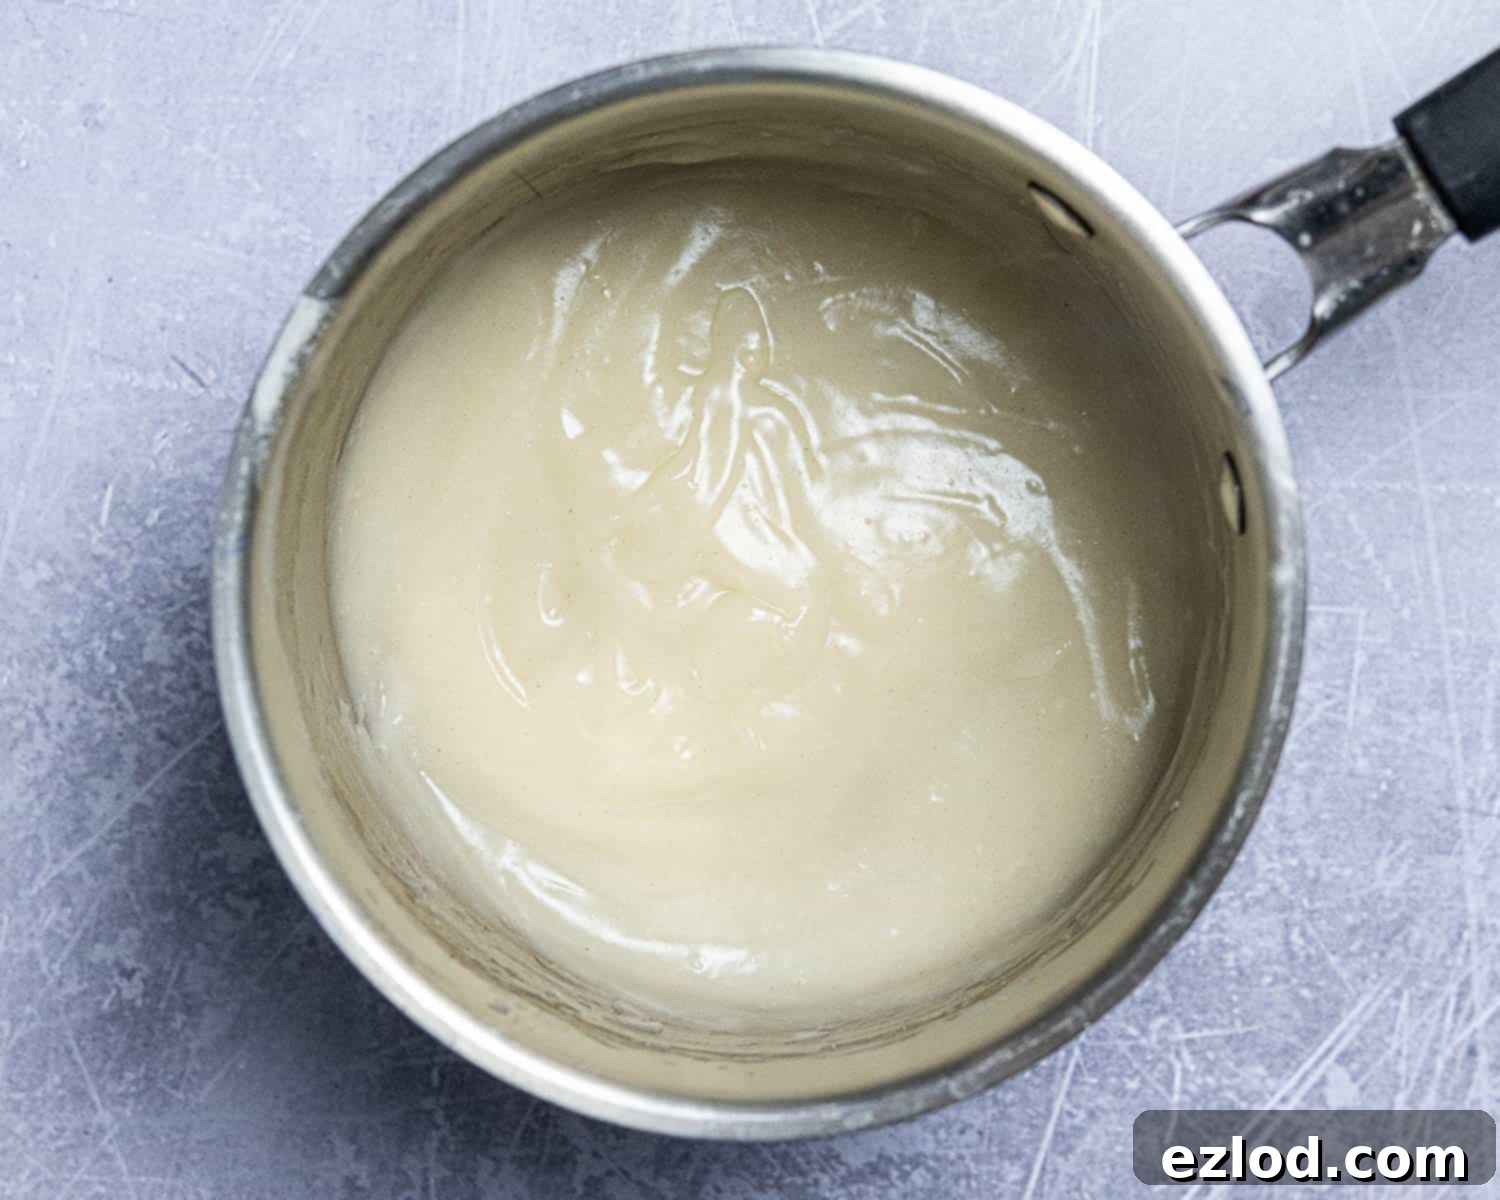
The process begins by taking a small portion of the flour and liquid (water or milk) from the main recipe. These two ingredients are whisked together to form a smooth mixture, similar to making a roux for a sauce. This mixture is then gently cooked over medium-low heat, with constant whisking, until it thickens into a consistency resembling a thick pudding or wallpaper paste. Once cooked, this tangzhong mixture is cooled down and then incorporated into the main bread dough.
The scientific reason behind tangzhong’s effectiveness lies in the pre-gelatinization of starches in the flour. When starches are heated in the presence of water to a specific temperature (typically between 60°C and 65°C or 140°F and 149°F), they undergo a process called gelatinization. During this process, the starch granules absorb a large amount of water and swell, forming a gel. This is crucial because gelatinized starches can absorb significantly more liquid – in fact, up to twice as much hot water or milk compared to the lukewarm water or milk typically used in traditional yeast doughs.
By incorporating this pre-gelatinized starch into your bread dough, you’re essentially adding a reservoir of moisture. This means the dough itself can hold more water. Not only does the flour absorb more liquid, but because the heated starch creates a stable structure, it’s able to retain that extra liquid throughout the entire bread-making process: kneading, rising, baking, and cooling. This enhanced water retention directly contributes to several desirable qualities in the final loaf:
- **Higher Rise:** More water in the dough means more internal steam is generated during baking, which, combined with the carbon dioxide produced by the yeast, helps the bread rise higher and achieve a lighter, airier texture.
- **Unparalleled Softness:** The increased moisture content makes the bread incredibly soft and tender, far beyond what you’d typically expect from a wholemeal loaf.
- **Extended Freshness:** Because the bread retains so much moisture, it stays fresh, soft, and palatable for much longer, preventing it from drying out quickly, which is a common issue with wholemeal breads.
- **Improved Crumb:** The crumb becomes more delicate and uniform, providing a delightful eating experience.
In essence, the tangzhong method is a simple step that yields profound results, transforming a good loaf of wholemeal bread into an exceptionally soft, moist, and long-lasting masterpiece.
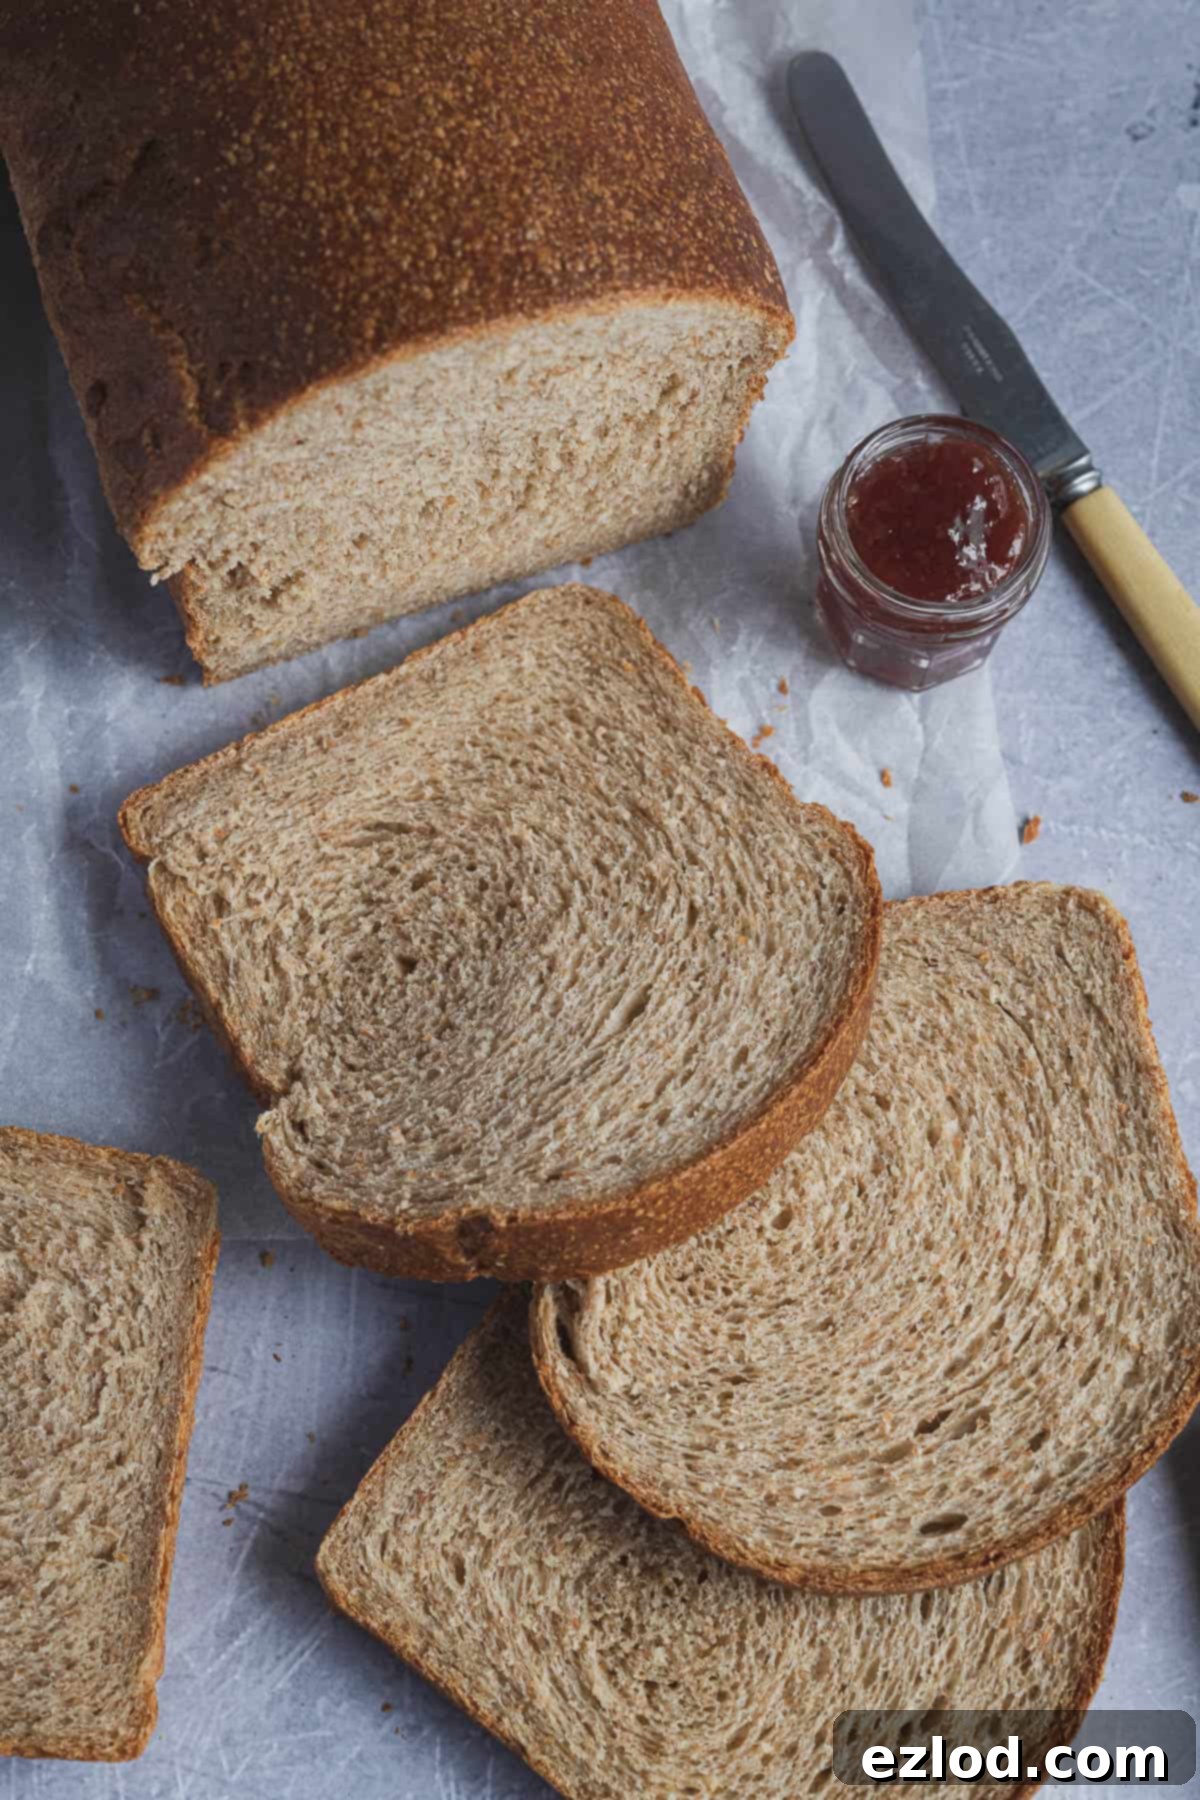
Essential Ingredients for Your Vegan Wholemeal Sandwich Bread
Crafting the perfect vegan wholemeal sandwich bread starts with selecting the right ingredients. Here’s a detailed look at what you’ll need and why each component is important:
- Wholemeal Bread Flour (Wholewheat Bread Flour): This is the foundation of our healthy loaf. I typically use a high-protein wholemeal bread flour, aiming for around 16g of protein per 100g, which contributes to a strong gluten structure and a good rise. Any brand of wholemeal bread flour (often labeled “wholewheat bread flour” in the US) should work well. Using bread flour is crucial here, as its higher protein content develops the necessary gluten for a well-structured loaf.
- White Bread Flour: While it’s a wholemeal loaf, 100% wholemeal bread can often be excessively dense. To achieve a lighter, softer crumb and a better rise, we incorporate a portion of white bread flour. This balance is key to creating a truly soft sandwich bread. Do not be tempted to substitute this with more wholemeal flour, as it will significantly impact the texture. While plain (all-purpose) flour can be used in a pinch, bread flour is always superior for its gluten-forming properties.
- Instant Yeast (Fast Action Yeast): My go-to for bread making is instant yeast because of its convenience. It can be mixed directly with the dry ingredients without prior activation, streamlining the process. If you only have active dry yeast, don’t worry – I’ve included specific instructions below on how to adapt the recipe. Just ensure your yeast is fresh and not expired for the best rise.
- Salt: A non-negotiable ingredient in bread making. Salt isn’t just for flavor; it plays a vital role in controlling yeast activity, strengthening the gluten structure, and enhancing the overall taste and aroma of the bread. Never omit it.
- Sugar (Dark Brown Soft Sugar): I prefer dark brown soft sugar for its rich, molasses-like flavor that beautifully complements the earthiness of wholemeal flour. However, you can easily substitute it with light brown, caster (superfine), granulated, or coconut sugar. Sugar serves two main purposes: it feeds the yeast, helping with fermentation and rise, and it contributes to the bread’s browning and tender crumb. While you can slightly reduce the amount, always retain at least a teaspoon to ensure the yeast has enough fuel.
- Vegan Block Butter: For superior baking results, I always recommend using a block-style vegan butter or margarine rather than spreadable varieties from a tub. Block butters typically have a lower water content and a higher fat content, which yields a richer flavor and a better texture in baked goods. My favorite is Naturli Vegan Block, but if spreadable is all you have, it will still work, just be aware the texture might be slightly different. The fat in the butter adds richness, softness, and helps with the bread’s shelf life.
- Non-Dairy Milk (Unsweetened Soy Milk): Soy milk is my top choice for baking due to its higher protein content, which closely mimics dairy milk’s properties in terms of structure and browning. This contributes to a stronger dough and a more desirable crust. While any unsweetened non-dairy milk will work (oat milk is a good second choice), aim for soy milk if possible. Always use an unsweetened variety to control the overall sweetness of the loaf.
Gathering these quality ingredients is the first step towards baking a truly exceptional vegan wholemeal sandwich bread that you’ll be proud to share (or keep all to yourself!).
Step-by-Step Guide: Crafting Your Vegan Wholemeal Sandwich Bread
(For precise measurements and detailed instructions, please refer to the comprehensive recipe card located at the very bottom of this page.)
I often find that splitting the preparation of this vegan wholemeal sandwich bread over two days works best. This involves making the dough and allowing it to undergo its first rise slowly in the refrigerator overnight. This cold fermentation not only makes the dough easier to handle and shape but also significantly enhances the bread’s flavor profile. However, if time is of the essence, you can certainly complete the entire process in a single day.
Phase 1: Preparing the Tangzhong
- Begin by placing the specified amount of flour for the tangzhong in a small saucepan.
- Gradually whisk in the water, ensuring a smooth mixture free of lumps.
- Place the saucepan over a medium-low heat. Continue whisking constantly. The mixture will begin to thicken. Keep cooking and whisking until it reaches a thick, pudding-like consistency, similar to wallpaper paste. This process usually takes only a few minutes.
Phase 2: Mixing and Kneading the Dough
- Carefully scrape the warm tangzhong into the bowl of a stand mixer equipped with a dough hook attachment. Immediately pour the cold non-dairy milk over the tangzhong. This crucial step helps to rapidly cool the tangzhong, preventing it from being too hot and potentially harming the yeast.
- Add the sugar, salt, both wholemeal and white bread flours, and finally the instant yeast into the mixer bowl.
- Stir the ingredients briefly until they just come together to form a rough, shaggy dough.
- Set your stand mixer to a medium speed and continue mixing for approximately 10 minutes. During this time, the dough will transform, becoming smooth, elastic, and stretchy. This development of gluten is essential for the bread’s texture.
- Next, incorporate the softened vegan block butter. Continue kneading for another 5 minutes or until the butter is fully integrated into the dough. The dough should now be very smooth, elastic, and no longer feel greasy to the touch.
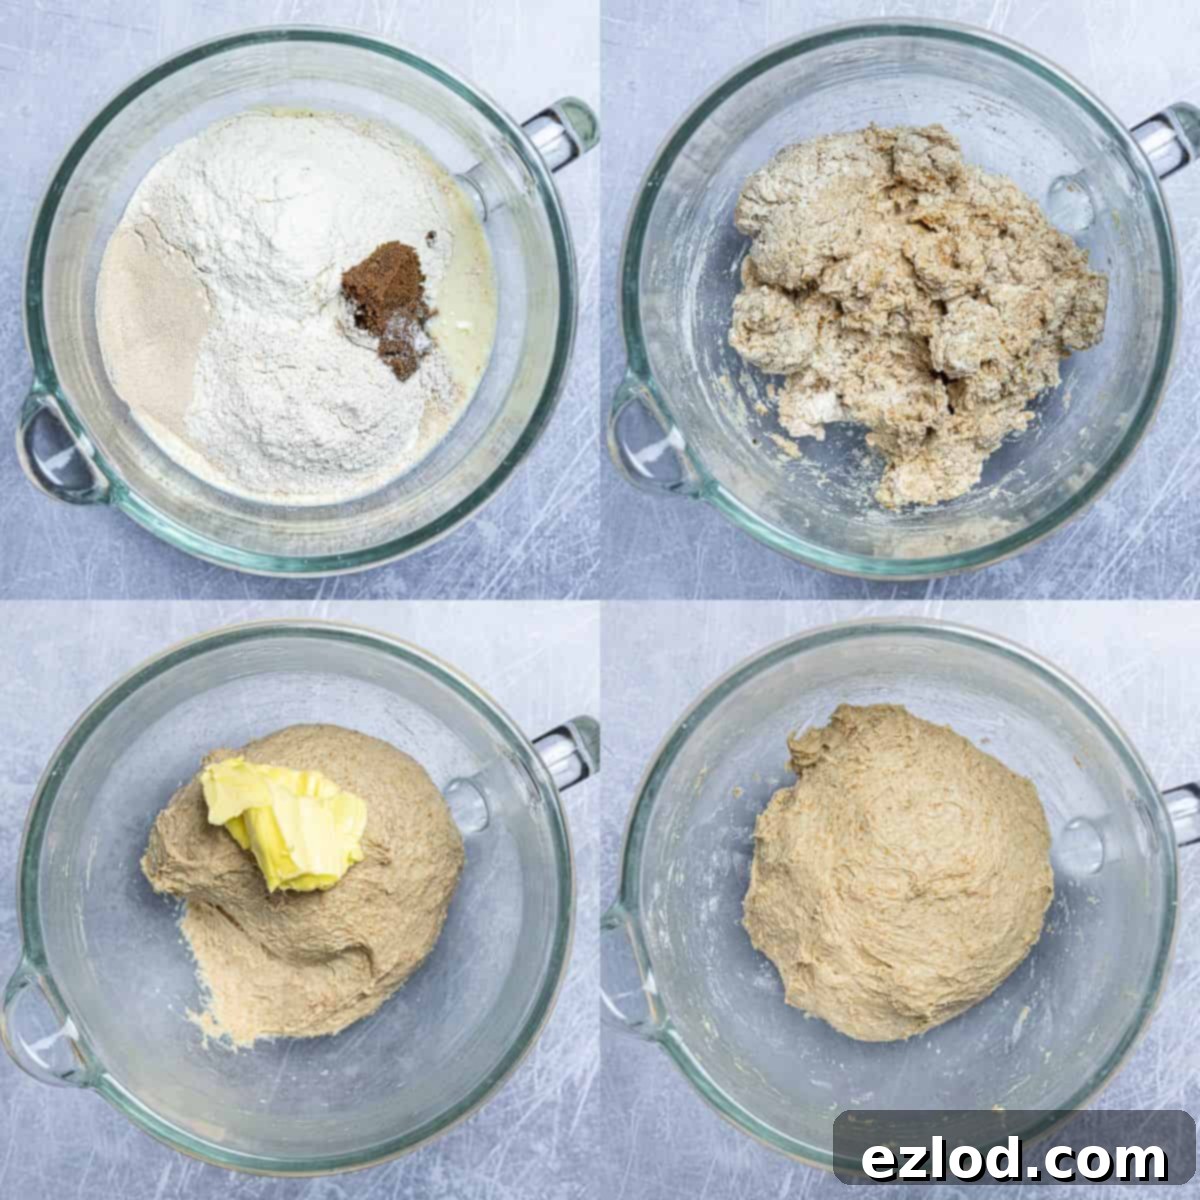
- The finished dough should be soft and slightly sticky, but it should cleanly pull away from the sides of the mixing bowl. If it appears excessively wet, you can gradually knead in a small amount of extra flour, adding one tablespoon at a time. Exercise caution here: this is intended to be a soft dough, and incorporating too much flour will result in a dry, dense loaf.
- If you don’t own a stand mixer, you can knead the dough by hand on a lightly floured surface. Be prepared for a sticky endeavor, but the results are equally rewarding.
Phase 3: The First Rise (Bulk Fermentation)
- Lightly oil a large bowl. Transfer the kneaded dough to this bowl, turning it once to coat lightly with oil.
- Cover the bowl tightly with plastic wrap or a damp kitchen towel.
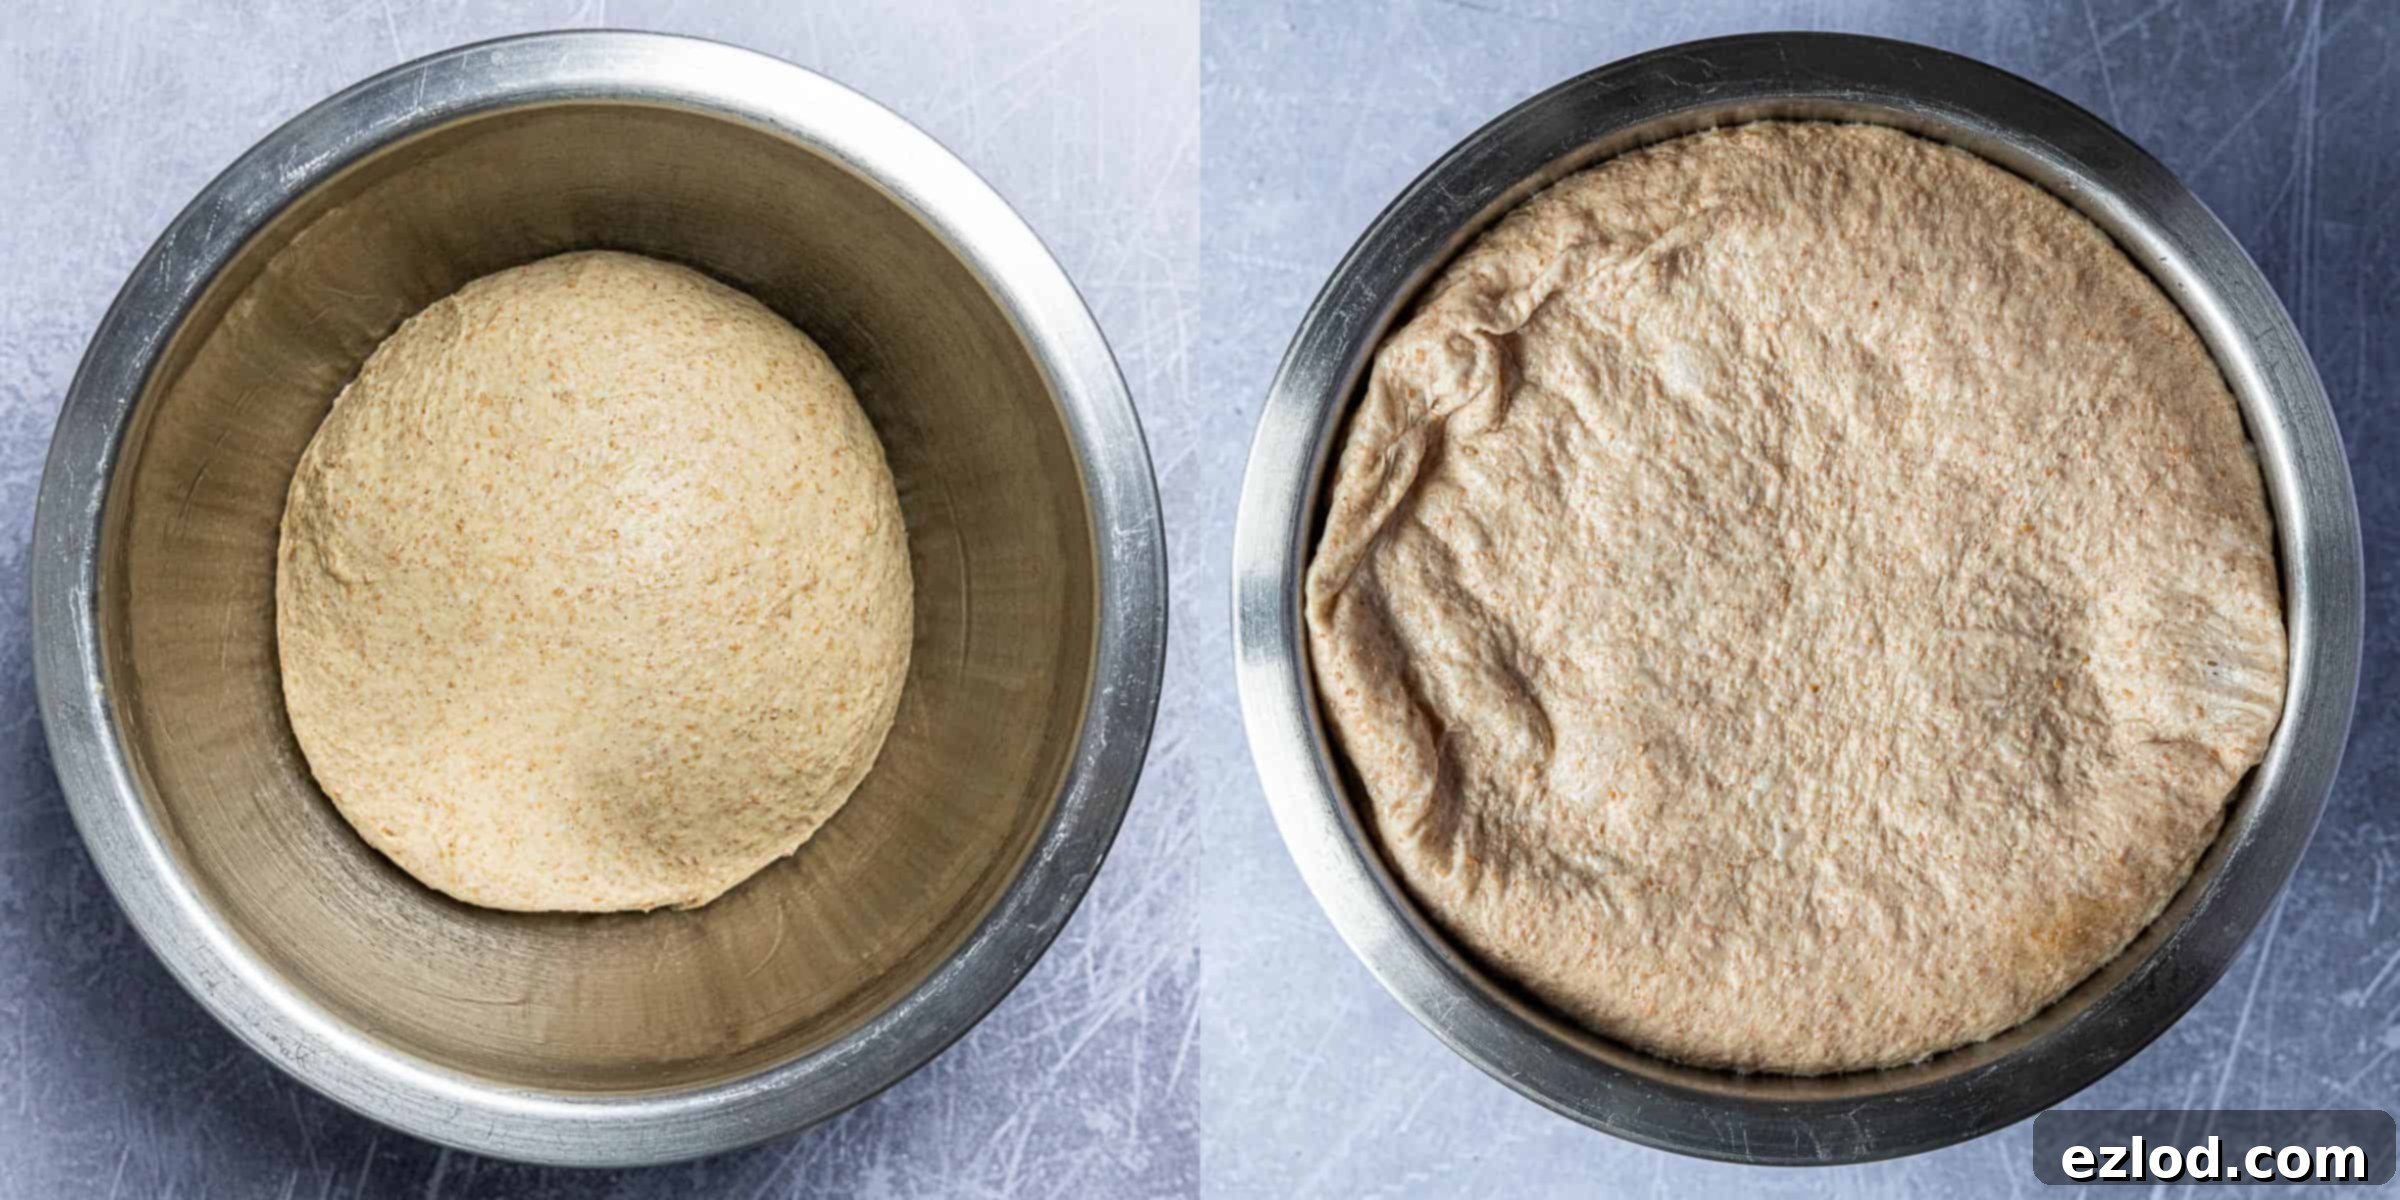
- Place the covered dough in the refrigerator for its first rise overnight (8-12 hours) for enhanced flavor and easier handling, or in a warm spot at room temperature for 1-2 hours, until it has roughly doubled in size.
Phase 4: Shaping Your Loaf
- Once the dough has completed its first rise, gently punch it down to release the trapped air. Give it a brief, 30-second knead to ensure all air is expelled evenly.
- Allow the dough to rest for 10 minutes. This helps the gluten relax, making it easier to roll out.
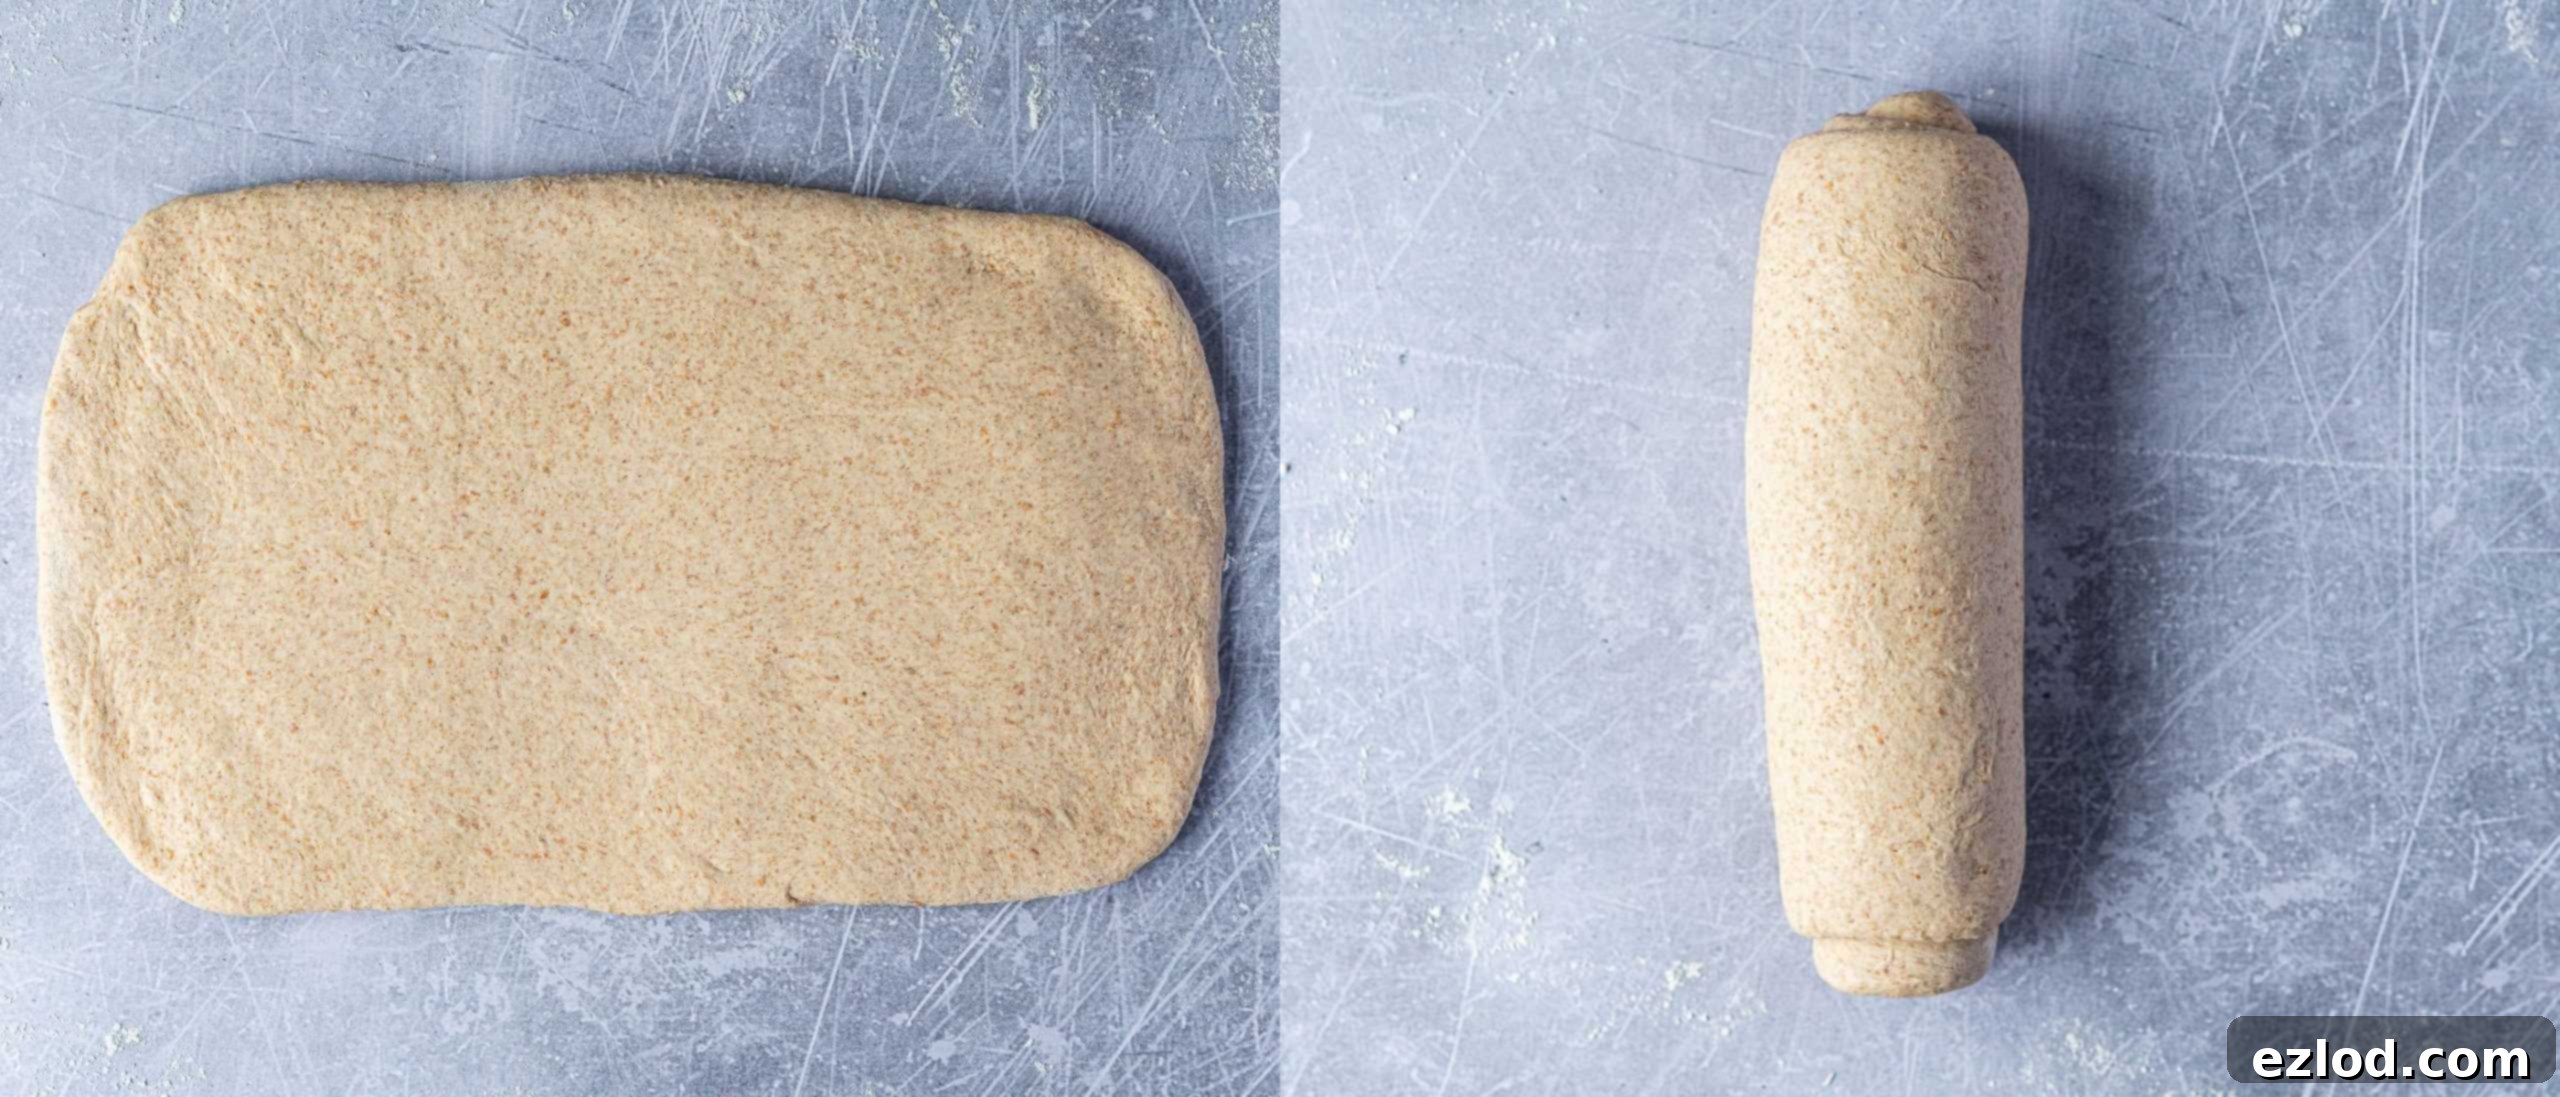
- On a lightly floured surface, roll the dough out into a rectangle approximately 20 x 38 cm (8 x 15 inches). Don’t worry if it’s not perfectly precise; a rough rectangle of the correct dimensions is sufficient.
- Starting from one of the shorter edges, tightly roll the dough up into a log. Aim for a log that is approximately 20 cm (8 inches) long, fitting the length of your loaf tin.
Phase 5: The Second Rise (Proofing) and Baking
- Lightly grease an 11.5 x 21.5 cm to 13 x 23 cm (8.5 x 4.5 to 9 x 5 inch) loaf tin. Place the dough log into the prepared tin, ensuring the seam side is facing down.
- Loosely cover the tin with plastic wrap or a clean kitchen towel. Set it aside in a warm place for its second rise (proofing).
- Allow the dough to rise until it extends approximately 2.5 cm (1 inch) above the top edge of the loaf tin. To test for readiness, gently press the dough with a finger; it should spring back slowly and leave a slight indentation. If it springs back rapidly, it needs more time to rise. This second rise typically takes between 45 minutes to 2 hours, depending on whether the dough was refrigerated for its first rise.
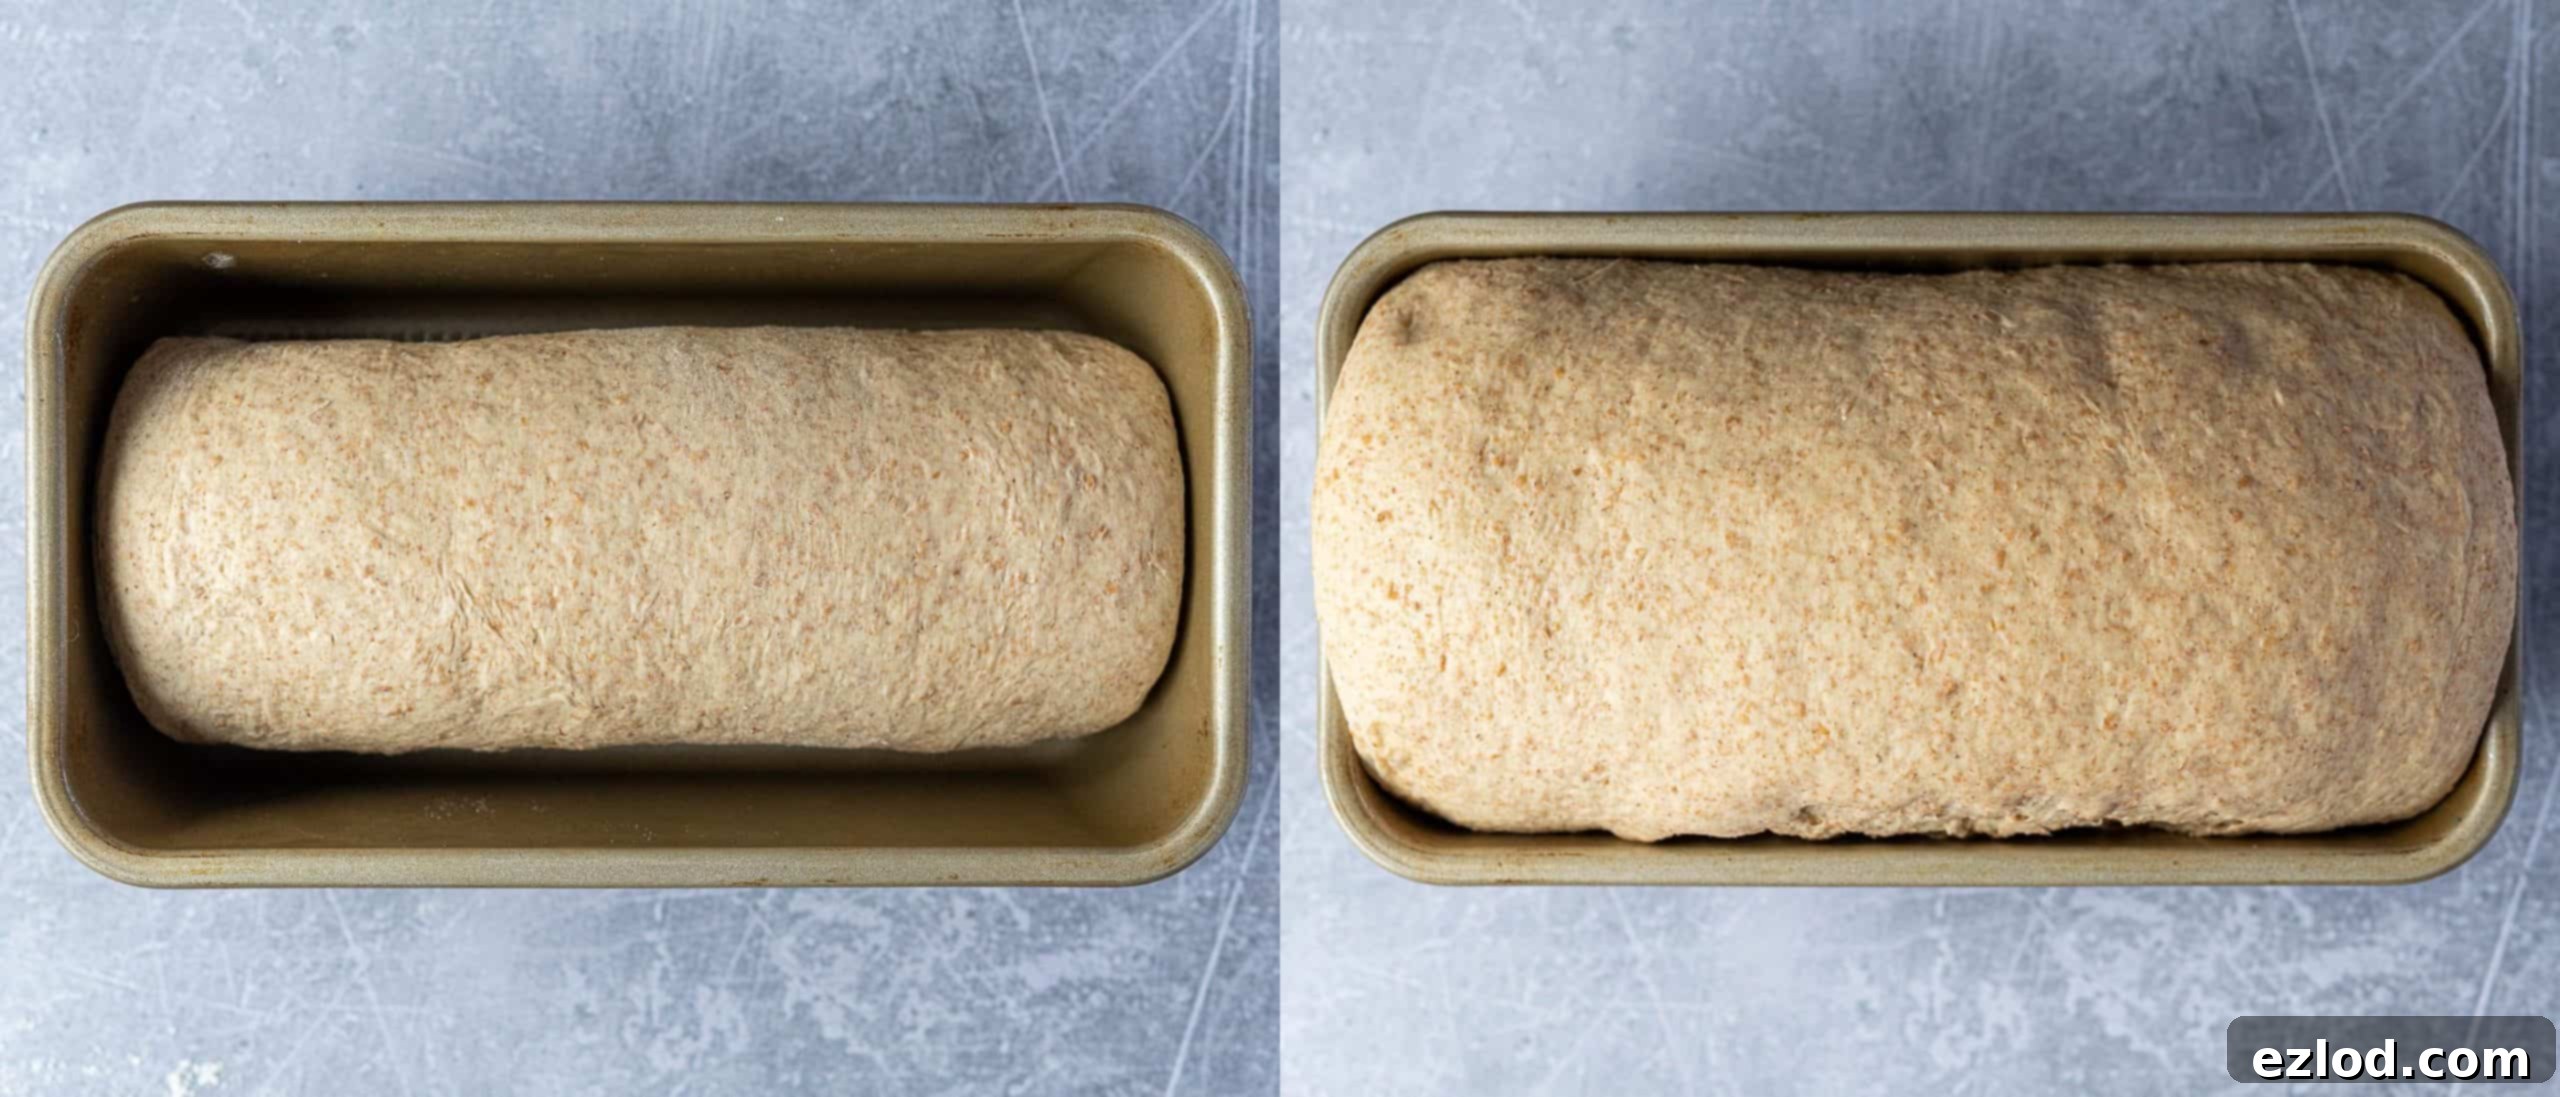
- While the dough is finishing its second rise, preheat your oven to 200°C (180°C fan/400°F/gas mark 6).
- Just before baking, gently brush the top surface of the loaf with a little non-dairy milk. Be careful to avoid letting the milk drip down the sides, as this can cause the bread to stick to the tin.
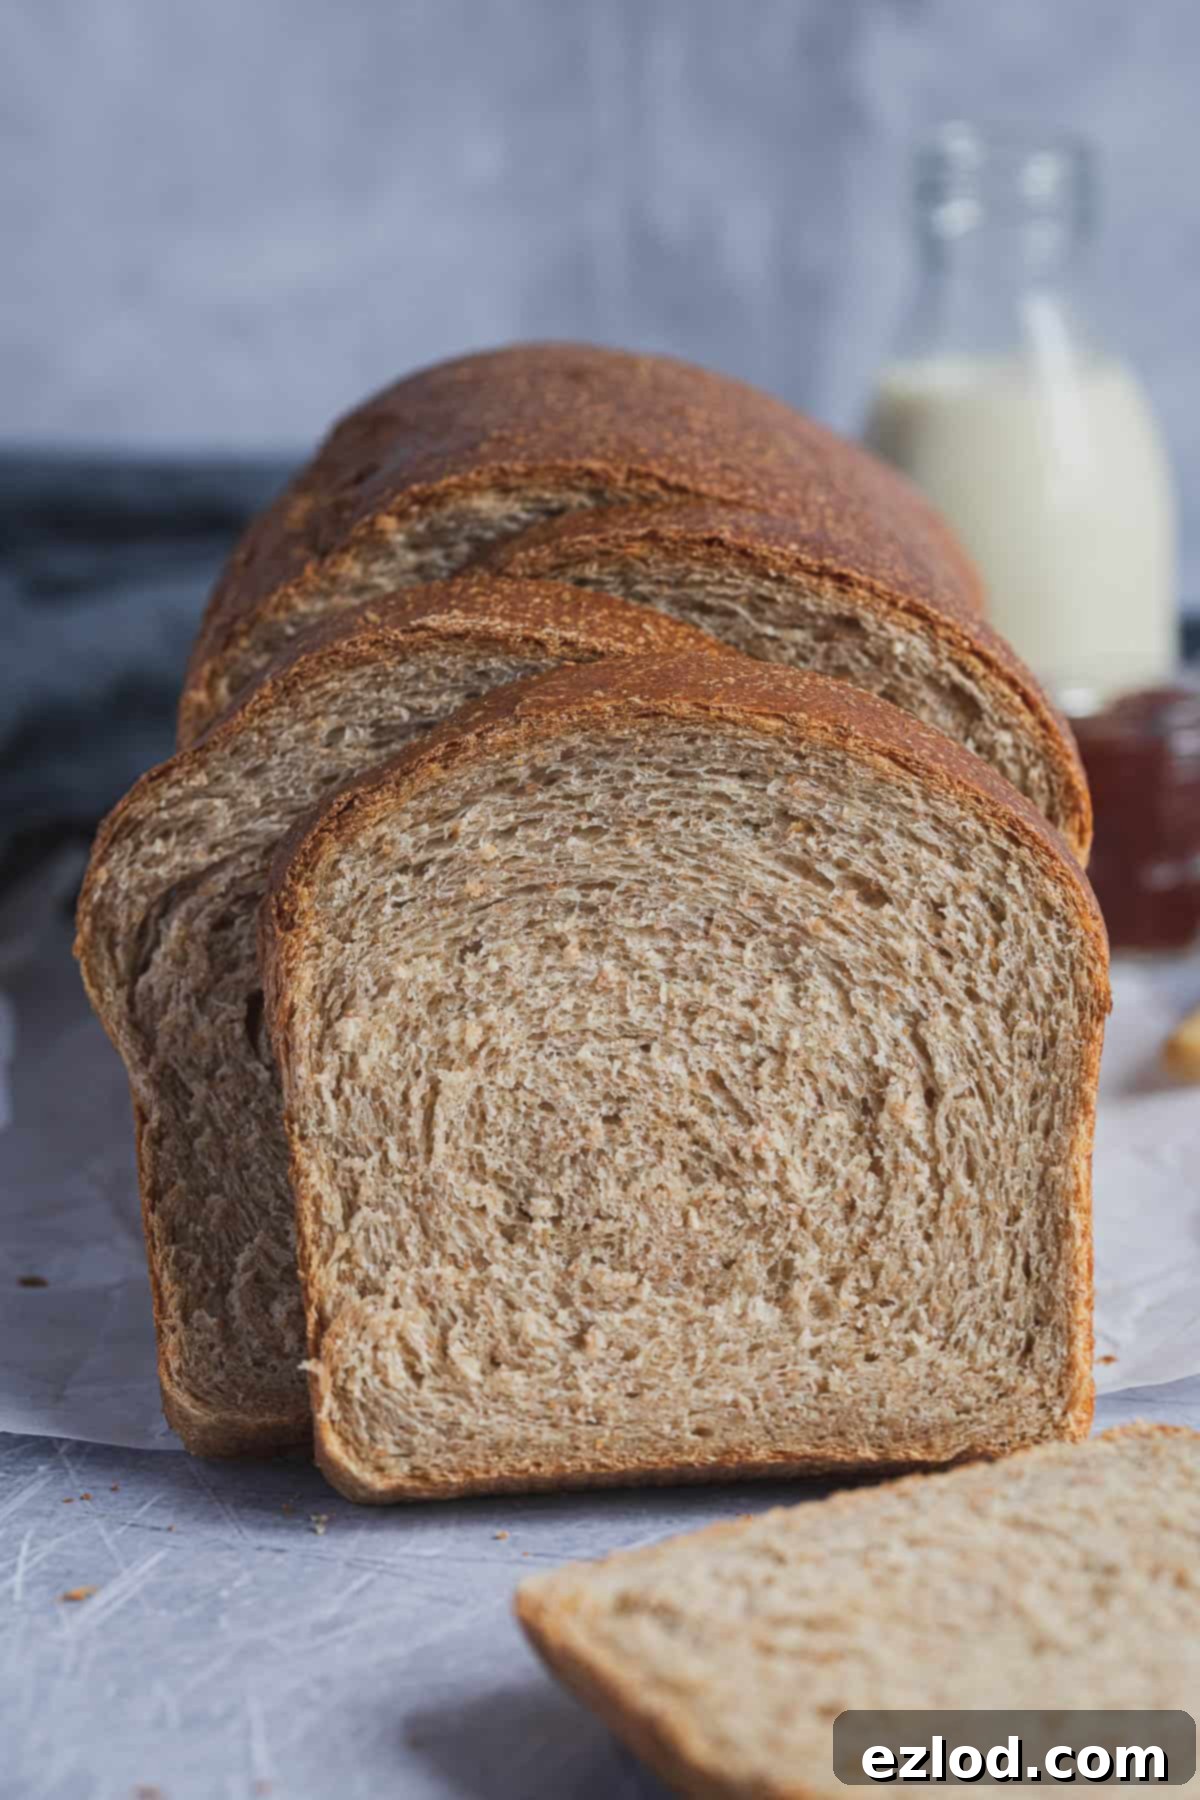
- Bake the loaf for approximately 40 minutes. The bread is fully baked when it achieves a deep golden brown crust and an internal temperature of at least 90°C (194°F) when measured with a probe thermometer inserted into the center. If you don’t have a thermometer, a reliable indicator is tapping the bottom of the loaf – it should sound hollow.
- Once baked, immediately transfer the loaf from the tin to a wire rack to cool completely. Resist the temptation to slice it prematurely; cooling ensures the internal structure sets properly and moisture is evenly distributed.
Essential Tips for Baking Success
Achieving a perfect loaf of vegan wholemeal sandwich bread every time is easy with these helpful tips:
- Precision is Key: As with all my baking recipes, I strongly advocate for using metric measurements and a digital kitchen scale over cup conversions. Volume measurements can be highly inaccurate, leading to inconsistent results. A scale ensures precise ingredient ratios, resulting in better, more consistent bread, and often a less messy baking experience! I’ve provided liquid measurements in grams as well, as it’s often easier to weigh liquids for accuracy. (180g water is 180ml, 220g milk is 220ml).
- Check Your Yeast: Always verify the expiration date on your yeast package. Old or inactive yeast is the most common reason for bread failing to rise, resulting in a dense, disappointing loaf.
- Dough Consistency Matters: The exact amount of flour needed can sometimes vary slightly due to differences in flour brands and their absorption rates. Start with the quantities provided in the recipe. If your dough feels excessively wet, knead in a small amount of extra flour, one tablespoon at a time, until it reaches the desired soft, slightly sticky consistency. Remember, this is designed to be a soft dough; adding too much flour will make the finished bread dry and heavy.
- Don’t Skip the White Flour: It’s critical not to replace the white bread flour with more wholemeal flour. The white flour is essential for achieving the soft, fluffy texture we’re aiming for in this sandwich bread. Without it, your loaf will be much denser.
- Optimal Non-Dairy Milk: While any unsweetened non-dairy milk works, soy milk is genuinely the best choice for baking due to its higher protein content. This protein contributes to better gluten development and a superior crumb structure. Oat milk would be my second recommendation.
- Mind the Temperature: The rising time of your dough is highly dependent on the ambient temperature. In a warm environment, the dough will rise much faster than on a cold day. If you choose to refrigerate the dough for its first rise (which enhances flavor), be prepared for the second rise to take a bit longer.
- Overnight Rise for Flavor: For an even deeper, more complex flavor, consider giving the dough its first rise overnight in the refrigerator instead of at room temperature. This cold fermentation not only improves taste but also conveniently breaks up the workload.
- Alternative Shaping: If you’re comfortable with different shaping techniques, you can also use the method detailed in my vegan Hokkaido milk bread recipe to form your loaf.
- Cool Completely: Always allow the bread to cool entirely on a wire rack before slicing. Slicing warm bread can compress the crumb, making it gummy, and preventing the internal structure from fully setting. Patience is a virtue here!
Choosing the Right Yeast: Instant vs. Active Dry
When it comes to baking bread, the type of yeast you use can slightly alter your process. I consistently opt for instant yeast (also known as fast-action yeast) in my recipes because of its ease of use. Instant yeast doesn’t require prior activation in liquid; you can simply add it directly to your dry ingredients, which saves a step and a bit of time. If possible, I highly recommend stocking instant yeast for convenience.
However, if active dry yeast is what you have on hand, you can still successfully make this recipe with a slight adjustment:
- Amount: Use 10g (3 teaspoons) of active dry yeast.
- Tangzhong Preparation: Prepare the tangzhong as directed in the recipe. Once cooked, scrape it into a clean bowl, cover it directly on the surface with cling film or greaseproof paper (to prevent a skin from forming), and allow it to cool completely to room temperature. This is important as active dry yeast is more sensitive to heat than instant yeast.
- Milk Temperature: Crucially, for the dough, use lukewarm non-dairy milk, NOT cold milk. The milk should feel comfortably warm to your finger, like a warm bath – anything too hot will kill the yeast.
- Activating Active Dry Yeast: In a small bowl, combine the lukewarm milk with the active dry yeast and a pinch of the sugar from the recipe. Stir gently and let this mixture sit for 10-20 minutes. You’ll know it’s ready when it becomes visibly foamy and bubbly, indicating the yeast is active and alive.
- Proceed with Recipe: Once your active dry yeast is activated and bubbly, proceed with the rest of the recipe as written, adding the activated yeast mixture to the tangzhong and flours.
Smart Ways to Speed Up Dough Rising Time
Dough rising times can be frustratingly slow, especially in a cold kitchen. Here are a couple of effective methods to create a warm, optimal environment for your dough to rise more quickly:
- The Warm Oven Trick:
- Preheat your oven to its absolute lowest temperature setting for just a few minutes (e.g., 2-3 minutes).
- Turn the oven off completely.
- Open the oven door for about 30 seconds to allow some of the intense heat to escape.
- Carefully place your hand inside for a few seconds to gauge the temperature. It should feel pleasantly warm, like a gentle summer day, not hot. If it’s too hot, wait a little longer, as excessive heat can kill the yeast.
- Place your covered dough in the warmed oven and close the door. On particularly cold days, you might need to re-warm the oven briefly after an hour or so, but often, one warming is sufficient.
- The Boiling Water Method (Steam Box):
- Place a heat-proof bowl or an empty loaf tin on the bottom rack of your (cold, switched off) oven.
- Position your covered dough on the middle rack.
- Carefully fill the bowl on the bottom rack with boiling water. The steam generated will create a moist, warm environment that is perfect for yeast activity.
- Close the oven door. The dough will enjoy a consistent, warm, and humid atmosphere, encouraging a faster rise.
Both methods provide a controlled environment that significantly reduces rising times, allowing you to enjoy your delicious homemade bread sooner!
Ensuring Your Bread is Perfectly Baked
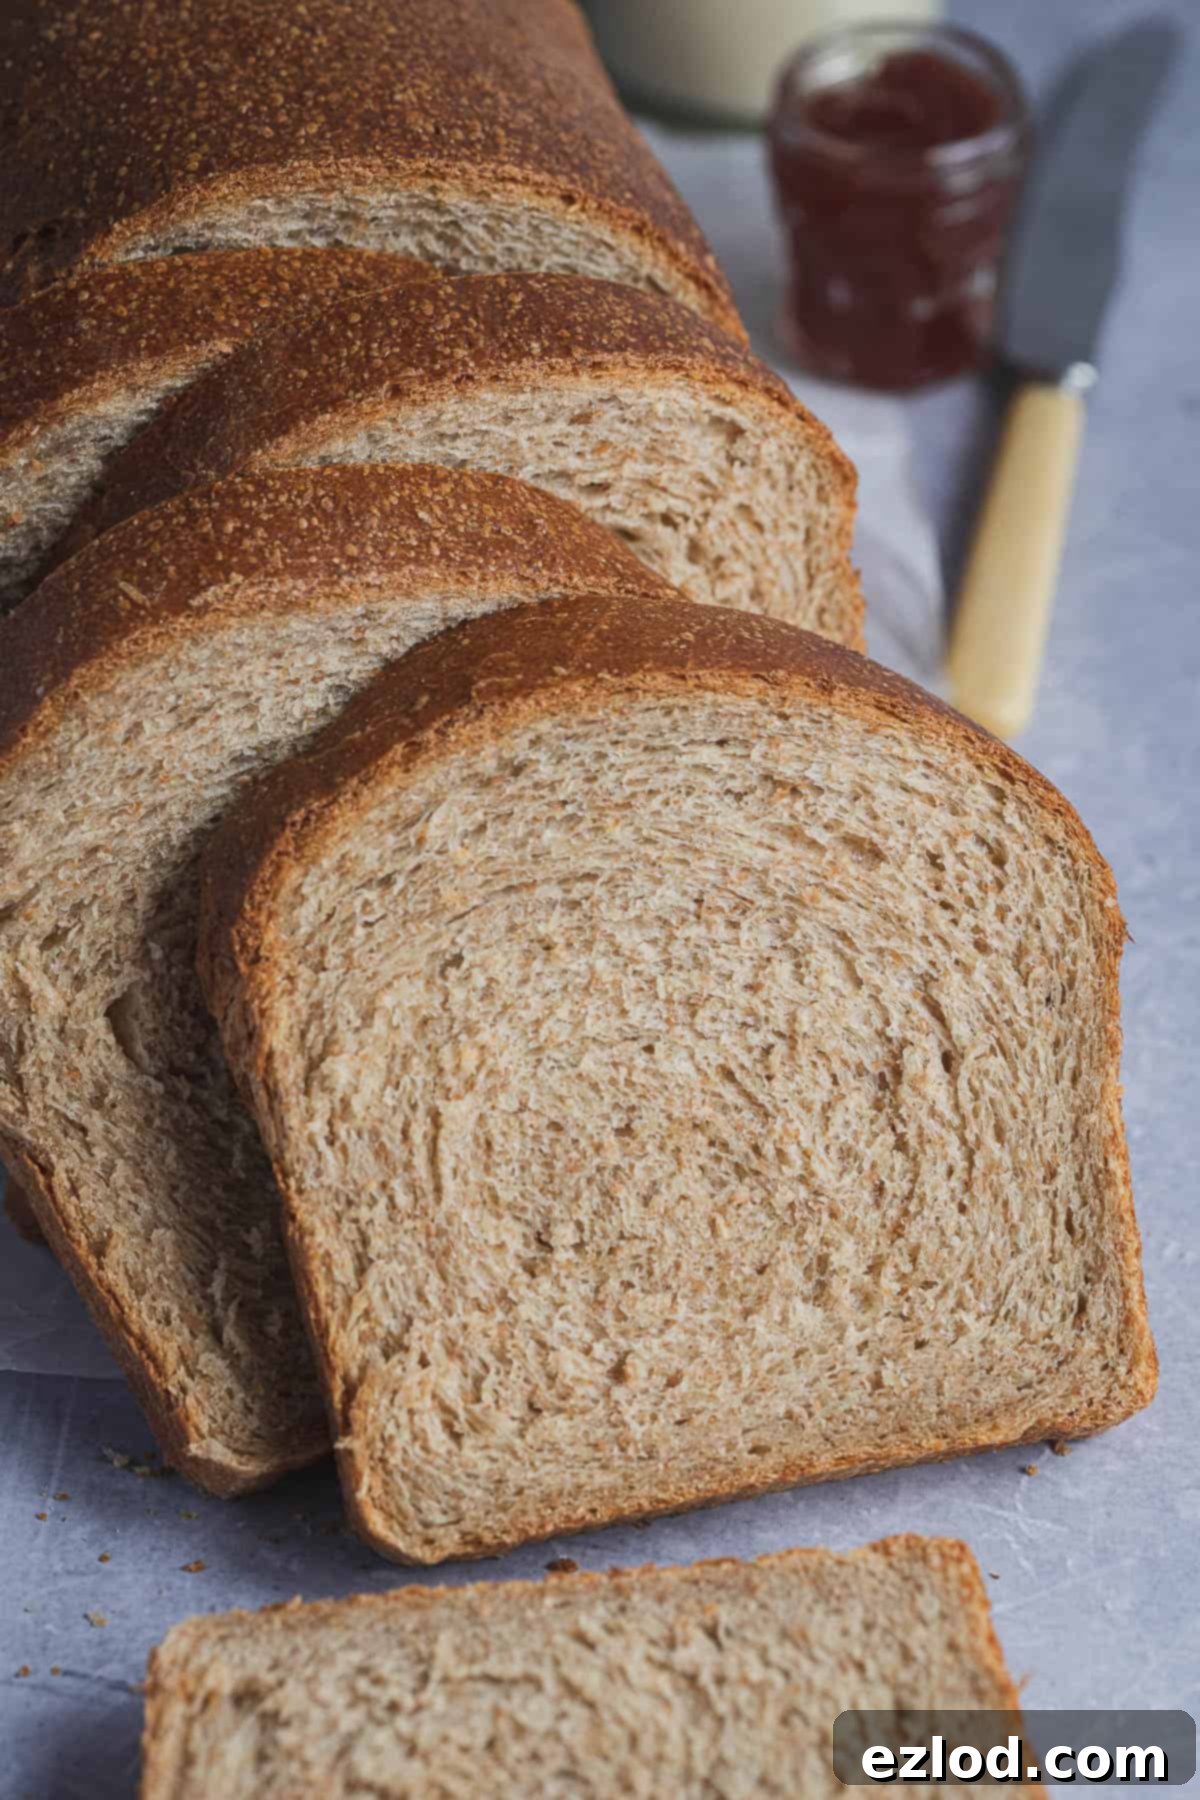
Knowing exactly when your bread is perfectly baked is crucial for optimal flavor and texture. Here’s how to tell:
- The Probe Thermometer Method (Highly Recommended): The most accurate and foolproof way to determine if your bread is done is by checking its internal temperature with a digital probe thermometer. Insert the thermometer into the center of the loaf. For a fully baked loaf, the internal temperature should register at least 90°C (194°F). This ensures the starches are fully cooked and the bread has developed its proper structure. Overbaked bread will be dry and crumbly, while under-baked bread will have a gummy, doughy center – definitely not ideal! Investing in a good probe thermometer is an incredibly valuable tool for any baker, ensuring consistent results.
- The Hollow Sound Test: If you don’t have a thermometer, a traditional method is to gently tap the bottom of the baked loaf. A properly cooked loaf should produce a hollow sound, indicating that most of the moisture has evaporated from the interior and the crumb has set.
- The Toothpick Test: Similar to testing cakes, you can insert a long wooden skewer or a thin knife into the center of the loaf. It should slide in and out smoothly with minimal resistance and emerge clean, without any wet dough clinging to it.
Remember that baking times are always approximate because ovens can vary significantly in temperature and efficiency. Trusting these indicators, especially a probe thermometer, will lead to perfectly baked bread every time.
Storage and Freezing Guidelines
How Long Will It Keep?
This vegan wholemeal sandwich bread is undoubtedly at its peak deliciousness on the day it’s baked, offering maximum softness and freshness. However, thanks to the tangzhong method, it will retain its wonderful softness for approximately four days when stored in an airtight container at room temperature. Once it begins to lose a bit of its initial softness, it still makes absolutely fantastic toast!
Can I Freeze This Vegan Wholemeal Sandwich Bread?
Yes, absolutely! This vegan wholemeal sandwich bread freezes beautifully, making it perfect for meal prep or extending its shelf life. You can freeze it as a whole loaf or conveniently sliced, depending on your needs. For best results and to preserve maximum freshness, allow the loaf to cool completely to room temperature before freezing, and ideally, freeze it on the same day it was baked.
To prevent freezer burn and maintain quality, ensure the bread is stored in an airtight freezer-safe container or wrapped very tightly in multiple layers of plastic wrap and then foil. When you’re ready to enjoy it, simply allow it to defrost at room temperature.
If you’ve frozen an entire loaf, you can refresh it beautifully by warming it in a low oven (around 150°C/300°F) for 5-10 minutes before serving. This will bring back some of its warmth and softness, almost like it was freshly baked.
Important Note: Gluten-Free Adaptations
Unfortunately, this recipe cannot be made gluten-free by simply swapping out the flours. Baking gluten-free bread is a complex art that requires a completely different approach, specialized flour blends, and often different techniques to achieve a desirable texture and structure. Gluten is a fundamental component of traditional bread making, providing elasticity and chewiness, and without it, the entire recipe would need a significant overhaul.
Gluten-free baking falls outside my area of expertise, so I cannot offer advice on adapting this specific recipe. It is always best to seek out and use a recipe that has been specifically developed and tested for gluten-free ingredients rather than attempting to modify a gluten-containing recipe. There are many fantastic gluten-free bread recipes available that are designed to deliver excellent results.
Explore More Vegan Bread Creations
If you loved making this wholesome sandwich bread, you might enjoy exploring other delicious vegan bread recipes:
- Vegan Hokkaido Milk Bread: For an even softer, fluffier white loaf.
- Vegan White Sandwich Bread: A classic, everyday loaf.
- Vegan Brioche: Rich and buttery, perfect for special occasions.
- Vegan Challah: A beautiful braided bread, great for holidays or Sabbath.
- Vegan Pesto Bread Wreath: A savory, aromatic twist on bread.
- Easy Flatbreads (Vegan, No Yeast): Quick and simple, perfect for dipping.
- Vegan Beer Pretzels: A fun and flavorful snack.
- Vegan Pulla Bread (Cardamom Bread): A delightful Finnish sweet bread.
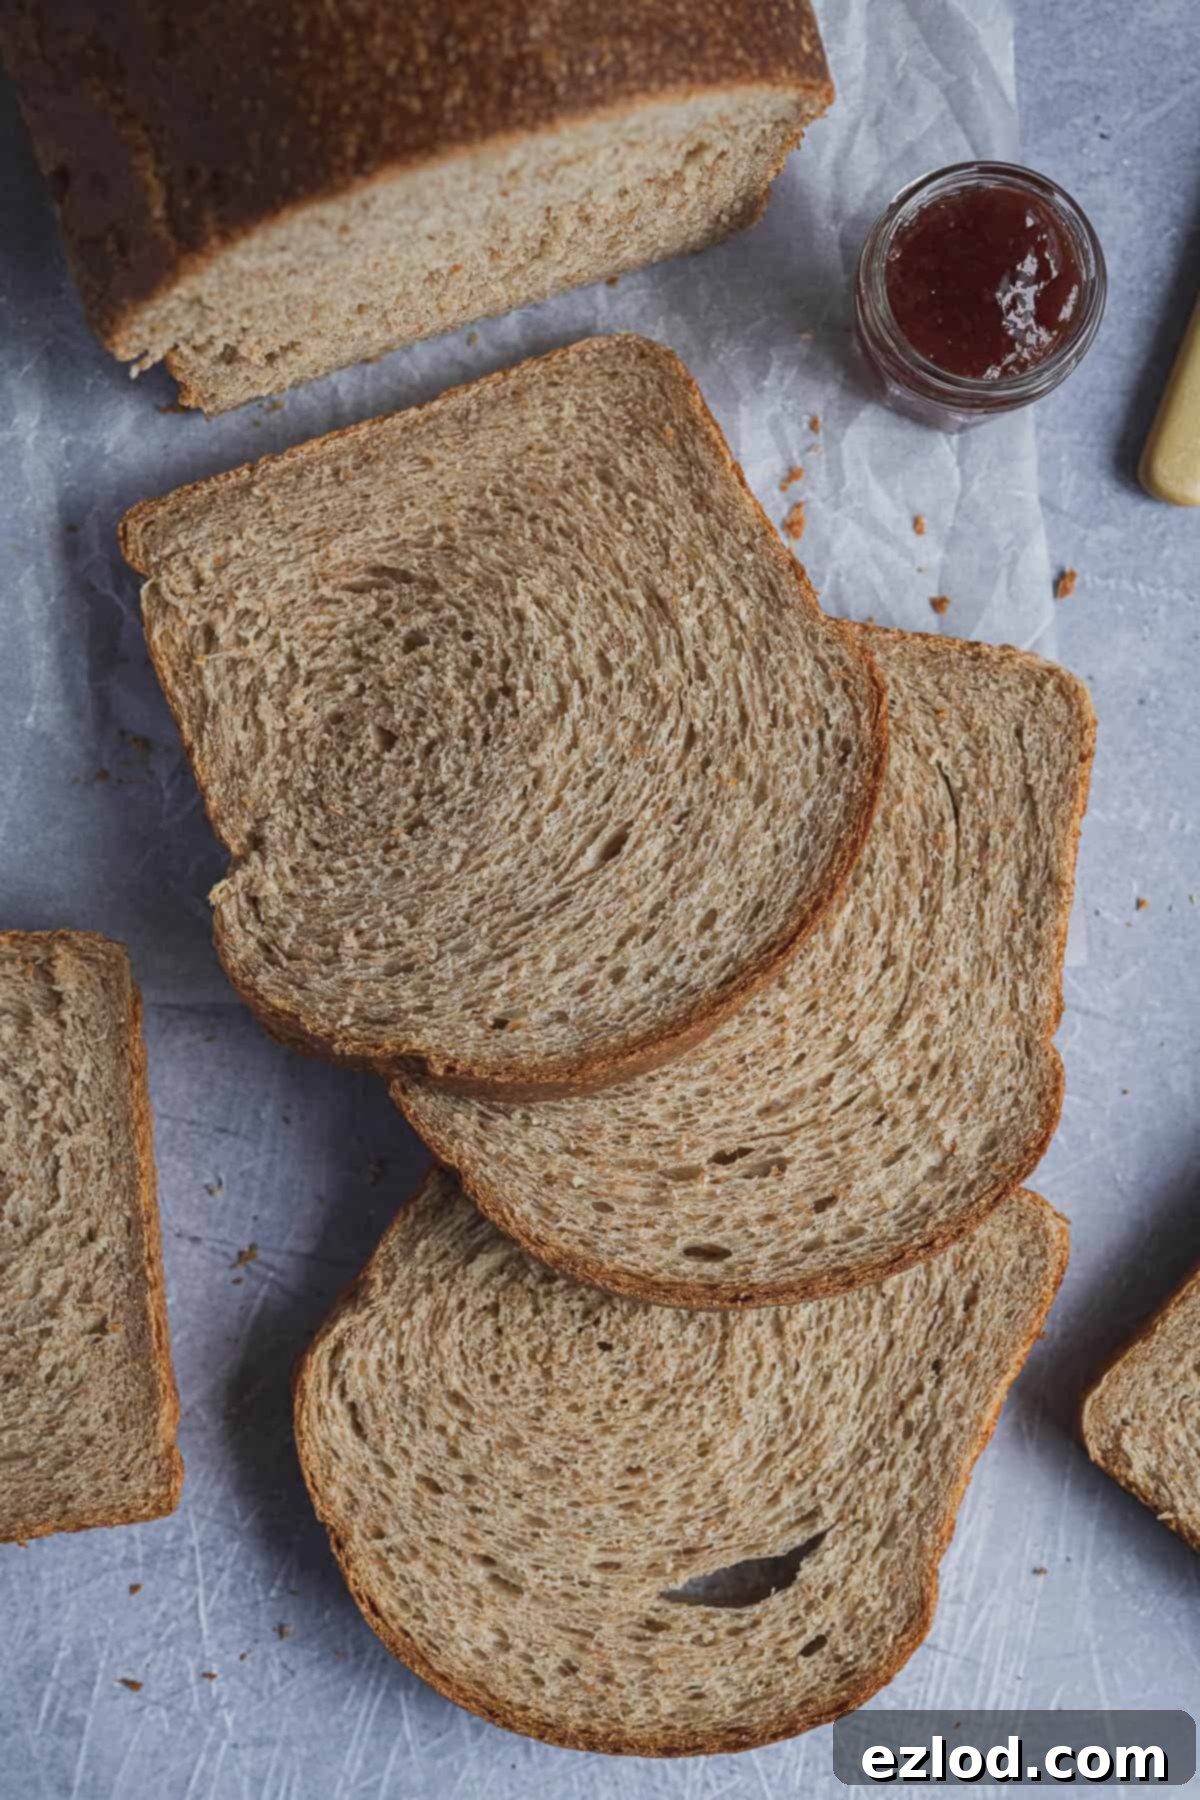
If you tried this recipe let me know how it went! Rate it, leave a comment or tag @domestic_gothess on Instagram and hashtag it #domesticgothess
All images and content on Domestic Gothess are copyright protected. If you want to share this recipe then please do so by using the share buttons provided. Do not screenshot or post the recipe or content in full, instead include a link to this post for the recipe.

Print
Vegan Wholemeal Sandwich Bread
Ingredients
Tangzhong:
- 35 g (¼ cup + 2 tsp) white bread flour
- 180 g (¾ cup) water
Dough:
- 220 g (¾ cup + 2 Tbsp + 2 tsp) cold unsweetened non-dairy milk (soy is best) plus a little extra for brushing
- 30 g (2 ½ Tbsp) dark brown soft sugar
- 1 tsp salt
- 250 g (2 ¼ cups) wholemeal bread flour
- 215 g (1 + ¾ cups) white bread flour
- 9 g (1 Tbsp) fast action/instant yeast
- 50 g (1 ¾ oz / 3 Tbsp + 1 tsp) vegan block butter softened
Instructions
-
To make the tangzhong, place the flour in a saucepan and gradually whisk in the water to avoid lumps.
-
Place the pan over a medium/low heat and whisk constantly until the mixture has thickened to a paste/pudding-like consistency.
-
Scrape the tangzhong into the bowl of a stand mixer fitted with a dough hook and pour the cold milk on top. This will cool the tangzhong down so that it doesn’t kill the yeast.
-
Add the sugar, salt, wholemeal and and white flours and finally the yeast. Stir until it forms a rough dough then set the stand mixer to a medium speed and mix until the dough is smooth and stretchy, this can take about 10 minutes.
-
Add the softened vegan butter and knead for about another 5 minutes until it is fully incorporated and the dough is smooth, elastic and no longer feels greasy.
-
The dough should still be soft and sticky, but it should pull away from the sides of the bowl cleanly. If it seems too wet then you can knead in a little extra flour, a tablespoon at a time. Be careful though, this is meant to be a soft dough and adding too much extra flour will make the bread dry.
-
If you don’t have a stand mixer then you can knead the dough by hand on an un-floured work surface but be prepared to get sticky.
-
Place the dough in a lightly oiled bowl, cover and place in the fridge to rise overnight, or in a warm spot for 1-2 hours until doubled in size.
-
Once the dough has risen, punch it down and give it a brief 30 second knead to knock out the air, let it rest for 10 minutes then roll it out on a lightly floured surface into a rectangle about 20 x 38 cm / 8 x 15 in.
-
Starting at one of the short edges, roll the dough up tightly into a log. It should be about 20 cm / 8 in long.
-
Lightly grease an 11.5 x 21.5 to 13 x 23 cm / 8.5 x 4.5 to 9 x 5 in loaf tin and place the log in the tin, seam side down.
-
Loosely cover the tin and set aside to rise in a warm spot until the dough has risen above the top of the tin by about 2.5 cm/1 in.
-
If you gently press it with a finger it should spring back slowly and maybe leave a small indentation. If it springs back quickly it needs to rise for a bit longer. It should take around 45 minutes to 2 hours depending on whether the dough was refrigerated or not.
-
When the dough is nearly ready, preheat the oven to 200°C/180°C fan/400°F/gas mark 6.
-
Gently brush the top of the loaf with milk, try not to let it drip down the sides or it may stick to the tin.
-
Bake for about 40 minutes until it is deep brown and a probe thermometer inserted into the centre reaches at least 90°C/194°F. If you don’t have a thermometer then the loaf should sound hollow if you tap it on the bottom.
-
Transfer the loaf to a wire rack and leave it to cool completely before slicing.
Notes
- See post above for tips, details and step-by-step photos. If you have a question I may have already answered it above!
- As with all of my baking recipes I really do recommend using the metric measurements with a digital scale rather than the cup conversions. Cups are a wildly inaccurate measuring system and you will get far better, more consistent results using a scale, not to mention that it is also easier and less messy than cups!
- I find it easier to weigh out the liquid ingredients using my scale, which is why I have given the amounts in grams. The quantity is the same if using a measuring jug (180ml water and 220ml milk).
- The amount of flour needed may vary a bit as different brands absorb different amounts of liquid. Start with the quantity given in the recipe and add a little more as needed if the dough is too wet. This is meant to be a soft sticky dough however, so don’t add too much as that will make the bread dry.
- Do not swap the white flour for more wholemeal. It is necessary for a soft, fluffy loaf.
- Do not slice the bread until it has cooled completely.
