Easy Vegan Vanilla Sugar Cookies: The Ultimate Recipe for Perfect Cut-Outs and Decorating
Welcome to the ultimate guide for crafting the most delightful vegan vanilla sugar cookies! This simple yet robust recipe is your secret weapon for creating beautiful, perfectly shaped cookies that hold their form impeccably during baking. Whether you call them sugar cookies, or as they’re known in the UK, vanilla biscuits, one thing is certain: they are incredibly delicious and wonderfully versatile.
Unlike many other cookie recipes, these vegan vanilla sugar cookies are specifically designed for cut-outs. They resist spreading in the oven, ensuring your intricate designs—from festive stars and hearts to adorable animals—come out looking just as you intended. This makes them the ideal canvas for all your decorating ambitions, transforming simple treats into edible works of art for any occasion.
From whimsical birthday celebrations to cozy Christmas gatherings, spooky Halloween parties, cheerful Easter brunches, or romantic Valentine’s Day surprises, these cookies are perfect for bringing a personalized touch to your festivities. Enjoy them plain for a classic treat, or let your creativity soar with various icings and toppings. The possibilities are truly endless!

Why Choose Vegan Sugar Cookies?
Opting for vegan sugar cookies isn’t just a dietary choice; it’s a step towards more compassionate and often healthier baking. These cookies offer the same beloved taste and texture of traditional sugar cookies, but without any animal products. This makes them perfect for those with dairy allergies, lactose intolerance, or anyone following a plant-based lifestyle.
Beyond the ethical considerations, vegan baking often opens up a world of new ingredients and techniques. Our recipe utilizes readily available plant-based butter and milk, ensuring that you don’t sacrifice flavor or quality. Plus, being able to share delicious treats with friends and family who have different dietary needs is always a win!
Essential Ingredients for Vegan Vanilla Sugar Cookies:
To achieve the perfect texture and flavor for these no-spread vegan sugar cookies, choosing the right ingredients is paramount. Here’s a detailed look at what you’ll need and why each component is important:
Vegan Block Butter: This is a non-negotiable ingredient for successful cut-out cookies. For the love of holy baking, please use a block-style vegan butter or margarine, not the spreadable kind that comes in a tub. Spreadable margarines often contain a higher water content, which can make your dough too soft, difficult to roll, and result in tougher cookies that spread too much. Block butter, like Naturli Vegan Block or Flora Plant Butter, provides the necessary fat content and firm texture to prevent spreading and ensure a crisp, tender crumb. Make sure it’s slightly softened, but not melted, for optimal creaming.
Caster Sugar (Superfine Sugar): Caster sugar is ideal for this recipe because its fine granules dissolve quickly and evenly into the butter, creating a smooth, light, and airy dough. This contributes significantly to the cookie’s delicate texture. Golden caster sugar can also be used, imparting a lovely subtle hint of caramel flavor. While granulated sugar will work if it’s all you have, it might result in a slightly less smooth dough and a slightly coarser texture. Please avoid brown sugar, coconut sugar, or any liquid sweeteners, as these will drastically alter the cookie’s texture and cause them to spread.
Plain Flour (All-Purpose Flour): Standard plain (all-purpose) wheat flour is perfectly suited for these cookies. It provides the structural base without adding any leavening agents that could affect their shape. I have not tested this recipe with gluten-free flours, so I cannot guarantee the same results for gluten-free versions.
Cornflour (Cornstarch): A touch of cornflour (known as cornstarch in North America) is a brilliant addition. It helps tenderize the cookies, giving them a wonderfully delicate melt-in-your-mouth texture, and crucially, it acts as an anti-spread agent. If you don’t have cornflour, you can substitute it with an equal weight of plain (all-purpose) flour, though the cookies might be slightly less tender and have a very slightly increased risk of spreading.
Vanilla Extract: Since “vanilla” is in the name, the quality of your vanilla extract truly shines here. Use a good quality pure vanilla extract for the best, most authentic flavor. If you want to elevate the vanilla notes even further, vanilla bean paste would be an absolutely amazing substitute, adding those beautiful flecks of vanilla bean and a richer flavor profile.
Non-Dairy Milk: A small splash of unsweetened non-dairy milk is used to bind the dough, replacing the moisture typically provided by an egg in traditional recipes. Any type of unsweetened non-dairy milk will work, but I personally prefer unsweetened soy milk for its neutral flavor and good protein content, which contributes to structure.
Salt: A tiny pinch of salt is essential in sweet baking. It doesn’t make the cookies salty; rather, it balances the sweetness of the sugar and enhances all the other flavors, making the vanilla truly pop.

How To Make Vegan Vanilla Sugar Cookies: A Step-by-Step Guide
(For full measurements and detailed instructions, please refer to the recipe card at the bottom of this page)
Making these vegan vanilla sugar cookies is a straightforward process, but paying attention to a few key steps will ensure perfect results every time. Here’s how to do it:
Step 1: Creaming Butter and Sugar. Begin by placing your slightly softened vegan block butter and caster sugar into a large mixing bowl. Using an electric mixer (stand mixer with paddle attachment or a handheld mixer), cream these two ingredients together until the mixture is light, fluffy, and noticeably pale in color. This process incorporates air, which is crucial for a tender cookie. Once creamed, mix in the vanilla extract until just combined. The mixture should smell wonderfully fragrant.
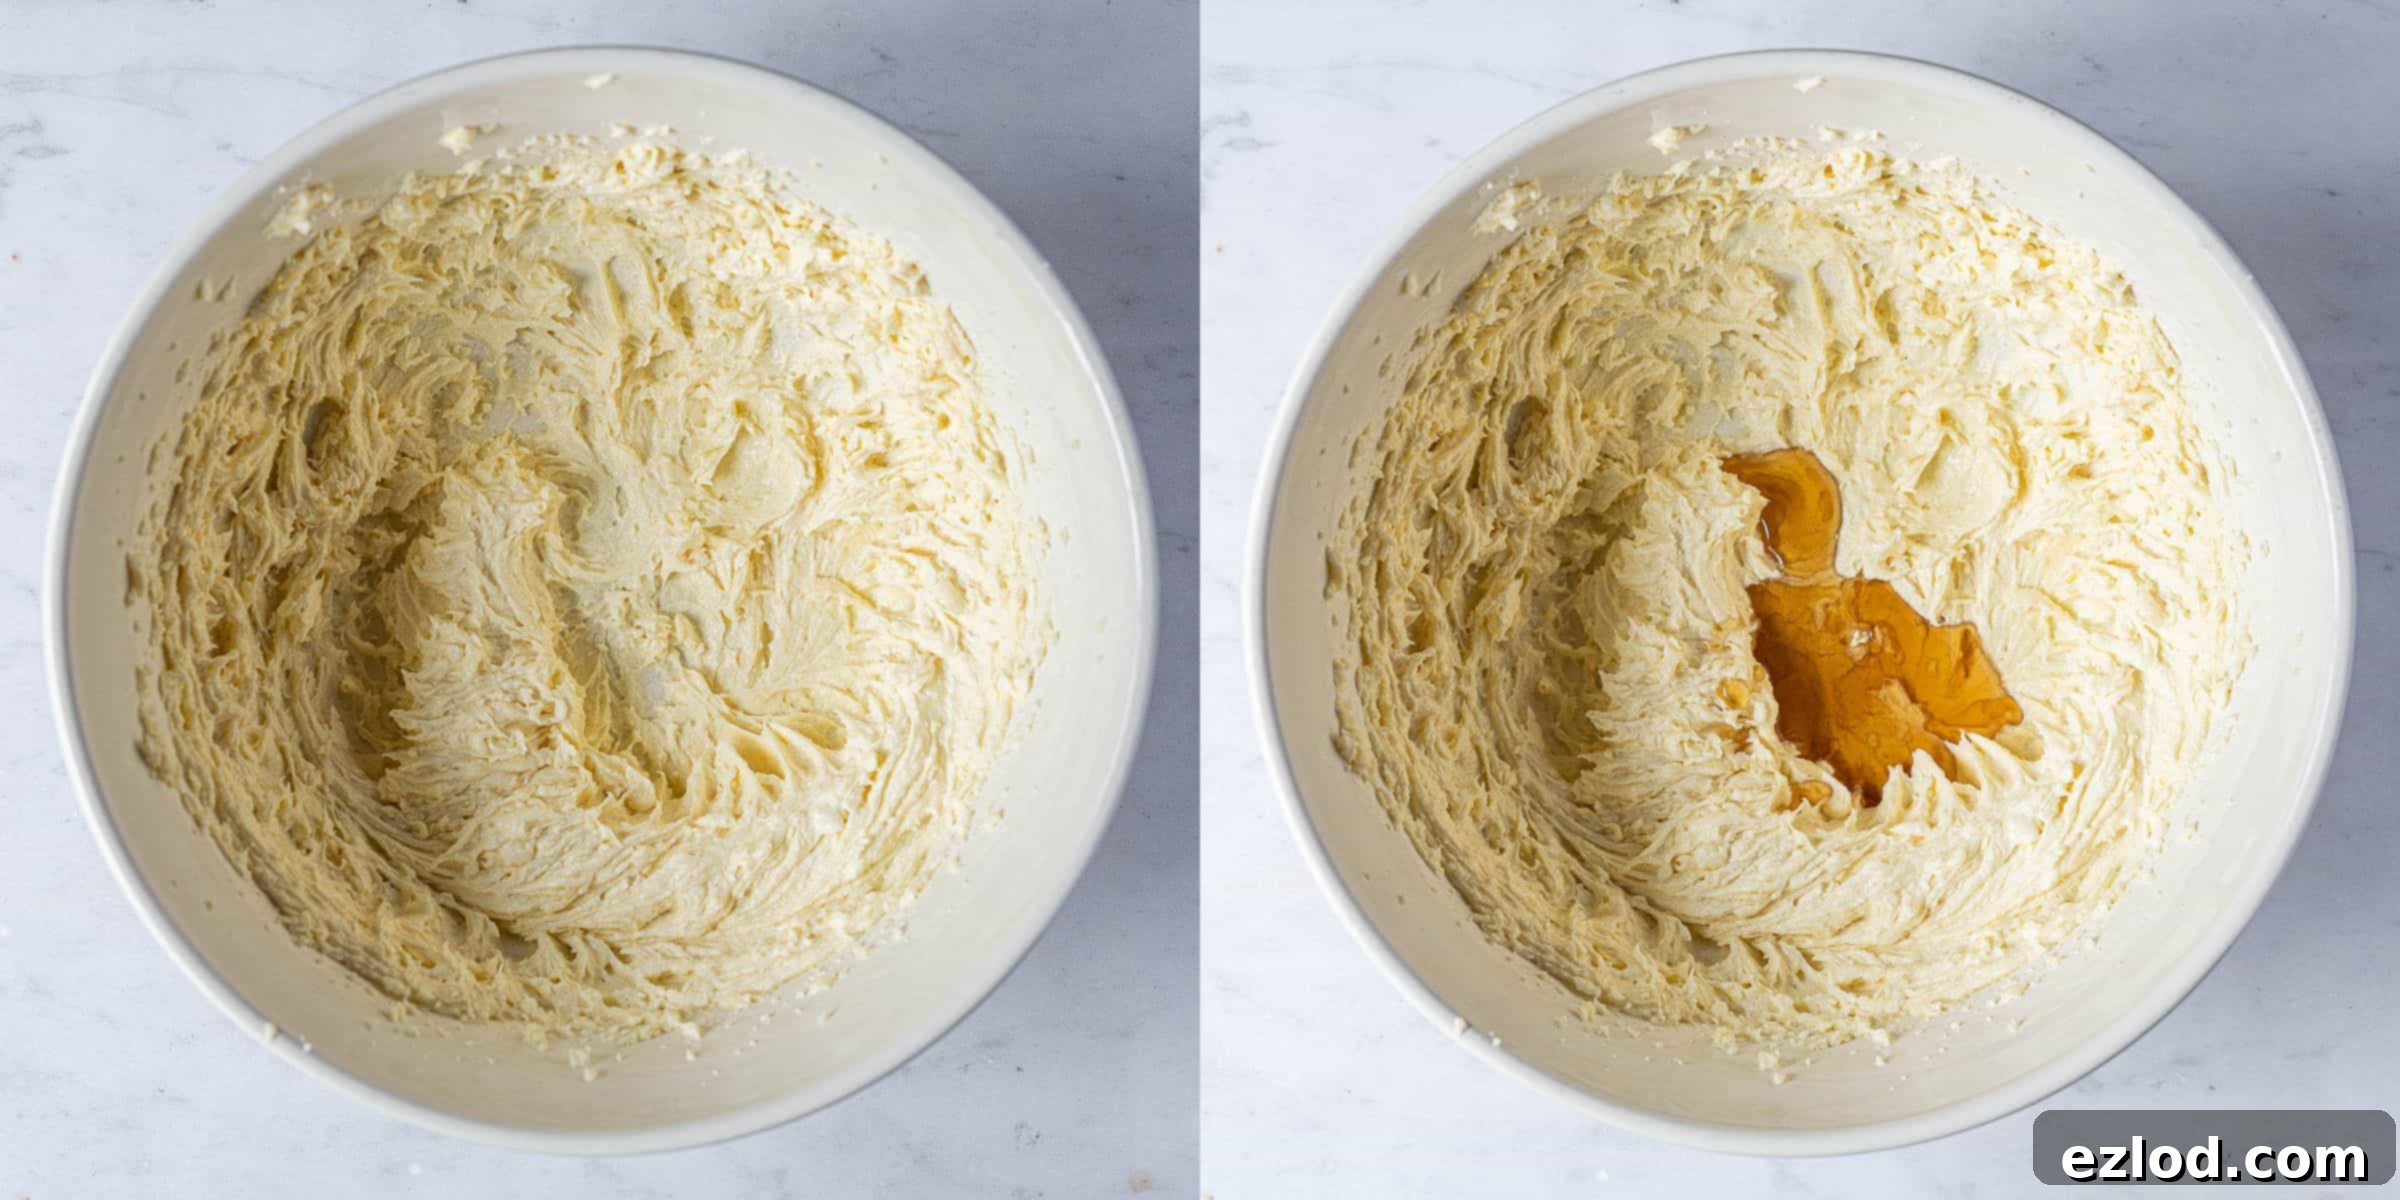
Step 2: Incorporating Dry Ingredients. In a separate bowl, sift together the plain flour, cornflour, and salt. Sifting helps to aerate the flour and remove any lumps, ensuring a smooth dough. Gradually add these dry ingredients to your creamed butter mixture. Mix on low speed, or stir with a wooden spoon, until the mixture just starts to come together and form moist clumps. Be careful not to overmix at this stage.
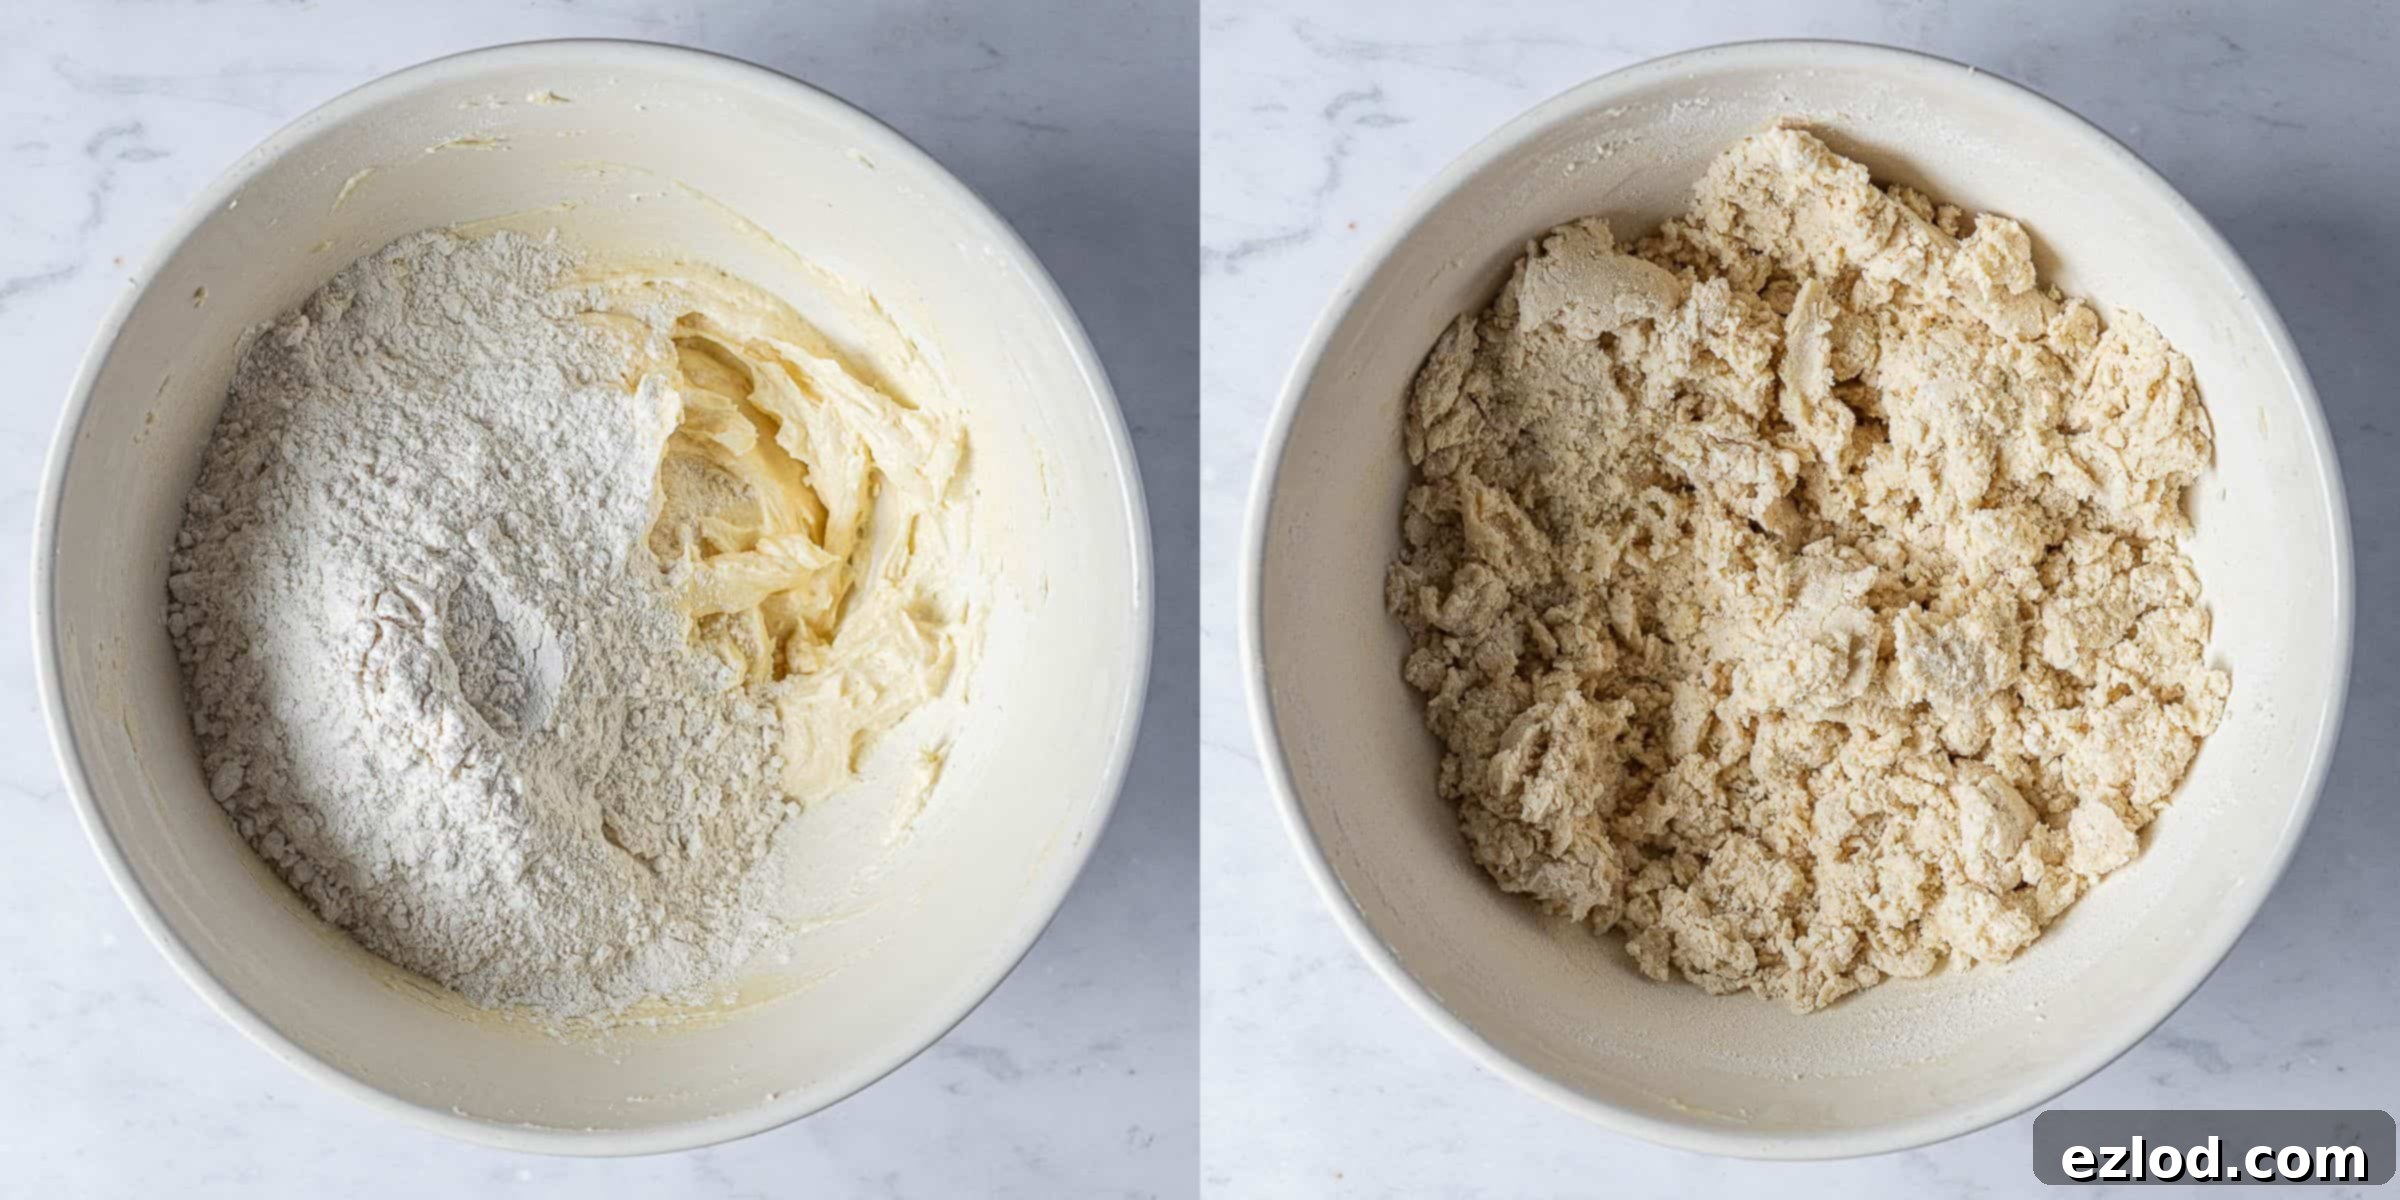
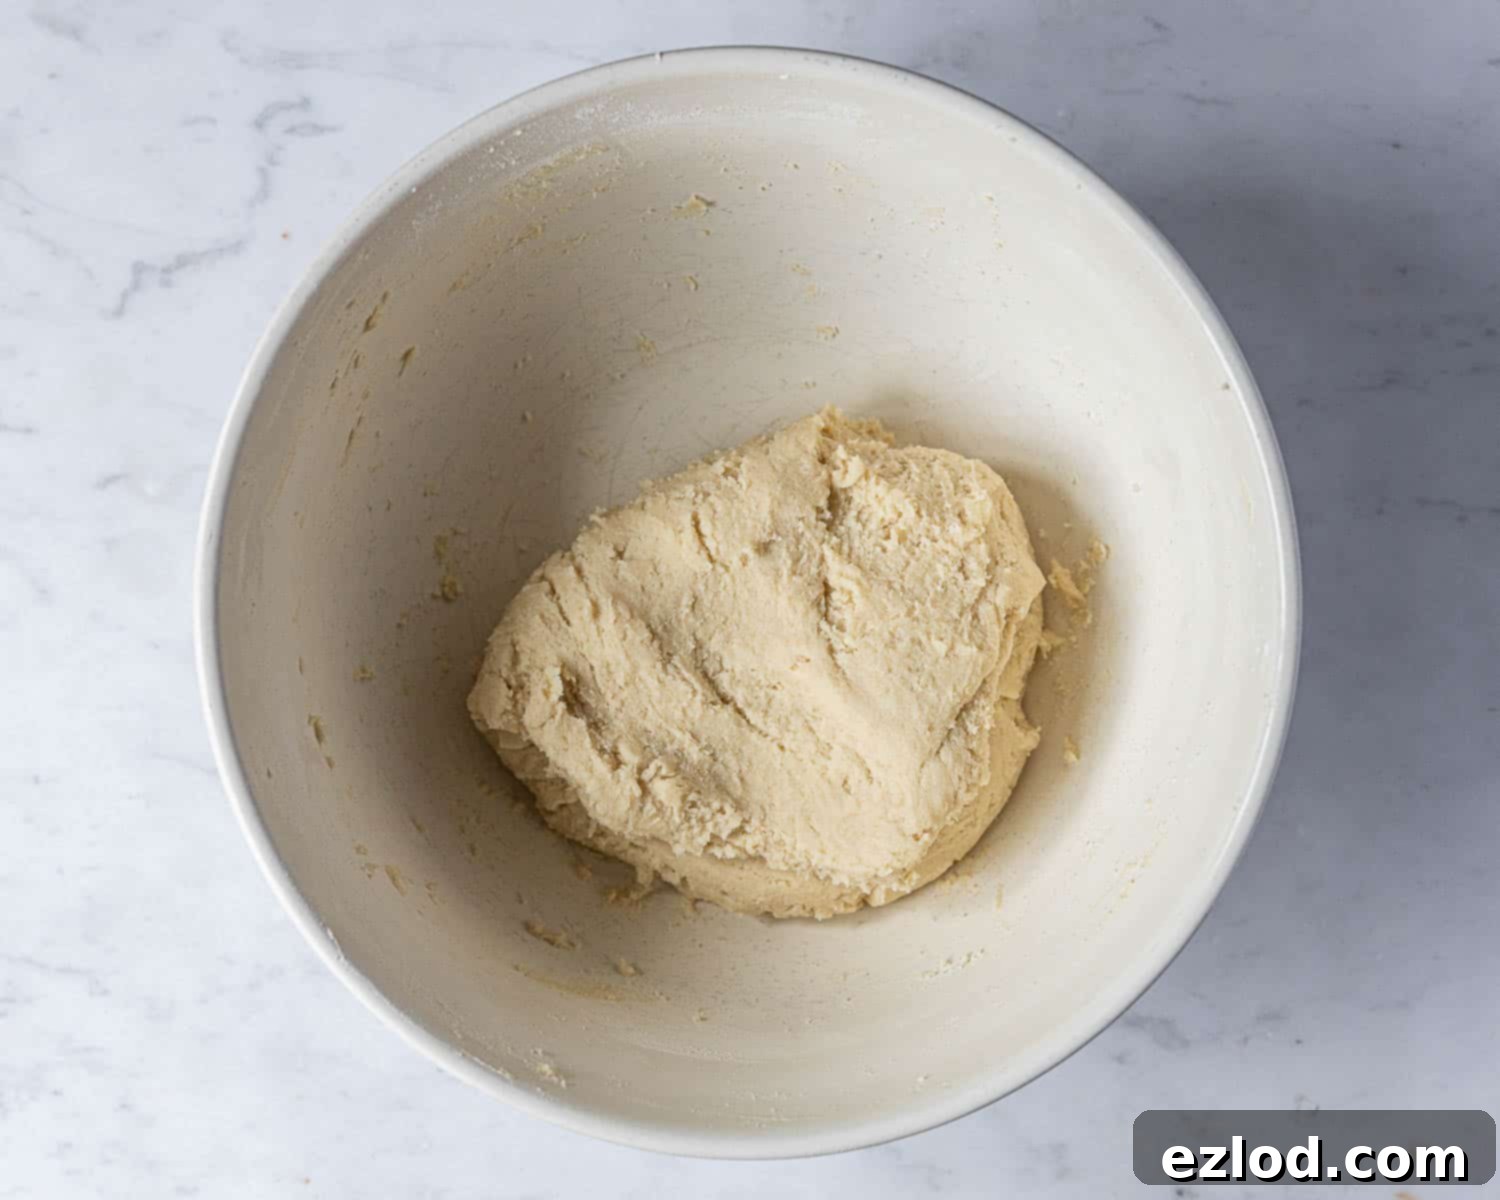
Step 3: Forming the Dough. Add the non-dairy milk to the mixture. Continue to mix until a soft, cohesive dough forms. The dough should be pliable but not overly sticky. If it feels too sticky to handle or roll out easily, add a tablespoon of flour at a time until it reaches a manageable consistency. Remember, the dough will firm up further once chilled, so err on the side of slightly softer rather than too dry. Briefly knead the dough by hand on a lightly floured surface, just until it’s smooth and homogenous. Avoid excessive kneading, as this can develop the gluten and lead to tough cookies.
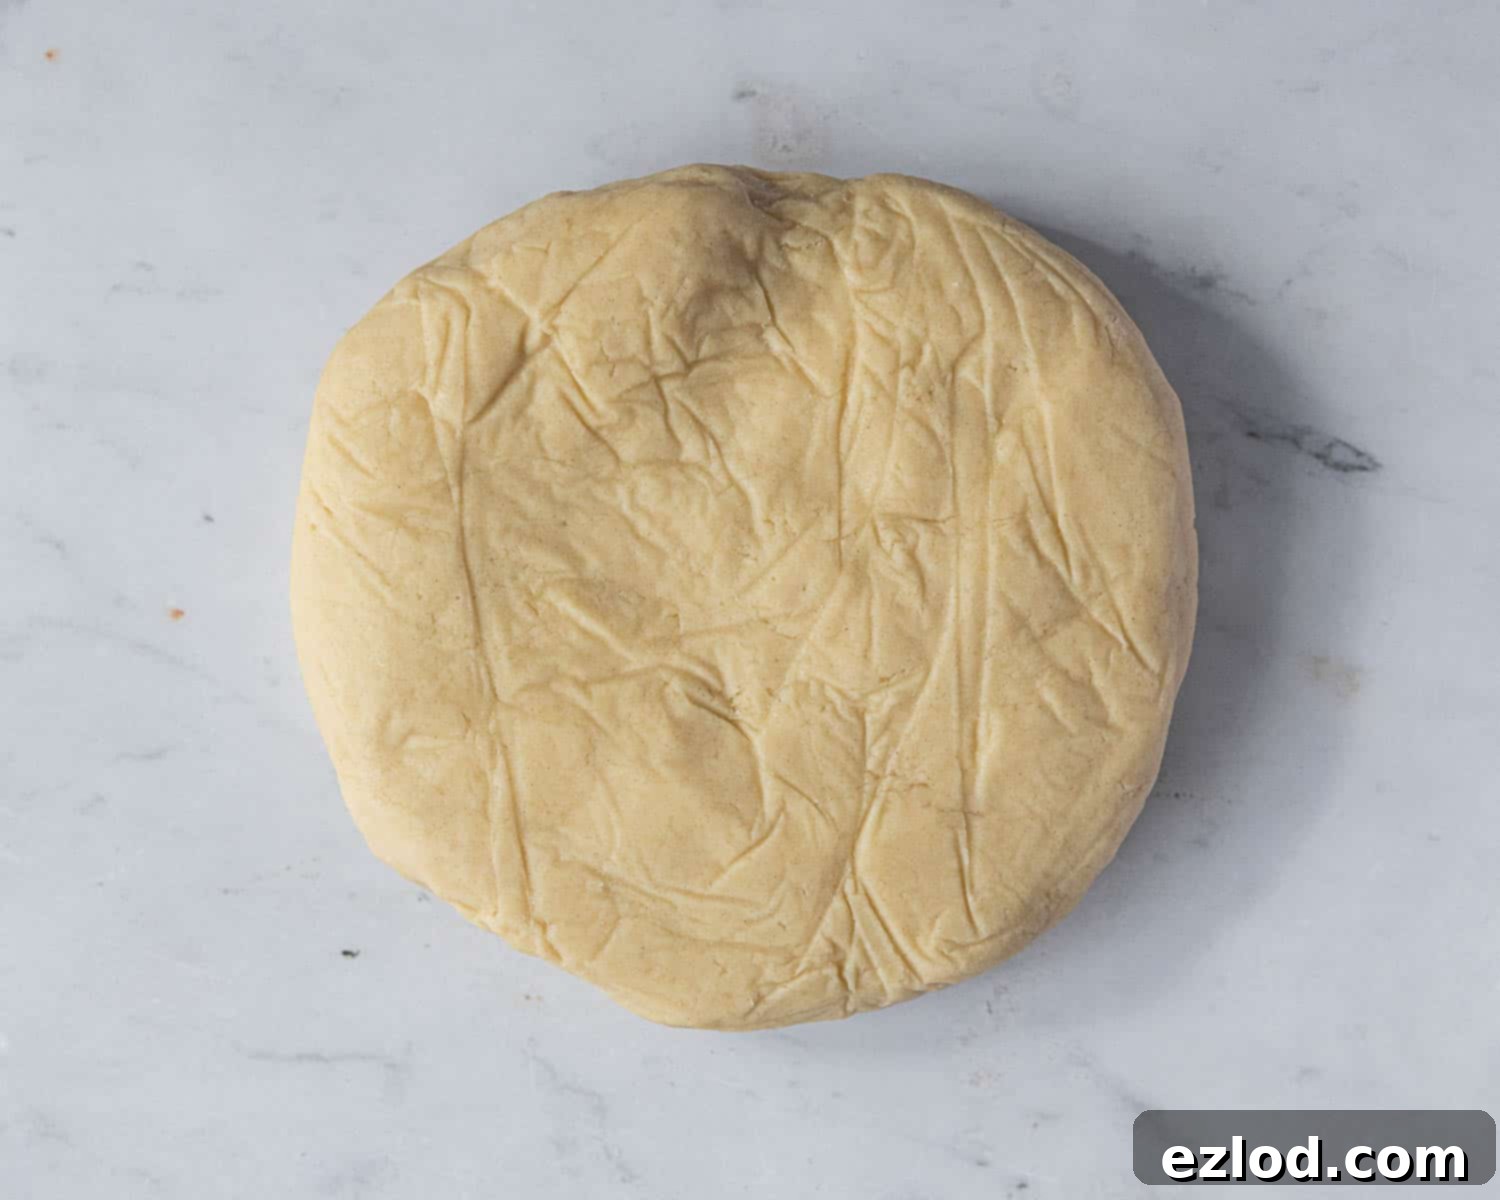
Step 4: Chilling the Dough. Shape the dough into a flat disc, wrap it tightly in cling film or reusable food wrap, and refrigerate for at least 30 minutes. This chilling step is absolutely crucial. It allows the vegan butter to firm up, preventing the cookies from spreading in the oven and helping them maintain their intricate shapes. A well-chilled dough is much easier to roll out and cut.
Step 5: Rolling and Cutting. Once chilled, unwrap the dough. Lightly flour your work surface or, for less mess and easier handling, roll the dough out between two sheets of baking parchment. Roll it to an even thickness of about 5mm (¼ inch). Dip your cookie cutters in flour before each cut to prevent sticking. Cut out as many shapes as you can, then gently gather the trimmings, re-roll them, and cut out more cookies. Try not to re-roll too many times as this can make the dough tough.

Step 6: Preparing for Baking. Line a couple of baking sheets with baking parchment. Carefully transfer your cut-out cookies onto the prepared sheets, leaving a little space between each one. For a second chill that guarantees no spread, place the trays in the freezer for 15 minutes, or in the refrigerator for 30 minutes, while your oven preheats.

Step 7: Baking. Preheat your oven to 180°C/160°C fan/350°F/gas mark 4. Bake the chilled cookies for approximately 11-20 minutes. The exact baking time will depend on the size and thickness of your cookies, as well as your desired texture. For soft sugar cookies, bake until they are just faintly golden around the edges (like the ones in the photos). For a crisper cookie, bake a few minutes longer until they are more uniformly golden brown. Keep a close eye on them, as ovens can vary! Allow them to cool on the baking trays for a few minutes before carefully transferring them to a wire rack to cool completely. This prevents them from breaking and ensures they firm up properly.

Top Tips for Perfect Vegan Sugar Cookies:
- Precision with Measurements: As with all baking, accuracy is key! I strongly recommend using metric measurements and a digital kitchen scale over cup conversions. Cups can be wildly inaccurate due to variations in how ingredients are packed, leading to inconsistent results. A scale ensures precise ratios, giving you far better and more reliable outcomes, not to mention it’s often less messy!
- Avoid Overworking the Dough: Once the flour is added, mix the dough just until it comes together. Excessive kneading or mixing will develop the gluten in the flour, resulting in tough, chewy cookies instead of the desired tender, crumbly texture. Brief kneading by hand until smooth is all you need.
- The Importance of Chilling: Do not skip the chilling steps! Chilling the dough before rolling and again before baking is crucial for preventing the cookies from spreading. It solidifies the vegan butter, which helps the cookies hold their shape perfectly in the oven. This is the secret to sharp, defined cut-outs.
- Achieving Your Desired Texture: For soft, tender sugar cookies, bake them until you see just a hint of pale golden color around the edges; the centers will still look pale. For crisper cookies, extend the baking time by a few minutes until they are more uniformly golden. Keep a close eye on them, as bake times vary significantly with cookie size and oven calibration.
- Test Batches Are Your Friend: Since all ovens have their quirks and cookie cutter sizes vary, I highly recommend baking two or three test cookies first. This allows you to fine-tune the exact baking time for your specific oven and preferred crispness/softness without risking a whole tray.
- Flavor Enhancements: For an extra layer of flavor, consider adding ¼ teaspoon of almond extract to the dough along with the vanilla. Lemon or orange zest can also add a lovely bright note.
- Cool Completely Before Decorating: Patience is a virtue here! Ensure your cookies are absolutely, completely cold before attempting to decorate them. Warm cookies will cause icing or chocolate to melt and run, ruining your beautiful designs.
- Rolling Consistency: Roll your dough to an even thickness. An even thickness ensures that all cookies bake uniformly, preventing some from being undercooked while others are overdone. About 5mm (¼ inch) is ideal for sturdy, yet tender cookies.
- Baking Surface: Always use baking parchment (or silicone mats) on your baking sheets. This prevents sticking and promotes even browning on the bottom of the cookies.

Can I Prepare the Dough in Advance?
Absolutely! This recipe is fantastic for advanced preparation, making your baking day much less stressful. To prepare the dough ahead of time, simply form it into a disc, wrap it tightly in cling film or reusable wrap, and store it in the refrigerator for up to 4 days. If you need to plan even further ahead, the dough can be frozen for up to 3 months.
When you’re ready to bake, transfer frozen dough to the refrigerator to defrost overnight. Once defrosted, let it sit at room temperature for about 30-60 minutes before rolling it out. It should still feel cool to the touch but be pliable enough to roll without cracking. If it’s too cold, it will be brittle; too warm, and it will be sticky and harder to handle.
How to Store Vegan Vanilla Sugar Cookies:
Proper storage ensures your delicious cookies stay fresh and enjoyable for as long as possible. Once baked, make sure the cookies are completely cooled before storing them. Store them in an airtight container at room temperature for up to 5 days. While they will remain delicious, they may soften slightly over time, especially if they are decorated with moist icings.
Creative Ways to Decorate Your Cookies:
This vanilla sugar cookie recipe provides the perfect neutral base for a wide array of decorations. Let your imagination run wild!
- Vegan Royal Icing: For intricate designs, precise lines, and a beautiful, hard-setting finish, royal icing is unbeatable. It allows for detailed piping work and dries firm, making these cookies ideal for stacking and gifting. You can find an excellent recipe for easy vegan royal icing on my vegan gingerbread cookies recipe, or a delicious maple-flavored version on my maple cookies recipe.
- Vegan Buttercream: For a softer, creamier topping, buttercream is a wonderful choice. You can pipe swirls on top of individual cookies or use it to sandwich two cookies together for a richer treat. Keep in mind that buttercream has a higher moisture content, so the cookies will soften more quickly. Ideally, enjoy buttercream-decorated cookies on the day they are made or shortly after.
- Simple Icing Sugar Dusting: Sometimes, less is more. A delicate dusting of icing (powdered) sugar creates an elegant, understated look that highlights the cookie’s simple beauty and vanilla flavor. It’s quick, easy, and always a classic.
- Chocolate Dipped or Drizzled: Melt your favorite vegan chocolate (dark, milk, or white) and dip half of each cooled cookie into it. Allow the chocolate to set on parchment paper. Alternatively, drizzle melted chocolate over the cookies using a spoon for an artistic touch, or use a piping bag with a small writing nozzle for more controlled patterns. A sprinkle of sea salt on top of the chocolate before it sets adds a gourmet touch.
More Delicious Vegan Cookie Recipes to Try:
If you’ve loved these vegan vanilla sugar cookies, you’re in for a treat! Explore more delightful plant-based cookie creations:
- Vegan Gingerbread Cookies
- Vegan Peanut Butter Cookies
- Vegan Shortbread Fingers
- Vegan Maple Cookies
- Vegan Chocolate Pistachio Biscotti
- Double Chocolate Almond Cookies
- Vegan Oatmeal Raisin Cookies
- Vegan Biscotti with Almonds and Cranberries
- Olive Oil Chocolate Chip Cookies

If you tried this recipe, I’d love to hear from you! Please rate it, leave a comment below, or tag @domestic_gothess on Instagram and use the hashtag #domesticgothess. Your feedback is truly appreciated!
All images and content on Domestic Gothess are copyright protected. If you wish to share this recipe, please do so by utilizing the provided share buttons. Do not screenshot or post the recipe or content in its entirety; instead, include a direct link to this post for the complete recipe. Thank you for respecting my work!

Print
Vegan Vanilla Sugar Cookies
Ingredients
- 150 g (½ cup + 2 Tbsp) vegan block butter (NOT the spreadable kind. I use Naturli Vegan Block) slightly softened
- 100 g (½ cup) caster (superfine) or granulated sugar
- 1 Tbsp vanilla extract
- 250 g (2 cups) plain (all-purpose) flour
- 20 g (2 packed Tbsp) cornflour (cornstarch)
- ¼ tsp salt
- 2 Tbsp unsweetened non-dairy milk (I use soy)
Instructions
-
Whisk together the butter and sugar with an electric mixer until light and fluffy then whisk in the vanilla extract.
-
Sift together the flour, cornflour and salt and add to the butter mixture. Stir until it starts to clump together.
-
Add the milk and mix to form a soft dough. If it seems like it will be too sticky to roll out then add a tablespoon of flour. Be careful not to add too much, the dough will firm up once it is chilled.
-
Knead the dough by hand very briefly, just until it is smooth.
-
Form it into a disc, wrap and refrigerate for at least 30 minutes, until it is firm enough to roll out. Line two baking sheets with baking parchment.
-
Roll the chilled dough out on a floured surface or between two sheets of baking parchment to about 5mm / ¼ inch thick.
-
Dip your cookie cutters in flour and cut out as many shapes as you can. Re-roll the trimmings and cut out more cookies.
-
Place the cookies slightly spaced apart on the baking sheets. Place the trays in the freezer for 15 minutes, or in the fridge for 30.
-
Meanwhile, preheat the oven to 180°C/160°C fan/350°F/ gas mark 4.
-
Bake the cookies for about 11 minutes for soft ones, until they are just turning pale golden around the edges. For crisp cookies, bake for about 15-20 minutes, until they are more uniformly golden brown.
-
Cool on the trays for a couple of minutes then transfer the cookies to a wire rack and allow to cool completely before decorating and storing.
Notes
- As with all of my baking recipes I really do recommend using the metric measurements with a digital scale rather than the cup conversions. Cups are a wildly inaccurate measuring system and you will get far better, more consistent results using a scale, not to mention that it is also easier and less messy than cups!
- As all ovens vary and the bake time will be different depending on the size of your cookie cutters and whether you want soft or crisp cookies, I suggest baking a couple of test cookies first to figure out the perfect bake time for you.
- See post above for tips, details and step-by-step photos.
