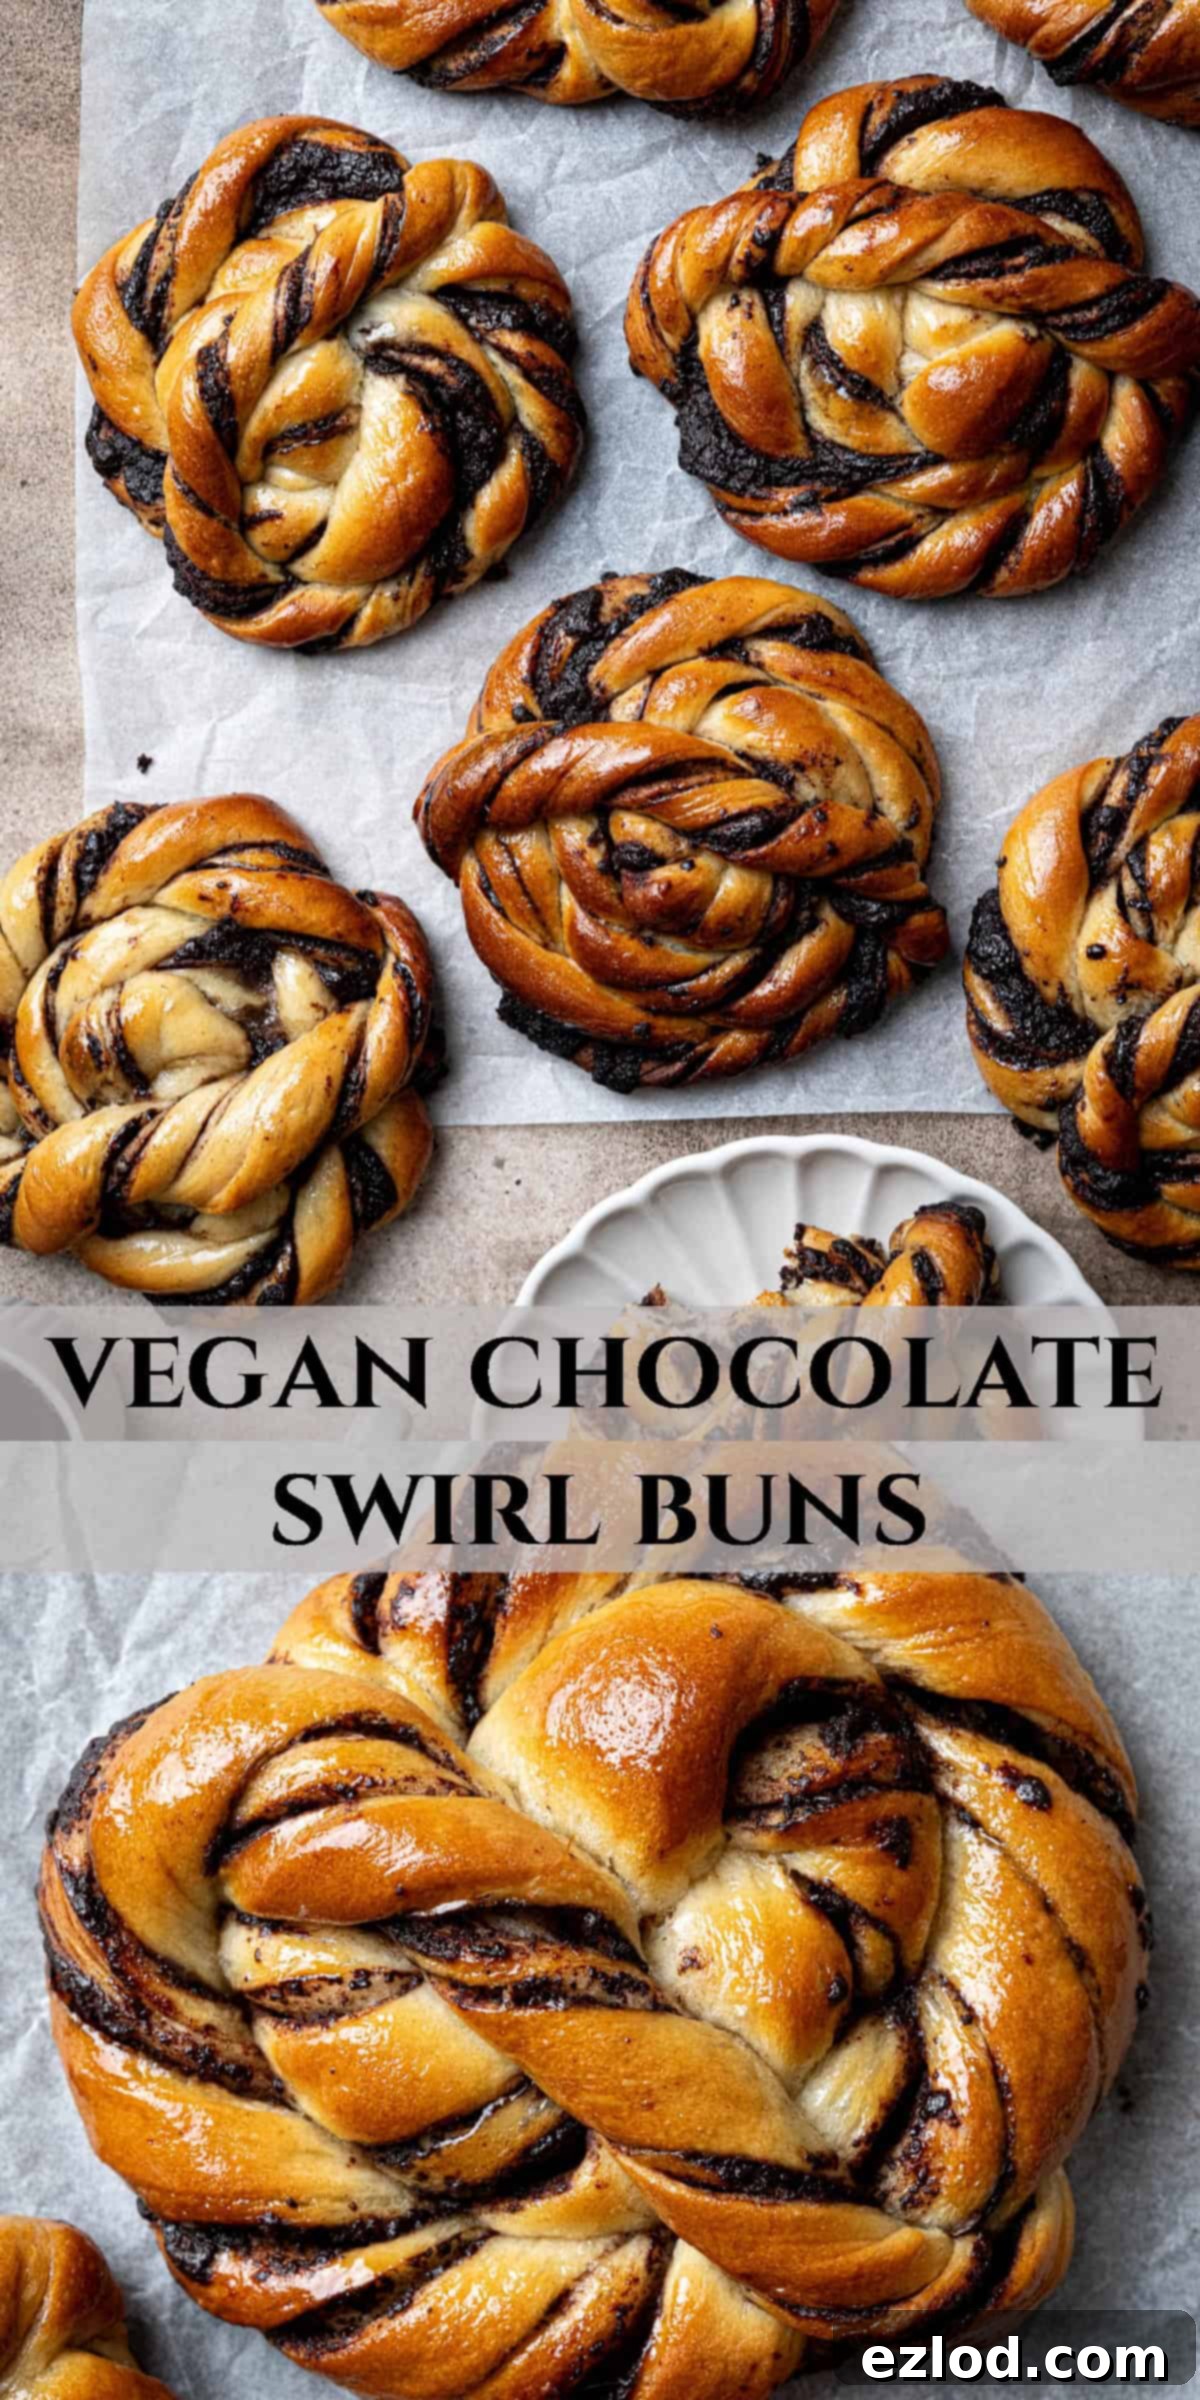
Irresistible Vegan Chocolate Swirl Buns: Achieve Bakery-Quality Softness with the Tangzhong Method
Prepare to be amazed by these incredible vegan chocolate swirl buns! These delightful bread roll twists are much simpler to create at home than their impressive appearance suggests. Each bun features a super soft and fluffy yeasted dough, made extra tender thanks to the innovative tangzhong method, generously filled with a rich, dark chocolate swirl. They are the ultimate pick-me-up, perfect alongside a warm beverage, and completely vegan-friendly, making them accessible for everyone to enjoy.
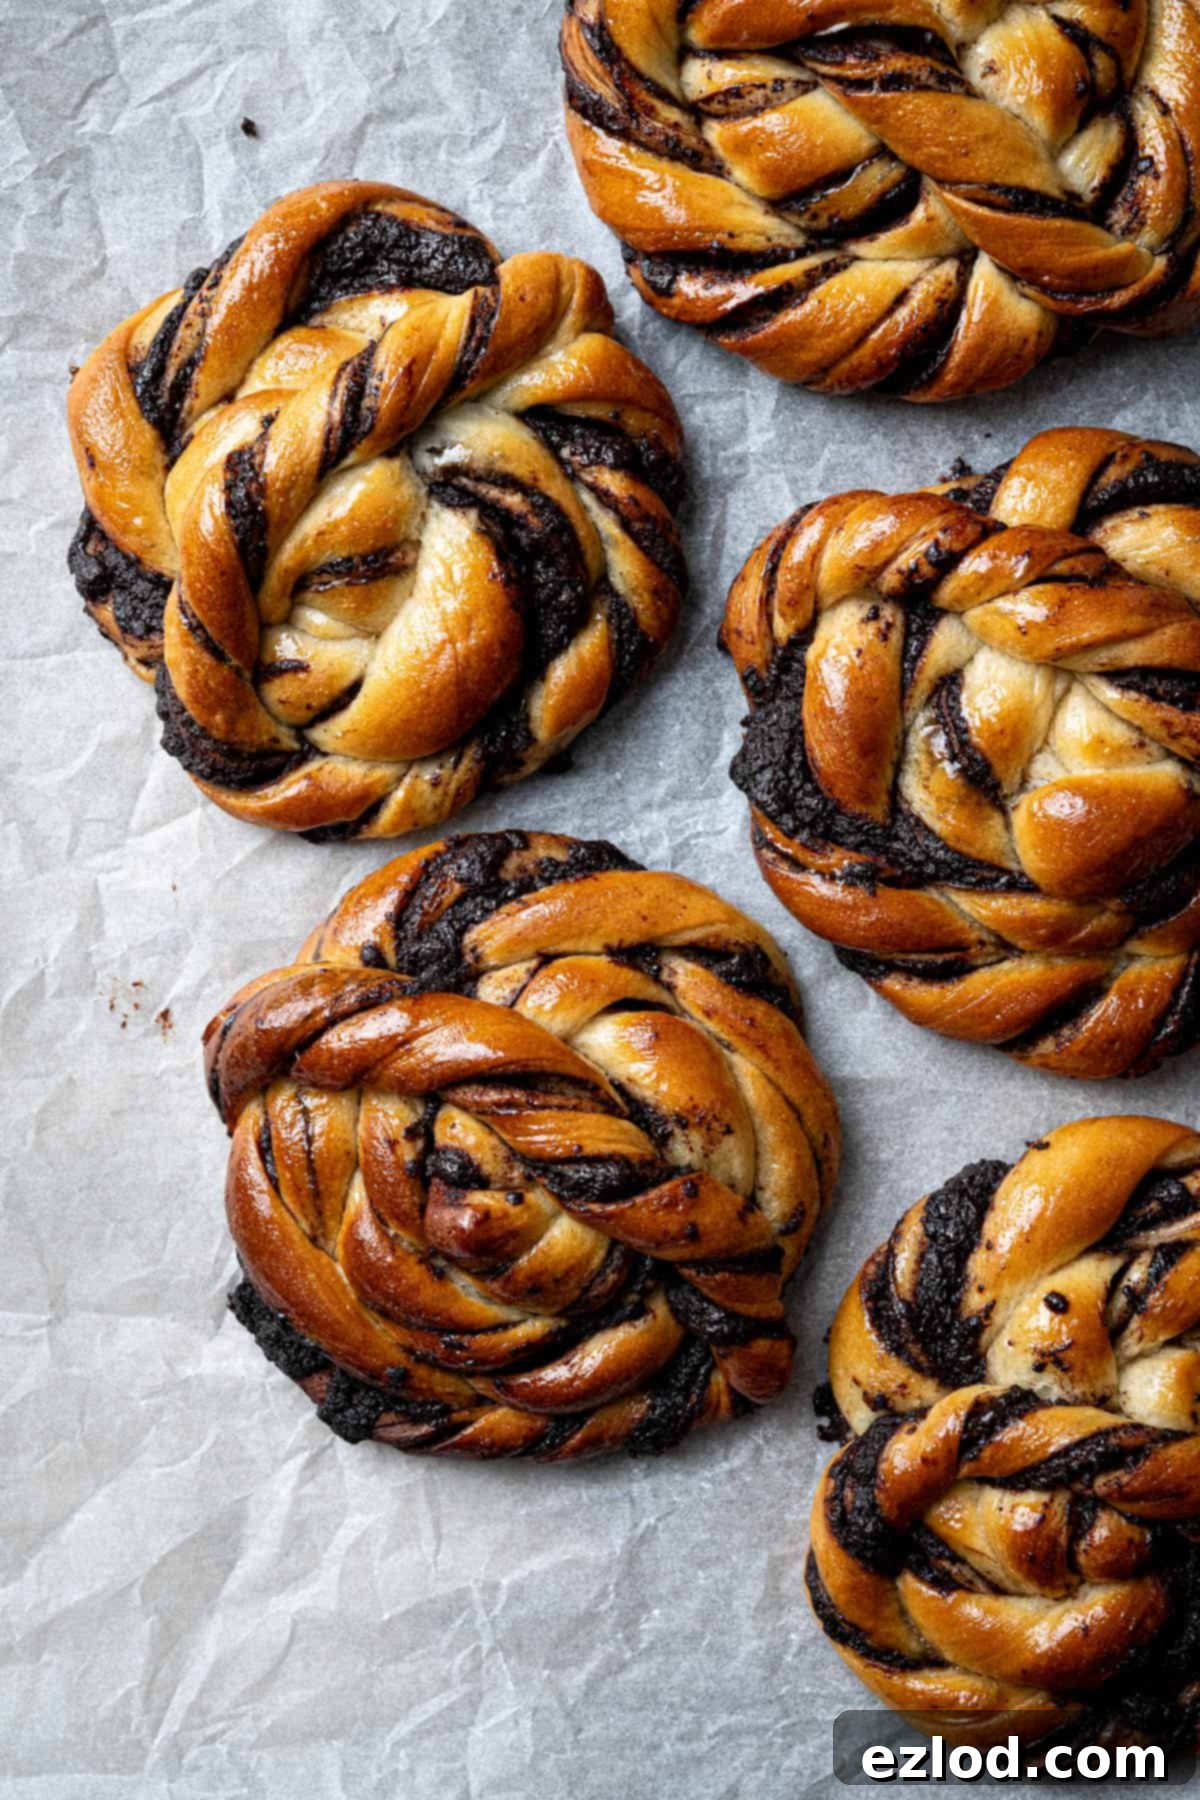
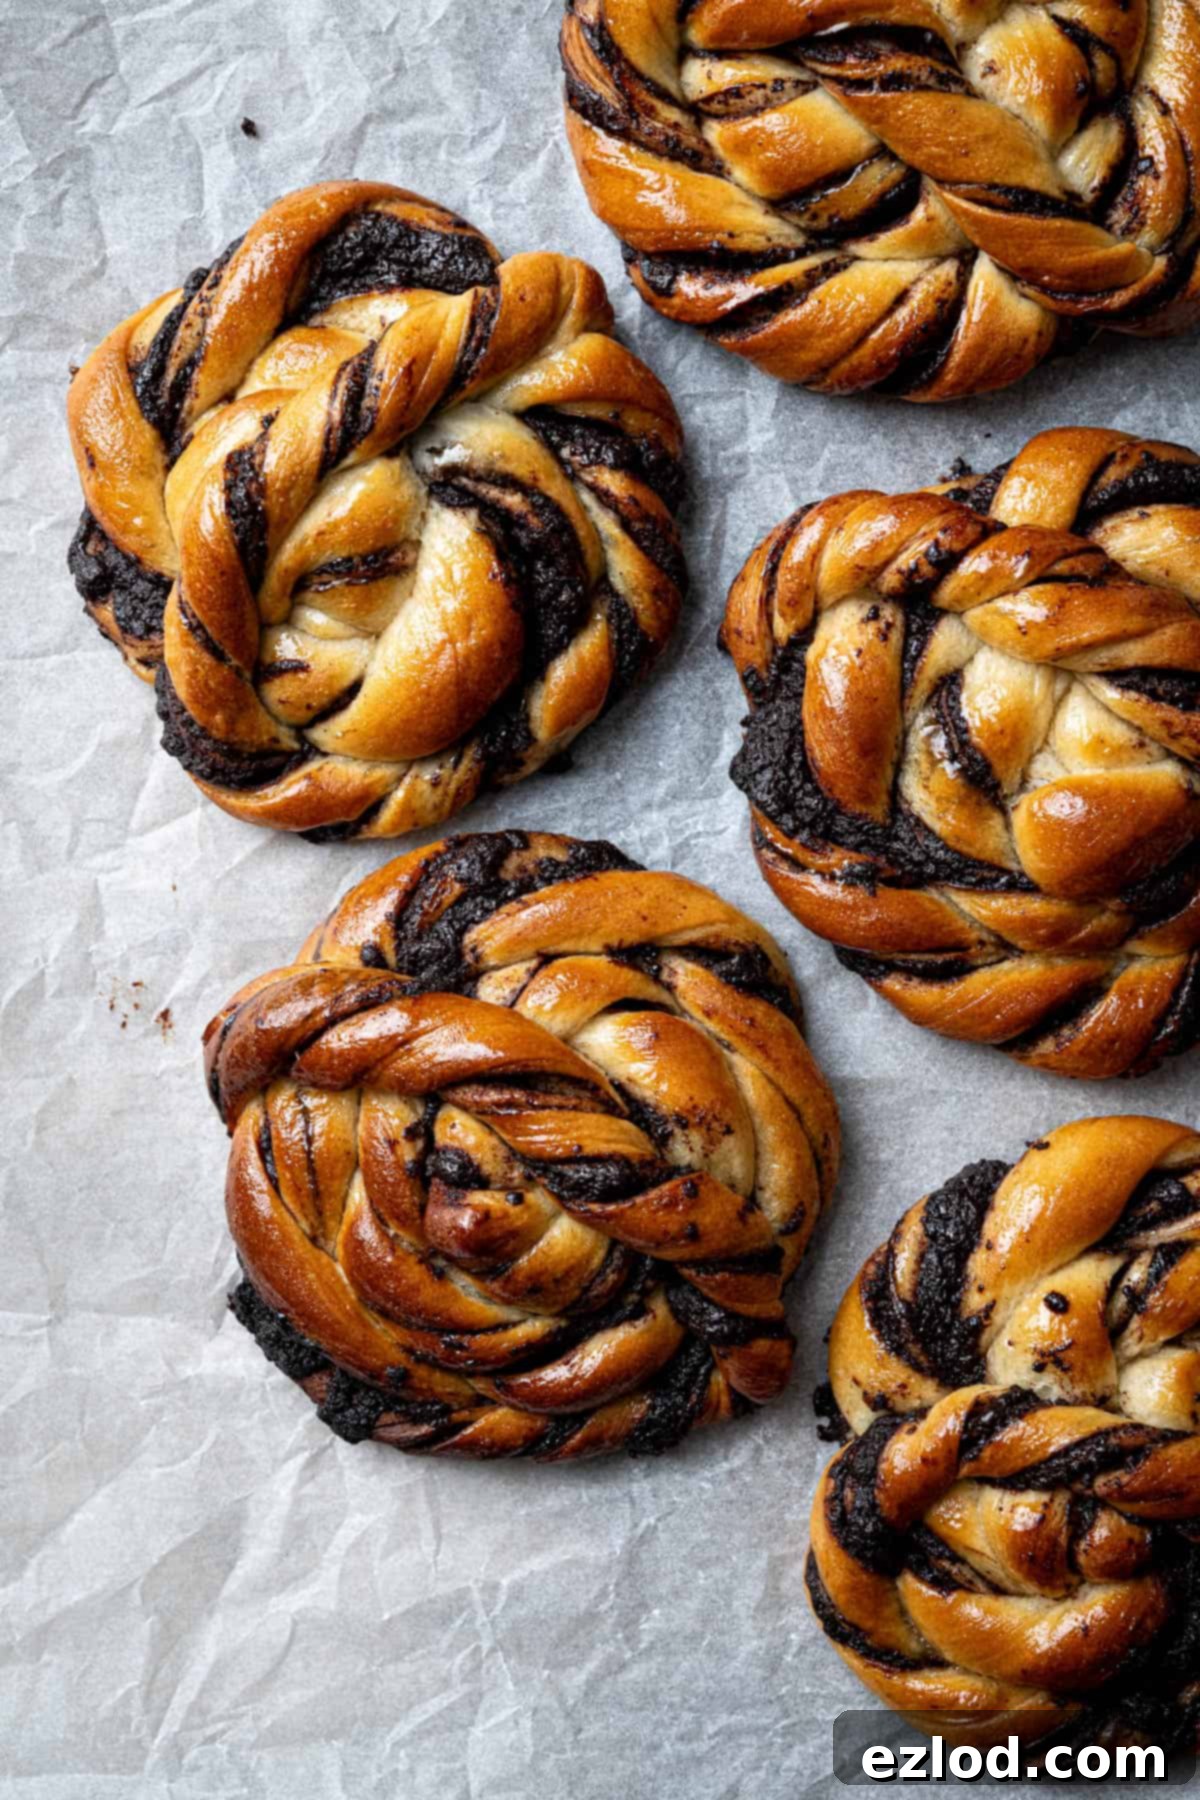
These homemade vegan chocolate swirl buns are a true treat: wonderfully soft, delicately gooey, rich in chocolate flavor without being overly sweet, and utterly moreish. The secret to their exceptionally tender, squishy texture lies in the use of the tangzhong method, a traditional Asian baking technique that dramatically improves the dough’s moisture retention and softness. Once you try it, you’ll wonder how you ever baked without it!
While the twisted coil shape of these decadent buns might appear intricate, it’s actually quite straightforward to master. You might need to shape a couple before you get into the rhythm, but with a little practice, you’ll be creating beautifully swirled buns in no time. These delightful pastries are ideal for a leisurely mid-morning snack, a comforting afternoon treat with a cup of tea or coffee, or even as a light dessert. Thanks to the tangzhong, they retain their incredible softness for several days, though they are always at their absolute best when gently warmed just before serving.
This recipe, originally shared in 2016, has been thoughtfully updated and veganized to ensure everyone can enjoy these fantastic chocolate-filled creations. We’ve refined the ingredients and process to make them even more delicious and accessible.
Understanding the Tangzhong Method: The Secret to Super Soft Bread
Tangzhong, often referred to as a “water roux,” is a simple yet revolutionary technique that elevates bread baking to new heights of softness and longevity. At its core, it involves taking a small portion of the recipe’s flour and liquid (usually water or milk), mixing them to form a slurry, and then cooking this mixture over low heat until it thickens into a pudding-like paste. This paste is then cooled and incorporated into the main bread dough.
The magic of tangzhong lies in its ability to pre-gelatinize the starches in the flour. When flour is cooked with liquid, the starch granules absorb moisture and swell, essentially “locking in” that liquid. This pre-gelatinization process means the flour can absorb significantly more water – often twice as much as it would with lukewarm water or milk typically used in yeasted doughs. This increased moisture absorption is key to the bun’s extraordinary texture.
Beyond just absorbing more liquid, the heated starch creates a stable structure that allows the dough to retain this extra moisture throughout the entire baking process – from kneading to fermentation, baking, and even cooling. Because the bread holds onto more water, the resulting chocolate swirl buns are incredibly soft, moist, and stay fresh for a much longer period than traditional bread. This technique is a game-changer for achieving that desired fluffy, squishy texture in homemade sweet bread recipes.
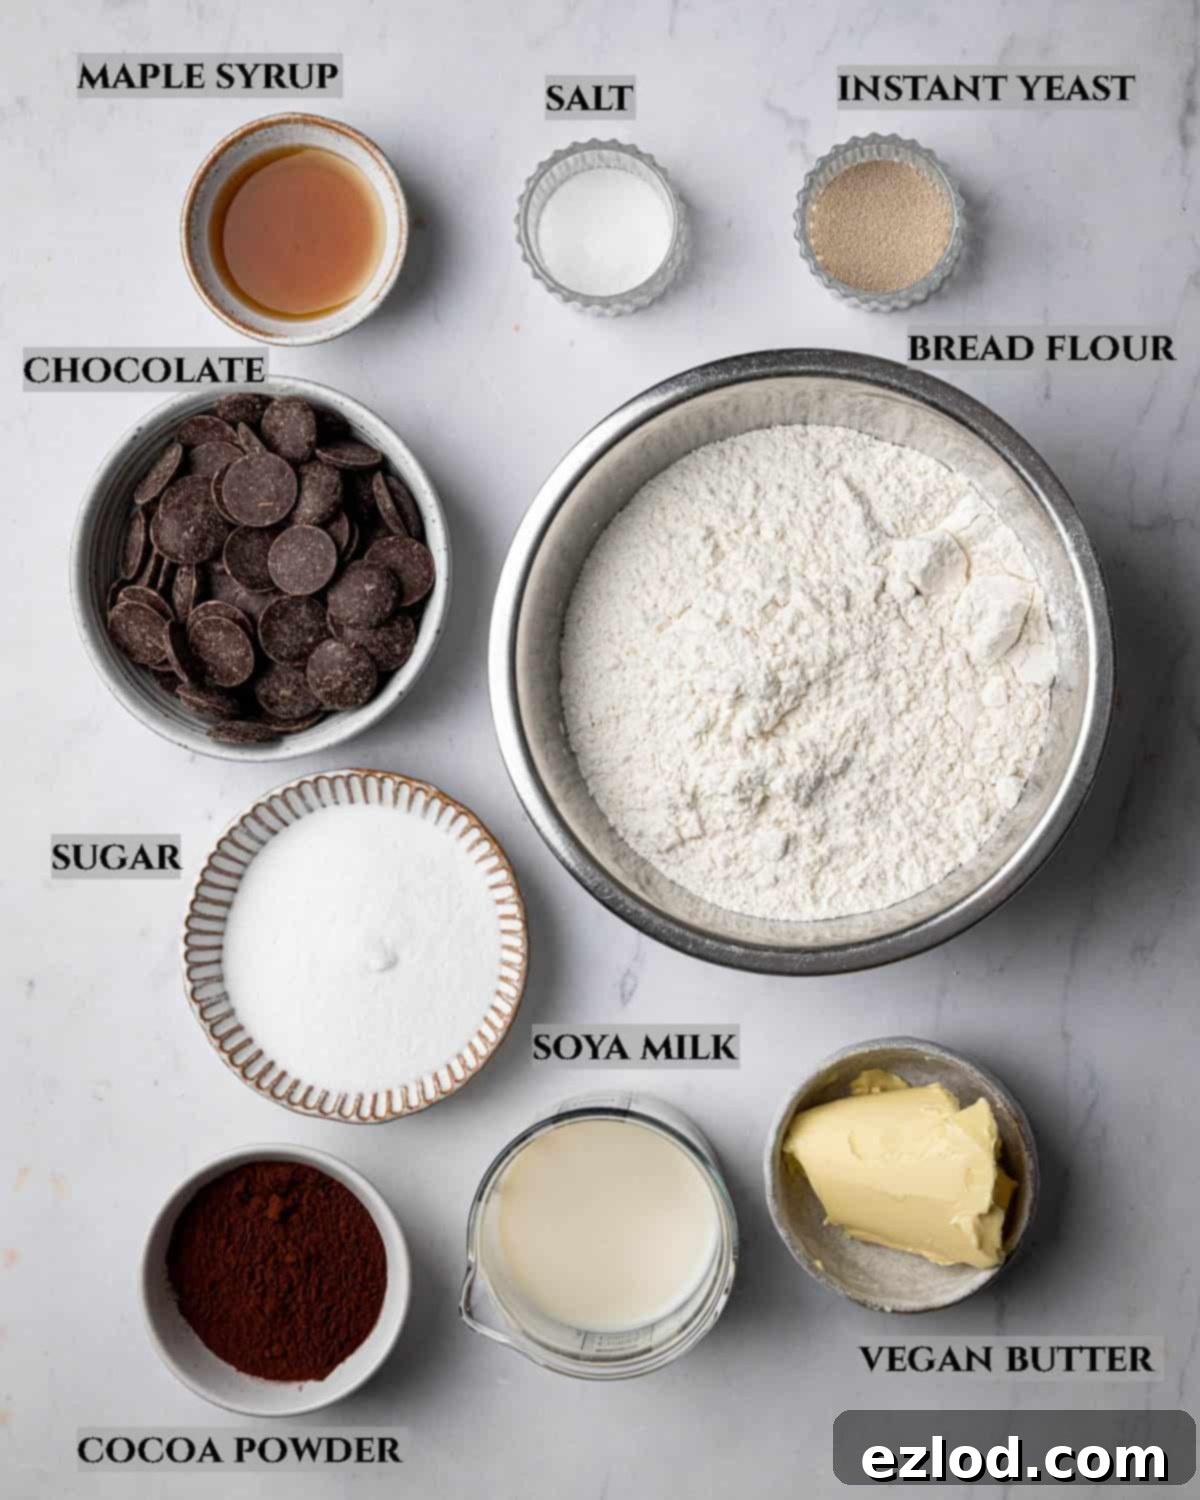
Essential Ingredient Details for Perfect Vegan Chocolate Swirl Buns
Using the right ingredients is crucial for achieving the best possible results when baking these soft and delicious vegan chocolate swirl buns. Here’s a closer look at what you’ll need and why each component is important:
Bread flour: For an optimal soft, fluffy, and slightly chewy texture, white bread flour is highly recommended. Its higher protein content (typically 12-14%) leads to better gluten development, which creates a strong, elastic dough capable of trapping air and producing a lighter crumb. While plain (all-purpose) flour can be used, the final texture will be noticeably different and less chewy. I strongly advise against using wholemeal flour, as its higher fiber content will result in a much denser, heavier bun, detracting from the desired lightness.
Instant yeast: My preferred choice for bread making is instant yeast. It’s convenient because it can be mixed directly with the dry ingredients without needing to be proofed or activated in warm liquid first. This saves time and simplifies the process. If you only have active dry yeast, you will need to activate it in some of the warmed non-dairy milk with a pinch of sugar for about 5-10 minutes until foamy before adding it to the rest of the ingredients.
Salt: Salt is a non-negotiable ingredient in bread. It plays several vital roles: it enhances the flavor of the dough, balances the sweetness, strengthens the gluten structure (leading to better dough elasticity), and helps to regulate yeast activity, preventing the dough from over-proofing too quickly. Do not omit it.
Non-dairy milk: When baking vegan goods, unsweetened soy milk is my top choice. Its higher protein content most closely mimics the properties of dairy milk, contributing to a rich flavor and tender crumb. However, other unsweetened non-dairy milks like almond, oat, or cashew milk can also be used successfully. Just ensure it’s unsweetened to avoid altering the bun’s sweetness profile. Remember to use cold milk for the main dough to help cool down the tangzhong mixture and protect the yeast.
Vegan butter: For most baking recipes, I recommend using block-style vegan butter for its firmer consistency and superior performance. However, for these chocolate swirl buns, a good quality tub variety (like Flora Original, as mentioned) will also work well, provided it’s not a low-fat spread, which can contain too much water and negatively affect the dough’s texture and richness. The butter adds richness, flavor, and helps achieve that desirable soft crumb.
Sugar: Caster sugar or granulated sugar are perfect for this recipe. They provide sweetness to the dough and the filling, and also serve as food for the yeast, helping with the fermentation process and contributing to browning during baking. Light brown soft sugar could be an acceptable substitute for a slightly different flavor profile, but avoid liquid sugars (like agave or maple syrup in the dough itself) or artificial sweeteners, as they can interfere with the dough’s structure and the final texture.
Chocolate (for filling): A high-quality vegan dark chocolate is essential for a rich, intense chocolate filling. Aim for chocolate with 60-70% cocoa solids. This range provides a deep, complex flavor that isn’t overly bitter and complements the sweet dough perfectly. Always double-check labels to ensure it’s dairy-free.
Cocoa powder (for filling): Both Dutch-processed and natural cocoa powder will work here. Dutch-processed cocoa is less acidic, darker in color, and has a smoother, milder chocolate flavor. Natural cocoa is more acidic and has a stronger, slightly fruitier chocolate taste. Either will contribute to the rich chocolate filling.
Maple syrup (for glaze): Traditionally, many sweet buns are brushed with an egg wash before baking to give them a beautiful shine. To keep these buns entirely vegan, a simple mixture of maple syrup and non-dairy milk is used. This combination provides a lovely golden sheen and a subtle hint of extra sweetness. Agave syrup or even aquafaba (the liquid from a can of chickpeas) can also be used as alternatives for a glossy finish.
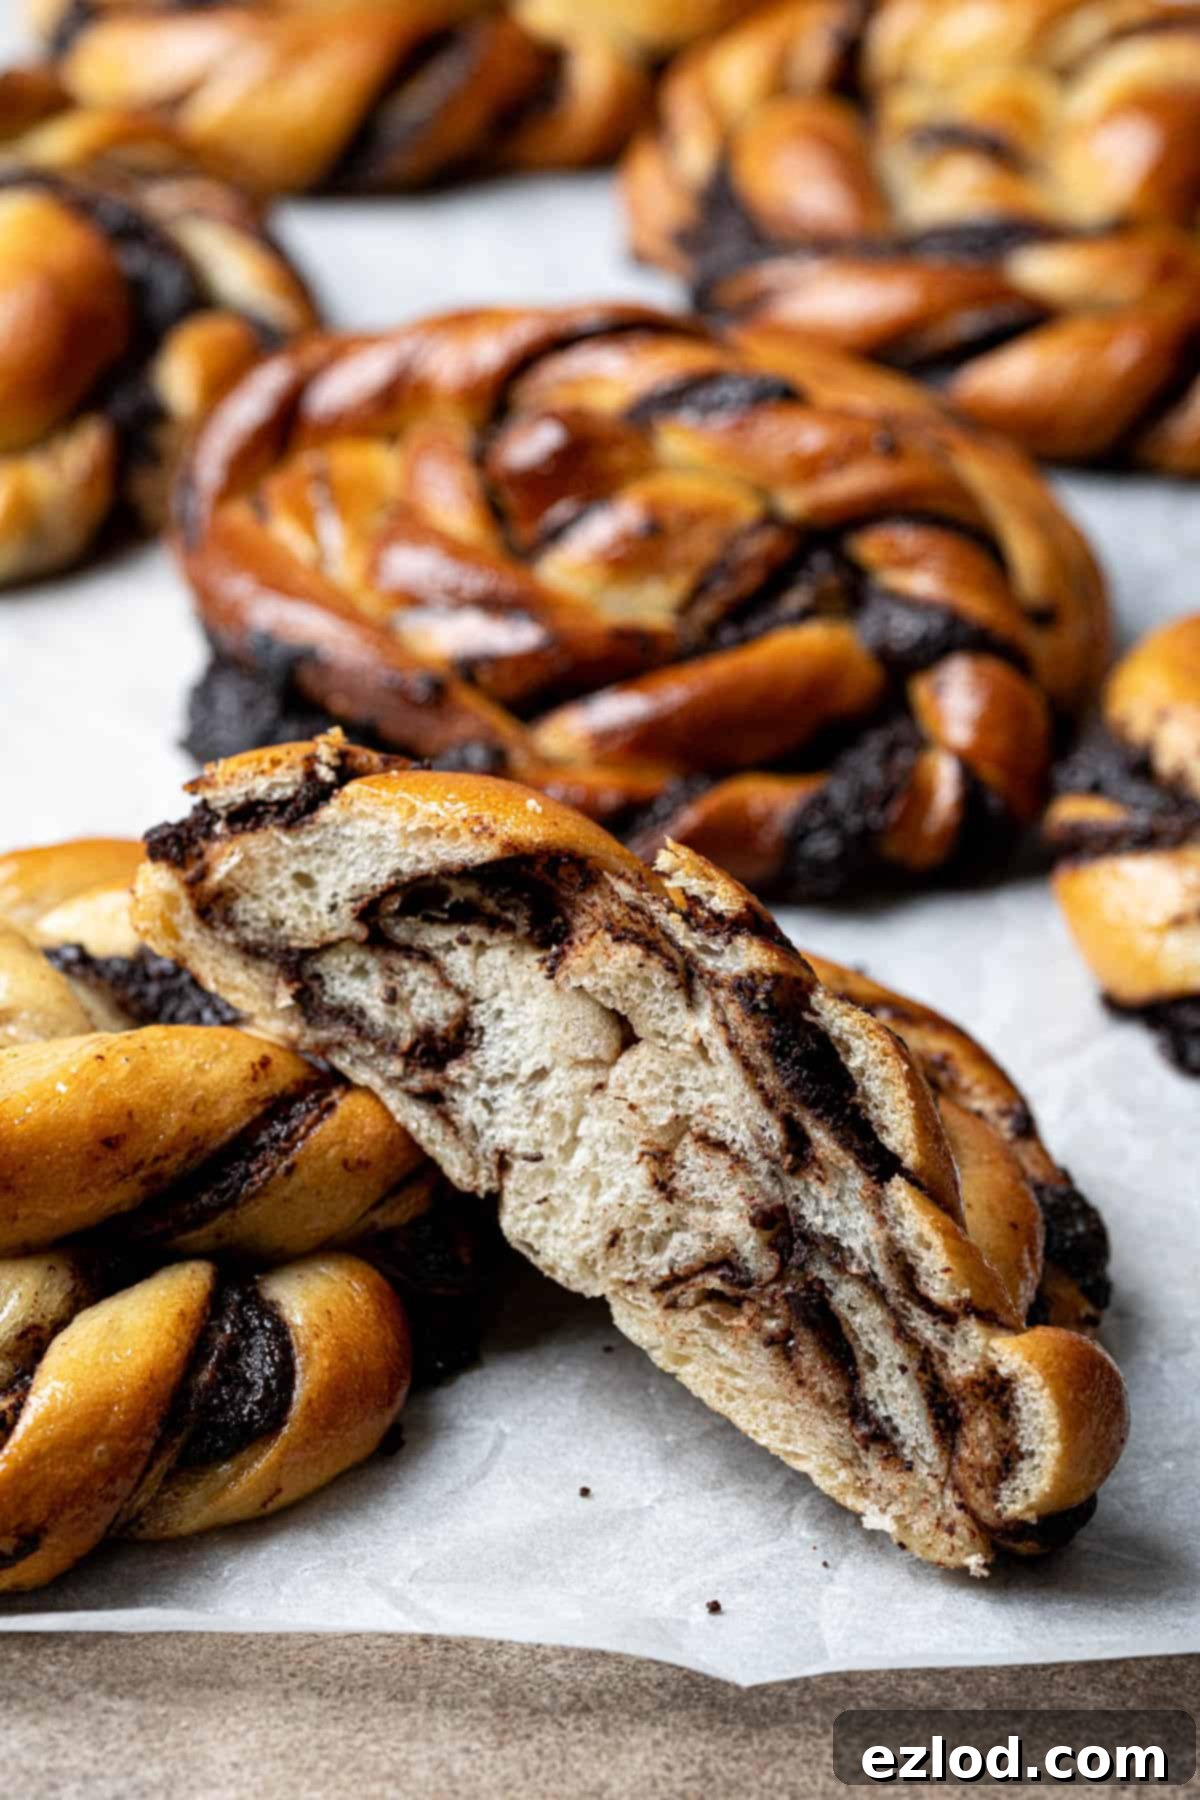
How To Make Delicious Vegan Chocolate Swirl Buns: A Step-by-Step Guide
(For precise measurements and full instructions, please refer to the comprehensive recipe card located at the bottom of this page)
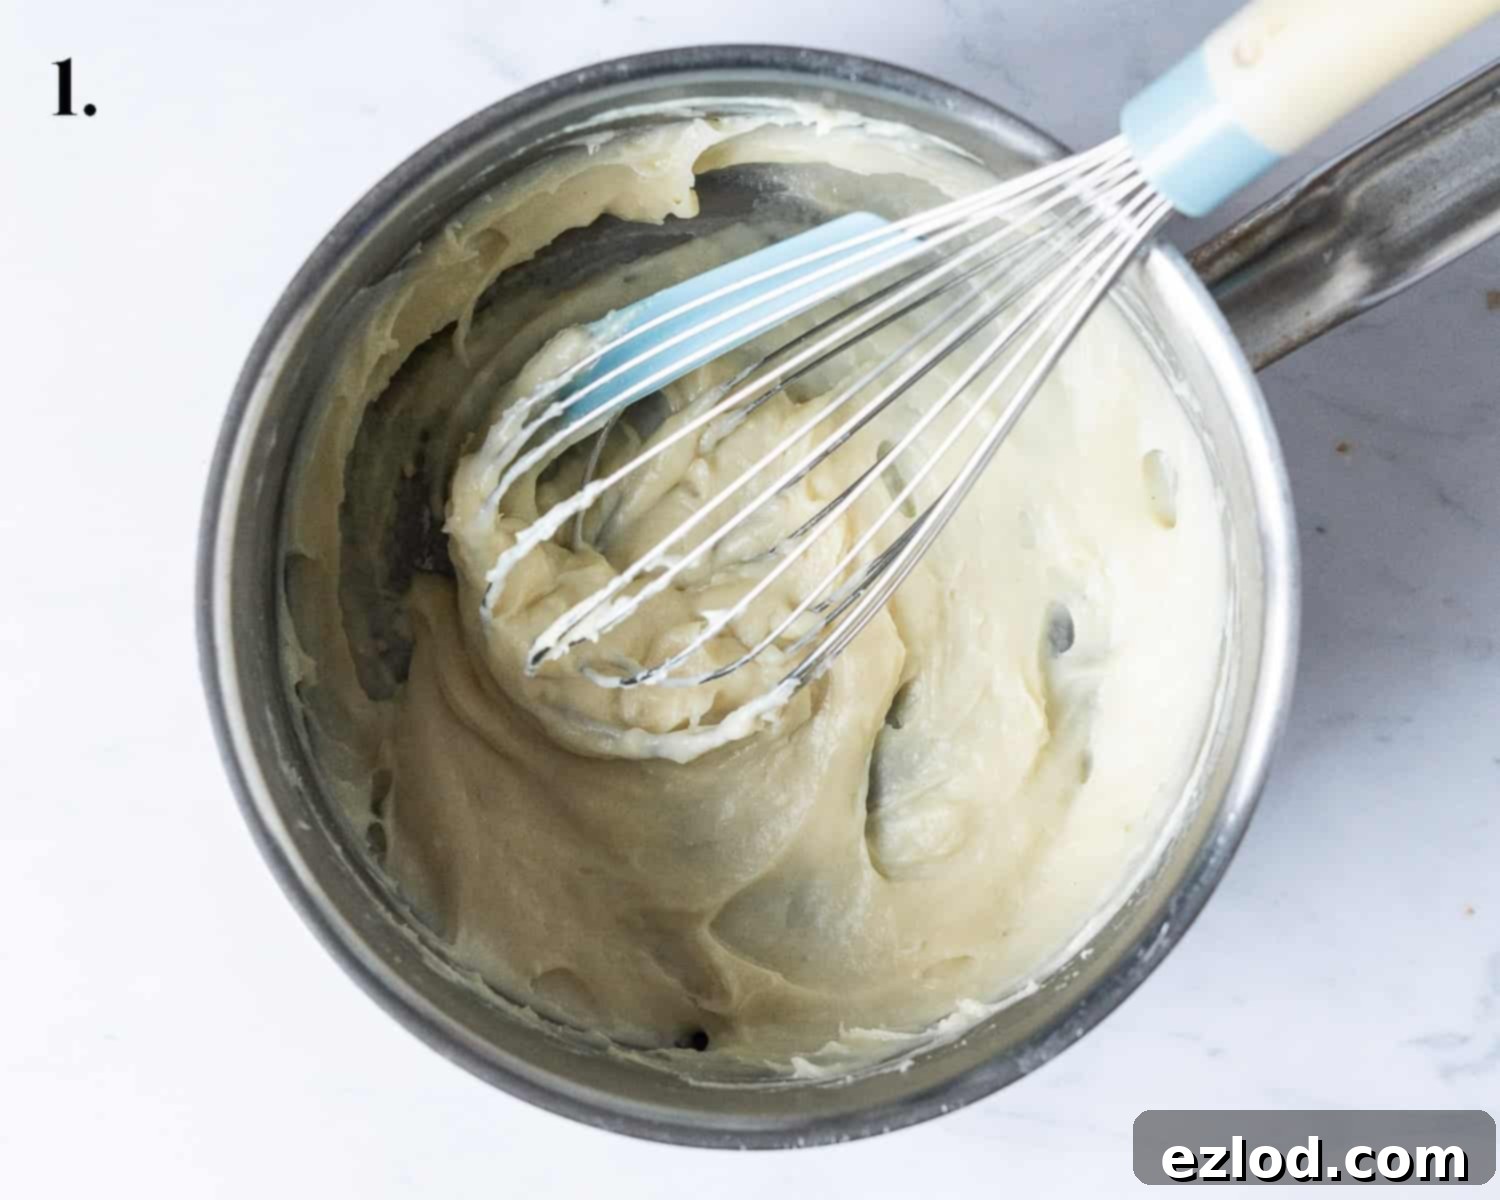
Step 1: Prepare the Tangzhong. Begin by making the tangzhong. In a small saucepan, combine the bread flour. Gradually whisk in the unsweetened non-dairy milk until no lumps remain and you have a smooth slurry. Place the pan over a medium-low heat and continue whisking constantly. The mixture will begin to thicken and transform into a paste or pudding-like consistency. This usually takes just a few minutes. Once thickened, immediately remove it from the heat.
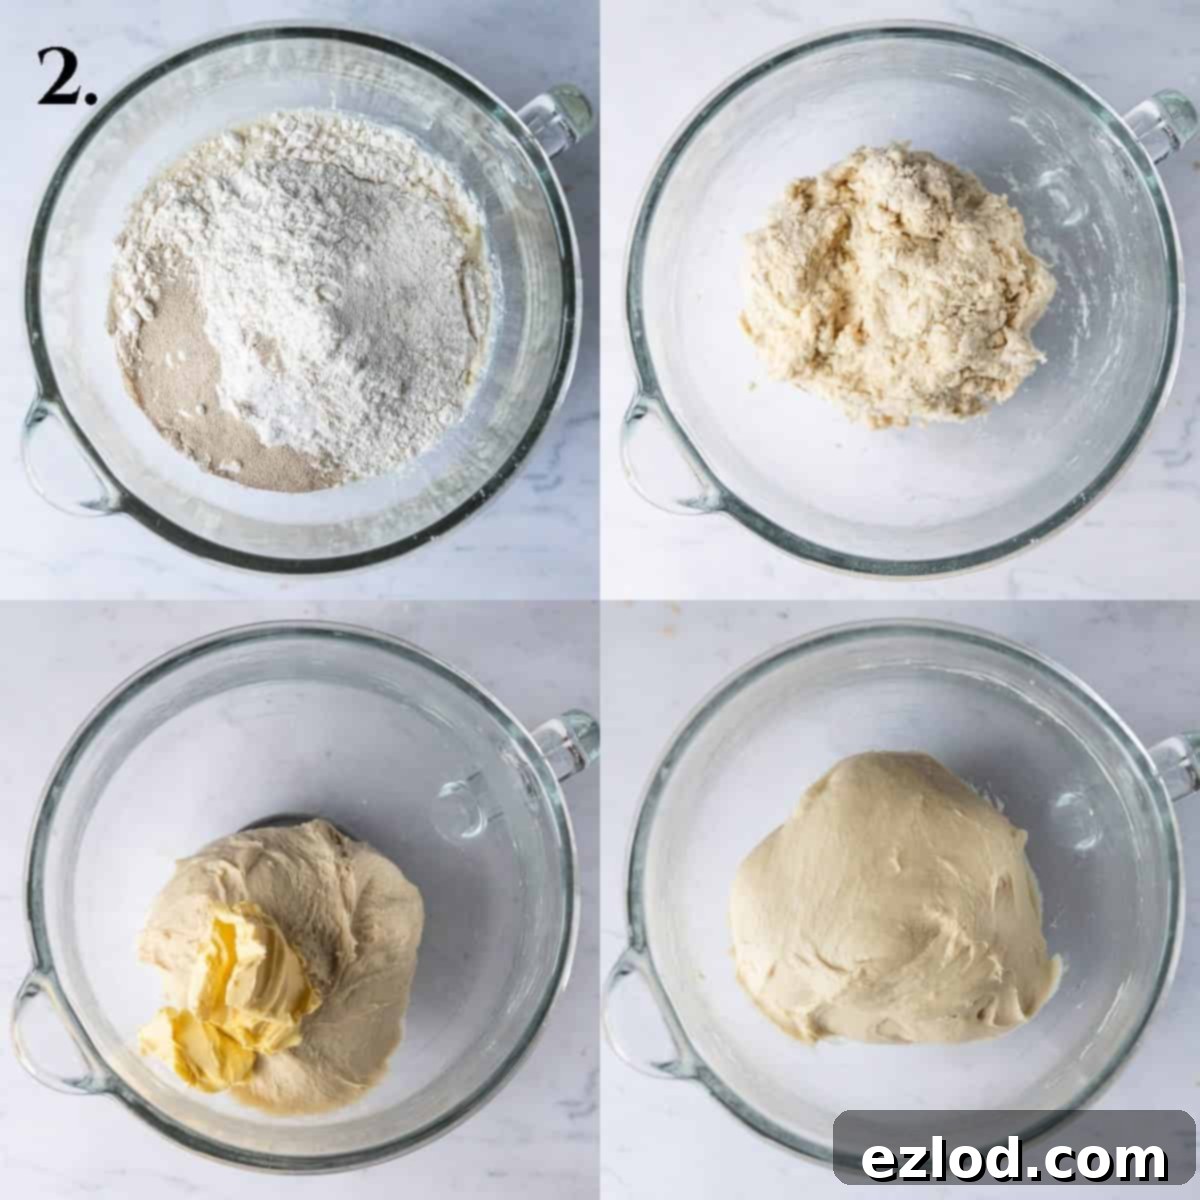
Step 2: Create the Dough. Scrape the prepared tangzhong into the bowl of a stand mixer equipped with a dough hook. Immediately pour the cold non-dairy milk over the tangzhong. This helps to rapidly cool the mixture, preventing its warmth from prematurely activating or killing the yeast. Add the sugar, salt, bread flour, and finally the instant yeast. Mix on a low speed until a rough dough forms. Increase the speed to medium and continue mixing for approximately 10 minutes until the dough becomes smooth, elastic, and passes the “windowpane test” (where a small piece can be stretched thinly without tearing). Next, add the softened vegan butter and knead for another 5 minutes until it is completely incorporated, and the dough feels smooth, elastic, and no longer greasy to the touch. You may need to periodically scrape down the sides of the bowl to ensure everything is well mixed.
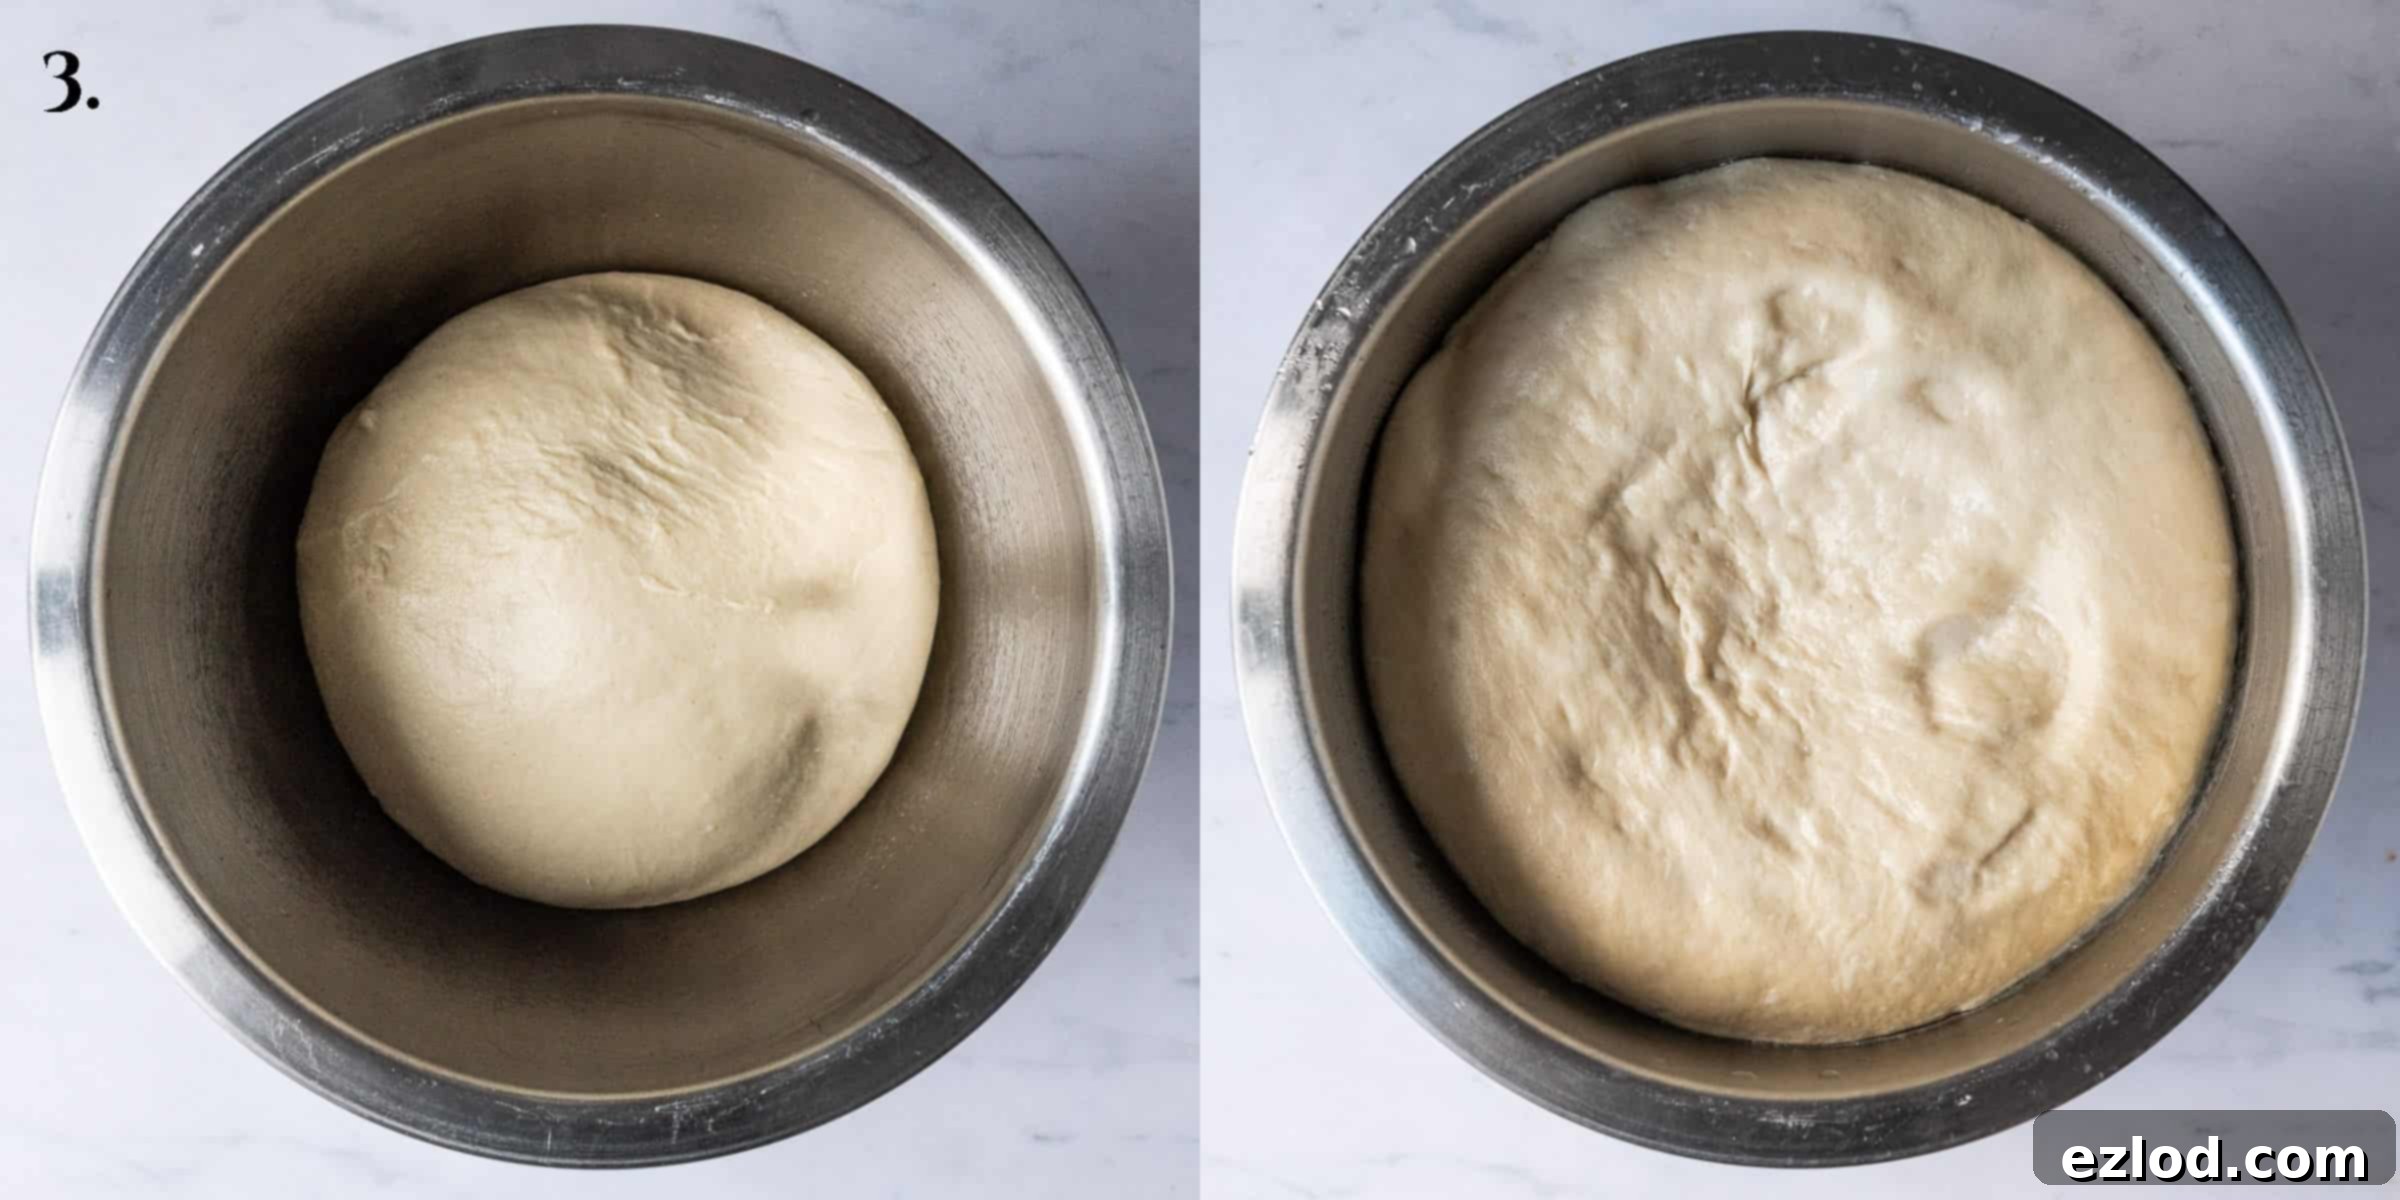
Step 3: First Rise. Lightly oil a large bowl. Transfer the prepared dough into the bowl, turning it once to coat with oil. Cover the bowl tightly with cling film to prevent a skin from forming, and place it in a warm, draft-free spot. Allow the dough to rise for 1-2 hours, or until it has visibly doubled in size. Alternatively, for a slower rise and enhanced flavor, you can place the covered dough in the refrigerator overnight.
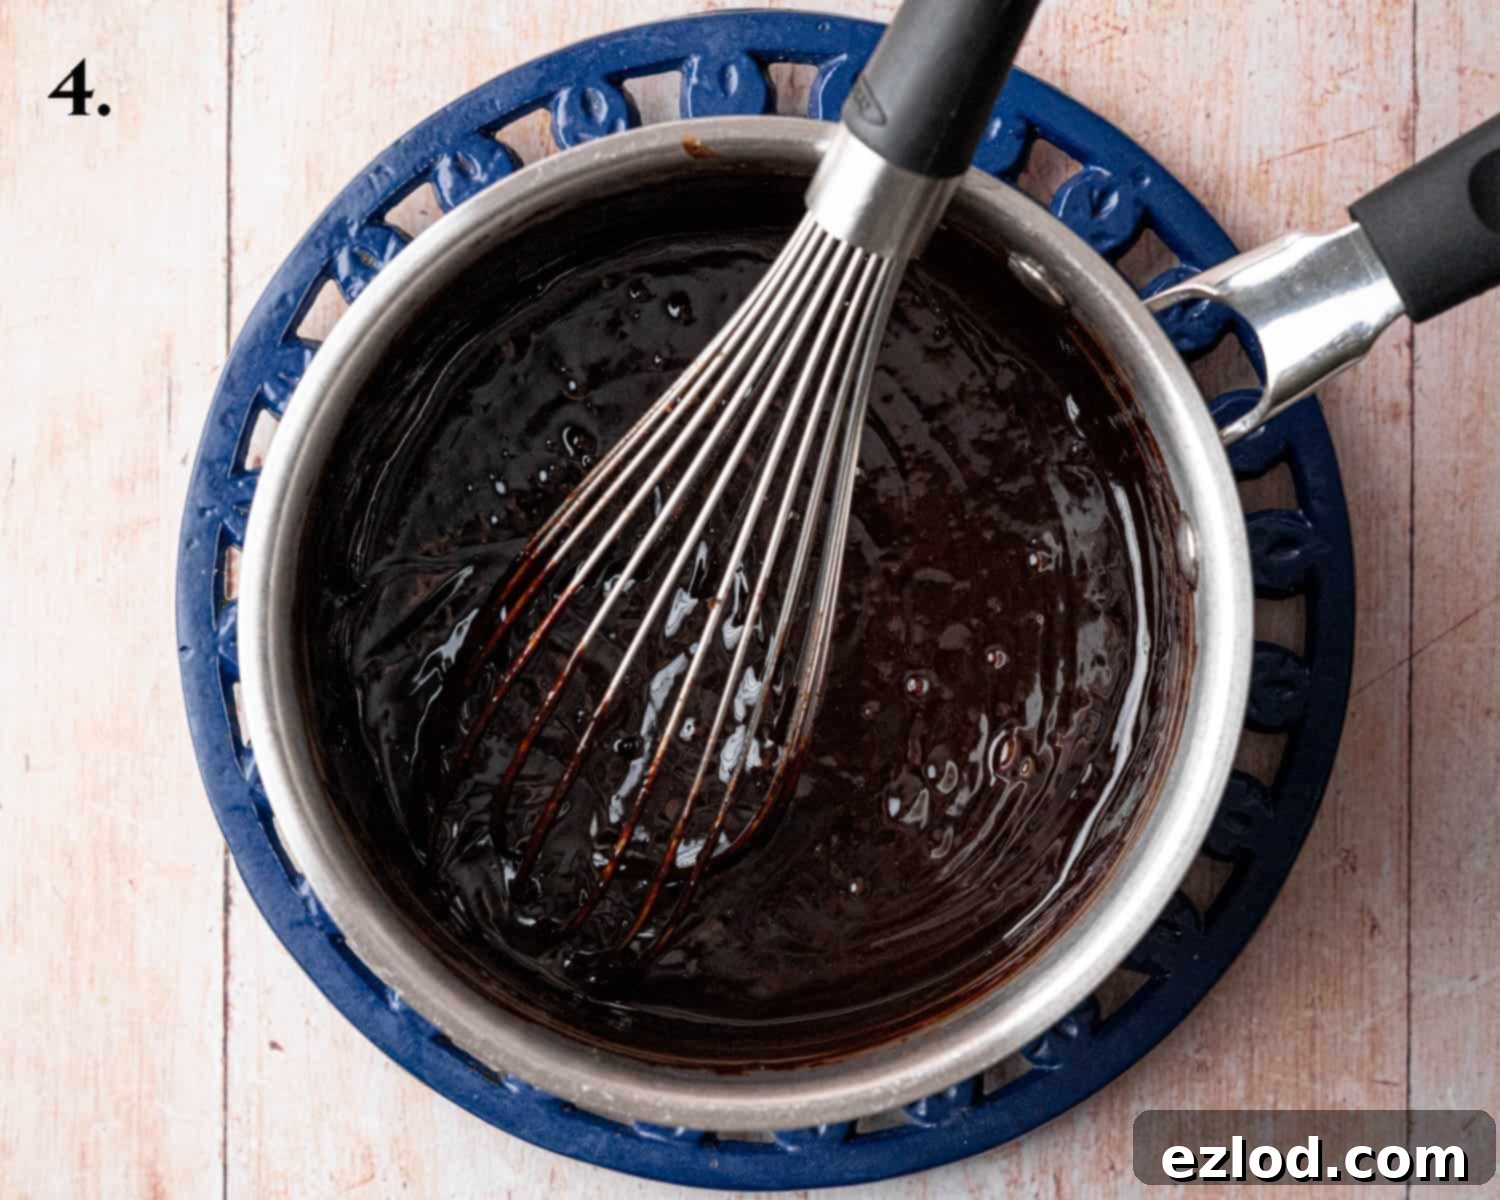
Step 4: Prepare the Chocolate Filling. While the dough is undergoing its first rise, prepare the rich chocolate filling. In a small saucepan, combine the vegan butter, sugar, cocoa powder, and non-dairy milk. Heat over low-medium heat, stirring constantly, until the butter and sugar have fully melted and the mixture is smooth. Remove the pan from the heat, add the finely chopped dark chocolate, and continue stirring until the chocolate has completely melted and the filling is smooth and glossy. Set it aside to cool slightly and thicken to a spreadable consistency.
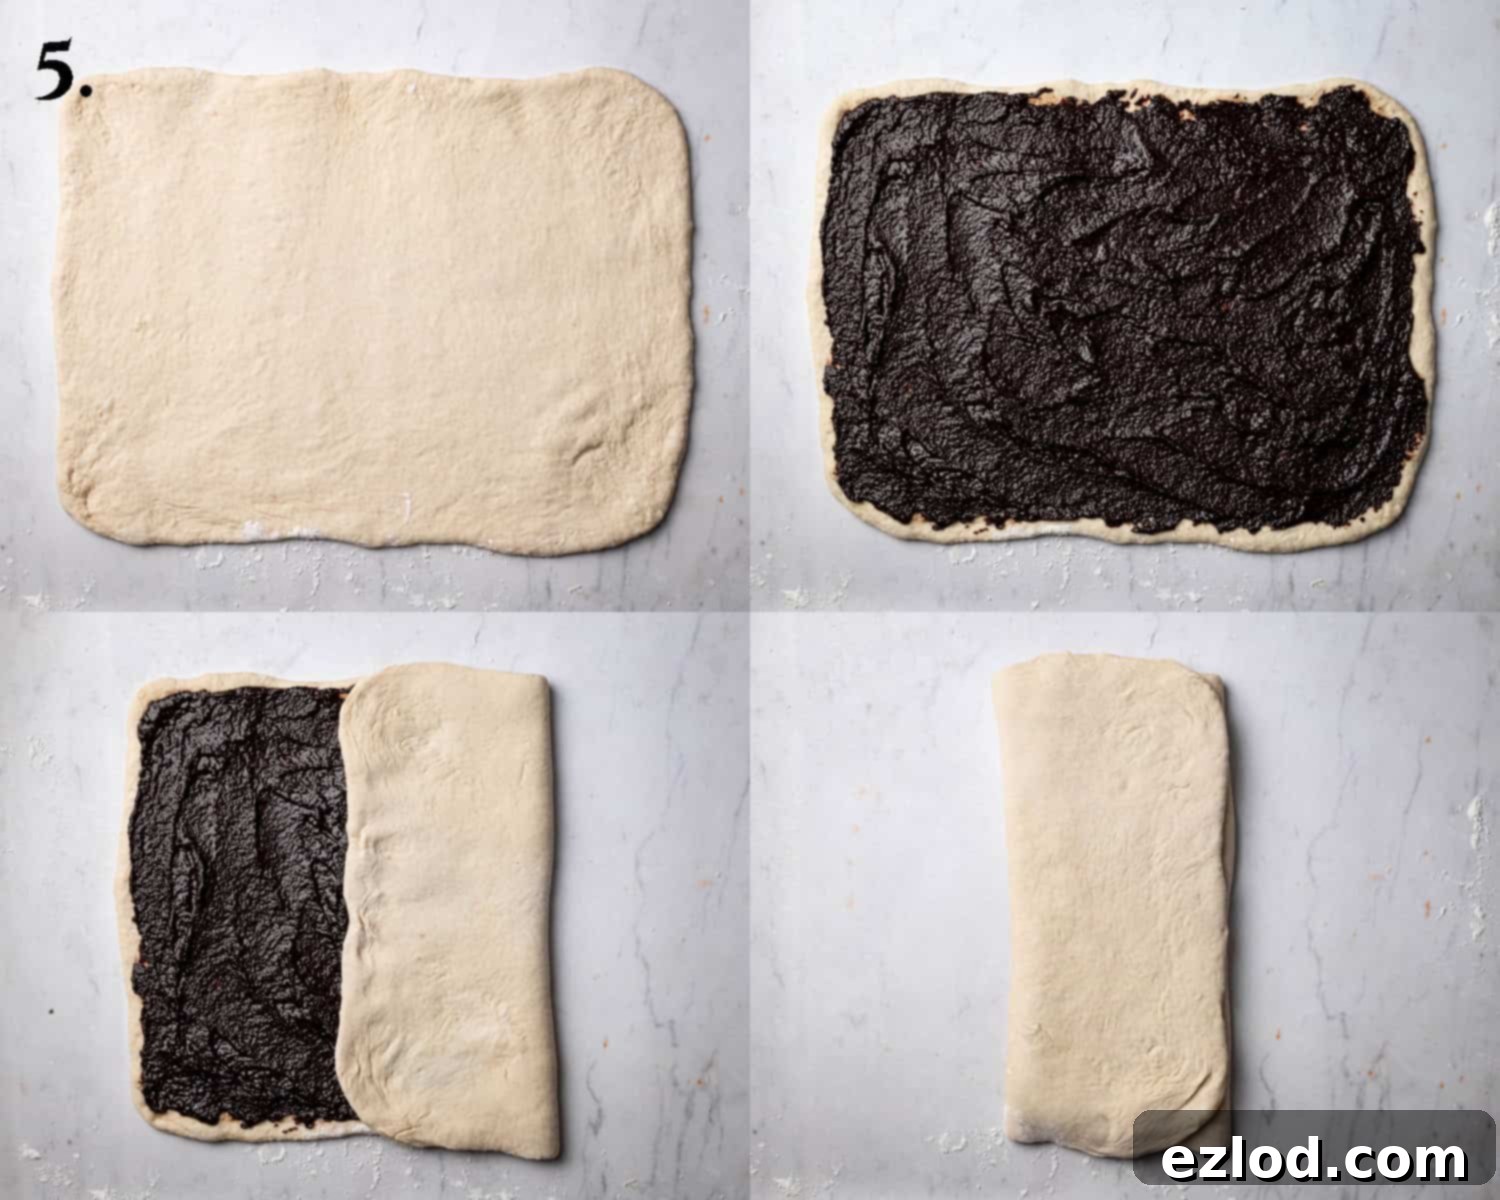
Step 5: Assemble the Buns. Once the dough has risen, gently tip it out onto a lightly floured work surface. Sprinkle a little more flour over the dough and roll it out into a large rectangle, approximately 30 x 40 cm (about 12 x 16 inches). Evenly spread the cooled chocolate filling over the entire surface of the dough, leaving a small border clean along one of the longer edges. Carefully fold the dough into thirds, like a business letter, bringing one long side over to the center, and then folding the other long side over that. You should now have a rectangle measuring roughly 30 x 13 cm (about 12 x 5 inches). Transfer this folded dough onto a baking sheet and chill it in the refrigerator for about 20 minutes. This firms up the dough and the filling, making it much easier to work with.
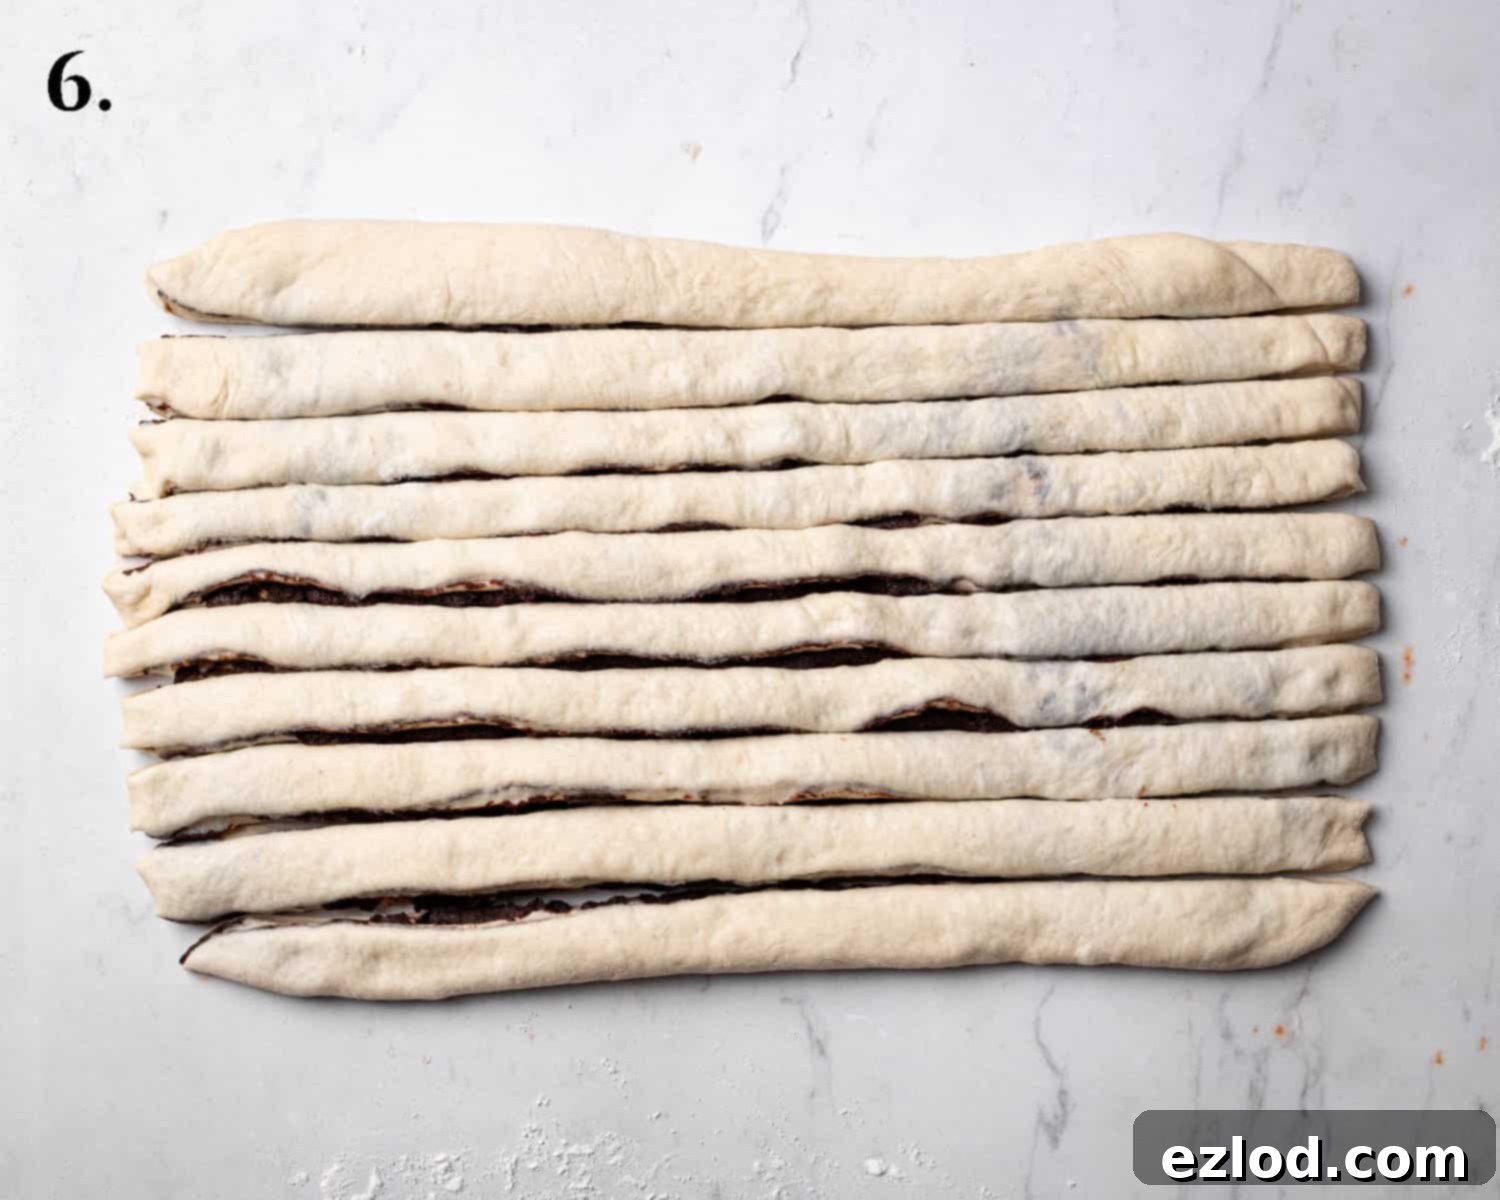
Step 6: Cut the Strips. Remove the chilled dough from the refrigerator. Gently pat it out width-ways just a little, aiming for a rectangle of approximately 30 x 20 cm (about 12 x 8 inches). Using a sharp knife or, ideally, a pizza cutter, cut the dough lengthwise into 10 even strips, each about 2 cm (just under an inch) wide. Ensure your cuts are clean to achieve neat swirls.
Step 7: Twist the Strips. Prepare two baking sheets by lining them with parchment paper. Take one dough strip and gently twist it from both ends in opposite directions to form a spiral. Repeat this for all 10 strips.
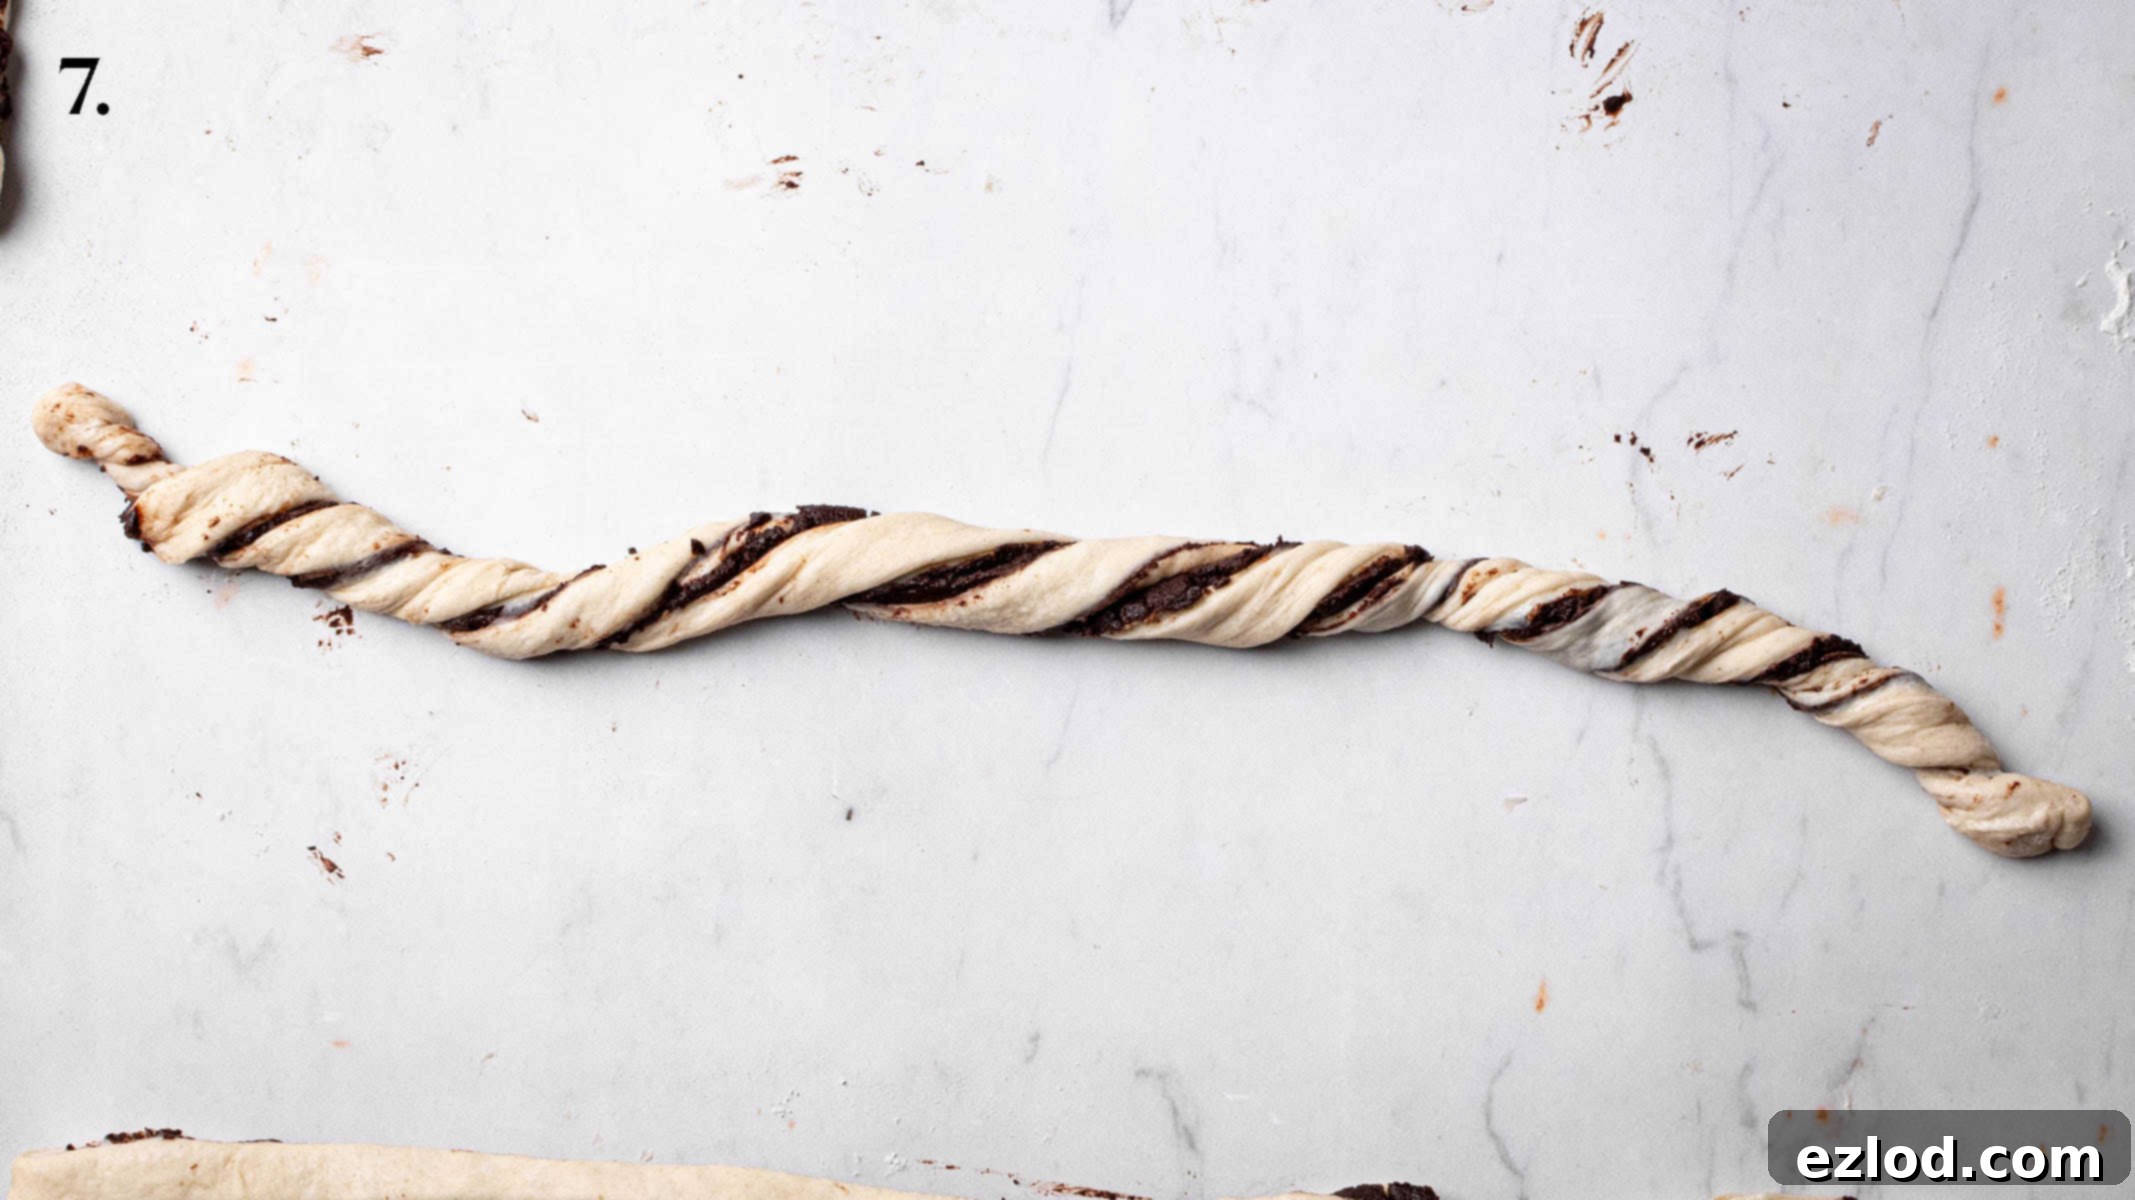
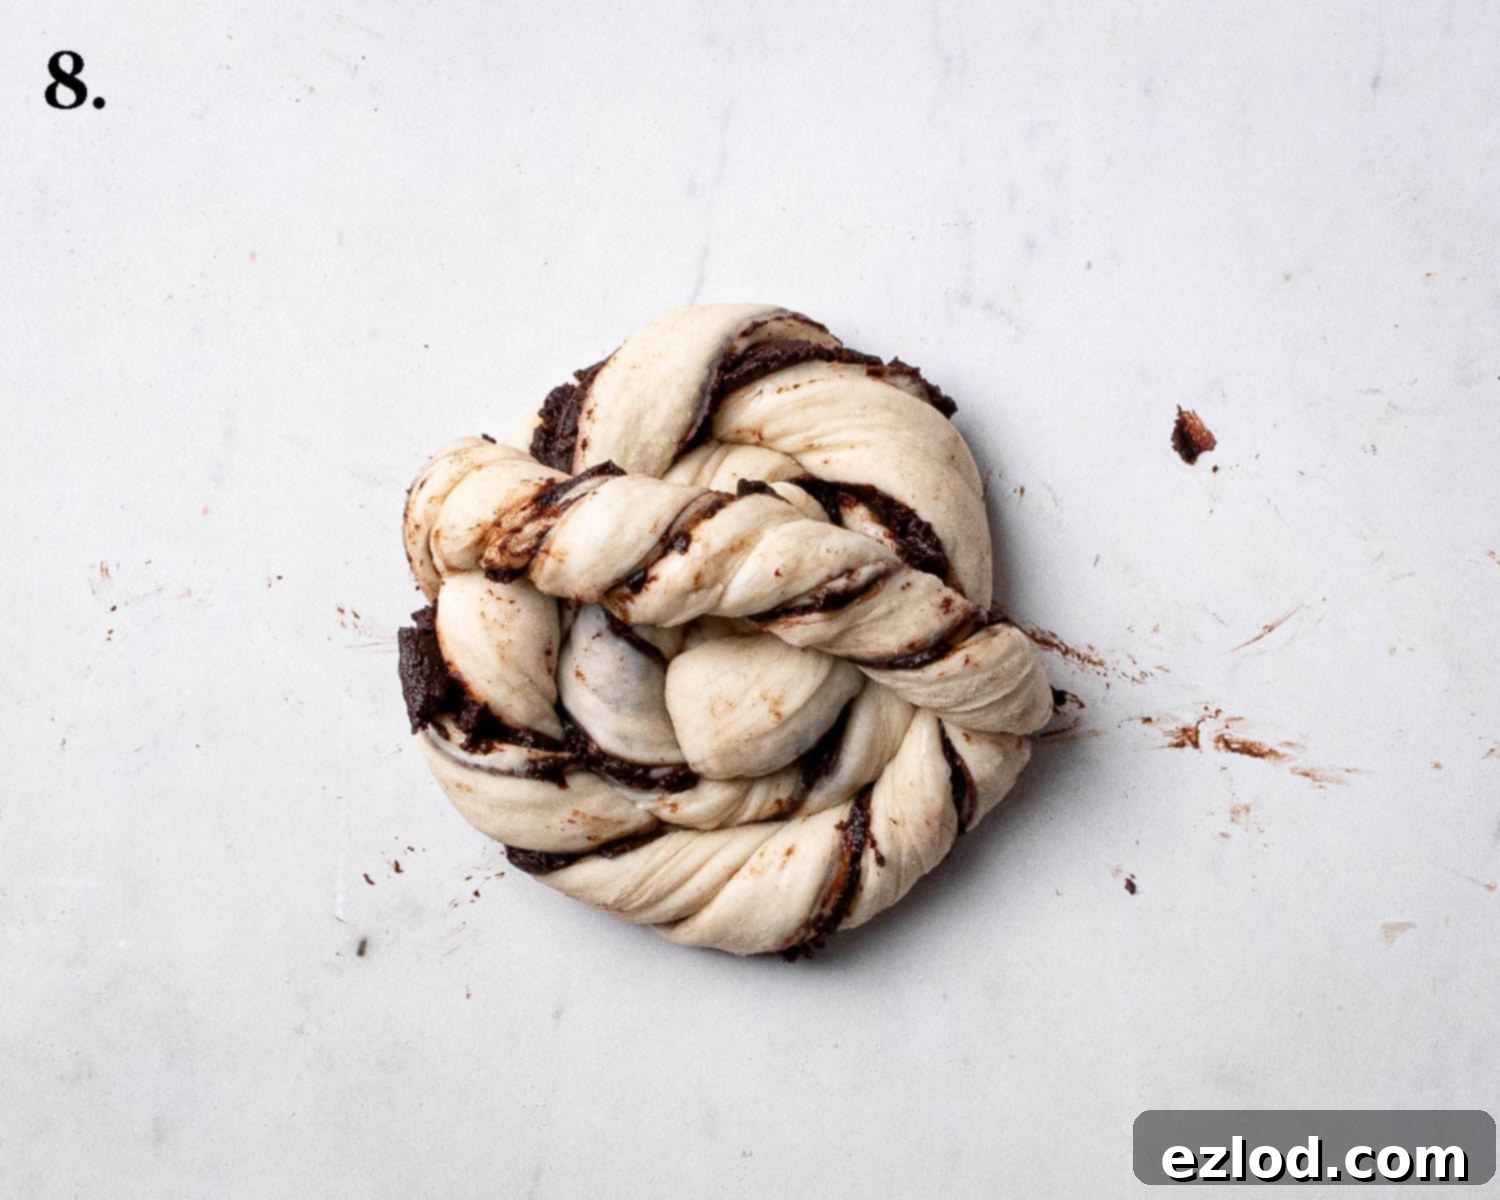
Step 8: Shape the Buns. To create the characteristic swirl bun shape, take a twisted strip and coil it tightly, starting from one end, to form a round bun. Once coiled, take the very end of the strip, pass it over the top of the bun, and tuck it neatly underneath the other side. This secures the swirl and prevents it from unraveling during baking. Place each shaped bun onto the prepared baking trays, ensuring they are well spaced to allow for their second rise.
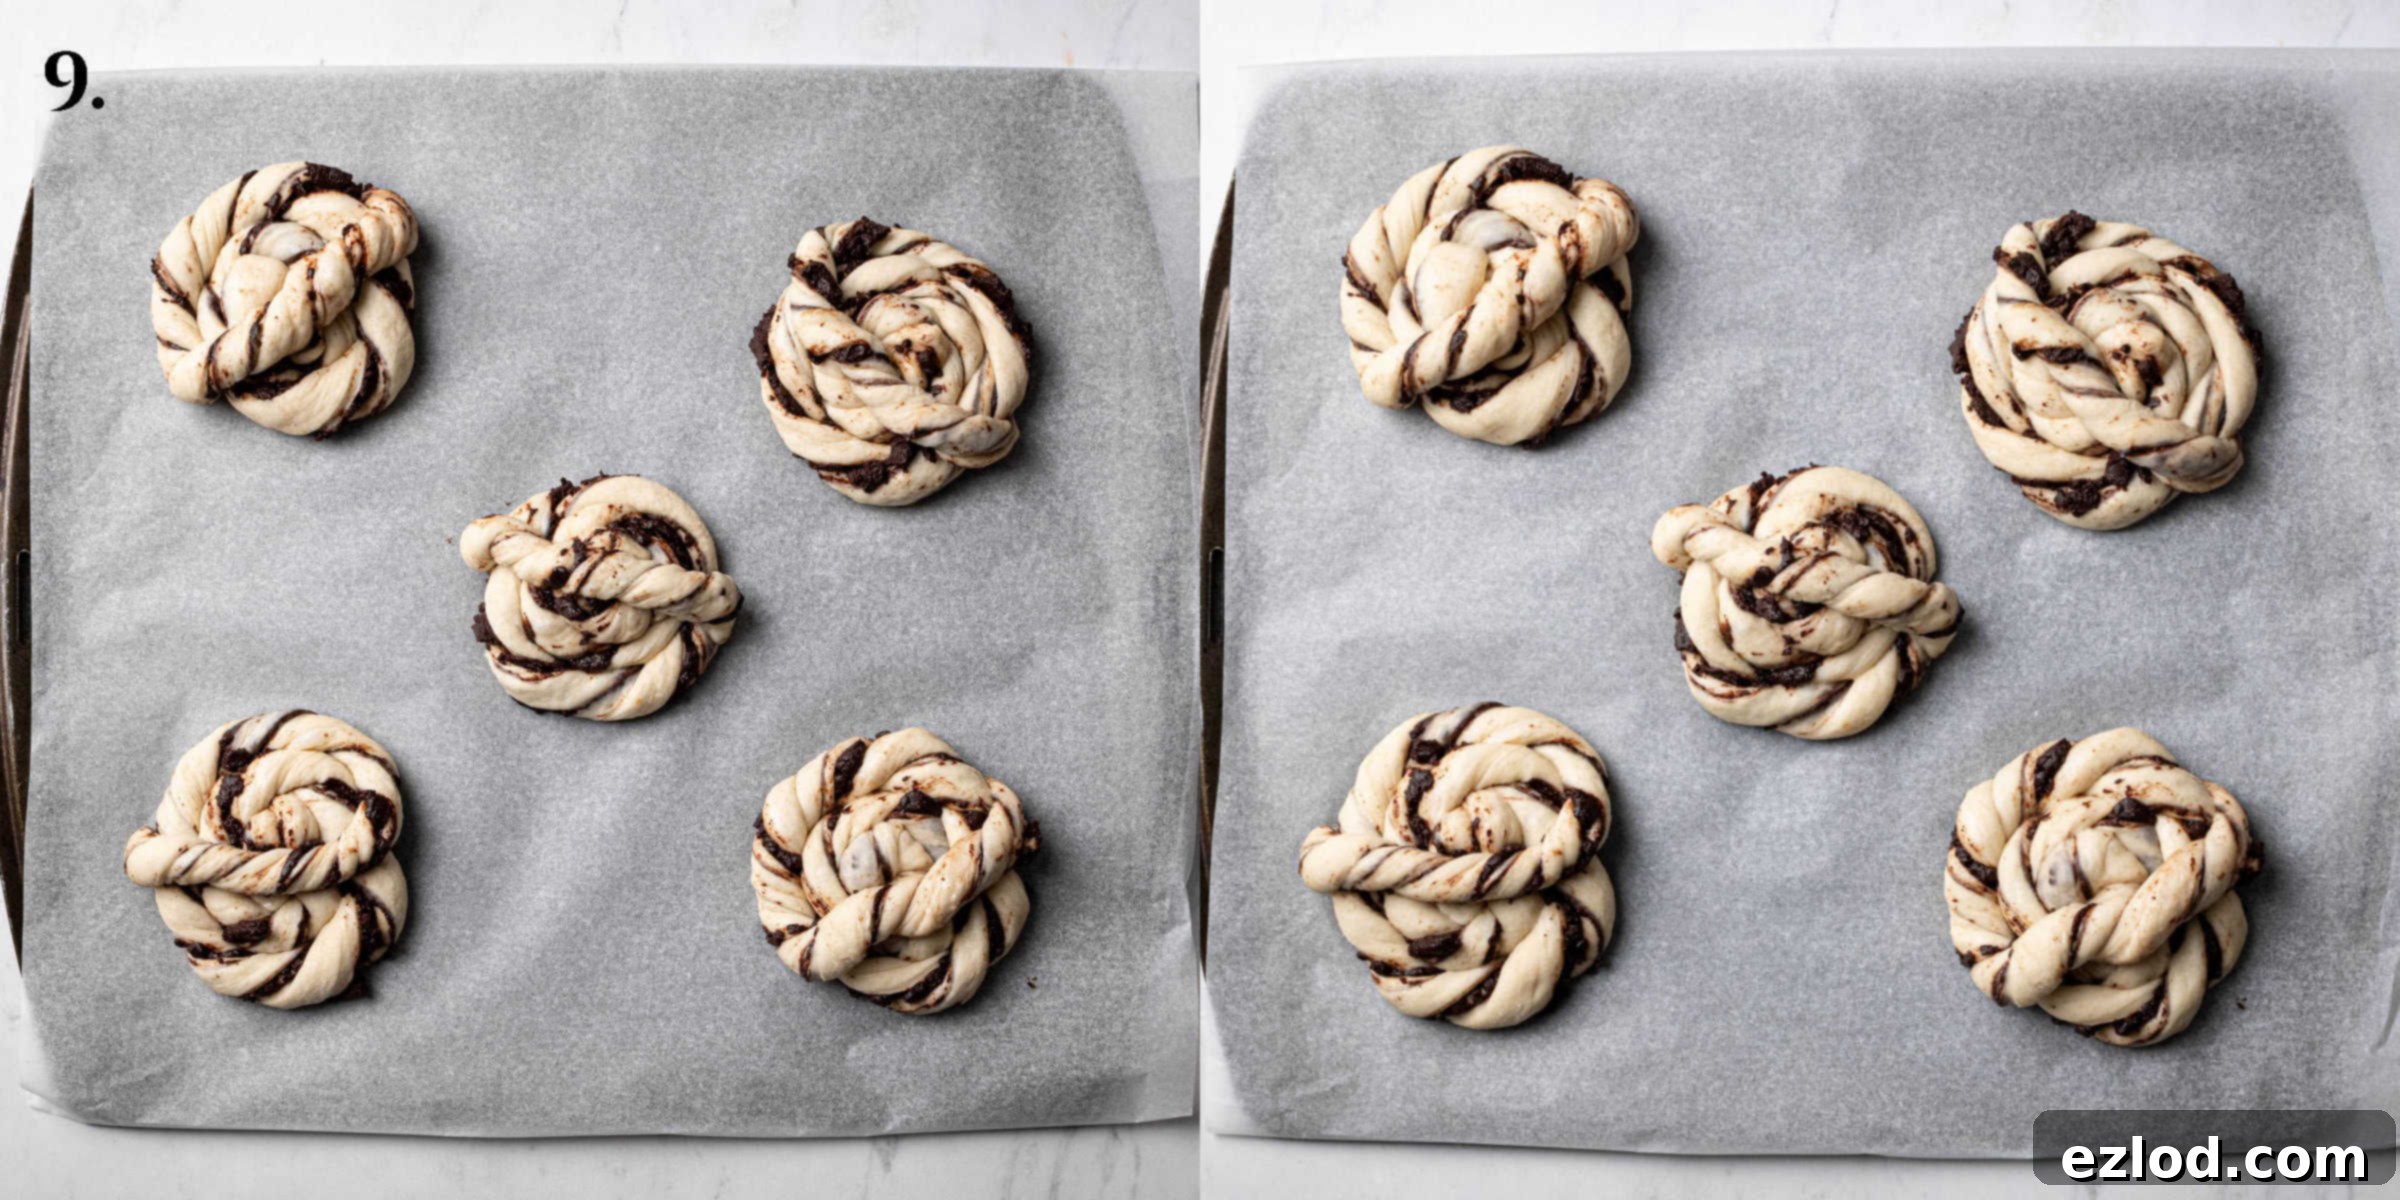
Step 9: Second Rise (Proofing). Loosely cover the shaped buns on the baking trays with lightly oiled cling film. Return them to a warm, draft-free place for their second rise, which will take approximately 45 minutes to 1 hour, or until they look visibly puffy and have increased in size. Meanwhile, preheat your oven to 180°C (160°C fan/350°F/gas mark 4). This ensures the oven is at the correct temperature when the buns are ready to bake.
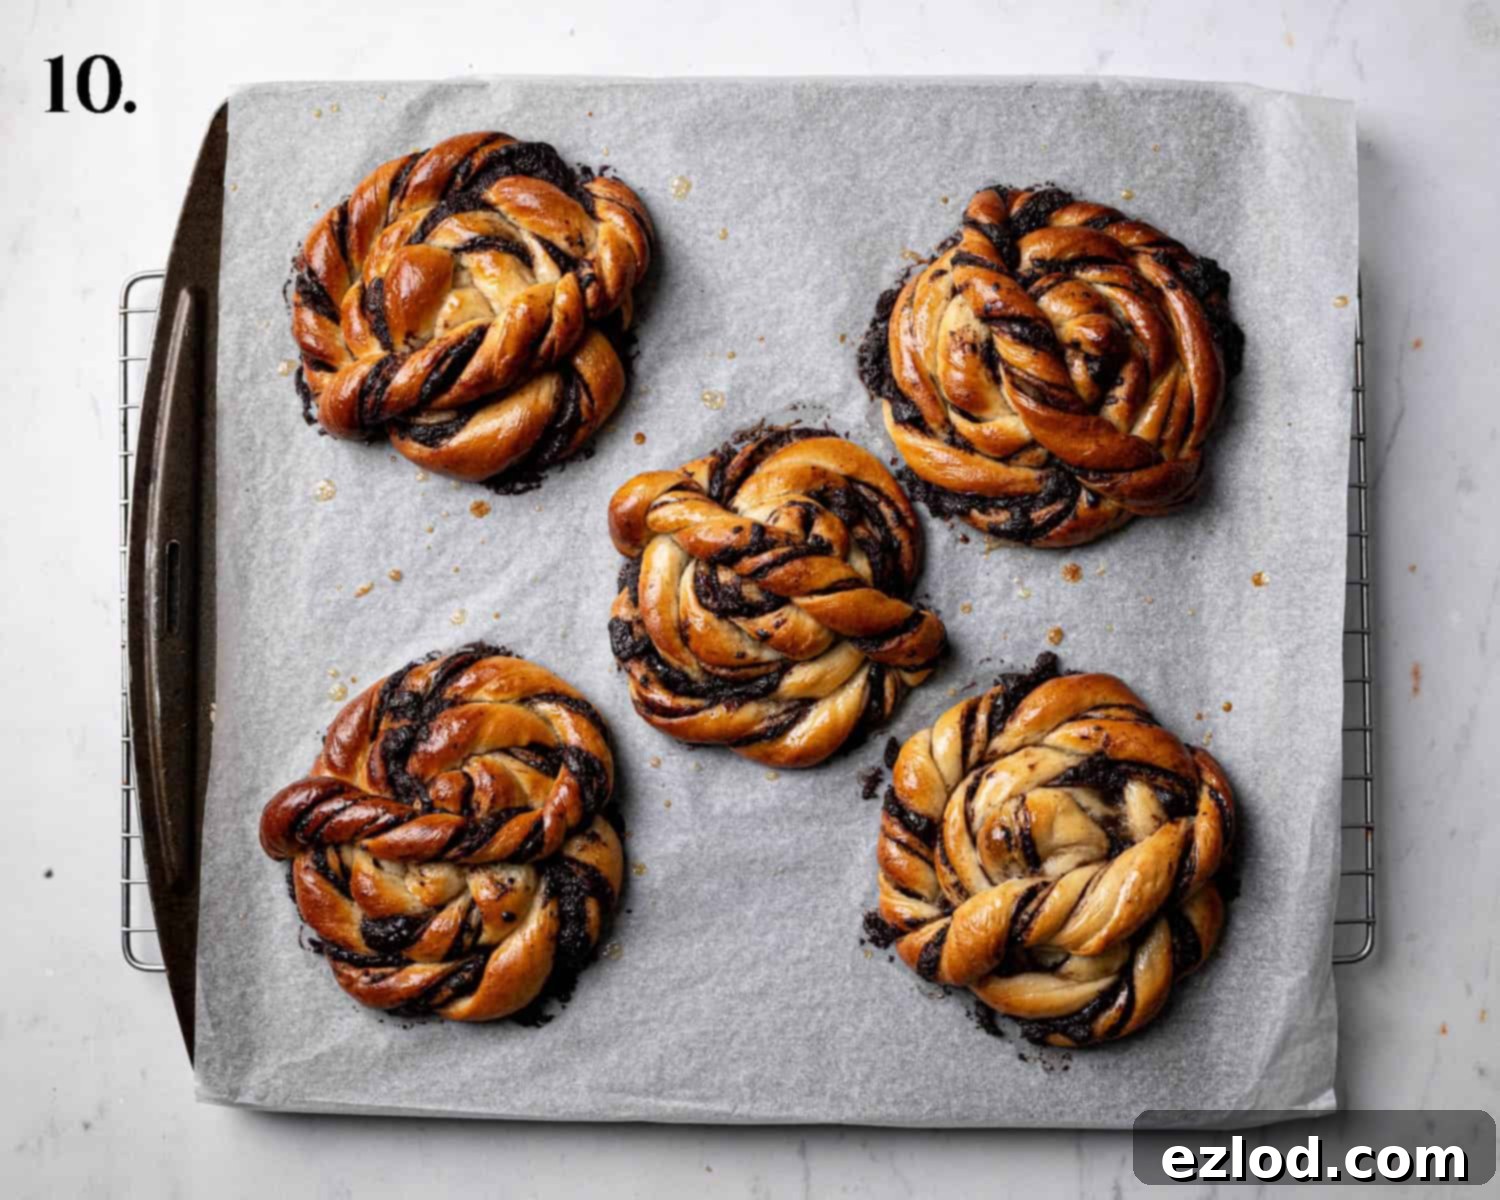
Step 10: Glaze and Bake. In a small bowl, whisk together the maple syrup and non-dairy milk to create the vegan glaze. Gently brush the tops of the risen buns with this mixture. Bake the buns in the preheated oven for about 25 minutes, or until they are a beautiful deep golden brown and cooked through. Once baked, remove the trays from the oven and allow the buns to cool on the baking sheets for about 10 minutes before carefully transferring them to a wire rack to cool completely. Once fully cooled, store them in an airtight container to maintain their freshness and softness.
Top Tips for Baking Flawless Vegan Chocolate Swirl Buns
Achieving bakery-quality vegan chocolate swirl buns is easier with these expert tips:
- Embrace Metric Measurements: As with all my baking recipes, I wholeheartedly recommend using metric measurements with a digital kitchen scale over imprecise cup conversions. Baking is a science, and exact ingredient ratios are crucial for consistent and superior results. Using a scale is not only more accurate but often less messy!
- Check Your Yeast: Ensure your instant yeast is fresh and not past its expiration date. Old or inactive yeast is the most common reason for dough failing to rise, leading to dense, heavy buns.
- Mind the Temperature: The rising time of your dough is highly dependent on ambient temperature. In a warmer environment, the dough will prove much faster than in a cold room. If your kitchen is cool, consider using a proofing box, a warm (but not hot) oven with the light on, or placing the covered bowl near a sunny window.
- Overnight Rise for Enhanced Flavor: For an even deeper flavor profile and to break up your baking workload, consider giving the dough its first rise overnight in the refrigerator instead of at room temperature. The slow, cold fermentation develops more complex flavors in the dough.
- Serving and Storage: These vegan chocolate swirl buns are undeniably best enjoyed fresh on the day they are baked, when they are at their peak softness and warmth. However, they will remain delicious and soft for a couple of days when stored properly. For optimal enjoyment on subsequent days, gently warm them in a microwave for 10-20 seconds or in a low oven (around 150°C/300°F) for 5-10 minutes before serving.
- Alternative Shaping: If you prefer a simpler shape or are short on time, you can forego the twisting and simply coil the chocolate-filled dough strips up, similar to how you would shape a traditional cinnamon roll. They will still be equally delicious!
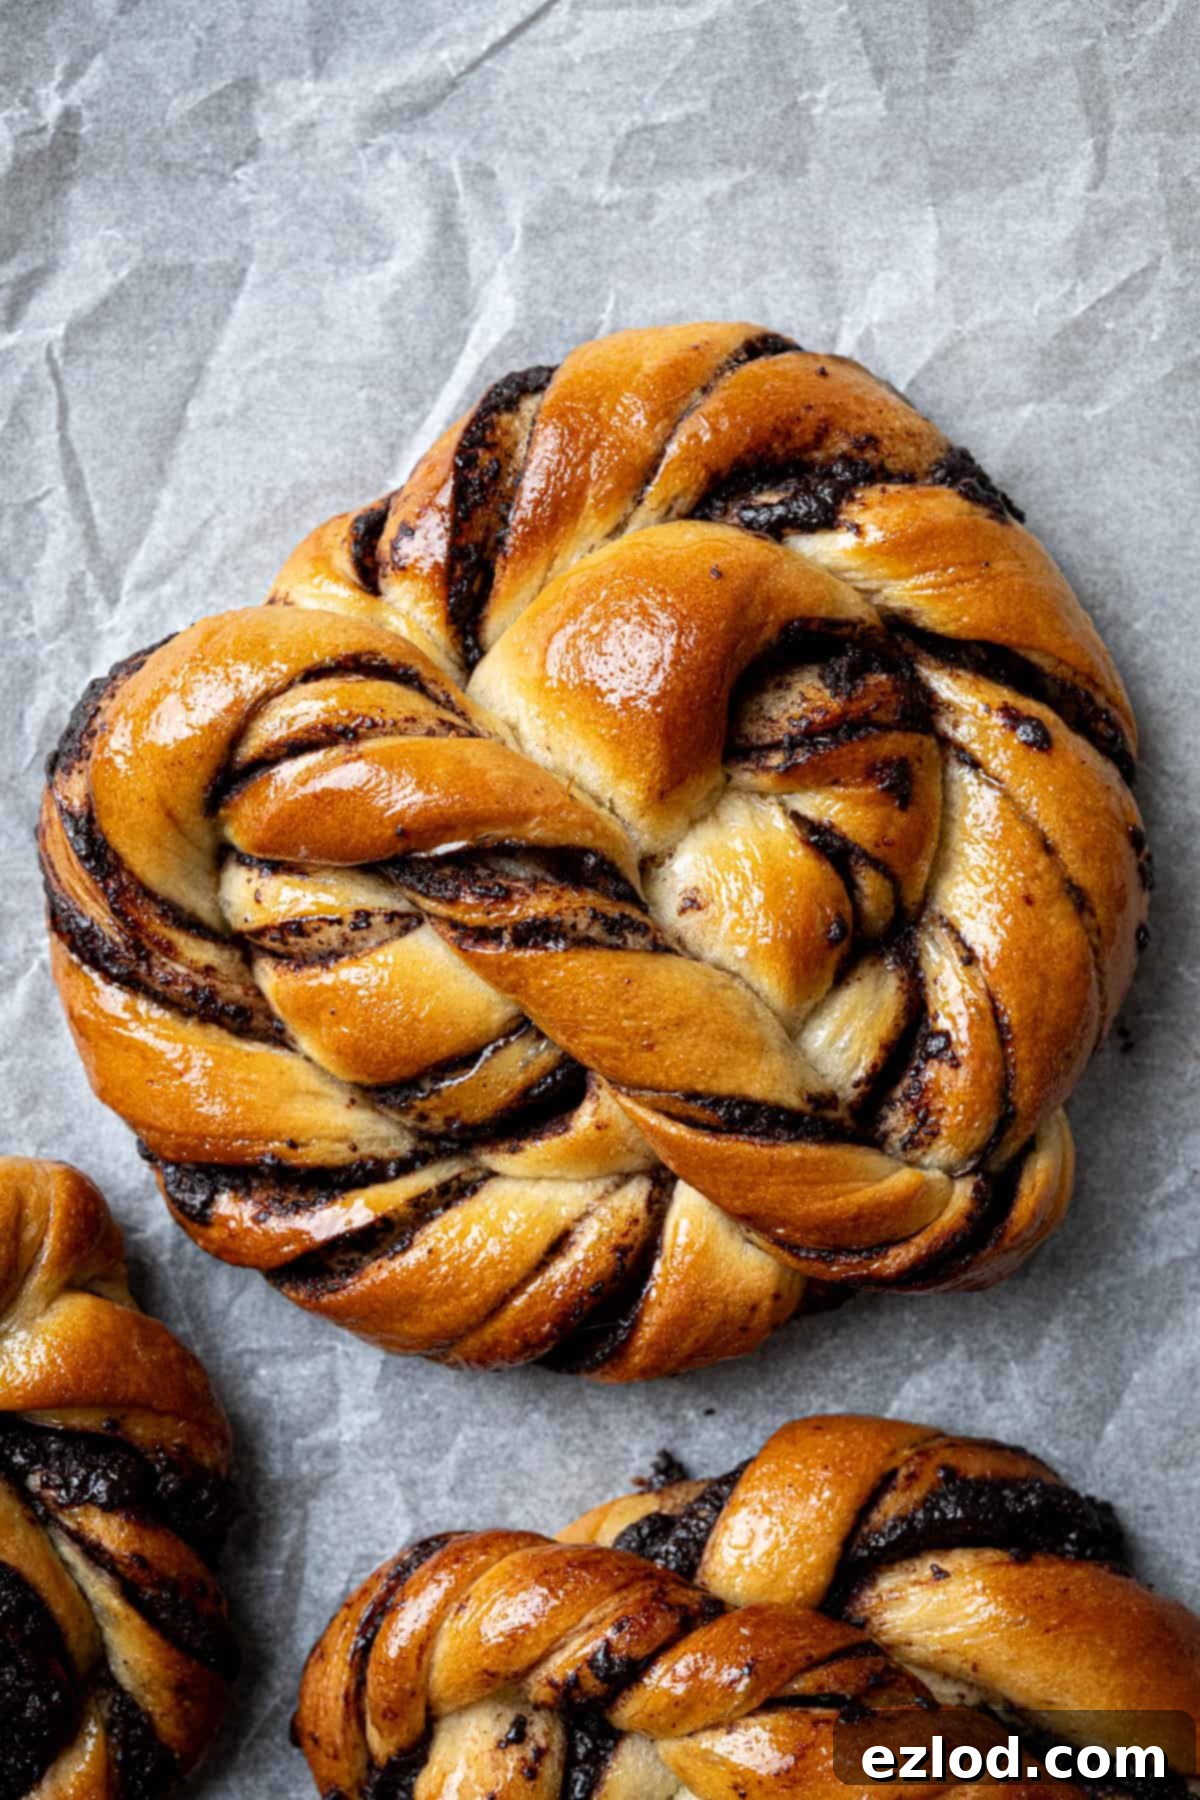
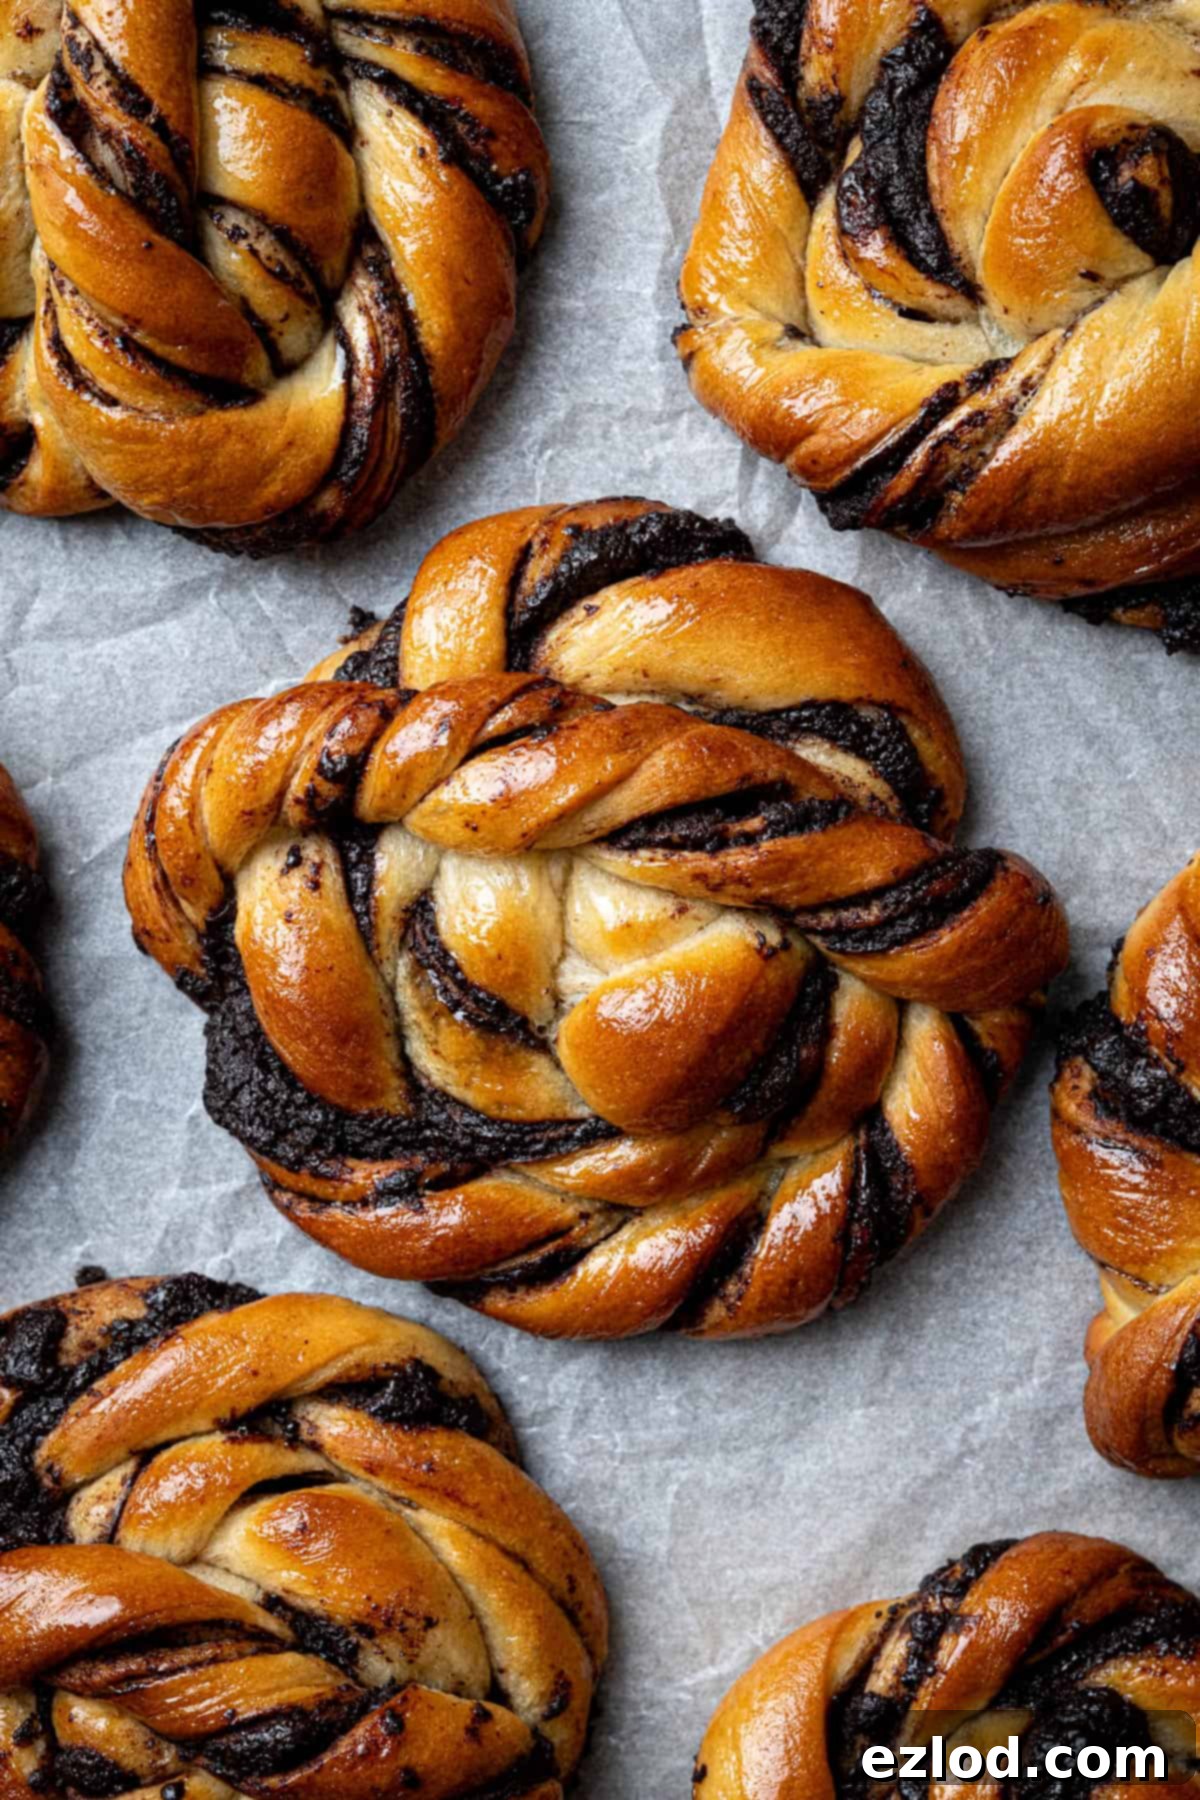
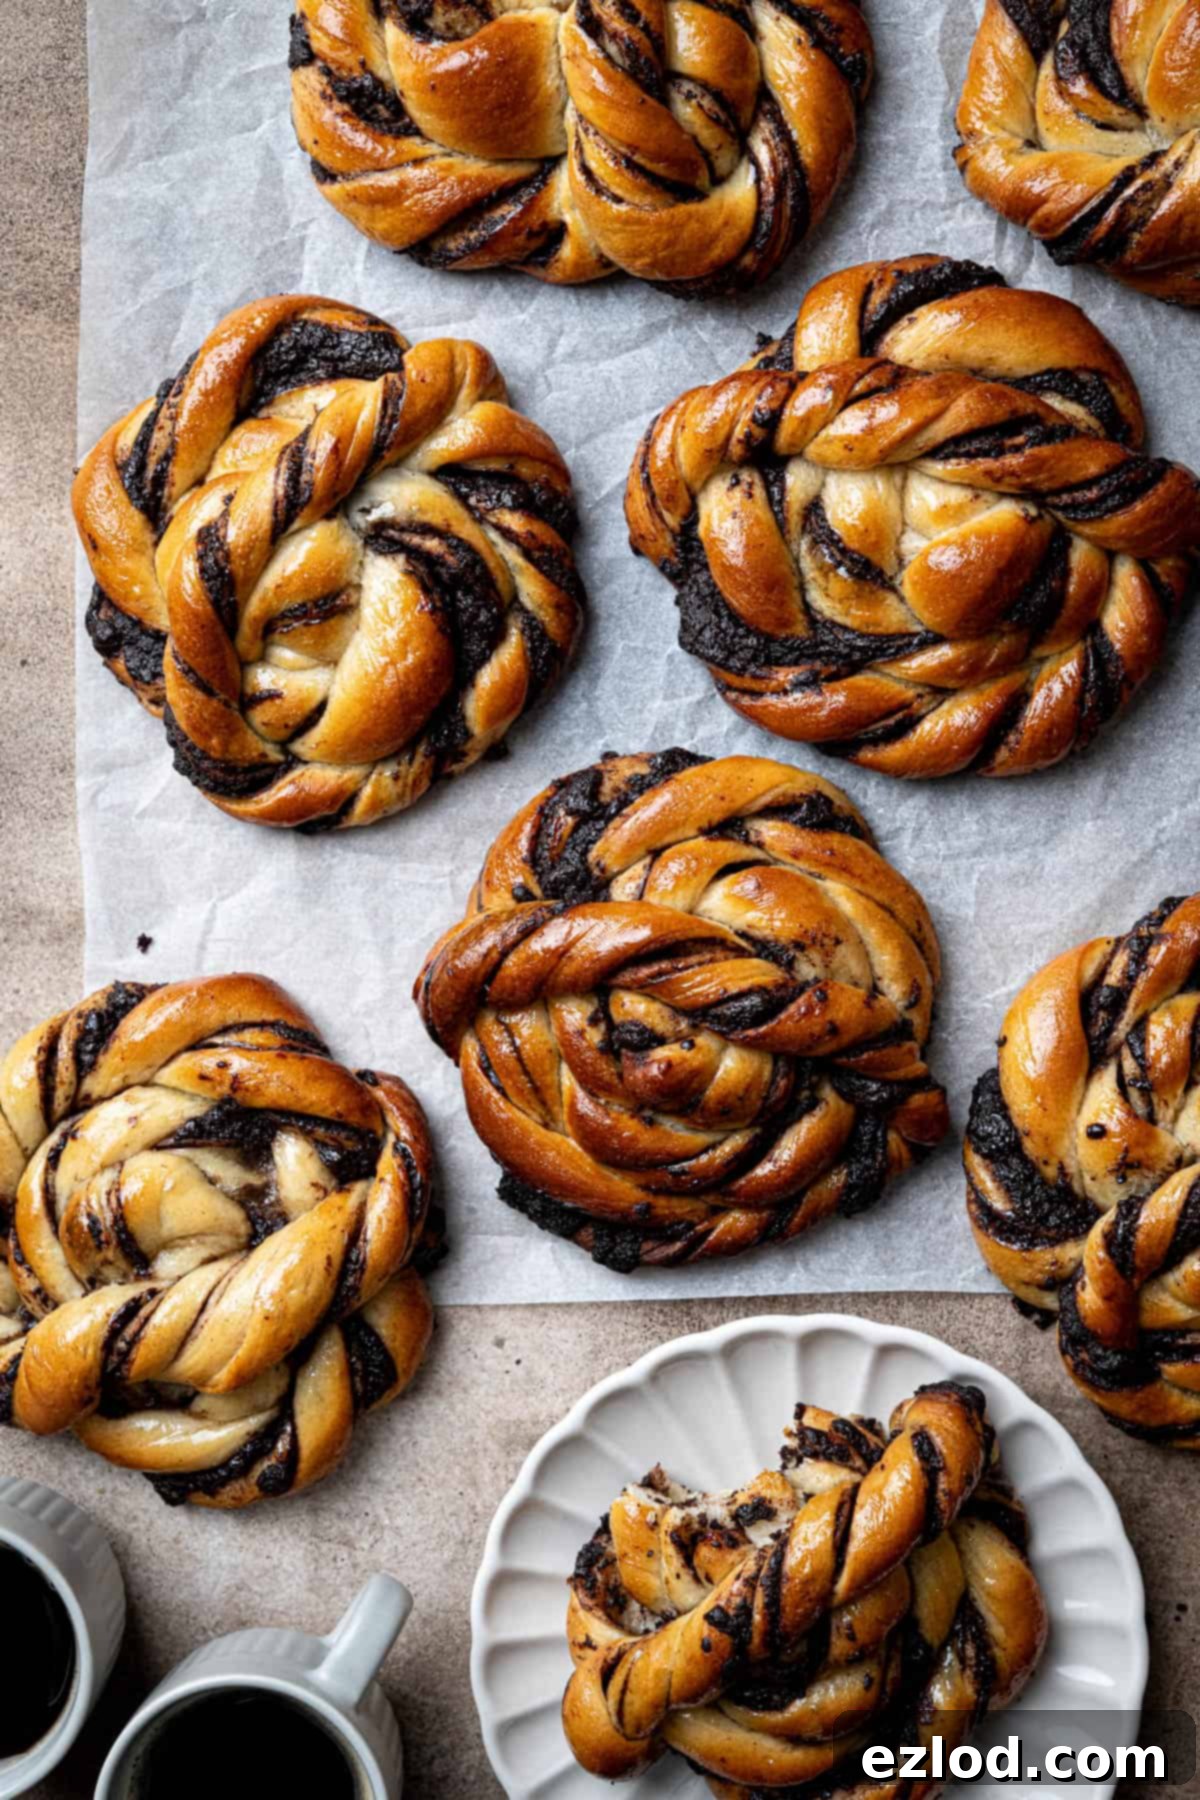
- Achieving Extra Shine: For those perfectly glossy, bakery-style buns like the ones pictured, brush the buns with the maple syrup and milk glaze a second time, about 5 minutes before they are completely done baking. This extra layer of glaze will intensify their beautiful sheen.
- Dealing with Thick Filling: If your chocolate filling thickens too much while sitting and becomes difficult to spread, simply warm it gently on the stovetop over low heat or in the microwave for a few seconds until it becomes smooth and pliable again.
Frequently Asked Questions (FAQ’s) about Vegan Chocolate Swirl Buns:
To maintain their incredible freshness and softness, store the cooled vegan chocolate swirl buns in an airtight container at a cool room temperature for up to 2-3 days. Avoid refrigerating them unless it’s very warm, as refrigeration can sometimes dry out bread products. For longer storage, freezing is an excellent option.
Absolutely! While this soft, sticky dough is easiest to handle in a stand mixer, you can certainly knead it by hand if you don’t have one. Be prepared for a bit of a workout and to get a little messy initially! When kneading by hand, avoid the common mistake of adding too much extra flour to the surface, as this will make the dough dry and tough. Instead, lightly oil your work surface and your hands to prevent sticking. A bench scraper is an invaluable tool for hand kneading, as it helps you gather and scrape the sticky dough from the surface without incorporating excess flour.
Yes, these baked chocolate swirl buns freeze exceptionally well! For best results, freeze them on the same day they are baked, after they have completely cooled. To protect against freezer burn, either wrap them individually in plastic wrap and then place them in an airtight freezer-safe bag or container, or simply place them directly in an airtight container. When you’re ready to enjoy them, allow them to defrost at room temperature for a few hours. You can then refresh them in a low oven (around 150°C/300°F) for 5-10 minutes, or quickly warm them in the microwave for 10-20 seconds, to restore their tender texture. I do not recommend freezing the buns unbaked, as the yeast activity can be unpredictable after thawing.
Unfortunately, this specific recipe is not suitable for gluten-free flour substitutes. Baking gluten-free bread is a complex process that requires an entirely different approach to flour ratios, liquid amounts, and sometimes additional binders. The tangzhong method, while excellent for regular flour, would behave differently with gluten-free flours, and the whole recipe would need significant re-engineering. As gluten-free baking is not my area of expertise, I cannot provide advice on adapting this recipe. For successful gluten-free buns, it’s always best to seek out a recipe specifically developed and tested to be gluten-free.
More Delicious Sweet Bun Recipes to Explore:
- Vegan Belgian buns
- Rhubarb frangipane buns
- Vegan cinnamon rolls
- Vegan hot cross buns
- Banana bread cinnamon rolls
- Vegan lemon blueberry rolls
- Chocolate orange hot cross buns
- Vegan gingerbread cinnamon rolls
- Wholemeal maple cinnamon rolls
- Mocha cinnamon rolls
If you tried this recipe let me know how it went! Rate it, leave a comment or tag @domestic_gothess on Instagram and hashtag it #domesticgothess
All images and content on Domestic Gothess are copyright protected. If you want to share this recipe then please do so by using the share buttons provided. Do not screenshot or post the recipe or content in full, instead include a link to this post for the recipe.
Print
Chocolate Swirl Buns (Vegan)
Ingredients
Tangzhong:
- 25 g (3 Tablespoons) white bread flour
- 140 ml (½ cup + 4 teaspoons) unsweetened non-dairy milk (I use soy)
Dough:
- All of the tangzhong
- 130 ml (½ cup + 2 teaspoons) unsweetened non-dairy milk cold
- 50 g (¼ cup) caster sugar
- 1 teaspoon salt
- 350 g (3 cups) white bread flour
- 7 g (1 sachet) fast action yeast
- 50 g (¼ cup) vegan butter softened
Filling:
- 130 g (4 ½ oz) dark chocolate finely chopped
- 70 g (5 Tablespoons) vegan butter
- 50 g (¼ cup) caster sugar
- 20 g (2 packed Tablespoons) cocoa powder
- 3 Tablespoons unsweetened non-dairy milk (I use soy)
To Glaze:
- 1 Tablespoon maple syrup
- 1 Tablespoon unsweetened non-dairy milk (I use soy)
Instructions
-
To make the tangzhong, place the flour in a saucepan and gradually whisk in the milk to avoid lumps.
-
Place the pan over a medium/low heat and whisk constantly until the mixture has thickened to a paste/pudding-like consistency.
-
Scrape the tangzhong into the bowl of a stand mixer fitted with a dough hook and pour the rest of the cold milk on top. This will cool the tangzhong down so that the heat doesn’t kill the yeast.
-
Add the sugar, salt and flour and finally the yeast. Stir until it forms a rough dough then set the stand mixer to a medium speed and mix until the dough is smooth and stretchy, this can take about 10 minutes.
-
Add the vegan butter and knead for about another 5 minutes until it is fully incorporated and the dough is smooth, elastic and no longer feels greasy. You may need to scrape down the sides of the bowl a couple of times.
-
The dough should still be soft and sticky, but it should pull away from the sides of the bowl cleanly. If it seems too wet then you can knead in a little extra flour, a tablespoon at a time. Be careful though, this is meant to be a soft dough and adding too much extra flour will make the bread dry.
-
Transfer the dough to a lightly greased bowl, cover with clingfilm and either place somewhere warm to rise until doubled in size, about 1-2 hours, or in the fridge overnight.
-
While the dough is rising make the filling. Heat the butter, sugar, cocoa powder and milk in a pan until melted, stirring constantly. Remove from the heat, add the chocolate and stir until melted. Set aside until cooled and thickened slightly.
-
Tip the risen dough out onto a floured surface. Sprinkle with more flour and roll out to an approx. 30 x 40 cm rectangle. Spread over the filling evenly then fold the dough into thirds, like a business letter, you should end up with a 30 x 13 cm rectangle. Slide it onto a baking sheet and place in the fridge for about 20 minutes so that it firms up a little and is easier to work with.
-
Pat the dough out width-ways a little so that you end up with a 30 x 20 cm rectangle. Cut length-ways into 10 strips, each about 2 cm wide, a pizza cutter is ideal for this.
-
Line two baking sheets with baking parchment. Twist each strip from either end into a spiral, then shape into a coil, passing the end over the top and tucking it underneath. Place well spaced apart on the baking trays.
-
Loosely cover with oiled clingfilm and set aside to rise for about 45 minutes – 1 hour, until puffy. Meanwhile, preheat the oven to 180°C/160℃ fan/350°F/gas mark 4.
-
To make the glaze, mix the maple syrup and milk together in a small bowl.
-
Gently brush the risen buns with the glaze and bake for about 25 minutes, until deep golden and cooked through. Leave to cool on the trays for 10 minutes then transfer to a wire rack. Once cooled store in an airtight container.
Notes
- See post above for tips, details and step-by-step photos.
- As with all of my baking recipes I really do recommend using the metric measurements with a digital scale rather than the cup conversions. Cups are a wildly inaccurate measuring system and you will get far better, more consistent results using a scale, not to mention that it is also easier and less messy than cups!
- If the chocolate filling becomes too thick to spread, simply warm it up briefly on the hob or in the microwave until it loosens slightly.
- If you want really shiny buns like the ones in the photos then you will need to brush them with the maple syrup mixture a second time, about 5 minutes before they are done baking
