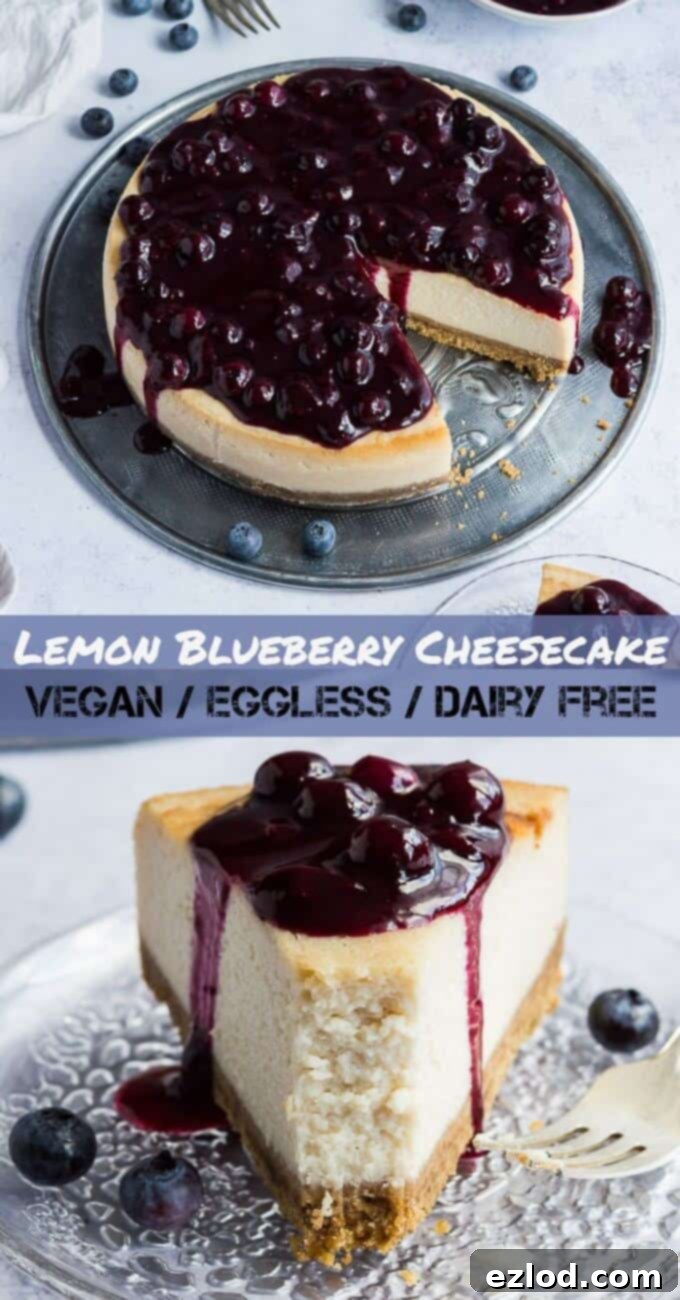
Irresistible Vegan Lemon Blueberry Cheesecake: A Dairy-Free Summer Delight
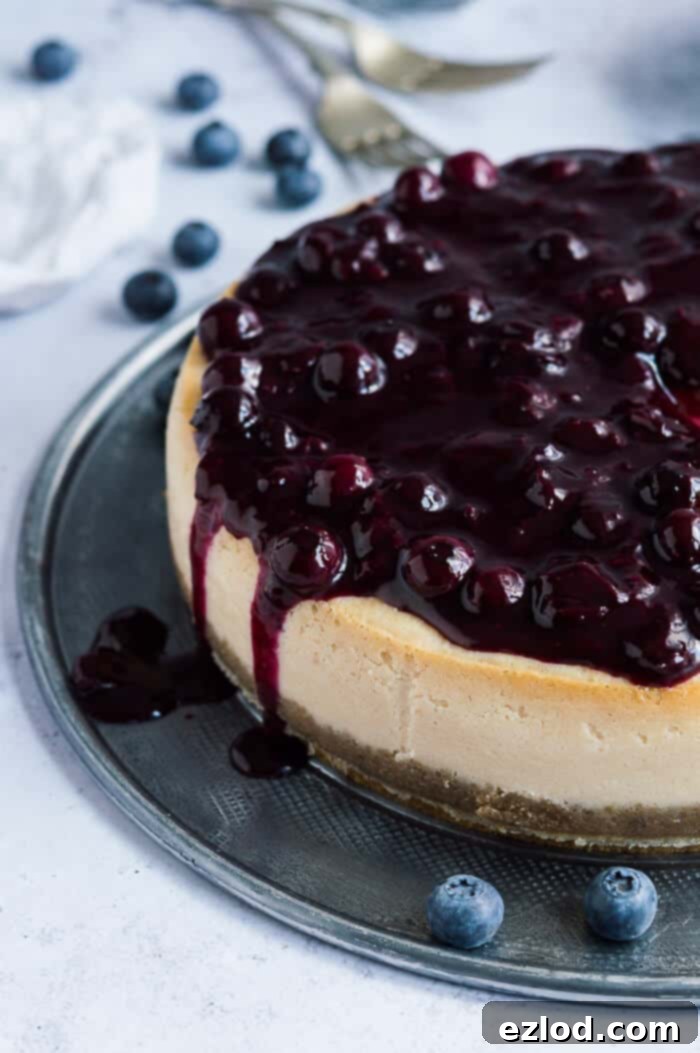
Welcome to a world where creamy indulgence meets vibrant fruity zest! This vegan lemon blueberry cheesecake is a true showstopper – a delicious, eggless, and dairy-free baked cheesecake that’s surprisingly easy to make and tastes absolutely incredible. It’s truly the perfect dessert for any season, especially for brightening up your Summer gatherings. This post is proudly sponsored by Tala.
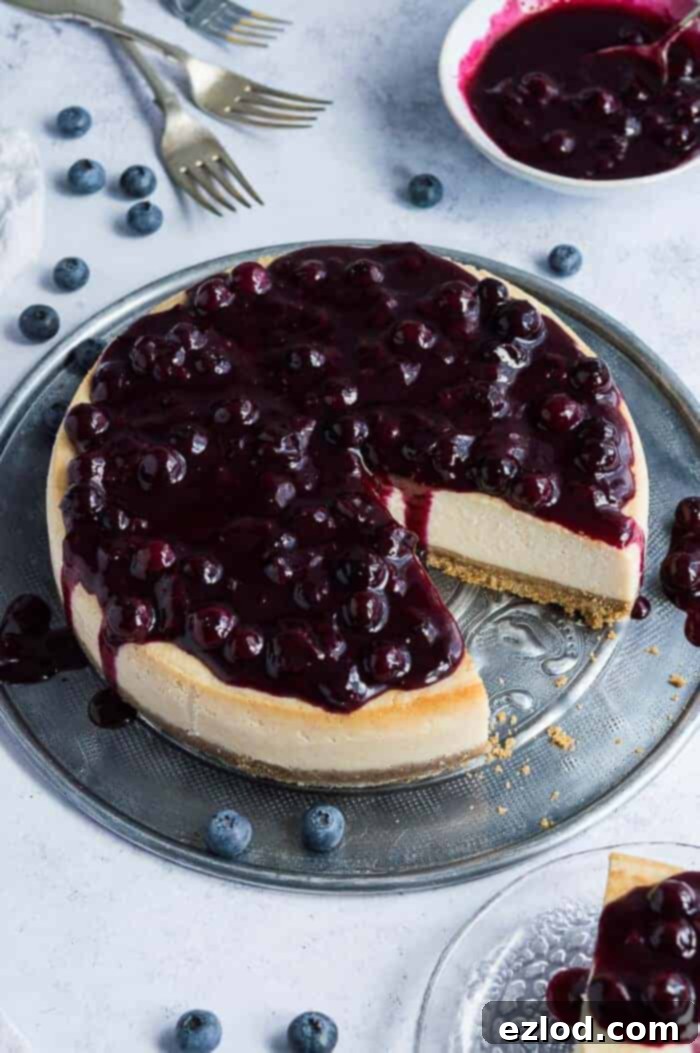
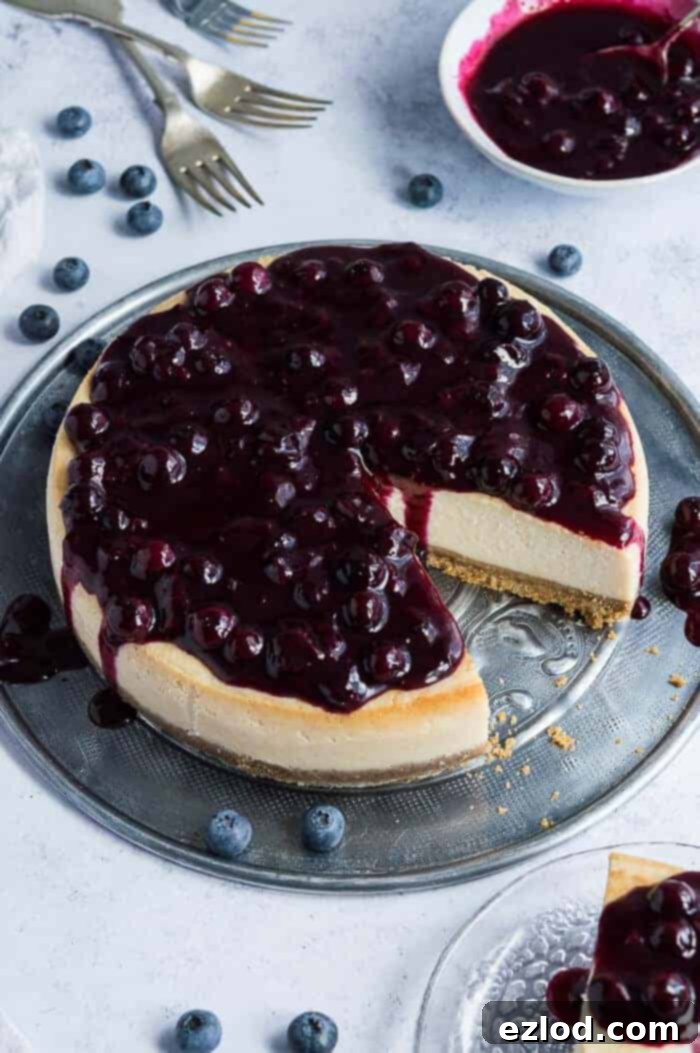
I recently accepted an exciting challenge from Tala to create a delightful Summer baking recipe using their exceptional bakeware. The idea of crafting a cheesecake immediately sprang to mind, as I realized I hadn’t yet shared a vegan cheesecake recipe on my blog. What better way to celebrate plant-based baking than with a luscious, creamy cheesecake?
This vegan lemon and blueberry cheesecake is an ideal choice for a refreshing Summer treat. It boasts a wonderfully creamy texture, a delightful tangy kick from the lemon, and bursts with fresh fruitiness from the blueberries. The best part? It genuinely tastes just like a traditional, non-vegan cheesecake, making it a fantastic option for everyone, whether they follow a vegan diet or not!
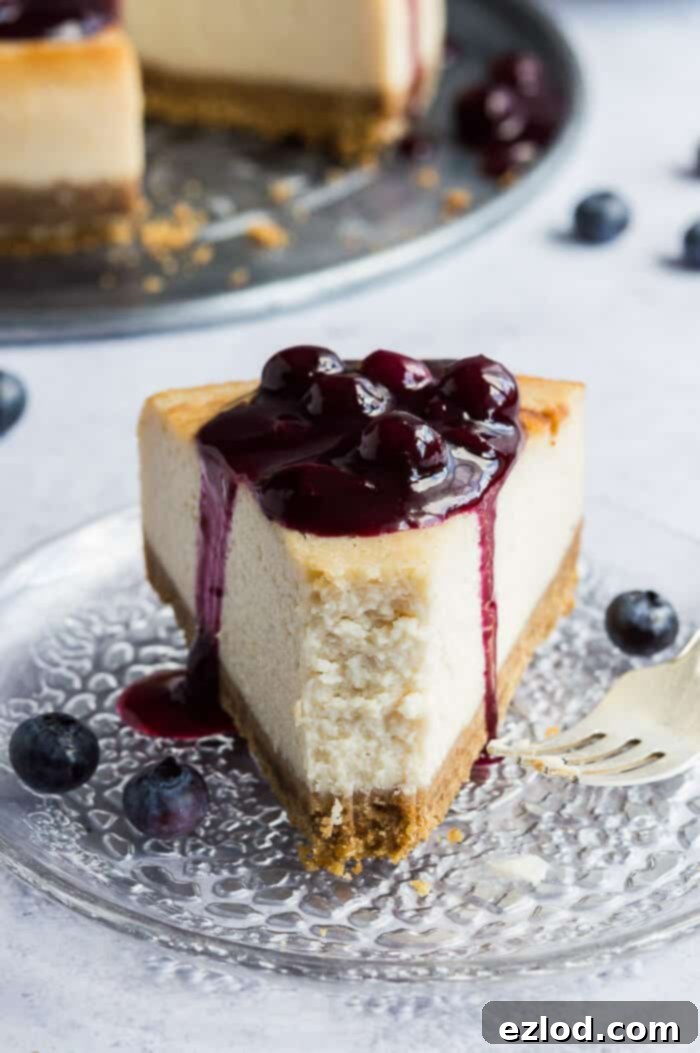
The secret to its incredibly smooth and rich filling lies in a clever combination of ingredients: firm silken tofu (trust me on this!), soaked cashews, and rich coconut cream. These plant-based heroes work together to create a luxurious consistency. To achieve the perfect baked cheesecake density without eggs, a touch of plain flour and cornflour acts as a natural thickener. The unmistakable “cheesecakey” tang comes from a generous amount of fresh lemon juice and finely grated lemon zest, infusing every bite with bright, citrusy flavor.
You might be surprised by the inclusion of silken tofu, but rest assured, you won’t taste it at all in the final product! Its primary role is to contribute an incredibly silky-smooth texture, making the cheesecake feel utterly decadent. As a bonus, it’s also low in fat and high in protein, adding a healthy touch to this indulgent dessert. For the best results, make sure to use *firm* silken tofu – this is the shelf-stable kind found in tetra packs, not the refrigerated variety. Most large supermarkets stock it, or you can easily find it online.
Complementing the tofu, the cashews and coconut cream are crucial for providing that characteristic richness and dense, creamy texture that defines a classic baked cheesecake, as opposed to a no-bake, set variety. Their natural fats and creaminess are essential for achieving that satisfying mouthfeel.
Of course, no cheesecake is complete without a perfectly structured base! I’m a firm believer in a good biscuit crust (no crustless cheesecakes here, please!), so that’s exactly what I’ve opted for. I used a supermarket’s own-brand digestive biscuits, which are typically vegan-friendly (note that some popular brands like McVitie’s are not). This keeps the base traditional and wonderfully crumbly. However, feel free to get creative! Gingersnaps add a spicy kick, Biscoff biscuits offer a caramelized note, or Oreos (yes, many are vegan!) create a fun chocolatey twist. Just ensure your chosen biscuit variety is vegan-friendly.
To crown this delightful creation, we add an easy-to-make blueberry compote. The sweet and slightly tart blueberries are a match made in heaven with the bright lemon flavor of the cheesecake. The compote not only provides a wonderful contrast in texture to the dense, creamy filling but also adds a stunning visual appeal, making your cheesecake truly picture-perfect.
Crafting Your Perfect Vegan Lemon Blueberry Cheesecake: A Step-by-Step Guide
(For a detailed list of ingredients and precise instructions, please refer to the comprehensive recipe card below.)
*For the absolute best results, it’s crucial to follow this recipe closely. As always in baking, I highly recommend using gram measurements with a digital scale rather than cup conversions. Cup measurements can be inconsistent and may lead to varied outcomes, so for guaranteed success, precise weighing is key.*
To ensure your cheesecake reaches its optimal texture and flavor, plan to start preparing it the day before you intend to serve it, as an overnight refrigeration period is essential for setting.
Begin by preparing your chosen biscuits for the base. You can quickly crush them in a food processor, or if you prefer a more hands-on approach, place them in a freezer bag and use a rolling pin to break them down into fine crumbs.
Transfer the crushed biscuits into a spacious mixing bowl. I particularly love using this Indigo and Ivory Corn Design 30cm mixing bowl from Tala; its beauty and sturdy construction have made it my new go-to for all my baking needs!
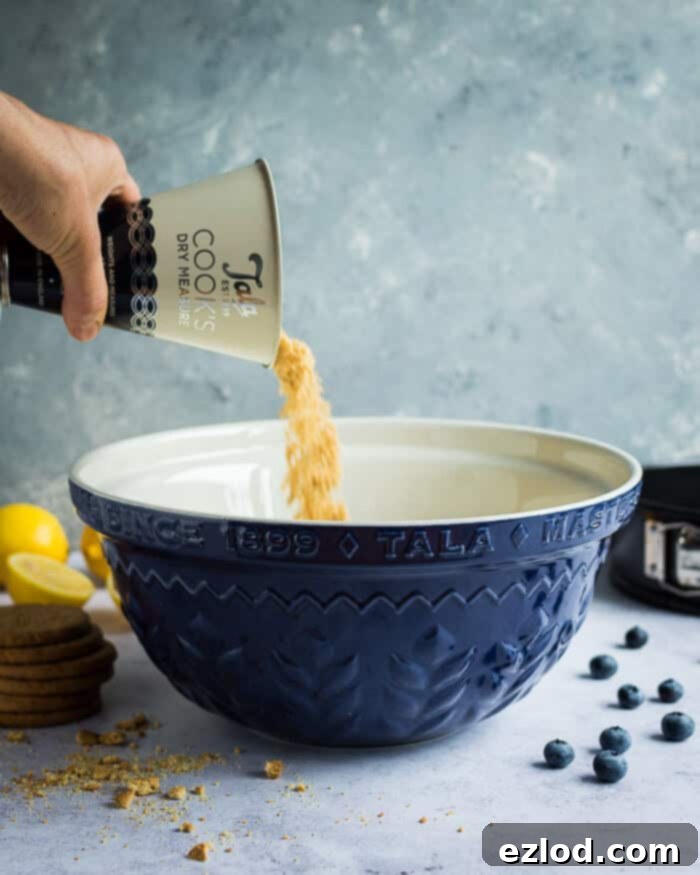
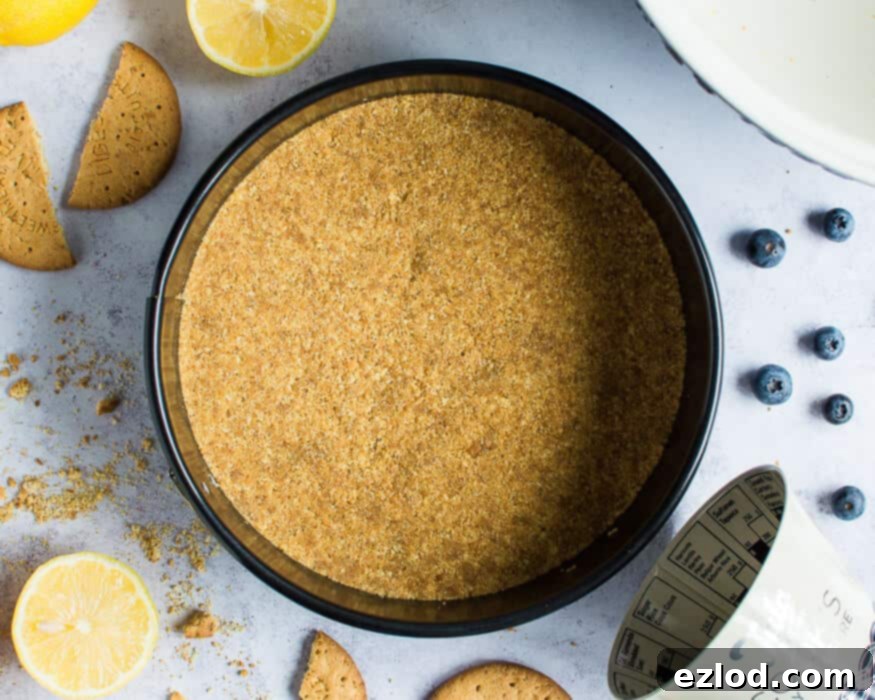
Next, pour in the melted vegan block butter (be sure to use solid block butter, not the spreadable kind that comes in a tub, as the consistency is vital for a firm base). Stir the mixture thoroughly until the crumbs are uniformly coated and resemble wet sand. Press this mixture firmly and evenly into a high-quality, non-stick 20cm/8 inch round springform cake tin, such as this excellent performance tin from Tala. Use the flat bottom of a glass to really compact it down, creating a solid foundation for your cheesecake.
Bake the prepared biscuit base in a preheated oven for about 10 minutes. This short bake helps to set the crust and give it a crisp texture. Once baked, remove it from the oven and set it aside to cool completely while you prepare the filling.
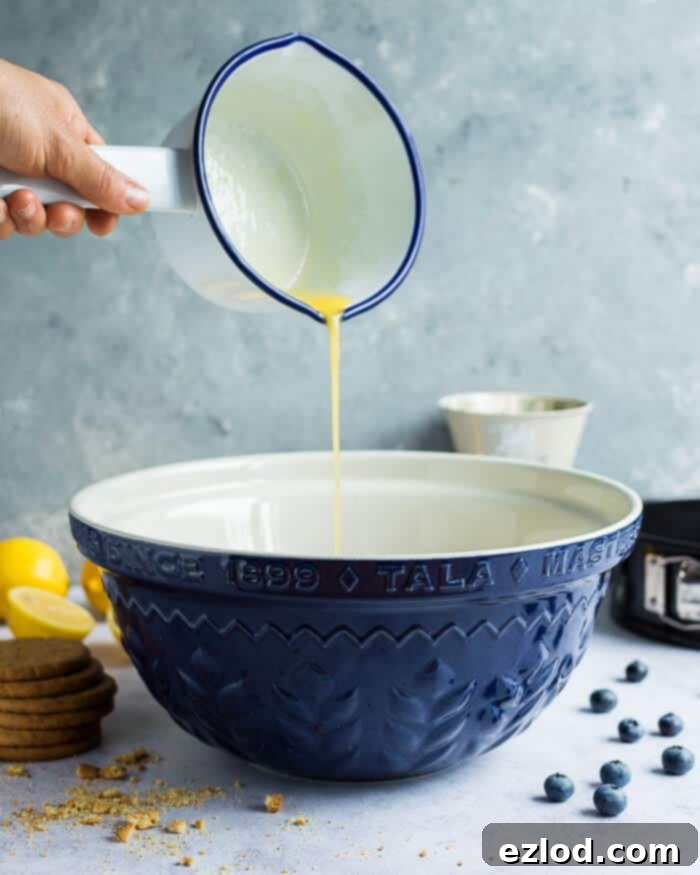
To prepare the creamy filling, start by soaking your raw cashew nuts in boiling water for at least half an hour. This softens them, ensuring they blend into a super smooth cream. Drain the cashews thoroughly, then add them to a high-speed blender along with the firm silken tofu (remember to drain off any excess liquid, but no need to press), rich coconut cream, fragrant lemon zest and fresh lemon juice, granulated sugar, plain flour, cornflour, pure vanilla extract, and a pinch of salt. Blend these ingredients until the mixture is absolutely smooth and lump-free – you want no trace of cashew pieces remaining. Allow the mixture to rest for about 5 minutes to give any trapped air bubbles a chance to rise and pop.
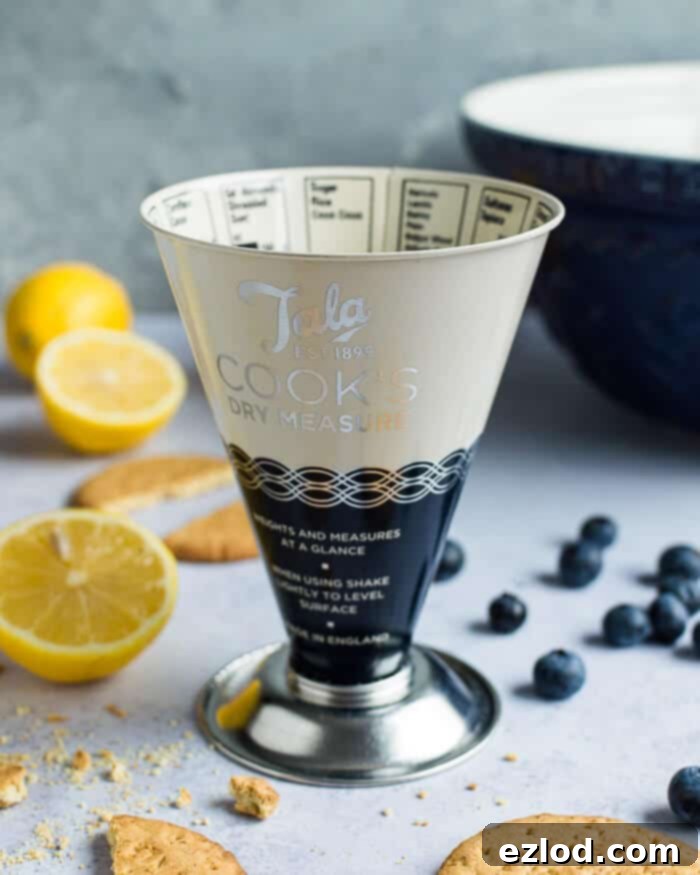
For accurate measurement of your dry ingredients like sugar and flour, Tala’s Indigo and Ivory Cook’s Dry Measure is an indispensable tool. Not only is it incredibly practical for precise baking, but it also adds a touch of classic elegance to your kitchen!
While the filling rests, prepare your springform tin for the water bath. Wrap the bottom of the springform tin tightly with a double layer of heavy-duty tin foil. This is crucial to prevent any water from seeping into the base as it bakes in the water bath. Ensure the foil extends high enough up the sides of the tin to safely contain any splashes. Now, get your kettle boiling!
Carefully pour the smooth cheesecake mixture over the cooled, baked base in the prepared springform tin. Once poured, gently tap the tin on your worktop a couple of times. This helps to release any remaining hidden air bubbles, which can prevent cracks during baking.
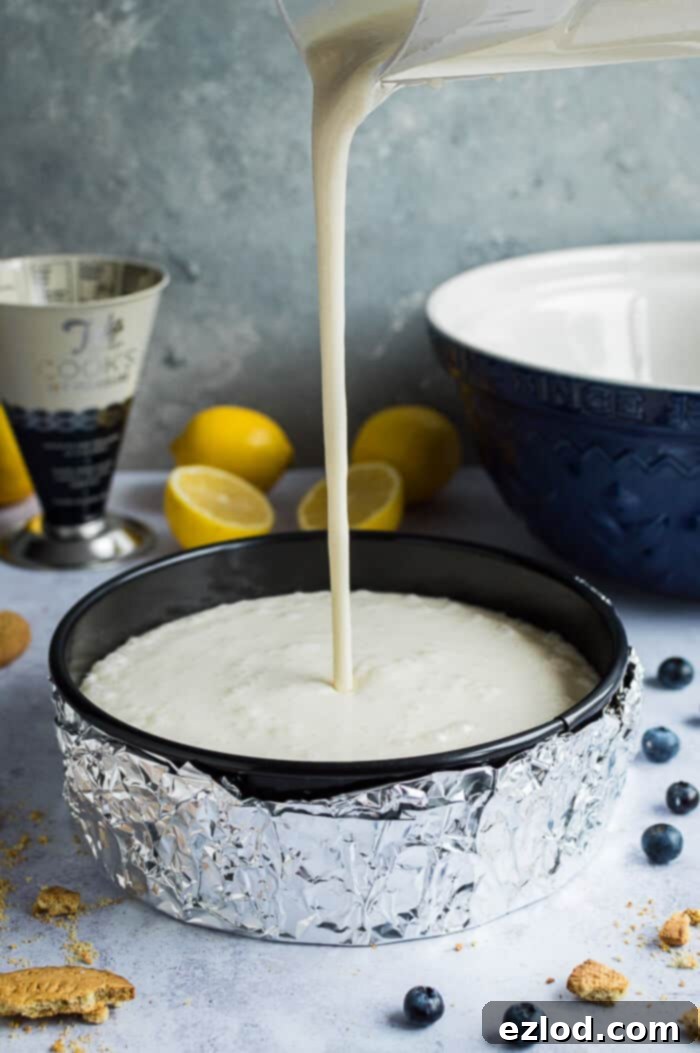
Place the foil-wrapped springform tin into a larger roasting tray. Carefully transfer the roasting tray into your preheated oven. I find it much easier and safer to add the boiling water for the water bath once the tray is already in the oven, minimizing the risk of spills while carrying it.
Now, pour the boiling water into the roasting tin, aiming for it to come about halfway up the sides of your cheesecake tin. Exercise extreme caution to ensure no water splashes over the top of the tin foil wrap, as this could ruin your cheesecake. The water bath creates a humid environment and provides even, gentle heat, which is key to preventing cracks and achieving a silky texture.
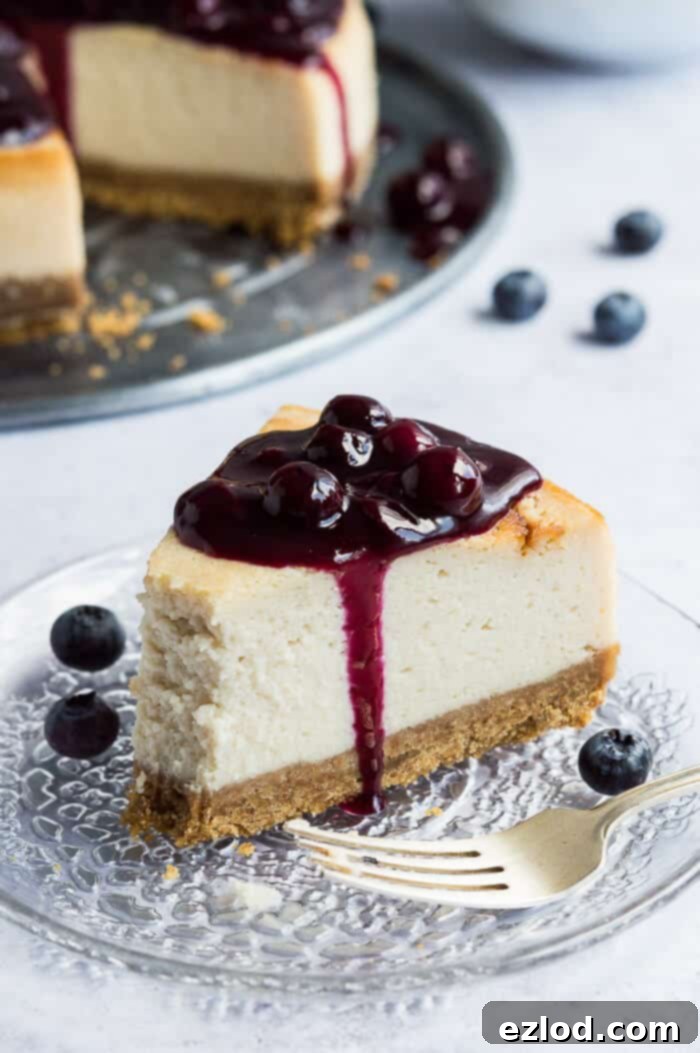
Bake the cheesecake for approximately 1 hour. It’s ready when the edges are set, but the very center still has a slight, delicate jiggle if you gently tap the side of the tin. Once it reaches this stage, turn off the oven, but leave the cheesecake inside (it’s perfectly fine to leave it in the water bath). Allow it to cool down very slowly in the cooling oven for at least an hour. This gradual cooling process is another vital step in preventing cracks. After this slow cool, remove it from the oven and water bath, let it cool completely to room temperature, then cover it tightly and refrigerate overnight. This extended chilling time is crucial for the cheesecake to firm up and develop its full flavor.
(I confess, I often lose track of baking times, so this charming Tala kitchen timer from their Indigo and Ivory range has become an invaluable and stylish helper in my kitchen!)
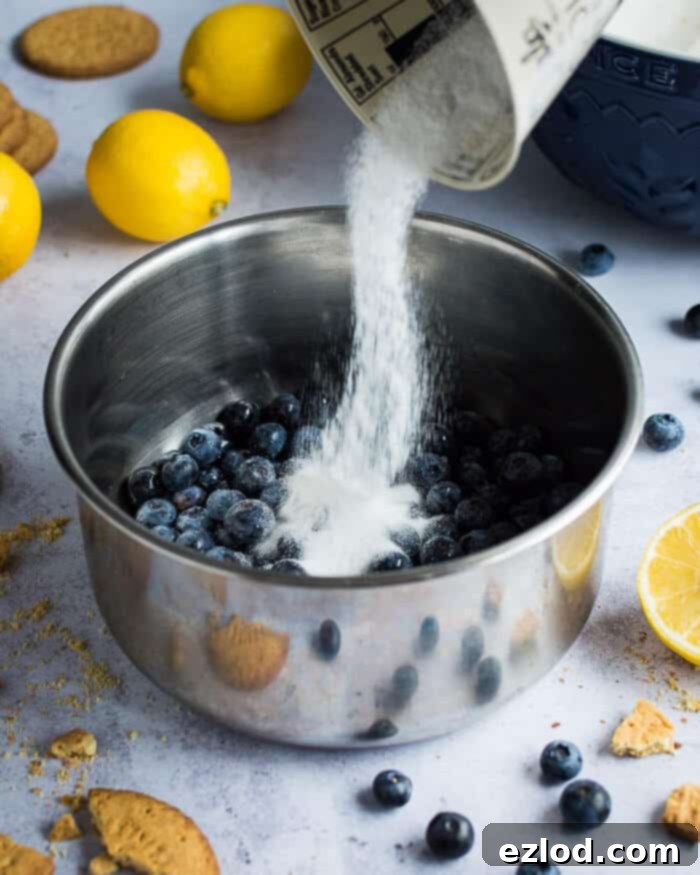
While your cheesecake is baking, prepare the delightful blueberry compote. In a small saucepan, combine fresh blueberries, granulated sugar, and a squeeze of fresh lemon juice. Simmer gently for about 5 minutes, or until the blueberries have softened and released their juices. In a separate small bowl, whisk together a little cornflour with cold water to create a slurry. Add this slurry to the simmering blueberries and continue to cook, stirring constantly, for another couple of minutes until the compote has thickened to your desired consistency. Remove from the heat, allow it to cool completely, then refrigerate until ready to serve. This allows the flavors to meld beautifully and the compote to set slightly.
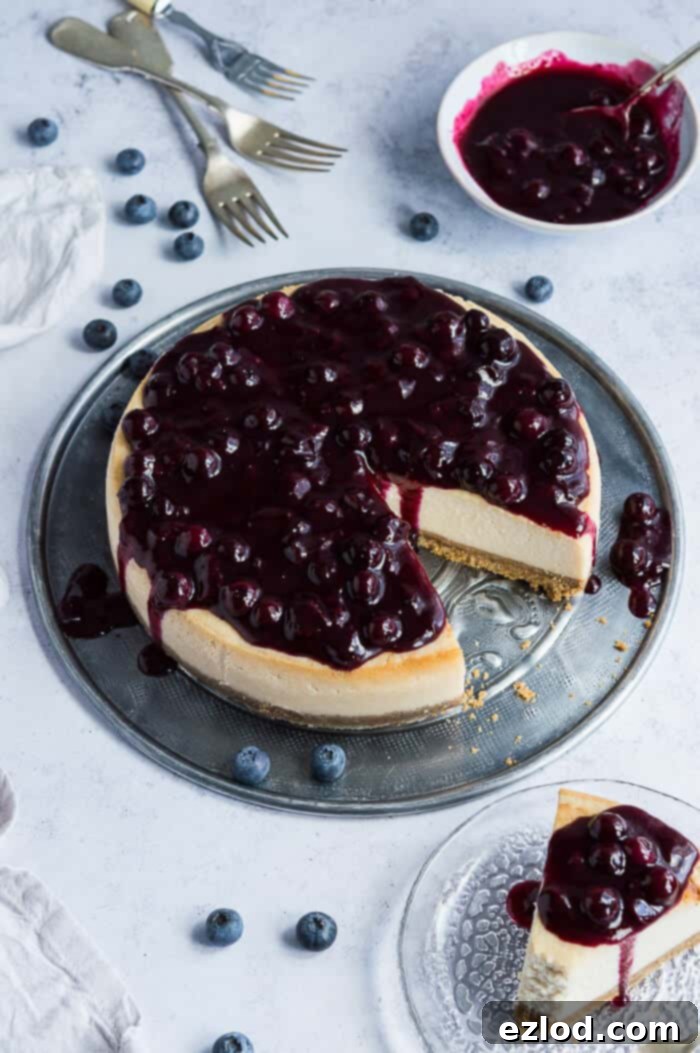
Mastering the Art: How To Prevent Cheesecake From Cracking
Cracks can be a frustratingly common occurrence with baked cheesecakes. While they don’t impact the delicious taste, they can certainly detract from the aesthetic. Here are my top tips and tricks to help you achieve a perfectly smooth, crack-free surface:
- Eliminate Air Bubbles from the Batter: Air bubbles trapped within your cheesecake mixture can rise to the surface during baking and cause unsightly cracks as they escape. To prevent this, after blending your filling, allow it to settle for a few minutes. Then, once you’ve poured the batter into the tin, firmly tap the tin on your worktop several times. This action helps burst any remaining air bubbles, making for a smoother bake.
- Utilize a High-Quality Non-Stick Springform Tin: A good quality 20cm springform tin from Tala, for example, is essential. If the cheesecake sticks to the sides of the tin as it cools and contracts, it can create tension and lead to cracks. A reliable non-stick surface allows the cheesecake to shrink naturally.
- Always Bake in a Water Bath (Bain-Marie): This is perhaps the most crucial tip! A water bath provides an even, gentle heat around the cheesecake, preventing the edges from baking faster and drying out. It also creates a humid environment in the oven, which helps the cheesecake cook slowly and uniformly, drastically reducing the likelihood of cracks. (Refer to the recipe instructions for detailed guidance on setting up a water bath).
- Avoid Over-Baking at All Costs: Overbaking is a primary culprit for cracks. When a cheesecake is baked for too long, it dries out and becomes more prone to cracking. The cheesecake is done when the edges are set, but the center still has a slight, delicate wobble when gently tapped. It will continue to set as it cools.
- Resist Opening the Oven Door: Try to keep the oven door closed until your cheesecake is almost finished baking. Sudden drafts or significant drops in temperature can shock the delicate structure of the cheesecake, leading to immediate cracking.
- Ensure Slow and Gradual Cooling within the Oven: Rapid cooling is another major contributor to cracks. Once your cheesecake is baked, turn off the oven, but leave the cheesecake inside with the oven door slightly ajar for at least an hour. This allows it to cool down very slowly and gradually. After this, let it cool completely to room temperature before covering and refrigerating. Patience truly is a virtue here!
Oh No, It Cracked! How To Remedy a Cracked Cheesecake:
Despite all your best efforts and following every preventative measure, sometimes a cheesecake might still develop a crack. Don’t despair! All is certainly not lost, and there are simple ways to make your dessert presentation-ready:
The simplest and most effective way to “fix” a cracked cheesecake is to cleverly conceal it with a delicious topping. For this vegan lemon and blueberry cheesecake, the vibrant blueberry compote works perfectly, hiding any imperfections beneath its luscious fruitiness. Other excellent options include a rich chocolate ganache, a dollop of whipped vegan cream, or an artful arrangement of fresh sliced fruit. These toppings not only cover cracks but also add an extra layer of flavor and visual appeal.
Alternatively, once your cheesecake has been thoroughly chilled in the fridge overnight (or for at least four hours), you can try a smoothing technique. Dip a thin palette knife or offset spatula in boiling hot water, quickly wipe it dry with a clean tea towel, and then gently glide it over the surface of the cracks. The heat from the knife will slightly melt and smooth the cheesecake surface. Repeat dipping and drying the knife as needed. While this method won’t create a perfectly pristine top, it significantly helps to minimize the appearance of cracks, giving your cheesecake a much smoother finish.
Explore More Delicious Vegan Berry Recipes:
- Decadent Blueberry Frangipane Tarts (Vegan)
- Irresistible Berry Crumble Bars (Vegan)
- Raspberry, White Chocolate, and Almond Sheet Cake (Vegan)
- Classic Vegan Strawberry Tart
- Homemade Blueberry Pie with Coconut Oil Crust (Vegan)
If you’ve tried this delightful recipe, I would love to see your creations! Please tag @domestic_gothess on Instagram and use the hashtag #domesticgothess. Happy baking!

Print
Vegan Lemon Blueberry Cheesecake
Ingredients
For the Base:
- 250 g (9oz) vegan friendly digestive biscuits (or other suitable variety) , finely crushed
- 100 g (3.5 oz) vegan block butter (not spreadable kind), melted
For the Creamy Filling:
- 80 g (½ cup) raw cashews (soaked in boiling water for at least 30 mins, then drained well)
- 450 g (16 oz) firm silken tofu* (excess water drained off)
- 280 ml (1 cup + 3 Tbsp) coconut cream**
- Finely grated zest of 2 lemons
- 120 ml (½ cup) freshly squeezed lemon juice (from 3-4 lemons)
- 200 g (1 cup) caster sugar
- 30 g (¼ cup) plain (all-purpose) flour
- 20 g (2 Tbsp) cornflour (cornstarch)
- 1 Tbsp vanilla extract
- ½ tsp salt
For the Zesty Blueberry Compote:
- 250 g (9oz) fresh blueberries
- 1 Tbsp fresh lemon juice
- 2 Tbsp water (divided)
- 50 g (¼ cup) caster sugar
- 2 tsp cornflour (cornstarch)
Instructions
-
To ensure optimal setting and flavor, begin preparing your cheesecake the day before you plan to serve it, allowing for overnight refrigeration. Preheat your oven to 180°C/350°F/gas mark 4.
-
In a mixing bowl, combine the finely crushed biscuits with the melted vegan block butter. Stir well until the mixture resembles wet sand. Press this evenly and very firmly into the base of a 20cm/8 inch non-stick springform cake tin, using the back of a glass to compact it thoroughly.
-
Bake the prepared biscuit base in the preheated oven for 10 minutes. Afterwards, remove it and set aside to cool completely while you prepare the filling.
-
For the filling: Place the soaked and thoroughly drained cashews, firm silken tofu (after draining excess water), coconut cream, lemon zest, lemon juice, caster sugar, plain flour, cornflour, vanilla extract, and salt into a high-speed blender. Blend until the mixture is exceptionally smooth with no cashew pieces remaining. Let the mixture sit for 5 minutes to allow any air bubbles to surface and pop.
-
Meanwhile, prepare your springform tin for a water bath. Wrap the bottom and sides of the tin tightly with a double layer of tin foil, ensuring it extends high enough to prevent water ingress. Begin boiling water for the water bath.
-
Pour the smooth cheesecake filling over the cooled, baked base in the prepared springform tin. Gently tap the tin on the worktop a couple of times to release any residual air bubbles. Place the foil-wrapped tin into a larger roasting tray and carefully transfer it to the oven.
-
Pour boiling water into the roasting tray, aiming for it to come approximately halfway up the sides of the cheesecake tin. Be extremely careful to avoid splashing any water over the top of the tin foil.
-
Bake the cheesecake for 1 hour. It’s ready when the edges are set but the center still jiggles slightly if tapped. Turn off the oven, but leave the cheesecake inside (it’s safe to keep it in the water bath) to cool down slowly for about an hour. Then, remove it and allow it to cool completely to room temperature before covering and refrigerating overnight.
-
While the cheesecake bakes, prepare the blueberry compote: In a pan, combine blueberries, lemon juice, caster sugar, and 1 Tbsp of water. Simmer for about 5 minutes until the berries soften. In a small bowl, mix the cornflour with the remaining 1 Tbsp water to create a slurry. Add this to the pan and cook, stirring, for another minute or so until the compote has thickened.
-
Remove the compote from the heat, let it cool completely, then refrigerate overnight alongside the cheesecake.
-
Once the cheesecake is fully chilled, gently run a thin knife around the edge of the tin to ensure it hasn’t stuck. Unclip and remove the rim of the springform tin. Spoon the chilled blueberry compote generously over the top and serve your magnificent vegan lemon blueberry cheesecake!
Helpful Notes for Success:
**Vegan Cream Cheese Alternative:** If you prefer, you can substitute the silken tofu with an equal amount of good quality vegan cream cheese. Adjust sugar slightly if your cream cheese is sweetened.
**Coconut Cream:** I used coconut cream from a carton, which is thicker and more concentrated than canned coconut milk. If you cannot find coconut cream, you can use a can of full-fat coconut milk: do NOT shake or stir it. Open the can carefully and scoop out all the thick, solid white cream from the top. Then, add enough of the leftover liquid from the can to reach the total required volume of 280ml.
**Measurement Accuracy:** For optimal baking results, precision is key. I strongly recommend using a digital scale for gram measurements over cup conversions. Cup measurements can be inconsistent and may compromise the outcome of your baked goods.
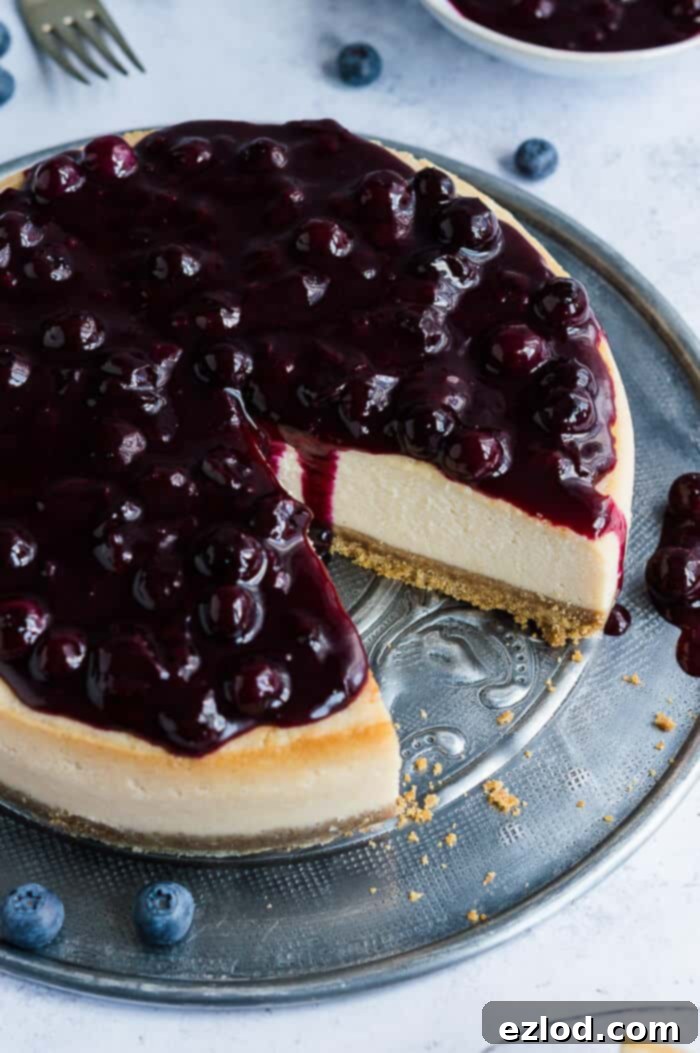
A special thank you to Tala for sponsoring this post. Your support allows me to continue exploring my passion for food and sharing delightful recipes with you all – even if it means making a beautiful mess in my kitchen!
