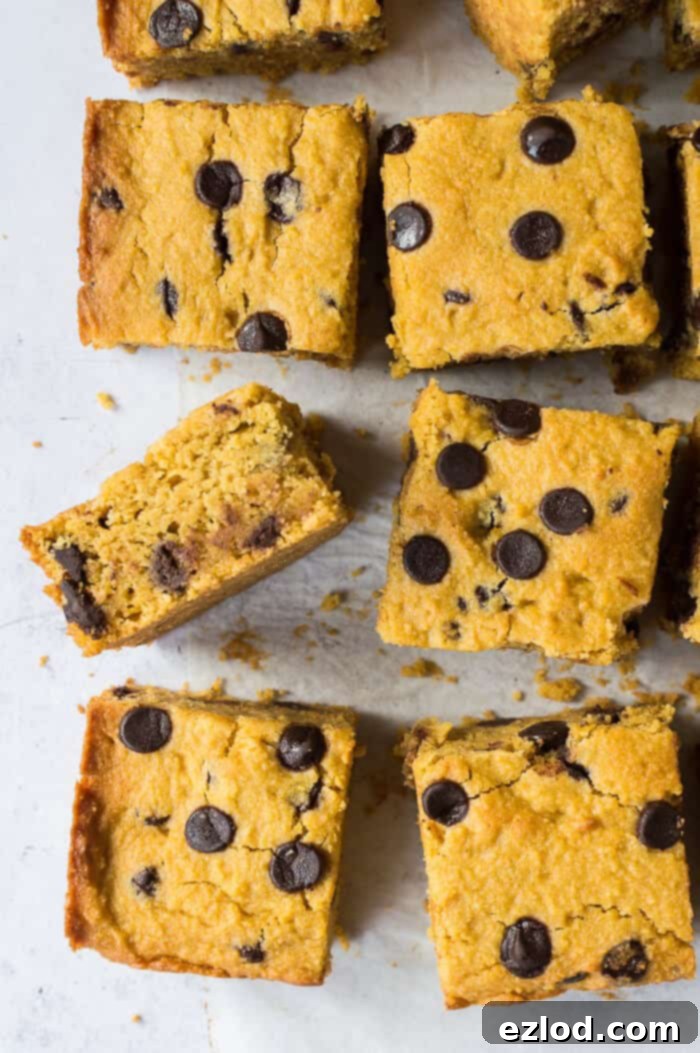
Irresistibly Moist Vegan & Gluten-Free Sweet Potato Chocolate Chip Cake (Low FODMAP Friendly!)
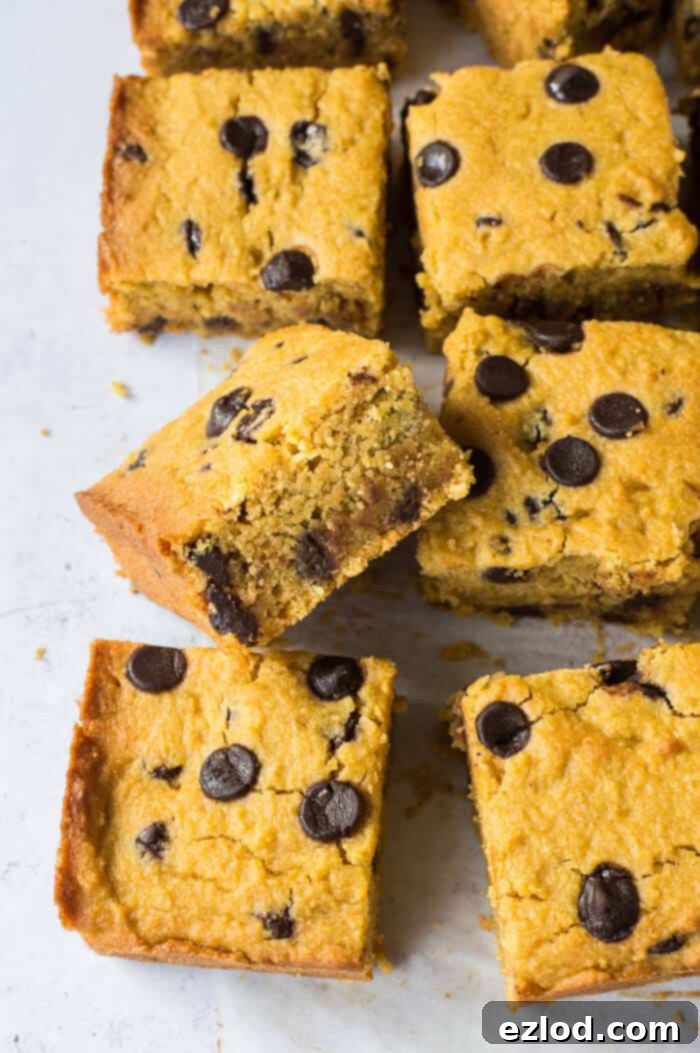
Discover the perfect guilt-free treat with this incredibly moist and flavorful sweet potato chocolate chip cake! It’s not just delicious; it’s also incredibly easy to make, completely vegan, entirely gluten-free, and thoughtfully crafted to be suitable for those following a low FODMAP diet. Indulge without compromise!
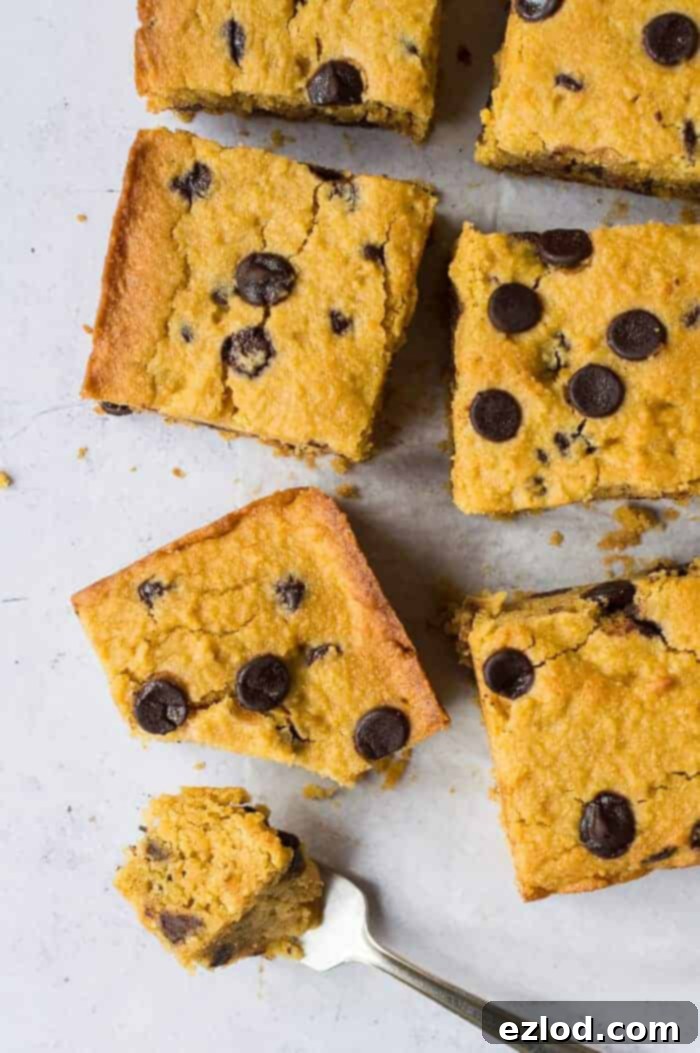
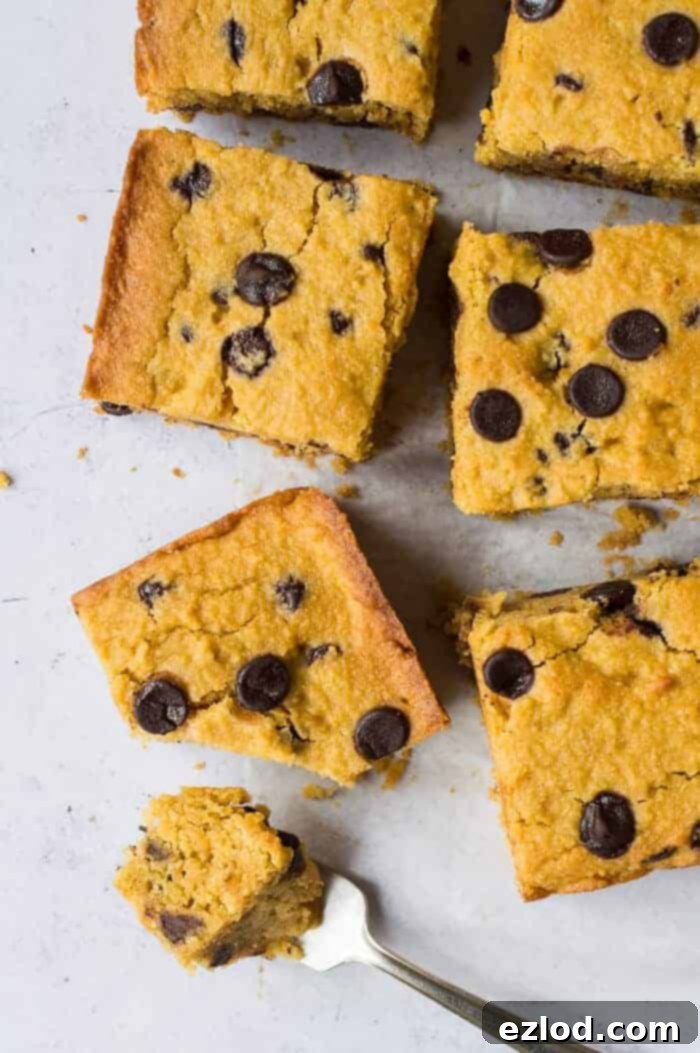
While my kitchen is often filled with a variety of baking experiments, I’ll be honest: gluten-free baking wasn’t always my strong suit. For years, it simply wasn’t a necessity in my household, as I didn’t regularly bake for individuals with celiac disease or significant gluten intolerance. However, life, and diet, have a way of throwing new challenges our way, often leading to exciting culinary discoveries.
Recently, my partner Damian embarked on the low FODMAP diet – a journey that, while immensely beneficial for digestive health, can feel incredibly restrictive during its elimination phase. This period often requires cutting out a surprising number of ingredients, including almost all gluten-containing items, alongside many other common foods. It’s a challenging diet, to say the least, but sometimes, needs must! This new dietary requirement sparked a creative baking challenge for me: to develop delicious, satisfying treats that adhere to both gluten-free and low FODMAP guidelines, ensuring Damian could still enjoy some of life’s simple pleasures, like a comforting slice of cake.
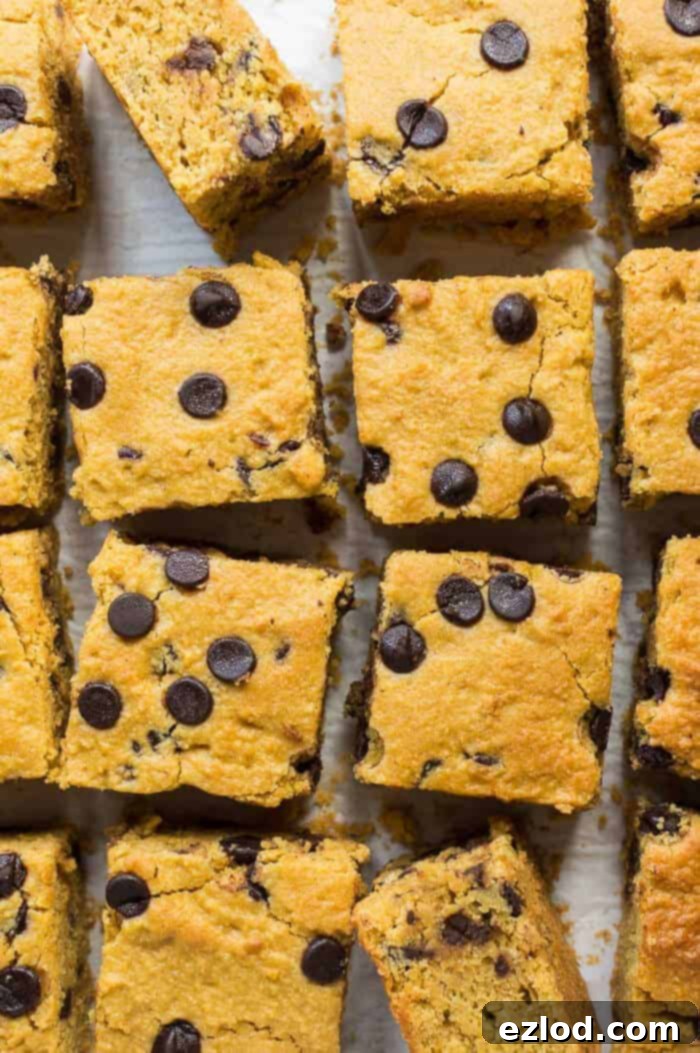
And so, this delightful sweet potato chocolate chip cake was born! It proudly ticks all the boxes: it’s entirely vegan, completely gluten-free, and carefully formulated to be suitable for the low FODMAP diet. The secret to its wonderfully soft and moist texture lies in its unique base, which replaces traditional wheat flour with a blend of finely ground oats and almonds. These ingredients not only contribute to its superb texture but also lend a subtly nutty flavor. The cake’s rich moisture and binding come from a combination of cooked mashed sweet potato, pure maple syrup, unsweetened almond milk, and the crucial addition of full-fat tinned coconut milk.
It’s important to note that this recipe doesn’t call for any additional fats beyond what’s naturally present in the full-fat coconut milk. This specific ingredient is key to the cake’s structure and moisture, so please resist the temptation to substitute it with a different type of milk or a lower-fat version. Doing so could significantly alter the cake’s consistency and overall success, leading to a drier or less stable result.
If you’re looking for an overly sweet dessert, this might surprise you in the best way. This cake is intentionally not cloyingly sweet, relying primarily on the natural sweetness of maple syrup. The generous scattering of dairy-free chocolate chips, however, provides those delightful bursts of extra sweetness that make every bite a joy. In my humble opinion, you can never have too many chocolate chips in a cake!
This sweet potato cake is truly a versatile bake. It’s perfect for an afternoon snack, a light dessert, or even a wholesome breakfast treat. Because it’s packed with nutrient-rich sweet potato and uses oats and almonds, it feels a bit more substantial and nourishing than a typical cake. This means you can enjoy an extra slice or two without a shred of guilt! It’s also a fantastic way to incorporate more plant-based goodness into your diet in a deliciously palatable form.
I adapted this recipe from a fantastic vegan sweet potato muffin recipe by The Vegan 8. Their blog is a treasure trove of delicious and wholesome plant-based recipes, and I highly recommend checking out their work for more culinary inspiration.
Mastering Your Vegan & Gluten-Free Sweet Potato Chocolate Chip Cake: A Step-by-Step Guide
(For precise ingredient quantities and comprehensive instructions, please refer to the detailed recipe card conveniently located below.)
*Achieving the best possible results in gluten-free and vegan baking often comes down to precision. To ensure your cake turns out perfectly moist and tender, I strongly advise adhering closely to the recipe. As always, using gram measurements with a digital kitchen scale is paramount for baking accuracy. Cup measurements, by their very nature, are less precise and can lead to inconsistent outcomes. For guaranteed success, trust your scale!*
Preparing Your Sweet Potato: The Foundation of Flavor and Moisture
The journey to this delicious cake begins with perfectly cooked sweet potato mash. Select one medium-large sweet potato and use a sharp knife to prick its skin several times. For a quick method, microwave the sweet potato for approximately 10 minutes, flipping it halfway through, until it becomes tender and easily pierced. If you prefer, baking it in the oven offers an equally effective, albeit longer, cooking process. Regardless of your chosen method, ensure the sweet potato is thoroughly cooked through.
Once cooked, allow the sweet potato to cool slightly until it’s comfortable enough to handle. Carefully peel off the skin, then transfer the soft, cooked flesh into a bowl. Mash it thoroughly until smooth. Measure out precisely 120g (or ½ cup) of this mashed sweet potato for your cake batter. Any remaining mash can be reserved for another culinary use – my dog, for instance, absolutely adores it as a healthy treat!
(A helpful tip: if you’re measuring your sweet potato by weight, which I consistently recommend for accuracy, there’s no need to mash it separately before blending. You’ll be blending it with the wet ingredients shortly, making this initial mashing step redundant if you’re using a scale to measure the cooked potato directly.)
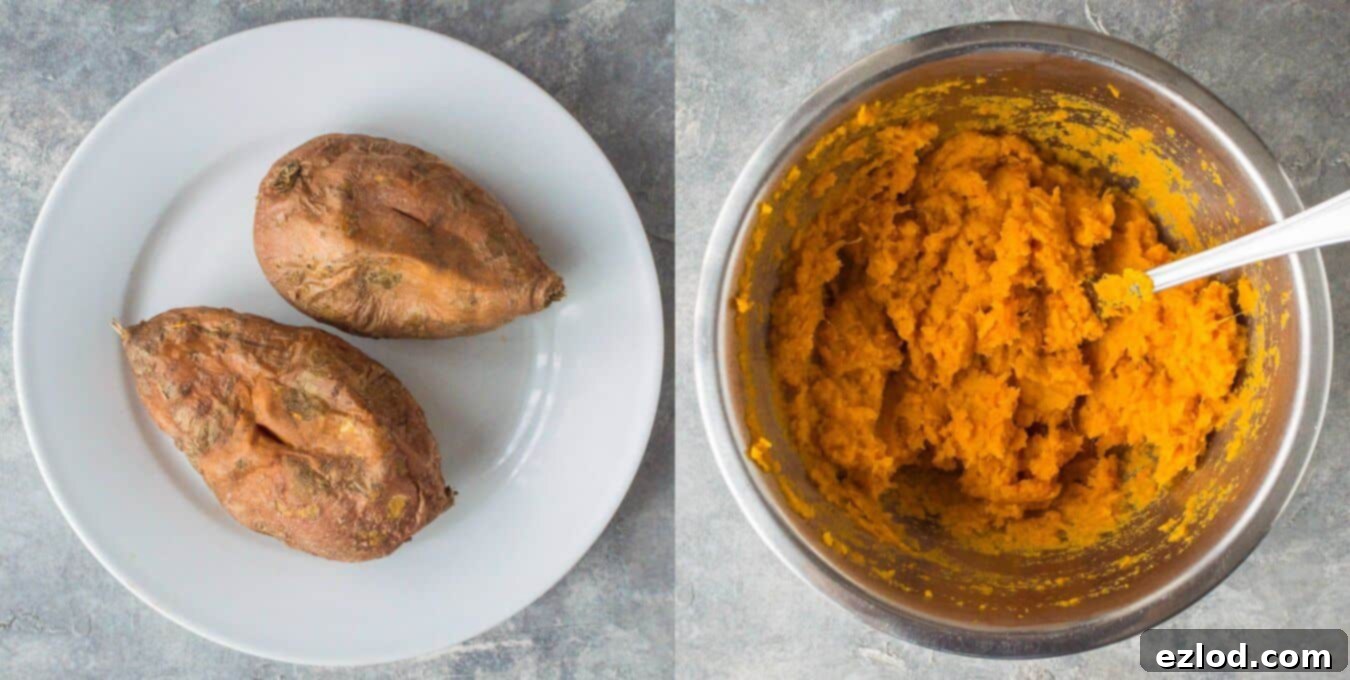
(Please note: you only require one sweet potato for this recipe. The image displays two, as it was originally used in my vegan sweet potato bread with pecan streusel post, which called for more.)
Combining the Dry Ingredients: Laying the Groundwork
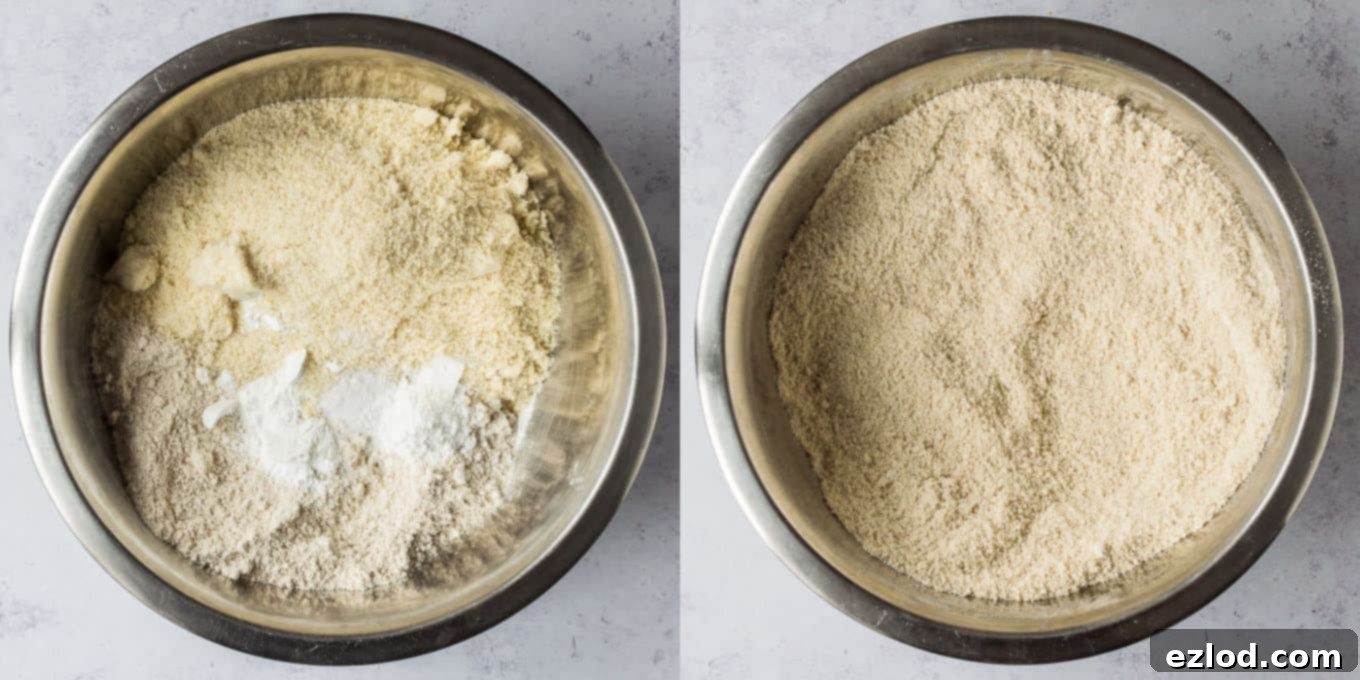
In a spacious mixing bowl, combine your finely ground oat flour (refer to the instructions below if you plan to make your own), ground almonds, baking powder, and a pinch of salt. Using a balloon whisk, thoroughly mix these dry ingredients together. Whisk until there are absolutely no lumps, ensuring a uniform distribution of the leavening agent and creating the perfect foundation for your cake’s texture. This step is crucial for an even rise and consistent crumb.
Blending the Wet Ingredients: The Heart of the Batter
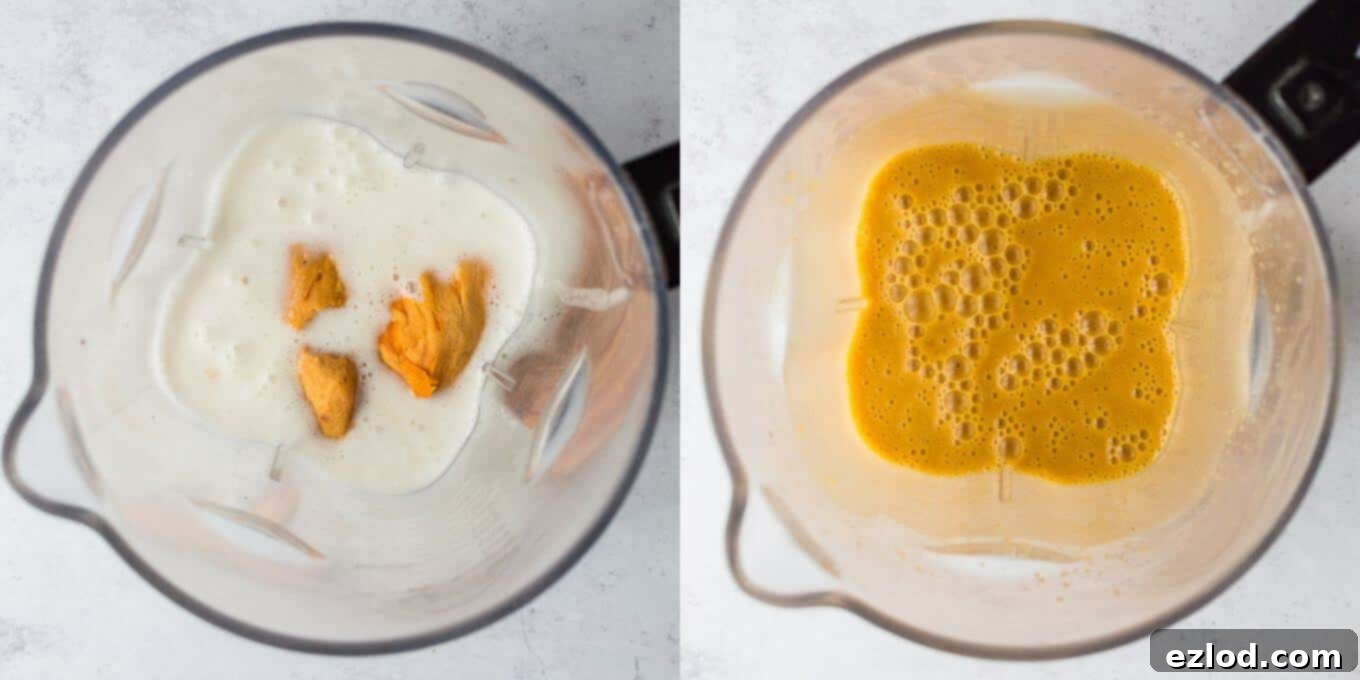
Next, gather your wet ingredients. Place the cooked sweet potato (measured and peeled, or simply weighed if not pre-mashed) into a blender. Add the full-fat tinned coconut milk – I cannot stress enough that there are no suitable substitutions for this ingredient in this recipe, as its fat content and consistency are integral to the cake’s success. Pour in the unsweetened almond milk (or another thin plant-based milk, or even just water if preferred, though almond milk adds a subtle flavor), pure maple syrup (agave nectar can be used as an alternative if needed), and a generous splash of vanilla extract for depth of flavor. Blend all these ingredients together until the mixture is completely smooth and creamy, with no visible lumps of sweet potato.
Bringing it All Together: Creating the Cake Batter
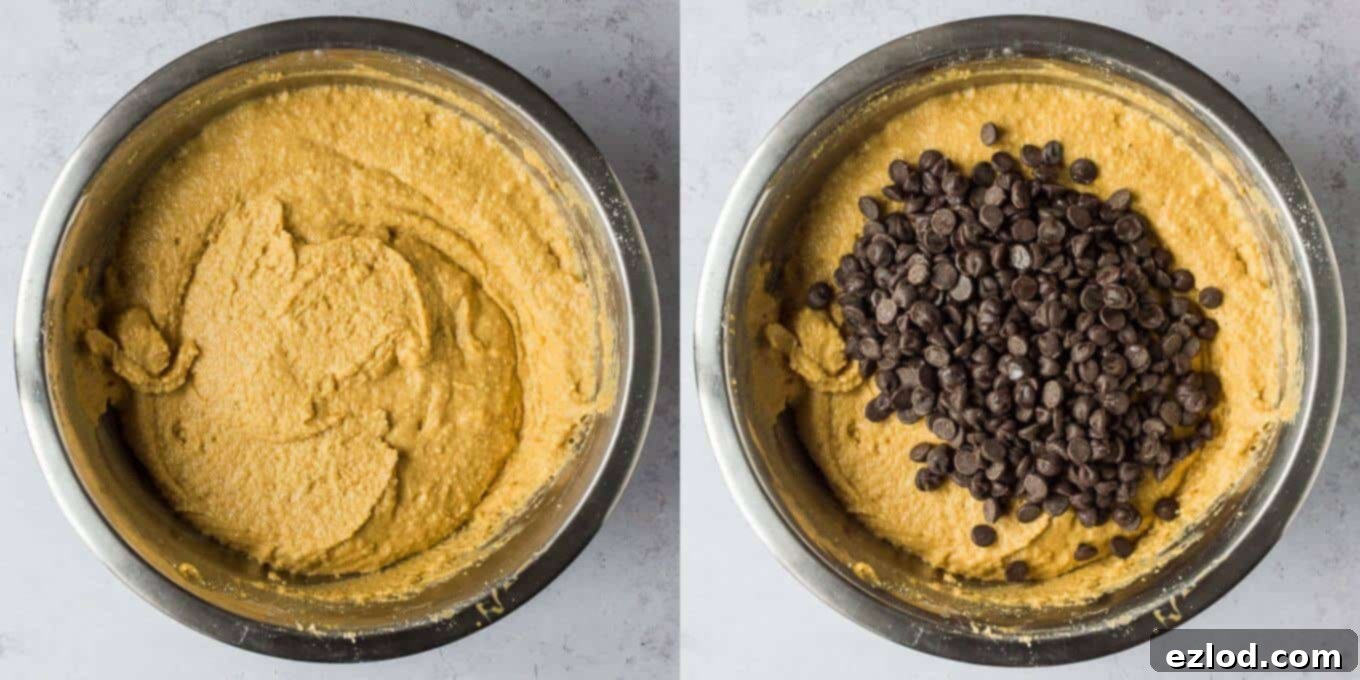
Carefully pour the blended wet ingredients into the bowl containing your whisked dry ingredients. Mix everything thoroughly. At this stage, you’ll notice the batter is quite thick – this is exactly the consistency you’re looking for, indicating the right balance of moisture and dry ingredients for a dense, satisfying cake. Once the batter is smoothly combined, gently fold in the dairy-free chocolate chips. Distribute them evenly throughout the batter to ensure every slice has those delightful pockets of chocolatey goodness.
Baking to Perfection: The Final Stages
Preheat your oven to 180°C/350°F/gas mark 4. Grease a 23cm/9-inch square cake tin and line it with baking parchment, ensuring the parchment extends slightly above the edges for easy removal after baking. Scrape the thick batter into the prepared tin, using a spatula to spread it evenly and level the surface. Place the tin in the preheated oven and bake for approximately 25-30 minutes. To test for doneness, insert a skewer or toothpick into the center of the cake. It should come out clean, or with just a few moist crumbs clinging to it – but definitely no wet batter. Overbaking can lead to a drier cake, so keep an eye on it after the 25-minute mark.
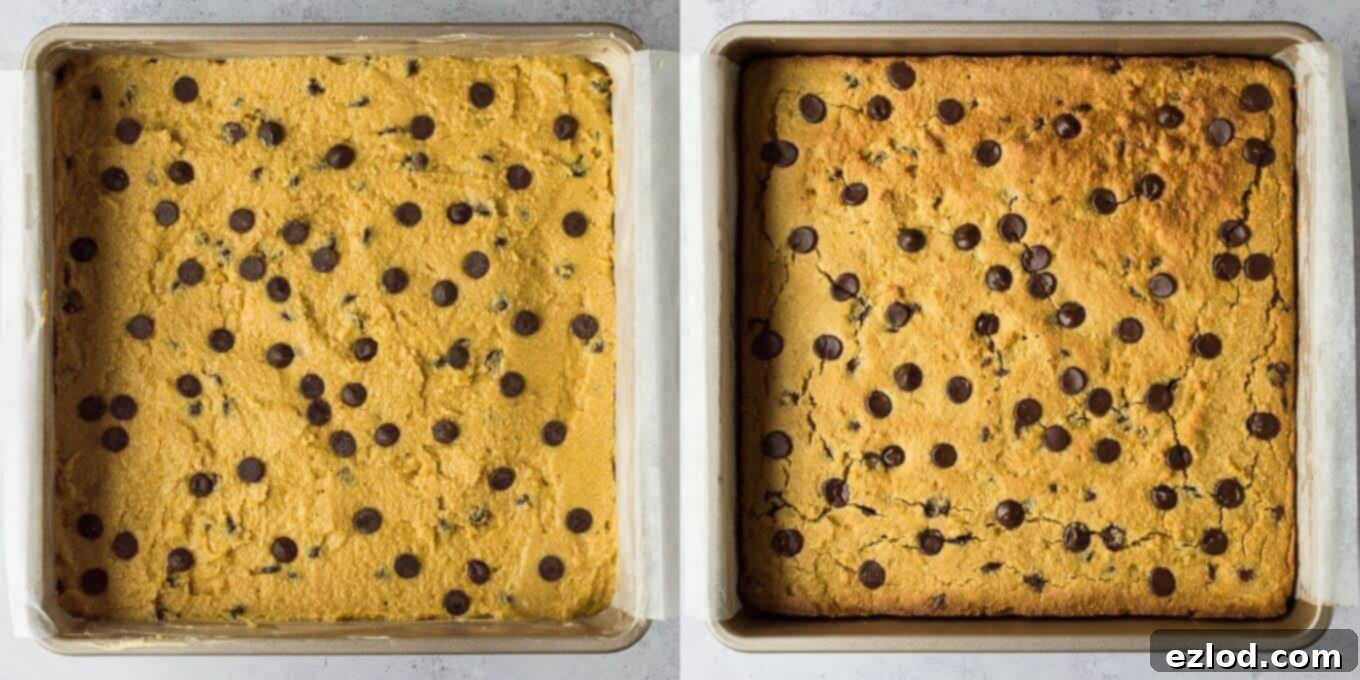
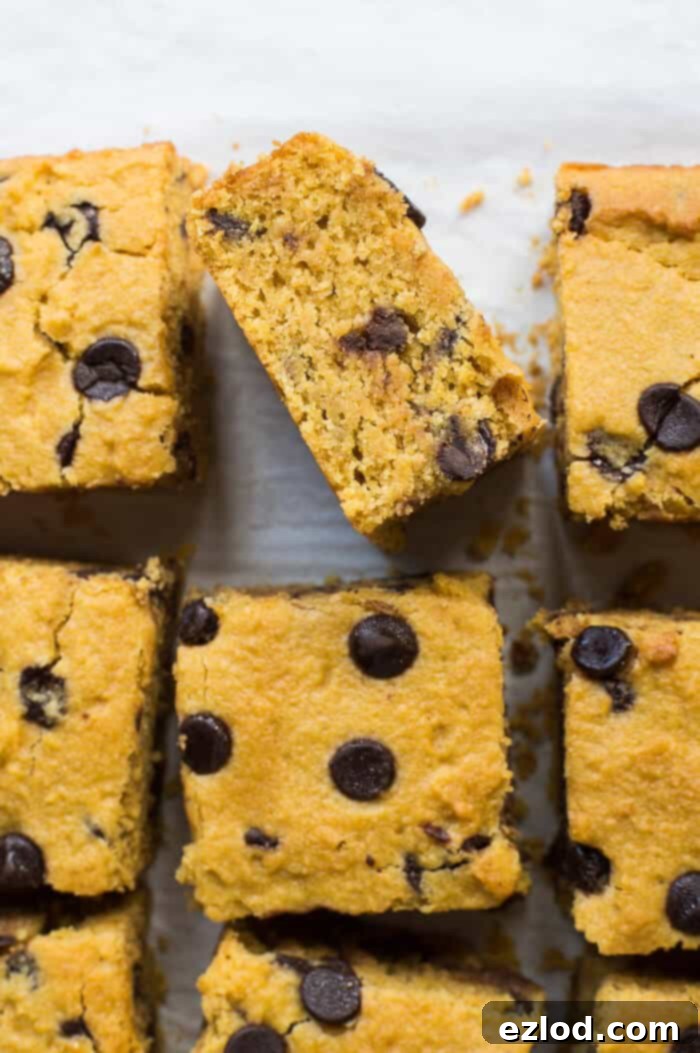
Once baked, remove the cake from the oven and allow it to cool completely in the tin on a wire rack. This step is absolutely critical for the final texture of the cake. It MUST be completely cold before you attempt to turn it out or slice it. Cutting into the cake while it’s still warm will result in a crumbly, excessively wet, and somewhat gooey texture. Patience is a virtue here, and it will be rewarded with perfectly firm, moist, and delicious squares.
Storage Best Practices for Your Cake:
While incredibly delicious, this vegan and gluten-free sweet potato chocolate chip cake doesn’t have an extended shelf life compared to some traditional cakes. I’ve found that it’s best enjoyed within 3-4 days when stored properly in an airtight container at room temperature. If the weather is particularly warm or humid, you might find its freshness diminishes more quickly, and it could even develop mold if left for too long. For optimal enjoyment, consume it within the recommended timeframe, or consider freezing individual slices for a longer-lasting treat.
Crafting Your Own Oat Flour: A Simple DIY Guide
While readily available in most health food stores and larger supermarkets, making your own oat flour is remarkably simple and cost-effective. All you need are rolled oats (ensure they are certified gluten-free if you are strictly avoiding gluten) and a powerful blender or food processor. Simply measure out the required amount of rolled oats for your recipe – in this case, 215g. Pour them into your blender and blitz for approximately 30 seconds, or until they are ground into a very fine, flour-like consistency. The key is to achieve a powdery texture, not a coarse meal.
A convenient tip for efficiency: I typically weigh out the 215g of rolled oats, grind them into flour in my blender, then transfer the freshly made oat flour into a large mixing bowl with the other dry ingredients. There’s usually no need to clean the blender before proceeding to blend the wet ingredients, saving you an extra step and some washing up. This homemade oat flour will provide the perfect texture and gentle flavor for your cake.
If you’ve whipped up this delightful recipe, we’d absolutely love to see your creations! Share your photos on Instagram and remember to tag @domestic_gothess and use the hashtag #domesticgothess. Happy baking!

Print
Sweet Potato Chocolate Chip Cake (Vegan, Gluten Free, Low Fodmap)
Ingredients
- 215 g (2 cups + 2 Tbsp) finely ground oats/oat flour (ensure certified gluten-free if needed)
- 230 g (2 cups) ground almonds
- 4 tsp baking powder
- ½ tsp salt
- 120 g (½ cup) cooked, mashed sweet potato (ensure it is cooled)
- 200 ml (½ + ⅓ cup) full-fat tinned coconut milk (essential for texture, no substitutions)
- 100 ml (⅓ cup + 1 Tbsp + 1tsp) unsweetened almond milk (or another thin low-FODMAP plant milk, or water)
- 200 g (½ cup + 2 Tbsp) maple syrup (ensure pure maple syrup, not imitation)
- 3 tsp vanilla extract (pure, not artificial)
- 150 g (5.3 oz) dairy-free chocolate chips (check for low-FODMAP certification if strict)
Instructions
-
Preheat your oven to 180°C/350°F/gas mark 4. Prepare a 23cm/9-inch square cake tin by lightly greasing it, then lining it with baking parchment, allowing some overhang for easy cake removal.
-
In a large bowl, combine the ground oats (or oat flour), ground almonds, baking powder, and salt. Whisk these dry ingredients thoroughly until they are well combined and free of lumps.
-
In a blender, add the cooked and cooled sweet potato mash, full-fat tinned coconut milk, unsweetened almond milk, maple syrup, and vanilla extract. Blend until the mixture is completely smooth and creamy.
-
Pour the blended wet ingredients into the bowl with the dry ingredients. Mix well with a spatula or spoon until a thick, smooth batter forms. Gently stir in the dairy-free chocolate chips, ensuring they are evenly distributed.
-
Transfer the thick batter into your prepared cake tin. Use a spatula to spread it out evenly and create a level top surface.
-
Bake for 25-30 minutes. The cake is ready when a skewer inserted into its center comes out clean, or with only a few moist crumbs attached, but no wet batter.
-
Allow the cake to cool completely in the tin on a wire rack. This cooling process is crucial for the cake’s final texture. It must be completely cold before you attempt to slice and serve, otherwise, its texture will be too wet and crumbly.
-
Store any leftover cake in an airtight container at room temperature for up to three days for optimal freshness.
Notes
