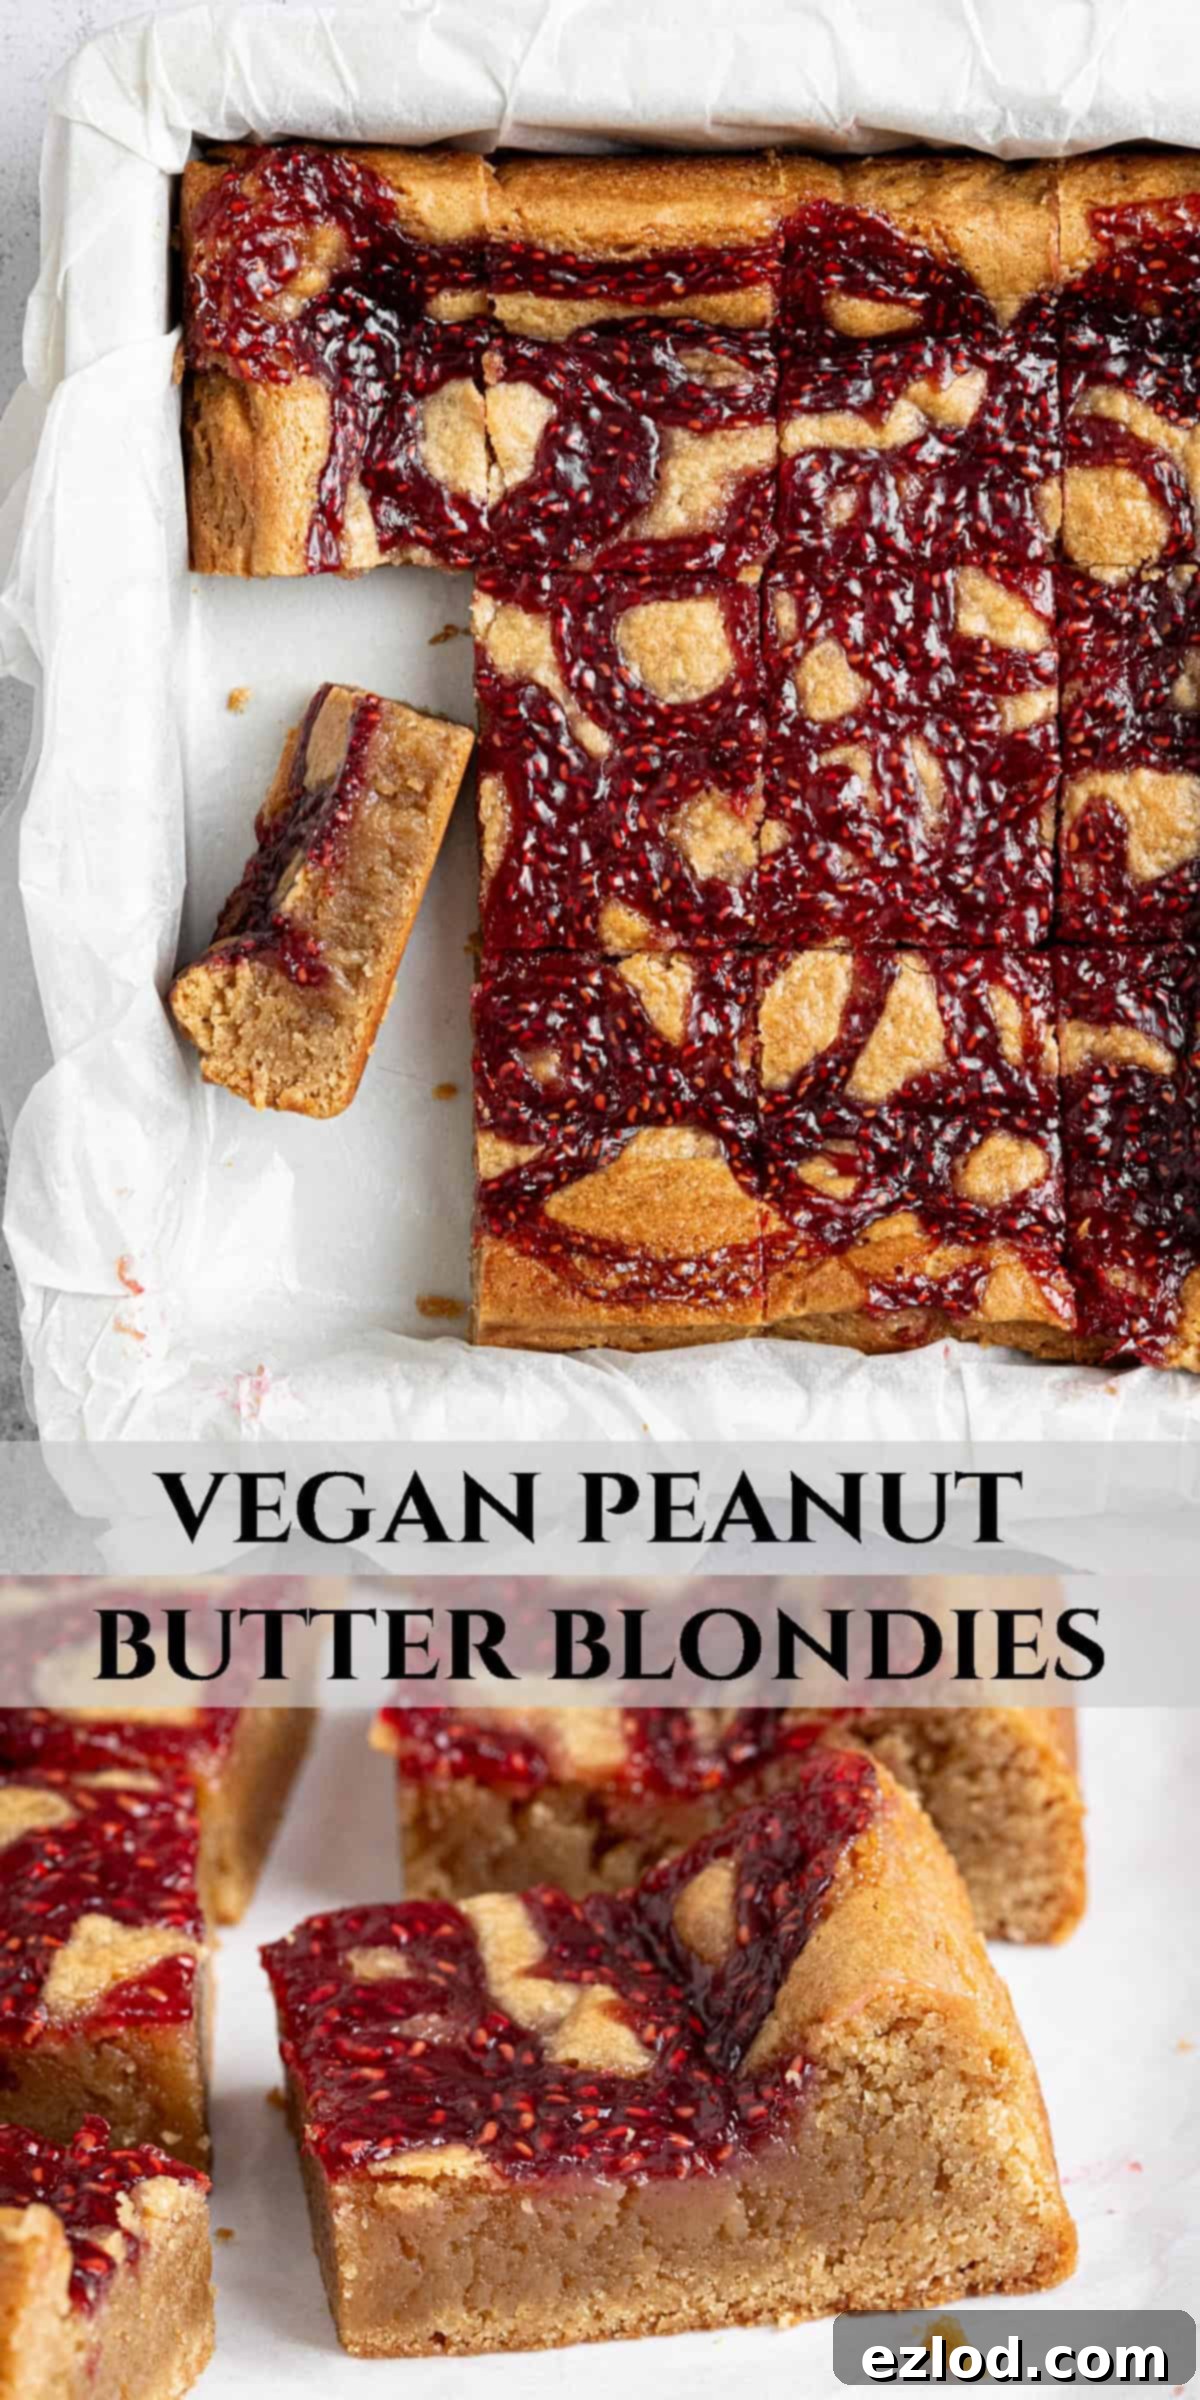
Irresistible Vegan Peanut Butter Blondies with Raspberry Jam Swirl: Your New Favorite Fudgy & Chewy Treat!
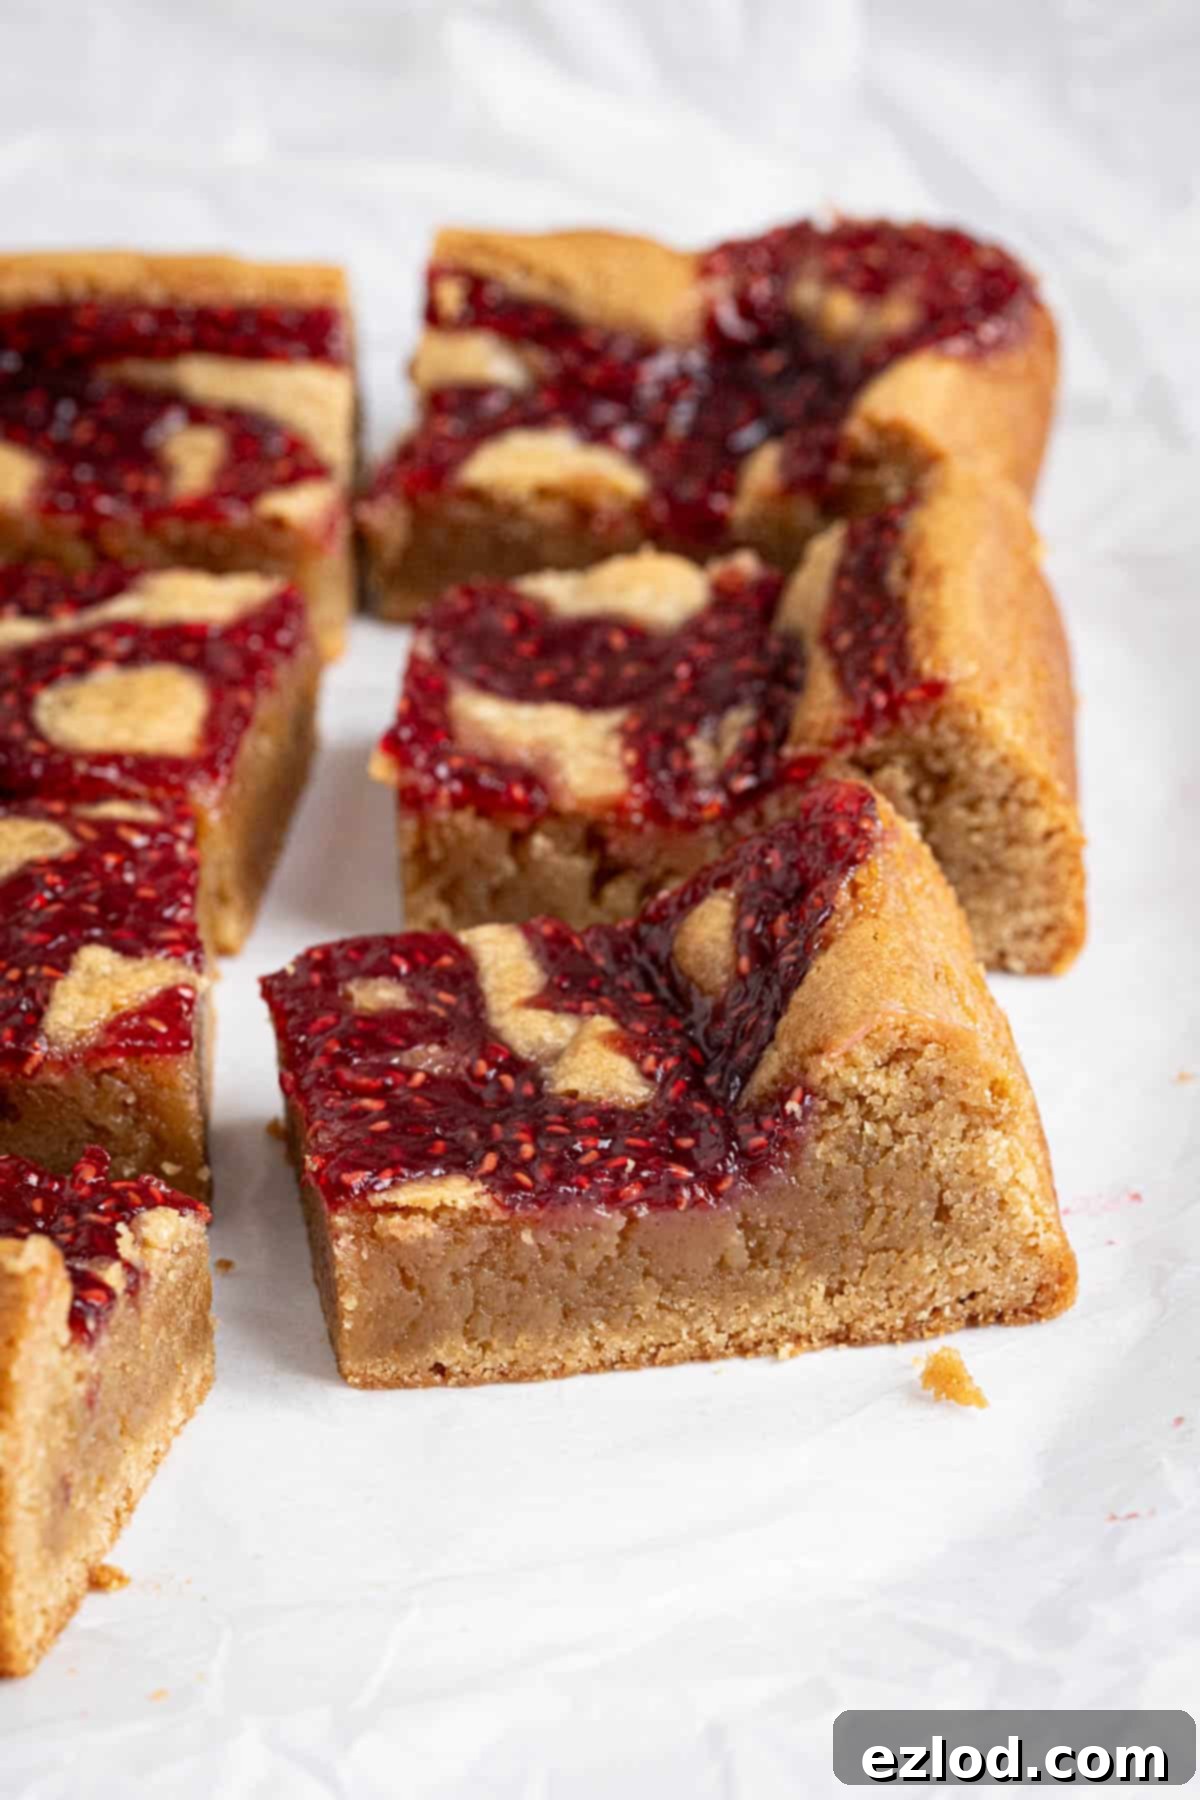
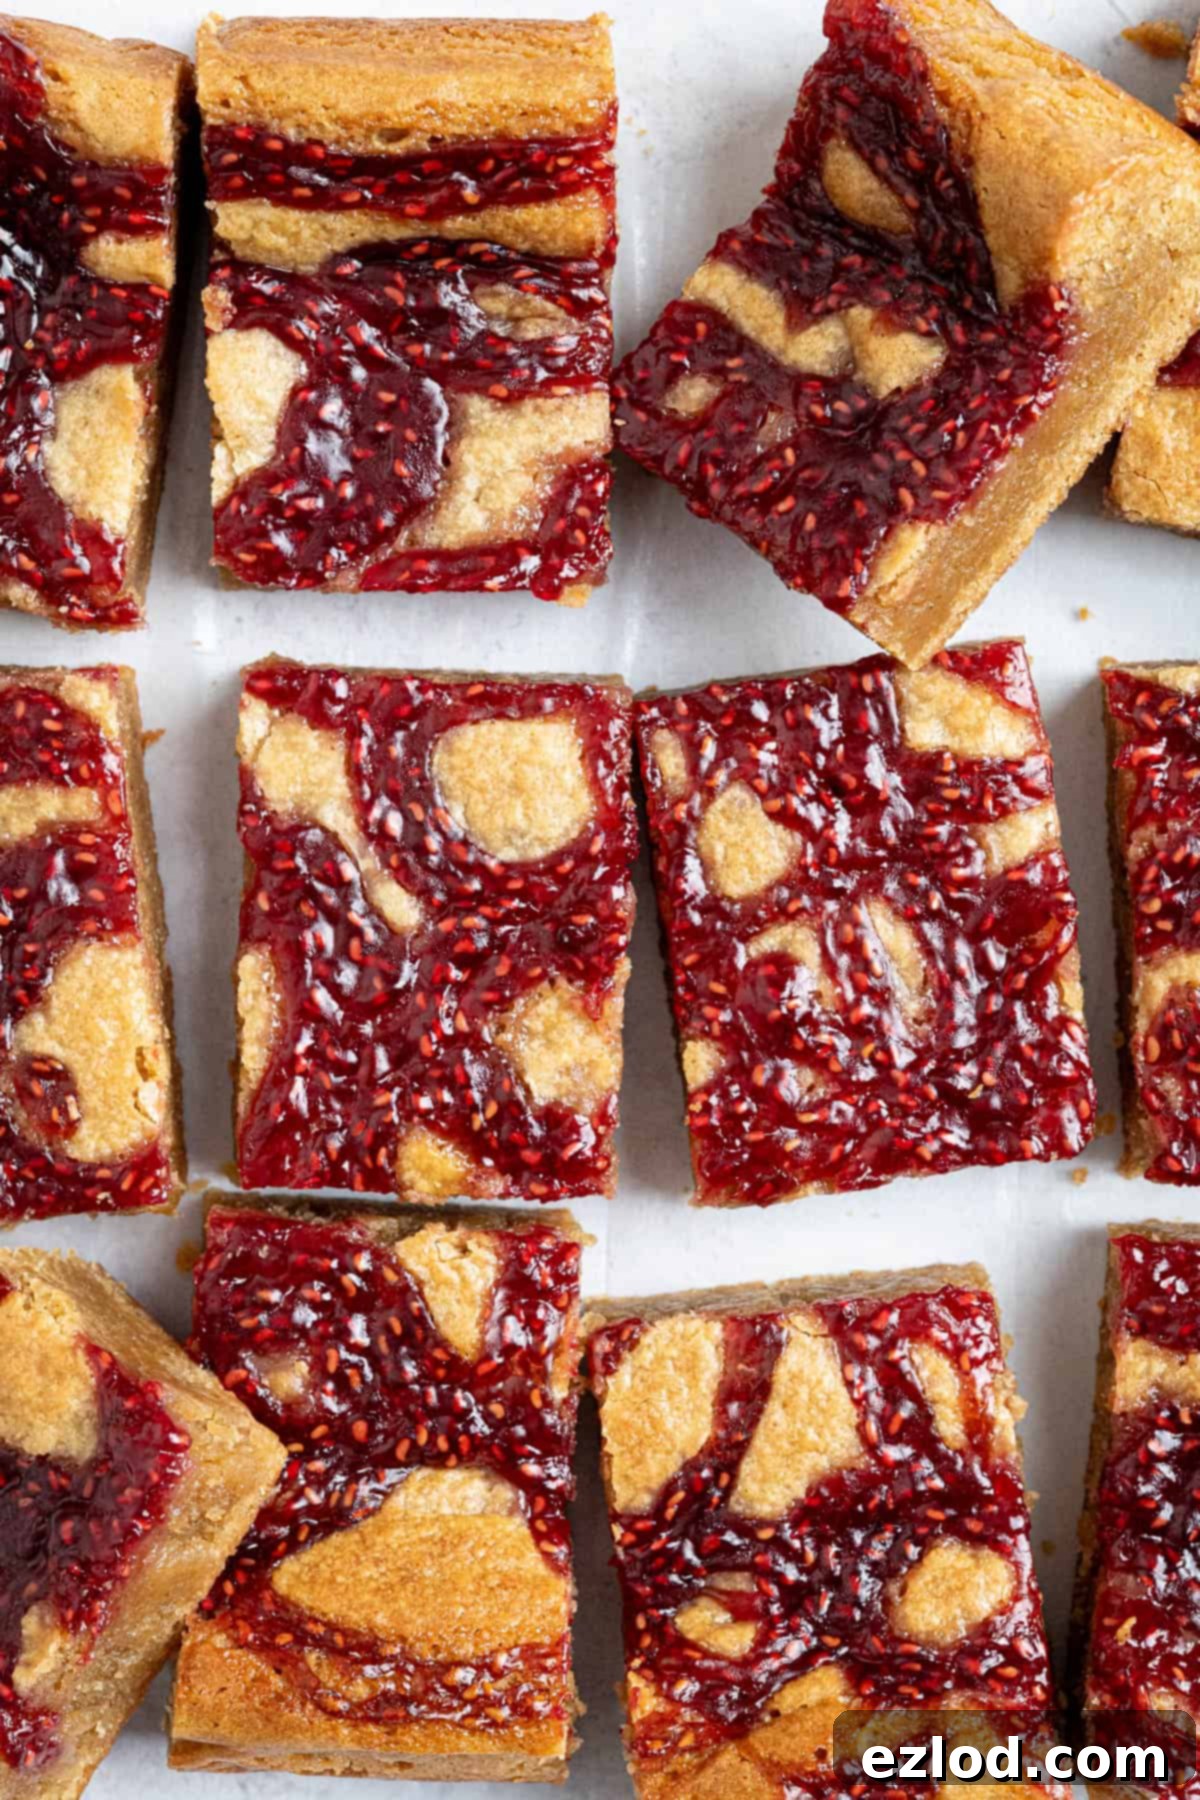
Prepare yourself for a truly indulgent experience with these rich, fudgy, and incredibly chewy vegan peanut butter blondies. Each bite offers a delightful nutty caramel flavor, perfectly complemented by vibrant swirls of sweet raspberry jam. These blondies are not just a treat for your taste buds; they are also remarkably quick and easy to prepare, requiring just one pan for mixing. And if raspberry jam isn’t quite your style, don’t worry – this versatile recipe allows you to effortlessly swap the jam for a generous scattering of chocolate chips, crushed Oreos, or any other mix-in your heart desires!
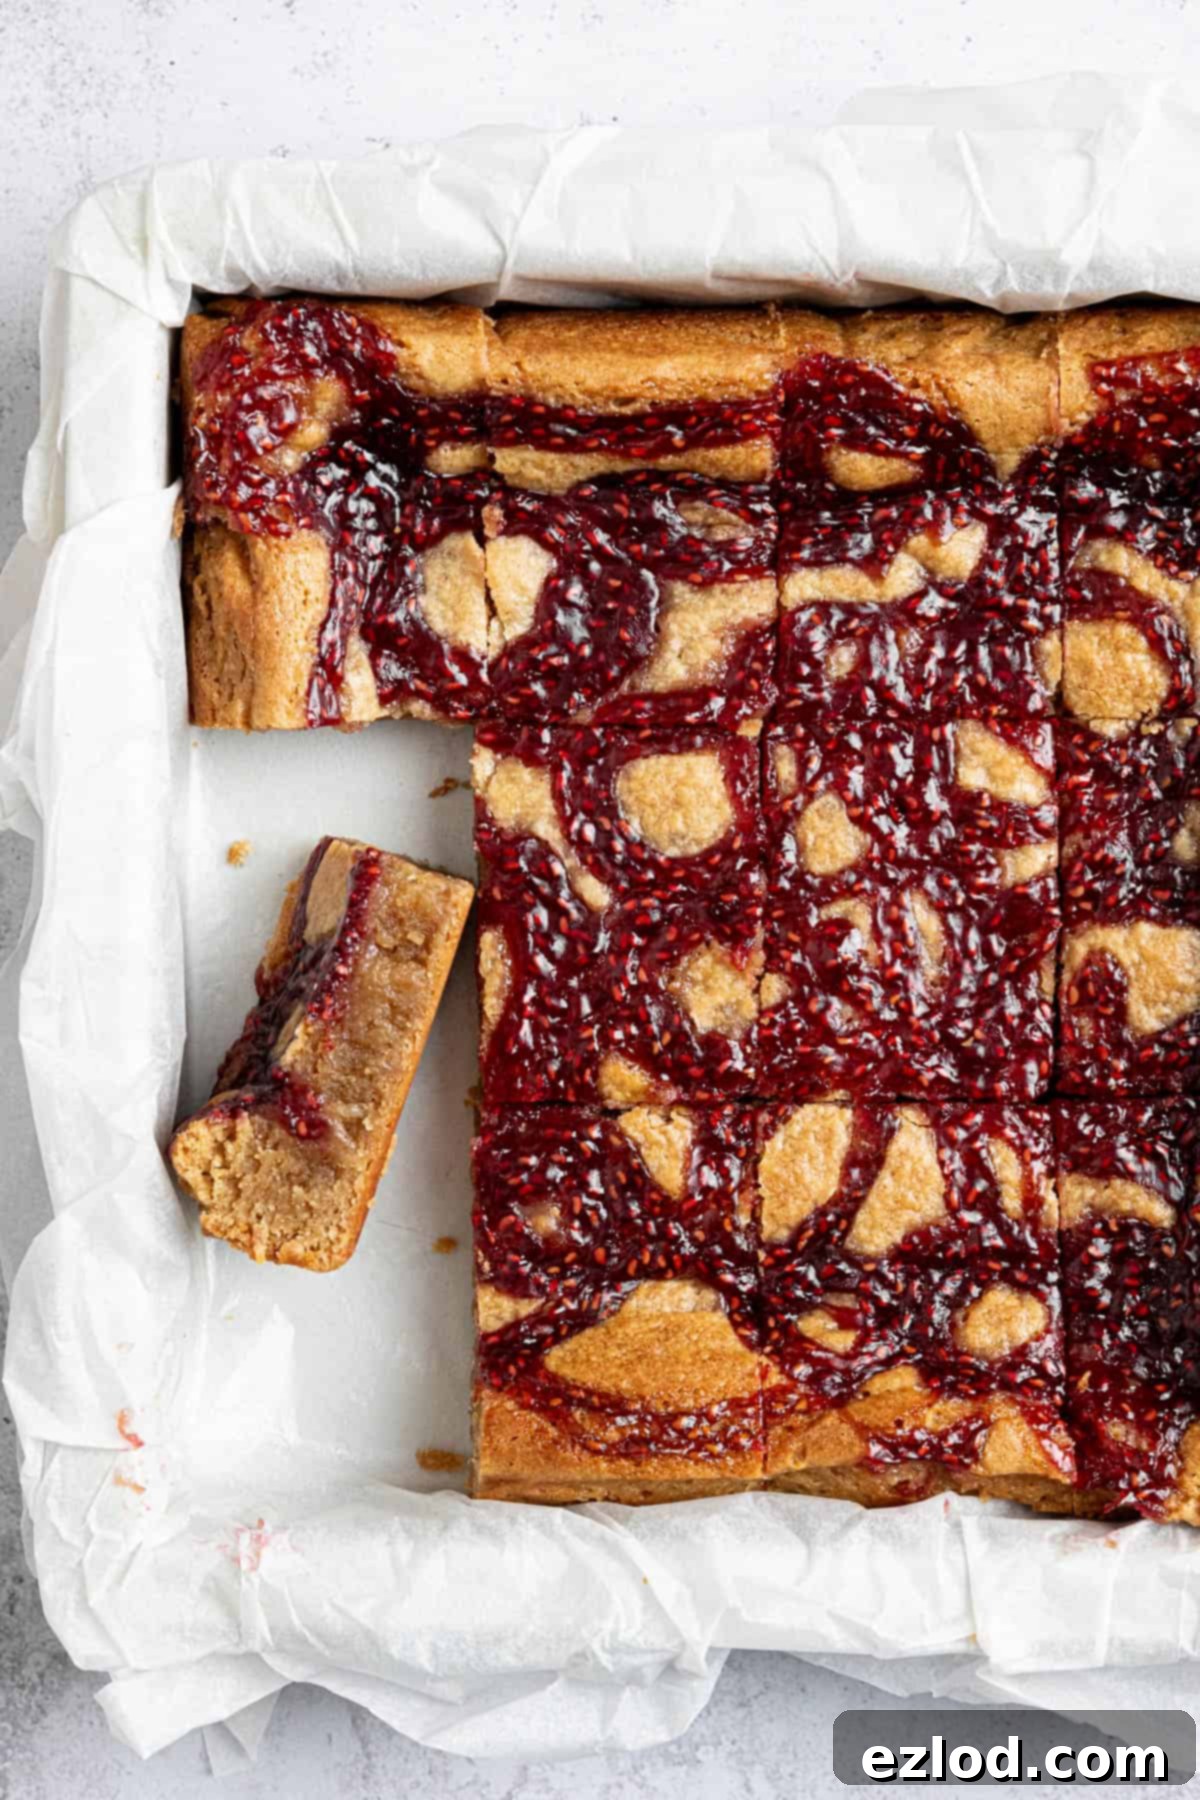
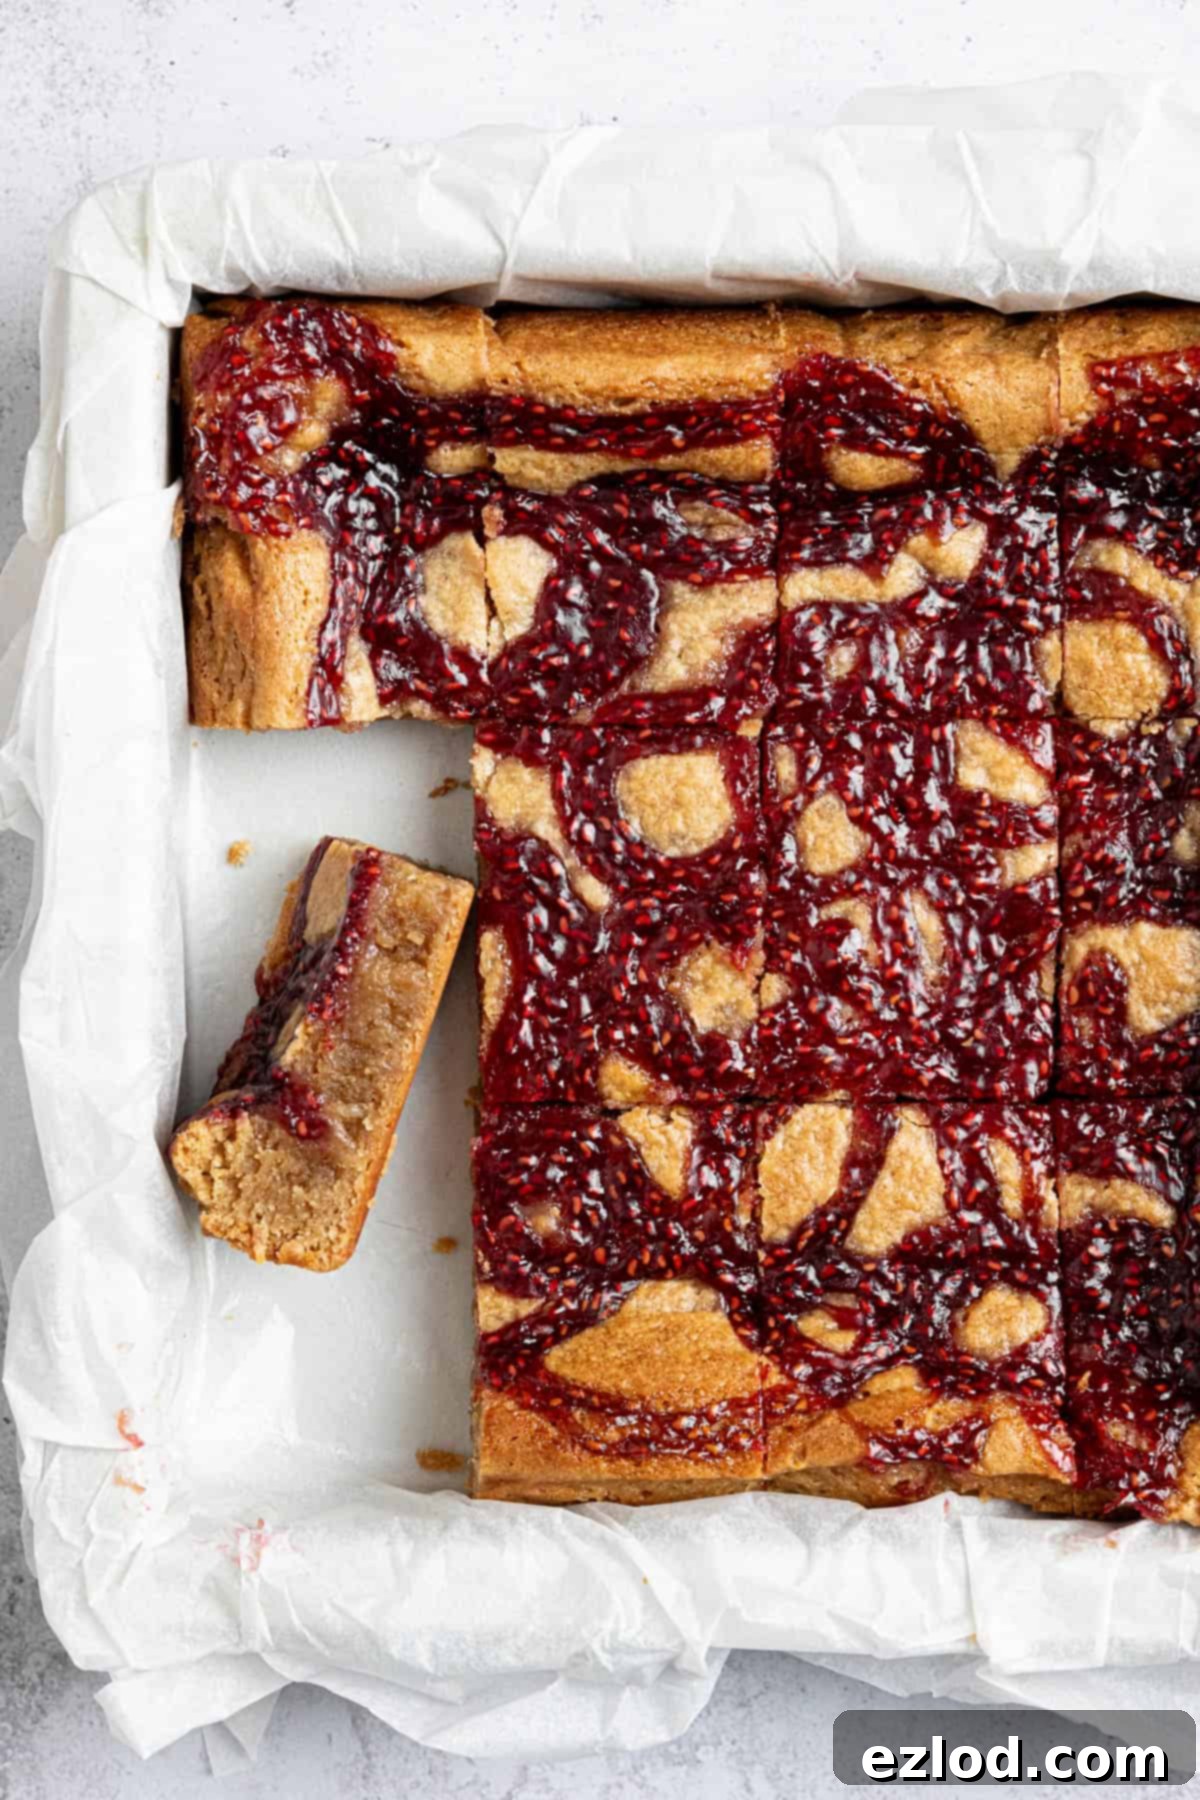
These remarkable vegan peanut butter blondies with their signature jam swirl boast an enticing combination of textures: a dense, fudgy interior, a wonderfully soft and chewy consistency, and a delicate, crisp crust that yields to a burst of intense peanut butter flavor. The addition of raspberry jam is a stroke of genius, creating that classic and universally adored PB&J flavor profile that always hits the spot. It’s a nostalgic taste reinvented into a sophisticated, plant-based dessert that will impress vegans and non-vegans alike.
My inspiration for these blondies stems from a beloved old non-vegan recipe from my archives. The original featured crushed Oreos mixed directly into the blondie batter, which is still a fantastic option. However, for this version, I decided to experiment with a luscious jam swirl, transforming them into a peanut butter and jelly dream. The beauty of this recipe lies in its adaptability: feel free to omit the jam entirely for a pure peanut butter experience, or return to the roots by folding in roughly broken pieces of Oreos, Bourbon biscuits, or any other crunchy cookie you prefer. Imagine them studded with rich vegan chocolate chips, creamy peanut butter cups, or even a handful of crunchy roasted peanuts for an extra layer of texture. Honestly, they are also incredibly delicious and satisfying on their own, allowing the pure, unadulterated peanut butter flavor to shine through.
Why You’ll Love This Vegan Peanut Butter Blondie Recipe
- Effortlessly Delicious: These blondies come together quickly with minimal fuss, making them perfect for last-minute cravings or entertaining.
- One-Pan Wonder: Say goodbye to excessive dishes! The entire batter is mixed in a single pan, simplifying cleanup.
- Perfect Texture: Expect a rich, fudgy, and chewy texture with a delightful crisp edge – exactly what a blondie should be.
- Classic Flavor Combo: The peanut butter and raspberry jam pairing is a timeless classic that brings comfort and joy.
- Dairy-Free & Egg-Free: A fantastic vegan dessert that everyone can enjoy without compromising on taste or texture.
- Highly Customizable: Easily adapt the recipe with your favorite mix-ins, from chocolate chips to different kinds of cookies or nuts.
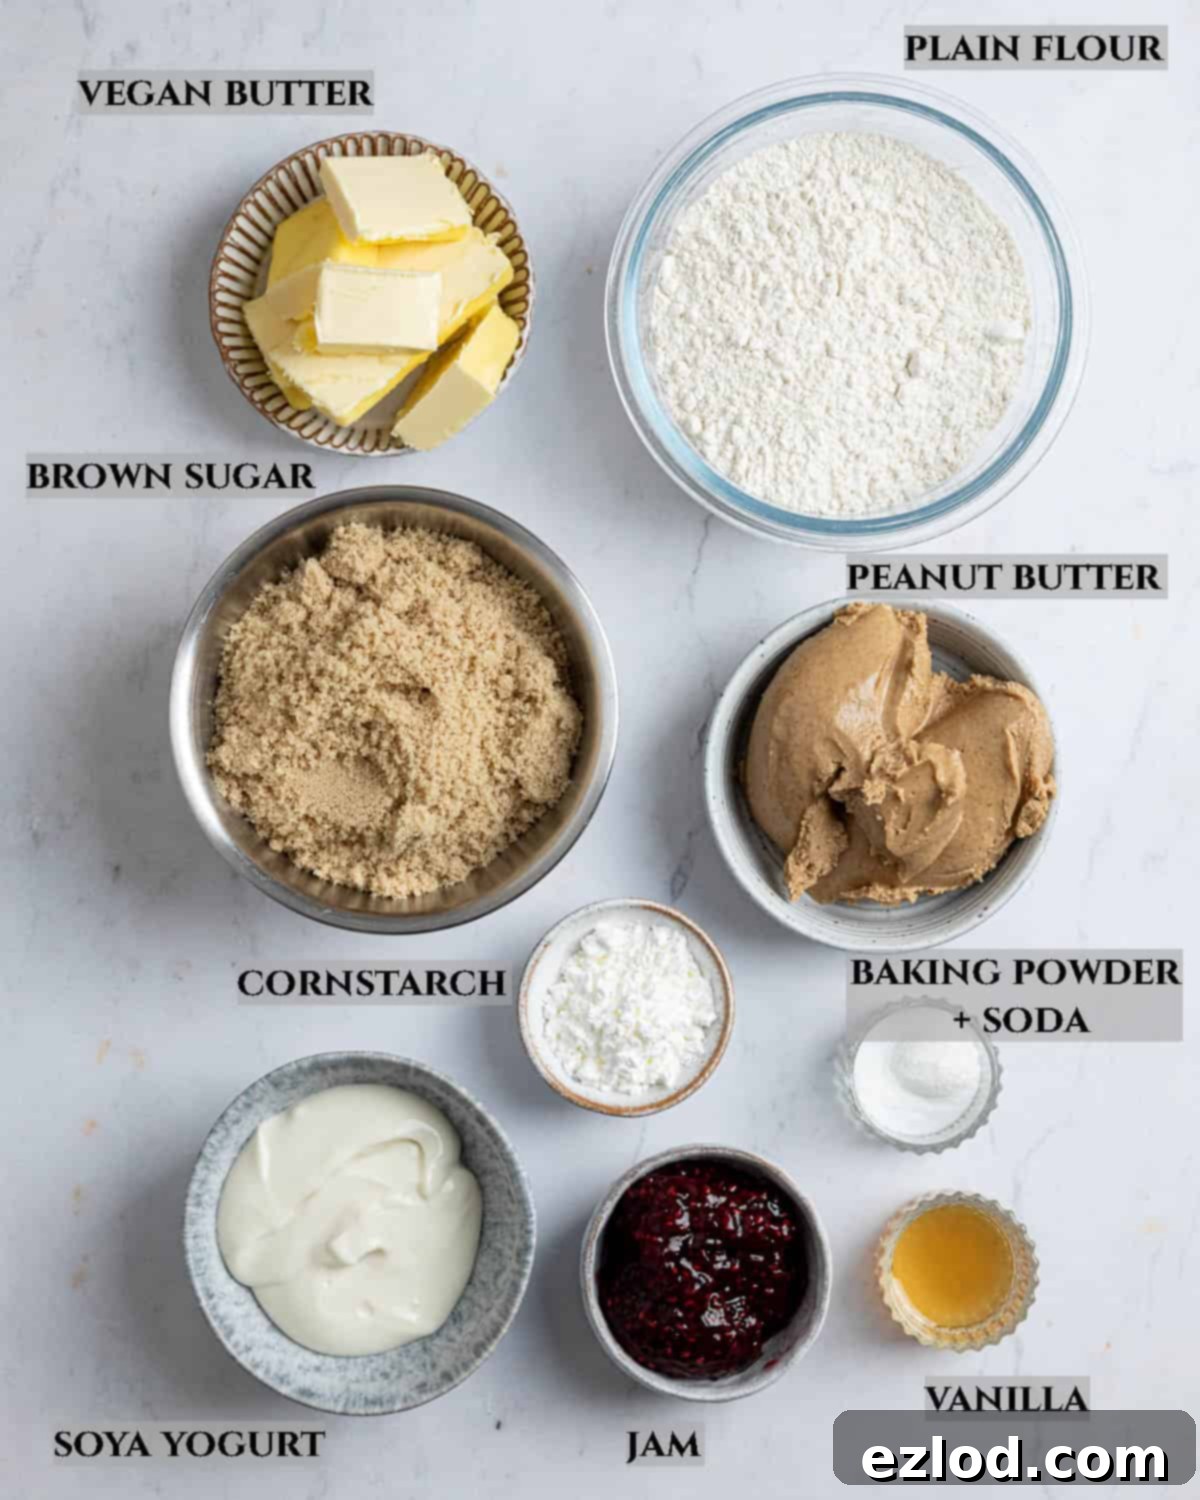
Ingredient Details: Crafting the Perfect Vegan Peanut Butter Blondie
Understanding the role of each ingredient is key to achieving blondie perfection. Here’s a detailed look at what goes into these delectable treats:
Peanut Butter: The star of the show! It is crucial to use a smooth, creamy peanut butter for this recipe, not natural or crunchy varieties. Natural peanut butter tends to separate oils more readily and can result in a greasy, crumbly blondie. Crunchy peanut butter, while delicious in its own right, will alter the smooth, fudgy texture we’re aiming for. Stick to classic, processed smooth peanut butter for the best results in terms of both flavor and consistency.
Vegan Butter: For optimal structure and richness, always opt for a block-style vegan butter rather than a spreadable tub variety. Block butters have a higher fat content and a firmer consistency, behaving much like dairy butter in baking, which is essential for the blondies’ chewy texture and proper spread. Brands like Flora Plant Butter or Naturli Vegan Block are excellent choices, but any solid vegan butter stick should work well.
Light Brown Sugar: This is not just any sweetener! Light brown sugar is vital for two reasons: it imparts a delicious, nuanced caramel flavor that perfectly complements the peanut butter, and it contributes significantly to the blondies’ characteristic chewy texture. The molasses content in brown sugar adds moisture and softness. I strongly advise against substituting this for white sugar, dark brown sugar, or any other kind of sweetener, as it will drastically alter both the flavor profile and the desired chewiness.
Soya Yogurt: In this vegan recipe, plain soya yogurt ingeniously replaces eggs, performing a crucial role in binding the ingredients and adding essential moisture. This ensures the blondies remain wonderfully soft, dense, and chewy. If soya yogurt isn’t accessible, plain coconut yogurt is a suitable alternative and should yield similar results. While non-dairy milk might work in a pinch, I haven’t personally tested it, so be aware that the texture could be slightly different due to varying fat and protein content. Greek-style soya yogurt is particularly good for its thickness.
Plain Flour + Cornstarch (Cornflour): The combination of plain (all-purpose) flour and cornflour (cornstarch) is a secret weapon for achieving the ideal blondie texture. The plain flour provides the primary structure, while the cornstarch helps to create a softer, more tender crumb and prevents the blondies from becoming too dense or cakey. If you don’t have cornflour, you can substitute it with an equal amount of additional plain flour, but be aware that the resulting texture may be slightly less tender and fudgy. The cornstarch really adds to that melt-in-your-mouth quality.
Baking Powder + Bicarbonate of Soda (Baking Soda): It is essential to use both leavening agents as specified; do not swap one for the other. They are not interchangeable and perform different functions. Baking powder contains an acid and a base, reacting when wet and heated, while bicarbonate of soda (baking soda) requires an external acid (like the yogurt or brown sugar) to activate. Using them together ensures the perfect rise and crumb structure for your blondies. Substituting one for the other could lead to a dense, flat, or overly cakey result.
Vanilla Extract: For the most authentic and rich flavor, always use pure vanilla extract over imitation vanilla essence. The depth of flavor from real vanilla extract significantly elevates the overall taste of your blondies, adding a warm and inviting aromatic note that complements the peanut butter and caramel tones beautifully.
Jam: This ingredient is entirely optional but highly recommended, especially if you love the classic PB&J combination. Raspberry jam is my personal favorite due to its tartness which beautifully cuts through the richness of the peanut butter, but feel free to use any fruit jam you enjoy. Strawberry, apricot, or even a mixed berry jam would be delicious alternatives. Ensure it’s not too thick so it can be easily swirled.
How To Make Vegan Peanut Butter Blondies: A Simple Step-by-Step Guide
(For precise measurements and full instructions, please refer to the comprehensive recipe card located at the bottom of this page)
Creating these delightful vegan peanut butter blondies is a straightforward process that even novice bakers will find easy to master. Follow these simple steps for perfect results:
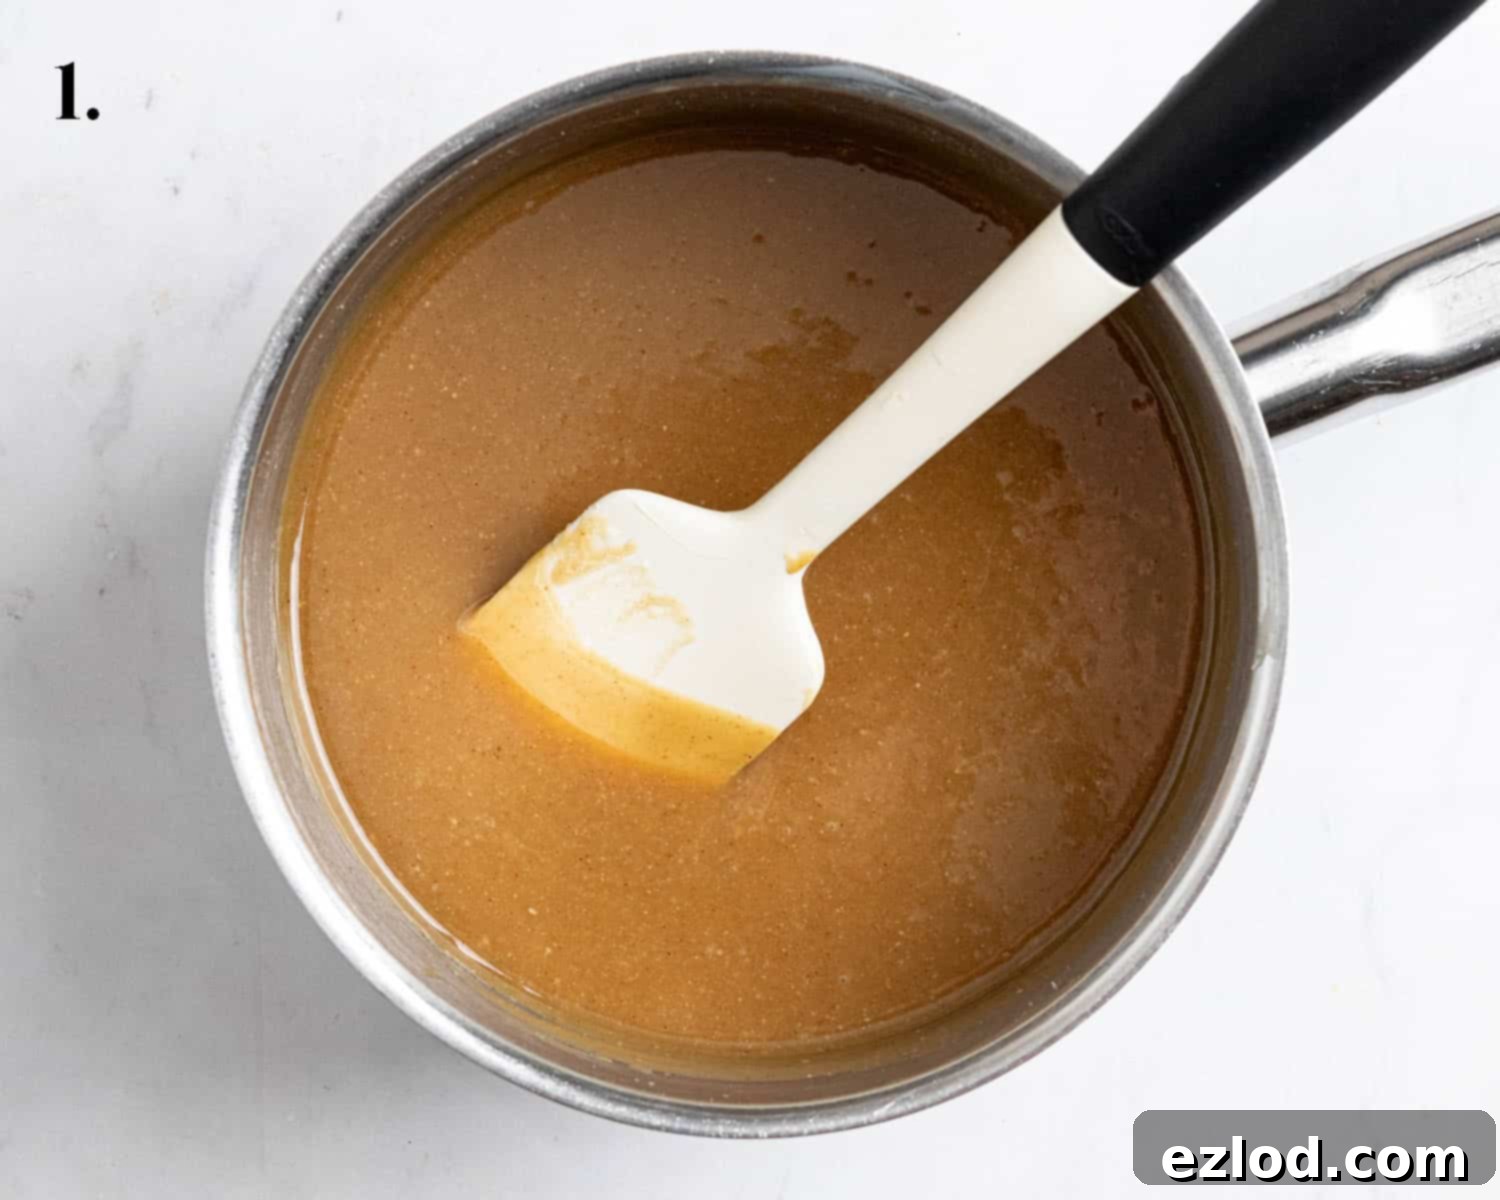
Step 1: Melt the Wet Ingredients. Begin by placing your vegan block butter, light brown sugar, smooth creamy peanut butter, plain soya yogurt, and vanilla extract into a medium-sized saucepan. Heat this mixture over a low heat, stirring continuously. Your goal is to melt the butter and sugar thoroughly, combining all ingredients into a smooth, glossy, and uniform liquid. Once completely smooth, remove the pan from the heat. This one-pan method not only saves on washing up but also creates a beautifully emulsified base for your blondies.
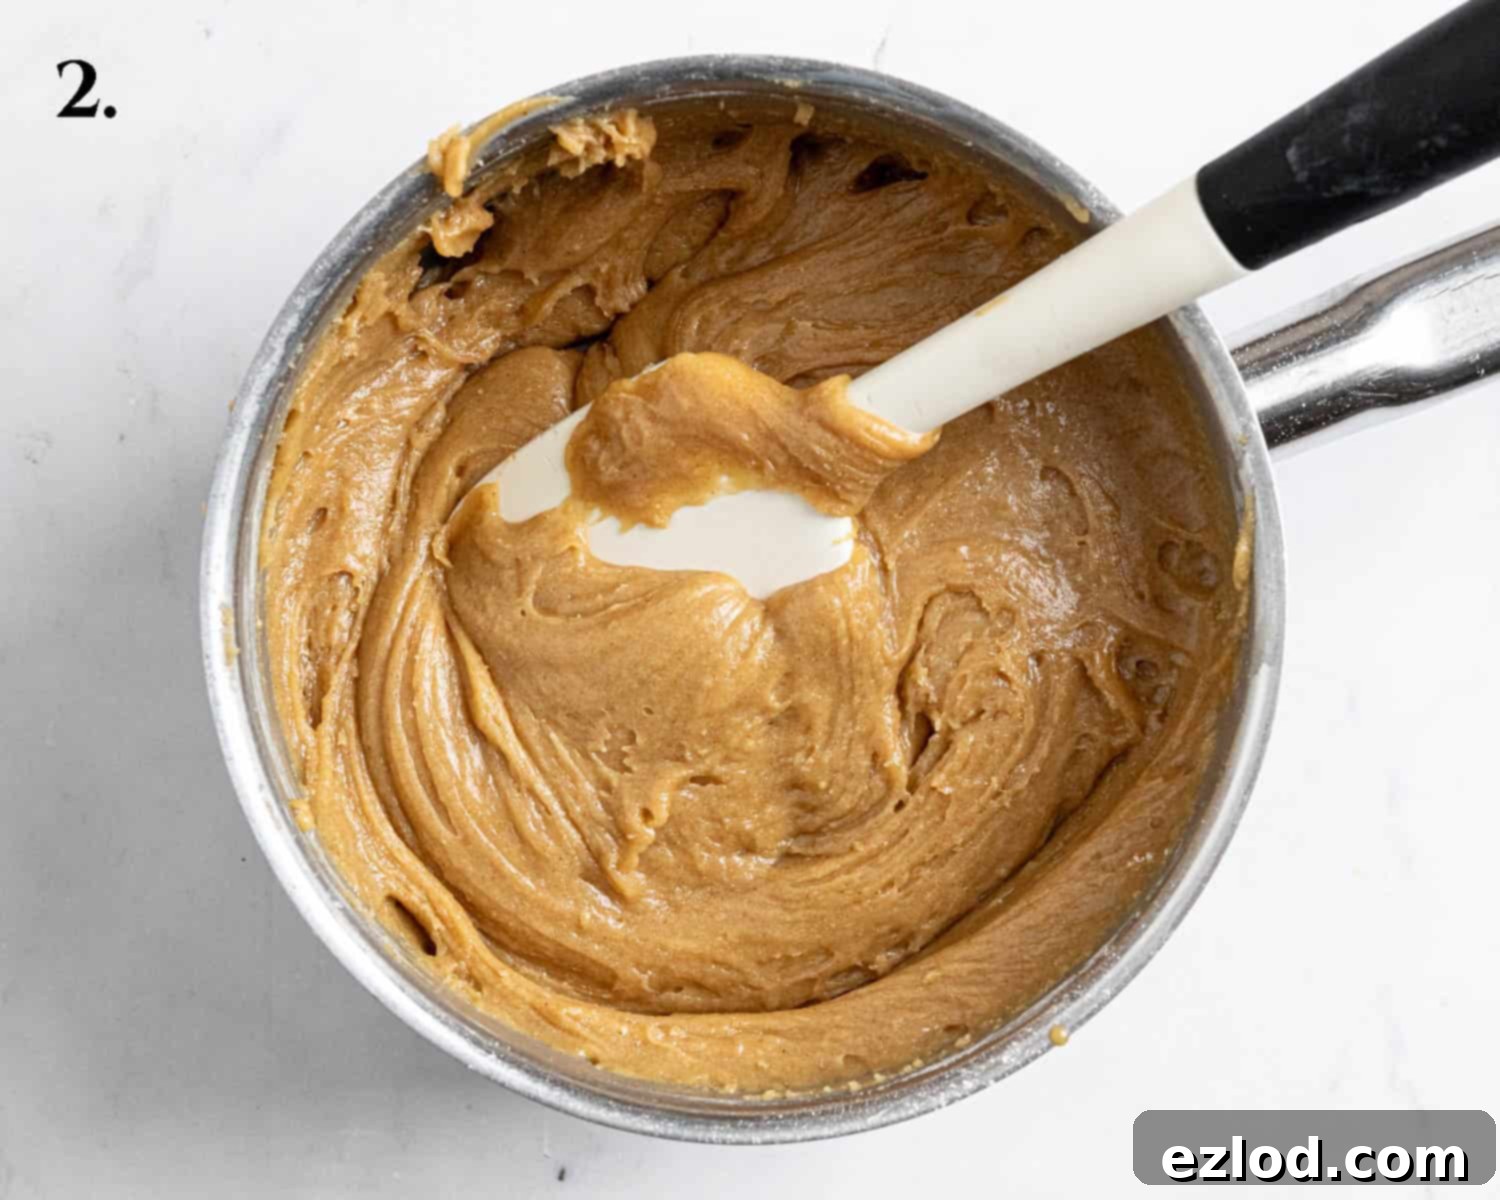
Step 2: Incorporate Dry Ingredients. Sift together the plain (all-purpose) flour, cornflour (cornstarch), baking powder, bicarbonate of soda (baking soda), and a pinch of salt into a separate bowl. This sifting step helps to aerate the flour and ensures there are no lumps, promoting an even texture in your blondies. Once sifted, add this dry mixture directly to the warm wet ingredients in the pan. Stir well using a wooden spoon or spatula until all the dry lumps have disappeared and a thick, cohesive batter forms. Be careful not to overmix; stop as soon as everything is just combined to avoid developing too much gluten, which can lead to tough blondies.
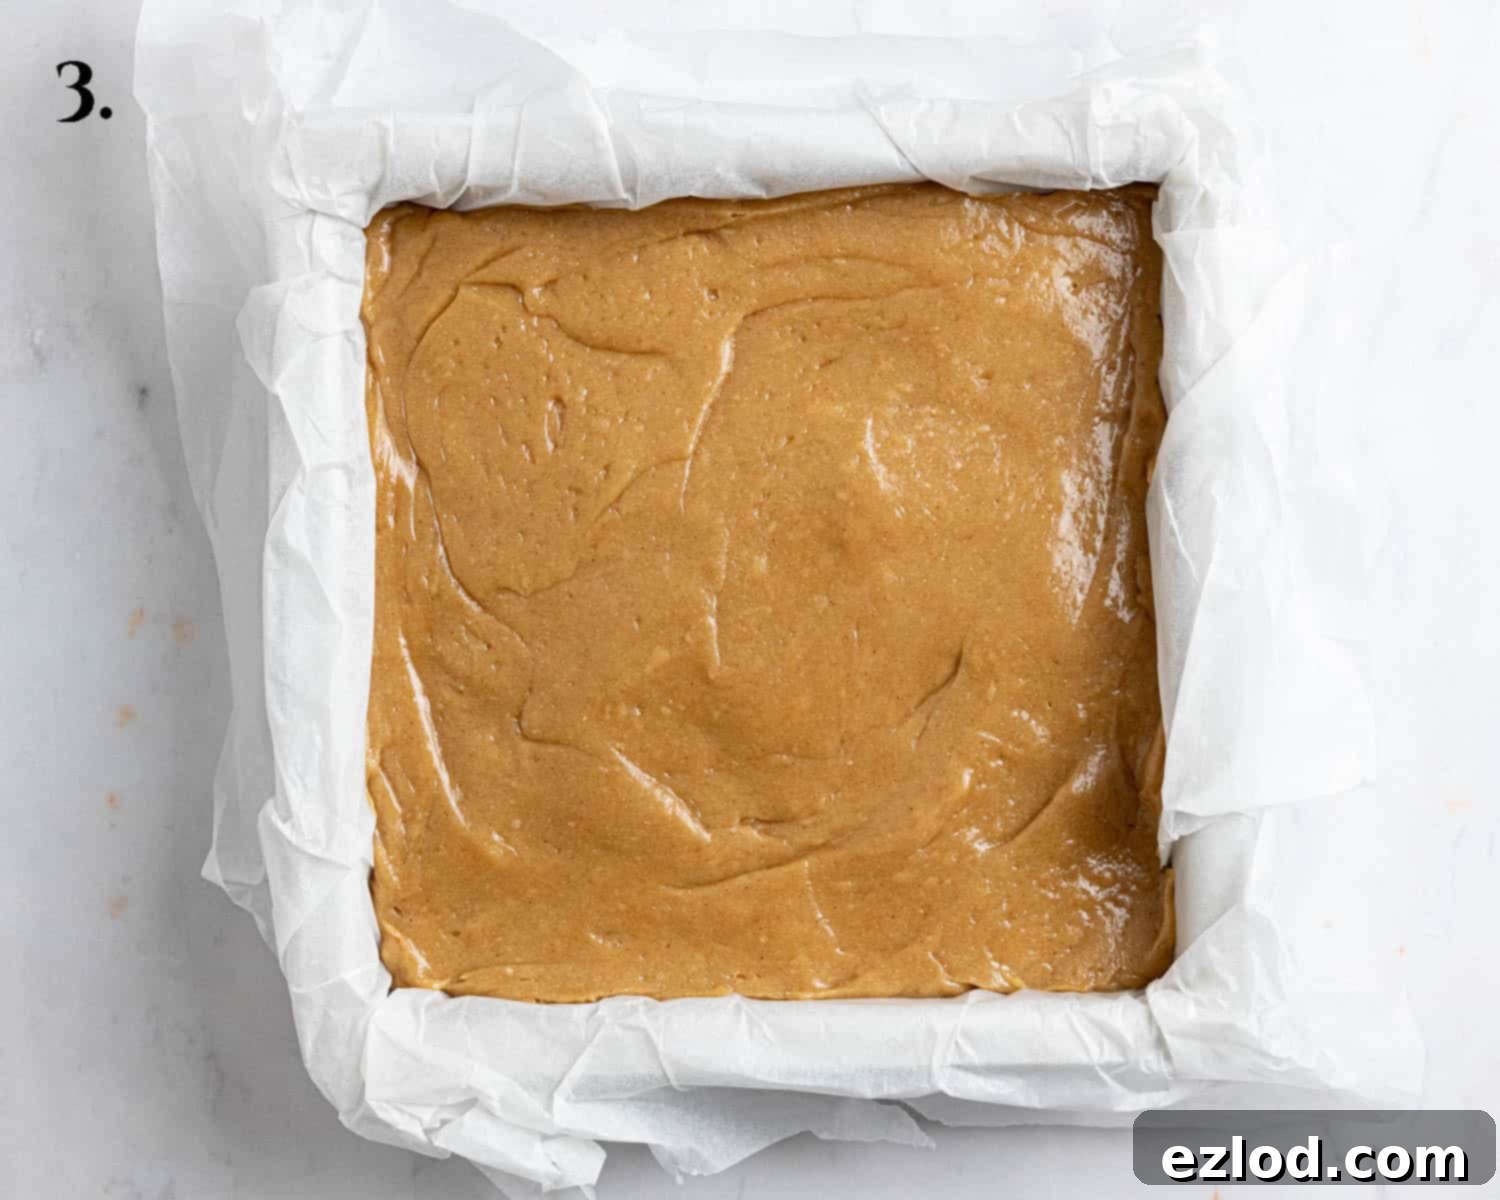
Step 3: Prepare for Baking. Scrape the thick blondie batter evenly into your prepared 20cm (8-inch) square baking tin. Ensure the tin is greased and lined with baking parchment, leaving an overhang on the sides – this will make it incredibly easy to lift the baked blondies out later. Use the back of a spoon or an offset spatula to spread the batter level, ensuring an even thickness across the entire pan. This promotes uniform baking and ensures every slice is equally delicious.
Step 4: Warm and Bag the Jam. If your raspberry jam is quite thick, warm it slightly in a small saucepan or microwave for a few seconds until it becomes more fluid and easy to pipe. This ensures it creates beautiful, distinct swirls rather than globs. Once warmed, transfer the jam into a disposable piping bag. If you don’t have a piping bag, a sturdy freezer bag with a corner snipped off will work just as well.
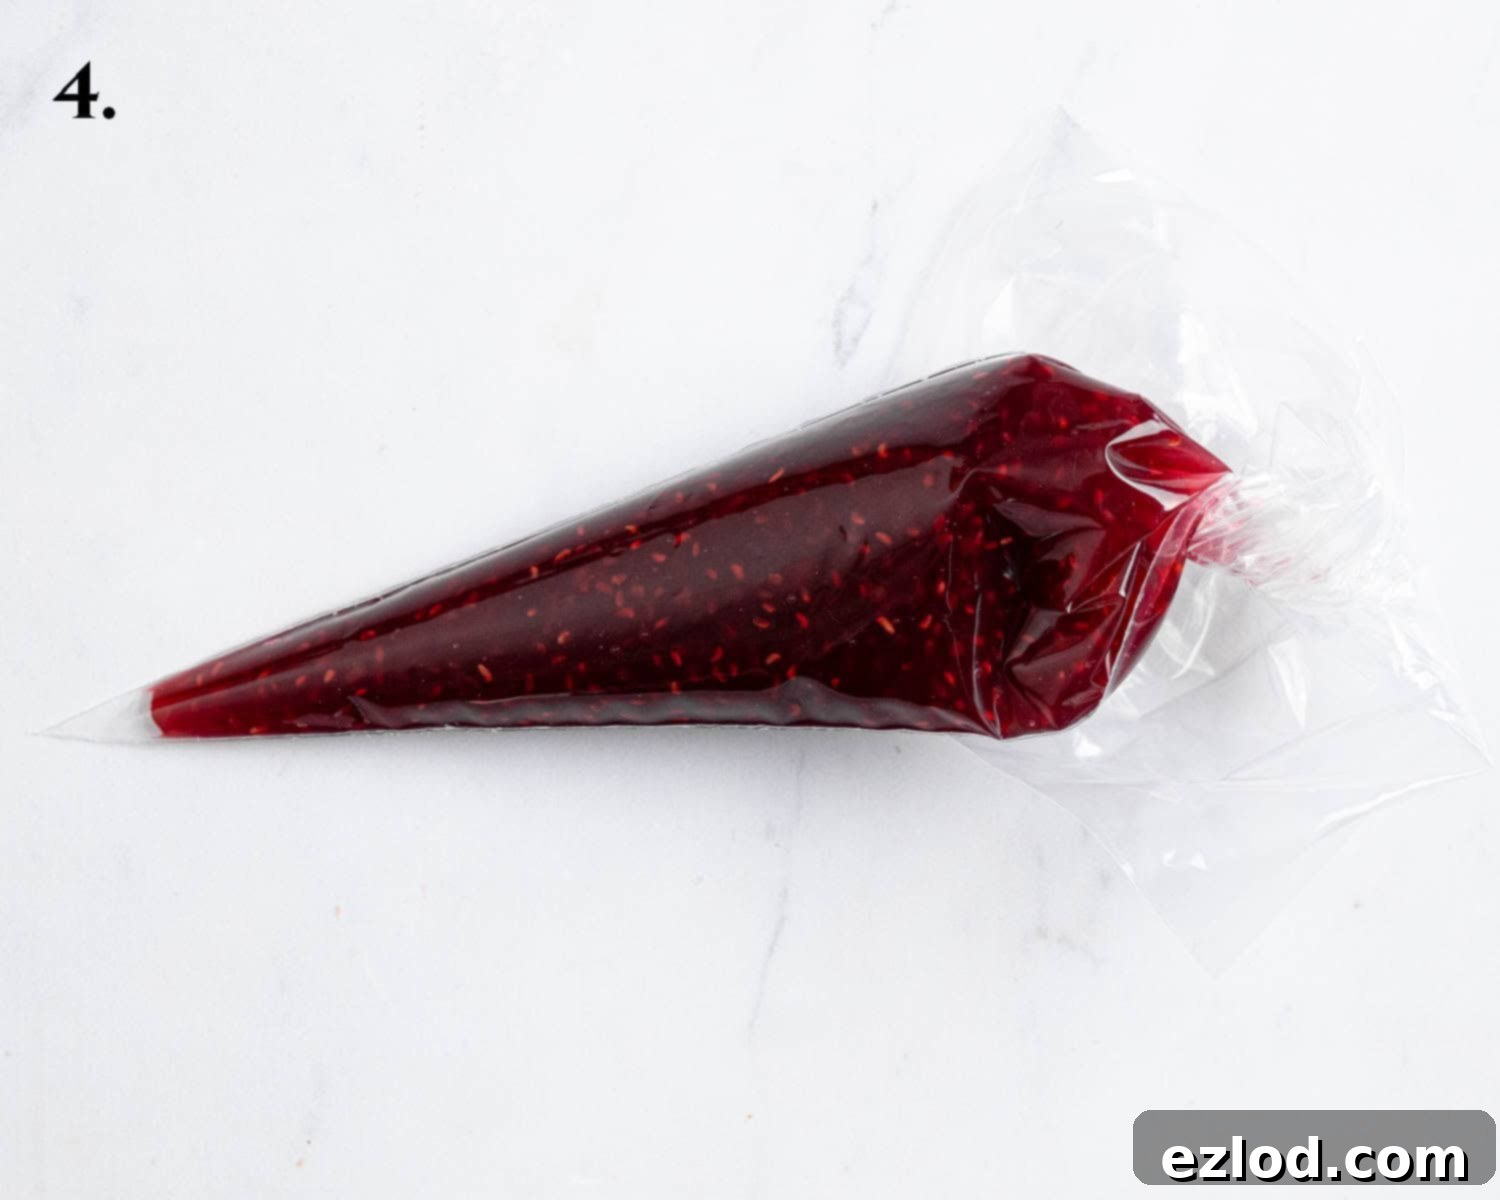
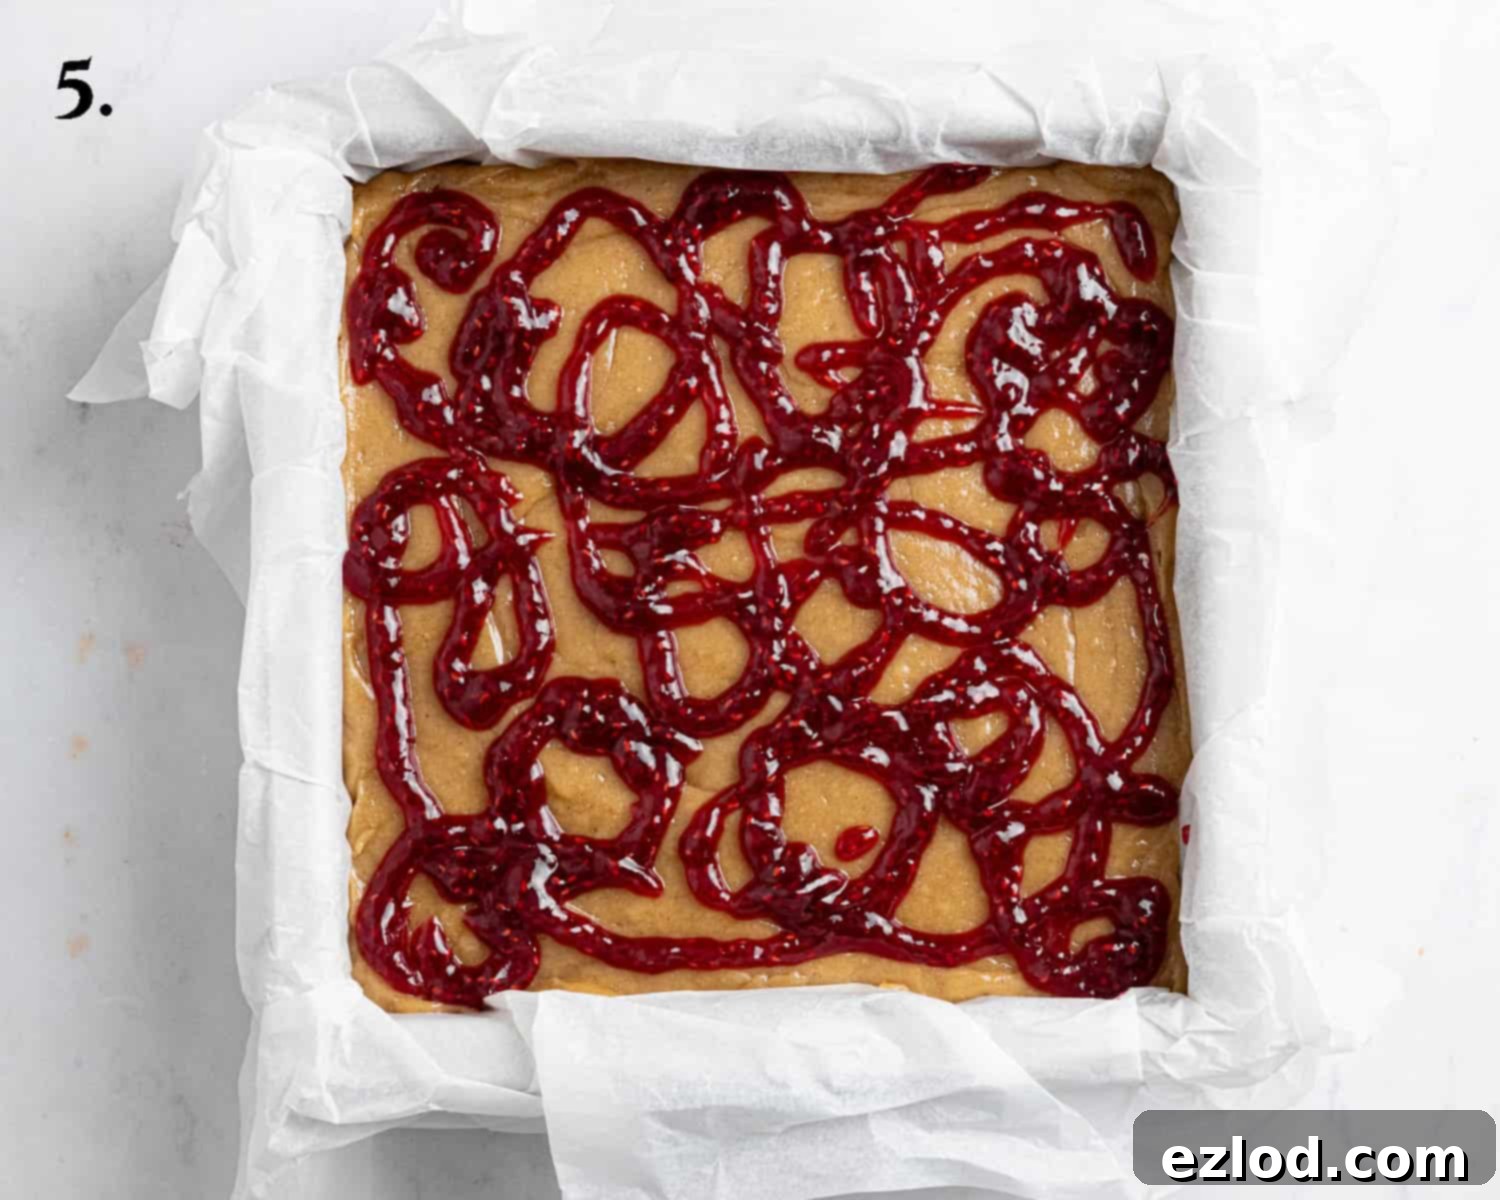
Step 5: Swirl the Jam. Snip off the very tip of the piping bag to create a small opening. Now, pipe decorative swirls of the warmed jam across the top of the blondie batter. Get creative with your patterns! You can create concentric circles, zig-zags, or random squiggles. For a more rustic look, you can also simply dollop spoonfuls of jam onto the batter and use a knife or skewer to gently swirl them into the peanut butter mixture. This visual appeal adds an extra layer of delicious anticipation.
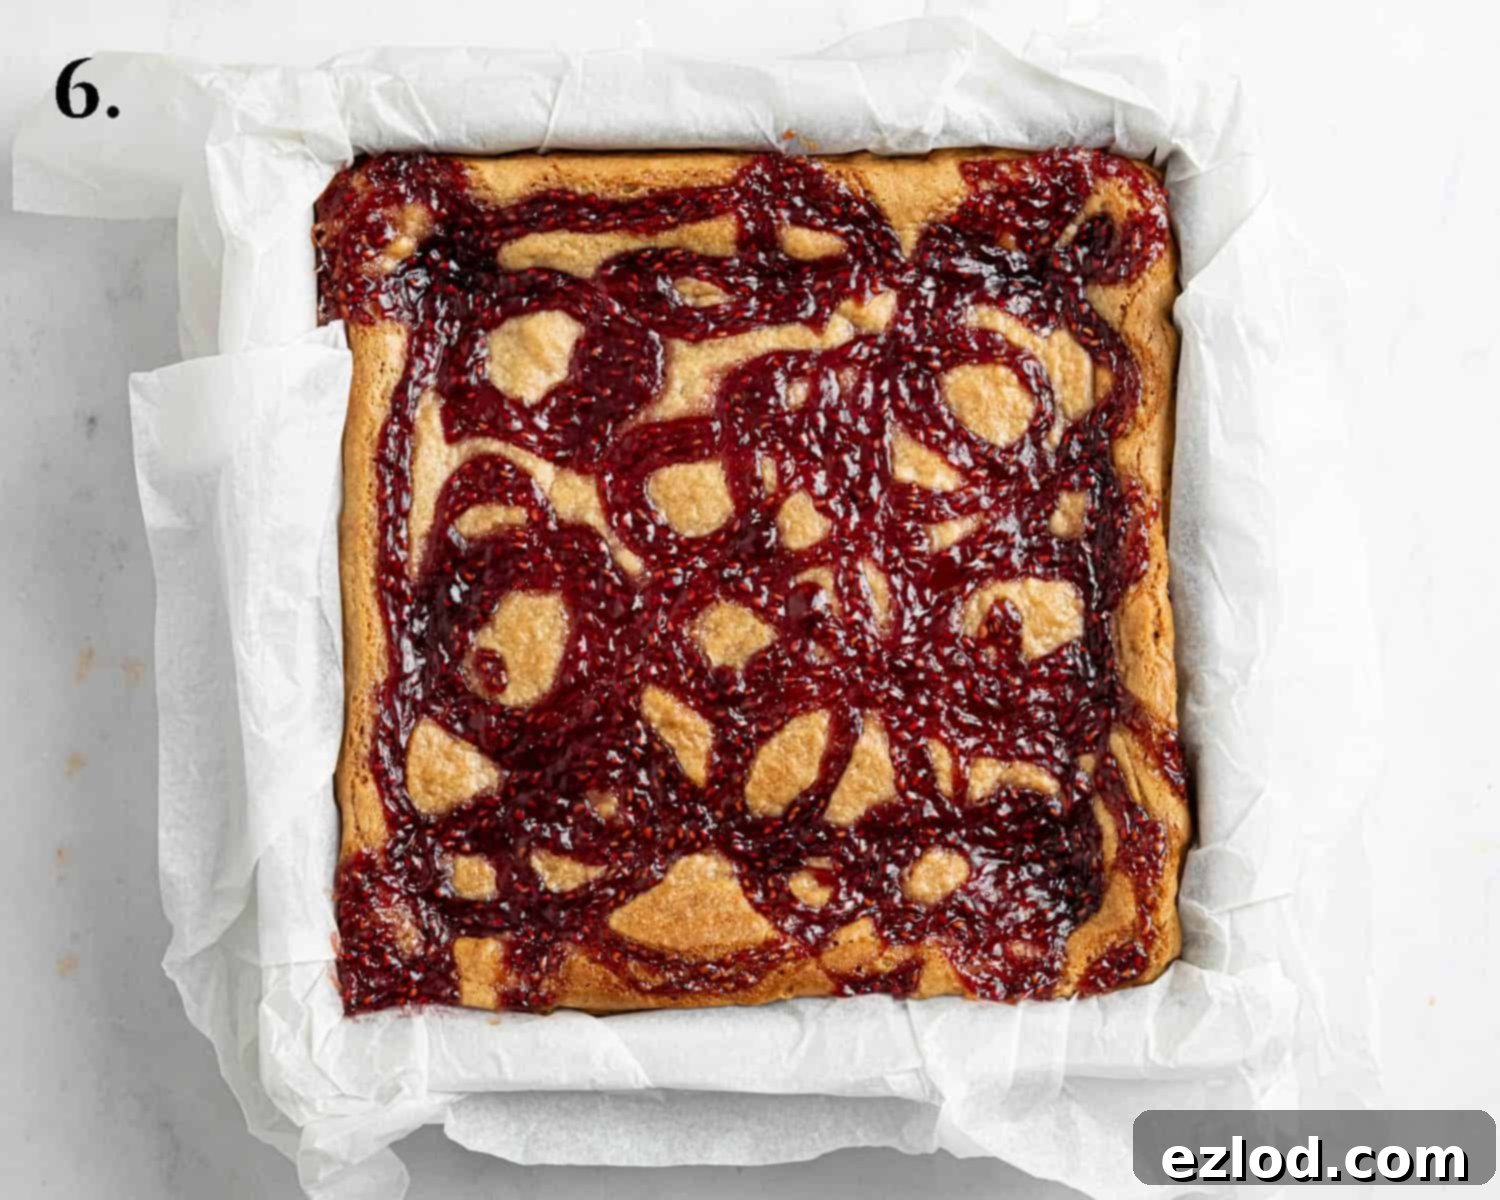
Step 6: Bake to Perfection. Transfer the tin to your preheated oven (180°C/160℃ fan/350°F/gas mark 4) and bake for approximately 25 minutes. Baking times can vary depending on your oven, so keep a close eye on them. The blondies are ready when the edges are nicely golden brown, and the center has a slight jiggle if you gently shake the tin. A skewer inserted into the center should come out a bit gunky with moist crumbs, but without any wet batter. If the skewer comes out completely clean, they are likely overdone, so err on the side of slightly underbaked for maximum fudginess!
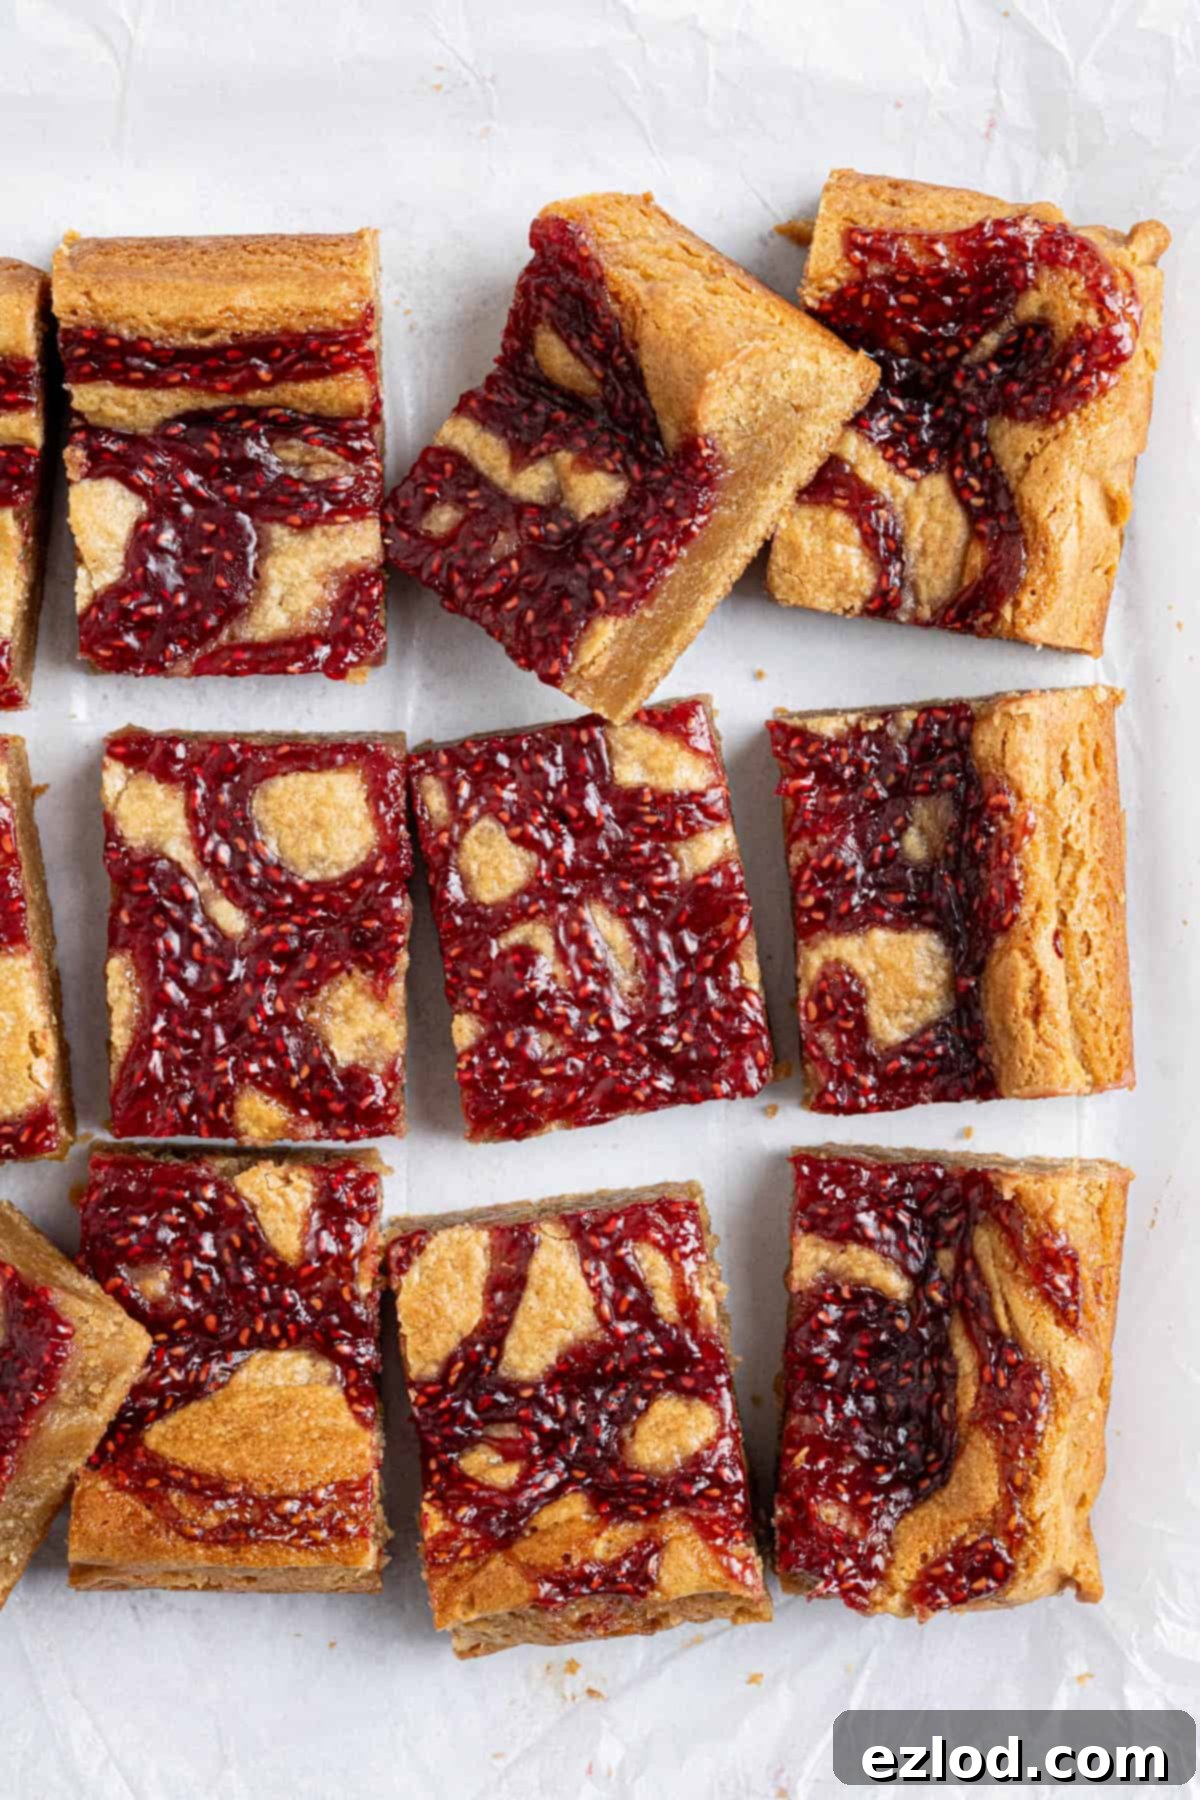
Top Tips for Vegan Blondie Perfection
Achieving the perfect blondies is an art, but with these expert tips, you’ll nail it every time:
- USE SCALES for Accuracy: This is perhaps the most crucial tip for consistent baking results. As with all my baking recipes, I wholeheartedly recommend using metric measurements with a digital kitchen scale rather than relying on cup conversions. Cups are a notoriously inaccurate measuring system, as volume can vary wildly depending on how ingredients are packed. Using a scale provides far more precise and consistent results, making your baking much more predictable and successful. Plus, it’s often easier and less messy than scooping and leveling cups!
- Choose the Right Pan: For optimal baking, use a metal baking tin rather than a glass or ceramic dish. Glass and ceramic retain heat much more efficiently and for longer periods after being removed from the oven. This can easily lead to overbaked blondies, as they will continue to cook internally even after cooling on the countertop. A metal pan allows for more precise baking control and helps achieve that desirable fudgy center without dry edges.
- Jam Swirling Alternatives: If you don’t have a piping bag, or simply prefer a more rustic aesthetic, you can still create beautiful jam swirls. Simply dollop spoonfuls of the slightly warmed jam haphazardly over the top of the blondie batter. Then, take a butter knife or a skewer and gently swirl through the jam and batter to create an attractive marbled effect.
- Don’t Overbake!: This is paramount for achieving that signature fudgy texture. Keep a very close eye on your blondies during the last few minutes of baking. You want to take them out of the oven when a skewer inserted into the center comes out with some moist crumbs sticking to it – it should look a bit “gunky” but not have any wet, raw batter. If the skewer comes out completely clean, it means they are likely overdone and will turn out dry and cakey rather than fudgy and chewy. Trust the jiggle: the center should still have a slight wobble when gently shaken.
- Embrace the Sink: It’s perfectly normal for blondies to puff up in the oven and then slightly sink in the middle as they cool. This is a common characteristic of fudgy baked goods and is not a sign of failure. In fact, that slight dip often indicates a wonderfully dense and rich center.
- Cool Completely Before Slicing: Patience is a virtue when it comes to blondies! Allow them to cool completely in the pan on a wire rack before attempting to slice them. This allows the internal structure to set fully, resulting in neat, clean-cut squares. Trying to slice them while warm will likely lead to crumbling and a messy outcome.
- Optimal Enjoyment: While delicious on the day they’re baked, I find these vegan peanut butter blondies truly shine the day after. Allowing them to rest overnight in an airtight container gives the flavors time to meld and the texture to firm up and become even chewier.
- Storage: Store any leftover blondies in an airtight container at room temperature for up to 5 days. If you prefer a denser, chewier, almost candy-bar-like blondie, consider storing them in the fridge. They’ll firm up considerably, offering a different but equally delightful texture.
FAQ’s: Your Vegan Peanut Butter Blondie Questions Answered
Absolutely, these vegan peanut butter blondies freeze exceptionally well, making them perfect for meal prepping desserts or saving some for later! First, allow them to cool completely to room temperature. Then, wrap individual blondie squares tightly in plastic wrap or parchment paper, and place them in a freezer-safe container or heavy-duty freezer bag. They can be stored in the freezer for up to 2-3 months. To serve, simply allow them to defrost at room temperature for a few hours, or you can gently warm them in the microwave for a few seconds for a freshly baked feel.
The jam swirl is entirely optional, and these blondies are fantastic even without it for a pure, unadulterated peanut butter experience. If you crave even more intense peanut flavor, you could add an extra tablespoon or two of smooth peanut butter to the batter (ensure it’s well mixed in). For other delicious mix-in options, consider folding in around 85-100g (about 1/2 to 2/3 cup) of your favorite vegan chocolate chips (dark chocolate, semi-sweet, or even a vegan “milk” chocolate alternative) into the batter before baking. Just make sure the melted wet ingredients have cooled slightly before adding the chips to prevent them from completely melting into the batter. Alternatively, you can use a packet of roughly broken up Oreos (many varieties are accidentally vegan), Bourbon biscuits, Biscoff cookies, or Jammy Dodgers. These add a wonderful crunch and different flavor dimensions. You could also include chopped roasted peanuts or even vegan peanut butter cups for a truly decadent treat. Bear in mind that different mix-ins may slightly affect the baking time, so always use the skewer test for doneness.
Yes, scaling this recipe down works beautifully! A half batch of the recipe is perfect for a smaller household or if you just want a modest amount of blondies. It bakes wonderfully in a standard 2lb loaf tin. When making a half batch in a loaf tin, you’ll find the baking time will be reduced slightly, typically taking around 18-20 minutes. Always rely on the visual cues and the skewer test to ensure they are baked to fudgy perfection.
More Vegan Blondies And Brownies to Satisfy Your Sweet Tooth:
- Vegan Banana Blondies
- Fudgy Vegan Brownies
- Small Batch Vegan Brownies
- Vegan Peanut Butter Swirl Brownies
- Chewy Vegan Brownies
- Mince Pie Brownies
- Mulled Wine Brownies
If you tried this incredible recipe, I’d love to hear how it went! Please rate it, leave a comment below, or tag @domestic_gothess on Instagram and use the hashtag #domesticgothess to share your delicious creations!
All images and content on Domestic Gothess are copyright protected. If you wish to share this recipe, please do so by utilizing the provided share buttons. Do not screenshot or post the recipe or content in full; instead, kindly include a direct link to this post for the complete recipe. Your understanding and respect for intellectual property are greatly appreciated.

Vegan Peanut Butter Blondies with Jam Swirl
Ingredients
- 120 g (½ cup) vegan block butter (room temperature, not spreadable)
- 250 g (1 + ¼ cups) light brown soft sugar
- 200 g (7oz) smooth creamy peanut butter (not natural or crunchy)
- 90 g (6 Tablespoons) plain soya yogurt (Greek style recommended)
- 1 Tablespoon vanilla extract
- 250 g (2 cups) plain (all-purpose) flour
- 20 g (2 packed Tablespoons) cornflour (cornstarch)
- 1 teaspoon baking powder
- ¼ teaspoon bicarbonate of soda (baking soda)
- ¼ teaspoon salt
- 100 g (⅓ cup) raspberry jam (optional, warmed slightly)
Instructions
-
Preheat your oven to 180°C/160℃ fan/350°F/gas mark 4. Grease a 20 cm/8 inch square cake tin and meticulously line it with baking parchment, ensuring an overhang on the sides for easy removal.
-
In a sturdy saucepan, combine the vegan block butter, light brown soft sugar, smooth creamy peanut butter, plain soya yogurt, and vanilla extract. Place the pan over a low heat and stir continuously until all the ingredients are fully melted and combined into a smooth, homogeneous mixture. Remove the pan from the heat immediately once smooth.
-
In a separate bowl, sift together the plain (all-purpose) flour, cornflour (cornstarch), baking powder, bicarbonate of soda (baking soda), and salt. Add this sifted dry mixture to the wet ingredients in the pan. Stir carefully until no dry lumps remain and a thick, uniform batter forms. Avoid overmixing to keep the blondies tender.
-
Scrape all the blondie batter into your prepared 20cm square tin. Use a spatula or the back of a spoon to spread the batter evenly across the base of the tin, ensuring it is level from edge to edge.
-
Warm the raspberry jam slightly until it achieves a runny consistency suitable for piping or drizzling. Carefully transfer the warmed jam into a disposable piping bag. If you don’t have one, a sturdy Ziploc bag with a small corner snipped off will work.
-
Snip off the very tip of the piping bag and pipe artistic swirls or zig-zags of jam over the top of the blondie batter. Alternatively, dollop spoonfuls of jam and use a knife to gently swirl them into the batter for a marbled effect. Bake for approximately 25 minutes. The blondies are ready when the edges are set and lightly golden brown, and a skewer inserted into the center comes out with moist crumbs but no wet batter. A slight jiggle in the center is desirable for fudginess.
-
Once baked, remove the blondies from the oven and allow them to cool fully in the pan on a wire rack. This is crucial for them to set properly and for clean, precise slicing. Once completely cool, lift them out using the parchment paper overhang and slice into 12 delectable pieces.
Notes
- For detailed tips, ingredient insights, and step-by-step photos, please refer to the full blog post above.
- Accuracy is key in baking! Always use a digital kitchen scale for measuring ingredients in grams rather than cup conversions, as this will yield far more consistent and reliable results.
- For best baking results and to avoid overbaking, use a metal baking tin instead of glass or ceramic, which retain heat for too long.
- The raspberry jam swirl is entirely optional. You can omit it for a pure peanut butter blondie, or substitute with other mix-ins like vegan chocolate chips or crushed cookies.
