Instant Pot Burn Message Solved: The Ultimate Guide to Prevention & Troubleshooting
Are you feeling frustrated by the dreaded Instant Pot Burn Message? Wondering what this warning truly signifies and, more importantly, how you can prevent it from disrupting your meal preparation? You’ve come to the right place! This comprehensive guide provides all the answers you need to understand, prevent, and troubleshoot the Instant Pot burn notice, ensuring a smoother pressure cooking experience.
The “Burn” message is a common concern I hear from Instant Pot users, especially those new to pressure cooking. It’s an unwelcome sight after a long day when you’re counting on your Instant Pot to deliver a quick and delicious dinner!
While it can be alarming, the good news is that the burn notice is typically a warning system, not a sign of disaster. Most of the time, your food isn’t completely ruined, and with the right knowledge, you can usually prevent it from happening again. In this guide, we’ll dive deep into what the Instant Pot burn message means, explore the various reasons it appears, and equip you with practical solutions to both prevent and troubleshoot this common pressure cooker issue.
Let’s demystify the Instant Pot Burn Message so you can cook with confidence!
What Does the Instant Pot Burn Message Mean?
When your Instant Pot displays the “Burn” message or “Ovht” (overheat) error, it’s not signaling that your food is actively on fire. Instead, it indicates that the Instant Pot’s built-in “burn-protection” mechanism has been activated. This is a crucial safety feature designed to prevent food from scorching at the bottom of the inner pot and to protect the appliance itself from overheating.
Here’s how it works: The Instant Pot has sensors that monitor the temperature at the base of the inner pot. If these sensors detect an excessively high temperature—typically around 140°C (284°F)—it triggers the burn-protection system. When this happens, the Instant Pot immediately stops heating, and the “Burn” or “Ovht” message flashes on the display. This pause in heating is intended to prevent further scorching and allows you to intervene before your meal is ruined.
It’s important to remember that this is often a preemptive warning. In many cases, when you open your pot after seeing a burn notice, you’ll discover that your food is perfectly fine, or only a small portion might be slightly stuck. So, before you panic, understand that this message is your cue to investigate, not to despair!
Why Does My Instant Pot Say Burn? How Can I Avoid Getting the Burn Notice Next Time?
The Instant Pot burn message can be triggered by several factors, ranging from user error to a need for more liquid. Understanding these common culprits is the first step toward preventing the notice from appearing in the future. Let’s explore the most frequent reasons and their straightforward solutions.
Issue #1: Food is Stuck to the Bottom of Your Instant Pot
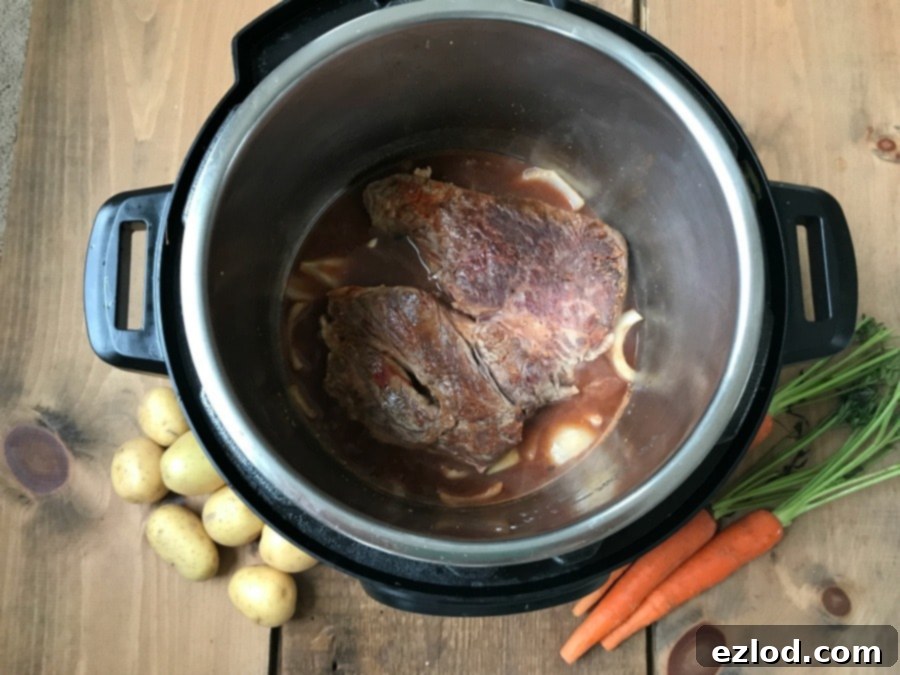
The Instant Pot’s sauté function is incredibly useful for browning meats and sautéing aromatics directly in the pot. However, sometimes this process can lead to small bits of food getting stuck or caramelized onto the bottom of the stainless steel inner pot. Even a small amount of stuck-on food can act as a hot spot, causing the temperature at the bottom to rise rapidly and trigger the sensitive burn-protection sensor.
Solution: Deglaze, Deglaze, Deglaze!
Deglazing is a crucial step after using the sauté function. Once you’re finished browning or searing, add a few tablespoons (or up to half a cup) of thin liquid like water, broth, or wine to the inner pot. Immediately use a wooden spoon or a silicone spatula to scrape the bottom thoroughly. Make sure to dislodge all those flavorful, browned bits. These bits are not only prone to burning but also contain delicious flavor that will be incorporated into your meal. Ensuring a completely clean bottom before moving to pressure cooking is essential for preventing the burn notice.
Issue #2: Steam is Escaping Your Instant Pot
Pressure cooking relies on a sealed environment to build and maintain pressure. If steam is escaping, the pot can’t come to pressure efficiently, leading to two problems: insufficient liquid evaporation to generate steam, and the heating element continuing to work harder, potentially overheating the bottom of the pot.
A. Venting Knob is Set to Venting Instead of Sealing
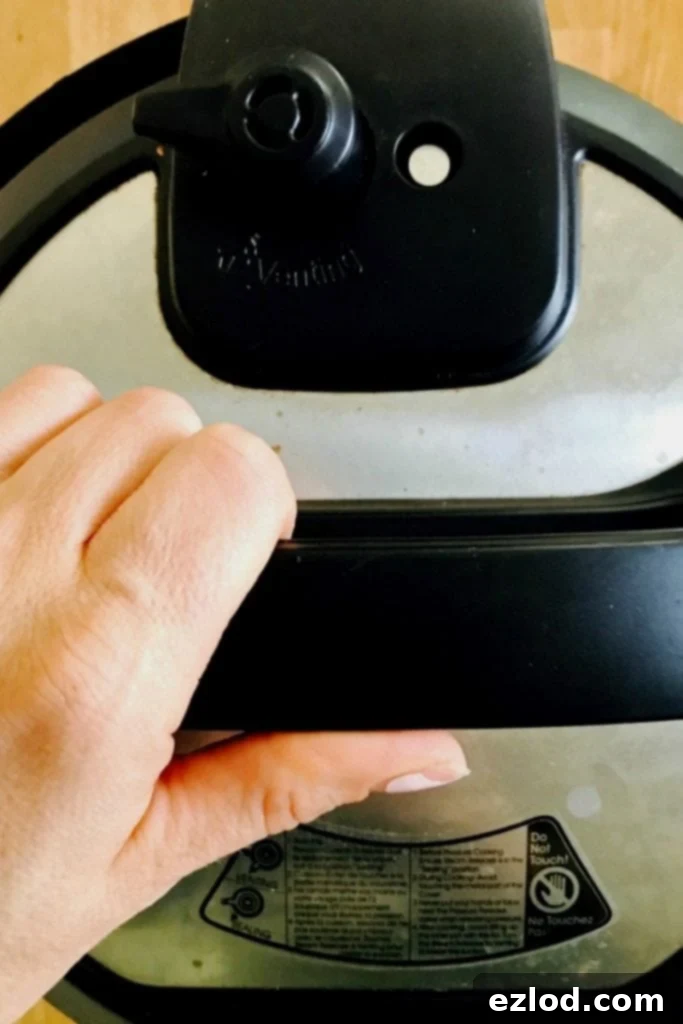
This is a common oversight, especially for new users. If the steam release handle (knob) is turned to the “Venting” position instead of “Sealing,” steam will escape continuously. This prevents pressure from building up and causes the liquid inside to evaporate too quickly, making the bottom of the pot dry and hot.
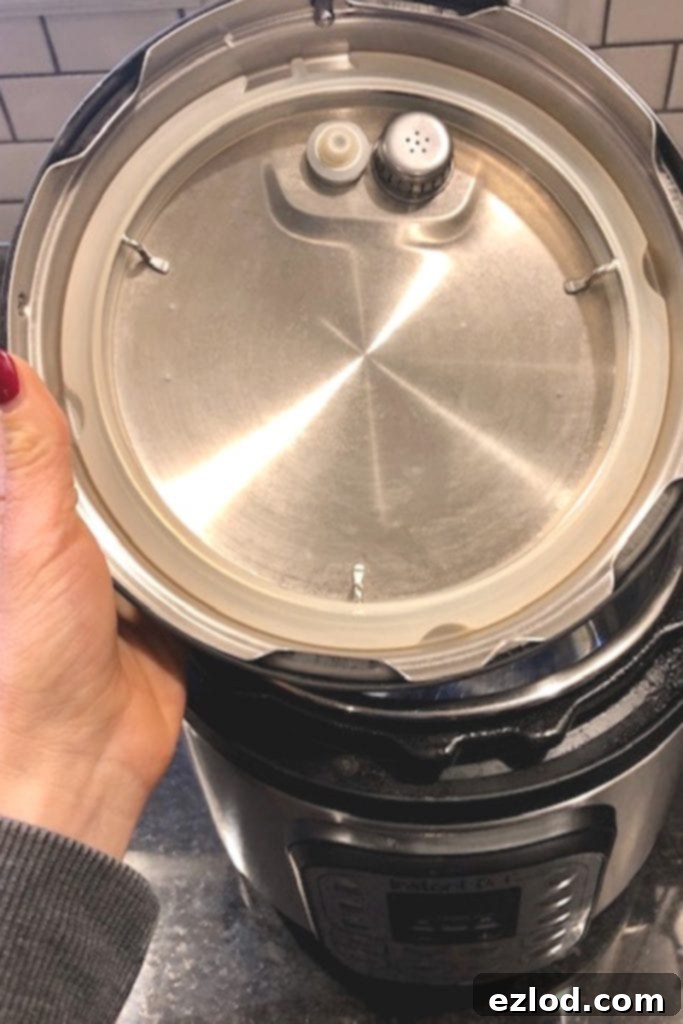
B. Damaged or Misplaced Sealing Ring
The silicone sealing ring located inside the lid is vital for creating an airtight seal. If the sealing ring is not properly seated, is damaged (e.g., cracked, torn, or stretched), or has food debris stuck to it, steam can leak during the pressure-building phase. Similar to the venting knob issue, this steam loss will prevent adequate pressure and can lead to the burn notice.
Solution: Check and Double-Check Your Sealing!
- Steam Release Handle: Always confirm that your steam release handle is set to the “Sealing” position before starting a pressure cooking cycle. It’s a good habit to give it a quick check after closing the lid.
- Sealing Ring: Before each use, quickly inspect your sealing ring. Ensure it’s clean, free of food particles, and properly seated in the grooves of the lid. Gently pull it out and re-insert it if you’re unsure. Over time, sealing rings can wear out, absorb odors, or become stretched. If you notice any signs of damage or if it consistently fails to seal, a replacement ring is a small investment that can save you a lot of trouble. They are readily available and inexpensive on Amazon. Some users even keep separate rings for savory and sweet dishes to prevent flavor transfer!
Issue #3: There’s Not Enough Thin Liquid in Your Recipe
The Instant Pot requires a certain amount of thin liquid (like water, broth, or thin sauces) to generate the steam necessary for pressure to build. Without adequate liquid, the pot will attempt to heat, but it won’t be able to create enough steam. This continuous heating on a dry or nearly dry bottom will cause the temperature to climb excessively, triggering the “Burn” code.
This issue can be particularly problematic for owners of 8-quart Instant Pots. Many recipes are initially developed using the more common 6-quart model, which requires less liquid to come to pressure. An 8-quart pot has a larger surface area and volume, meaning it often needs an additional 0.5 to 1 cup of liquid beyond what a 6-quart recipe might specify.
Solution: Know Your Minimum Liquid Requirements and Adjust!
- General Guideline: Most 6-quart Instant Pots require a minimum of 1 to 1.5 cups of thin liquid to come to pressure effectively. For 8-quart models, it’s generally recommended to use at least 2 to 2.5 cups. Always refer to your Instant Pot’s specific manual for precise minimums.
- Trial and Error (Initial Stages): As an experienced Instant Pot user, I’ve learned that individual pots can sometimes behave slightly differently. While I aim to provide precise liquid amounts in my recipes, for a small percentage of users, a little trial and error might be necessary at first. When in doubt, especially with a new recipe or a larger pot, err on the side of adding a little extra thin liquid (e.g., an extra half cup) the first time you cook it.
- Recipe Source: Opt for tried-and-true recipes from reputable sources or those highly reviewed in Instant Pot communities. These recipes are often tested extensively for various pot sizes and common issues.
- Consider Ingredients: Remember that some ingredients, like high-moisture vegetables (e.g., mushrooms, zucchini), will release their own liquid during cooking, which contributes to the overall liquid content. Dense meats or very dry ingredients will require more external liquid.
Issue #4: The Food or Liquid is Too Thick or Starchy
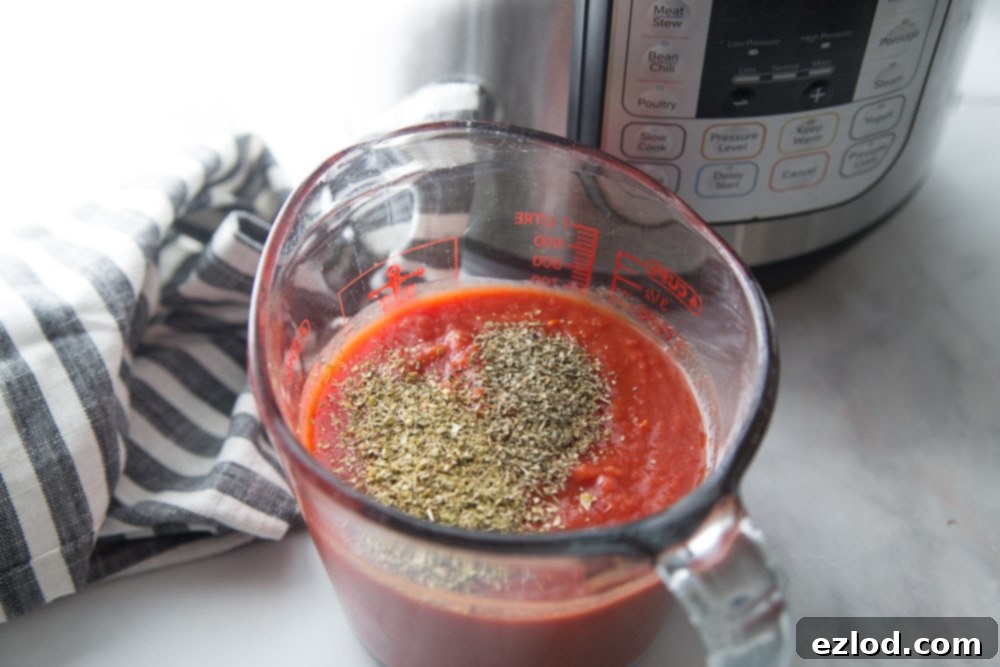
Certain types of ingredients can easily cause a burn notice because they don’t allow steam to circulate properly or they tend to stick and scorch at the bottom. This includes very thick sauces, dense dairy products, and starchy foods.
- Thick Sauces & Thickeners: Ingredients like tomato paste, heavy tomato sauces, cream of mushroom soup, condensed soups, flour, or cornstarch (if added before pressure cooking) can settle at the bottom, creating a thick layer. This layer can block the transfer of heat to the liquid above it, leading to scorching at the base and triggering the sensor.
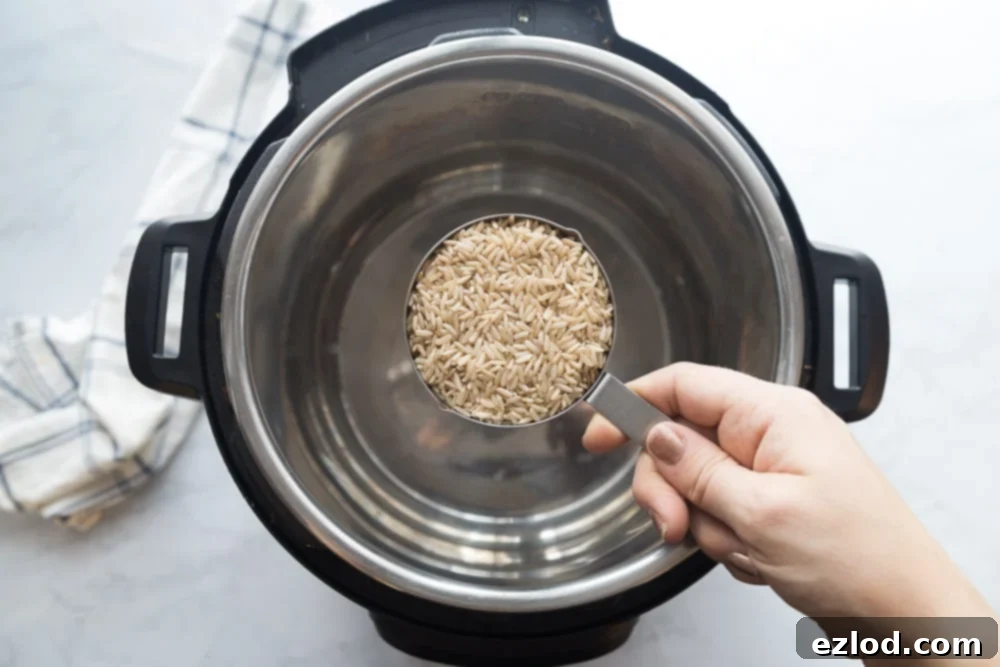
- Starchy Foods: Foods like pasta, oatmeal, rice, or even some beans, when cooked directly on the bottom with insufficient liquid or proper layering, can stick and burn. Their starch content tends to thicken the liquid around them as they cook.
- Dairy & Cream: Milk, cheese, and cream can easily scorch when exposed to direct, high heat. Adding them before pressure cooking is a common cause of the burn message.
Solution(s): Strategic Preparation and Layering
If your recipes frequently involve these problematic ingredients, implement these strategies:
- Spray the Pot: Before adding any ingredients, lightly spray the bottom of the Instant Pot inner liner with a non-stick cooking spray, especially when cooking starchy foods like rice or pasta. This creates an extra barrier.
- Ensure Adequate Thin Liquid: Always confirm you have enough *thin* liquid as the base layer. This liquid is essential for creating the steam barrier that prevents thicker ingredients from direct contact with the heating element.
- Layer Ingredients Smartly: This is a game-changer! Place your thin liquid at the bottom of the pot first. Then, add your main ingredients (like meat and firm vegetables). Layer any thick sauces, starchy foods (pasta, rice), or dairy ingredients on top of everything else. The key is to NOT STIR the pot once these layers are in place. This prevents the thicker ingredients from sinking to the bottom and scorching.
- Use the Pot-in-Pot (PIP) Method: For extremely sensitive or starchy foods like rice, oats, delicate casseroles, or baked goods, consider using the Pot-in-Pot method. This involves placing your food in a separate, smaller, oven-safe bowl that sits on a trivet above water in the main Instant Pot liner. This indirect cooking method prevents sticking and burning effectively.
- Add Thickeners and Dairy AFTER Pressure Cooking: To avoid burn warnings, always add thickeners (flour, cornstarch slurries) and dairy products (milk, cream, cheese) *after* the pressure cooking cycle is complete and the pressure has been released. You can then use the sauté function to simmer and thicken your sauce or melt cheese without the risk of scorching.
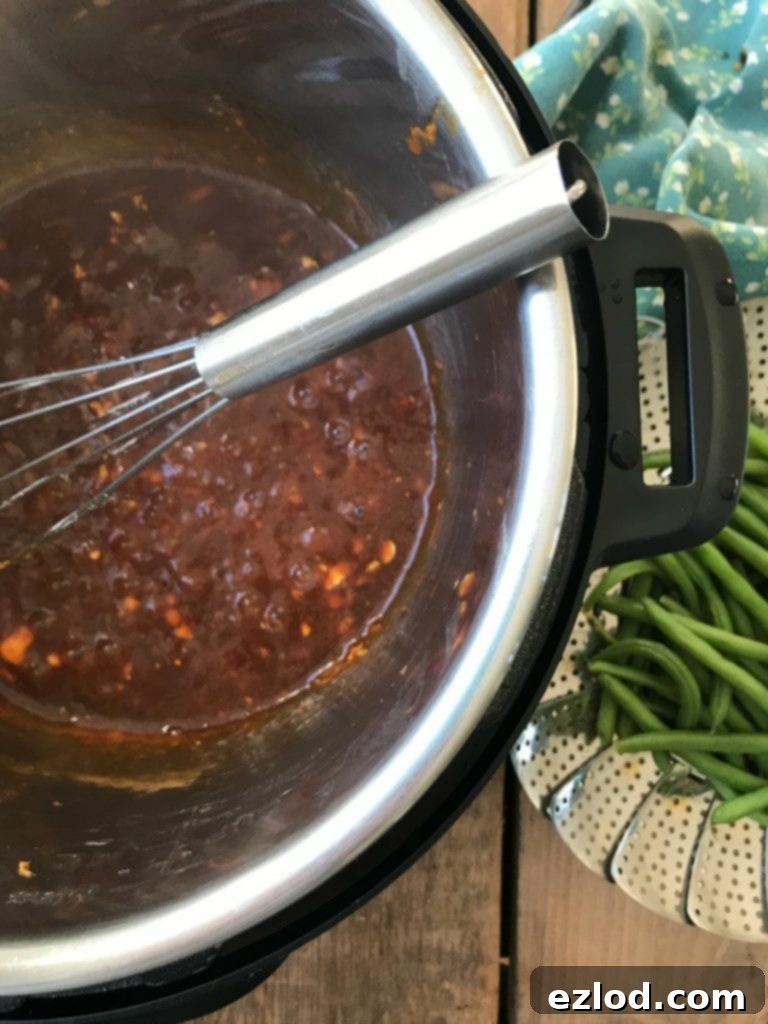
Issue #5: Food Stuck in the Heating Element of Your Pot
This might seem less common, but it happened to me! I once accidentally spilled some noodles into the Instant Pot’s heating element while draining pasta. Even after what I thought was thorough cleaning, some small pieces remained. The next time I cooked, these unseen bits triggered the burn notice. Food debris in the heating element can directly interact with the sensor or create concentrated hot spots, leading to the error message.
Solution: Regular Inspection and Thorough Cleaning
Periodically, especially after any spills or when giving your Instant Pot a deeper clean, perform a quick check of the heating element area. Unplug the Instant Pot, remove the inner pot, and visually inspect the heating plate and the rim where the inner pot sits. Use a dry cloth or a slightly damp sponge (ensure no water drips into electrical components) to wipe out any food particles, crumbs, or liquid residue. Always make sure the exterior and heating element area are completely dry before plugging in and using your Instant Pot again.
Issue #6: You Have a Very Sensitive Pot or a Malfunction
While the burn message is often due to one of the reasons above, if you consistently get the burn message despite following all the prevention tips, carefully checking your ingredients, liquid levels, and seals, it might indicate an issue with your Instant Pot itself. I’ve used my Instant Pot almost daily for years and rarely encounter the burn message. It shouldn’t be a constant occurrence.
Solution: Contact Instant Pot Customer Service
If you’ve exhausted all troubleshooting steps and still receive frequent burn notices, it’s time to reach out to Instant Pot customer service or technical support. They can help diagnose whether there’s a manufacturing defect or a faulty component (like a sensor) in your unit. Be prepared to provide your model number, serial number, purchase date, and a detailed description of the issue and the steps you’ve already taken. Under warranty, you might be eligible for a repair or replacement pot.
What to Do if You Get a Burn Message on Your Instant Pot
Receiving a “Burn” message in the middle of cooking can be unsettling, but it’s important to remain calm. Remember, your Instant Pot has a safety mechanism, and your meal is likely salvageable. Follow these systematic steps to troubleshoot the situation:
-
Don’t Panic and Press “Cancel”:
The first thing to do is press the “Cancel” button on your Instant Pot. This will immediately stop the heating process and prevent further scorching. Nothing is on fire, and the pot is designed to handle this.
-
Check the Venting Knob and Release Pressure:
Carefully check if your steam release handle is set to “Sealing” or “Venting.”
- If it’s on “Venting,” gently turn it to “Sealing” and wait a few minutes to see if the pot resumes building pressure. If it still shows “Burn,” proceed to the next step.
- If it’s already on “Sealing,” or if the issue persists, perform a quick release of the pressure by carefully moving the steam release handle to the “Venting” position. Stand clear of the steam.
-
Open the Lid and Inspect the Sealing Ring:
Once the float valve has dropped and all pressure is released, carefully open the lid. Remove the sealing ring and check it thoroughly. Is it properly seated? Is it damaged, cracked, or stretched? Are there any food particles stuck to it? Clean it if necessary, and re-insert it correctly, or consider replacing it if it appears defective.
-
Examine the Bottom of the Inner Pot:
This is often where the problem lies. Carefully remove the inner pot and look at its bottom.
- If you find a small amount of food stuck or lightly scorched, use a wooden or silicone spatula to gently scrape it off. Do not use metal utensils as they can scratch the stainless steel.
- If a significant amount of food is heavily stuck or burnt, you may need to carefully remove the top, unburnt layers of food. Salvage what you can, then transfer the rest of the food to a separate bowl while you clean the inner pot. You might need to soak the inner pot with warm, soapy water to remove stubborn burnt bits.
-
Check the Heating Element:
With the inner pot removed, take a moment to look into the base of your Instant Pot at the heating element. Ensure there are no stray food particles, liquid, or debris caught around or on the heating plate. Wipe it clean with a dry cloth if needed, ensuring no moisture enters the electrical components.
-
Assess Liquid and Ingredients & Restart (If Possible):
Based on your inspection, determine the cause.
- If the bottom was dry or the liquid was too thick, add additional thin liquid (water, broth) to your recipe.
- If food was stuck, ensure you’ve thoroughly scraped it.
- If you had thick sauces or starchy ingredients directly at the bottom, consider re-layering them on top of a thin liquid base, ensuring you don’t stir.
Once you’ve made the necessary adjustments, you can try to restart the pressure cooking cycle. If your food was mostly cooked but received the notice, you might only need a few more minutes to finish.
By understanding the Instant Pot burn message and following these steps, you’ll be well-equipped to troubleshoot effectively and get your meal back on track. Most importantly, you’ll gain confidence in using your Instant Pot and prevent this message from appearing in the first place!
If you are new to the Instant Pot or looking for reliable recipes, here are some excellent places to find tried-and-true dishes:
- Easy Instant Pot Recipes for Beginners | What to Cook First in Your New Instant Pot
- 31 Days of Healthy Instant Pot Recipes [21 Day Fix | Weight Watchers Freestyle]
- Healthy Instant Pot Mexican Favorites
- 21 Day Fix Gluten Free Instant Pot Recipes
