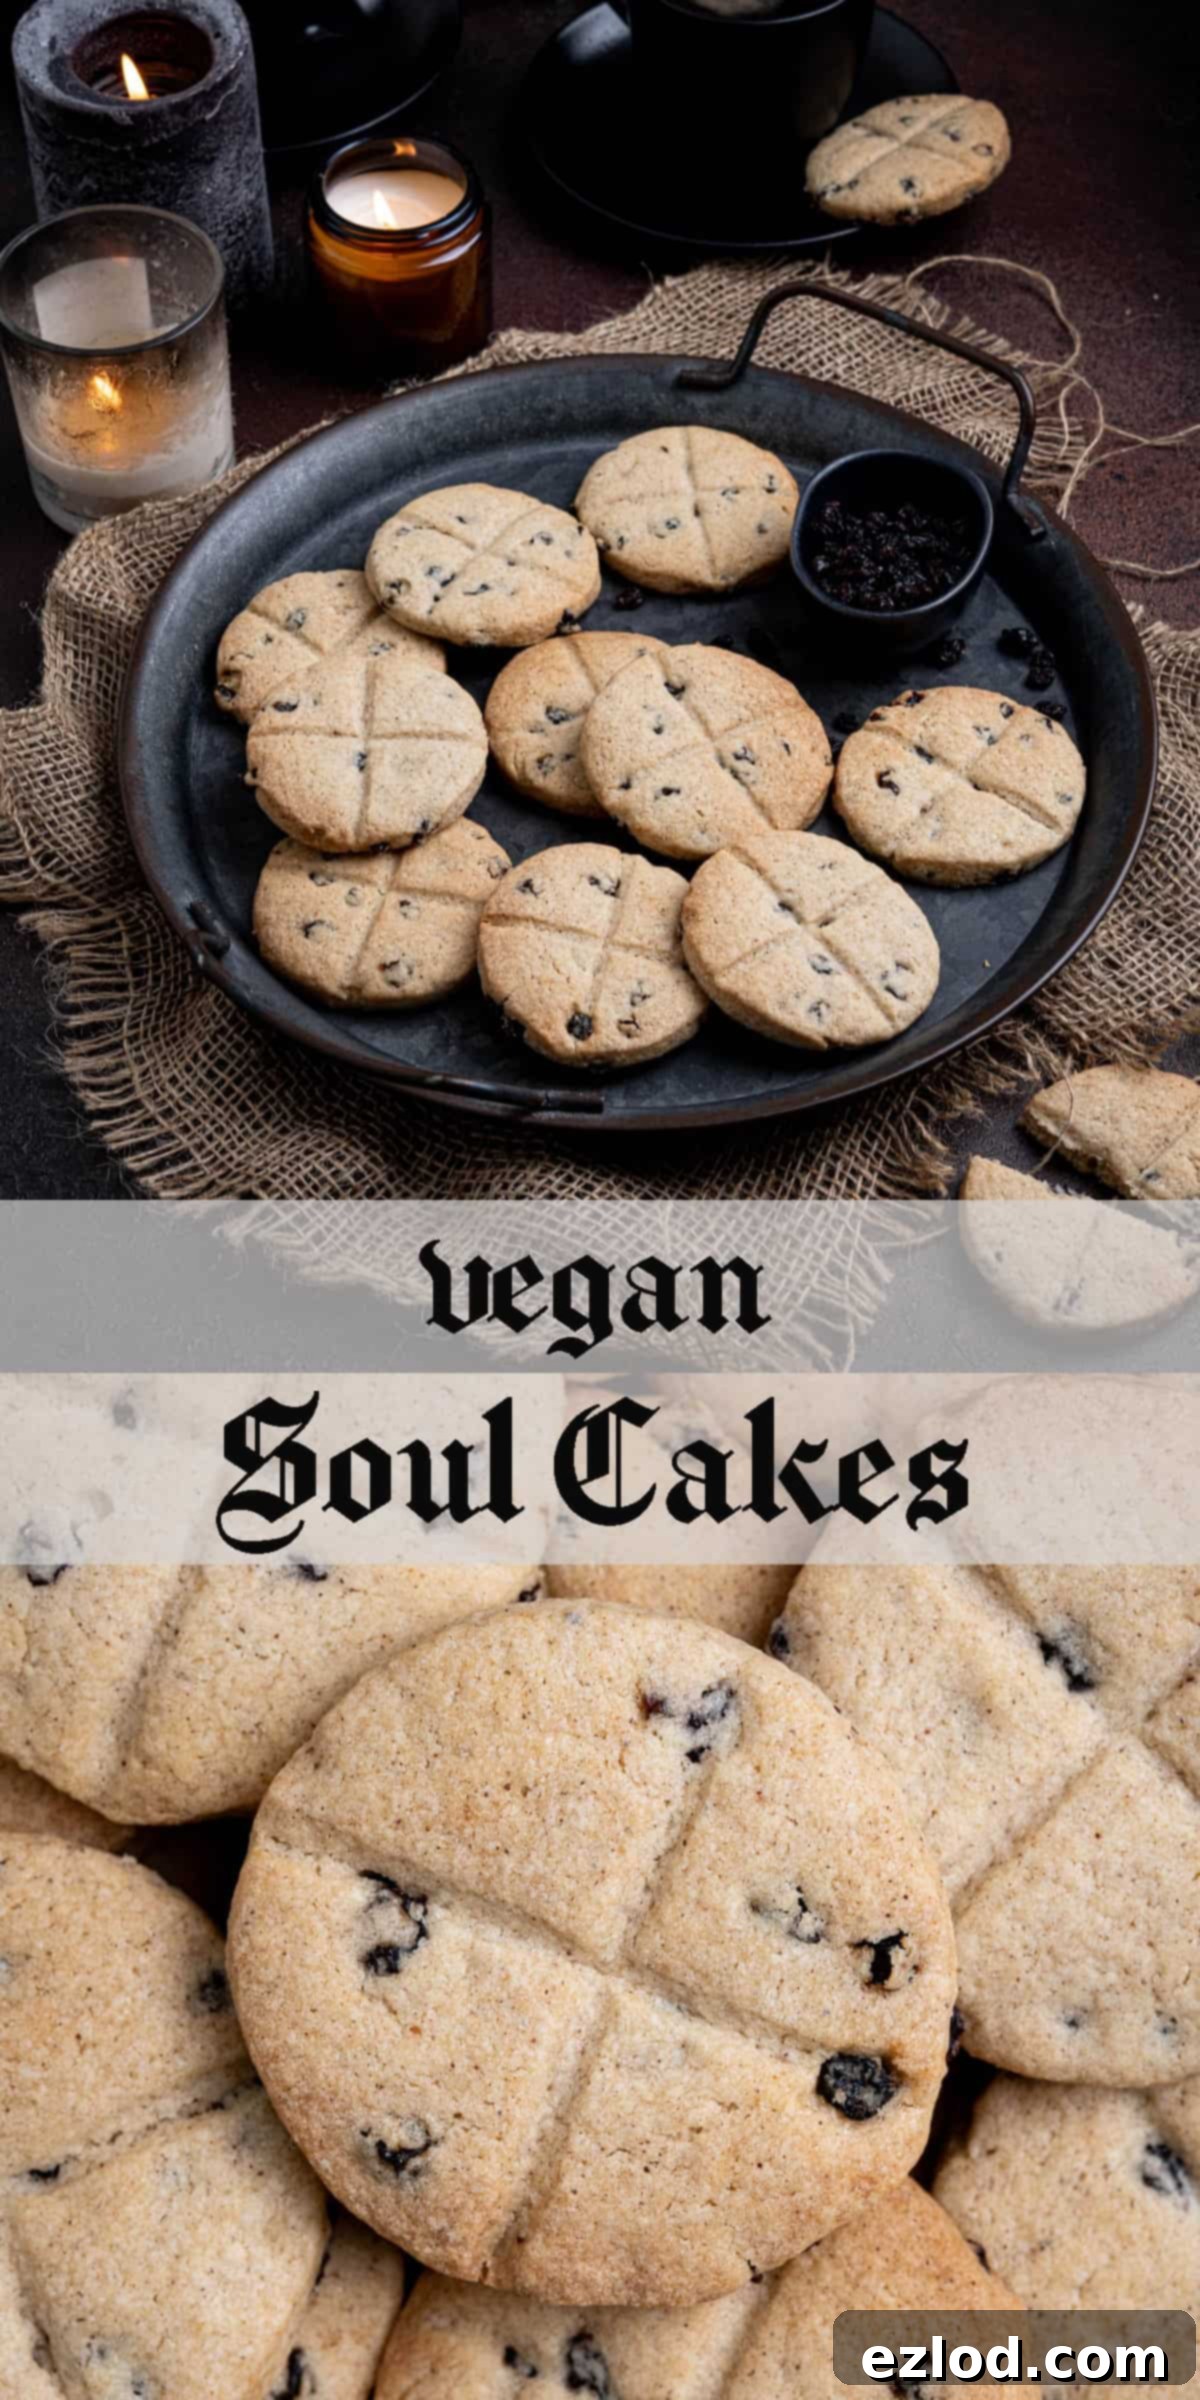
Delicious & Easy Vegan Soul Cakes: A Traditional British Recipe for Halloween and Beyond
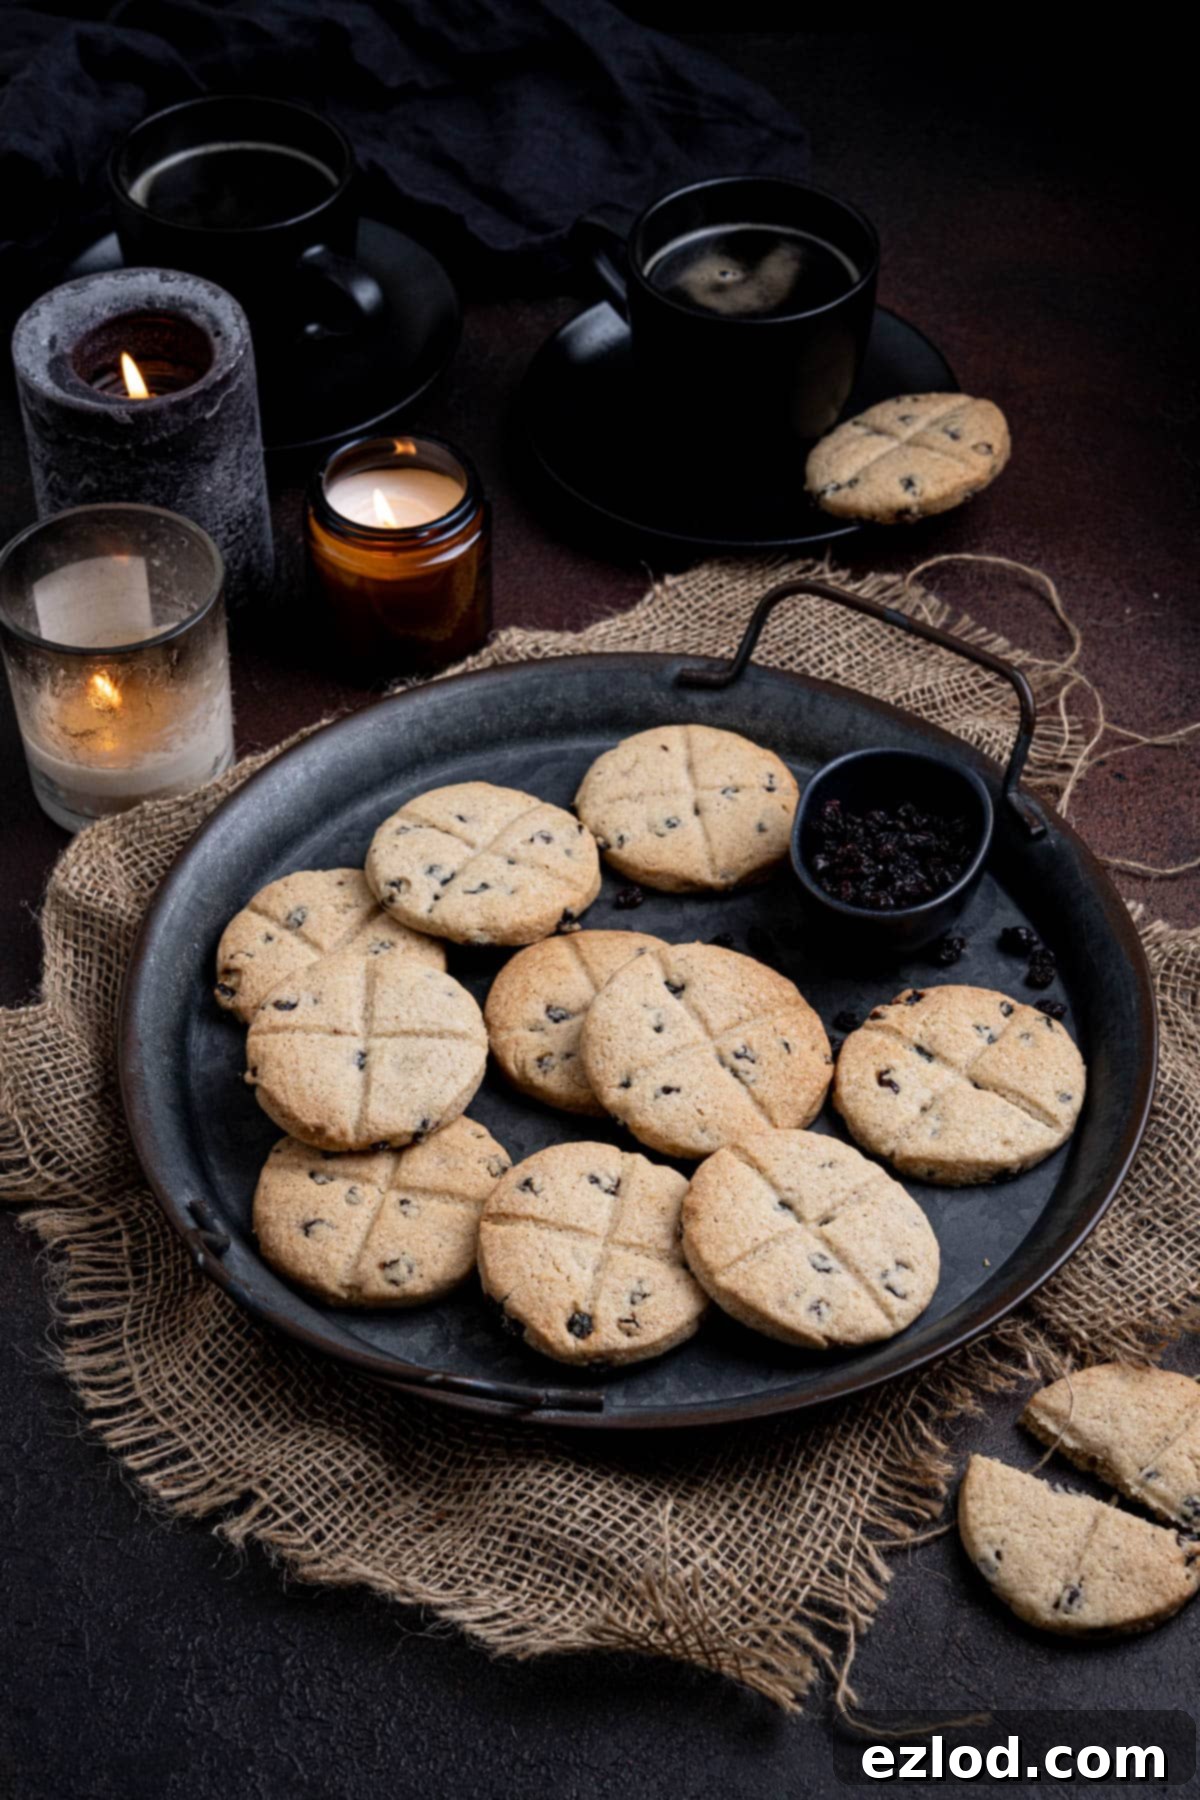
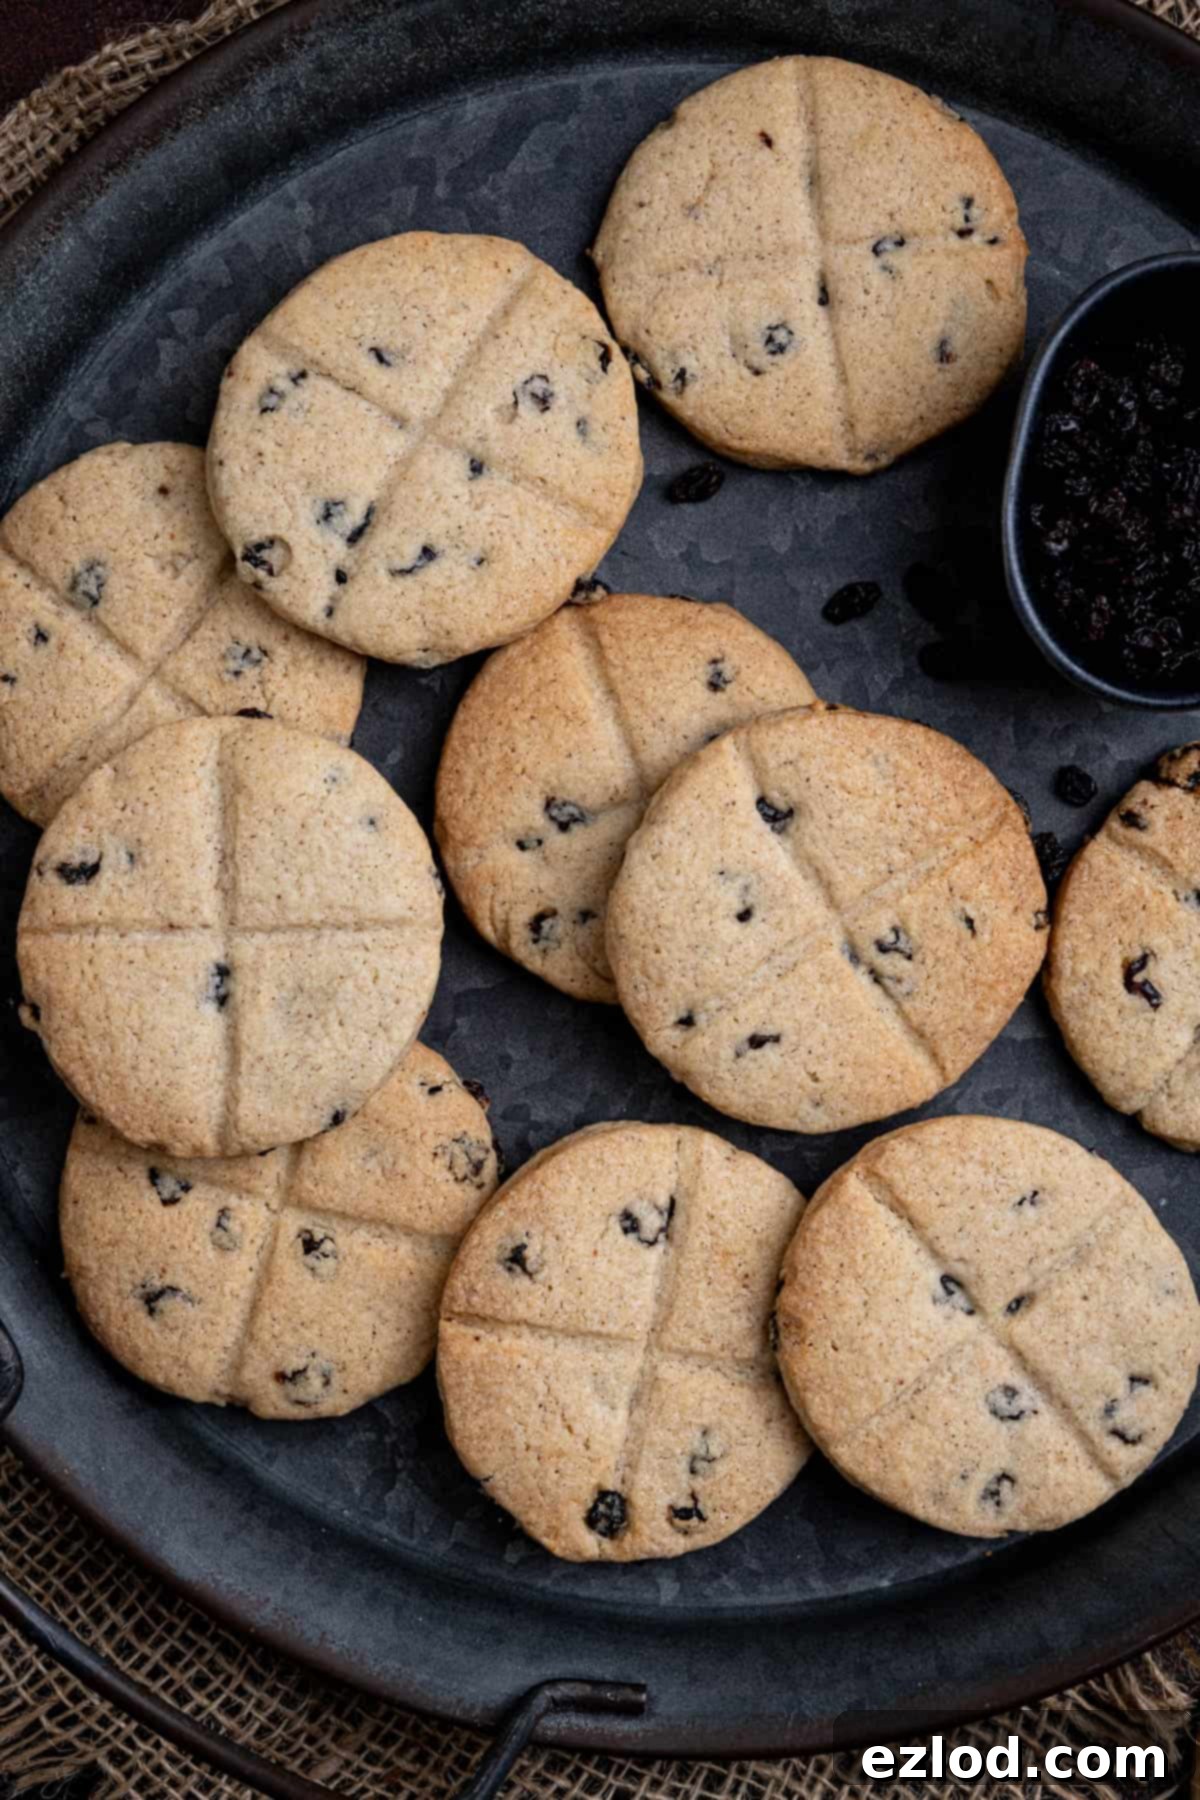
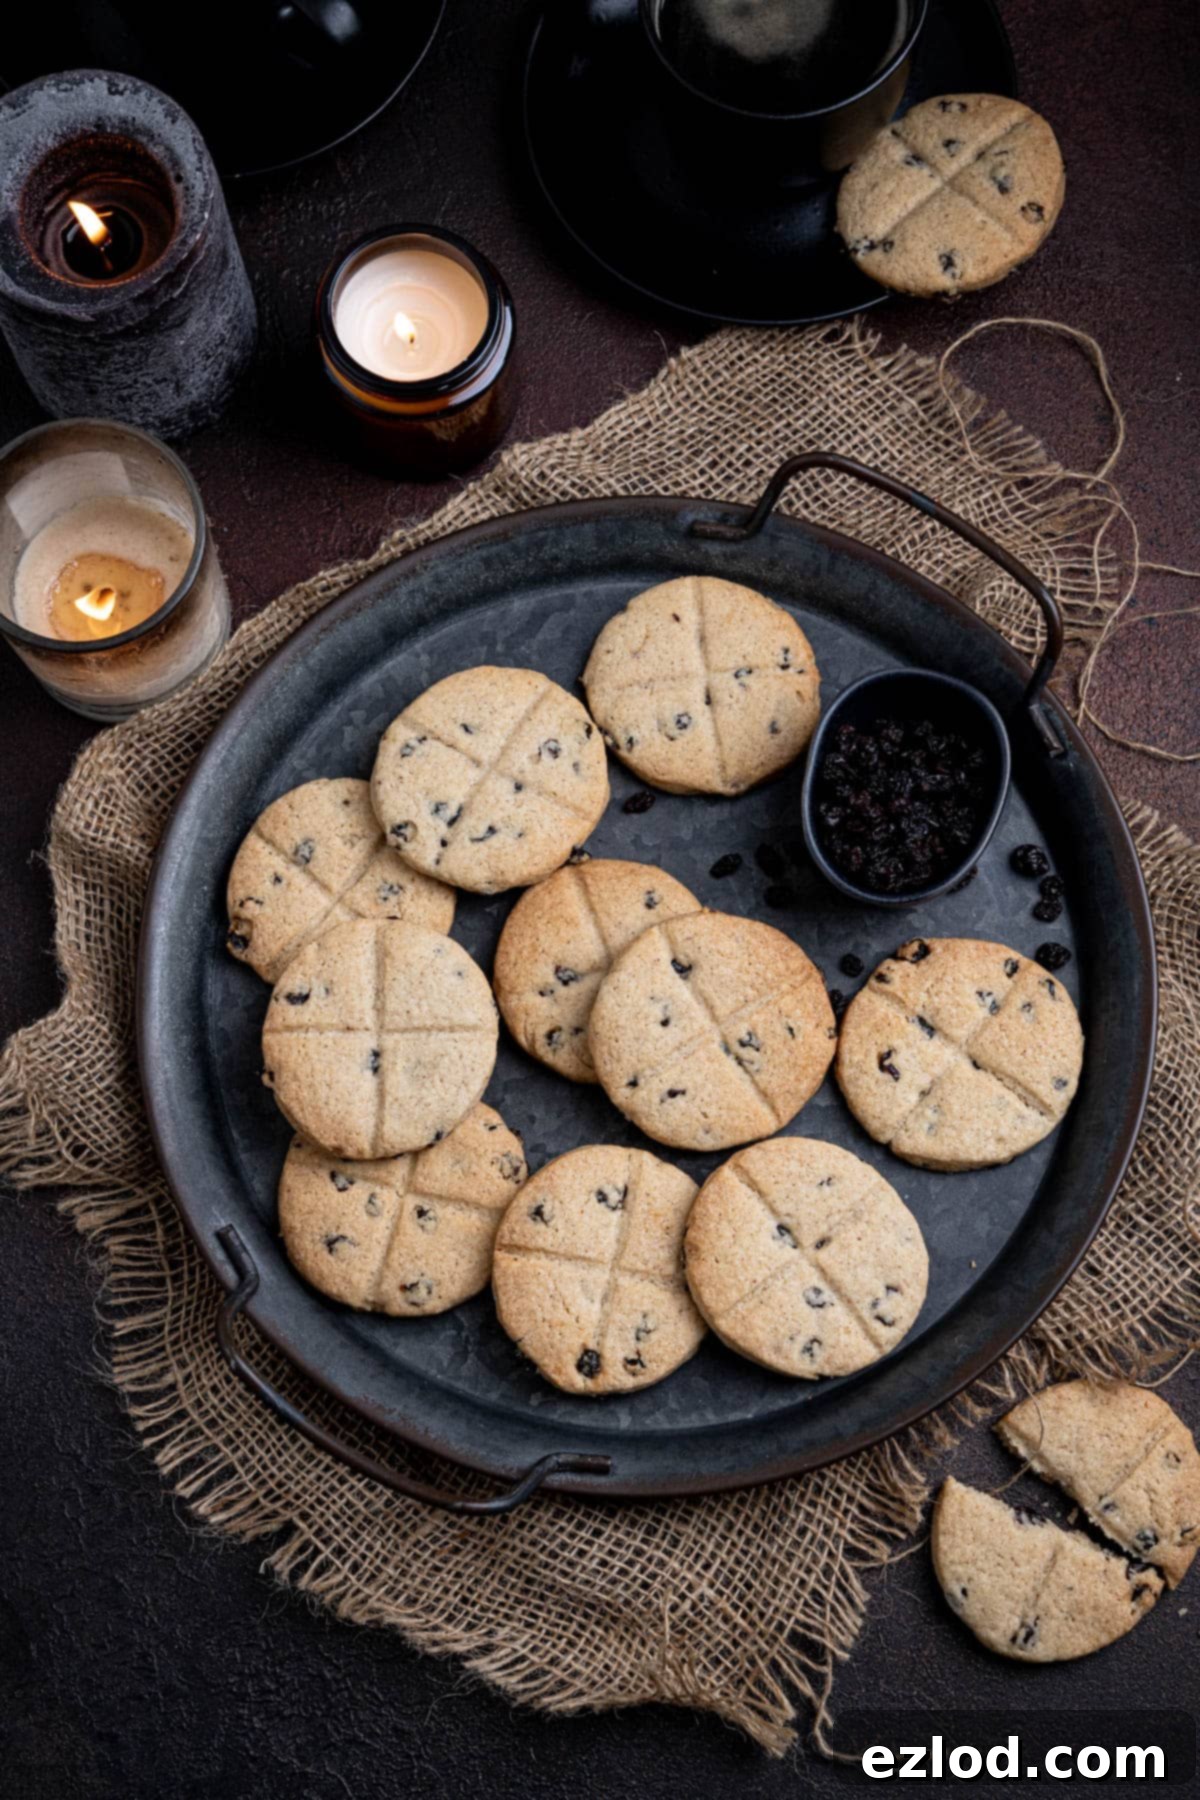
Embark on a culinary journey back to medieval Britain with these delightful vegan soul cakes. More than just a simple treat, these warmly spiced, currant-studded biscuits hold centuries of history and tradition. Originally baked to commemorate the departed souls during Allhallowtide (All Hallow’s Eve, All Saints’ Day, and All Souls’ Day), soul cakes offer a unique blend of shortbread’s crumbly tenderness and a scone’s comforting chewiness. Each cake is lovingly marked with a cross, a symbol of its ancient spiritual significance, making them a perfect, heartfelt bake for autumn festivities, Halloween, or any time you crave a taste of history.
Understanding the History of Soul Cakes: What Are They?
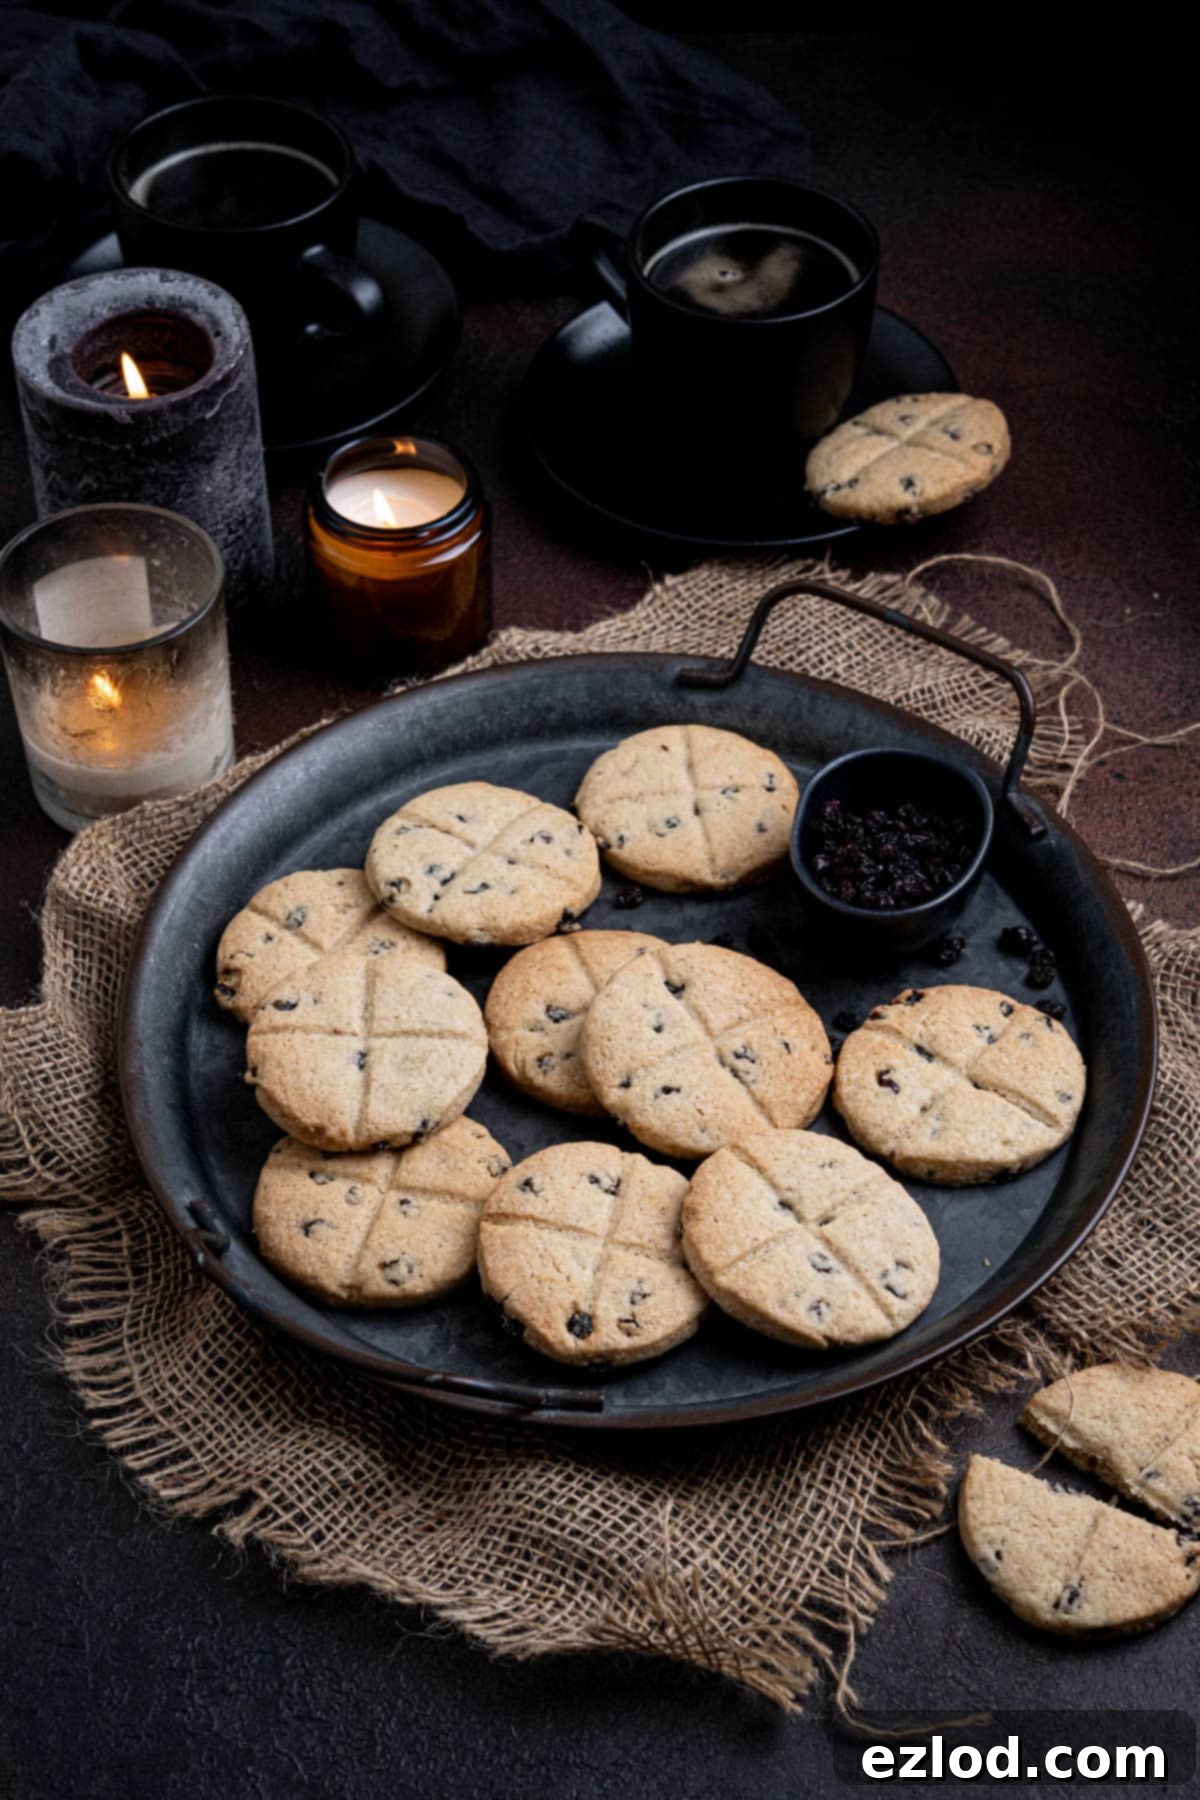
Soul cakes are small, round, spiced confections traditionally associated with the Christian observance of Allhallowtide, spanning October 31st to November 2nd. Their origins trace back to medieval Britain, where they became deeply woven into local folklore and customs surrounding the remembrance of the deceased. These humble cakes were more than just food; they were a central component of “souling,” a charitable practice where people would bake and distribute them to the poor on All Souls’ Day.
The belief was that by offering these cakes to those in need, the living could secure prayers for the souls of their departed loved ones, helping to ease their journey through purgatory. Children and the less fortunate would go door-to-door, singing carols or reciting verses and prayers in exchange for these sweet gifts. This tradition is considered by many to be a precursor to modern trick-or-treating, blending spiritual devotion with community charity.
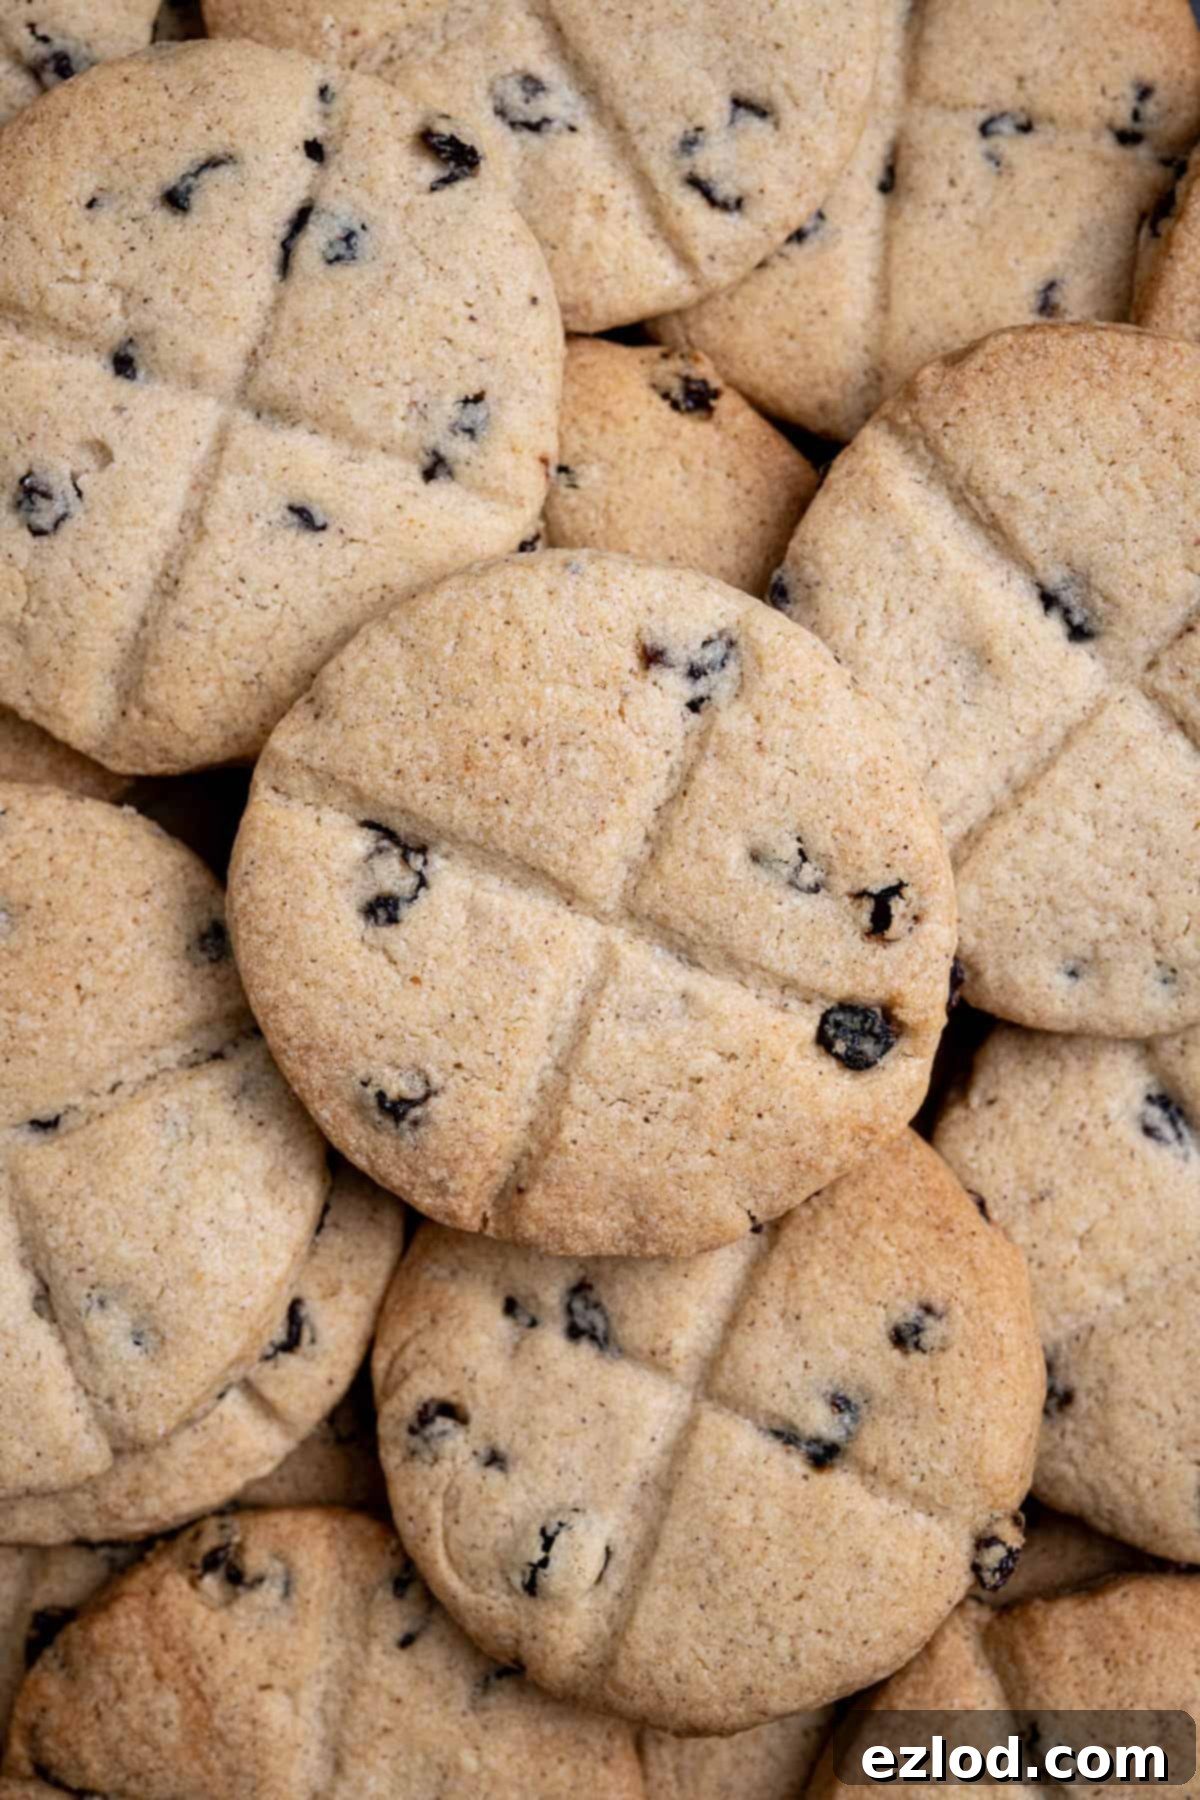
While their historical roots are Christian, soul cakes have found a renewed appreciation in contemporary autumn celebrations, particularly for Halloween and Samhain. Their warmly spiced flavour, often featuring cinnamon, nutmeg, and allspice, along with a scattering of currants, makes them an ideal seasonal treat. The distinctive cross etched onto their surface not only signifies their religious past but also adds a charming, rustic touch to these unique “biscuits,” which boast a texture that’s softer than a true shortbread but firmer than a typical cake.
Why Choose Vegan Soul Cakes?
Creating a vegan version of soul cakes allows everyone to participate in this beautiful tradition, regardless of dietary preferences or restrictions. By substituting animal-derived ingredients like butter and milk with plant-based alternatives, we make this historical treat accessible and enjoyable for a wider audience. The beauty of this recipe lies in how easily traditional flavours and textures can be replicated using vegan ingredients, ensuring that the essence of the soul cake remains perfectly intact. It’s a delightful way to honor an ancient custom while embracing modern, compassionate eating.
Key Ingredients for Perfect Vegan Soul Cakes:
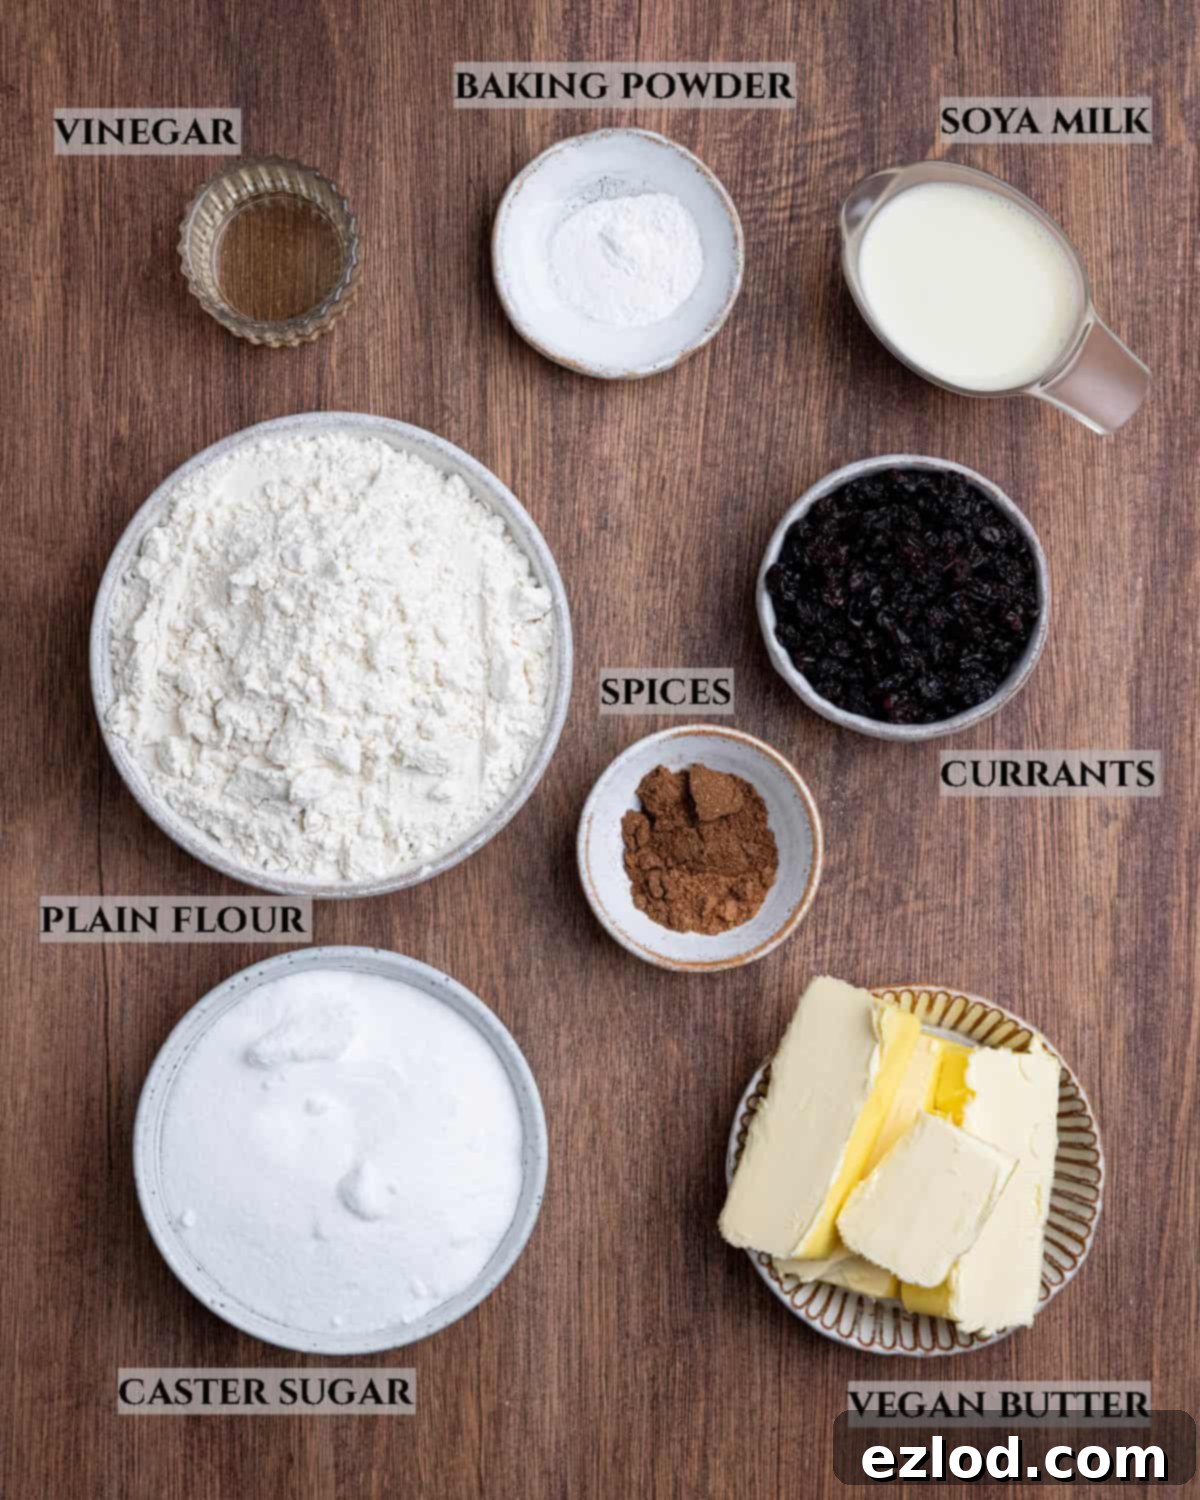
Each ingredient plays a crucial role in achieving the signature taste and texture of these traditional treats. Here’s a closer look at what you’ll need and why:
- Currants: These small, dried grapes are the traditional choice for soul cakes, offering a delightful burst of fruity sweetness. Their diminutive size ensures an even distribution throughout the dough, meaning every bite contains a perfect balance of spice and fruit. While raisins can be used as a substitute, currants are highly recommended for an authentic experience. For a fun twist, you could also experiment with other small dried fruits like chopped dried cranberries or cherries.
- Vegan Block Butter: This is arguably the most critical ingredient for achieving the correct texture. It is paramount to use a block-style vegan butter or margarine, not the spreadable kind found in tubs. Block butter has a higher fat content and less water, which is essential for creating the rich, crumbly texture characteristic of soul cakes, reminiscent of shortbread. Spreads typically contain more water, which can lead to a less tender and more cake-like result. Ensure your butter is cold and diced before you begin, as this will help achieve the desired “breadcrumbs” texture when rubbed into the flour.
- Plain (All-Purpose) Flour: Standard plain flour is ideal for this recipe. It provides the necessary structure without developing too much gluten, which can lead to a chewy texture (and we’re aiming for tender!). While I haven’t specifically tested a gluten-free version of these soul cakes, a good quality 1:1 gluten-free baking blend that includes xanthan gum might work, though results could vary.
- Caster Sugar: This finely granulated sugar is preferred because it dissolves easily into the dough, contributing to a smooth texture without any grittiness. Golden caster sugar is an excellent choice as it imparts a subtle hint of caramel flavour, enhancing the overall warmth of the cakes. If caster sugar is unavailable, regular granulated sugar can be used, but ensure you mix the dough thoroughly to help it dissolve as much as possible.
- Warming Spices: A blend of traditional warming spices is what gives soul cakes their irresistible aroma and flavour. I typically use mixed spice, a classic British blend often containing cinnamon, coriander, caraway, nutmeg, ginger, and cloves, combined with additional ground nutmeg. This combination creates a rich, comforting profile. Feel free to adapt the spices to your taste. Pumpkin spice mix would be an excellent substitute for mixed spice, or you could add a pinch of ground ginger or allspice for extra depth.
- Unsweetened Non-Dairy Milk: Any unsweetened non-dairy milk will work to bring the dough together. I often opt for soy milk due to its higher protein content, which can sometimes contribute to a slightly richer texture in baking. However, almond, oat, or even rice milk are perfectly viable alternatives. Just ensure it’s unsweetened to avoid altering the sugar balance of the recipe.
- Cider or White Wine Vinegar: A small amount of vinegar might seem unusual, but it plays a secret role in creating a lovely, tender texture. When combined with baking powder, the acid in the vinegar reacts with the alkali in the baking powder, producing carbon dioxide bubbles that help to lighten the dough and provide a gentle lift. While you can omit it, its inclusion contributes to a superior crumb.
- Baking Powder: Historically, many soul cake recipes contained eggs, which provide structure and lift. In our vegan version, baking powder steps in to fulfill this leavening role, ensuring the cakes are light and tender, not dense. There’s also historical evidence suggesting that original recipes may have incorporated ale as a leavening agent. Baking powder effectively replaces the lift that both eggs and traditional ale might have provided.
How To Make Delicious Vegan Soul Cakes: A Step-by-Step Guide
(Full measurements and detailed instructions can be found in the comprehensive recipe card at the bottom of the page)
Crafting these traditional treats is a simple and rewarding process. Follow these steps for perfect vegan soul cakes every time:
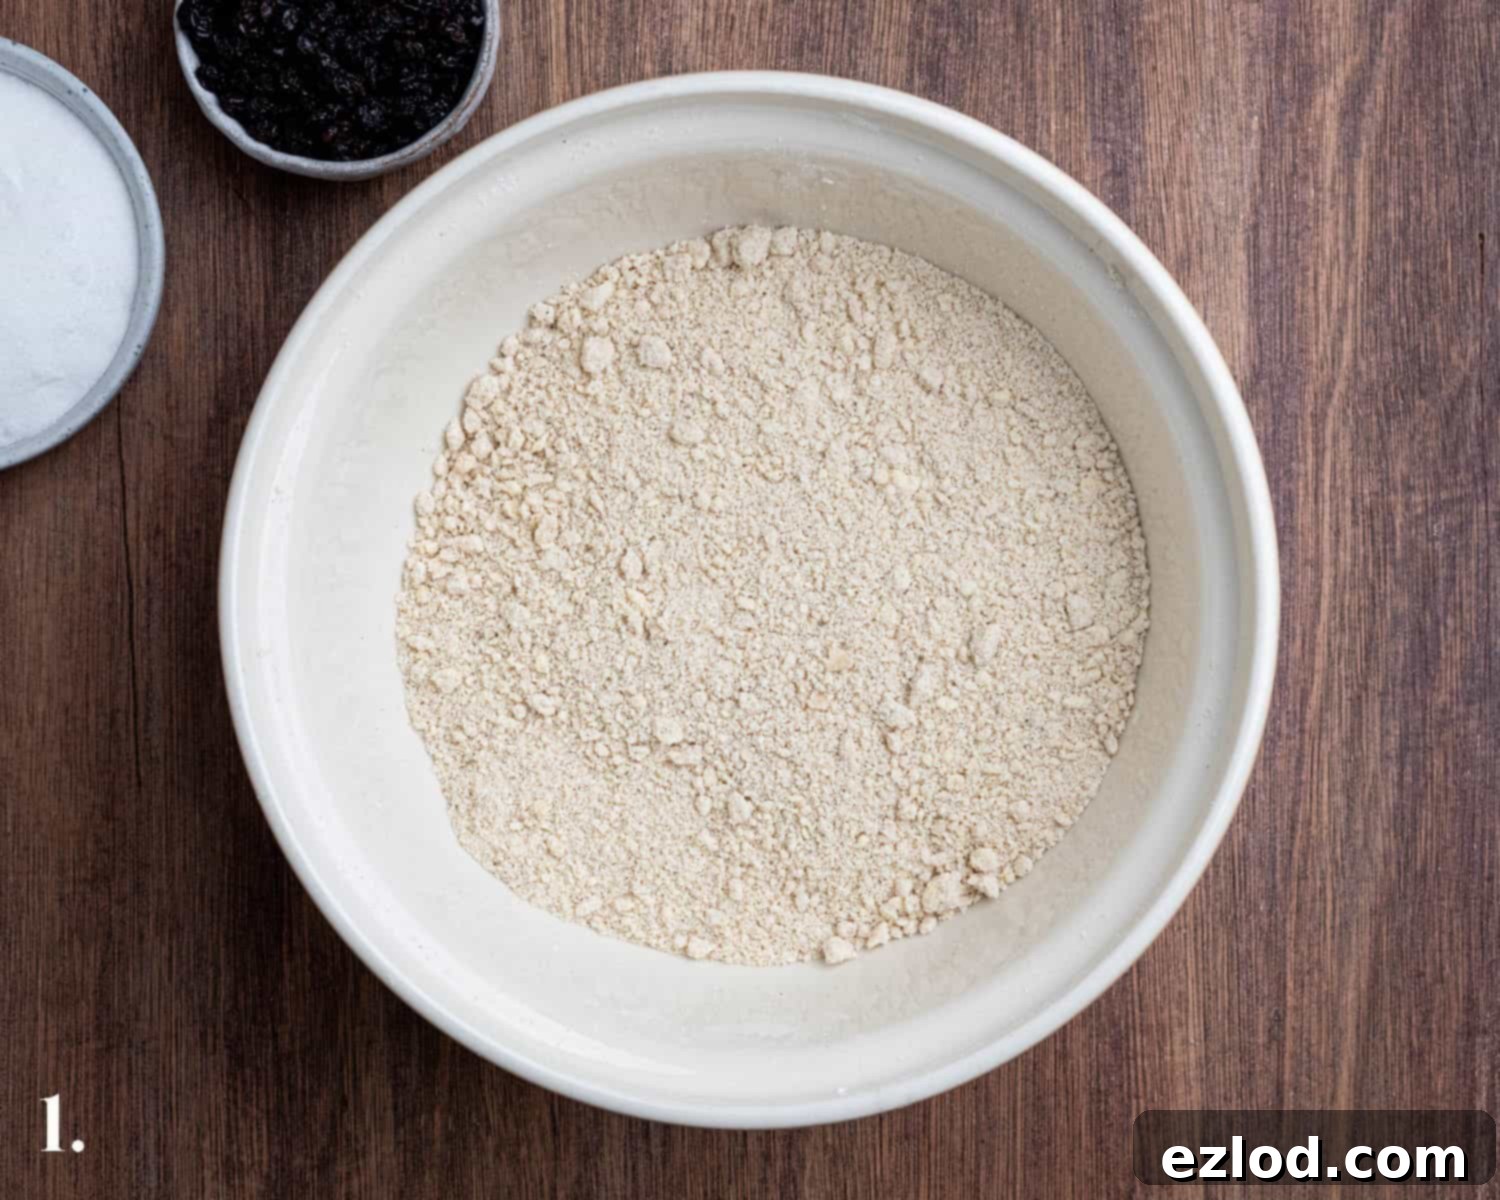
Step 1: Combine Dry Ingredients & Rub in Butter. In a large mixing bowl, thoroughly whisk together your plain flour, baking powder, and all the fragrant spices (mixed spice and ground nutmeg). Once combined, add the cold, diced vegan block butter. Using your fingertips, rub the butter into the dry ingredients. The goal is to achieve a mixture that resembles fine breadcrumbs, with no visible lumps of butter remaining. This technique ensures a tender, crumbly texture. Work quickly to prevent the butter from getting too warm.
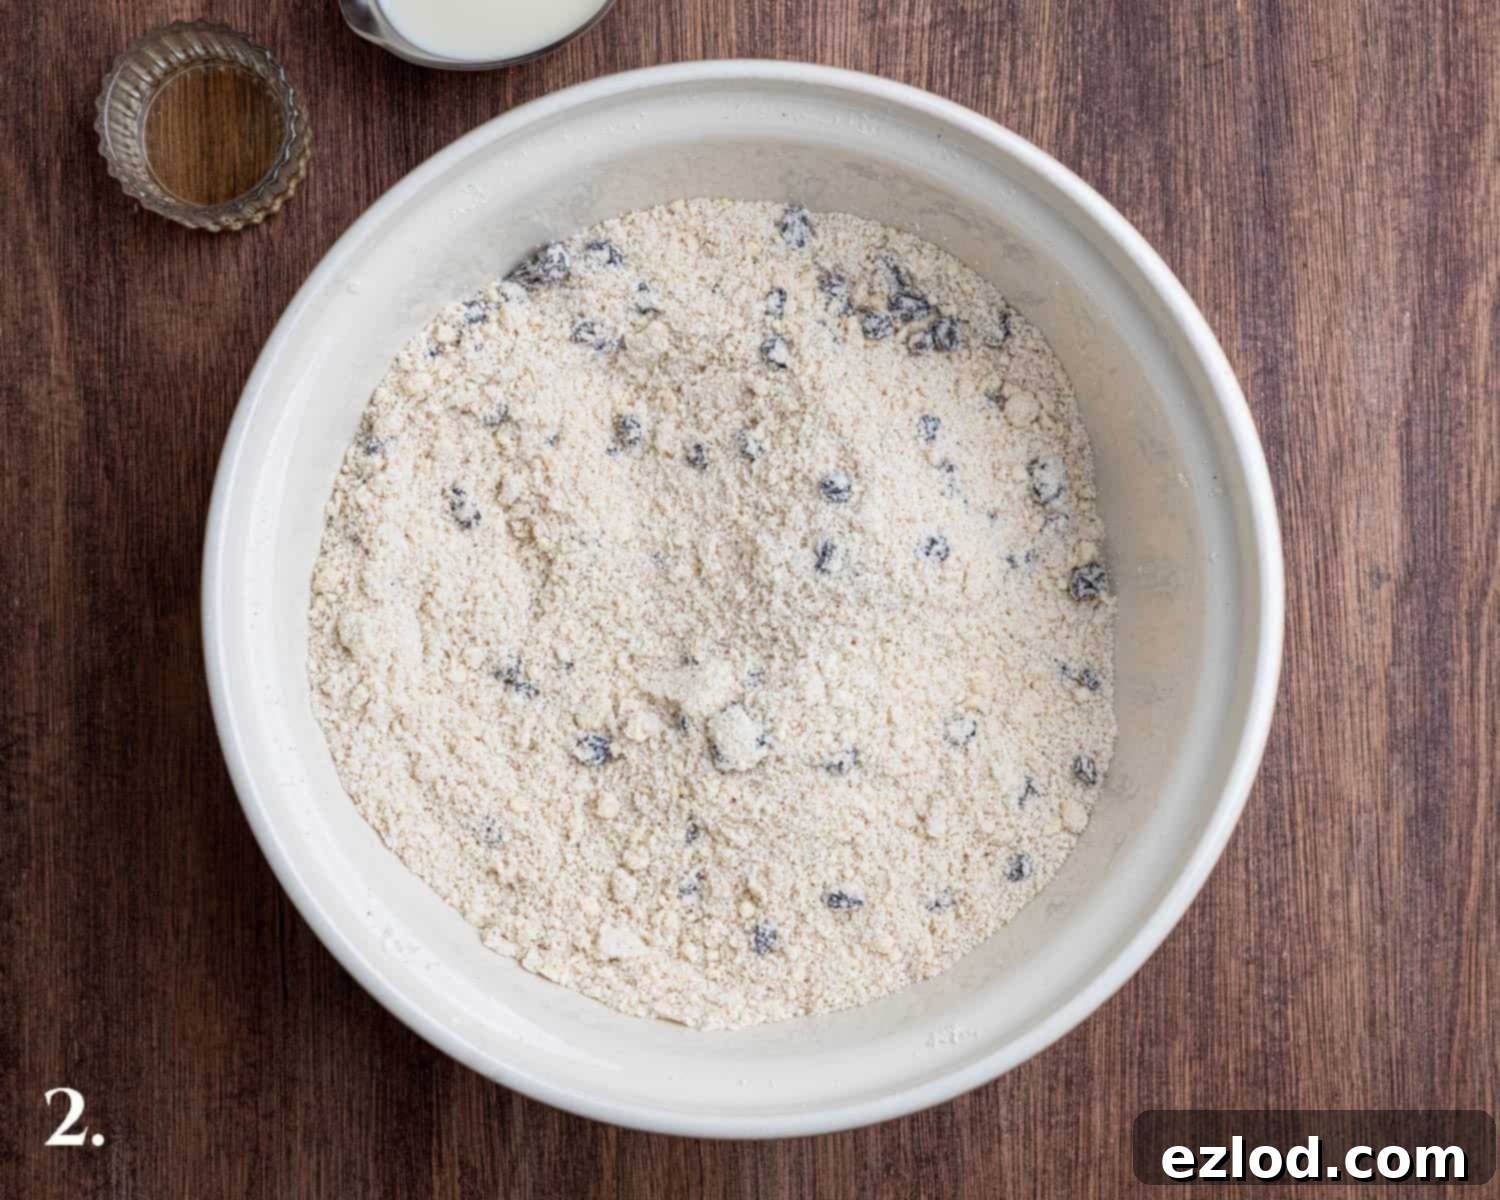
Step 2: Stir in Sugar and Currants. Once your butter is fully incorporated, add the caster (or granulated) sugar and the dried currants to the bowl. Stir everything well with a spoon to ensure the sugar and currants are evenly distributed throughout the breadcrumb mixture.
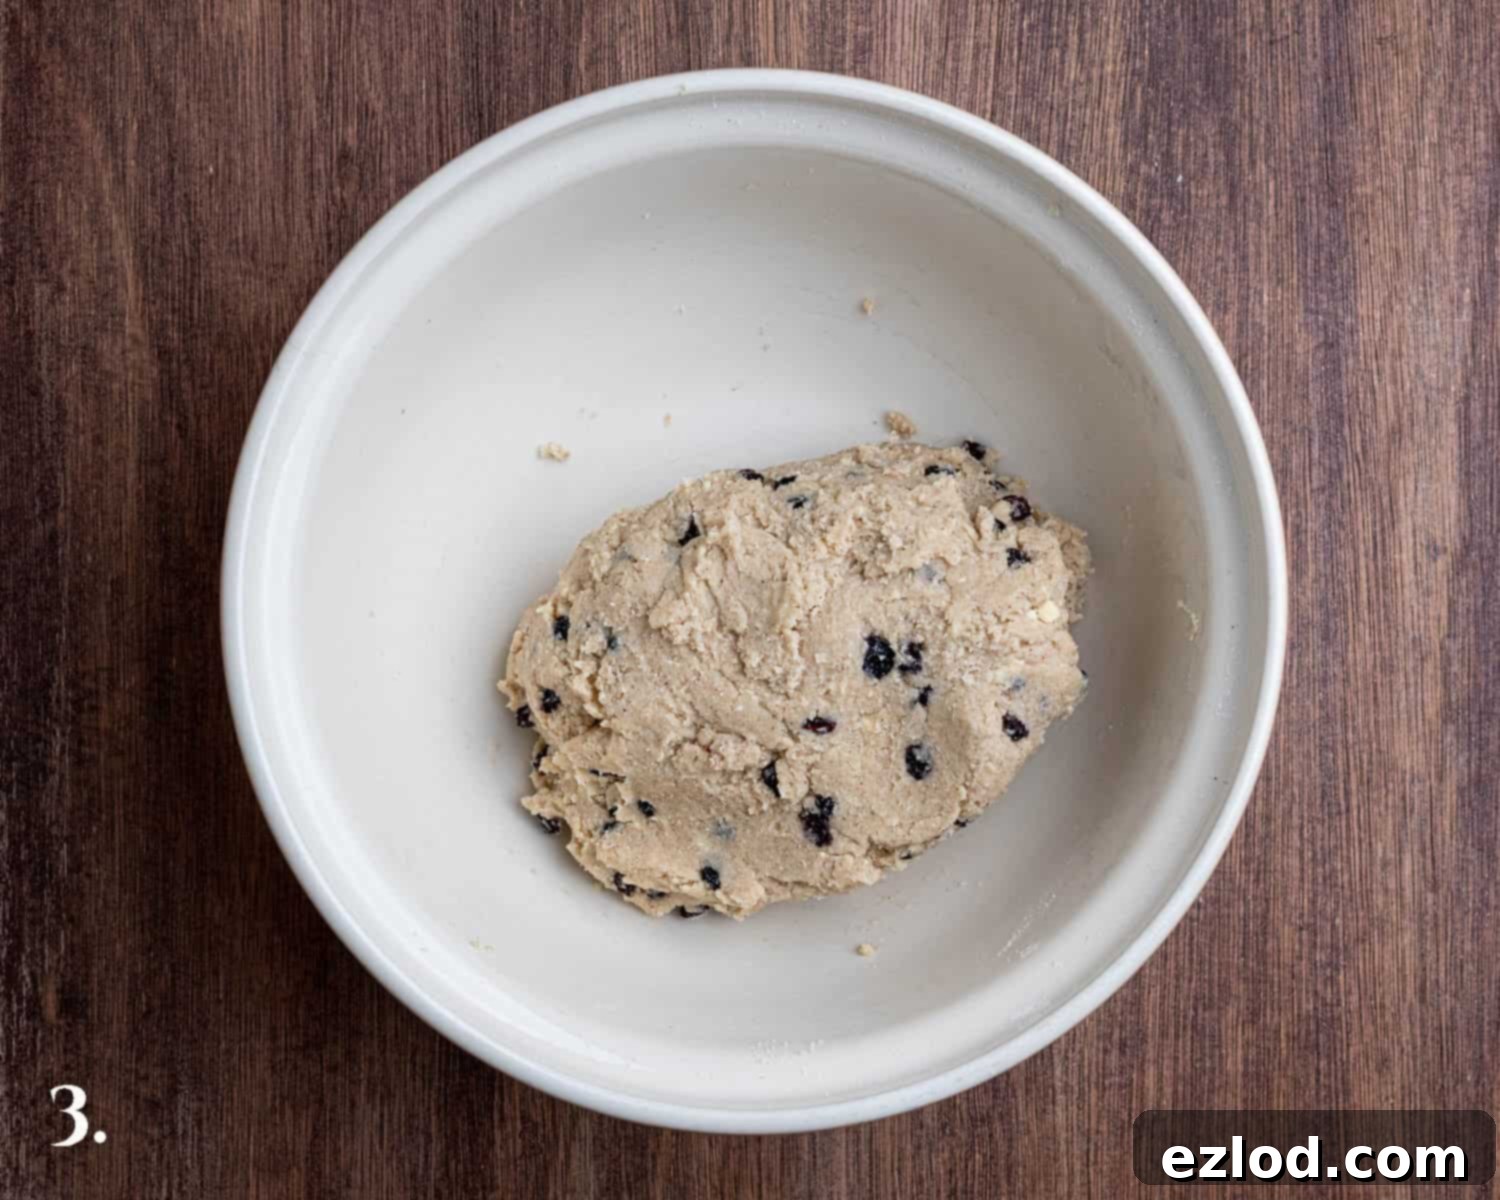
Step 3: Form the Dough. In a separate small bowl, whisk together the unsweetened non-dairy milk and the cider (or white wine) vinegar. Pour this liquid mixture into the dry ingredients. Use a spoon or your hands to gently mix until a soft, cohesive dough forms. Avoid overworking the dough, as this can develop the gluten and result in tougher biscuits. Just bring it together until all the dry bits are incorporated.
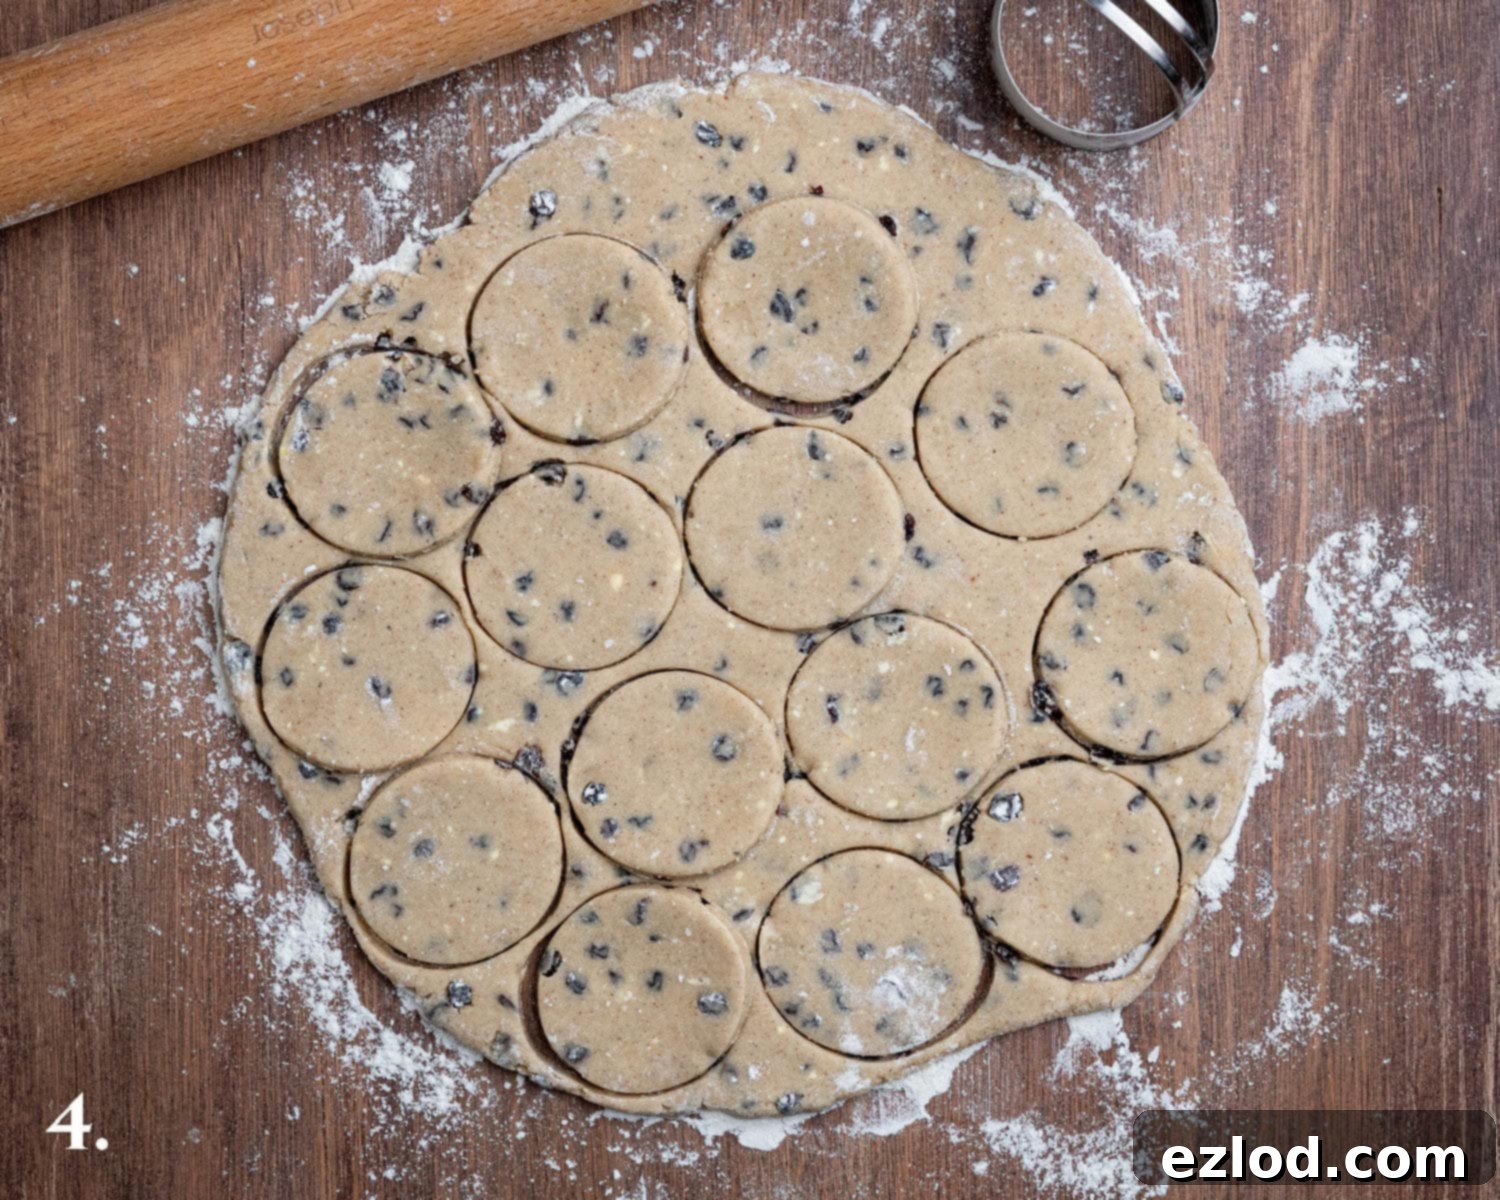
Step 4: Roll and Cut. Lightly flour your work surface and turn out the dough. Gently roll the dough to an even thickness of approximately 6-8 mm (about ¼ inch). Using a 6-7 cm (2 ½ inch) round cutter, cut out as many soul cake rounds as possible. Gather the dough scraps, gently knead them together, and re-roll to cut out additional cakes until all the dough is used.
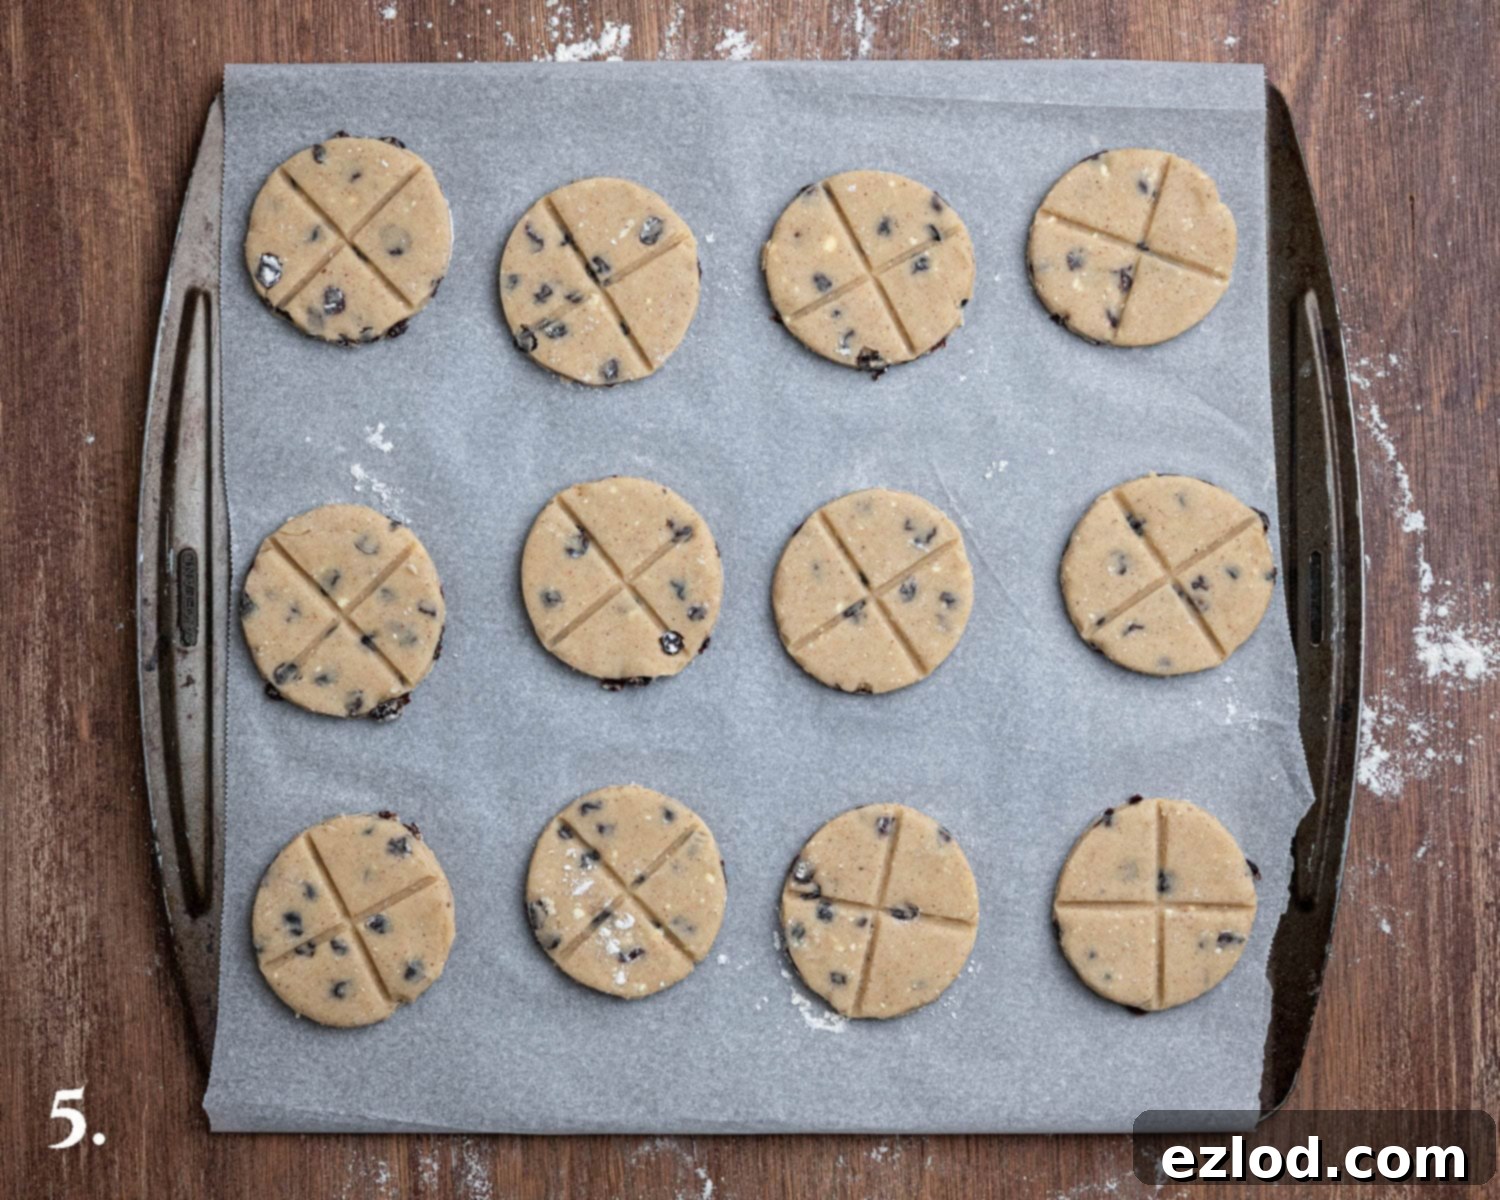
Step 5: Prepare for Baking. Line two baking sheets with baking parchment. Carefully transfer the cut-out soul cakes to the prepared baking sheets, ensuring they are spaced a little apart to allow for even baking. Now, it’s time to mark the traditional cross on each cake. Use the length of a toothpick, a skewer, or the back of a small knife to press a cross deeply into the top of each soul cake. The mark needs to be deep enough to remain visible after baking, but be careful not to cut all the way through the dough. Wiggling the tool slightly from side to side can help widen the mark for better definition.
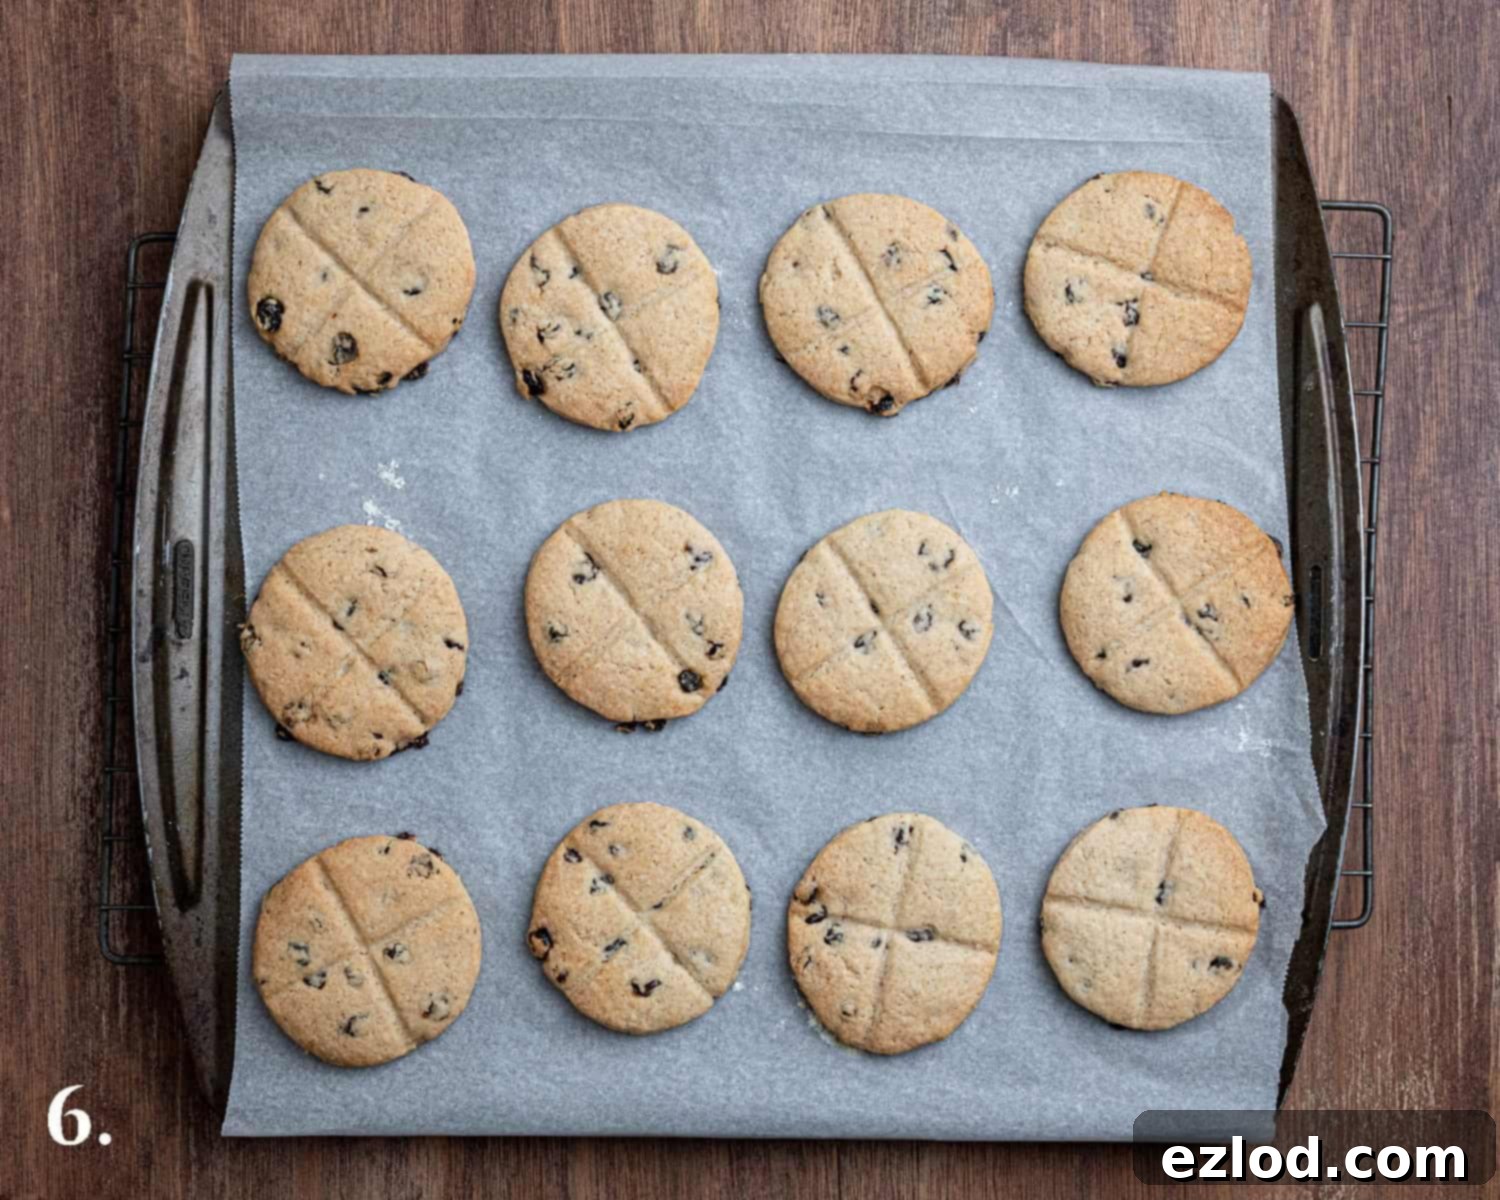
Step 6: Bake to Golden Perfection. Preheat your oven to 180℃/160℃ fan/350℉/gas mark 4. Bake the soul cakes for 20-25 minutes, or until they are beautifully golden brown around the edges and on top. For a softer, more cake-like texture, bake for the shorter duration. If you prefer a crisper biscuit, bake for the full 25 minutes or a little longer, keeping a close eye on them to prevent burning. Once baked, transfer the soul cakes to a wire rack to cool completely before serving. The flavours will deepen as they cool.
Top Tips for Baking the Best Vegan Soul Cakes
Achieving perfect soul cakes is easy with a few key considerations:
- Embrace Metric Measurements: For all baking, but especially for recipes like this, I cannot stress enough the importance of using a digital scale and metric measurements (grams). Cup conversions are notoriously inaccurate due to varying packing densities and cup sizes, leading to inconsistent results. A scale ensures precision, better consistency, and often a less messy baking experience.
- Do Not Overwork the Dough: This is crucial for a tender soul cake. Overworking the dough develops the gluten in the flour, which will result in tough, chewy biscuits rather than the desired delicate crumb. Mix only until the ingredients are just combined and the dough comes together. Use your hands for a brief moment at the end to gently form it into a cohesive ball.
- Chill Soft Dough: If your dough feels too soft or sticky to roll out easily, wrap it tightly in clingfilm and refrigerate it for about 30-60 minutes. Chilling the dough will firm up the vegan butter, making it much easier to handle and roll without sticking.
- Mark Crosses After Transfer: Always transfer your cut-out soul cakes to the baking sheet *before* pressing the crosses into them. The dough, while resilient, can be delicate, and moving them after marking could distort the crosses or even break the cakes.
- Ensure Deep Crosses: For the traditional cross design to be visible after baking, you need to press deeply into the dough. However, be careful not to cut all the way through. I find that using the flat side of a toothpick or a skewer, pressing firmly along the length, and then gently wiggling it slightly from side to side to widen the mark works best. The back of a thin knife can also achieve a good result.
- Flavor Variations: Don’t hesitate to personalize your soul cakes! You could add a teaspoon of orange or lemon zest to the dry ingredients for a bright, citrusy note. A light dusting of powdered sugar after baking, or even a simple glaze made from powdered sugar and a touch of non-dairy milk, can add an extra touch of sweetness.
Frequently Asked Questions (FAQ’s)
Once the vegan soul cakes have cooled completely to room temperature, store them in an airtight container. They will keep well at room temperature for up to one week, maintaining their delicious flavour and texture.
Yes, soul cakes freeze beautifully! After they have cooled completely, arrange them in a single layer in a freezer-safe bag or an airtight container. They can be frozen for up to 3 months. To serve, simply allow them to defrost at room temperature for a few hours. You can also warm them slightly in a low oven for a fresh-baked feel.
“Souling” was a medieval British custom where people, particularly children and the poor, would go door-to-door on All Souls’ Day (November 2nd) asking for soul cakes. In exchange for these spiced treats, they would offer prayers for the souls of the dead in purgatory. It’s often seen as a precursor to modern trick-or-treating.
While currants are traditional, you can certainly experiment with other dried fruits. Raisins are a common alternative. Chopped dried cranberries, cherries, or even finely diced candied orange peel could add a delightful variation to the flavour profile. Ensure any larger fruits are chopped into smaller pieces for even distribution.
If you tried this recipe let me know how it went! Rate it, leave a comment or tag @domestic_gothess on Instagram and hashtag it #domesticgothess
All images and content on Domestic Gothess are copyright protected. If you want to share this recipe then please do so by using the share buttons provided. Do not screenshot or post the recipe or content in full, instead include a link to this post for the recipe.

Print
Vegan Soul Cakes
Ingredients
- 300 g (2 ½ cups) plain (all-purpose) flour
- ½ teaspoon baking powder
- 2 teaspoons mixed spice (or pumpkin spice)
- ¼ teaspoon ground nutmeg
- 150 g (⅔ cup) vegan block butter cold and diced
- 150 g (¾ cup) caster or granulated sugar
- 75 g (½ cup) dried currants
- 4 Tablespoons unsweetened non-dairy milk (I use soy)
- ½ Tablespoon cider or white wine vinegar
Instructions
-
Preheat the oven to 180℃/160℃ fan/350℉/gas mark 4. Line two baking sheets with baking parchment.
-
Mix together the flour, baking powder and spices in a large bowl then rub in the butter using your fingers until the mixture resembles fine breadcrumbs and no lumps of butter remain.
-
Stir in the sugar and currants.
-
Mix together the milk and vinegar then add it to the dry ingredients and mix to form a soft dough. You may find it easiest to use your hands to bring it together.
-
Roll the dough out on a floured surface to 6-8 mm (¼ in) thick. Use a 6-7cm (2 ½ in) round cutter to cut out as many rounds as possible. Bring the scraps together and re-roll to cut out more biscuits.
-
Place the soul cakes spaced apart on the baking sheets. Use the length of a toothpick or the back of a knife to press a cross deeply into the top of each. The cross needs to be quite deep but be careful not to cut all the way through. Wiggle the toothpick/knife from side to side a bit to widen the mark.
-
Bake for 20-25 minutes until golden brown. Bake the soul cakes for less time for a softer texture, or longer for a crisp texture.
-
Transfer the baked soul cakes to a wire rack to cool before serving. Once cool store in an airtight container.
Notes
- See post above for tips, details and step-by-step photos.
- All of my recipes are developed using grams, and as with all of my baking recipes I really do recommend using the metric measurements with a digital scale rather than the cup conversions. Cups are a wildly inaccurate measuring system and you will get far better, more consistent results using a scale, not to mention that it is also easier and less messy than cups!
