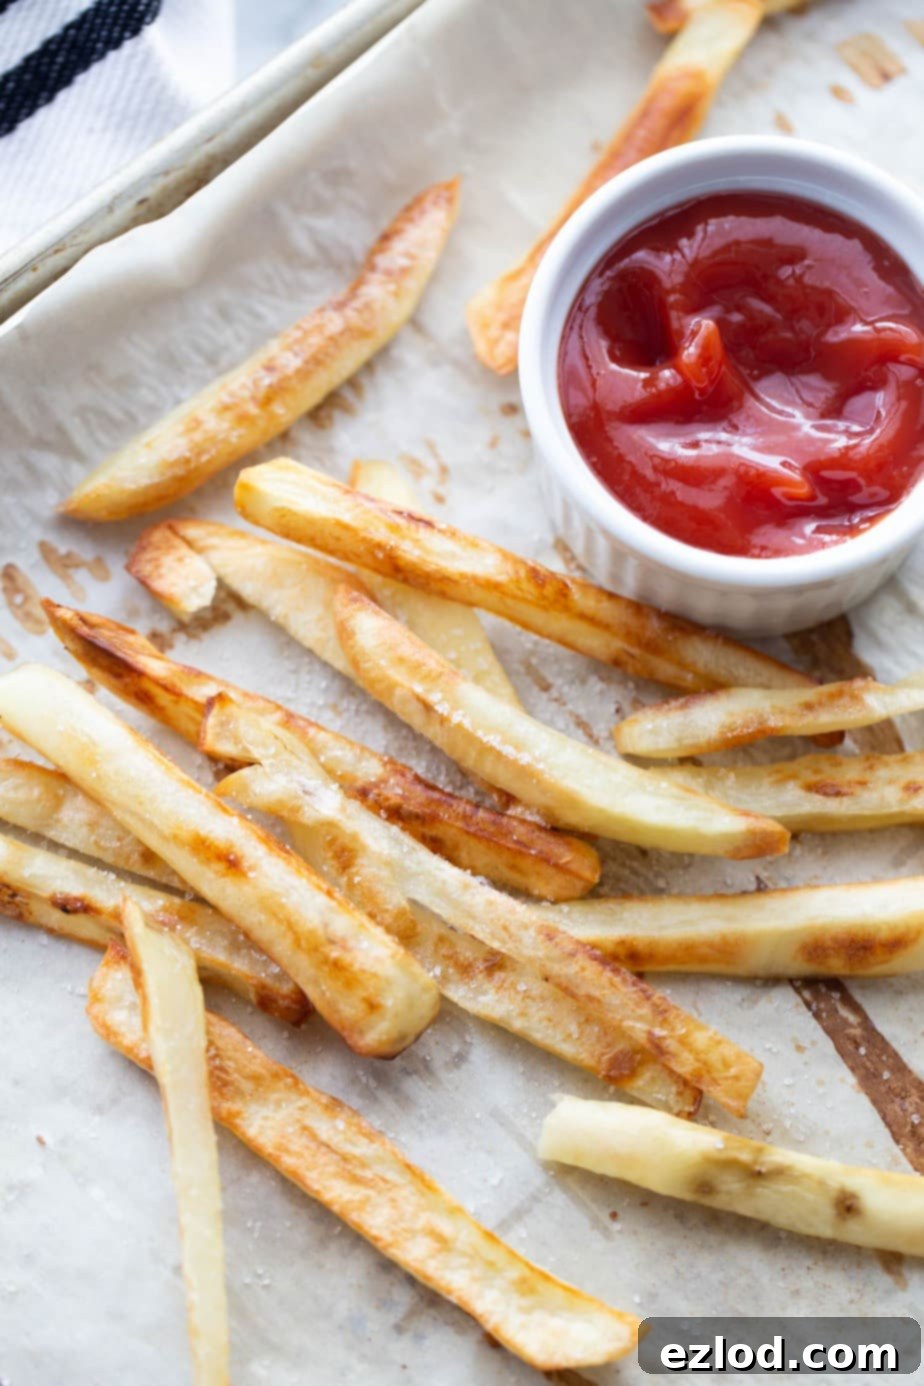
The Ultimate Guide to Crispy Homemade French Fries: Oven, Air Fryer & Freezing Tips
Forget those mediocre, store-bought frozen fries! It’s time to elevate your side dish game with incredibly healthy and perfectly crispy homemade French fries. Whether you prefer the golden crunch from your oven or the quick convenience of an air fryer, this comprehensive guide will show you how to master the art of homemade fries from scratch. Plus, we’ll even reveal a game-changing method to meal prep and freeze a big batch, so you can enjoy delicious, ready-to-cook fries any night of the week!
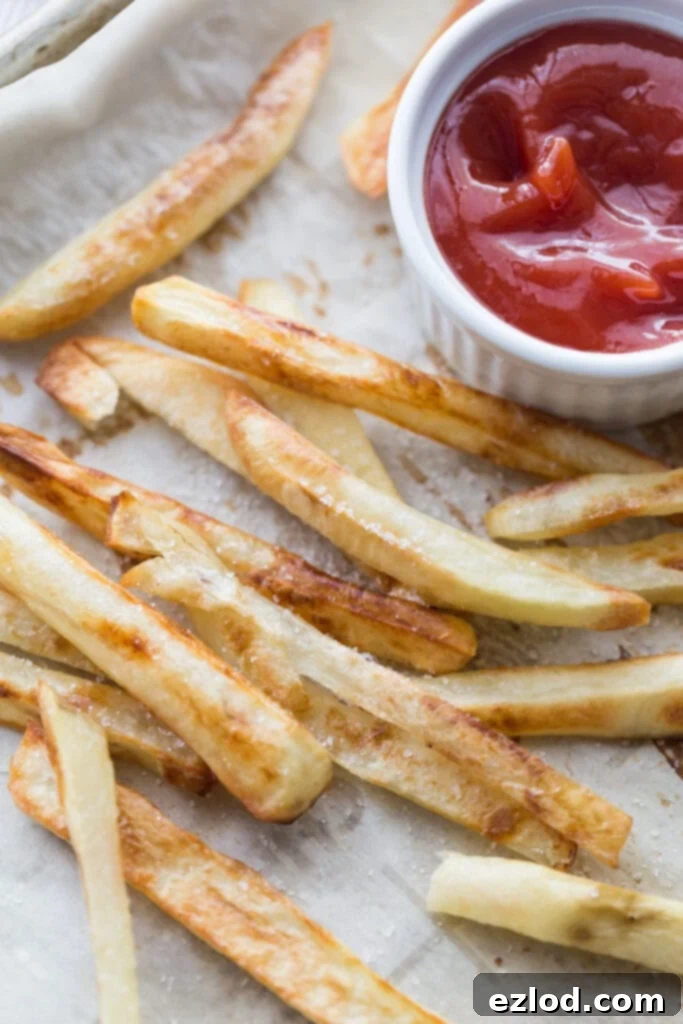
For many, French fries are more than just a side dish; they’re a culinary obsession. It’s safe to say they might just be one of the most universally beloved foods on the planet, and for good reason!
- Incredible Versatility: French fries complement almost any meal imaginable. They’re a classic partner to juicy burgers, pair wonderfully with crispy chicken tenders, and are a delightful accompaniment to a perfectly cooked steak. Don’t forget their surprising compatibility with breakfast items like eggs, and for the adventurous, even a sweet and salty dip into ice cream can be a revelation! Of course, they’re also absolutely amazing all by themselves, straight from the oven or air fryer.
- Dipping Delight: The magic of fries extends to their uncanny ability to pair with an endless array of sauces. From classic ketchup to gourmet aiolis, the right dip can transform your fry experience.
- Topping Potential: Beyond dipping, fries are also an excellent canvas for various toppings. Think cheese, chili, herbs, or even exotic spice blends – the possibilities are truly limitless, and they always result in a delicious outcome.
Simply put, fries rule. And because we adore them so much, often making them at least once a week, it’s high time we shared our ultimate guide to these incredible homemade French fries with you. They’re not just easy and delicious; they’re also a surprisingly healthy side dish option, especially for those following plans like the 21 Day Fix!
If you’re a potato enthusiast like us, you absolutely must try these Parmesan Roasted Baby Potatoes too. But for now, let’s dive into the world of crispy homemade French fries!
Table of Contents
Toggle
Why Homemade French Fries Are Superior
Beyond the undeniable satisfaction of creating something delicious from scratch, homemade French fries offer several compelling advantages over their frozen counterparts:
- Unbeatable Flavor: Fresh potatoes, seasoned exactly to your liking, simply taste better. You control the quality of ingredients, resulting in a cleaner, more vibrant potato flavor.
- Healthier Choice: By baking or air frying, you drastically reduce the amount of oil compared to traditional deep-frying. This means fewer unhealthy fats and calories, making them a side dish you can feel good about. You also avoid the long list of preservatives and additives often found in store-bought options.
- Customization Galore: Want them extra thin and crispy? Or thick and steak-fry-like? Craving garlic and herb seasoning, or a spicy kick? With homemade fries, you’re the chef, and every batch can be tailored to your precise preferences.
- Cost-Effective: Potatoes are an incredibly affordable vegetable, making homemade fries a budget-friendly option, especially when feeding a crowd.
Essential Ingredients for Perfect French Fries
You might be surprised to learn that achieving truly fantastic fries requires just a handful of basic ingredients:
- Potatoes: The star of the show! We primarily recommend Russet potatoes for their high starch content, which helps achieve that classic fluffy interior and crispy exterior. However, you can experiment with others; Yukon Golds offer a creamier texture, while red potatoes can be great for thinner, crispier fries, especially if you leave the skin on for extra flavor and nutrients. Use whatever fresh potatoes you have on hand – they’ll all be delicious!
- Salt: A crucial flavor enhancer. A fine-grained salt works best as it adheres more effectively to the surface of the fries, ensuring every bite is seasoned perfectly. Feel free to get creative with other seasonings too! Garlic powder, onion powder, paprika, or a blend of your favorite herbs can take your fries to the next level.
- Olive Oil or Avocado Oil: For crisping without excessive fat. We highly recommend using a sprayer (like this one) to apply the oil. This method ensures an even, light coating, which is key for maximum crispiness. Tossing potatoes in a bowl with oil can sometimes lead to uneven coating or too much oil, potentially making your fries less crispy. Olive oil adds a lovely flavor, while avocado oil is fantastic for its high smoke point, especially when baking at higher temperatures.
How to Cut French Fries Like a Pro
You don’t need any fancy gadgets to cut perfect fries, though if you own a mandoline, this is certainly a fantastic time to use it for consistent slices. Here’s how to achieve uniform, restaurant-quality French fries using just a good, sharp knife:
- Prepare Your Potatoes: Start by thoroughly washing your potatoes. You can peel them for a classic fry, or for added fiber and a rustic look, feel free to leave the skins on. After washing, dry them thoroughly – dry potatoes are much easier and safer to handle when cutting.
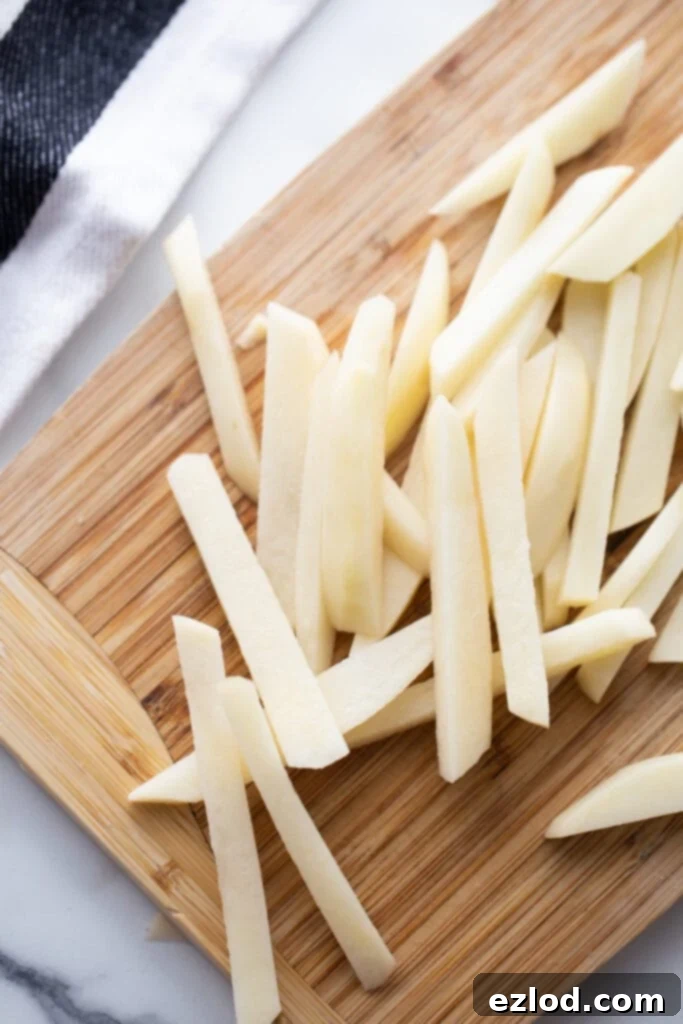
- Halve and Slice: Lay each potato on your cutting board and slice it in half lengthwise. Place the cut side flat on the board for stability. Now, slice the potato halves into even 1/4-inch thick planks. Consistency here is key for even cooking.
- Create the Sticks: Stack these planks neatly and then cut them again, lengthwise, into 1/4-inch wide sticks. This will give you beautifully uniform matchstick-style French fries. Repeat this process with all your remaining potatoes. If you prefer thicker, steak-fry-style fries, simply adjust your slices to 1/2-inch thickness.
The Secret to Crispy Fries: Soaking or Par-Boiling
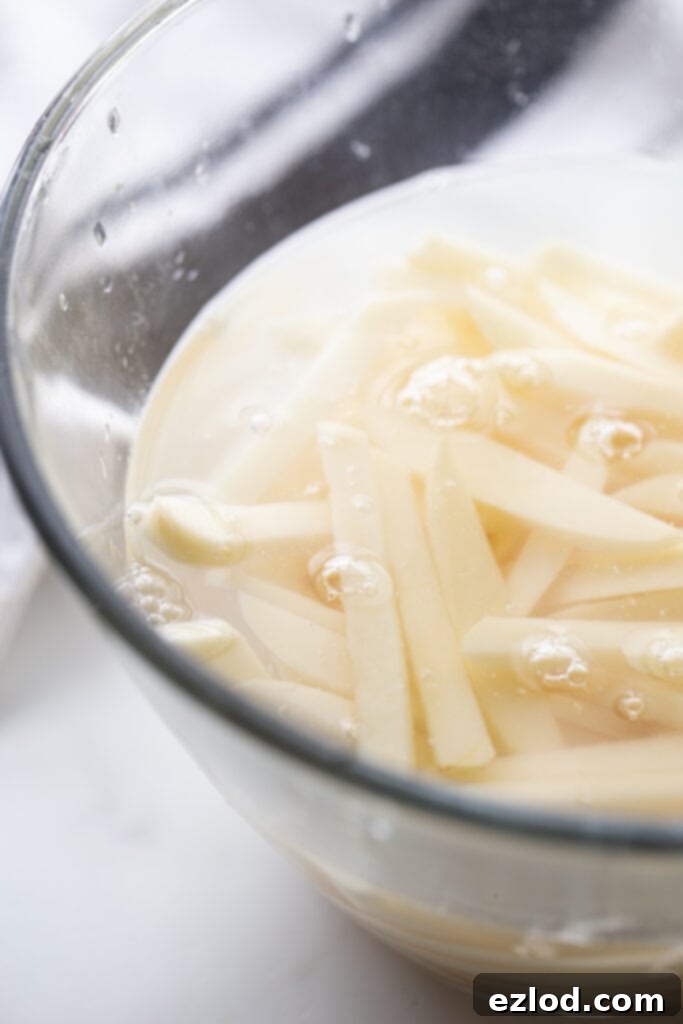
This is arguably the most critical step for achieving that coveted crispy exterior and fluffy interior. Before your fries hit the oven or air fryer, it’s essential to remove some of their surface starch. Starch can lead to soggy fries, so reducing it makes a huge difference:
- The Soaking Method: After slicing, place your potatoes in a large bowl and cover them generously with cold water. Let them soak for at least 20 minutes, or even up to an hour. This process draws out excess starch, leading to a much crispier end product.
- The Par-Boiling Method (for Extra Crispy): If you have a few extra minutes and want truly restaurant-quality crispiness, you can opt to par-boil your potatoes. Place the cut fries in a pot of cold water with about 1 teaspoon of salt, bring it to a boil, and let them cook for just 5 minutes. This pre-cooks the interior while softening the exterior, which then crisps up beautifully during baking or air frying.
The Golden Rule: Dry Your Fries Thoroughly! Regardless of whether you soaked or par-boiled, it is absolutely paramount to dry your fries exceptionally well before they go into your cooking appliance. Excess moisture is the enemy of crispiness. Use a clean kitchen towel or several layers of paper towels and pat them until they are completely dry. Remember: A dry fry is a crispy fry!
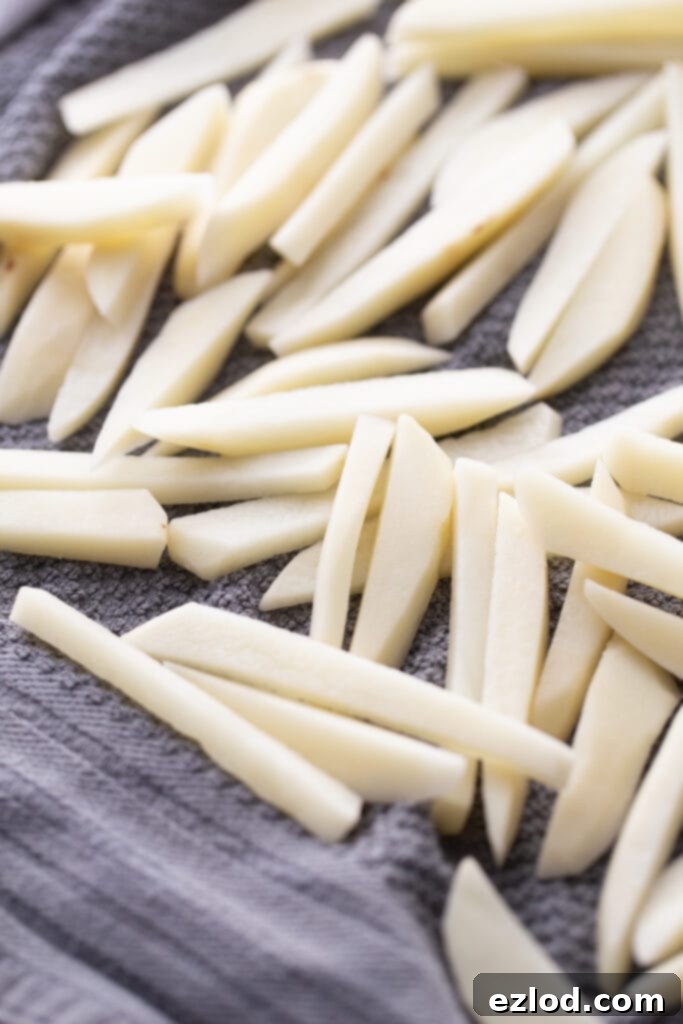
Baking Crispy French Fries in the Oven
Achieving super crispy baked fries in your oven is entirely possible with a few key strategies:
- High Heat is Your Friend: Preheat your oven to a high temperature, ideally 450°F (230°C). If your oven has a convection setting, definitely use it – the circulating hot air helps to crisp up the fries even more effectively. *A small note: If your oven tends to smoke at 450°F, as some older models do, reduce the temperature to 425°F (220°C). They’ll still get crispy, but might require an extra few minutes of cooking time.*
- Prevent Sticking with Parchment: Always line your sheet pan with parchment paper. This not only prevents your fries from sticking but also makes cleanup a breeze.
- Single Layer, No Crowding: This is a critical step for crispiness! Spread your dried fries in a single, even layer on the baking sheet. Give them space. If you crowd the pan, the potatoes will steam rather than crisp, resulting in soft, soggy fries. If you have a large batch, use two sheet pans and rotate them halfway through cooking.
- Oil Spray for Even Coating: Liberally spray your fries with olive oil or avocado oil using a mister. This method ensures a thin, even coat of oil, which is essential for creating a crispy exterior without making them greasy.
- Season Generously: Once oiled, season your fries generously with fine salt. This type of salt adheres best. Now is also the time to add any other seasonings you desire, such as garlic powder, paprika, or even a dash of cayenne for a kick.
- Bake and Flip: Bake at 450°F (or 425°F) for 20 minutes. Then, carefully flip the fries to ensure even browning and crisping on all sides. Continue baking for another 10-15 minutes, or until they are beautifully golden brown and crispy to your liking.
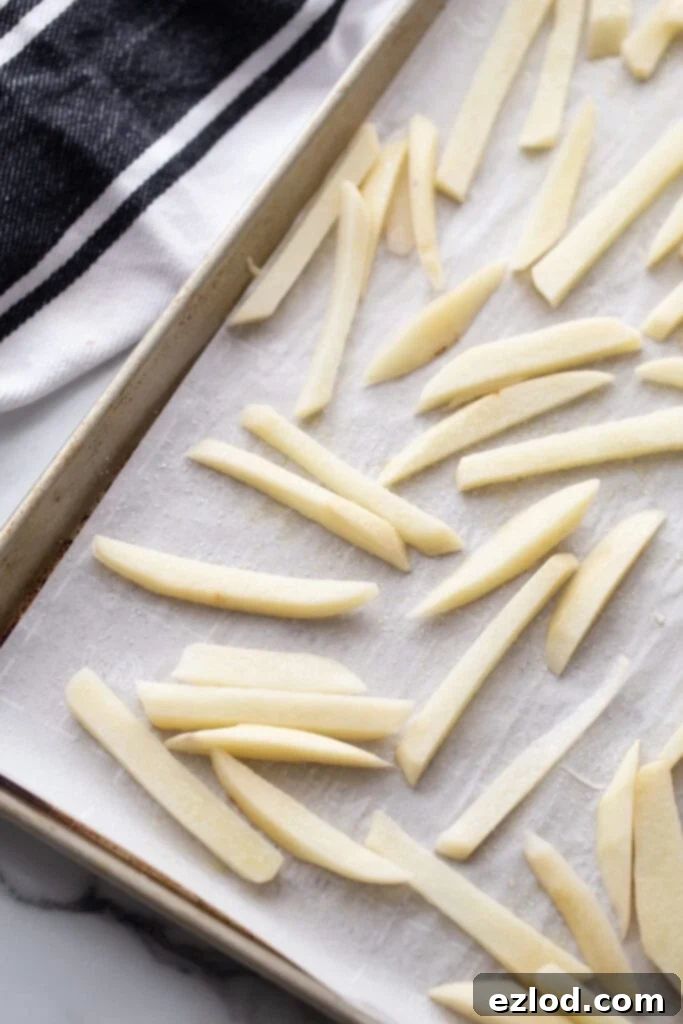
How to Make French Fries in the Air Fryer for Maximum Crisp
The air fryer is a fantastic tool for making crispy fries with less oil and in less time. Here’s how to get it right:
- Preheat for Success: Always preheat your air fryer to 390-400°F (200-205°C). Preheating ensures that the fries start cooking immediately upon entering the basket, promoting crispiness. (My Philips Air Fryer maxes out at 390°F, and that temperature works perfectly.)
- Oil and Seasoning: Just like with oven-baked fries, spray your thoroughly dried potatoes well with olive oil or avocado oil spray. Then, season liberally with a fine salt and any other desired spices.
- Cook in Batches: Air fryers work by circulating hot air, so it’s crucial not to overcrowd the basket. Cook your fries in small batches, ensuring there’s enough space for the air to flow around each one. Cook at 390-400°F for 14-16 minutes.
- Shake for Evenness: Halfway through the cooking time (around the 7-8 minute mark), give the air fryer basket a good shake or flip the fries with tongs. This ensures all sides get exposed to the heat and crisp up evenly.
- Keep Them Crispy: As each batch finishes cooking, transfer the crispy fries to a wire cooling rack set over a baking sheet. This allows air to circulate around them, preventing them from becoming soggy while you cook the remaining batches. If you find your first batches have cooled down too much by the time the last batch is done, you can briefly return all the fries to the air fryer for 1-2 minutes to crisp them up again just before serving.
Related Tip: Looking to invest in an Air Fryer? Check out this post to find out which Air Fryer is Right for You.
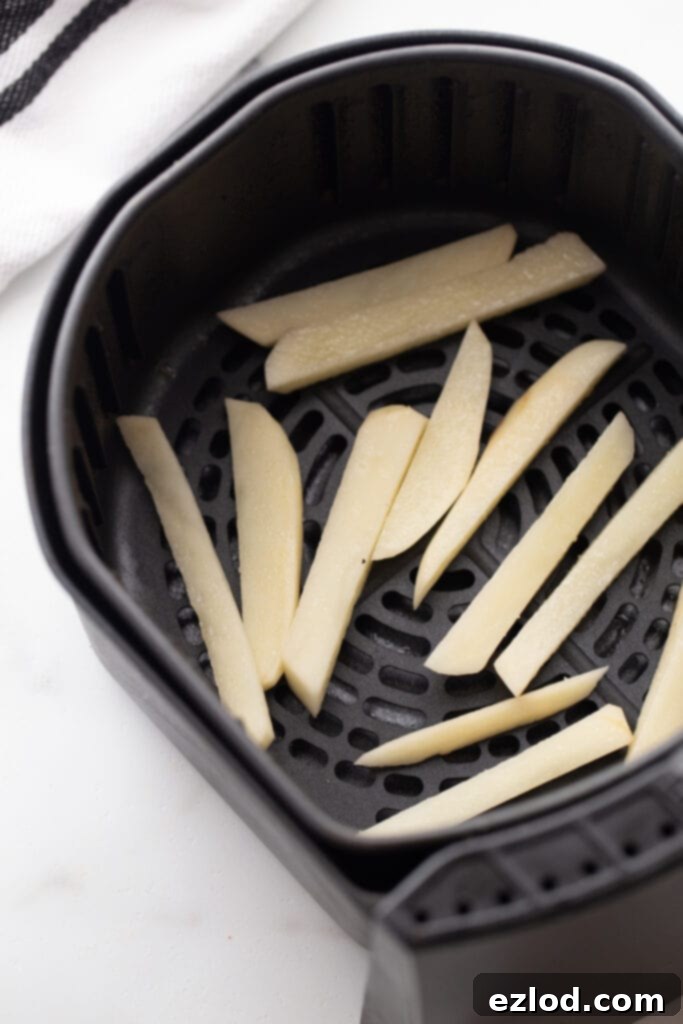
Can I Meal Prep and Freeze These Homemade Fries?
Absolutely, and this truly is a game-changer for busy weeknights! Imagine having a stash of perfectly prepped, ready-to-cook homemade fries in your freezer. This meal prep strategy allows you to enjoy the convenience of frozen fries without any of the questionable ingredients or high costs of store-bought versions. Here’s exactly how to do it:
- Prepare and Slice: Begin by washing and slicing your potatoes into your desired fry shape, following the instructions above.
- Blanch for Best Results: Fill a large pot with water, add about 1/4 teaspoon of salt, and bring it to a rolling boil. Add your sliced potatoes to the boiling water and blanch them for exactly 5 minutes. This par-cooks the potatoes, helps set their structure, and further removes starch, which is crucial for preventing them from becoming mushy once frozen.
- Drain and Dry Thoroughly: Carefully drain the blanched potatoes in a colander. Immediately spread them out in a single layer on baking sheets lined with paper towels or clean kitchen towels. Allow them to cool completely and, most importantly, pat them bone-dry. Any residual moisture will lead to ice crystals and freezer burn.
- Flash Freeze: Once completely cool and dry, arrange the fries in a single layer on a parchment-lined baking sheet. Place the baking sheet in your freezer for 1-2 hours, or until the fries are individually frozen solid. This “flash-freezing” step prevents them from clumping together in the freezer bag.
- Store for Later: Transfer the flash-frozen fries into airtight freezer bags (like Ziplock or reusable Stasher bags). Squeeze out as much air as possible before sealing. Label with the date. They can be stored in the freezer for up to 3-4 months.
- Cook from Frozen: When you’re ready for a batch of fries, simply remove the desired amount from the freezer bag. Do not thaw! Cook them directly from frozen using your preferred method (oven or air fryer). You’ll typically cut the cook time down by about half compared to fresh fries, or cook until they are golden brown and wonderfully crispy. Keep an eye on them, as cooking times can vary.
Are These Baked and Air-Fried Fries Healthy?
Yes, absolutely! Potatoes and fries often get an undeserved bad reputation, but when prepared properly, they are indeed a healthy and nutritious choice. Potatoes themselves are packed with beneficial nutrients:
- Fiber: Essential for digestive health and helps you feel full and satisfied.
- Potassium: Important for maintaining healthy blood pressure and fluid balance.
- Vitamin C: A powerful antioxidant that supports your immune system.
- Vitamin B6: Plays a key role in brain development and function.
When you choose to bake or air fry your fries at home, you dramatically reduce the unhealthy fats and calories associated with deep-frying. This preparation method transforms them into an excellent carb-based side dish that provides sustained energy and valuable nutrients. It’s all about preparation and portion control!
For those following specific dietary plans like the 21 Day Fix, potatoes are classified as a yellow container food. A serving of half a large russet potato typically counts as 1 yellow container, making it easy to fit into your daily macros.
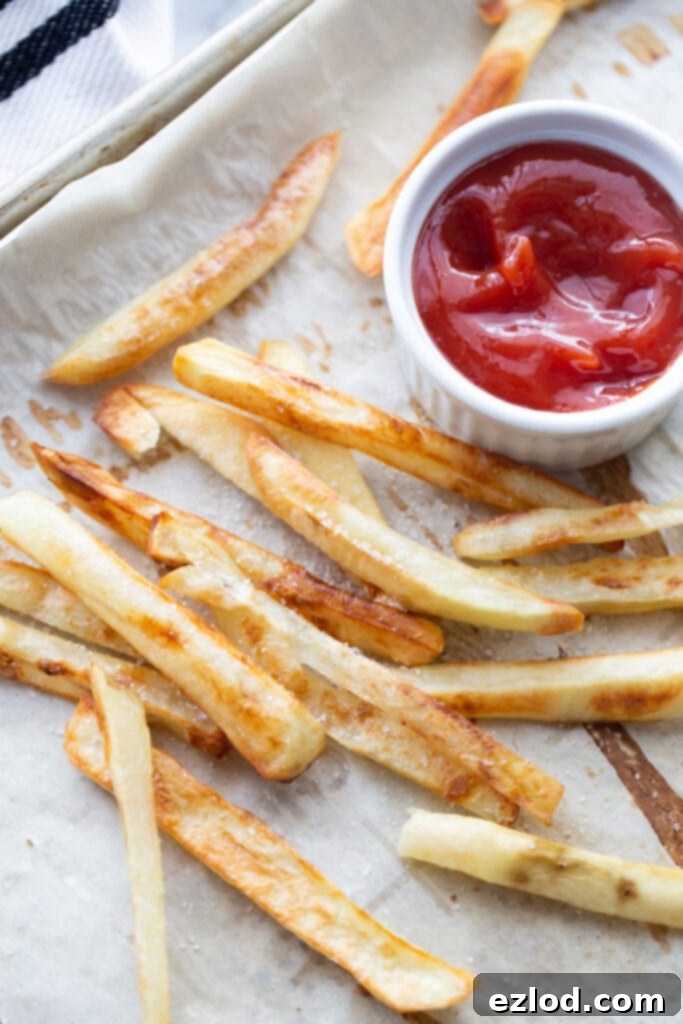
How to Reheat Leftover French Fries to Perfection
In our house, leftover fries are a rare phenomenon – my kids and husband usually manage to devour every last one! However, if you find yourself with a few remaining golden treasures, you absolutely can bring them back to their crispy glory. The key is to avoid the microwave, which turns them soggy and unappetizing.
The best methods for reheating are the same ones you used to cook them:
- In the Oven: Preheat your oven to 400°F (200°C). Spread the leftover fries in a single layer on a baking sheet (ideally lined with parchment paper). Reheat for a few minutes, typically 5-10 minutes, or until they are hot and crispy again. Keep an eye on them to prevent over-browning.
- In the Air Fryer: For an even faster and crispier reheat, preheat your air fryer to 390°F (200°C). Place the fries in the basket in a single layer (you might need to do this in batches if you have a lot). Cook for 3-5 minutes, shaking the basket once or twice, until they are perfectly reheated and crunchy.
Both methods will deliver a satisfyingly crispy result, making sure no delicious fry goes to waste!
Delicious Condiments and Dips for Your Homemade Fries
What’s a perfect fry without a perfect dip? While personal preference reigns supreme, here are some fantastic condiment ideas, many of which can be made healthier or with clean ingredients:
- Classic Ketchup: An undeniable favorite! Look for brands with clean ingredients and minimal added sugars. For those monitoring sweeteners, count each tablespoon as one of your daily sweetener teaspoons. Or, for the ultimate control, try making this super yummy Healthy Homemade Ketchup from The Foodie and The Fix.
- Creamy Burger Sauce: A tangy, savory delight that pairs beautifully with fries. Our Burger Sauce recipe is a must-try.
- Zesty Blue Cheese Dip: For those who love a bold flavor, a creamy blue cheese dip adds a wonderful richness. Perfect for dipping, especially if you enjoy buffalo flavors (like with our Healthy Buffalo Chicken Taquitos).
- Cool Ranch Dressing: The herby, creamy goodness of Ranch is always a hit. Check out our Ranch Dressing recipe for a healthier, homemade option.
- Sweet & Smoky BBQ Sauce: A classic pairing for a reason! The robust flavors of BBQ sauce complement crispy fries wonderfully, especially our 21 Day Fix BBQ Pulled Pork sauce.
- Spicy Sriracha Mayo: Mix mayonnaise with sriracha to your preferred level of heat for a quick and flavorful kick.
- Garlic Aioli: A homemade garlic aioli is incredibly simple to make and adds a gourmet touch to your fries.
- Malt Vinegar: A traditional British “chips” pairing, a sprinkle of malt vinegar provides a sharp, tangy contrast to the savory potato.


Homemade French Fries
Pin Recipe
Ingredients
- 4 medium to large russet potatoes
- Avocado or olive oil (in a sprayer preferred)
- Fine salt (and other seasonings like garlic powder, paprika, etc.)
Instructions
-
Prepare Potatoes: Wash and peel your potatoes (or leave skins on for a rustic touch). Dry them thoroughly to make handling easier.
-
Cut into Fries: Slice each potato in half lengthwise. Place the cut side flat on your cutting surface for stability. Cut into even 1/4-inch to 1/2-inch thick slices. Stack these slices and then cut them into uniform sticks of the same width to form your French fries. Repeat with all remaining potatoes, aiming for consistent size for even cooking.
-
Soak or Par-Boil for Crispiness:
- Soak Method: Place the cut potatoes in a large bowl and cover completely with cool water. Soak for at least 20 minutes, or up to an hour. This step removes excess starch, which is key for fluffy interiors and crispy exteriors.
- Par-Boil Method (for extra crispiness): Alternatively, place fries in a large pot, cover with cold water, and add about 1 teaspoon of salt. Bring to a boil and cook for exactly 5 minutes. This pre-cooks the potatoes, contributing to a superior crispy texture.
If you’re short on time, you can skip these steps, but note that your fries may be slightly less crispy.
-
Dry Thoroughly: Regardless of the method chosen, drain the potatoes very well. Then, spread them out on thick paper towels or a clean kitchen towel and pat them until they are completely dry. This step is crucial – a dry fry is a crispy fry! You can also use a salad spinner to help remove excess water before towel drying.
-
Oil and Season: Arrange the dried fries in a single, even layer on a parchment-lined baking sheet (for oven) or in the basket of your air fryer. Using an olive oil or avocado oil sprayer, liberally coat the fries. This ensures an even, light coating that prevents sogginess. Season generously with fine salt and any other desired spices (garlic powder, paprika, etc.).
-
Air Fryer Instructions: Preheat your air fryer to 390-400°F (200-205°C). Cook fries in small batches for 14-16 minutes, flipping or shaking the basket halfway through to ensure even crisping. Transfer cooked fries to a wire rack to maintain crispiness while other batches cook.
-
Oven Baking Instructions: Preheat your oven to 450°F (230°C). Bake the fries for 20 minutes, then flip them over. Continue baking for another 10-15 minutes, or until golden brown and crispy. If using a convection oven, monitor closely as they may cook faster.
-
Serve: Enjoy your perfectly crispy homemade French fries immediately with your favorite dipping sauce!
To Prep and Freeze Homemade French Fries:
-
Prepare and Slice: Wash and slice your potatoes into fries as instructed above.
-
Blanch: Fill a large pot with water, add 1/4 tsp of salt, and bring to a boil. Add the sliced potatoes and boil for 5 minutes. Drain thoroughly. Spread potatoes in a single layer on baking sheets lined with paper towels or clean kitchen towels and let them cool completely while drying.
-
Flash Freeze: Once completely cool and dry, arrange fries in a single layer on a parchment-lined baking sheet. Place the sheet in the freezer for 1-2 hours until fries are frozen solid individually.
-
Store: Transfer the flash-frozen fries into airtight ziplock or Stasher bags, removing as much air as possible. Store in the freezer for up to 3-4 months.
-
Cook from Frozen: When ready to enjoy, remove fries from the bag and cook directly from frozen using your favorite method (oven or air fryer). You will typically need to cut the cooking time down by about half compared to fresh fries, or cook until your fries are golden and crispy. No thawing necessary!
Notes
WW: 2 points (per serving)
Nutrition
