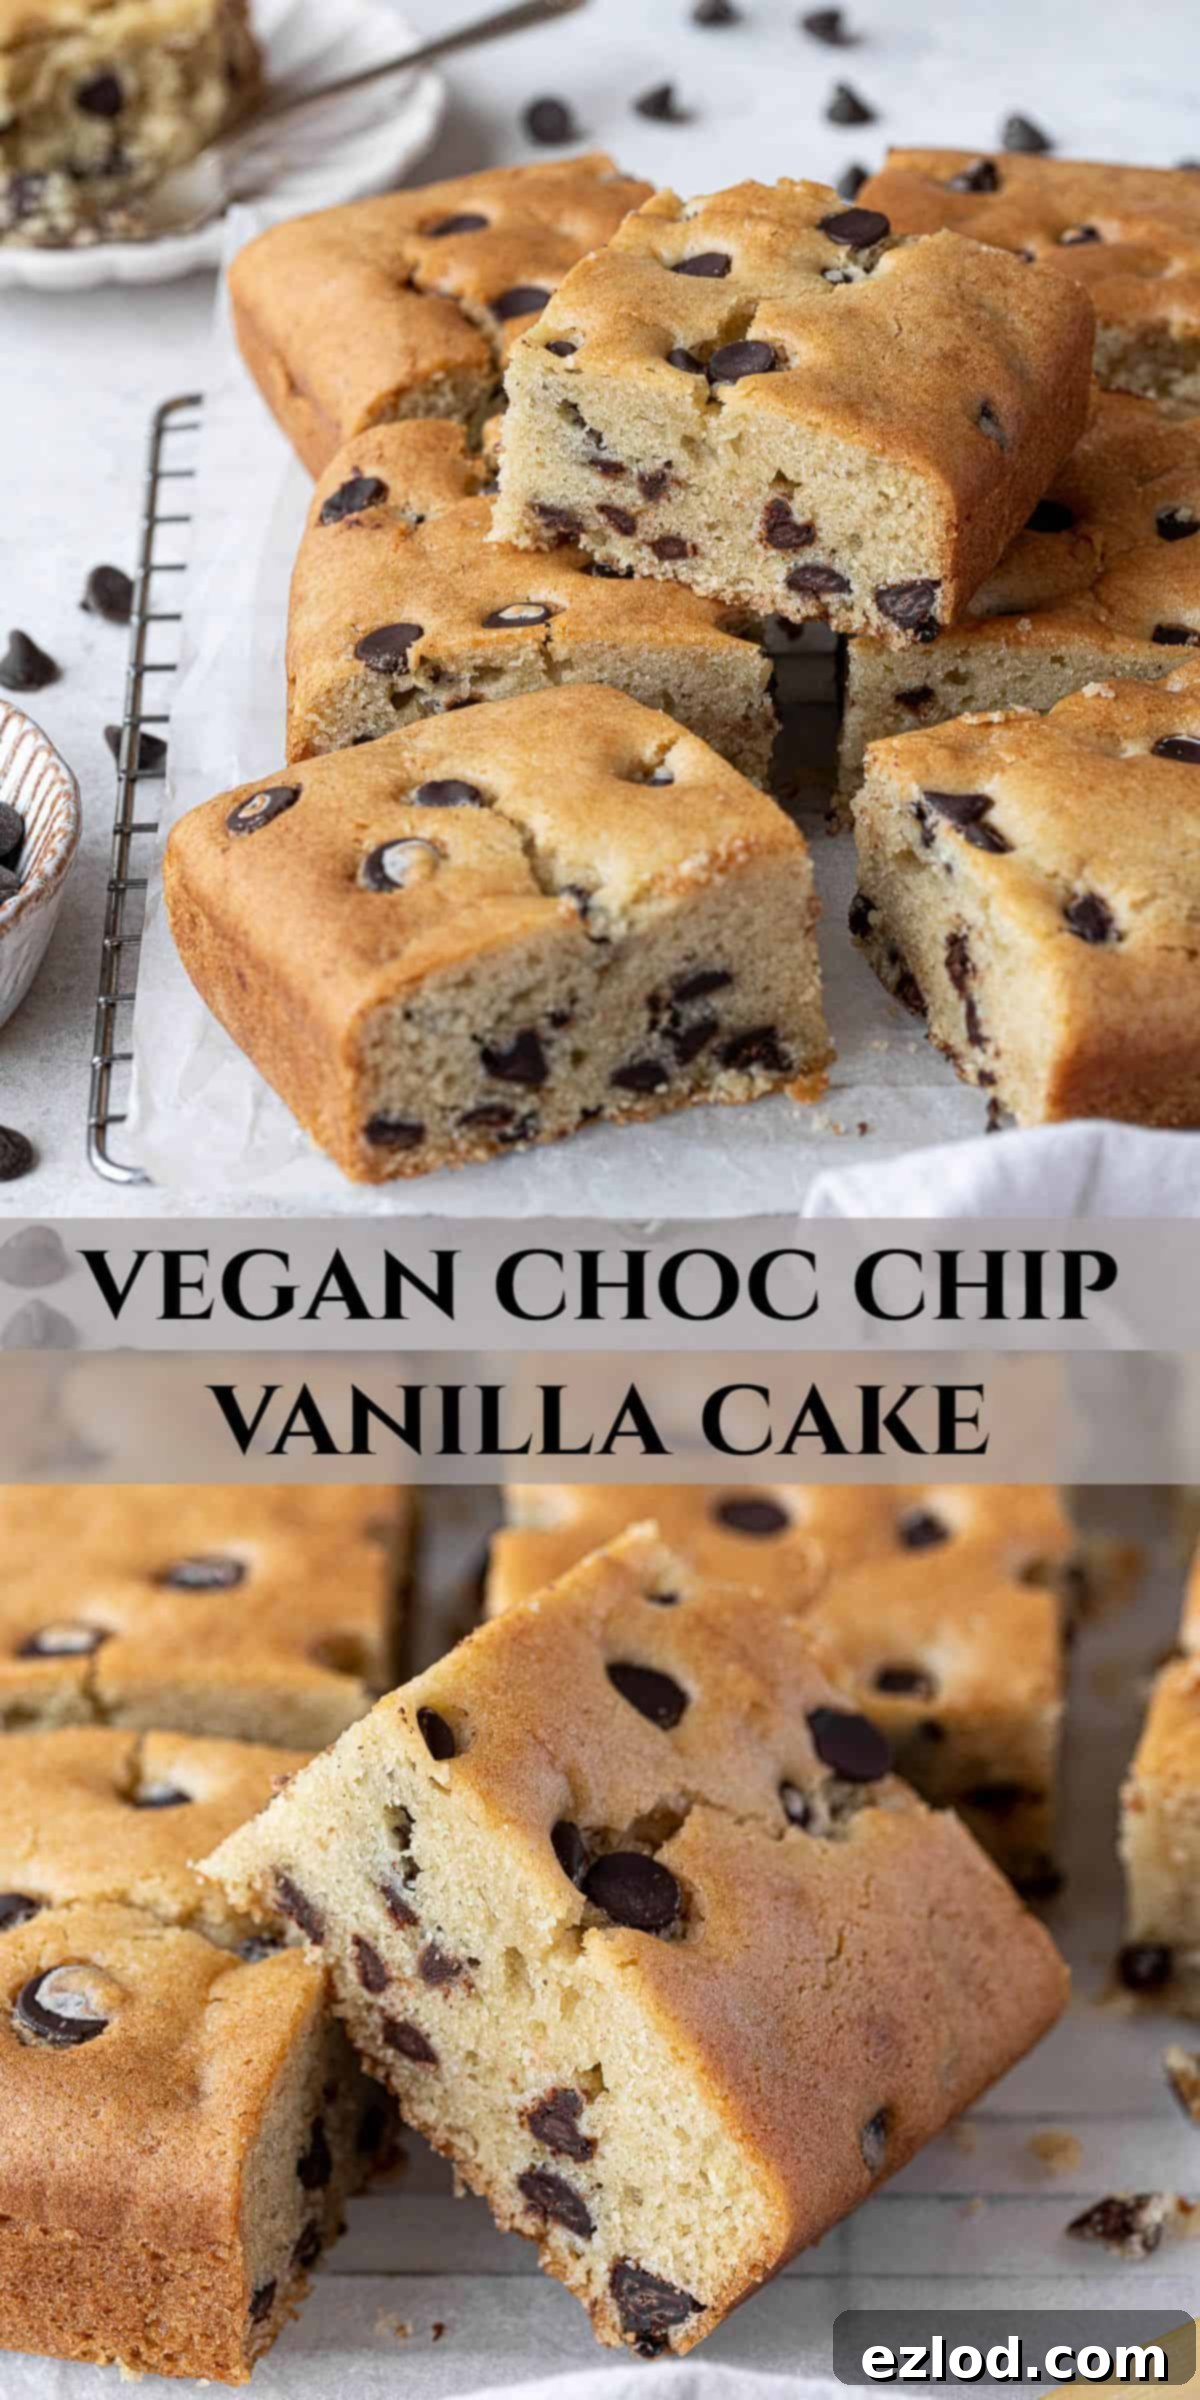
Easy Vegan Chocolate Chip Vanilla Cake: Your Guide to a Perfectly Moist, Plant-Based Delight
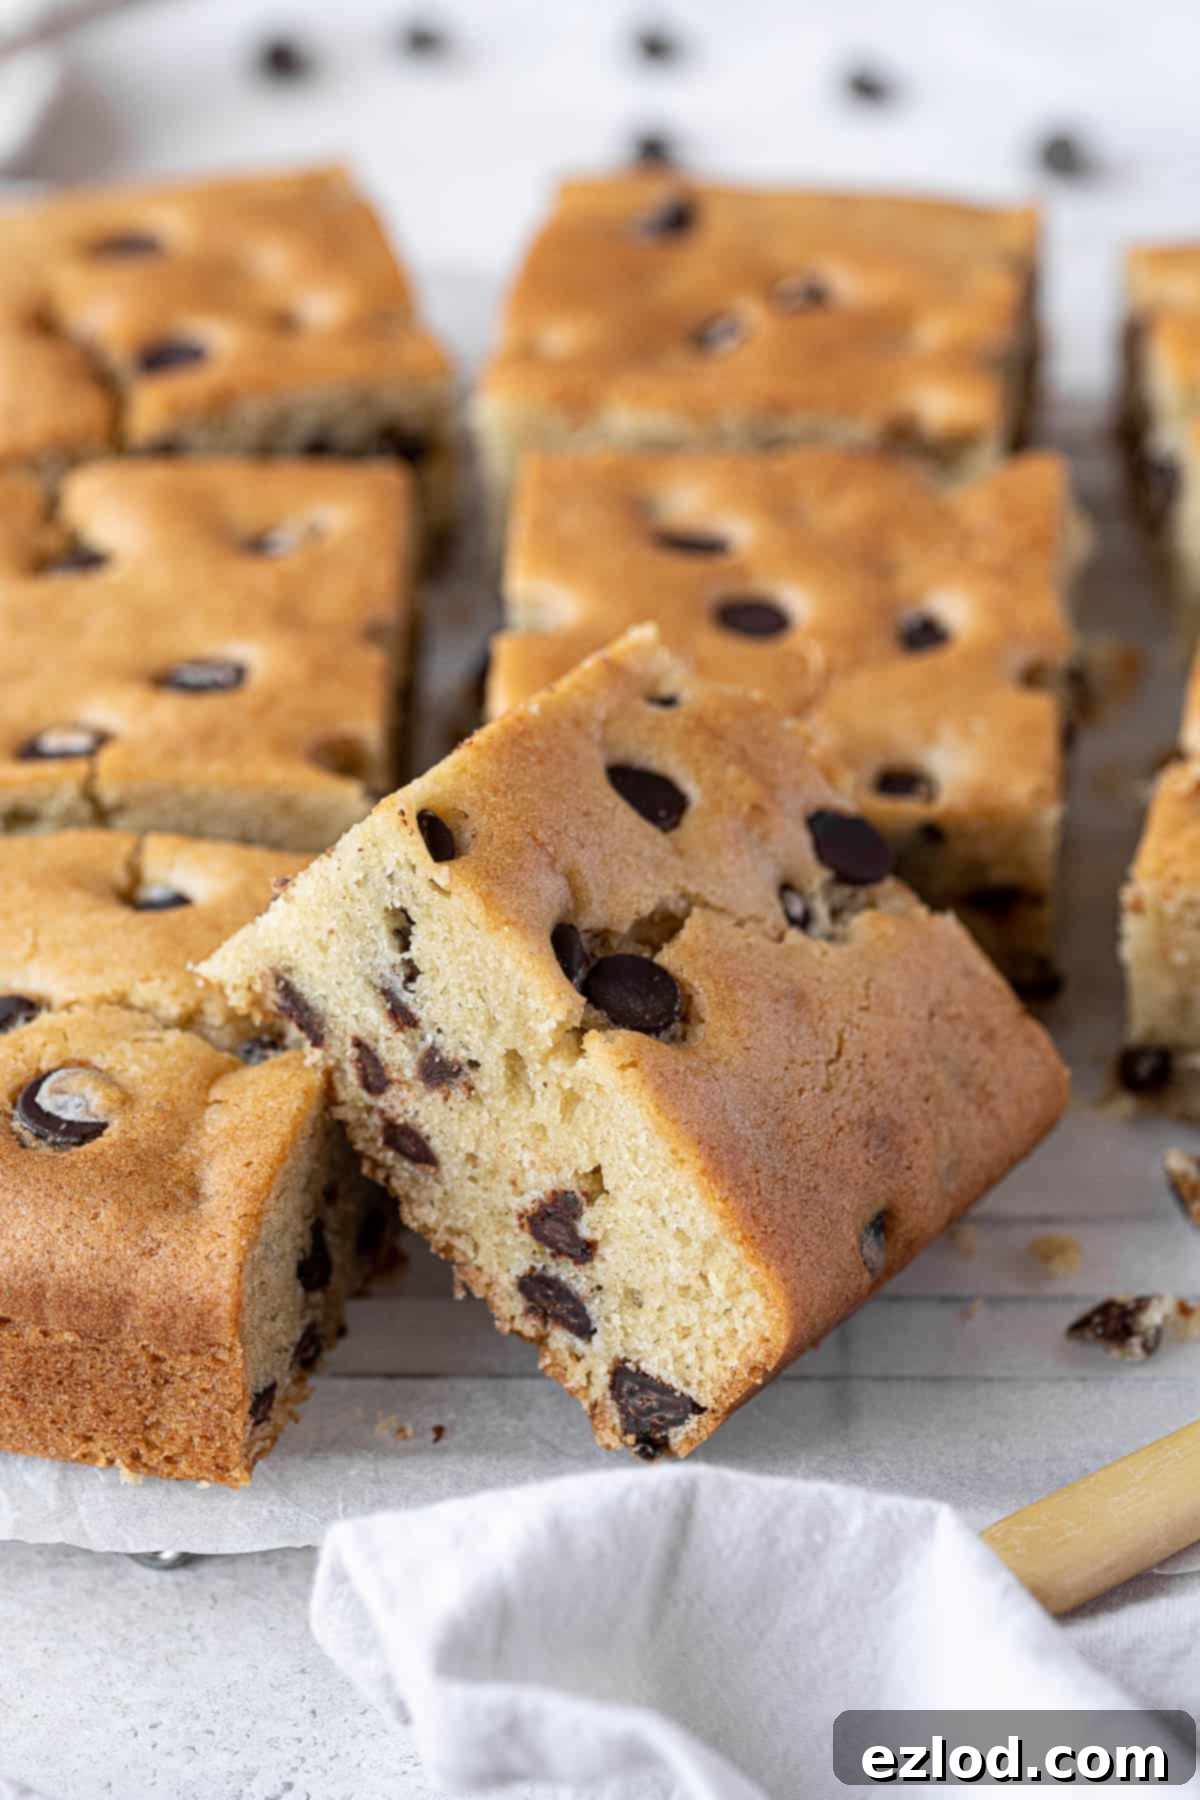
Welcome to the ultimate guide for creating a truly delightful Vegan Chocolate Chip Vanilla Cake! This recipe promises a cake that’s not just plant-based, but incredibly soft, wonderfully moist, and utterly tender, bursting with sweet vanilla flavor and generously studded with rich chocolate chips. It’s the perfect treat for any occasion – whether you’re craving a simple snack, preparing for a festive party, or seeking a comforting dessert to serve with a scoop of vegan ice cream or a dollop of custard. Prepare to impress everyone with this melt-in-your-mouth vegan masterpiece!
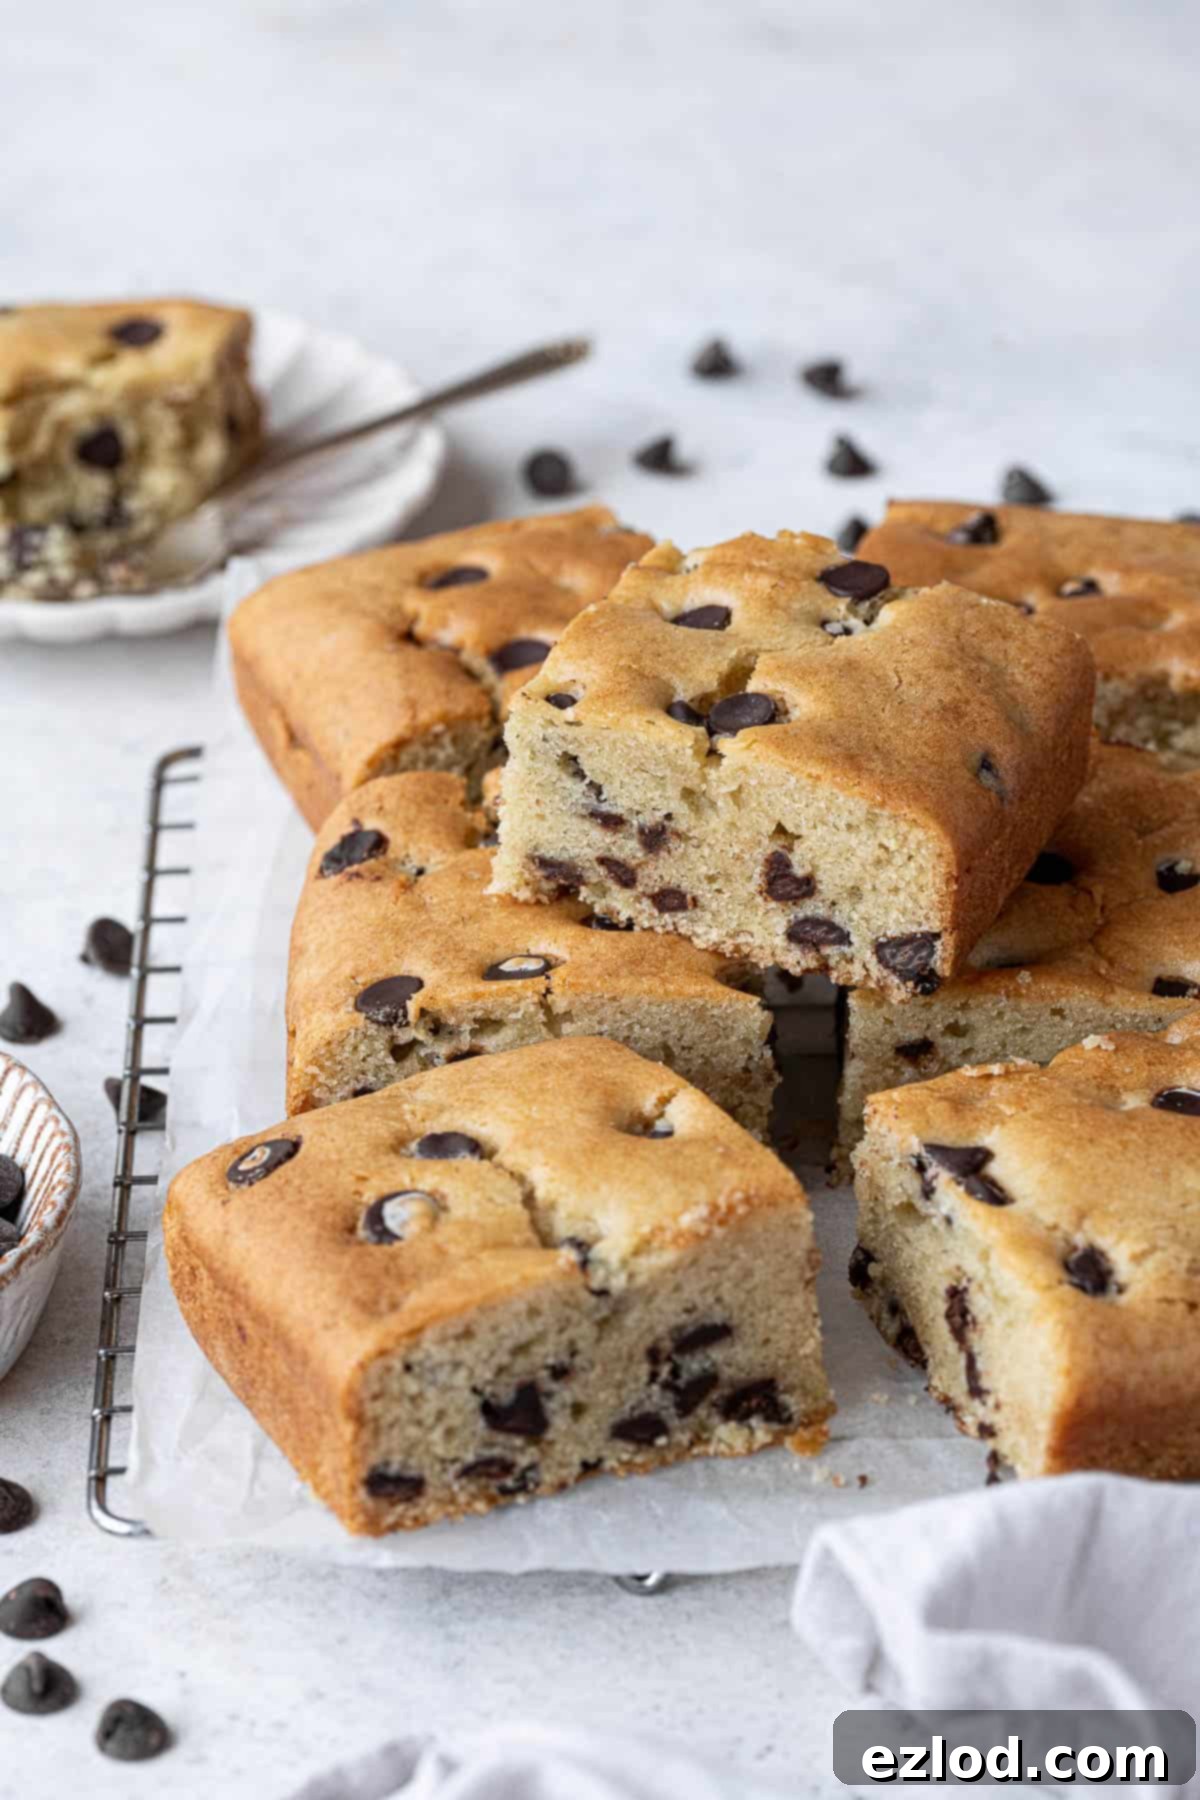
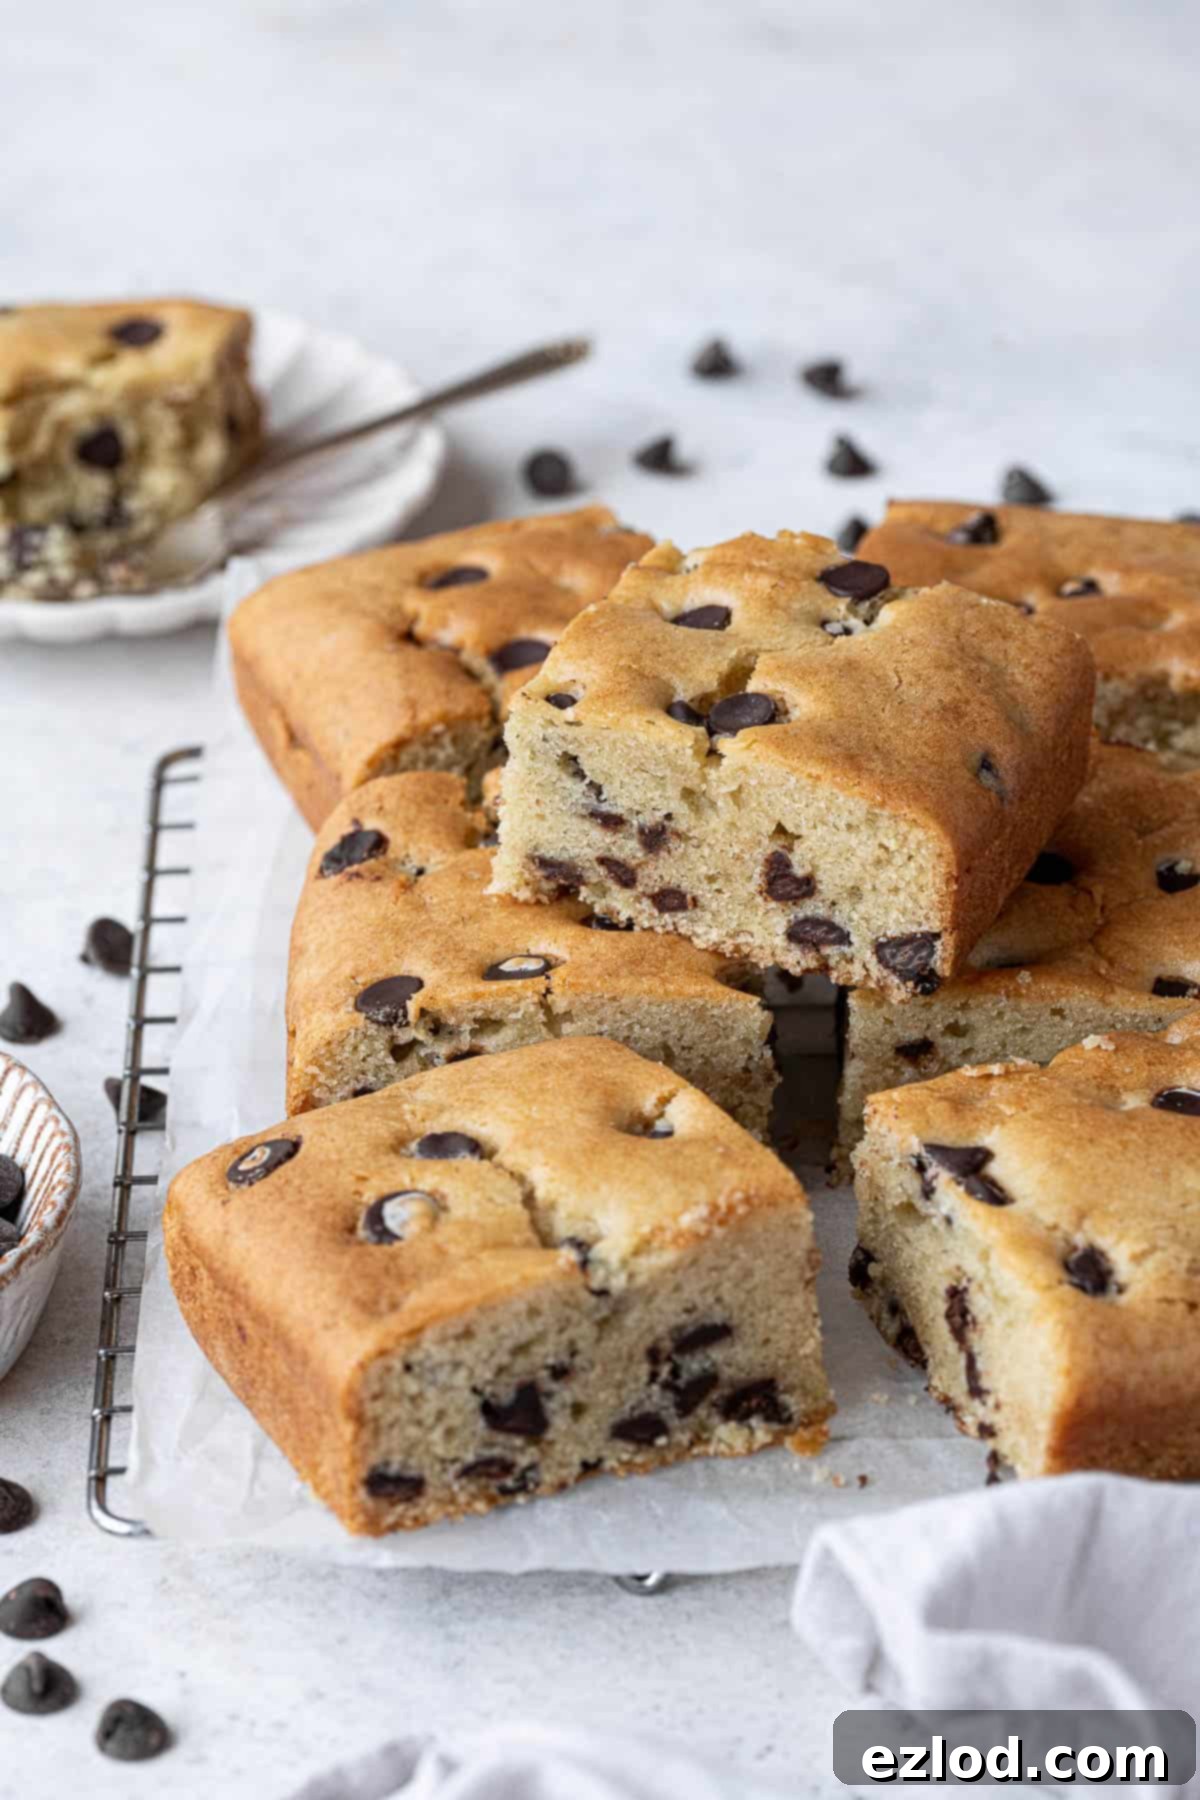
This easy vegan chocolate chip vanilla cake is more than just a simple bake; it’s a testament to how delicious and satisfying plant-based desserts can be. Crafted with everyday ingredients, it yields a result that feels both wonderfully homely and sufficiently indulgent for special occasions. Imagine a slice of this heavenly cake, its vanilla-infused sponge so tender it practically dissolves in your mouth, each bite punctuated by pockets of melted chocolate. It’s a guaranteed crowd-pleaser, suitable for everything from a casual afternoon pick-me-up to a show-stopping birthday dessert.
What makes this vegan vanilla cake with chocolate chips truly special is its incredible texture and flavor. It’s remarkably moist, thanks to a thoughtful combination of plant-based ingredients, and boasts a rich vanilla aroma that pairs perfectly with the sweet bitterness of dark chocolate chips. Beyond its deliciousness, this recipe is surprisingly straightforward to follow, making it accessible even for novice bakers. Get ready to bake a cake that will undoubtedly become a staple in your repertoire!
Essential Ingredients for Your Vegan Chocolate Chip Vanilla Cake
Creating this irresistible plant-based cake requires a carefully selected list of ingredients that work in harmony to deliver the perfect taste and texture. Here’s a detailed look at what you’ll need and why each component is crucial:
Plant Milk
The foundation of our moist vegan cake batter. While most unsweetened plant milks will work, I highly recommend using unsweetened soy milk. Soy milk has a higher protein content compared to other plant milks, which contributes to a more stable and tender crumb structure in your baked goods, closely mimicking the properties of dairy milk in traditional baking. Ensure it’s unsweetened to control the overall sweetness of the cake.
Non-Dairy Yogurt
This is one of my secret weapons for creating incredibly moist and tender vegan cakes. Non-dairy yogurt acts as an excellent egg replacer, providing moisture, binding, and a subtle tang that enhances the flavor profile. Both unsweetened soy yogurt and coconut yogurt are fantastic choices. I’ve had great success with brands like Coconut Collaborative. Unfortunately, I haven’t extensively tested other substitutes for the yogurt. However, Oatly creme fraiche might offer a similar texture, and unsweetened applesauce could potentially work, though the flavor and texture might be slightly different.
Vegan Butter and Oil
For the ultimate balance of flavor and moisture, this recipe uses both vegan butter and a neutral oil. Vegan block butter, rather than spreadable tub butter, is crucial for achieving the right consistency and richness, much like dairy butter in traditional recipes. Brands like Naturli Vegan Block or Flora Plant block are ideal. The vegan butter contributes a lovely, buttery flavor. The addition of a neutral-flavored oil, such as sunflower or canola oil, is key for maintaining the cake’s exceptional moisture and tenderness, preventing it from drying out over time. This combination ensures your cake is both flavorful and wonderfully moist.
Vinegar
A small but mighty ingredient! Vinegar plays a vital role in vegan baking by reacting with bicarbonate of soda (baking soda). This chemical reaction creates carbon dioxide bubbles, which help the cake rise, resulting in a light and airy texture. You can use either apple cider vinegar or white wine vinegar. Fresh lemon juice is also a suitable alternative, offering a similar acidic component.
Plain Flour (All-Purpose Flour)
Just standard plain or all-purpose flour is needed for this recipe. It provides the primary structure for the cake. I strongly advise against swapping it for wholemeal flour, as wholemeal varieties contain more bran and germ, which can make the cake significantly denser and alter the delicate texture we’re aiming for. While I haven’t specifically tested a gluten-free version, this recipe might work with a good quality gluten-free flour blend, especially if you add about ¼ teaspoon of xanthan gum (unless your blend already contains it) to help with structure.
Cornflour (Cornstarch)
Adding a touch of cornflour, or cornstarch as it’s known in North America, to the dry ingredients is a brilliant trick to achieve an even lighter and more tender crumb in your cake. It works by slightly reducing the protein content of the flour mixture. If you don’t have cornflour on hand, you can simply substitute it with an equal amount of additional plain flour, though your cake might be marginally less tender.
Caster Sugar (Granulated Sugar)
Caster sugar, or fine granulated sugar, is used for sweetness and contributes to the cake’s structure and browning. It’s important to stick to this type of sugar. I do not recommend using brown sugar, coconut sugar, artificial sweeteners, or liquid sugars (like maple syrup or agave). These alternatives can significantly alter the moisture content, texture, and overall outcome of the cake, potentially making it too dense or sticky.
Baking Powder and Bicarbonate of Soda (Baking Soda)
For the best possible rise and a perfectly light, fluffy texture, this recipe utilizes both baking powder and bicarbonate of soda. They work differently and synergistically. Baking powder is a complete leavening agent (containing acid and base), while bicarbonate of soda requires an acidic ingredient (like the vinegar and yogurt in this recipe) to activate. Do not substitute one for the other, as this will lead to a vastly different and less desirable result.
Salt
A small amount of salt is essential in all baking. It doesn’t just make the cake taste salty; rather, it balances and enhances all the other flavors, particularly the vanilla and chocolate, making them pop.
Vanilla Extract
For that classic, comforting vanilla flavor, use a good quality vanilla extract. Extract is always superior to artificial vanilla essence. For an even more intense vanilla presence, you can opt for vanilla bean paste, which often contains actual vanilla bean specks.
Chocolate Chips
The star of the show! I typically use dark chocolate chips for a rich, deep chocolate flavor that contrasts beautifully with the sweet vanilla. It is crucial to double-check that your chosen brand of chocolate chips is genuinely vegan-friendly, as many contain dairy. As an alternative, you can also use a good quality bar of vegan dark chocolate, roughly chopped into small pieces.
Baking Your Perfect Vegan Chocolate Chip Vanilla Cake: A Step-by-Step Guide
(For precise measurements and detailed instructions, please refer to the comprehensive recipe card located at the very bottom of this page.)
Making this incredible vegan chocolate chip vanilla cake is a straightforward process that yields impressive results. Follow these simple steps for a perfectly baked treat:
1. Prepare Your Dry Ingredients
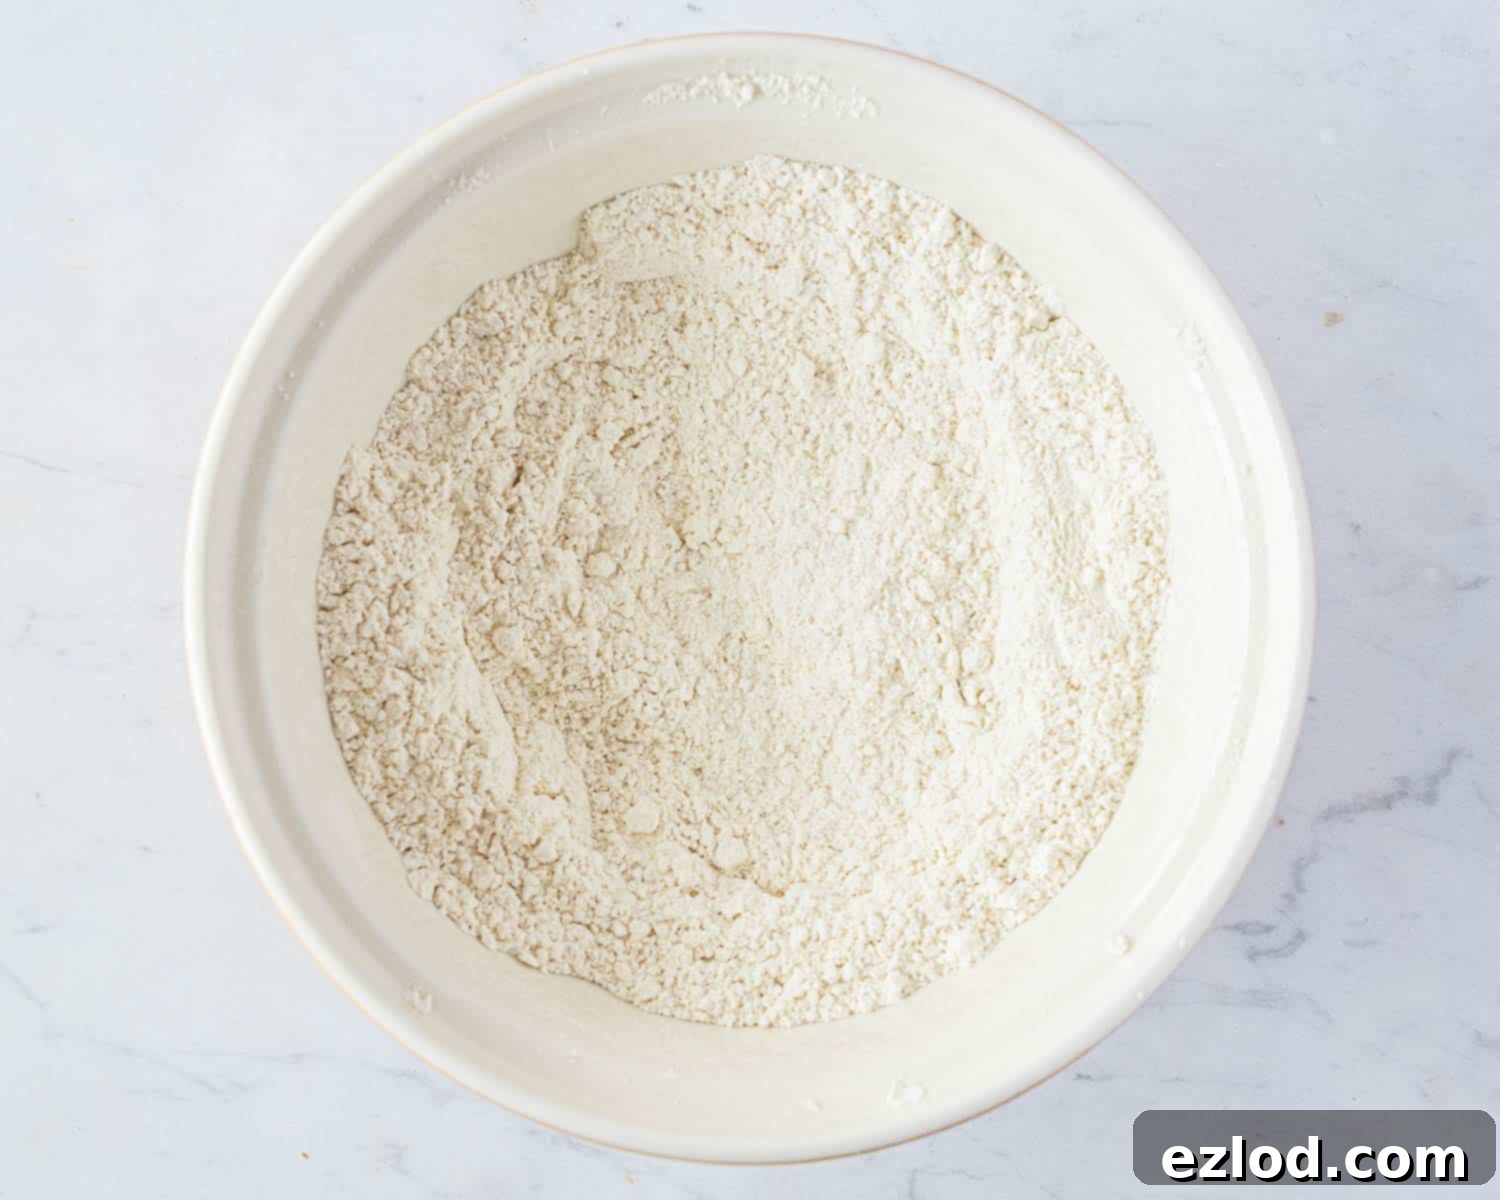
Begin by preparing your dry ingredients. In a large mixing bowl, meticulously sift together the plain flour, cornflour, baking powder, bicarbonate of soda, and salt. Sifting is an important step as it helps to aerate the flour, preventing lumps and ensuring that your leavening agents are evenly distributed throughout the mixture, which is crucial for a consistent rise and texture.
2. Combine Your Wet Ingredients
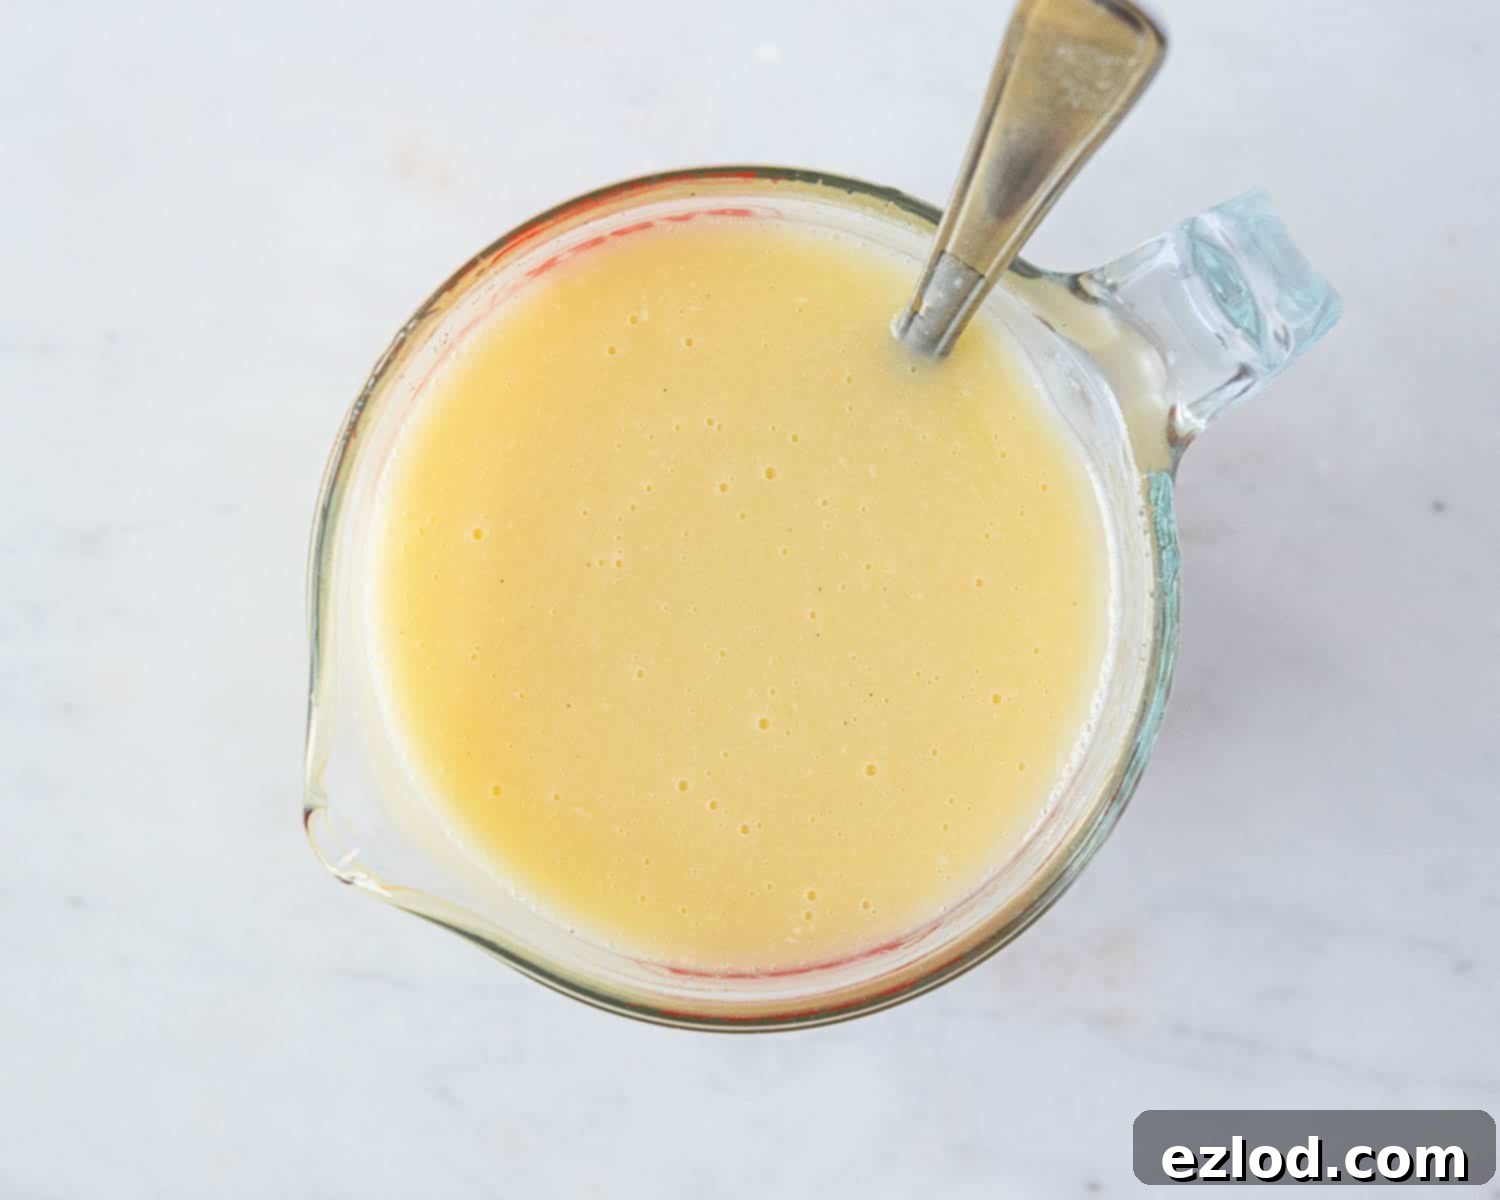
In a separate large jug or bowl, whisk together all the wet ingredients until they are thoroughly combined and smooth. This includes the non-dairy milk, non-dairy yogurt, melted vegan butter, oil, sugar, vinegar, and vanilla extract. Ensure the sugar is dissolved as much as possible. Mixing wet ingredients separately allows for an even distribution of flavors and ensures that the leavening agents will react properly when combined with the dry ingredients. This also prevents over-mixing later.
3. Prepare the Chocolate Chips
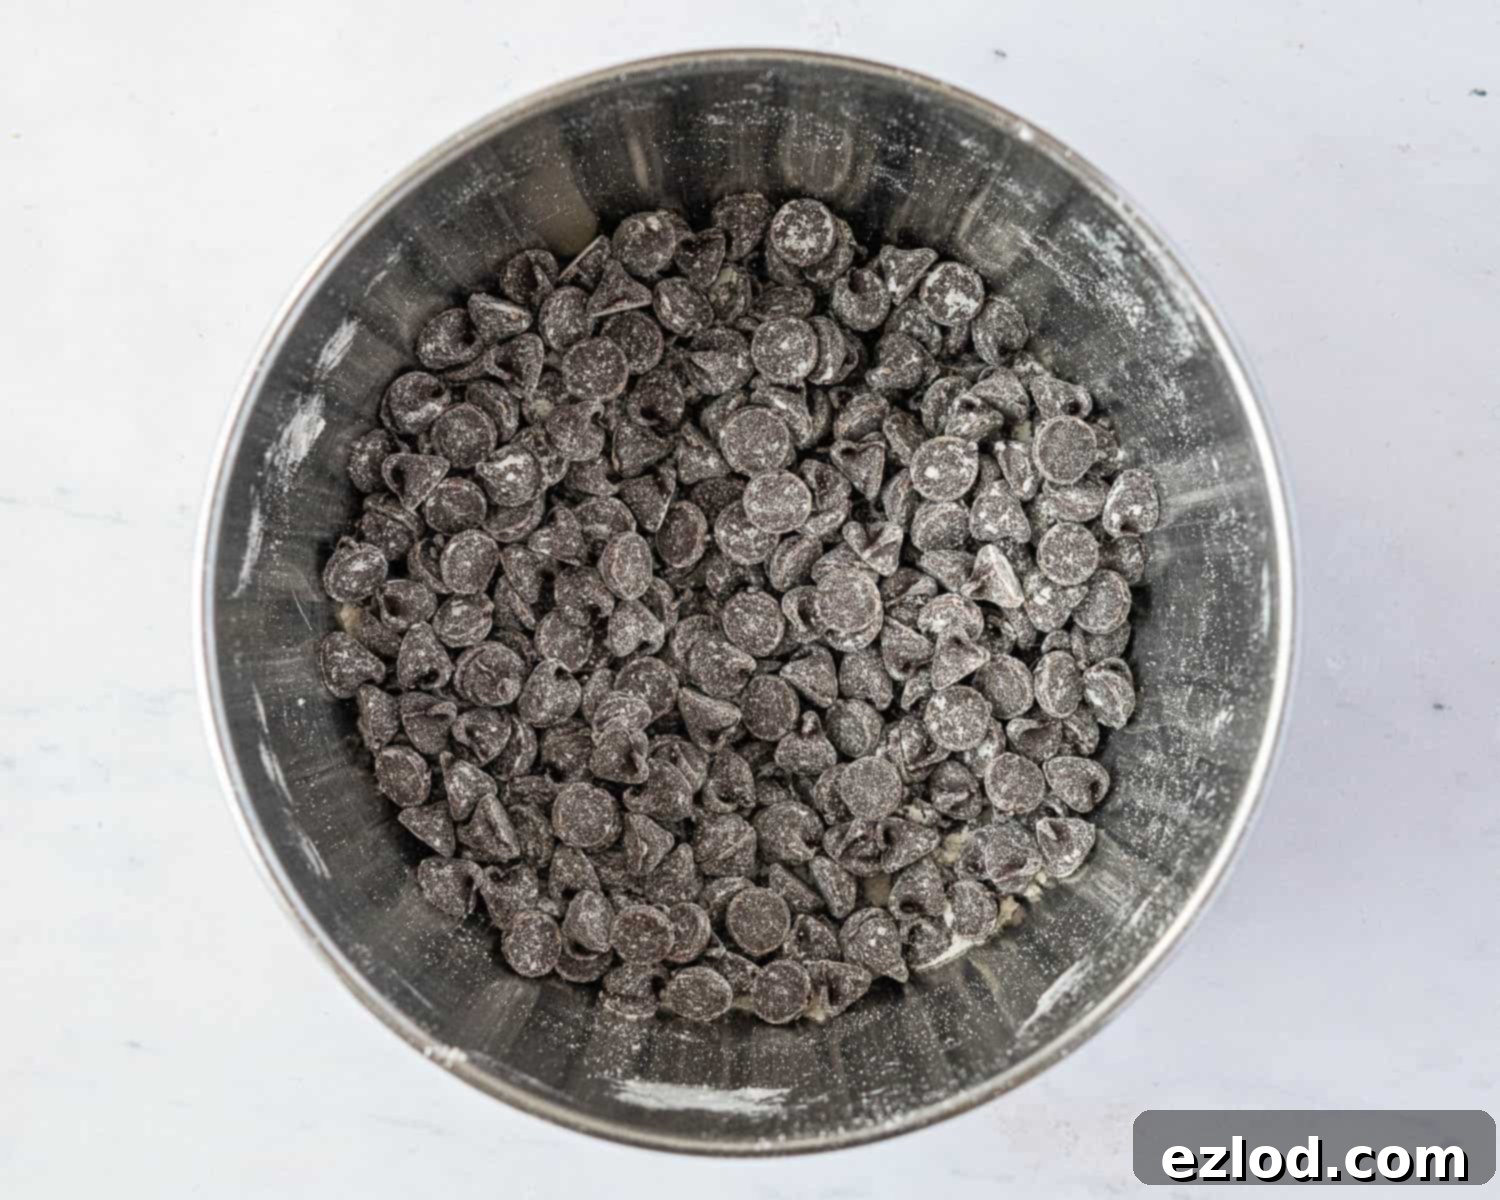
To prevent your chocolate chips from sinking to the bottom of the cake during baking, a clever trick is to toss them with a tablespoon of plain flour until they are lightly coated. This light coating helps them suspend more evenly within the cake batter, ensuring every slice has an abundance of chocolatey goodness.
4. Combine Wet and Dry Ingredients
Pour the prepared wet ingredients into the bowl containing the dry ingredients. Using a whisk or a spatula, gently mix until just combined and no dry lumps of flour remain. This step is crucial: do not over-mix the batter! Over-mixing can develop the gluten in the flour too much, leading to a tough and rubbery cake. A few small lumps are perfectly fine. Once mostly combined, gently fold in the flour-coated chocolate chips until they are evenly distributed.
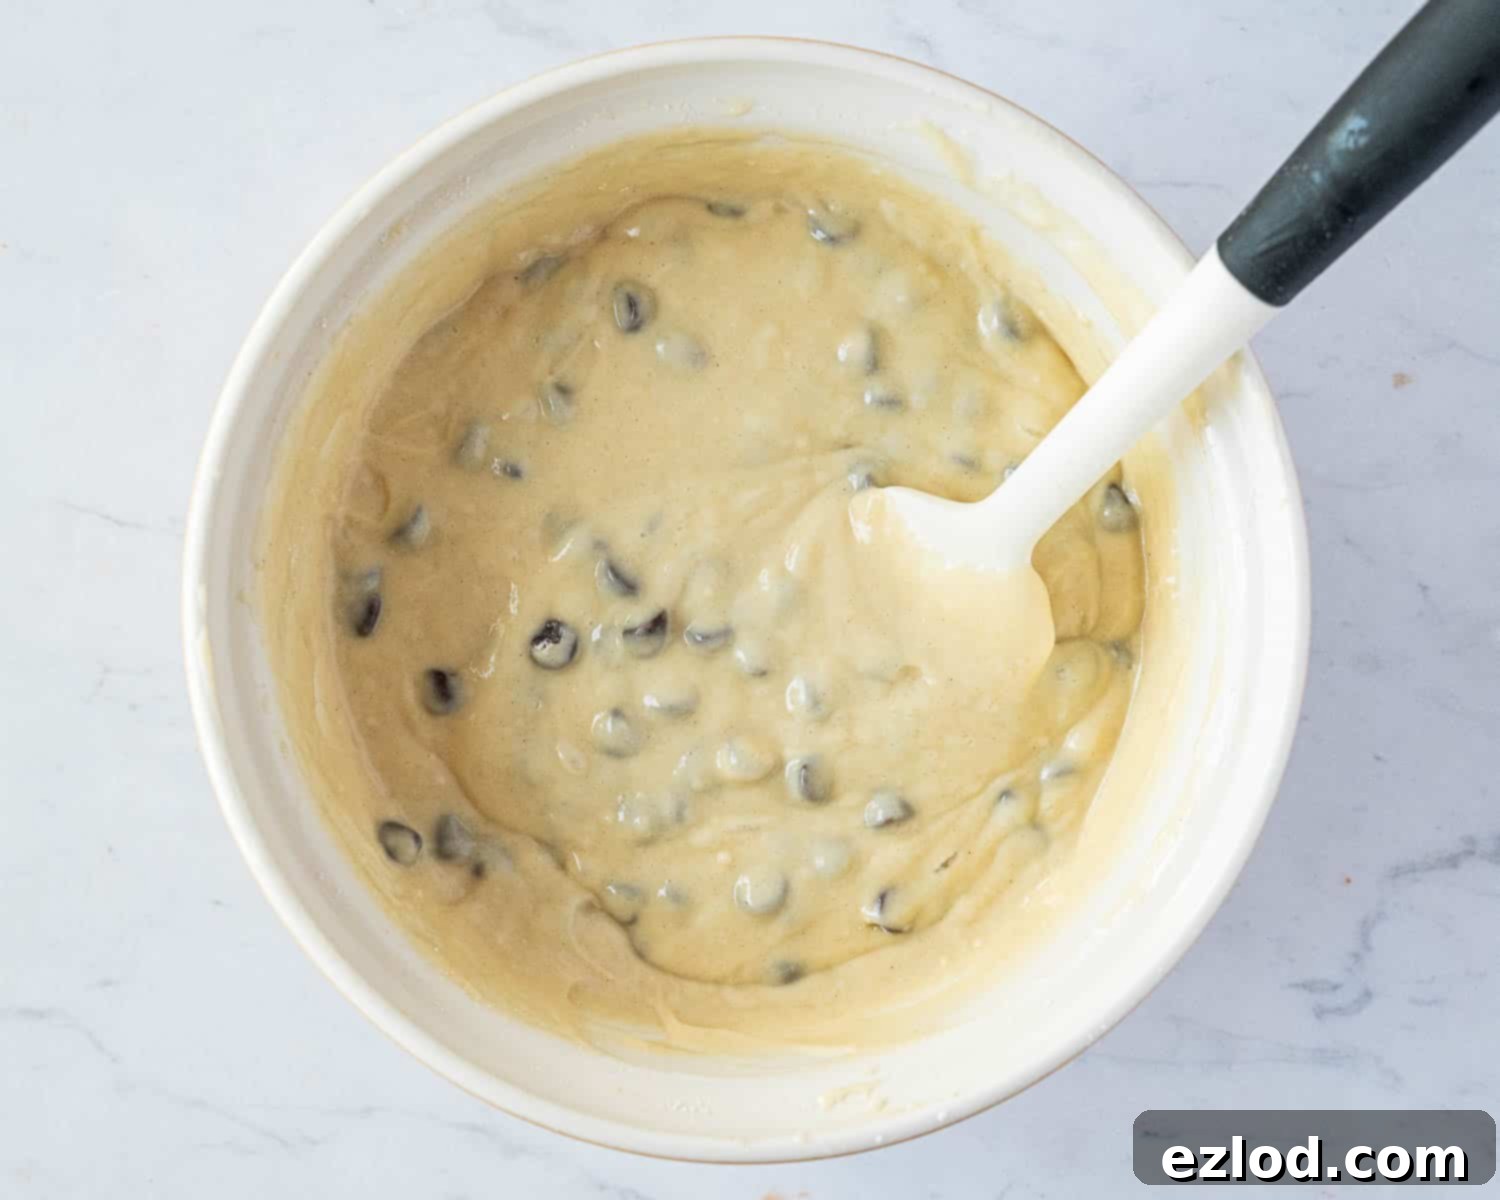
5. Prepare for Baking
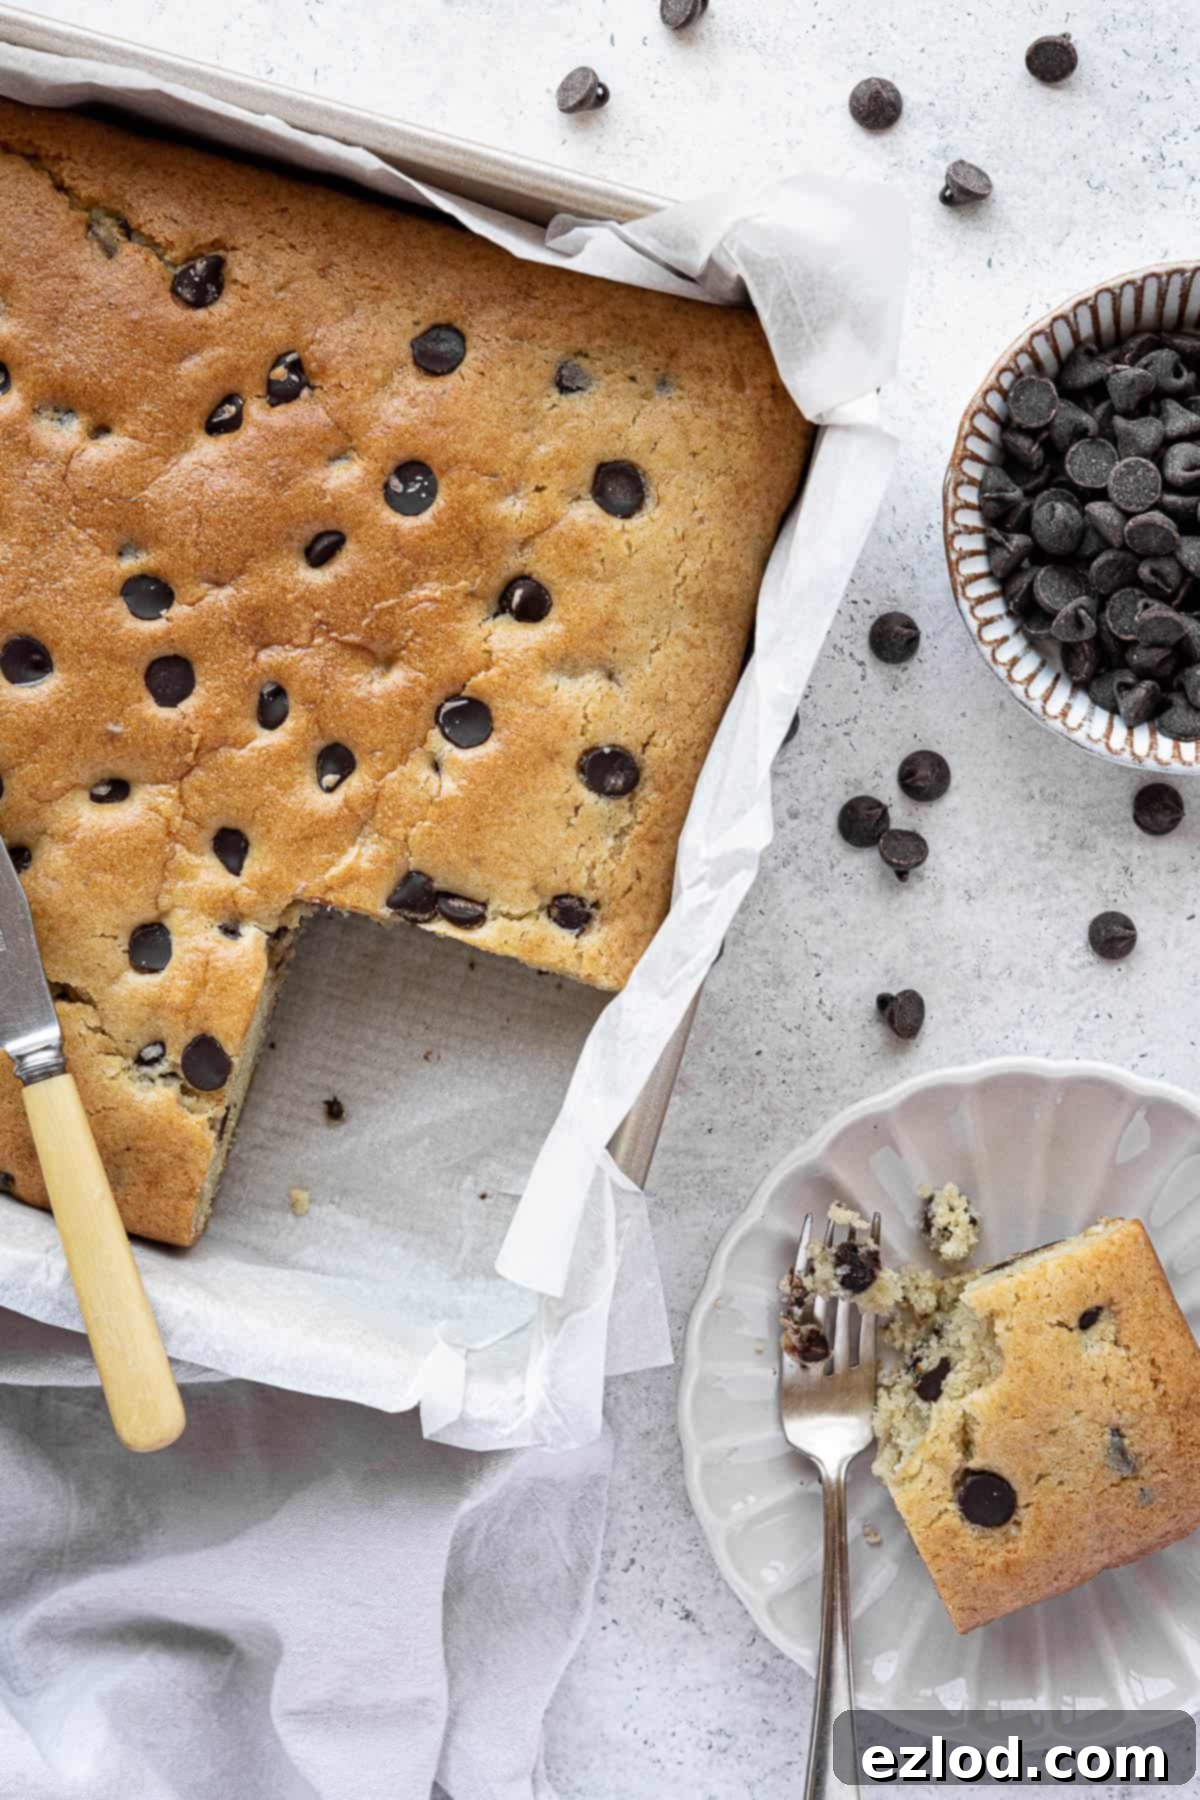
Pour the completed cake batter into your greased and lined 23cm/9in square cake tin. Use a spatula to gently spread the batter evenly in the tin, ensuring it’s level. For an extra visual appeal and an additional burst of chocolate, you can scatter a few more chocolate chips over the top of the batter before baking.
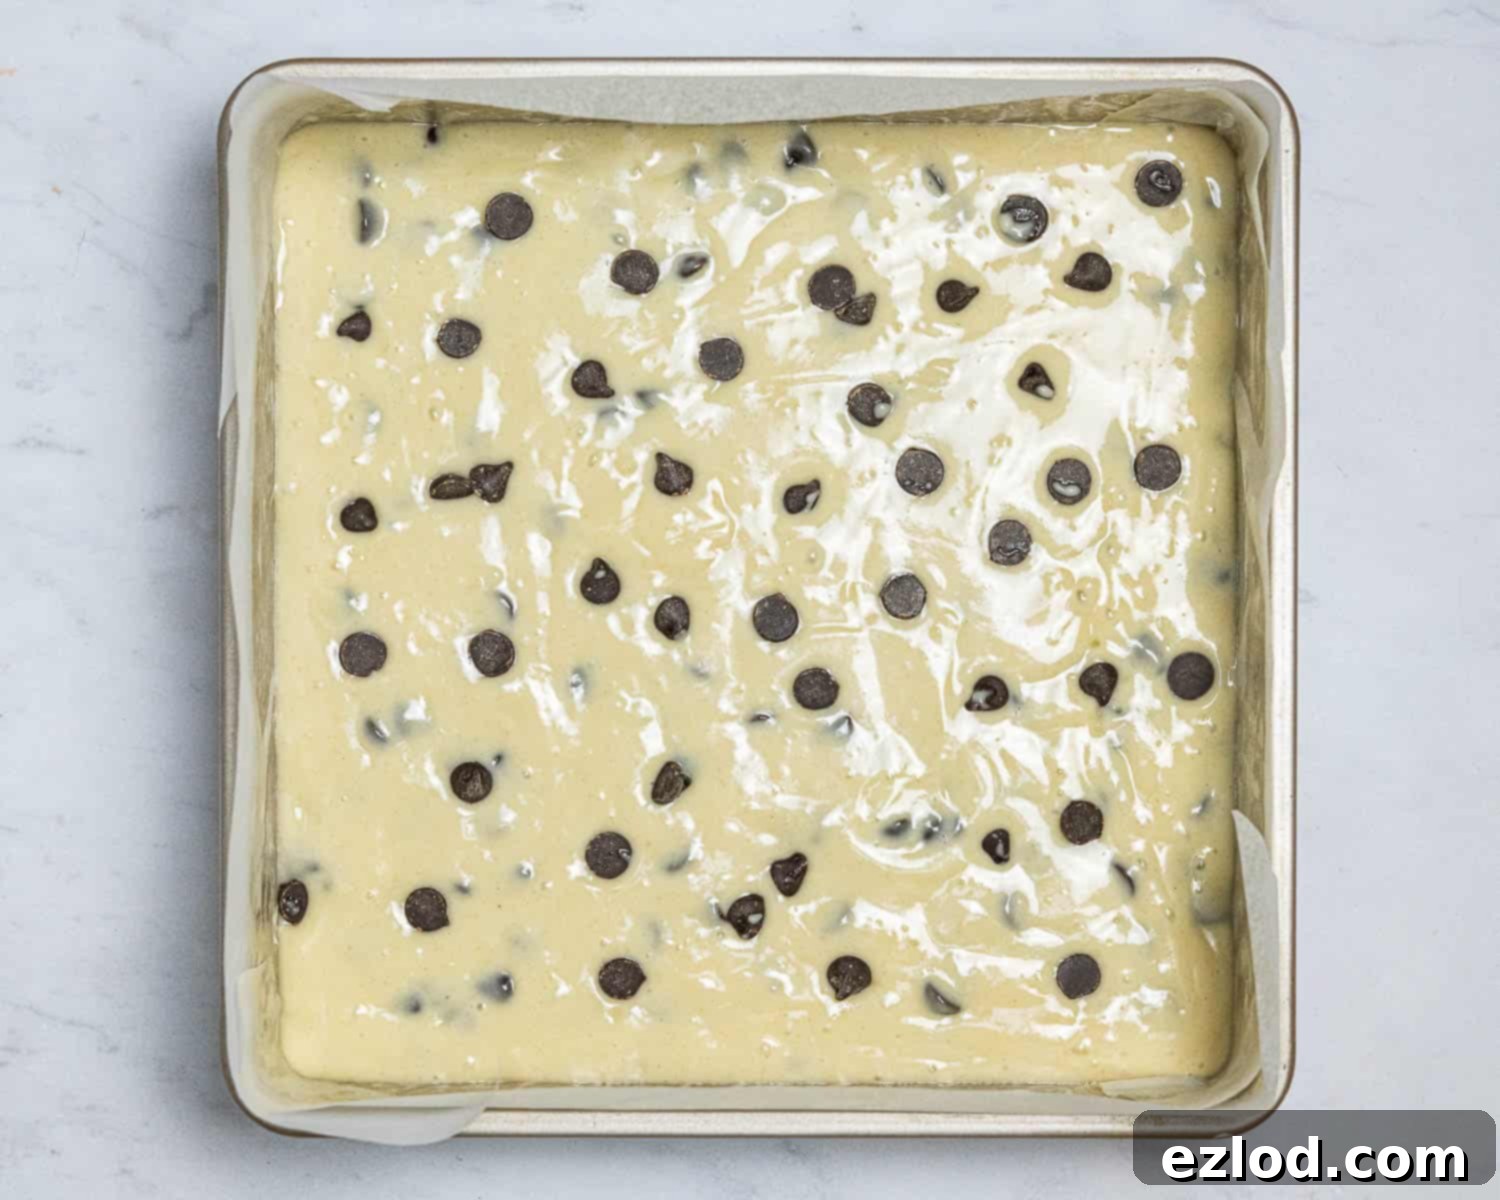
6. Bake to Perfection
Bake the cake in your preheated oven for approximately 30 minutes. The exact baking time may vary slightly depending on your oven, so it’s always best to check for doneness. The cake is ready when it feels firm to the touch, and a skewer or toothpick inserted into the center (making sure to avoid hitting a chocolate chip) comes out clean. Once baked, allow the cake to cool in the tin for about 15-20 minutes before carefully inverting it onto a wire rack to cool completely. Cooling completely ensures the cake sets properly and is easy to slice.
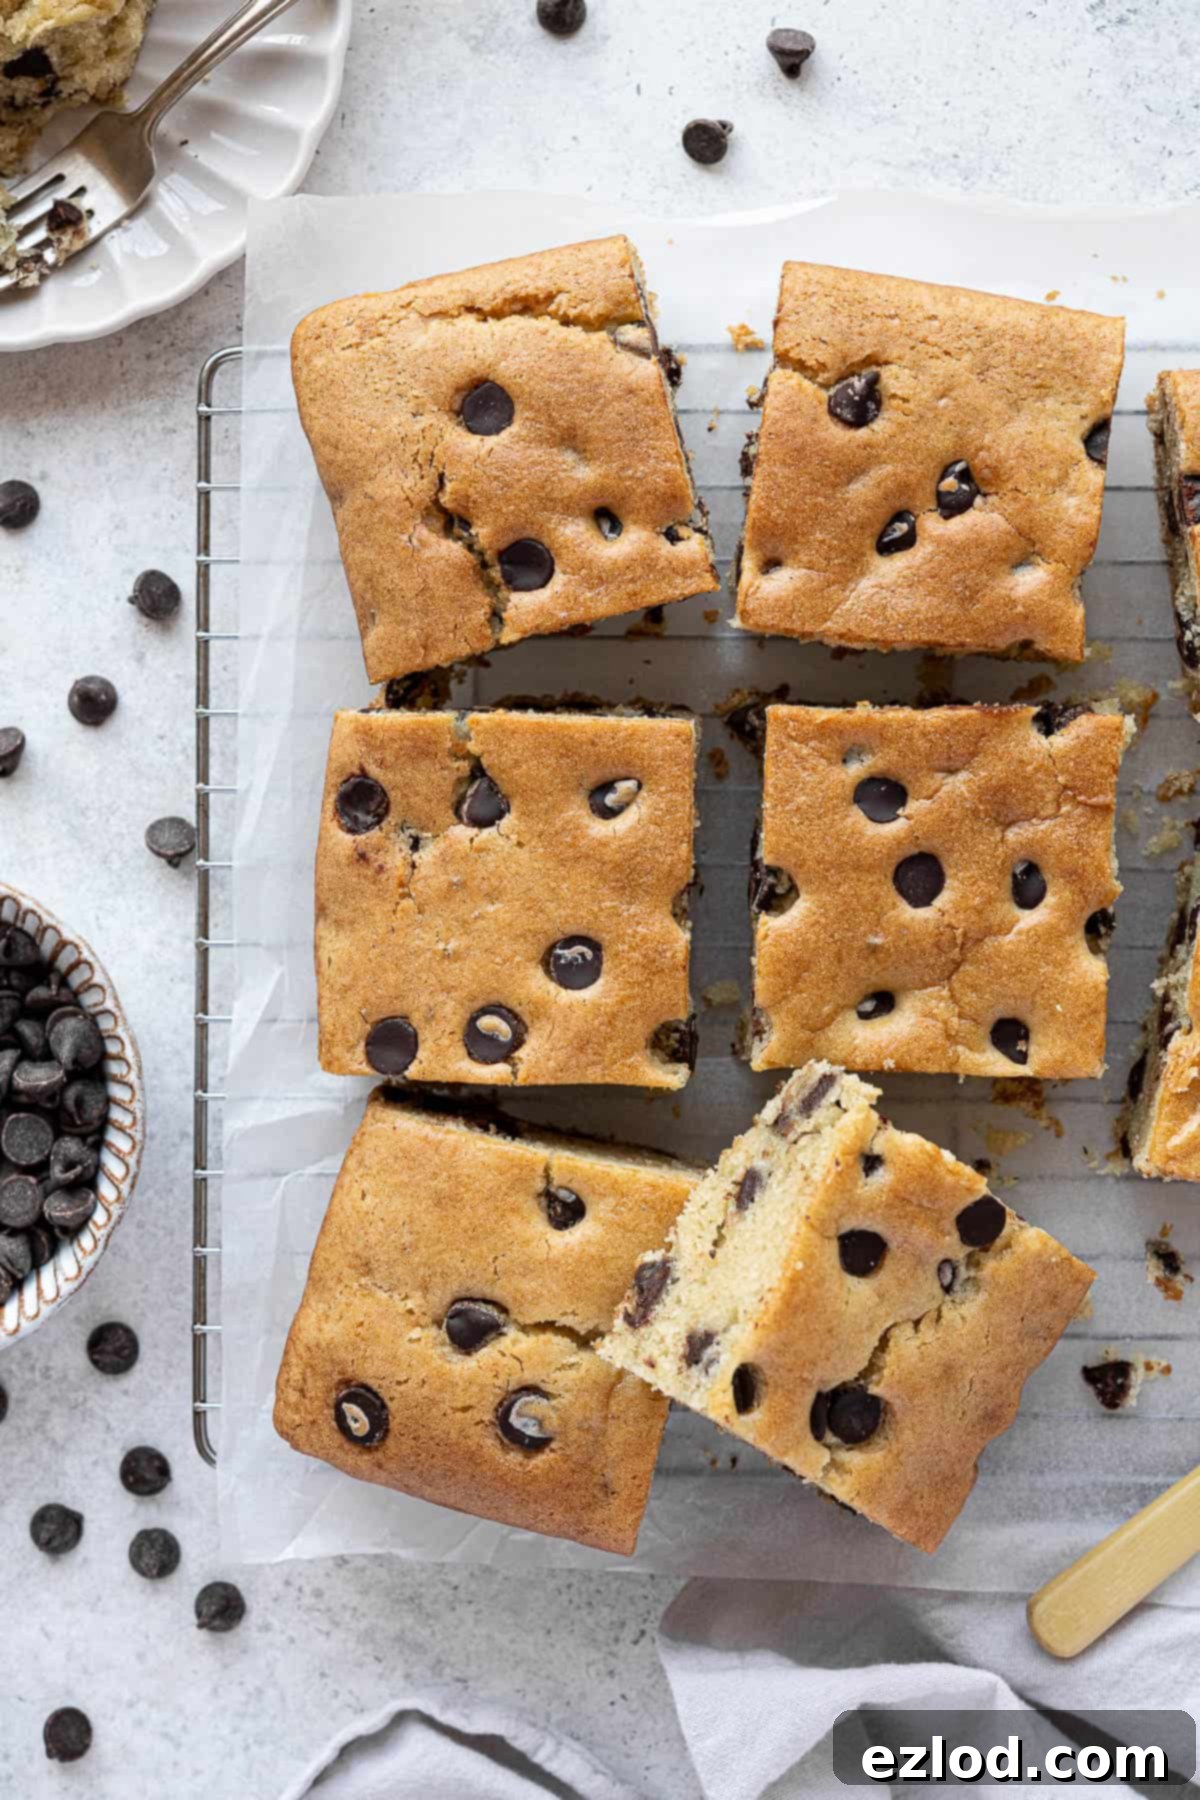
Top Tips for Baking the Best Vegan Chocolate Chip Vanilla Cake
To ensure your vegan chocolate chip vanilla cake turns out absolutely perfect every time, keep these essential baking tips in mind:
- Embrace Metric Measurements: For all my baking recipes, and especially this one, I cannot stress enough the importance of using metric measurements with a digital scale. Cups are notoriously inaccurate and inconsistent. Using a scale provides far more precise, reliable results, leading to a consistently perfect cake. Plus, it often means less mess!
- Follow the Recipe Precisely: Baking is a science. For the best possible outcome, adhere strictly to the recipe as written. Each ingredient plays a specific role, and altering quantities or making un-tested substitutions can significantly affect the cake’s texture, rise, and overall success.
- Avoid Over-Mixing: This is a golden rule for tender cakes. Once you combine the wet and dry ingredients, mix only until no dry streaks of flour are visible. Over-mixing develops gluten, which can lead to a tough, chewy cake. For a light and tender crumb, gentle mixing with a balloon whisk or spatula is best.
- Thoroughly Mix Separate Components: Before combining your wet and dry ingredients, ensure each mixture is very well incorporated on its own. This guarantees even distribution of ingredients and flavors without requiring excessive mixing once they are brought together.
- Check Your Oven Temperature: Ovens can vary widely. If you frequently find your bakes under or overcooked, consider investing in an oven thermometer to ensure your oven is truly at the temperature you set.
- Proper Cooling is Key: While it’s tempting to cut into a warm cake, allowing it to cool completely on a wire rack is essential. This allows the cake’s structure to set fully, preventing it from crumbling and ensuring it maintains its moist texture.
- Storage: Once completely cooled, store your vegan chocolate chip vanilla cake in an airtight container at room temperature. It will remain wonderfully fresh and moist for approximately 3-4 days.
- Elevate with Toppings: For an even more decadent experience, consider topping your cooled cake with a rich vegan chocolate ganache, a simple vanilla glaze, or a dusting of powdered sugar. These additions can transform it into an even more impressive dessert.
Can I Make a Loaf Cake Instead?
While the idea of a vegan chocolate chip vanilla loaf cake might sound appealing for slicing and snacking, I specifically tested this recipe in a loaf tin, and the results indicated a noticeably denser texture compared to the square cake. Loaf tins, due to their deeper and narrower shape, can cause cakes to bake differently, often leading to a more compressed crumb.
For this particular recipe, to achieve the soft, moist, and tender texture described, it is highly recommended to use the specified 23cm/9in square tin. Using a different size or shape of bakeware can significantly alter a cake’s texture, or in some cases, even cause it to fail completely. Stick to the recommended tin for the best experience with this delicious recipe.
Can I Freeze This Vegan Chocolate Chip Vanilla Cake?
Absolutely! This vegan chocolate chip vanilla cake freezes exceptionally well, making it perfect for meal prepping desserts or saving leftovers. You can freeze it either as a whole cake or in individual slices, which is ideal for portion control and quick thawing.
To freeze, ensure the cake is completely cold before wrapping it. Wrap it tightly in several layers of plastic wrap, followed by a layer of aluminum foil, or place it in a freezer-safe airtight container. This helps prevent freezer burn and keeps the cake fresh. It can be stored in the freezer for up to three months. When you’re ready to enjoy it, simply allow it to defrost at room temperature for a few hours. Once thawed, it will be just as moist and delicious as when it was freshly baked.
More Delicious Vegan Snacking Cakes to Try:
If you loved this vegan chocolate chip vanilla cake, you’re in for a treat! Explore more delightful plant-based snacking cakes from our collection:
- Chocolate, pear and hazelnut cake
- Vegan malt loaf
- Simple wholemeal apple cake
- Vegan pumpkin bundt cake
- Vegan orange loaf cake
- Vegan Earl Grey tea loaf
- Easy vegan banana bread
- Vegan apple cake
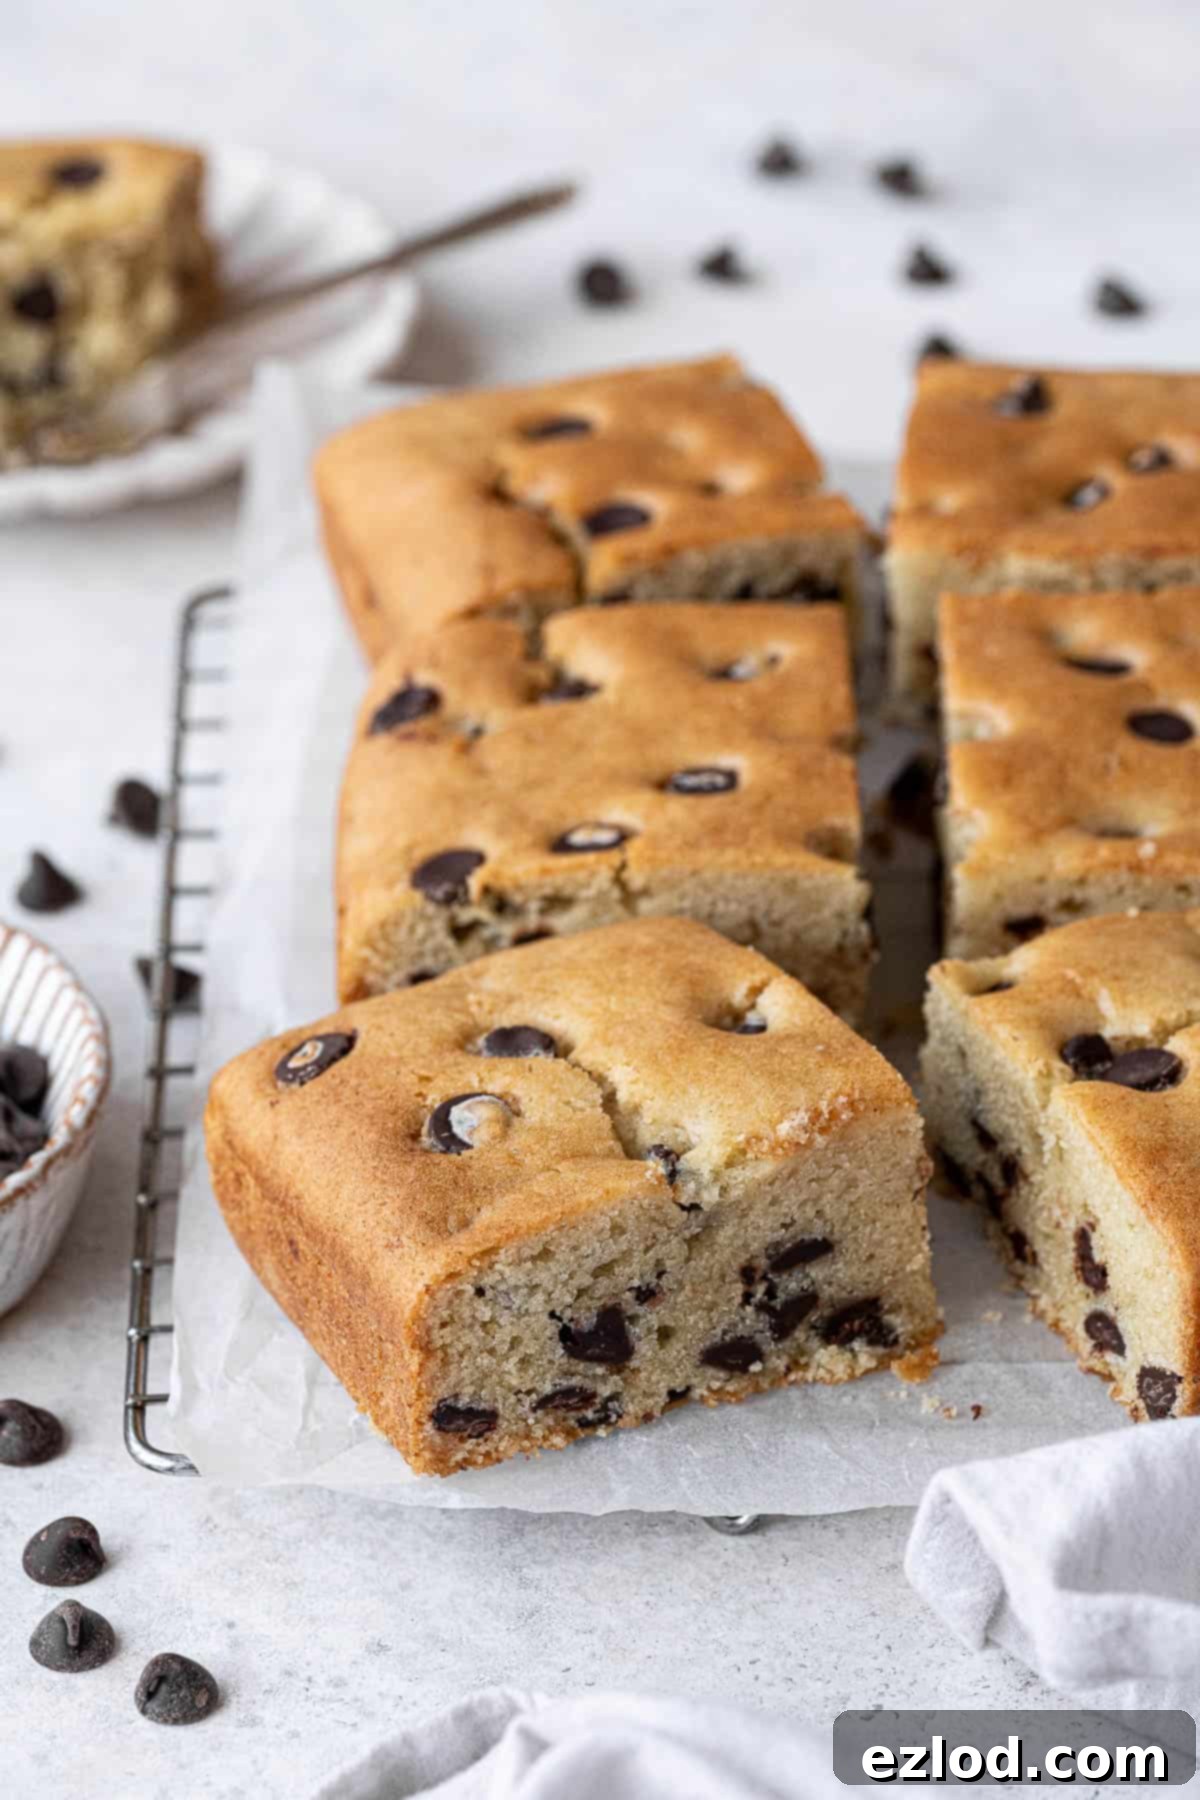
If you’ve tried your hand at this delicious recipe, we’d love to hear from you! Please rate it, leave a comment below, or share your creation on Instagram by tagging @domestic_gothess and using the hashtag #domesticgothess. Your feedback and photos truly make our day!
All images and content on Domestic Gothess are copyright protected. If you wish to share this recipe, kindly do so by utilizing the provided share buttons. Please refrain from screenshotting or posting the recipe or content in full. Instead, we request you include a direct link back to this post for the complete recipe. Thank you for respecting our work!

Print
Chocolate Chip Vanilla Cake (Vegan)
Ingredients
- 285 g (2 ⅓ cups) plain (all-purpose) flour
- 15 g (1 ½ packed Tablespoons) cornflour (cornstarch)
- 1 ½ teaspoons baking powder
- ½ teaspoon bicarbonate of soda (baking soda)
- ¼ teaspoon salt
- 180 ml (¾ cup) unsweetened non-dairy milk (I use soy)
- 90 g (6 Tablespoons) unsweetened non-dairy yogurt (I use the Coconut Collaborative)
- 90 ml (6 Tablespoons) neutral flavoured oil (I use sunflower)
- 90 g (6 Tablespoons) vegan block butter (I use Naturli Vegan Block) melted
- 200 g (1 cup) caster or granulated sugar
- 2 teaspoons vanilla extract
- 1 ½ teaspoons vinegar
- 200 g (1 ¼ cups) chocolate chips (plus a few extra for scattering if desired)
- 1 Tablespoon plain (all-purpose) flour
Instructions
-
Preheat the oven to 180°C/160°C fan/350°F/gas mark 4. Grease a 23cm/9in square cake tin and line it with baking parchment.
-
Sift together the plain flour, cornflour, baking powder, bicarbonate of soda and salt in a large bowl.
-
In a large jug, whisk together the non-dairy milk, non-dairy yogurt, melted vegan butter, oil, sugar, vinegar and vanilla extract until they are very well combined.
-
Toss the chocolate chips with the tablespoon of flour until they are well coated.
-
Pour the wet ingredients into the dry and whisk until no dry lumps remain but do not over-beat the batter. Gently fold in the chocolate chips.
-
Pour the batter into the prepared tin and spread it level. Scatter over a few extra chocolate chips if you like.
-
Bake for about 30 minutes until the cake is firm to the touch and a skewer inserted into the centre (avoiding any chocolate chips) comes out clean.
-
Leave to cool in the tin for about 20 minutes then carefully turn out onto a wire rack and leave to cool completely.
Notes
- As with all of my baking recipes I really do recommend using the metric measurements with a digital scale rather than the cup conversions. Cups are a wildly inaccurate measuring system and you will get far better, more consistent results using a scale, not to mention that it is also easier and less messy than cups!
- See post above for tips, details and step-by-step photos.
- For the best results follow the recipe closely and make it exactly as written. Changing any of the ingredients could affect the outcome of the cake.
