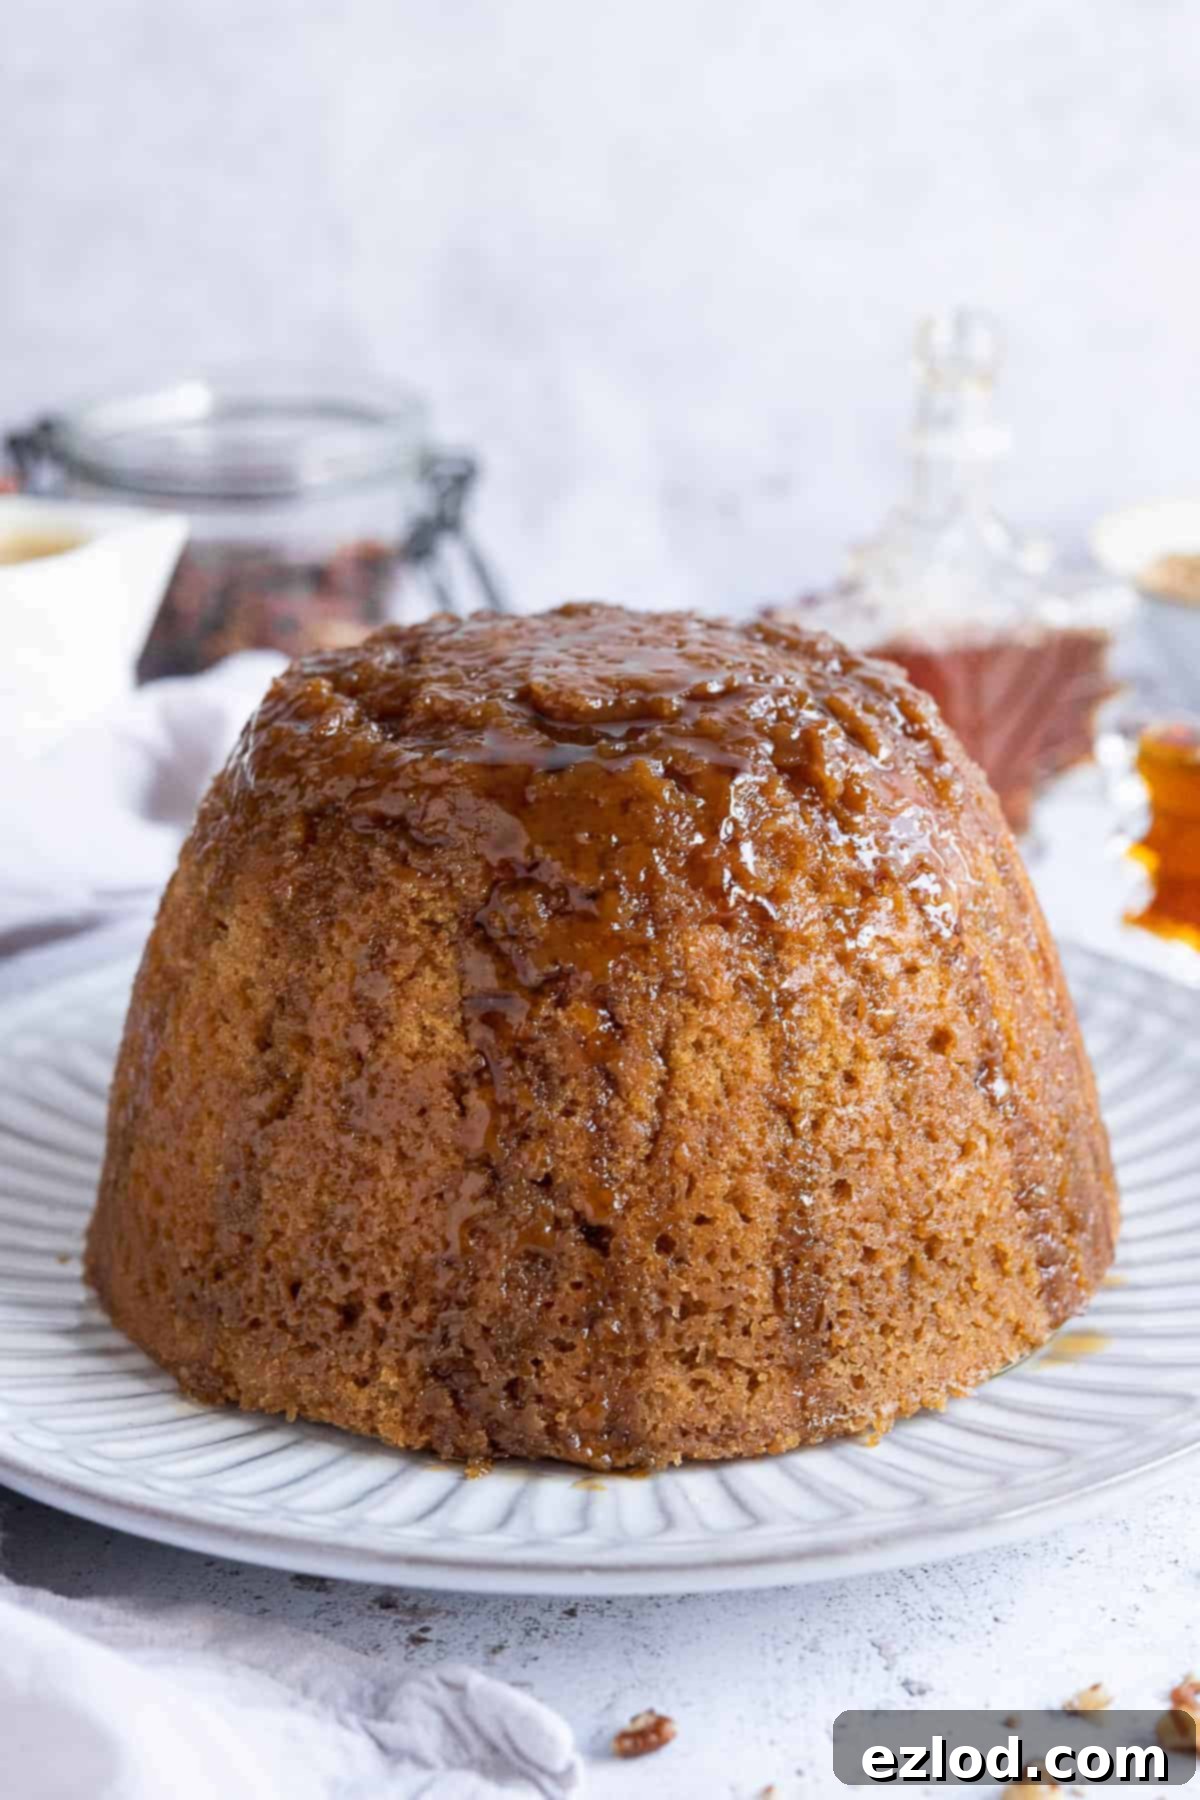
The Ultimate Vegan Steamed Maple Syrup Pudding: An Easy, Comforting & Dairy-Free Delight
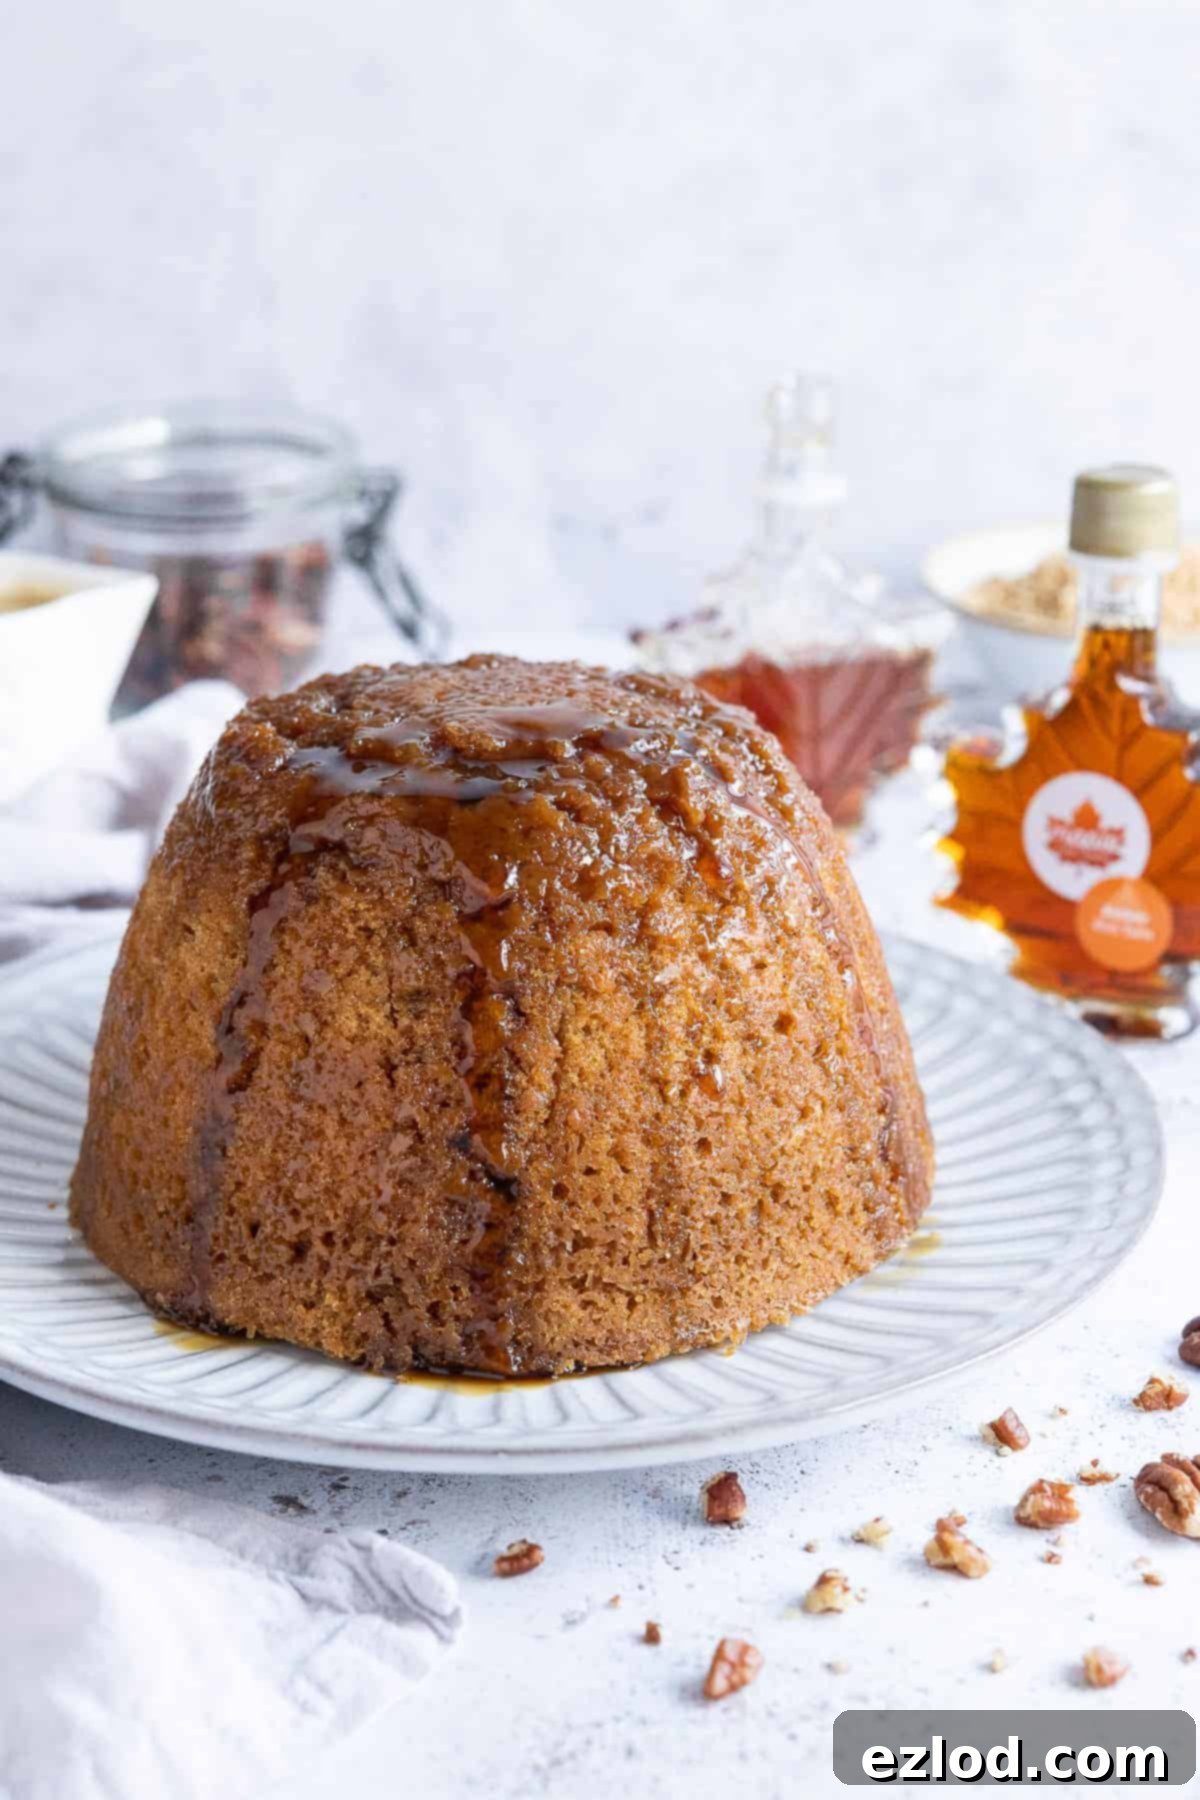
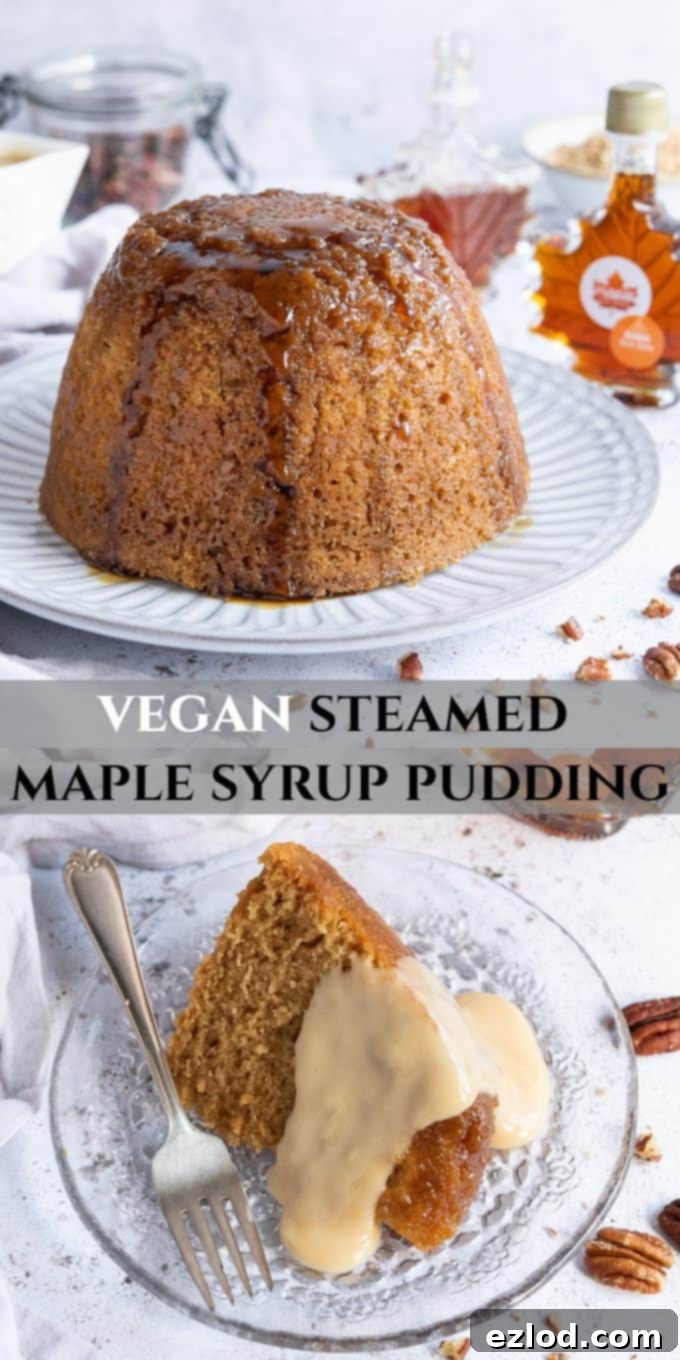
Indulge in the luscious taste of this easy vegan steamed maple syrup pudding, a delightful twist on a classic British dessert. This eggless and dairy-free sponge pudding is truly elevated by the rich, distinctive flavor of pure Canadian maple syrup, replacing the traditional golden syrup for an unparalleled depth of taste. It’s not just a dessert; it’s the ultimate comforting treat, especially when served warm with a generous pour of homemade vegan maple custard. This post is proudly sponsored by Maple From Canada, ensuring we use only the finest ingredients to bring you this exquisite recipe.
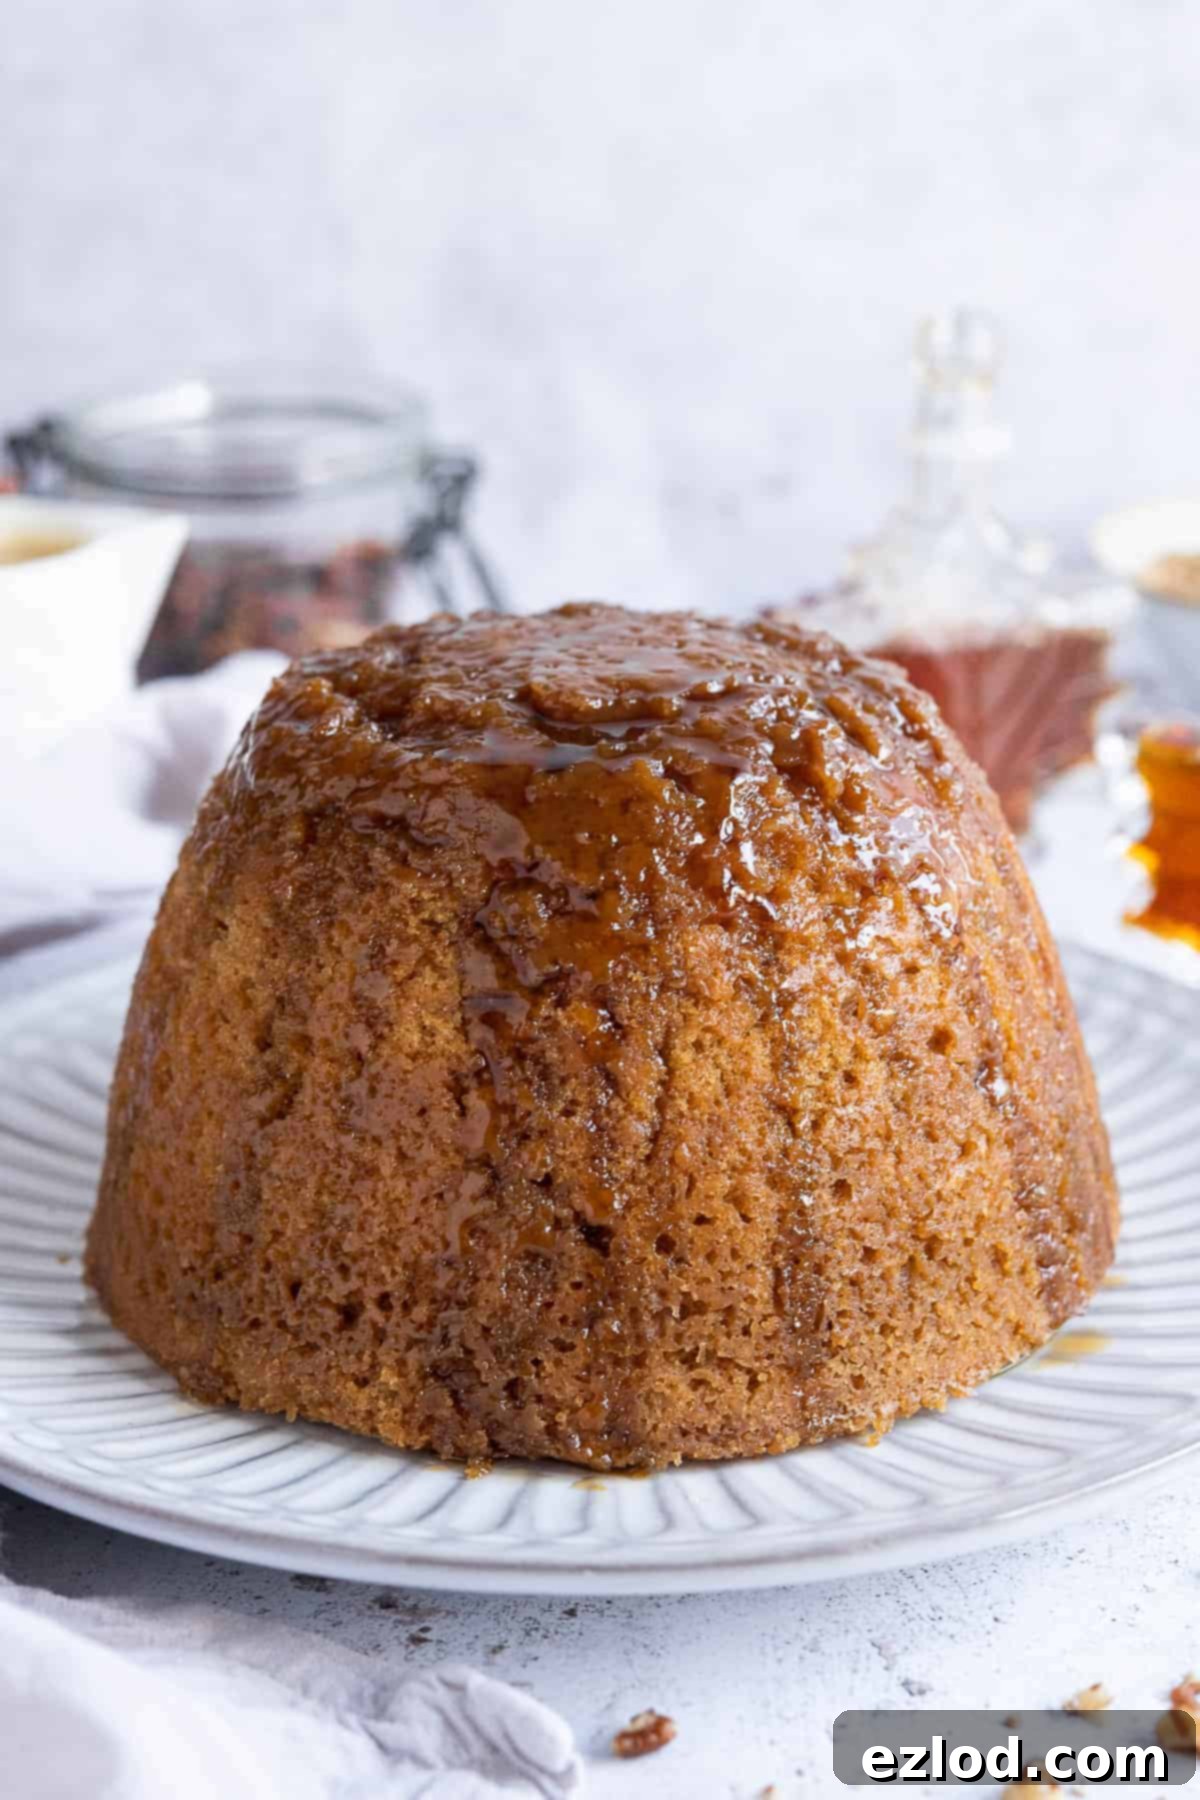
Steamed puddings, while perhaps not as trendy as some modern desserts, hold a special place in the hearts of many, and for good reason. They are the epitome of comfort food, offering warmth and satisfaction during chilly evenings or whenever a hearty, sweet treat is needed. This particular vegan steamed maple syrup pudding brings together the beloved tradition of a steamed sponge with a modern, plant-based twist and the sophisticated sweetness of maple.
By veganizing the traditional steamed syrup sponge and substituting golden syrup with pure Canadian maple syrup, we’ve created a dessert that is not only accessible to more people but also boasts a far more complex and appealing flavor profile. Maple syrup’s inherent richness and subtle caramel notes truly transform the pudding, making it an unforgettable culinary experience.
One of the many advantages of steamed puddings is their forgiving nature. There’s no stress about precise timing or the oven drying out your creation; the gentle steaming process ensures a wonderfully moist and tender result every time. This makes them perfect for any home baker, whether you’re a seasoned chef or just starting your culinary journey.
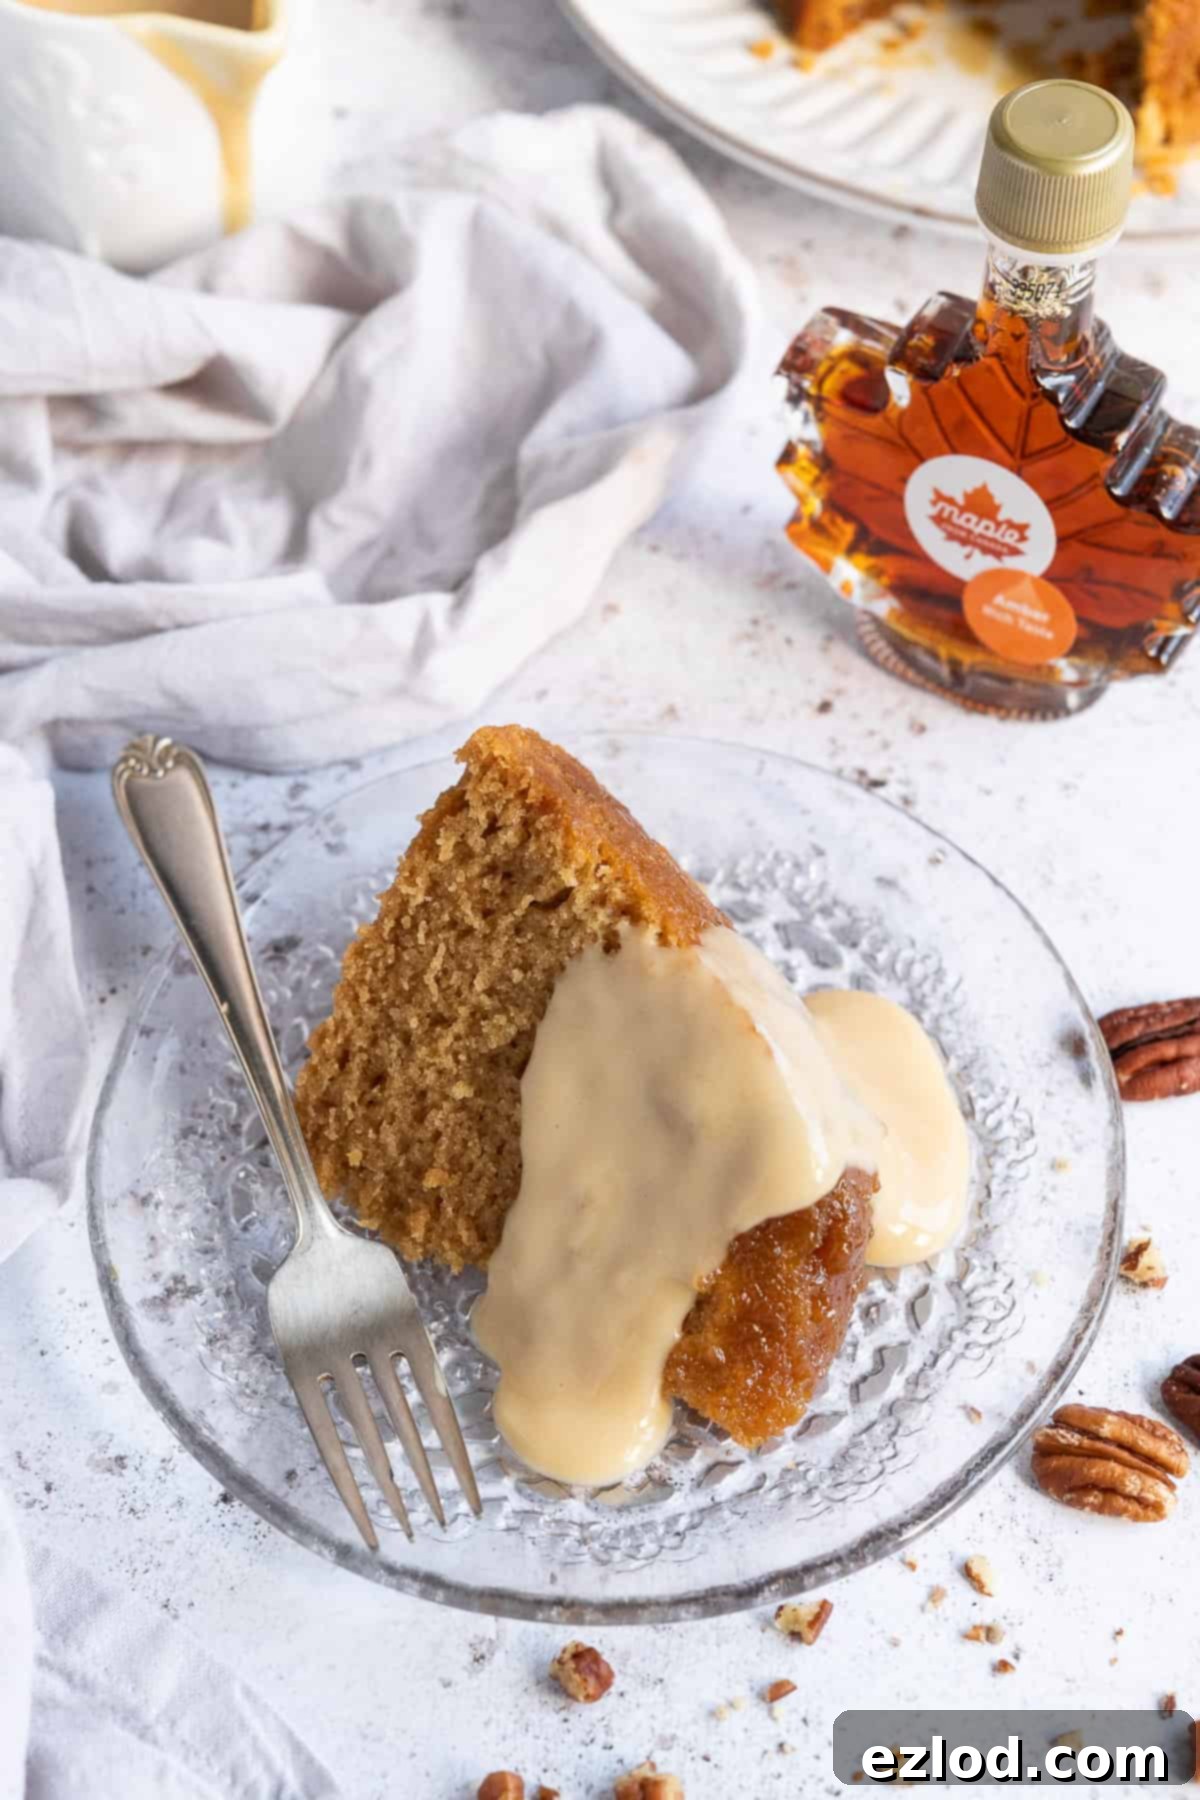
To further enhance this already incredible dessert, we’ve paired it with a luxurious vegan maple custard. Swapping conventional sugar for maple syrup in the custard adds an extra layer of richness, creating a decadent, grown-up version of the classic accompaniment. The combination of the warm, fluffy pudding and the creamy, sweet maple custard is truly divine, making it the perfect ending to any meal.
Essential Ingredients for Your Vegan Steamed Maple Syrup Pudding
Crafting this delicious pudding requires a few key ingredients, each playing a vital role in achieving its perfect texture and irresistible flavor. Here’s a detailed look at what you’ll need and why:
For the Pudding Sponge:
- Vegan Butter/Margarine: For baking, I highly recommend using a block-style vegan butter or margarine, such as Naturli Vegan Block or Flora Block. These typically have a lower water content compared to spreadable varieties in tubs, which contributes to a better texture in baked goods. While spreadable margarine can work in a pinch, block butter will yield superior results.
- Maple Sugar or Golden Caster Sugar: To infuse an extra layer of maple flavor, I often opt for maple sugar in the pudding batter. However, it can be a specialty item that’s harder to find. If maple sugar isn’t accessible, golden caster sugar (also known as superfine sugar) is an excellent alternative, providing a lovely, subtle caramel note and a fine texture that dissolves beautifully.
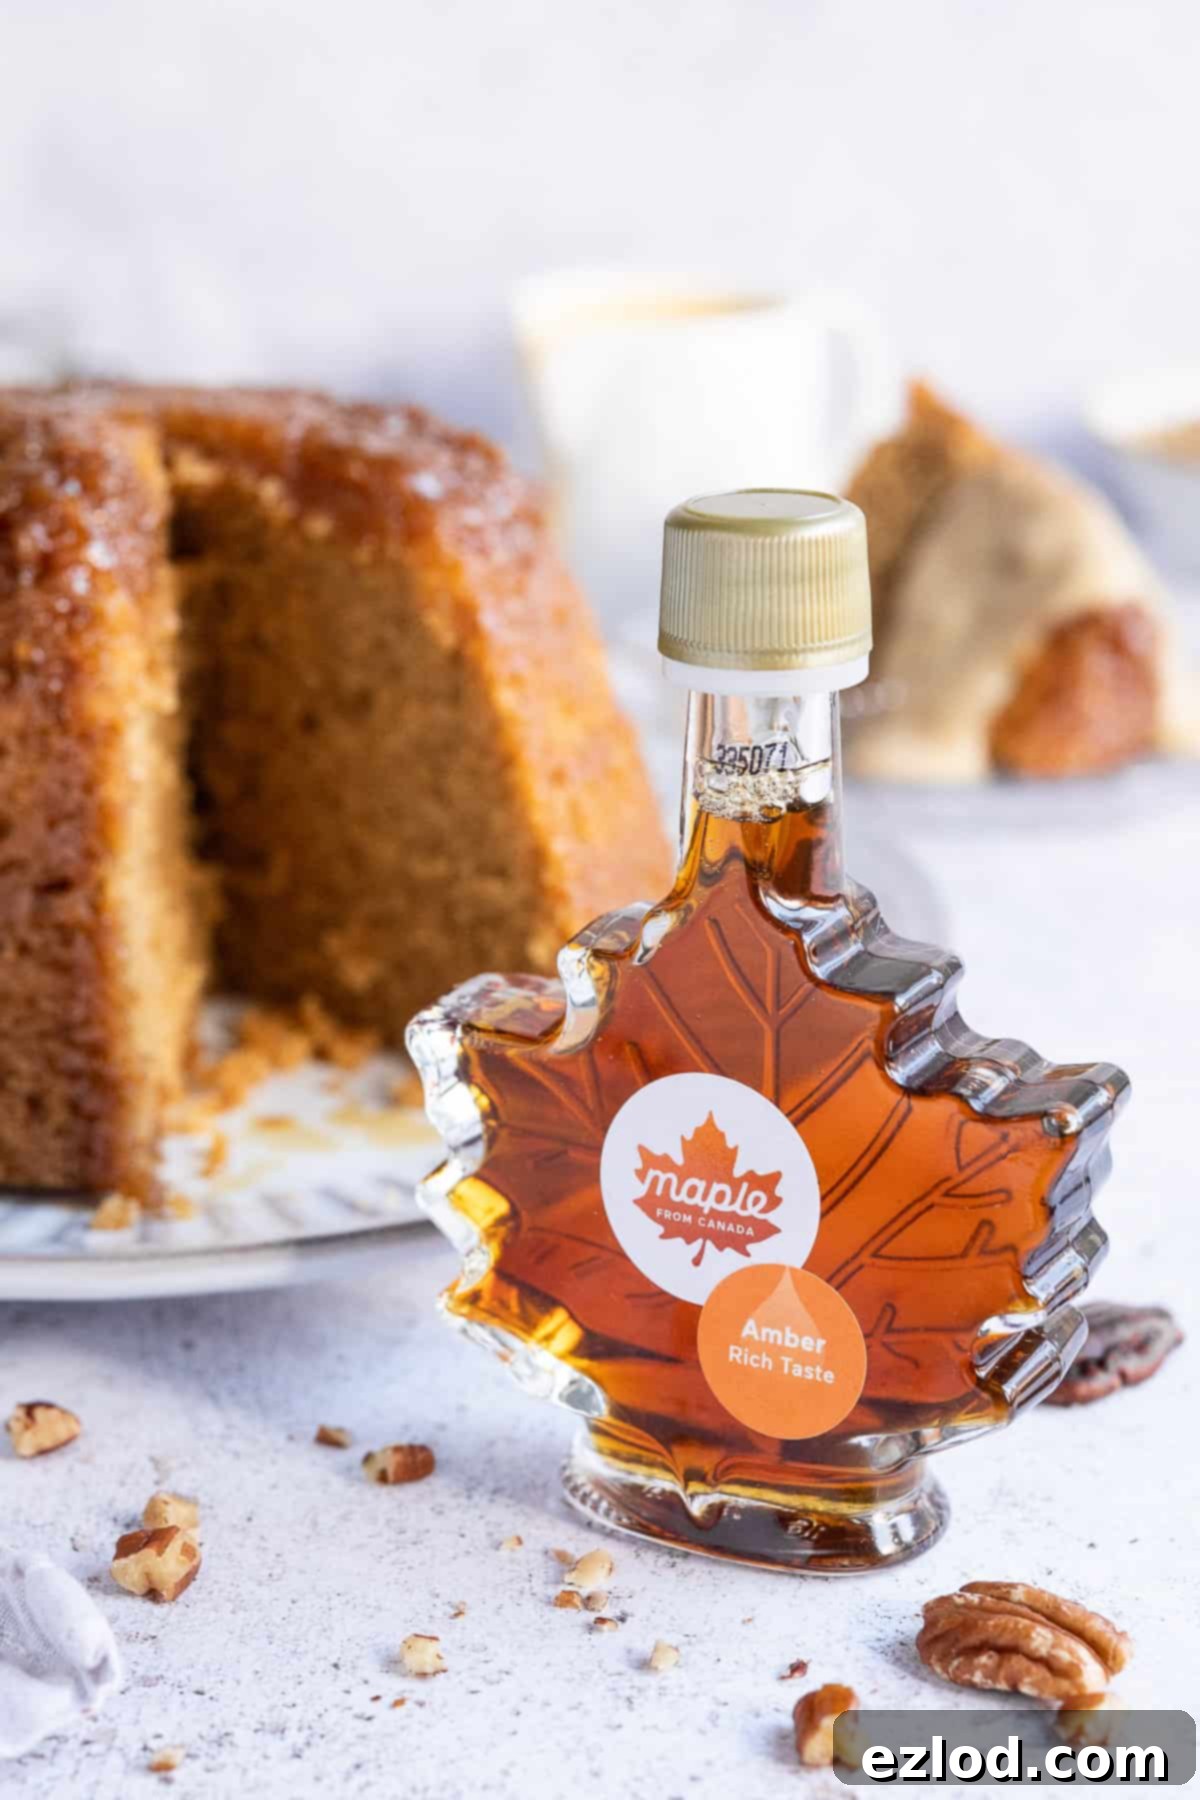
- Pure Canadian Maple Syrup: This is the star of our pudding! You’ll use it both within the sponge batter and as a delicious, sticky layer at the bottom of the pudding basin, which becomes the top when inverted. It’s crucial to use pure Canadian maple syrup for the best flavor. Avoid cheaper syrups blended with corn syrup or artificial flavors, as they simply won’t deliver the same rich, authentic taste. I prefer a dark maple syrup for its robust flavor, which truly shines through, but any grade will produce a wonderful pudding.
- Unsweetened Non-Dairy Milk: Any variety of non-dairy milk will work, but unsweetened soy milk is my preferred choice for baking. Soy milk has the highest protein content among milk alternatives, which can contribute to a better structure and crumb in vegan baked goods. Oat, almond, or cashew milk are also good options.
- Unsweetened Non-Dairy Yogurt: This ingredient serves as an excellent egg replacer, adding essential moisture and helping to keep the pudding wonderfully tender. Unsweetened coconut yogurt is my go-to. As alternatives, you can use an equal quantity of unsweetened apple sauce, or a flax egg (1 tablespoon ground flaxseed/linseed mixed with 3 tablespoons warm water, left to sit until gloopy).
- Vanilla Extract: A touch of good quality vanilla extract (not essence) enhances the complex notes of maple syrup, adding a layer of warmth and sweetness to the pudding. Nielsen-Massey is a fantastic brand, or you can use vanilla bean paste for an even richer flavor.
- Self-Raising Flour and Bicarbonate of Soda (Baking Soda): This combination provides the perfect lift and structure for a light yet substantial steamed sponge. Self-raising flour already contains a leavening agent, and the addition of a little extra bicarbonate of soda ensures an ideal texture and rise.
- Cornflour/Cornstarch: A small amount of cornflour helps to create a delicate, light texture in the pudding. If you don’t have any on hand, you can substitute it with an equal weight of self-raising flour (so, 230g total self-raising flour instead of 215g plus cornflour).
For the Vegan Maple Custard:
- Unsweetened Non-Dairy Milk: For a truly creamy custard, opt for richer non-dairy milk varieties like soy, cashew, or oat milk. Again, soy milk is my preference for its consistency and flavor.
- Non-Dairy Cream: To achieve that luxurious, velvety texture and richness that can sometimes be lacking in milk-only vegan custards, I incorporate non-dairy cream. Alpro soy single cream works wonderfully, but feel free to use coconut cream, homemade cashew cream, or oat cream.
- Cornflour/Cornstarch: This is our key thickening agent, replacing egg yolks typically used in traditional custards. Cornflour creates a smooth, stable custard. I advise against using arrowroot powder as a substitute, as it can sometimes result in a slightly slimy texture.
- Pure Maple Syrup: Just as in the pudding, maple syrup transforms this custard into something truly special. It imparts an incredibly rich, deep, and naturally sweet flavor that sugar simply cannot replicate. This custard is so delicious, you might be tempted to drink it straight!
- Vanilla Extract: A dash of vanilla extract complements the maple syrup beautifully, adding another dimension of flavor to the creamy custard.
How To Make This Irresistible Vegan Steamed Maple Syrup Pudding
Creating this comforting dessert is simpler than you might think, and the gentle steaming process ensures a perfect result every time. Here’s a step-by-step guide to bring this delicious pudding to life:
(For detailed ingredient quantities and full, printable instructions, please refer to the recipe card below)
Preparing Your Pudding Basin:
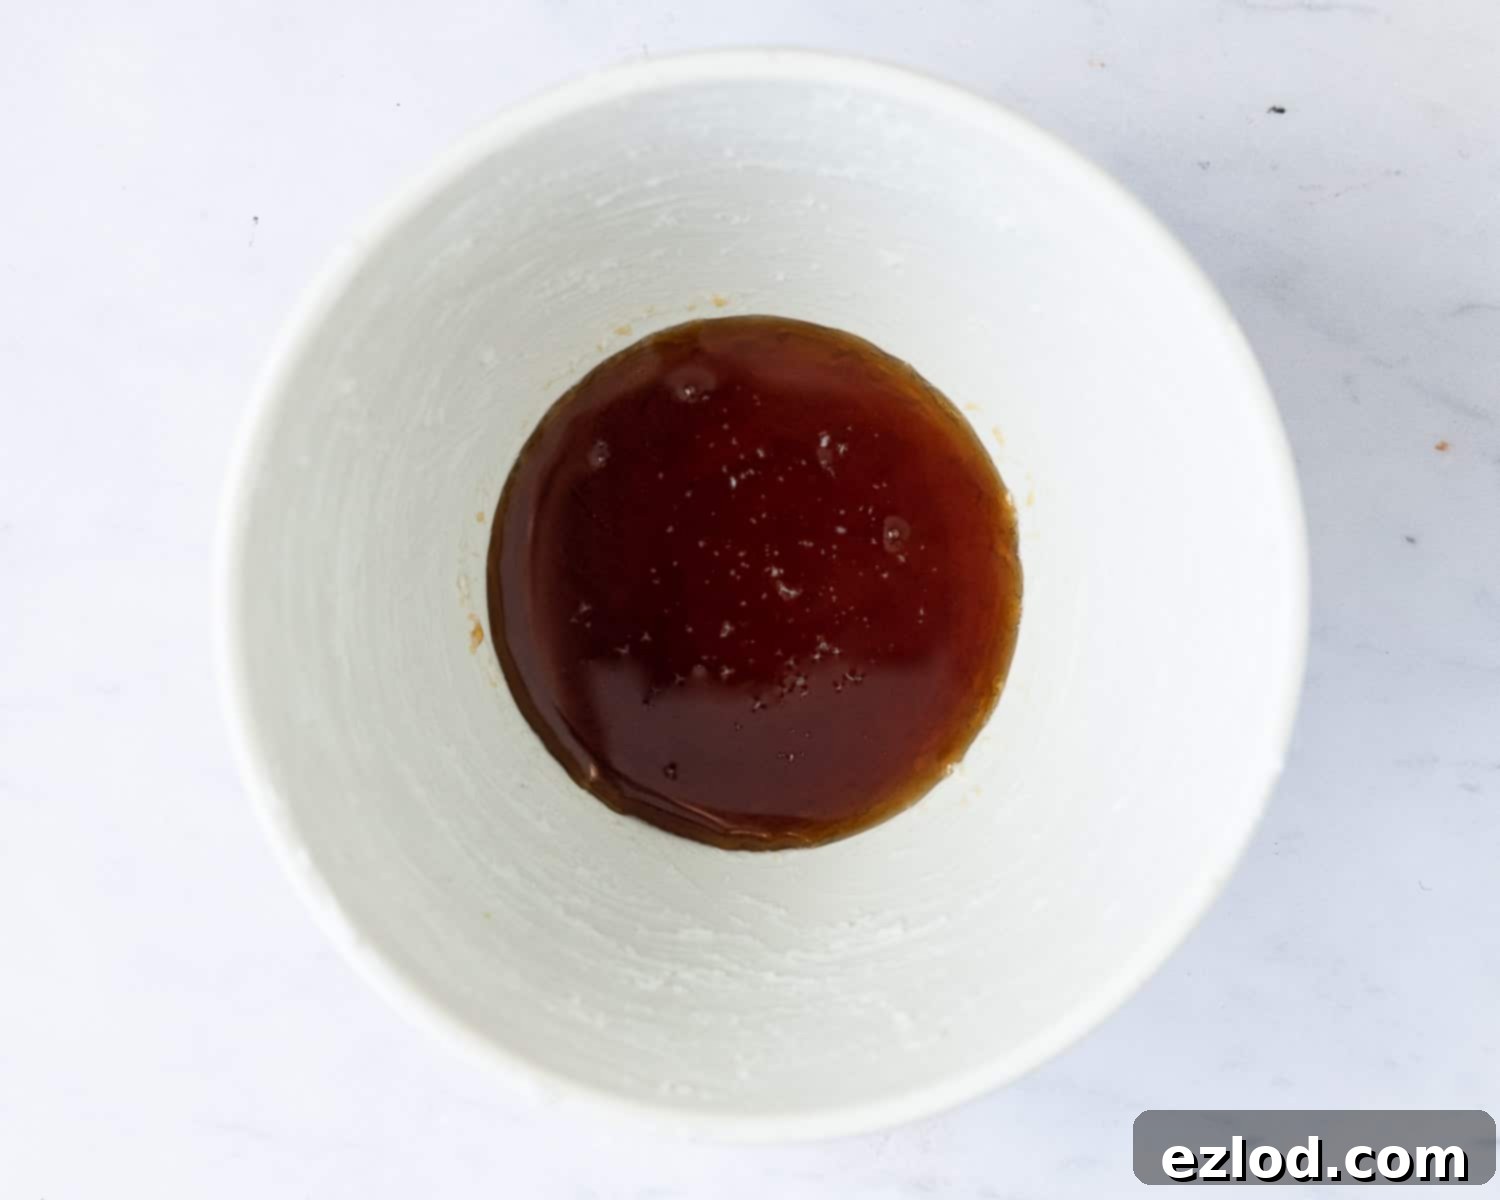
- Start by meticulously greasing a 1.2-liter pudding basin. This crucial step prevents the pudding from sticking. Cut a disc of baking parchment and place it firmly at the bottom of the basin – this ensures the top of your pudding, once inverted, doesn’t stick. Pour 3 tablespoons of pure maple syrup into the greased basin, forming the luscious sticky top. Set this aside.
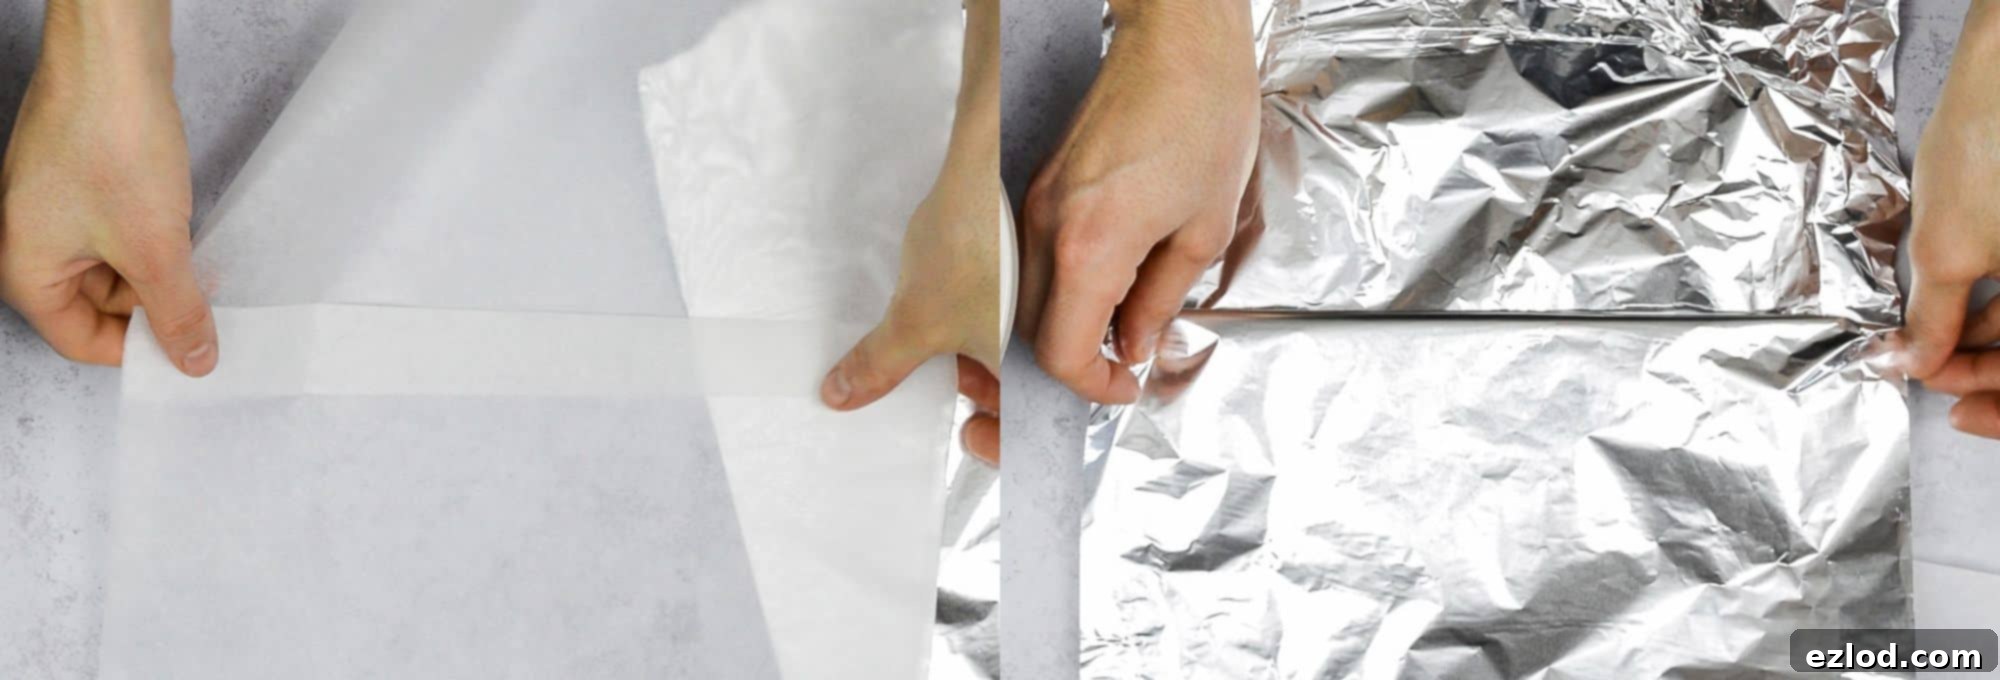
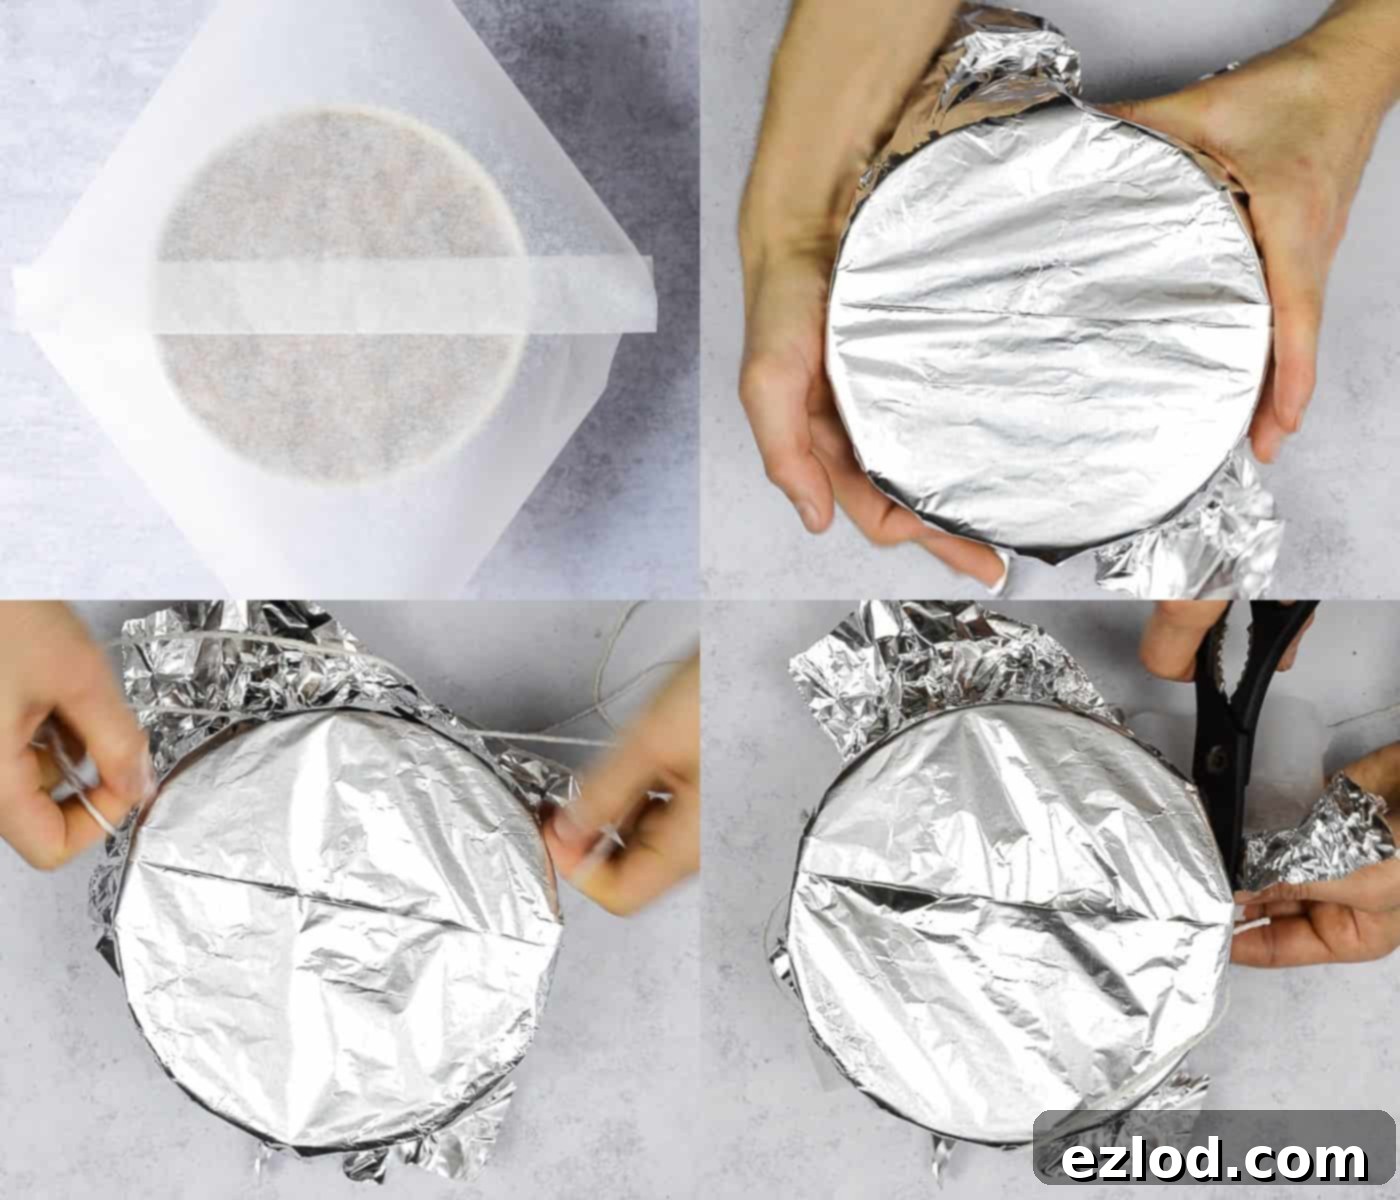
- Next, prepare your pudding’s lid if your basin doesn’t come with one. Cut a large square of baking parchment and another, slightly larger, square of tin foil. Create a pleat in the center of both squares. This pleat is essential as it provides ample room for the pudding to rise during steaming without being constrained.
Mixing the Pudding Batter:
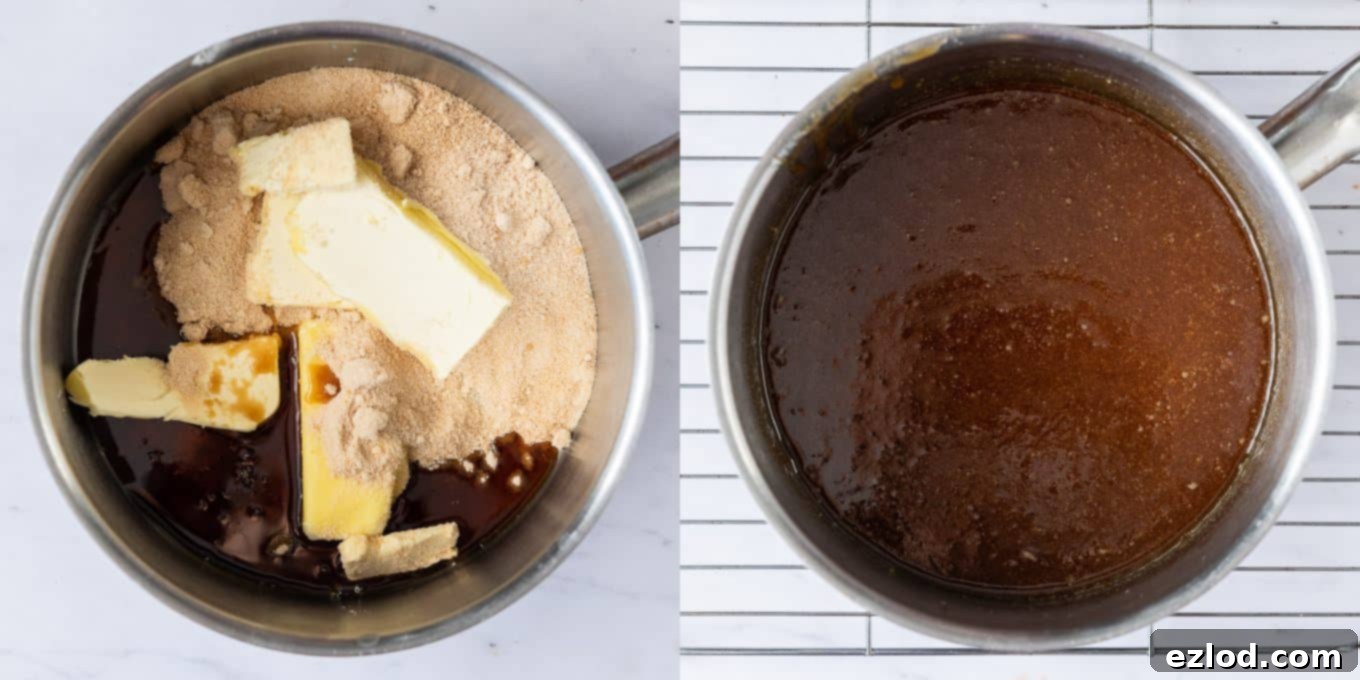
- In a saucepan, combine the vegan block butter/margarine, maple sugar (or golden caster sugar), and the remaining 2 tablespoons of maple syrup. Place the pan over a low heat and stir continuously until all the ingredients have fully melted and are smoothly combined.
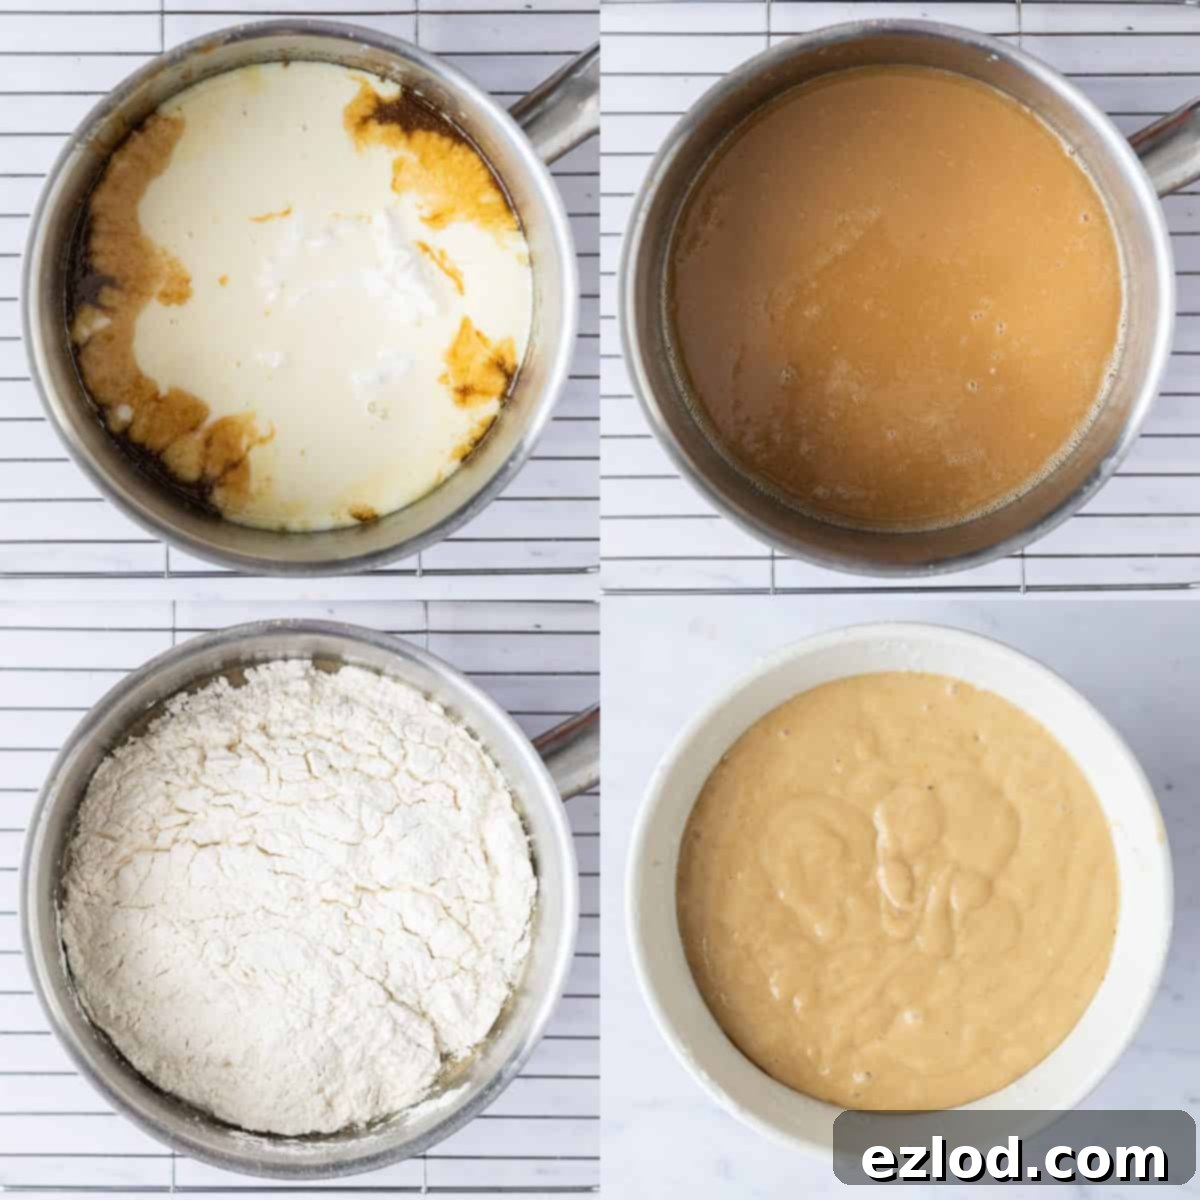
- Remove the pan from the heat. Whisk in the unsweetened non-dairy milk, non-dairy yogurt, and vanilla extract until the mixture is completely smooth and well-incorporated.
- In a separate, medium-sized bowl, sift together the self-raising flour, cornflour, and bicarbonate of soda. Sifting ensures there are no lumps and helps aerate the flour.
- Gradually add the dry ingredients to the wet mixture in the saucepan. Whisk gently but thoroughly until no dry lumps remain and you have a smooth, pourable batter. Be careful not to overmix, as this can develop the gluten too much and lead to a tougher pudding.
- Pour the prepared batter into your greased pudding basin, spreading it evenly. Ensure there’s a good amount of space at the top, leaving at least a couple of inches for the pudding to rise without overflowing.
Steaming the Pudding:
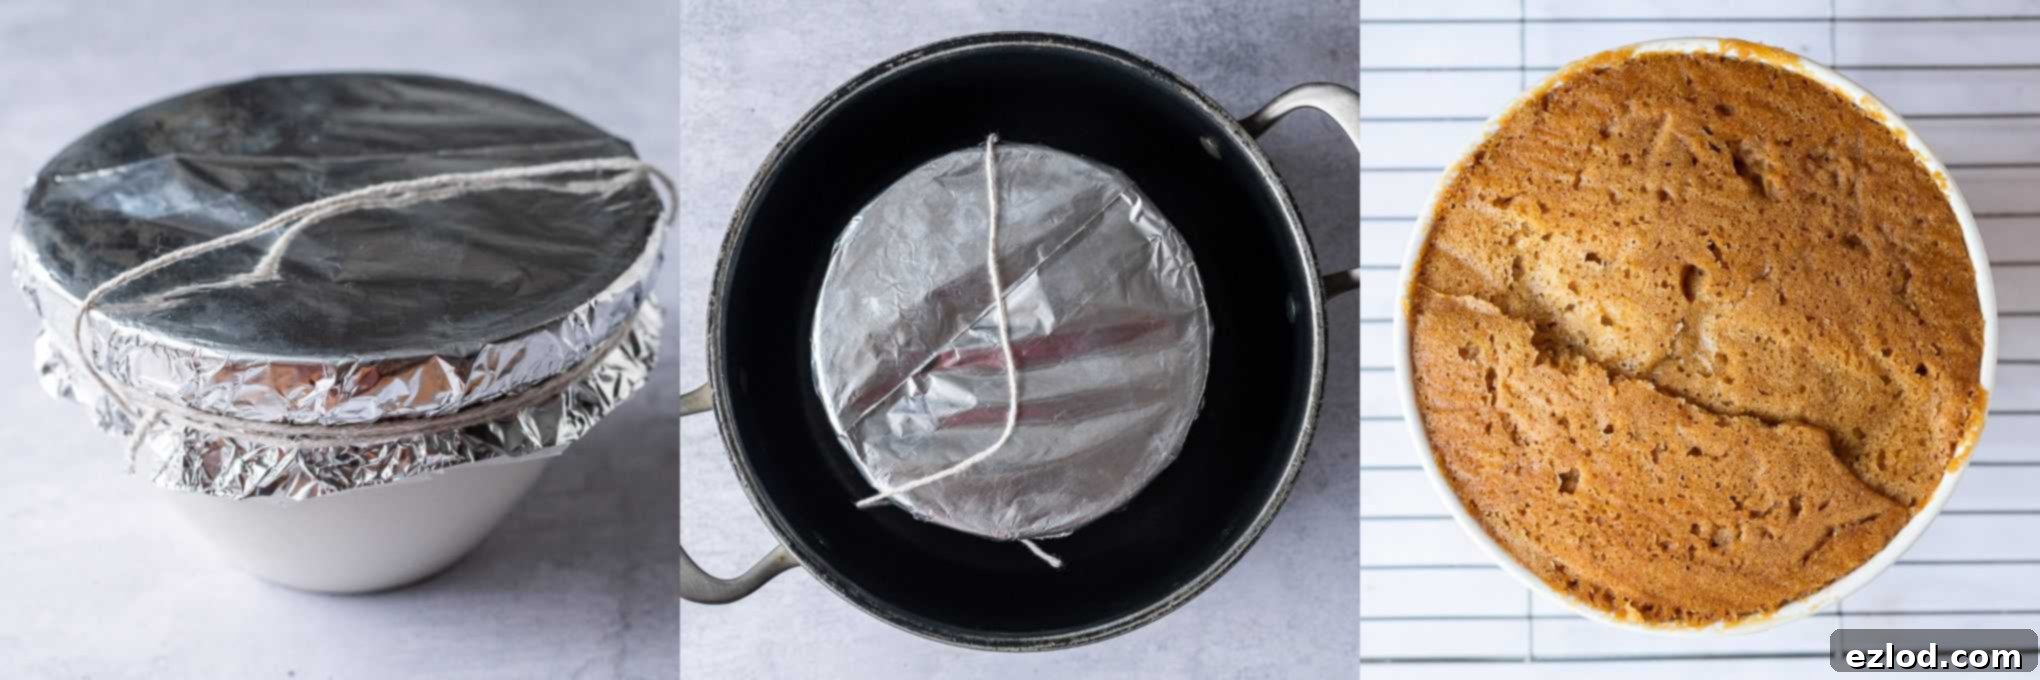
- Place the pleated baking parchment directly over the pudding basin, ensuring the pleat is centered. Follow this with the pleated tin foil. Press the foil securely over the edge of the pudding basin to create a tight seal.
- Tie a length of strong kitchen string very tightly around the foil multiple times, just under the lip of the pudding basin. This creates a secure seal to prevent water from entering during steaming.
- Create a handle by tying another length of string across the top of the basin. Trim any excess foil and parchment, leaving at least a centimeter below the string. If your pudding basin has its own lid, simply secure it tightly and skip the parchment/foil steps.
- Place a saucer upside down in the bottom of a large saucepan with a tight-fitting lid. This acts as a trivet, keeping the pudding basin slightly raised from the direct heat. Carefully place the pudding basin on top of the saucer.
- Pour boiling water into the large saucepan, ensuring it comes about halfway up the sides of the pudding basin. It’s crucial that the water level does NOT touch the foil or baking parchment, as this could lead to a soggy pudding.
- Place the lid firmly on the large saucepan and put it over a low heat. Maintain a gentle simmer for two hours. Steamed puddings are quite forgiving, so a little extra cooking time won’t harm them. Check the water level after about an hour and top up with more boiling water if needed, but try to resist the urge to lift the lid too frequently, as this releases steam and can prolong cooking time.
Expert Tips for a Perfect Vegan Steamed Maple Syrup Pudding
Achieving the perfect steamed pudding is easy with a few key considerations. Follow these tips to ensure your dessert is a resounding success every time:
- Precision is Key for Baking: For the best and most consistent results, always use gram measurements with a digital kitchen scale when baking. Cup conversions, especially for flour and sugar, can be notoriously inaccurate and may lead to variations in the pudding’s texture and rise.
- Invest in Quality Maple Syrup: The flavor of your pudding is largely dependent on the quality of your maple syrup. Always opt for pure Canadian maple syrup. Darker grades, like ‘Very Dark, Strong Taste’ (formerly Grade B), offer a more robust and intense maple flavor that truly stands out in baked goods. Avoid any “maple-flavored” syrups or blends, as they contain artificial ingredients and lack the depth and authenticity of pure maple.
- Thoroughly Grease Your Pudding Basin: This step cannot be stressed enough! A well-greased basin ensures your pudding will release easily and cleanly. I prefer to use refined coconut oil for greasing, as it creates a fantastic non-stick surface, but vegan butter also works very well. Don’t forget the parchment disc at the bottom!
- Mastering the Lid: If your pudding basin lacks its own lid, taking the time to create a secure parchment and foil lid is crucial. Ensure both layers are pleated in the center to allow the pudding to rise. When tying with string, make sure it’s very tight, just beneath the basin’s rim. This prevents water from seeping in and ensures the steam remains trapped, cooking the pudding perfectly.
- Maintain the Simmer: The key to a perfectly steamed pudding is a consistent, gentle simmer. Avoid a rolling boil, as this can cause the water to evaporate too quickly and potentially jostle the pudding excessively. Keep the lid on the saucepan as much as possible to retain steam, only checking the water level occasionally to top it up with boiling water if needed.
- Patience for Cooling (Slightly): While you want to serve the pudding warm, allow it to cool in the basin for 5-10 minutes after steaming before attempting to unmold it. This allows the pudding to set slightly and makes for an easier release.
Can I Prepare This Vegan Steamed Maple Syrup Pudding in Advance?
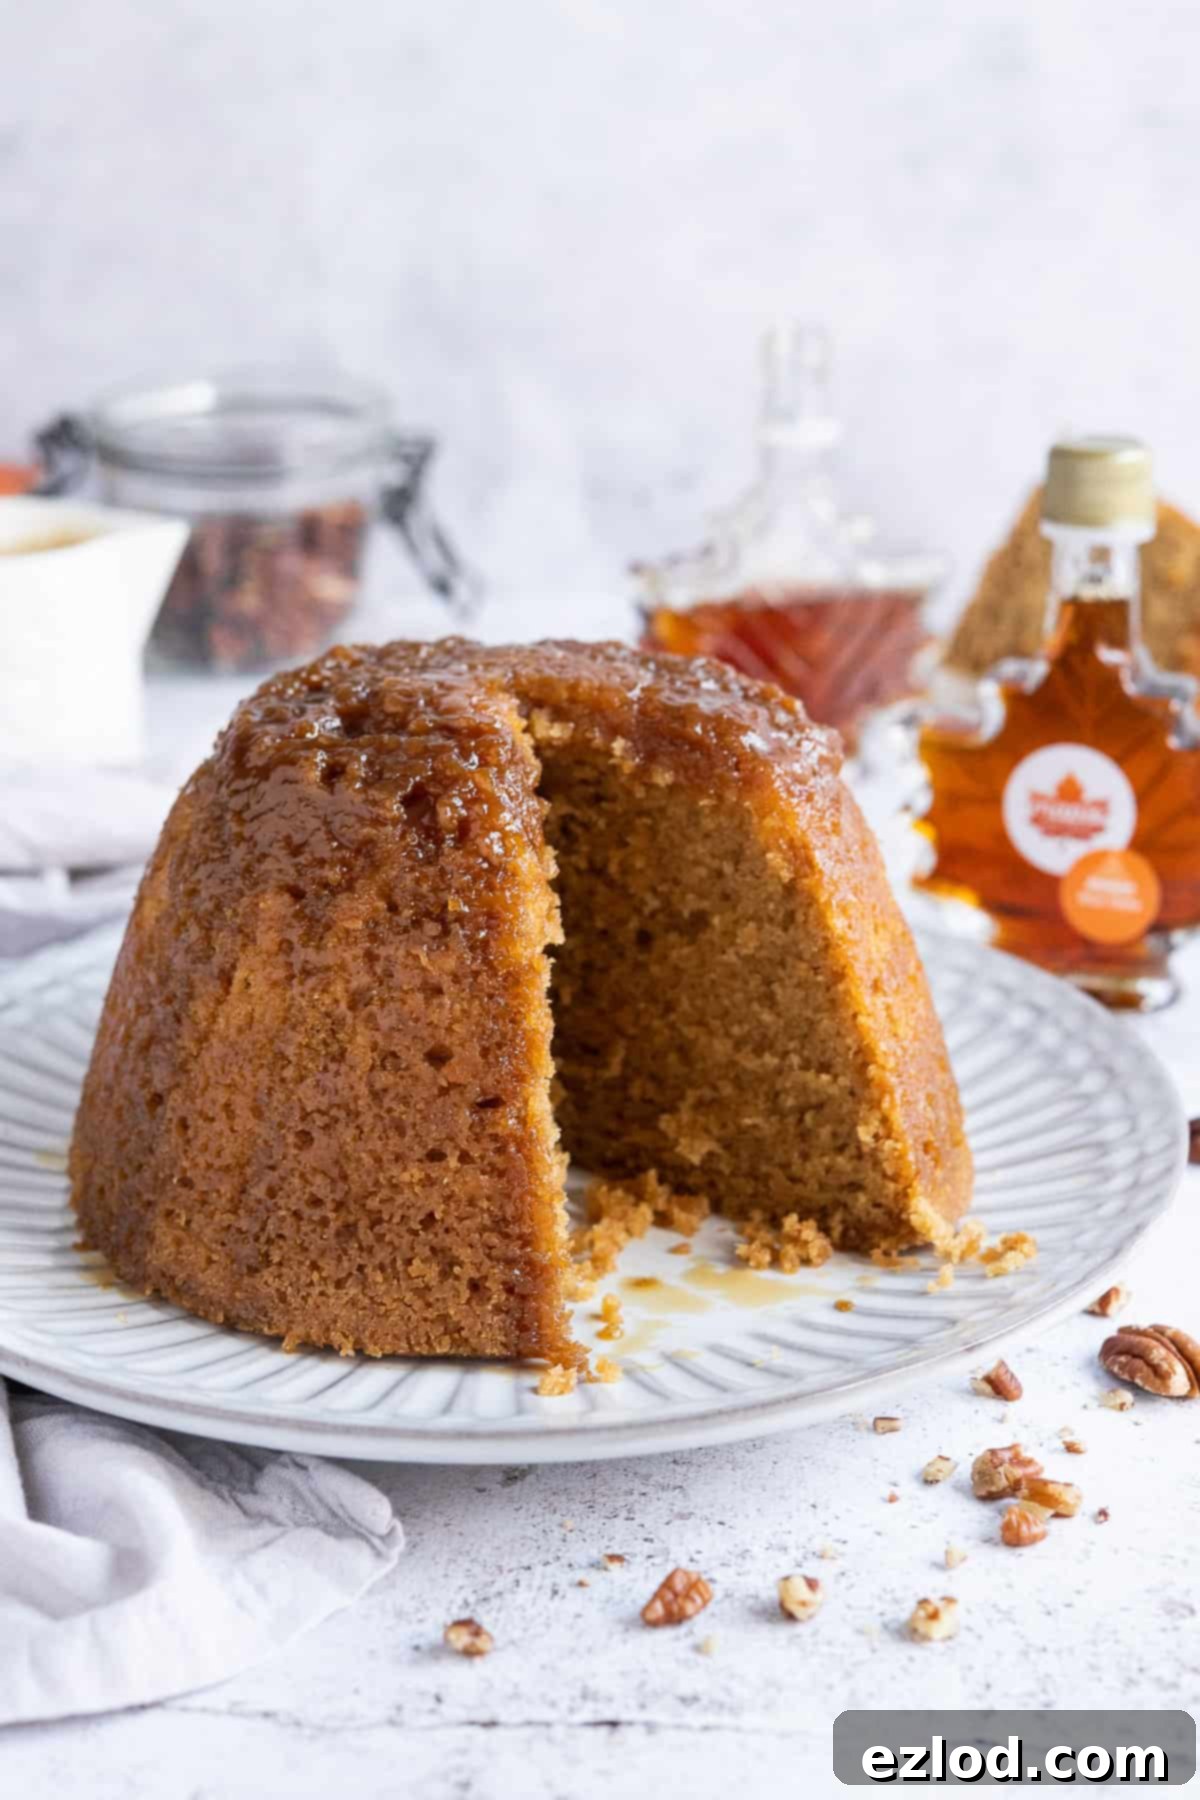
This vegan steamed maple syrup pudding is truly at its best when served fresh and warm, straight from the steamer. The fluffy texture and immediate warmth are part of its comforting charm. Therefore, I recommend making it shortly before you plan to serve it.
However, if you happen to have any leftovers, they can be reheated successfully. Individual slices can be warmed gently in the microwave until heated through. Be careful not to overheat, as this can dry out the sponge.
The vegan maple custard, on the other hand, is quite forgiving and can be prepared ahead of time. You can make the custard up to three days in advance and store it in an airtight container in the refrigerator. To prevent a “skin” from forming on the surface, place a piece of baking parchment directly onto the surface of the custard before sealing the container. When you’re ready to serve, simply reheat the custard gently on the stovetop or in the microwave, stirring frequently.
If the custard appears too thick after reheating, whisk in a small amount of additional non-dairy milk until it reaches your desired consistency. Conversely, if it seems too thin, mix 2 teaspoons of cornflour with 2 teaspoons of non-dairy milk to create a slurry. Stir this into the warm custard and cook for another couple of minutes while stirring constantly until it thickens to perfection.
More Vegan Maple Syrup Recipes to Explore
Maple syrup is an incredibly versatile ingredient that adds a unique depth of flavor to both sweet and savory dishes. Its natural sweetness and complex notes make it a fantastic alternative to refined sugars in many recipes. If you’ve fallen in love with baking with maple syrup, here are some more delicious vegan recipes to inspire your culinary adventures:
- Vegan Maple Pecan Bread Wreath
- Vegan Wholewheat Maple Cinnamon Rolls
- Autumn Leaf Maple Cookie Wreath
- Maple Pecan Cake with Chocolate Cashew Cream Frosting
- Vegan Pumpkin Cake with Maple Pecans
You can also discover a wealth of fantastic recipes using pure maple syrup by visiting the Maple From Canada UK website for even more inspiration.
Other Comforting Vegan Pudding Recipes You’ll Love
If you’re a fan of the warming and satisfying nature of puddings, especially during colder months, you’ll be delighted by these other delicious vegan options. These recipes offer the same comforting appeal, perfect for cozy evenings or special family meals:
- Vegan Steamed Chocolate Pudding
- Vegan Christmas Pudding
- Vegan Ginger Apple Pie (while not a steamed pudding, it’s a wonderfully comforting dessert!)
If you tried this recipe, we’d love to hear from you! Please rate it, leave a comment below, or tag @domestic_gothess on Instagram and use the hashtag #domesticgothess to share your creation!
*All images and content on Domestic Gothess are copyright protected. If you want to share this recipe, please do so by using the share buttons provided. Do not screenshot or post the recipe or content in full.*

Print
Vegan Steamed Maple Syrup Pudding
Ingredients
For the pudding:
- 100 g (3.5 oz) vegan block butter/ margarine
- 100 g (½ cup) maple sugar or golden caster sugar
- 5 Tbsp maple syrup divided
- 150 ml (½ cup + 2 Tbsp) unsweetened non-dairy milk (soy is best)
- 45 g (3 Tbsp) unsweetened non-dairy yogurt
- 2 tsp vanilla extract
- 215 g (1 + ¾ cups) self-raising flour
- 15 g (1 ½ Tbsp) cornflour (cornstarch)
- ½ tsp bicarbonate of soda (baking soda)
For the maple custard:
- 25 g (2 ½ Tbsp) cornflour (cornstarch)
- 300 ml (1 ¼ cups) unsweetened non-dairy milk (soy is best)
- 200 ml (½ + ⅓ cup) non-dairy cream (I use soy single cream)
- 80 ml (⅓ cup) maple syrup
- 3 tsp vanilla extract
Instructions
-
You will need a 1.2 litre pudding basin, a large saucepan with a lid, a saucer, baking parchment, tin foil and string (unless your pudding basin has it’s own lid).
-
Start by thoroughly greasing a 1.2 litre pudding basin. Place a disc of baking parchment in the bottom to prevent the top of the pudding from sticking. Pour 3 Tbsp of the maple syrup into the greased basin and set aside.
-
Pop the kettle on. Cut a large square of baking parchment and another of tin foil. Make a pleat in the centre of each square. The pleat gives the pudding room to rise. (If you have a pudding basin with a lid you can skip this step.)
-
Place the vegan butter/dairy free margarine, maple or caster sugar and the remaining 2 Tbsp of the maple syrup in a pan over a low heat and stir until it is melted.
-
Remove from the heat and whisk in the milk, yogurt and vanilla extract until smooth.
-
In a separate bowl, sift together the flour, cornflour and bicarbonate of soda. Add the dry ingredients to the wet and whisk until no dry lumps remain.
-
Pour the batter into the prepared basin and spread it level. There should be a decent gap at the top to allow the pudding plenty of room to rise.
-
Place the baking parchment on top of the pudding basin with the pleat in the middle, followed by the tin foil. Press the foil over the edge of the pudding basin.
-
Tie a length of string very tightly several times around the foil – there should be a lip on the pudding basin; tie the string just under that.
-
Tie a length of string across the top of the basin to make a handle. Trim off the excess foil and parchment, leaving at least a centimetre below the string. If your pudding basin has it’s own lid, skip the above and simply put the lid on, making sure it is tight.
-
Place a saucer upside down in a large saucepan with a lid and place the pudding basin on top. Pour boiling water into the pan so that it comes about halfway up the pudding basin. Do not let the water touch the foil/baking parchment otherwise you may end up with a soggy pudding.
-
Put the lid on the pan and place over a low heat. Cook at a gentle simmer for two hours, it will do the pudding no harm to let it cook for a while longer however. Check after an hour to see if the water needs topping up but resist the urge to take the lid off the pan too often.
-
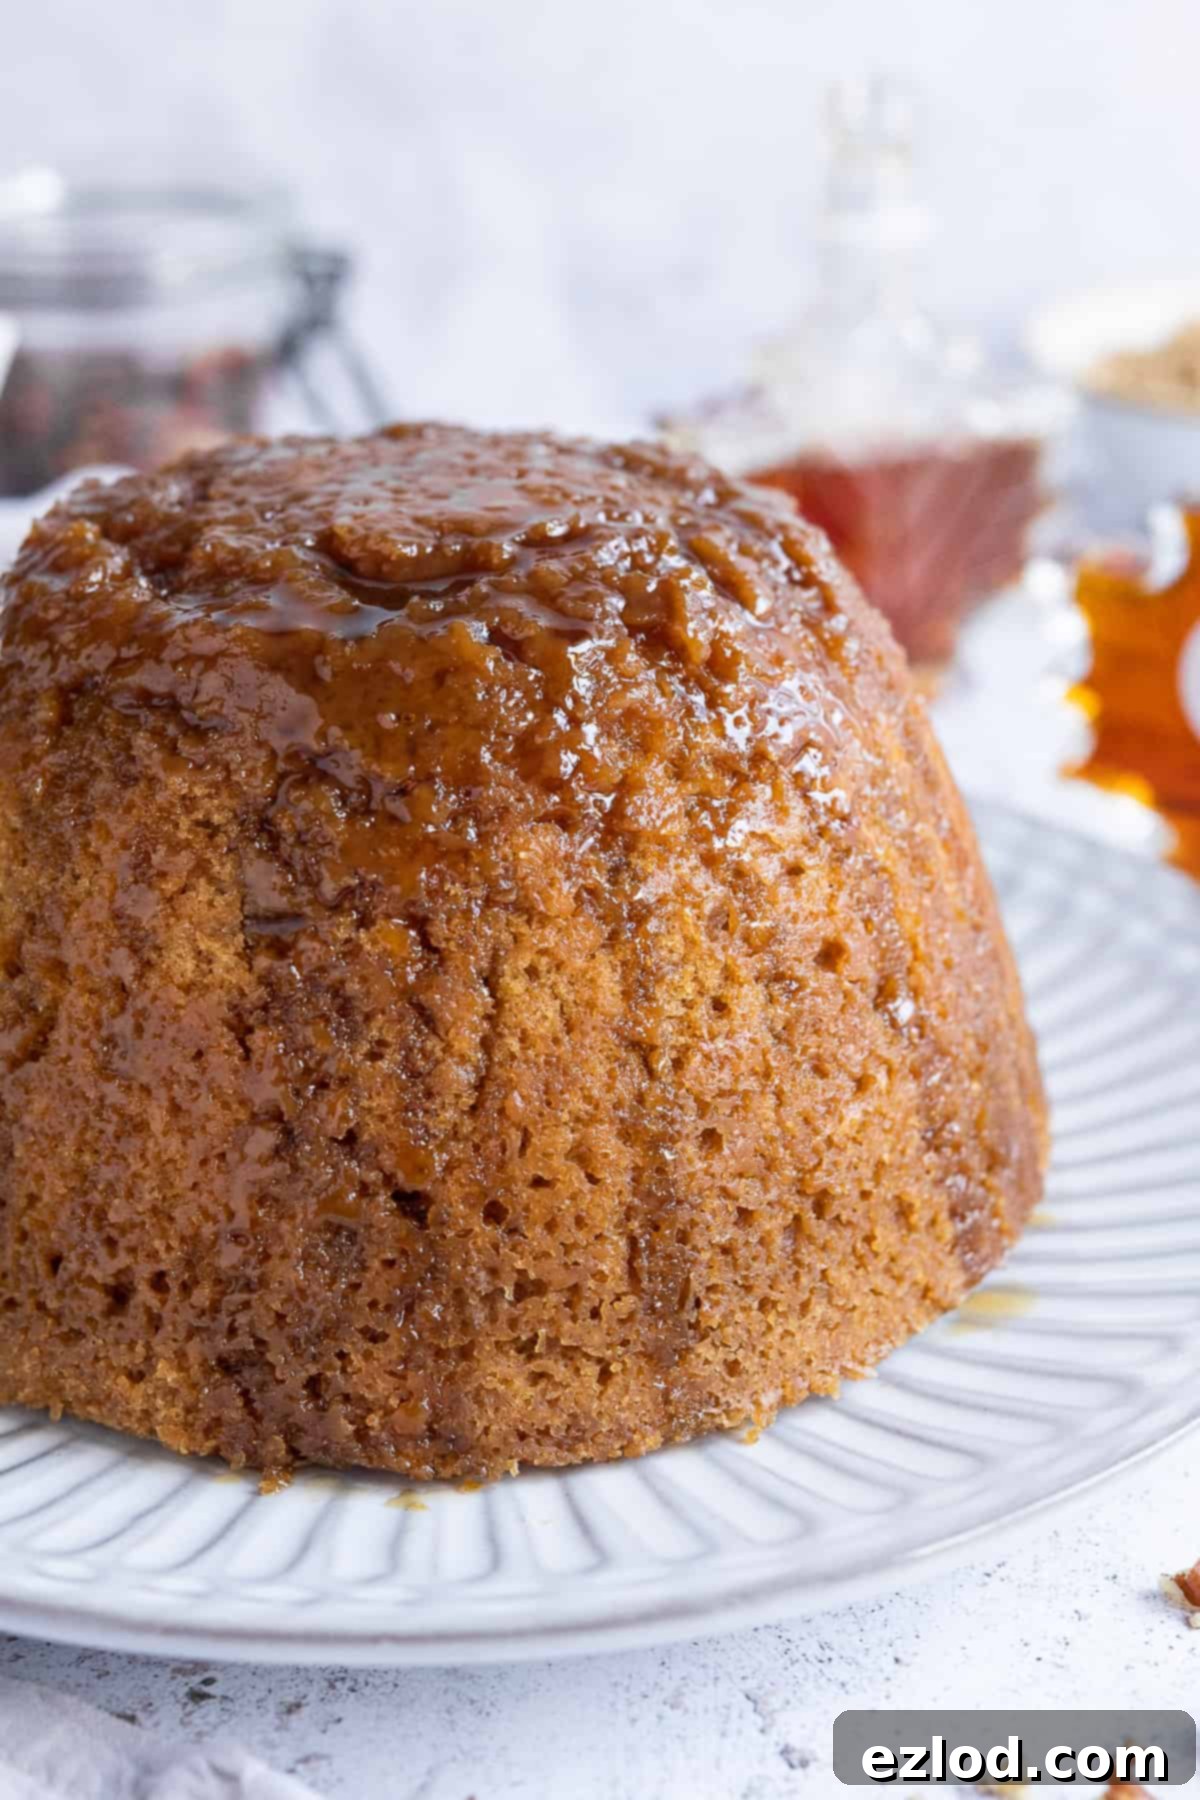
Once the pudding is done steaming, cut off the string and remove the tin foil and parchment. Run a knife around the edge to loosen it then place a serving platter on top and flip it over. The pudding should drop out of the basin (you might need to give it a bit of a wiggle).
-
Serve the pudding right away with the maple custard, or with vanilla ice cream.
-
To make the custard, place the cornflour in a saucepan and very gradually whisk in the milk, a little at a time.
-
Stir in the cream, maple syrup and vanilla extract. Place the pan over a medium heat and stir constantly until it comes up to a simmer and thickens. Allow to simmer for a minute then remove from the heat and serve.
-
If you are making the custard in advance, pour it into a jug and place a piece of baking parchment directly on the surface to prevent a skin from forming. Allow to cool then refrigerate for up to three days.
-
The custard may become very thick as it cools, just give it a good whisk when you reheat it and it will thin out again.
-
If it is still too thick, stir in a little more non-dairy milk. If it is too thin, mix 2 tsp cornflour with 2 tsp milk, stir it in to the custard then cook for a couple of minutes while stirring until it thickens.
Notes
- For the best results make sure that you follow the recipe closely. As always, I highly recommend using the gram measurements (with a digital scale), rather than the cup conversions. Cup measurements are simply not accurate enough for baking and I cannot guarantee the best results if you use them.
- Make sure that you really grease the pudding basin well to prevent it from sticking. I use refined coconut oil but you can also use vegan butter.
This post is sponsored by Maple From Canada, thank you for supporting the brands that allow me to continue doing what I love – playing with food and making a mess of my kitchen.
