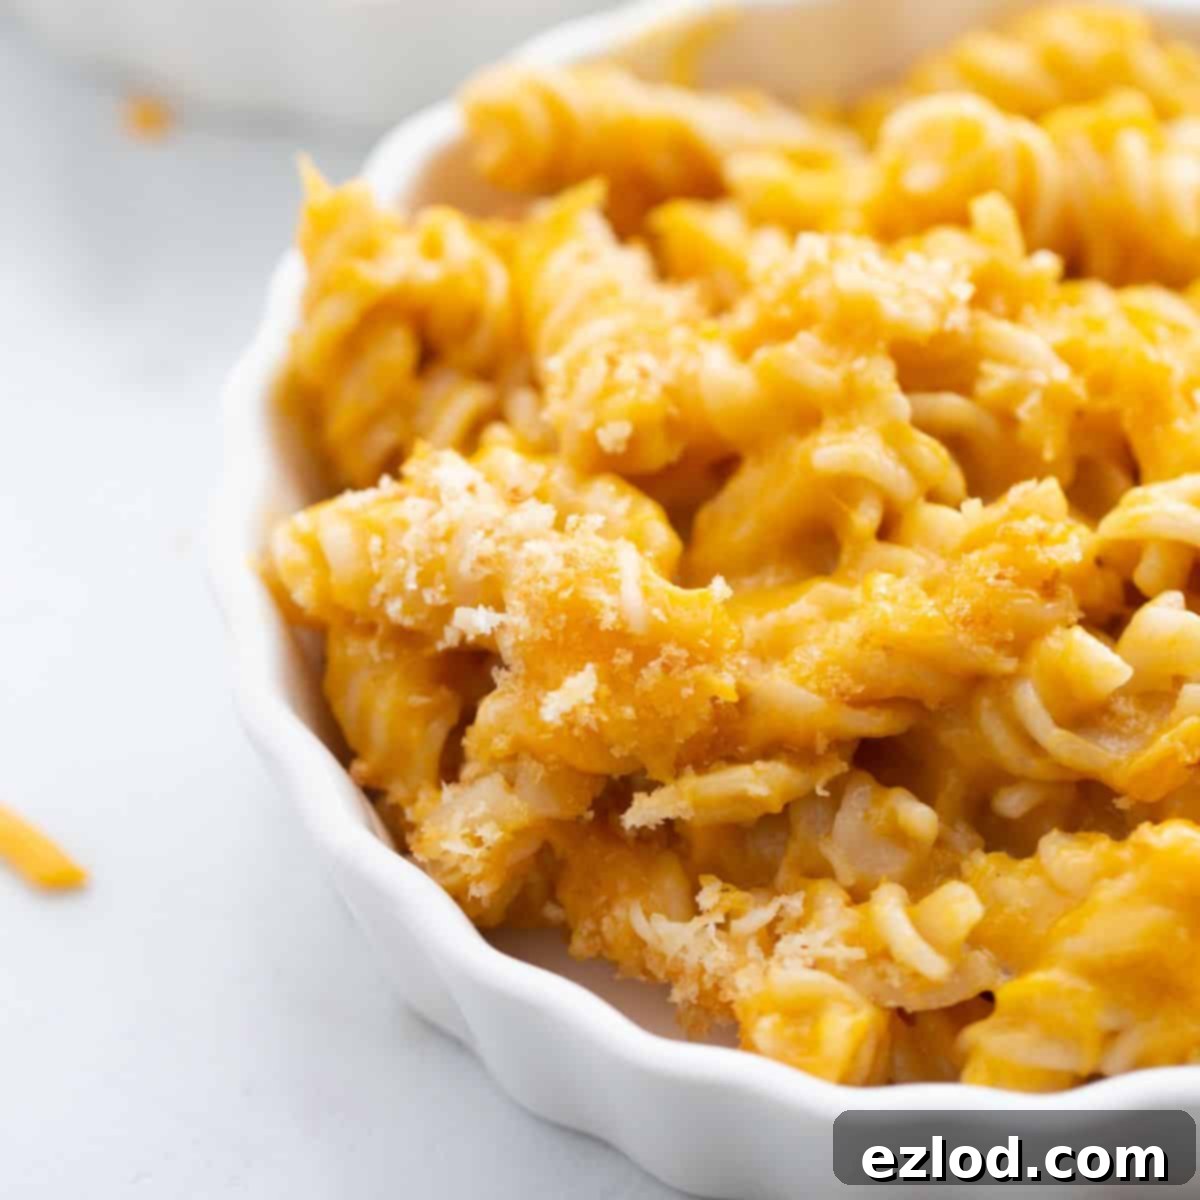
Creamy & Healthy Butternut Squash Mac and Cheese: Instant Pot & Stovetop Recipe
This delightful Butternut Squash Mac and Cheese recipe is a true game-changer, loaded with the goodness of hidden vegetables, yet so incredibly creamy, cheesy, and utterly delicious that no one will ever suspect it’s a healthy choice! The best part? It comes together incredibly fast, especially when using your trusty Instant Pot. Don’t have an Instant Pot? No problem! We’ve included easy-to-follow stovetop directions, too, so everyone can enjoy this wholesome comfort food.
We all know the challenge of getting enough vegetables into our family’s diet, especially when dealing with picky eaters. For a long time, cauliflower was my go-to “hidden veggie” – and it still is a fantastic option. But I’ve discovered another secret weapon that excels at adding creaminess and nutrition without altering the taste: butternut squash.
Similar to cauliflower, butternut squash effortlessly enhances the creamy texture of healthy recipes without adding significant fat. Its naturally mild, slightly sweet flavor is incredibly versatile, making it easy to conceal in dishes (if that’s your aim). In fact, it might even be more stealthy than cauliflower!
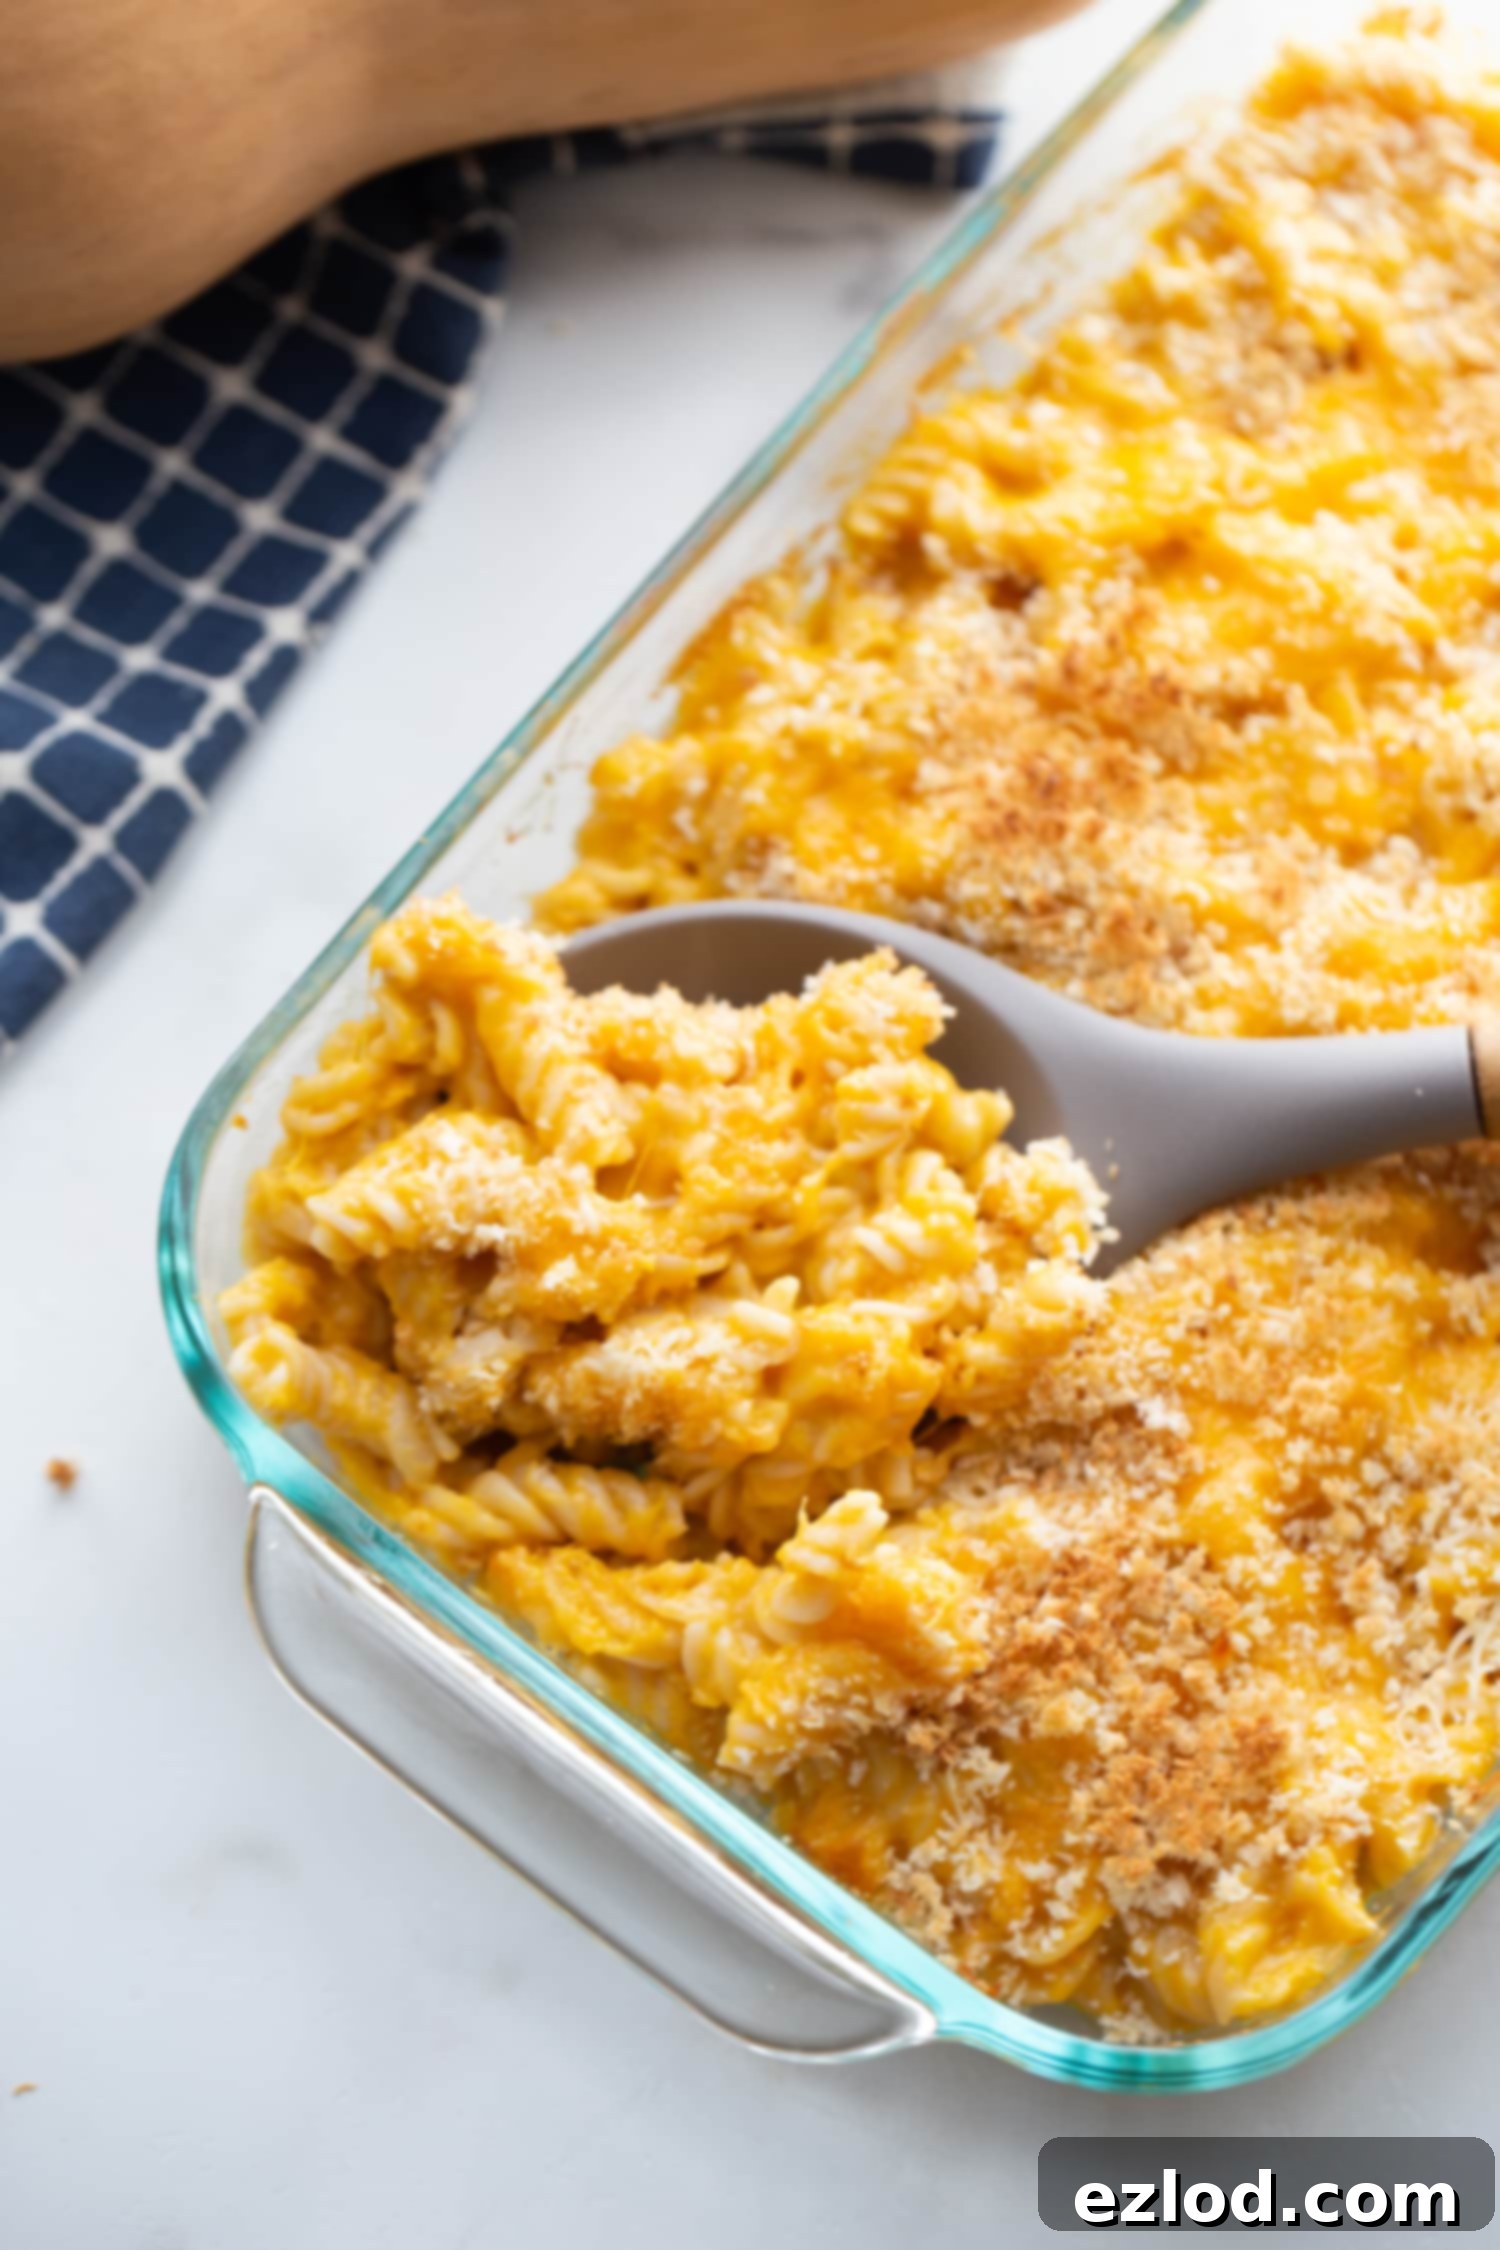
Beyond its culinary adaptability, butternut squash boasts an impressive array of health benefits. It’s an excellent source of dietary fiber, contains no fat or cholesterol, and is packed with Vitamin A – a powerful antioxidant essential for vision, immune function, and skin health. This particular Butternut Squash Mac and Cheese recipe incorporates a generous three cups of squash, making it an incredibly delicious and easy way to boost your daily vegetable and nutrient intake.
This “hidden veggie” technique isn’t just for mac and cheese! I also utilize it in my popular Instant Pot Chicken Curry and Rice. In that dish, the butternut squash contributes a rich, creamy texture and a subtle hint of sweetness, all while allowing the vibrant flavors of ginger and curry to shine through.
Table of Contents
Toggle
Why You’ll Love This Healthy Mac and Cheese
This Butternut Squash Mac and Cheese isn’t just another recipe; it’s a culinary win for busy families and health-conscious foodies alike. Here’s why you’ll absolutely adore it:
- Lightning-Fast & Easy: This simple recipe goes from pantry to plate in 30 minutes or less, making it perfect for those hectic weeknights when you need a delicious meal without the fuss. The Instant Pot drastically cuts down on cooking time, but our stovetop method is just as straightforward.
- Nutrient-Packed Goodness: Unlike traditional mac and cheese, this version is brimming with extra nutrients, vitamins, and dietary fiber thanks to the generous addition of butternut squash. You get all the comfort without the guilt!
- Picky-Eater Approved: The mild flavor and creamy texture of the hidden butternut squash mean even the most discerning palates won’t detect the extra veggies. It’s a fantastic way to sneak in healthy ingredients unnoticed.
- Effortlessly Creamy Sauce: Forget complicated techniques or needing an immersion blender. The squash naturally breaks down during cooking, creating an incredibly smooth and luscious cheese sauce with minimal effort. Just simple stirring is all it takes!
- Versatile Pairing: This healthy mac and cheese serves as an ideal side dish or a light main course. It pairs wonderfully with steamed green beans and my Air Fryer Chicken Thighs for a complete, satisfying, and wholesome dinner.
Key Ingredients for Butternut Squash Mac and Cheese
You’ll be pleasantly surprised by how few ingredients you need to create this incredibly flavorful and nutritious dish. Each component plays a crucial role in achieving that perfect creamy, cheesy, and healthy balance.
- Gluten-Free Pasta: While I’ve tested this recipe with various pasta shapes, rotini and penne consistently deliver the best texture, regardless of the brand. Elbow macaroni can work, but its final texture can vary more significantly depending on the specific gluten-free brand. If you’re not gluten-free, feel free to substitute with whole wheat pasta for added fiber and nutrients.
- Low Sodium Chicken Stock, Broth, or Water: Using low sodium chicken broth adds an amazing depth of flavor that enhances the overall taste of the mac and cheese. However, if you prefer to keep this dish vegetarian or simply don’t have broth on hand, water works perfectly well. Vegetable broth is also a great vegetarian alternative.
- Dry Mustard: This might seem like an unusual ingredient, but it’s a secret weapon in many classic mac and cheese recipes. Dry mustard doesn’t add a strong mustard flavor; instead, it subtly amplifies the cheesy notes, making the cheddar taste even richer and more complex. It’s a trick my momma always used, and it truly makes a difference!
- Garlic Powder: For quick and easy flavor, garlic powder is a staple. If you prefer, you can certainly substitute with a clove or two of freshly minced garlic, adding it at the same time as the dry mustard.
- Salt: Essential for seasoning, the amount of salt needed will depend on whether you use broth (which typically contains some sodium) or water. Always taste and adjust as needed.
- Butter: We often use a high-quality vegan butter for this recipe, but any butter you have on hand will work. It contributes to the luxurious creaminess and richness of the sauce.
- Frozen Butternut Squash (1 10oz bag, approx. 3 cups): This is where convenience meets nutrition! Pre-cubed frozen butternut squash is a fantastic time-saver, eliminating the need for peeling and chopping. If you have fresh squash, especially leftover from Thanksgiving, feel free to use it. Just be sure to dice it into small, uniform cubes (about 1/2-inch) to ensure even cooking with the pasta.
- Freshly Shredded Sharp Cheddar Cheese: For the absolute best, meltiest cheese sauce and a rich flavor, freshly shredded sharp cheddar is highly recommended. Pre-bagged shredded cheese often contains anti-caking agents that can prevent it from melting as smoothly. If using pre-shredded, ensure it’s a good quality brand. Pack it tightly when measuring for accuracy.
- Pecorino Romano or Parmesan Cheese: A small addition of Pecorino Romano or Parmesan cheese adds a delightful salty, tangy “zip” that elevates the cheese flavor. You can swap this out for extra cheddar if you prefer, but I love the depth it adds.
- Optional – Gluten-Free Breadcrumbs: For an irresistible crispy topping, a sprinkle of gluten-free breadcrumbs is a wonderful addition. You can easily make your own by pulsing a slice of gluten-free bread in your blender or food processor until coarse crumbs form.
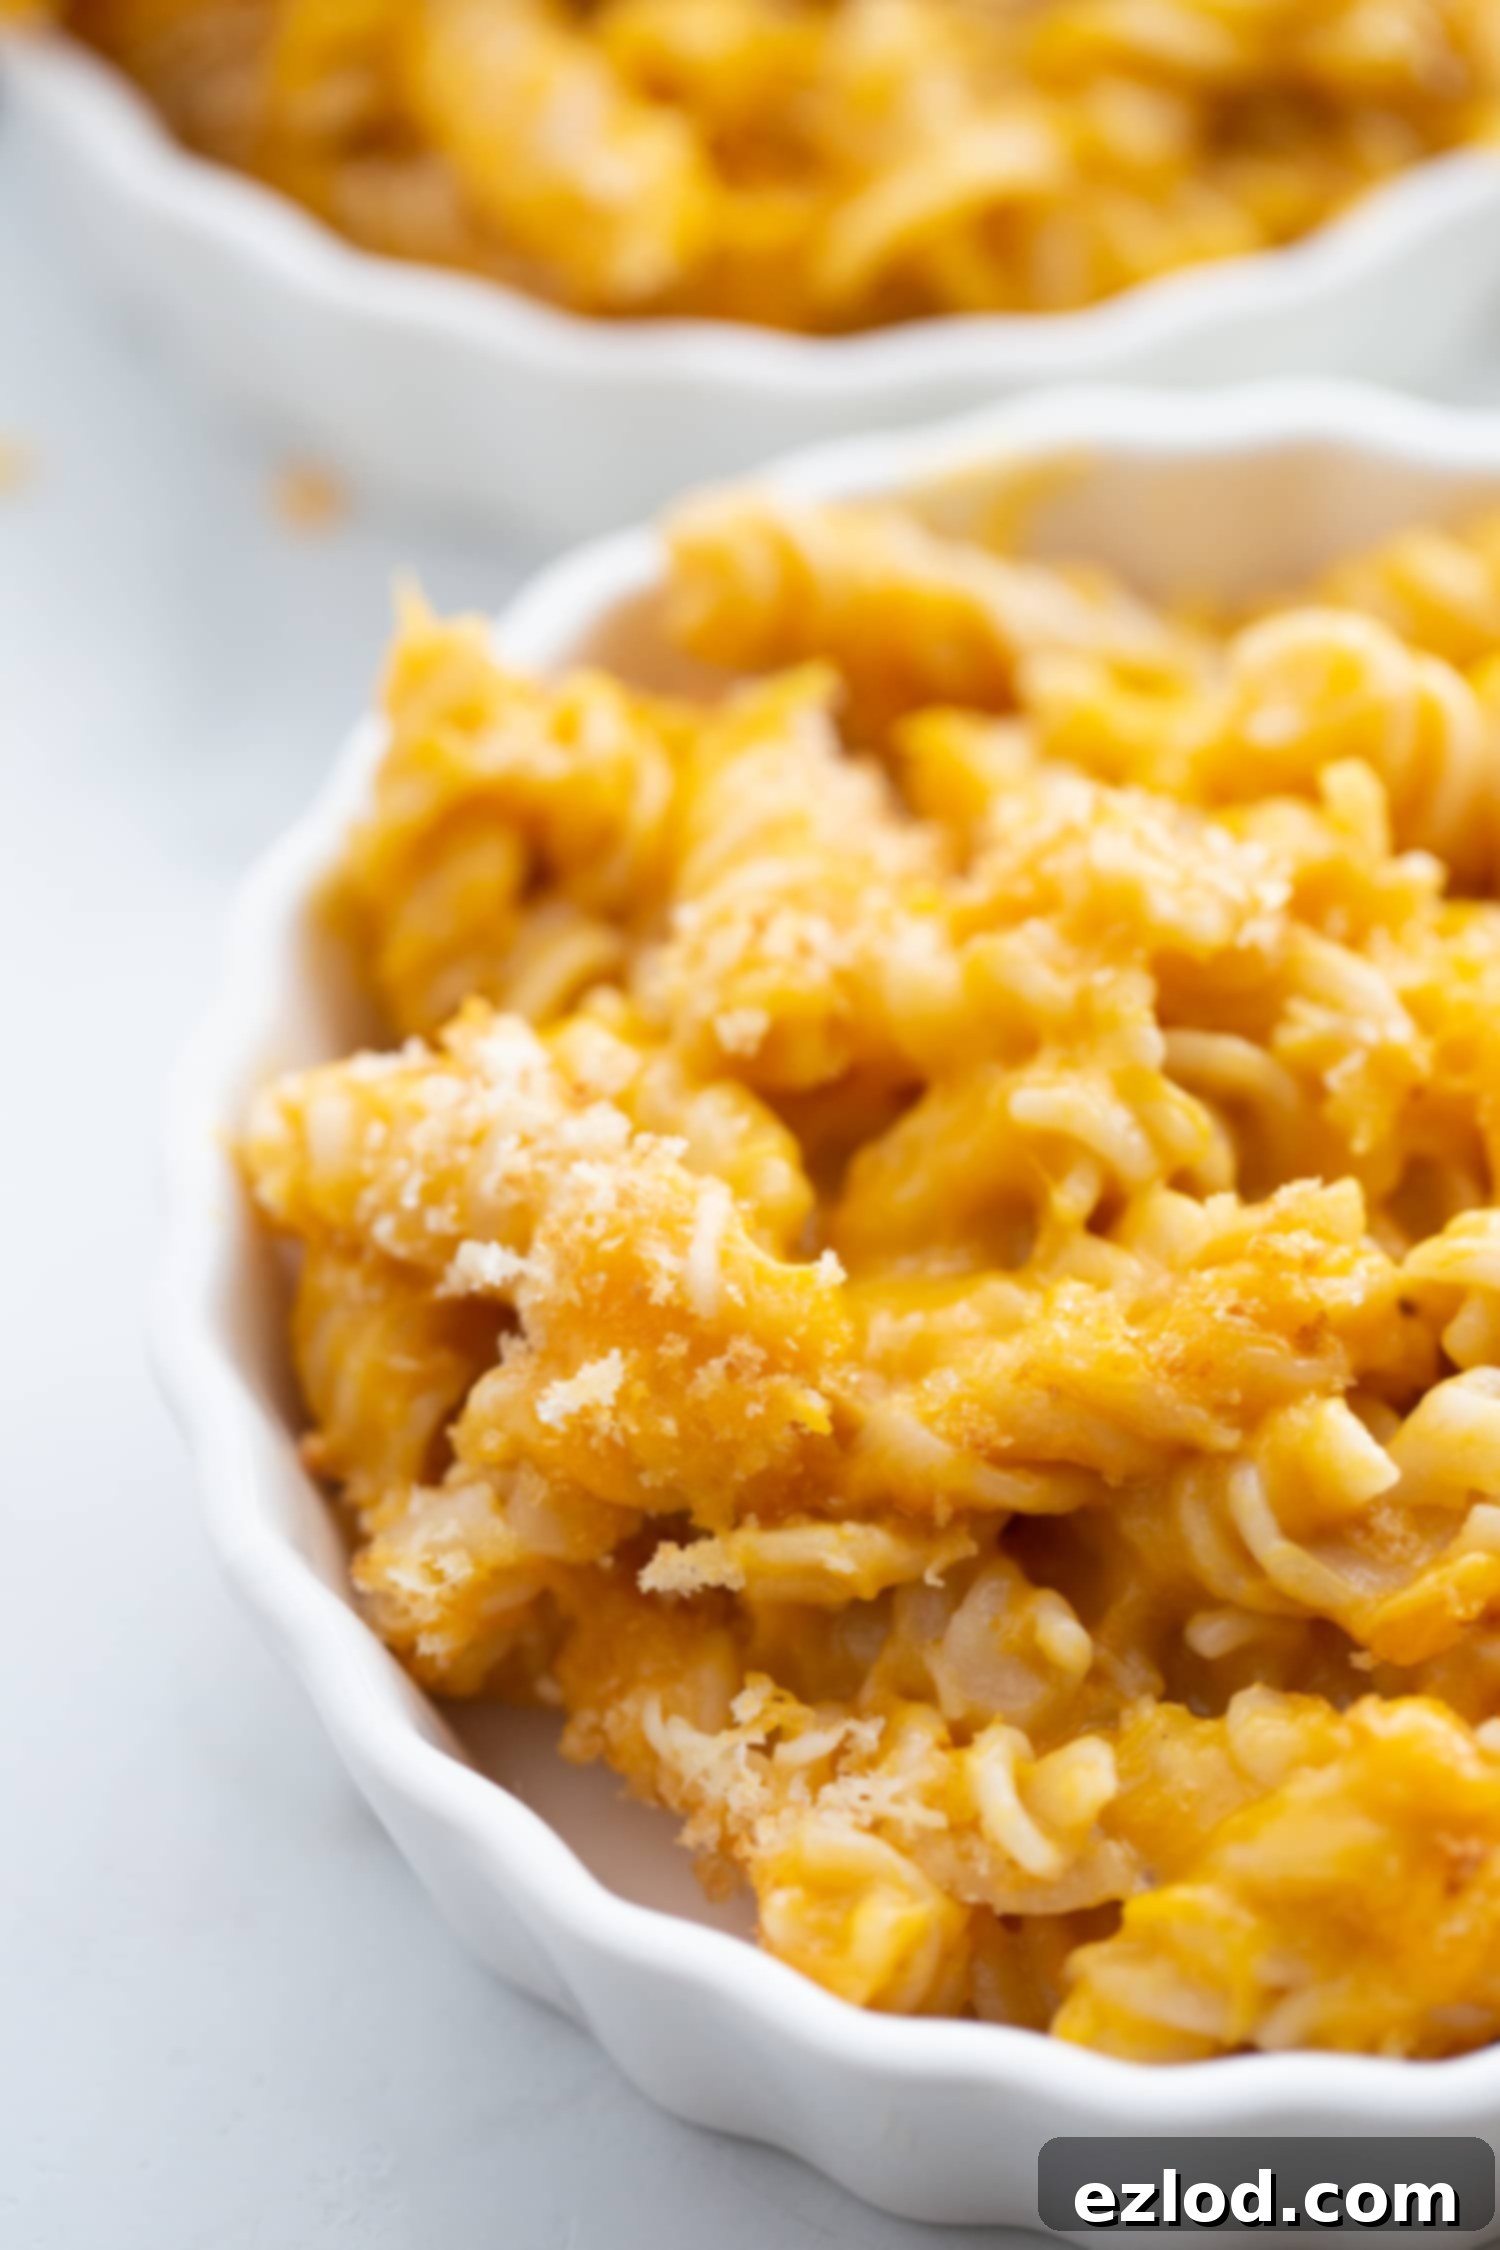
How to Make Easy Butternut Squash Mac and Cheese (Instant Pot & Stovetop)
Making pasta dishes like Mac and Cheese in the Instant Pot is truly a revelation – it’s incredibly fast and remarkably simple. However, if you don’t own an Instant Pot, don’t worry! We’ve also provided detailed stovetop instructions below so you can enjoy this delicious recipe no matter your kitchen setup.
Instant Pot Method:
Follow these steps for a quick and easy Instant Pot Butternut Squash Mac and Cheese:
Step One: Layer the Base. Add your chosen pasta (rotini or penne work best for gluten-free) and all the seasonings (dry mustard, garlic powder, salt) directly into the Instant Pot. Next, pour in your low sodium chicken broth or water. This is crucial: do not stir at this stage. Layering prevents the pasta from sticking to the bottom and allows for even cooking.
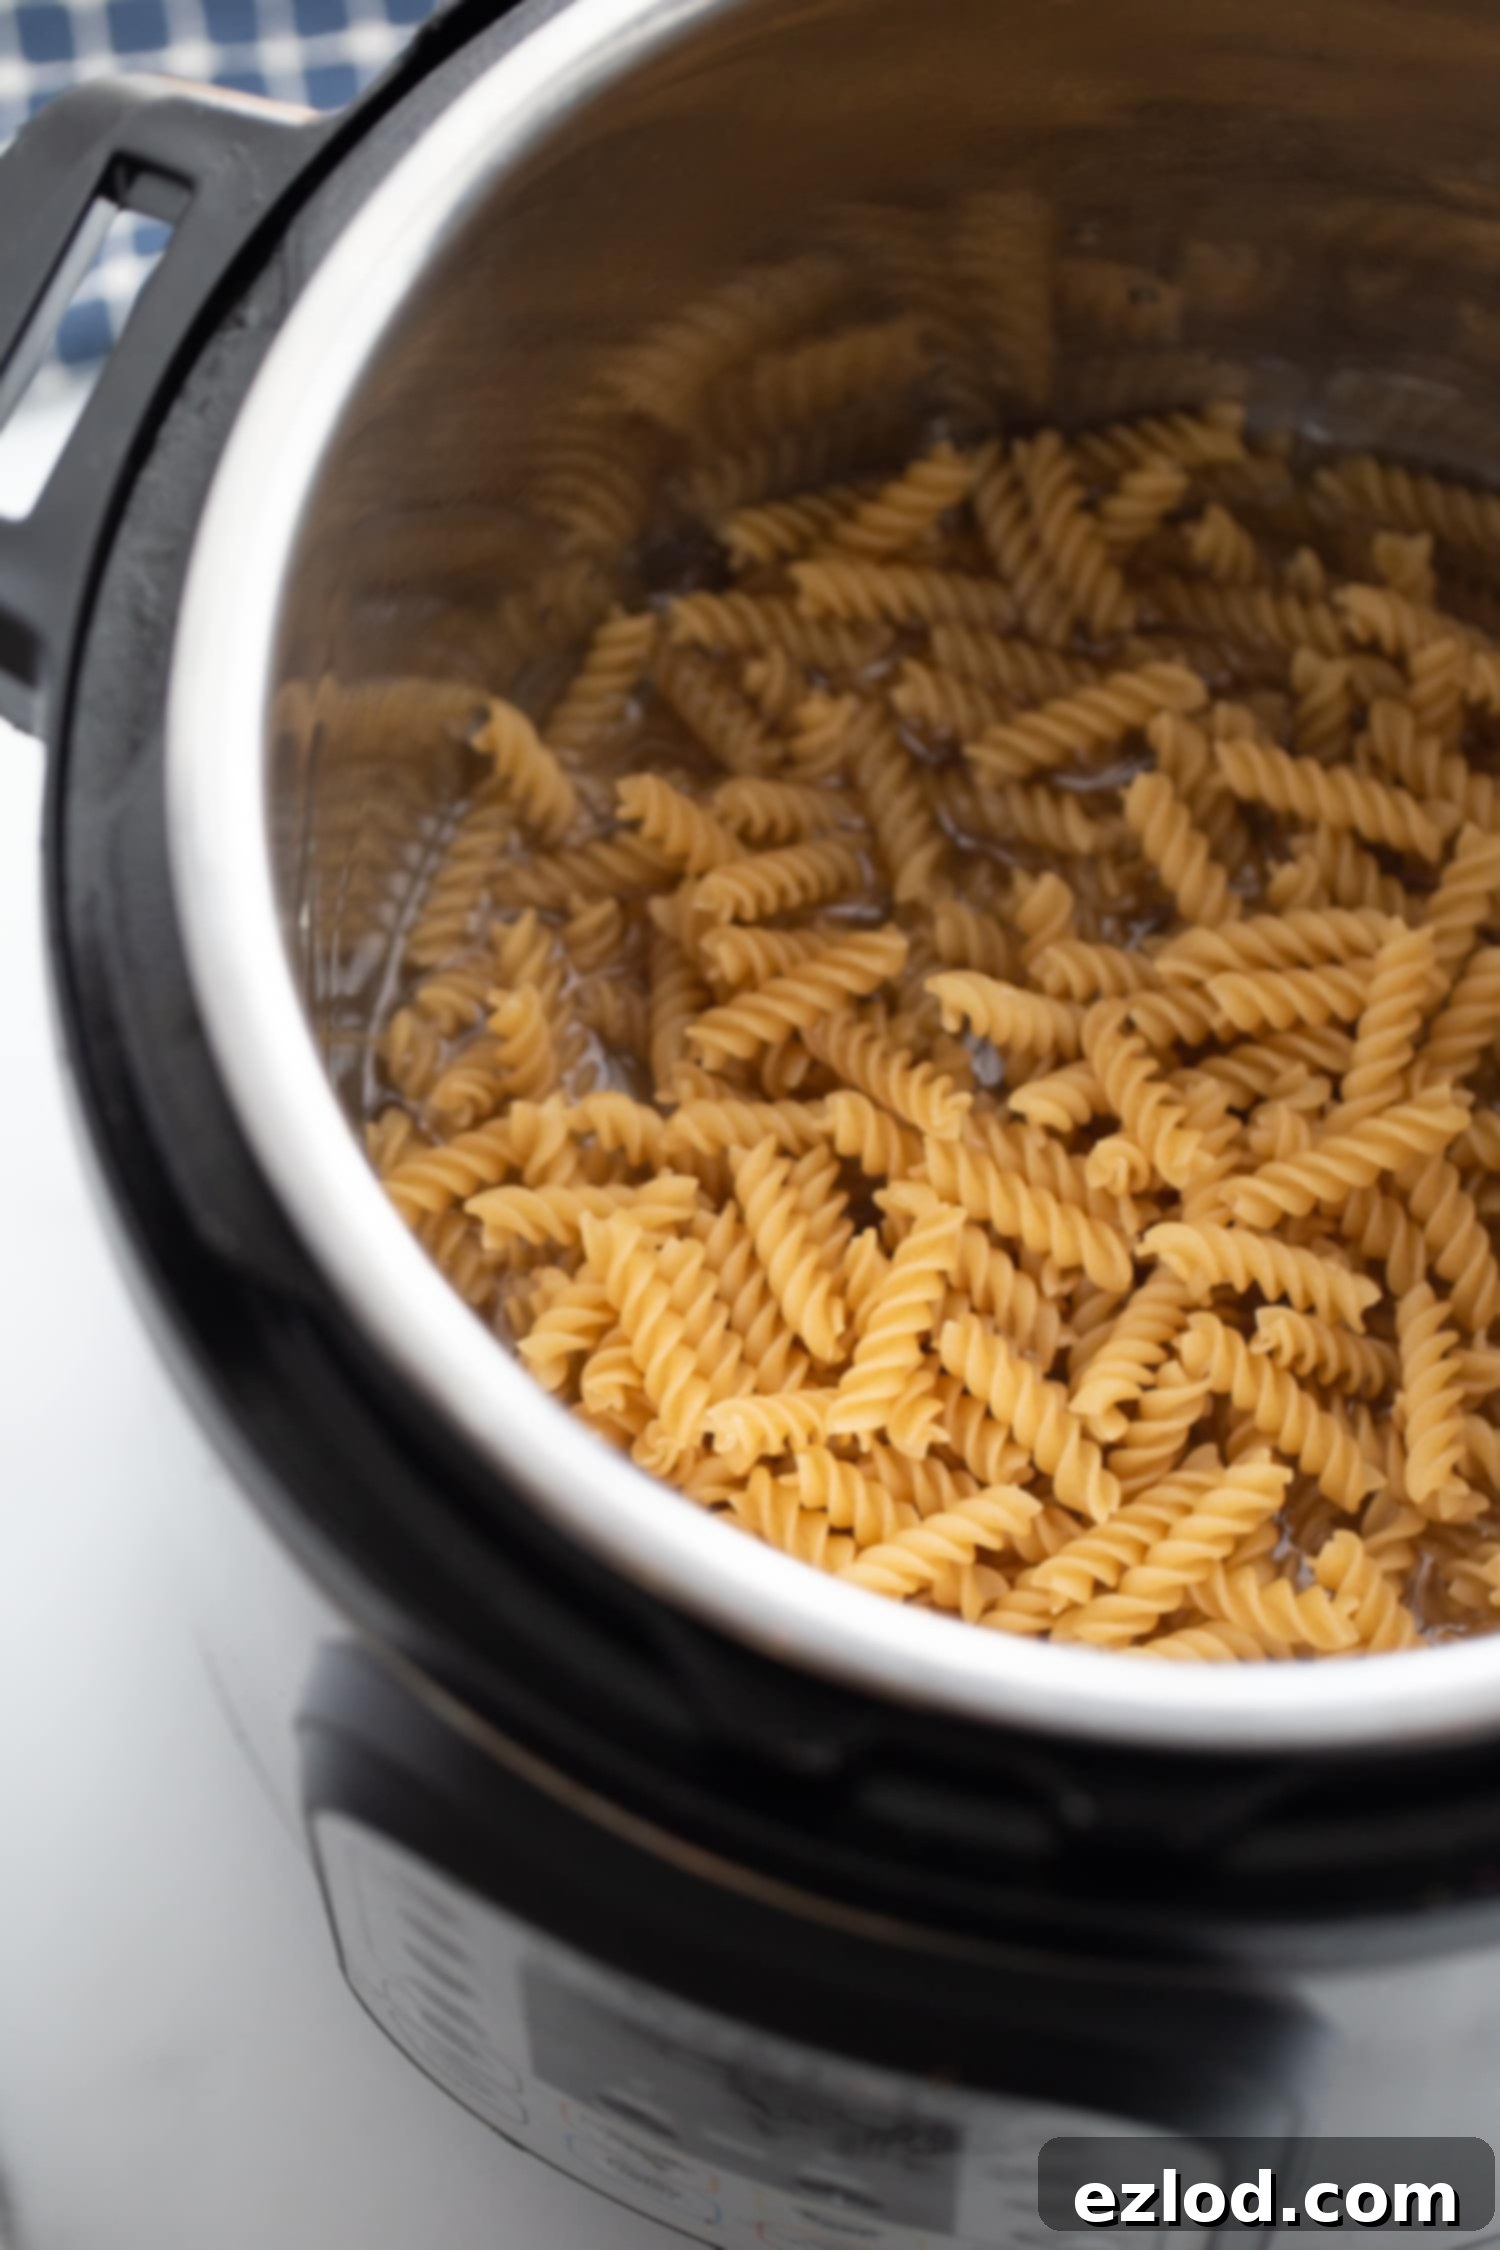
Step Two: Add Butter and Butternut Squash. Place the butter directly on top of the pasta layer. Then, add the frozen (or fresh, diced) butternut squash cubes on top of the butter. Again, resist the urge to stir. This layering technique is key for optimal Instant Pot cooking, allowing the flavors to meld as the ingredients cook under pressure.
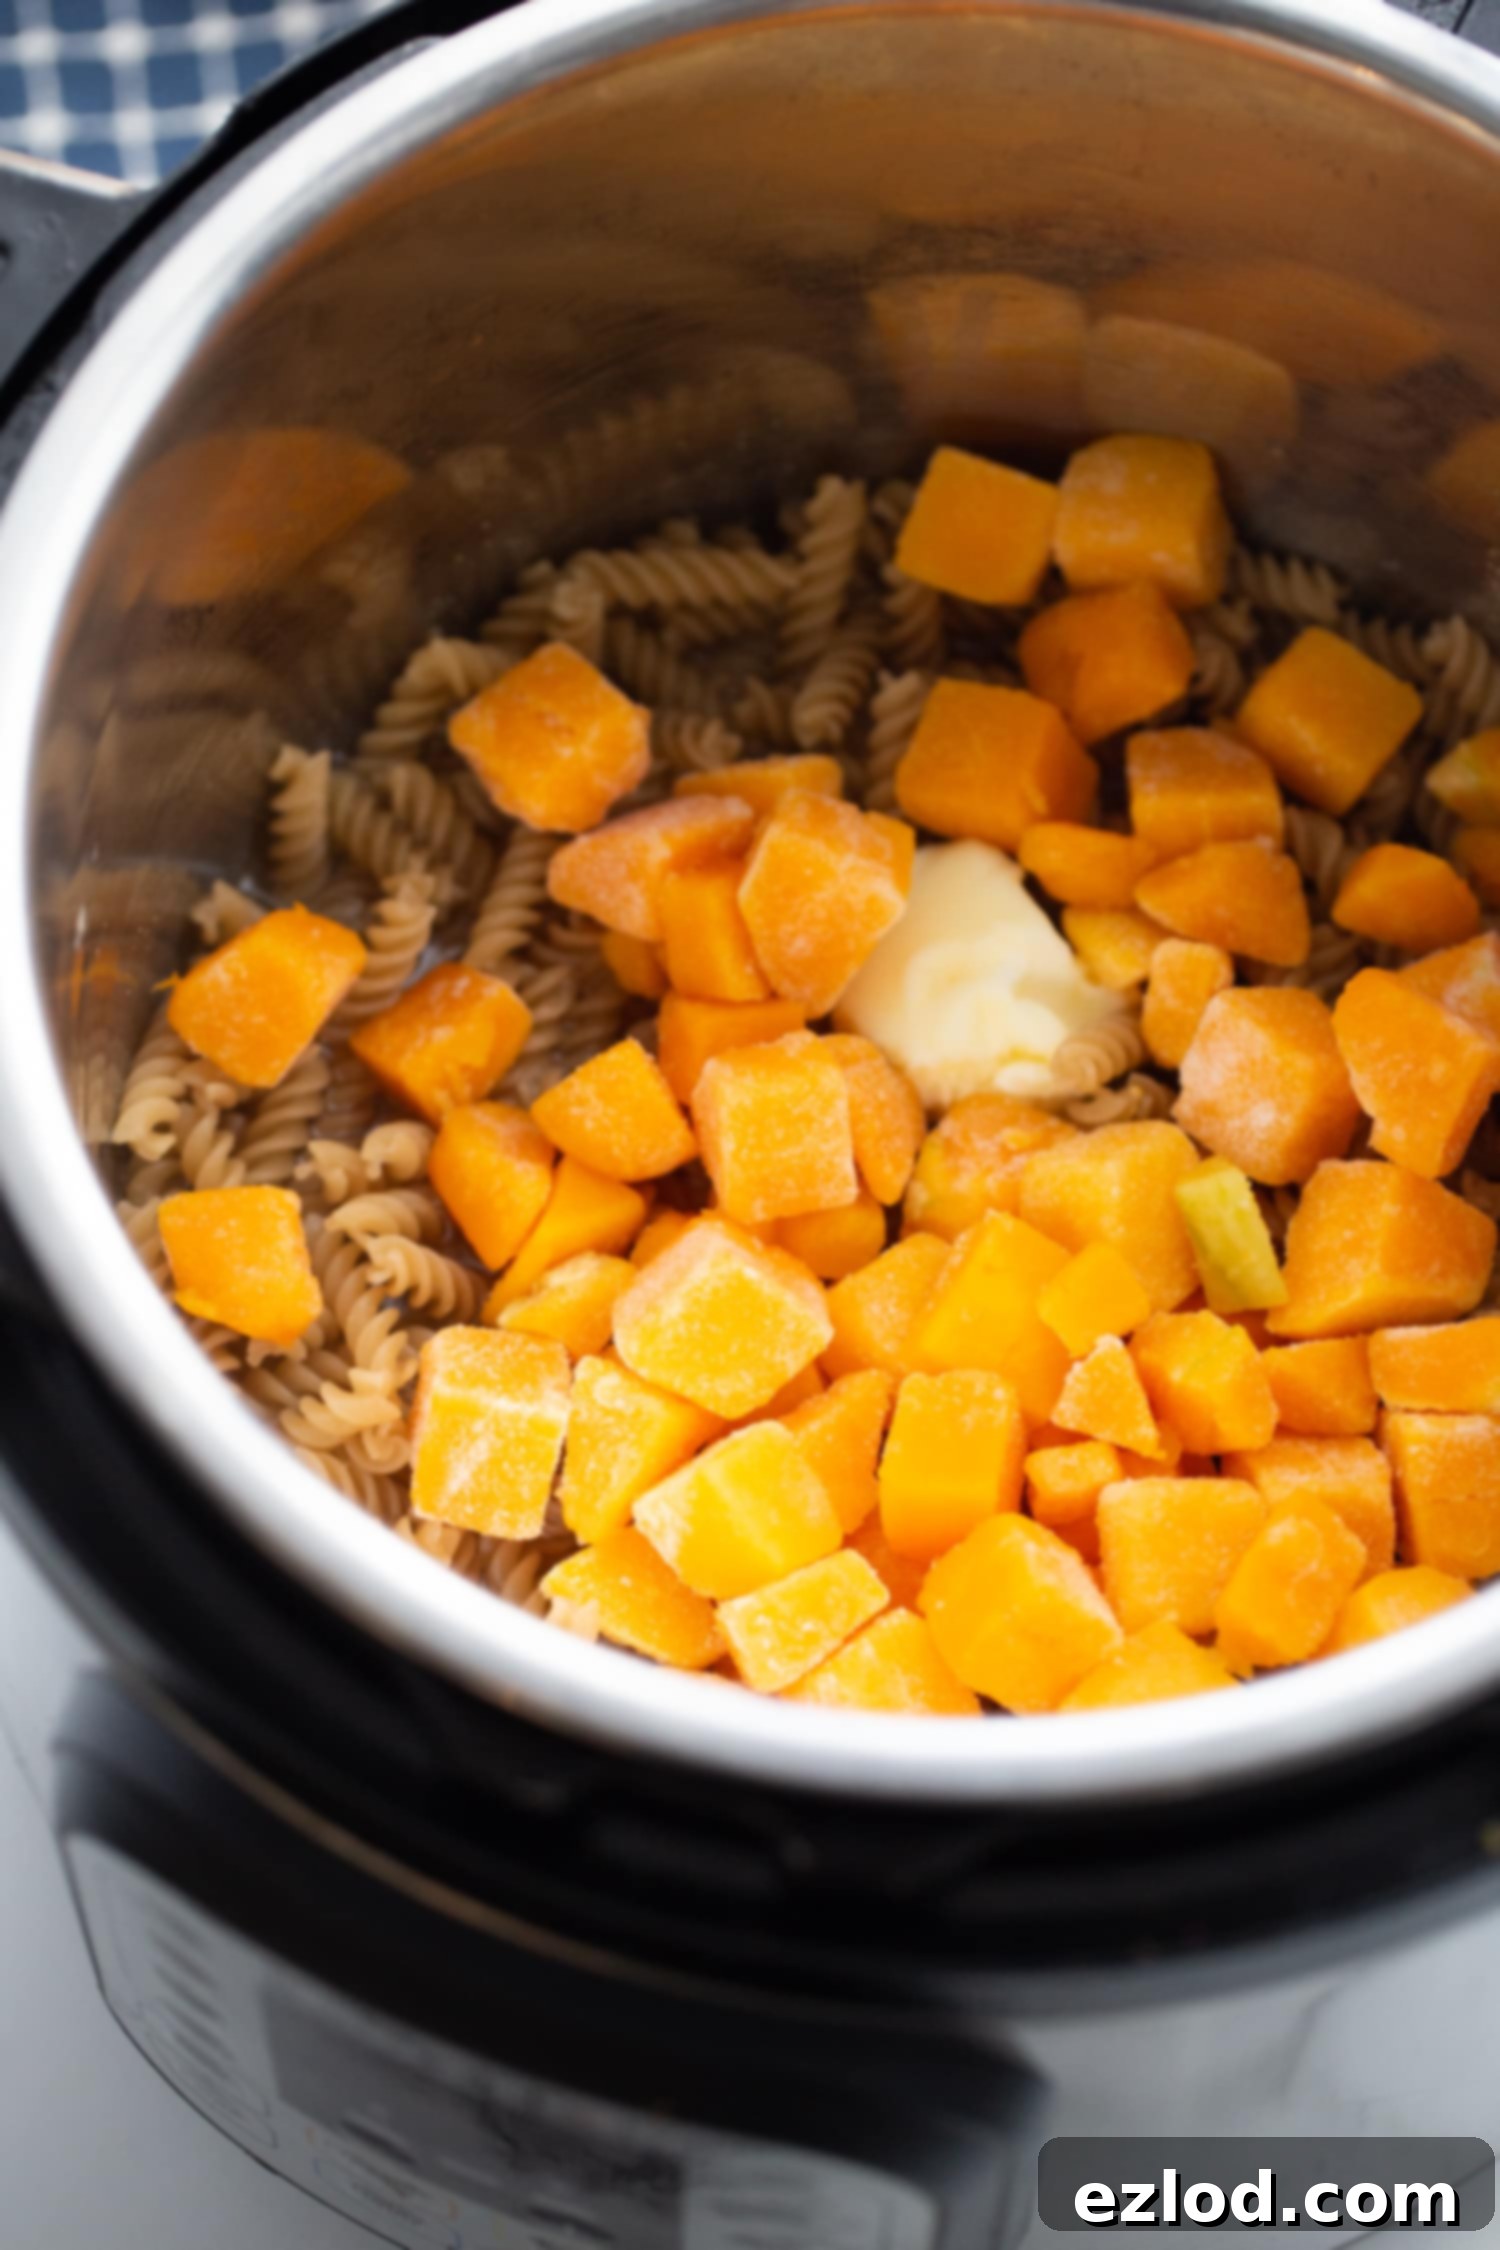
Step Three: Pressure Cook to Perfection. Secure the lid on your Instant Pot, ensuring the vent is sealed. Cook on high pressure for just 2 minutes. Once the cooking time is complete, perform a quick release of the pressure. Be cautious of the steam as it vents.
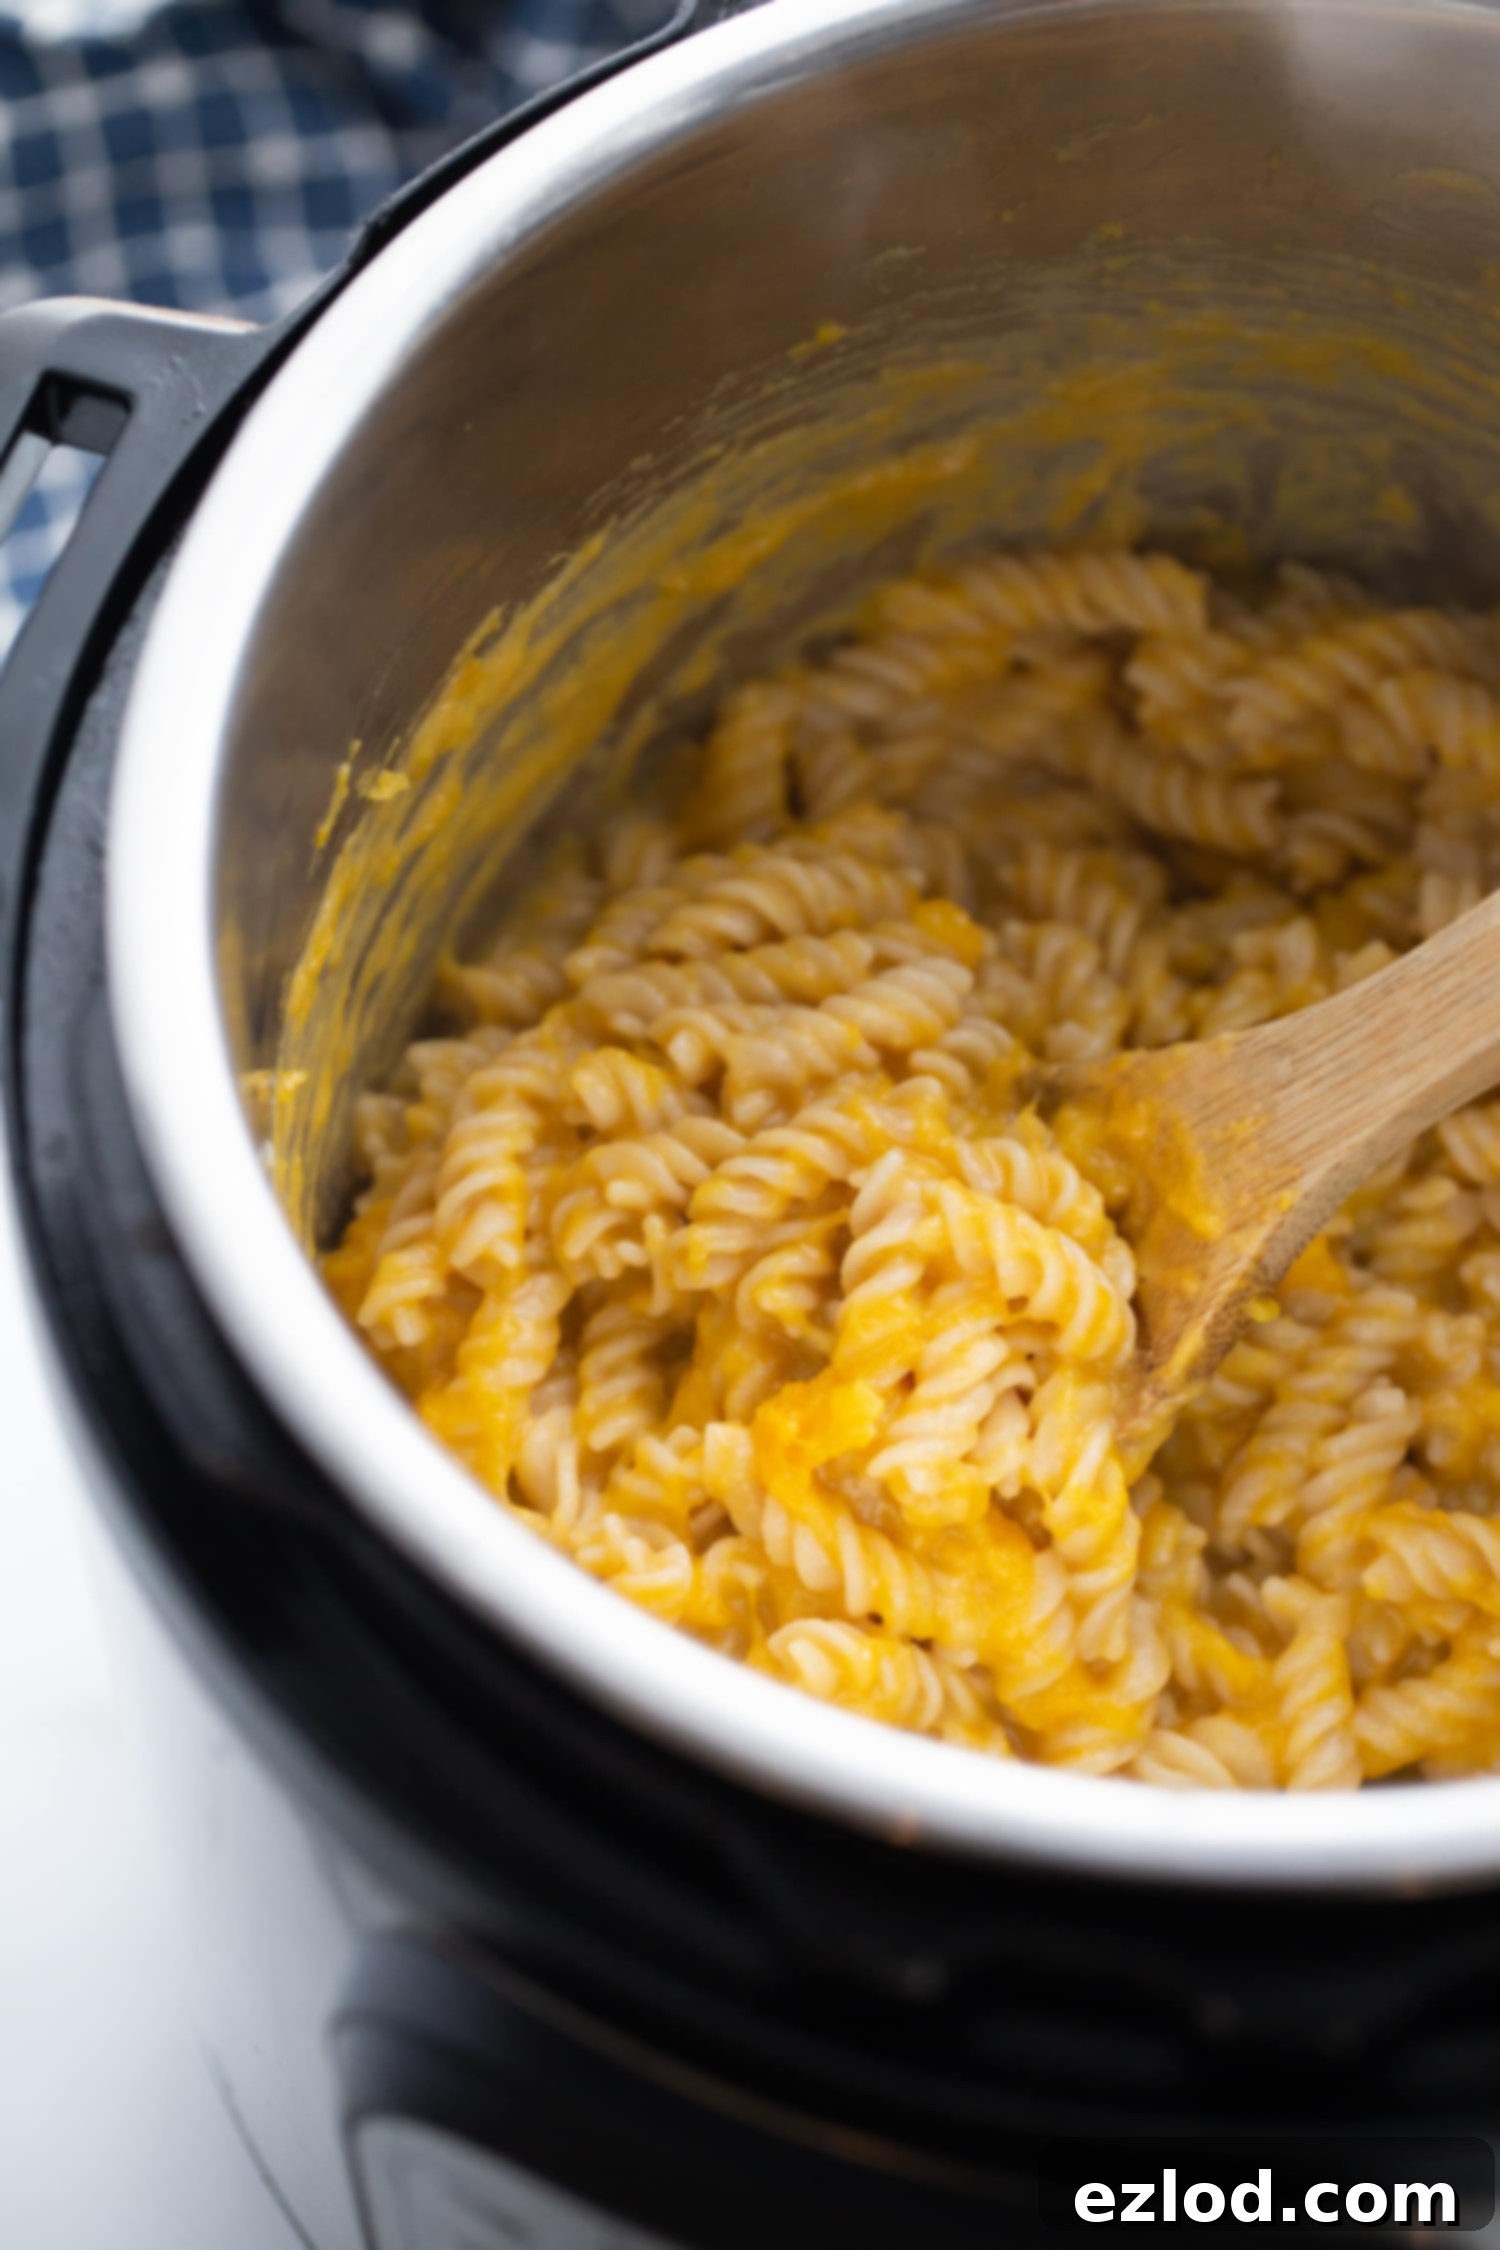
Step Four: Stir in the Cheesy Goodness. Carefully remove the lid. Give the pasta and butternut squash mixture a good stir – you’ll see how beautifully the squash has softened and partially dissolved. Now, it’s time to add the freshly shredded sharp cheddar cheese. Continue stirring until the cheese is completely melted and the sauce is smooth and creamy.
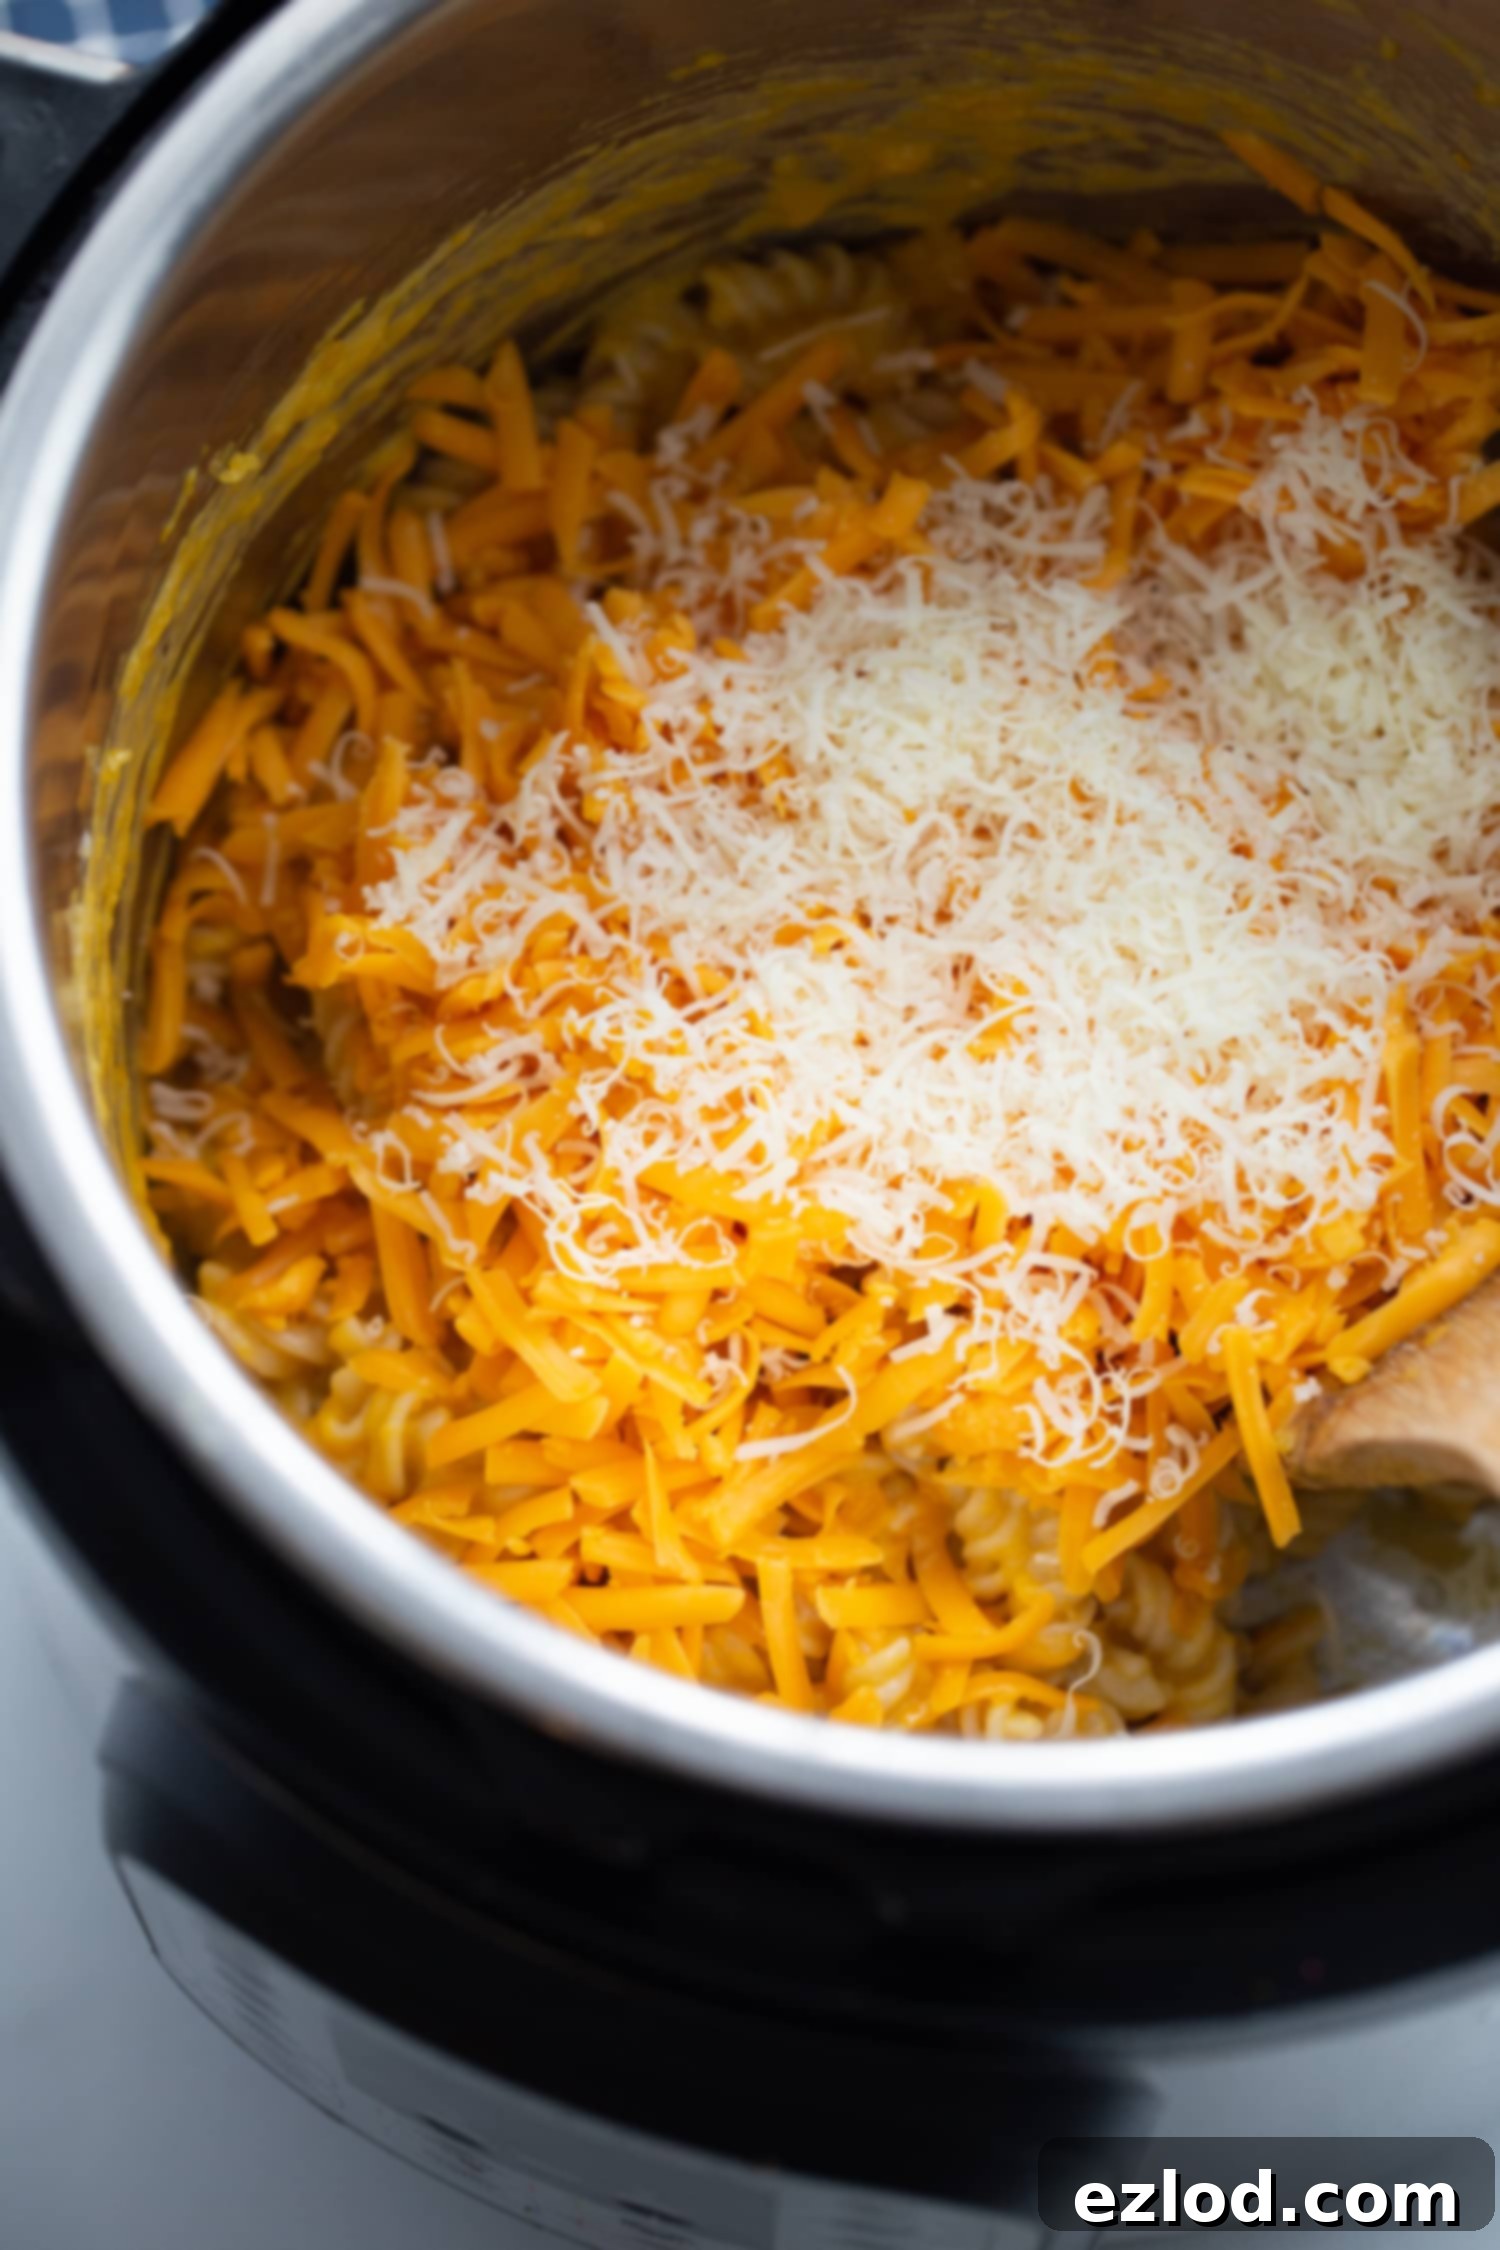
Step Five: Achieve Your Desired Consistency. Keep stirring the creamy, cheesy mixture until it reaches your desired consistency. If the cheese sauce appears too thick, simply add a splash of extra broth or reserved pasta water (if using the stovetop method) until it’s perfectly smooth and luxurious. Don’t forget the Pecorino Romano or Parmesan cheese for that extra flavor boost!
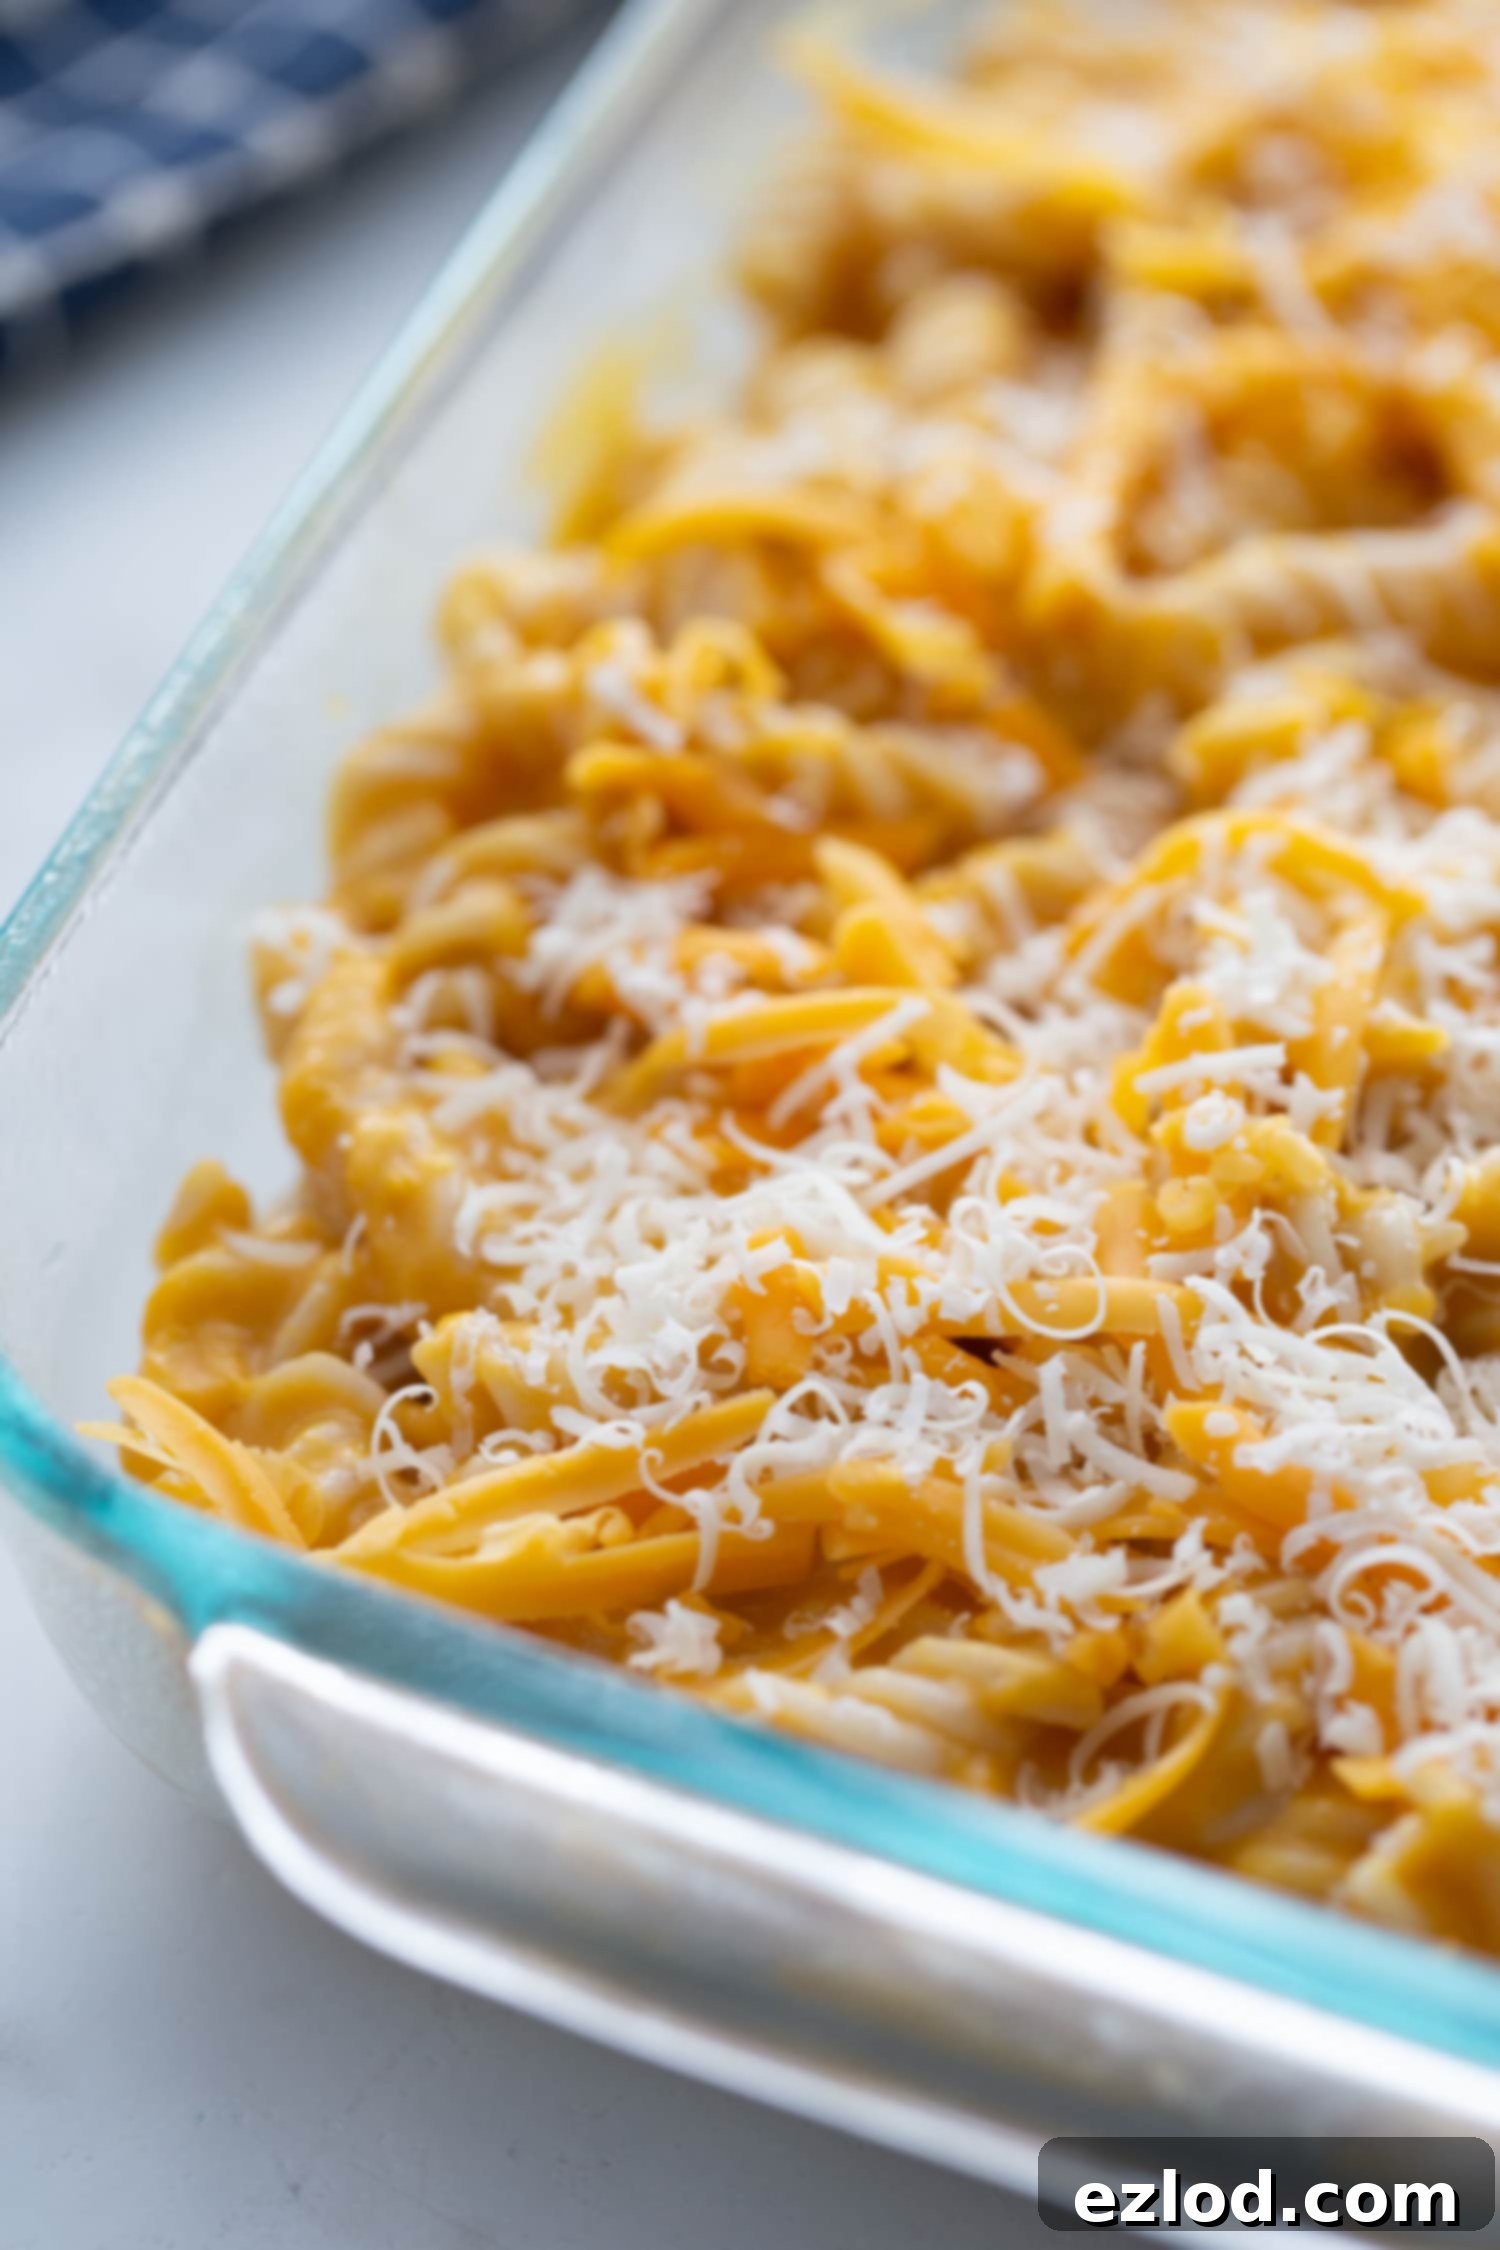
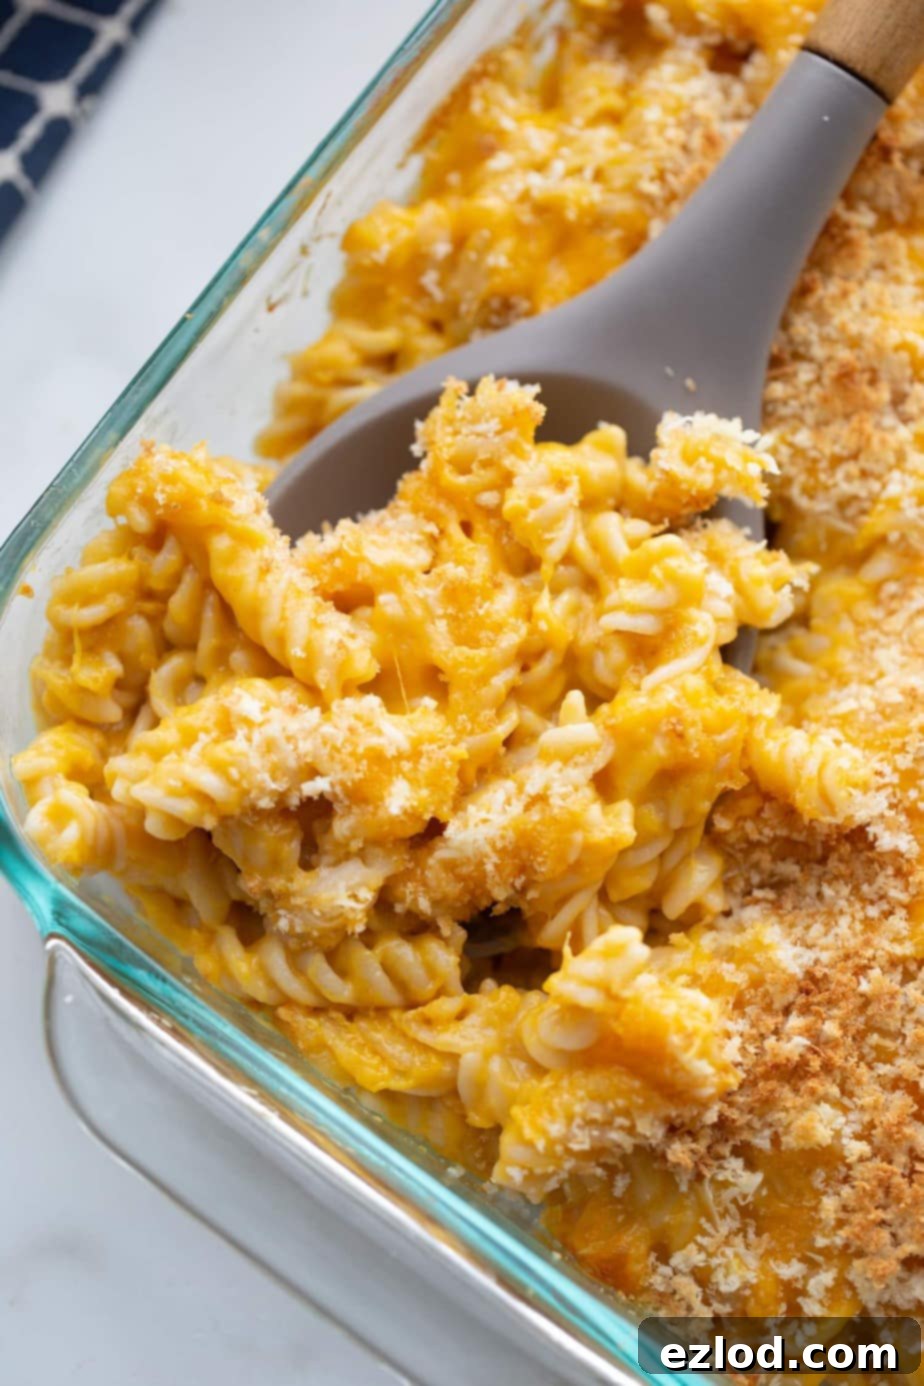
Optional Step Six: Crispy Baked Topping. For an extra layer of texture and flavor, transfer your mac and cheese to a greased baking dish. Top it with gluten-free breadcrumbs and a bit of extra shredded cheese (Pecorino Romano or cheddar). Bake in a preheated 400°F (200°C) oven for 10-15 minutes, or until the breadcrumbs are golden brown and crispy.
Stovetop Method:
No Instant Pot? No worries! You can still enjoy this creamy Butternut Squash Mac and Cheese with our easy stovetop directions:
- Preheat your oven to 400°F (200°C) if you plan to add the crispy breadcrumb topping.
- In a large pot, bring water to a boil according to your pasta package directions. Add the pasta, seasonings (dry mustard, garlic powder, salt), butter, and butternut squash cubes (ensure fresh squash is diced small for even cooking) to the boiling water simultaneously. The squash and pasta will cook together.
- Cook until pasta is al dente and squash is very tender, then drain thoroughly, reserving about 1/2 cup of the starchy pasta water. Return the pasta and squash mixture to the pot.
- Stir the squash and noodles together until the squash begins to break down and blend with the pasta. Add the freshly shredded cheddar cheese and continue to stir until it’s completely melted and creamy. If the sauce is too thick, add a little reserved pasta water until it reaches your desired consistency. Don’t forget to stir in the Pecorino Romano or Parmesan cheese.
- For an optional crispy topping, transfer the mac and cheese to a greased baking dish and top with gluten-free breadcrumbs and extra cheese. Bake for 10-15 minutes, or until golden brown and crispy.
Meal Prep & Storage Tips
This Butternut Squash Mac and Cheese is not only delicious but also fantastic for meal prepping, ensuring you have healthy, comforting meals ready to go throughout the week.
To Prep Ahead: This recipe is an excellent candidate for advance preparation. Simply follow all the cooking steps (either Instant Pot or stovetop) but skip the optional baking step with breadcrumbs. Allow the pasta to cool completely before transferring it to an airtight container. Store it in the refrigerator for up to 3-5 days. When you’re ready to serve, follow the instructions for baking the casserole to get that perfect crispy topping, or reheat gently as described below.
To Store Leftovers: If you’re fortunate enough to have any leftover mac and cheese, store it in an airtight container in the refrigerator. It will stay fresh and delicious for 3 to 5 days.
To Freeze: Yes, you absolutely can freeze pasta! Freezing individual portion sizes of this mac and cheese is one of my favorite meal prep hacks. I love using Souper Cubes for perfectly portioned blocks, but any airtight freezer-safe container or even a heavy-duty ziplock bag will work. It can be frozen for up to 2-3 months.
To Reheat: To reheat, you have a couple of options. You can thaw the frozen mac and cheese in the refrigerator overnight and then gently reheat it in a saucepan on the stove over low heat, adding a splash of broth or milk to restore creaminess. Alternatively, you can reheat it directly from the fridge or freezer in the microwave. Start by heating for one minute, stir, and then add additional time in 30-second increments until it’s heated through to your liking. The sauce will often thicken upon reheating, so don’t hesitate to add a little liquid.
Substitutions and Creative Variations
One of the best things about this Butternut Squash Mac and Cheese recipe is its adaptability. Feel free to experiment with these ideas to suit your taste or what you have on hand:
- Alternative Veggies: Not a fan of butternut squash, or just want to try something different? You can easily swap the butternut squash for cubed sweet potatoes or even pumpkin puree (reduce liquid slightly if using puree) for a similar creamy texture and nutritional boost.
- Enhanced Fall Flavor: To lean into seasonal tastes, add some fresh sage (finely chopped) or a pinch of nutmeg to the cheese sauce. These spices complement butternut squash beautifully.
- Dairy-Free/Vegan Option: For a completely dairy-free or vegan version, replace traditional cheese with your favorite vegan cheese shreds. I personally love the Violife brand for its excellent melt and flavor. A sprinkle of nutritional yeast can also enhance the cheesy flavor. Be sure to use vegan butter and vegetable broth.
- Boost Your Greens: For even more hidden veggie power, stir in some roasted broccoli florets, chopped spinach, or kale during the final mixing stage.
- Make it a Main Course: Transform this side dish into a hearty main meal by adding cooked protein. Diced chicken (rotisserie chicken works great!), canned tuna, cooked turkey sausage, or even white beans can be stirred in.
- Spice It Up: For a kick, add a pinch of red pepper flakes or a dash of hot sauce to the cheese sauce.
- Different Cheeses: While sharp cheddar is classic, you can experiment with other melting cheeses like Gruyere, Fontina, or smoked Gouda for different flavor profiles.
Butternut Squash Mac and Cheese FAQs
Absolutely! While the Instant Pot offers unmatched speed, this recipe is just as delicious made on the stovetop. Full stovetop instructions are included in the main recipe card below. The key is cooking the pasta and diced butternut squash together in the same pot, then draining and adding your cheese to create the creamy sauce.
Don’t panic! It’s rare, but sometimes pasta can be a little al dente or unevenly cooked depending on the pasta brand or thickness. Simply give everything a good stir after the quick release, then place the lid back on the Instant Pot (without sealing or pressure cooking again). The residual heat from the pot will continue to cook the pasta gently, usually for another 2-5 minutes, until it’s perfectly tender. You can also use the “Sauté” function on low for a minute or two, stirring constantly, to speed this up. If you’re planning on the optional baking step, the pasta will continue to cook a bit more in the oven as well.
Yes, definitely! This recipe is incredibly versatile and works wonderfully with vegan cheese alternatives. I personally recommend using the Violife brand for its excellent melting properties and flavor. For an extra boost of cheesy flavor in a dairy-free dish, a sprinkle of nutritional yeast can make a fantastic addition to the sauce.
What to Serve with Healthy Mac and Cheese
This Butternut Squash Mac and Cheese is incredibly versatile. It makes a fantastic stand-alone meal, but it also shines as a side dish alongside a variety of proteins and vegetables. I love pairing it with my crispy Air Fryer Chicken Thighs and a simple steamed green veggie for a complete and satisfying dinner. Here are some more delicious main course ideas that complement this creamy dish:
- Perfectly Cooked New York Strip Steak
- Instant Pot Maple BBQ Chicken (with a Slow Cooker Option)
- Tender Pulled Pork with Maple BBQ Sauce (Crock Pot/Instant Pot)
- Crispy Air Fryer Bacon Wrapped Chicken Tenders
- A simple grilled fish or shrimp for a lighter meal.
- A fresh garden salad with a light vinaigrette.
Love this recipe? Please leave a 5-star 🌟🌟🌟🌟🌟 rating & a review in the comments section! We love hearing from you and seeing your creations!
More Healthy Butternut Squash Recipes
If you’ve fallen in love with the versatility and health benefits of butternut squash, you’ll want to explore these other fantastic recipes that feature this incredible vegetable:
- Instant Pot Butternut Squash Risotto [Gluten-free | 21 DF | WW]
- Lazy Butternut Squash Lasagna {Gluten-free, One Skillet}
- Warm Honey Roasted Butternut Squash Salad (21 Day Fix)
- Easy Shrimp, Kale, and Butternut Squash Sauté {21 Day Fix}
- Butternut Squash Soup [Instant Pot/Crock Pot/Stove Top] [21 Day Fix | WW]
- Butternut Squash Latkes {21 Day Fix}

Butternut Squash Mac and Cheese
Nancylynn
6
servings
Pin Recipe
5 minutes
2 minutes
7 minutes
Ingredients
-
3 cups gluten free rotini or penne pasta -
2 cups low sodium chicken broth or water for stovetop, follow pasta package directions for water amount -
½ teaspoon dry mustard -
½ teaspoon garlic powder -
½ -1 teaspoon salt -
3 teaspoons butter -
3 cups frozen butternut squash (approx. 1 10oz frozen bag, or fresh small-diced) -
2 cups freshly shredded sharp cheddar cheese (packed in tight for best melt) -
2 tablespoons Pecorino Romano or parmesan cheese -
1/4 cup gluten free breadcrumbs (optional, easily made by blending a slice of bread)
Instructions
Instant Pot Method:
-
Place noodles in the Instant Pot, then cover with water/broth. Add in seasonings (dry mustard, garlic powder, salt) and butter, then carefully layer the butternut squash on top. Do not mix.
-
Secure the lid on the Instant Pot and set it to cook on high pressure for 2 minutes.
-
Preheat your oven to 400 degrees F (200°C) if you plan to add the optional crispy topping.
-
After the cook time is finished, carefully perform a quick release of the pressure.
-
Remove the lid and give the squash and noodles a good stir until the squash is well incorporated. Then, add in the freshly shredded cheddar cheese and continue to stir until it’s all melted together into a creamy sauce. Add Pecorino Romano/Parmesan.
-
If desired, transfer the mac and cheese to a greased baking dish and top with 2 tablespoons extra shredded cheddar, 2 tablespoons Pecorino Romano or parmesan cheese, and ¼ cup of gluten-free breadcrumbs. Bake for 10-15 minutes or until the breadcrumbs are golden and crispy.
Stovetop Method:
-
Preheat your oven to 400 degrees F (200°C) if you plan to add the optional crispy topping.
-
Follow the directions on your pasta package to boil water. Once boiling, add the pasta, seasonings (dry mustard, garlic powder, salt), butter, and small-diced butternut squash cubes to the boiling water simultaneously. The squash and pasta will cook at the same time until pasta is al dente and squash is very tender.
-
Drain the pasta and squash, reserving about ½ cup of the starchy pasta water in case you need to thin your mac and cheese sauce later. Place the pasta and squash back into the pot.
-
Stir the squash and noodles together until the squash breaks down and blends. Then, add in the freshly shredded cheddar cheese and continue to stir until it’s all melted and creamy. Add Pecorino Romano/Parmesan.
-
If desired, transfer the mac and cheese to a greased baking dish and top with 2 tablespoons extra shredded cheddar, 2 tablespoons Pecorino Romano or parmesan cheese, and ¼ cup of gluten-free breadcrumbs. Bake for 10-15 minutes or until the breadcrumbs are golden and crispy.
Video
Notes
WW: 10 points (per serving) [Calculated using reduced fat cheddar]
Meal Prep & Storage:
To Prep Ahead: This is an excellent meal prep recipe! Just follow all the steps except the optional baking and allow the pasta to cool completely. Store covered in an airtight container in the fridge for 3-5 days. Before serving, you can either reheat gently or follow the instructions for baking the casserole.
To Store Leftovers: If you have any leftover pasta, store it in an airtight container in the fridge for 3-5 days.
To Freeze: Yes! You can freeze this mac and cheese. One of my favorite methods is to freeze individual portion sizes in Souper Cubes for easy reheating. You can also freeze it in any airtight freezer-safe container or ziplock bag for up to 2-3 months.
To Reheat: You can thaw frozen mac and cheese in the fridge overnight and reheat it gently in a saucepan with a splash of broth or milk. Alternatively, reheat it straight from the fridge or freezer in the microwave. Start by heating for one minute, stir, and add additional time as needed until heated through.
Nutrition
Serving:
0.75
cup
Calories:
341
kcal
Carbohydrates:
35
g
Protein:
15
g
Fat:
17
g
Saturated Fat:
9
g
Polyunsaturated Fat:
1
g
Monounsaturated Fat:
4
g
Trans Fat:
0.1
g
Cholesterol:
45
mg
Sodium:
713
mg
Potassium:
349
mg
Fiber:
2
g
Sugar:
2
g
Vitamin A:
7888
IU
Vitamin C:
15
mg
Calcium:
322
mg
Iron:
1
mg
Tried this Recipe? Tag me Today!
Tag @confessionsofafitfoodie on Instagram and hashtag it #confessionsofafitfoodie!
