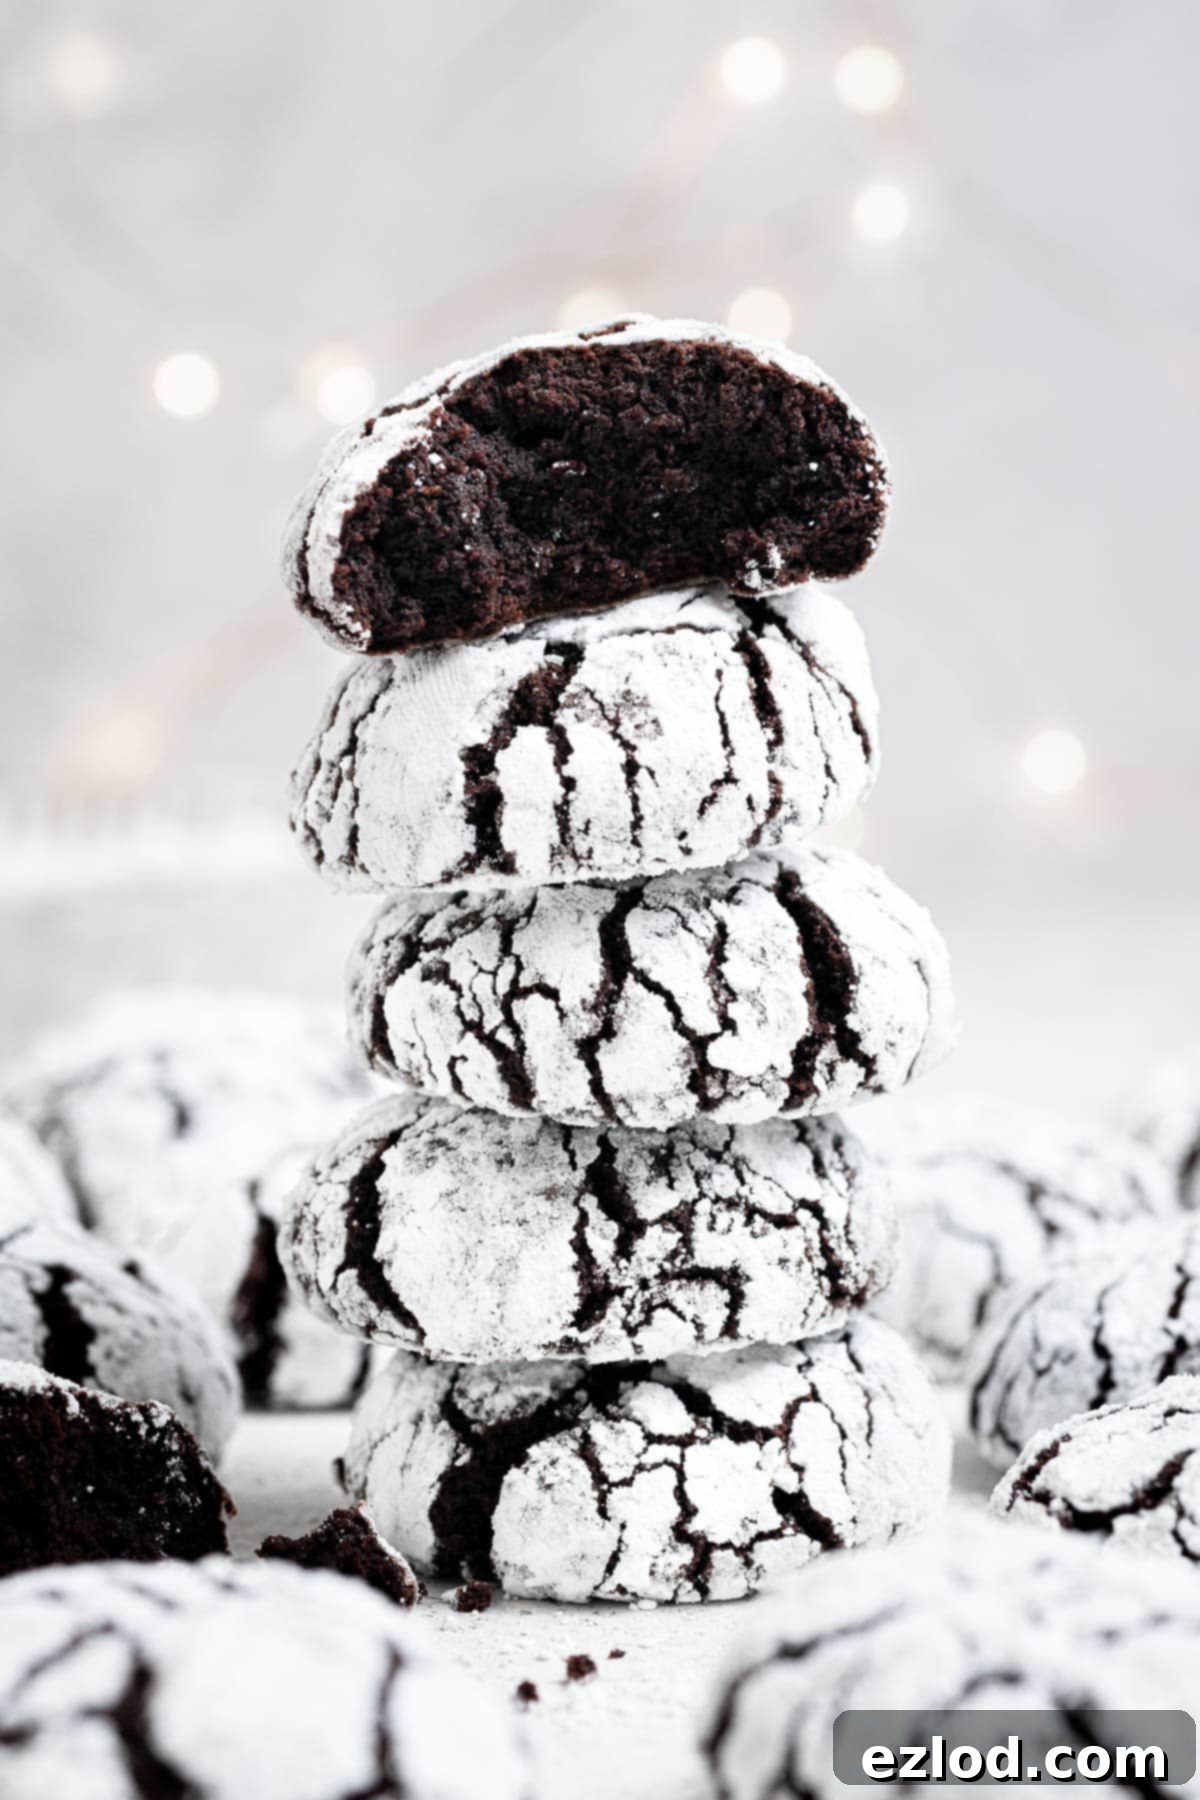
Irresistible Vegan Chocolate Crinkle Cookies: Your Guide to Fudgy, Festive Treats
Dive into the delightful world of these vegan chocolate crinkle cookies – a treat that promises to be rich, intensely fudgy, and wonderfully chewy. Each bite offers a soft, brownie-like center perfectly complemented by a crisp, captivating crackled sugar crust. Their distinct snowy, eye-catching appearance makes them an absolute showstopper and the ideal festive indulgence for the holiday season, especially for Christmas.
Whether you’re catering to dietary preferences or simply looking for an incredibly delicious chocolate cookie, this vegan recipe delivers on all fronts, ensuring everyone can enjoy a taste of holiday magic.
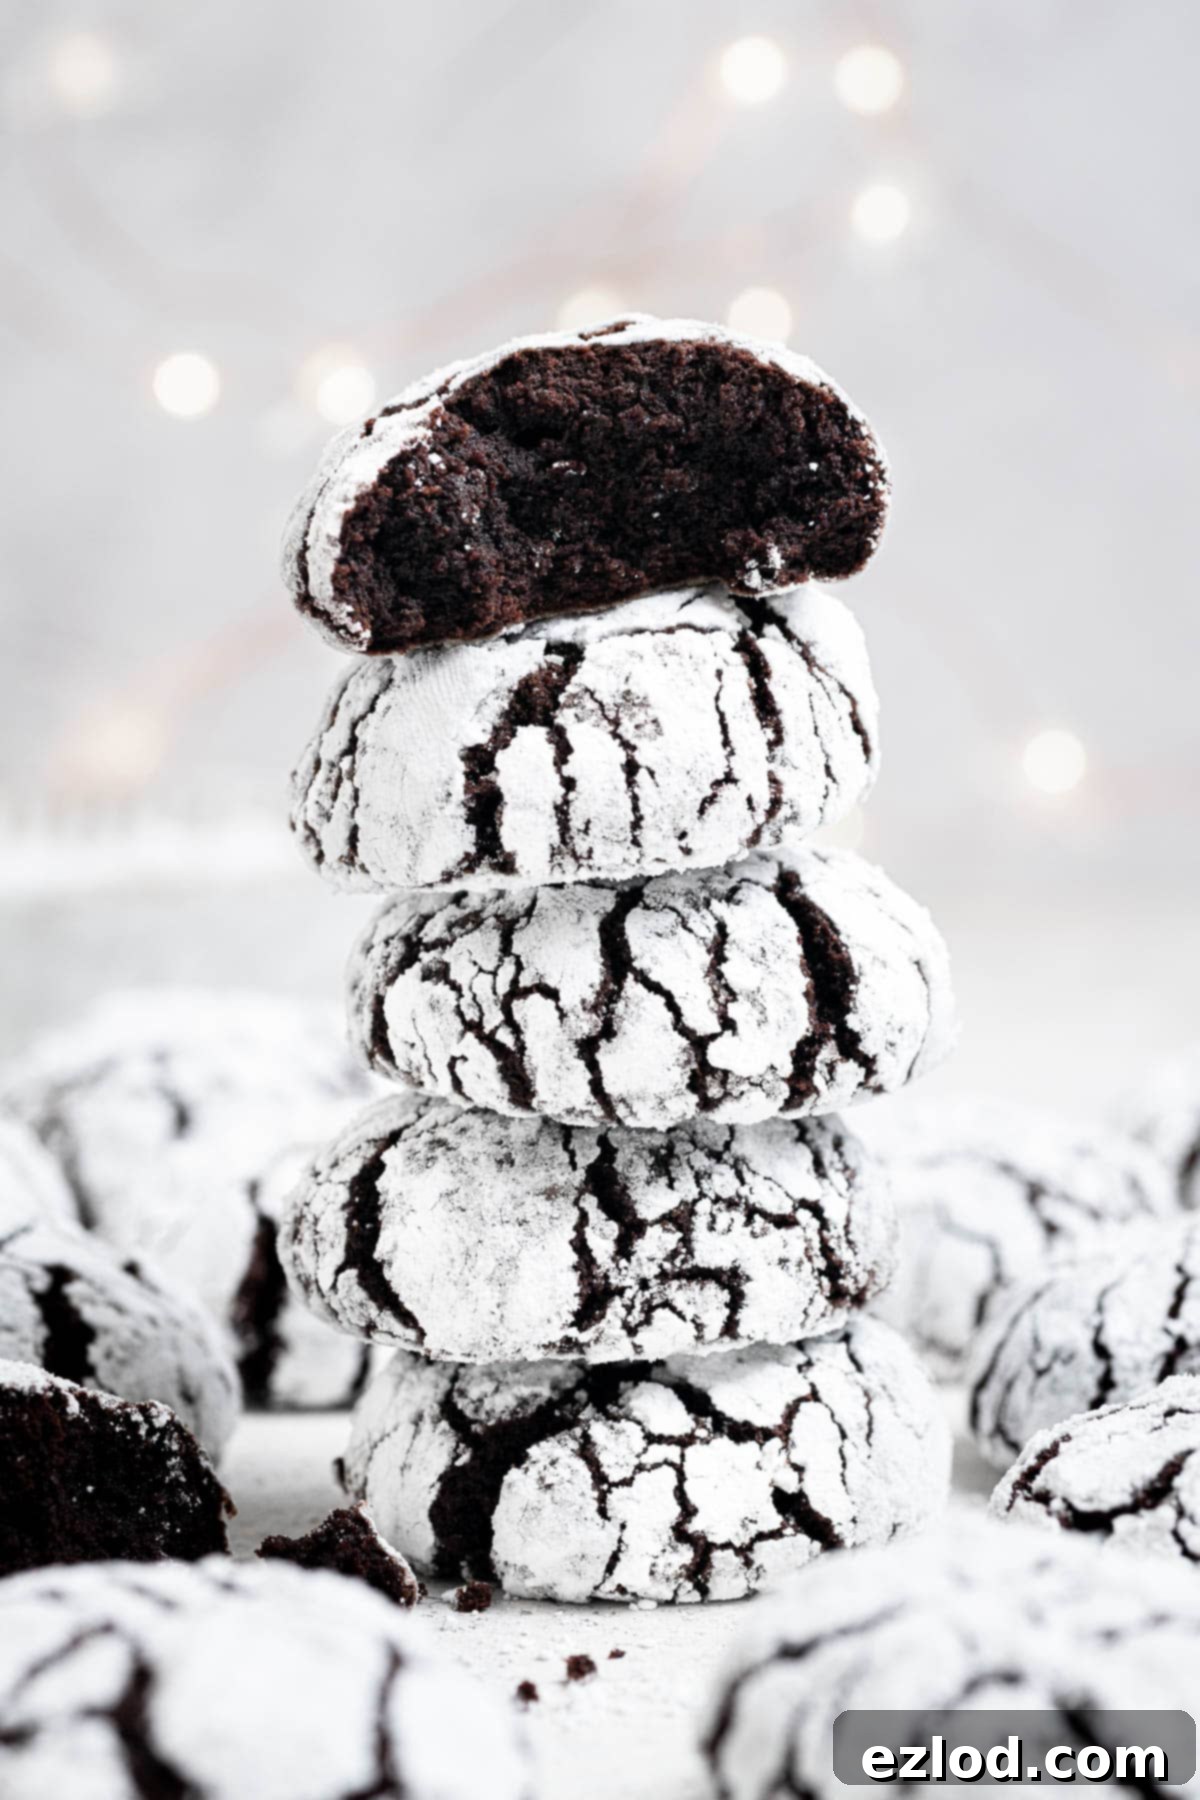
What Are Crinkle Cookies?
Crinkle cookies, often affectionately known as crackle cookies, are a beloved classic renowned for their unique texture and striking appearance. They are characteristically soft and slightly cakey, boasting a deeply fudgy, almost brownie-like interior. What truly sets them apart is their signature crinkled surface, achieved by generously rolling the cookie dough in icing (powdered) sugar just before baking.
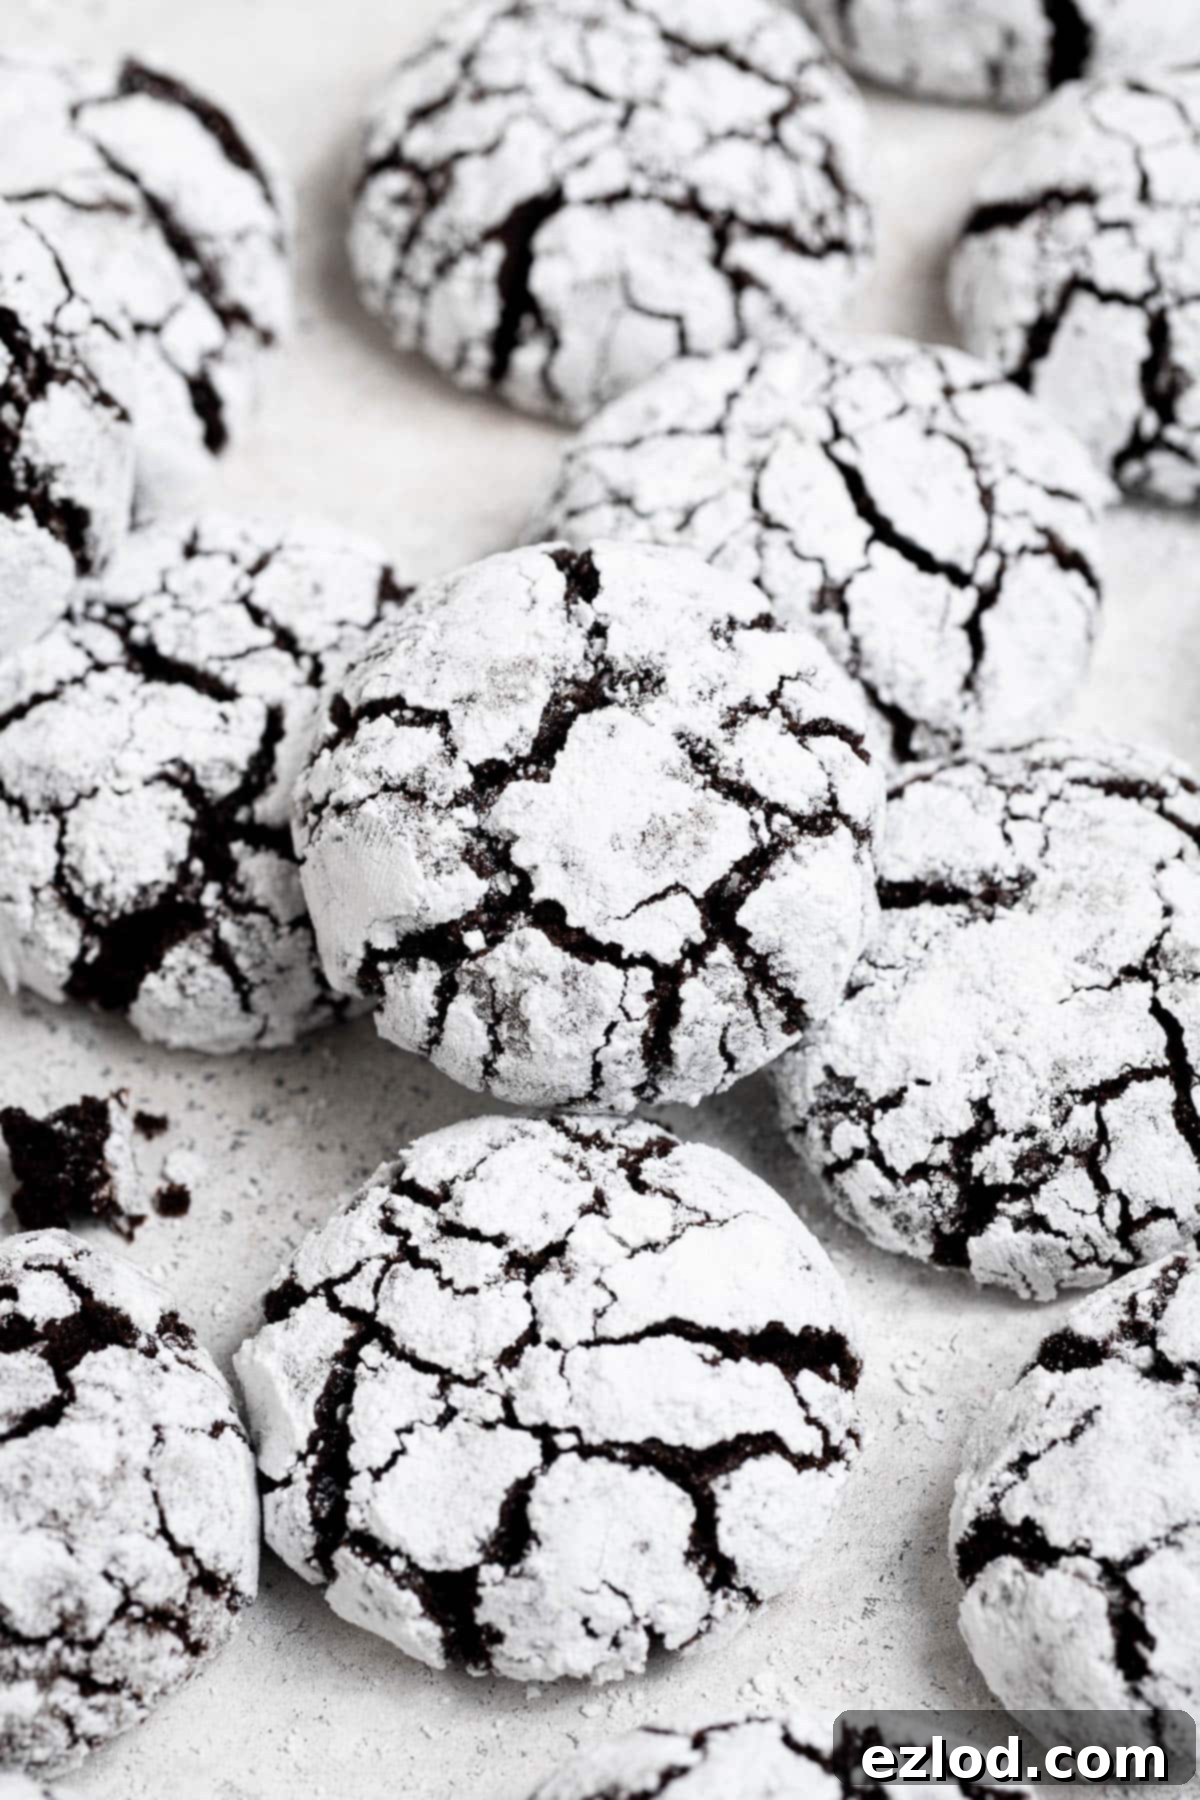
As these delectable cookies bake and gently spread in the oven, the powdered sugar coating elegantly cracks and ripples, creating a beautiful white, “crinkled” crust. This snowy exterior offers a stunning contrast to the rich, dark chocolate cookie beneath, making them not only a delight to eat but also a feast for the eyes. The magic of the crinkle comes from the difference in expansion rates between the cookie dough and its sugar coating. As the cookie puffs up and spreads, the sugar coating can’t keep up and cracks, forming those characteristic ripples.
Crinkle cookies are a staple in American holiday baking, cherished for their festive look and comforting flavor. While chocolate is arguably the most popular, they can be adapted into a wide array of other exciting flavors like lemon, red velvet, or pumpkin, each offering its own delightful twist on the iconic crinkled aesthetic.
Why Choose Vegan Chocolate Crinkle Cookies?
Embracing a vegan approach to these classic chocolate crinkle cookies means creating a treat that’s inclusive, equally delicious, and often surprisingly simpler to prepare. Our recipe expertly replaces traditional ingredients like eggs and dairy with carefully chosen plant-based alternatives, without compromising on the authentic taste or signature texture. You’ll find these vegan chocolate crinkle cookies are just as rich, moist, fudgy, and satisfying as their conventional counterparts, making them perfect for anyone with dietary restrictions or those simply seeking a delicious plant-based dessert option.
Opting for a vegan version means these delightful holiday cookies are accessible to a broader audience, including those with egg or dairy allergies, lactose intolerance, or anyone following a plant-based lifestyle. This recipe proves that you don’t need animal products to achieve that perfect chewy texture and decadent chocolate flavor that defines a truly exceptional crinkle cookie. Moreover, plant-based ingredients can often contribute to a wonderfully moist crumb, sometimes even surpassing traditional recipes in terms of tenderness and chewiness. So, get ready to bake a batch that will impress everyone!
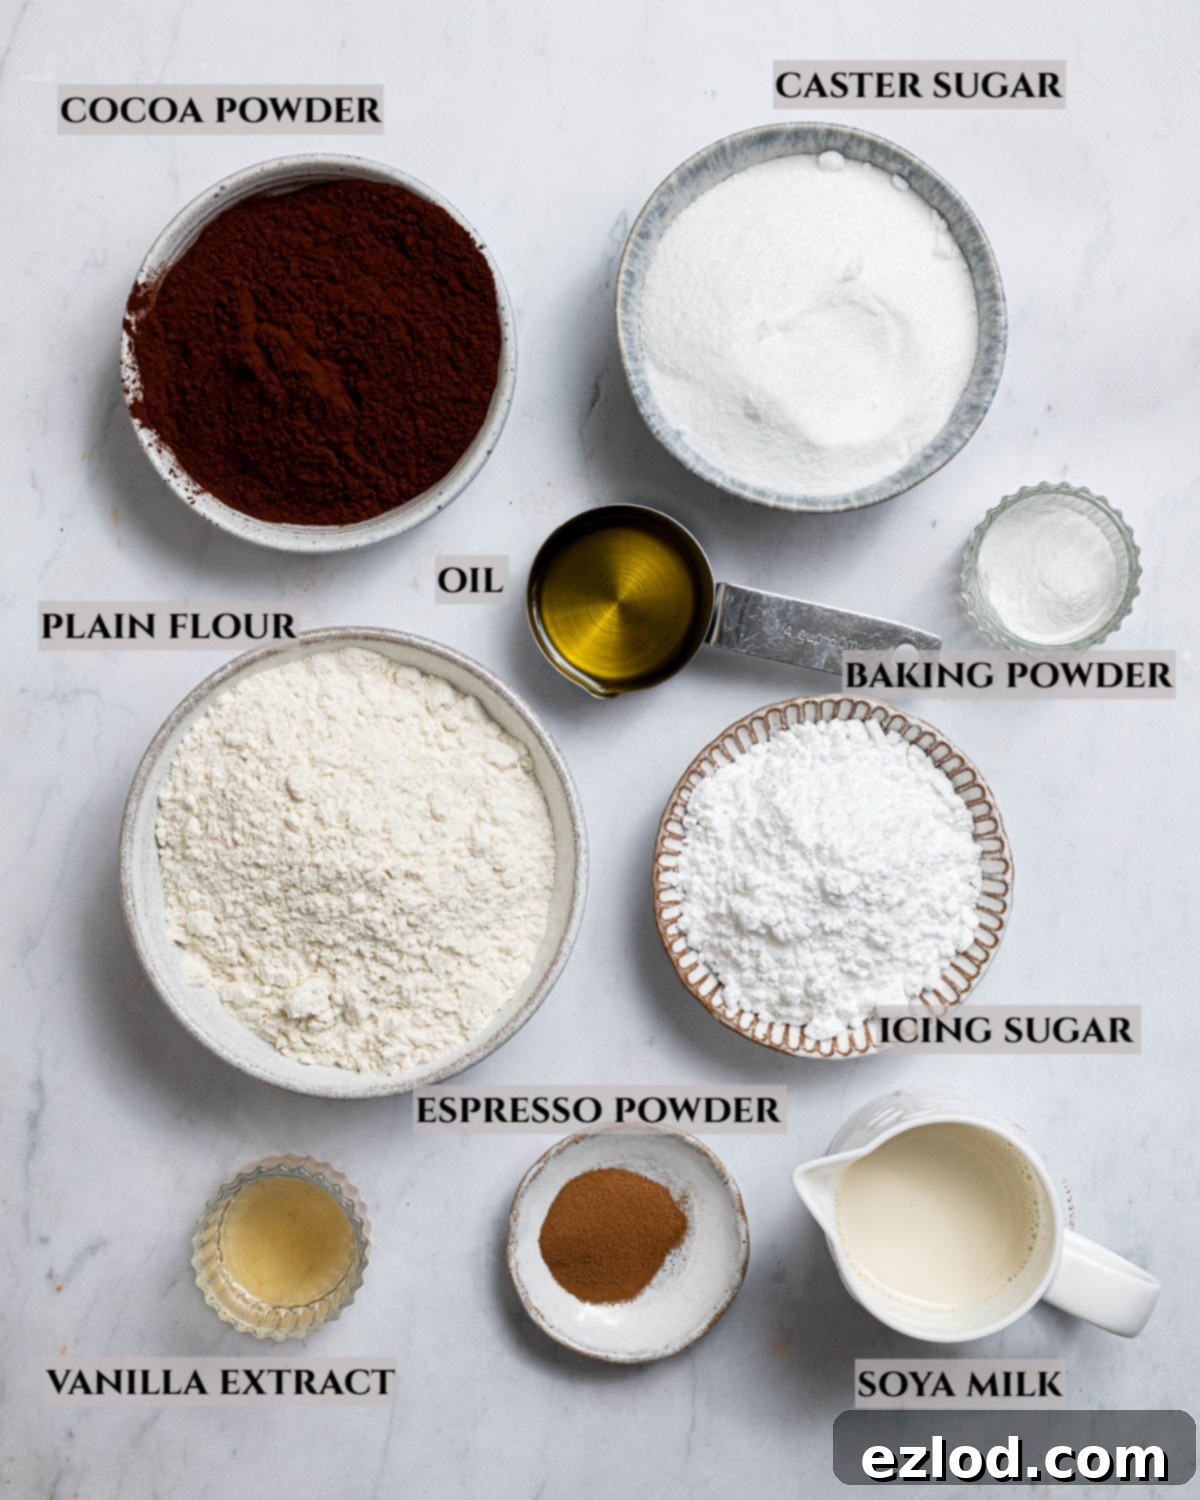
Essential Ingredient Details for Perfect Vegan Crinkle Cookies:
Crafting the perfect vegan chocolate crinkle cookie begins with understanding the role of each ingredient. Here’s a closer look at what you’ll need and why:
- Cocoa Powder: For these cookies, it’s crucial to use Dutch-processed cocoa powder. Unlike natural cocoa or cacao, Dutch-processed cocoa has been alkalized, which reduces its acidity. This results in a darker, more appealing color, a smoother, less bitter chocolate flavor, and reacts differently with leavening agents like baking powder (which is why we don’t use baking soda here). In many regions, particularly the UK, “regular supermarket cocoa” is typically Dutch-processed, but always check the label to ensure you’re using the right kind for optimal flavor and color.
- Plain Flour: Standard plain (all-purpose) flour is the backbone of this recipe, providing the ideal structure and chewiness. It contributes to the soft, brownie-like texture that these cookies are famous for. While I haven’t specifically tested gluten-free alternatives for this recipe, a good quality 1:1 gluten-free baking blend that contains xanthan gum might work as a substitute, though results may vary in terms of texture and spread. For best results with this particular recipe, plain wheat flour is recommended.
- Oil: A key differentiator from many traditional cookie recipes, these vegan chocolate crinkle cookies rely on oil rather than butter. This choice is deliberate, as oil contributes significantly to their incredibly moist and fudgy texture, ensuring they don’t dry out and remain chewy for days. I prefer olive oil for its subtle flavor and healthy profile, but any neutral-flavored oil that remains liquid at room temperature will work beautifully. This includes options like canola oil, sunflower oil, or vegetable oil. Avoid solid fats like coconut oil (unless melted and measured carefully) as its solid form will alter the dough’s consistency and final texture.
- Sugar: You’ll need two types of sugar for this recipe, each serving a distinct purpose. Caster sugar (or fine granulated sugar) is incorporated into the cookie dough itself, providing sweetness and contributing to the cookie’s tender crumb. Its fine crystals dissolve easily, creating a smooth dough. Icing sugar (also known as powdered sugar or confectioners’ sugar) is essential for coating the cookies. This superfine sugar, with its delicate texture, creates the iconic white crinkled crust that defines these cookies, melting slightly to form a beautiful crackled surface during baking.
- Non-Dairy Milk: This plant-based milk steps in to provide the necessary moisture and binding that eggs typically offer in conventional recipes. I highly recommend unsweetened soya milk due to its higher protein content, which can help with structure and tenderness, mimicking some of the functions of egg protein. However, other unsweetened non-dairy milks like almond milk or oat milk should also perform well. Avoid canned coconut milk, as its richness and high fat content can significantly alter the recipe’s balance and the cookie’s final texture.
- Baking Powder: This chemical leavening agent is vital for giving the cookies their slight rise and, more importantly, facilitating the expansion that creates the beautiful crackle crust. It reacts with the acidic components in the dough (even though Dutch cocoa is less acidic, other ingredients contribute), producing carbon dioxide bubbles that cause the cookies to puff and then crack as they spread in the heat of the oven. Ensure your baking powder is fresh for optimal leavening.
- Instant Espresso Powder: This ingredient is optional but highly recommended for any serious chocolate lover. Don’t worry, it won’t make your cookies taste like coffee! Instead, a touch of instant espresso powder wonderfully intensifies and deepens the chocolate flavor, making it taste richer and more pronounced, without adding a coffee taste. Since these cookies are delightfully sweet, a hint of bitterness from the espresso helps to balance the overall profile, creating a more complex and satisfying chocolate experience.
- Salt: A pinch of salt is crucial in any sweet recipe. It doesn’t just add saltiness; it balances the sweetness, enhances the chocolate flavor, and brings all the ingredients into harmony, preventing the cookies from tasting flat or one-dimensional.
How To Make Vegan Chocolate Crinkle Cookies: A Step-by-Step Guide
(Full measurements and detailed instructions can be found in the comprehensive recipe card at the bottom of this page)
Creating these magical vegan chocolate crinkle cookies is a straightforward process, making them accessible even for novice bakers. Follow these visual steps to achieve perfect, fudgy, and beautifully crinkled treats that will impress everyone:
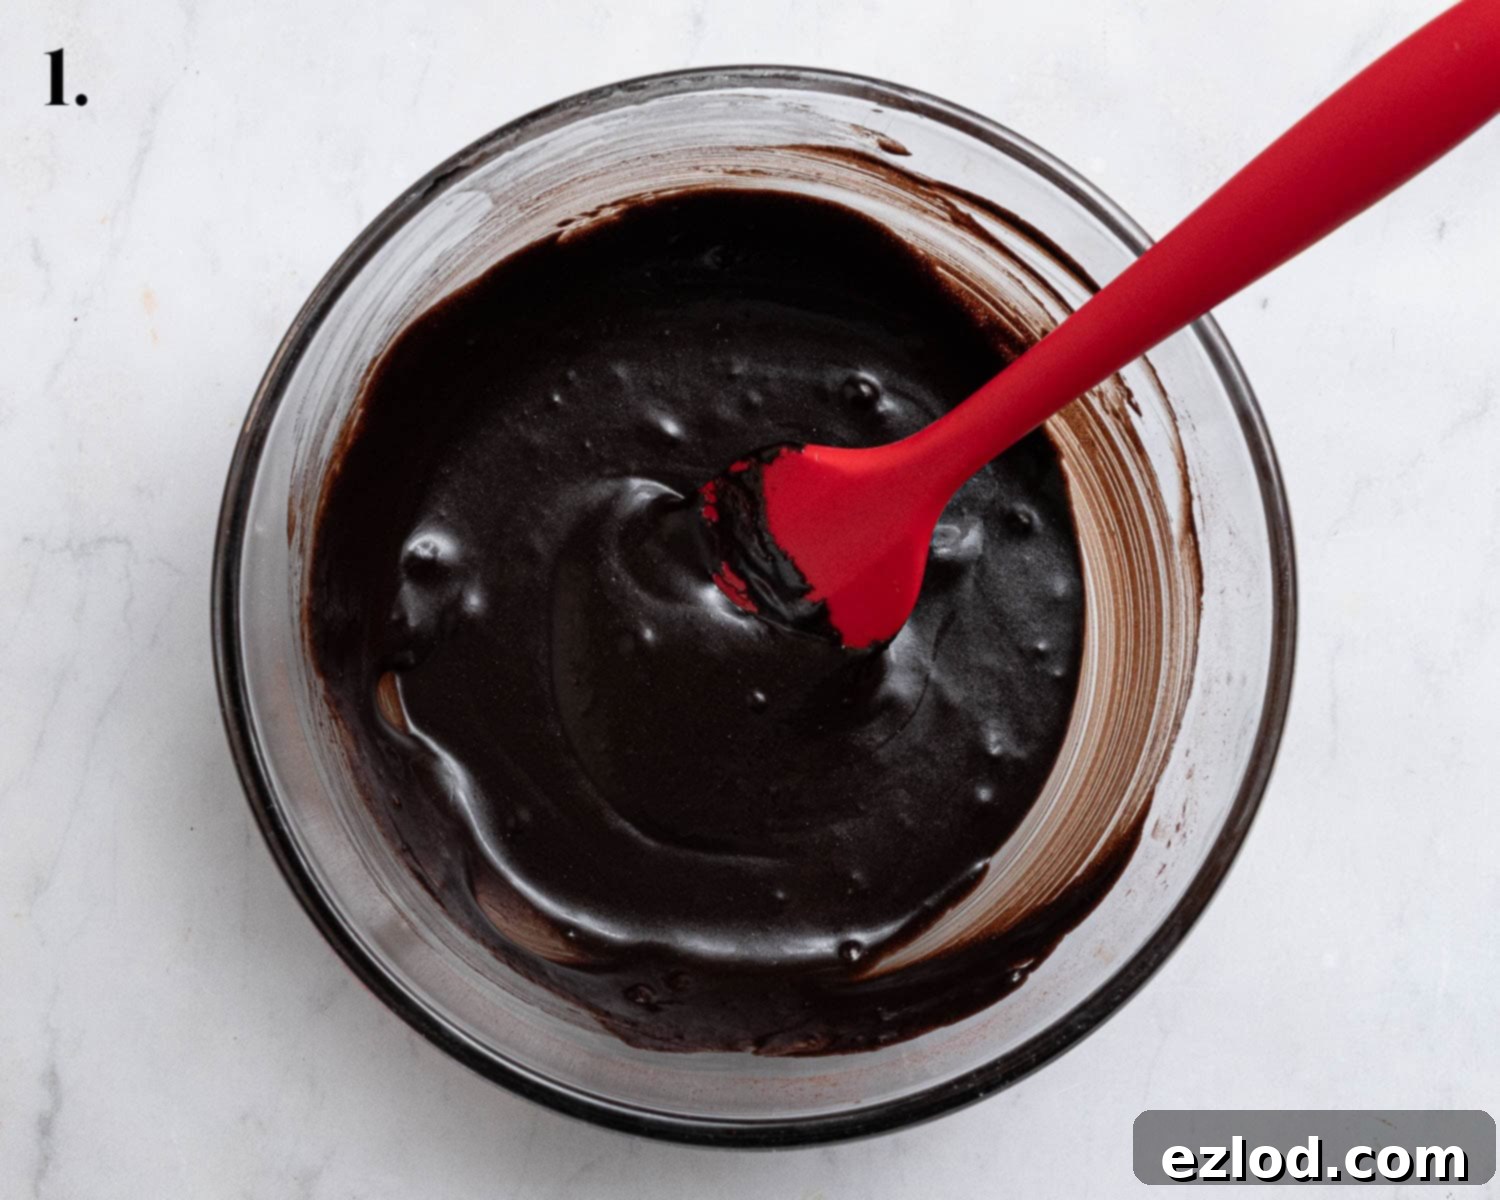
- Step 1: Combine Wet Ingredients. In a large mixing bowl, whisk together the cocoa powder, caster sugar, neutral oil, unsweetened non-dairy milk, and vanilla extract. Continue whisking until the mixture is completely smooth, luscious, and free of any lumps. This forms the rich, liquid base of your cookie dough, setting the stage for deep chocolate flavor.
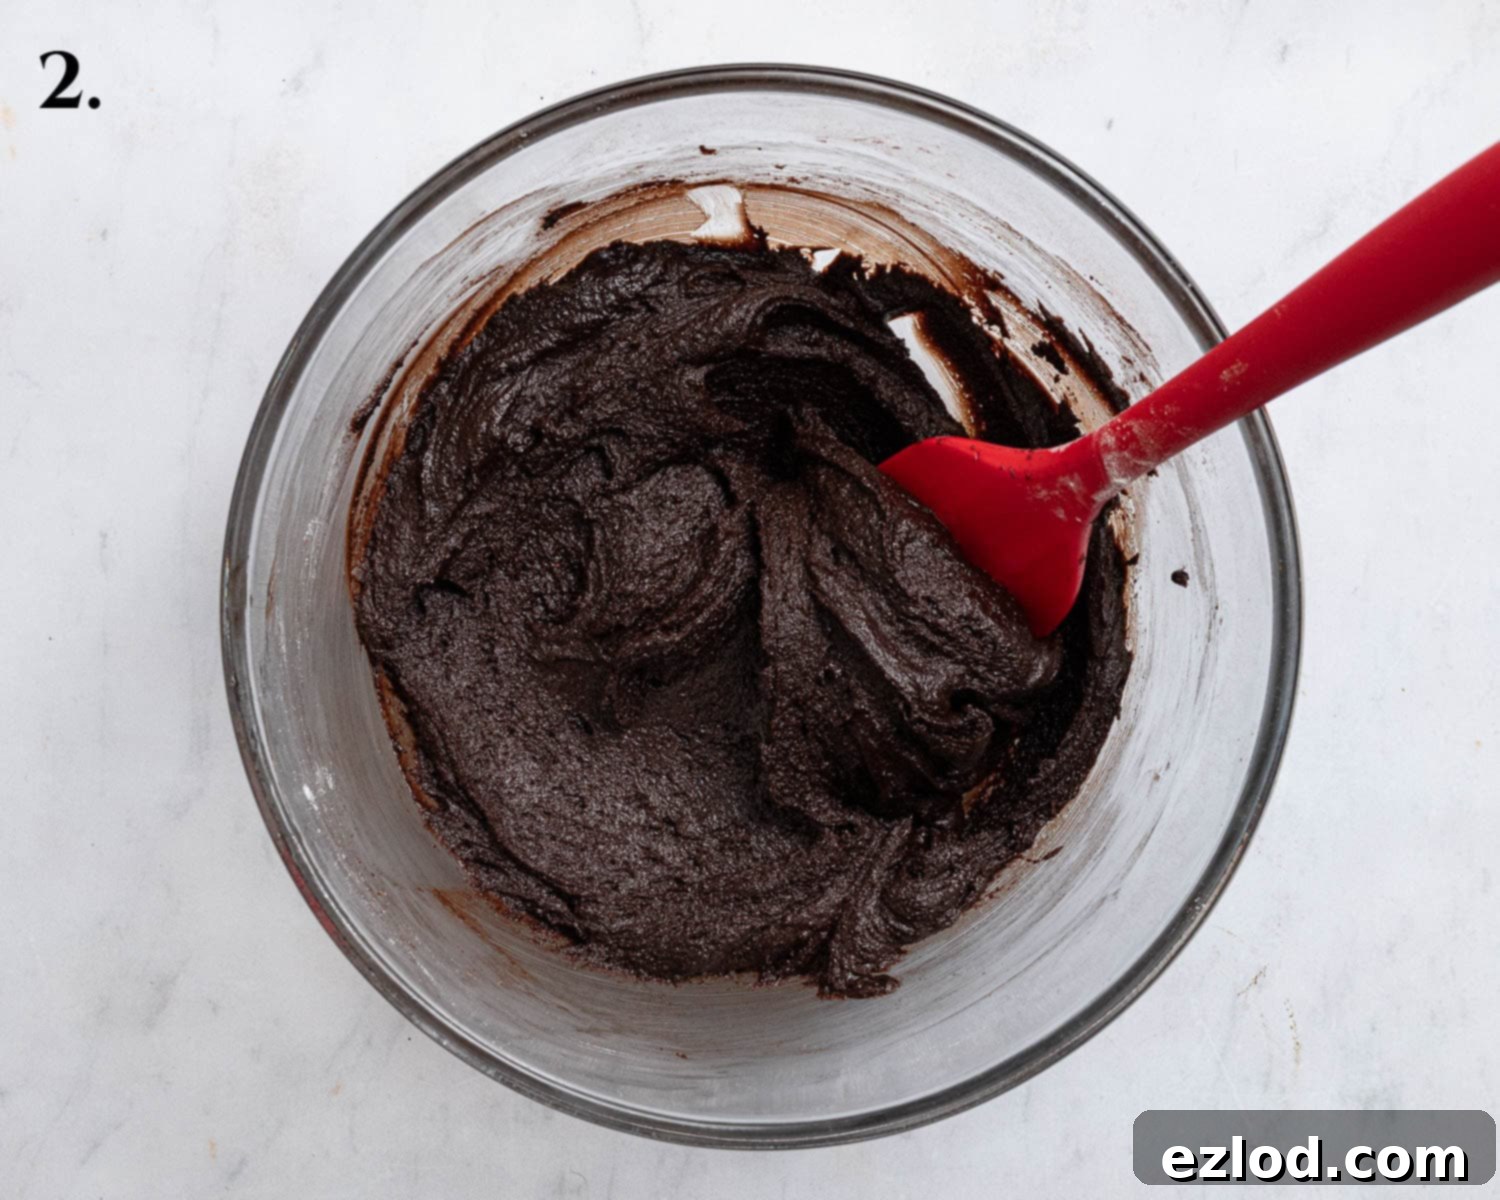
- Step 2: Add Dry Ingredients and Chill. Gradually mix in the baking powder, salt, and the optional instant espresso powder, ensuring they are well dispersed. Next, gently fold in the plain flour until just combined and no dry streaks of flour remain. Be careful not to overmix, as this can lead to tougher cookies. The dough will be thick, quite sticky, and beautifully resemble a rich brownie batter. Cover the bowl tightly with cling film and chill the dough in the refrigerator for at least 1 hour, or preferably 4 hours, to allow it to firm up significantly for easier handling and prevent excessive spreading during baking.
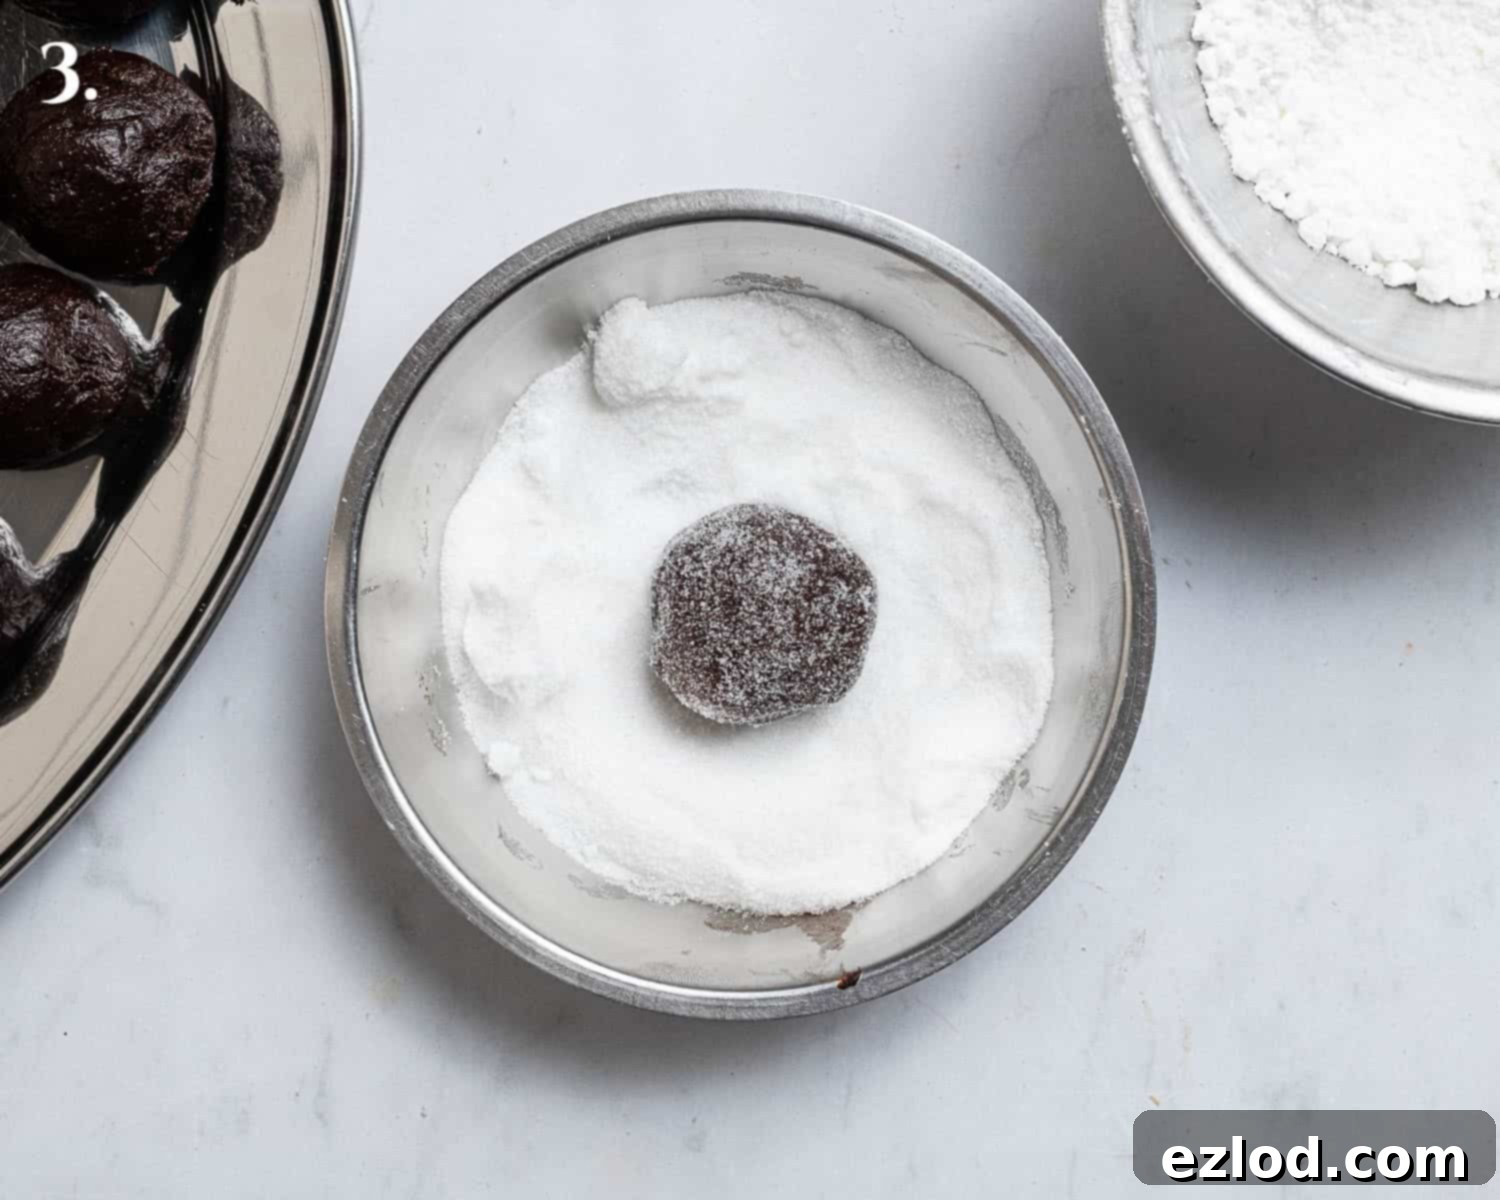
- Step 3: First Sugar Coat. Once the dough is adequately chilled and firm, divide it into 16 equal portions. Each portion should be about a heaped tablespoon in size. Roll each piece of dough into a smooth, even ball with your hands. Then, gently roll each dough ball in a shallow bowl of caster or granulated sugar, ensuring it gets a light, even coating all around. This initial layer of sugar acts as a protective barrier, helping the icing sugar adhere better and preventing it from being absorbed prematurely into the dark dough.
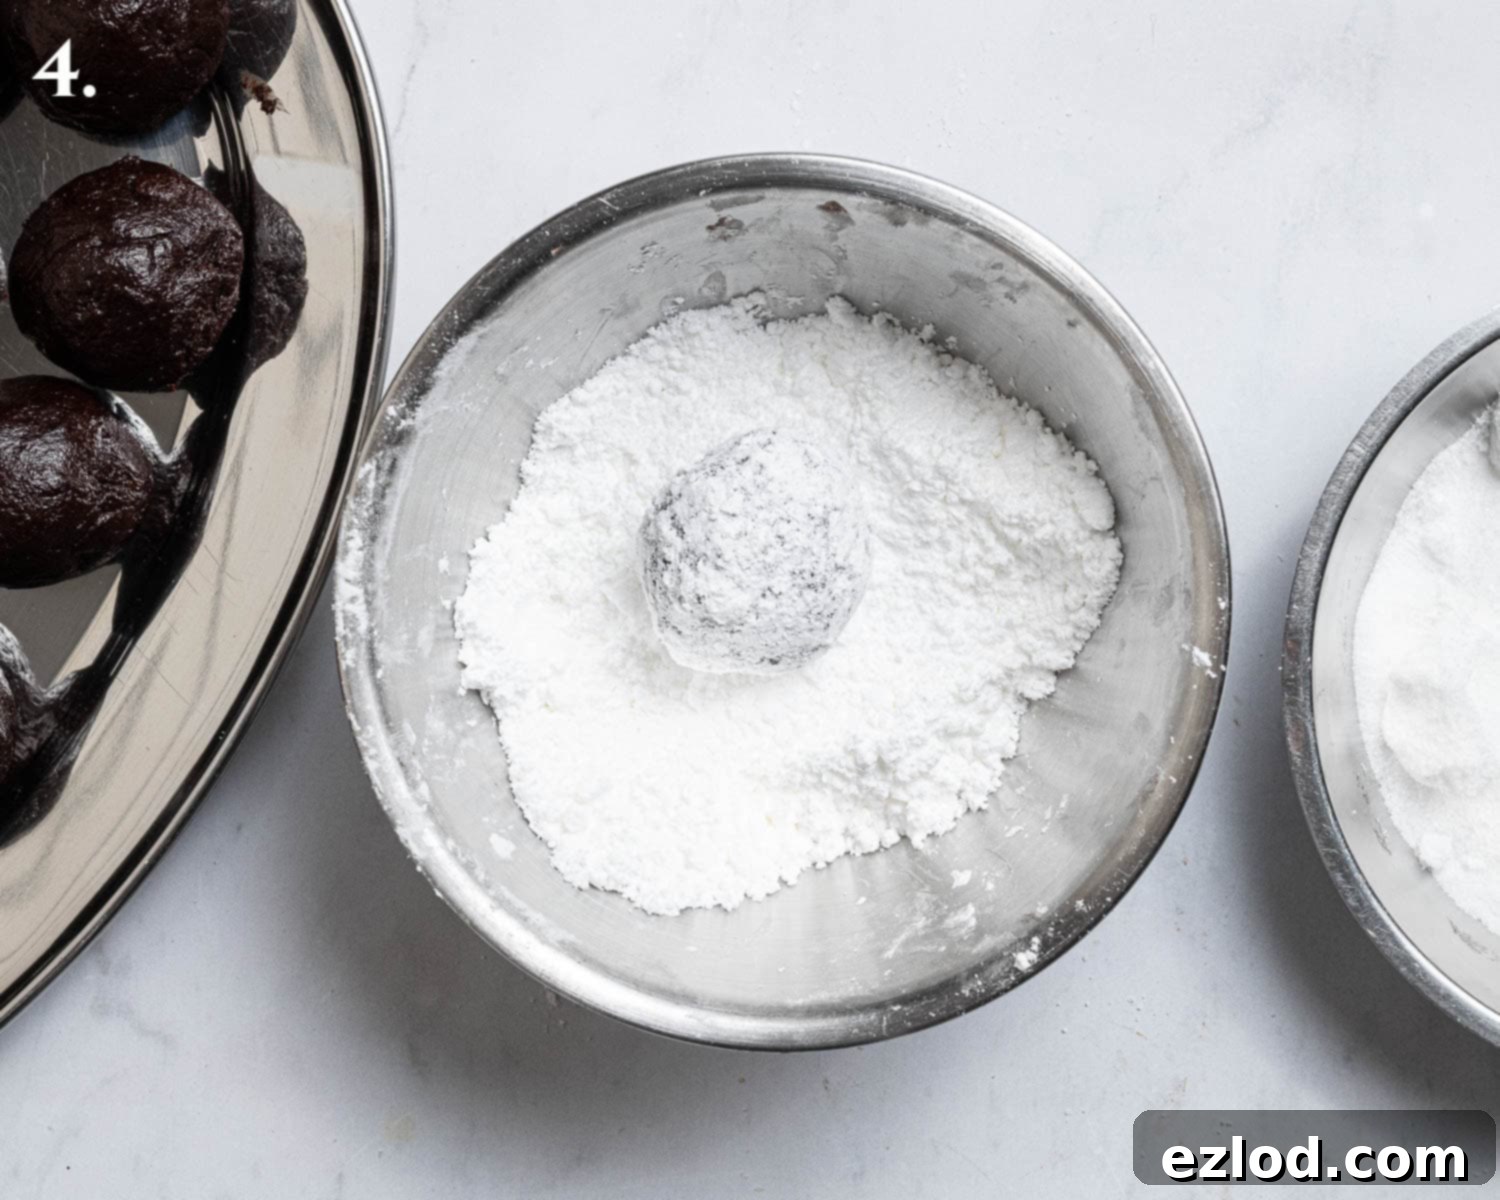
- Step 4: Second Sugar Coat. After the initial roll in caster sugar, immediately transfer the dough balls to a separate bowl containing icing (powdered) sugar. Roll them generously and thoroughly in this sugar, making sure they are completely covered in a thick, opaque layer. This thick coating is absolutely crucial for developing the dramatic, snowy crinkled effect during baking, so don’t be shy with the icing sugar!
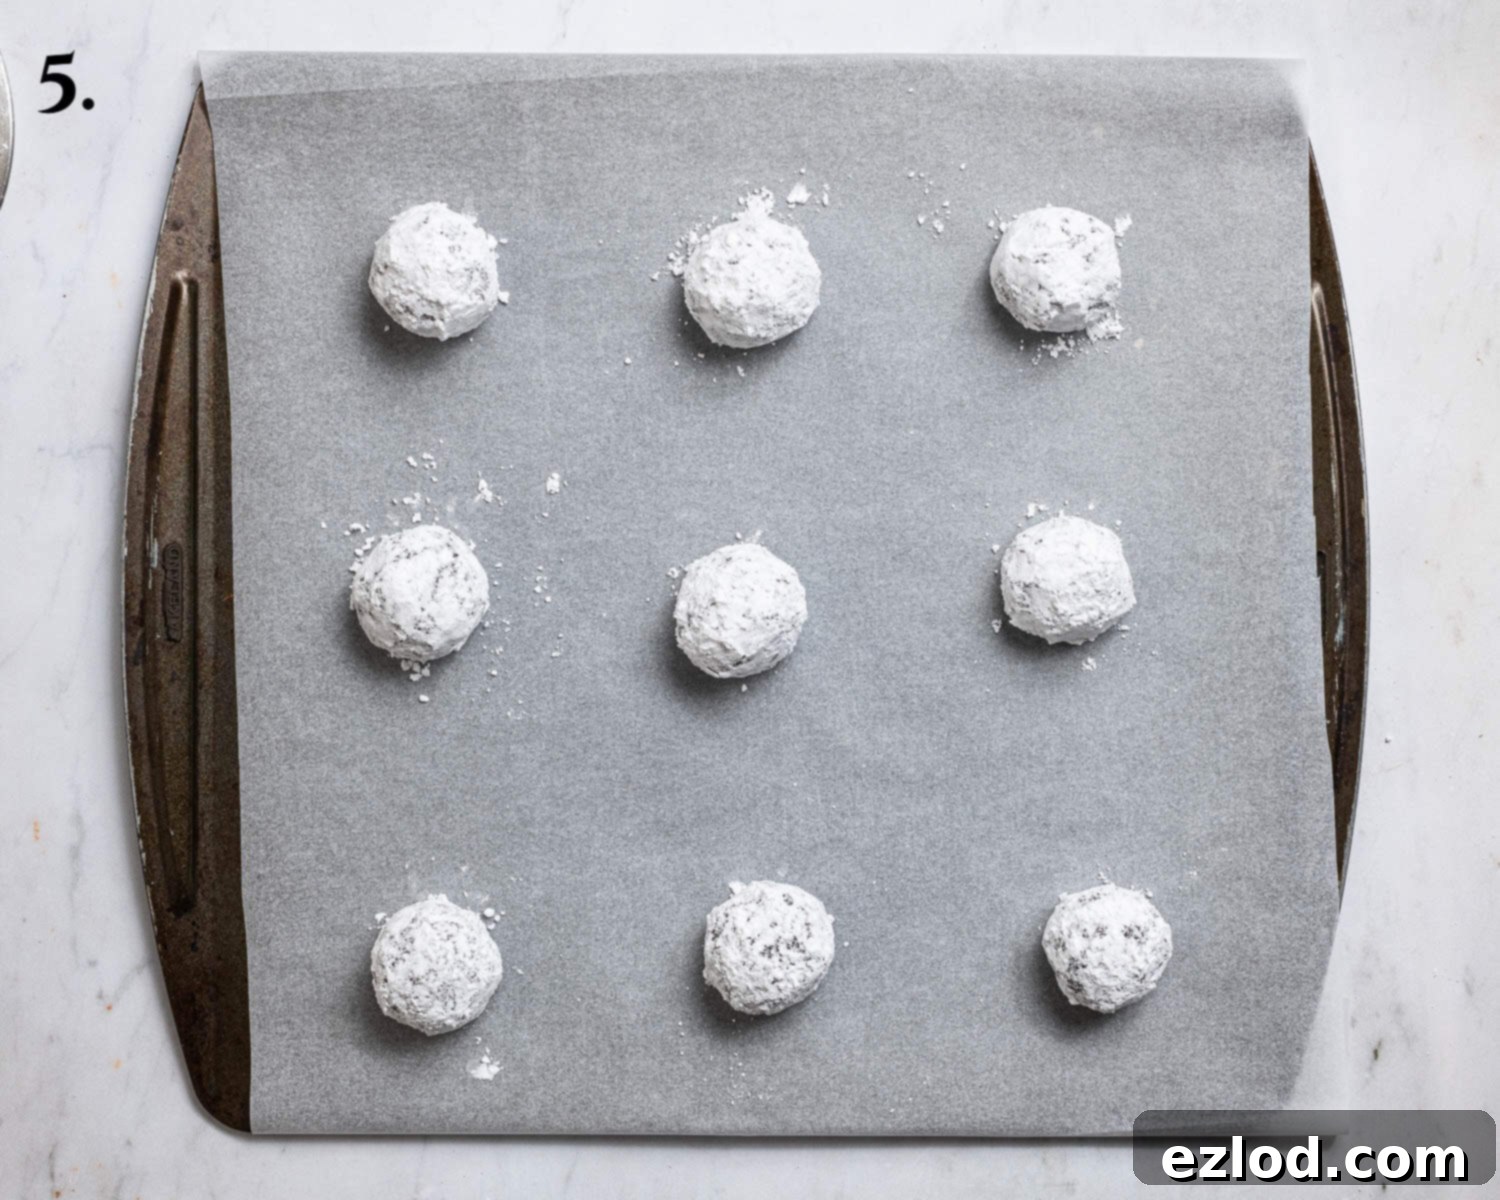
- Step 5: Arrange and Bake. Place the generously coated dough balls spaced well apart (at least 2 inches) on two prepared baking sheets lined with baking parchment. Ensuring adequate space between them is important as they will spread during baking. Preheat your oven to the specified temperature (190℃/170℃ fan/375℉/gas mark 5).
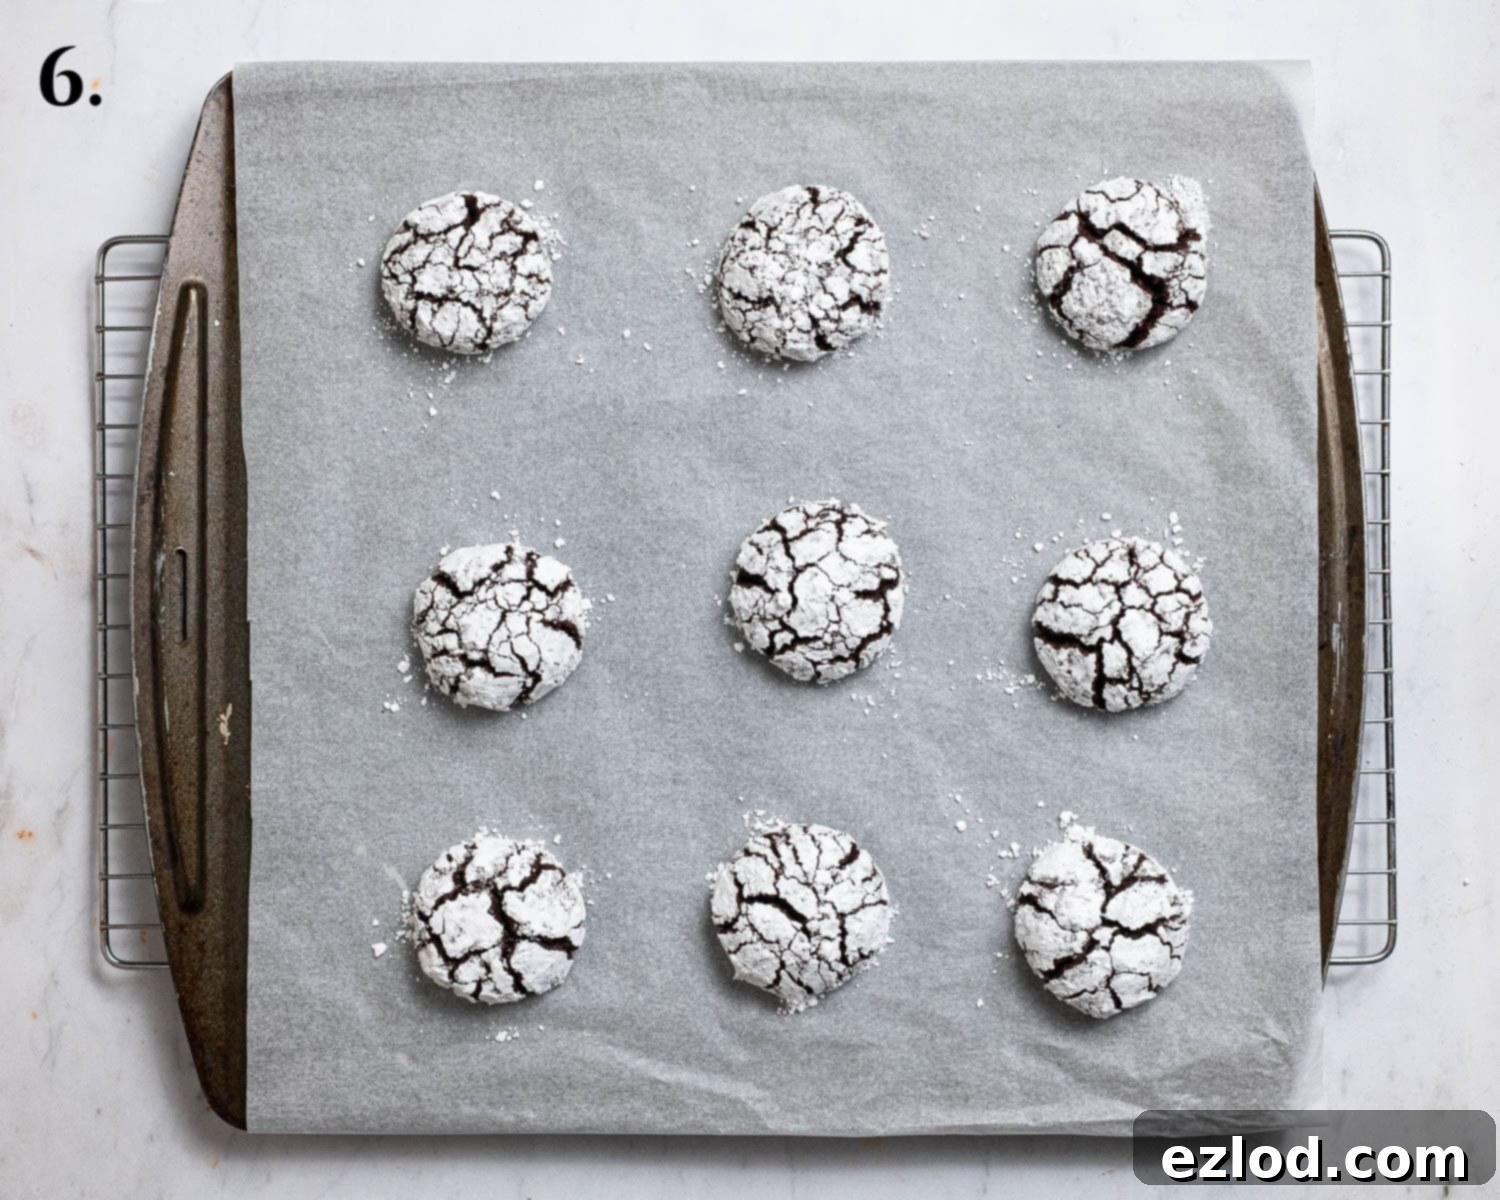
- Step 6: Bake to Perfection. Bake the cookies for 12-15 minutes. They are ready when the edges appear set and firm, but the centers still look slightly soft, puffed, and gooey. This ensures a wonderfully fudgy interior. Remember that cookies continue to cook slightly from residual heat once removed from the oven.
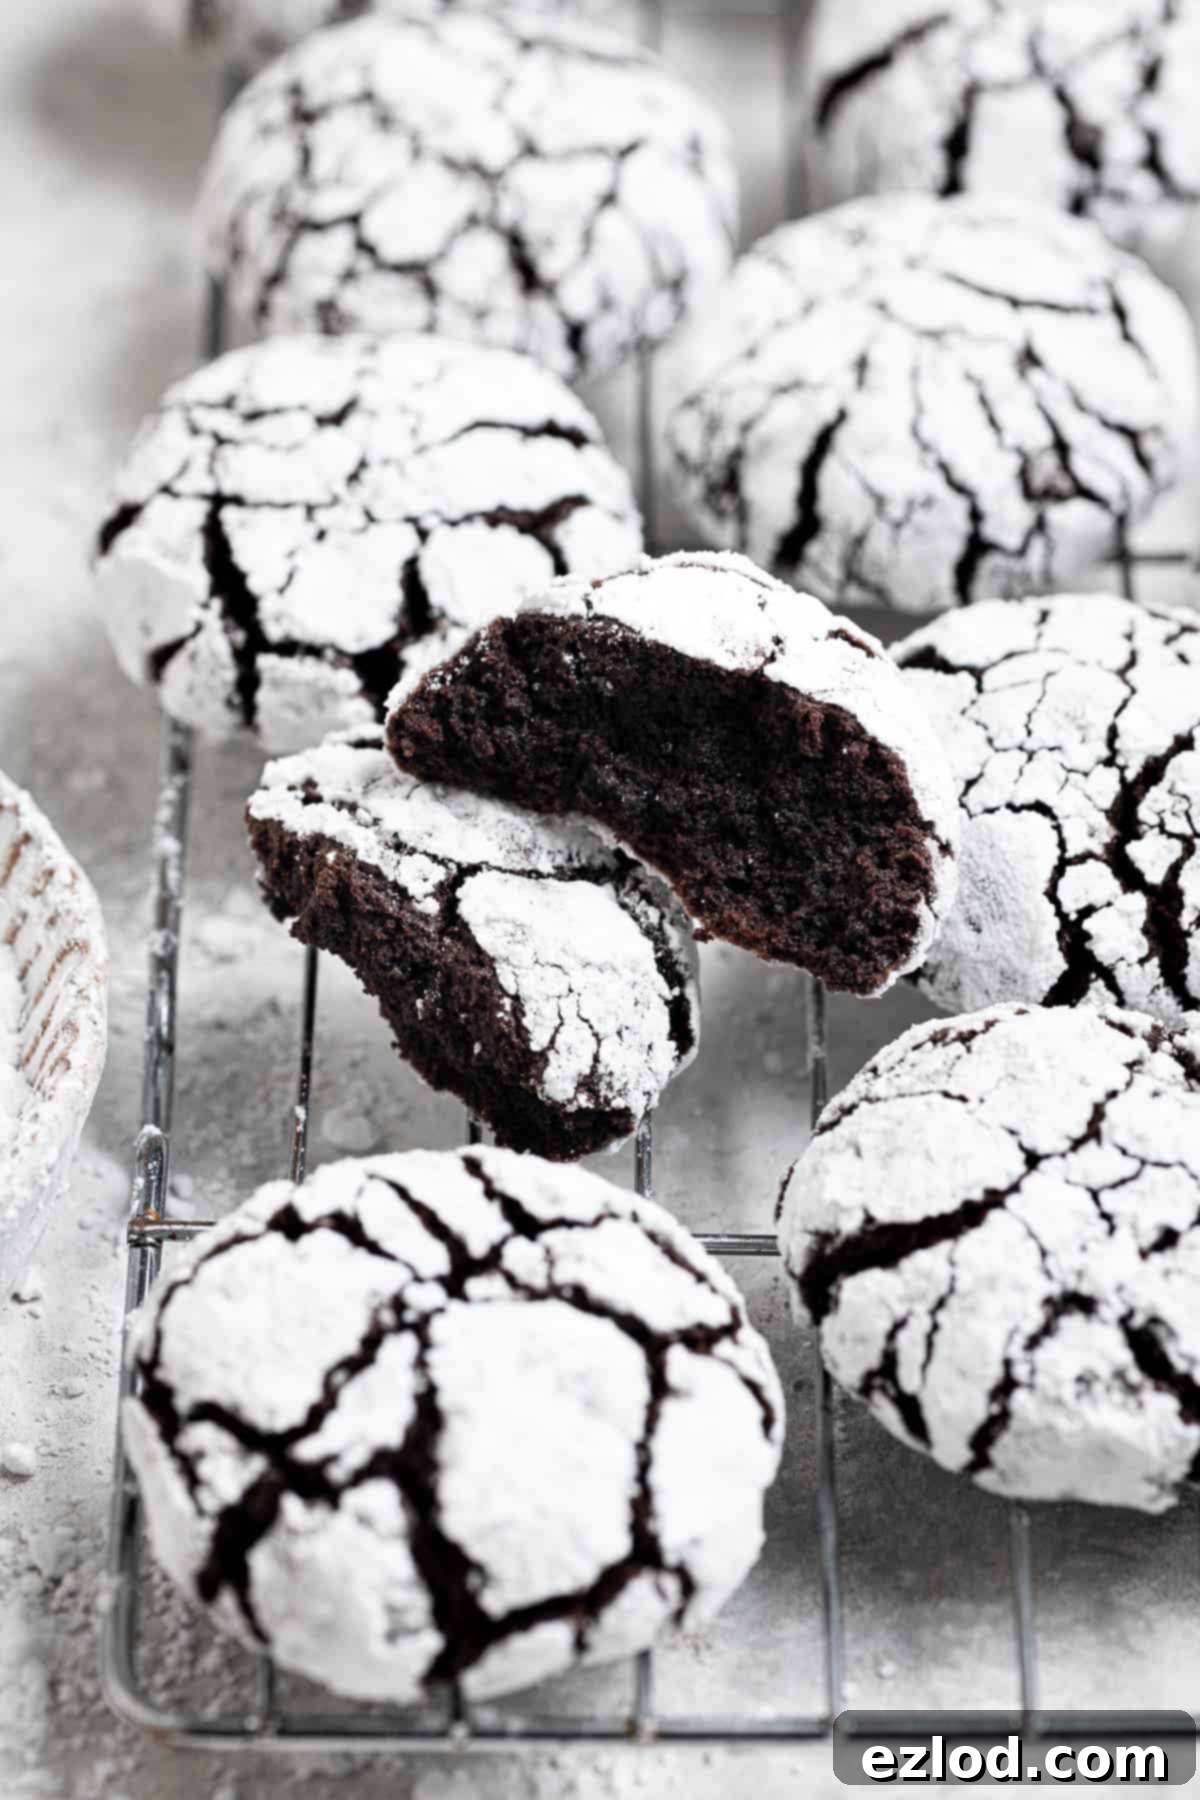
Top Tips for the Best Vegan Chocolate Crinkle Cookies:
Achieving bakery-quality vegan chocolate crinkle cookies is easy with these expert tips and tricks:
- Embrace Metric Measurements: As with all my baking recipes, I wholeheartedly recommend using metric measurements with a digital scale rather than cup conversions. Volume-based measurements (cups) can be incredibly inaccurate and lead to inconsistent results due to varying density of ingredients and how they are packed. A digital scale ensures precision, delivering far better and more consistent cookie texture every single time, and often makes for a cleaner, less messy baking process too!
- Don’t Skip the Chill Time: This step is non-negotiable and one of the most important for successful crinkle cookies. The dough is intentionally quite soft and sticky before chilling. Without adequate chilling (at least 1 hour, preferably 4), you will struggle immensely to roll it into neat balls, and the cookies are more likely to spread excessively in the oven, losing their ideal shape and distinct crinkle pattern. Chilling also allows the flavors to meld and the ingredients to fully hydrate, contributing to a better final texture and deeper flavor.
- The Double Sugar Coating Method: Rolling the cookies first in caster or granulated sugar, and then in icing/powdered sugar, is a clever trick to achieve a superior crinkle crust. The initial layer of granulated sugar creates a barrier that helps the outer layer of powdered sugar adhere better and prevents it from being absorbed into the dough or becoming discolored and transparent during baking. While you can skip this and just roll in icing sugar, the double coat truly elevates the appearance and ensures that beautiful snowy contrast.
- Timing is Key for Coating: Only coat the cookie dough balls in the sugars immediately before you are ready to place them on the baking sheet and put them in the oven. If you coat them too early and let them sit, the moisture from the dough will begin to absorb the sugar, leading to a diminished crinkle effect and a less vibrant white crust. Work in batches if necessary to maintain optimal coating.
- Generous Icing Sugar Layer: For that truly satisfying, pronounced crinkle crust, ensure your dough balls are fully and generously coated in a thick, opaque layer of icing sugar. If the coating is too thin, the beautiful cracks won’t form as dramatically, and the contrast between the dark cookie and white crust will be less striking. Don’t be shy with the sugar – it’s what gives these cookies their signature look!
- Avoid Overmixing the Dough: Once you add the flour, mix only until just combined. Overmixing can develop the gluten in the flour too much, leading to tougher, less tender cookies with a cakey rather than fudgy texture. A light hand and stopping as soon as no dry streaks remain will ensure a soft, fudgy interior.
- Don’t Overbake: For that perfect fudgy center, it’s crucial not to overbake these cookies. They should be firm around the edges but still appear slightly soft, puffed, and “wet” in the very center when you pull them out of the oven. They will continue to set as they cool on the baking sheet. Overbaking is the quickest way to end up with dry, crumbly cookies instead of delightfully chewy ones.
- Cooling is Crucial: Allow the cookies to cool on the baking sheets for at least 5-10 minutes before attempting to transfer them to a wire rack. They are delicate when warm and need time to set and firm up to prevent breaking.
Serving, Storage, and Freezing Vegan Crinkle Cookies:
Once fully cooled, store your baked vegan chocolate crinkle cookies in an airtight container at room temperature. They will maintain their delicious freshness and fudgy texture for approximately 4-5 days. To keep them at their best, especially if stacking multiple layers, you might want to place a piece of parchment paper between each layer to prevent sticking and preserve their delicate coating.
Absolutely! These cookies are great for making ahead and freezing, either before or after baking, which makes them perfect for holiday meal prep:
To freeze before baking: Prepare the cookie dough as instructed and roll into balls. Freeze these unbaked dough balls without the sugar coating on a sheet pan until they are completely solid (this prevents them from sticking together). Once frozen solid, transfer them to a freezer-safe bag or an airtight container, separating layers with parchment paper. They can be frozen for up to 3 months. When ready to bake, let the frozen dough balls thaw for a few minutes at room temperature while your oven preheats. Then, roll them generously in both caster and icing sugar (as per the recipe) and bake. You may need to add an extra minute or two to the suggested baking time, depending on how cold they are.
To freeze the baked cookies: Once the cookies have cooled completely, arrange them in layers in a freezer-proof container, placing parchment paper between each layer to prevent sticking and protect the sugar crust. Baked cookies can be frozen for up to 3 months. To enjoy, simply thaw the frozen cookies at room temperature until soft – they’ll taste as good as freshly baked!
Yes, the cookie dough itself can be prepared in advance. It will keep well covered in the fridge for up to 2 days. This is a great way to break up your baking tasks. However, it’s crucial not to shape and coat the cookies in the sugars until you are just about ready to bake them. Coating too early will lead to the sugar being absorbed by the dough, which will prevent the crinkle effect from forming properly and result in a less attractive finish.
These delicious cookies are wonderful on their own, but truly shine when paired with a glass of cold non-dairy milk, a warm cup of coffee, or a steaming mug of hot chocolate – especially around the holidays. Their striking appearance makes them an excellent addition to any holiday cookie platter, are perfect for gifting in pretty boxes, or simply enjoyed as a comforting dessert after a meal. You can also crumble them over vegan ice cream for an extra treat!
Variations & Customization:
While classic chocolate crinkle cookies are undeniably delicious, don’t hesitate to get creative and experiment with different flavor profiles to suit your taste or the occasion. Here are a few ideas to customize your vegan chocolate crinkle cookies:
- Mint Chocolate Crinkles: For a refreshing and festive twist, add a teaspoon of peppermint extract along with the vanilla extract to the dough. The cool mint pairs beautifully with the rich chocolate, making them perfect for the holiday season.
- Orange Chocolate Crinkles: Introduce a teaspoon of orange extract or a tablespoon of finely grated orange zest to the dough for a bright, citrusy note that beautifully complements the rich chocolate flavor. The combination is wonderfully aromatic and zesty.
- Nutty Crinkles: For added texture and a delightful crunch, try folding in about ⅓ cup of finely chopped pecans, walnuts, or almonds into the dough before chilling. Toasting the nuts lightly beforehand can enhance their flavor even more.
- Double Chocolate Delight: If you’re a true chocolate lover who can’t get enough, consider adding about ⅓ cup of mini vegan chocolate chips or chunks to the dough along with the flour. This creates an extra burst of gooey chocolatey goodness in every bite.
- Spice it Up: A pinch of ground cinnamon, a tiny dash of cayenne pepper, or a touch of chili powder can add a subtle warmth and complex depth to the chocolate flavor, offering a sophisticated twist. Start with a small amount and adjust to your preference.
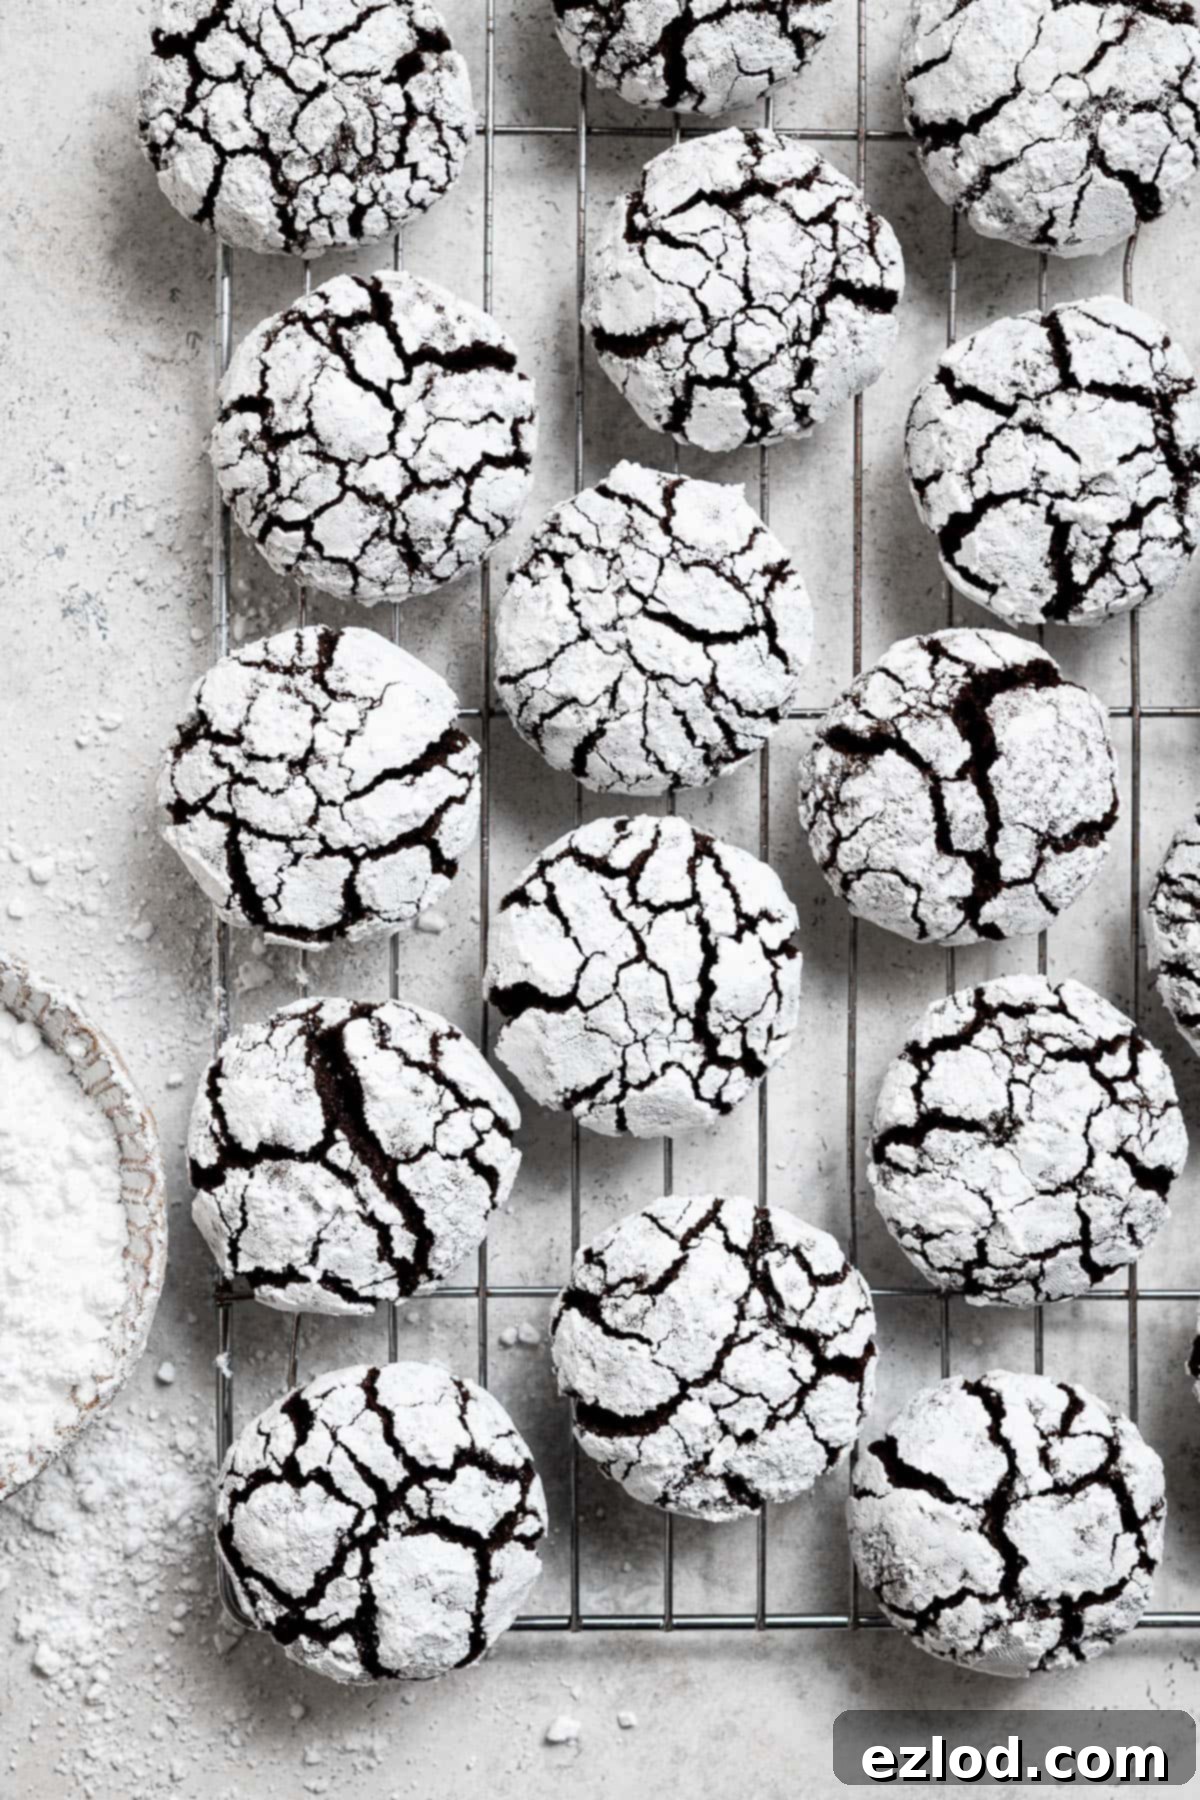
Troubleshooting Common Vegan Chocolate Crinkle Cookie Issues:
Even seasoned bakers sometimes encounter minor challenges. Don’t worry if your first batch isn’t absolutely perfect! Here are solutions to common issues you might face when making these vegan chocolate crinkle cookies:
- Cookies Spreading Too Much: If your cookies are spreading more than desired, becoming thin or losing their shape, it’s usually due to dough that’s too warm or has too much moisture. Ensure your dough is thoroughly chilled for at least 4 hours (or even longer if your kitchen is particularly warm). Double-check your flour measurement – too little flour can make the dough too wet and prone to spreading. Also, verify your oven temperature with an oven thermometer; an oven that’s too cool will cause excessive spreading before the cookies set.
- Not Crinkling Enough: The most common reason for a lack of crinkle is an insufficient coating of icing sugar, or the sugar being absorbed by the dough. Make sure to roll the dough balls very generously in both sugars, ensuring a thick, opaque layer of icing sugar. Only coat them right before baking. Additionally, check the expiry date of your baking powder; an old or inactive leavening agent won’t provide the necessary rise for the cracks to form.
- Cookies Are Too Dry/Cakey: This is almost always a sign of overbaking. Keep a close eye on your cookies during the last few minutes of baking; they should be firm at the edges but still appear slightly soft and “wet” in the very center when removed from the oven. Baking them for the minimum suggested time first and then checking is a good practice. An inaccurate oven temperature (too high) can also contribute to dryness by cooking them too quickly.
- Sugar Disappears or Looks Transparent: This happens when the icing sugar is absorbed into the dough. The double-coating method (caster sugar first, then icing sugar) helps create a barrier to prevent this. Also, ensure you coat the cookies immediately before baking and use a generous, thick layer of icing sugar. If your dough is too warm, it might also absorb the sugar more quickly.
- Dough is Too Sticky to Roll: This is almost always due to insufficient chilling time. Pop the dough back into the fridge for another hour or two. A well-chilled dough will be significantly firmer, much easier to handle, and will roll into perfect balls without sticking to your hands. Don’t be tempted to add more flour to the dough as this will alter the final texture.
More Vegan Christmas Cookies to Explore:
If you loved these festive chocolate crinkle cookies and are looking for more plant-based delights to fill your holiday cookie tins, be sure to check out some of my other delightful vegan holiday cookie recipes:
- Vegan Lebkuchen
- Vegan Vanillekipferl (Vanilla Crescent Cookies)
- Vegan Linzer Cookies
- Vegan Pecan Snowball Cookies
- Vegan Gingerbread Cookies
Stay in touch with me through social media @ Instagram, Pinterest and Facebook, and subscribe via email to get all our latest recipes!
All images and content on Domestic Gothess are copyright protected. If you want to share this recipe then please do so by using the share buttons provided. Do not screenshot or post the recipe or content in full, instead include a link to this post for the recipe.

Vegan Chocolate Crinkle Cookies
Ingredients
Cookie Dough:
- 65 g (¾ cup) cocoa powder
- 150 g (¾ cup) caster or granulated sugar
- 55 g (¼ cup) neutral oil (I use olive)
- 80 g (⅓ cup) unsweetened non-dairy milk (I use soy)
- 1 teaspoon vanilla extract
- 1 teaspoon baking powder
- 1 teaspoon instant espresso powder optional
- ¼ teaspoon salt
- 140 g (1 cup + 2 ½ Tablespoons) plain (all-purpose) flour
For Coating:
- 50 g (¼ cup) caster or granulated sugar
- 50 g (½ cup) icing (powdered) sugar
Instructions
-
Whisk together the cocoa powder, caster or granulated sugar, oil, milk and vanilla extract in a mixing bowl until smooth.65 g (¾ cup) cocoa powder, 150 g (¾ cup) caster or granulated sugar, 55 g (¼ cup) neutral oil (I use olive), 80 g (⅓ cup) unsweetened non-dairy milk (I use soy), 1 teaspoon vanilla extract
-
Mix in the baking powder, salt and espresso powder, followed by the flour. Stir until no dry lumps remain, the dough should resemble a thick brownie batter.1 teaspoon baking powder, 1 teaspoon instant espresso powder, ¼ teaspoon salt, 140 g (1 cup + 2 ½ Tablespoons) plain (all-purpose) flour
-
Cover the bowl and chill the dough in the fridge for at least 1 hour, preferably 4.
-
Preheat the oven to 190℃/170℃ fan/375℉/gas mark 5. Line two baking sheets with baking parchment. Place the caster/graulated sugar in one small bowl, and the icing/powdered sugar in another.50 g (¼ cup) caster or granulated sugar, 50 g (½ cup) icing (powdered) sugar
-
Divide the chilled dough into 16 portions, about a heaped Tablespoon each, and roll them into balls.
-
Roll the balls first in the caster/granulated sugar, giving them a light coating, and then in the icing/powdered sugar, making sure that they have a thick, even coating.
-
Place the cookies spaced apart on the lined baking sheets and bake for 12-15 minutes until firm around the edges but still slightly wet looking in the centre.
-
If you prefer flatter cookies, bash the baking sheets on the counter as you take them out of the oven, this will deflate the cookies slightly.
-
Allow the cookies to cool on the baking sheets for 5-10 minutes, then gently transfer them to a wire rack to cool completely.
Notes
- See post above for tips, details, make ahead and freezing instructions and step-by-step photos.
- As with all of my baking recipes I really do recommend using the metric measurements with a digital scale rather than the cup conversions. Cups are a wildly inaccurate measuring system and you will get far better, more consistent results using a scale, not to mention that it is also easier and less messy than cups!
If you tried this recipe let me know how it went! Rate it, leave a comment or tag @domestic_gothess on Instagram and hashtag it #domesticgothess
