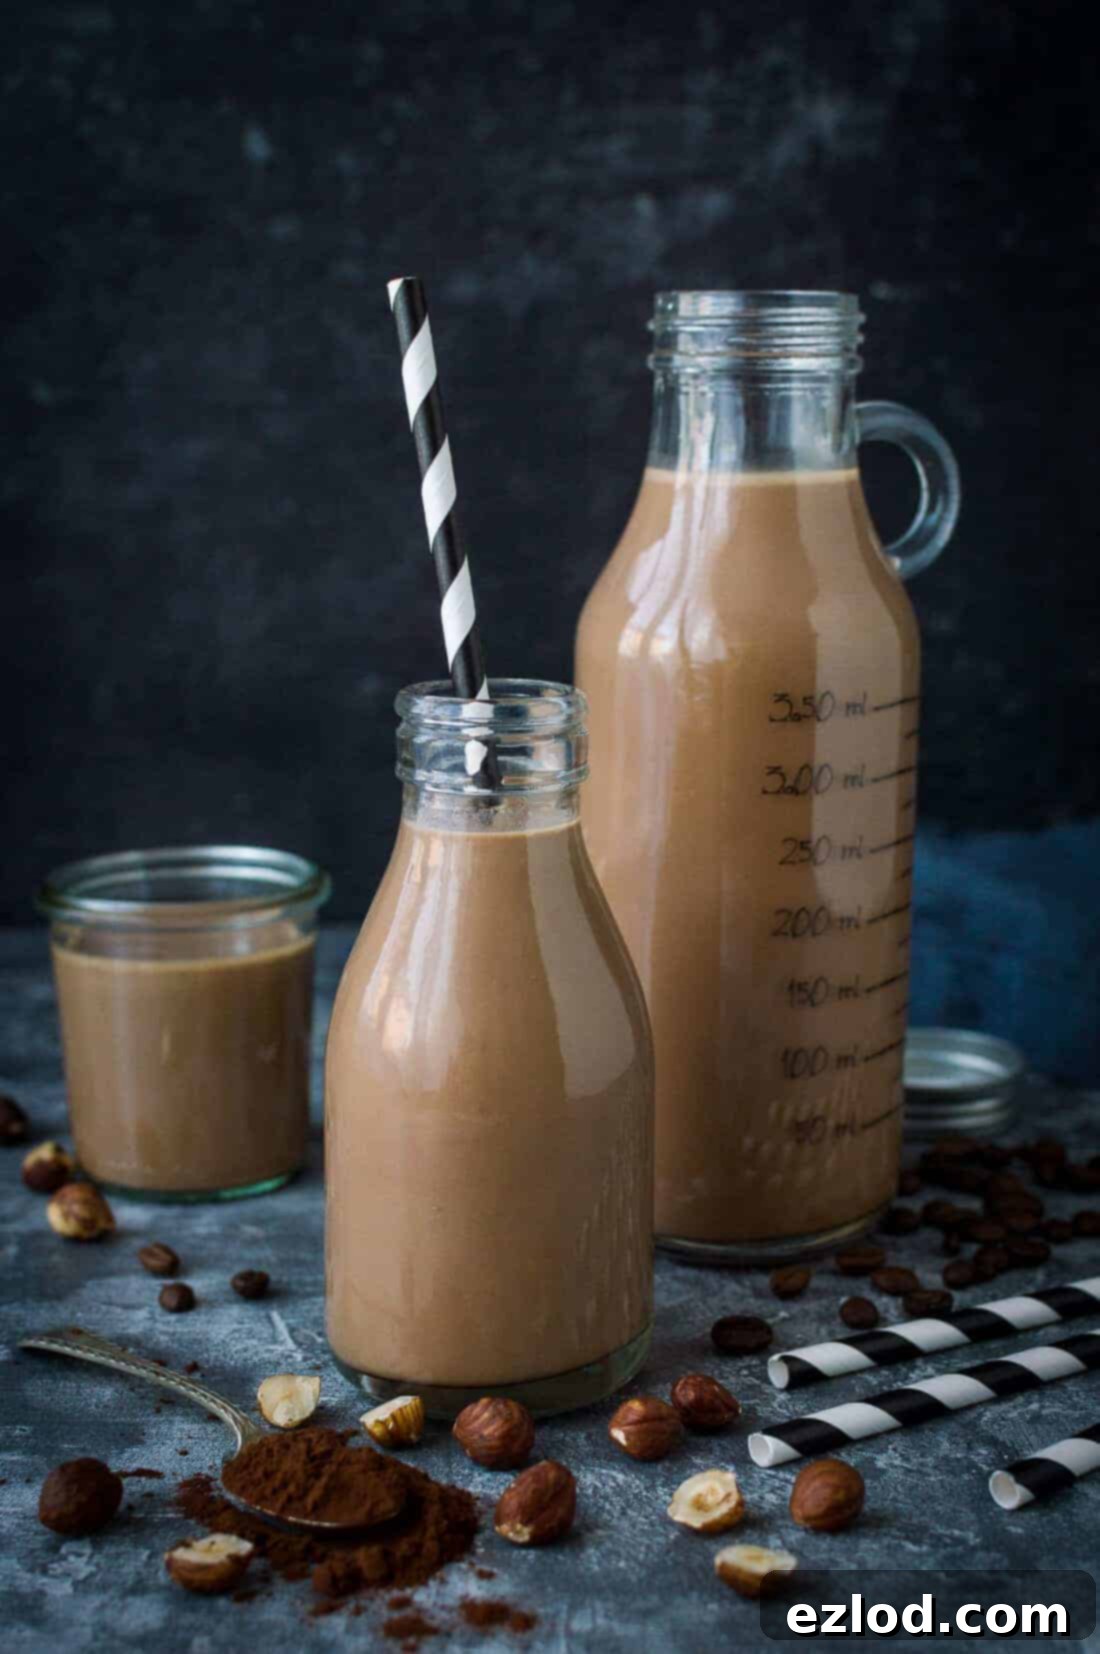
Indulge in Homemade Mocha Hazelnut Milk: A Vegan, Refined Sugar-Free Recipe & In-Depth Froothie Optimum Vac2 Blender Review
There’s a unique satisfaction that comes with crafting ingredients from scratch, and homemade nut milk is no exception. Far surpassing the flavour and creamy texture of store-bought alternatives, making your own nut milk at home is a surprisingly simple process. While it does require a little foresight due to the overnight soaking of nuts, the resulting freshness and richness are incredibly rewarding. This method also grants you complete control over the ingredients, allowing you to customise flavours to your heart’s content, just as we’ve done with this exquisite mocha hazelnut milk.
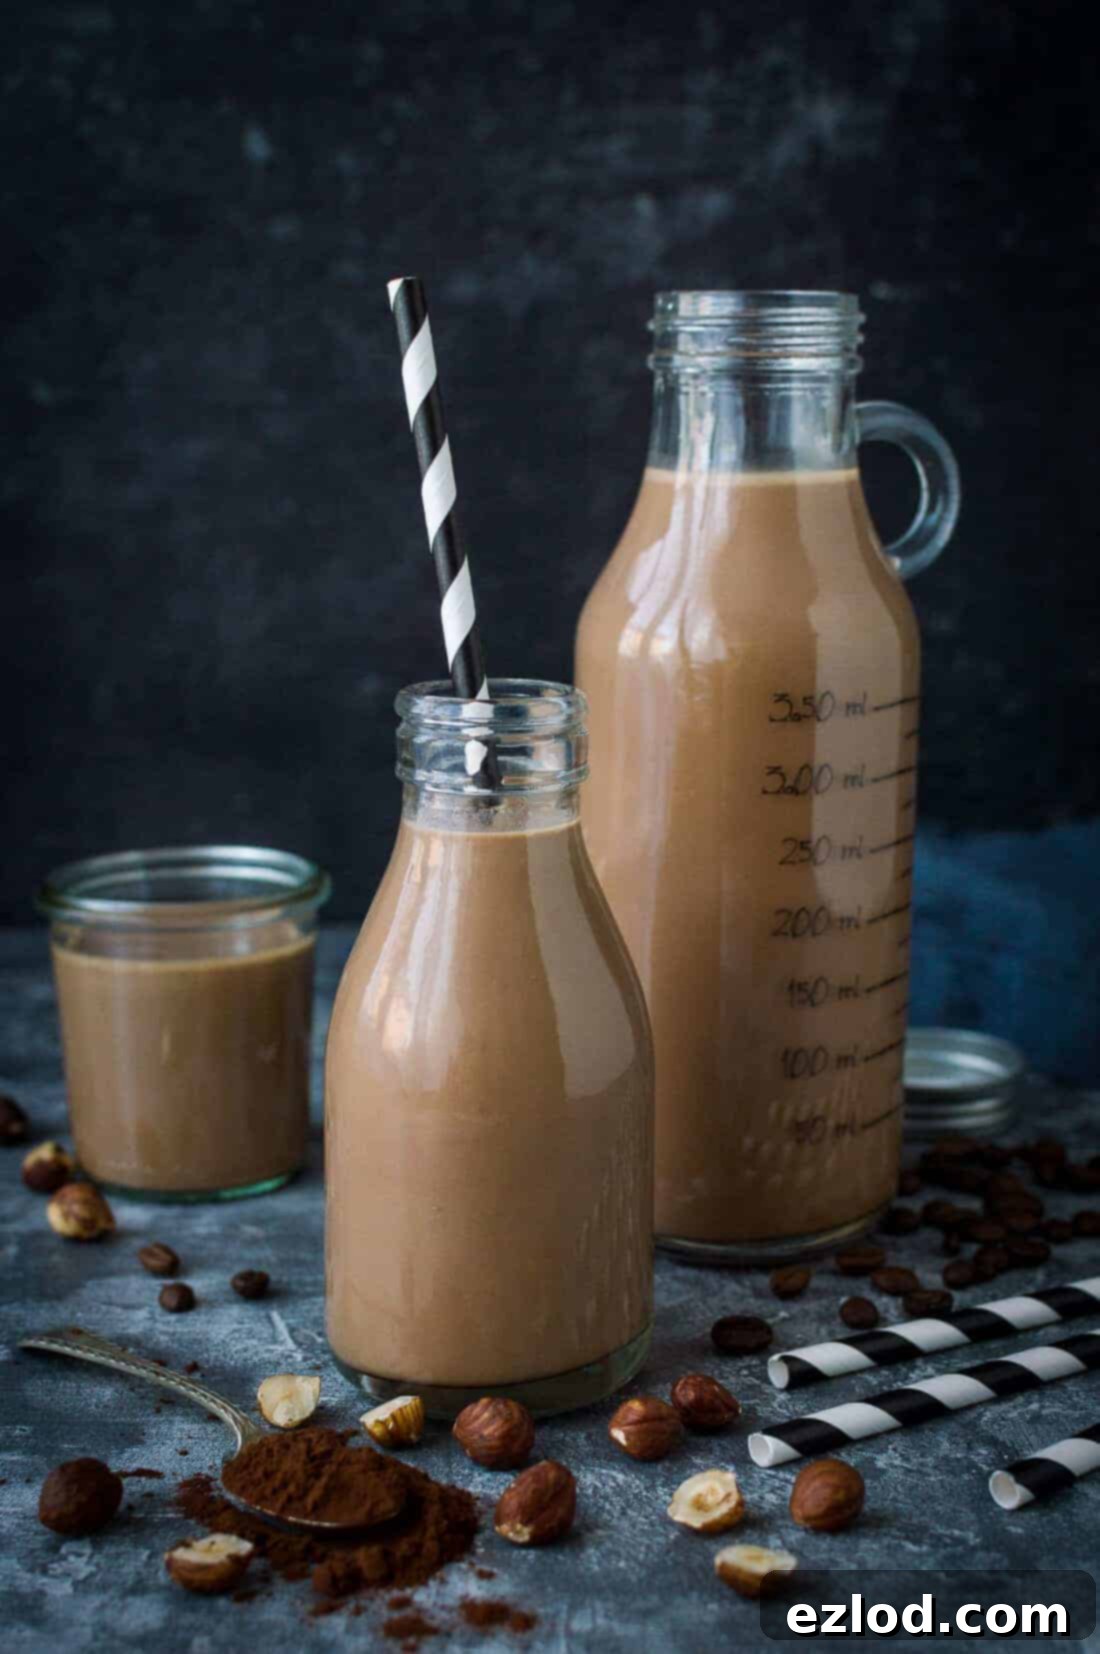
The Magic of Homemade Mocha Hazelnut Milk
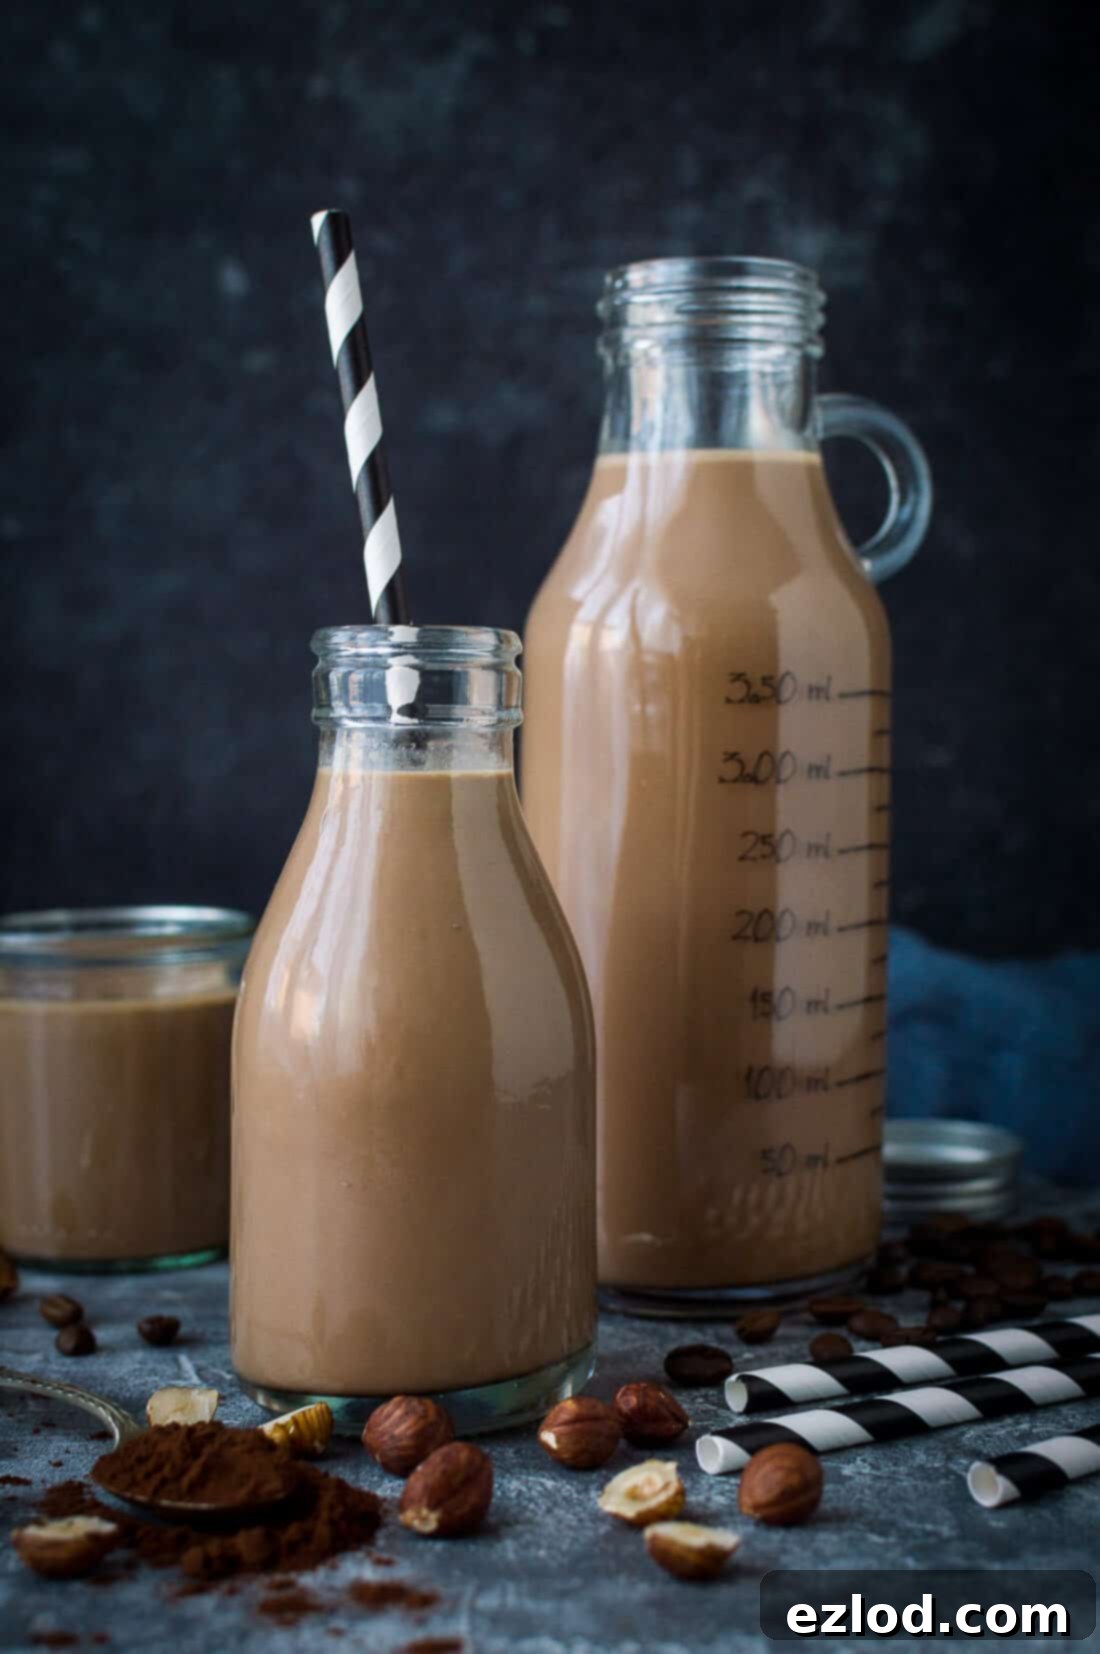
Imagine your favourite coffee drink, but elevated to a new level of luxurious creaminess, infused with the rich notes of toasted hazelnuts and a hint of decadent chocolate. That’s precisely what this homemade mocha hazelnut milk delivers. Forget plain water for blending; here, we elevate the experience by using freshly brewed, cooled coffee, turning a simple nut milk into an extraordinary beverage. The combination of soaked, toasted hazelnuts with coffee, premium cocoa powder, a touch of vanilla extract, and natural maple syrup creates a flavour profile that is truly irresistible.
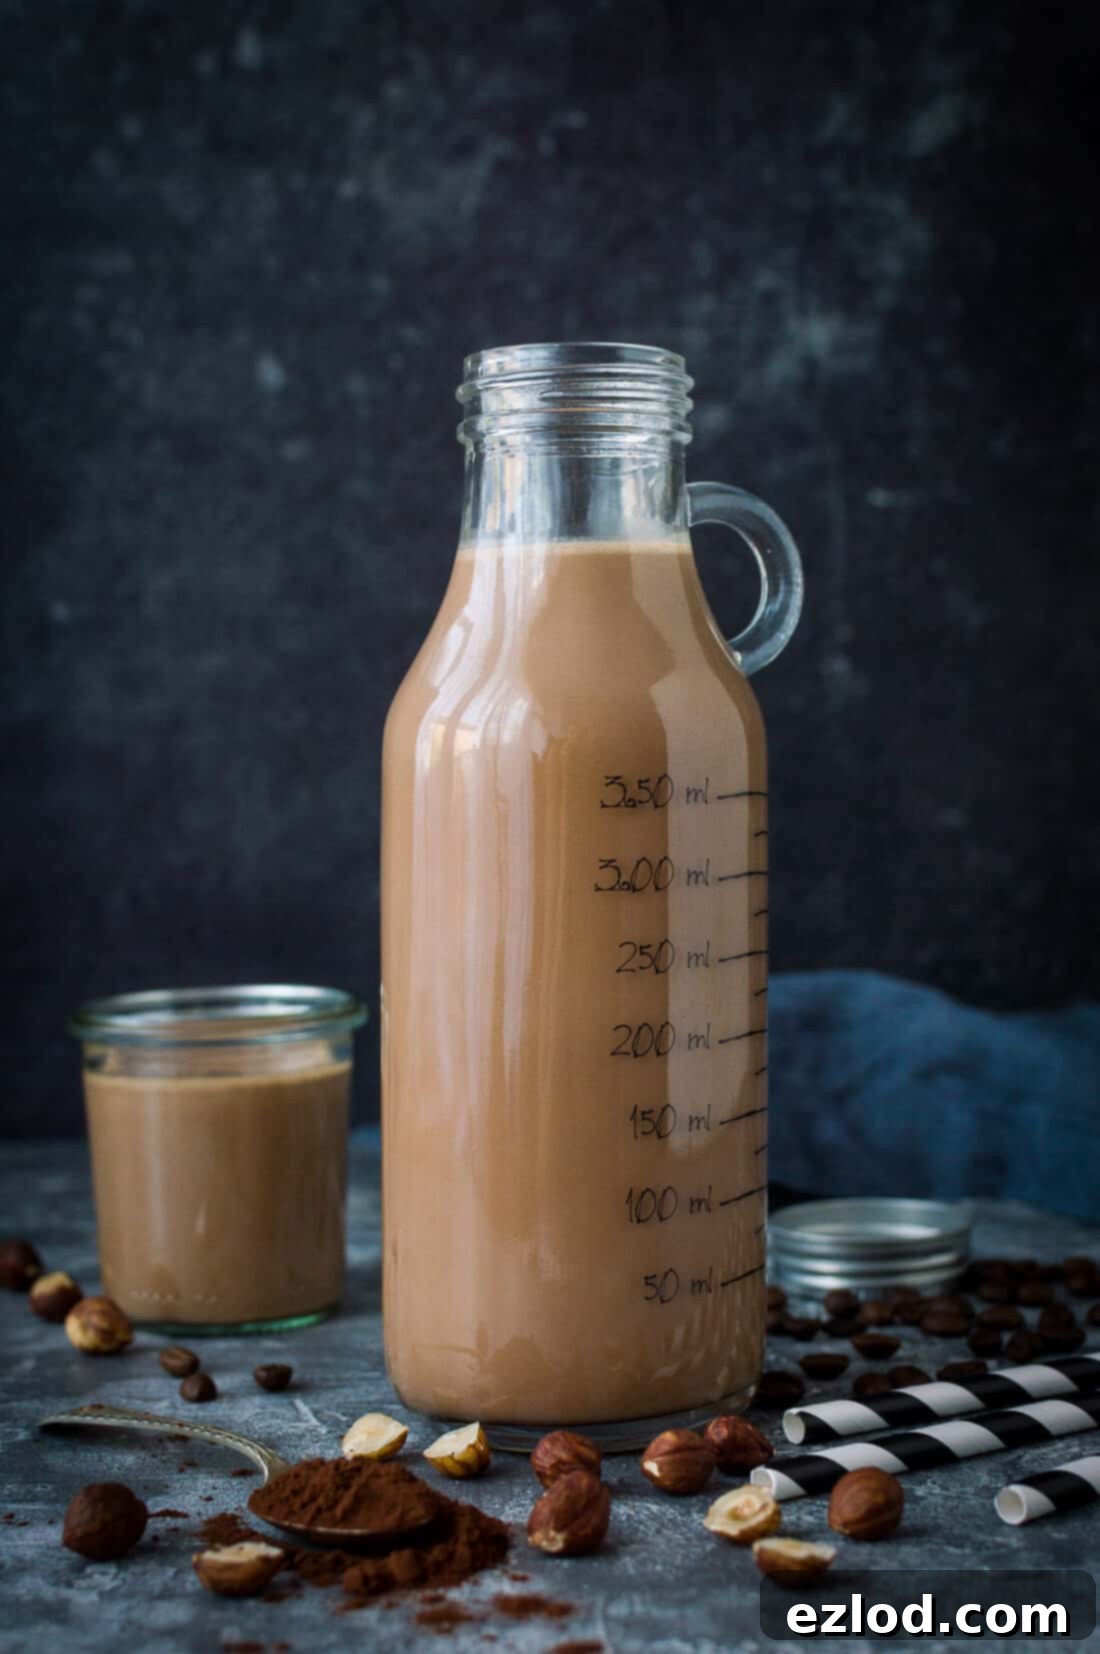
This mocha hazelnut milk is not just a drink; it’s an experience. I love to keep a batch chilled in the fridge, ready to be poured over ice for my mid-morning pick-me-up. It transforms into the most delightful iced coffee you’ll ever taste – intensely rich, wonderfully flavourful, and utterly moreish. It’s also entirely vegan and refined sugar-free, making it a guilt-free indulgence that caters to various dietary needs without compromising on taste. Its versatility extends beyond just a drink; imagine it in your morning oatmeal, a creamy addition to smoothies, or even as a base for a vegan dessert. The possibilities are endless when you have such a delightful, homemade dairy-free milk on hand.
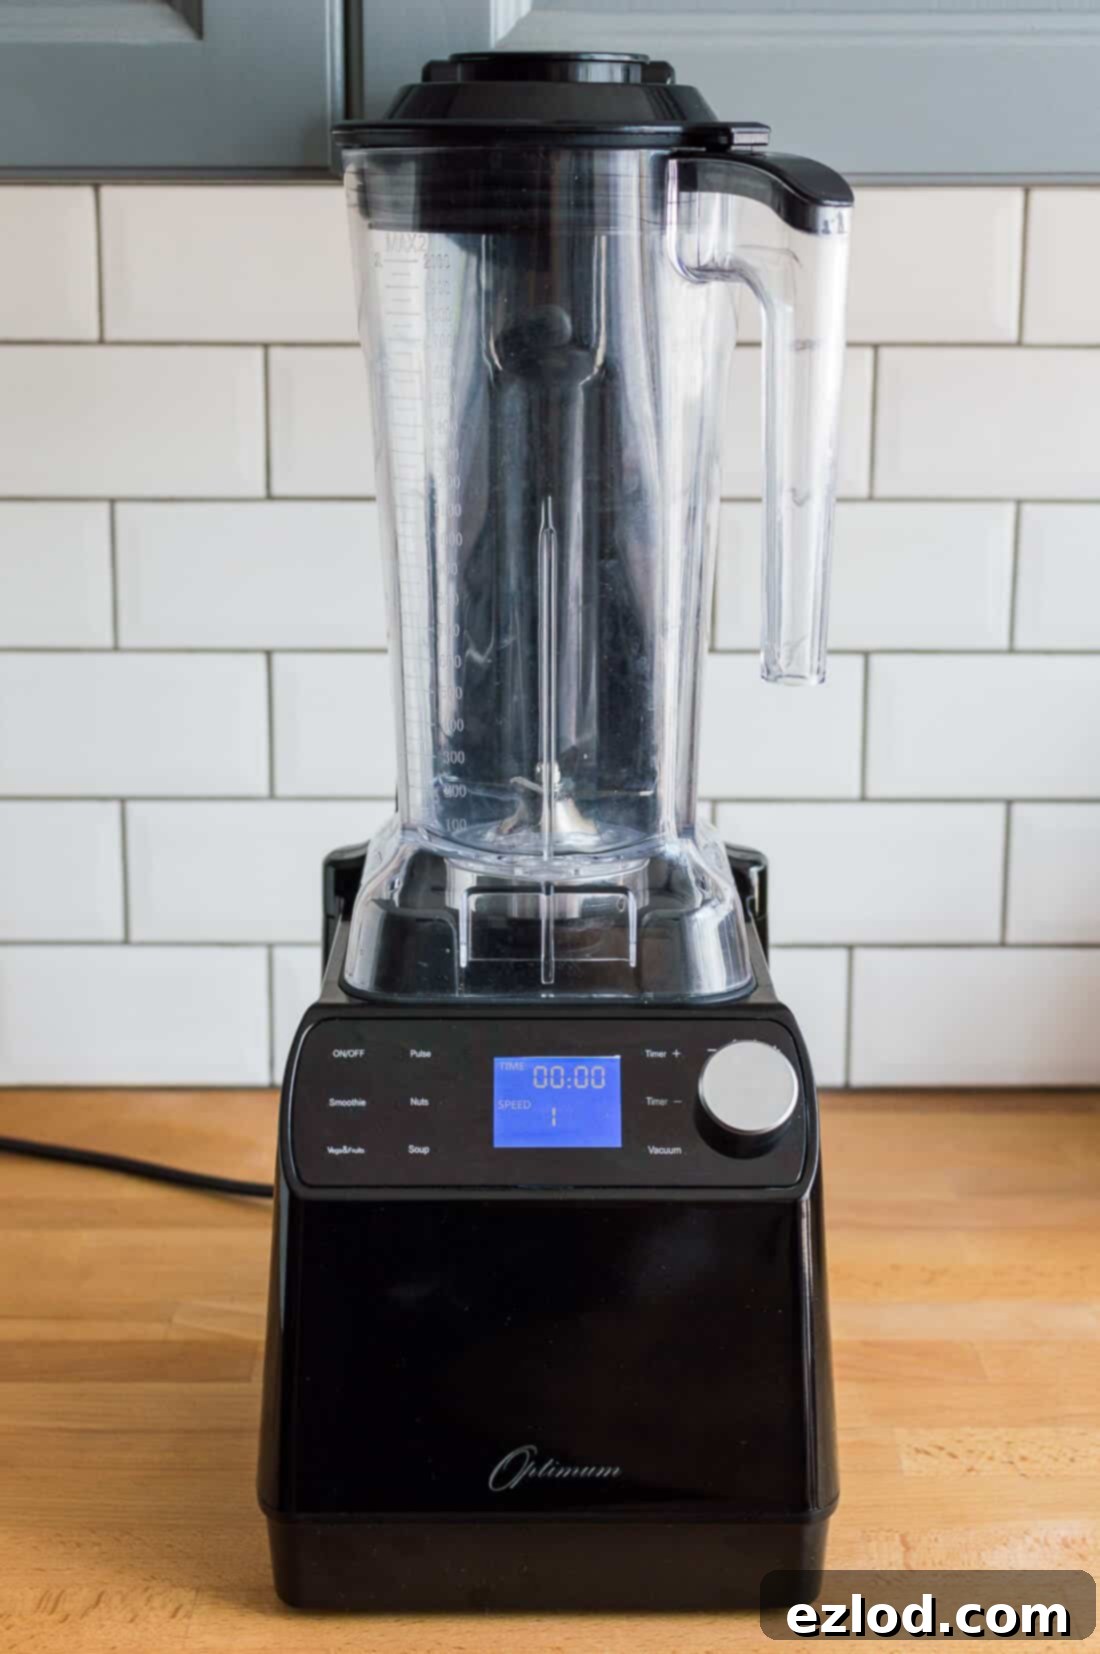
Froothie Optimum Vac2 Vacuum Blender: An In-Depth Review
To achieve the silkiest, most perfectly smooth nut milk, a high-quality blender is indispensable. For this particular recipe, I put my fantastic new Froothie Optimum Vac2 power blender to the test. I’ve had the pleasure of using this appliance for a while now, and before sharing my review, I wanted to ensure I had thoroughly explored its capabilities. It has quickly become an indispensable tool in my kitchen, getting almost daily use for everything from nutrient-packed smoothies and creamy nut butters to savory sauces and vibrant pestos.
The standout feature differentiating the Vac2 from its predecessors, like my beloved Froothie Optimum 9400 (you can read my previous review here), is its innovative vacuum function. This unique setting actively removes air from the blending jug before the ingredients are processed, marking a significant advancement in blending technology.
Understanding Vacuum Blending: The Benefits
Froothie highlights a primary benefit of vacuum blending: by evacuating the air from the jug, it significantly reduces the oxidation of ingredients. Oxidation is the process where food components react with oxygen, often leading to nutrient loss, discolouration, and flavour degradation. The Vac2’s ability to minimise this means your blended creations retain more of their vital nutrients and maintain a vibrant appearance.
Practically, this translates into tangible advantages for the home cook. You can prepare smoothies well in advance without worrying about them separating into unsightly layers or turning an unappetising greyish-brown. This feature is a game-changer for meal prep, allowing you to store your nutritious beverages in the fridge, knowing they will remain fresh, colourful, and palatable for longer. For food photographers like myself, this vacuum function is a dream come true; it solves the perennial problem of smoothies discolouring before the perfect shot can be captured!
Operating the Vacuum Function: A Simple Guide
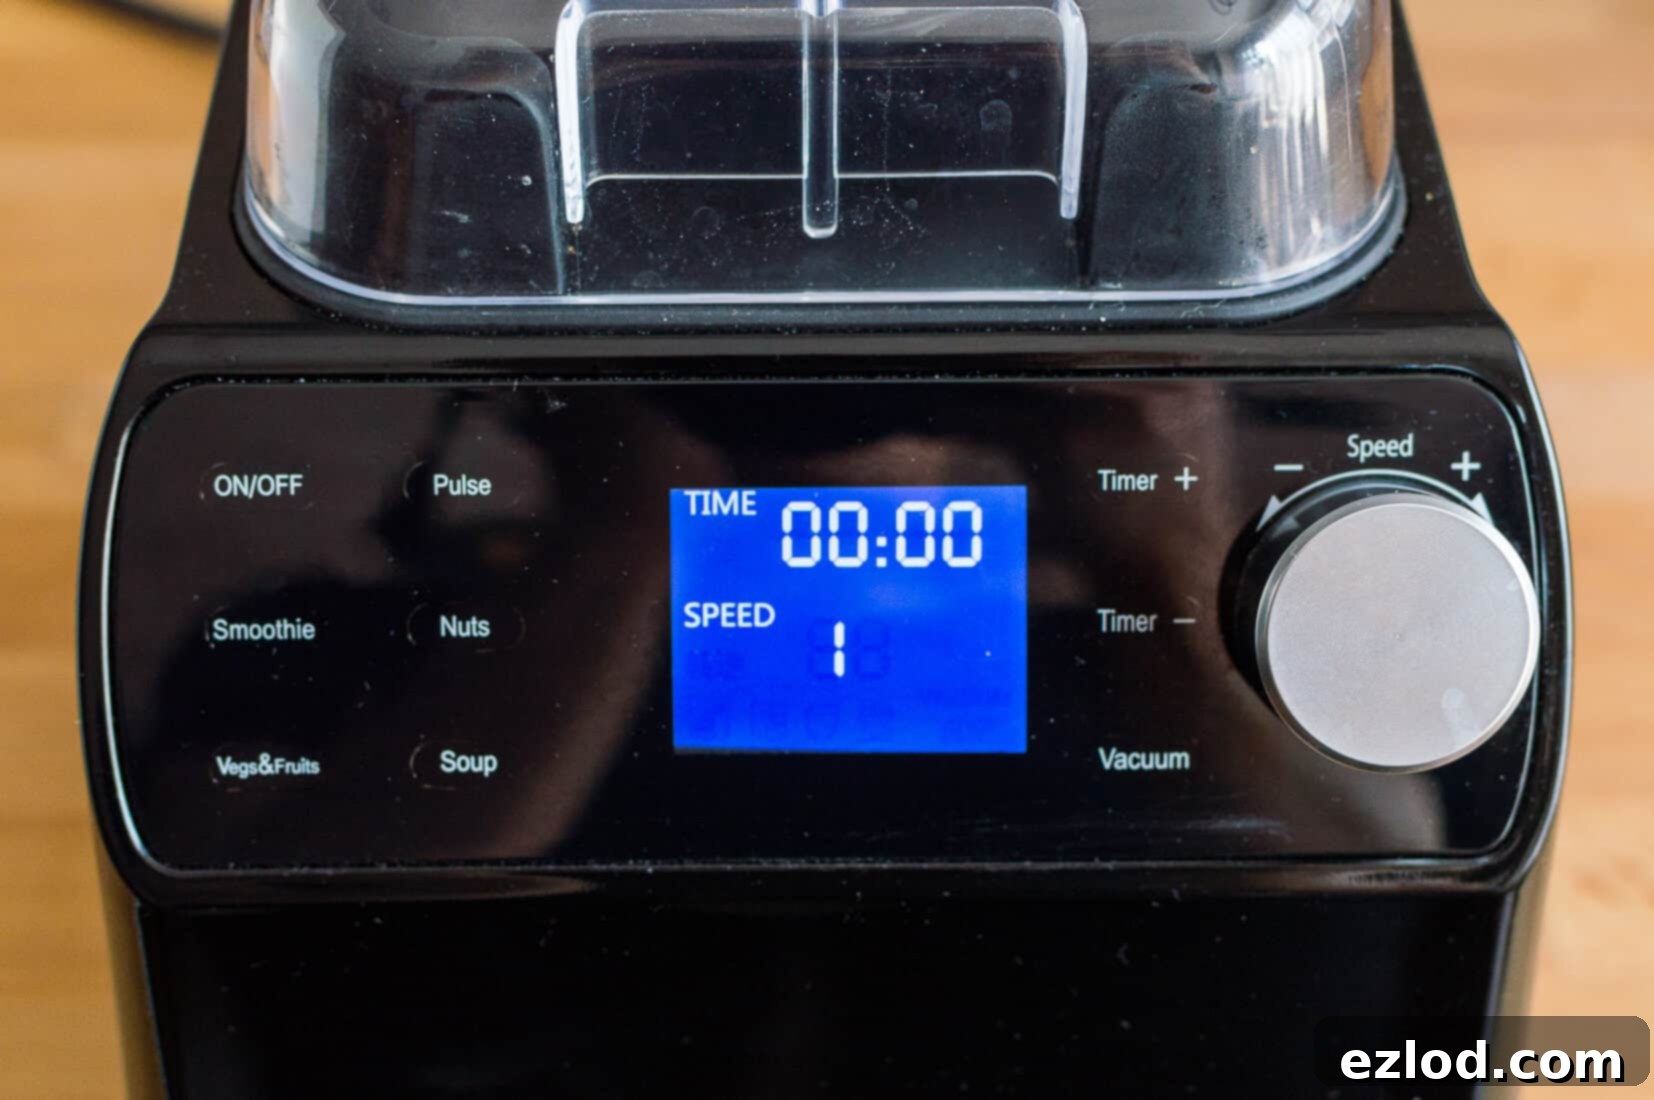
Utilising the vacuum function on the Froothie Optimum Vac2 is remarkably straightforward, though it’s designed specifically for smoothies, fruits, and vegetables, not for all blending tasks. To activate, simply ensure the small ‘arm’ mechanism on the blender’s base is correctly positioned over the lid of the jug, then press the dedicated vacuum button. The machine will then take approximately 70 seconds to draw all the air out. Don’t be alarmed by the distinctive whirring or sucking sound during this process – it’s just the Vac2 doing its job!
Once the vacuum cycle is complete, you can select your desired blending program, such as the ‘smoothie’ or ‘fruit/veg’ function, and let the blender work its magic. After blending, there’s one crucial step: remember to press the small rubber vacuum release button located on the top of the lid. This releases the vacuum seal, allowing you to effortlessly remove the lid and enjoy your perfectly blended creation.
Froothie Optimum Vac2 Specifications: Power and Versatility
Beyond its innovative vacuum capabilities, the Vac2 is a truly versatile powerhouse blender, capable of handling an extensive range of kitchen tasks that a premium power blender is expected to perform. It excels at creating hot soups right in the jug through friction heating, finely grinding nuts and coffee beans, efficiently chopping various vegetables, whipping up silky smooth sauces, and effortlessly crushing ice for refreshing drinks. Its robust construction and intelligent design ensure superior performance across the board.
At its heart is an incredibly powerful 2238W motor, which provides the necessary torque and speed for tackling even the toughest ingredients. This, coupled with its advanced 6-blade assembly – a significant upgrade from the standard 3-blade configurations found in many blenders – means it processes ingredients with exceptional efficiency and precision. Tasks like crushing large quantities of ice are handled with remarkable ease, producing perfectly uniform results every time.
The Vac2 also includes a practical tamper tool. This accessory is particularly useful for guiding thicker mixtures and stubborn ingredients down towards the blades, ensuring an even and consistently smooth blend. It’s especially beneficial when preparing dense concoctions like homemade nice cream (dairy-free ice cream), creamy hummus, or ultra-thick superfood smoothies, preventing air pockets and ensuring everything is thoroughly incorporated.
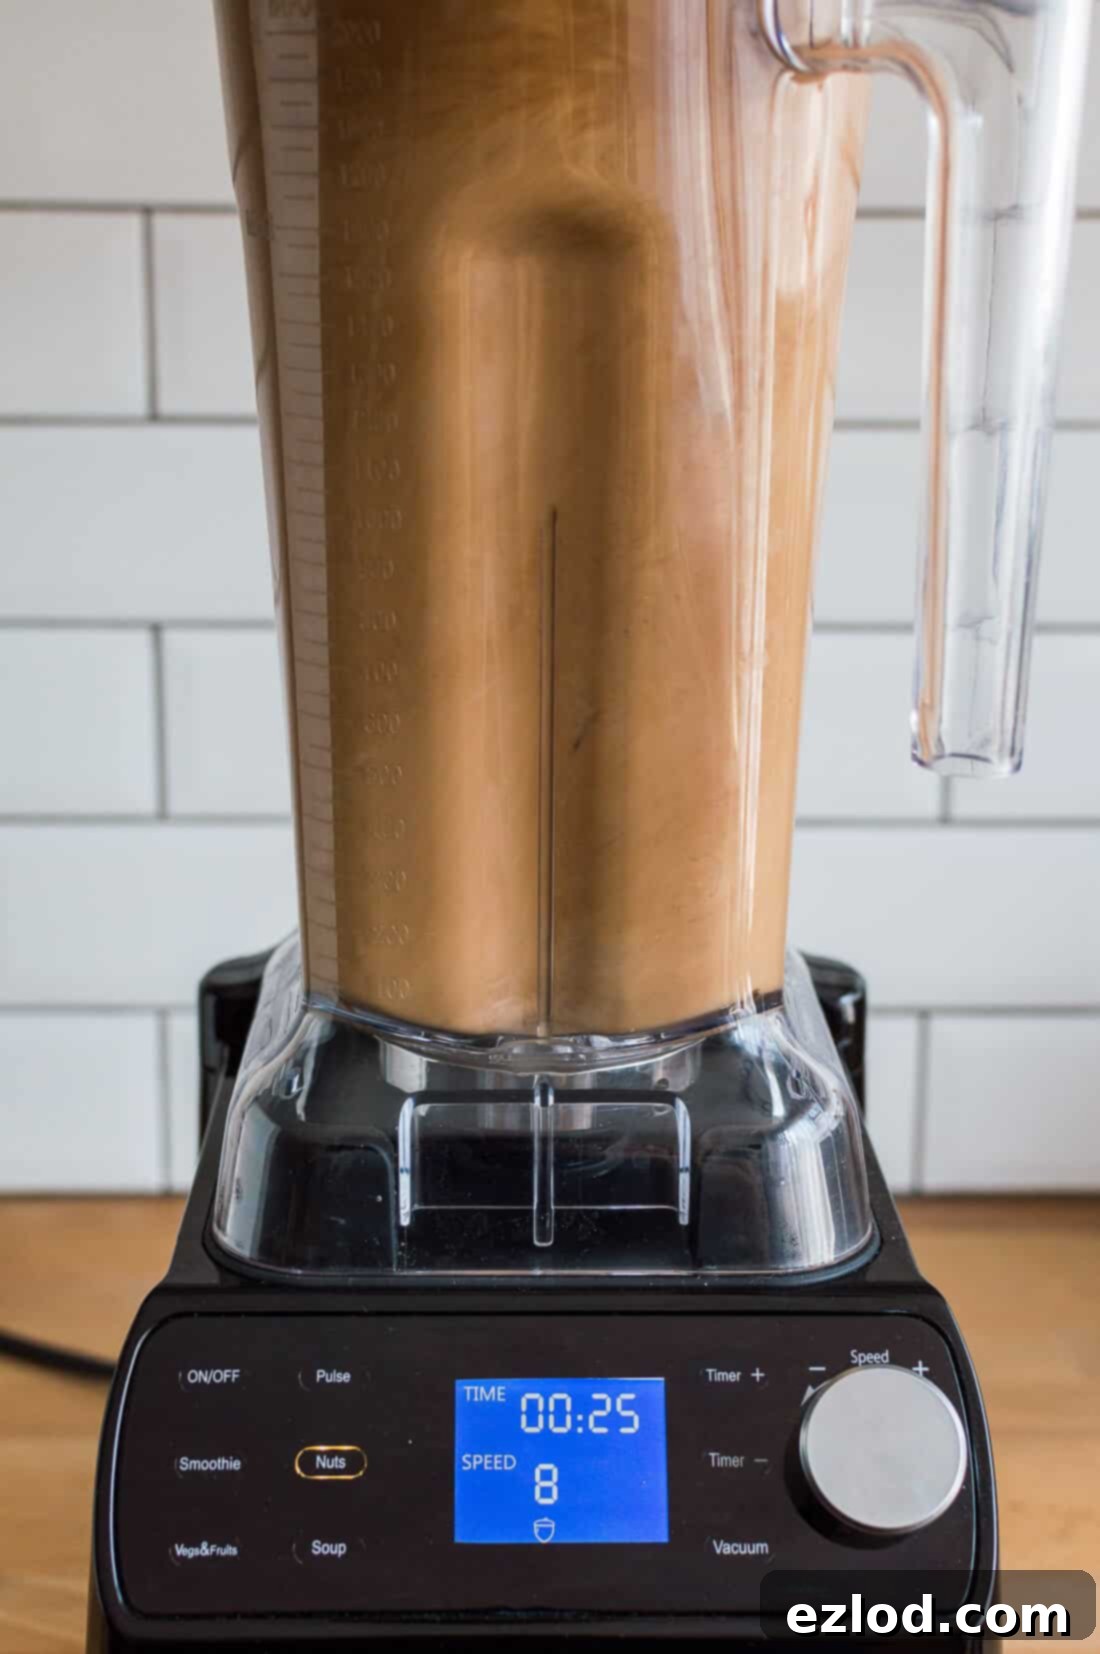
Convenience is further enhanced by four intelligent preset functions: ‘smoothie,’ ‘nuts,’ ‘veg & fruit,’ and ‘soup.’ These presets eliminate guesswork, allowing you to simply select the appropriate program and let the Vac2 automatically adjust blending speed and duration for optimal results. For those who prefer manual control, the blender also features a pulse function and allows for precise manual selection of speed and blending time, offering complete flexibility for custom recipes and textures.
Overall Performance: The Good
In all my tests and daily use, the Froothie Optimum Vac2 has consistently impressed. It produces the smoothest smoothies I have ever experienced, a testament to its powerful motor and superior blade design. Every task I’ve assigned it, from pulverizing frozen fruits to grinding tough nuts, has been executed with exceptional results. I particularly appreciate the convenience and efficiency of the preset functions, which make everyday blending tasks incredibly easy. The vacuum function, while seemingly a niche feature, is genuinely revolutionary, ensuring freshness and visual appeal that sets the Vac2 apart.
Ultimately, the Vac2 stands out as a truly outstanding piece of kitchen equipment. Its blend of power, innovative features, and user-friendliness has made it an utterly indispensable appliance in my kitchen, greatly enhancing my culinary adventures and daily nutrition.
Are There Any Negatives?
While my experience with the Vac2 has been overwhelmingly positive, there is one minor point to consider: its height. Standing at 51cm, it is quite tall. For some kitchen layouts, like mine, this means it doesn’t fit comfortably under standard overhead cupboards on the worktop, requiring it to be stored separately from other appliances. This is a small inconvenience, however, and certainly doesn’t detract from its otherwise stellar performance and functionality.
Where To Buy The Vac2 Blender: Exclusive Offers
If you’re as impressed as I am with the Froothie Optimum Vac2 vacuum blender and are considering adding this fantastic appliance to your kitchen, you can find it directly on the Froothie site. They frequently offer excellent deals and comprehensive customer benefits, including:
- Free UK delivery, ensuring your new blender arrives swiftly and without extra cost.
- An exclusive £20 discount when you use the code **AMB20** at checkout.
- Flexible 0% finance options, making this premium blender more accessible.
- A generous 5-year warranty, providing long-term peace of mind and protection for your investment.
- A 30-day money-back guarantee, which even includes return postage, demonstrating their confidence in the product.
- A choice of three stylish colours – classic red, sleek black, or modern silver – to perfectly complement your kitchen aesthetic.
How To Make Irresistible Mocha Hazelnut Milk: Step-by-Step
(For precise ingredient measurements and full instructions, please refer to the comprehensive recipe card located below.)
Creating this delightful mocha hazelnut milk is a process that begins the day before you plan to blend, as proper preparation of the hazelnuts is crucial for achieving the smoothest, creamiest result. Allowing the nuts to soak overnight ensures they are soft enough to break down completely in the blender, releasing their full flavour and producing a luxurious texture.
Step 1: Toasting for Enhanced Flavor
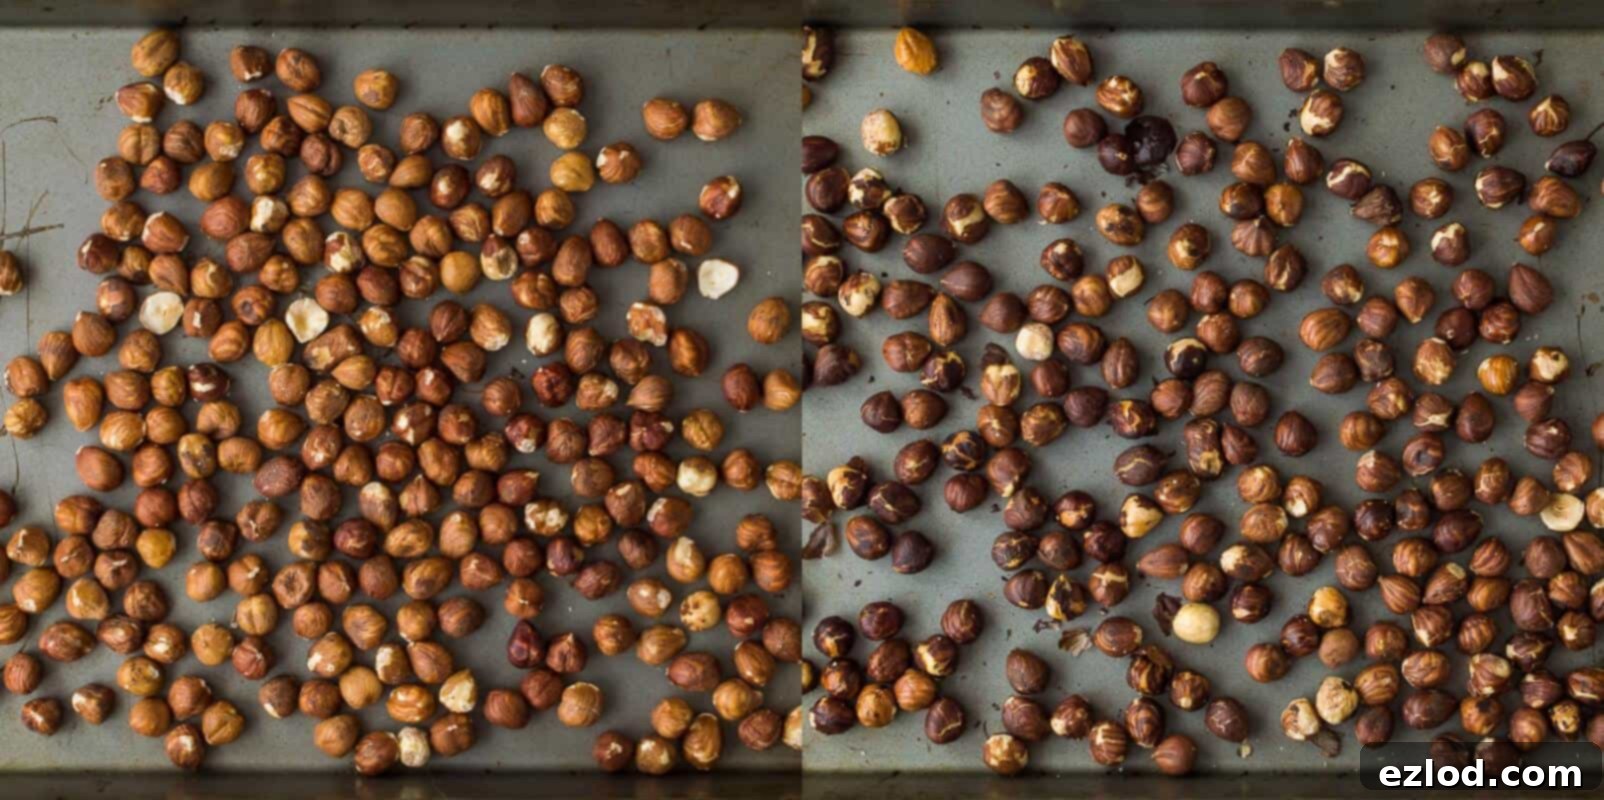
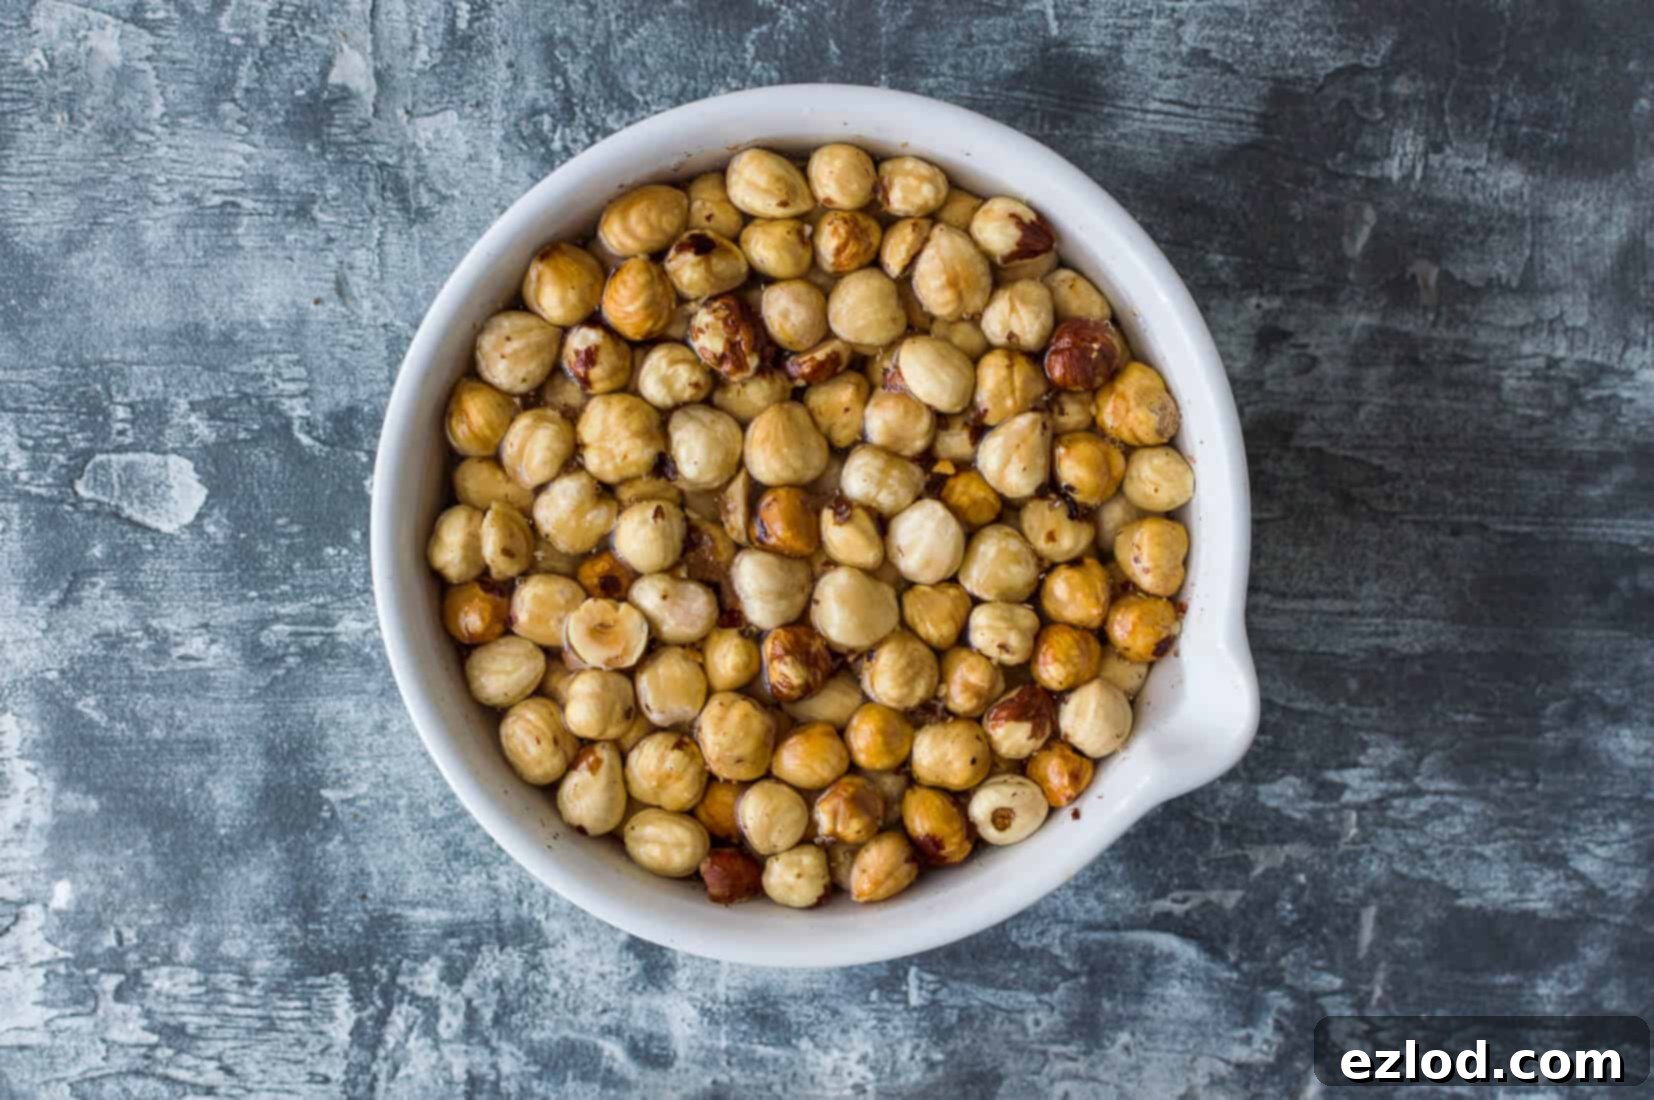
Begin by preheating your oven and spreading the raw hazelnuts evenly on a baking tray. Toast them until they turn a beautiful golden brown and fill your kitchen with a wonderfully fragrant aroma. This vital step significantly deepens their nutty flavour, which will shine through in your finished milk. It also aids in the next step: skin removal.
Step 2: Removing the Skins
Once toasted, carefully transfer the warm hazelnuts into a clean kitchen tea towel. Wrap them up securely and gently rub them together. The heat from toasting will have loosened their skins, making them much easier to flake off. Don’t worry if you can’t remove every single bit of skin; the goal is to get rid of most of it to ensure your milk is as smooth and free from any potential bitterness as possible.

Step 3: Overnight Soaking
Place your toasted and mostly skinned hazelnuts into a bowl and cover them completely with cold water. Transfer the bowl to the fridge and let the hazelnuts soak overnight, or for a minimum of 8 hours. This soaking process is essential; it softens the nuts, making them much easier to blend into a perfectly smooth, creamy milk. It also helps to activate enzymes, which can improve digestibility.
Step 4: Blending for Perfection
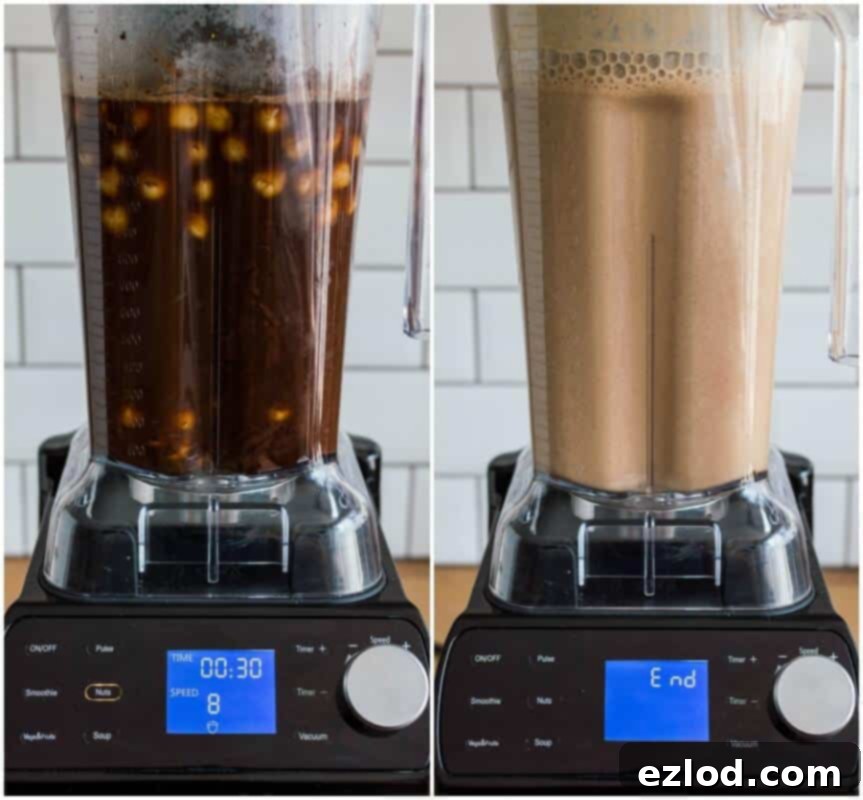
The following day, drain the soaked hazelnuts thoroughly and transfer them into your high-powered blender. Add the cooled, freshly brewed coffee – this is where the “mocha” magic begins! Also, incorporate the cocoa or cacao powder, your desired amount of maple syrup for natural sweetness, and a dash of vanilla extract for aromatic depth. Blend all these ingredients together until the mixture is incredibly smooth and uniform, with no discernible chunks of hazelnut remaining. A good quality blender, like the Froothie Optimum Vac2, will achieve an exceptional level of creaminess.
Step 5: Straining for Silky Smoothness
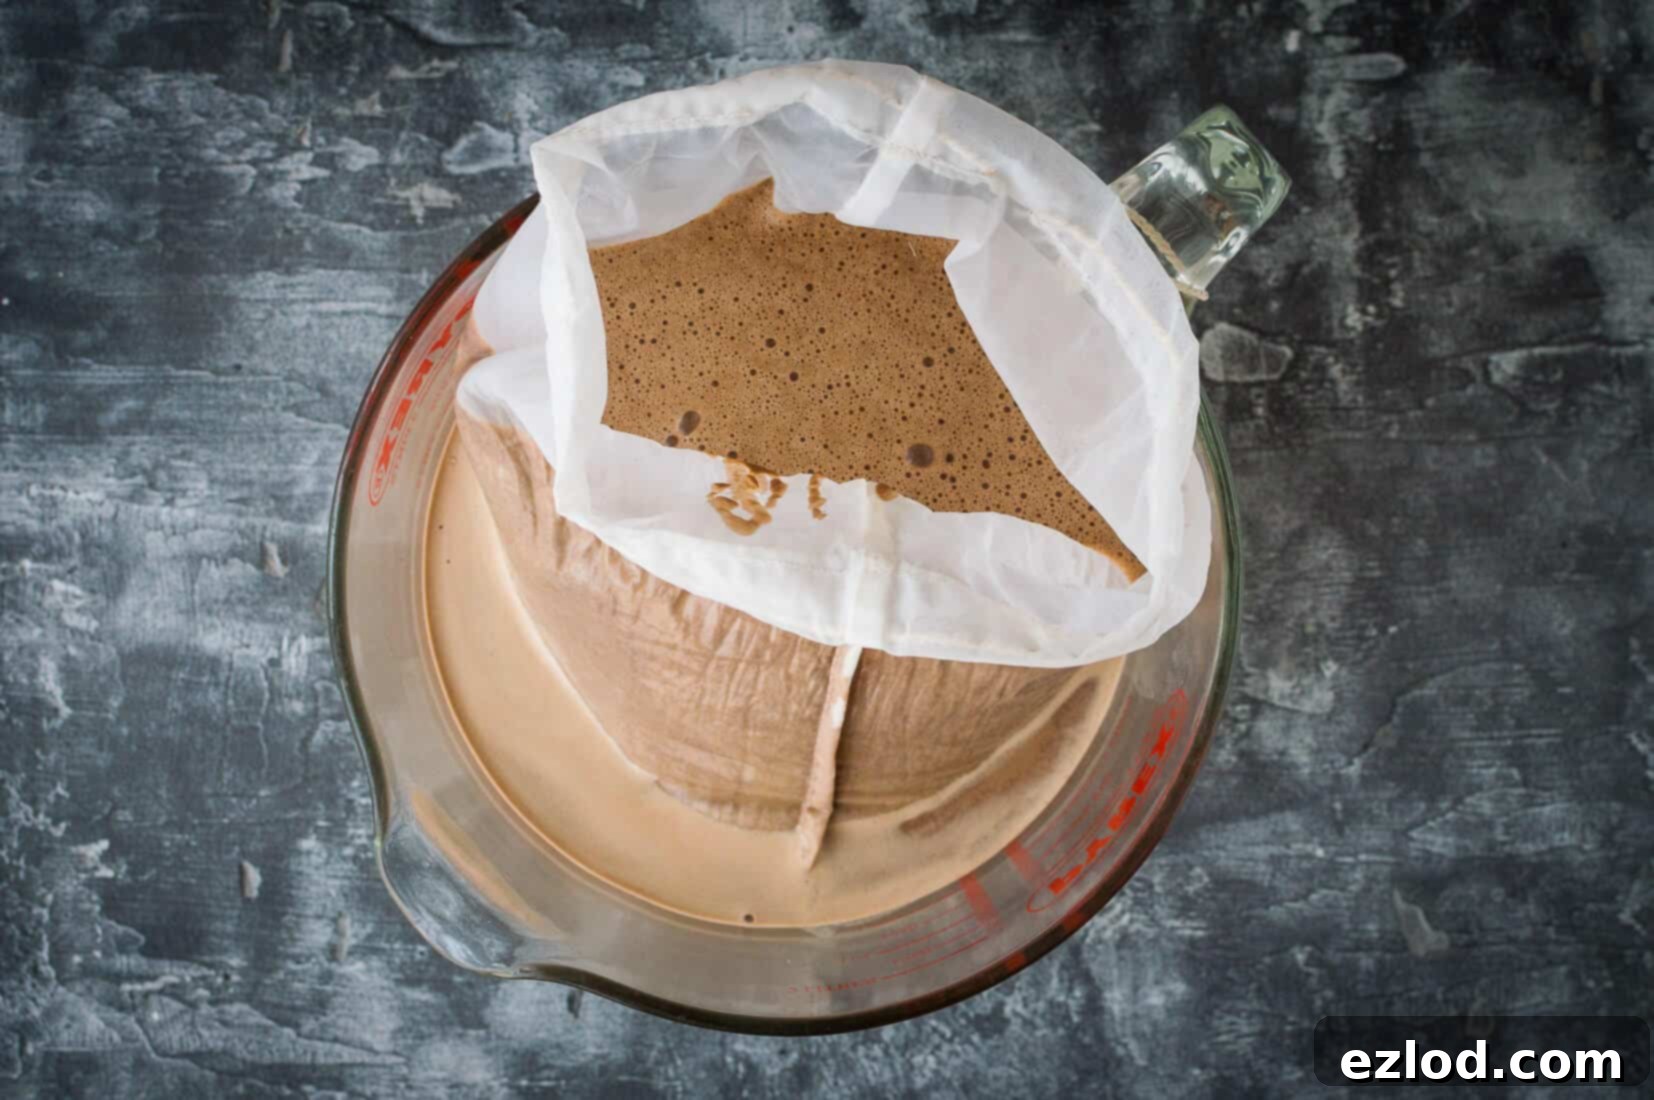
Once blended, pour the mixture into a fine mesh nut milk bag or a clean piece of muslin cloth, carefully positioned over a large bowl or jug. Gently, but firmly, squeeze the liquid through the cloth. This step removes all the remaining hazelnut pulp, leaving you with a wonderfully smooth, velvety milk. Make sure to squeeze out as much liquid as possible to maximise your yield and ensure the richest flavour. The leftover hazelnut solids can be discarded or, even better, saved and repurposed in recipes like granola, energy bites, or cookies, adding a delightful nutty texture.
Step 6: Final Adjustments & Serving
Taste your freshly made mocha hazelnut milk. At this point, you can add more maple syrup if you prefer a sweeter flavour. Once seasoned to your liking, refrigerate the milk until it is thoroughly chilled. Serve it over a generous amount of ice for an invigorating and utterly delicious iced coffee experience. This homemade nut milk will retain its freshness and flavour in the fridge for up to five days, making it perfect for preparing in advance.
Customise Your Nut Milk Experience
This recipe is wonderfully adaptable! If you’re in the mood for a classic hazelnut milk rather than a mocha version, simply substitute the coffee with water and omit the cocoa powder, maple syrup, and vanilla extract during blending. After straining, you can then sweeten it to your preference with maple syrup or your chosen sweetener.
For a truly indulgent treat, you can also create a rich chocolate hazelnut milk that tastes remarkably like a healthier version of Nutella! To do this, swap the coffee for water but keep the cocoa powder and vanilla extract. You might want to adjust the amount of maple syrup, potentially using a little less, depending on your sweetness preference. The result is a lusciously smooth, chocolatey hazelnut drink that’s sure to delight.
We love seeing your creations! If you tried this recipe, don’t forget to tag @domestic_gothess on Instagram and use the hashtag #domesticgothess to share your delicious results!
*All images and content on Domestic Gothess are copyright protected. If you want to share this recipe then please do so by using the share buttons provided. Do not screenshot or post the recipe or content in full.*

Print
Mocha Hazelnut Milk
Ingredients
- 300 g (2 cups) raw hazelnuts
- 1 litre (4 cups) cooled freshly brewed coffee
- 5-6 Tbsp maple syrup
- 5 Tbsp cocoa or cacao powder
- 1 tsp vanilla extract
Instructions
-
Start the day before blending the milk. Preheat the oven to 180C/350F/gas mark 4. Spread the hazelnuts out on a baking tray and toast in the oven for 10-15 minutes until lightly browned and fragrant.
-
Tip the nuts into a clean tea towel, wrap them up and allow to sit for a minute. Rub the hazelnuts in the tea towel to remove the skins; don’t worry if you don’t manage to get them all off.
-
Place the skinned hazelnuts in a bowl and cover with cold water. Place in the fridge and leave to soak overnight, or for 8 hours.
-
Drain the soaked nuts and place in a blender with the coffee, cocoa powder, 4 Tbsp of the maple syrup and the vanilla extract. Blend until very smooth.
-
Pour the mixture into a nut milk bag or clean muslin cloth/tea towel set over a large bowl or jug. Squeeze the milk through the cloth to remove any solids; make sure that you squeeze as much liquid as possible through for the best flavour.
-
Discard the solids (or keep to use in granola/cookies). Taste the milk and add more maple syrup as needed. Place in the fridge to chill before serving.
-
Serve over ice. Milk will keep in the fridge for up to five days.
Notes
*I’m a Froothie ambassador and was sent the Optimum Vac2 to review. If you click on the above links and purchase one of their products I will receive a small amount of commission. All opinions expressed are entirely my own and reflect my genuine experience. I only ever recommend products that I truly love and personally use in my own kitchen.
