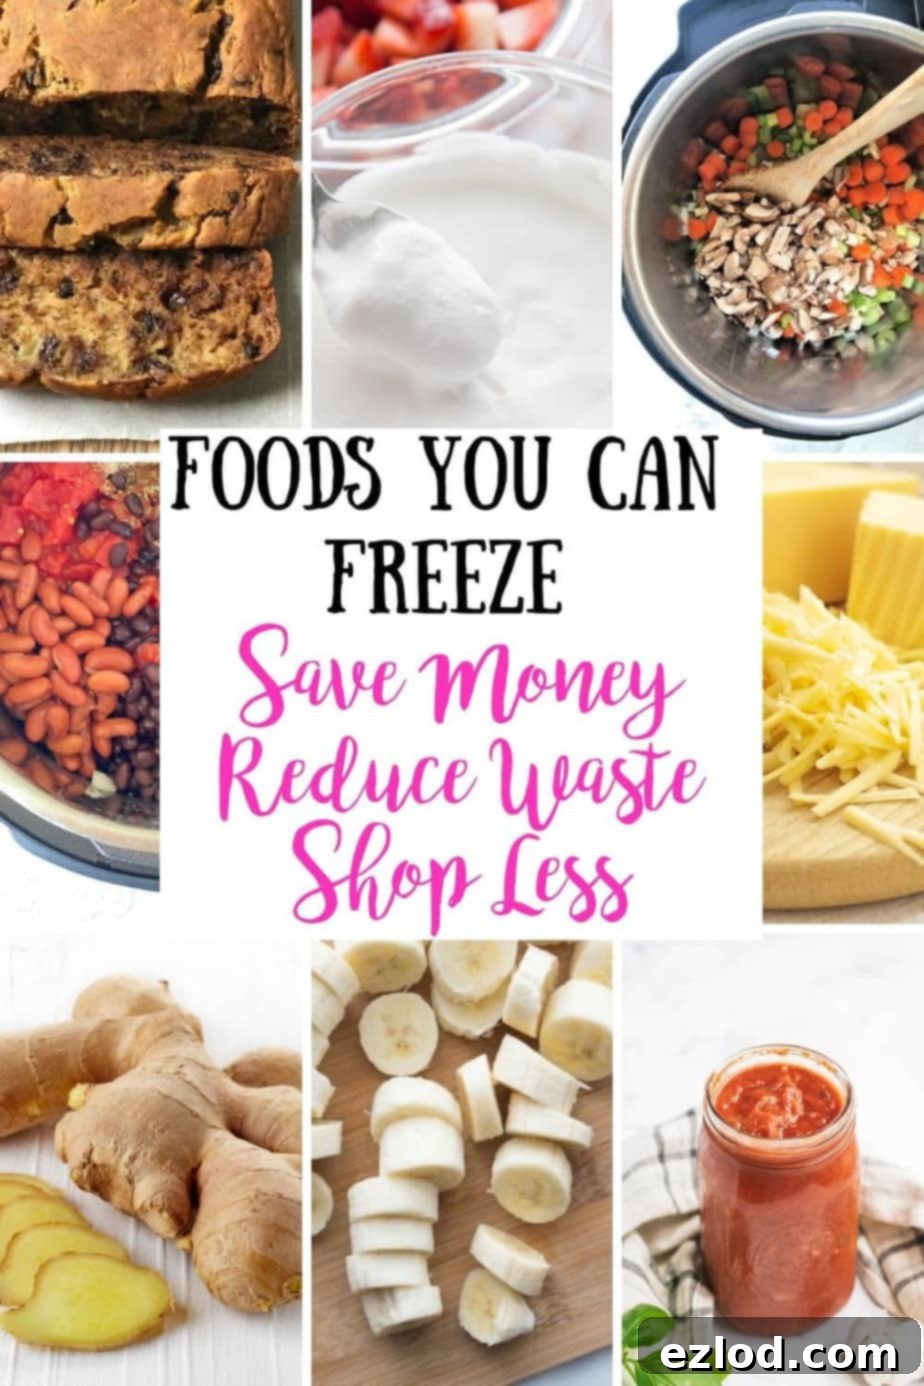
The Ultimate Guide to Freezing Food: Maximize Savings, Minimize Waste, and Simplify Meal Prep
Can you freeze cheese? Can you freeze milk? Absolutely! This comprehensive guide provides a list of everyday foods that freeze exceptionally well, helping you reduce food waste, save money, and streamline your meal preparation. This post contains affiliate links for products I’m obsessed with, which means I may earn a small commission if you make a purchase through them, at no extra cost to you.
In today’s fast-paced world, finding smart ways to manage our groceries is more important than ever. I’m frequently asked about freezer meals, but my freezer is also a treasure trove of individual ingredients that extend their shelf life dramatically. From cheese and leftover sauces to canned coconut milk and fresh ginger, the freezer is an invaluable tool in my kitchen. By freezing foods destined for future recipes or meals, I not only prevent waste but also significantly cut down on grocery expenses and reduce the frequency of my shopping trips.
Many of my readers often express uncertainty about which foods are truly freezer-friendly. That’s precisely why I’ve compiled this detailed list of common ingredients and dishes that consistently perform well in the freezer. This guide will empower you to make the most of your grocery hauls, ensuring that precious food never goes to waste and you always have healthy, delicious options on hand. Let’s unlock the full potential of your freezer!
Table of Contents
Toggle
Essential Freezer Prep Tips for Success
Before you start filling your freezer, a little preparation goes a long way to ensure your food stays fresh, organized, and delicious. These tips will help you maximize your freezer’s potential and avoid common pitfalls:
- Label Everything, Religiously! This is perhaps the most crucial tip. Grab a permanent marker or specialized freezer tape and clearly label each item. Include the name of the food, the quantity (especially if you portion it out), and the date it was frozen. A well-labeled freezer prevents mystery meals and forgotten ingredients.
- Understand Shelf Life: While frozen food can technically last indefinitely if kept at a consistent 0°F (-18°C), quality can degrade over time. For best taste and texture, aim to consume most frozen foods within 3-6 months. Fatty foods tend to have a shorter optimal freezer life, while blanched vegetables and fruits can last longer.
- Choose the Right Containers: The type of container you use is vital for preventing freezer burn and maintaining quality. I swear by Souper Cubes for perfectly portioned soups and sauces, mini muffin tins for smaller amounts, and reliable glass or airtight plastic containers. For space-saving, Ziplock Bags or reusable Stasher Bags are fantastic, especially when you flatten them to remove air. Mason jars (wide-mouth only, and leave headspace!) are also excellent for liquids.
- Portion for Purpose: Always measure and portion foods before freezing. This makes it incredibly easy to grab the exact amount you need for a recipe or to fit your dietary plans, like the 21 Day Fix or WW. Portioning also allows you to maximize your freezer space and avoid thawing more than you need.
- Remove Air for Longevity: Air is the enemy of frozen food, leading to freezer burn. Whether you’re using bags or containers, press out as much air as possible. For bags, a straw can help you suck out excess air before sealing.
- Flash Freeze When Necessary: For items like berries, sliced bananas, or individual pieces of meat, “flash freezing” on a baking sheet before transferring to a bag or container prevents them from clumping together, making them much easier to portion later.
- Thaw Safely: The safest way to thaw most foods is in the refrigerator. Smaller items or liquids can be thawed in a bowl of cool water. Avoid thawing at room temperature, as this can encourage bacterial growth. Some items, like frozen vegetables for soups or smoothies, can often be used directly from frozen.
Dive Deeper: Foods That Freeze Exceptionally Well
Now that you’re armed with essential freezer tips, let’s explore some of the most common and surprising foods that can be frozen, saving you time, money, and preventing unnecessary waste.
Can You Freeze Cheese? Your Questions Answered!
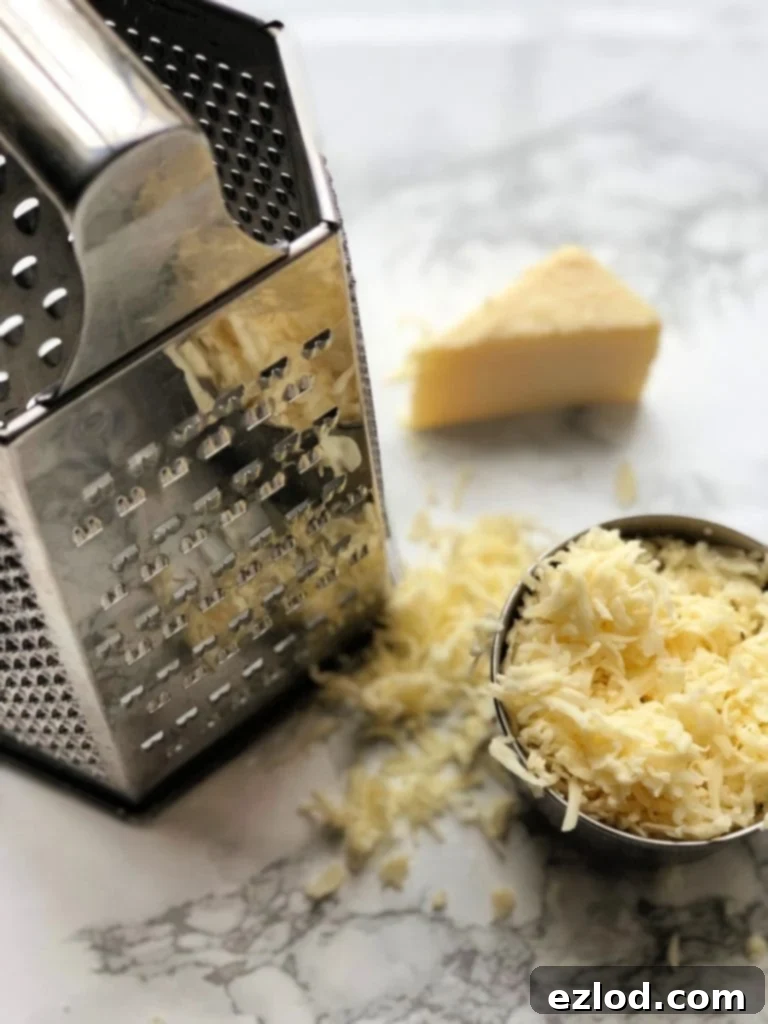
Yes, you absolutely can freeze cheese! Many people are surprised to learn this, but it’s a fantastic way to extend the life of your cheese and always have it on hand. The key to successfully freezing cheese lies in understanding how it affects the texture and choosing the right method for different types.
Harder cheeses like cheddar, mozzarella, Swiss, or provolone freeze best. You can freeze them shredded or cut into small blocks or cubes. I find that freezing cheese already shredded is incredibly convenient for later use in recipes like casseroles, pizzas, or tacos. I often shred a large block of cheese, measure it into 1/3 cup increments (perfect for a blue container portion!), and then freeze it flat in labeled ziplock bags. This flat storage saves space and allows for quick thawing. When ready to use, simply pull the bag out of the freezer and let it thaw in the fridge for a few hours or overnight. While the texture might be slightly more crumbly once thawed, it still melts beautifully and is perfect for cooking. Softer cheeses, like ricotta or cream cheese, can also be frozen, but their texture will change more significantly upon thawing, becoming grainier. They are still perfectly fine for baking or sauces, though!
Beyond solid cheese, I also love to make my homemade cheese sauce and keep it in the freezer. This is a game-changer for quick mac and cheese or topping vegetables. I freeze individual portions in little silicone egg molds, which are incredibly handy for freezing all sorts of sauces, oatmeal, and even whisked eggs for future breakfasts!
Freezing Milk: A Practical Guide for All Types
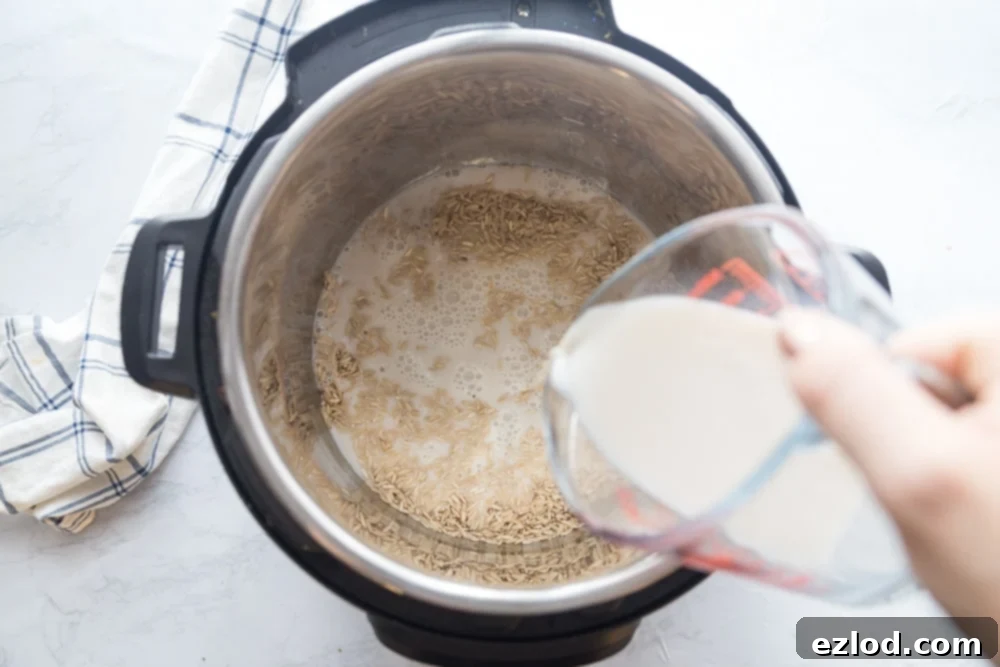
Another common question: can you freeze milk? The answer is a resounding yes! Almost all types of milk can be frozen, from dairy milk (whole, skim, 2%) to plant-based alternatives like almond, soy, or coconut milk. While we often use up dairy milk before it expires, other types, especially canned coconut milk, are a different story.
I frequently find that recipes, such as my Zuppa Toscana or Brown Rice Pudding, only call for a portion of a can of coconut milk. If I simply refrigerate the remainder, it often gets forgotten and goes to waste. My solution? I always freeze the unused portion! I typically pour the leftover coconut milk into small ziplock bags, ice cube trays, or my trusty Souper Cubes. Make sure to measure the quantity before freezing so you know exactly how much you have for your next recipe. Remember to leave a little headspace in containers as liquids expand when frozen.
To thaw frozen milk, simply place the container or bag in the fridge overnight. For quicker thawing, you can place a sealed bag in a bowl of cool water. The texture of thawed milk, particularly dairy milk, might separate slightly or become a bit grainy. This is normal and doesn’t affect its safety or taste in cooking or baking; just give it a good stir or shake. For hot sauces or soups, you can often add frozen milk cubes directly to the pot, where they will melt and incorporate seamlessly.
Bananas in the Freezer: Your Smoothie & Baking Secret Weapon
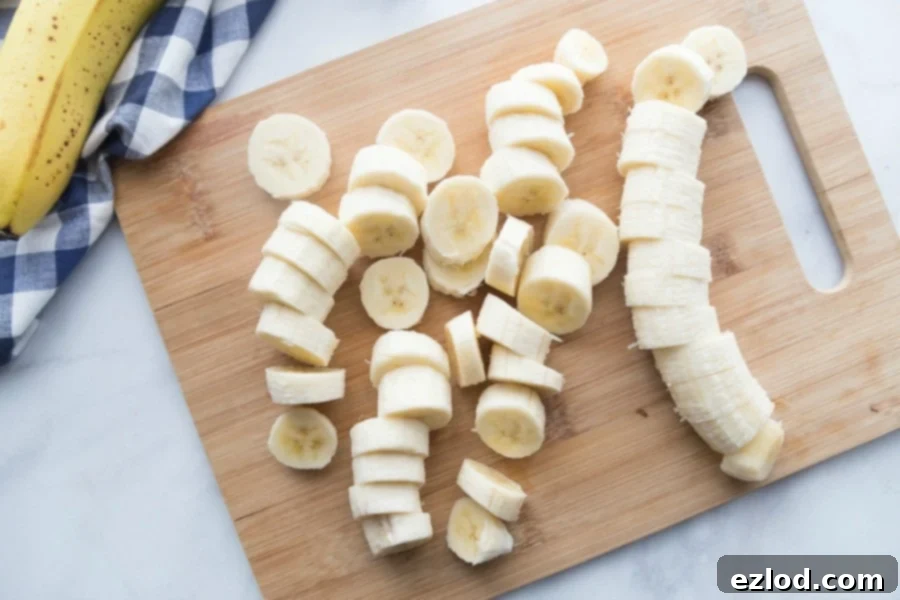
Overripe bananas are a common kitchen dilemma, especially when my kids turn their noses up at the slightest brown speck. But don’t toss them! Freezing bananas is a fantastic way to prevent waste and ensure you always have a secret ingredient for delicious treats.
The best bananas for freezing are ripe ones, with plenty of brown spots, as they are at their sweetest. Simply peel them, slice them into coin-sized pieces, and arrange them in a single layer on a parchment-lined baking sheet. Flash freeze them for an hour or two until solid, then transfer the frozen slices to an airtight ziplock bag or container. This prevents them from sticking together, making it easy to grab just a few when you need them.
Frozen banana slices are a staple for creamy smoothies, instantly thickening and sweetening them without extra ice. They are also the star ingredient for Banana “Nice Cream” or Ice Cream Pie. Even better, they can be directly used in baking recipes like Banana Bread or Healthy Banana Oatmeal Blender Muffins. Just mash them with a fork or blend them before adding to your batter. Freezing bananas means you’ll never again mourn a forgotten bunch on your counter!
Beyond the Basics: More Foods to Freeze and Save
Spinach and Kale: Green Goodness, Frozen Fresh
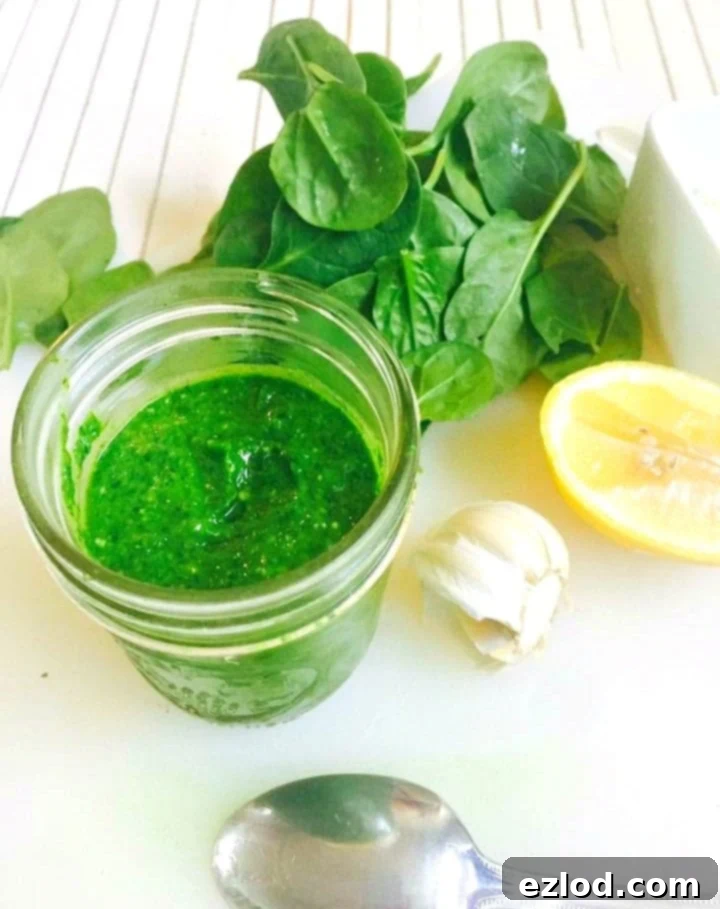
Large bags of fresh spinach and kale are fantastic for boosting nutrients in countless meals, but it’s often a race against time to use them before they wilt. The good news? These leafy greens freeze beautifully and maintain their nutritional value! Simply wash and thoroughly dry the leaves – excess moisture can lead to ice crystals and freezer burn. Once dry, pack them tightly into an airtight ziplock bag, squeezing out as much air as possible before sealing. You can also lightly blanch them for a minute in boiling water before freezing to preserve color and texture, though for most cooking applications, freezing raw works perfectly.
While I’m not a fan of pre-frozen spinach from the store due to its often mushy texture, homemade frozen spinach and kale taste significantly better. They are excellent additions to a variety of dishes directly from the freezer, no thawing needed! Toss them into my Lasagna Roll Ups with Spinach and Sausage, blend them into a vibrant 21 Day Fix Spinach Pesto, stir them into Pumpkin Pasta with Spicy Sausage, or fortify a comforting bowl of Sweet Potato and Black Bean Chili. They also work wonderfully in smoothies, omelets, and stir-fries, adding a nutritional punch without altering the flavor profile significantly.
Ginger: Keep Your Spice Fresh, Always

Fresh ginger is an absolute staple in my kitchen, adding a vibrant, spicy kick to countless recipes. I use a generous amount in dishes like my Easy Instant Pot Chicken Noodle Soup, Instant Pot Ramen Noodles, Instant Pot Beef and Broccoli, and my 21 Day Fix Chicken Satay with Creamy Peanut Sauce. The distinct flavor of fresh ginger is unmatched by its dried counterpart, and freezing is the best way to ensure you always have it on hand.
Fresh ginger roots tend to dry out quickly in the refrigerator, making them difficult to peel and grate. Freezing solves this problem perfectly! To freeze ginger, simply peel the desired amount (a spoon works wonders for peeling ginger skin) and then wrap it tightly in plastic wrap or place it in an airtight freezer-safe bag. You can freeze it whole or cut into smaller chunks. An amazing bonus: freezing ginger makes it incredibly easy to grate! Just pull a piece from the freezer and grate it directly into your dish using a microplane or fine grater. No need to thaw, and you get that fresh, pungent flavor every time.
Leftover Sauces & Pastes: No More Waste! (Tomato Paste, BBQ, Pesto, etc.)
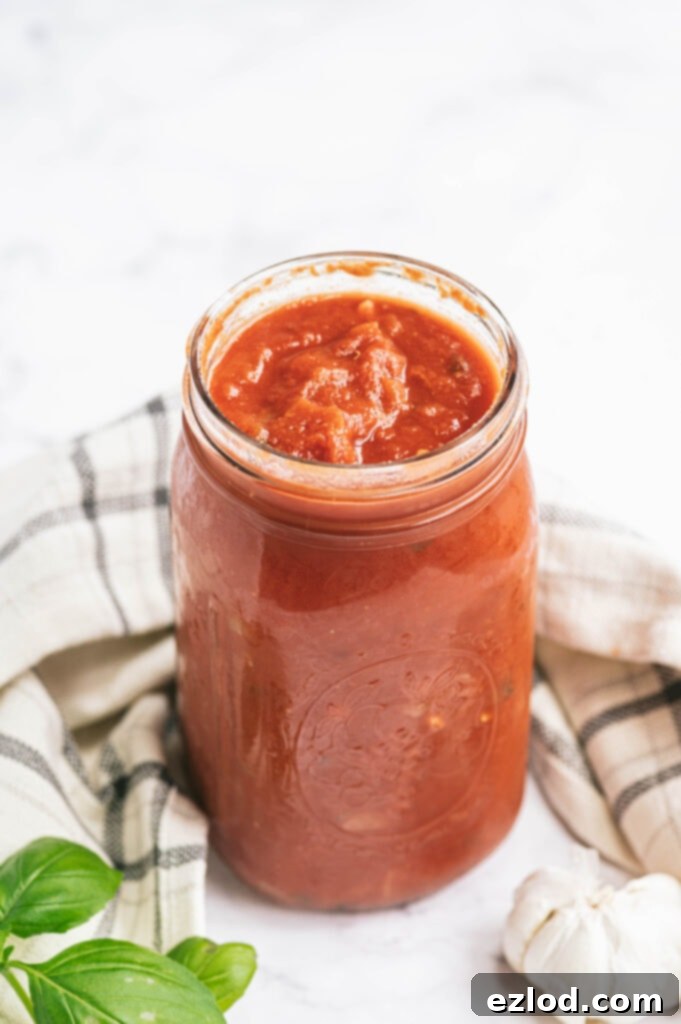
How many times have you opened a can of tomato paste only to use a tablespoon and then watch the rest go bad in the fridge? Or had a little bit of your delicious homemade BBQ sauce leftover? Don’t let these precious ingredients go to waste! Freezing leftover sauces, pastes, and condiments is a brilliant way to save money and ensure you always have flavorful additions for your cooking.
This applies to almost any sauce – canned or jarred tomato sauce, your own Homemade Tomato Sauce, creamy Vodka Sauce, tangy homemade BBQ sauce, rich enchilada sauce, vibrant pesto, or any other extra sauce you might have. For small quantities like tomato paste, I measure them into 1-teaspoon or 1-tablespoon portions and freeze them on a parchment-lined tray, then transfer them to a labeled bag. For larger amounts of sauce, I use my Souper Cubes or a muffin tin to create perfect individual portions. Once frozen solid, pop them out and store them in an airtight container or freezer bag. Always label clearly with the type of sauce and the date. These frozen portions can be dropped directly into soups, stews, casseroles, or pasta dishes, saving you time and enhancing flavor effortlessly.
Pre-Chopped Vegetables: Your Meal Prep Game Changer
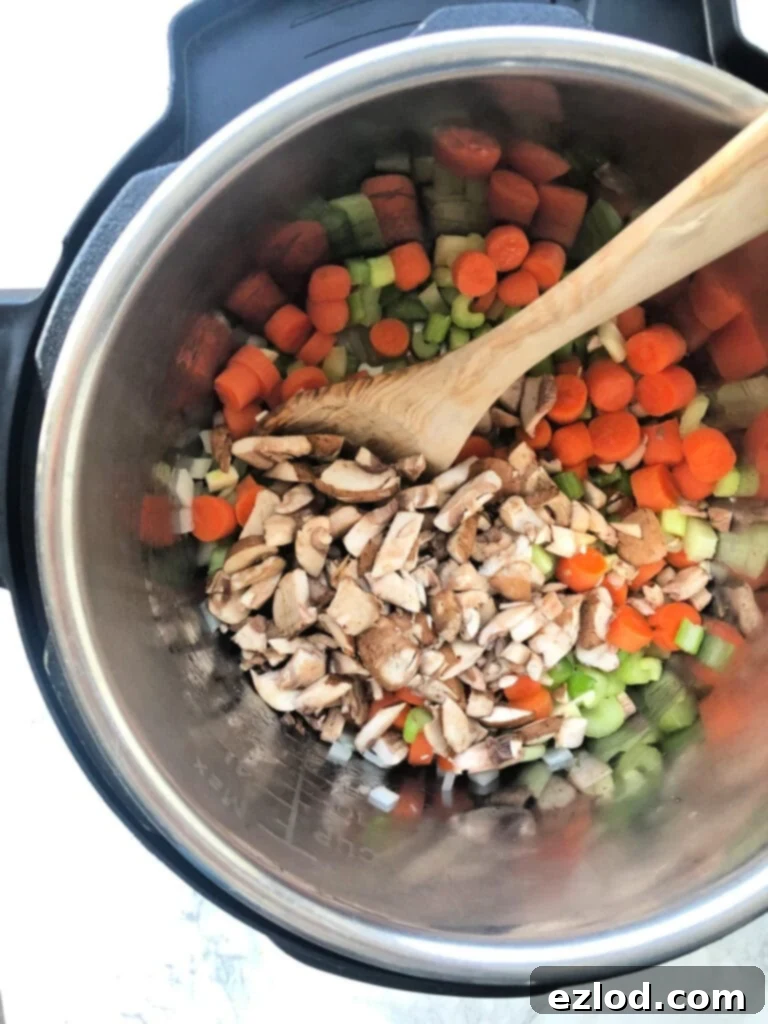
If you’re anything like me, you often use the same diced vegetables as a base for many meals – think carrots, onions, celery, garlic, bell peppers, and mushrooms. These form the aromatic foundation for everything from soups like my Instant Pot Chicken and Wild Rice Soup or my Easy 21 Day Fix Chicken Veggie Soup. It’s common to have leftover chopped veggies after a cooking session, or you might buy extra to reduce shopping trips.
Instead of letting them languish in the fridge, chop them up and freeze them! For most vegetables, you can simply spread them on a baking sheet to flash freeze for an hour, then transfer them to an airtight freezer bag. Some vegetables, especially those with high water content like zucchini or bell peppers, benefit from a quick blanching (boiling for 1-2 minutes, then plunging into ice water) before freezing to maintain texture and color. These pre-diced veggies are a lifesaver for busy weeknights. Pull out a handful for a quick breakfast hash, stir-fries, omelets, or as a convenient veggie side dish. They might not be ideal for raw consumption after freezing, but they’re perfect for cooking and integrate seamlessly into hot dishes, saving you precious prep time.
Canned Beans: Extending Shelf Life Beyond the Can
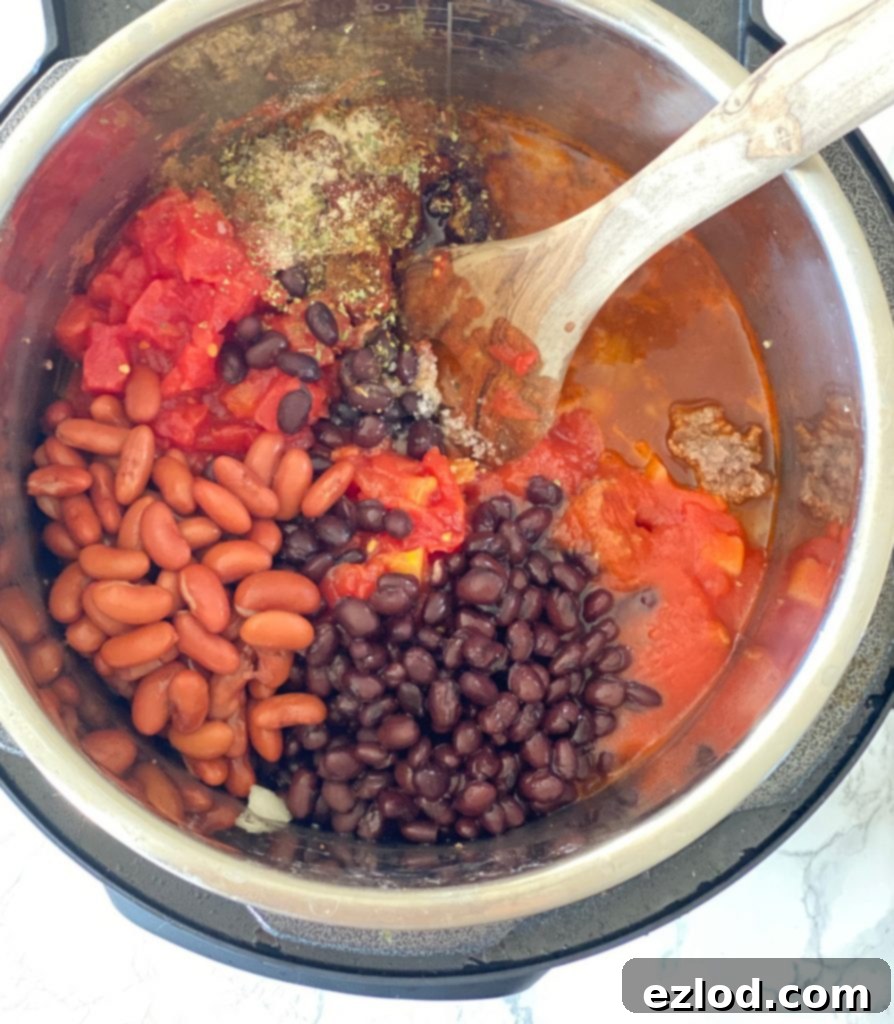
Canned beans are a fantastic pantry staple, but certain portion sizes (like the 1/2 cup yellow container for the 21 Day Fix) often mean you have some leftover after making recipes such as my 5-Ingredient Instant Pot Chili or my 21 Day Fix Quinoa Taco Casserole. If I simply leave them in the fridge, they almost invariably get pushed to the back, forgotten, and ultimately discarded. This is a common form of food waste that’s easy to prevent!
My simple fix is to freeze any extra beans I have. First, rinse the beans thoroughly under cold water to remove excess sodium and starchy liquid. Then, measure them into desired portions. You can freeze them with a small amount of their canning liquid (if desired) or just dry. Place them in a labeled freezer bag or small airtight container. Once frozen, they can be easily added to a future recipe – whether it’s another batch of chili, a hearty soup, a quick salad, or a lunchtime wrap. Freezing beans ensures that every last bit of that versatile protein is utilized, saving you money and reducing waste effortlessly.
Breads, Baked Goods, & Cooked Grains: Batch Cook & Freeze
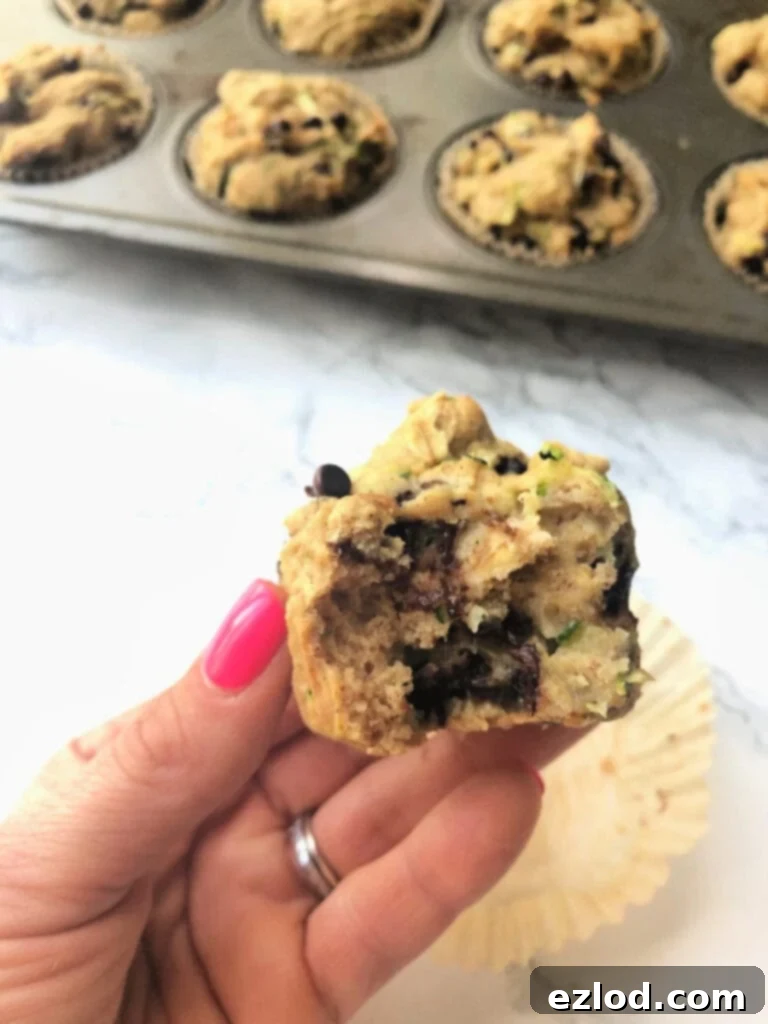
Your freezer is a phenomenal asset for managing baked goods and grains, transforming them into convenient grab-and-go options for busy mornings or quick meals. Whenever I whip up a batch of delicious Blueberry Muffins or my comforting Healthy Pumpkin Oatmeal Banana Bread, I always aim to double the recipe. One batch is for immediate enjoyment, and the other is meticulously wrapped and frozen for later. This strategy applies to all sorts of muffins, cookies, cakes, and even scones.
Store-bought breads, tortillas, and even those seldom-eaten ends of bread loaves are also perfect for freezing. Individually wrap slices of bread or tortillas, then store them in a freezer bag. They toast up beautifully from frozen, making them perfect for sandwiches or wraps. Those bread ends that no one seems to want? Collect them in a bag and use them later to make homemade breadcrumbs or for delightful recipes like Mini French Toast Casserole Cups. It’s an effortless way to reduce waste and always have ingredients on hand.
And speaking of treats, if you’re a fan of my Healthy Chocolate Peanut Butter Fudge, you’ll be thrilled to know that fudge freezes wonderfully! Check out this helpful Can you freeze fudge post for all the details on keeping this indulgent treat in your freezer for whenever those cravings strike!
Finally, don’t forget cooked grains! I routinely cook large batches of Brown Rice and Quinoa, portion them out, and freeze them. This transforms them into a quick and healthy side dish or a base for a nutritious lunch. Simply reheat from frozen in the microwave or on the stovetop with a splash of water, and you have a wholesome component ready in minutes.
Fresh Herbs: Preserve Aromatic Flavors
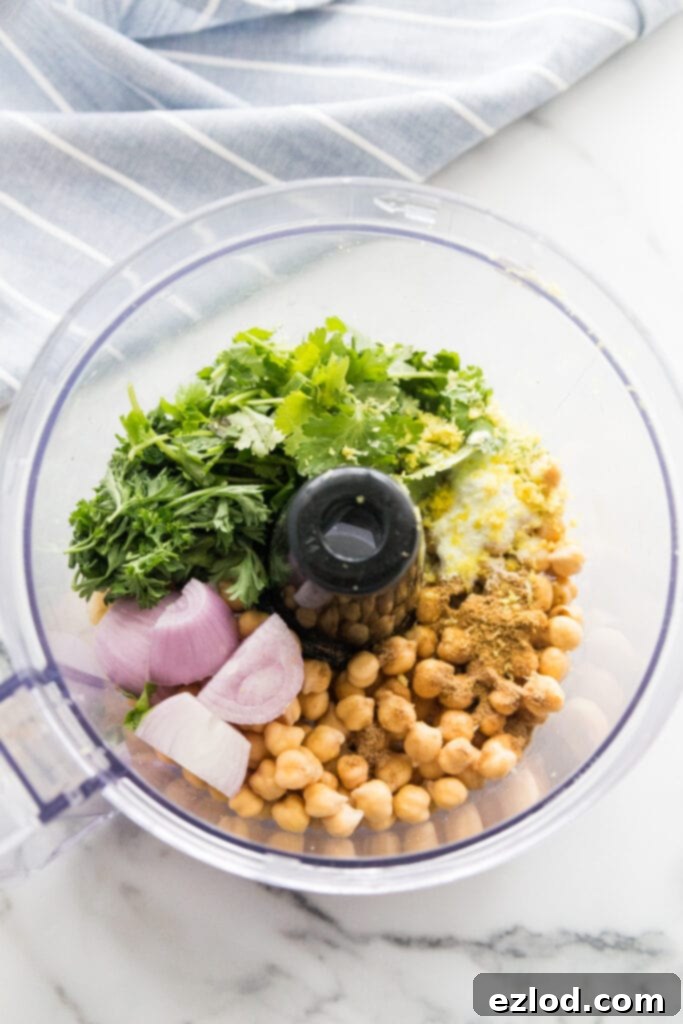
There’s nothing quite like the bright, fresh flavor of herbs like cilantro, parsley, and basil to elevate a dish. However, these delicate greens have a notoriously short shelf life, often wilting before you can use the whole bunch. Instead of watching them turn to mush, preserve their vibrant flavor and aroma in the freezer!
There are a couple of effective methods for freezing fresh herbs. For many herbs, especially those like parsley, cilantro, or chives, simply wash them thoroughly and dry them completely using a salad spinner or paper towels. Then, finely chop them and pack them into ice cube trays. Cover with a neutral oil (like olive oil) or water, then freeze until solid. Once frozen, pop out the herb cubes and transfer them to an airtight freezer bag or Stasher bag. These flavor-packed cubes can be dropped directly into soups, stews, sauces, or stir-fries. For basil, you might want to blend it with a little olive oil first to prevent blackening. Alternatively, for sturdier herbs like rosemary or thyme, you can simply wash, dry, and freeze the whole sprigs in a bag. While frozen herbs won’t have the same texture as fresh for garnishing, their flavor is perfectly preserved for cooking, ensuring you always have fresh herb goodness at your fingertips.
Unlock the Power of Your Freezer: Beyond Individual Ingredients
While freezing individual ingredients is a smart strategy, the true magic of the freezer comes alive when you use it for organized meal preparation. This approach can revolutionize your cooking habits, offering unparalleled convenience and efficiency.
Freezer Meal Prep Bootcamp: Transform Your Cooking Habits
Imagine having wholesome, ready-to-cook meals waiting for you in the freezer on those hectic weeknights. Dedicated freezer meal prep sessions allow you to set aside a few hours to prepare several full meals for a future date, dramatically cutting down on daily cooking time. Not sure where to begin with freezer meals? I’ve got you covered with detailed, step-by-step guides. For Instant Pot enthusiasts, check out my 21 Day Fix Instant Pot Freezer Meal Prep, which includes a free printable grocery list and clear prep instructions. If you prefer your slow cooker, my 21 Day Fix Crock Pot Freezer Prep offers similar guidance, making it easy to assemble nutritious meals in just a few hours. These bootcamps are designed to simplify your life, ensuring you always have delicious, healthy options without the daily grind.
More Resources for a Well-Stocked Kitchen
Beyond freezing, a truly efficient kitchen benefits from smart pantry stocking and versatile recipes. Explore these additional posts to further optimize your food storage and meal planning:
- Healthy Freezer Meals [Instant Pot | Slow Cooker | Oven]
- Healthy Pantry Staples and Shelf Stable Fruits, Veggies, and Protein
- Healthy Pantry Staples Recipes
- 31 Days of Healthy Instant Pot Recipes [21 Day Fix | Weight Watchers Freestyle]
- The Ultimate Portion Fix Recipe Guide | 31 Days of Ultimate Portion Fix Recipes
By harnessing the power of your freezer and embracing smart food storage strategies, you can transform your kitchen into a hub of efficiency, health, and savings. Say goodbye to food waste and hello to effortless meal prep and a constantly stocked pantry. Happy freezing!
