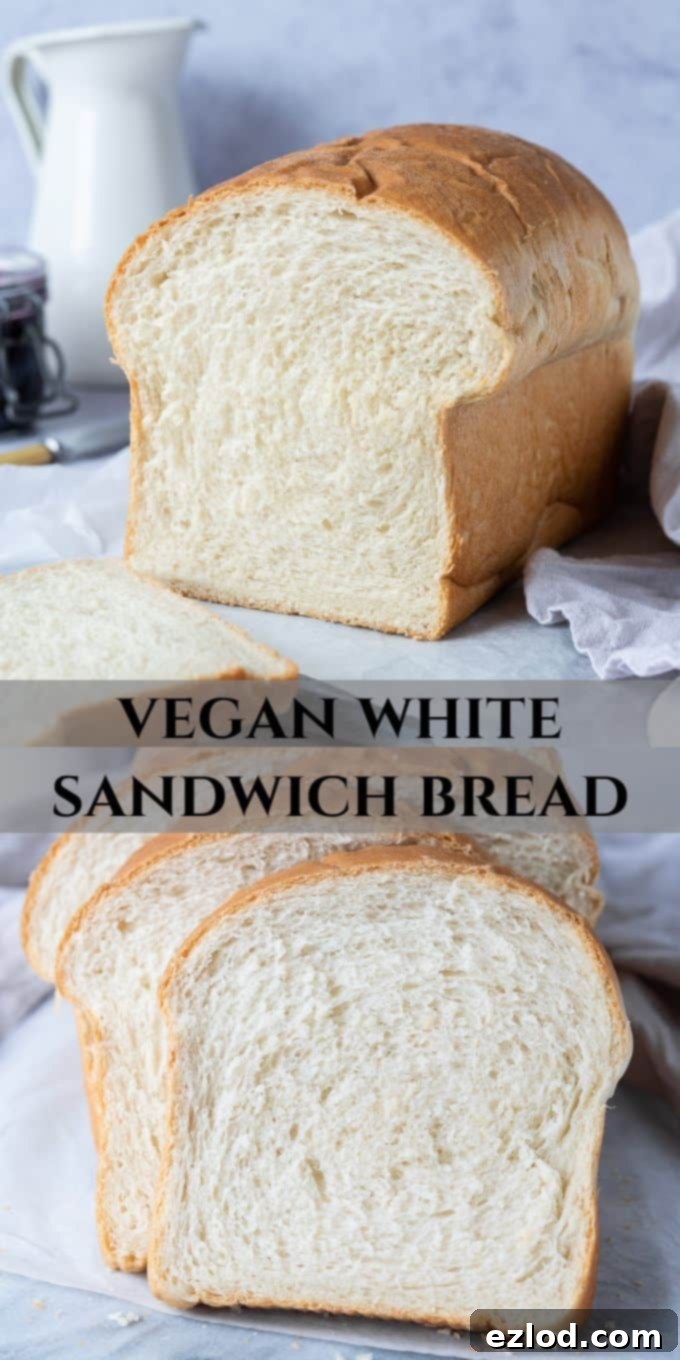
Fluffy & Delicious: Your Ultimate Guide to Easy Homemade Vegan White Sandwich Bread
Welcome to your new favorite bread recipe! This incredible vegan white sandwich bread is incredibly easy to make, resulting in a soft, tender, and utterly delicious loaf that’s perfect for all your sandwich needs. Whether you’re making classic lunch sandwiches, toasting it for breakfast, or simply tearing off a piece to dunk into a hearty soup, this eggless and dairy-free homemade bread is destined to become your go-to staple. Forget store-bought loaves – once you experience the superior taste and texture of this simple recipe, you’ll never look back!
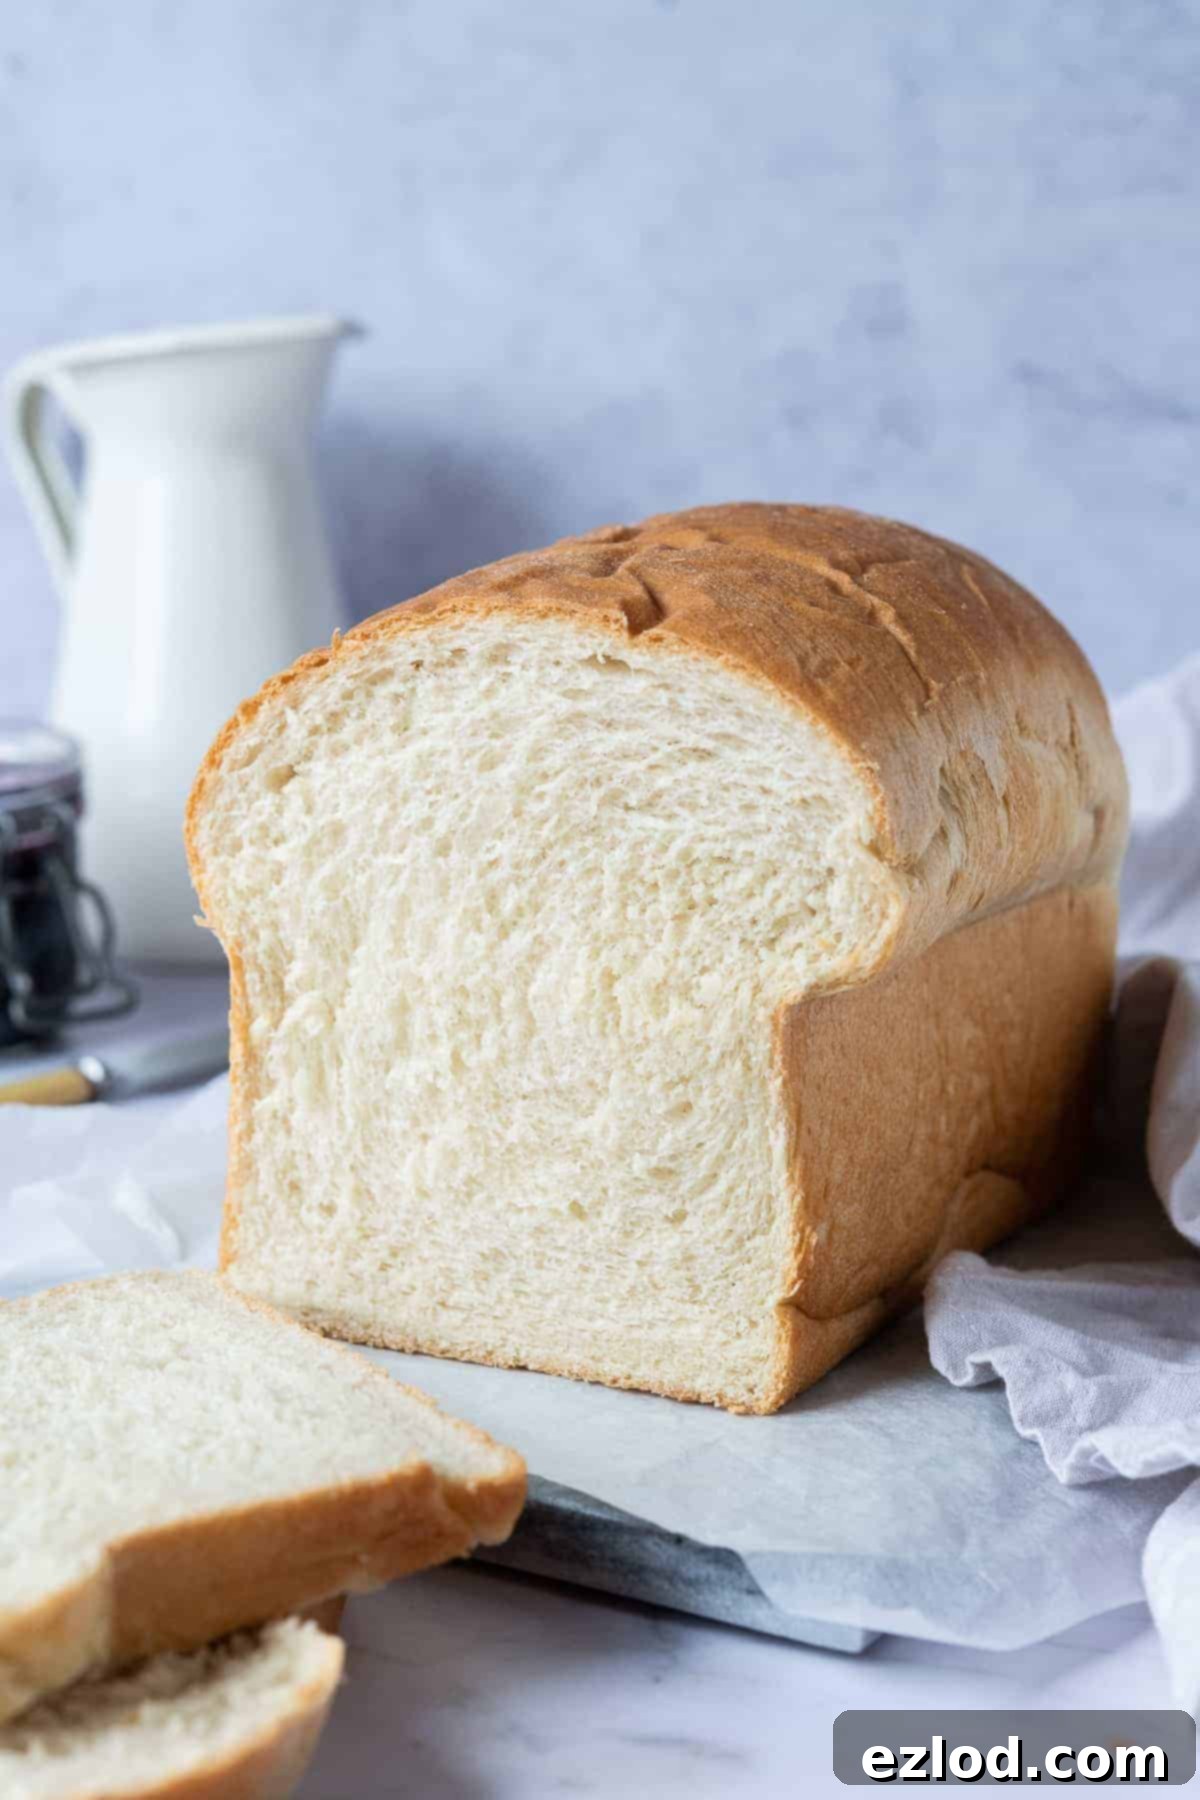
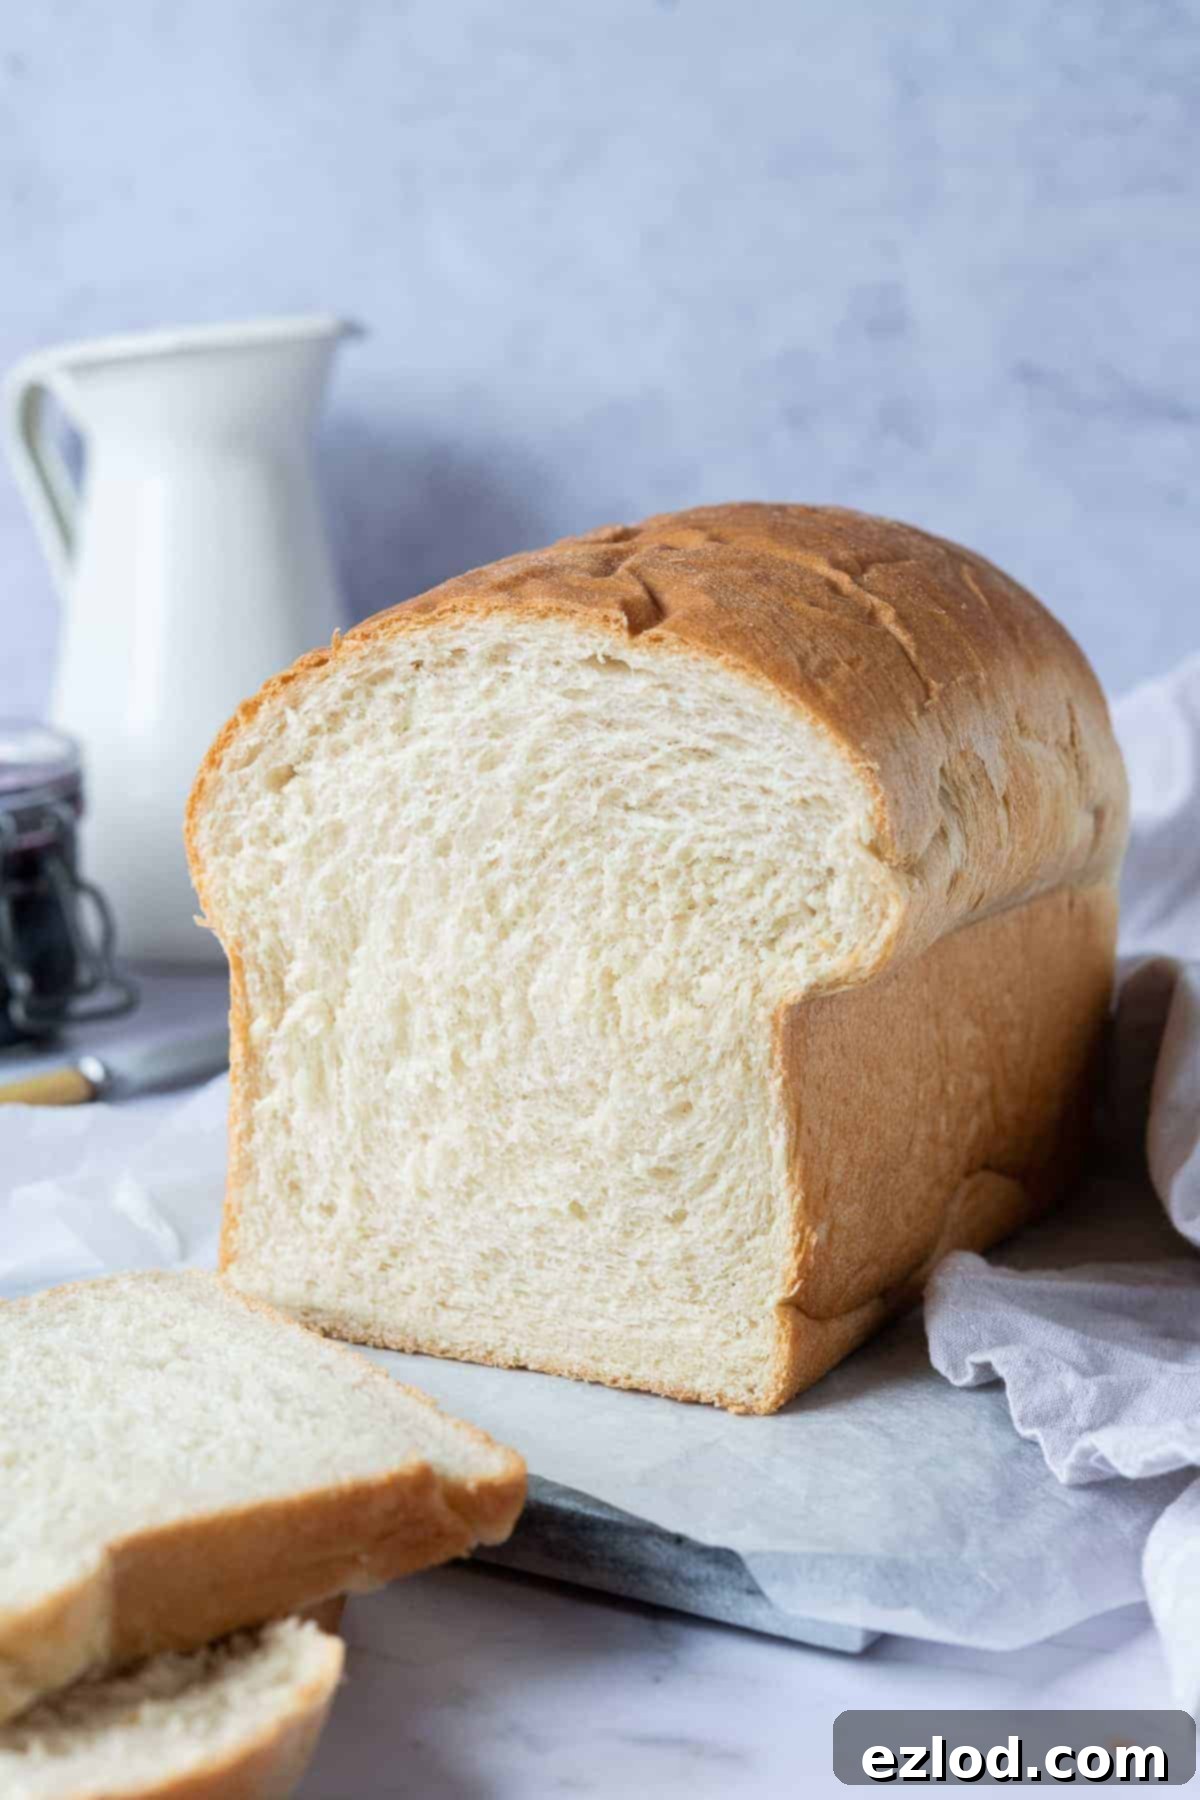
There’s nothing quite like the aroma of freshly baked bread filling your home. And when it comes to a truly versatile, everyday loaf, this vegan white sandwich bread recipe hits all the right notes. It’s not just for sandwiches; think buttery toast, warm slices with jam, a delightful accompaniment to a comforting stew, or even a simple snack with your favorite vegan spread. This recipe yields a wonderfully soft and incredibly flavorful bread that slices beautifully without crumbling, making it ideal for any occasion. Plus, the satisfaction of pulling a warm, golden loaf from your own oven is unparalleled.
One of the best things about this recipe is its simplicity. You don’t need any complex techniques or obscure ingredients to create this fantastic vegan bread. All it requires are a few common pantry staples that you likely already have on hand: bread flour, instant yeast, a touch of sugar to activate the yeast and enhance flavor, salt for balance, softened vegan butter or margarine for richness, and a combination of unsweetened non-dairy milk and water for the perfect dough consistency. It’s a straightforward process that rewards you with a truly exceptional loaf of homemade vegan bread.
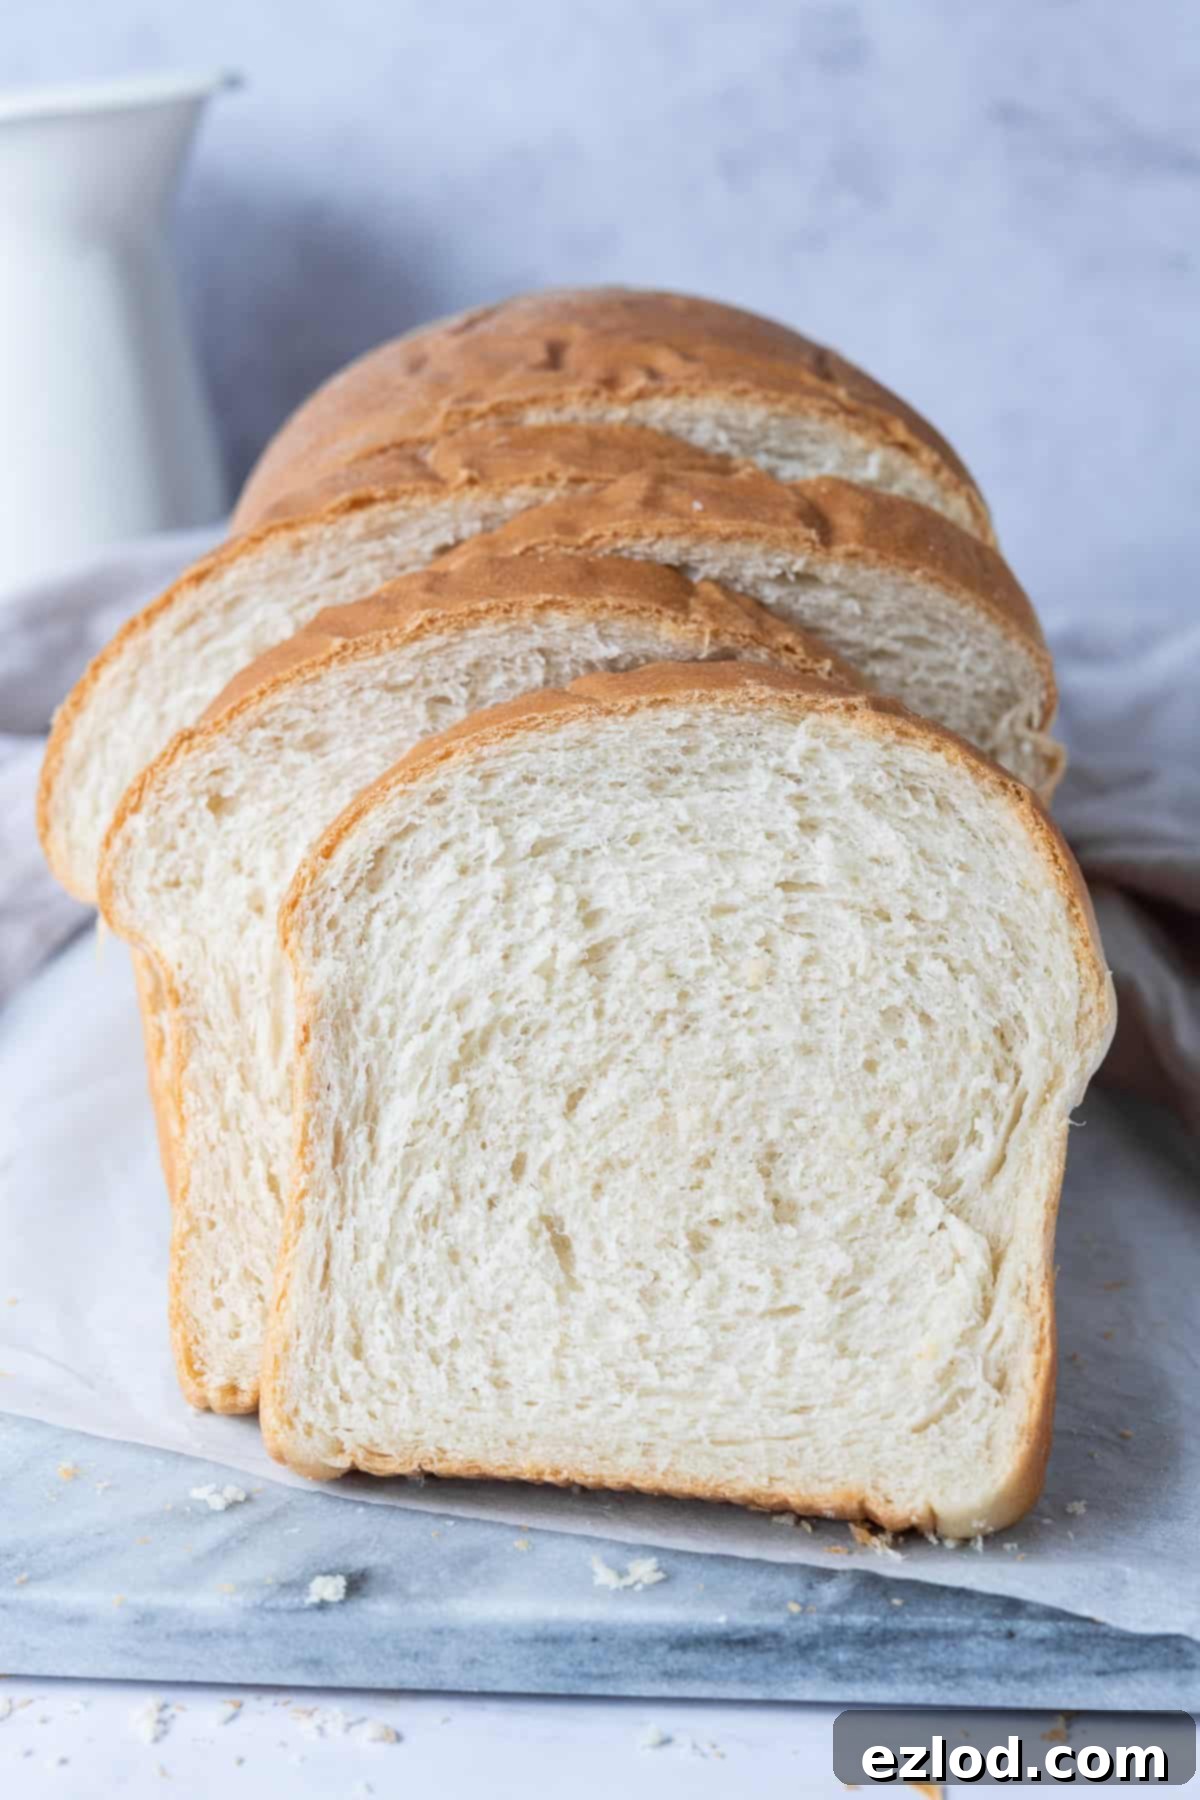
While making bread from scratch does require a bit of time, most of it is hands-off, allowing the dough to do its magic as it rises. The small amount of effort you put in is incredibly rewarding, resulting in a super soft, fluffy, buttery, and utterly delicious loaf of vegan white sandwich bread that far surpasses anything you can buy in a store. Not only is it fresher, but you also have complete control over the ingredients, ensuring a wholesome and delightful product every single time. This easy vegan bread recipe is perfect for both beginner bakers and seasoned pros looking for a reliable, dairy-free, and eggless option.
Mastering Your Homemade Vegan White Sandwich Bread: A Step-by-Step Guide
Creating this soft and fluffy vegan bread is an enjoyable process. Here’s a detailed breakdown of each step, ensuring you achieve a perfect loaf every time. (For precise ingredient measurements and a complete printable recipe, please refer to the comprehensive recipe card below).
1. Prepare Your Dough: Combining the Dry and Wet Ingredients
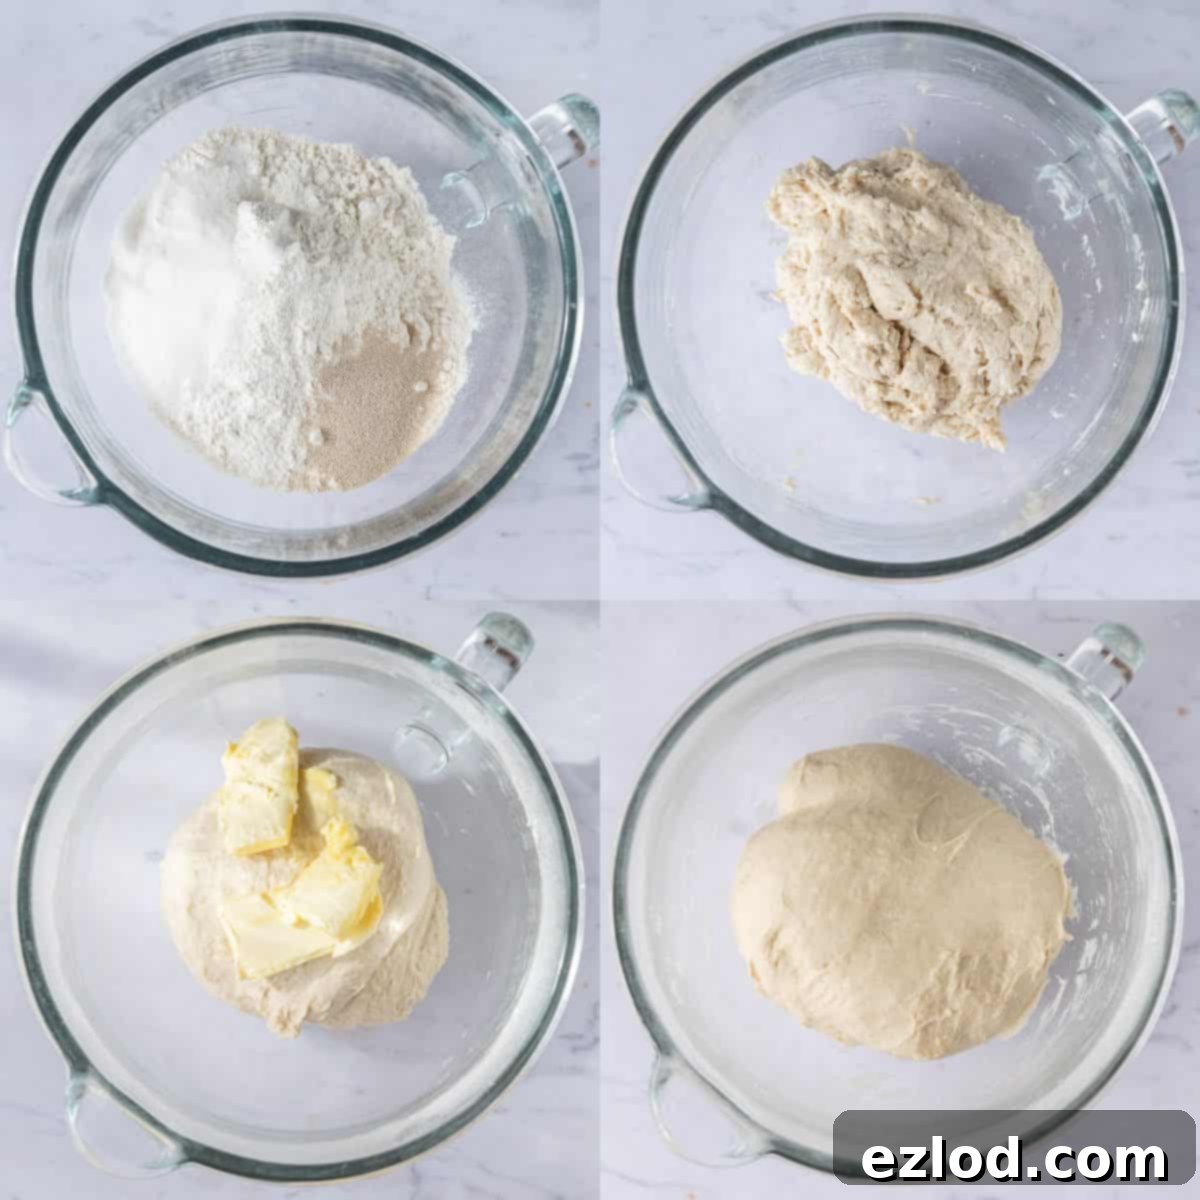
Begin by gathering your essential dry ingredients: bread flour, instant yeast, granulated sugar, and salt. Place them all into a large mixing bowl. If you’re fortunate enough to have a stand mixer, this is the perfect time to attach its dough hook for effortless kneading. Give these dry components a good mix to ensure they are thoroughly combined. This initial step helps to evenly distribute the yeast and salt throughout the flour, which is crucial for consistent rising and flavor in your homemade sandwich bread.
Next, it’s time to introduce the liquids. Gradually stir in the lukewarm unsweetened non-dairy milk. Soy milk is often recommended for its higher protein content, which can contribute to a better crumb structure in vegan baking, but any unsweetened variety will work. Follow this by adding just enough lukewarm water to bring the mixture together, forming a soft and slightly sticky dough. The amount of water can vary slightly depending on your flour, so add it gradually until you reach the desired consistency. The dough should not be overly wet but should feel cohesive and pliable.
2. Kneading for Perfection: Developing Gluten and Adding Richness
Kneading is a fundamental step in bread making, vital for developing the gluten structure that gives your vegan white bread its signature chewiness and elasticity. Knead the dough for approximately 5 minutes until it becomes noticeably smooth. At this point, the gluten is beginning to form, and the dough will start to feel more cohesive.
Now, incorporate the softened vegan butter or margarine. Using a block-style vegan butter often yields the best results for texture and flavor. Continue to knead the dough until the butter is completely integrated, and the dough transforms into a smooth, supple, and elastic mass. A well-kneaded dough will cleanly pull away from the sides of the bowl and feel wonderfully stretchy when you test it. While a slight stickiness is normal and desirable for a soft bread, if the dough feels excessively wet, you can knead in a tiny bit more flour, a teaspoon at a time, until it reaches the perfect consistency. Avoid adding too much flour, as this can result in a dry and dense loaf.
3. The First Rise: Allowing Your Dough to Double in Size
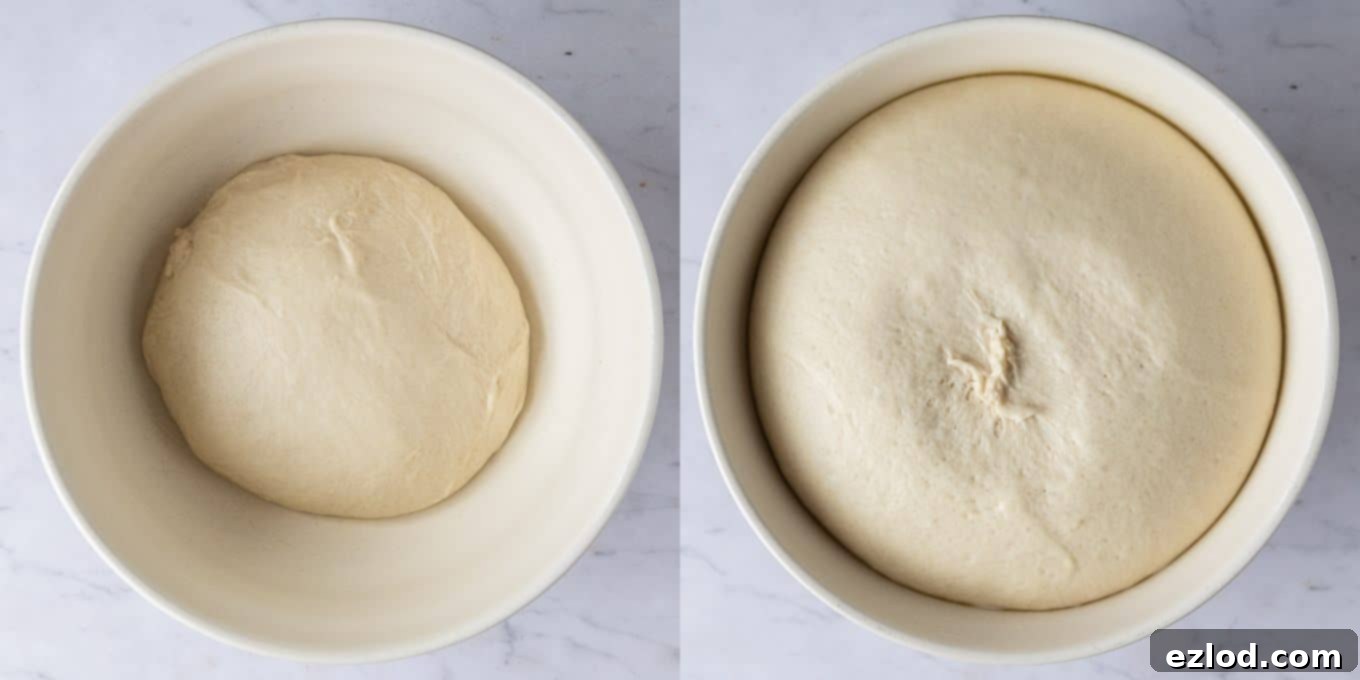
Once your dough is perfectly kneaded, lightly grease a clean bowl. Transfer the dough into this bowl, turning it once to coat it lightly with oil, which prevents it from drying out. Cover the bowl loosely with plastic wrap, a clean kitchen towel, or a damp cloth to create a warm, humid environment. Set the dough aside in a warm spot, allowing it to rise until it has at least doubled in size. This process typically takes about 1-2 hours at a comfortable room temperature, though it can vary based on the warmth of your kitchen. Patience during this stage is key, as a proper first rise contributes significantly to the bread’s light and airy texture.
4. Shaping Your Loaf: From Dough to Bread Form
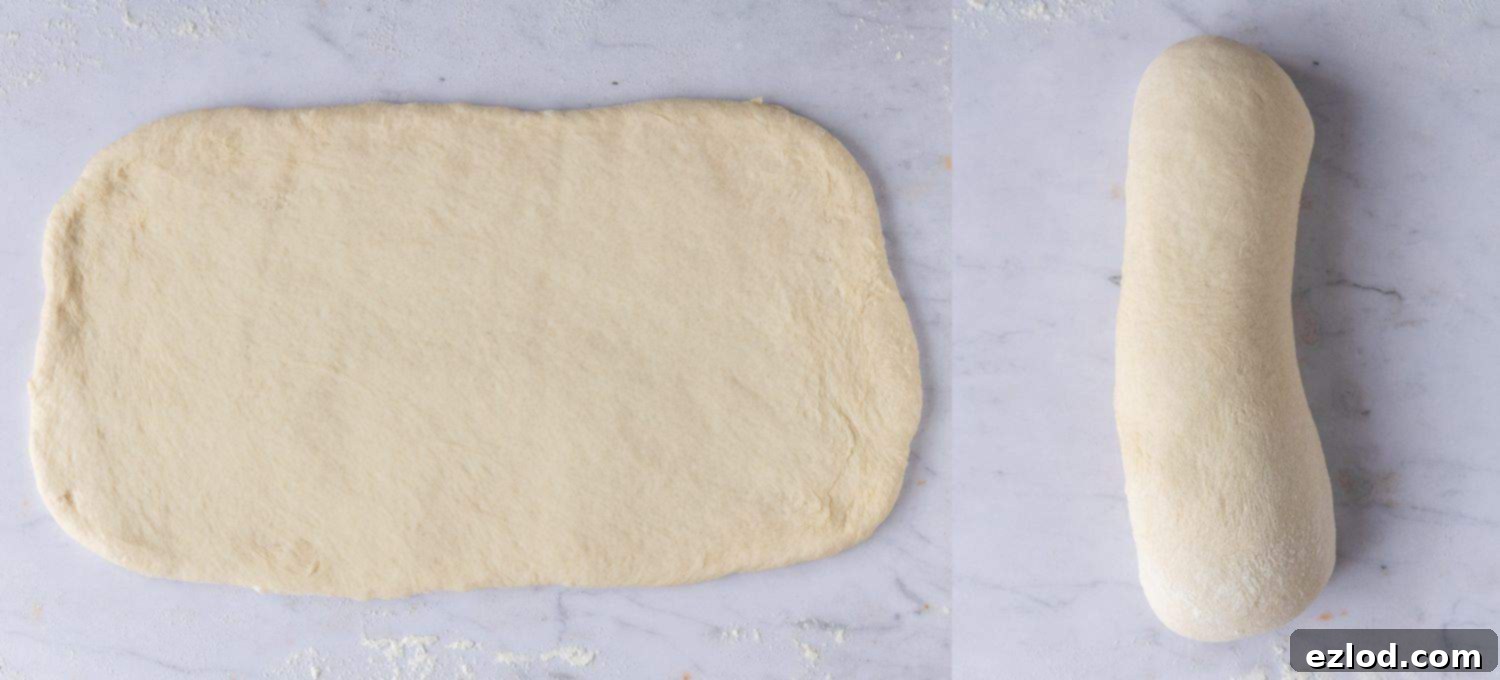
After the first rise, gently “punch down” the dough to release the accumulated gases. Give it a brief, approximately 30-second knead to knock out the air evenly. Then, let the dough rest for about 10 minutes; this allows the gluten to relax, making it easier to handle. Lightly flour your work surface and roll the dough out into a rectangle, aiming for dimensions of roughly 20 x 38 cm (8 x 15 inches). Don’t worry if it’s not a perfect rectangle; a rough approximation is perfectly fine.
Starting from one of the shorter edges, tightly roll the dough up into a log. The goal is to create a firm, even log that’s approximately 20 cm (8 inches) long. A tight roll ensures a good, even crumb structure in your finished vegan sandwich bread, preventing large air pockets.
5. The Second Rise: Preparing for Baking
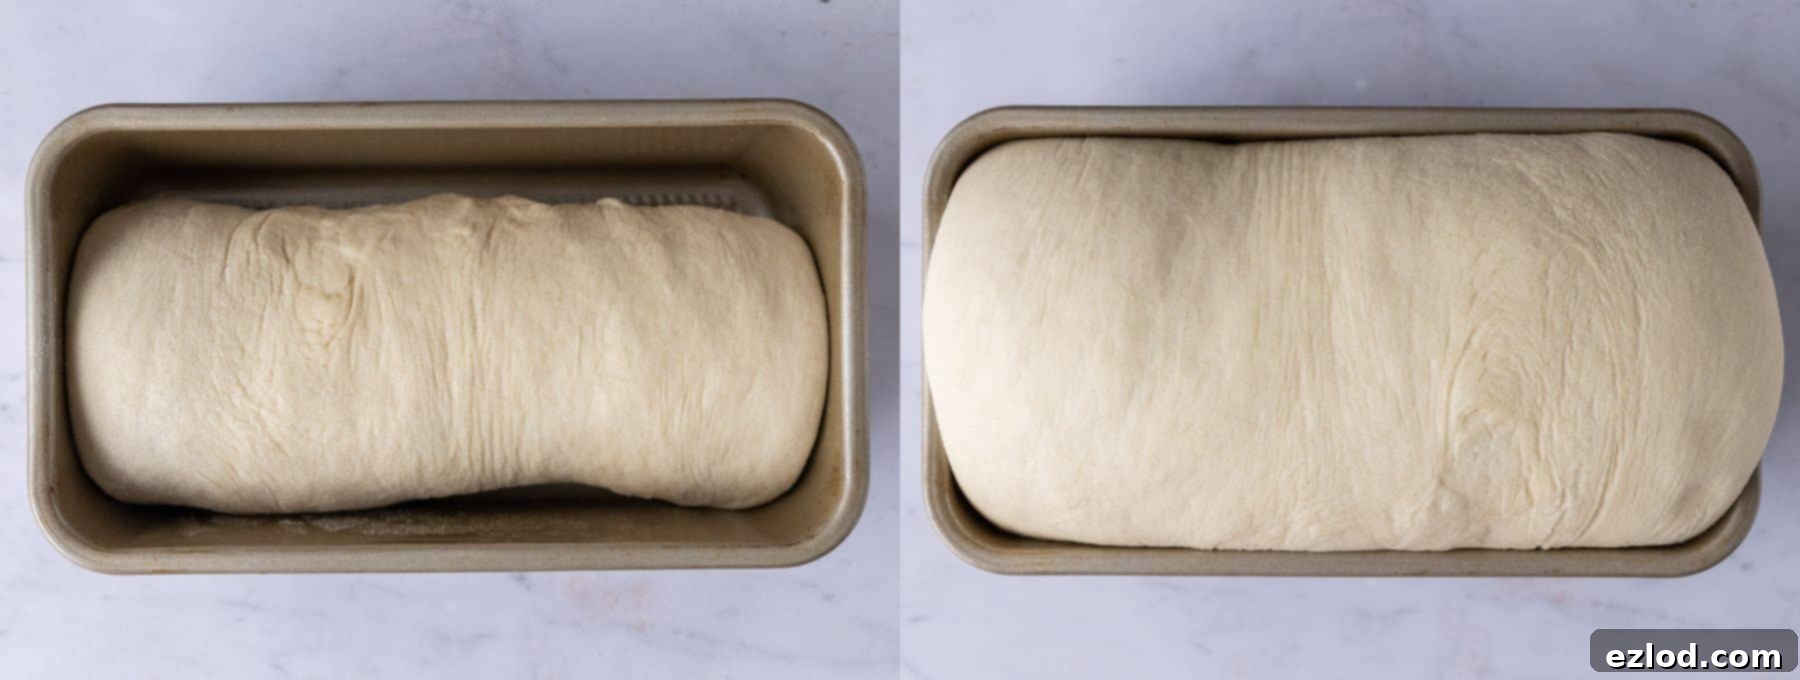
Generously grease an appropriate-sized loaf tin. For this recipe, a tin measuring between 11.5 x 21.5 cm (8.5 x 4.5 inches) and 13 x 23 cm (9 x 5 inches) works best. Carefully place your shaped dough log into the prepared tin, ensuring the seam side is facing down. Loosely cover the tin once more and place it in a warm spot for its second rise. This final rise is crucial for a light and airy texture. The dough should rise until it extends about 2.5 cm (1 inch) above the top of the tin. To check if it’s ready, gently press it with a finger: it should spring back slowly, perhaps leaving a small indentation. If it springs back quickly, it needs a bit more time. This second rise typically takes around 45-60 minutes.
6. Baking Your Beautiful Loaf
As your dough completes its second rise, preheat your oven to 190°C/170° fan/375°F/gas mark 5. Once the oven is ready and the dough has risen beautifully, bake the loaf for 30-35 minutes. The bread should emerge with a gorgeous golden-brown crust. For absolute certainty of doneness, use a probe thermometer to check the internal temperature; it should register 94°C/201°F. If you don’t have a thermometer, a traditional test is to tap the bottom of the loaf – it should sound hollow when fully cooked. Once baked, immediately transfer the loaf to a wire rack. This is vital for air circulation, preventing the bottom crust from becoming soggy. Allow the bread to cool completely before attempting to slice it. Slicing warm bread can lead to a gummy texture, so resist the urge and let it cool for the best results!
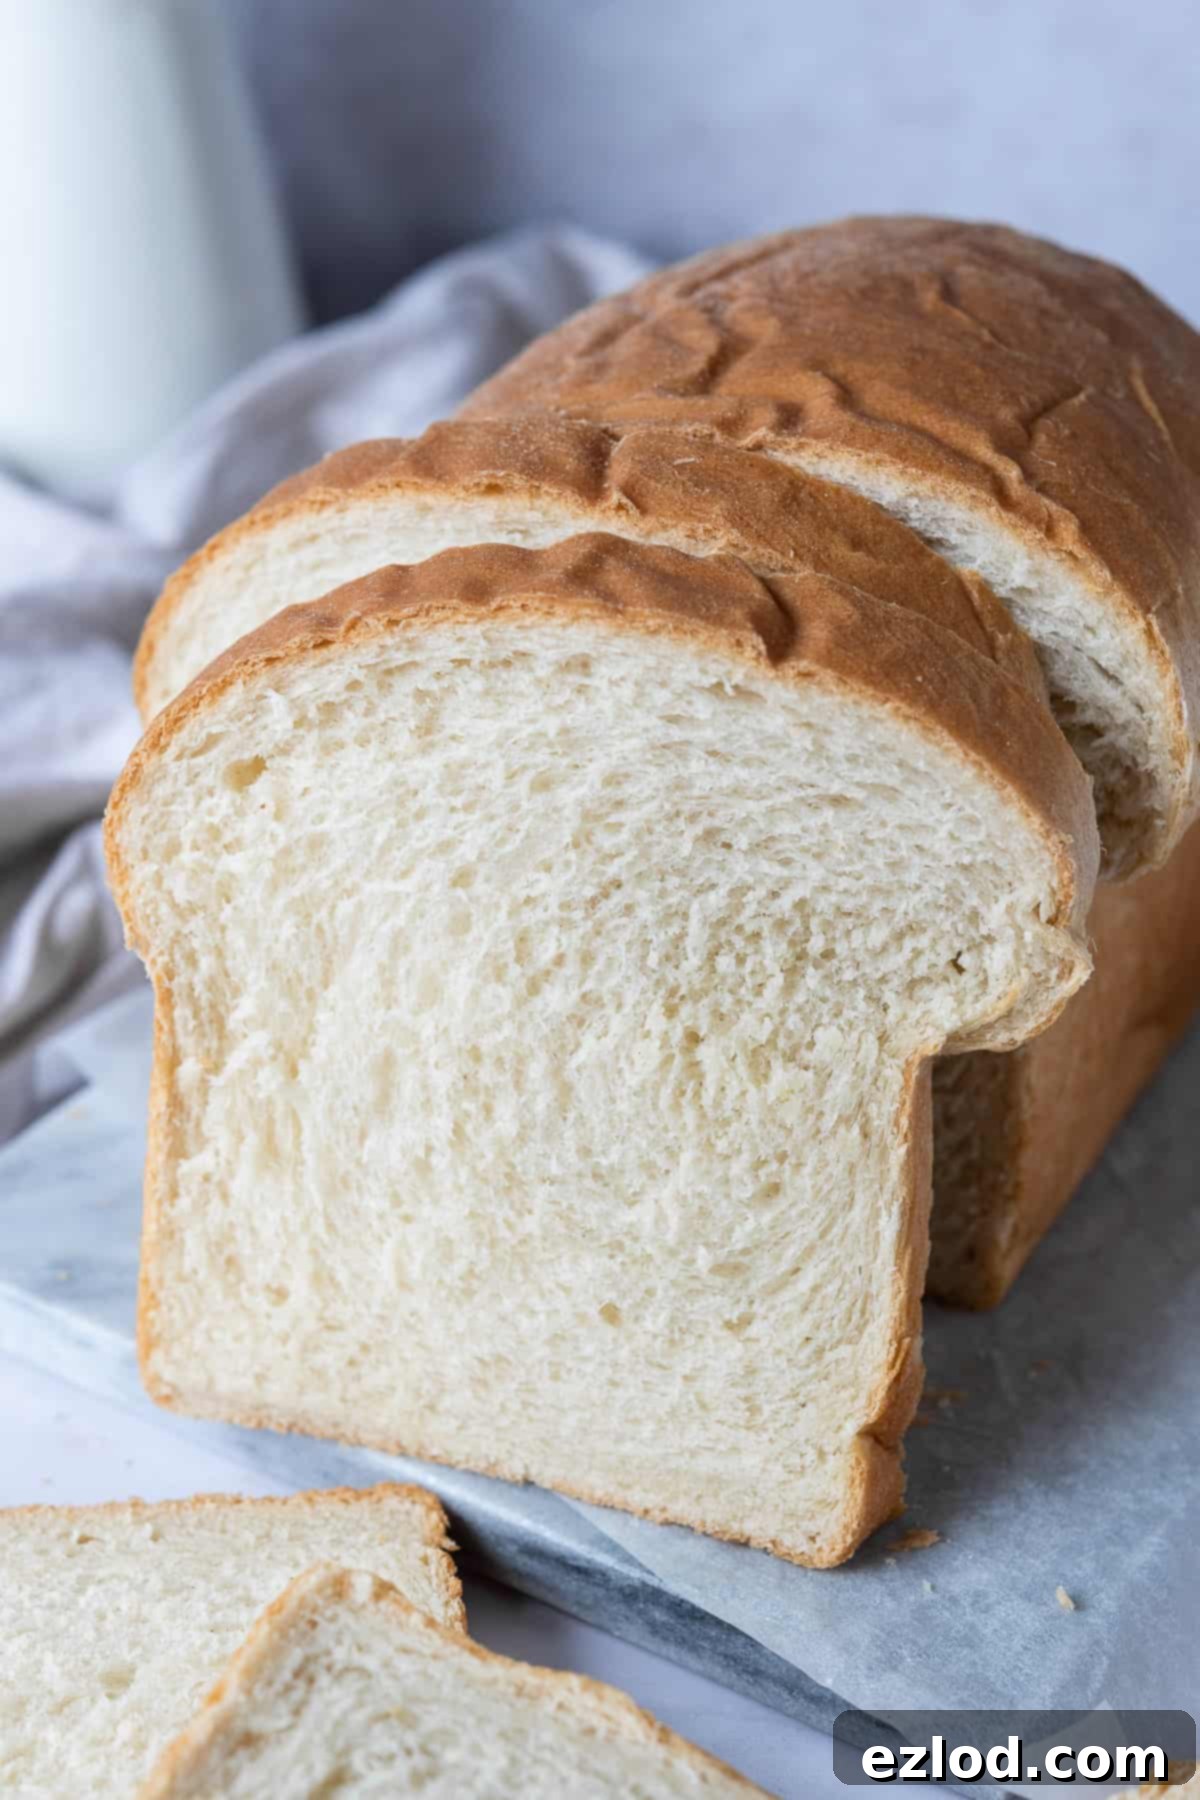
Expert Tips for Baking the Perfect Vegan Sandwich Bread
Achieving a consistently perfect loaf of homemade vegan bread relies on a few key practices. Following these tips will help ensure your vegan white sandwich bread is always soft, fluffy, and utterly delicious.
- Precision in Measuring Ingredients: For superior baking results, always weigh your ingredients using a digital kitchen scale with gram measurements rather than relying on cup conversions. Volume measurements can be imprecise and lead to inconsistent outcomes. This accuracy is particularly crucial in bread making, where ratios of flour to liquid directly impact dough consistency and final texture.
- Choosing the Right Flour: While plain (all-purpose) flour can be used in a pinch, bread flour is highly recommended for this recipe. Its higher protein content leads to stronger gluten development, which is essential for that wonderfully chewy yet tender crumb structure desired in a soft sandwich loaf. Avoid using wholemeal or whole wheat flour, as it will result in a denser, heavier bread that doesn’t align with the light texture of a classic white sandwich bread.
- Adjusting Flour and Liquid for Dough Consistency: Different brands of flour absorb varying amounts of liquid. Always start with the quantity of flour and liquid specified in the recipe. If your dough feels too wet after initial mixing and kneading, add a tiny bit more flour, a tablespoon at a time, until it reaches a soft, slightly sticky but manageable consistency. Remember, this recipe aims for a soft and sticky dough, so be cautious not to add too much flour, which can make your bread dry and crumbly.
- Optimal Non-Dairy Milk Selection: Any unsweetened non-dairy milk will work, but for best results in baking, soy milk is often preferred. Its higher protein content helps to mimic the structure-building properties of dairy milk, contributing to a more robust and flavorful loaf.
- Understanding Rising Times: The time it takes for your dough to rise is directly influenced by temperature. In warmer environments, the yeast will be more active, and the dough will rise much faster. Conversely, on colder days, it will take longer. Don’t strictly adhere to the suggested time; instead, watch the dough itself and wait until it has visibly doubled in size for the first rise and adequately risen in the tin for the second.
- The Benefits of an Overnight First Rise: For an even deeper flavor and a way to manage your baking schedule, consider giving your dough its first rise overnight in the refrigerator. The cold temperature slows down the yeast activity, allowing for a longer fermentation process that develops more complex flavors in the bread. Simply remove it from the fridge a couple of hours before you plan to shape it, letting it come to room temperature before proceeding with the rest of the recipe.
- Ensuring Your Bread is Fully Cooked: The most reliable way to determine if your bread is perfectly baked through is by using a probe thermometer. Inserted into the center of the loaf, it should reach an internal temperature of 94°C (201°F). Ovens can vary significantly, so a specific baking time might not always be universally accurate. If you don’t have a thermometer, tapping the bottom of the loaf to hear a hollow sound is a traditional but less precise indicator of doneness.
Understanding Yeast: Active Dry vs. Instant Yeast
The type of yeast you use can slightly alter the preparation method, so it’s important to know the difference.
I typically use **fast-action yeast**, also known as **instant yeast** or **easy-bake yeast**. This type is incredibly convenient because it doesn’t require prior activation. You simply add it directly to your dry flour mixture, saving a step and speeding up the process.
If you only have **active dried yeast** on hand, you can certainly still make this delicious vegan white sandwich bread! However, active dry yeast needs a little “kick-start.” To activate it, you’ll need to mix it with some of the warm water (or non-dairy milk) and a pinch of the sugar from the recipe. Let this mixture sit for 10-20 minutes in a warm spot until it becomes foamy and bubbly. This foam indicates that the yeast is active and alive. Once it’s bubbly, you can proceed with the rest of the recipe as written, adding this activated yeast mixture along with the other liquids.
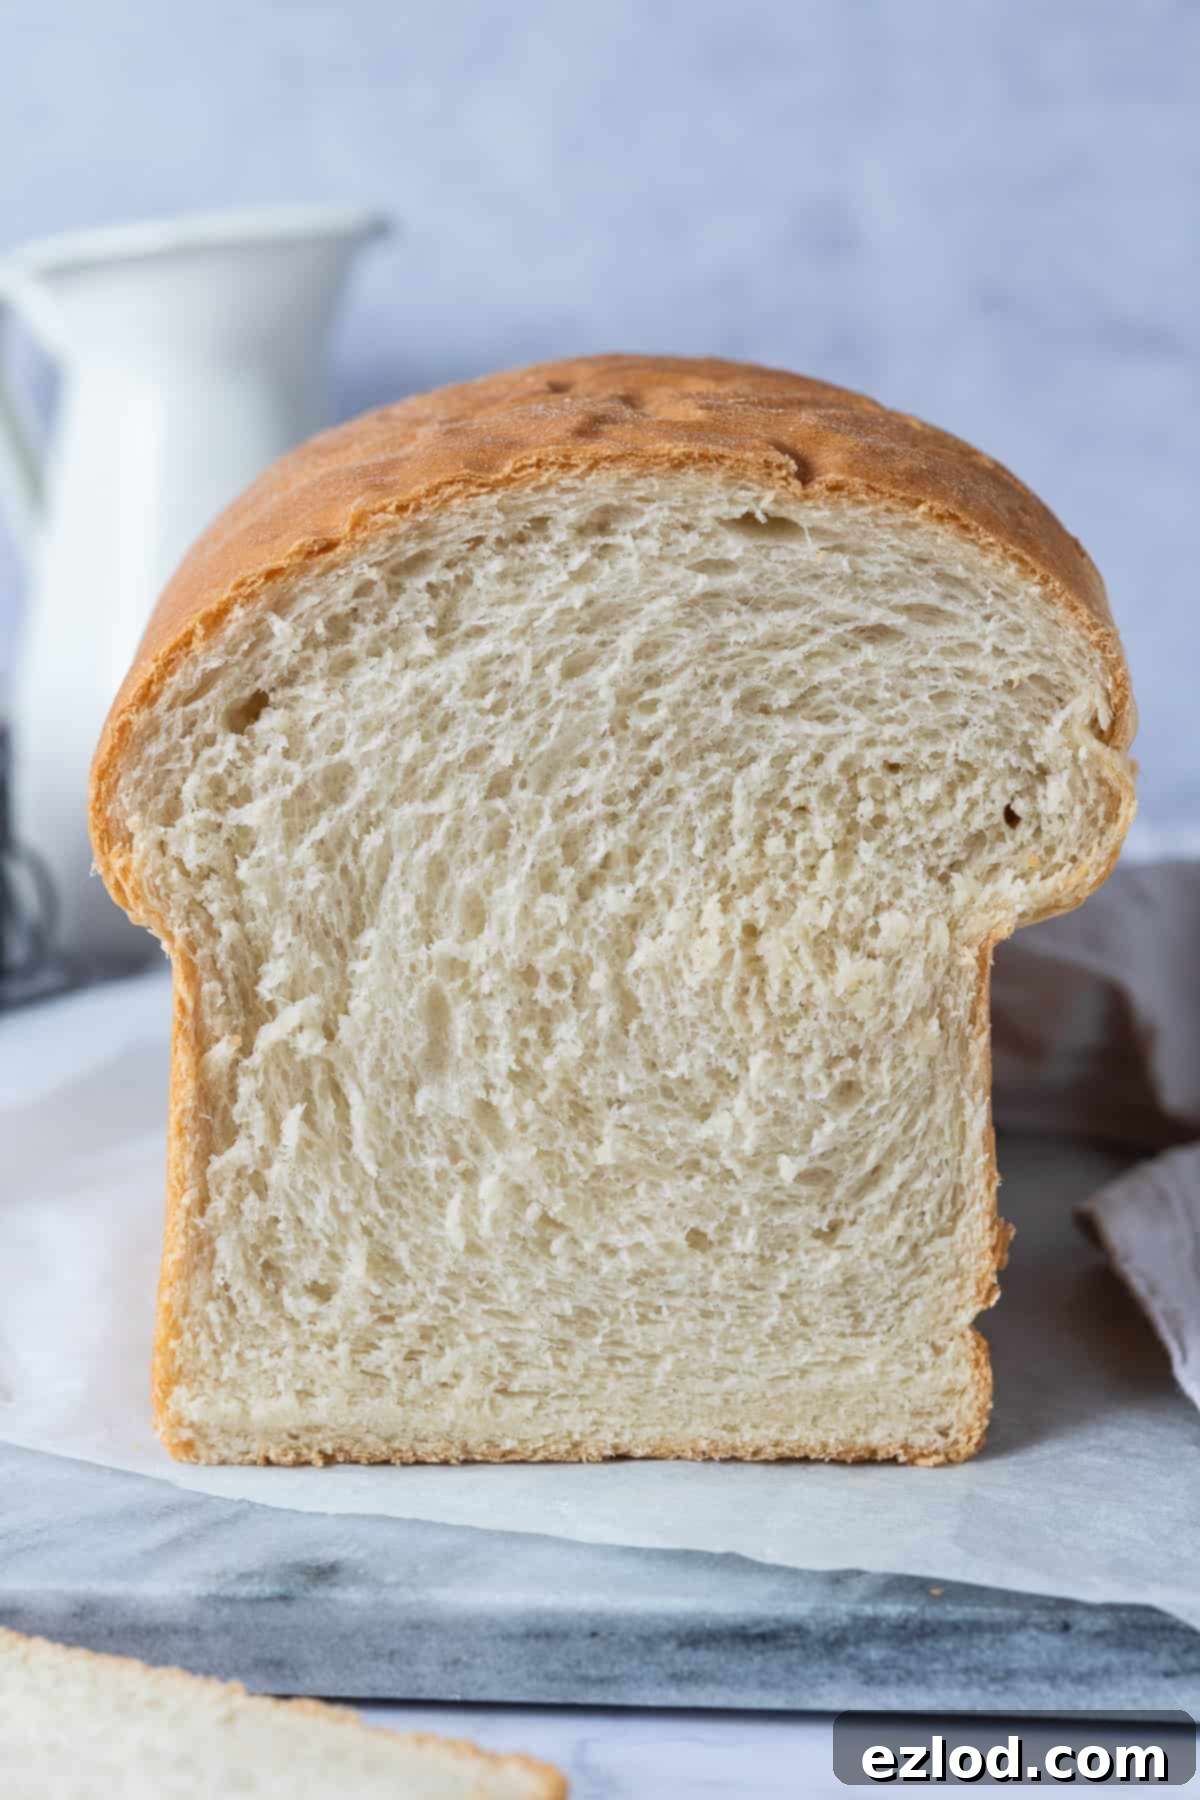
Storing Your Homemade Vegan White Sandwich Bread
Proper storage is essential to keep your homemade vegan bread fresh and soft for as long as possible. Once your loaf has cooled completely to room temperature (this is crucial!), store it in an airtight container or a dedicated bread bin. Keeping it at room temperature is key, as placing fresh bread in the refrigerator can actually cause it to go stale much faster due to a process called retrogradation of starch, where the starch molecules crystallize more rapidly in cool temperatures.
As with most freshly baked bread, this vegan white sandwich bread is truly at its absolute best on the day it’s baked, when it’s incredibly soft and fragrant. However, it will maintain its delicious softness and quality for approximately 3 days when stored correctly.
If you find that your bread is starting to lose its initial freshness and become a bit stale, don’t throw it away! There are many wonderful ways to repurpose it. Consider slicing it thick and using it to make a delightful vegan French toast. Or, for a more savory option, you can blend the stale pieces into fresh breadcrumbs, which are perfect for coating vegetables, topping casseroles, or adding texture to various other recipes. This minimizes waste and ensures every bit of your homemade effort is enjoyed!
Can You Freeze This Vegan White Sandwich Bread? Absolutely!
Yes, this vegan white sandwich bread freezes beautifully, making it an excellent option for meal prep or ensuring you always have a fresh loaf on hand. You can freeze it either as a whole loaf or pre-sliced, depending on how you plan to use it later.
To freeze, first ensure the bread is completely cool. Then, place it in a heavy-duty freezer bag or wrap it tightly in a double layer of plastic wrap followed by aluminum foil. This helps prevent freezer burn. It will keep well in the freezer for up to three months. For optimal freshness, it’s best to freeze the bread on the same day it was baked, right after it has fully cooled.
When you’re ready to enjoy it, convenience is key! If you’ve frozen individual slices, you can pop them directly into a toaster for a quick and delicious piece of toast. If you’ve frozen a whole loaf, simply allow it to defrost at room temperature for several hours or overnight. Once thawed, you can refresh it by placing it in a low oven (around 150°C/300°F) for 5-10 minutes. This gentle reheating will bring back much of its original texture and aroma, making it taste almost as good as freshly baked.
Explore More Delicious Vegan Bread Recipes:
If you’ve loved making this versatile vegan white sandwich bread, you might be excited to try other homemade vegan bread creations. Here are some fantastic recipes to expand your baking repertoire:
- Soft and Flavorful Vegan Naan Bread
- Rich and Braided Vegan Challah Bread
- Incredibly Fluffy Vegan Hokkaido Milk Bread
- Crispy & Chewy Vegan Beer Pretzels
- Aromatic Sea Salt and Rosemary Focaccia
- Quick and Easy Vegan Flatbreads
- Moist and Savory Vegan Cornbread
- Decadent Vegan Brioche
- Seasonal Pumpkin Bread Rolls
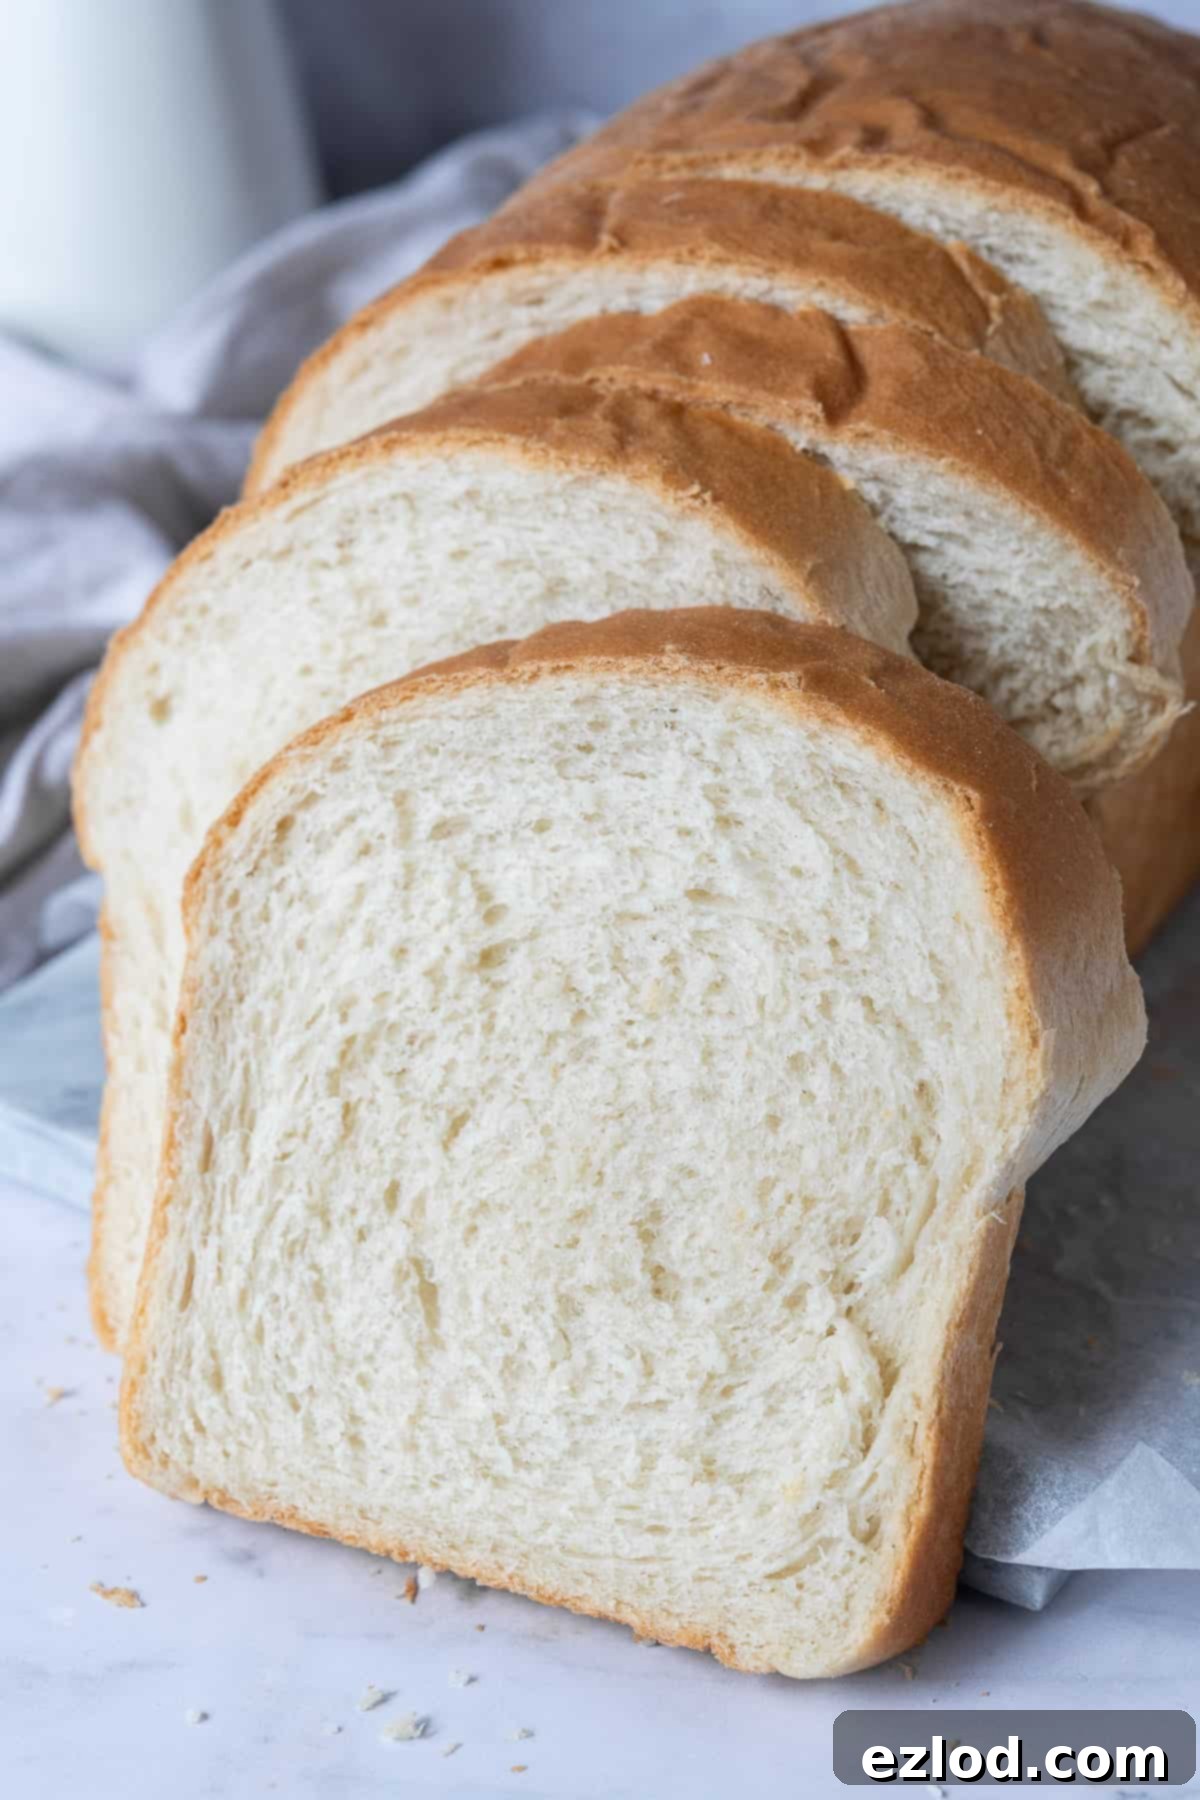
We hope you adore this easy vegan white sandwich bread recipe as much as we do! If you tried it, we’d love to hear from you. Please take a moment to rate it, leave a comment with your feedback, or tag @domestic_gothess on Instagram and use the hashtag #domesticgothess to share your culinary creation! Your feedback helps us grow and inspires others to bake delicious vegan treats. Happy baking!
*All images and content on Domestic Gothess are copyright protected. If you want to share this recipe then please do so by using the share buttons provided. Do not screenshot or post the recipe or content in full.*

Print
Vegan White Sandwich Bread
Ingredients
- 450 g (3 + ¾ cups) white bread flour
- 1 ½ tsp salt
- 25 g (2 Tbsp) caster/granulated sugar
- 7 g (2 ¼ tsp) fast action/instant yeast
- 150 ml (½ cup + 2 Tbsp) unsweetened non-dairy milk (soy is best) lukewarm
- 150 ml (½ cup + 2 Tbsp) water lukewarm
- 60 g (¼ cup) vegan butter/margarine (block is best. I use Naturli Vegan Block) softened
Instructions
-
Place the flour, yeast, sugar and salt in a large bowl or the bowl of a stand mixer fitted with a dough hook and mix to combine.
-
Stir in the lukewarm non-dairy milk and enough of the water to form a soft, slightly sticky dough. You may not need to add all of the water or you may need a little more.
-
Knead the dough for about 5 minutes until it is smooth, then add the softened vegan butter/margarine and continue to knead the dough until the butter is fully combined and the dough is smooth and elastic. It should pull away from the sides of the bowl cleanly and feel stretchy. The dough should be slightly sticky but if it feels wet then you can knead in a little bit more flour as needed.
-
Place the dough in a lightly greased bowl, cover and set aside to rise until it is at least doubled in size, about 1-2 hours at warm room temperature.
-
Once the dough has risen, punch it down and give it a brief 30 second knead to knock out the air, let it rest for 10 minutes then roll it out on a lightly floured surface into a rectangle about 20 x 38 cm / 8 x 15 in.
-
Starting at one of the short edges, roll the dough up tightly into a log. It should be about 20 cm / 8 in long.
-
Grease an 11.5 x 21.5 to 13 x 23 cm / 8.5 x 4.5 to 9 x 5 in loaf tin and place the log in the tin, seam side down.
-
Loosely cover the tin and set aside to rise in a warm spot until the dough has risen above the top of the tin by about 2.5 cm/1 in. If you gently press it with a finger it should spring back slowly and maybe leave a small indentation. If it springs back quickly it needs to rise for a bit longer. It should take around 45-60 minutes.
-
While the dough is rising, preheat the oven to 190°c/170°fan/375°F/gas mark 5.
-
Bake the risen loaf for about 30-35 minutes until it is golden brown and a probe thermometer inserted into the centre reaches 94°C/201°F. If you don’t have a thermometer then the loaf should sound hollow if you tap it on the bottom.
-
Transfer the loaf to a wire rack and leave it to cool completely before slicing.
Notes
- For the best results make sure that you follow the recipe closely. As always, I highly recommend weighing your ingredients using the gram measurements (with a digital scale), rather than the cup conversions. Cup measurements are simply not accurate enough for baking and I cannot guarantee the best results if you use them.
- Bread flour will give you the best texture; but you can use plain (all-purpose) flour instead if you don’t have any. I don’t recommend using wholemeal/whole wheat flour as that will result in a dense, heavy loaf.
- The amount of flour needed may vary a bit as different brands absorb different amounts of liquid. Start with the quantity given in the recipe and add a little more as needed if the dough is too wet. This is meant to be a soft sticky dough however, so don’t add too much as that will make the bread dry.
- You can use any kind of unsweetened non-dairy milk, but soy milk is best for baking as it has the highest protein content.
