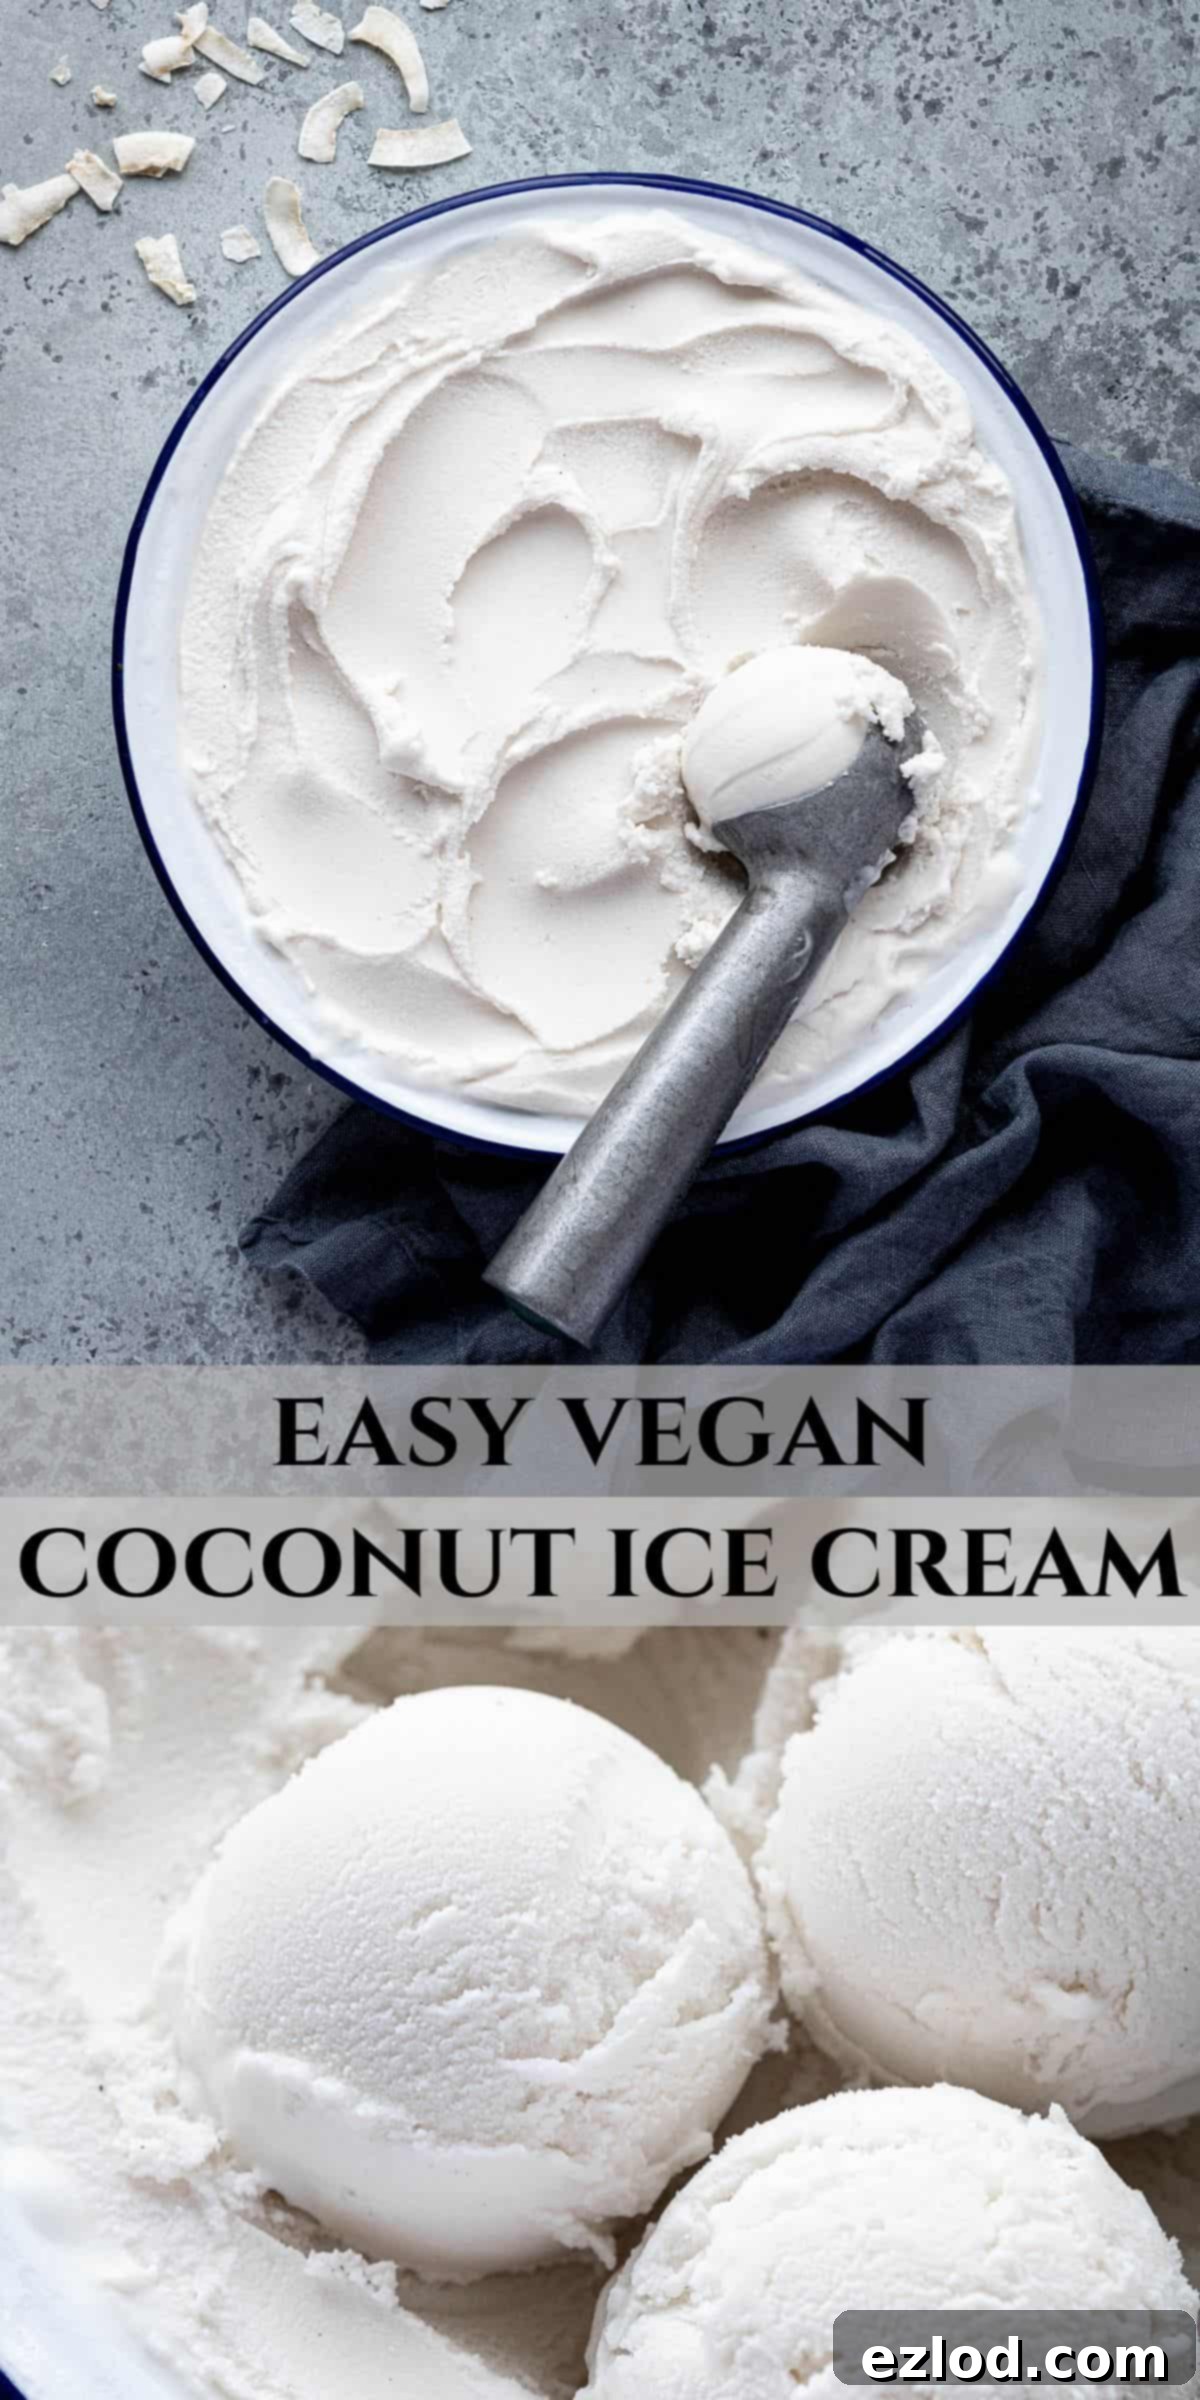
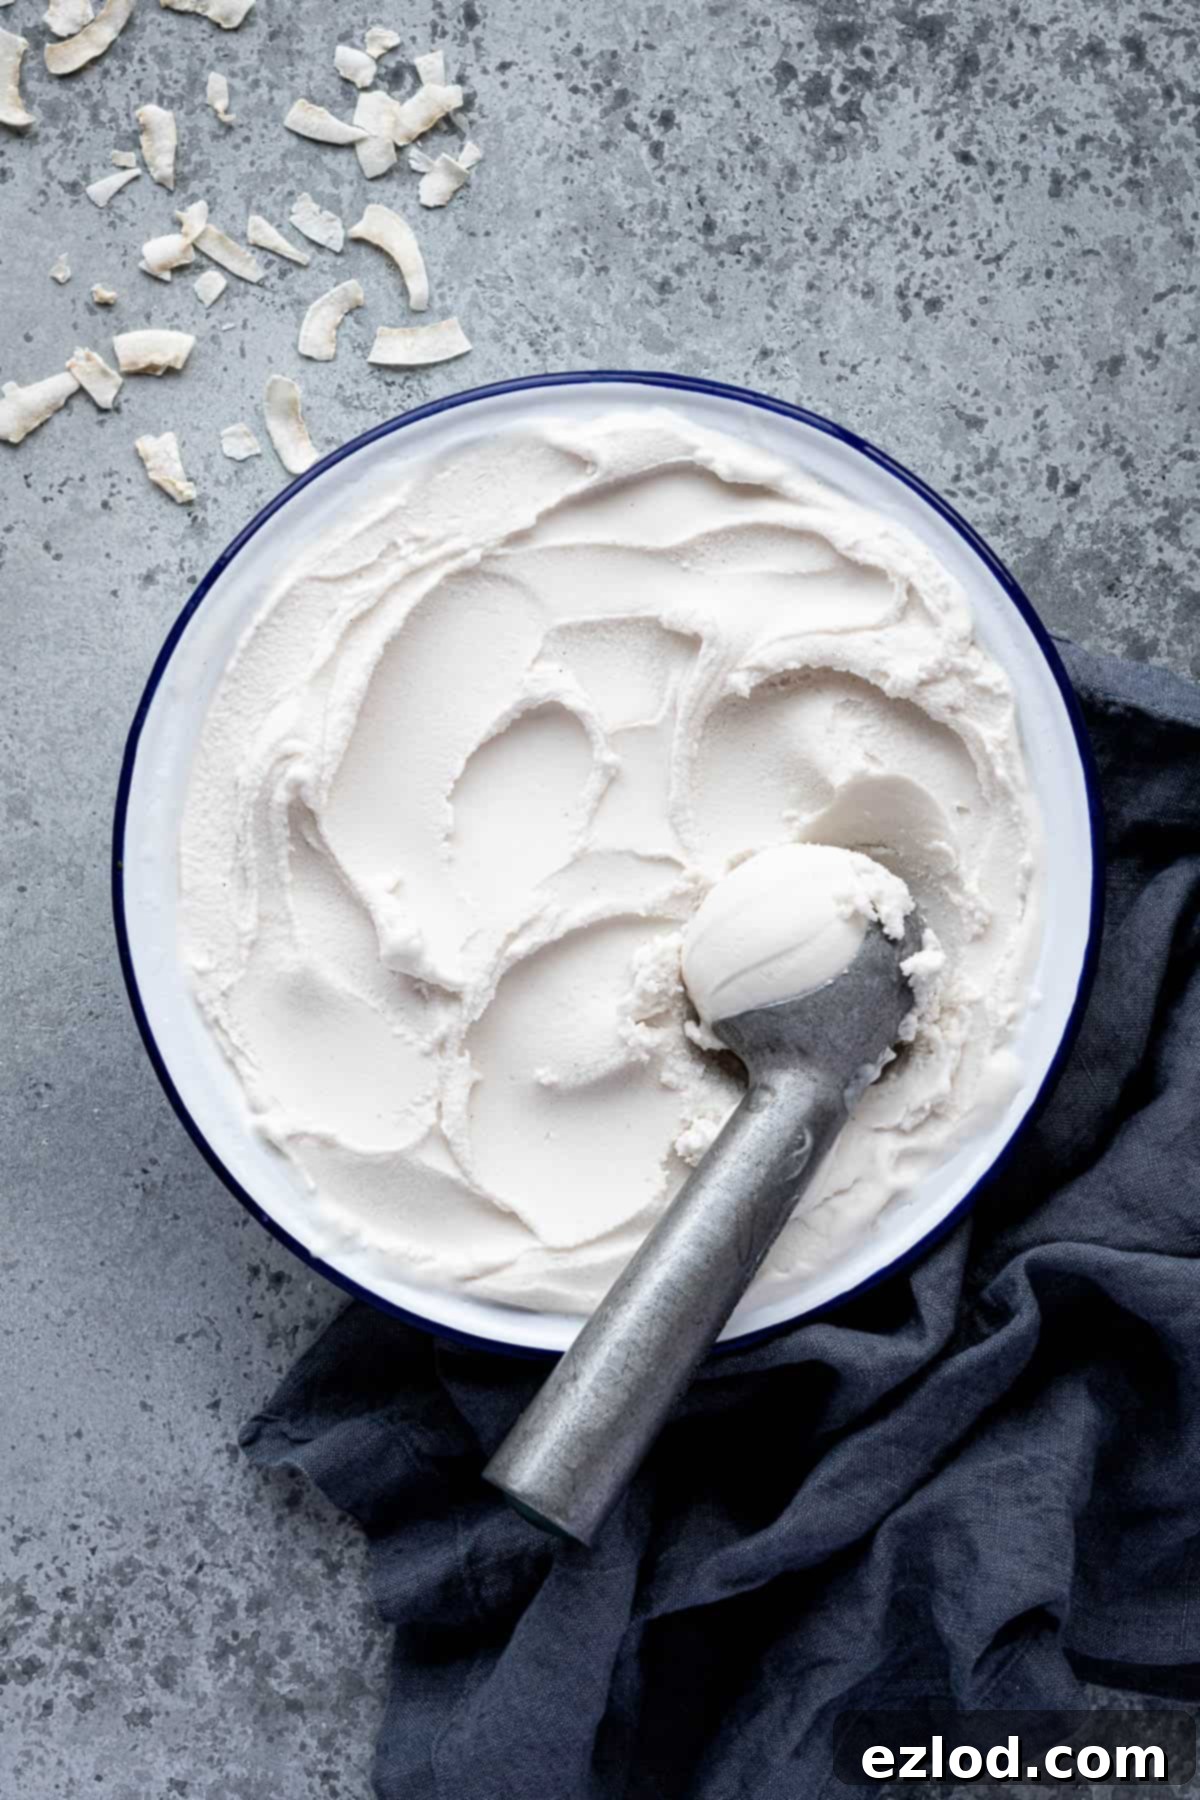
Indulge in Creamy Bliss: The Ultimate Easy Vegan Coconut Ice Cream Recipe
Craving a truly delightful and incredibly simple dessert? Look no further than this homemade, vegan coconut ice cream! Forget complicated techniques or obscure ingredients; this recipe focuses on pure, unadulterated coconut goodness, making it a dream come true for both seasoned dessert makers and kitchen novices alike. Rich, lusciously creamy, and bursting with tropical flavor, this dairy-free ice cream is not just a treat, it’s an experience.
While many vegan ice cream recipes skillfully mask the coconut flavor by relying on bases like cashews or oats, this recipe proudly puts coconut front and center. It’s designed to celebrate the unique sweetness and creamy texture that only coconut can provide. If you’re a true coconut enthusiast, prepare to be swept away by its intense, authentic taste. Made primarily from canned and carton coconut products, the preparation is refreshingly straightforward: simply blend, chill, and churn your way to a scoopable paradise.
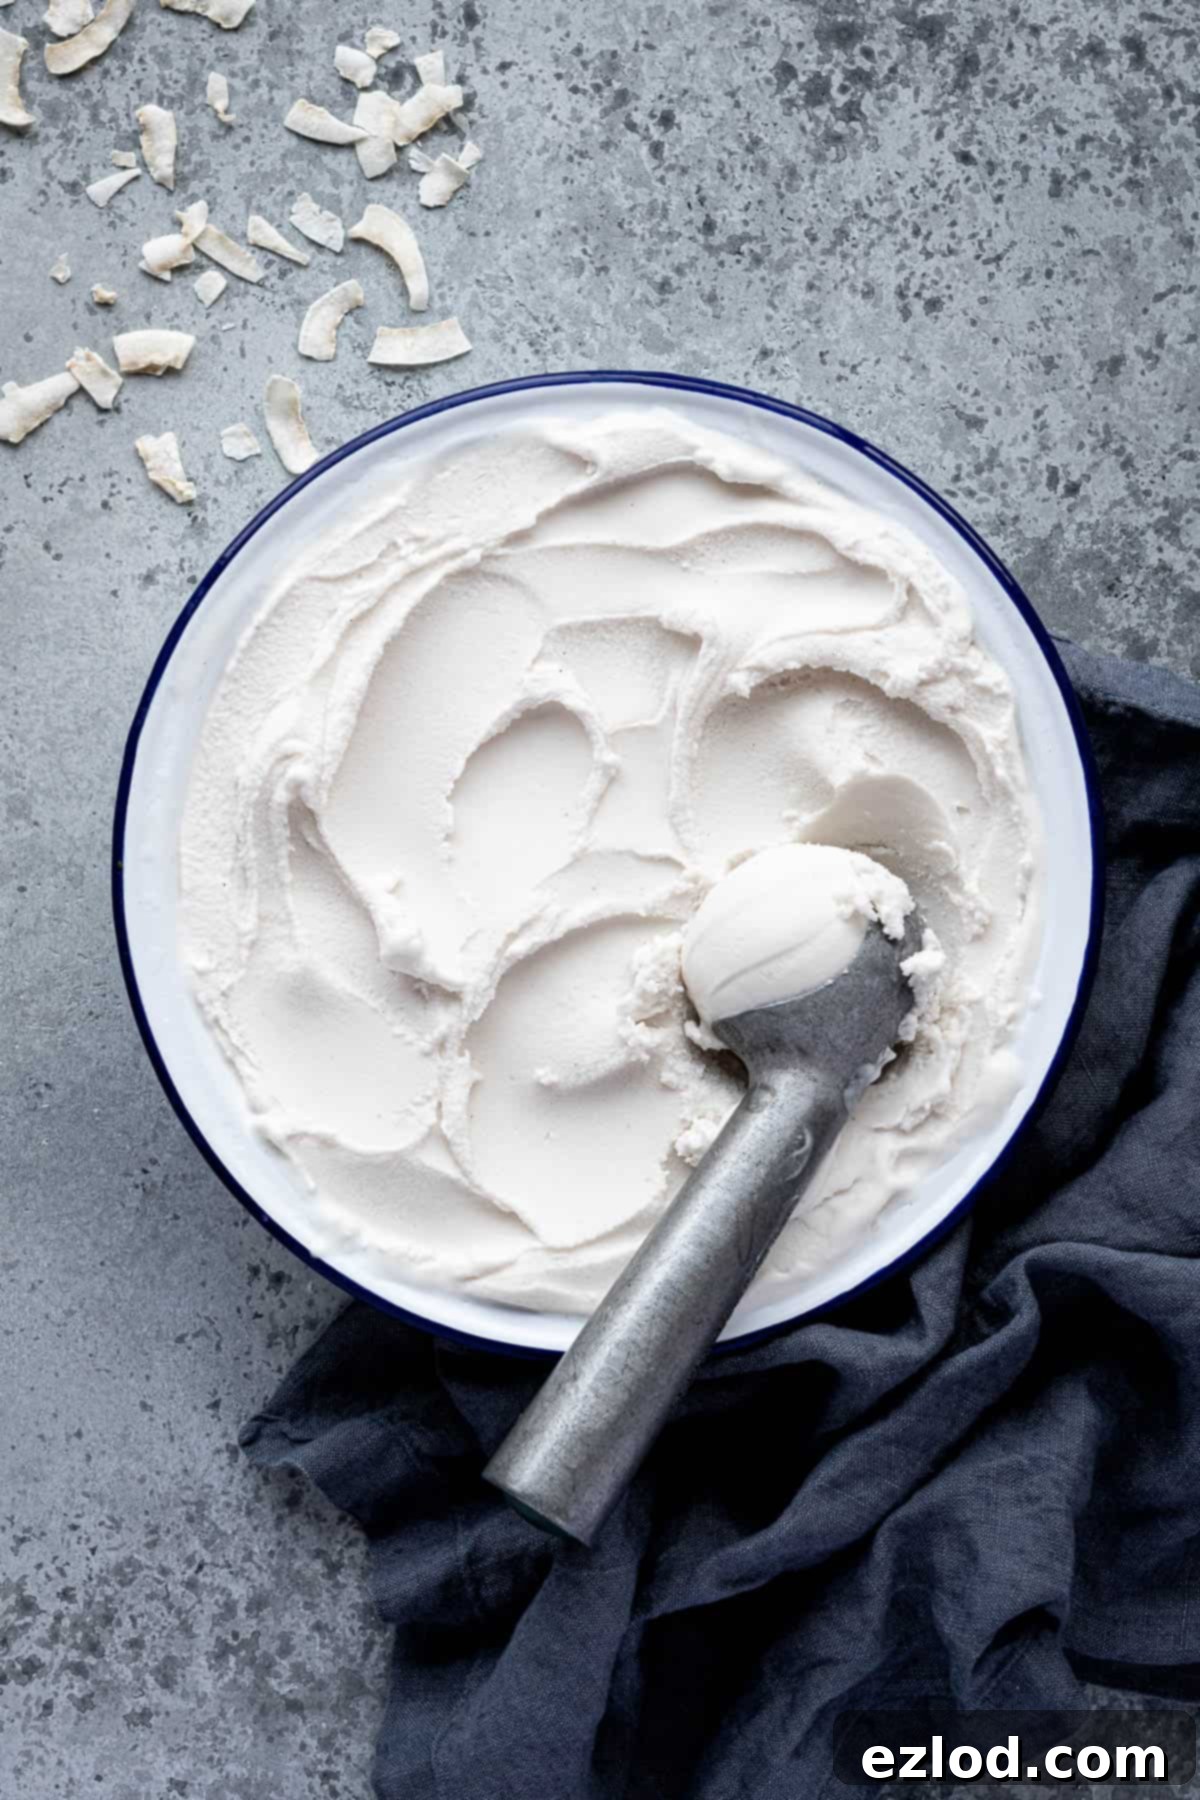
Why This Easy Coconut Ice Cream Stands Out
In the vast world of vegan desserts, ice cream often holds a special place. However, achieving that perfect balance of richness, sweetness, and a creamy, scoopable texture without dairy can sometimes be a challenge. That’s where this easy coconut ice cream recipe truly shines. Unlike many alternatives that use cashews or oats to create a neutral base, this recipe embraces the natural flavor profile of coconut, amplifying it to create an intensely tropical and satisfying dessert.
By using a trifecta of coconut ingredients – full-fat coconut milk, coconut condensed milk, and coconut cream – we ensure that every spoonful delivers an authentic, deep coconut flavor. This isn’t an ice cream that hints at coconut; it’s an ice cream that sings its praises. It’s also remarkably simple to prepare, requiring minimal effort and no complex cooking steps. The ease of combining a few pantry staples makes it accessible for anyone looking to enjoy a homemade, dairy-free treat without a fuss. Get ready to impress yourself and your guests with this effortlessly delicious creation!
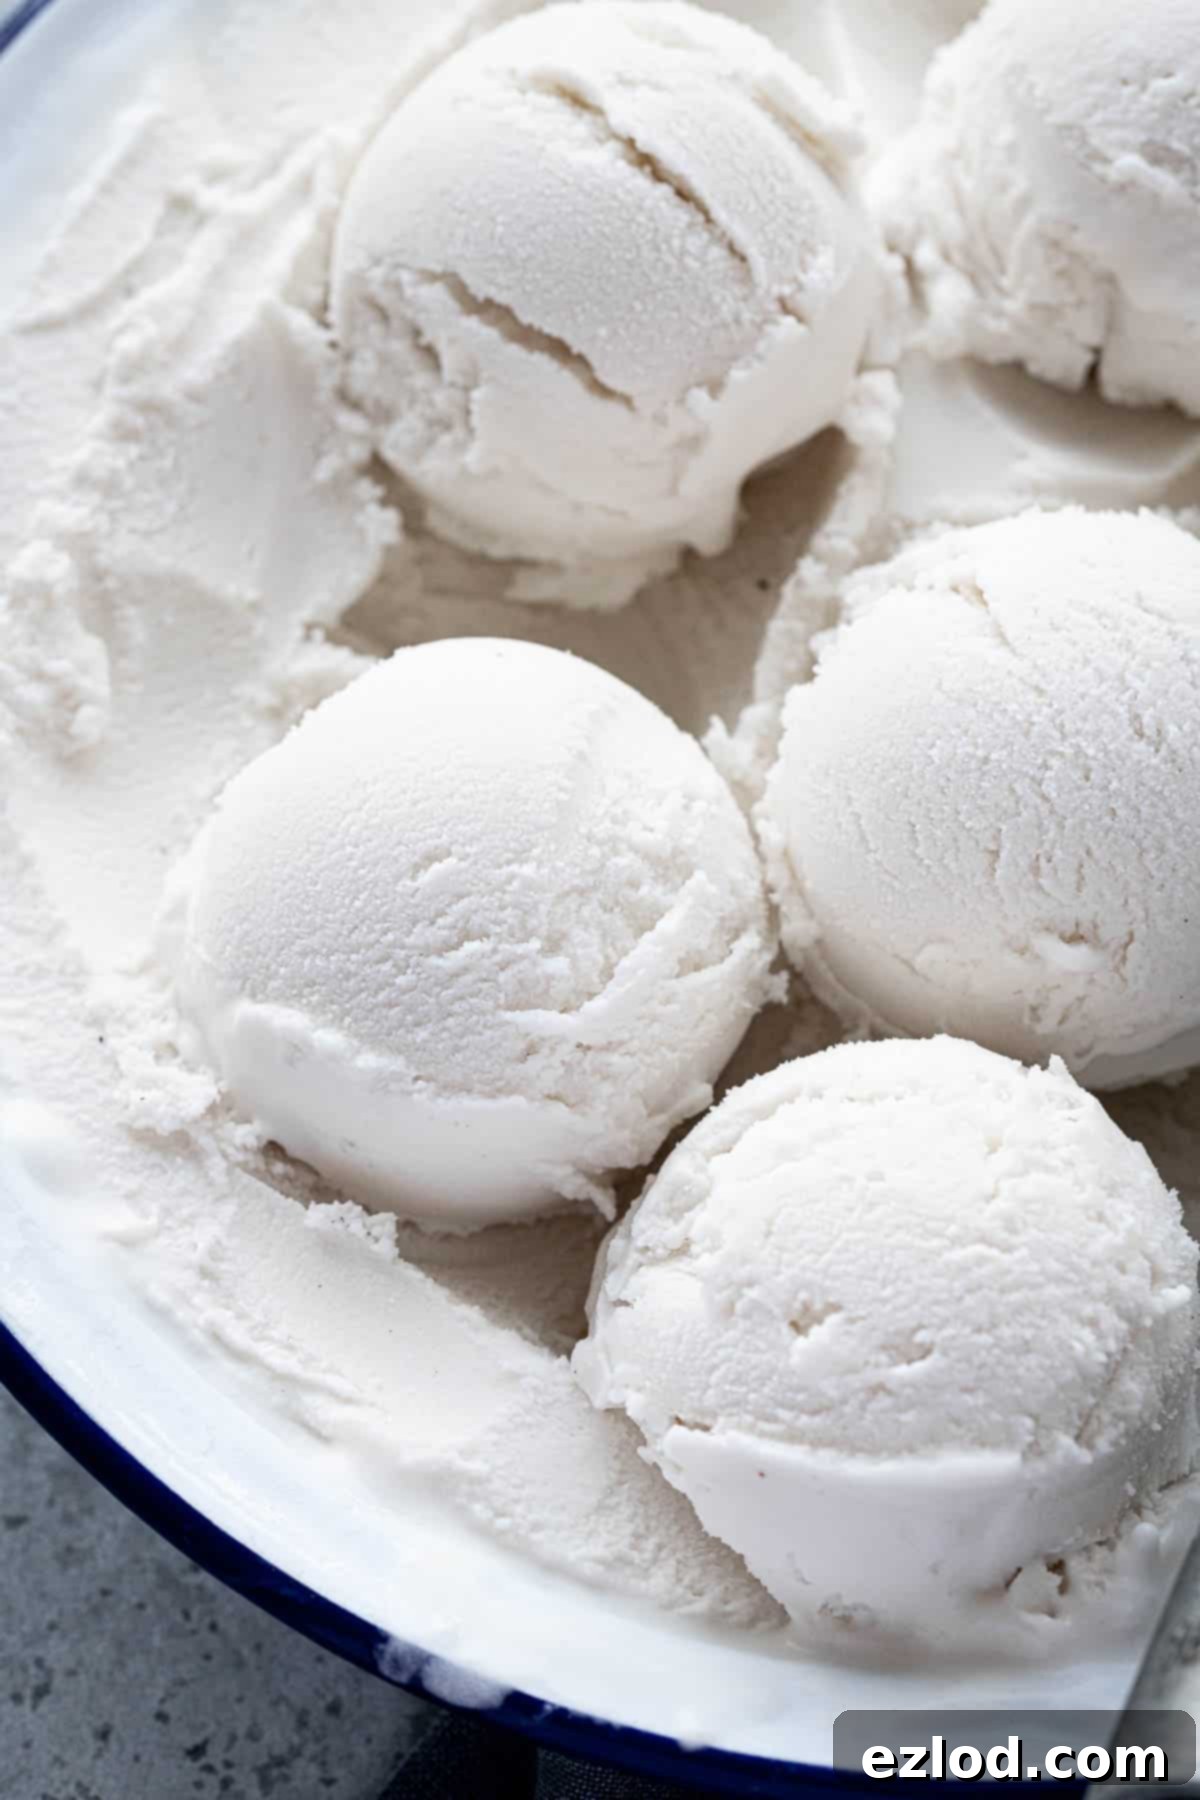
Essential Ingredients for Your Creamy Coconut Ice Cream
Creating this decadent vegan ice cream requires just a handful of carefully selected ingredients, each playing a crucial role in achieving the perfect flavor and texture. Quality makes a difference, especially when coconut is the star!
Full-Fat Coconut Milk: The Foundation of Creaminess
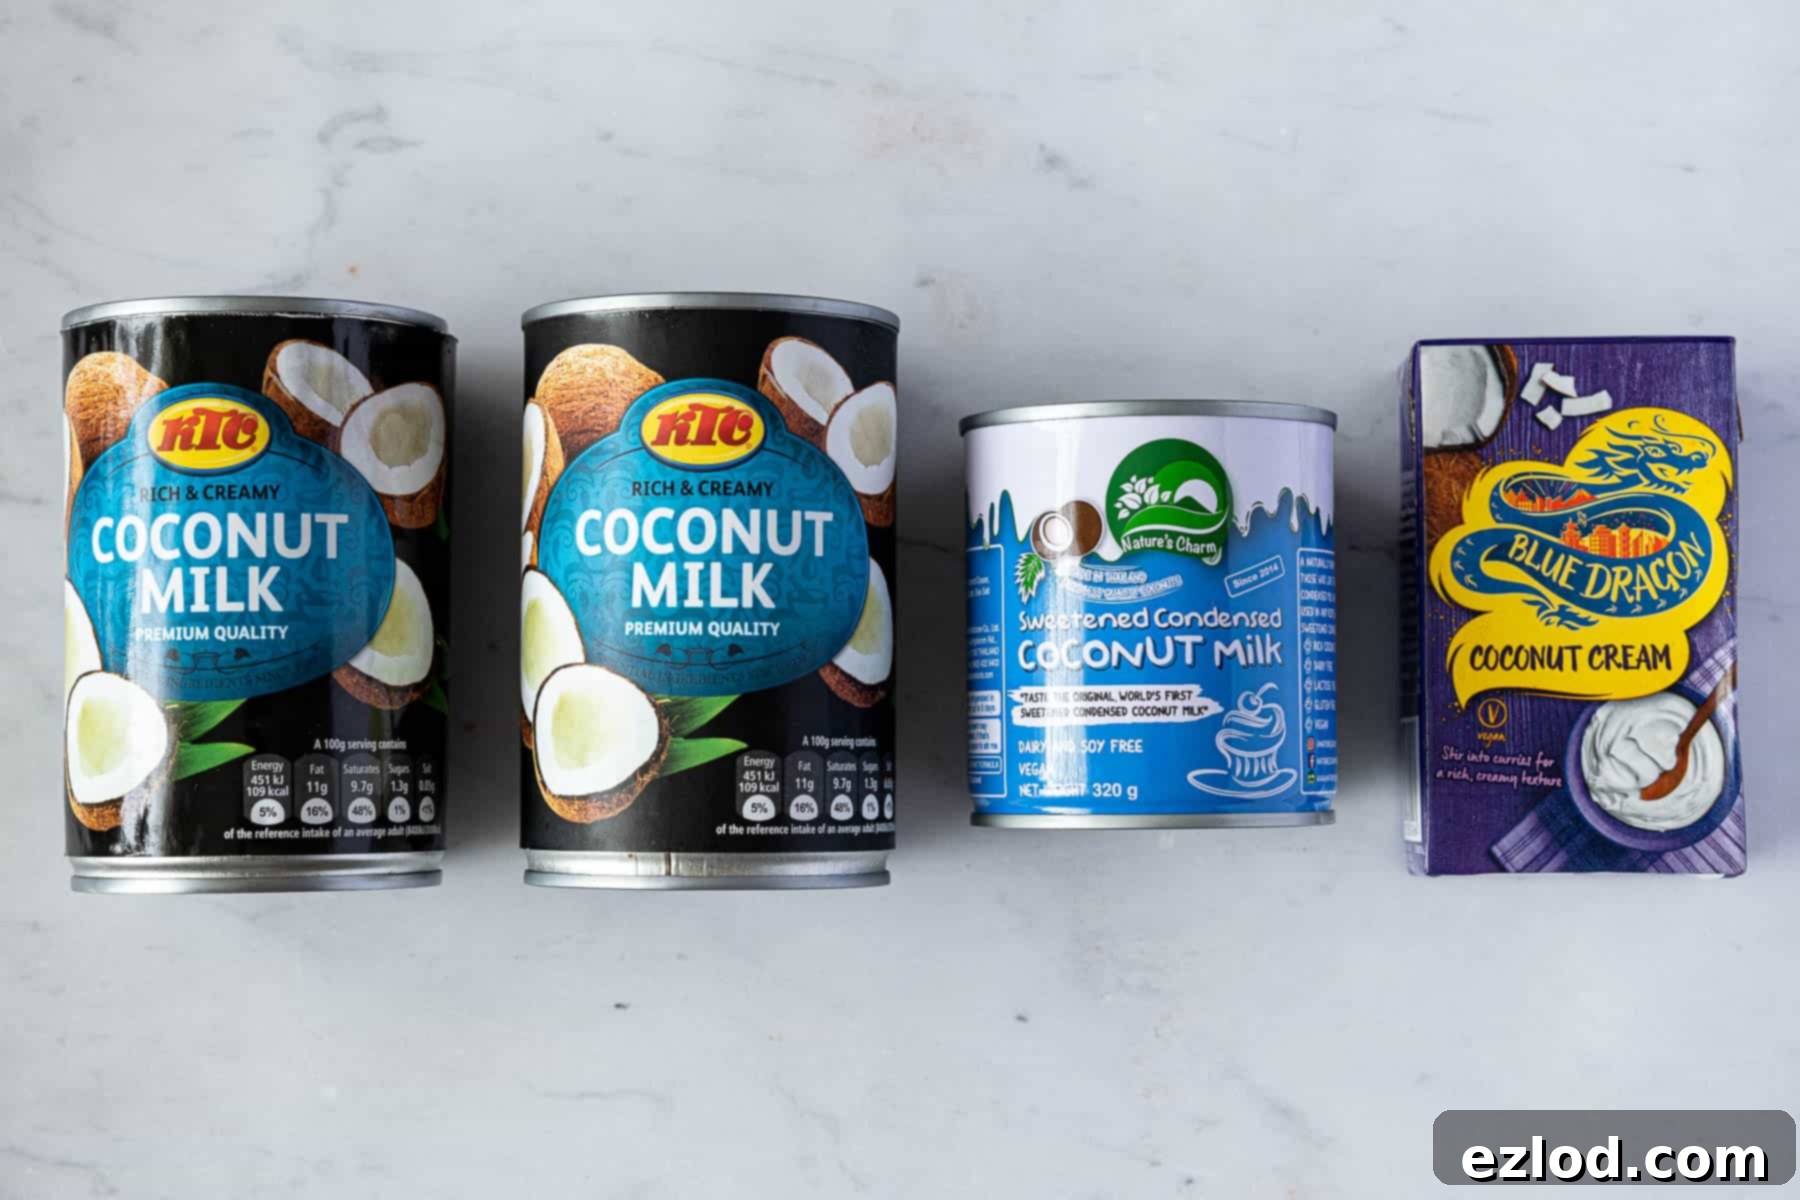
Tinned full-fat coconut milk: This is arguably the most critical ingredient. For genuinely creamy ice cream that avoids an icy texture, *always* opt for full-fat coconut milk. Reduced-fat versions contain more water and less fat, which will lead to a harder, icier consistency once frozen. The high fat content in full-fat coconut milk is what contributes to the luxurious mouthfeel and prevents large ice crystals from forming. Look for brands with a high percentage of coconut extract and minimal added ingredients. Two 400ml cans (approximately 13.5 fl oz each) are ideal for this recipe, providing the bulk and richness needed.
Coconut Condensed Milk: Sweetness and Smoothness Combined
Coconut condensed milk: This ingredient is a true game-changer for vegan ice cream. It provides not only the necessary sweetness but also contributes significantly to the smooth, soft, and scoopable texture. Traditional condensed milk works by thickening and sweetening, and its coconut counterpart does the same without the dairy. The sugars in condensed milk act as an anti-freeze, helping to keep the ice cream from becoming rock-hard. I highly recommend brands like Nature’s Charm, which can be found in many specialty stores, online retailers, or even larger supermarkets in the international aisle. If you’re feeling adventurous, you can also try making your own coconut condensed milk from scratch, though it adds an extra step to this otherwise simple recipe.
Coconut Cream: Boosting Richness and Texture
Coconut cream: Adding a carton of pure coconut cream elevates the richness and overall mouthfeel of the ice cream. Think of it as the heavy cream of the coconut world. It has an even higher fat content than full-fat coconut milk, which makes the final product extra velvety and prevents it from becoming too hard in the freezer, especially if you’re not using an ice cream maker. I often use Blue Dragon coconut cream, readily available in most supermarkets. Alternatively, you can achieve a similar effect by refrigerating several cans of full-fat coconut milk overnight and then carefully scooping out only the thick, solid white cream that rises to the top, discarding the watery liquid underneath.
Optional Flavor Enhancers: Personalize Your Scoop
While the core ingredients deliver fantastic flavor, a few optional additions can further enhance the complexity and depth of your coconut ice cream, making it truly your own:
- Vanilla Extract: A touch of vanilla extract (1 teaspoon) complements the coconut beautifully, adding a warm, aromatic note that rounds out the sweetness and provides a comforting, familiar base.
- Pinch of Nutmeg: A small pinch of freshly grated nutmeg (or ground nutmeg) introduces a subtle hint of spice, adding an unexpected layer of warmth that pairs wonderfully with coconut and gives it an intriguing depth.
- Dash of Dark Rum: For an adult twist, a tablespoon of dark rum not only imparts a lovely depth of flavor reminiscent of tropical cocktails but also helps to keep the ice cream softer due to the alcohol content, making it easier to scoop straight from the freezer. Ensure you use a good quality rum for the best flavor.
These optional extras are completely customizable, so feel free to experiment or omit them based on your preference. However, I find they truly elevate the overall experience, turning a simple dessert into something truly special!
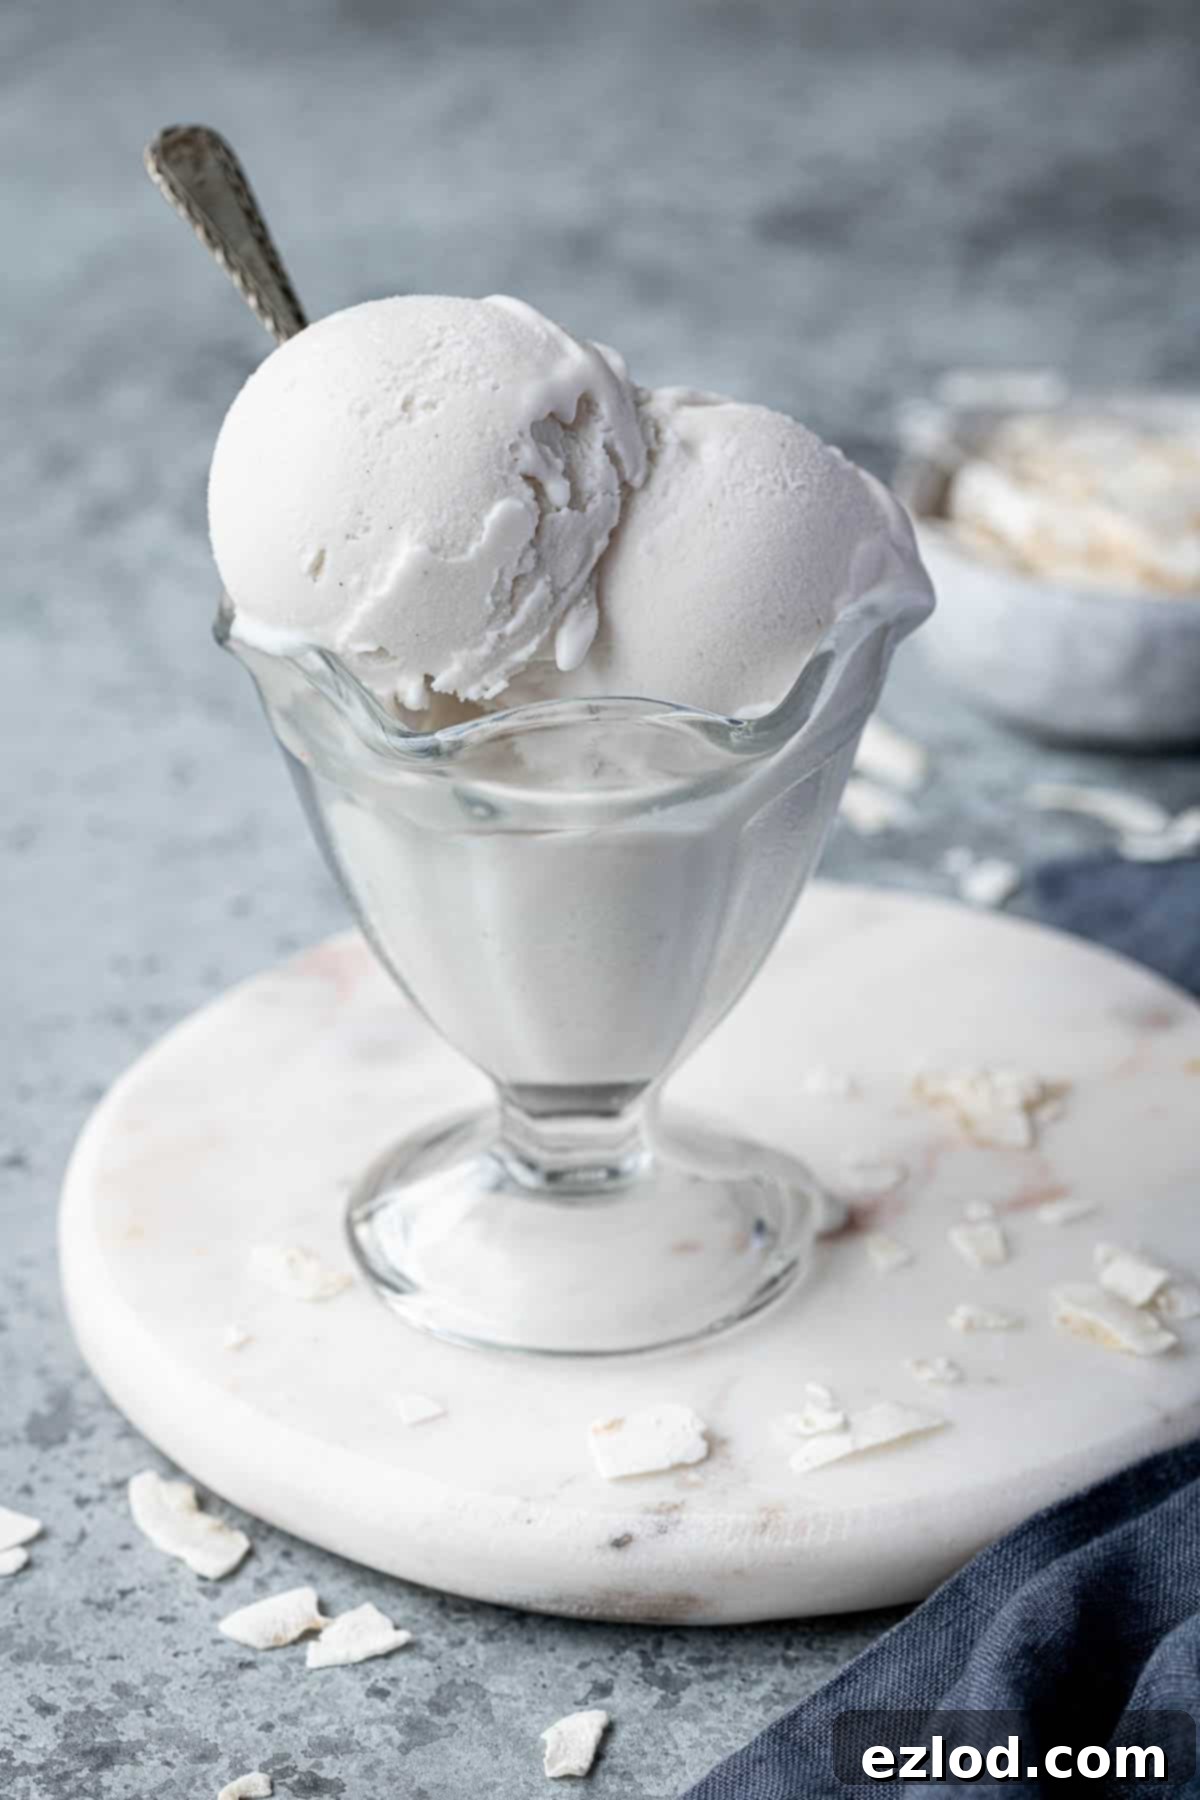
How to Master This Easy Coconut Ice Cream Recipe
(Full measurements and detailed instructions can be found in the comprehensive recipe card at the bottom of this page)
Preparation is Key: Chilling Your Ice Cream Maker Bowl
The first and often overlooked step for any successful homemade ice cream (especially with an ice cream maker) is ensuring your machine’s bowl is adequately frozen. Most ice cream maker bowls require at least 10-12 hours in a deep freezer to be truly ready; some even longer. For my particular model, I find that a solid 11 hours is essential to reach optimal coldness. A properly chilled bowl is crucial for the churning process, ensuring the mixture freezes quickly and evenly, resulting in a smooth, creamy texture and preventing large ice crystal formation. Plan ahead and put your bowl in the freezer the day before you intend to make your ice cream!
Blending for a Silky Smooth Base
Once your ingredients are gathered, the next step is wonderfully simple. Combine all the full-fat coconut milk, coconut condensed milk, coconut cream, a pinch of salt, and any optional flavorings (vanilla, nutmeg, rum) into a high-speed blender. Blend until the mixture is completely smooth and homogenous. This step is vital to ensure that any solid parts of the coconut fat (which can be quite firm, especially from chilled cans) are fully incorporated and emulsified into the liquid. Lingering lumps or unblended fat can lead to a grainy or uneven texture in your final churned ice cream, which we definitely want to avoid for that perfect velvety consistency. Blend for a good 1-2 minutes until no visible specks remain.
The Art of Chilling: A Crucial Waiting Game
After blending, pour your smooth coconut ice cream base into a bowl, cover it, and transfer it to the refrigerator. Allow it to chill overnight, or for a minimum of 4 hours. This chilling period is non-negotiable for the best results. A well-chilled base ensures that your ice cream maker can work efficiently and freeze the mixture rapidly, which is key to preventing the formation of large, undesirable ice crystals. Starting with a cold base also helps to achieve that desirable soft-serve consistency more quickly during churning, leading to a much better final product.
Churning to Perfection
Before churning, give the chilled mixture a vigorous whisk to re-combine any ingredients that may have separated slightly while resting in the fridge. Then, pour the base into your pre-frozen ice cream maker bowl and churn according to your machine’s instructions. The churning process typically takes about 20-30 minutes, during which air is incorporated, and the mixture gradually thickens and freezes. You’re looking for a consistency similar to firm soft-serve ice cream – thick, creamy, and still somewhat pliable. It should be noticeably thicker than when it started, but not completely solid yet.
The Final Freeze: Setting Your Scoopable Delight
Once your ice cream has reached the desired soft-serve consistency, transfer it immediately to an airtight, freezer-proof container. A loaf pan covered tightly with foil or a dedicated ice cream container works perfectly. Press a piece of parchment paper or plastic wrap directly onto the surface of the ice cream to prevent freezer burn and ice crystal formation on top, then seal the container with its lid. Place it in the freezer for at least 4 hours, or until it’s firm enough to scoop beautifully. This final freezing step allows the ice cream to fully set and develop its robust texture. After this, your easy coconut ice cream is ready to be enjoyed!
No Ice Cream Maker? No Problem!
If you don’t own an ice cream maker, don’t despair! You can still create this delicious vegan coconut ice cream at home. It requires a bit more manual effort and attention, but the results are still wonderfully satisfying, though the texture might be slightly icier than machine-churned ice cream. This method relies on manually breaking up ice crystals as they form, leading to a smoother consistency. Here’s how to do it:
- Once your ice cream base is fully blended and chilled (as per the “Art of Chilling” step above), pour it into a large, shallow freezer-safe container. A metal pan (like a 9×13 inch baking dish) or a glass baking dish works particularly well, as the shallow depth helps the mixture freeze more evenly and quickly.
- Place the container in the freezer.
- After 30-45 minutes, remove the container from the freezer. At this point, the edges of the mixture will likely be frozen, and the center will still be liquid. Using an electric mixer (or a strong whisk and plenty of arm power), vigorously beat the mixture for 1-2 minutes. The goal here is to break up any ice crystals that have started to form and to re-incorporate air, which helps create a smoother, creamier texture and prevents it from becoming a solid block of ice.
- Return the container to the freezer and repeat this process every 30-45 minutes for at least 3-4 hours, or until the mixture reaches a thick, soft-serve consistency. You’ll notice it gradually becoming creamier and less liquid with each whisking session as more air is incorporated and crystals are minimized.
- Once it reaches the desired soft-serve stage, allow it to freeze undisturbed for an additional 2-3 hours to firm up completely before serving. While it requires more hands-on time, this method still yields a delightful homemade coconut ice cream that’s truly worth the effort!
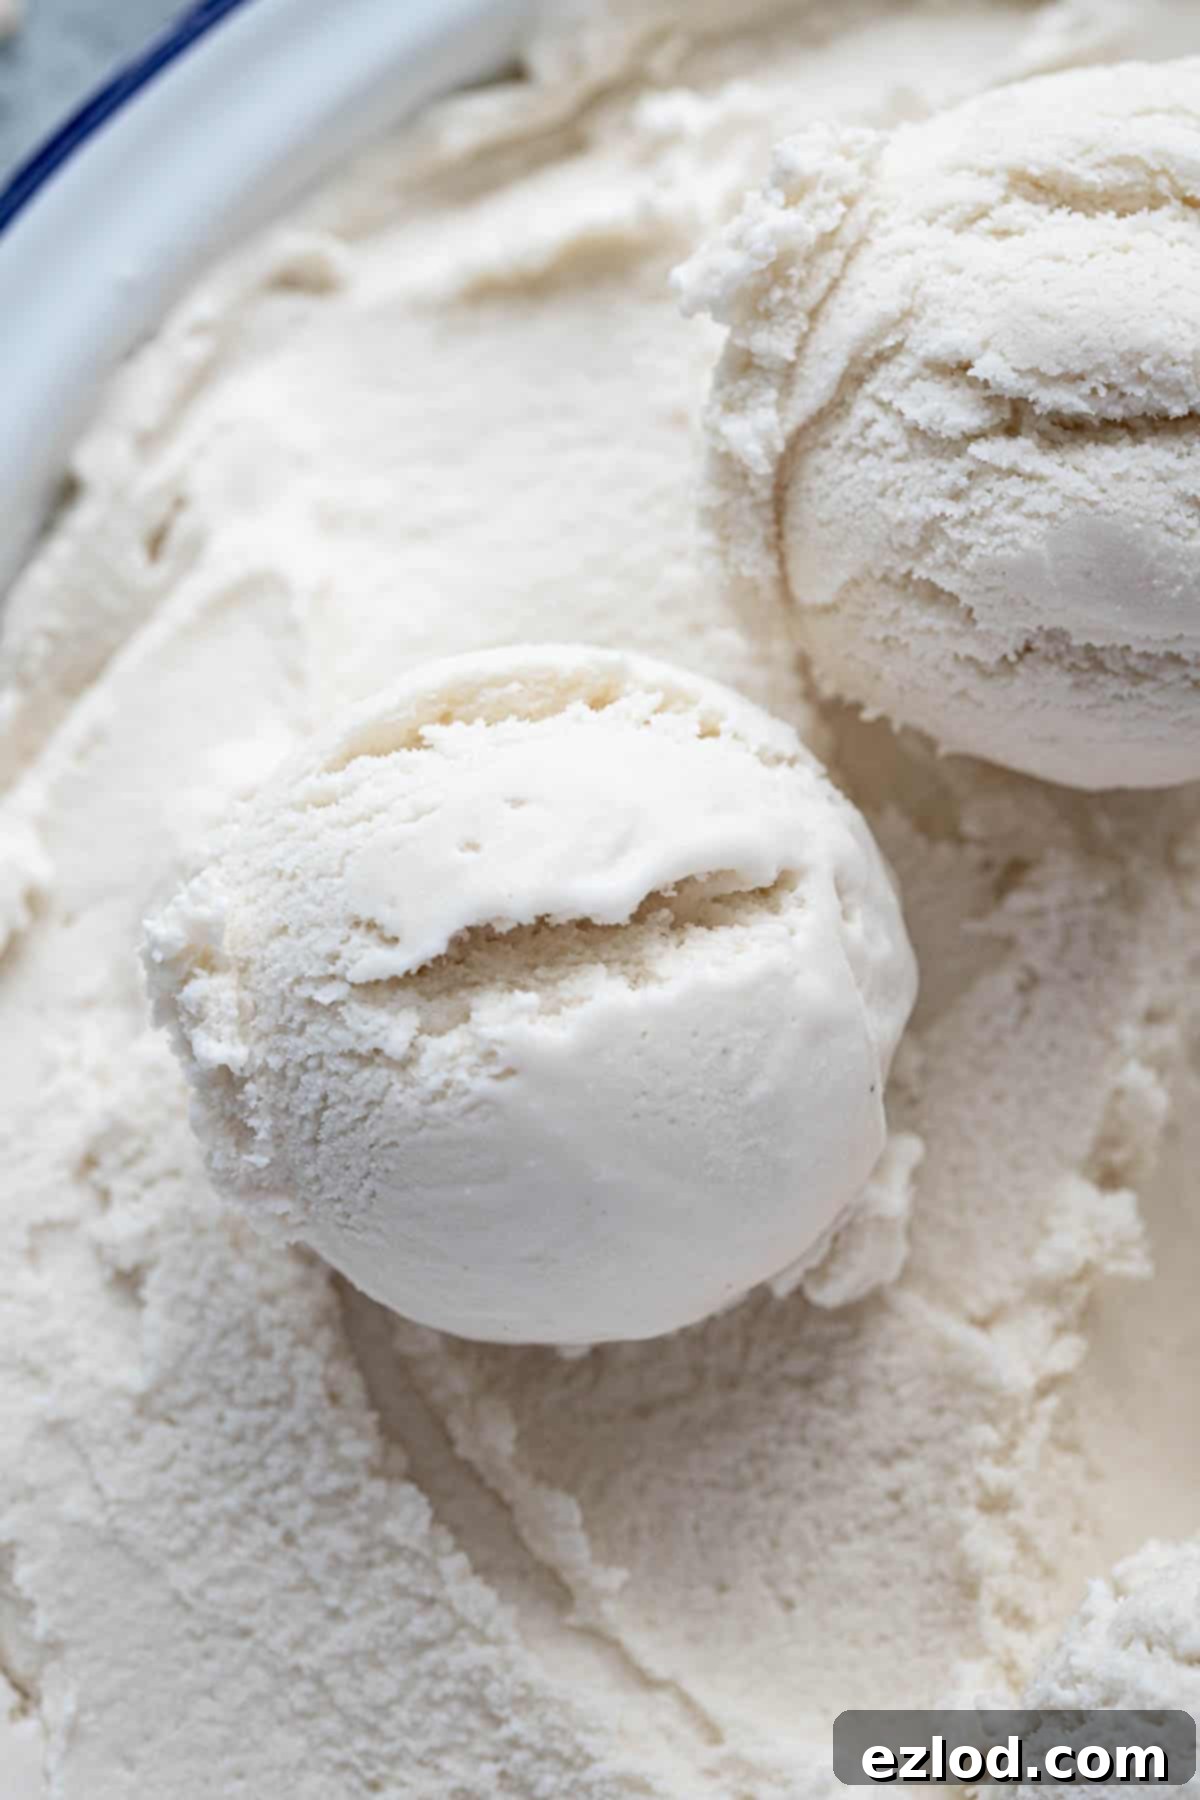
Top Tips for the Best Vegan Coconut Ice Cream
Achieving that perfect, restaurant-quality vegan ice cream at home is easier than you think, especially with a few key tricks up your sleeve. These tips will help ensure your easy coconut ice cream is as smooth, creamy, and flavorful as possible:
- Thorough Blending is Non-Negotiable: Do not rush the blending process. It is absolutely essential to ensure that any solid lumps of coconut fat (which often separate in cans, especially when cold) are completely dispersed and emulsified into the liquid base. If you skip this step or don’t blend long enough, these un-melted fat particles can lead to a grainy, unpleasant texture in your churned ice cream. Blend for several minutes until the mixture is visibly silky smooth and homogenous, scraping down the sides of the blender as needed.
- Pre-Chilling the Base is Crucial: Always chill your ice cream mixture thoroughly in the fridge for at least 4 hours, or ideally overnight, before churning. Starting with a warm or even room-temperature base will make your ice cream maker work harder and longer, leading to a less efficient freeze and a higher chance of developing unwanted ice crystals. A cold base ensures quick freezing, resulting in a much creamier final product with a superior texture.
- Get Creative with Add-ins: While delightful on its own, this coconut ice cream serves as an excellent canvas for various additions. After churning, fold in some decadent chocolate fudge sauce for a rich swirl, or mix in dairy-free chocolate chips for a classic texture contrast. Other fantastic ideas include toasted coconut flakes for extra texture and flavor, chopped nuts (like macadamias, pecans, or almonds), a swirl of vibrant mango or passion fruit puree, or even a generous dollop of homemade vegan caramel sauce. Swirl in fruit compotes or even a dash of coffee liqueur for an adult dessert.
- Add a Zesty Twist: For a bright, refreshing flavor profile that cuts through the richness, try adding some finely grated lime zest to the base mixture before blending. The citrusy aroma perfectly complements the tropical notes of the coconut, adding a wonderful zing. Lemon zest or orange zest would also be lovely additions, offering different aromatic dimensions.
- Patience for Perfect Scooping: Homemade ice cream, particularly those without commercial stabilizers and excessive air, tends to freeze quite solid. For the best scoopable consistency and optimal flavor release, remember to take your easy coconut ice cream out of the freezer at least 15-20 minutes before you plan to serve it. This brief softening period allows it to reach the ideal texture, making it easier to scoop and more enjoyable to eat.
- Store it Right: Always store your homemade ice cream in an airtight container in the coldest part of your freezer. This minimizes exposure to air and prevents freezer burn, keeping your ice cream fresh and delicious for up to 2-3 weeks. For extra protection, press a layer of parchment paper directly onto the surface of the ice cream before sealing the lid.
More Delicious Vegan Ice Cream Recipes to Explore
If you’ve fallen in love with the simplicity and deliciousness of this coconut ice cream, you’re in luck! There’s a whole world of vegan ice cream flavors waiting to be discovered. Expand your homemade dessert repertoire with these other fantastic dairy-free creations:
- Classic Vegan Vanilla Ice Cream
- Refreshing Vegan Mint Choc Chip Ice Cream
- Invigorating Vegan Coffee Ice Cream with Chocolate Swirl
- Nutty Vegan Pistachio Ice Cream
- Rich and Creamy Vegan Chocolate Ice Cream
- Indulgent Vegan Peanut Butter and Cookies Ice Cream
- Irresistible Vegan Biscoff Ice Cream
- Fun Vegan Chunky Monkey Ice Cream
- Delightful Vegan Chocolate Coconut Sorbet
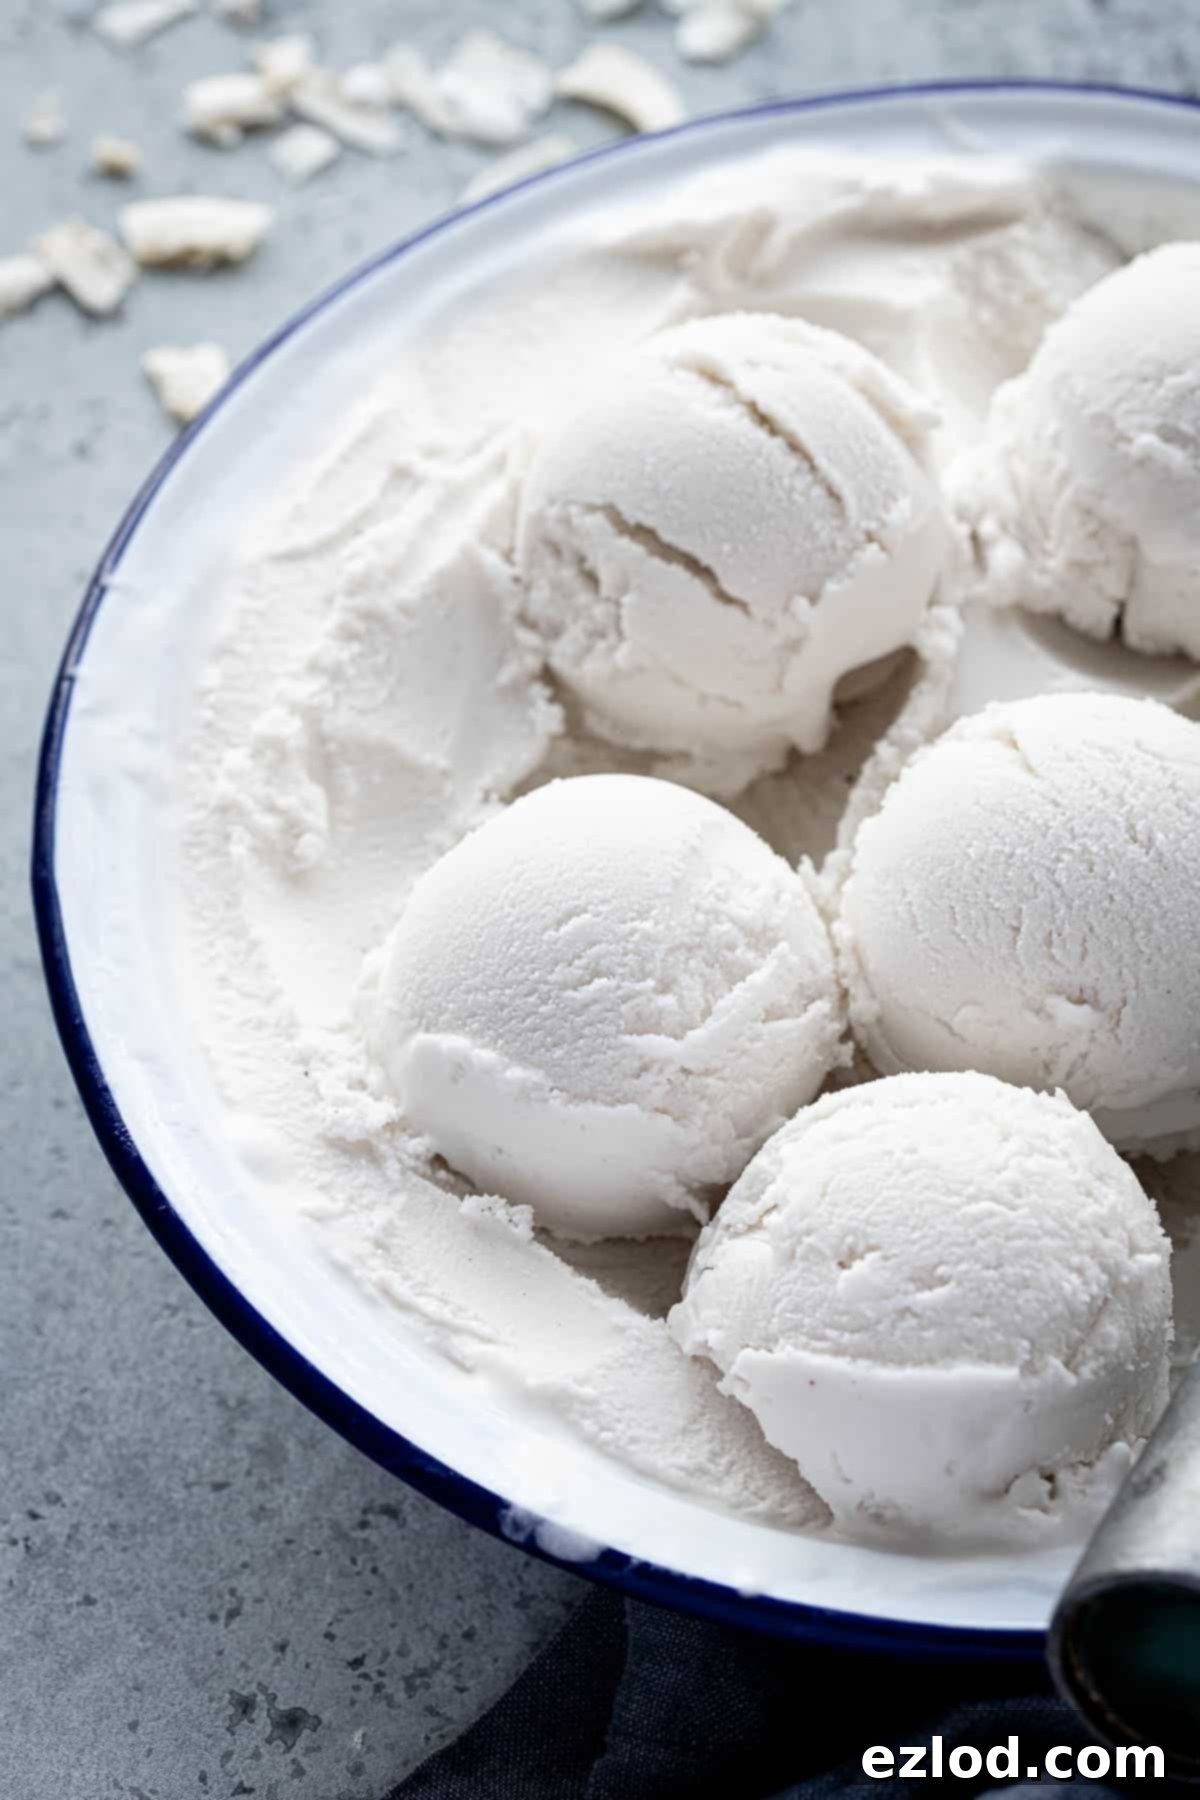
If you’ve whipped up this fantastic easy coconut ice cream, we’d love to hear about it! Please take a moment to rate the recipe, leave a comment with your thoughts, or share your delicious creation on Instagram and tag @domestic_gothess using the hashtag #domesticgothess. Your feedback and photos inspire us!
All images and content on Domestic Gothess are copyright protected. If you wish to share this recipe, kindly do so by utilizing the provided share buttons or by including a direct link to this post. Please refrain from screenshotting or reproducing the recipe or content in its entirety. Thank you for respecting intellectual property!
Easy Coconut Ice Cream (Vegan)
Equipment
-
ice cream maker
Ingredients
- two 400 ml tins full fat coconut milk
- 320 g tin condensed coconut milk
- 250 ml carton coconut cream
- pinch salt
- a pinch grated nutmeg (optional)
- 1 teaspoon vanilla extract (optional)
- 1 Tablespoon dark rum (optional)
Instructions
-
Make sure that the bowl of your ice cream maker has been in the freezer for long enough, mine takes 11 hours to fully freeze.
-
Add all of the ingredients to a blender and blitz until really smooth. Make sure that there are no grainy lumps of fat left.
-
Pour into a bowl, cover and chill in the fridge overnight or for at least 4 hours.
-
Give the mixture a really good whisk then churn in an ice cream maker until it reaches a firm soft-serve consistency.
-
Transfer to a freezer-proof container and freeze until firm, at least 4 hours.
Notes
