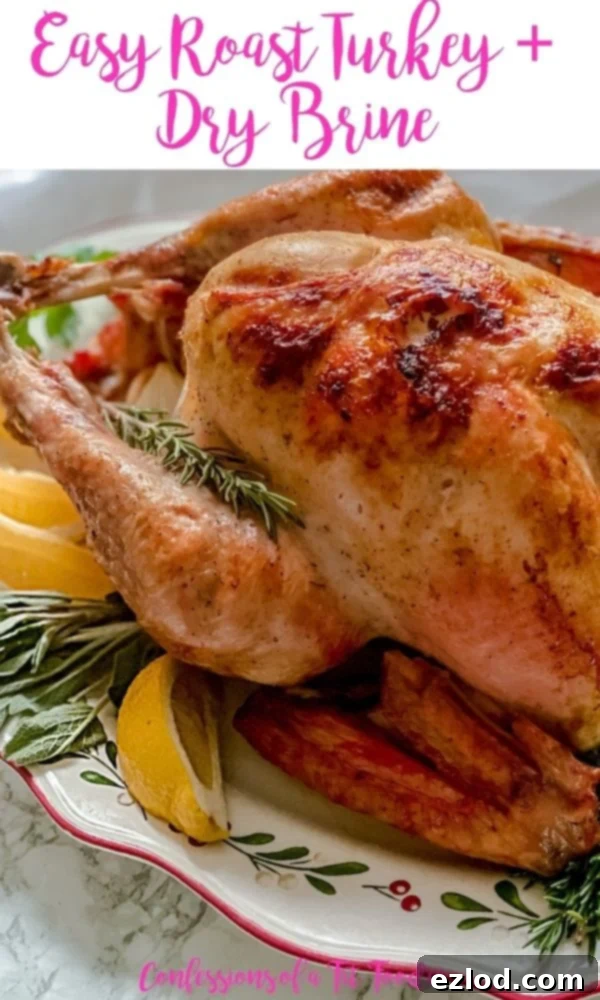
Perfectly Juicy Oven Roasted Turkey with Gravy: Your Ultimate Guide for Thanksgiving
Making homemade Oven Roasted Turkey with Gravy for Thanksgiving is not only easier than you think, but it can also be the most delicious and perfectly juicy turkey you’ve ever prepared! Forget dry, bland birds and complicated techniques. By following these simple, foolproof tips – including an optional, yet highly recommended, dry brine – you’ll unlock the secret to a succulent Thanksgiving centerpiece. Get ready to impress your family and friends with a turkey that’s bursting with flavor and moisture.
The Secret to a Juicy Turkey: Roasting Upside Down
Confession time: the very first Thanksgiving turkey I ever roasted was, quite by accident, roasted upside down. I was just 22, eager to contribute to our family gathering at my grandmother’s house, and completely oblivious to proper turkey roasting techniques. Little did I know, this happy accident would become my go-to method for achieving the juiciest turkey imaginable!
Why Roast a Turkey Upside Down?
Roasting your turkey breast-side down is a culinary revelation. The magic lies in gravity. As the turkey cooks, the natural juices from the bones, back, and cavity trickle down, continuously basting the delicate breast meat. This constant self-basting ensures that the white meat, which is notoriously prone to drying out, stays incredibly moist and flavorful throughout the entire cooking process. Not only does it prevent dryness, but it also reduces the need to frequently open the oven door for manual basting, leading to more consistent oven temperatures and a more relaxed cooking experience.
While the initial appearance might seem unconventional, the results speak for themselves. The dark meat benefits from more direct heat exposure, cooking thoroughly, while the breast meat is shielded and infused with flavor. This method truly delivers a succulent and tender Thanksgiving turkey every time.

Essential Thanksgiving Turkey Tips
Don’t Forget to Thaw Your Turkey Properly
If you’re opting for a frozen turkey, proper thawing is paramount for both safety and even cooking. The safest and most recommended method is to thaw it in the refrigerator. A general guideline is to allow approximately 24 hours of thawing time for every 4-5 pounds of turkey. So, for a 10-pound turkey, plan to move it from the freezer to the refrigerator at least two days before Thanksgiving. For a larger 20-pound bird, you’ll need about four to five days. Place the turkey on a rimmed baking sheet or in a large roasting pan to catch any drips and prevent cross-contamination. Ensure your refrigerator is set to 40°F (4°C) or below. Never thaw a turkey at room temperature, as this can create a breeding ground for harmful bacteria. If you’re short on time, a cold-water thawing method can be used, but it requires much more attention and frequent water changes.
The Magic of a Dry Brine
For an exceptionally moist and flavorful turkey, dry brining is a game-changer. It’s much simpler and less messy than a traditional wet brine, yet incredibly effective. Dry brining works by drawing out the turkey’s natural moisture, which then mixes with the salt to create a concentrated brine. This briny liquid is then reabsorbed into the meat, breaking down muscle fibers and enhancing flavor and moisture retention. The result is a turkey that is seasoned from the inside out, exceptionally tender, and unbelievably juicy.
How to Dry Brine Your Turkey:
- **Prepare the Turkey:** One to two days before you plan to roast, remove the turkey from its packaging. Locate and remove the giblet bag (usually found in the large cavity) and the neck (often in a smaller neck cavity). These can be saved for making gravy or discarded. Thoroughly pat the entire turkey dry with paper towels – this step is crucial for crispy skin.
- **Measure the Salt:** For every 5 pounds of turkey, you’ll need 1 tablespoon of kosher salt. Use a high-quality kosher salt, as its larger crystals dissolve more slowly and season more evenly.
- **Apply the Salt:** Start by rubbing half of the measured salt inside the main body cavity of the turkey. Then, generously apply the remaining salt all over the exterior of the bird, paying special attention to the breast, legs, and thighs. Don’t forget to get some on the top and bottom surfaces.
- **Rest and Refrigerate:** Place the seasoned turkey in a roasting pan or on a platter, ensuring it’s not tightly covered to allow for air circulation. A loose covering of foil is acceptable. Store it in the refrigerator until you’re ready to cook. The longer it brines (up to 2 days), the more pronounced the effect will be. When it’s time to cook, do NOT rinse the turkey; simply pat it dry again if needed.
If you’re curious about the science behind brining or prefer a traditional wet brine, you can explore more details on what brining is and how it works.
How to Prep Your Turkey on Thanksgiving Day
- **Bring to Room Temperature:** Approximately one hour before you plan to put the turkey in the oven, take it out of the refrigerator. Allowing it to rest on the counter helps it come closer to room temperature, which promotes more even cooking and can slightly reduce the overall cooking time. Remember, do NOT rinse your brined turkey.
- **Gather Your Equipment:** Having the right tools makes all the difference for a stress-free turkey roast.
- A Sturdy Roasting Pan: You’ll want one with a V-rack. A V-rack elevates the turkey, allowing for even heat circulation and ensuring the bottom doesn’t steam in its own juices. If you don’t have one, a disposable aluminum pan from the grocery store will work, though the results might vary slightly.
- A Reliable Digital Thermometer: This is your best friend in the kitchen! An instant-read digital meat thermometer is the most accurate tool to prevent both overcooking and undercooking your turkey (or any other meat). It takes the guesswork out of determining doneness.
- A Basting Brush: While upside-down roasting reduces the need for constant basting, a brush is handy for applying butter or drippings. I prefer a silicone brush for easy cleaning and durability.
- Flavorful Aromatics: These are crucial for infusing your turkey with deep, rich flavor. Stock up on ingredients like lemon, onion, garlic, apple, celery, and fresh herbs such as parsley, thyme, sage, and rosemary.
- Fat for the Skin: Melted butter or olive oil will help achieve that coveted golden, crispy skin.
- **Preheat Your Oven:** Set your oven to a high temperature of 425 degrees Fahrenheit (218°C). This initial high heat helps to achieve a beautiful sear on the skin.
- **Final Turkey Prep:** Double-check that you’ve removed the neck, giblets, and any plastic pop-up timers. These pop-up timers are notoriously unreliable, so always trust your digital meat thermometer instead.
- **Stuff with Aromatics (Not Stuffing):** While traditionally turkeys were stuffed with bread-based stuffing, it’s less common (and less safe) these days due to varying cooking times. Instead, load the inside cavity with your chosen aromatics. Start by sprinkling black pepper inside, then squeeze in a quartered lemon. Follow with quartered onion, garlic cloves, celery chunks, a small apple, and fresh herb sprigs. These aromatics will steam from within, perfuming the entire bird with incredible flavor.
- **Initial Roast:** Place the turkey, breast-side down, directly onto the V-rack in your roasting pan. Roast for 30 minutes at 425 degrees. This high heat will help crisp the skin on the back and legs. After 30 minutes, reduce the oven temperature to 325 degrees Fahrenheit (160°C). If you have any pan drippings at this point, you can lightly baste the turkey with melted butter or those drippings.
- **Add Liquid:** Pour 1-2 cups of chicken or turkey broth (or even water) into the bottom of the roasting pan. This liquid serves multiple purposes: it prevents drippings from burning, creates a steamy environment that keeps the turkey moist, and contributes to those precious pan drippings that form the base of your gravy. Continue roasting breast-side down.
Craving a different kind of turkey preparation? Explore options like a fried turkey or a Traeger smoked turkey recipe for unique flavors!
To Truss or Not to Truss?
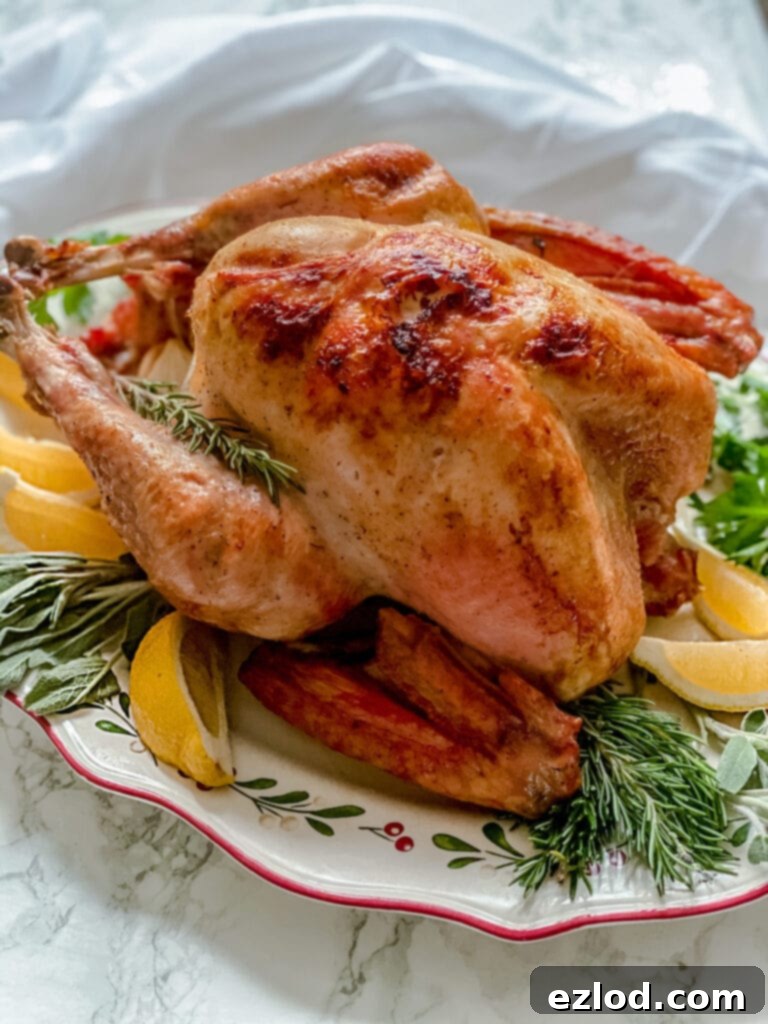
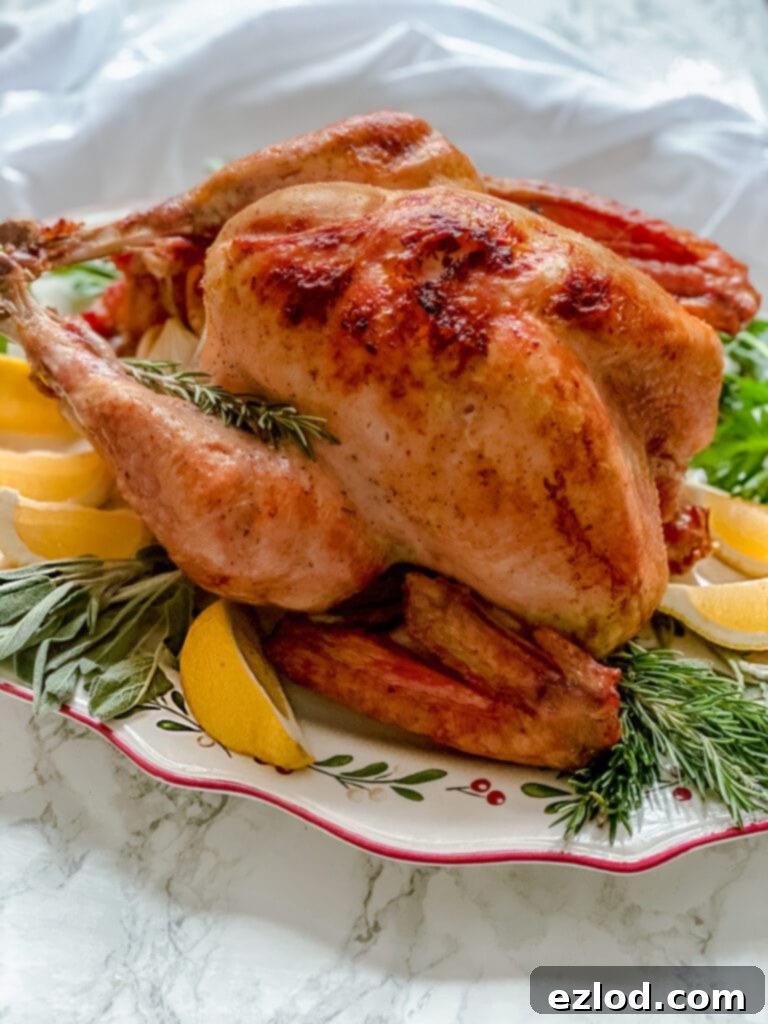
You might see many recipes or images of turkeys with their legs tied together (trussed). While I trussed my turkey for the photos in this post to achieve a more aesthetically pleasing, compact look, it’s important to know that trussing is largely for presentation. In fact, for the most even cooking, it’s actually better not to truss your turkey! When the legs and wings are left untied, hot air circulates more freely around the bird, allowing all parts to cook at a more similar rate. If you still prefer the traditional look, this article shows you how to truss a turkey using simple kitchen twine. No twine on hand? This clever kitchen hack uses common kitchen items and worked perfectly for me!
How Long to Roast Your Thanksgiving Turkey
A common guideline is to roast a turkey at 325°F (160°C) for approximately 15 minutes per pound. So, a 10-pound turkey would theoretically cook for around 150 minutes (2.5 hours). However, this is just an estimate. The absolute BEST and most accurate way to determine when your turkey is perfectly cooked is by using a digital meat thermometer. Insert the probe into the thickest part of the turkey breast, ensuring it doesn’t touch any bone. The turkey is done when it registers an internal temperature of 165-170 degrees Fahrenheit (74-77°C).
Factors like your oven’s calibration, whether the turkey is stuffed (which we’re avoiding with this method), and the turkey’s initial temperature can all influence cook time. Always prioritize the internal temperature reading over strict time guidelines to ensure food safety and optimal doneness.
General Roasting Time Guidelines (at 325°F / 160°C):
- For a 10-14 pound turkey: 2 1/2 hours to 3 1/2 hours
- For a 14-18 pound turkey: 3 1/2 hours to 4 1/2 hours
- For a 18-22 pound turkey: 4 1/2 hours to 5 1/2 hours
To Flip or Not to Flip for Crispy Skin
The decision to flip your turkey from breast-down to breast-up depends on your desired presentation and skin crispiness. If you envision a beautiful, golden-brown turkey presented whole on your Thanksgiving table, or if your family absolutely loves extra-crispy turkey skin, you can flip your bird for the last 30 minutes of cooking time. Carefully use silicone gloves or sturdy tongs to gently flip the turkey so it cooks breast-side up for the remainder of the time. This allows the breast skin to become wonderfully crisp and golden. For an even crispier finish, you can add a short 2-3 minute broil at the very end, keeping a close eye on it to prevent burning.
However, if presentation isn’t your top priority, or if you simply prefer the hands-off approach, you absolutely do not have to flip your turkey at all! Even roasting entirely breast-side down will yield plenty of delicious, crispy skin, especially on the back and leg areas, and the breast meat will remain incredibly juicy. It truly comes down to personal preference and what works best for your holiday plans.
Let Your Turkey Rest for Ultimate Juiciness
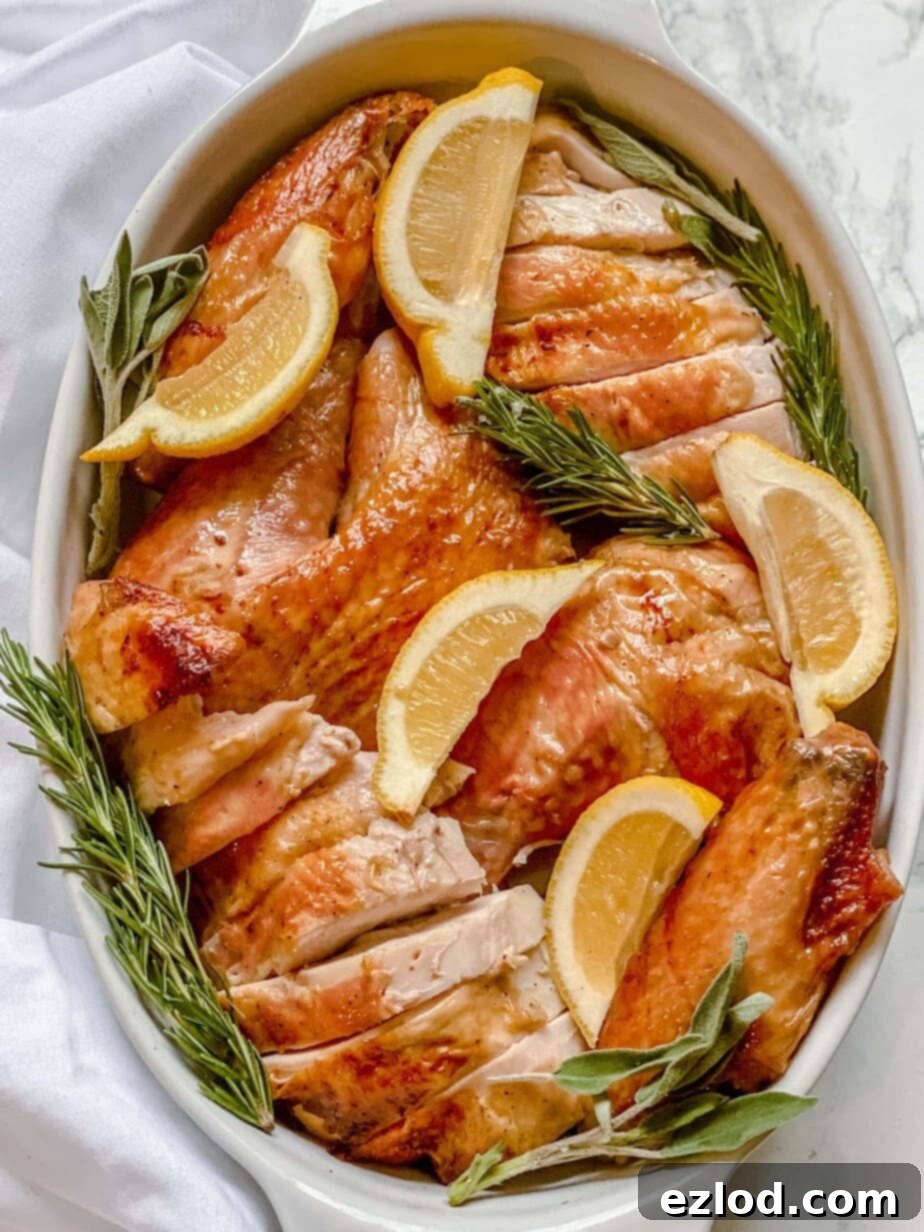
This step is non-negotiable for a truly juicy turkey. Once your turkey has reached its target internal temperature, remove it from the oven and allow it to rest for at least 30 minutes before carving. Resist the urge to carve immediately! During resting, the juices, which have migrated to the center of the bird during cooking, redistribute evenly throughout the meat. If you carve too soon, those precious juices will simply run out onto your cutting board, leaving you with drier meat. To keep the turkey warm while it rests, you can lightly tent it with aluminum foil. Use this resting time to pour yourself a glass of Thanksgiving Punch and congratulate yourself on a job well done!

Make Your Own Homemade Gravy from Pan Drippings
One of the greatest joys of roasting a turkey is the rich, flavorful pan drippings left behind. Do NOT discard these liquid gold treasures! They are the foundation for the most incredible homemade gravy that will elevate your entire Thanksgiving meal. Making your own gravy is surprisingly simple and far superior to any store-bought alternative.
Additional Gravy Ingredients You’ll Need:
- GF or Whole Wheat Flour, Cornstarch, or Arrowroot powder (for thickening)
- Chicken or Turkey Broth/Stock (low-sodium is best, to control saltiness)
- Butter (or vegan butter/ghee for dietary preferences)
- Salt & Pepper to taste
Follow the simple steps in the recipe card below to transform your pan drippings into a delicious, silky-smooth gravy that everyone will rave about!

Delicious Side Dishes to Serve with Oven Roasted Turkey
No Thanksgiving turkey is complete without an array of delectable side dishes. Here are some of our favorite recipes that pair perfectly with a juicy roasted turkey, ensuring a balanced and unforgettable holiday spread:
- Instant Pot Mashed Potatoes (Dairy-Free)
- Healthy Sweet Potato Casserole
- Butternut Squash Mac and Cheese
- Crispy Brussels Sprouts with Bacon, Parmesan, and Balsamic
- Maple Cider Holiday Salad
- Cauliflower Au Gratin
- Instant Pot Loaded Cauliflower Mash

Easy Oven Roasted Turkey with Gravy
Nancylynn
10 -16 servings
Pin Recipe
2 hours
2 hours 30 minutes
4 hours 30 minutes
Ingredients
For the Turkey
- 10-16 lb fresh or frozen turkey I got mine from ButcherBox!
- Kosher salt
- Black pepper
- 1 lemon quartered
- 1 stalk celery
- 1 onion quartered
- 2-3 cloves garlic
- 1 small apple quartered
- Fresh herbs such as parsley sage, rosemary, and thyme
- Butter or olive oil
Gluten Free Gravy
- 2 cups turkey drippings + low-sodium chicken/turkey broth or stock
- 2 tablespoons gluten free flour cornstarch, or arrowroot powder
- 2 tablespoons butter vegan butter, or ghee
- Salt + pepper to taste (if you brine, you likely won’t need any!)
Instructions
To Dry Brine:
-
The day or two before roasting your turkey, remove it from the fridge. Remove the bag of giblets and the neck (check both the large cavity and smaller neck cavity to ensure all are removed). You can save these for gravy or discard them. Pat the turkey thoroughly dry with paper towels.
-
For every 5 pounds of turkey, measure out 1 tablespoon of kosher salt.
-
Rub half of the salt inside the body cavity of the turkey, then apply the remaining salt generously to the outside of the turkey: breasts, legs, and thighs. Be sure to spread it evenly on the top and bottom of the bird.
-
Place the turkey in a roasting pan or on a platter, lightly cover it with foil (do not seal tightly), and then store it in the fridge until you’re ready to cook. Do NOT rinse before roasting.
To Roast the Turkey:
-
First, remove your turkey from the fridge and let it rest on the counter for one hour. This helps cut down the overall cooking time and ensures even roasting. Do NOT rinse your turkey after brining.
-
Preheat your oven to 425 degrees Fahrenheit (218°C).
-
If you haven’t already done so during brining, remove the neck and giblets, and carefully check for and remove any plastic items from your turkey, including any unreliable pop-up timers.
-
Season the inside cavity with black pepper and squeeze in some lemon. Then, place the quartered lemon, onion, garlic, celery, apple, and fresh herbs inside the turkey. Brush the turkey skin with 2 teaspoons of olive oil or melted butter. **If you did not dry brine your turkey, also generously sprinkle salt inside and out before adding aromatics.**
-
Place the turkey breast-side down on your roasting pan’s V-rack. Roast for 30 minutes at 425°F (218°C), then reduce the heat to 325°F (160°C). If you have any pan drippings, you can baste the turkey with 1 teaspoon of melted butter or the drippings.
-
Add 1-2 cups of broth or water to the bottom of your roasting pan. Continue roasting the turkey breast-side down, roughly for 15 minutes per pound. The most accurate way to check for doneness is to insert an instant-read thermometer into the thickest part of the turkey breast, ensuring it doesn’t touch the bone; it should register 165°F (74°C).
Roasting Time Guidelines:
-
For a 10-14 pound turkey: 2 1/2 hrs to 3 1/2 hrs
-
For a 14-18 pound turkey: 3 1/2 hrs to 4 1/2 hrs
-
For a 18-22 pound turkey: 4 1/2 hrs to 5 1/2 hrs
-
If you desire a crispy golden-brown breast, you can carefully flip your turkey breast-side up for the final 30 minutes of cooking. Using silicone gloves or sturdy tongs, gently turn the bird over. Cook for the remaining time to allow the skin to crisp. A quick 2-3 minute broil at the very end can enhance crispiness further, but watch closely to prevent burning. This step is entirely optional.
-
Once your turkey is finished cooking and the breast has reached 165°F (74°C), remove it from the oven. Tent it loosely with aluminum foil and allow it to rest for a minimum of 30 minutes before carving. This critical step ensures maximum juiciness.
For the Gravy:
-
After removing the turkey, let the pan drippings settle in the roasting pan for a few minutes. The fat will separate and rise to the top. Carefully skim off and discard most of the fat, leaving behind the rich broth. You’ll want at least 2 cups of broth for your gravy; if you have less, add low-sodium chicken or turkey broth/stock to reach the desired volume.
-
In a separate microwave-safe small bowl, melt 2 tablespoons of butter (or vegan butter/ghee). Once melted, remove from heat and whisk in 2 tablespoons of gluten-free flour, cornstarch, or arrowroot powder until a smooth slurry is formed.
-
Transfer the skimmed pan drippings (broth mixture) to a medium saucepan and bring to a gentle boil over medium heat. Reduce the heat to low, then gradually whisk in the slurry. Continue to simmer, whisking constantly, until the gravy thickens to your desired consistency.
-
Taste the gravy and add salt and pepper as needed. If you dry brined your turkey, you might find that little to no additional salt is required, as the drippings will already be well-seasoned.
Notes
WW: Green – 6 points, Blue – 4 points, Purple – 4 points (per 5 oz. turkey without skin + 1/6 c. gravy) [Calculated using 1 c. pan drippings and 1 c. broth in gravy]
Nutrition
Carbohydrates: 5g
Protein: 71g
Fat: 21g
Saturated Fat: 6g
Polyunsaturated Fat: 5g
Monounsaturated Fat: 7g
Trans Fat: 0.3g
Cholesterol: 238mg
Sodium: 432mg
Potassium: 797mg
Fiber: 1g
Sugar: 2g
Vitamin A: 259IU
Vitamin C: 2mg
Calcium: 43mg
Iron: 3mg
Tried this Recipe? Tag me Today!Tag @confessionsofafitfoodie on Instagram and hashtag it #confessionsofafitfoodie!
