Mastering Butternut Squash: The Ultimate Instant Pot Hack for Effortless Cutting and Peeling
Butternut squash is an absolute essential for any fall and winter menu! Revered for its rich, creamy texture and sweet, nutty flavor, this versatile winter squash is a nutritional powerhouse. Packed with an impressive array of vitamins, minerals, and potent antioxidants, it’s a star ingredient equally at home in both savory and sweet culinary creations. From hearty soups and stews to delectable roasted side dishes and even desserts, butternut squash brings a touch of warmth and health to every plate.
However, many home cooks shy away from this autumnal gem due to one common frustration: the notoriously tough skin and dense flesh that make cutting and peeling a daunting, and sometimes dangerous, task. Fumbling with a sharp knife on a slippery, hard squash can lead to close calls and wasted effort. But what if there was a way to bypass this struggle entirely?
Good news! With this revolutionary Instant Pot hack, those days of wrestling with your butternut squash are officially over. I’m going to reveal a simple, ingenious method that will show you exactly how to cut butternut squash and peel it with remarkable ease, all while keeping your fingers safe and your sanity intact. Get ready to embrace this delicious gourd like never before!
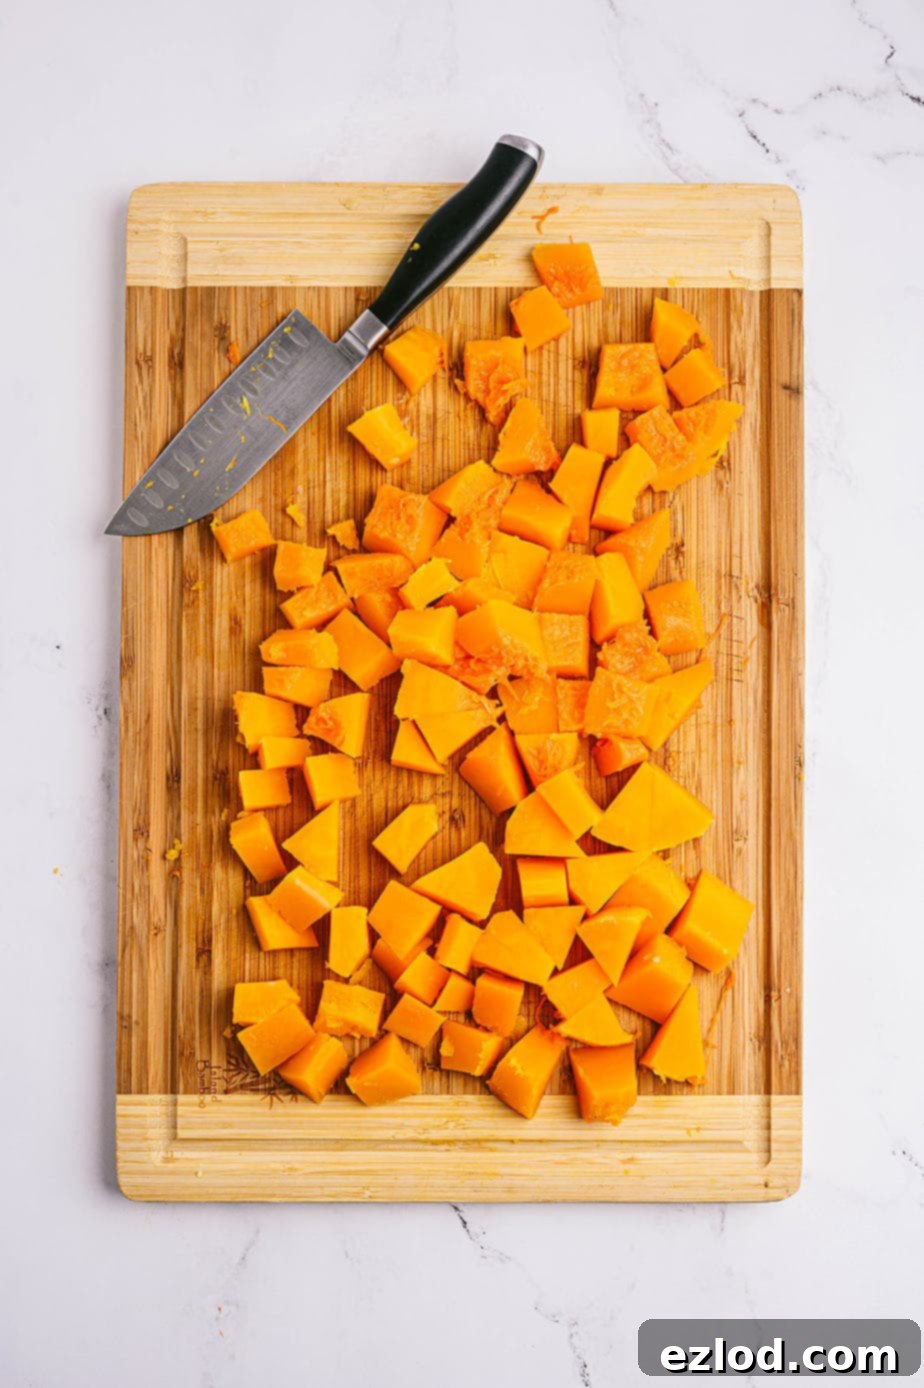
Table of Contents
Toggle
The Nutritional Powerhouse: Benefits of Butternut Squash
So, what exactly makes this vibrant orange squash so popular and worth the effort (now minimal, thanks to our hack!)? Butternut squash isn’t just delicious; it’s a nutritional superstar. According to Healthline, it’s remarkably low in calories yet incredibly rich in dietary fiber, making it an excellent choice for digestive health and feeling fuller longer. But the benefits don’t stop there.
This squash is an outstanding source of essential nutrients crucial for a balanced diet. It’s particularly high in Vitamin A (in the form of beta-carotene, which gives it its signature color), vital for vision, immune function, and skin health. It also boasts significant amounts of Vitamin C, a powerful antioxidant that supports immunity and collagen production. Beyond vitamins, butternut squash provides important minerals like potassium, which is key for blood pressure regulation, and good amounts of calcium and iron, contributing to bone health and oxygen transport in the body.
Furthermore, studies have linked the regular consumption of butternut squash to potential protection against heart disease and certain types of cancer, thanks to its rich antioxidant profile. Its natural sweetness and creamy texture allow it to effortlessly transition between roles – from a savory Thanksgiving side dish, a comforting soup, or a healthy addition to stir-fries, to a sweet component in muffins, pies, or even baby food. This incredible versatility truly makes butternut squash a must-have ingredient in your kitchen.
Why Do We Avoid This Amazing Squash? The Cutting Challenge
If butternut squash is such a perfect, healthy, and versatile staple for the cooler months, why doesn’t it make it into our meals more often? It’s a scenario many of us are familiar with: you spot a beautiful butternut squash at the grocery store or farmer’s market, its vibrant color promising delicious meals. You think, “Yes! This week I will absolutely roast this magnificent gourd for dinner.” It comes home, takes pride of place on your kitchen counter… and then it sits there. Day after day. Silently mocking you until, sadly, it eventually goes bad, untouched.
Where’s the disconnect? The primary culprit is often the sheer difficulty of preparing it. Cutting raw butternut squash is genuinely hard, and for many, it’s slightly terrifying! Its tough, non-uniform shape and firm flesh make it notoriously tricky to handle. I can’t count how many close calls I’ve had, trying to force a knife through a rock-hard squash, only for it to slip unexpectedly and nearly slice a finger. The risk of injury, combined with the significant effort required, often leads people to opt for pre-cut (and often more expensive) alternatives, or simply to skip it altogether.
But that stops today! You no longer need to fear the cutting board. My Instant Pot hack is designed precisely to eliminate this struggle, making the process of prepping your butternut squash incredibly simple, safe, and efficient. If you’re ready to learn how to transform this challenging chore into a breeze, you’ve come to the perfect place!
The Game Changer: Instant Pot Butternut Squash Hack
I’ve previously shared a fantastic method for cooking a whole, uncut butternut squash in an Instant Pot or Crock-Pot in my Butternut Squash Soup post. That method is ideal for creating a smooth, creamy puree, perfect for soups, sauces, or freezing for later use. But what if your recipe calls for diced or cubed squash – perhaps for a vibrant roasted salad, a hearty Butternut Squash Mac and Cheese, or simply to roast as a delicious side?
Fear not! After some experimentation with various timings, I’ve discovered the ultimate Instant Pot setting to perfectly soften your whole butternut squash, making it a joy to peel and dice. This method ensures the squash is tender enough to cut easily but firm enough to hold its shape for cubing. No more wrestling, no more slipping, and certainly no need for stitches!
Simply follow this straightforward, step-by-step process, and you’ll be on your way to perfectly prepped butternut squash in minutes:
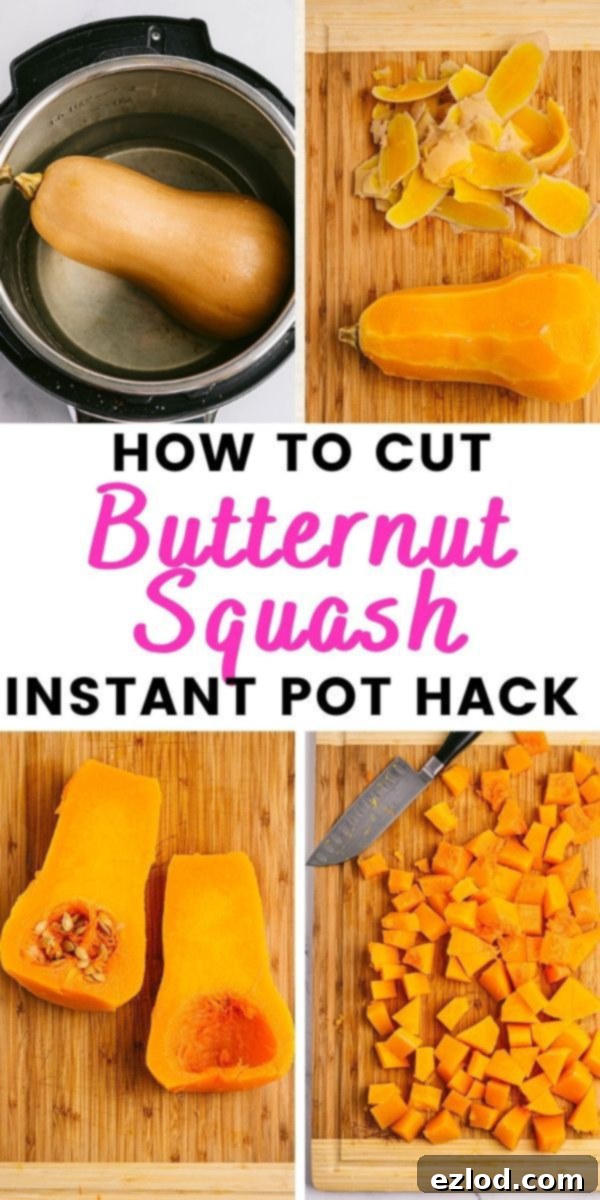
- Prepare Your Instant Pot: Place your entire, whole butternut squash into the inner pot of your Instant Pot. There’s no need to pierce or cut it beforehand. Add 1 cup of water to the pot. This water creates the necessary steam for pressure cooking.
- Pressure Cook: Secure the lid on your Instant Pot, ensuring the sealing ring is properly in place. Set the valve to the “Sealing” position. Cook on manual/high pressure for precisely 8 minutes. This short cooking time is key to softening the skin and outer flesh without overcooking the entire squash.
- Quick Release: Once the cooking cycle is complete, carefully perform a quick release of the pressure. This means immediately turning the steam release valve to the “Venting” position. Stand back and allow all the steam to escape until the float valve drops.
- Cool Down: Once the pressure has fully released, carefully remove the lid. The squash will be incredibly hot, so use tongs or oven mitts to transfer it to a cutting board. Let it cool for a few minutes until it’s comfortable enough to handle. This brief cooling period not only prevents burns but also makes the squash easier to manage for peeling and cutting.
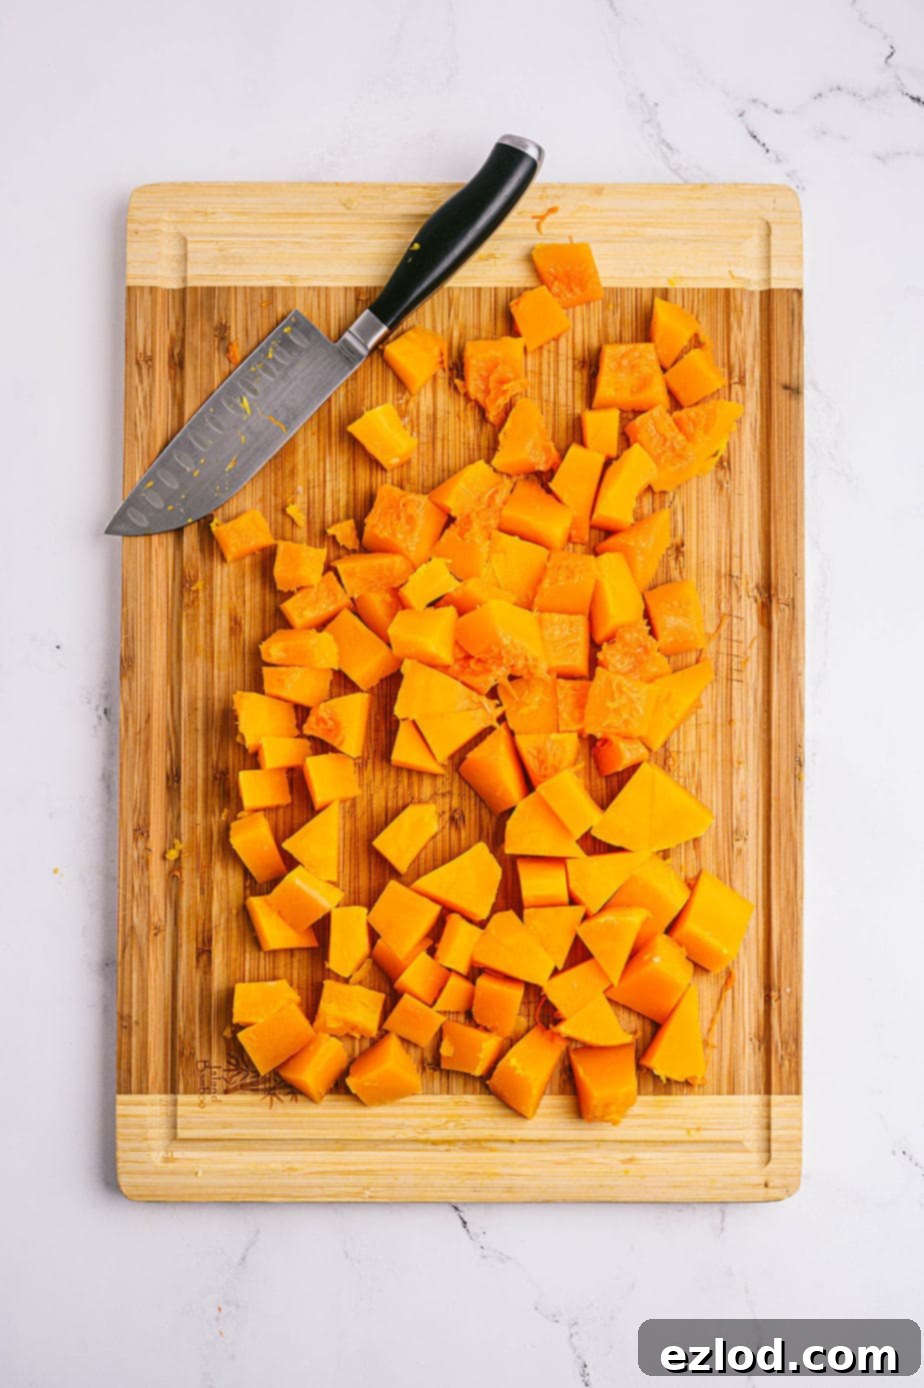
- Peel and Cut with Ease: Now for the magic! The skin, previously impenetrable, will be significantly softened. Use a sharp vegetable peeler to effortlessly remove the thick skin. You’ll be amazed at how easily it glides off. Once peeled, slice your squash down the center lengthwise. Scoop out the seeds and stringy bits with a spoon. Then, simply slice the squash into small, uniform cubes, ready to roast or incorporate into any of your favorite recipes!
This method has completely revolutionized my winter squash preparation. What used to be a dreaded chore has now become my favorite, stress-free way to get butternut squash ready for any of my side dishes or beloved fall recipes. You’ll wonder how you ever managed without it!
Step-by-Step: How to Roast Butternut Squash
Once you’ve mastered the art of easily cutting your butternut squash, roasting it is the next simple step to unlocking its delicious potential. Roasted butternut squash is a truly satisfying and versatile side dish that complements almost any meal. Its natural sweetness intensifies with roasting, creating caramelized edges and a tender, melt-in-your-mouth interior. It’s also a fantastic “hands-off” prep item for your week, requiring minimal active time once it’s in the oven.
Here’s how to perfectly roast your freshly cut butternut squash:
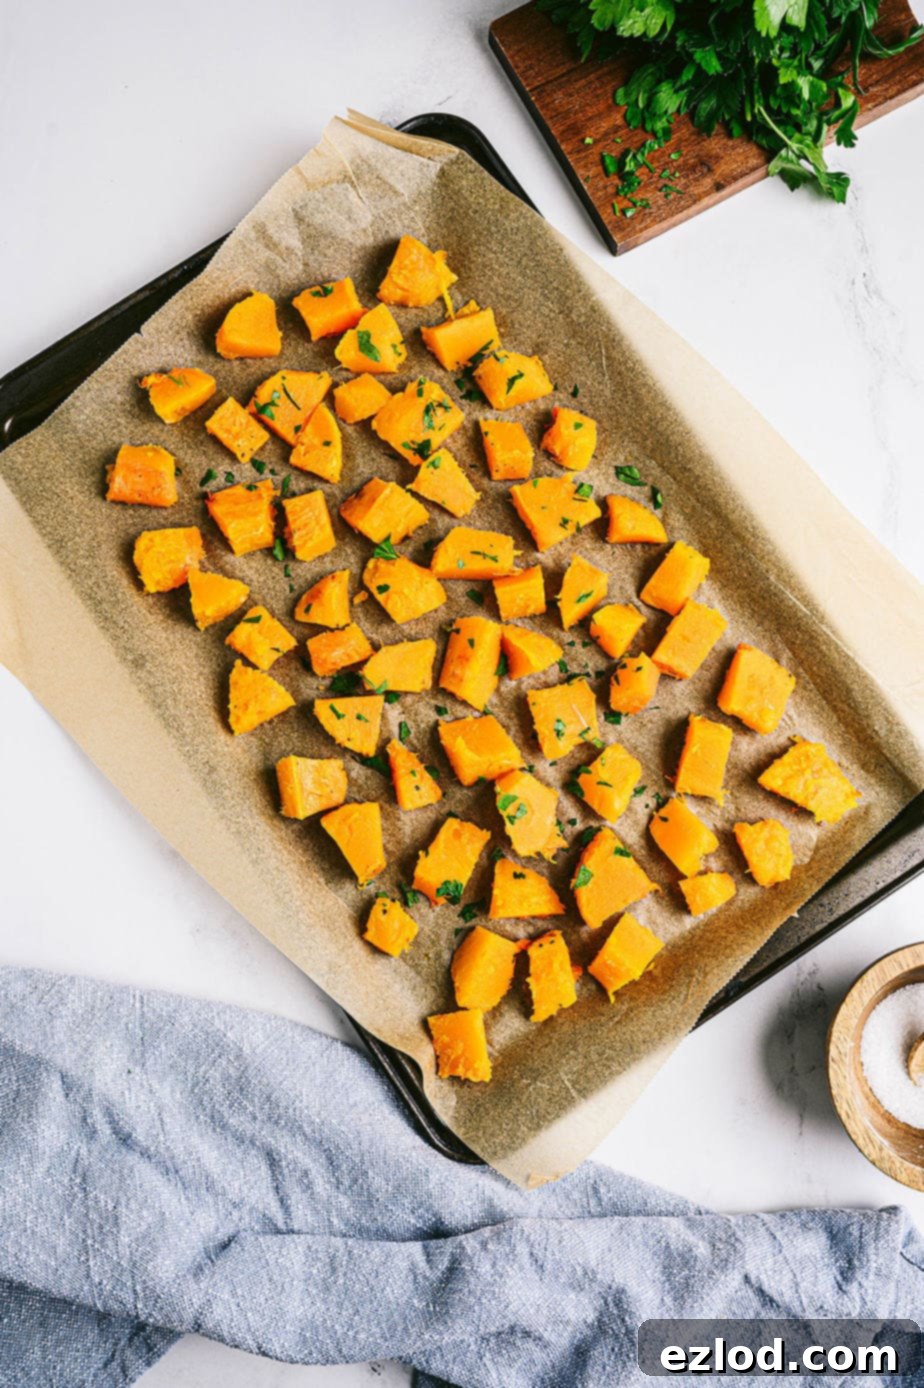
- Preheat Oven & Prepare Baking Sheet: Begin by preheating your oven to a robust 400°F (200°C). This high heat is essential for achieving those desirable caramelized edges and tender texture. While the oven heats, line a large baking sheet with parchment paper. This prevents sticking and makes for incredibly easy cleanup.
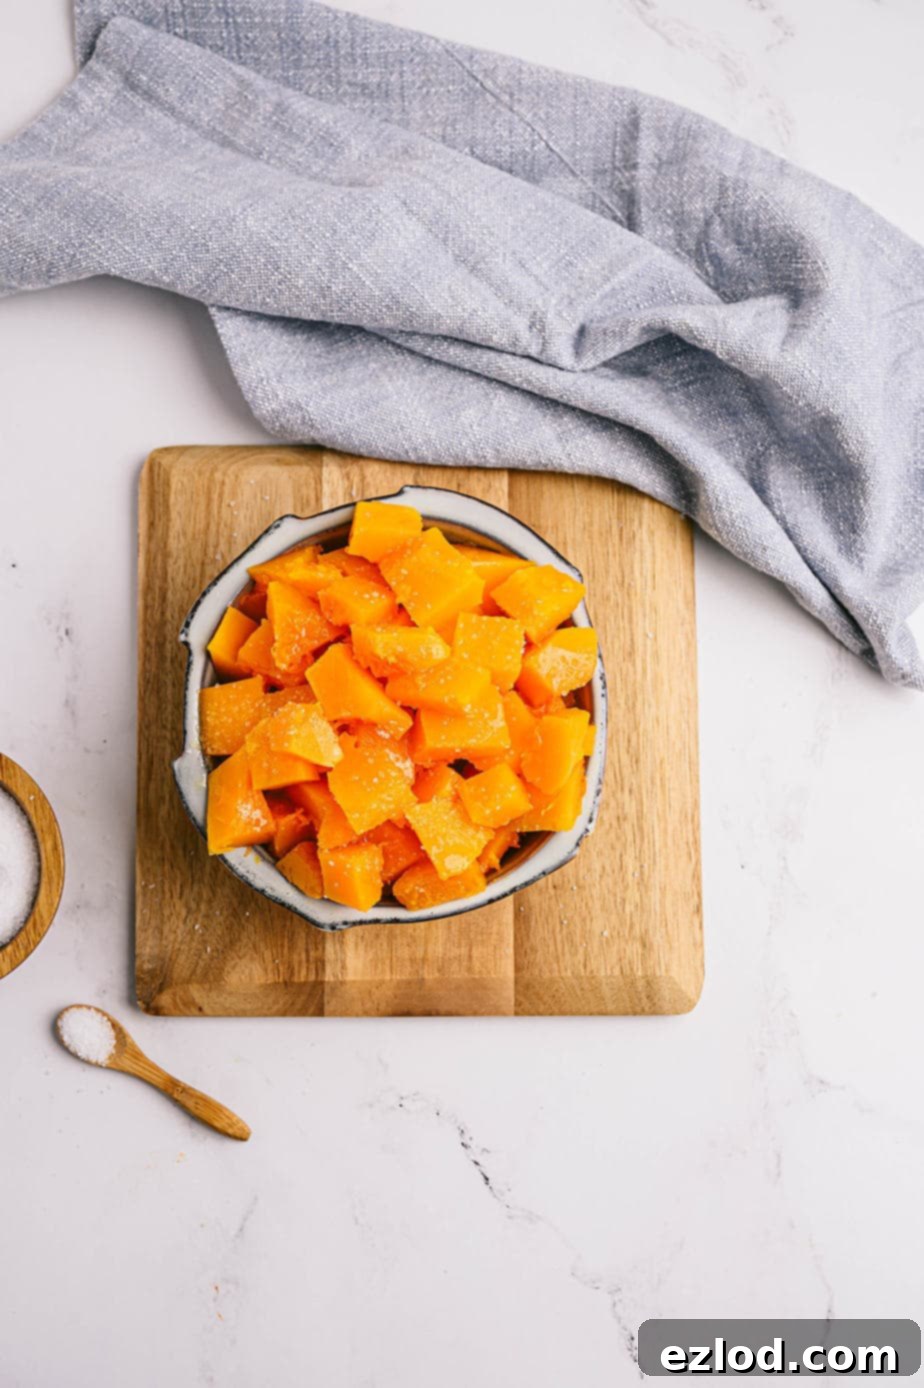
- Season the Squash: Place your cubed butternut squash in a single layer on the prepared baking sheet. Drizzle generously with olive oil – about 1-2 tablespoons, depending on the amount of squash. Olive oil helps with browning and adds flavor. Season simply with pinches of salt and freshly ground black pepper. For an extra layer of flavor, consider adding a sprinkle of garlic powder, a dash of paprika, or even a touch of cinnamon or maple syrup for a sweeter profile. Toss gently to ensure all the cubes are evenly coated.
- Roast to Perfection: Transfer the baking sheet to the preheated oven. Roast for 30 to 35 minutes, or until the butternut squash cubes are beautifully golden brown around the edges and fork-tender throughout. Halfway through the cooking time (around 15-20 minutes), give the squash a gentle toss to ensure even cooking and browning on all sides.
Roasting is just one fantastic way to enjoy this squash! Have a smoker? You might love this Smoked Butternut Squash recipe for a unique flavor. Or, for a quicker option, try this Air Fryer Butternut Squash!
Essential Tips for Safely and Efficiently Cutting Butternut Squash
Even with the Instant Pot hack, a few best practices can further enhance your butternut squash cutting experience. Safety and efficiency are paramount in the kitchen:
- Always Use a Sharp Knife: This cannot be stressed enough. A dull knife is actually more dangerous than a sharp one because it requires more force, increasing the chance of it slipping. Invest in a good chef’s knife and don’t hesitate to sharpen it regularly or have it professionally sharpened if needed. Even after softening the squash, a sharp knife makes clean cuts effortless.
- Work on a Stable, Flat Surface: Always place your butternut squash on a stable, flat cutting board. If your cutting board slides, place a damp cloth or non-slip mat underneath it. This provides a secure foundation, preventing the squash from rolling or slipping as you cut, which is crucial for safety.
- Trim the Ends: Before splitting the squash, use your sharpened knife to carefully slice off the top and bottom ends. These parts are typically fibrous, don’t contain much edible flesh, and removing them creates a stable base for the squash to rest on while you peel and halve it. You can simply discard these ends.
- Deseeding Made Easy: Once you’ve halved the squash, use a sturdy spoon (an ice cream scoop works wonders!) to scrape out the seeds and fibrous strands from the cavity. You can discard the seeds or, even better, clean them, toss them with a little olive oil and salt, and roast them for a crunchy, healthy snack!
- Uniform Cubes for Even Cooking: When dicing the squash, aim for cubes of roughly similar size. This ensures that all pieces cook evenly, whether you’re roasting, sautéing, or adding them to a stew. Inconsistent sizes can lead to some pieces being overcooked and mushy while others are still hard.
- Storing Cut Butternut Squash: If you’ve prepped more squash than you need, properly storing it will extend its freshness. Transfer the peeled and cut butternut squash to an airtight container and refrigerate for up to 4 days. This makes meal prep a breeze for busy weekdays.
- Freezing for Longer Storage: Butternut squash freezes beautifully. For longer storage, spread the raw, cut cubes in a single layer on a baking sheet and freeze until solid (this prevents them from clumping together). Once frozen, transfer them to a freezer-safe bag or container. They can be stored in the freezer for up to 3 months, ready to be added directly to soups, stews, or roasted from frozen (though they may take a little longer to cook).
Butternut Squash in Dietary Programs: 21 Day Fix and 2B Mindset
For those following specific dietary programs, understanding how butternut squash fits into your plan is key. This delicious squash is not only healthy but also aligns well with several popular eating strategies:
For the 21 Day Fix Program: Butternut squash is counted as a Green container on the 21 Day Fix. This is fantastic news for anyone looking to increase their vegetable intake and maximize their greens! A full cup of cooked butternut squash fits into one green container, making it an excellent, filling, and nutrient-dense way to get your daily allotment of vegetables. It’s also a wonderful and flavorful substitute for higher-carb root vegetables like sweet potatoes in many of your favorite recipes, allowing you to save your Yellow containers for “treat swaps” or even a glass of wine!
For the 2B Mindset Program: In the 2B Mindset program, all winter squashes – including butternut squash – are categorized as an FFC, or fiber-filled carb. This makes butternut squash a superb choice for breakfast or lunches, helping you feel satisfied and energized throughout your day. Its fiber content is particularly beneficial for promoting satiety and supporting healthy digestion, aligning perfectly with the principles of the 2B Mindset for balanced eating and weight management.
Discover Your Next Favorite: Butternut Squash Recipe Inspiration
Now that you’re a seasoned pro at softening, peeling, and dicing your butternut squash with absolute ease, it’s time to unleash your culinary creativity! The possibilities are truly endless when you have perfectly prepped squash at your fingertips. From comforting classics to innovative dishes, butternut squash can elevate any meal. Here’s a curated list of delicious ideas to inspire your next kitchen adventure:
- Warm Honey Roasted Butternut Squash Salad: A vibrant, flavorful salad perfect for a light lunch or elegant side, combining sweet and savory notes.
- Healthy Sweet Potato Casserole with Hidden Butternut Squash: A clever way to boost nutrients and flavor in a beloved comfort dish.
- Butternut Squash Lasagna: A rich, creamy, and wholesome twist on traditional lasagna, often gluten-free and made in one skillet for convenience.
- Easy Shrimp, Kale, and Butternut Squash Saute: A quick, healthy, and colorful meal packed with protein and vegetables.
- Butternut Squash Mac and Cheese: Sneak in extra veggies and creamy texture into a family-favorite comfort food.
- Instant Pot Butternut Squash Risotto: Creamy, indulgent risotto made easy in your Instant Pot with the sweet flavor of squash.
- Instant Pot Chicken Curry and Rice: While not exclusively butternut squash, it’s a great recipe to incorporate diced squash for added texture and nutrition.
- Butternut Squash Latkes: A creative and healthy spin on traditional potato latkes, perfect for a side dish or appetizer.
- Butternut Squash Soup: The classic comforting soup, often dairy-free and gluten-free, highlighting the squash’s creamy texture.
With this handy Instant Pot hack, you’re now equipped to enjoy butternut squash in all its delicious forms, making healthy and flavorful meals a regular part of your routine!

How to Cut Butternut Squash – Instant Pot Hack
Nancylynn
1 serving
Pin Recipe
1 minute
8 minutes
9 minutes
Ingredients
-
1 whole butternut squash -
1 cup of water
Instructions
-
Place your whole Butternut Squash in your Instant Pot along with 1 cup of water.
-
Cook on manual/high pressure for 8 minutes.
-
Quick release.
-
Let it cool for a few minutes – it will be super hot!
-
Remove from the Instant Pot. Peel, then slice your squash down the center. Slice the squash into cubes to roast or use it in a myriad of recipes!
-
How to Roast Butternut Squash
-
Preheat oven to 400°F and line a large baking sheet with parchment paper.
-
Place the squash cubes on the baking sheet and toss with a drizzle of olive oil and pinches of salt and pepper. Roast 30 to 35 minutes or until golden brown around the edges.
Notes
WW link for personal points: Butternut Squash
Nutrition
Tried this Recipe? Tag me Today!
Tag @confessionsofafitfoodie on Instagram and hashtag it #confessionsofafitfoodie!
Frequently Asked Questions About Butternut Squash Prep
Here are answers to some common questions about preparing butternut squash:
- Do I have to peel butternut squash? While the skin of butternut squash is technically edible once cooked, it is quite tough and not very palatable. Most recipes call for peeled butternut squash to ensure a smooth texture and enjoyable eating experience. Our Instant Pot hack makes this once-difficult task incredibly simple.
- Can I microwave butternut squash to soften it? Yes, microwaving is another method to soften the skin and flesh of a butternut squash, though it might not be as uniform as the Instant Pot. To microwave, pierce the squash several times with a fork, then microwave on high for 5-10 minutes, depending on its size, flipping halfway through. Be cautious as it will be very hot. This can help make it easier to cut and peel.
- How do I choose a good butternut squash? Look for a squash that is firm and heavy for its size, without any soft spots or blemishes. The skin should be uniformly tan or beige, indicating ripeness. Avoid any squash with green patches, as this suggests it’s not fully ripe and may have a less sweet flavor.
- What’s the best way to deseed butternut squash? After halving your softened butternut squash, a sturdy spoon or an ice cream scoop works best to easily scrape out the seeds and stringy pulp from the cavity. You can then discard the seeds or roast them for a delicious, crunchy snack.
- Can I cook butternut squash without peeling it first? Yes, for some preparations like roasting in halves or quarters, you can cook butternut squash with the skin on. After cooking, the flesh can be scooped out easily. However, for dicing or pureeing, peeling before or after cooking (as shown in this hack) is usually preferred.
With these tips and the ultimate Instant Pot hack, you’re now fully equipped to conquer butternut squash preparation and enjoy this healthy, versatile vegetable in all its delicious glory. Say goodbye to kitchen struggles and hello to effortless, flavorful meals!
