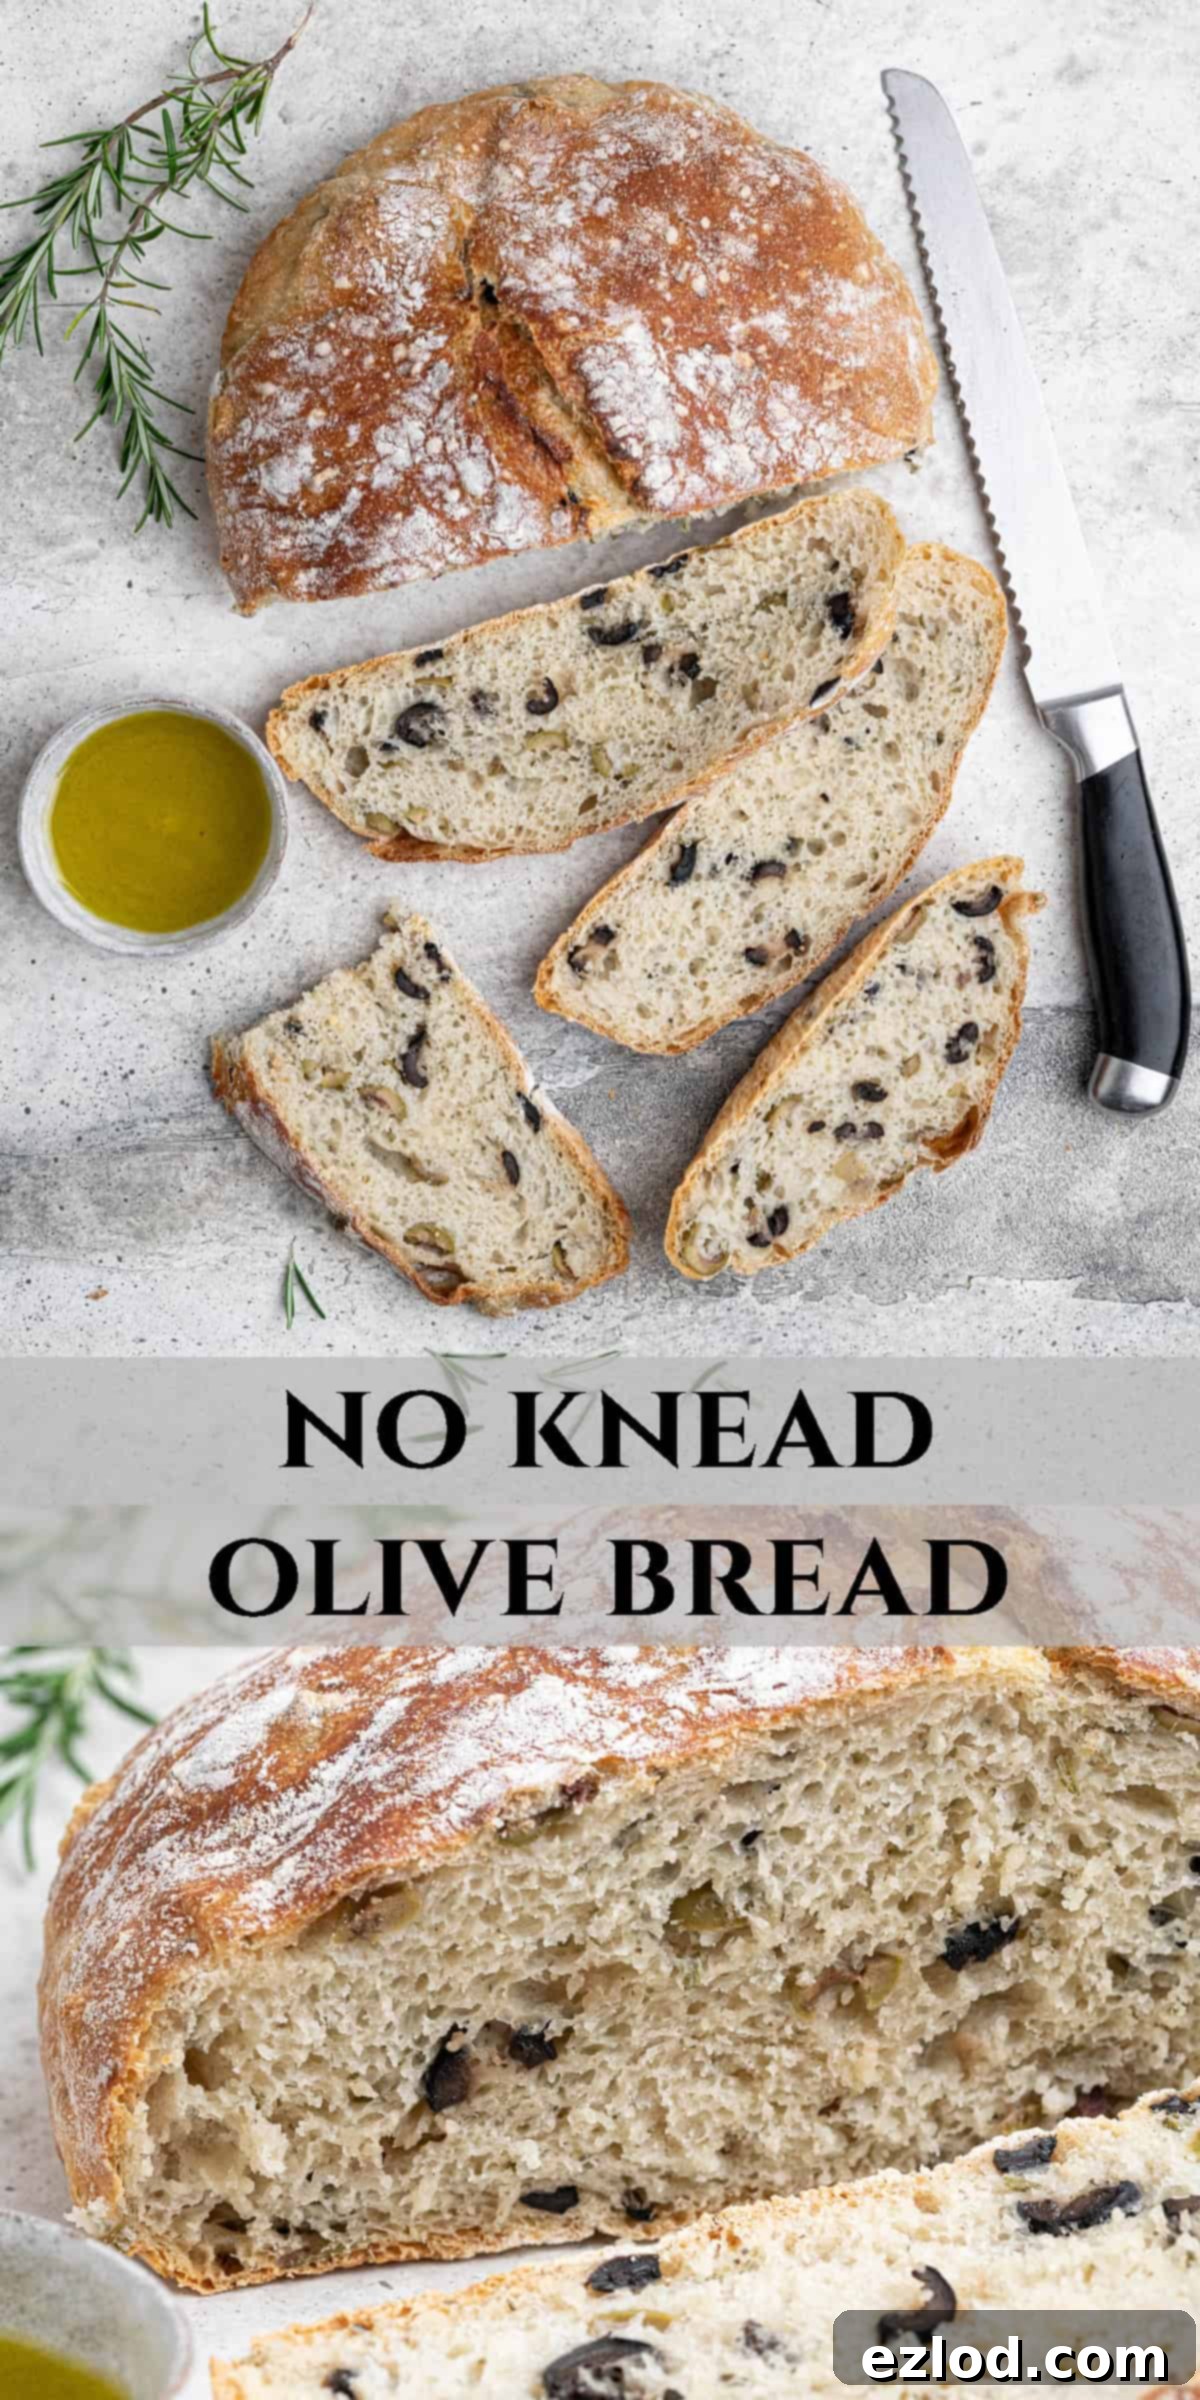
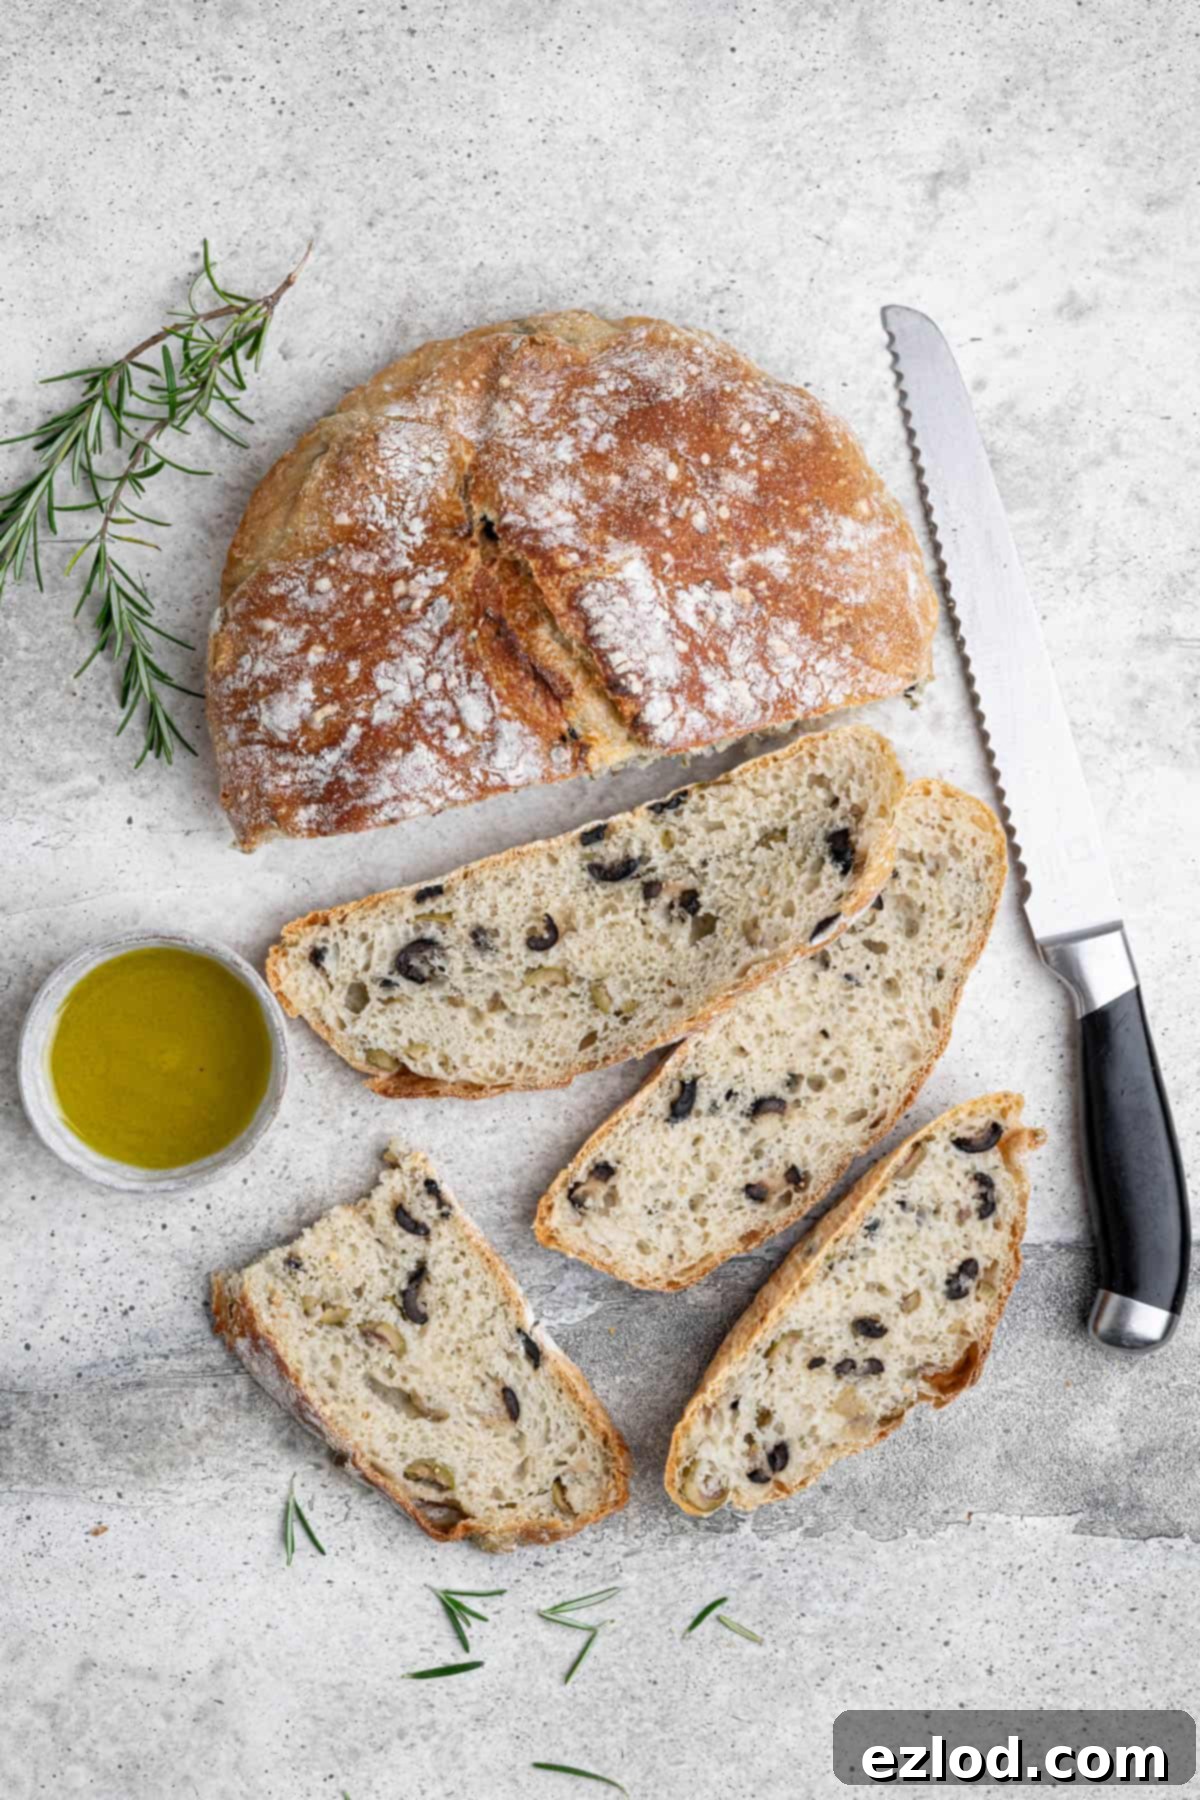
Effortless Artisan Flavor: The Ultimate No-Knead Olive Bread Recipe (Vegan & Dutch Oven Perfect)
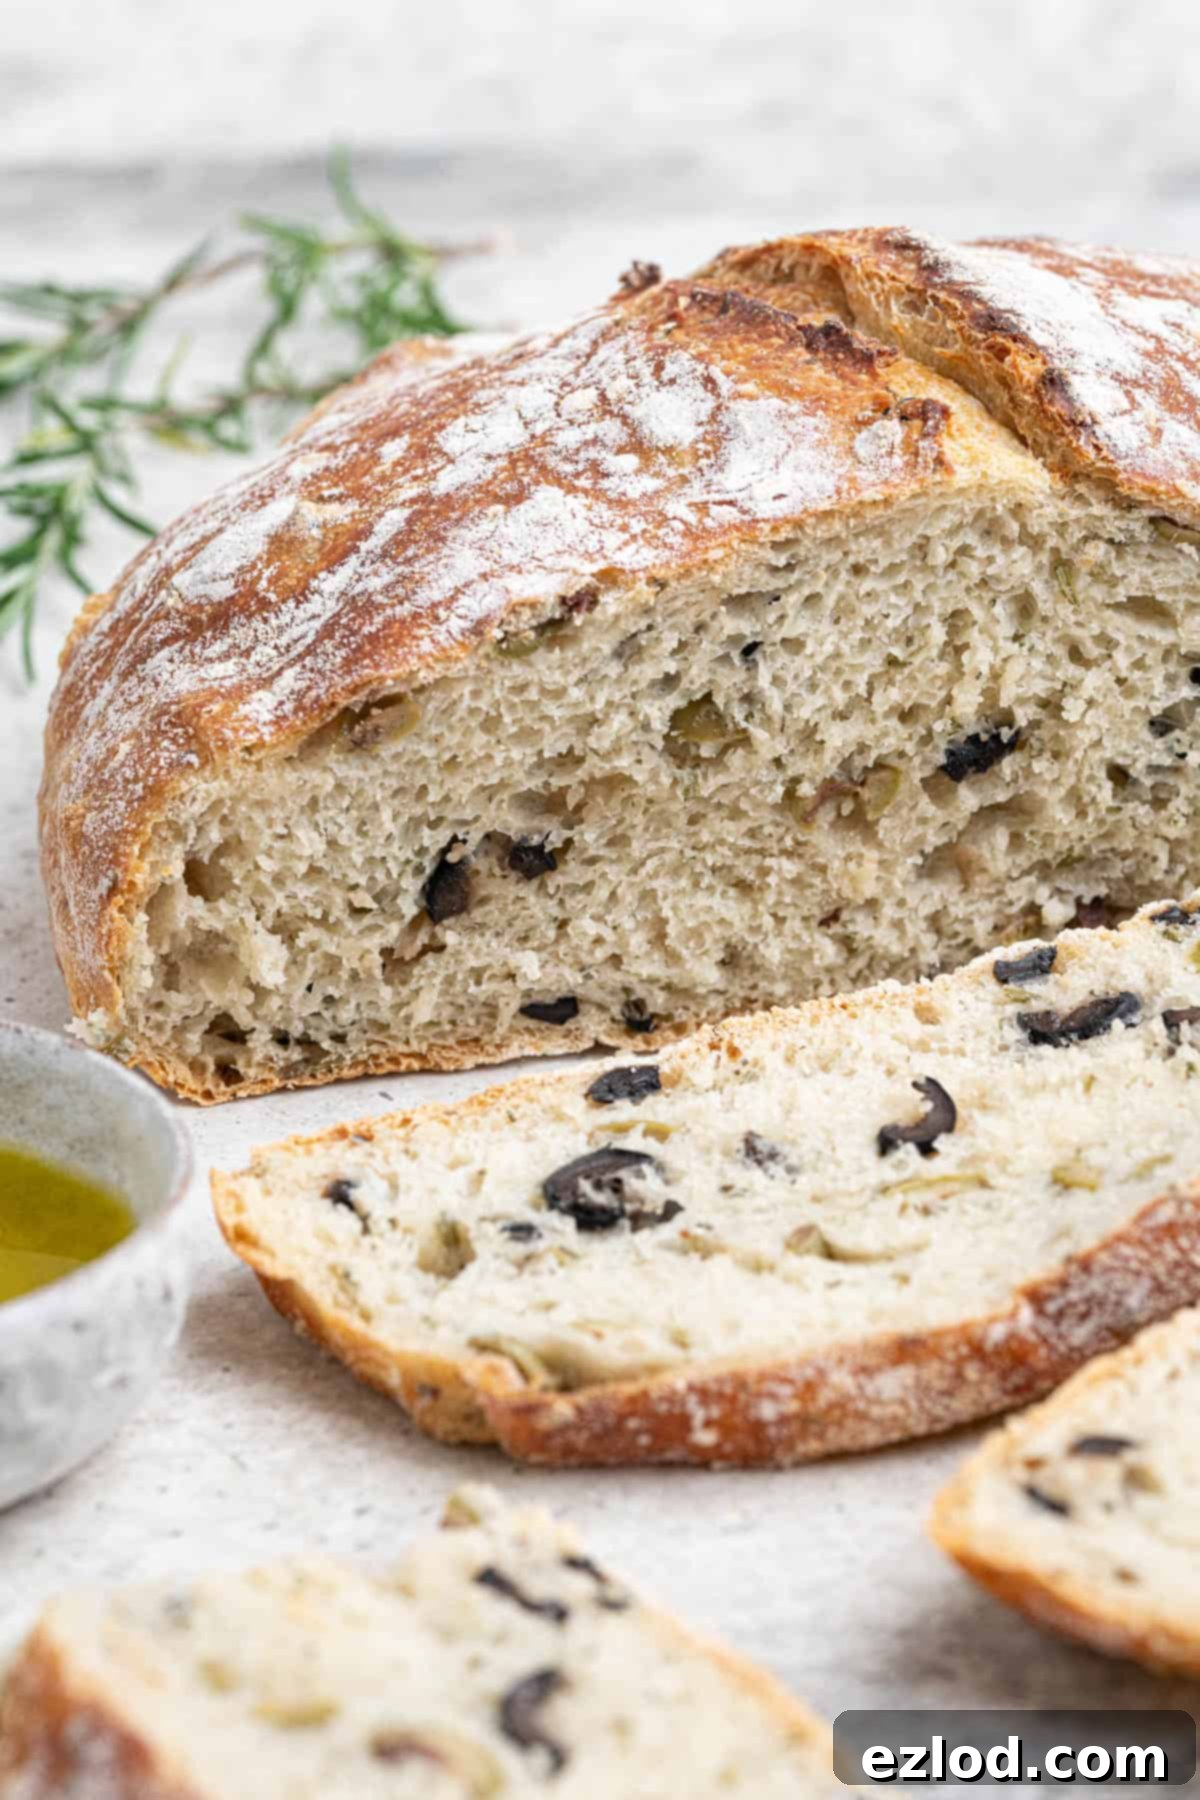
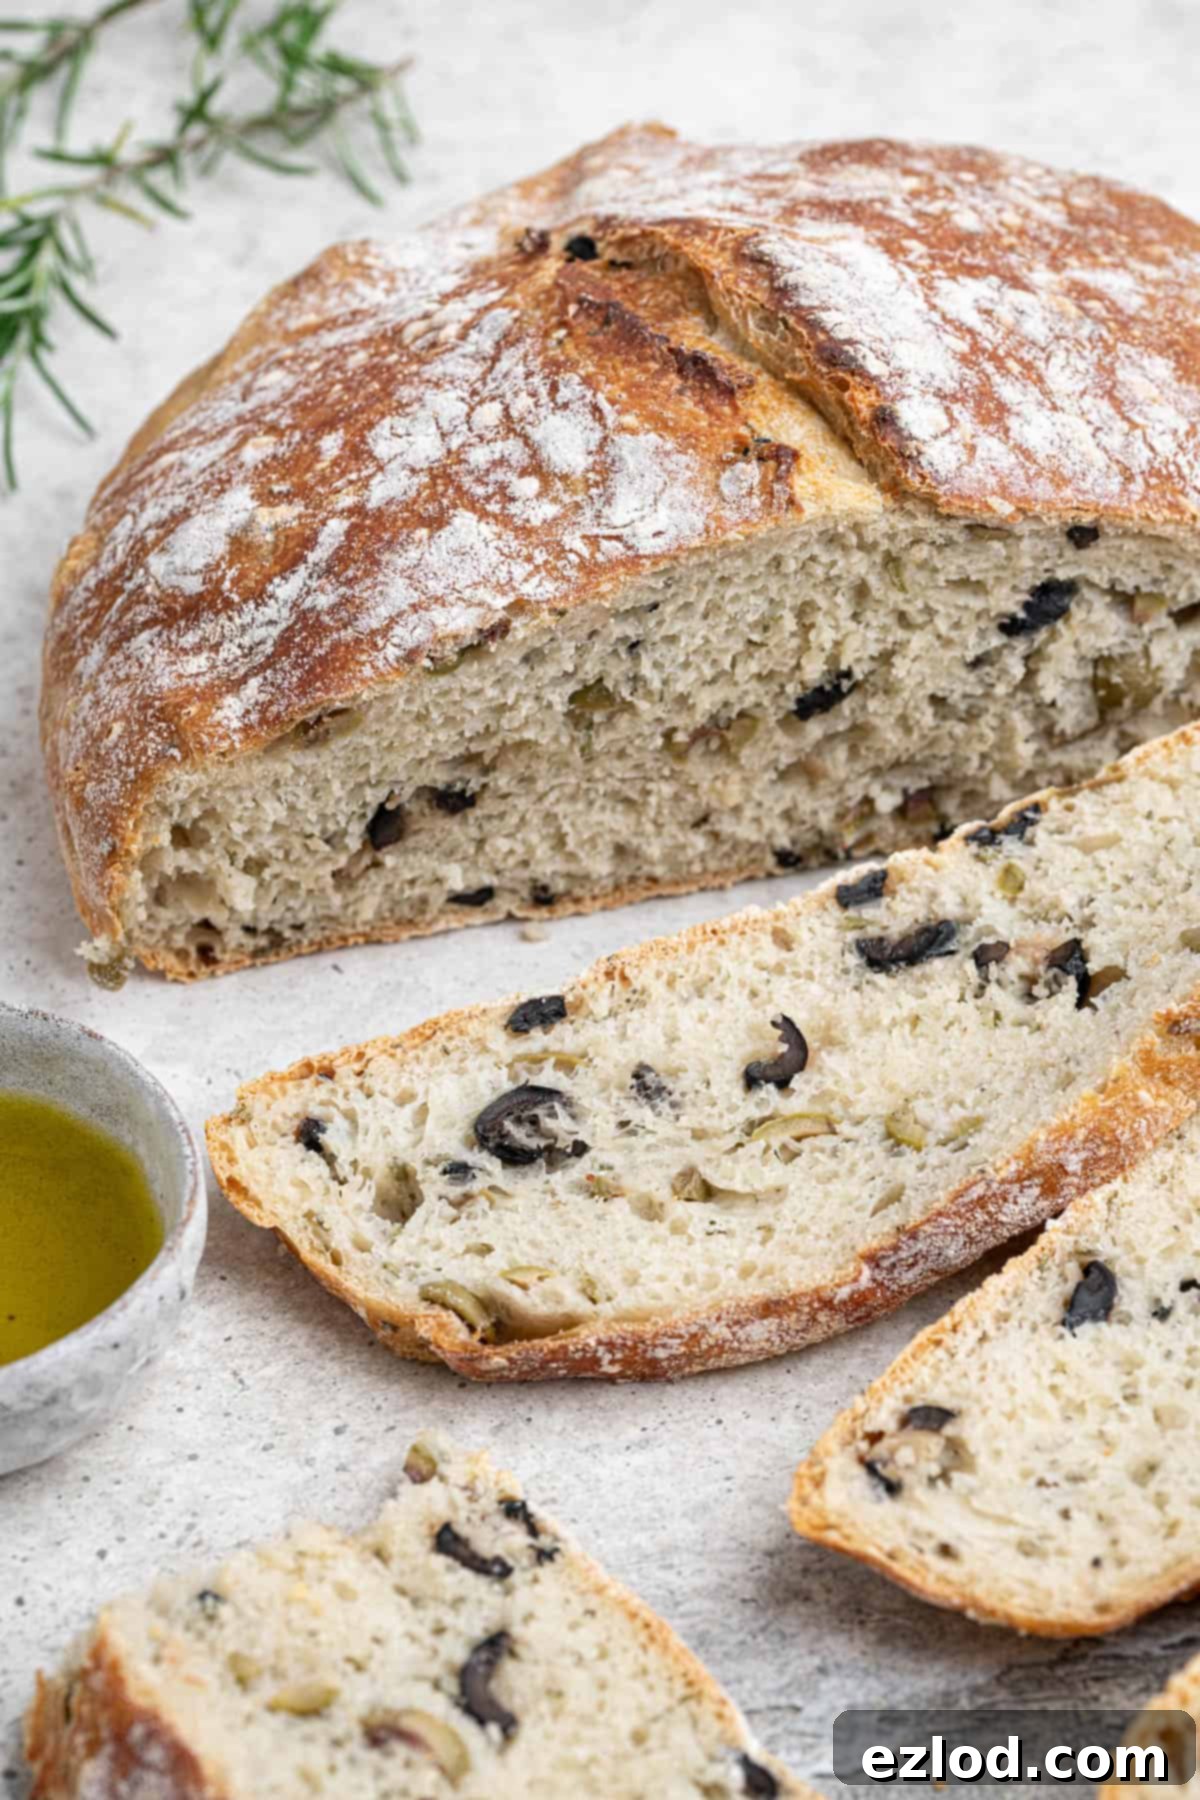
Imagine biting into a slice of warm, homemade bread with a perfectly crusty exterior, a wonderfully chewy, airy interior, and bursts of savory olive and aromatic rosemary. Now imagine achieving this artisanal quality with minimal effort – no strenuous kneading required! This delicious no-knead olive bread is made incredibly easy using a Dutch oven, relying on just a few basic ingredients and a simple, hands-off process.
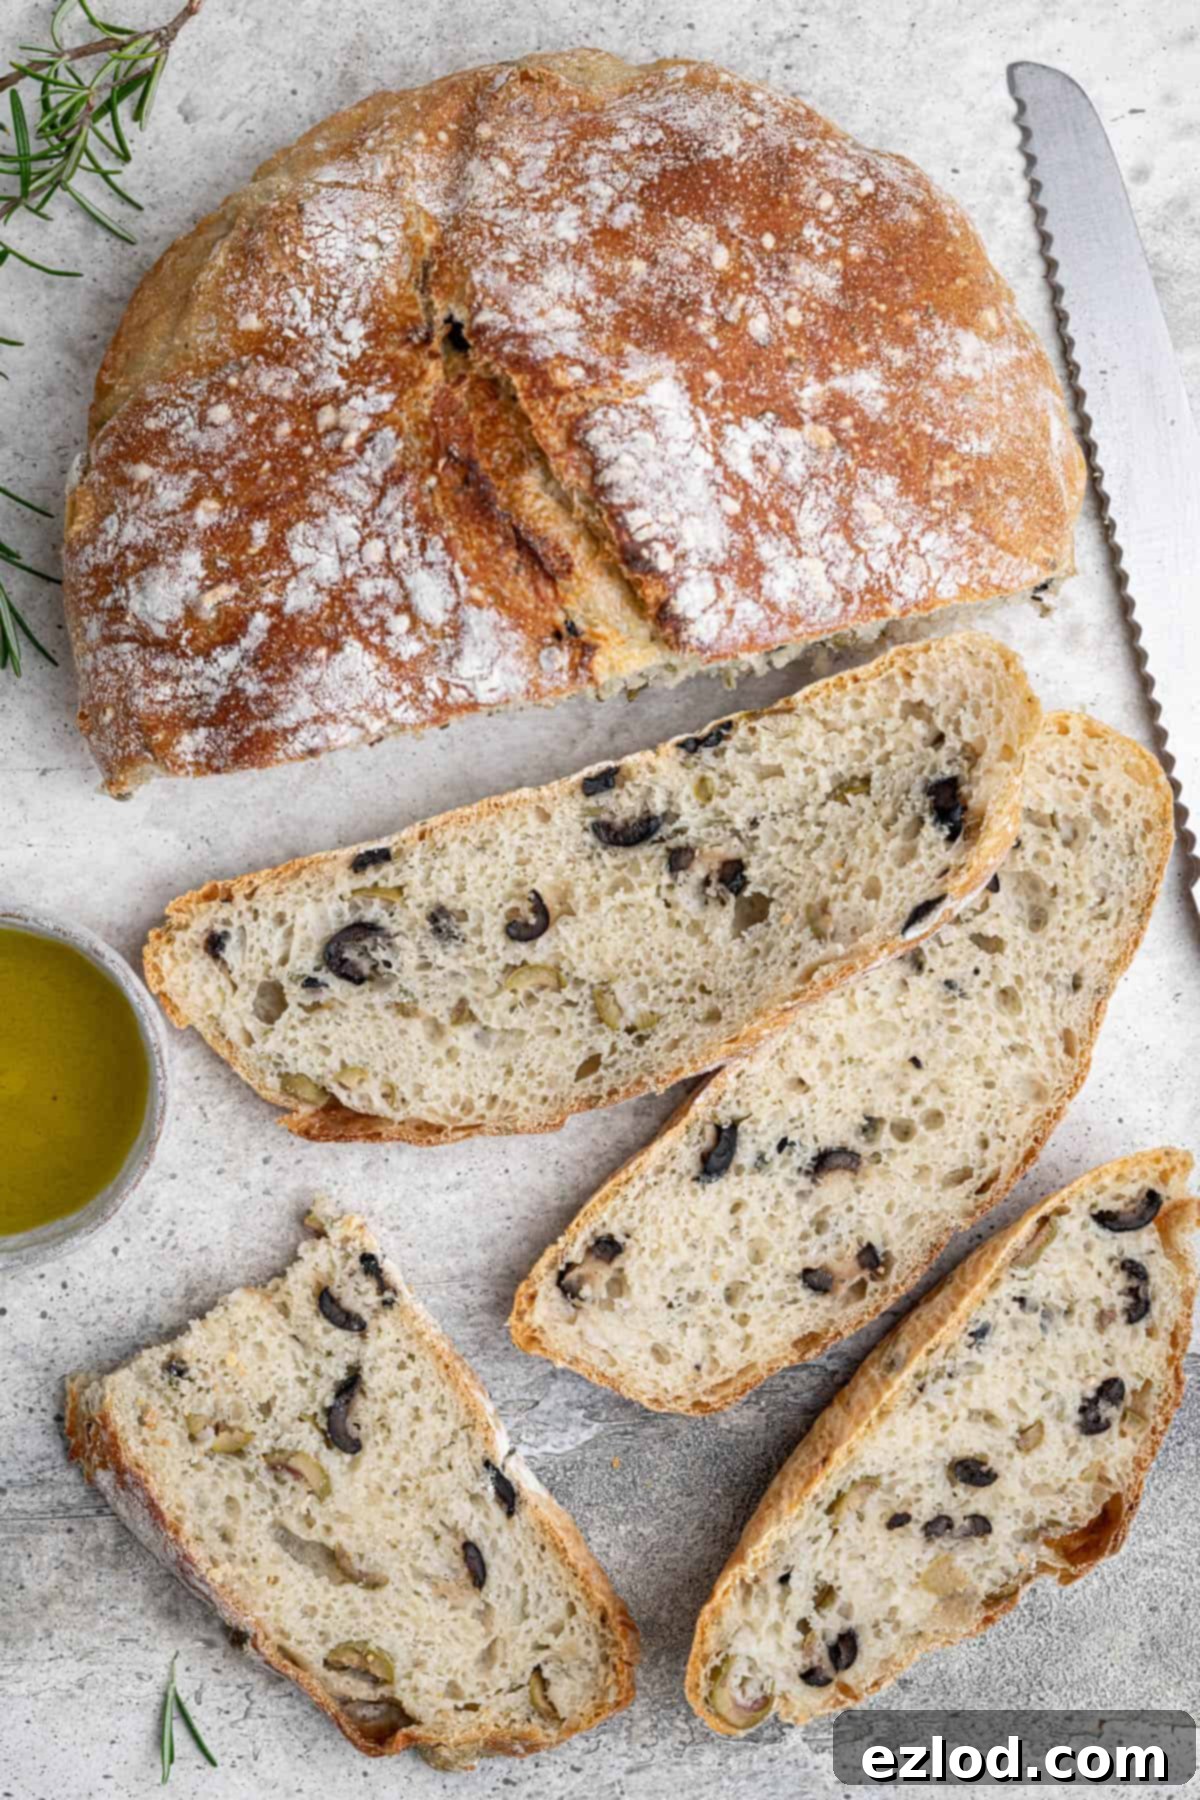
The magic begins the day before baking: simply combine your ingredients, give them a quick stir, and let the dough slowly develop its incredible flavor and texture overnight. The following day, a quick shaping and a bake in a preheated cast iron Dutch oven transform this simple mixture into a show-stopping loaf. The result is a crunchy crust, a satisfyingly chewy crumb, and a beautifully “holey” structure that’s ideal for soaking up soups, stews, or simply dipping into your favorite olive oil.
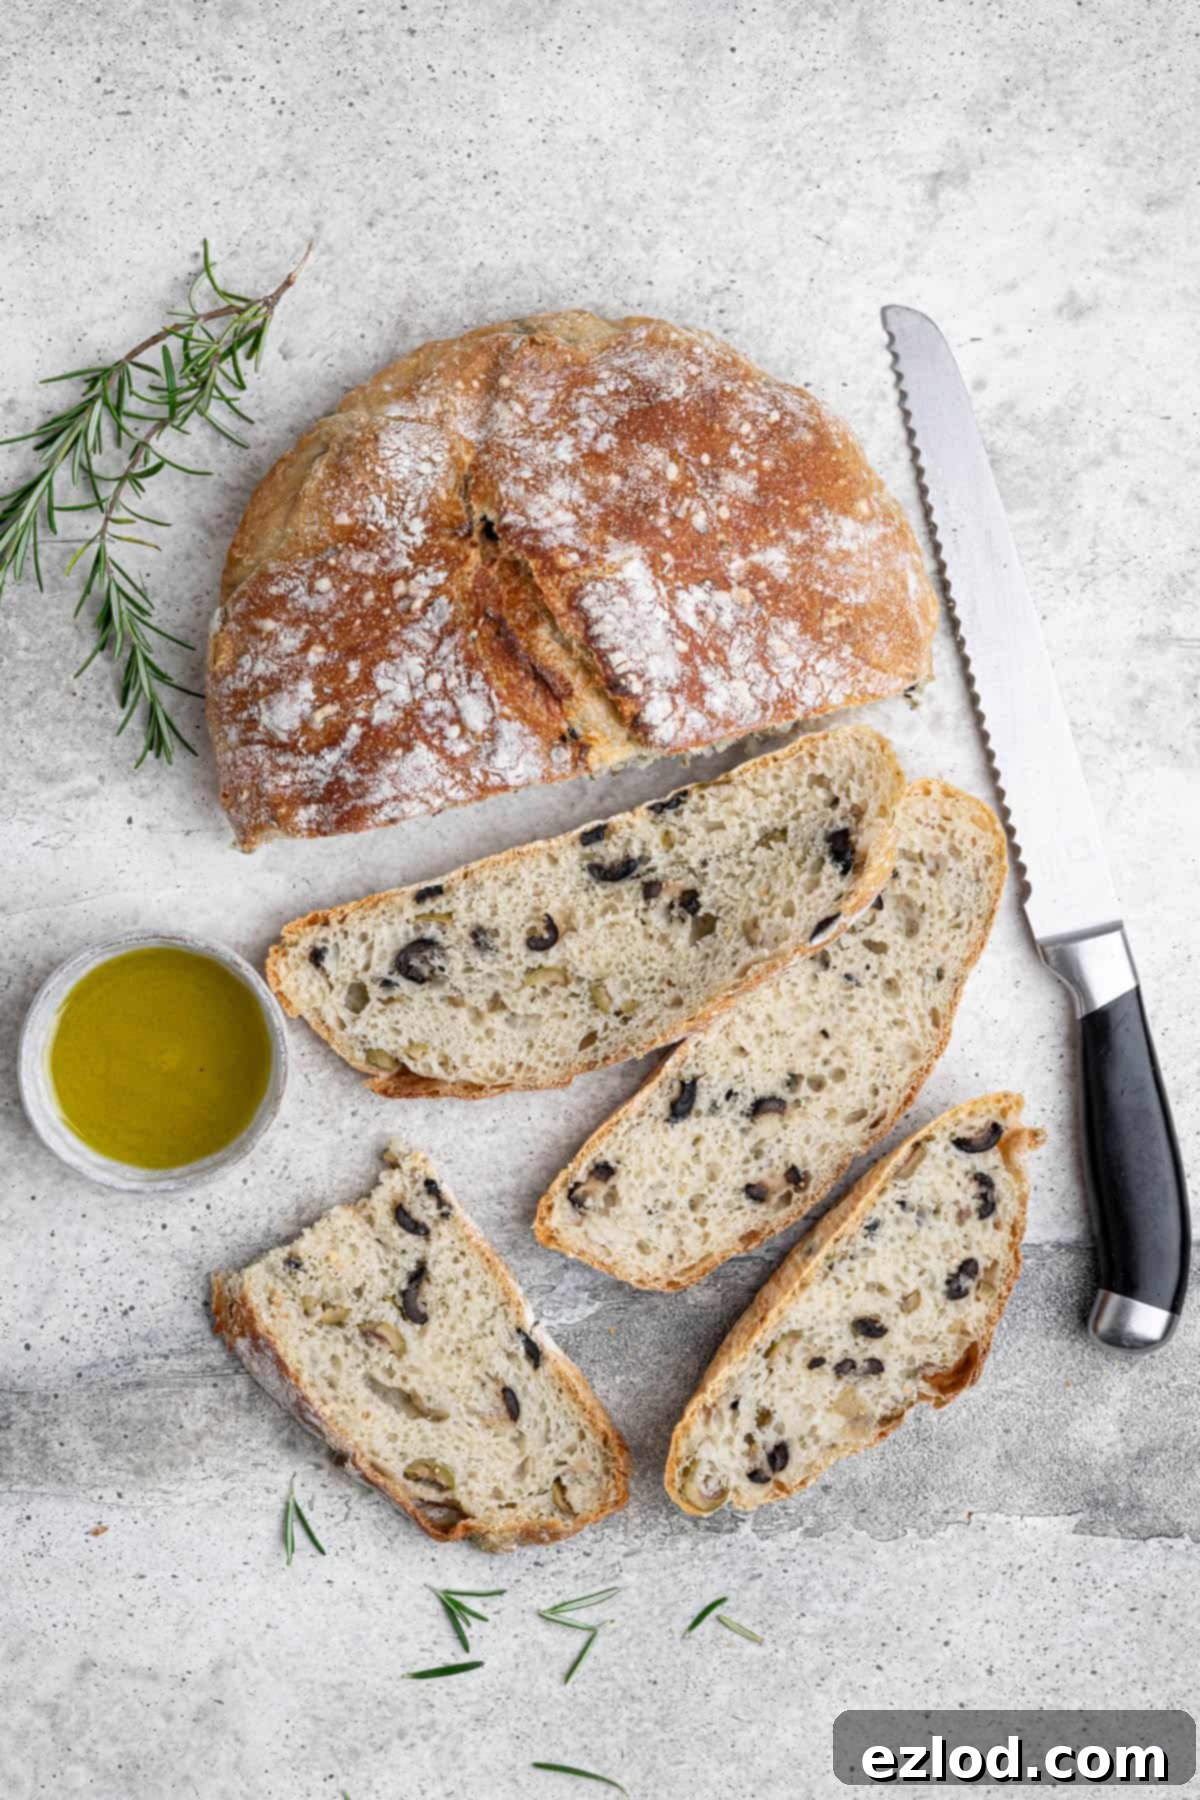
This no-knead olive bread truly stands out as one of the simplest yet most rewarding yeasted bread recipes you can undertake. Despite its straightforward preparation, it delivers an astounding flavor profile and an impeccable crisp crust with a tender, open structure—qualities typically associated with rustic artisan loaves found in specialty bakeries. It’s a testament to the power of time and temperature over manual labor in bread making.
The method is deceptively simple and almost entirely hands-free. You begin by gently stirring the core ingredients together in a large mixing bowl until just combined. A brief initial rise on your kitchen counter initiates the fermentation process, followed by an extended, slow rise in the refrigerator overnight. This long, cold fermentation is crucial for flavor development and gluten strength. The next day, you’ll use a dough scraper or spatula to lightly shape the dough into a loose ball, allow it a final short proof while your Dutch oven preheats, and then bake. You’ll barely need to touch the dough with your hands, making it an incredibly clean and stress-free baking experience.
The Science Behind No-Knead Magic: Why it Works
Traditional bread making often involves extensive kneading, a process that develops the gluten network responsible for the bread’s characteristic chewy texture and structural integrity. For this no-knead dough, several key elements work in harmony to achieve a superior chewy texture and an open, airy crumb without any physical kneading.
Firstly, this is a very high-hydration dough, meaning it contains a significant amount of water relative to flour. This wet, sticky consistency is vital; high-hydration doughs naturally encourage the gluten strands to align and strengthen themselves over time. This leads to a more “holey” and open crumb structure, much like sourdough or ciabatta.
Secondly, the long overnight rise (also known as cold fermentation) provides ample time for the gluten to develop naturally. As the yeast slowly consumes sugars in the dough, it produces gases, which gently stretch and strengthen the gluten network. This slow process also allows for a more complex and nuanced flavor to develop, far surpassing what a quick rise can achieve.
Thirdly, the bread is baked in an extremely hot, pre-heated cast iron Dutch oven, crucially with the lid on for the initial baking phase. This creates a mini-oven effect, trapping steam released by the dough. This steamy environment is critical for two reasons: it prevents the crust from forming too quickly, allowing the dough to rapidly expand (known as “oven spring”) and create more internal holes, and it gelatinizes the starches on the surface, which later dries out to form that irresistibly crunchy, shatteringly crisp crust without drying out the bread’s interior.
While the no-knead bread method gained significant modern popularity when Jim Lahey’s recipe was published in The New York Times, it’s important to recognize that this technique is far from new. It draws on ancient bread-making traditions, likely practiced for centuries by home bakers long before the advent of modern kneading machines.
Ingredient Spotlight: What You Need and Why
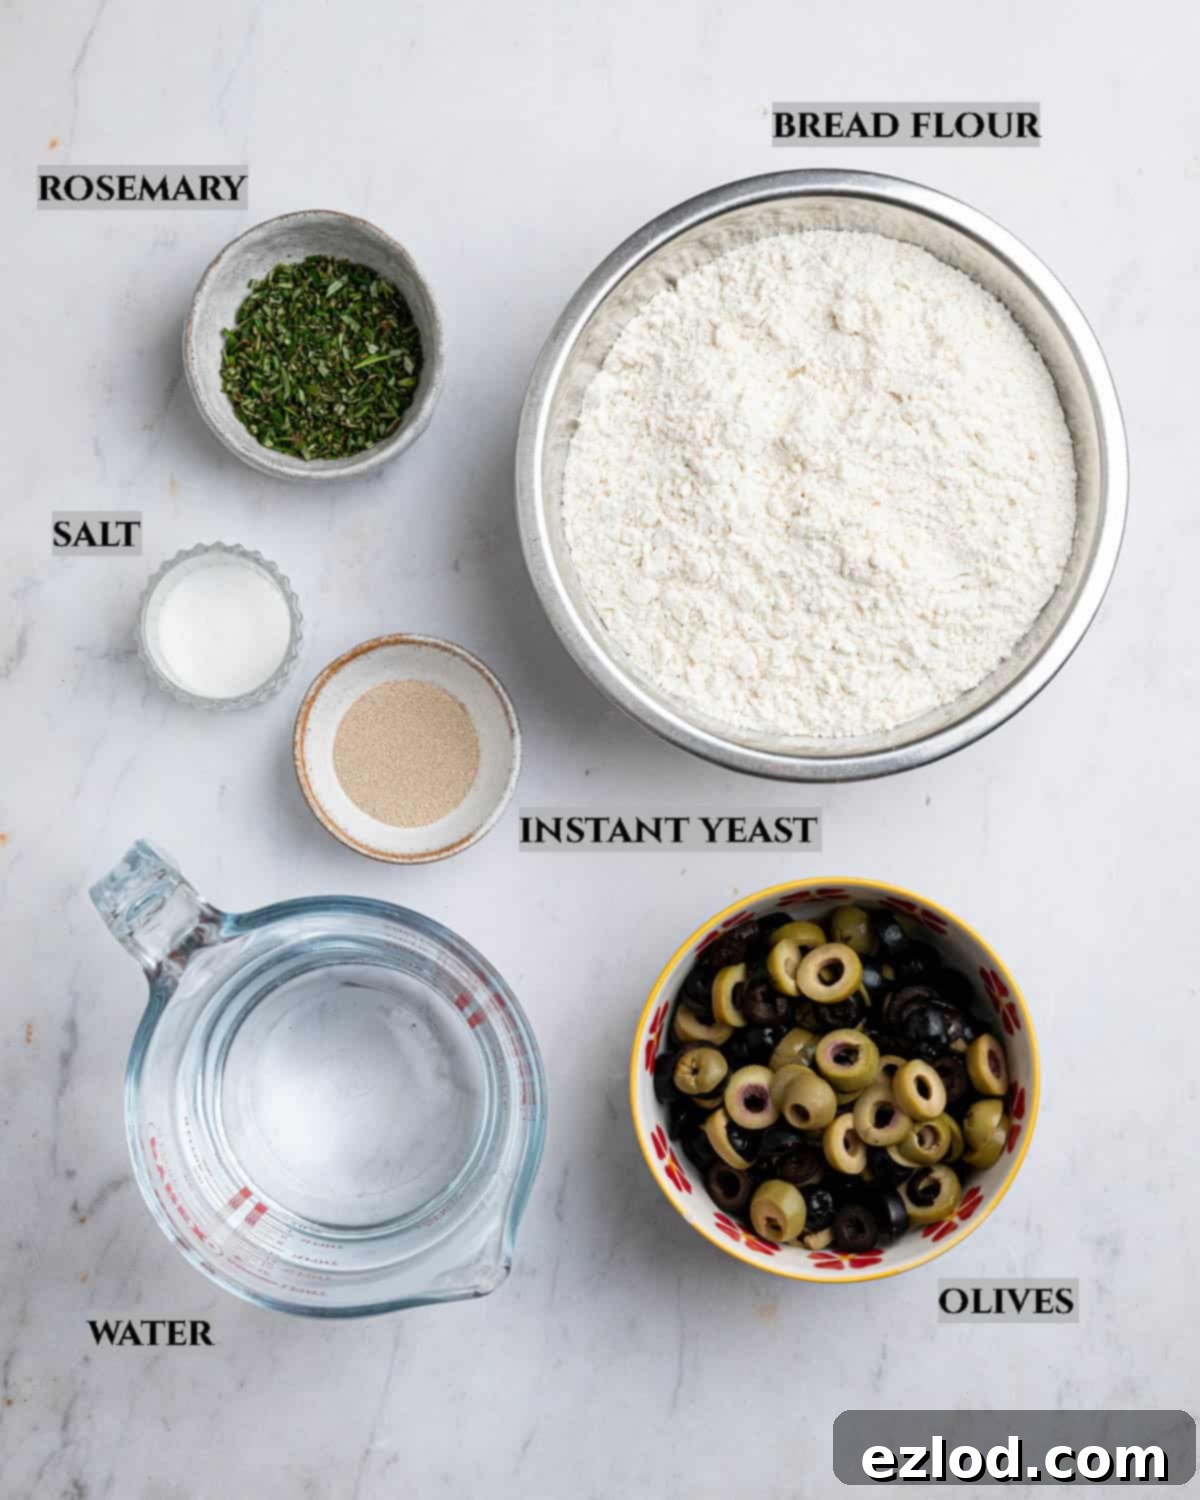
Achieving the perfect no-knead olive bread relies on a few key ingredients, each playing an important role in the final texture and flavor. Understanding their purpose will help you get the best results every time.
Bread Flour: This is non-negotiable for success. You need to use white bread flour (often labeled “strong white bread flour” in the UK). This type of flour has a higher protein content (typically 12-14%) compared to plain or all-purpose flour. The extra protein is essential for forming a robust gluten network, which gives the bread its signature chewy texture and ability to trap gas, creating those lovely large holes. Avoid using plain/all-purpose flour as its lower protein content will result in a denser, less satisfying loaf. Gluten-free flours or wholemeal flours require entirely different recipes and cannot be substituted here.
Instant/Fast Action Yeast: For convenience and reliability, instant or fast-action yeast is highly recommended. Unlike active dry yeast, which often needs to be “proofed” in warm water before use, instant yeast can be added directly to the dry ingredients. It’s designed to be highly active and gets to work quickly, making your bread-making process smoother. Always check the expiry date of your yeast; old yeast is the most common reason for bread not rising.
Salt: Never omit the salt! Beyond enhancing the flavor of the bread and complementing the olives, salt plays a crucial role in controlling yeast activity and strengthening the gluten structure. Without sufficient salt, your dough might rise too quickly and result in a bland, sometimes crumbly texture. Use fine table salt for even distribution.
Olives: The star flavor! You can use any type of pitted, sliced olives you prefer. A mixture of green and black olives, such as Kalamata and Castelvetrano, offers a beautiful color contrast and a more complex salty, briny flavor. Ensure they are well-drained and patted dry before adding to the dough to avoid introducing excess moisture, which could affect the dough’s consistency.
Rosemary: Fresh rosemary adds an incredible herbaceous aroma and flavor that pairs perfectly with olives. Finely chop it to ensure it distributes evenly throughout the dough. If fresh rosemary isn’t available, you can use dried rosemary (use about half the amount as dried herbs are more concentrated) or experiment with other complementary herbs like thyme, oregano, or a mix of Italian herbs. You can also omit it entirely for a plain olive bread.
Water: Lukewarm water is ideal for activating the yeast without killing it. While the recipe specifies an amount, the exact quantity can sometimes vary slightly depending on your flour and ambient humidity. The goal is a very wet, sticky dough – resist the urge to add more flour if it seems too wet initially, as this high hydration is key to the bread’s texture.
How To Make No-Knead Olive Bread: Step-by-Step Guide
(For precise measurements and detailed instructions, please refer to the comprehensive recipe card located at the bottom of this page.)
Making this incredible no-knead olive bread is a journey of minimal effort for maximum reward. Follow these simple steps for a perfect loaf every time:
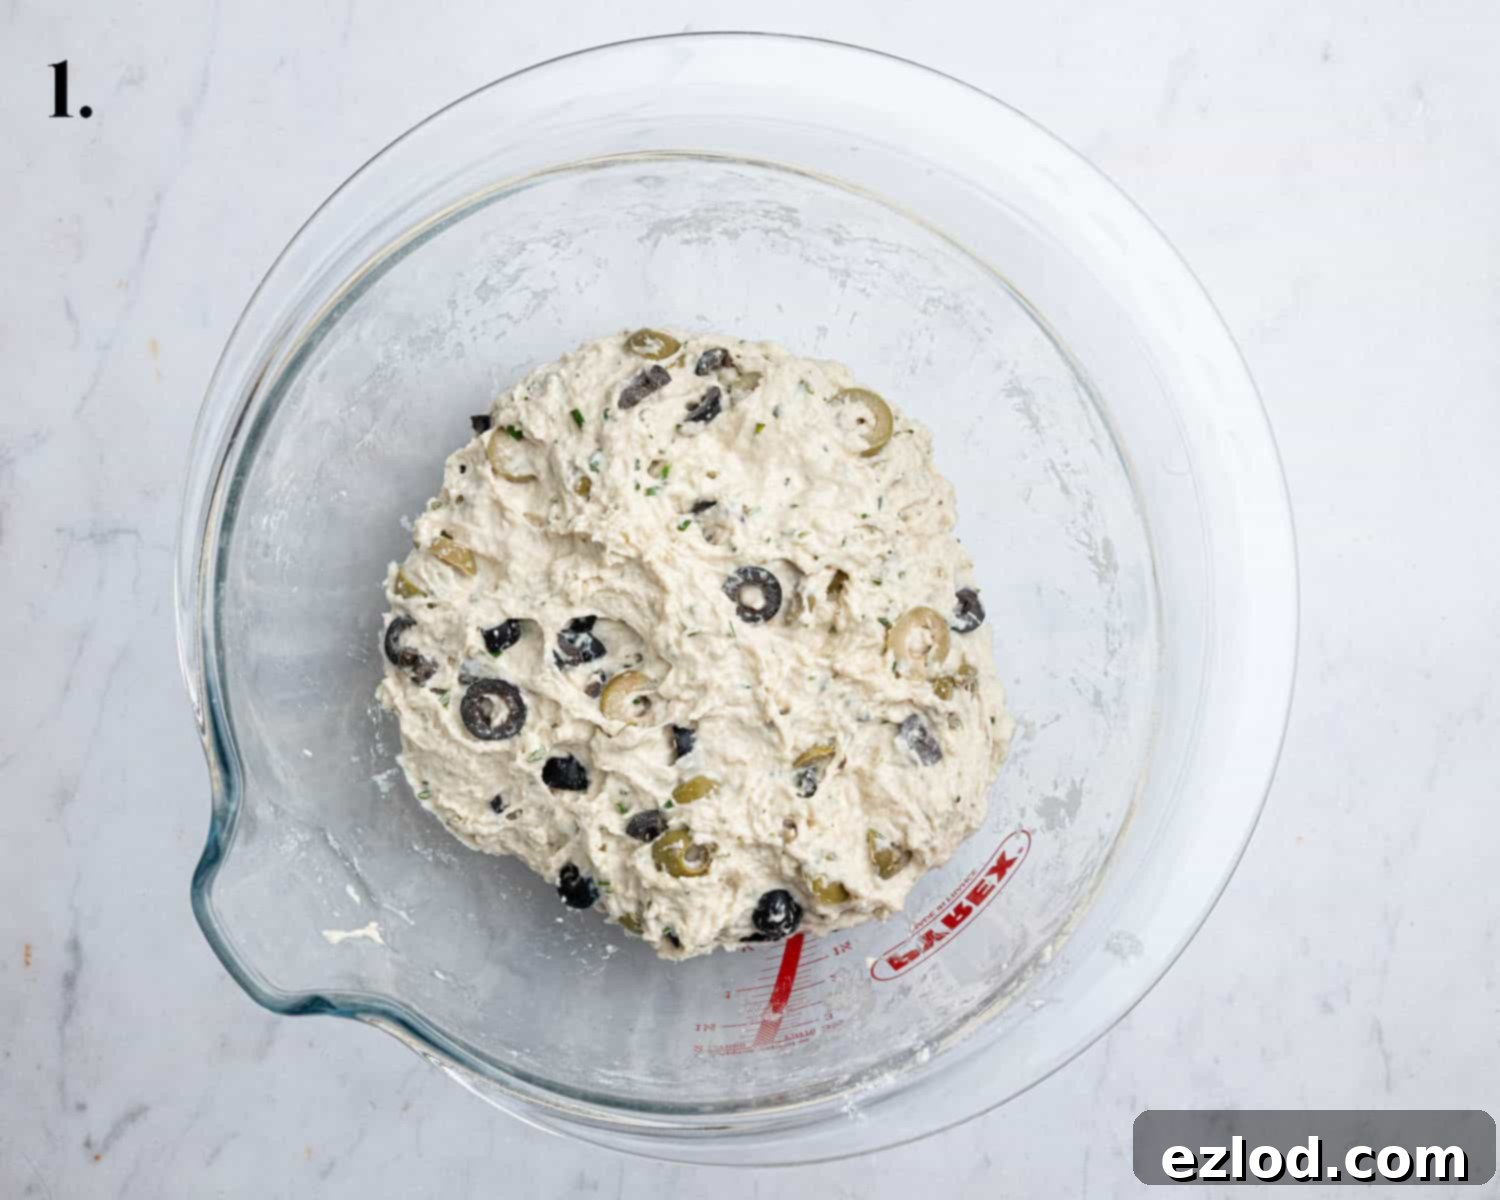
Step 1: Combine the Dry and Wet Ingredients. In a large mixing bowl, combine the bread flour, instant yeast, and salt. Give them a quick whisk to ensure even distribution. Pour in the lukewarm water and stir everything together with a sturdy spoon or a dough whisk until no dry pockets of flour remain. The mixture will be quite wet and very sticky—this is exactly what you want! Do not be tempted to add more flour at this stage, as the high hydration is crucial for the bread’s texture. Finally, stir in the well-drained and patted-dry sliced olives and chopped fresh rosemary until they are evenly dispersed throughout the sticky dough.
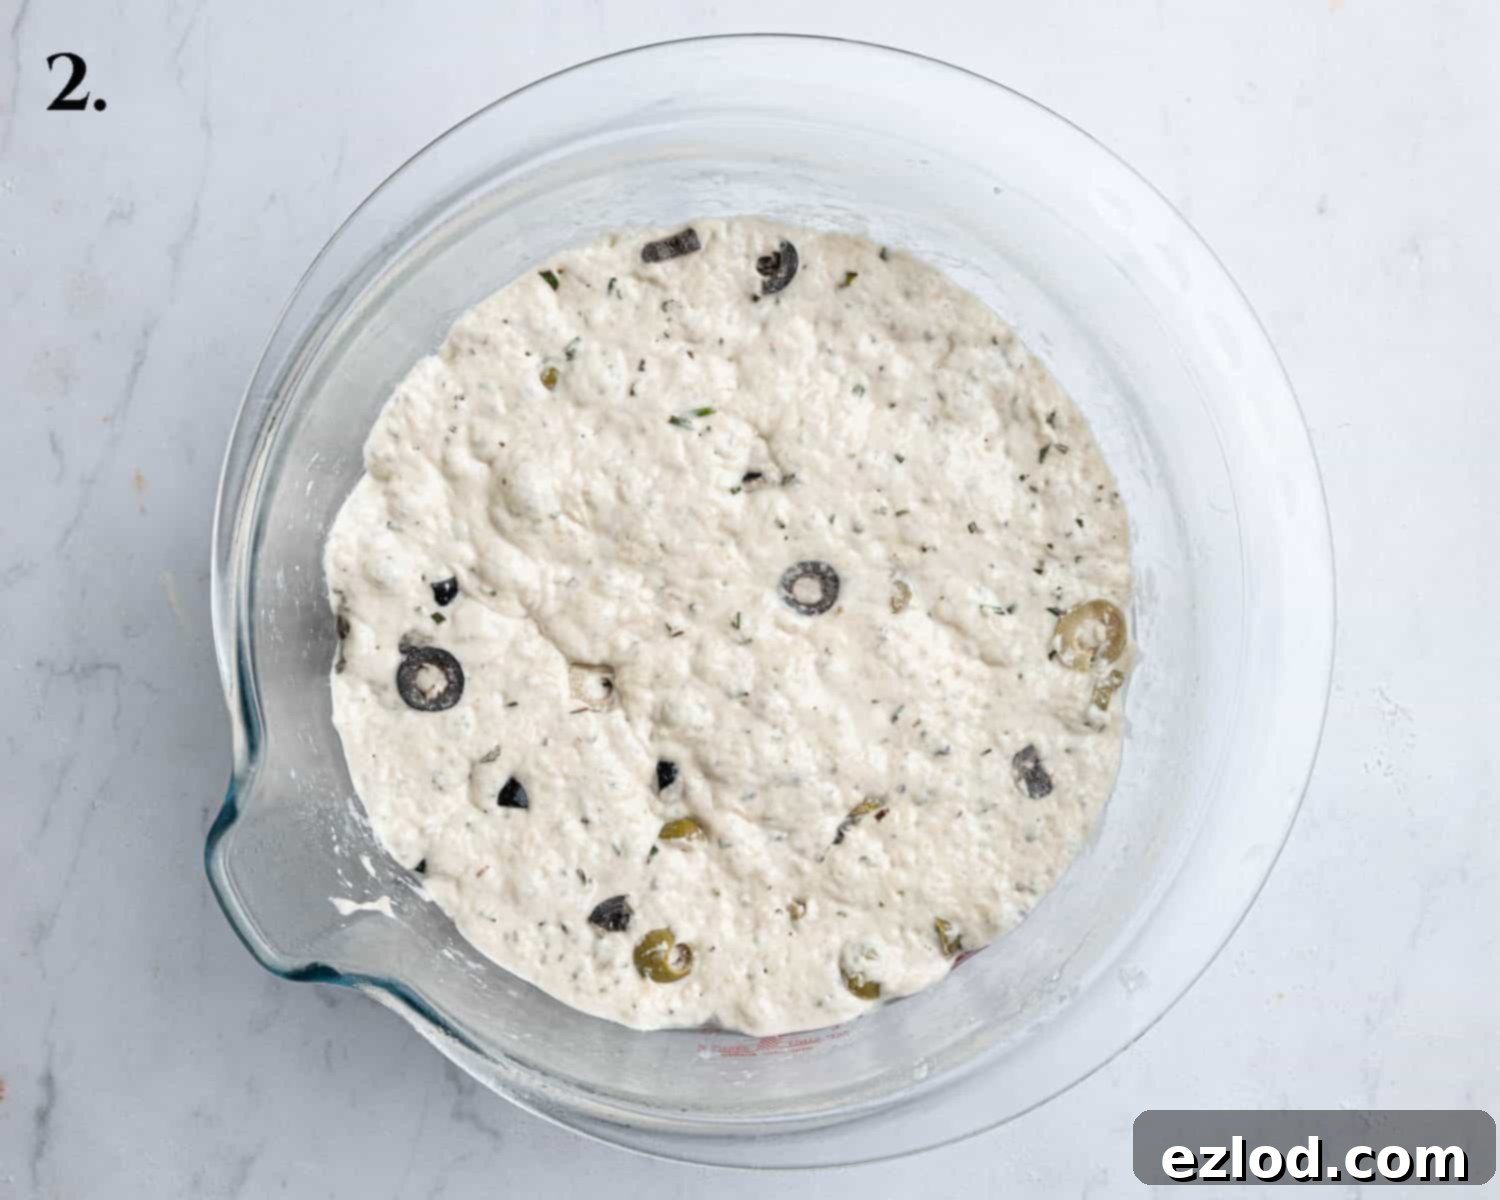
Step 2: Initial Rise and Overnight Fermentation. Cover the bowl tightly with plastic wrap or a clean kitchen towel. Allow the dough to rest and rise in a warm spot on your kitchen counter for approximately 1 ½ to 2 hours. During this time, the dough should noticeably expand and become bubbly. Once this initial rise is complete, transfer the covered bowl to the refrigerator to finish rising overnight. The cold environment slows down the fermentation, allowing complex flavors to develop and the gluten to strengthen without kneading. The dough can happily stay in the fridge for up to 24 hours. The following day, the dough should appear very bubbly and alive, jiggling slightly when you gently shake the bowl, indicating it’s ready.
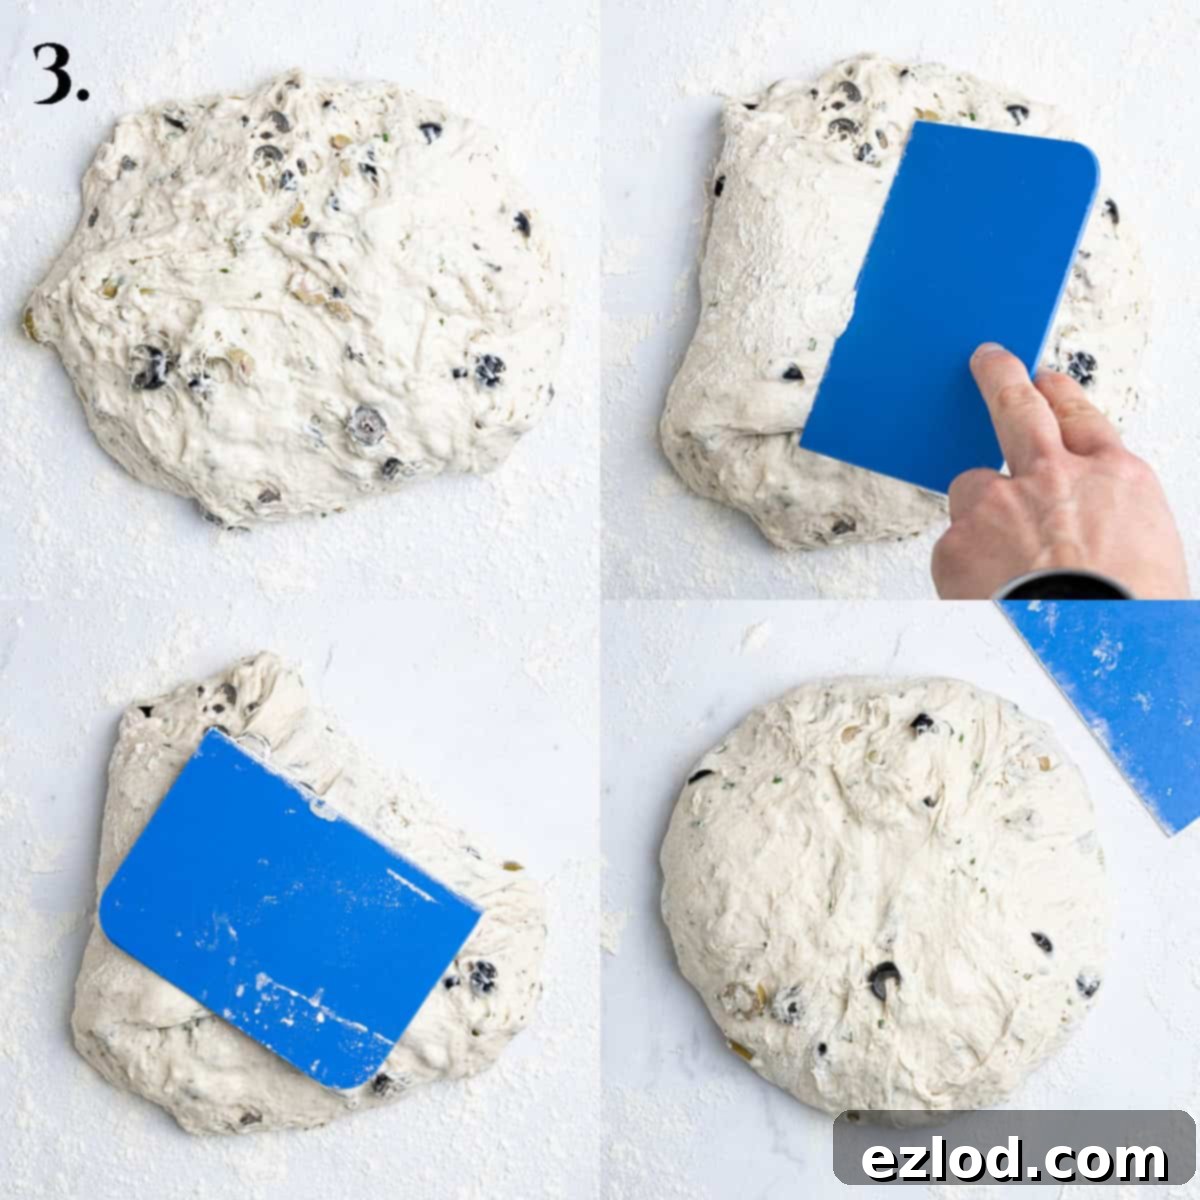
Step 3: Gentle Shaping. Lightly flour your work surface. Use a flexible dough scraper or spatula to carefully scrape the very wet dough out of the bowl onto the floured surface. Avoid deflating it too much. Gently use the dough scraper or spatula to fold the sides of the dough inwards, one section at a time, to begin forming a round ball. You’ll typically repeat this folding motion about 6 times, working your way around the edges of the dough to create surface tension. The goal is a rough ball; perfection is not necessary.
Step 4: Transfer to Baking Paper. Lightly flour the top of your roughly shaped dough. Place a large square of baking paper (parchment paper) over the floured top. Carefully flip the dough over so that it is now sitting on top of the baking paper. Using your dough scraper or spatula, gently reshape it once more into a rounder form. Again, it doesn’t need to be perfectly symmetrical, just a relatively cohesive ball. This baking paper will make transferring the hot dough into the Dutch oven much easier and safer.
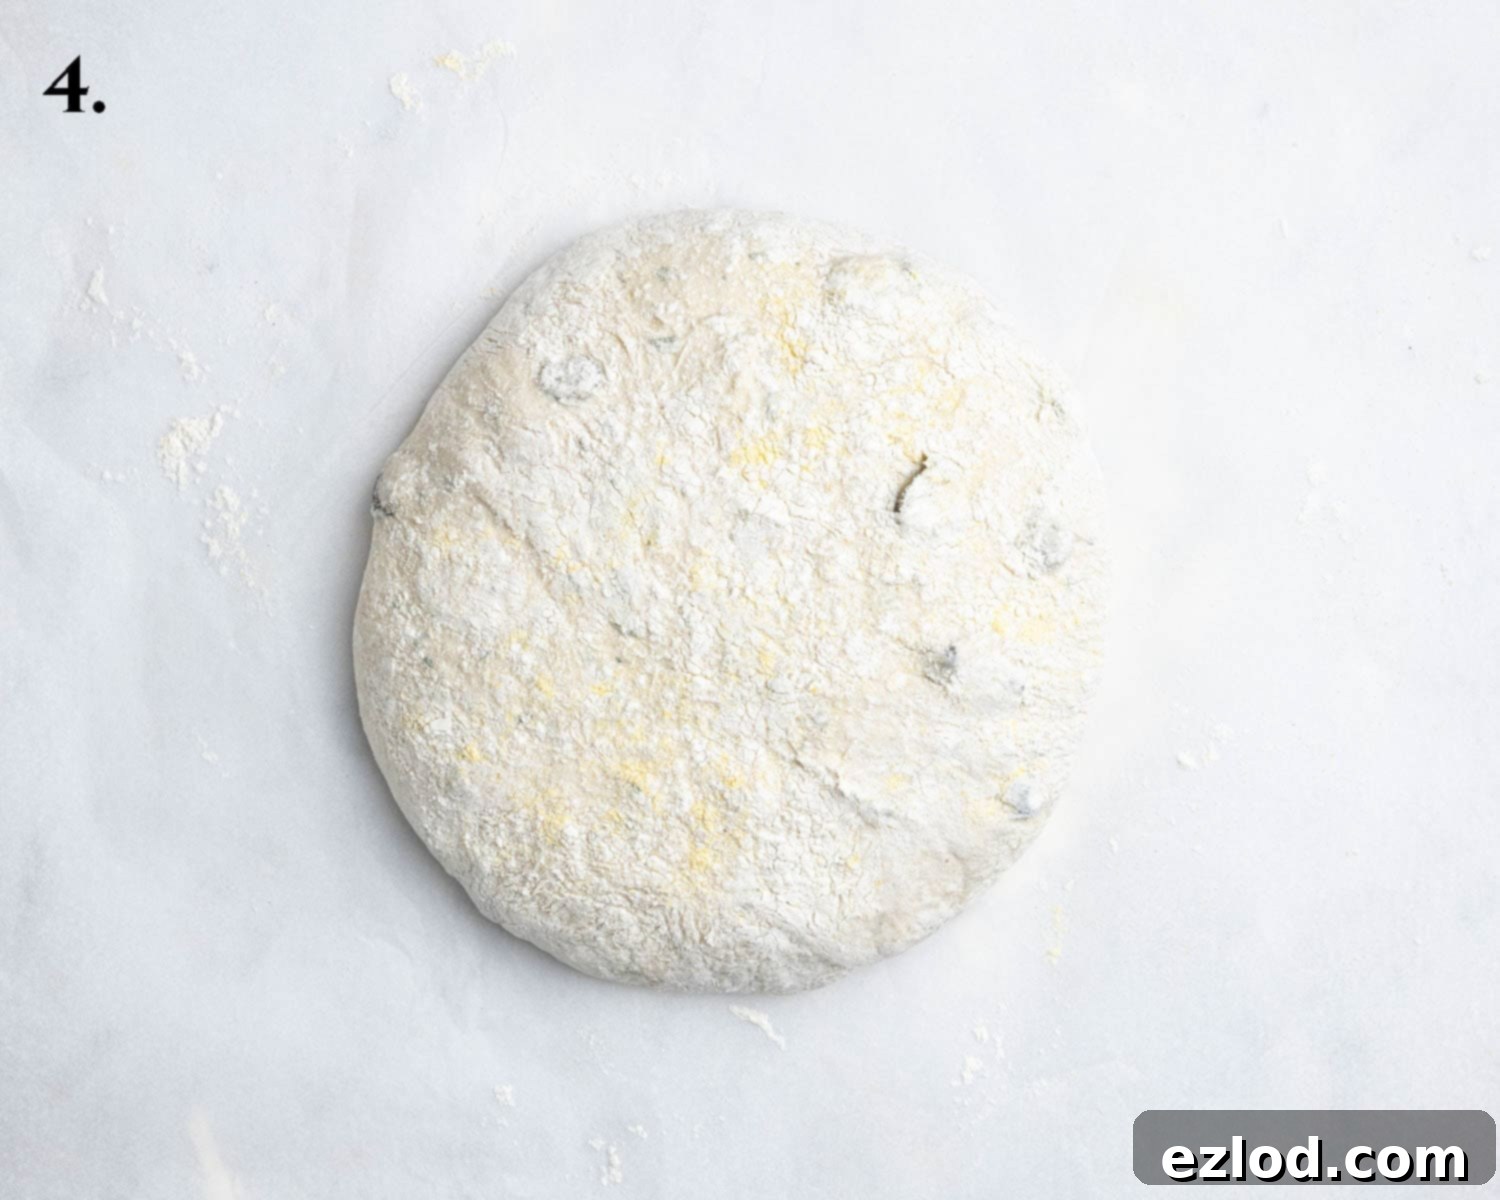
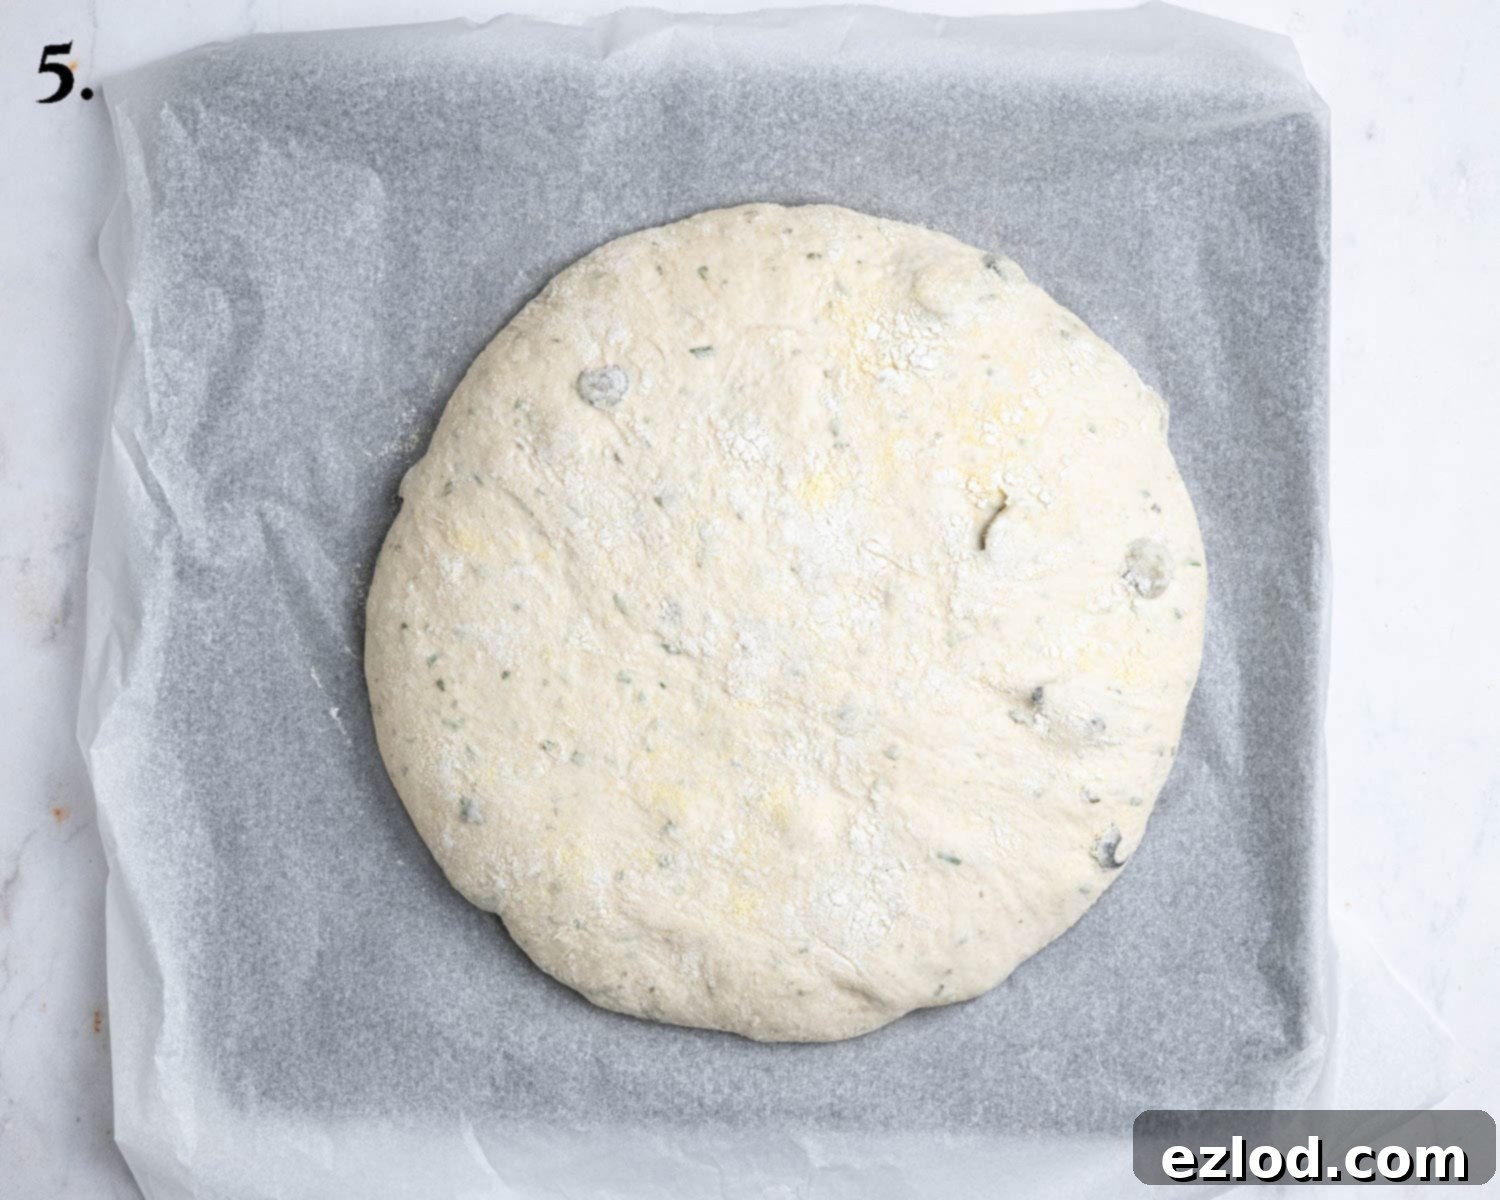
Step 5: Final Rise and Preheat the Dutch Oven. Lightly dust the top of the dough with a little more flour and cover it loosely with clingfilm or a clean tea towel to prevent it from drying out. Let it rise for its final proof for 45-75 minutes in a warm spot. It should expand by about half its original size. Don’t worry if it flattens out a bit; this is normal for a high-hydration dough. Approximately 30 minutes before the end of the final rise, place your empty cast iron Dutch oven (with its lid on) into the oven and preheat to 240°C/450°F (or 220°C fan/Gas Mark 9). It’s crucial that the Dutch oven gets extremely hot for optimal oven spring and crust development.
Step 6: Slash and Bake. Once the dough has completed its final rise and the Dutch oven is screaming hot, carefully remove the hot pot from the oven (using thick oven gloves!). If desired, use a bread lame or a very sharp knife to make a few shallow slashes on the top of the dough. These slashes allow for controlled expansion during baking and create beautiful rustic patterns. Using the baking paper as a sling, carefully lift the dough and gently lower it into the preheated Dutch oven. Replace the lid securely. Bake for 30 minutes with the lid on. This traps steam, promoting incredible oven spring and a soft crust. After 30 minutes, remove the lid and continue baking for another 15 minutes, or until the bread is deeply golden brown, crisp, and sounds hollow when tapped on the bottom.
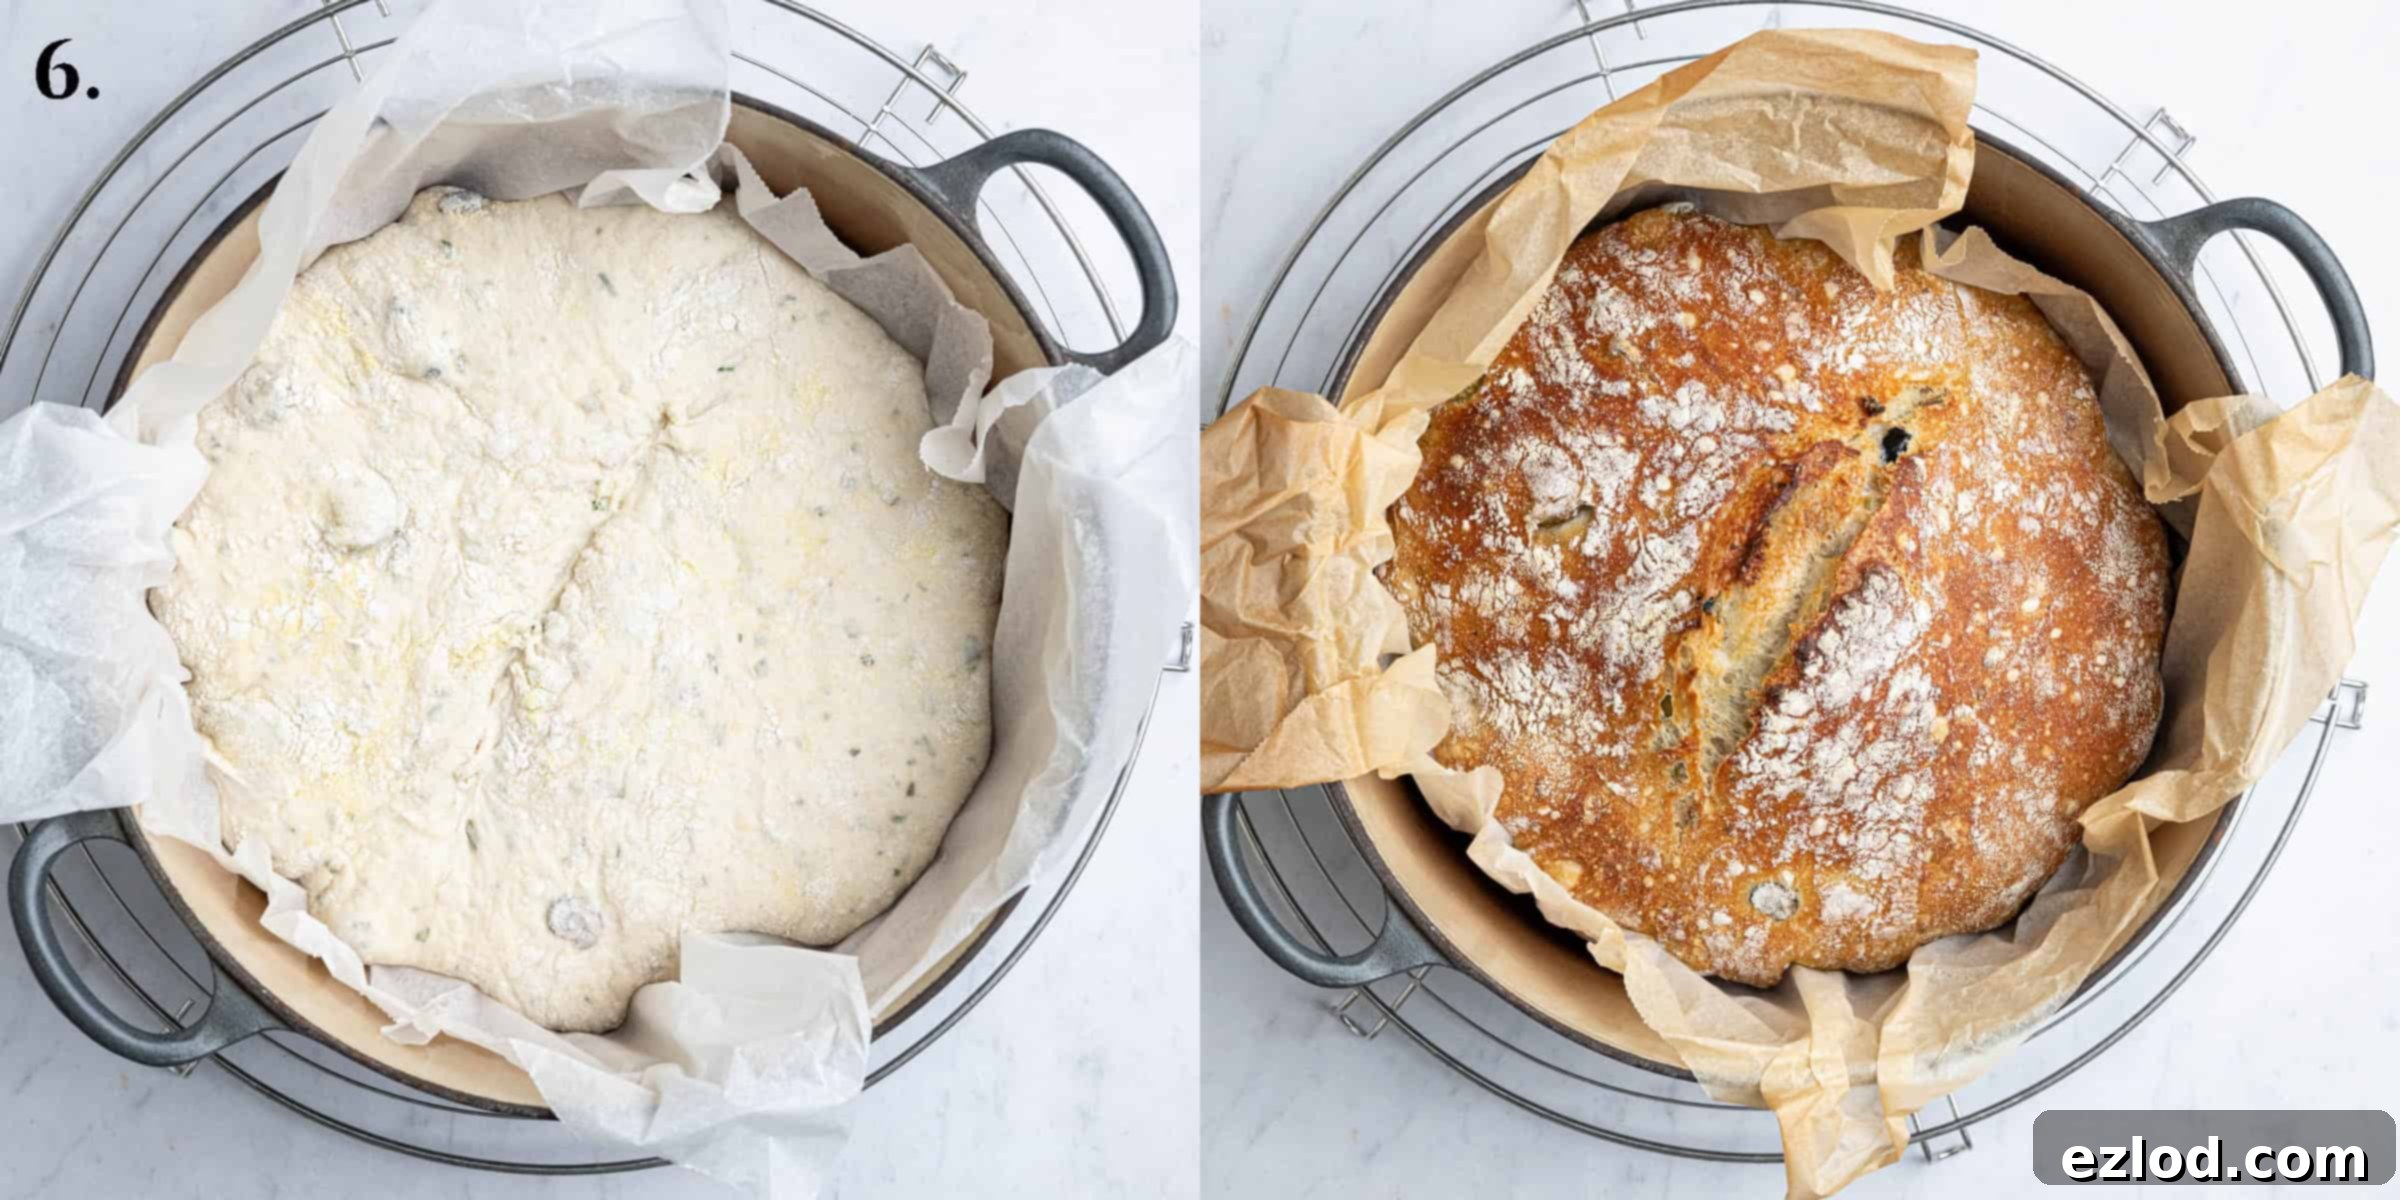
Step 7: Cool Completely. This is perhaps the hardest step, but vital for texture. Carefully lift the baked bread out of the Dutch oven using the baking paper and transfer it to a wire rack to cool completely. Resist the urge to slice into it immediately! Slicing hot bread can result in a gummy texture. Allowing it to cool fully allows the internal structure to set and the moisture to redistribute, giving you that perfect chewy crumb.
Top Tips for No-Knead Olive Bread Perfection
Even though this recipe is incredibly simple, a few expert tips can elevate your no-knead olive bread from great to absolutely phenomenal:
- Embrace Your Scale: For all my baking recipes, I wholeheartedly advocate for using metric measurements with a digital kitchen scale over volumetric cup conversions. Cups are notoriously inconsistent and can lead to significant variations in your dough. Using a scale ensures precision, resulting in far more reliable and consistent outcomes, not to mention less mess!
- Check Your Yeast: Always verify that your instant yeast is fresh and hasn’t expired. Dormant or expired yeast is a common culprit for bread that refuses to rise, leading to a dense, disappointing loaf. Store yeast in an airtight container in the fridge or freezer to prolong its potency.
- Resist the Urge to Add Flour: The dough for this recipe is intentionally very wet and sticky. This high hydration, combined with the extreme heat of the Dutch oven, is precisely what creates the characteristic chewy, open crumb structure and super crisp crust. Adding more flour will make the dough easier to handle but will result in a denser, less airy bread. Trust the process!
- Invest in a Quality Dutch Oven: A large cast iron casserole pan with a lid (commonly known as a Dutch oven) is ideal for this no-knead olive bread. I use a 24 cm/4.2 liter (5-quart) round Le Creuset, but any similar-sized enameled or bare cast iron pot that is oven-safe to at least 240°C/460°F will work beautifully. The heavy lid is crucial for trapping steam during the initial bake.
- Preheating is Key: Ensure your Dutch oven is thoroughly preheated with the lid on until it’s screaming hot before the dough goes in. This can take about 30 minutes in a hot oven. The intense initial heat provides the necessary “oven spring” for a light, airy loaf and helps form that incredible crust.
- Mind the Second Rise Time: The duration of the dough’s second rise (final proof) can vary significantly based on your kitchen’s ambient temperature. In a cooler environment, it will take longer. To gently speed up the process, you can place the covered dough in a slightly warmer spot, such as near a radiator or in an oven that has been warmed briefly and then switched off (ensure it’s not too hot!).
- Score for Success: While optional, making a few shallow slashes (scoring) on the top of the dough just before baking offers several benefits. It helps guide the bread’s expansion, preventing uncontrolled cracks, and allows you to add a beautiful, artisanal touch to your loaf. A bread lame or a very sharp, thin knife (like a razor blade) works best.
- Patience is a Virtue (Cooling): I know, it’s incredibly tempting to slice into a warm, fragrant loaf straight out of the oven. However, it is absolutely essential to let the bread cool down completely on a wire rack before slicing. During cooling, the internal starches set, and moisture redistributes. Slicing too early can result in a gummy, doughy texture inside.
Frequently Asked Questions (FAQ’s) about No-Knead Olive Bread
For optimal freshness and crispness, this bread is best enjoyed on the very day it’s baked. If you have leftovers, store the bread in an airtight container at room temperature. It will remain good for a couple of days, though the crust will soften. After the first day, it’s often best enjoyed toasted, which helps to revive its texture and flavor beautifully.
Absolutely! Freezing is an excellent way to preserve the bread’s freshness for longer. Ensure the entire loaf has cooled down completely to room temperature before freezing. For best results, freeze it on the day it’s baked. You can freeze it whole or sliced. Wrap it tightly in plastic wrap, then place it in a sealed freezer bag. It can be stored for up to 2-3 months. Thaw at room temperature and refresh in a warm oven for a few minutes for a crisper crust.
While the overnight, cold fermentation significantly enhances the flavor and develops a more robust gluten structure, you don’t strictly *have* to do it. If you’re pressed for time, you can allow the dough to complete its entire first rise at warm room temperature for about 3-4 hours until it has doubled in size, then proceed with shaping and baking. However, be aware that skipping the overnight rise may result in a slightly less complex flavor and a slightly less open texture.
Yes, absolutely! The base no-knead bread recipe is incredibly versatile. You can simply omit the olives and rosemary to create a delicious, plain crusty loaf. The entire method remains precisely the same, offering a fantastic foundational recipe for rustic, homemade bread.
Unfortunately, this specific recipe is not suitable for gluten-free flour. The structure and texture of this no-knead bread rely heavily on the gluten development from white bread flour. Creating delicious gluten-free bread requires specialized flours, binders, and often completely different techniques. As gluten-free baking is outside my area of expertise, I cannot advise on adapting this recipe. It’s best to seek out a recipe specifically designed for gluten-free ingredients to ensure successful results.
There are a couple of reliable indicators. Firstly, give the bottom of the loaf a firm tap with your knuckles; a perfectly baked loaf will sound hollow. Secondly, for absolute certainty, you can use a probe thermometer. Insert it into the center of the loaf, and it should register an internal temperature of around 98°C (208°F).
This versatile bread is a fantastic accompaniment to a wide range of dishes. It’s absolutely perfect served alongside hearty soups or stews, where its sturdy crust and open crumb can soak up all the delicious broth. It also pairs beautifully with any kind of dip, like hummus or balsamic-infused olive oil. Beyond that, it makes incredible toast for breakfast or sandwiches, and it’s simply delightful when spread generously with vegan butter or enjoyed as part of an antipasto platter.
More Savoury Vegan Breads to Explore
If you’ve enjoyed the simplicity and flavor of this no-knead olive bread, you might be inspired to try more vegan bread recipes. Baking your own savory breads at home is incredibly rewarding, and there’s a whole world of delicious options to discover!
- Sun Dried Tomato Breadsticks
- Herby Vegan Breadsticks
- Vegan Garlic Dough Balls
- Vegan Pretzel Bites
- Vegan Garlic Pull-Apart Bread
- Vegan Pesto Bread Wreath
- Vegan Beer Pretzels
- Sea Salt and Rosemary Focaccia
- Tomato and Olive Focaccia
If you’ve had the pleasure of trying this fantastic recipe, we’d love to hear from you! Please rate it, leave a comment below, or tag @domestic_gothess on Instagram and use the hashtag #domesticgothess. Your feedback helps other bakers!
All images and content featured on Domestic Gothess are protected by copyright. If you wish to share this recipe, kindly do so by utilizing the provided share buttons. Please refrain from screenshotting or posting the recipe or its content in full; instead, include a direct link to this post for the complete recipe. Thank you for respecting our work.
Print
No-Knead Olive Bread (Vegan)
Equipment
-
24 cm/4.2 litre/5 quart cast iron casserole pan with lid/Dutch oven pan
-
Large mixing bowl
-
Dough scraper or spatula
-
Baking paper
-
Wire cooling rack
Ingredients
- 480 g (4 cups) white bread flour
- 5 g (1 ½ teaspoons) fast action (instant) yeast
- 10 g (1 ½ teaspoons) table salt
- 380 g (1 ½ cups + 4 teaspoons) lukewarm water
- 150 g (1 heaped cup) sliced pitted olives
- 1 ½ – 2 Tablespoons finely chopped fresh rosemary
- fine semolina for dusting (optional, for extra crispiness)
Instructions
-
In a large mixing bowl, combine the bread flour, yeast, salt, and lukewarm water. Stir thoroughly with a sturdy spoon or a dough whisk until all ingredients are well incorporated and no dry patches of flour remain. The dough will be very wet and sticky – resist the urge to add more flour, as this high hydration is key to the bread’s open crumb.
-
Pat the sliced olives as dry as possible with kitchen paper to remove excess moisture. Add the dried olives to the dough along with the finely chopped fresh rosemary. Stir gently until they are evenly dispersed throughout the dough.
-
Cover the bowl tightly with plastic wrap or a clean, damp tea towel. Leave the dough to rise in a warm spot at room temperature for approximately 1 ½ to 2 hours, or until it has visibly risen and appears bubbly. After this initial rise, transfer the covered bowl to the refrigerator to continue fermenting overnight (or for up to 24 hours). This long, cold rise is crucial for developing deep flavor and strengthening the gluten. The following day, the dough should be noticeably bubbly and should jiggle when the bowl is gently shaken.
-
Lightly flour a clean work surface. Use a flexible dough scraper or spatula to carefully scrape the dough out of the bowl onto the floured surface. To begin shaping, gently fold the edges of the dough inwards towards the center, working your way around the ball of dough about 6 times. The goal is to create some surface tension and form a rough, round shape without deflating the dough too much.
-
Lightly flour the top of the shaped dough. If you want an extra crispy crust, you can use a mixture of flour and fine semolina for dusting. Place a large square of baking (parchment) paper over the floured top. Carefully flip the dough over so it rests on the baking paper. Using your dough scraper or even your hands (lightly floured), gently reshape it again into a more cohesive round ball. It doesn’t need to be perfectly symmetrical.
-
Dust the dough lightly with flour again and cover it loosely with clingfilm or a clean tea towel. Allow it to undergo its final rise (second proof) for 45-75 minutes in a warm spot until it has expanded by about half. It’s normal for high-hydration doughs to flatten out slightly during this stage. While the dough is performing its final rise (approximately 30 minutes before it’s ready), place your empty cast iron Dutch oven with its lid on into your oven and preheat the oven to 240°C/220℃ fan/450°F/gas mark 9. It needs to get extremely hot.
-
Carefully remove the preheated Dutch oven from the oven using thick oven mitts. If desired, use a bread lame or a very sharp knife to make a few shallow slashes on the top of the dough. Using the baking paper as a sling, gently lower the dough into the scorching hot pot. Promptly replace the lid. Bake for 30 minutes with the lid on, allowing steam to create incredible oven spring. Then, remove the lid and continue baking for a further 15 minutes, or until the bread achieves a deep golden-brown, crispy crust and sounds hollow when tapped on the bottom.
-
Once baked, carefully lift the bread out of the Dutch oven using the baking paper and transfer it to a wire rack. It is crucial to let the loaf cool down completely (at least 1-2 hours) before slicing. This allows the internal structure to set and prevents a gummy texture.
Notes
- For additional tips, detailed explanations, and step-by-step photos that guide you through each stage, please refer to the main article above the recipe card.
- For accurate and consistent baking results, always use a digital kitchen scale for measuring ingredients in grams rather than relying on less precise cup conversions.
- The olives and rosemary can be completely omitted if you wish to bake a simple, plain crusty no-knead loaf. This recipe serves as an excellent base for many variations.
