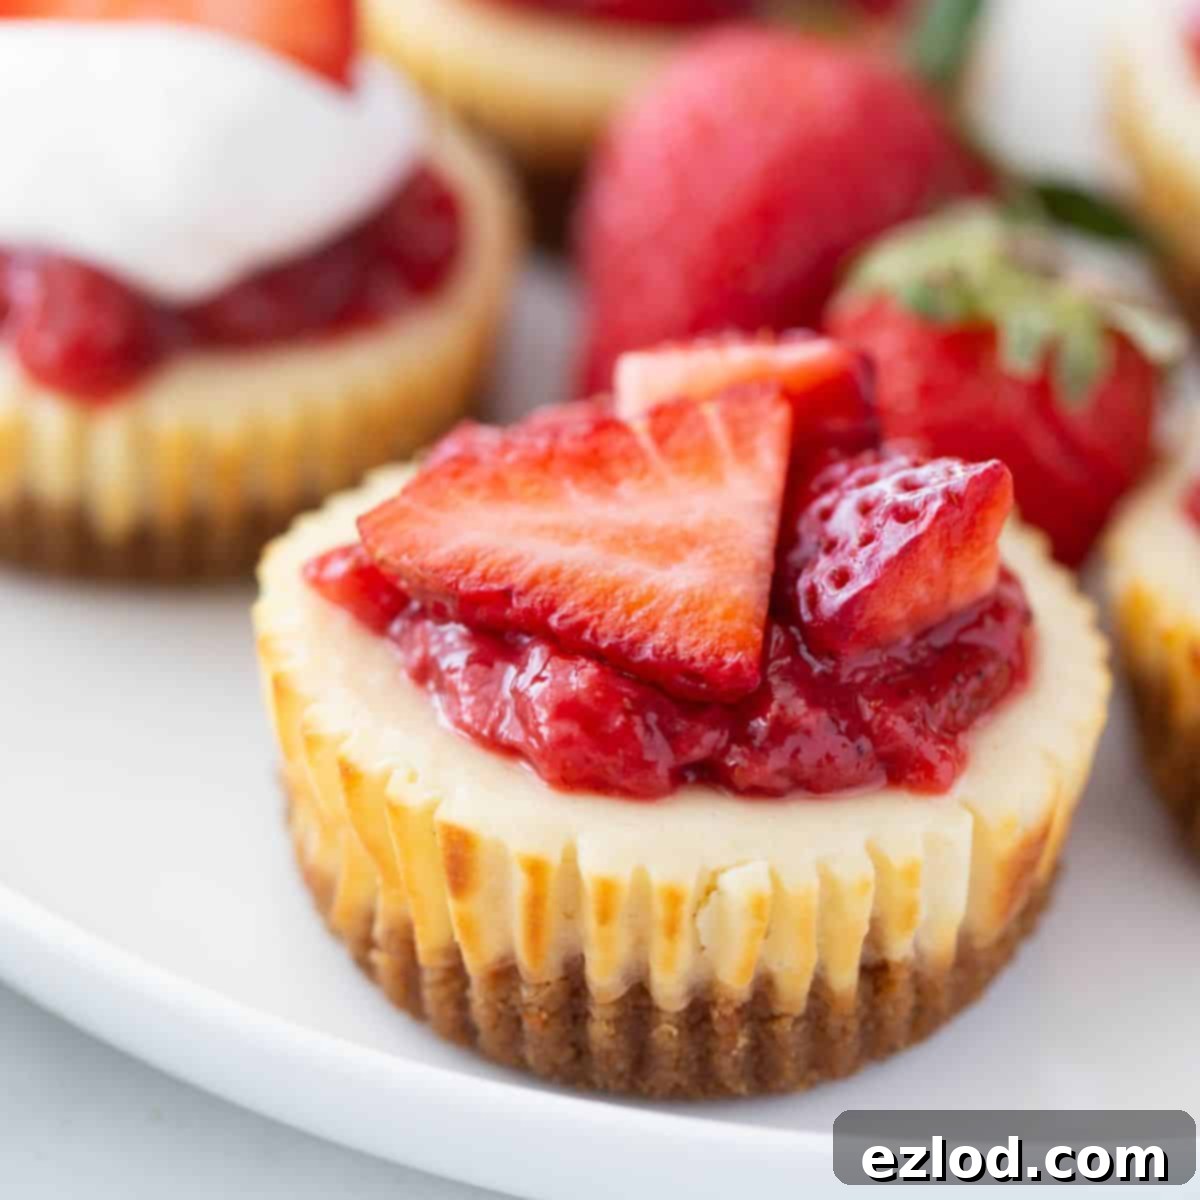
Indulge Guilt-Free: The Ultimate Healthy & Easy Greek Yogurt Mini Cheesecake Recipe (Gluten-Free Friendly)
Looking for a sweet treat that won’t derail your healthy eating goals? This mini cheesecake recipe is your answer! It’s not only incredibly delicious but also surprisingly healthy. Crafted with creamy, protein-packed Greek yogurt and a delightful gluten-free or whole wheat graham cracker crust, these individual mini treats are the perfect way to satisfy your sweet tooth in a mindful, healthier way.
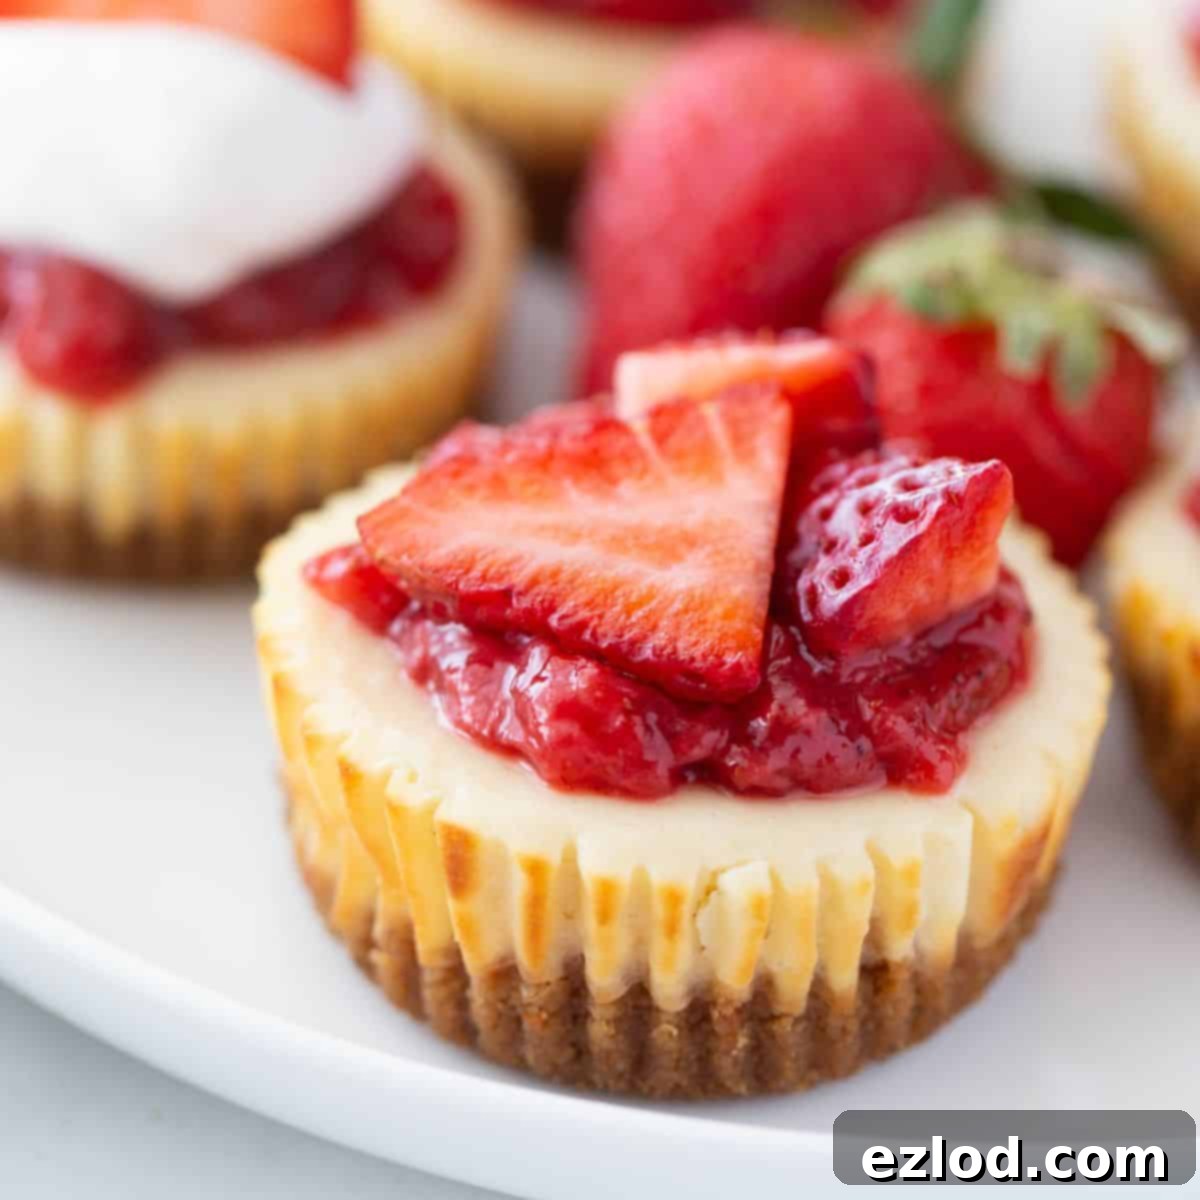
Last fall, my healthy pumpkin cheesecake bites became a huge hit with readers and at home alike! As the seasons shifted towards warmer weather, bringing backyard parties and BBQs to the forefront of our calendars, I felt inspired to create a non-pumpkin version. Something light, refreshing, and utterly perfect for summer gatherings. The result? These healthy mini cheesecakes, and honestly, I’m completely obsessed with them. They offer all the rich, creamy flavor of traditional cheesecake but in a perfectly portioned, guilt-free bite.
Who can resist the charm of yummy mini desserts? They’re easy to serve, delightful to eat, and perfect for any occasion. I truly cannot wait for you to try this recipe and experience the joy of a healthier cheesecake that doesn’t compromise on flavor!
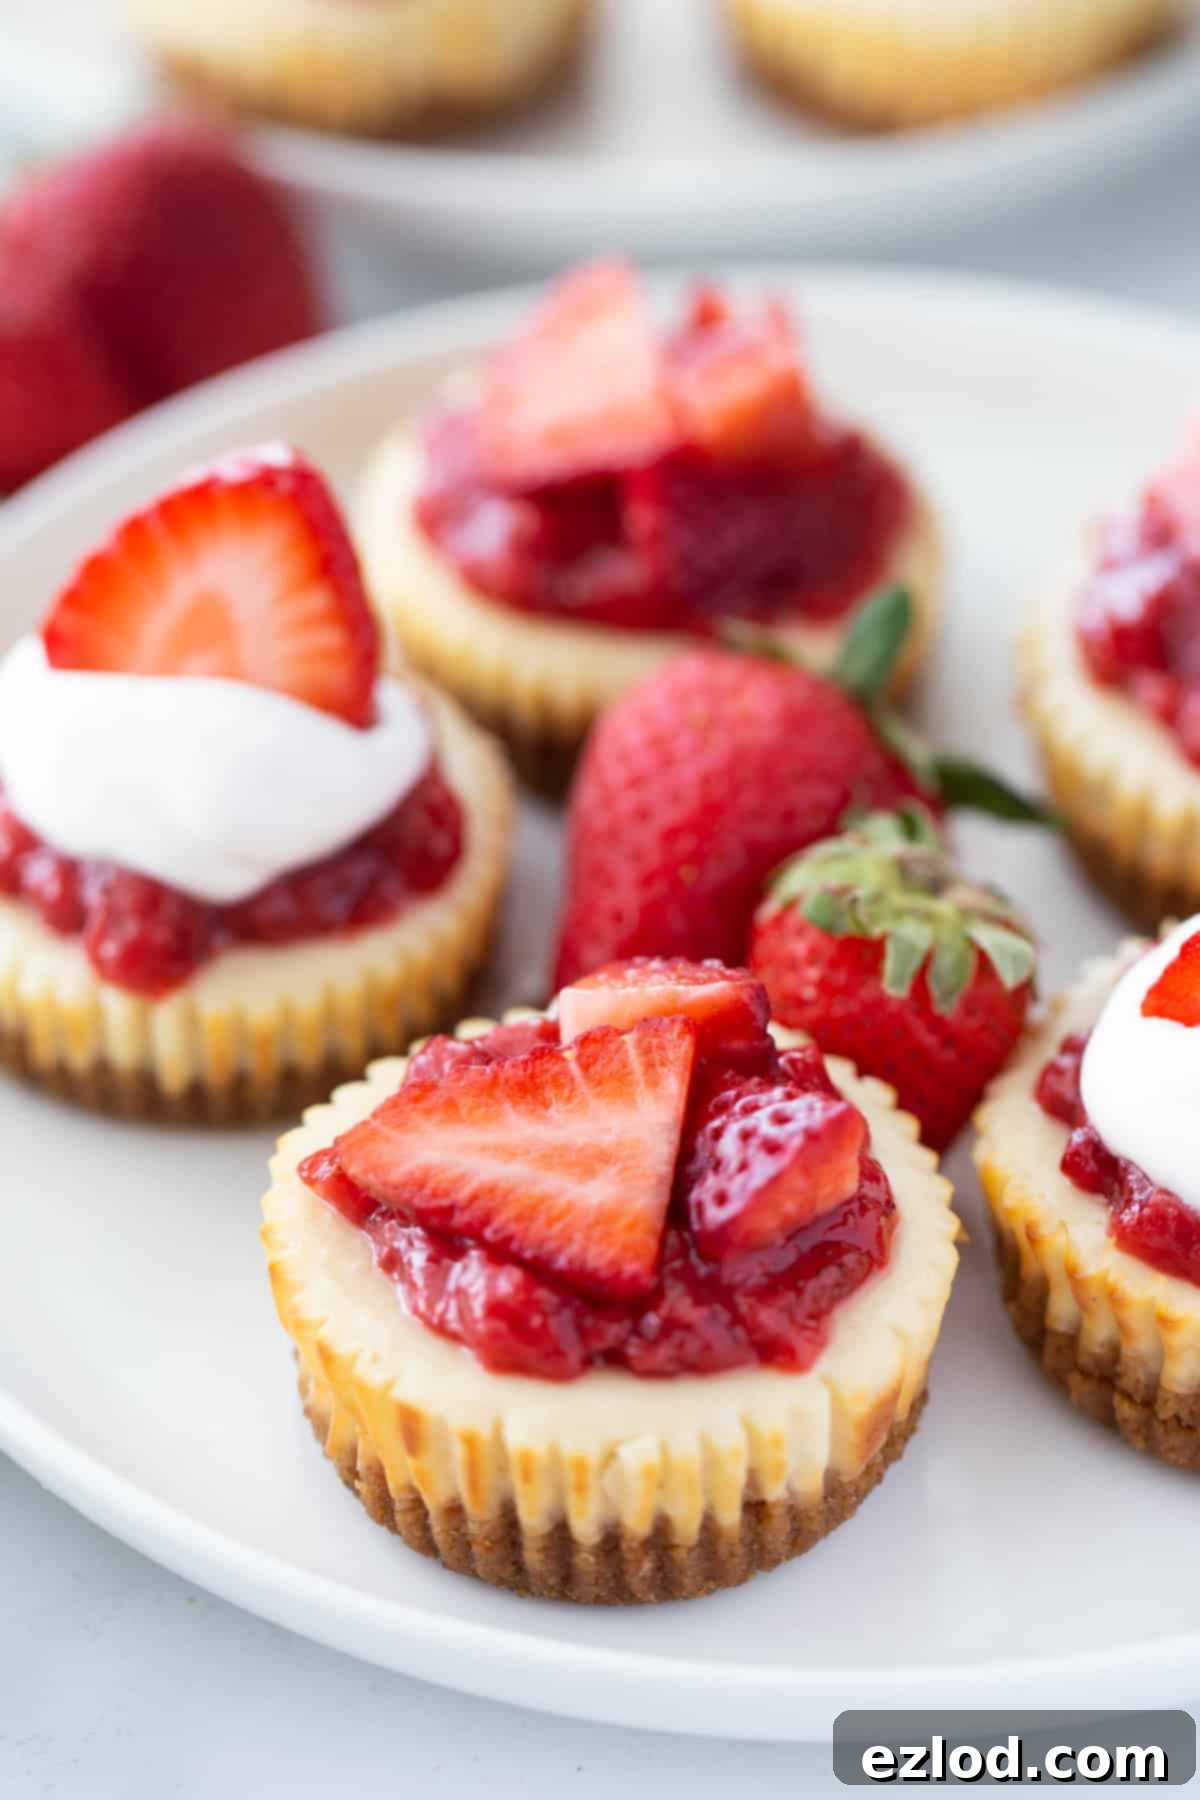
Table of Contents
ToggleWhy You Will Love This Easy Mini Cheesecakes Recipe
If you’re still on the fence about trying these delightful little cheesecakes, let me give you a few compelling reasons why this recipe is about to become your new favorite:
- Lighter & Healthier Indulgence: Unlike traditional cheesecakes that often rely on full-fat cream cheese and sour cream, these mini treats are made with Laughing Cow cheese (or low-fat cream cheese) and protein-rich Greek yogurt. This innovative combination significantly reduces the fat and calorie count while boosting protein, making them a dessert you can truly feel good about eating.
- Uncompromised Flavor and Texture: Despite being a healthier alternative, these cheesecakes don’t skimp on flavor. They deliver that classic sweet, creamy, and tangy cheesecake experience you crave, perfectly balanced with a satisfyingly crunchy graham cracker base. You get all the indulgence without the heavy feeling.
- Effortlessly Easy Baking: Say goodbye to complicated water baths! This recipe is incredibly straightforward. Simply prepare your crusts, whip up the smooth filling, dollop it into muffin cups, and bake. It’s a fuss-free process that even beginner bakers can master, saving you time and stress.
- Quick & Customizable Toppings: The delightful jammy strawberry topping comes together in mere minutes, adding a burst of fresh flavor. But the beauty of these mini cheesecakes lies in their versatility. You can easily customize them with your favorite fruits, sauces, or even chocolate, allowing for endless creative possibilities to suit any preference or occasion.
- Perfectly Portioned & Portable: Each cheesecake is individually portioned, making them ideal for portion control and incredibly convenient for grab-and-go snacks, lunchbox treats, or elegant additions to any party spread. Their individual size also makes them super easy to transport.
- Freezer-Friendly Delight: Planning ahead has never been easier! These mini cheesecakes freeze beautifully, allowing you to prepare a batch in advance and store them for up to three months. This makes them perfect for meal prepping desserts or having a healthy treat ready whenever a craving strikes.
Ingredients and Substitutions:
Below you’ll find a detailed list of ingredients for these healthy mini cheesecakes. Remember, full measurements and additional details are always available in the recipe card at the bottom of this post!
Graham Cracker Crust:
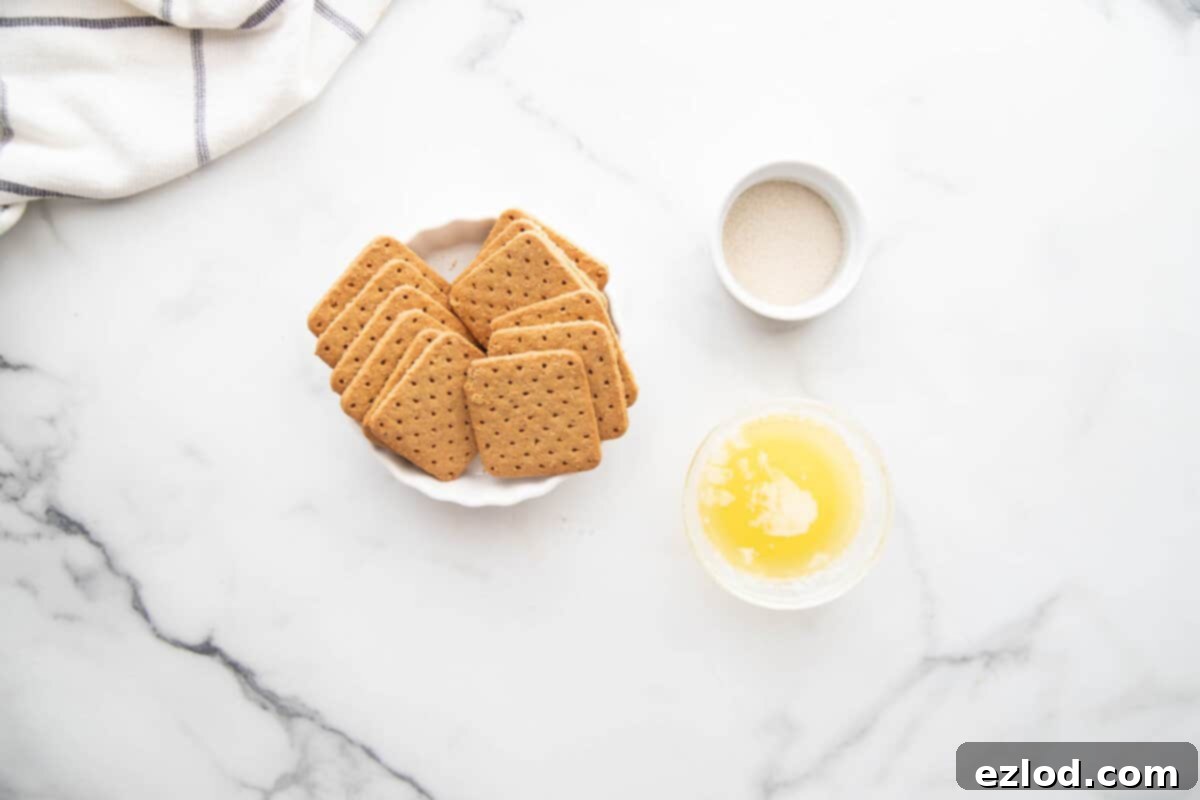
- Melted Butter: Regular unsalted butter works perfectly here, contributing to the rich flavor and helping bind the crust together. For a dairy-free or vegan option, a high-quality vegan butter substitute will also yield excellent results. While I haven’t personally tested it, coconut oil is a strong contender as a substitute, given its similar binding properties when melted.
- Gluten-Free or Whole Wheat Graham Cracker Squares: The choice is yours! For those avoiding gluten, I highly recommend a reputable brand of gluten-free crackers that you enjoy. If gluten isn’t an issue, whole wheat graham crackers add a lovely nutty flavor and a touch more fiber. Alternatively, you can use traditional graham crackers, digestive biscuits, or even vanilla wafers for a different flavor profile. The key is to achieve fine crumbs for a cohesive crust.
- Sugar: I prefer using raw organic cane sugar for its subtle sweetness, but any granulated sugar you have on hand will work just fine. This adds a touch of sweetness to the crust and helps it caramelize slightly during baking.
- Salt: A small pinch of salt is crucial. It doesn’t make the crust salty, but rather enhances and balances the sweetness of the sugar and crackers, elevating the overall flavor.
Cheesecake Filling:
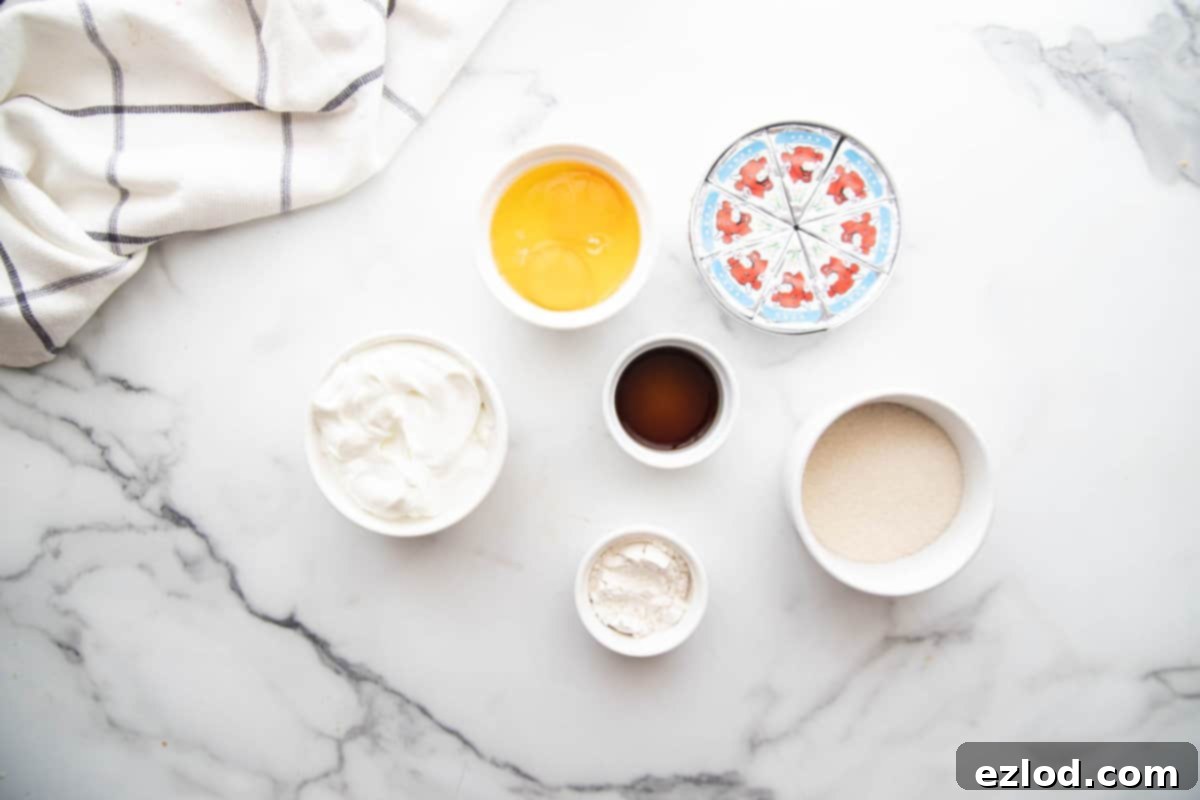
- Original or Light Laughing Cow Cheese, softened at room temperature: This is our secret weapon for a lighter, yet creamy filling. The mild tang and smooth texture are perfect. If Laughing Cow isn’t available, you can substitute with 6 oz (about 3/4 block) of low-fat cream cheese, also softened to room temperature. A quick note for those following specific nutrition plans like the 21 Day Fix: while cream cheese isn’t explicitly on the original list, it has appeared in official Fixate recipes.
- Plain Greek Yogurt, at room temperature: This is a star ingredient! I typically use low-fat or fat-free plain Greek yogurt. Brands like Fage are fantastic for their thick, creamy texture, but store brands like Aldi also work wonderfully. Ensure it’s plain to avoid unwanted added sugars or artificial flavors, and at room temperature for a smooth, lump-free batter. The Greek yogurt adds a wonderful tang, extra creaminess, and a significant protein boost.
- 2 Large Eggs, room temperature: Eggs are crucial for the structure and binding of the cheesecake filling, helping it set beautifully. They contribute to the smooth texture and prevent the cheesecake from becoming too crumbly. I do not recommend substituting eggs in this particular recipe. Bringing them to room temperature ensures they incorporate more evenly into the batter.
- Pure Vanilla Extract: A good quality pure vanilla extract is essential for enhancing the overall flavor profile of the cheesecake, adding a warm, aromatic depth.
- Sugar: Again, granulated sugar is key here, whether it’s raw, organic, or regular white sugar. I’ve found that liquid sweeteners like maple syrup or honey can significantly alter the consistency and setting properties of the cheesecake, potentially leading to a softer or unset result. Stick to granulated sugar for the best outcome.
- Gluten-Free or Whole Wheat Flour: This ingredient acts as a stabilizer, helping the cheesecakes to set more firmly and preventing cracks. If you don’t have it, don’t panic – I’ve made them without it, and they’ve still turned out perfectly fine, just perhaps a touch softer in texture. Any all-purpose gluten-free flour blend or finely milled whole wheat flour will work.
Topping:
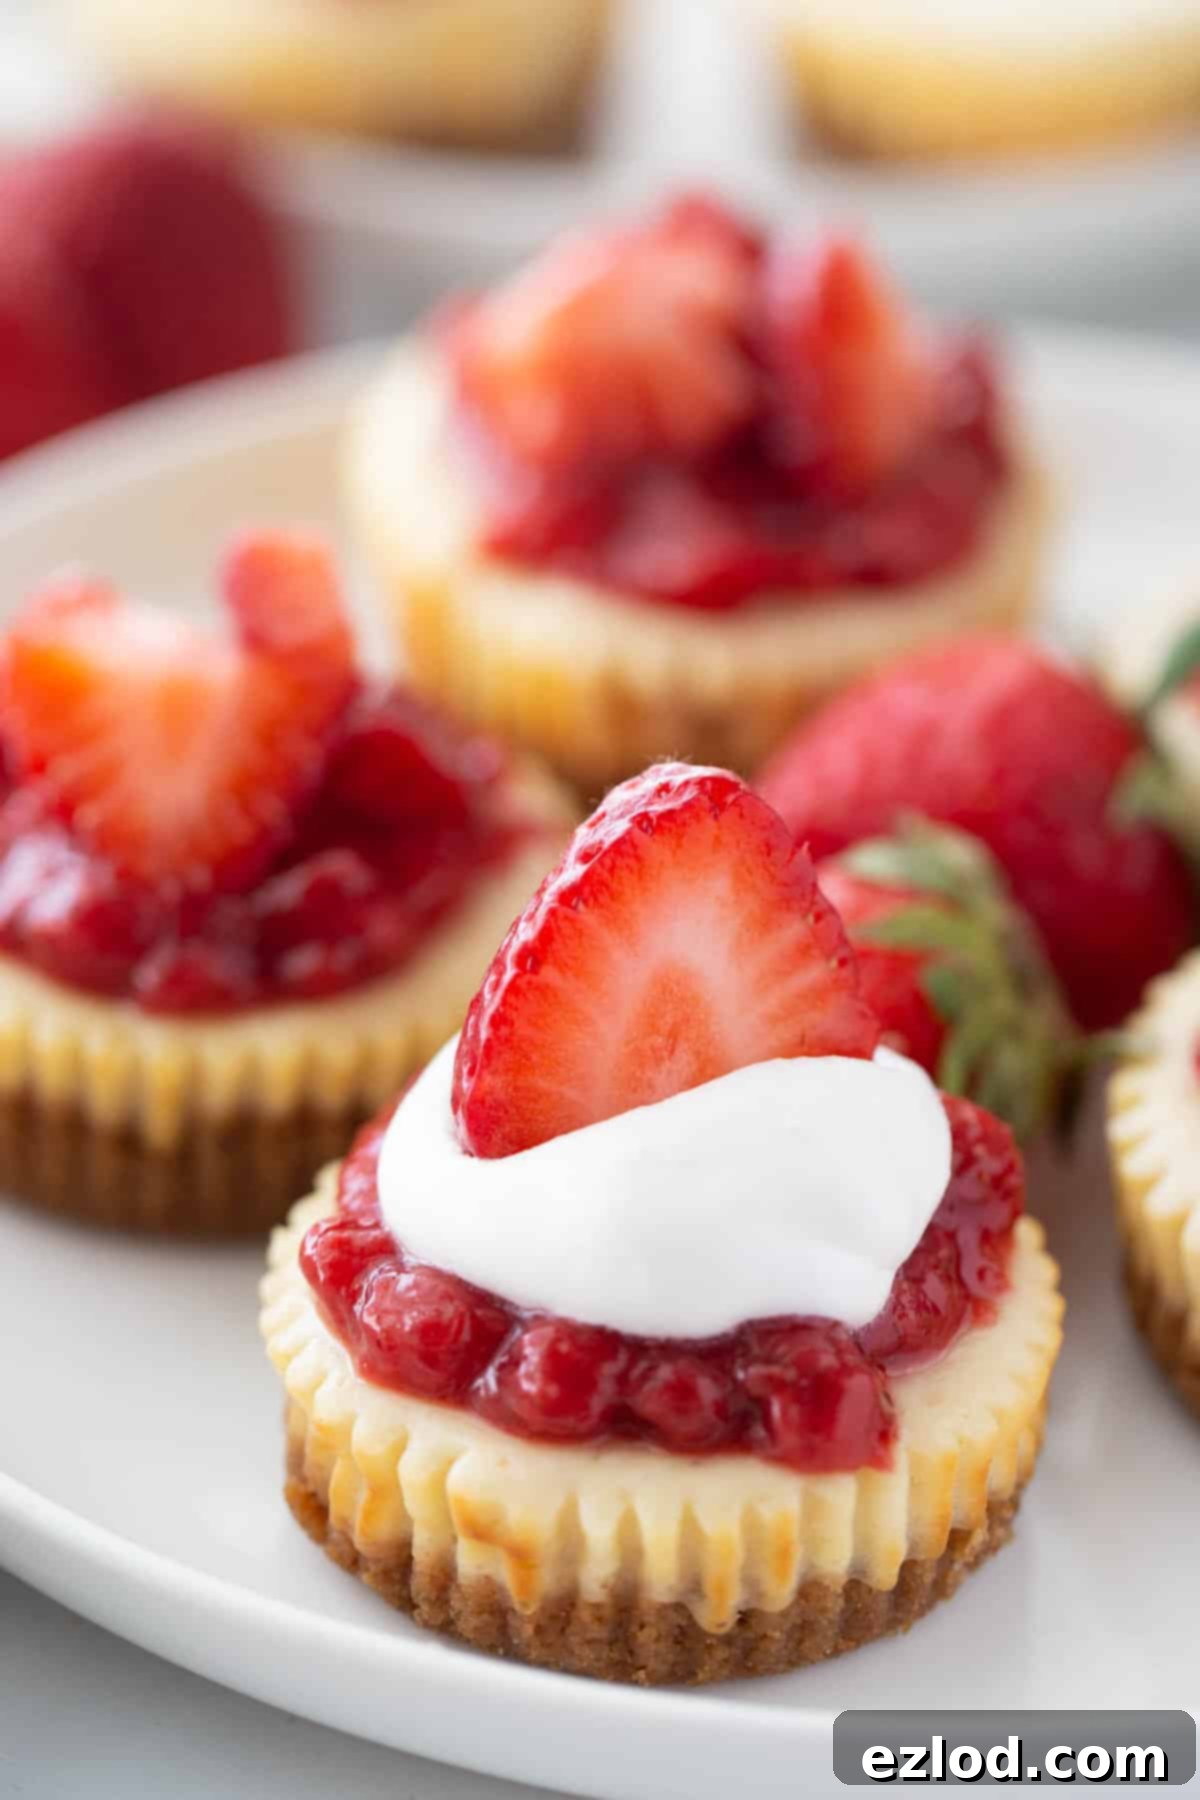
I absolutely adore the classic pairing of strawberries and cheesecake – reminiscent of my delightful strawberry cheesecake bites. That’s why creating a quick, homemade strawberry jam is my go-to topping for these mini cheesecakes. It’s incredibly simple and yields a vibrant, flavorful sauce. Here’s what you’ll need:
- Diced Strawberries: You can use either fresh or frozen strawberries for this topping. If using frozen, there’s no need to thaw them beforehand; they’ll cook down beautifully.
- Sugar: A little sugar helps to sweeten the strawberries and also aids in thickening the mixture into that lovely jammy consistency.
- Water: A splash of water helps to create the sauce base as the strawberries break down. For an extra bright and sweet-tart flavor profile, a tiny squeeze of lemon juice can be added – it really makes the strawberry flavor pop!
Step-by-Step Instructions
Creating these healthy mini cheesecakes is a breeze. Follow these simple steps for a perfect batch every time!
- Preparation is Key: Before you even start mixing, ensure your cold ingredients (Laughing Cow cheese, Greek yogurt, and eggs) have come to room temperature. This is a critical step for achieving a smooth, lump-free cheesecake filling that bakes evenly. Preheat your oven to 350 degrees F (175 C) and line a 12-cup muffin pan with parchment paper liners. While paper or silicone liners can work, parchment liners are highly recommended for the easiest removal of your delicate cheesecakes.
- Craft the Crunchy Crust: In a food processor, combine the graham crackers, 1 tablespoon of sugar, and a pinch of salt. Pulse until you have fine, even crumbs. If you don’t have a food processor, you can place these ingredients in a Ziploc bag and crush them with a rolling pin until fine. Once crumbed, add the melted butter and pulse or mix until well combined. The mixture should resemble wet sand.
- Press and Pre-Bake the Crusts: Spoon about 2 teaspoons of the graham cracker mixture into the bottom of each prepared muffin liner. Use your fingers or the back of a small spoon to firmly and evenly press the crumbs into a compact layer. Bake these crusts in the preheated oven for just 5 minutes. This quick bake helps to set the crust, preventing it from becoming soggy once the filling is added. Remove from the oven and set aside to cool slightly while you prepare the filling.
- Whip the Cheesecake Base: In the bowl of a stand mixer fitted with a whisk attachment, or using a hand mixer and a medium bowl, whip the softened Laughing Cow cheese (or low-fat cream cheese) until it’s completely smooth and creamy, with no lumps. Then, gradually add the remaining sugar and the gluten-free flour, whisking again until just combined. Be careful not to overmix at this stage.
- Incorporate Wet Ingredients: Slowly add the room temperature Greek yogurt, one dollop at a time, continuing to whisk on low speed. This gradual addition helps maintain a smooth consistency. Once the mixture is smooth and uniform, add the room temperature eggs and pure vanilla extract. Whisk on low speed just until everything is fully incorporated and the batter is smooth. Overmixing eggs can introduce too much air, which can cause cheesecakes to crack.
- Fill and Bake: Using an ice cream scoop (this helps with even portions) or a spoon, fill each muffin liner with the cheesecake batter, spooning it over the pre-baked crusts. Return the muffin tin to the oven and bake for 15-20 minutes. The cheesecakes are done when the tops are set and firm around the edges, but the center still has a slight jiggle when gently nudged. Avoid overbaking, as this can lead to cracks and a dry texture.
- Prepare the Jammy Topping: While the cheesecakes are baking, you can whip up the delicious strawberry topping. In a small saucepan, combine the diced strawberries, 1 tablespoon of sugar, and a tablespoon of water (and a splash of lemon juice if desired). Cook over medium heat, stirring and gently crushing the strawberries with the back of a spoon, for about 5 minutes or until the mixture has thickened to a jam-like consistency. Remove from heat and let it cool completely.
- Cool, Chill, and Serve: Once baked, remove the muffin pan from the oven and allow the mini cheesecakes to cool completely on a wire rack for at least 1 hour at room temperature. This gradual cooling helps prevent cracking. After cooling, transfer the muffin pan to the refrigerator and chill the cheesecakes for a minimum of 2-3 hours (or preferably overnight) to allow them to fully set and firm up. Before serving, top with the cooled jammy strawberries, fresh sliced strawberries, a dollop of whipped topping, or any of your favorite garnishes.
Mini Cheesecake Recipe Variations
The beauty of these mini cheesecakes is how easily they can be adapted to your personal preferences or the occasion. Get creative with these delicious variations:
- Creamy Whipped Topping: For an extra layer of decadence, consider adding a dollop of whipped cream on top. For a lighter or dairy-free option, we absolutely love adding Cocowhip to these cheesecake bites. It’s a fantastic, airy complement to the rich filling.
- Seasonal Fruit Sauces: While strawberry is a classic, don’t limit yourself! Swap the jammy strawberries for fresh blueberries, raspberries, or even a vibrant cherry sauce. Simply use the same method outlined for the strawberry topping with your fruit of choice to create a custom flavor.
- Berries in the Batter: If you’re short on time or prefer a more integrated fruit flavor, you can gently fold diced strawberries or other small berries directly into the cheesecake batter before baking. This adds a lovely burst of fruit throughout each bite.
- Decadent Caramel Twist: For a truly indulgent treat, top your cooled mini cheesecakes with a drizzle of this incredible vegan caramel sauce. Pair it with a sprinkle of sea salt or chopped pecans for a sophisticated dessert.
- Chocolate Lover’s Dream: Are you a chocolate enthusiast? Fold mini chocolate chips (dairy or dairy-free) into the creamy cheesecake filling for a delightful chocolate swirl in every bite. A drizzle of chocolate ganache on top would also be divine!
- Alternative Crust Options: While graham crackers are classic, you can swap the gluten-free graham crackers for a gluten-free vanilla wafer crust for a sweeter, more delicate base. You could also try a simple almond flour crust for a lower-carb option.
- Craving a Traditional Cheesecake? If you’re in the mood for a more classic, full-sized cheesecake experience (even a no-bake one!), check out this easy Philadelphia no-bake cheesecake recipe from Beth at The First Year!
Expert Tips + Tricks for the Perfect Mini Cheesecakes
Achieving perfectly smooth, creamy, and crack-free mini cheesecakes is easier than you think with these expert tips and tricks:
- Room Temperature is Non-Negotiable: I cannot stress enough the importance of using room temperature ingredients for the best results. Cold ingredients don’t emulsify properly, leading to a lumpy batter and a less smooth final texture. If you’re in a hurry, you can spread Laughing Cow cheese or cream cheese on a plate and microwave for just a few seconds (10-15 seconds, checking frequently) to soften.
- Quick Room Temp Eggs: To quickly bring eggs to room temperature, simply submerge them in a bowl of hot tap water for about 5 minutes. This gentle warmth allows them to blend seamlessly into your batter.
- The Right Liners Matter: Using parchment liners or silicone muffin liners is absolutely key to getting your mini cheesecakes out of the tin easily and cleanly without any sticking. While paper liners can work, parchment is superior for preventing the delicate crust from tearing. If you don’t have liners, greasing your muffin tin very well with baking spray or butter and flour can also help, but it’s not as foolproof.
- Don’t Overbake: Overbaking is the arch-nemesis of cheesecake, leading to dry textures and cracks. Your cheesecakes should be set around the edges but should still have a slight jiggle in the very center when you gently move the muffin tin. They will continue to set as they cool.
- Patient Cooling is Essential: As tough as it might be to wait, for the best results, definitely allow your cheesecakes to fully cool on a wire rack at room temperature before transferring them to the refrigerator. This gradual cooling process prevents sudden temperature changes that can cause cracking and ensures the cheesecake sets properly, becoming firm and dense. They are worth the wait, I promise!
- Avoid Overmixing: Once you’ve added the eggs, mix the batter only until just combined. Overmixing introduces too much air, which can cause the cheesecake to puff up significantly in the oven and then fall and crack as it cools.
- Press the Crust Firmly: Ensure your graham cracker crust is pressed firmly and evenly into the muffin liners. This creates a solid base that won’t crumble apart when you bite into your cheesecake.
Meal Prep and Storage
These healthy mini cheesecakes are fantastic for meal prepping or making ahead for entertaining. Here’s how to best store and prepare them:
To prep ahead: This is the perfect dessert to prepare in advance, whether for a party, weekly meal prep, or just to have healthy snacks on hand. Simply bake the cheesecakes according to the directions, cool them completely, and then refrigerate. Hold off on adding any fresh fruit or whipped toppings until just before you’re ready to serve, to maintain optimal freshness and presentation.
To store: Once your mini cheesecakes are completely cooled, cover them tightly with plastic wrap or place them in an airtight container. Store them in the refrigerator for up to 4 days. Storing them in an airtight container prevents them from drying out or absorbing any odors from other foods in your fridge.
To freeze: These mini cheesecakes are wonderfully freezer-friendly and can be kept frozen for up to three months. To freeze them, first place the cooled cheesecakes (still in their muffin liners if preferred, or remove them carefully) in the muffin tin and freeze until solid. Once frozen, remove them from the muffin tin and transfer them to a freezer-safe bag or an airtight container. This two-step freezing process prevents them from sticking together. When ready to enjoy, you can thaw them in the refrigerator overnight, or simply enjoy them frozen for a delightful, chilly treat!
Recipe FAQs
Have questions about making these healthy mini cheesecakes? We’ve got answers to some of the most common queries!
While this recipe is designed for a lighter touch, it does work well with low-fat cream cheese as a direct substitute for Laughing Cow cheese (as noted in the ingredients). I have not tested it with ricotta cheese. While there’s potential for it to work, ricotta typically has a higher water content and a more granular texture, which might result in a grittier cheesecake rather than the desired smooth consistency. If you decide to experiment with ricotta, please let us know your results!
I highly recommend sticking to granulated sugar for this recipe. I have not tested it with liquid sweeteners like honey or maple syrup, and generally, they can drastically change the moisture content and overall structure of cheesecake batter. This could prevent your cheesecakes from setting properly, resulting in a runny or overly soft texture. For best results, use granulated sugar.
The key to a perfectly smooth batter comes down to two main factors: 1) Ensuring all your cold ingredients (Laughing Cow/cream cheese, Greek yogurt, eggs) are at room temperature before you start mixing. This allows them to blend together effortlessly. 2) Gradually adding the Greek yogurt, one dollop at a time, while continuously whisking on low speed. This slow incorporation helps prevent lumps from forming and creates a beautifully homogenous filling.
Absolutely! The strawberry topping recipe is incredibly versatile. You can definitely swap in your favorite berries, such as blueberries, raspberries, or even a mix of berries, using the exact same instructions. The cooking time might vary slightly depending on the water content of the fruit, but the method remains the same for a delicious jammy sauce.
This particular recipe has been specifically developed and tested for standard-size muffin tins to create individual mini cheesecakes. While you could theoretically attempt to scale it up for a springform pan, I have not personally tested it in that format. Full-size cheesecakes often require different baking times, temperatures, and typically benefit from a water bath to prevent cracking and ensure even cooking. This is certainly something I will consider testing for a future recipe!
Love strawberries as much as we do? If you’re looking for another delightful strawberry treat, this strawberry bread recipe looks absolutely amazing and could be your next baking adventure!
More Healthy Delicious Dessert Recipes
If you’ve fallen in love with these healthy and delicious mini cheesecakes, then you’ll definitely want to explore more of our favorite better-for-you dessert recipes. Perfect for summer gatherings or whenever you crave a sweet treat without the guilt, these yummy options are sure to please:
- Healthy Strawberry Shortcake: A classic summer dessert, lightened up for guilt-free enjoyment.
- Berry Crisp: Warm, comforting, and packed with juicy berries, this crisp is both gluten-free and dairy-free.
- Vegan Chocolate Pudding: Rich, creamy, and surprisingly easy to make, this plant-based pudding is a chocolate lover’s dream.
- Banana Ice Cream Bon Bons: A fun, refreshing, and naturally sweet treat perfect for cooling down on a warm day.

Healthy Mini Cheesecake Recipe
Ingredients
Crust
- 3 1/2 Tbsp melted butter
- 12 gluten free or whole wheat graham cracker squares you should yield about 1 cup of crumbs
- 1 Tbsp raw sugar
- pinch of salt
Filling
- 8 triangles of original or light laughing cow cheese softened at room temperature, can sub 6oz low fat cream cheese
- 1 cup 2% plain Greek yogurt room temp
- 2 large eggs room temp
- 1 teaspoon pure vanilla extract
- ⅓ cup + 1 Tbsp raw sugar
- 2 Tbsp gluten free flour
Topping
- 1 cup strawberries diced
- 1 Tbsp Sugar
- Water
- Optional: Whipped topping and sliced berries
Instructions
- Before you begin, be sure to allow your cold ingredients come to room temperature – this is super important for your cheesecake filling to be smooth without lumps.
- Start by making the crust. Preheat the oven to 350 degrees. Line muffin pan with 12 parchment liners.
- Using a food processor, pulse graham crackers, 1 Tbsp sugar, and salt until you are left with crumbs, then mix with the melted butter. Alternately, you can put the graham crackers, sugar, and salt in a ziplock bag. Crush until reduced to crumbs, then add in melted butter.
- Press around 2 teaspoons of crumbs into each muffin liner. Bake crusts for 5 minutes, then set aside.
- Using a stand mixer or hand mixer, whip laughing cow cheese until smooth, then add in sugar and flour. Whip again.
- Slowly add in Greek yogurt one dollop at a time, continuing to whisk. Once it’s smooth, add in egg and vanilla and continue to whisk on low.
- Pour cheesecake filling over crust. Return pan to oven and bake for 15-20 minutes or until the top of the cheesecake bites have set.
- While the cheesecakes are baking, make strawberry topping. In a small saucepan, cook strawberries, sugar, and a tablespoon of water, stirring and crushing strawberries for about 5 minutes or until mixture is thick and jammy. Let cool.
- Cool cheesecake bites for 1 hour, then refrigerate. Top with jammy strawberries, sliced strawberries, and or whipped topping before serving.
