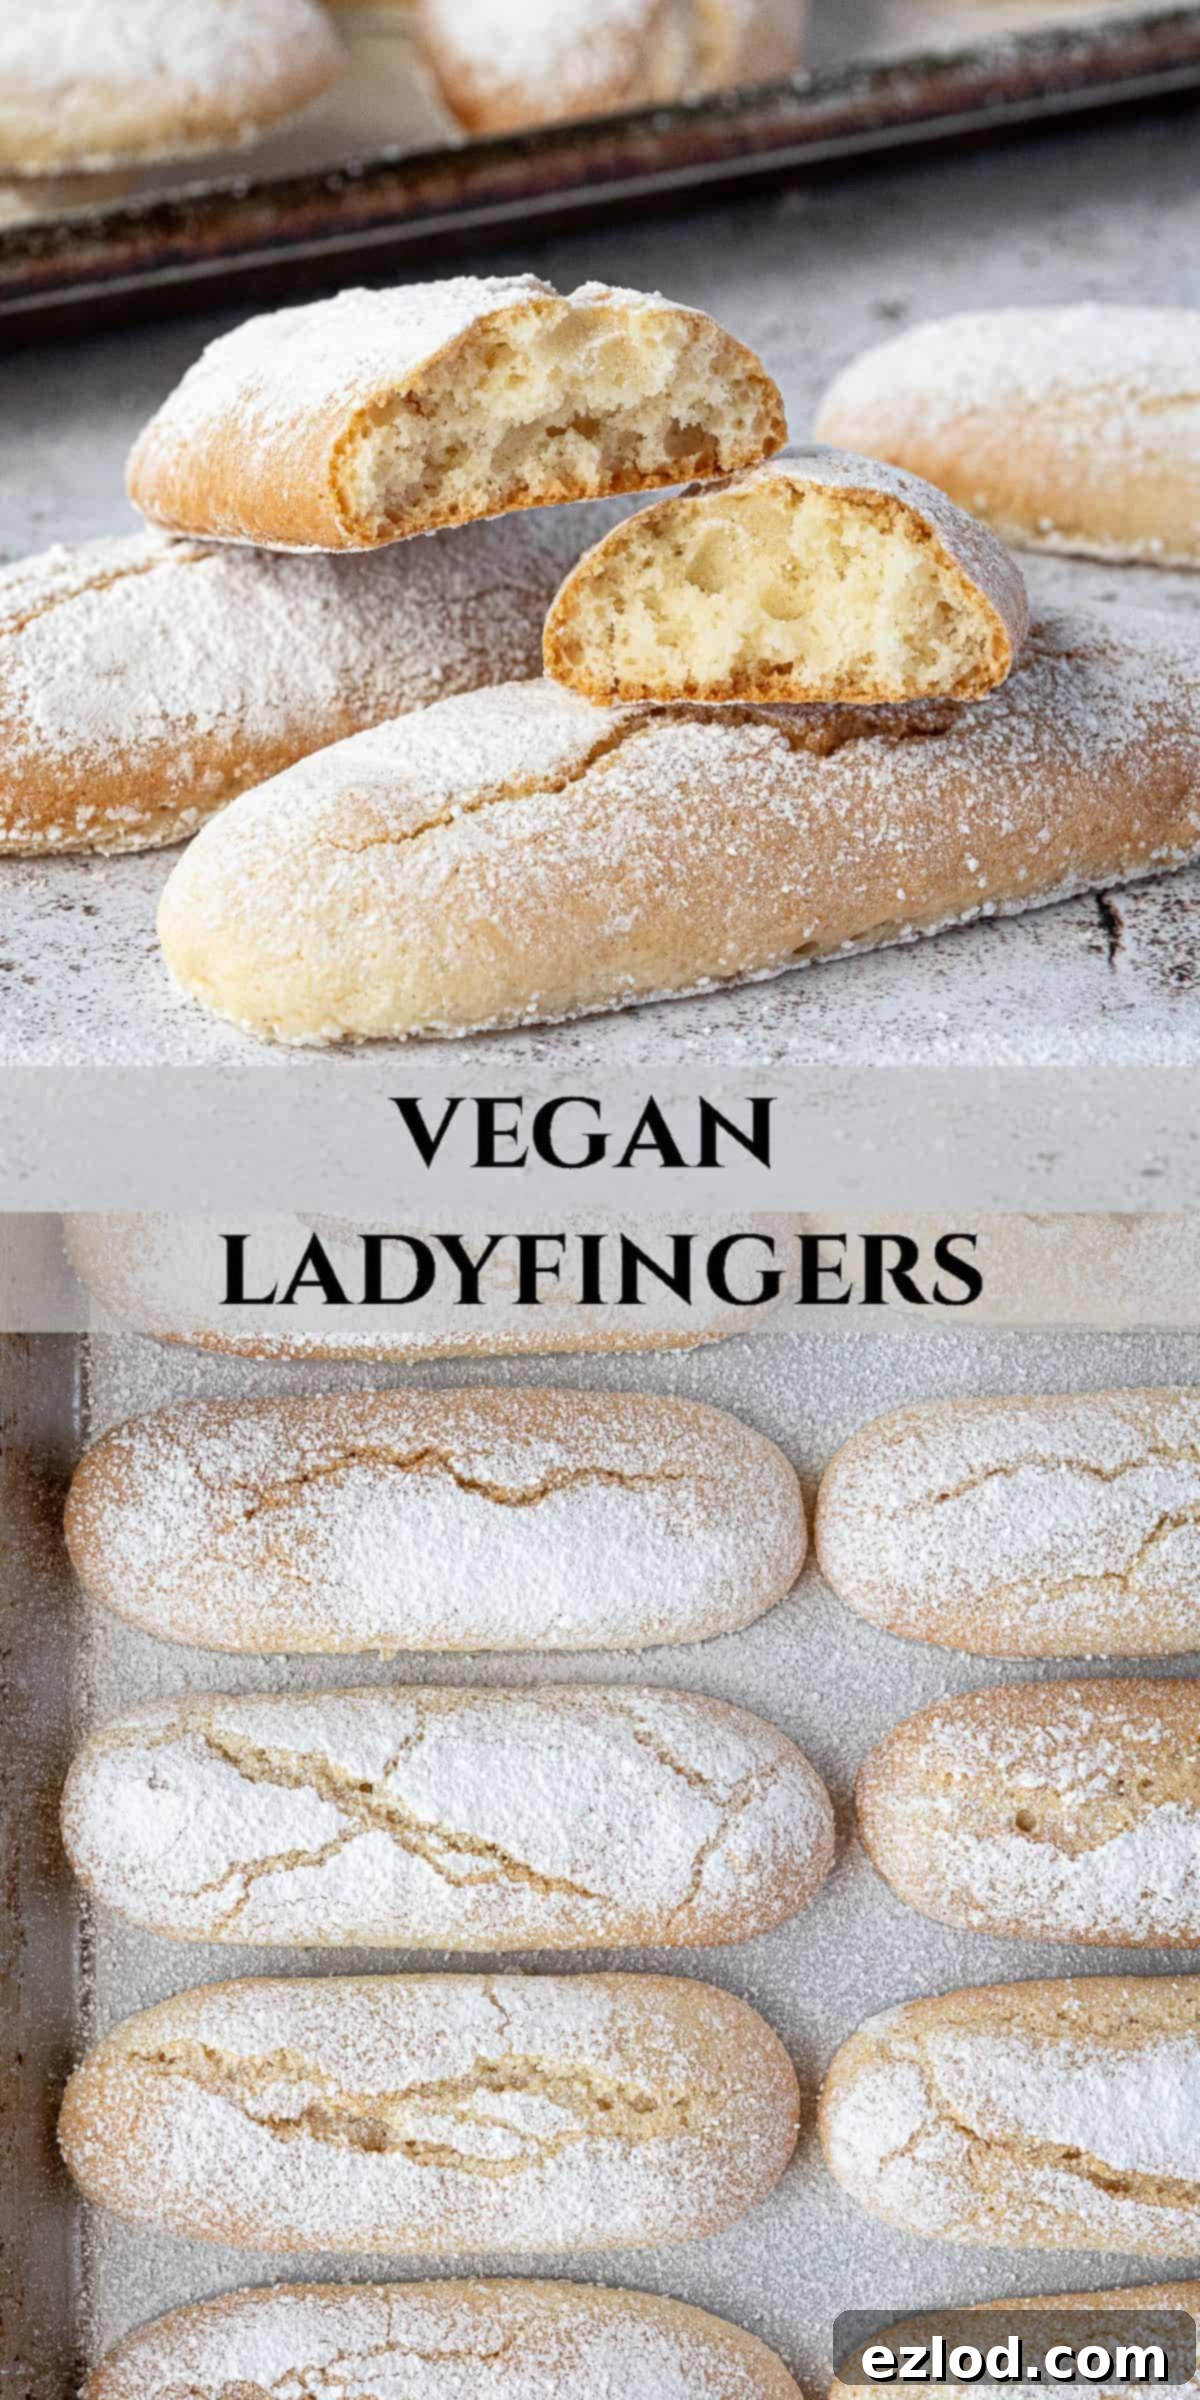
Easy & Delicious Homemade Vegan Ladyfingers: The Ultimate Recipe for Tiramisu and Beyond
Discover the delightful world of homemade vegan ladyfingers – a surprisingly simple yet incredibly versatile treat that will elevate your dessert game. These elegant sponge cookies, often known as savoiardi, boudoir biscuits, or sponge fingers, are a cornerstone for classic desserts like tiramisu and trifle. Imagine a cookie that’s wonderfully crisp on the outside, delicately soft in the middle, and bursting with a light, airy vanilla flavor. This recipe delivers exactly that, proving that delicious, egg-free ladyfingers are not only possible but also a joy to create in your own kitchen.
Unlike traditional ladyfingers which are heavily reliant on eggs, our plant-based version harnesses the magic of aquafaba – the liquid from a can of chickpeas – to achieve that signature light and airy texture. This innovative approach allows us to create beautiful, perfectly textured ladyfingers suitable for soaking in coffee or liqueurs for your favorite desserts, or simply enjoyed on their own with a cup of tea. While this isn’t the simplest recipe for a beginner baker, with careful attention to detail and a good read-through of this comprehensive guide, you’ll be baking perfect vegan ladyfingers in no time.
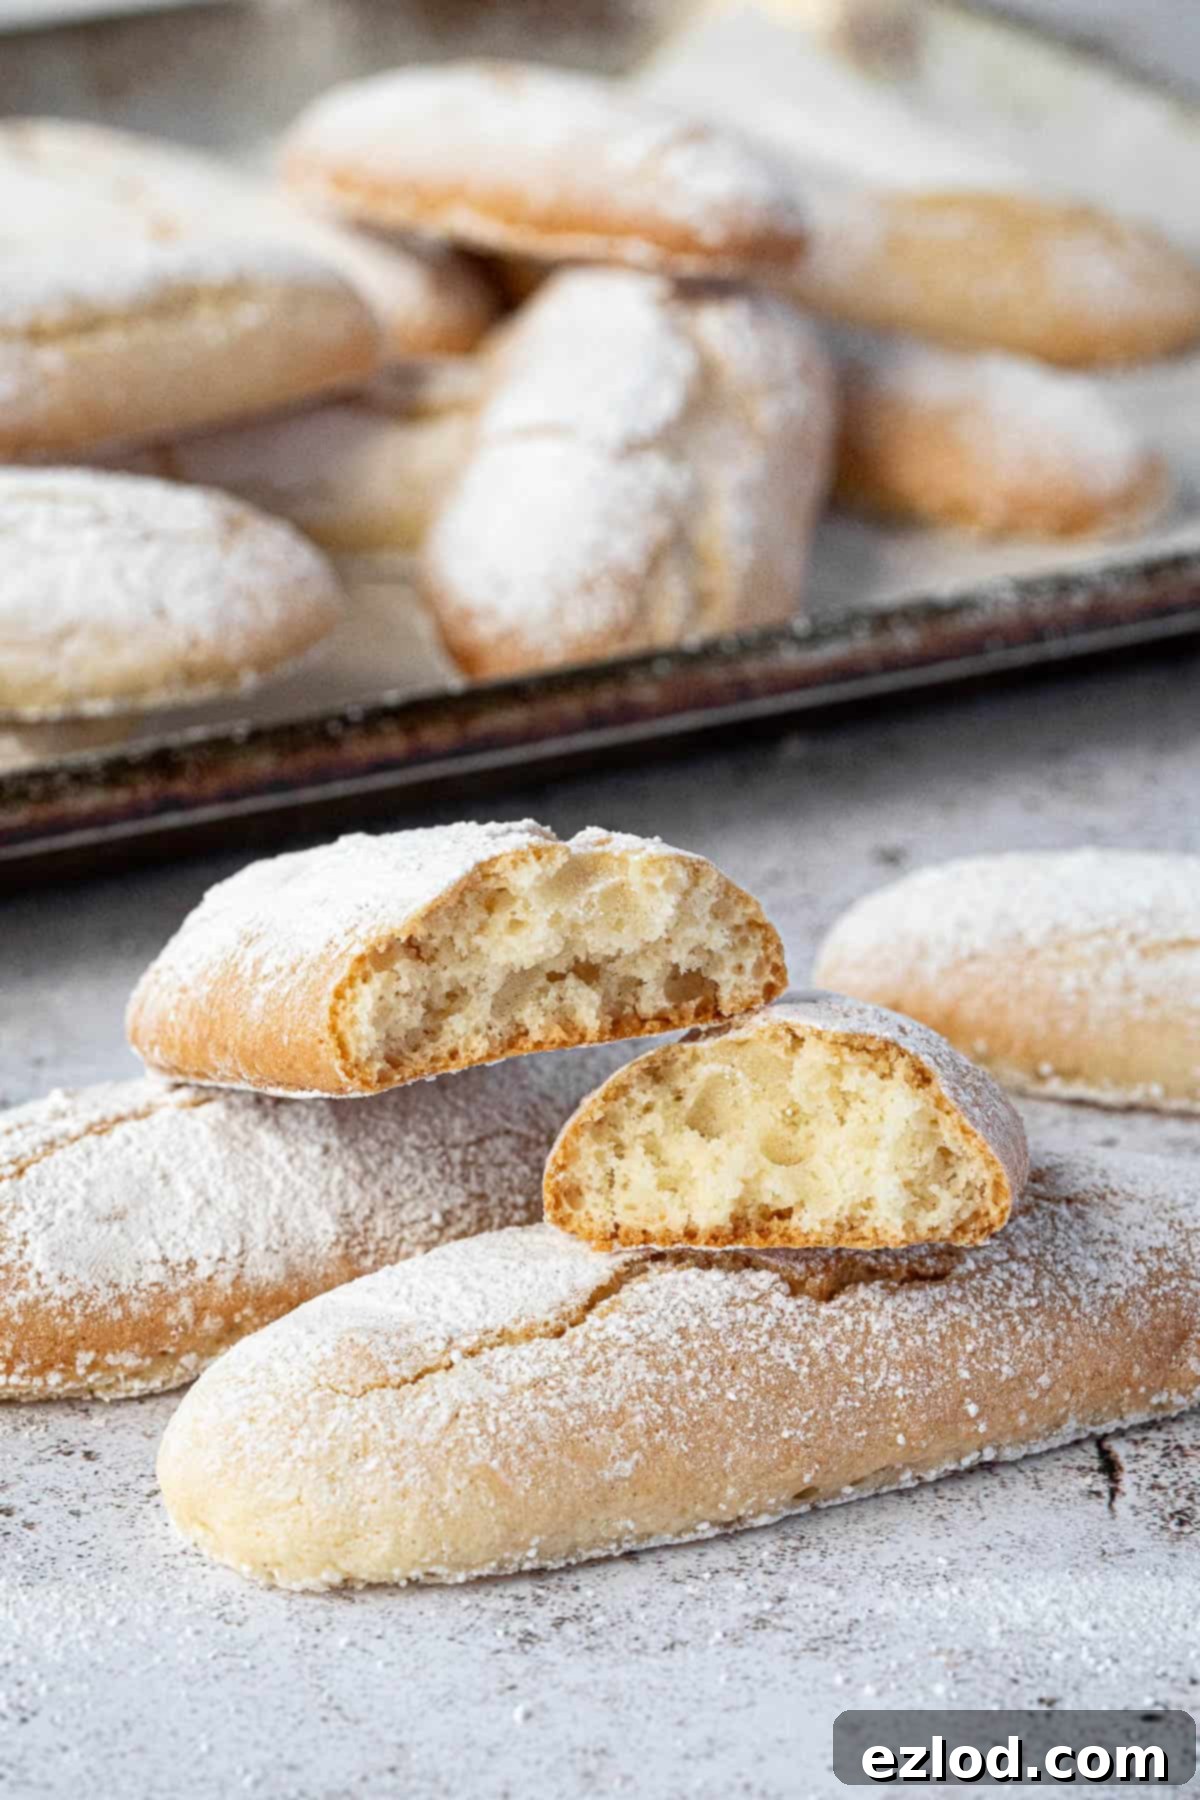
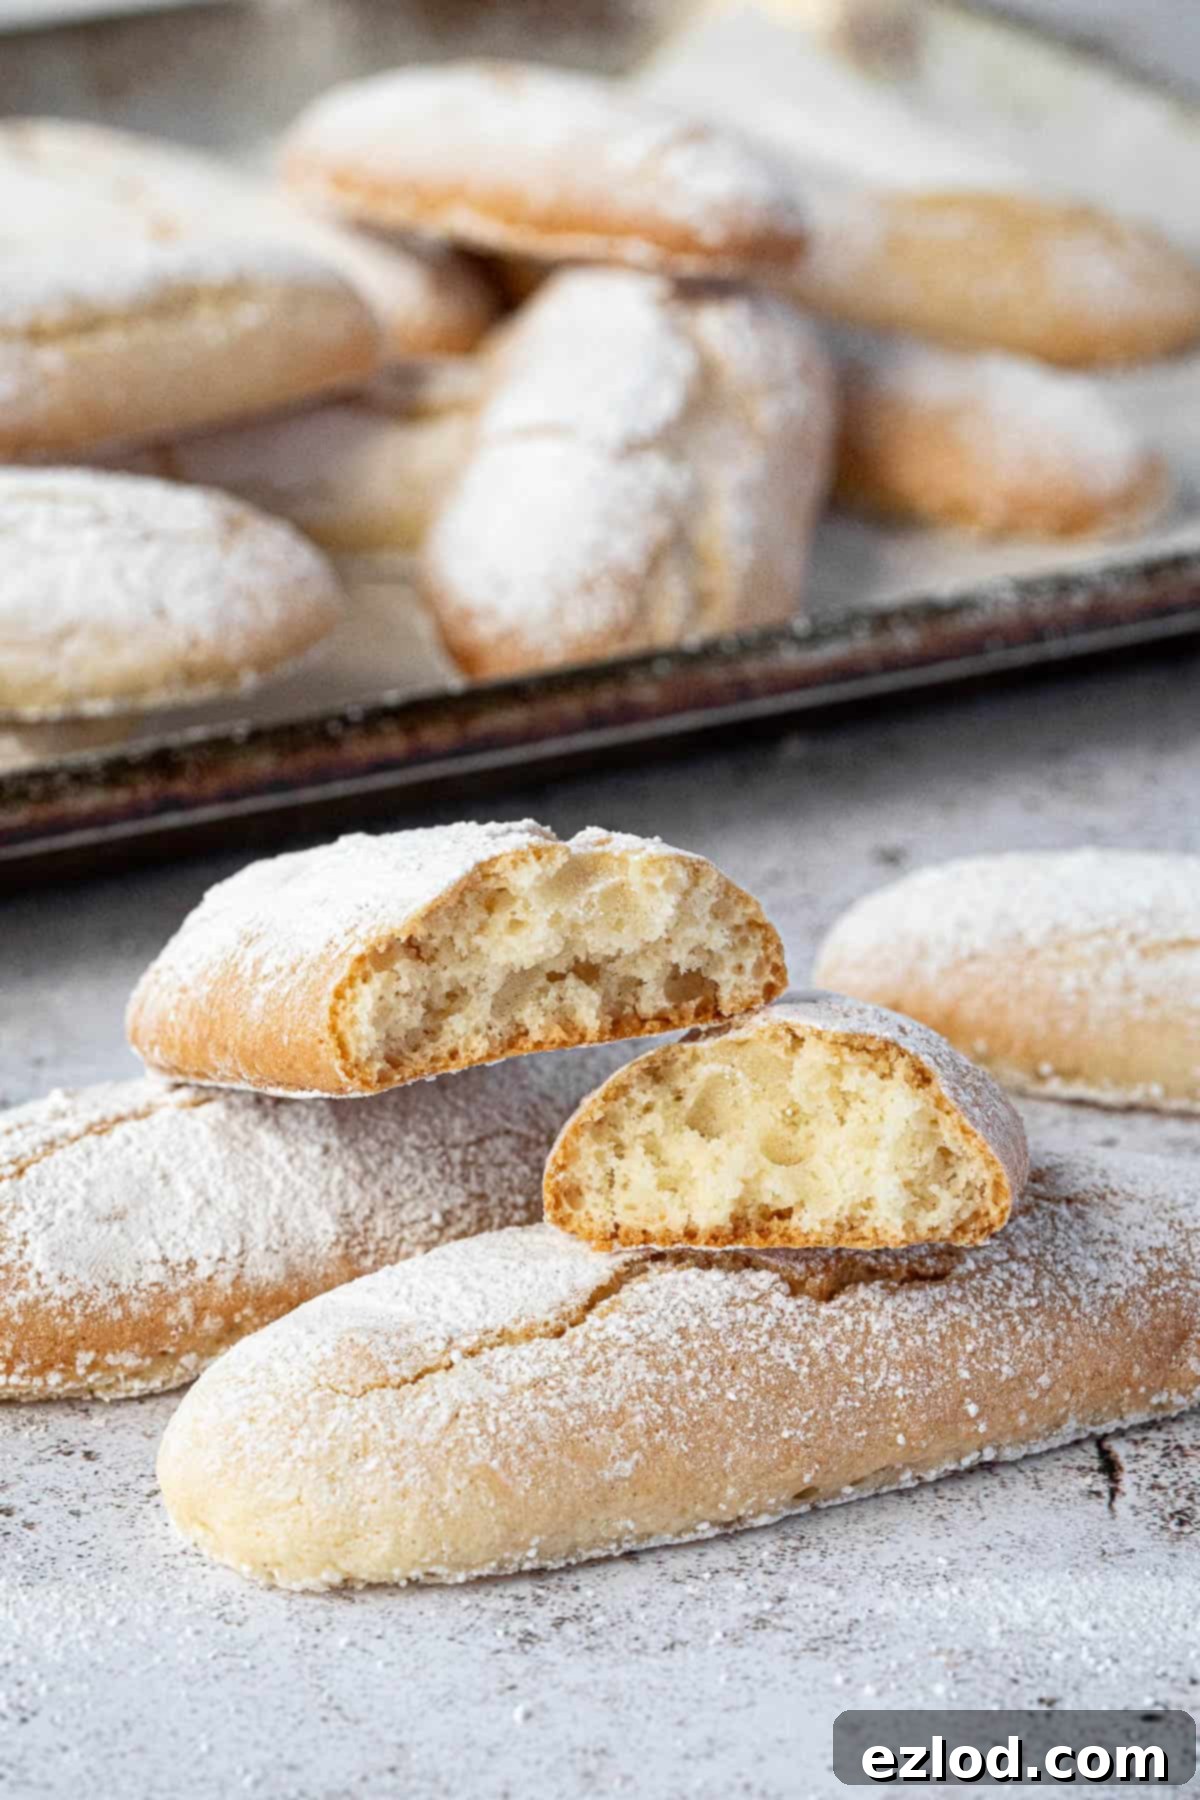
What Are Ladyfingers (Savoiardi)? Unveiling the Classic Sponge Cookie
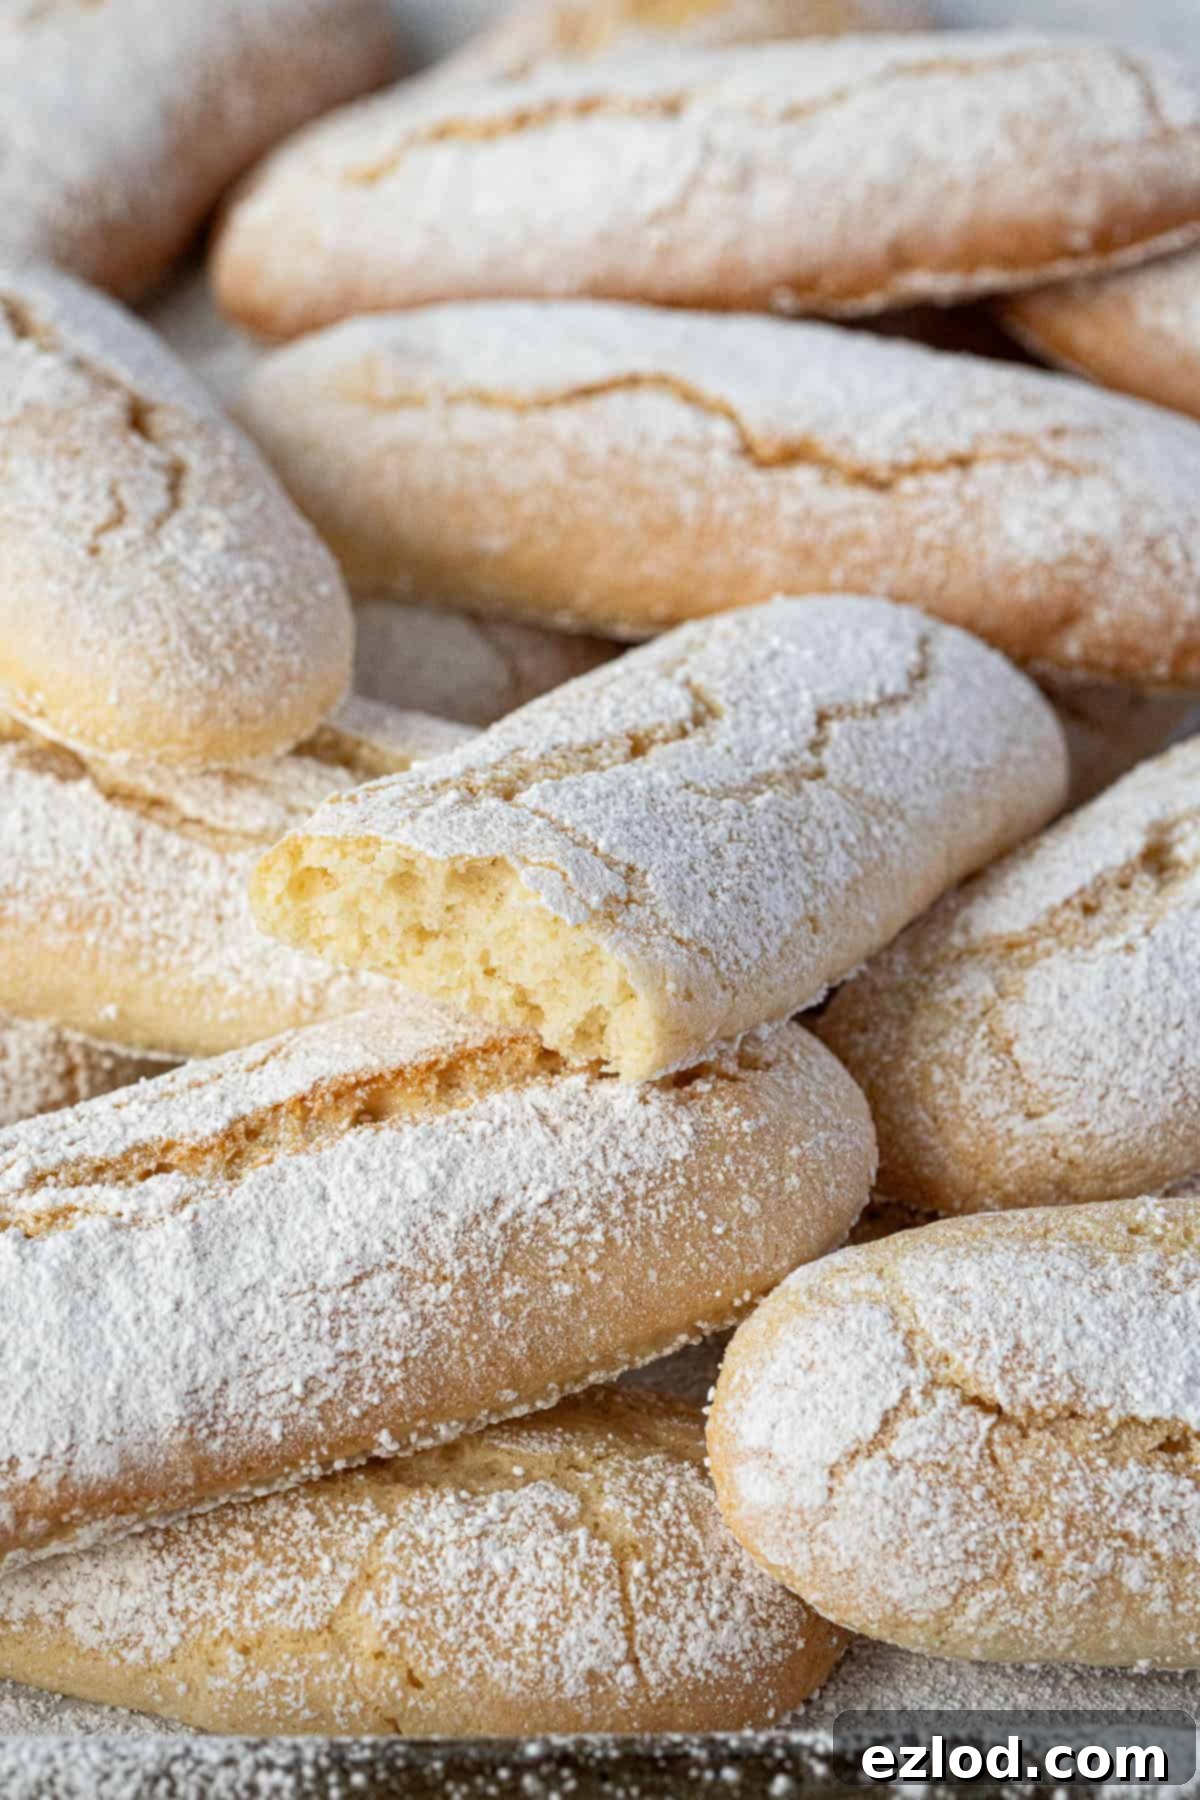
Ladyfingers, known by various names such as savoiardi, sponge fingers, or boudoir biscuits, are a unique type of sponge cake biscuit. Their distinctive long, flattened oval shape, resembling a lady’s finger, gives them their charming name. Traditionally, they are made from a meringue-based batter, yielding a remarkably light and airy texture. The characteristic of a perfect ladyfinger is its crisp, slightly crackly exterior, which can lead to a cookie that’s crisp all the way through or one that retains a delicate softness in its center. This duality makes them ideal for absorbing liquids without becoming overly soggy, a crucial quality for layered desserts.
These elegant biscuits are a cornerstone in several renowned desserts, with tiramisu being the most famous. Their ability to soak up espresso and liqueurs while maintaining their structure is unparalleled. Beyond tiramisu, they also shine in trifles, charlottes, and even as a simple accompaniment to coffee or tea. Historically, ladyfingers originated in the late 15th century at the court of the Duke of Savoy, created to mark a visit from the King of France. They were later adopted by Italian pastry chefs and became widely popular throughout Europe, especially in Italy, where they are known as “savoiardi.”
The challenge for vegan bakers has always been the traditional recipe’s heavy reliance on eggs – particularly whipped egg whites for structure. Until recently, finding suitable shop-bought vegan ladyfingers was nearly impossible. This recipe aims to fill that gap, offering a homemade alternative that closely mimics the texture and flavor of traditional ladyfingers. After extensive testing, we’ve perfected this vegan version, ensuring they have the ideal crispness for a satisfying bite and the perfect absorbency for your favorite desserts.
While the process of making these isn’t the absolute easiest for a novice, it’s certainly achievable with patience and precision. We highly recommend reading through the entire post, including the detailed step-by-step instructions and photos, before you begin. This preparation will set you up for success and help you understand the nuances of working with aquafaba.
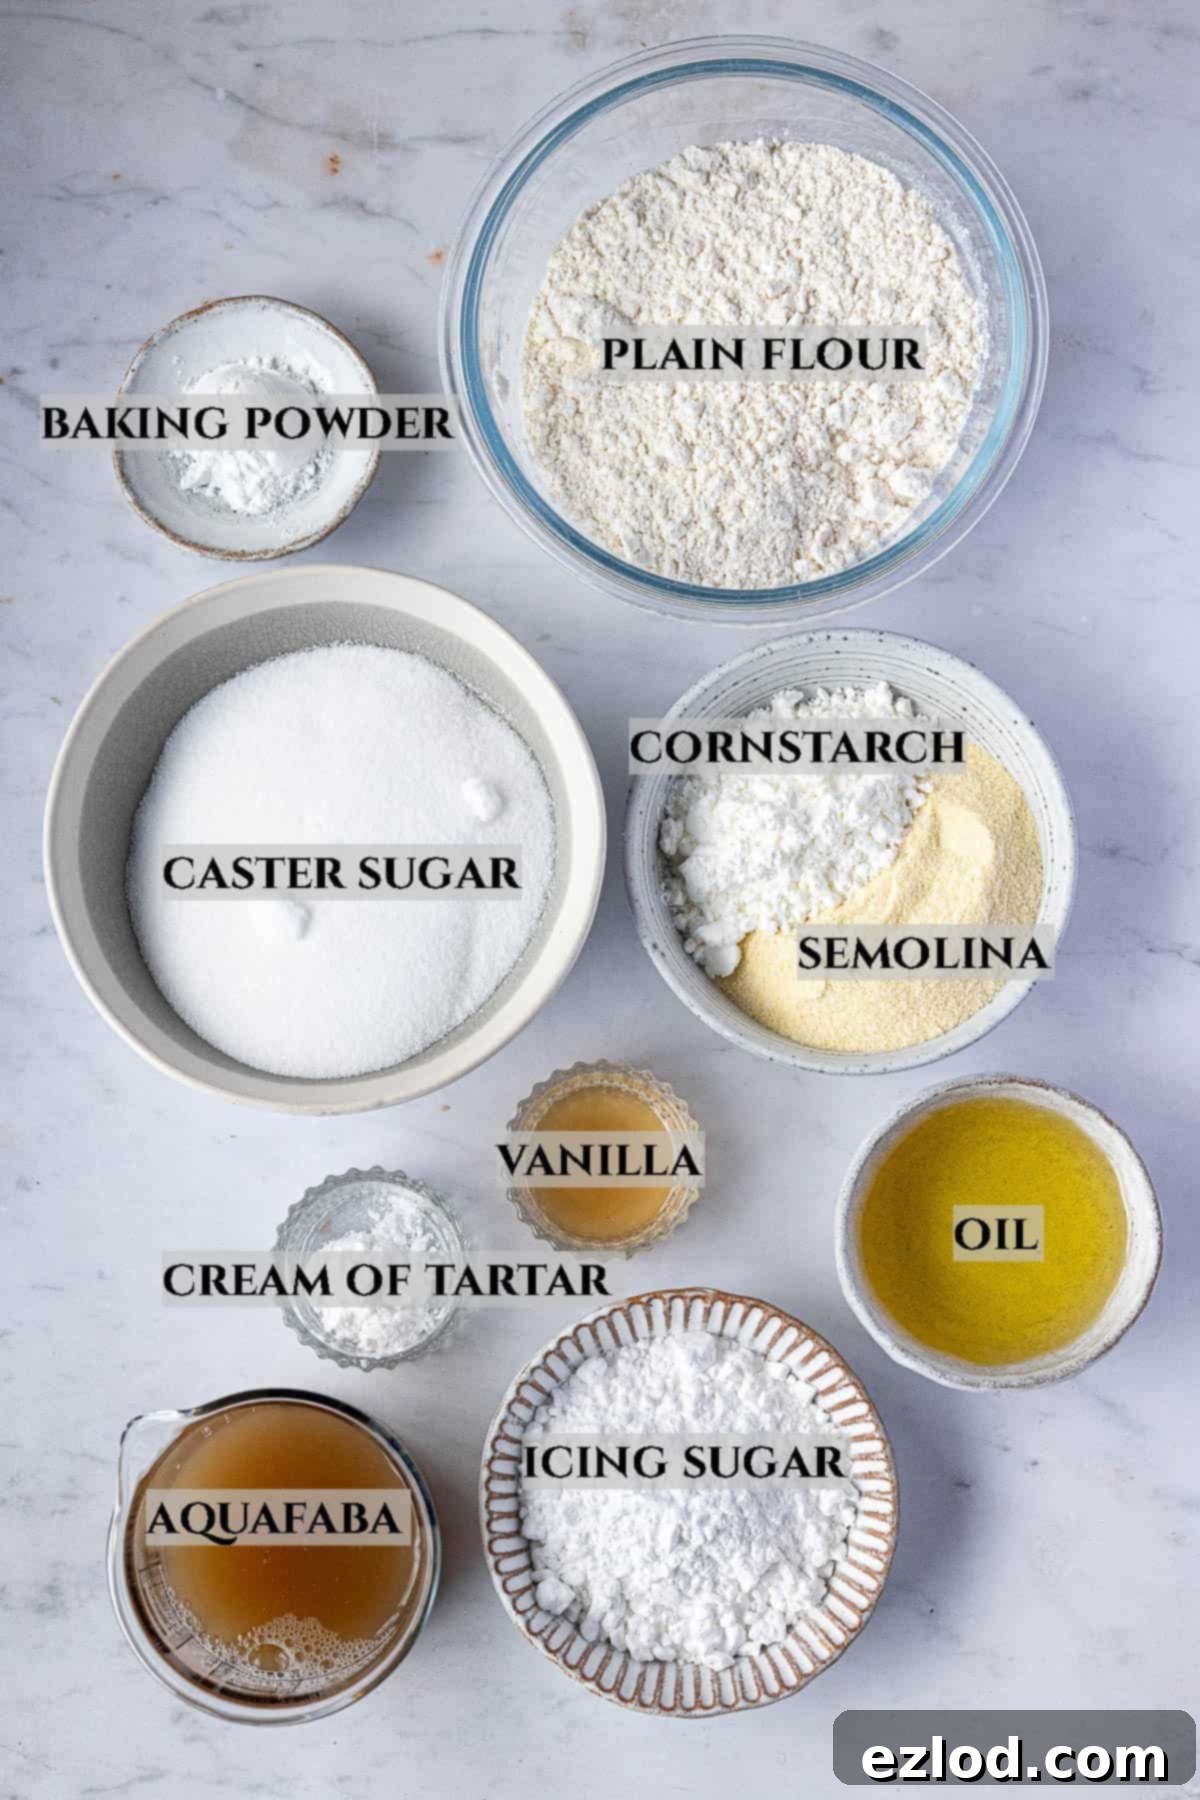
Essential Ingredients for Perfect Vegan Ladyfingers
Crafting these exquisite vegan ladyfingers requires a few specific ingredients, each playing a crucial role in achieving the desired texture and flavor. Understanding their functions will help you master this recipe.
- Aquafaba: This is the star ingredient that replaces the whisked egg whites typically found in ladyfingers. Aquafaba, the viscous liquid drained from a can of chickpeas, has remarkable emulsifying and foaming properties, making it an excellent egg replacer for meringues. For the most consistent and stable results, we strongly recommend using OGG’s aquafaba if available, or simmering aquafaba from two cans of chickpeas until it reduces by almost half. Chilling this reduced liquid until it’s very cold before use significantly improves its whipping ability and stability. There is no direct substitute for aquafaba in this particular recipe, as its unique protein structure is vital for creating the meringue base.
- Baking Powder: While not a traditional ladyfinger ingredient, a small amount of baking powder is added to this vegan recipe. Aquafaba meringues, though stable, can be slightly less robust than egg white meringues. The baking powder provides an extra lift and ensures a light, airy crumb, compensating for the absence of egg proteins.
- Cream of Tartar: This acidic ingredient is crucial for stabilizing the aquafaba as it whips. Adding cream of tartar helps the aquafaba achieve stiff peaks more quickly and maintains their structure, preventing collapse. If you don’t have cream of tartar, an equal amount of lemon juice or white vinegar can be used as an alternative acid.
- Sugar: You’ll need two types of sugar for this recipe:
- Caster (Superfine) Sugar: This fine-grained sugar dissolves quickly into the aquafaba meringue, creating a smooth and glossy finish. While granulated sugar can be substituted, ensure you whisk it exceptionally well to fully dissolve the crystals, preventing a grainy texture.
- Icing (Powdered) Sugar: This is essential for the characteristic crisp crust of the ladyfingers. A dusting of powdered sugar over the caster sugar sprinkle before baking creates a delightful sugary shell. Do not skip this step, as it significantly contributes to the texture and appearance.
- Oil: Ladyfingers traditionally have a low-fat content, but a small amount of neutral oil is incorporated into this vegan recipe. This helps to replace the minimal fat that would usually come from egg yolks, contributing to the cookie’s tender texture and ensuring it doesn’t dry out too much. A neutral-flavored oil like light olive oil, sunflower oil, or canola oil works best.
- Plain (All-Purpose) Flour: Standard plain flour forms the structural base of the cookie. We have not extensively tested gluten-free variations for this specific recipe, as the precise balance of ingredients is critical for the delicate texture. If you choose to experiment with a gluten-free version, we suggest replacing both the plain flour and semolina with an equal weight of a good quality gluten-free all-purpose flour blend, and adding ¼ teaspoon of xanthan gum to aid in structure. Please note that results may vary.
- Fine Semolina: Some classic ladyfinger recipes include fine semolina, a coarsely ground durum wheat, to help absorb excess moisture and contribute to a firmer, yet still tender, texture. Given that aquafaba doesn’t ‘set’ in the same way eggs do, semolina is a valuable addition to this vegan version to achieve that desired consistency. If fine semolina is unavailable, you can substitute it with an equal weight of additional plain flour, but we highly recommend using semolina if possible for the best results.
- Cornflour (Cornstarch): A small amount of cornflour helps to tenderize the ladyfingers, giving them a lighter and more delicate crumb structure. It contributes to that melt-in-your-mouth quality that makes ladyfingers so irresistible.
- Vanilla Extract: Vanilla is the dominant flavor profile in these vegan ladyfingers, so investing in a high-quality vanilla extract is highly recommended. Brands like Nielsen-Massey offer excellent flavor that truly shines through, providing a wonderful aroma and taste that complements the lightness of the cookie.
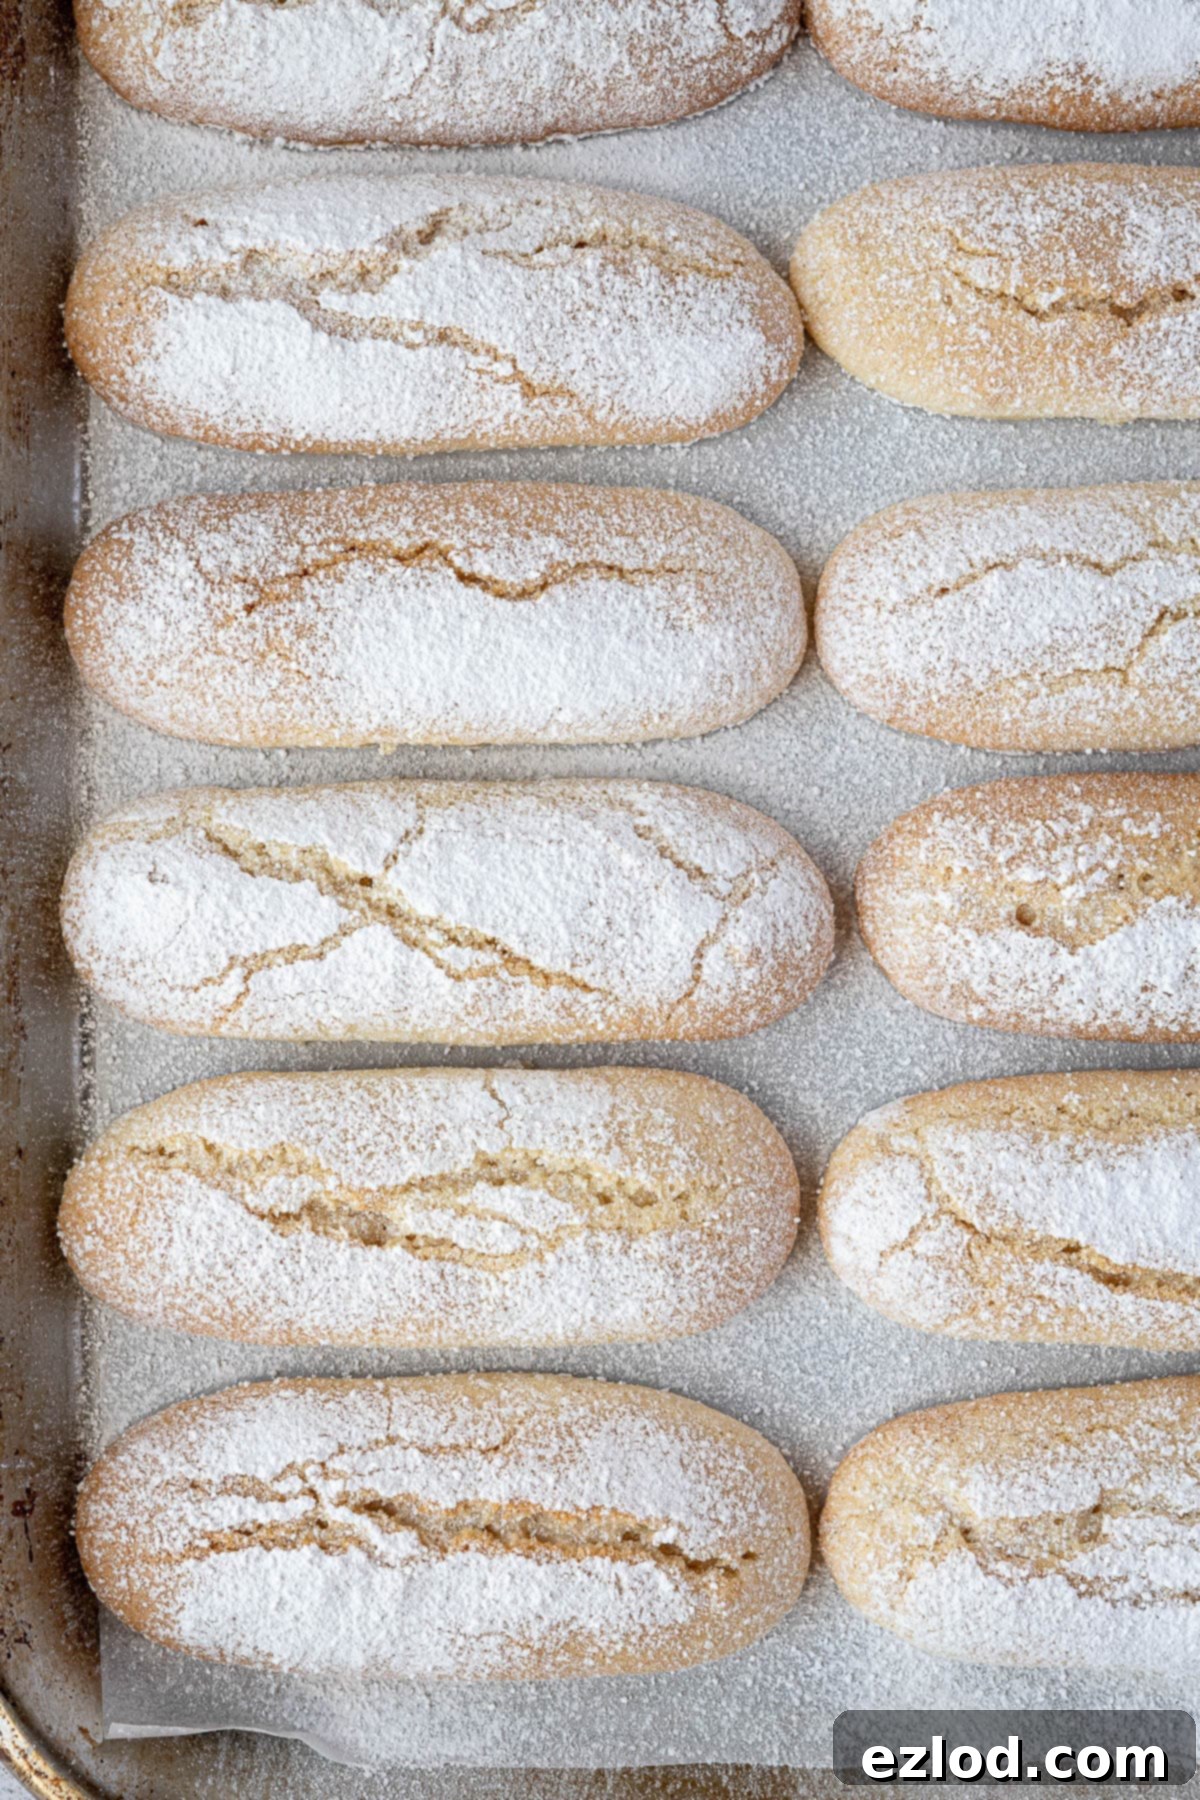
Crafting Your Own Vegan Ladyfingers: A Step-by-Step Guide
(For precise measurements and detailed instructions, please refer to the recipe card located at the bottom of this page.)
Making vegan ladyfingers involves a few crucial steps that build upon each other. Precision and gentle handling are key to maintaining the airy structure. Let’s walk through the process:
Step 1: Prepare the Dry Ingredients. Begin by preheating your oven to 180℃/160℃ fan/350℉/gas mark 4. Line two large baking sheets with baking parchment paper. In a medium bowl, sift together your plain flour, fine semolina, cornflour (cornstarch), and baking powder. Sifting is important to ensure all ingredients are well combined and lump-free, which will prevent overmixing later. Set this mixture aside.
Step 2: Whisk the Aquafaba to Soft Peaks. In a large, impeccably clean, and grease-free bowl (or the bowl of a stand mixer fitted with a whisk attachment), combine the aquafaba and cream of tartar. Using an electric whisk (handheld or stand mixer), begin whisking on medium-high speed. Continue to whisk until the aquafaba forms soft, foamy peaks. When you lift the whisk, the peaks should hold their shape but still be slightly floppy at the top. This initial whisking is critical for building volume.
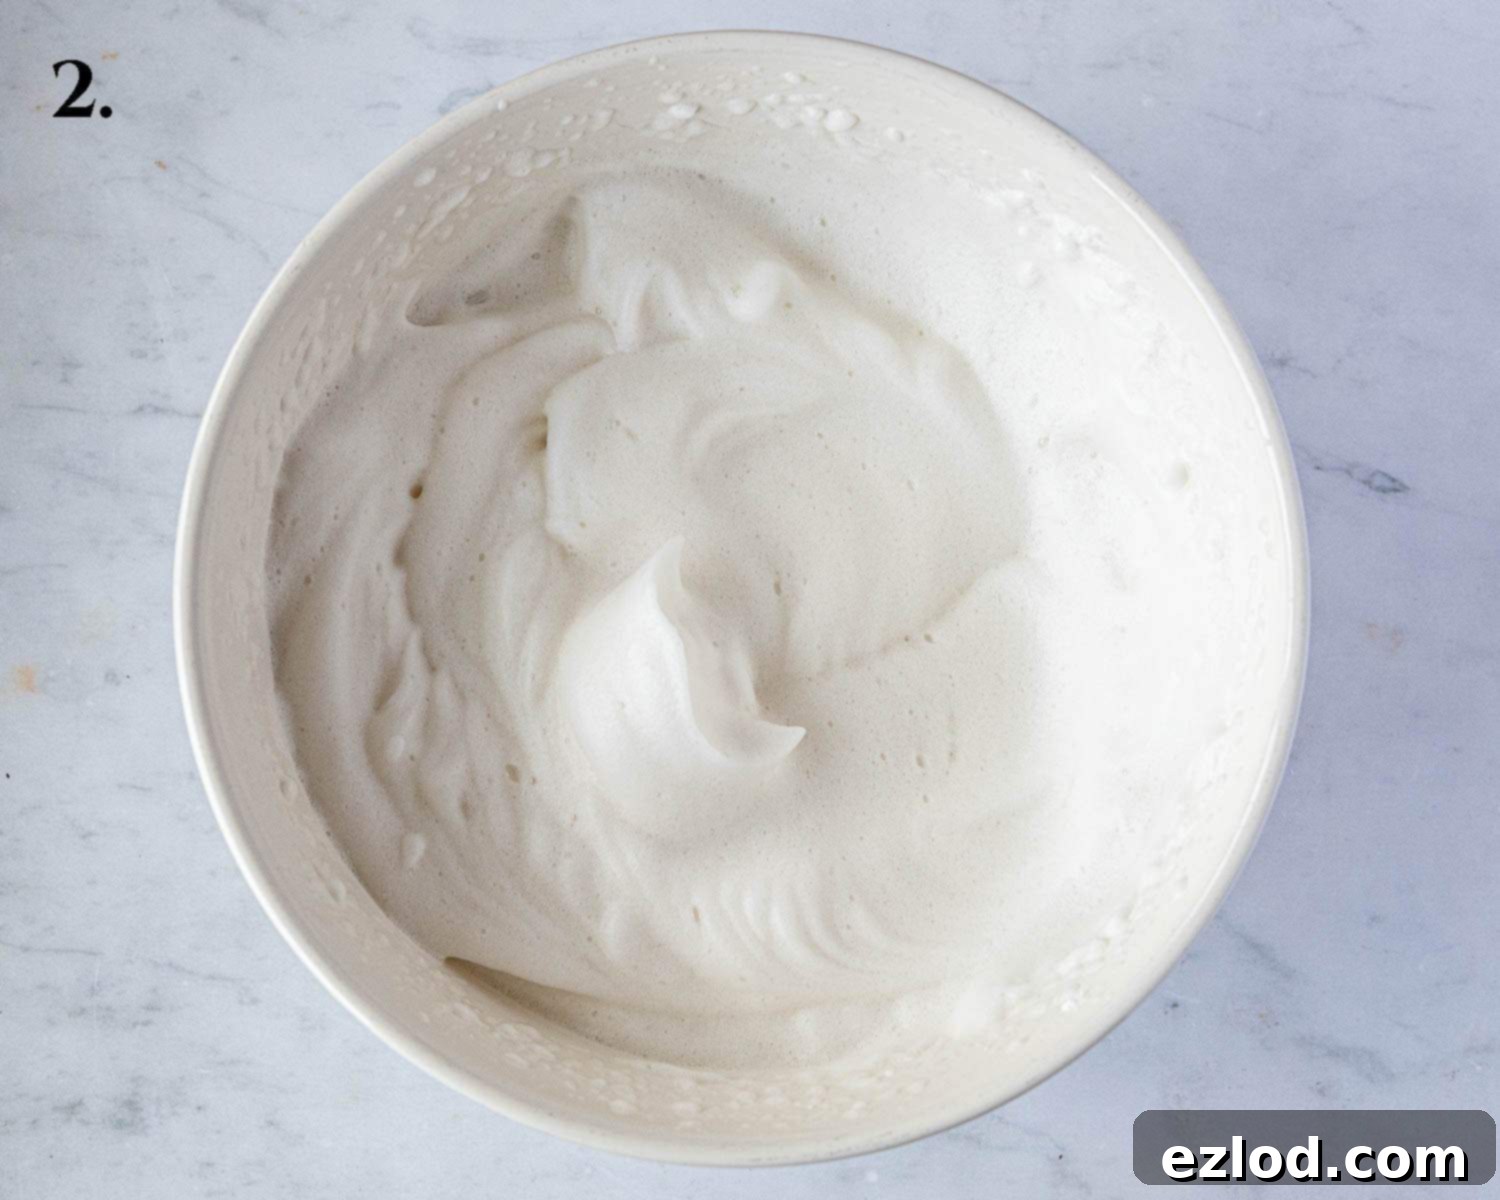
Step 3: Create the Meringue. Gradually add the caster sugar to the aquafaba mixture, one spoonful at a time, while continuing to whisk. Whisk thoroughly after each addition to ensure the sugar dissolves completely into the meringue. This process should take several minutes. You’ll know the meringue is ready when it becomes thick, glossy, and forms firm, stiff peaks that stand straight up when the whisk is removed. It should have a consistency similar to marshmallow fluff.
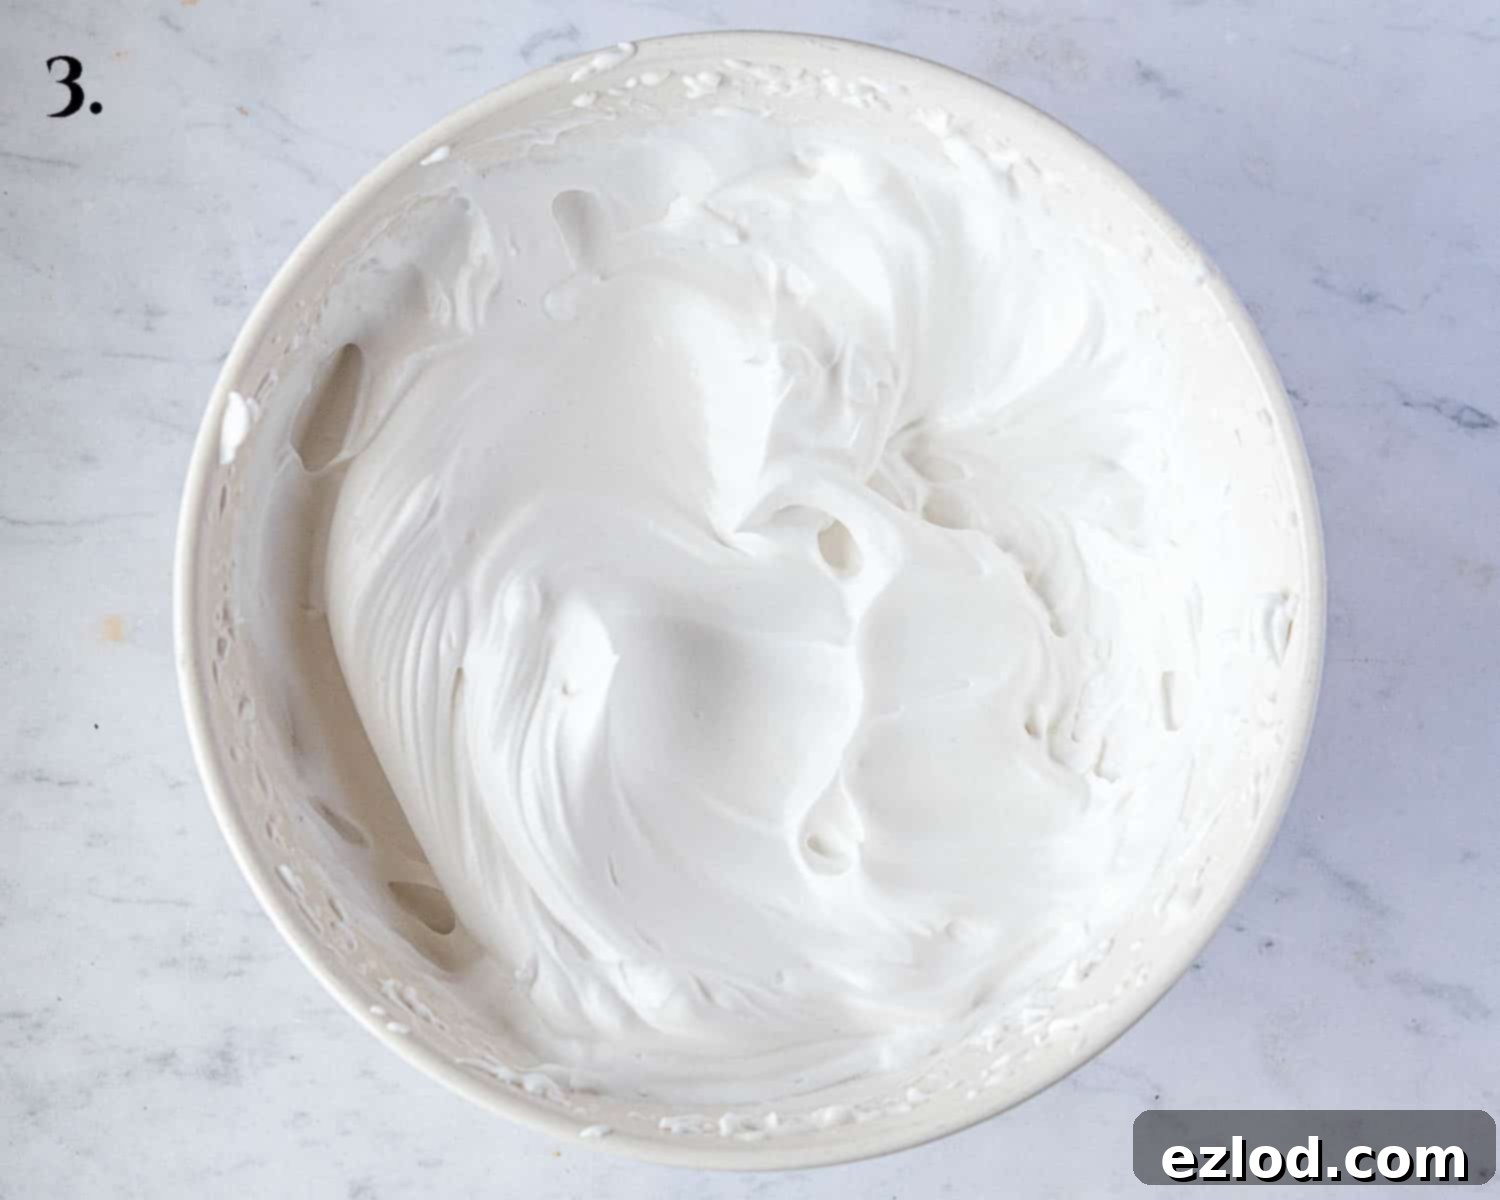
Step 4: Incorporate Half of the Dry Ingredients. Add approximately half of your sifted dry ingredients to the stiff aquafaba meringue. Using a large spatula, very gently fold the dry ingredients into the meringue. Use an ‘cut and fold’ motion, being careful not to deflate the precious air you’ve incorporated. It’s okay if there are still a few dry patches at this stage; overmixing is the enemy here. The meringue will naturally deflate slightly, but this is normal.
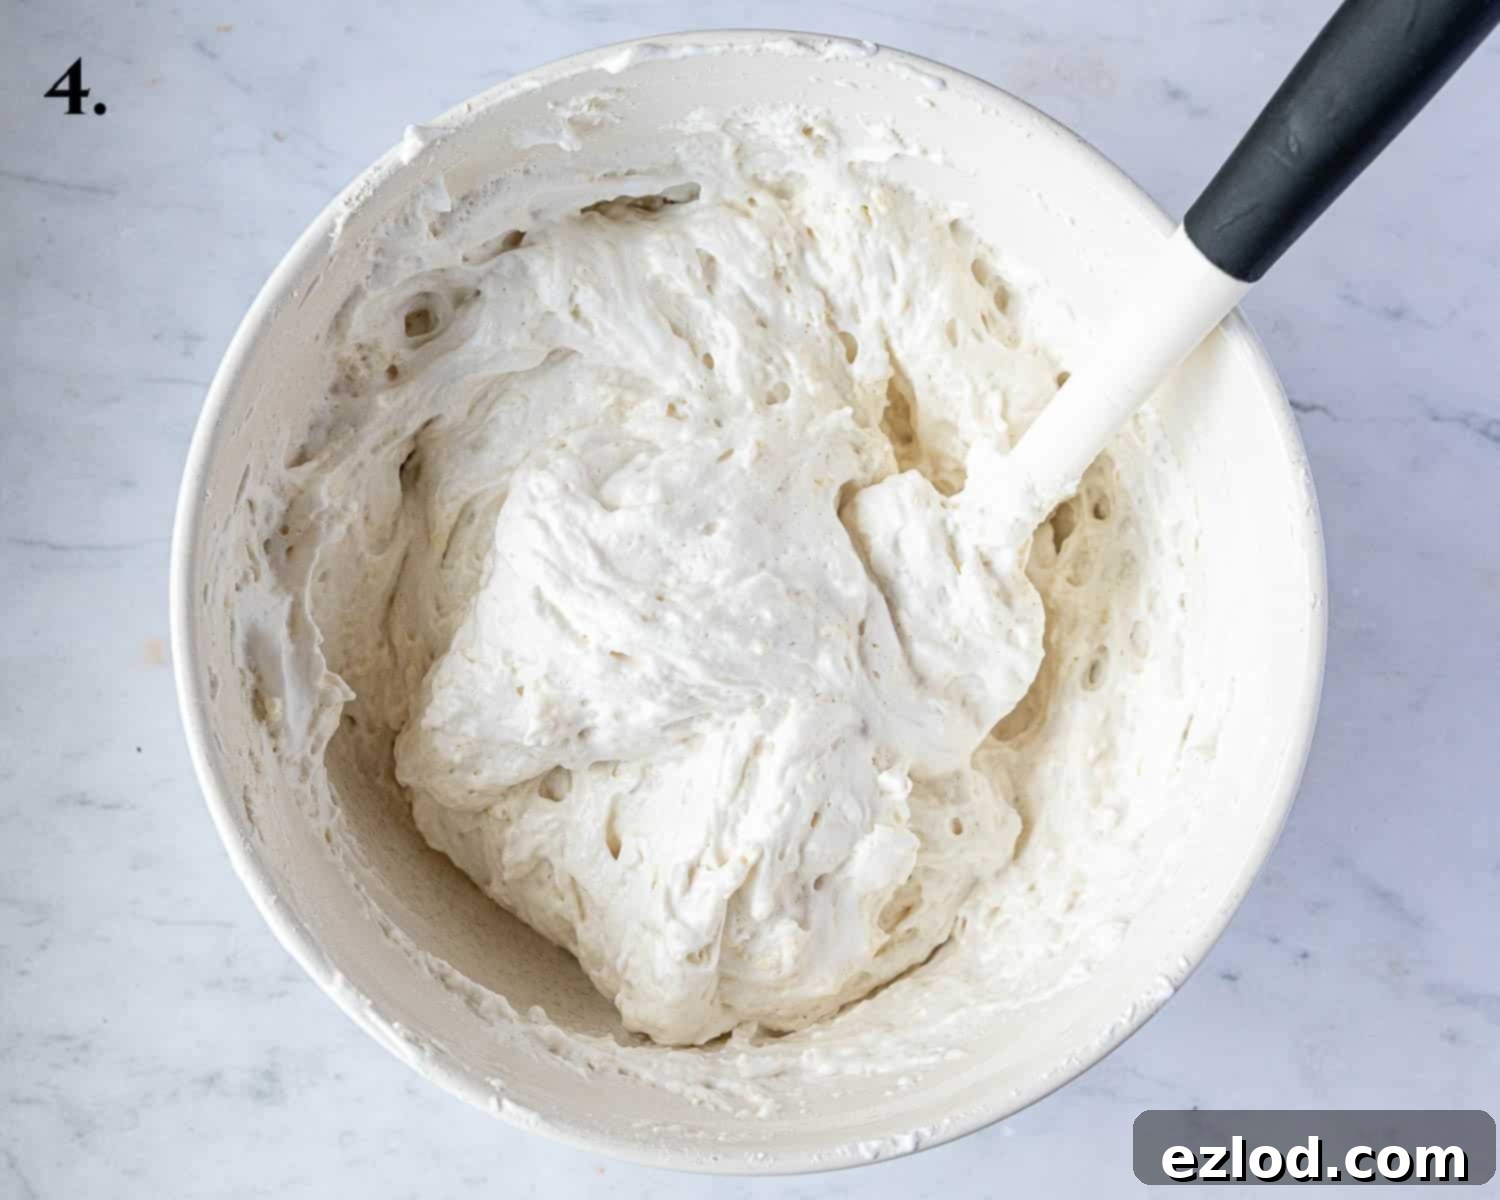
Step 5: Add Wet Flavorings. Drizzle in the oil and vanilla extract. Again, fold these ingredients in gently a couple of times. They don’t need to be fully combined at this point; you’re just distributing them before the final addition of dry ingredients.
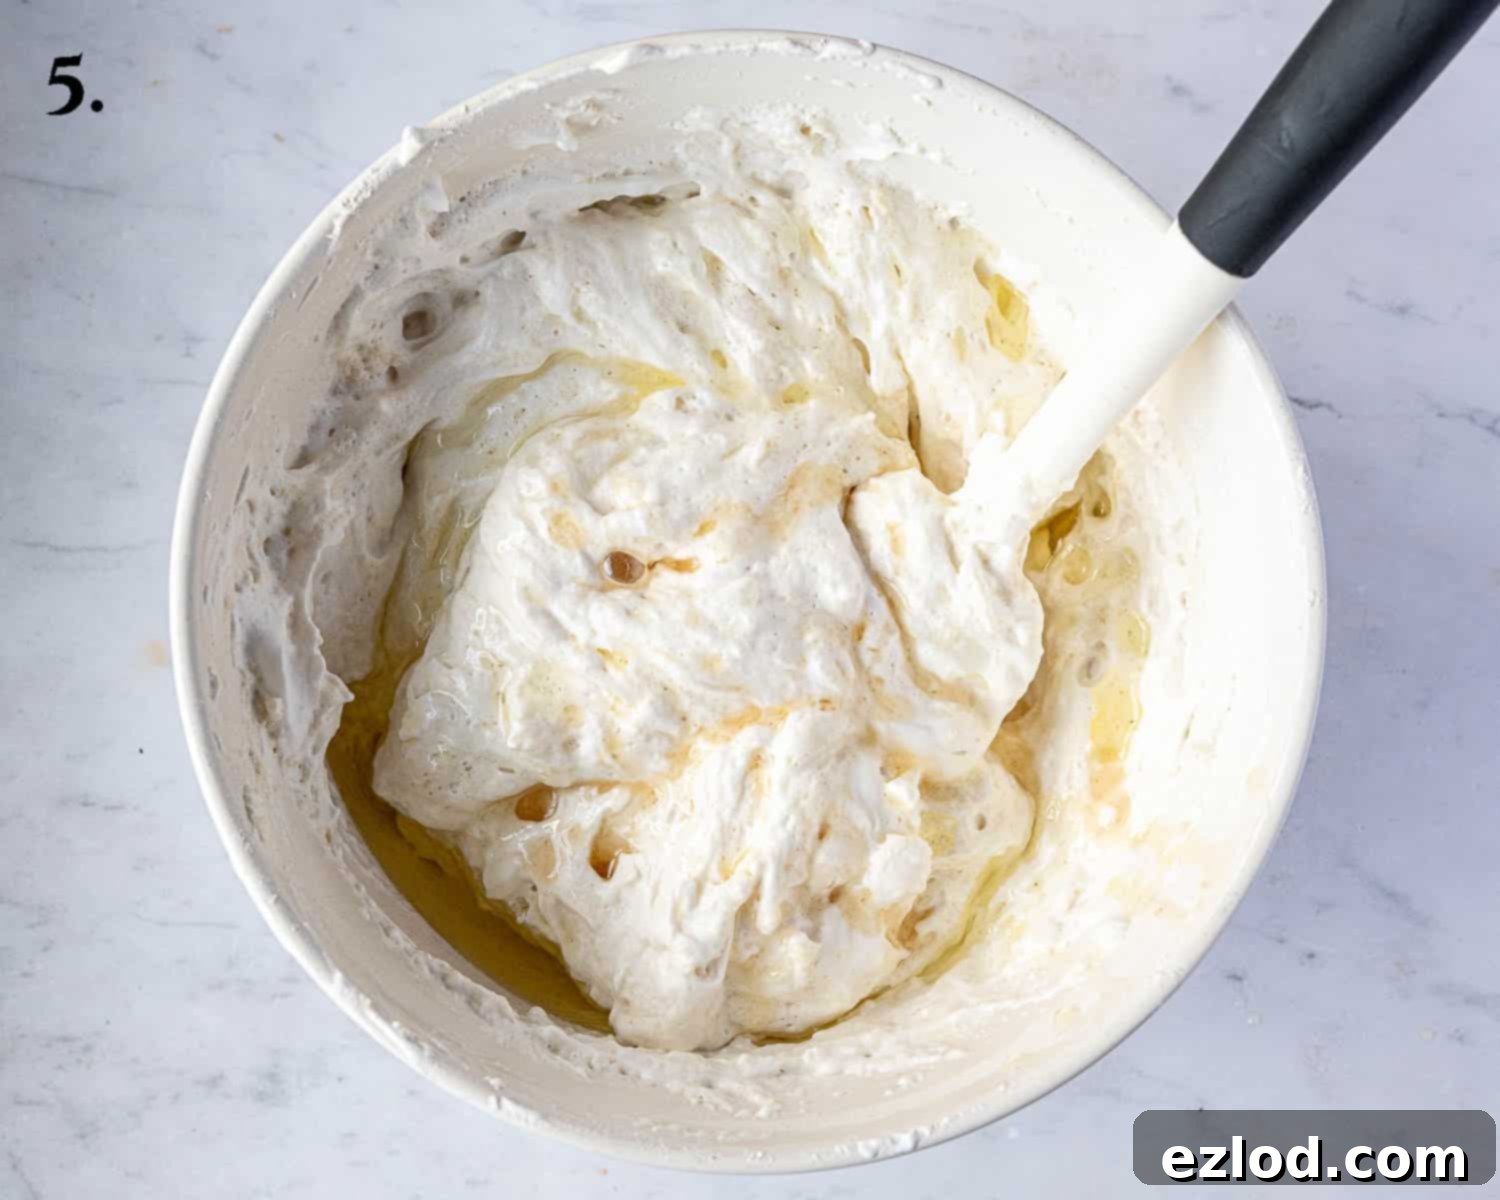
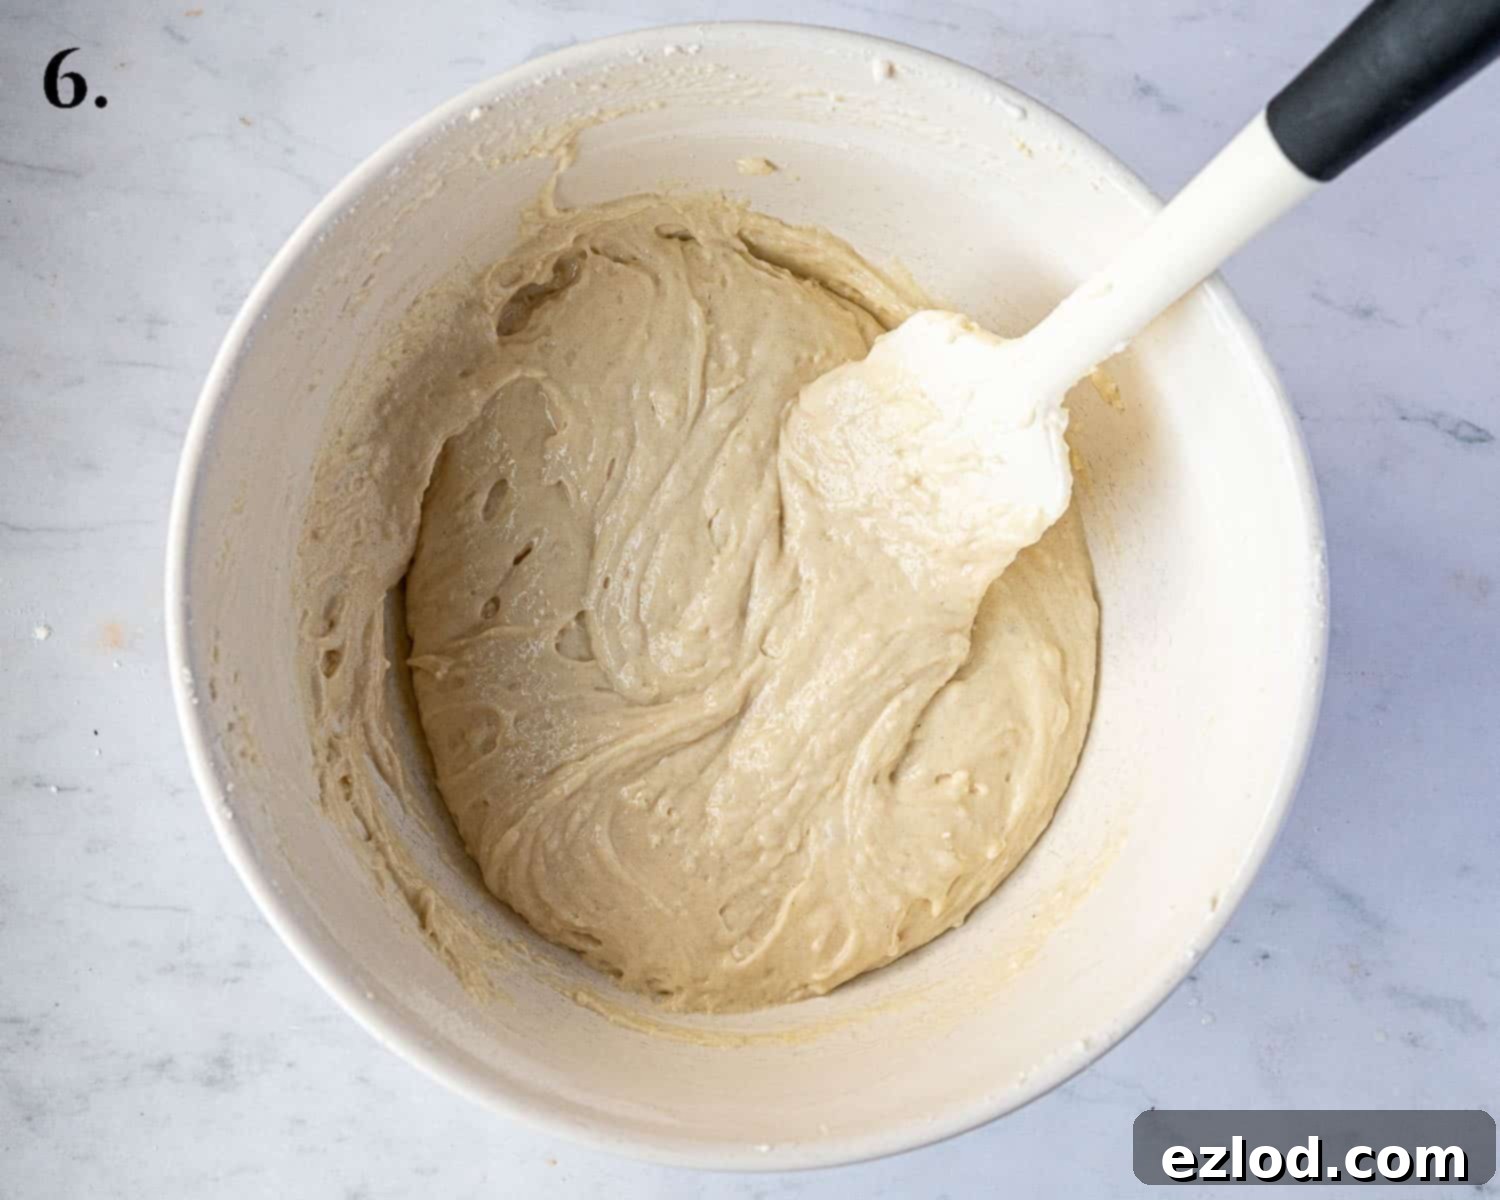
Step 6: Finish Mixing the Batter. Add the remaining half of the dry ingredients to the bowl. Continue to fold very gently until *just combined* and no dry streaks of flour remain. Be diligent but quick; stop mixing as soon as the flour is incorporated. The final batter should be thick, sticky, and still full of visible air bubbles, indicating a light texture for your ladyfingers.
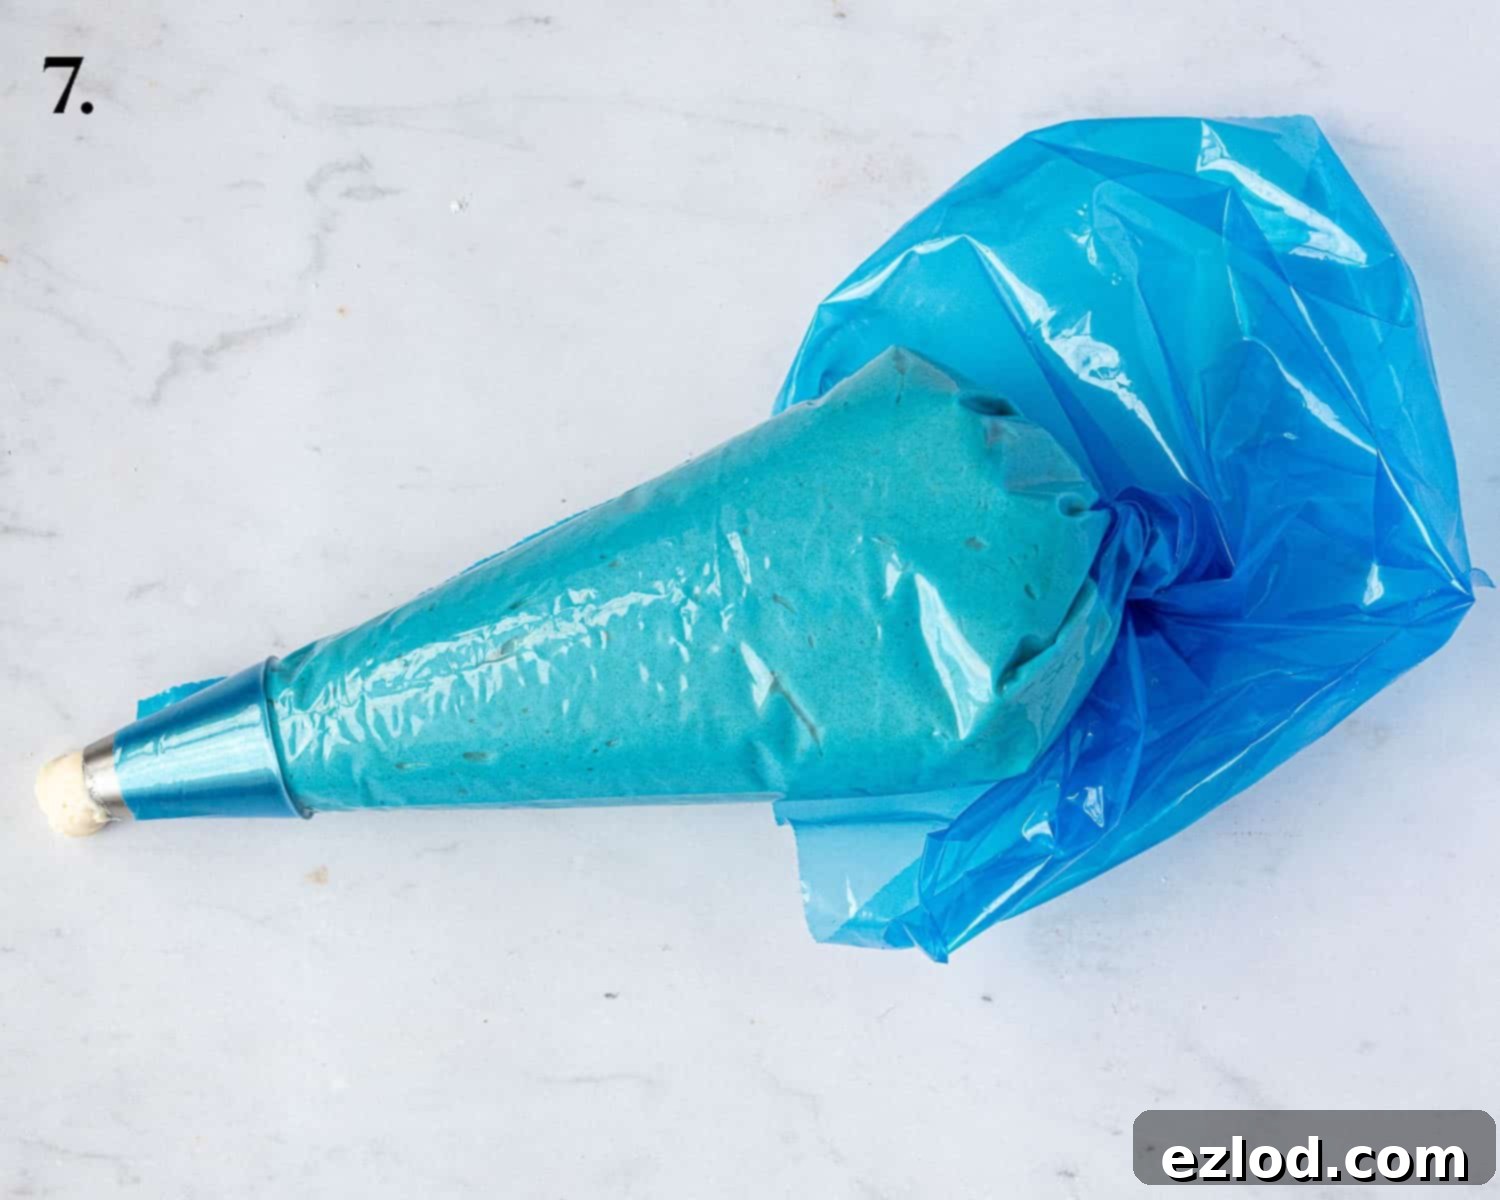
Step 7: Prepare for Piping. Carefully transfer the airy batter into a large piping bag. For best results and control, fit the piping bag with a large round nozzle (approximately 1 cm / 0.4 inches opening). If you’re using a disposable piping bag and don’t have a nozzle, you can simply snip off a roughly 1 cm tip from the end of the bag.
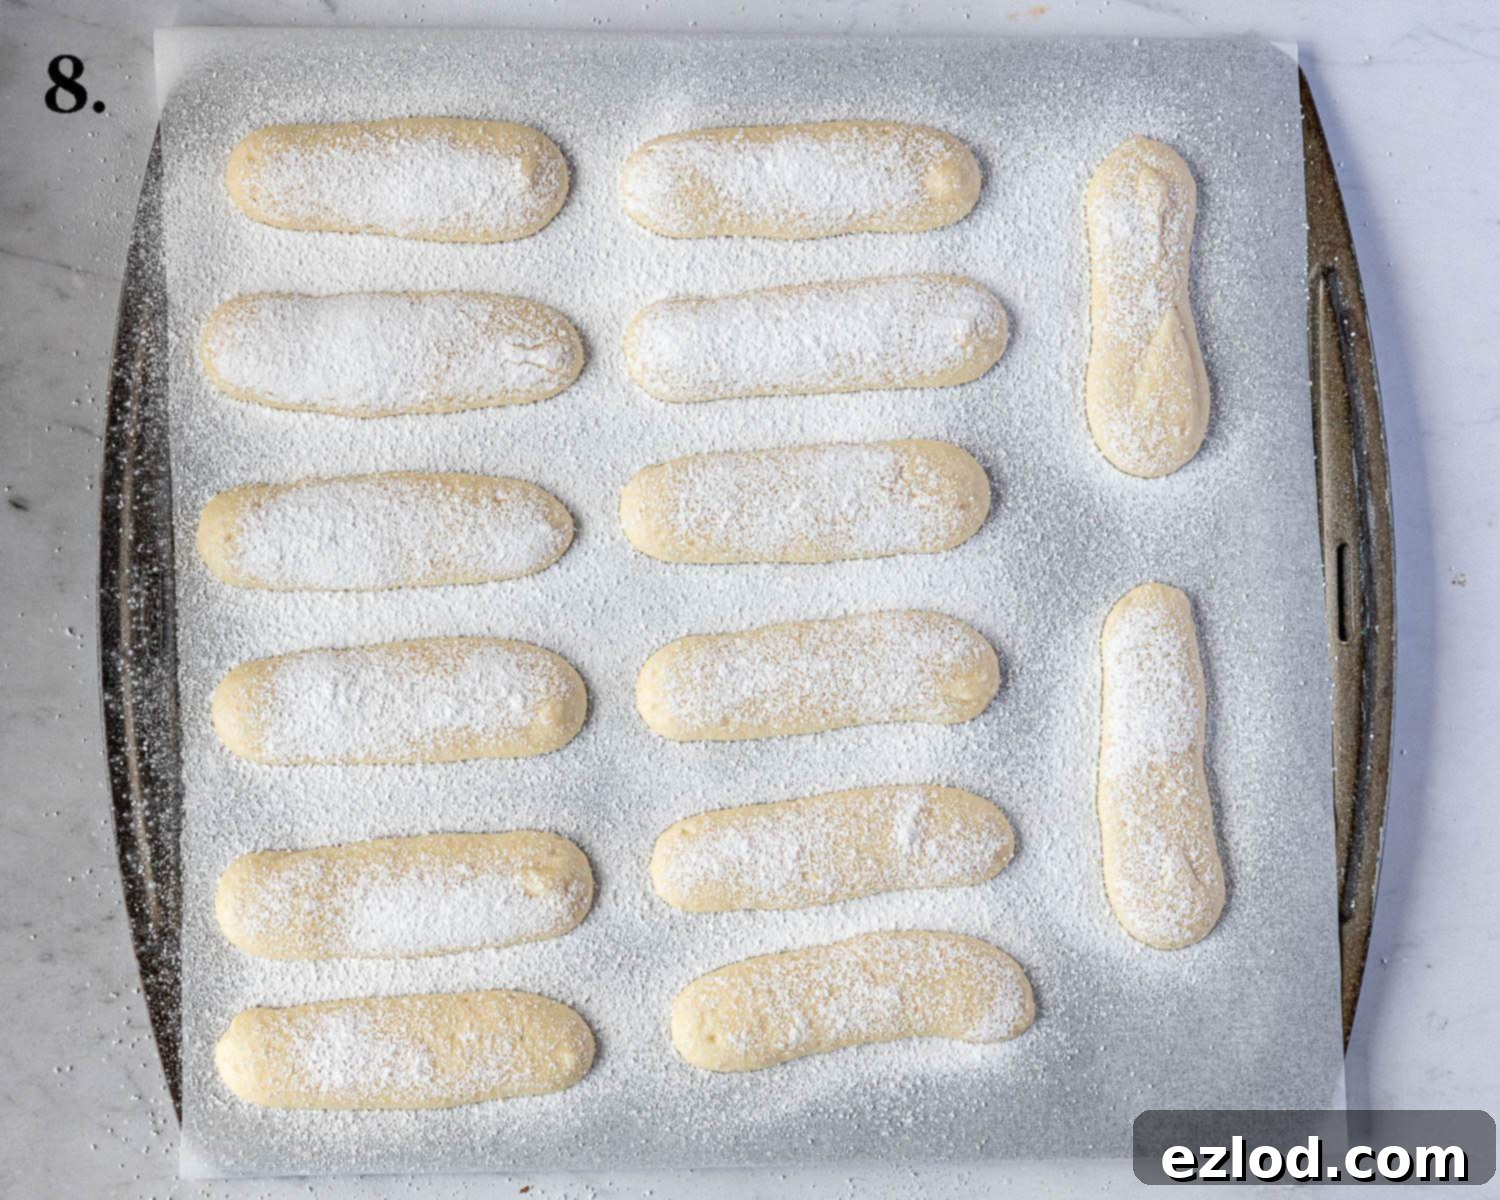
Step 8: Pipe and Sugar Coat. Pipe continuous lines of batter onto the prepared baking sheets. Aim for ladyfingers about 2.5 cm (1 inch) wide and 8-10 cm (3-4 inches) long. Ensure they are well-spaced apart as they will expand slightly during baking. Once piped, generously sprinkle the piped ladyfingers with caster sugar. Then, using a fine-mesh sieve, dust them thoroughly with icing (powdered) sugar. This double sugar coating is essential for achieving that delightful, crisp, crackly exterior.
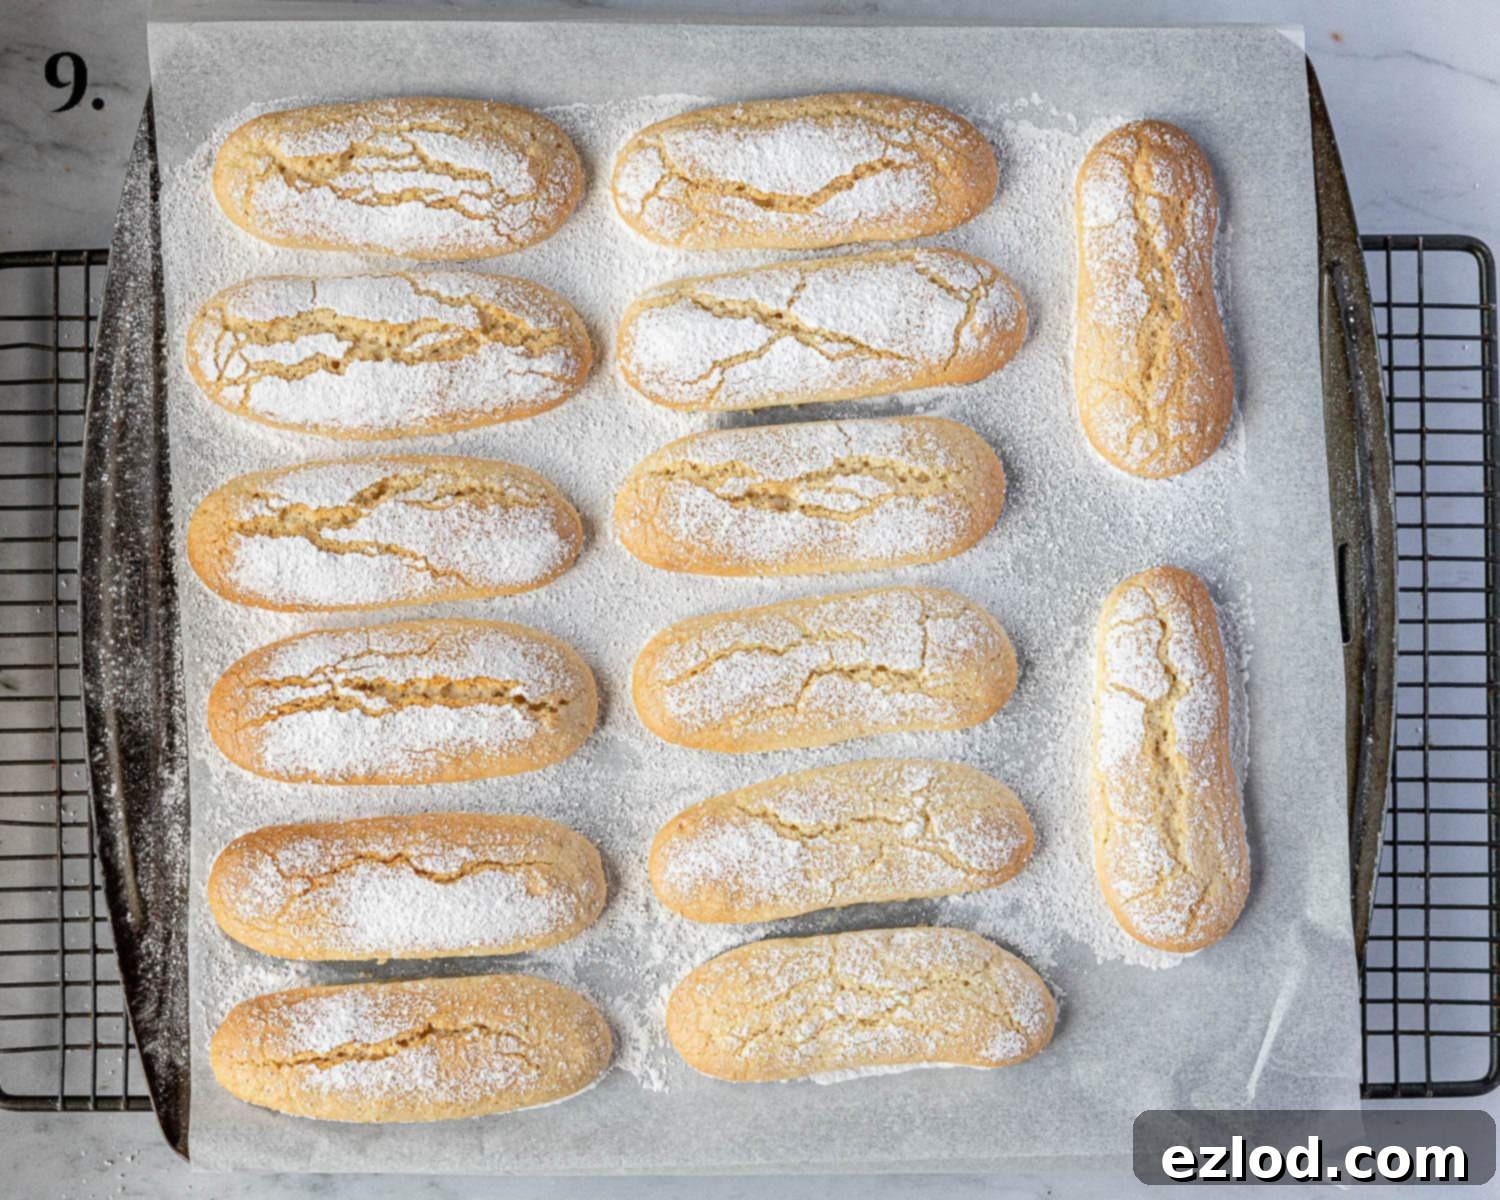
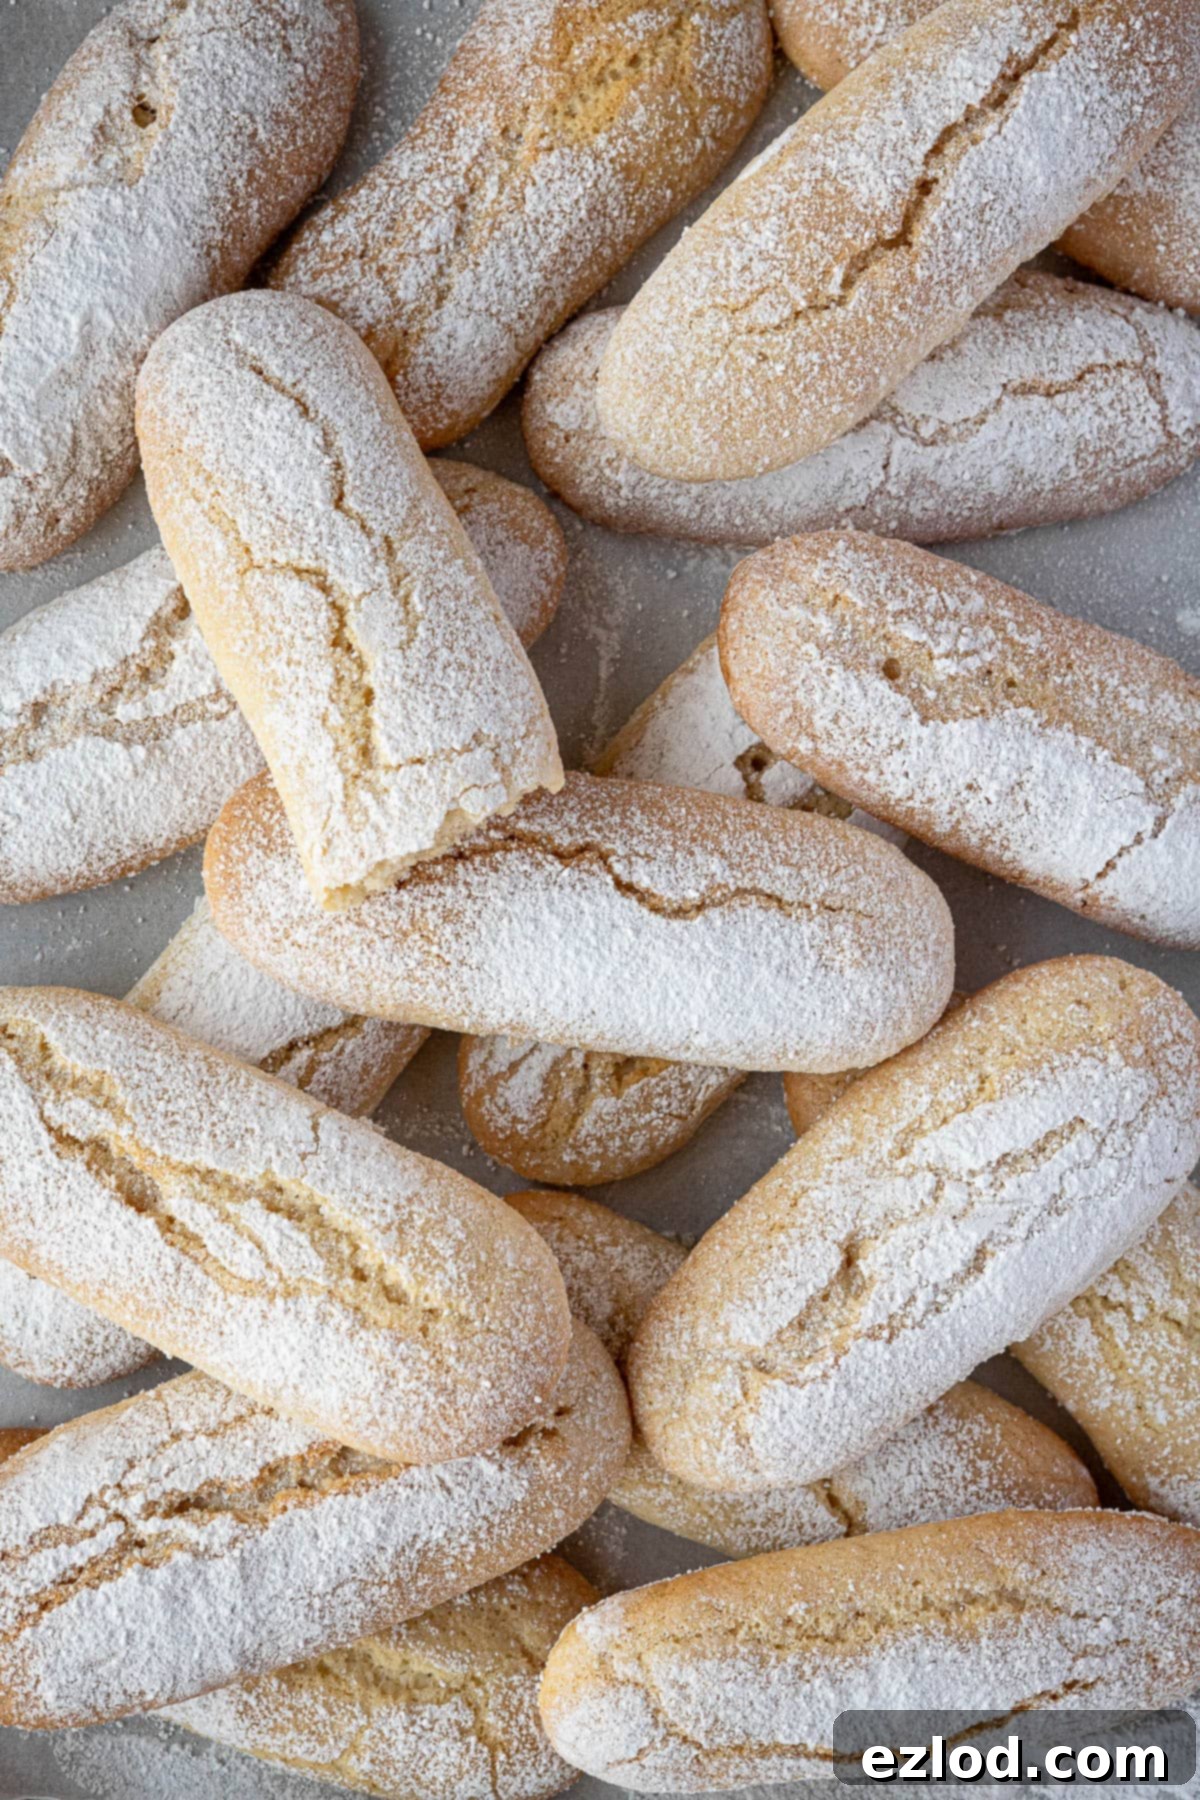
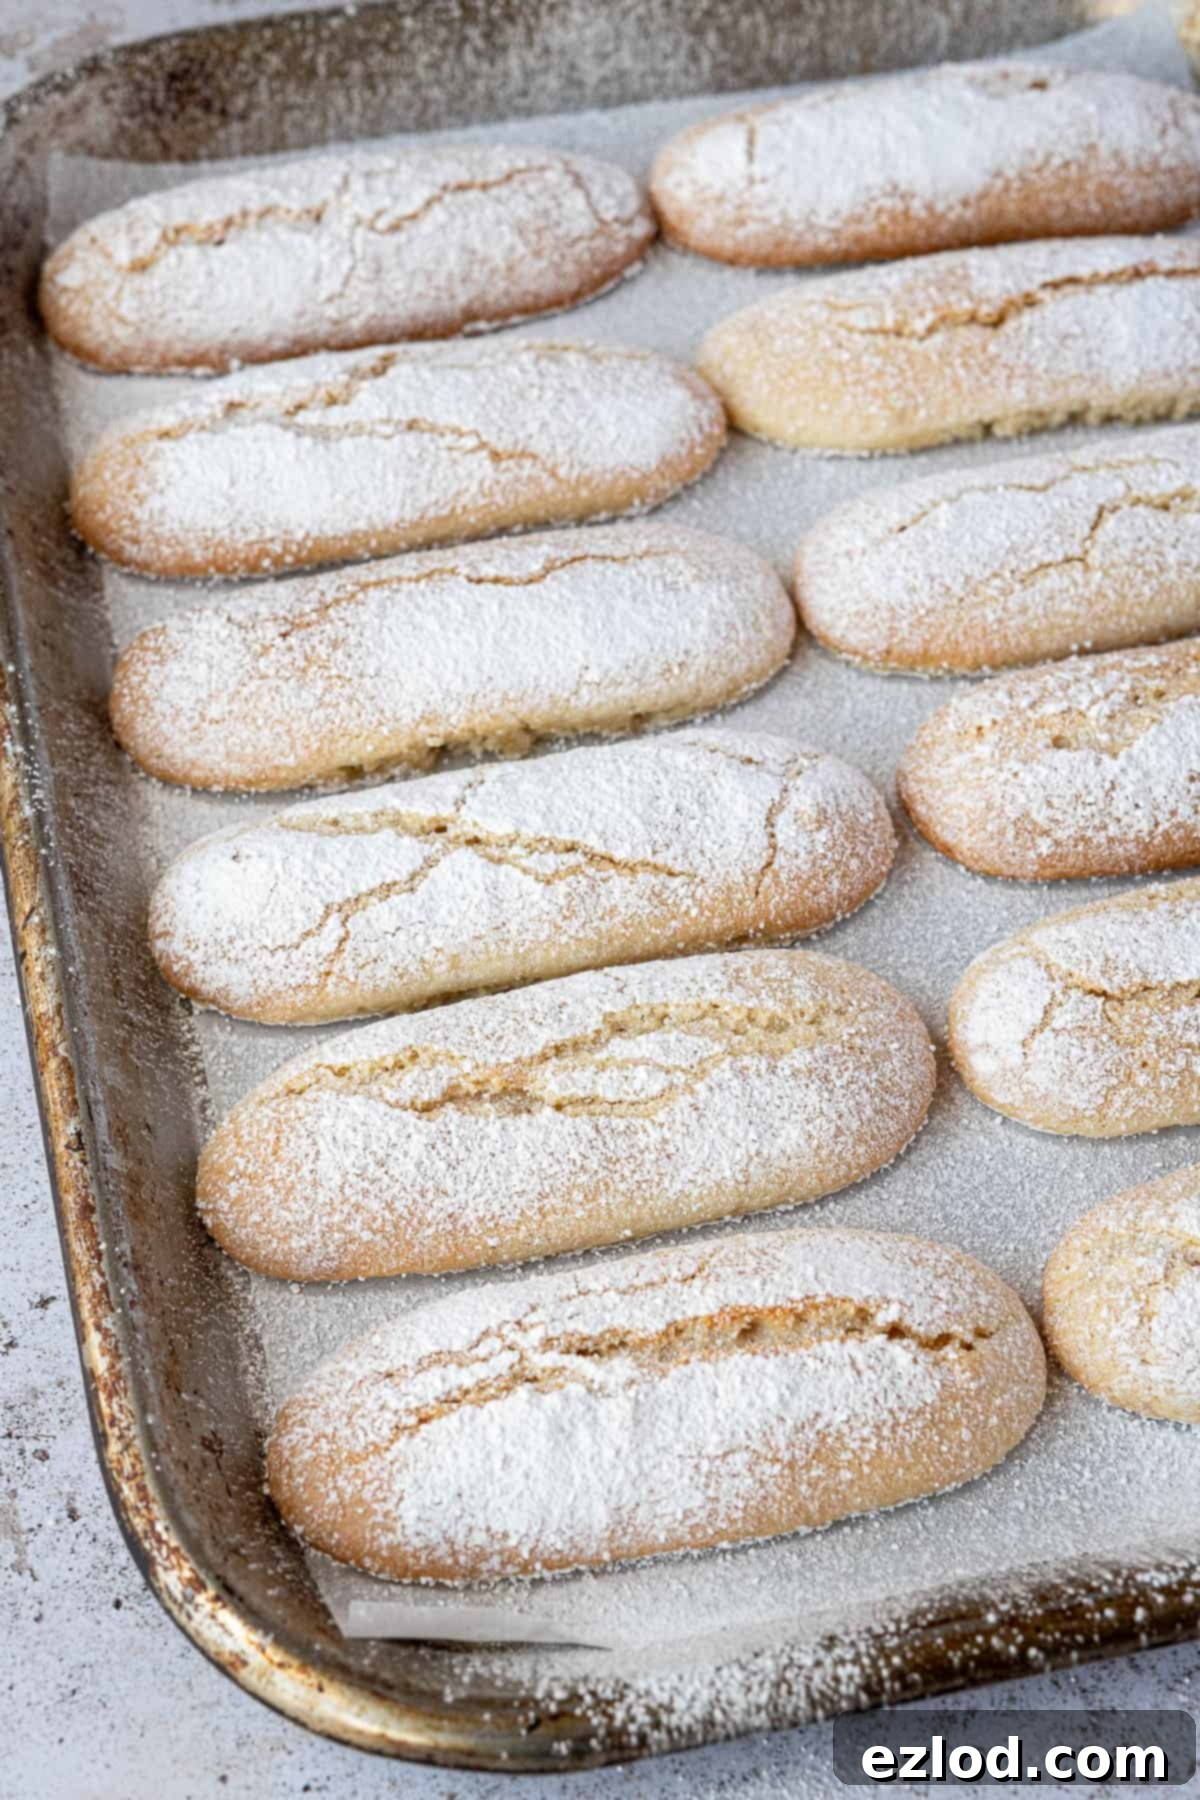
Step 9: Bake to Perfection. Place the baking sheets in the preheated oven and bake for 15-20 minutes. At this stage, they should be beautifully golden brown and crisp on the outside, while still retaining a slight softness in the middle. If you prefer a drier, extra crunchy ladyfinger, reduce the oven temperature to 150℃/130℃ fan/300℉/gas mark 2 and continue baking for an additional 10-15 minutes. This lower temperature gentle baking helps to dry them out further without burning. Once baked to your desired crispness, carefully transfer the ladyfingers to a wire cooling rack and allow them to cool completely. They will crisp up further as they cool. Store them in an airtight container once fully cooled to maintain their texture.
Mastering Vegan Ladyfingers: Expert Tips for Success
Achieving the perfect batch of vegan ladyfingers is all about attention to detail. These tips will help you navigate the process like a pro and ensure fantastic results every time:
- Embrace Metric Measurements: As with all precision baking, I cannot stress enough the importance of using metric measurements with a digital scale. My recipes are developed using grams for accuracy. Cups are an inherently inaccurate measuring system due to variations in how ingredients are packed, leading to inconsistent results. A scale provides far better, more consistent outcomes, and is often less messy too!
- Spotlessly Clean Equipment: This is non-negotiable when working with aquafaba. Any trace of grease or fat in your mixing bowl or on your whisk attachment will prevent the aquafaba from whipping up properly. Ensure your equipment is thoroughly washed, rinsed, and completely dry before you begin.
- Sift Dry Ingredients Diligently: Before you even think about combining ingredients, sift all your dry components together well. This ensures they are perfectly homogenous and free of lumps. When you later fold them into the delicate aquafaba meringue, you want to do so gently and quickly to avoid deflating the air. Pre-sifting helps achieve this without overmixing.
- Gentle Folding is Key: Once the dry ingredients are introduced to the whipped aquafaba, your approach must change from whisking to gentle folding. Use a spatula to carefully fold the ingredients, preserving as much air as possible in the meringue. Stop mixing as soon as the flour is fully incorporated; overmixing will lead to tough, flat ladyfingers.
- Choose the Right Piping Bag: For piping the ladyfingers, a large piping bag is highly recommended for ease of use and consistent results. I personally prefer using large disposable piping bags. You can either fit them with a large round nozzle for a perfectly uniform shape or, for simplicity, just snip the tip off to create an opening of about 1 cm (0.4 inches).
- Invest in an Electric Whisk: Attempting to whip aquafaba to stiff peaks by hand is an arduous task that will likely result in a very tired arm and potentially less-than-ideal meringue. An electric whisk (either handheld or a stand mixer) is an essential tool for this recipe, ensuring efficient and consistent whipping.
- Follow the Recipe Precisely: While the steps are straightforward, this isn’t a highly forgiving recipe. The delicate balance of ingredients and precise technique are vital for success. Stick to the written instructions, weigh your ingredients accurately, and avoid making substitutions unless explicitly suggested. Any significant alterations could impact the final texture and outcome of your ladyfingers.
- Monitor Your Oven: Oven temperatures can vary. It’s always a good idea to know your oven. If your ladyfingers are browning too quickly or not enough, adjust the temperature or baking time accordingly. Uniform baking is crucial for consistent texture.
Frequently Asked Questions About Vegan Ladyfingers
Once completely cooled, store your vegan ladyfingers in an airtight container at room temperature. They will maintain their crispness and fresh flavor for up to one week. It’s important to note that ladyfingers are quite sensitive to humidity, so they may soften slightly over time, especially in humid environments. To counteract this, you can refresh them in a warm oven (see freezing tip below).
Absolutely! Vegan ladyfingers can be frozen successfully. Place them in a sealed, freezer-safe container or a heavy-duty freezer bag for up to 3 months. To use them, allow them to defrost at room temperature. If they have softened a bit after defrosting, you can easily revive their crisp texture. Simply bake them in a preheated oven for 5-10 minutes at 150C/130C fan/300F/gas mark 2. This brief bake will help dry them out and restore their desired crunch.
There are a few common reasons. First, ensure your bowl and whisk are perfectly clean and grease-free, as any fat residue can inhibit whipping. Second, make sure your aquafaba is reduced and thoroughly chilled, as cold, concentrated aquafaba whips better. Third, sufficient cream of tartar (or other acid) is necessary for stability. Lastly, be patient; aquafaba can sometimes take longer to whip than egg whites.
While this specific recipe has not been extensively tested with gluten-free flours, it may be possible with careful modification. We suggest replacing both the plain flour and semolina with an equal total weight of a high-quality gluten-free all-purpose flour blend. Additionally, incorporating about ¼ teaspoon of xanthan gum is recommended to provide structure and elasticity that gluten would normally offer. Please be aware that the texture might differ from the original, and individual gluten-free flour blends can yield varying results.
Delightful Serving Suggestions for Your Vegan Ladyfingers
These homemade vegan ladyfingers are incredibly versatile and can be enjoyed in a multitude of ways, from classic Italian desserts to simple afternoon treats. Here are some inspiring serving suggestions:
- The Heart of Tiramisu: They are, of course, the quintessential base for a rich and creamy vegan tiramisu. Their ability to soak up espresso and liqueurs without disintegrating makes them perfect for layering with a luscious mascarpone-style cream. Don’t forget to try them in a seasonal vegan pumpkin tiramisu for an autumnal twist!
- Trifle’s Star Layer: Instead of traditional sponge cake, use these ladyfingers as the cake layer in your favorite trifle recipe. They will absorb the fruit juices and custard beautifully, adding a wonderful light texture to this classic British dessert.
- Pair with Mousse: Serve alongside a decadent vegan chocolate mousse or vibrant vegan chocolate orange pots. Their delicate flavor and crisp texture provide a lovely contrast to the smooth, rich mousses.
- Elegant Cake Decoration: Use them to decorate the sides of a frosted cake, creating a sophisticated and visually appealing border. Tie a ribbon around the cake to hold them in place for a charming presentation.
- Simple Pleasure with Beverages: Sometimes, the simplest way is the best way. Enjoy them as they are, perfect for dunking into a warm cup of tea, a frothy latte, or a rich vegan gingerbread hot chocolate. Their delicate vanilla flavor shines through, making them an ideal companion for any hot beverage.
If you tried this recipe and loved it, please let me know! Rate it, leave a comment, or tag @domestic_gothess on Instagram and use the hashtag #domesticgothess. Your feedback is greatly appreciated!
All images and content on Domestic Gothess are copyright protected. If you wish to share this recipe, please do so by utilizing the provided share buttons. Please refrain from screenshotting or posting the recipe or content in its entirety. Instead, kindly include a direct link to this post for the full recipe.

Print
Vegan Ladyfingers
Equipment
-
electric whisk or stand mixer
-
large piping bag
Ingredients
- 200 g (1 ½ cups + 2 Tablespoons) plain (all-purpose) flour
- 50 g (5 Tablespoons) fine semolina
- 20 g (2 packed Tablespoons) cornflour (cornstarch)
- 2 teaspoons baking powder
- 120 g (½ cup) aquafaba (preferably reduced and chilled)
- ½ teaspoon cream of tartar (or lemon juice/vinegar)
- 125 g (½ cup + 2 Tablespoons) caster (superfine) sugar plus extra for dusting
- 3 Tablespoons neutral oil (e.g., olive, sunflower, canola)
- 2 teaspoons good quality vanilla extract
- icing (powdered) sugar for dusting
Instructions
-
Preheat your oven to 180℃/160℃ fan/350℉/gas mark 4. Prepare two baking sheets by lining them with baking parchment.
-
In a medium bowl, sift together the plain flour, fine semolina, cornstarch, and baking powder until well combined and lump-free. Set this dry mixture aside.
-
Place the aquafaba and cream of tartar into a large, impeccably clean, and grease-free mixing bowl. Using an electric whisk (handheld or stand mixer), beat on medium-high speed until the aquafaba forms soft peaks.
-
Gradually add the caster sugar, one spoonful at a time, continuing to whisk thoroughly after each addition. Whisk until the meringue is thick, glossy, and holds stiff peaks that stand upright when the whisk is lifted.
-
Gently add approximately half of the sifted dry ingredients to the meringue. Using a large spatula, fold them in very carefully until mostly combined. Some small dry patches are acceptable at this stage; avoid overmixing. The meringue will naturally deflate slightly.
-
Add the oil and vanilla extract to the mixture and fold a couple of times to begin incorporating them. It does not need to be fully mixed at this point.
-
Add the remaining half of the dry ingredients. Gently fold until just combined and no dry streaks of flour remain. Do not overmix; the batter should still be thick, sticky, and full of air bubbles.
-
Transfer the ladyfinger batter to a large piping bag fitted with a large round nozzle (about 1 cm / 0.4 inches opening). If you don’t have a nozzle, simply snip off a similar-sized tip from a disposable piping bag.
-
Pipe lines of the batter onto the prepared baking sheets. Aim for strips approximately 2.5 cm (1 inch) wide and 8-10 cm (3-4 inches) long, leaving ample space between each as they will expand.
-
Generously sprinkle the piped ladyfingers with extra caster sugar, then thoroughly dust them with icing (powdered) sugar using a fine-mesh sieve. This dual sugar coating is crucial for their signature crisp crust.
-
Bake for 15-20 minutes, or until the ladyfingers are golden brown and crisp on the outside, yet still slightly soft in the middle. For a drier, crunchier cookie, reduce the oven temperature to 150℃/130℃ fan/300℉/gas mark 2 and bake for an additional 10-15 minutes.
-
Carefully transfer the baked ladyfingers to a wire cooling rack and allow them to cool completely. They will continue to crisp up as they cool. Once fully cooled, store them in an airtight container to maintain their freshness.
Notes
- While these vegan ladyfingers are quite straightforward to make, it’s not a very forgiving recipe. For the absolute best results, follow the recipe closely, ensure precise metric measurements using a digital scale, and execute each step exactly as written. I strongly recommend reading through the entire post above and reviewing the step-by-step photos before you begin baking.
- All of my recipes are developed using grams, and for consistently superior results in all baking, I highly advise using metric measurements with a digital scale rather than cup conversions. Cup measurements are notoriously inaccurate and can lead to varying outcomes. Using a scale is not only more precise but often cleaner and easier too!
- For piping the ladyfingers, a large piping bag is ideal. My preference is for large disposable ones, which you can either equip with a large round nozzle for uniformity or simply snip the tip off to create an opening of about 1 cm (0.4 inches).
