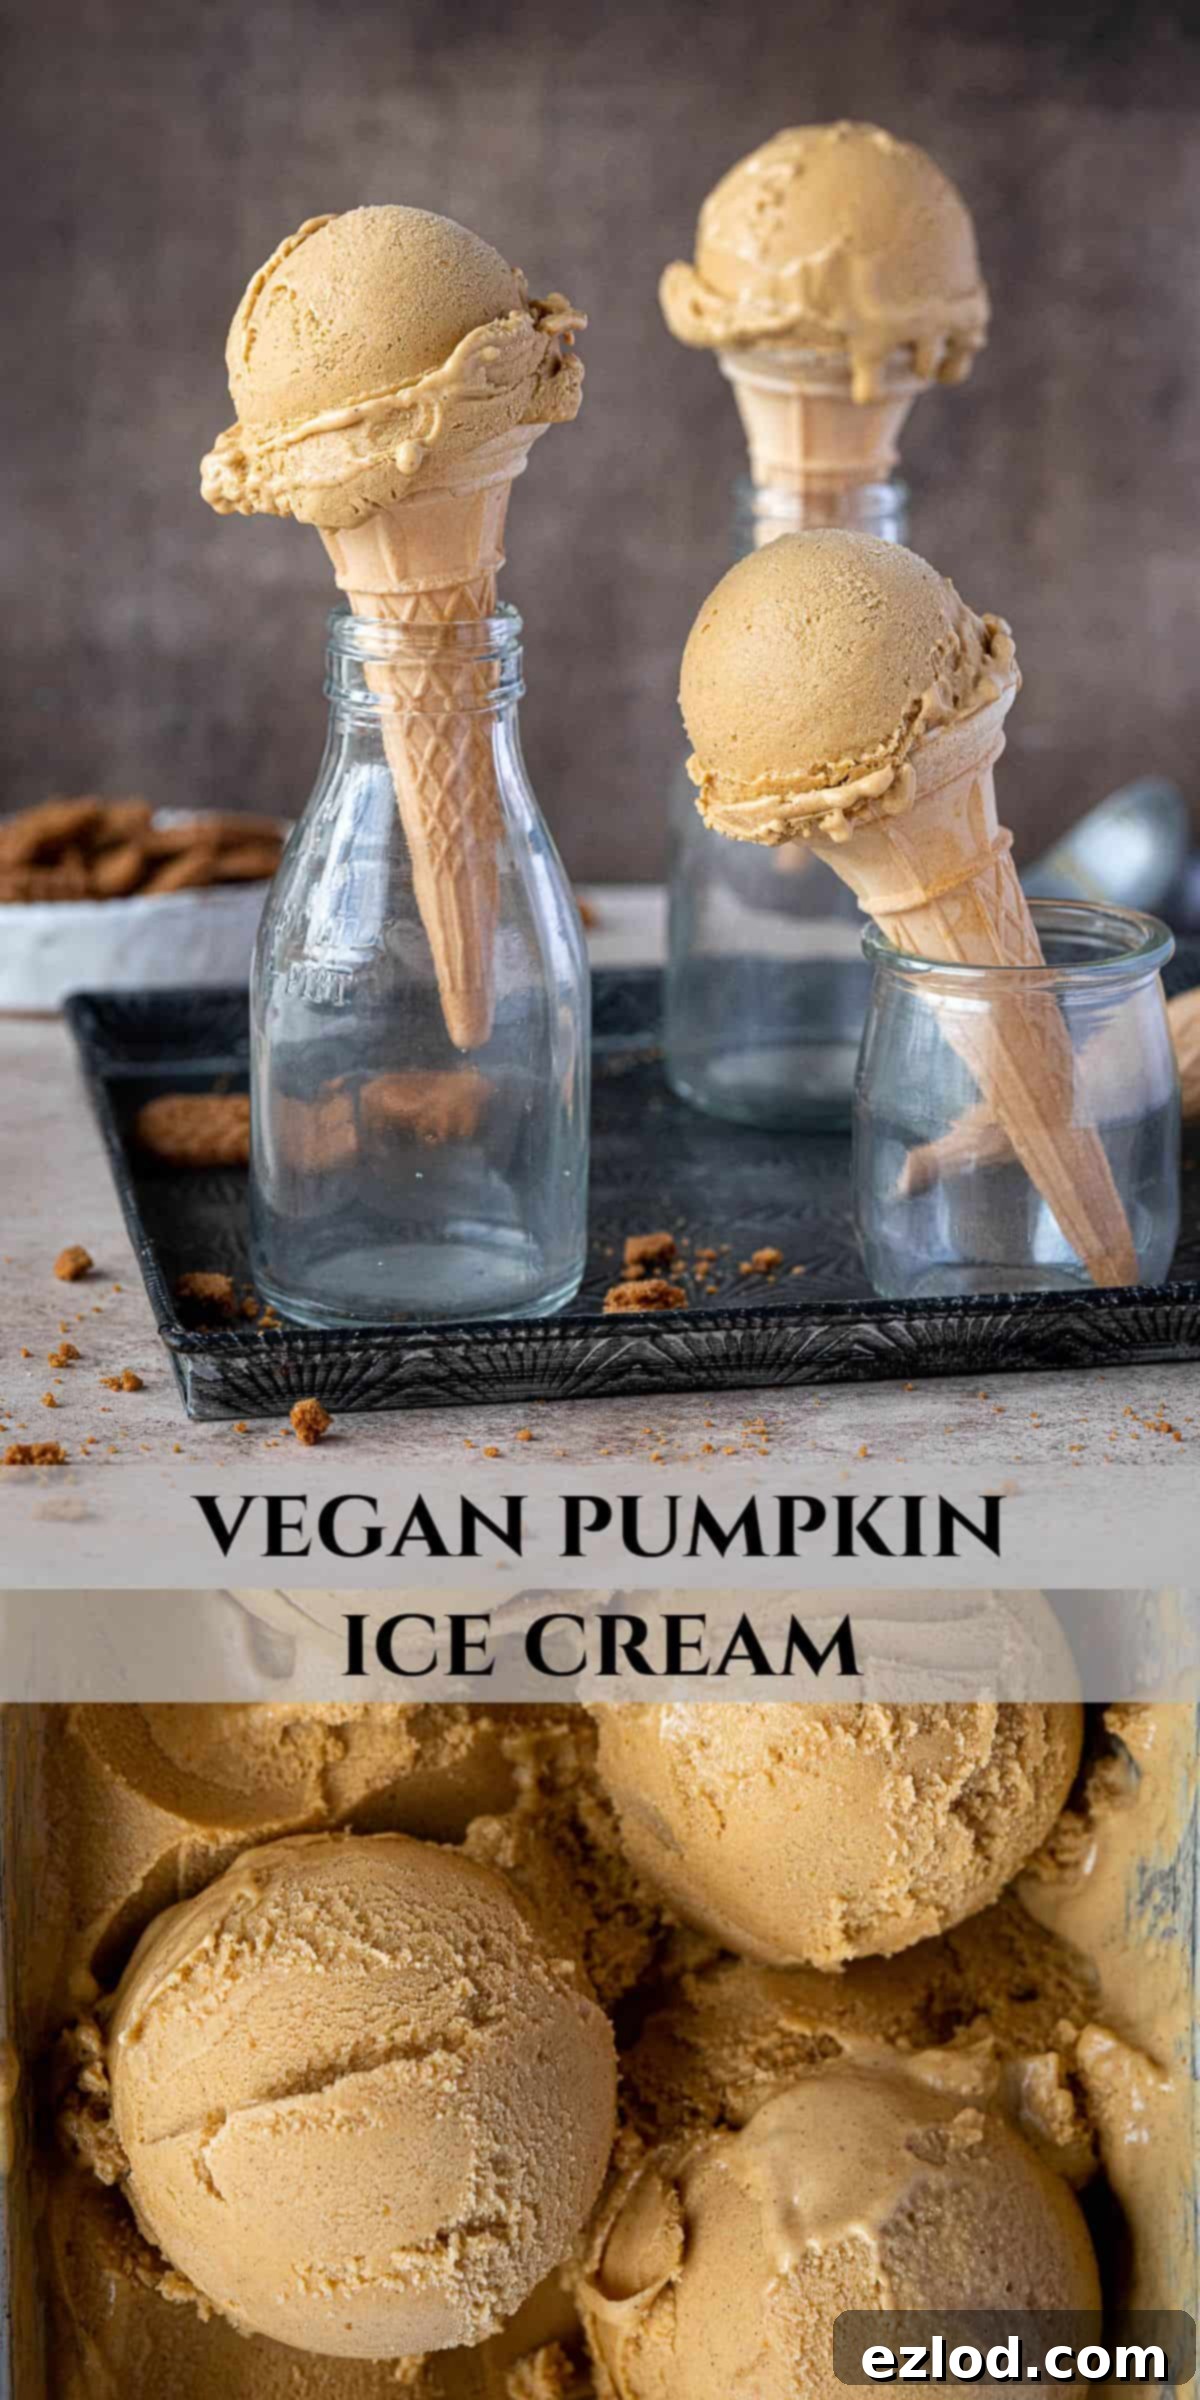
Rich & Creamy Vegan Pumpkin Ice Cream (No Coconut!) – Your Essential Autumn Dessert
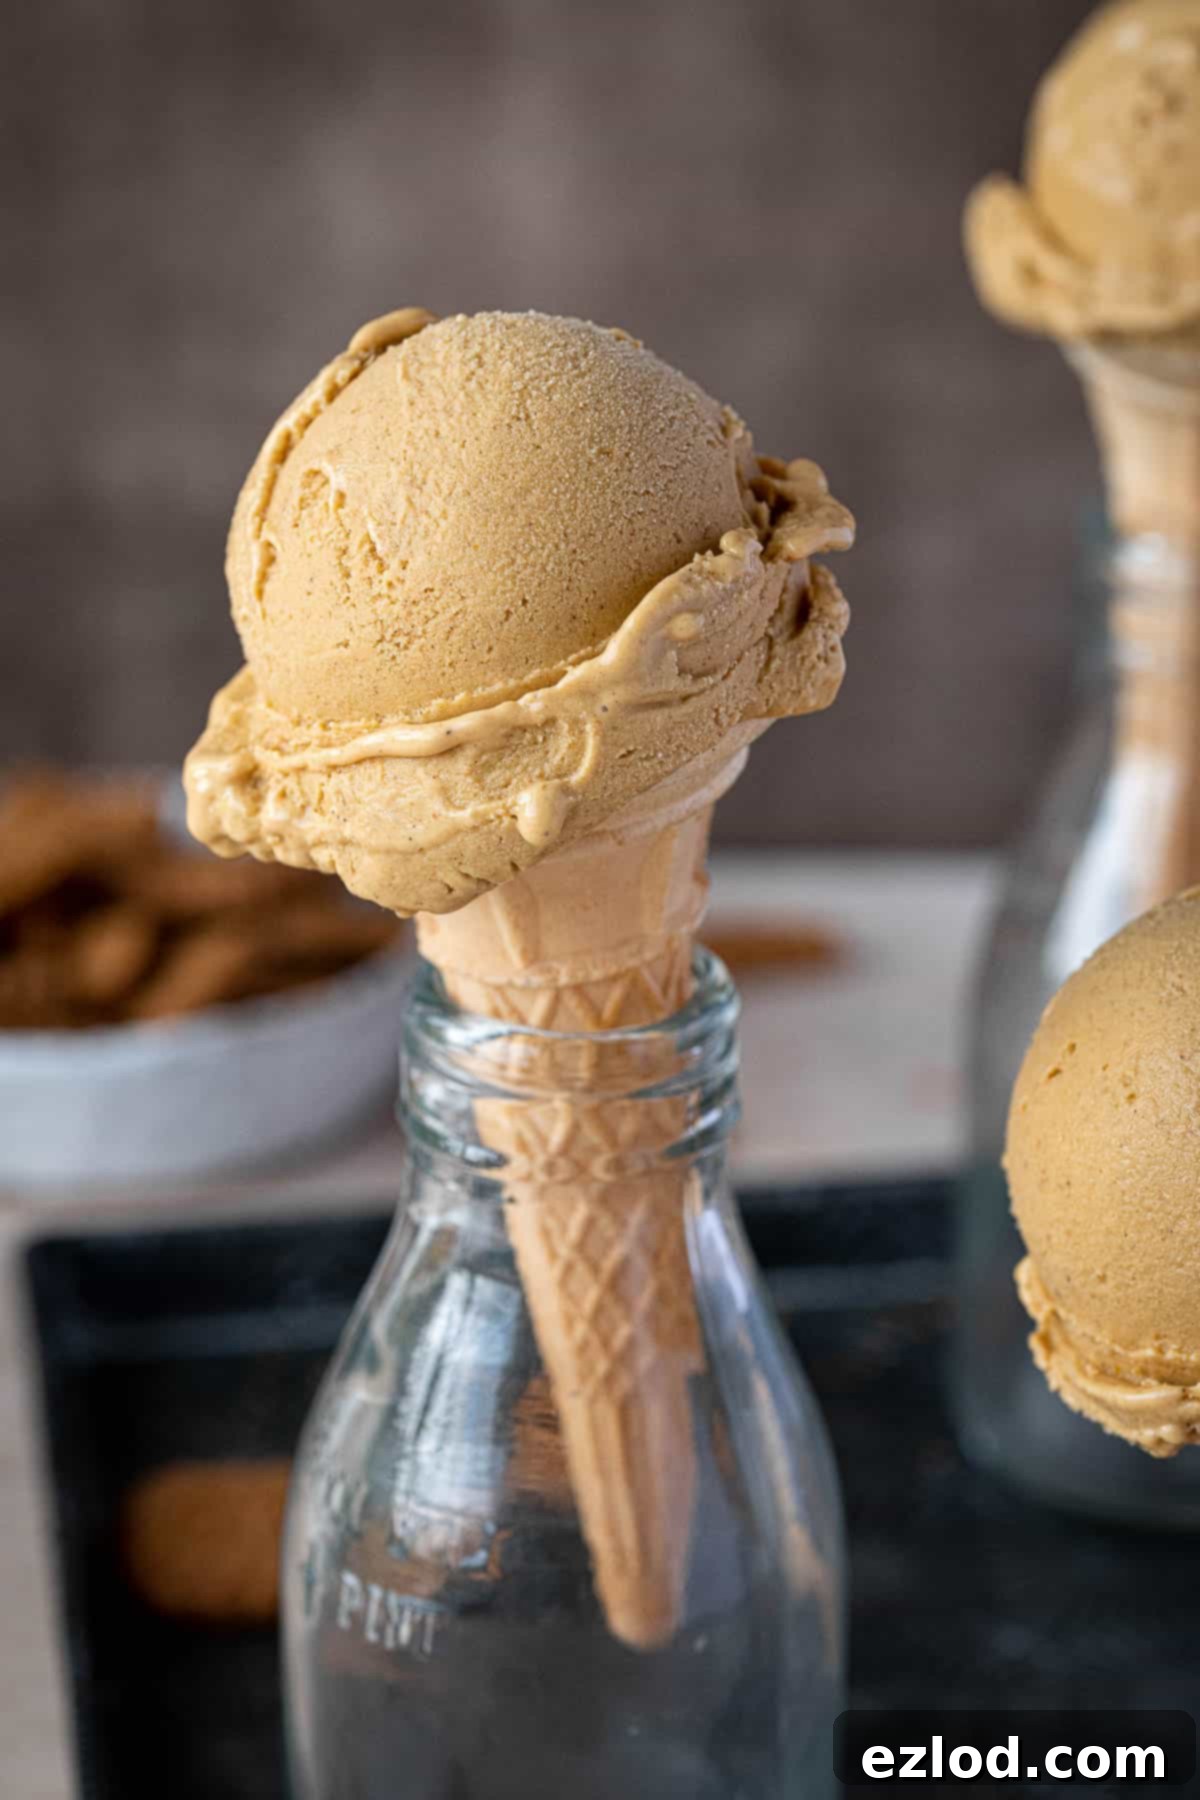
Embrace the cozy flavors of fall with this truly exceptional vegan pumpkin ice cream. This isn’t just any dairy-free dessert; it’s a luscious, smooth, and incredibly creamy treat that perfectly captures the essence of autumn. Made with real pumpkin puree and a warming blend of aromatic spices, it’s designed to be enjoyed all year round, but particularly shines when the leaves begin to turn and a comforting dessert is exactly what you crave.
What makes this recipe stand out from the crowd? The secret to its wonderfully rich and velvety texture lies in an innovative base featuring cooked oats and cashews – meaning absolutely NO coconut! Many vegan ice cream recipes rely heavily on coconut milk, which can sometimes overpower the delicate flavors you’re trying to highlight. Our unique approach ensures a neutral canvas, allowing the sweet, earthy notes of pumpkin and the fragrant spices to truly sparkle.
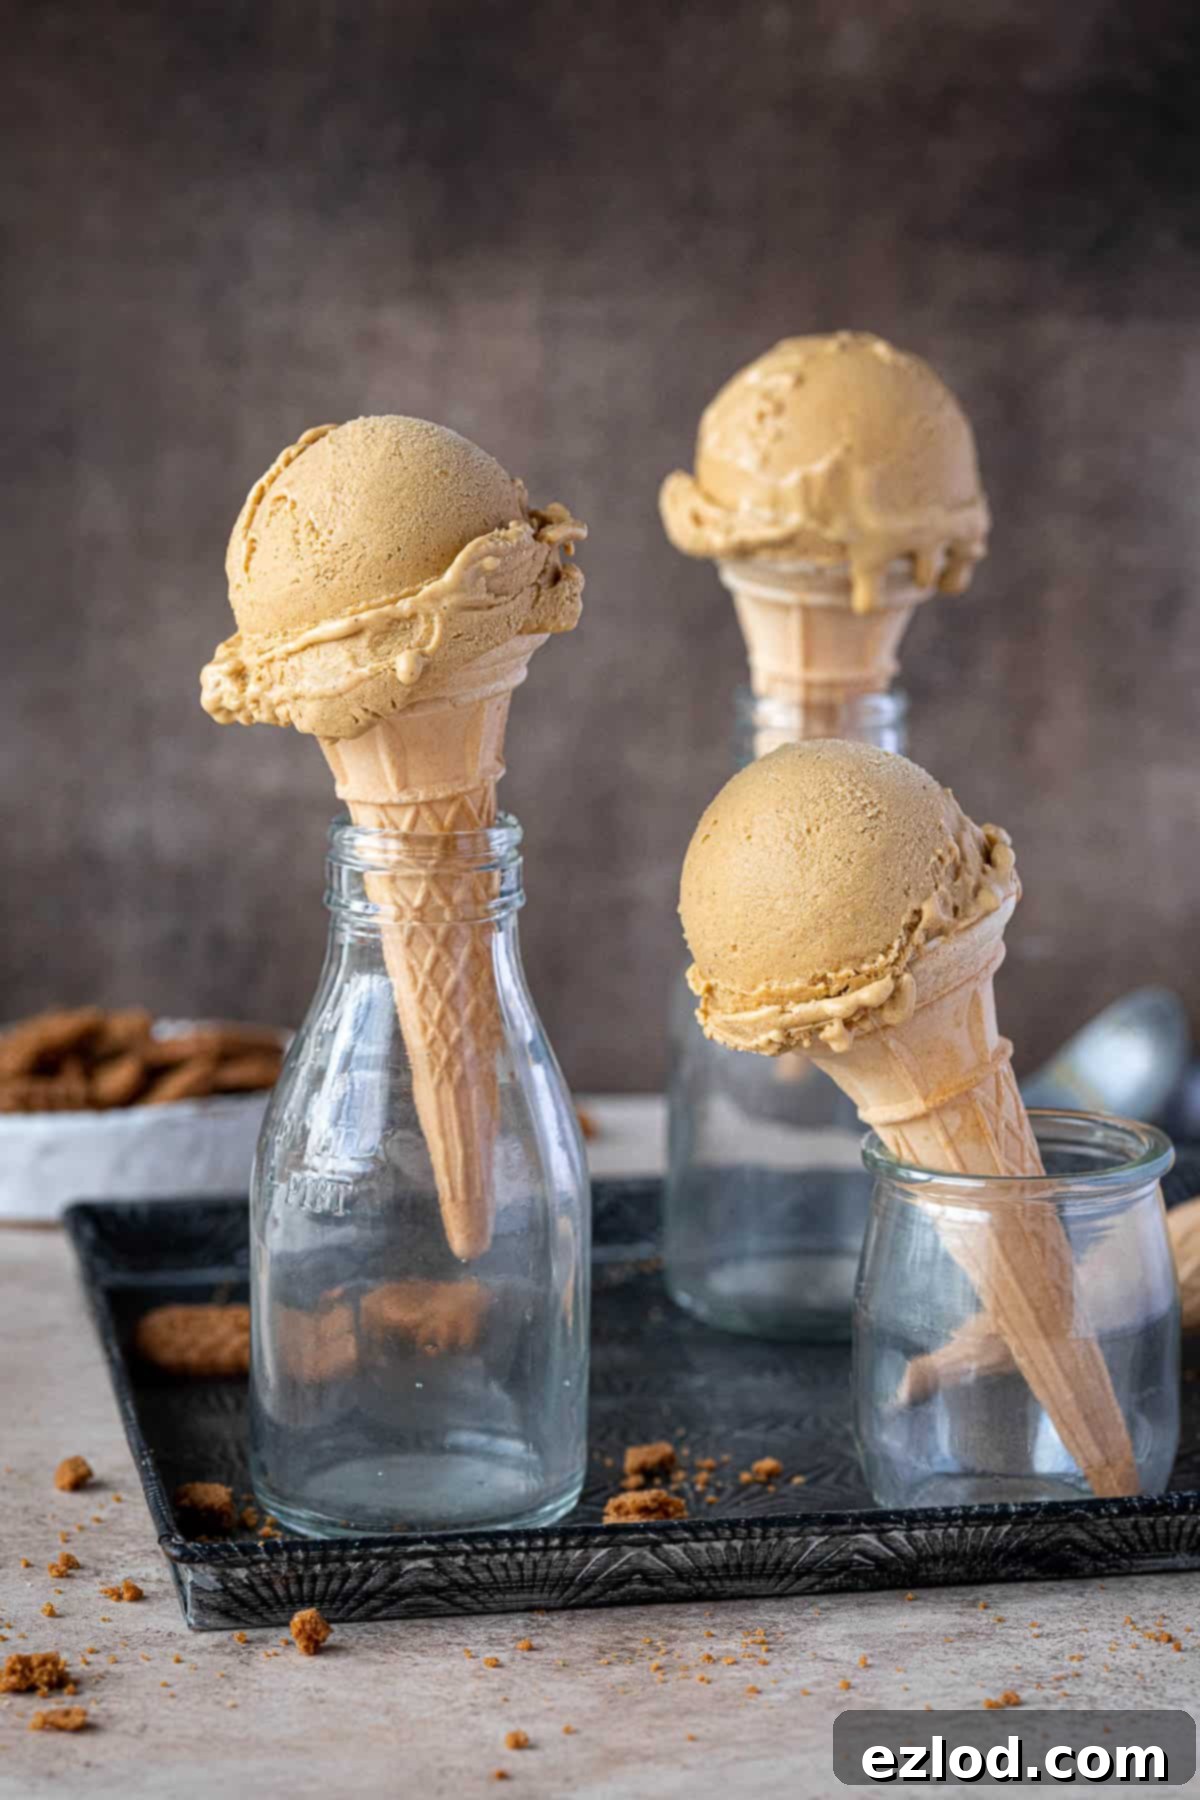
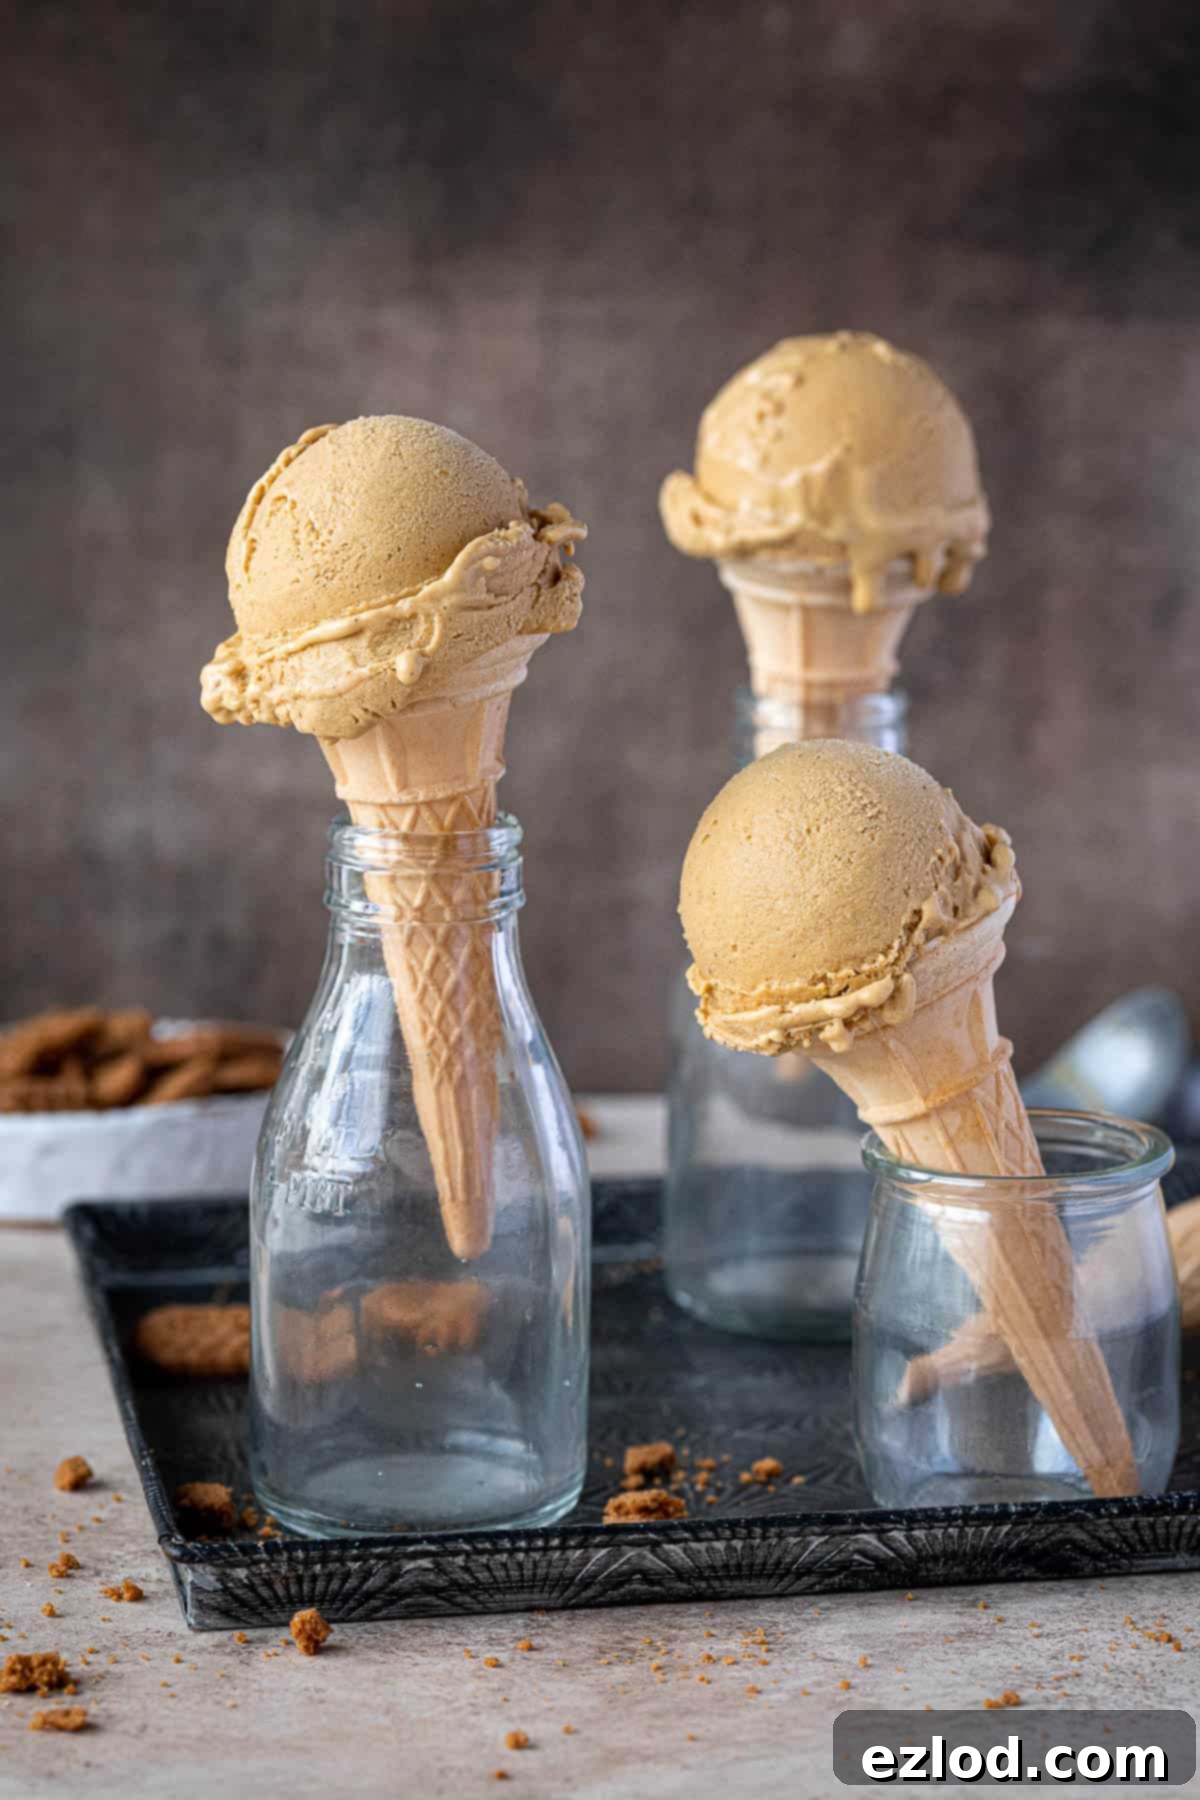
While ice cream is often relegated to summer, we firmly believe it’s a year-round pleasure. This homemade vegan pumpkin spice ice cream is particularly fitting for the autumn season, offering a delightful way to enjoy a classic comfort food in a refreshing, yet warming, format. It’s surprisingly easy to prepare, and the resulting creamy texture will have everyone fooled that it’s completely dairy-free!
Serving Suggestions for Your Dairy-Free Pumpkin Ice Cream
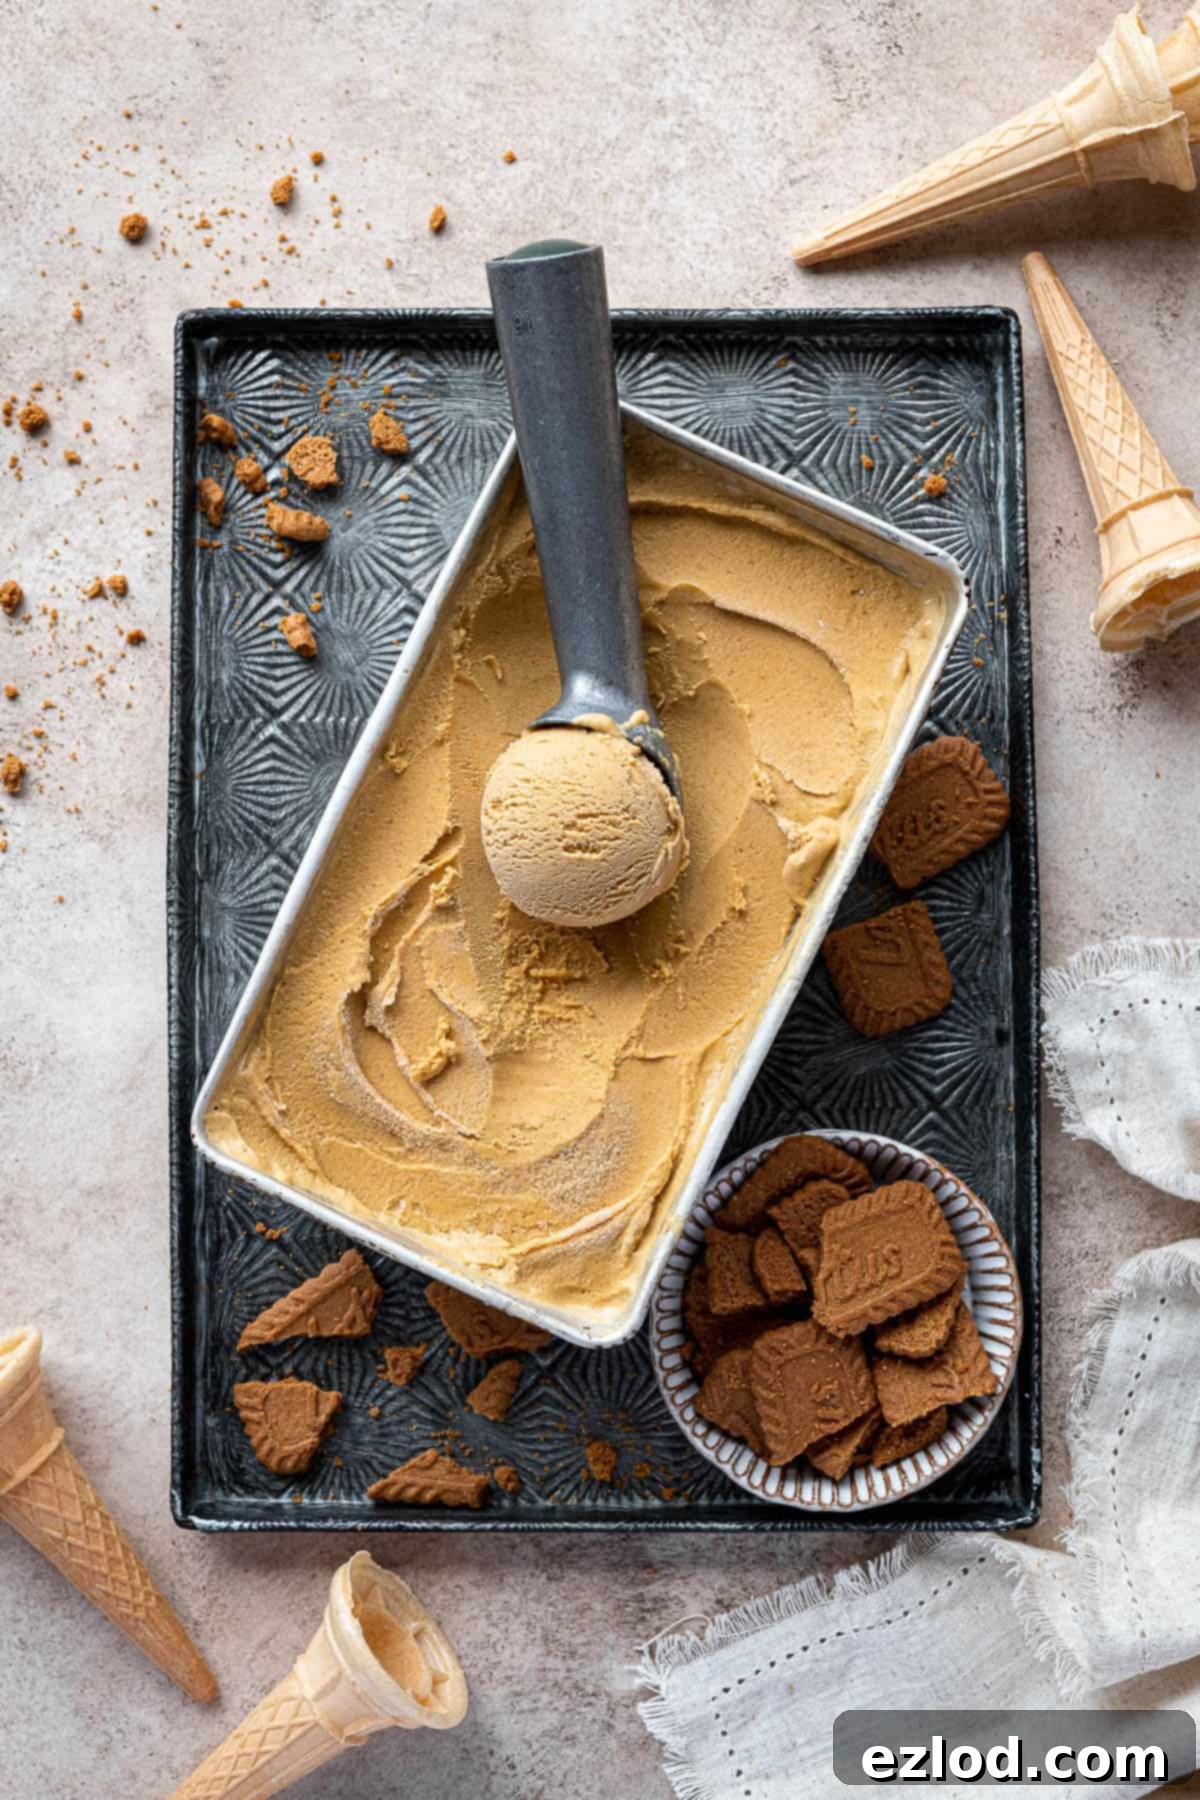
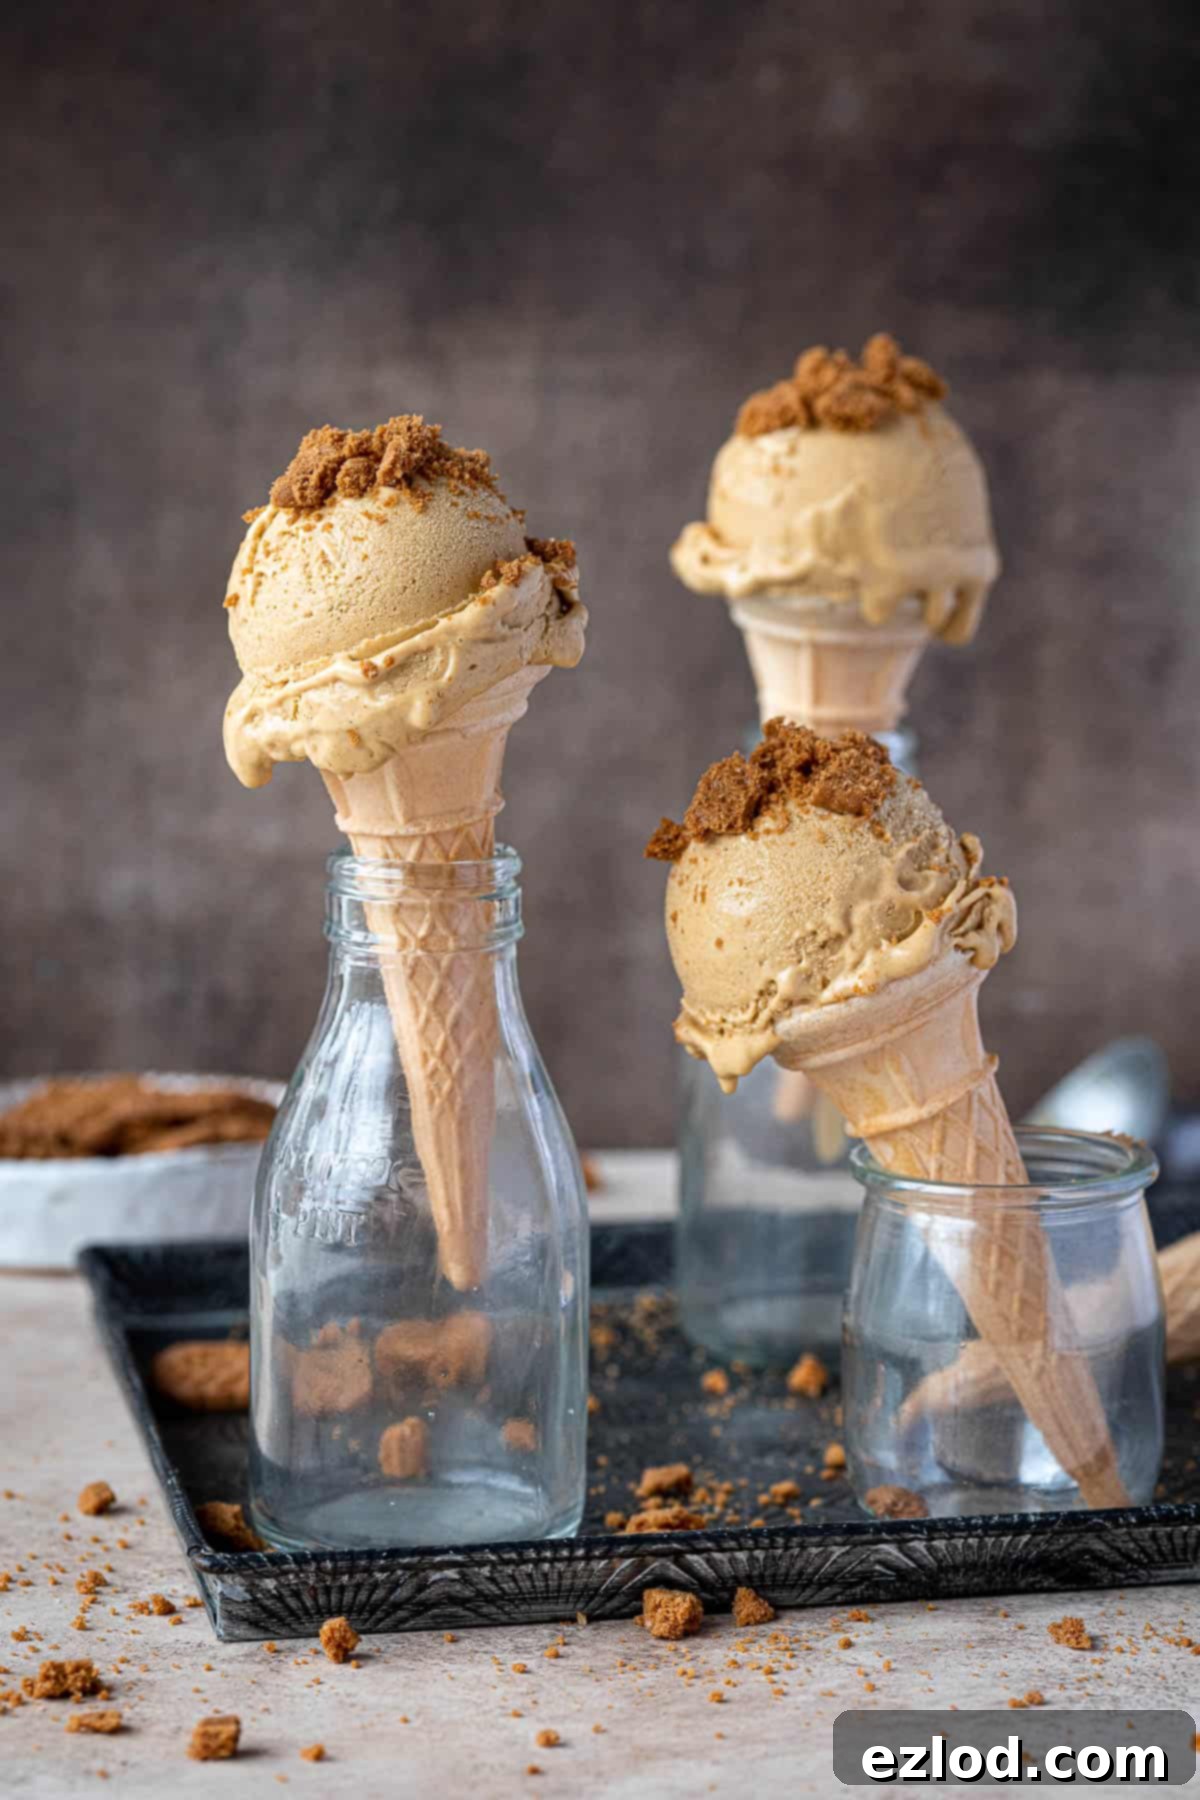
This incredible pumpkin ice cream is delicious on its own, but it also serves as a fantastic accompaniment to a variety of desserts. For an extra layer of texture and spice, try topping it with a generous sprinkle of crushed Biscoff or gingersnap cookies – it tastes just like a deconstructed pumpkin pie, but even better! Imagine a scoop melting delicately atop a warm slice of homemade vegan apple pie, adding a cool, spiced contrast. It’s also an absolute dream with a rich slice of vegan sticky toffee pudding or a fudgy vegan brownie, offering a more exciting alternative to traditional vanilla ice cream.
Feeling creative? You could even craft extraordinary ice cream sandwiches using this pumpkin delight sandwiched between soft-baked vegan gingerbread cookies. The combination of the spicy, chewy cookies and the smooth, creamy pumpkin ice cream is simply divine and makes for a truly festive treat. Don’t limit your imagination; this versatile vegan ice cream opens up a world of dessert possibilities!
Key Ingredients for the Perfect Vegan Pumpkin Ice Cream
Crafting this smooth and dairy-free pumpkin ice cream requires a handful of simple, yet crucial, ingredients. Each component plays a vital role in achieving that signature rich flavor and creamy texture without the need for any animal products or coconut:
- Pumpkin Puree: This is the star of the show! It’s absolutely essential to use plain tinned pumpkin puree, not pumpkin pie filling. Pumpkin pie filling already contains added sugar and spices, which would throw off the balance of this recipe. Plain pumpkin puree provides the pure, earthy pumpkin flavor we’re looking for. In many regions, it’s widely available in larger supermarkets or online. Alternatively, you can easily make your own by roasting and pureeing pumpkin or butternut squash until smooth.
- Pumpkin Spice: This warming blend of spices is what truly defines the “pumpkin pie” flavor of the ice cream. Pre-made pumpkin spice blends are convenient and readily available online and in many grocery stores, particularly during the autumn months. If you can’t find it, or prefer to mix your own, you can easily substitute with individual spices like cinnamon, ginger, nutmeg, allspice, and a tiny pinch of cloves (see the recipe notes for exact quantities).
- Cashews: Unroasted cashews are the secret weapon for creating a luxuriously creamy texture in this vegan ice cream. When properly soaked and blended, they transform into a smooth, neutral-flavored cream that mimics dairy beautifully. It’s crucial to soak them until they are very soft – you can either cover them with boiling water and let them sit for about an hour, or cover them with cold water and soak them overnight in the fridge. This softening allows them to blend completely smooth, preventing any grainy texture in your finished ice cream.
- Porridge Oats (Rolled Oats): Here’s the other star of our coconut-free base! Regular rolled porridge oats or quick-cooking oats work equally well. We’ll simmer them with some plant milk until they’re tender. The cooked oats add body and a lovely, subtle creaminess, contributing to the fantastic mouthfeel without a strong oat flavor.
- Unsweetened Plant Milk: While you can use any plant milk you prefer, unsweetened soy milk is highly recommended for this recipe. It has a wonderfully neutral flavor profile and a naturally creamy texture that blends seamlessly into the ice cream base. Brands like Alpro Unsweetened Soya milk are excellent choices. Be aware that other plant milks (like almond, oat, or cashew milk) can impart their own distinct flavor to the ice cream, so choose one you enjoy.
- Maple Syrup & Light Brown Sugar: We use a combination of these two sweeteners not just for their delicious flavor, but also for their crucial role in achieving the perfect ice cream texture. Maple syrup adds a deep, caramel-like sweetness, while brown sugar provides a hint of molasses and helps keep the ice cream scoopable. Sugar is incredibly important in ice cream making as it lowers the freezing point, preventing it from becoming too icy and rock-hard.
- Neutral Oil: Adding a small amount of neutral-flavored oil, such as sunflower oil, is key to enhancing the richness and smoothness of the ice cream. Fat content is essential for a truly creamy texture, and this oil boosts that without adding unwanted flavor.
- Xanthan Gum: This might seem like an unusual ingredient, but it’s a game-changer for homemade ice cream. Xanthan gum acts as a natural thickener and stabilizer, much like guar gum found in commercial ice creams. It helps prevent ice crystals from forming, keeps the ingredients from separating, and ensures your ice cream remains wonderfully smooth and creamy, even after freezing. It’s widely available in most larger supermarkets or health food stores. If you can’t get hold of it, you can omit it, but for the best texture, it’s highly recommended.
- Salt: A tiny pinch of salt might seem counterintuitive in a sweet dessert, but it’s vital! Salt doesn’t just make things salty; it enhances and balances all the other flavors, making the pumpkin and spices taste even brighter and more pronounced. It cuts through the sweetness beautifully.
- Vanilla Extract: (Though not explicitly listed in the main paragraph, it’s a standard ingredient in the recipe card and often a core flavor enhancer). High-quality vanilla extract adds a subtle depth and warmth that complements the pumpkin and spices perfectly, tying all the flavors together.
Step-by-Step Guide: How to Make Vegan Pumpkin Ice Cream at Home
(Full measurements and detailed instructions can be found in the recipe card at the bottom of the page)
Making this delightful vegan pumpkin ice cream is a straightforward process, but a little preparation goes a long way to ensure the best results. Follow these steps for a perfectly creamy, homemade treat:
1. Prepare Your Equipment and Cashews
First things first, ensure your ice cream maker’s bowl is thoroughly frozen. Most models require at least 8-12 hours in the freezer to be completely solid; mine typically takes 11 hours. Planning ahead here is key! For the creamiest results, it’s also highly recommended to prepare your ice cream base the day before you plan to churn it, allowing it ample time to chill properly.
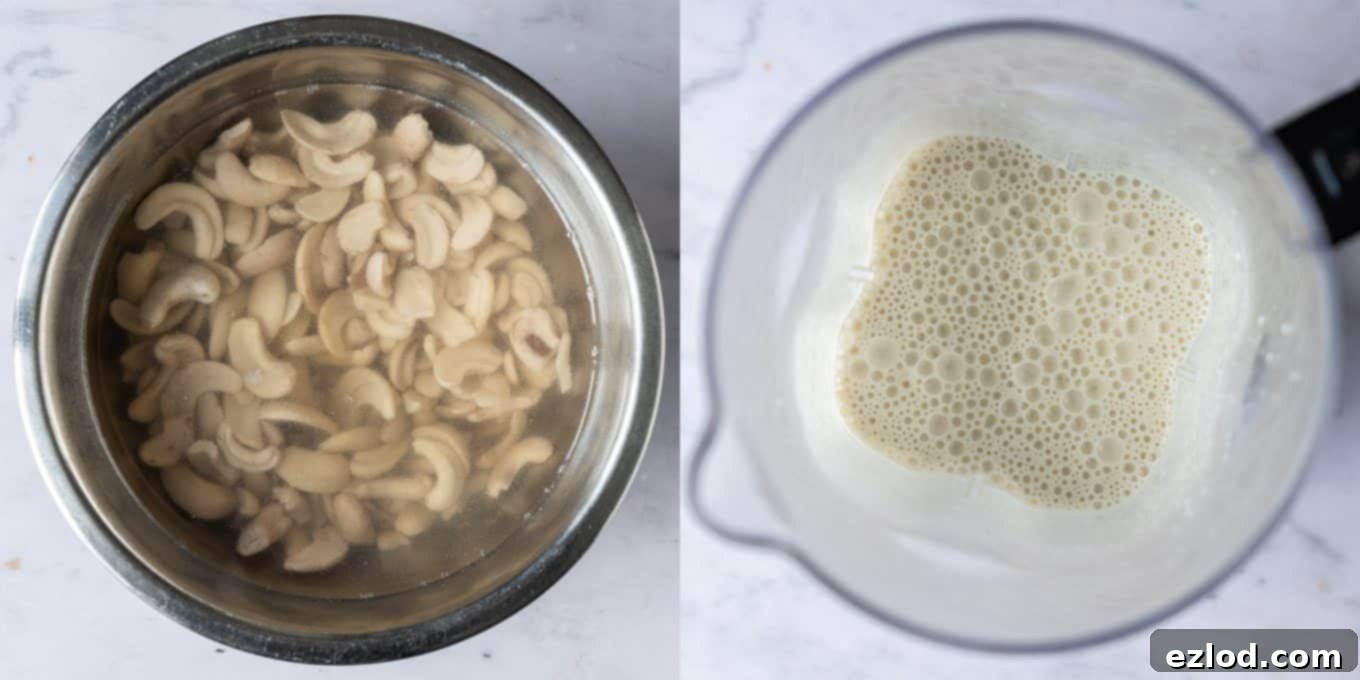
Next, you’ll need to soak your cashews. This step is crucial for achieving that silky-smooth texture. You have two options: for a quicker soak, cover the cashews with plenty of boiling water and let them soak for about one hour. If you have more time, cover them with cold water and let them soak overnight in the refrigerator. In either case, ensure they are fully submerged.
2. Cook the Oats
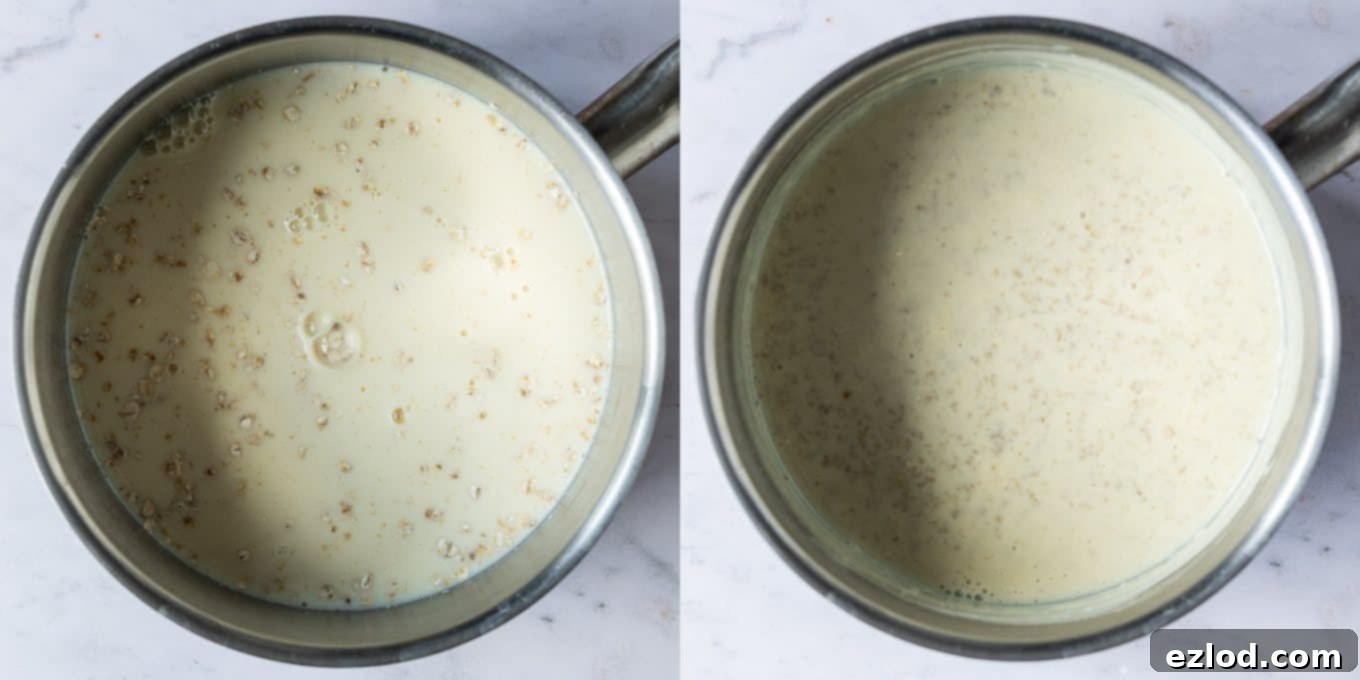
Place the porridge oats in a small saucepan with half of the unsweetened plant milk (soy milk is preferred for its neutral flavor and creaminess). Bring this mixture to a gentle simmer over medium heat. Cook for approximately 10 minutes, stirring frequently to prevent the oats from sticking to the bottom of the pan and burning. The oats should become very soft and the mixture will thicken slightly.
3. Blend the Base
Once your cashews are sufficiently soaked, drain them thoroughly. Transfer the drained cashews to a high-speed blender (a powerful blender, such as a Vitamix or Froothie, is ideal for the smoothest results) along with the remaining half of the plant milk. Blitz until the mixture is incredibly smooth and creamy, with no noticeable cashew pieces. This may take a few minutes, so be patient and scrape down the sides of the blender as needed.
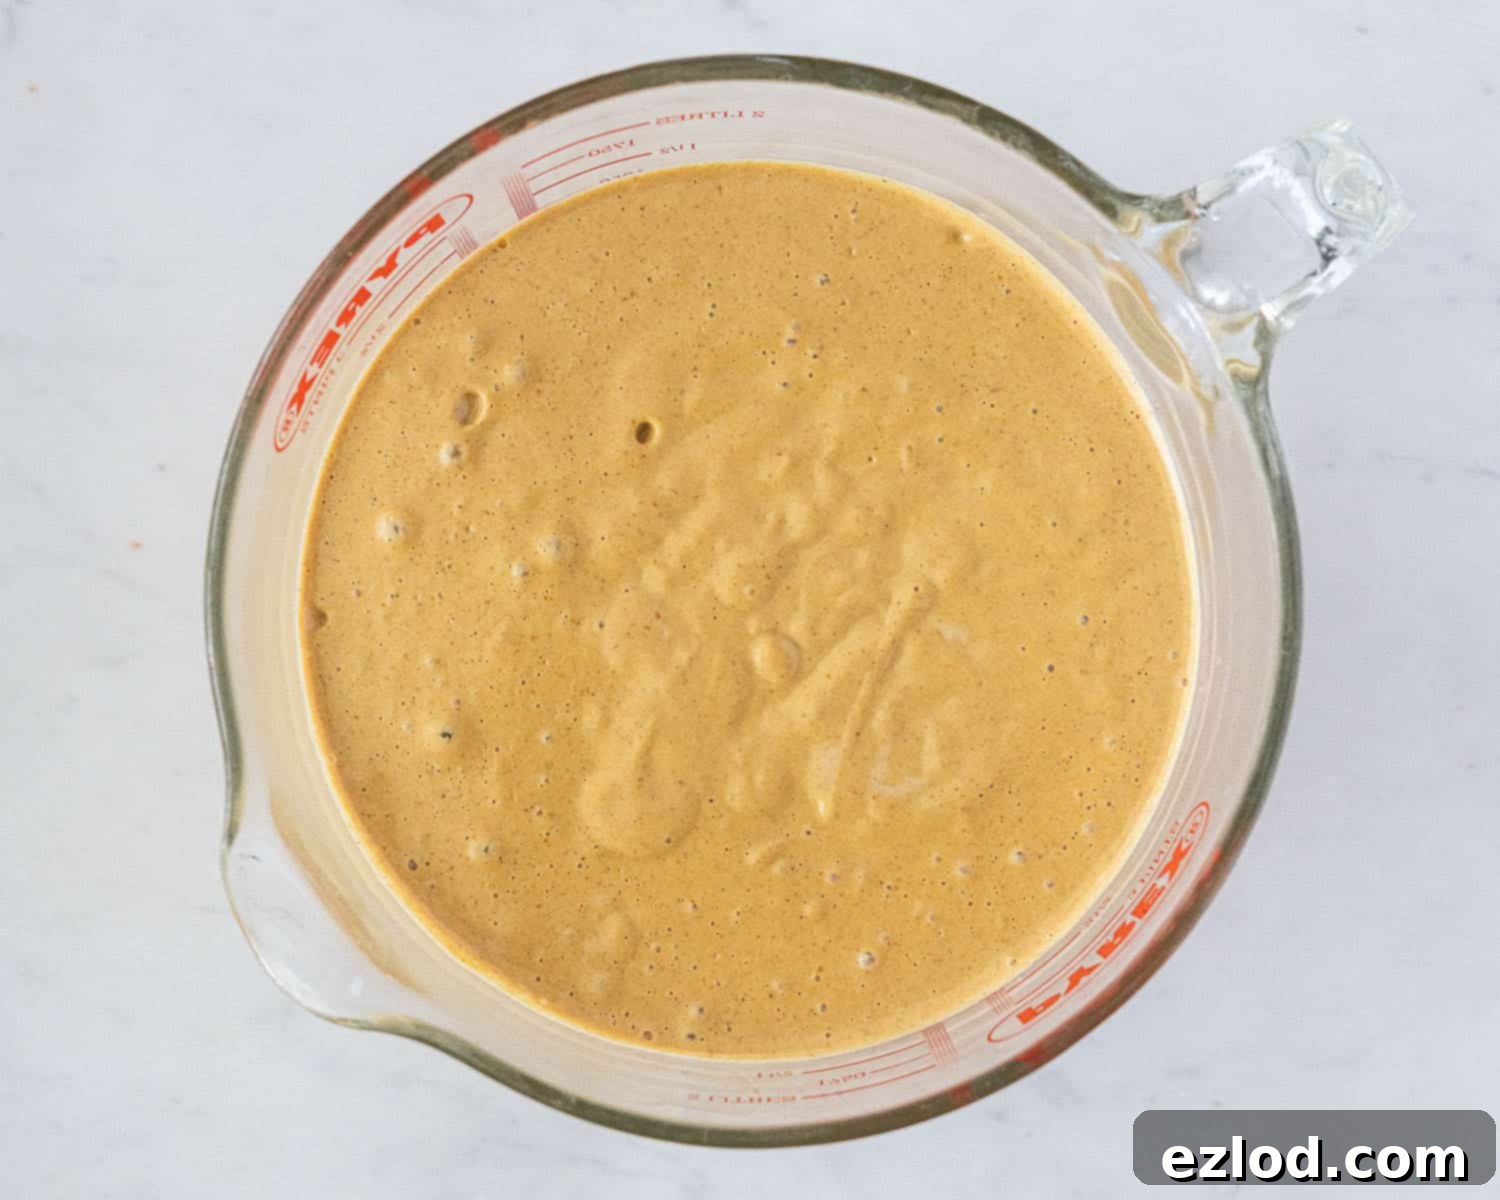
Now, add the cooked oat mixture to the blender. Along with it, add the pumpkin puree, maple syrup, light brown sugar, vanilla extract, pumpkin spice, a pinch of cinnamon, the neutral oil, xanthan gum (if using), and salt. Blend everything together until the mixture is exceptionally smooth and completely uniform. This is your delicious pumpkin ice cream base!
4. Chill the Base
Pour the blended ice cream base into a clean bowl, cover it tightly, and refrigerate until it is completely cold. This chilling step is absolutely crucial for proper churning and the best final texture. Ideally, chill it overnight or for at least 4-6 hours. A well-chilled base will churn more efficiently and result in a creamier ice cream, as it reduces the amount of time it spends in the ice cream maker.
5. Churn the Ice Cream
Once your ice cream mixture is thoroughly chilled, give it a good whisk to ensure everything is well combined. Then, pour it into your pre-frozen ice cream maker bowl and churn according to your machine’s instructions. Churn until it reaches a consistency similar to soft-serve ice cream. The churning process incorporates air and prevents large ice crystals from forming, giving you that delightful smooth texture.
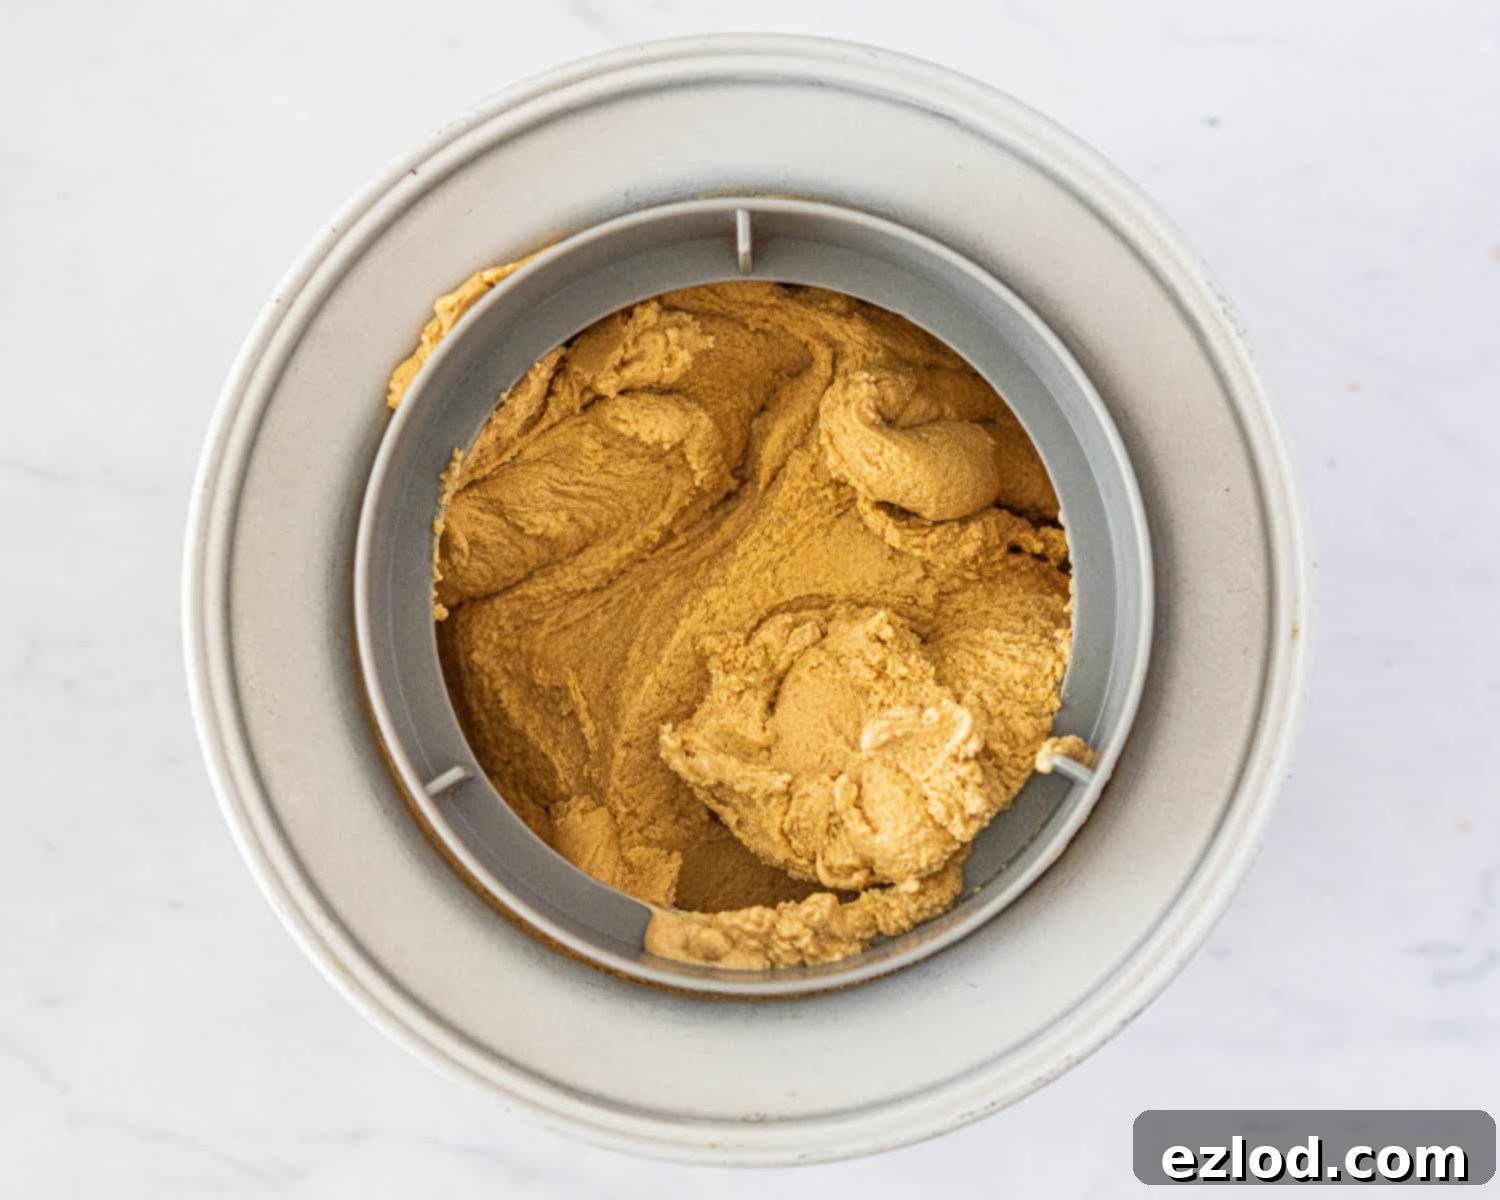
6. Final Freeze and Serve
After churning, the ice cream will be soft. Transfer it to a freezer-proof container, smooth the top, and cover it tightly. Place it in the freezer for about 4 hours, or until it firms up to a scoopable consistency. This final freeze allows the ice cream to set completely. Before serving, remember that homemade ice cream can be quite solid, so take it out of the freezer about 10-15 minutes prior to scooping to allow it to soften slightly for the perfect scoop.
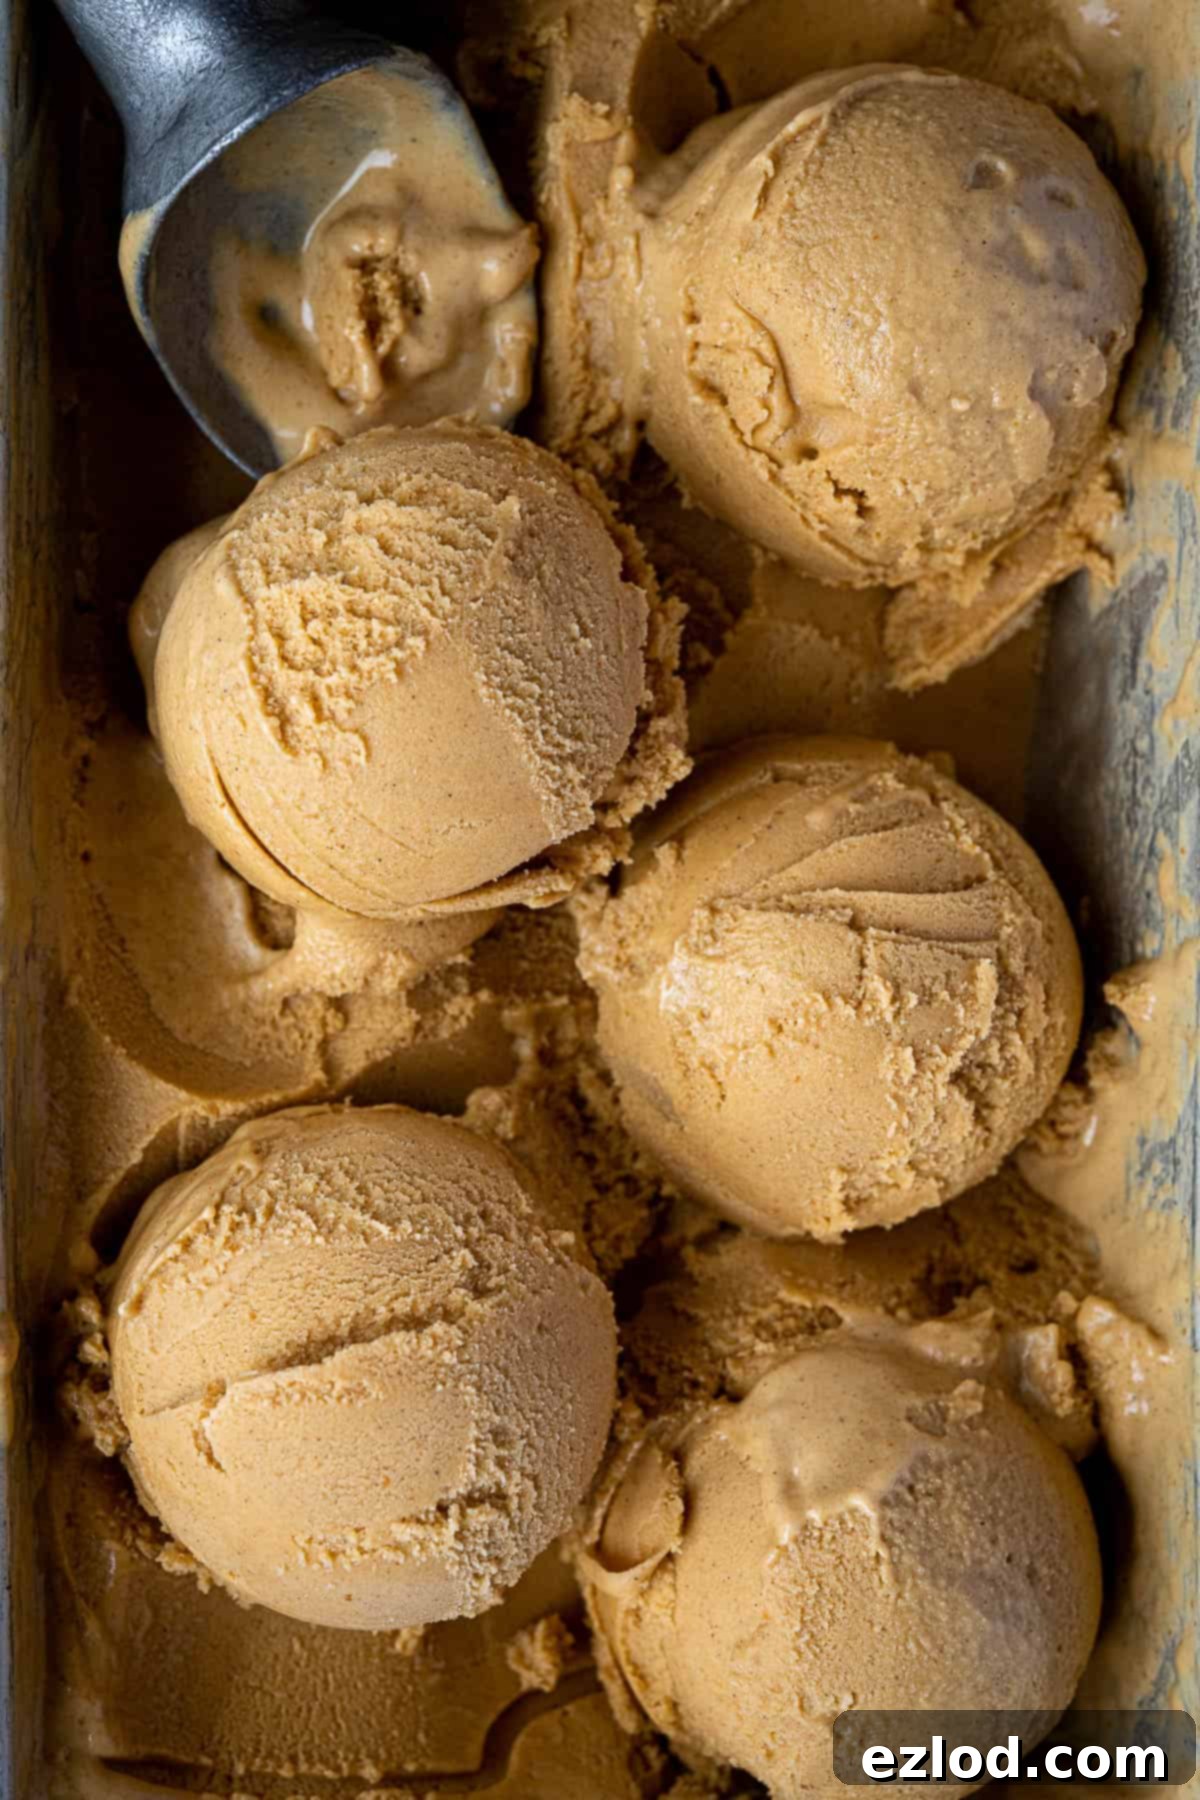
What If I Don’t Own An Ice Cream Maker?
No ice cream maker? No problem! You can absolutely still make this incredible vegan pumpkin ice cream, though it will require a bit more effort, and the final texture might be slightly icier than if churned. Once your ice cream base is thoroughly chilled, pour it into a large, freezer-safe container. Place it in the freezer and set a timer for 30 minutes. Every half hour, remove the container from the freezer and use an electric mixer (or a whisk and plenty of arm power) to thoroughly beat the mixture, breaking up any ice crystals that have formed. Return it to the freezer promptly. Repeat this process until the mixture reaches a thick, soft-serve consistency. This repeated beating helps to create a smoother texture. Once it’s soft-serve consistency, allow it to freeze undisturbed for an additional couple of hours to firm up before serving.
Elevate Your Scoop: Delicious Vegan Pumpkin Ice Cream Add-Ins and Toppings
While this pumpkin ice cream is fantastic on its own, it also serves as a superb base for various delicious mix-ins and toppings. Get creative and customize your batch!
For swirl-ins or sauces, layer them with the churned ice cream as you transfer it to your freezer-safe container. This creates beautiful ribbons of flavor throughout. For harder mix-ins like chopped nuts, chocolate pieces, or cookies, add them to your ice cream maker during the last minute or two of churning. This ensures they are evenly dispersed throughout the ice cream without being completely pulverized.
Here are some fantastic ideas to take your vegan pumpkin ice cream to the next level:
- Candied Pecans or Walnuts: These add a wonderful crunch and a sweet, nutty flavor that complements the pumpkin spice beautifully.
- Chocolate Chips or Stracciatella: Mini chocolate chips offer delightful bursts of chocolate, or you can create a stracciatella effect by drizzling melted chocolate into the churning ice cream, creating thin, crispy shards.
- Chopped Cookies: Crushed Biscoff cookies, Oreo crumbs (ensure they’re vegan), gingersnap biscuits, or oatmeal cookies are all excellent choices, adding both flavor and textural contrast.
- Caramel or Fudge Swirls: A decadent vegan caramel swirl or the rich chocolate fudge swirl from this vegan coffee ice cream recipe would be absolutely divine.
- Toasted Marshmallows: For an extra cozy touch, swirl in some vegan mini marshmallows (toasted lightly for a smoky flavor) during the final stages of freezing.
- Spiced Apple Chunks: Gently sautéed and spiced apple pieces can add a lovely fruit element, enhancing the autumnal theme.
Expert Tips for Unbeatable Vegan Pumpkin Ice Cream
Achieving the perfect homemade vegan ice cream is an art, but with these expert tips, you’ll be scooping perfection every time:
- Accurate Measurements Are Key: As with all my recipes, I cannot stress enough the importance of using metric measurements with a digital kitchen scale rather than cup conversions. Volume measurements (cups) are notoriously inaccurate and can lead to inconsistent results. A scale ensures precision, leading to a far better, more consistent, and professional-quality ice cream. Plus, it’s often easier and less messy!
- Allow for Softening: This homemade ice cream tends to be quite solid directly out of the freezer. For the best scoopable texture, make sure to take it out at least 15 minutes before you plan to serve it. This allows it to soften slightly, reaching that ideal creamy consistency.
- Invest in a Good Blender: For the smoothest possible ice cream base, free from any tiny cashew or oat pieces, a powerful blender (such as a Froothie or Vitamix) is highly recommended. While you can still make it with a regular blender, you might find the texture isn’t quite as silky and homogenous.
- Chill Your Base Thoroughly: Patience is a virtue here! I strongly recommend making your ice cream base the day before you intend to churn it. It needs to be thoroughly chilled – ideally cold enough that you wouldn’t want to drink it – when it goes into the ice cream maker. A cold base churns more efficiently and minimizes ice crystal formation, resulting in a significantly creamier final product.
- The Biscoff/Gingersnap Magic: If there’s one recommendation you take from this entire guide, let it be this: serve this ice cream with some roughly broken-up Biscoff or gingersnap biscuits on top. The combination is absolutely heavenly, transforming the ice cream into an even more irresistible treat that tastes remarkably like a spiced pumpkin pie, but with a unique ice cream twist.
- Consider a Dash of Bourbon: For an added layer of sophisticated flavor and a slightly softer texture (alcohol lowers the freezing point), you can add 2 tablespoons of bourbon to the blender along with the rest of the ingredients. This is entirely optional but highly recommended for adult palates.
- Don’t Skimp on Sugar (or Fat!): In ice cream making, sugar isn’t just for sweetness; it’s a critical component for texture. It lowers the freezing point of the mixture, preventing the ice cream from becoming rock-hard and icy. Similarly, fat (from the cashews and added oil) contributes immensely to the richness and creamy mouthfeel. Reducing either too much can result in an unpleasantly icy texture.
- Check Your Ice Cream Maker’s Capacity: I use a 2-liter ice cream maker (this one by Cuisinart), which comfortably handles this recipe. If your machine is smaller, you may need to halve the batch to ensure it all fits and churns properly, or you risk overflow and poor results.
- Proper Storage: Store any leftover ice cream in an airtight, freezer-safe container. To prevent freezer burn and maintain texture, you can press a piece of parchment paper or plastic wrap directly onto the surface of the ice cream before sealing the container. It will keep well in the freezer for up to two weeks, though it’s best enjoyed within the first week for optimal freshness and texture.
Frequently Asked Questions (FAQ) About Vegan Pumpkin Ice Cream
- Can I use fresh pumpkin instead of canned puree? Yes, you can! If using fresh pumpkin, make sure to roast it until very tender, then puree it until completely smooth. Allow it to cool completely before using. Ensure it’s not too watery; if it is, you might want to gently cook it down a bit to remove excess moisture.
- Is this recipe gluten-free? Yes, this recipe is naturally gluten-free, provided you use certified gluten-free oats. Cashews, pumpkin, and other ingredients are naturally gluten-free. Always double-check ingredient labels if cross-contamination is a concern.
- How long does homemade vegan ice cream last? When stored properly in an airtight container in the freezer, this ice cream will maintain its best quality for about 1-2 weeks. After that, it might start to develop some ice crystals, though it will still be edible.
- Why is my ice cream icy? Icy ice cream is usually due to one of a few factors: insufficient fat, not enough sugar (both of which lower the freezing point), or the base not being cold enough before churning. Make sure to follow the chilling and ingredient ratios carefully, and if you don’t have an ice cream maker, ensure you’re churning manually frequently enough to break up crystals.
More Irresistible Vegan Ice Cream Recipes
If you’ve fallen in love with this pumpkin delight, why not explore more dairy-free ice cream adventures? Our collection offers a variety of flavors, all made with that signature rich, no-coconut base:
- Classic Vegan Vanilla Ice Cream
- Decadent Vegan Malted Chocolate Ice Cream
- Refreshing Vegan Mint Choc Chip Ice Cream
- Invigorating Vegan Coffee Ice Cream with Chocolate Swirl
- Sophisticated Vegan Pistachio Ice Cream
- Rich and Creamy Vegan Chocolate Ice Cream
- Fun Vegan Peanut Butter and Cookies Ice Cream
- Sweet Vegan Biscoff Ice Cream
- Delightful Vegan Chunky Monkey Ice Cream
- Bright Vegan Lemon Ice Cream
If you tried this delightful vegan pumpkin ice cream recipe, we’d love to hear from you! Please rate it, leave a comment below, or tag @domestic_gothess on Instagram and hashtag it #domesticgothess to share your creation!
All images and content on Domestic Gothess are copyright protected. If you wish to share this recipe, please do so by using the provided share buttons. Do not screenshot or post the recipe or content in full; instead, include a direct link to this post for the complete recipe. Your understanding and support are greatly appreciated!

Vegan Pumpkin Ice Cream
Ingredients
- 160 g (1 slightly heaped cup) unroasted cashews
- 25 g (¼ cup) porridge oats (rolled oats)
- 650 ml (2 + ¾ cups) unsweetened non-dairy milk (soy is best)
- 300 g (1 ¼ cups) pumpkin puree
- 160 ml (⅔ cup) maple syrup
- 40 g (¼ cup) light brown sugar
- 3 Tablespoons neutral oil (I use sunflower)
- 2 teaspoons vanilla extract
- 2 teaspoons pumpkin spice
- 1 teaspoon cinnamon
- ¼ teaspoon salt
Instructions
-
Make sure that the bowl of your ice cream maker has been in the freezer for long enough, mine takes 11 hours to fully freeze. Ideally you should make the ice cream base the day before you want to churn the ice cream.
-
You need to soak the cashews so that they are soft enough to blend to a smooth cream. Either cover them with plenty of boiling water and leave to soak for an hour, or cover with cold water and leave to soak overnight.
-
Place the porridge oats in a saucepan with half of the soy milk and bring to a gentle simmer, cook for about 10 minutes, stirring often to prevent the bottom from catching, until the oats are soft.
-
Drain the soaked cashews well then place them in a blender with the other half of the milk and blitz until smooth.
-
Add the cooked oat mixture to the blender along with the pumpkin puree, maple syrup, sugar, spices, oil and salt and blend until the mixture is very smooth. Pour into a bowl, cover and refrigerate until completely cold.
-
Once the ice cream mixture is thoroughly chilled, give it a good whisk then pour it into your ice cream maker and churn until it reaches soft serve consistency.
-
Once the ice cream is done churning, transfer it to a freezer-proof container and freeze for about 4 hours, until firm, before serving.
Notes
- See post above for instructions if you don’t have an ice cream machine, tips, details and step-by-step photos.
- Instead of the pumpkin spice you can add an extra ½ tsp cinnamon, ¾ tsp ginger, ¼ tsp nutmeg, ¼ tsp allspice and ⅛ tsp cloves.
- This ice cream is quite solid straight out of the freezer so make sure that you take it out at least 15 minutes before serving to allow it to soften up a little.
- I have a 2 litre ice cream maker (this one by Cuisinart). If yours is smaller you may wish to make a half batch or it won’t all fit.
