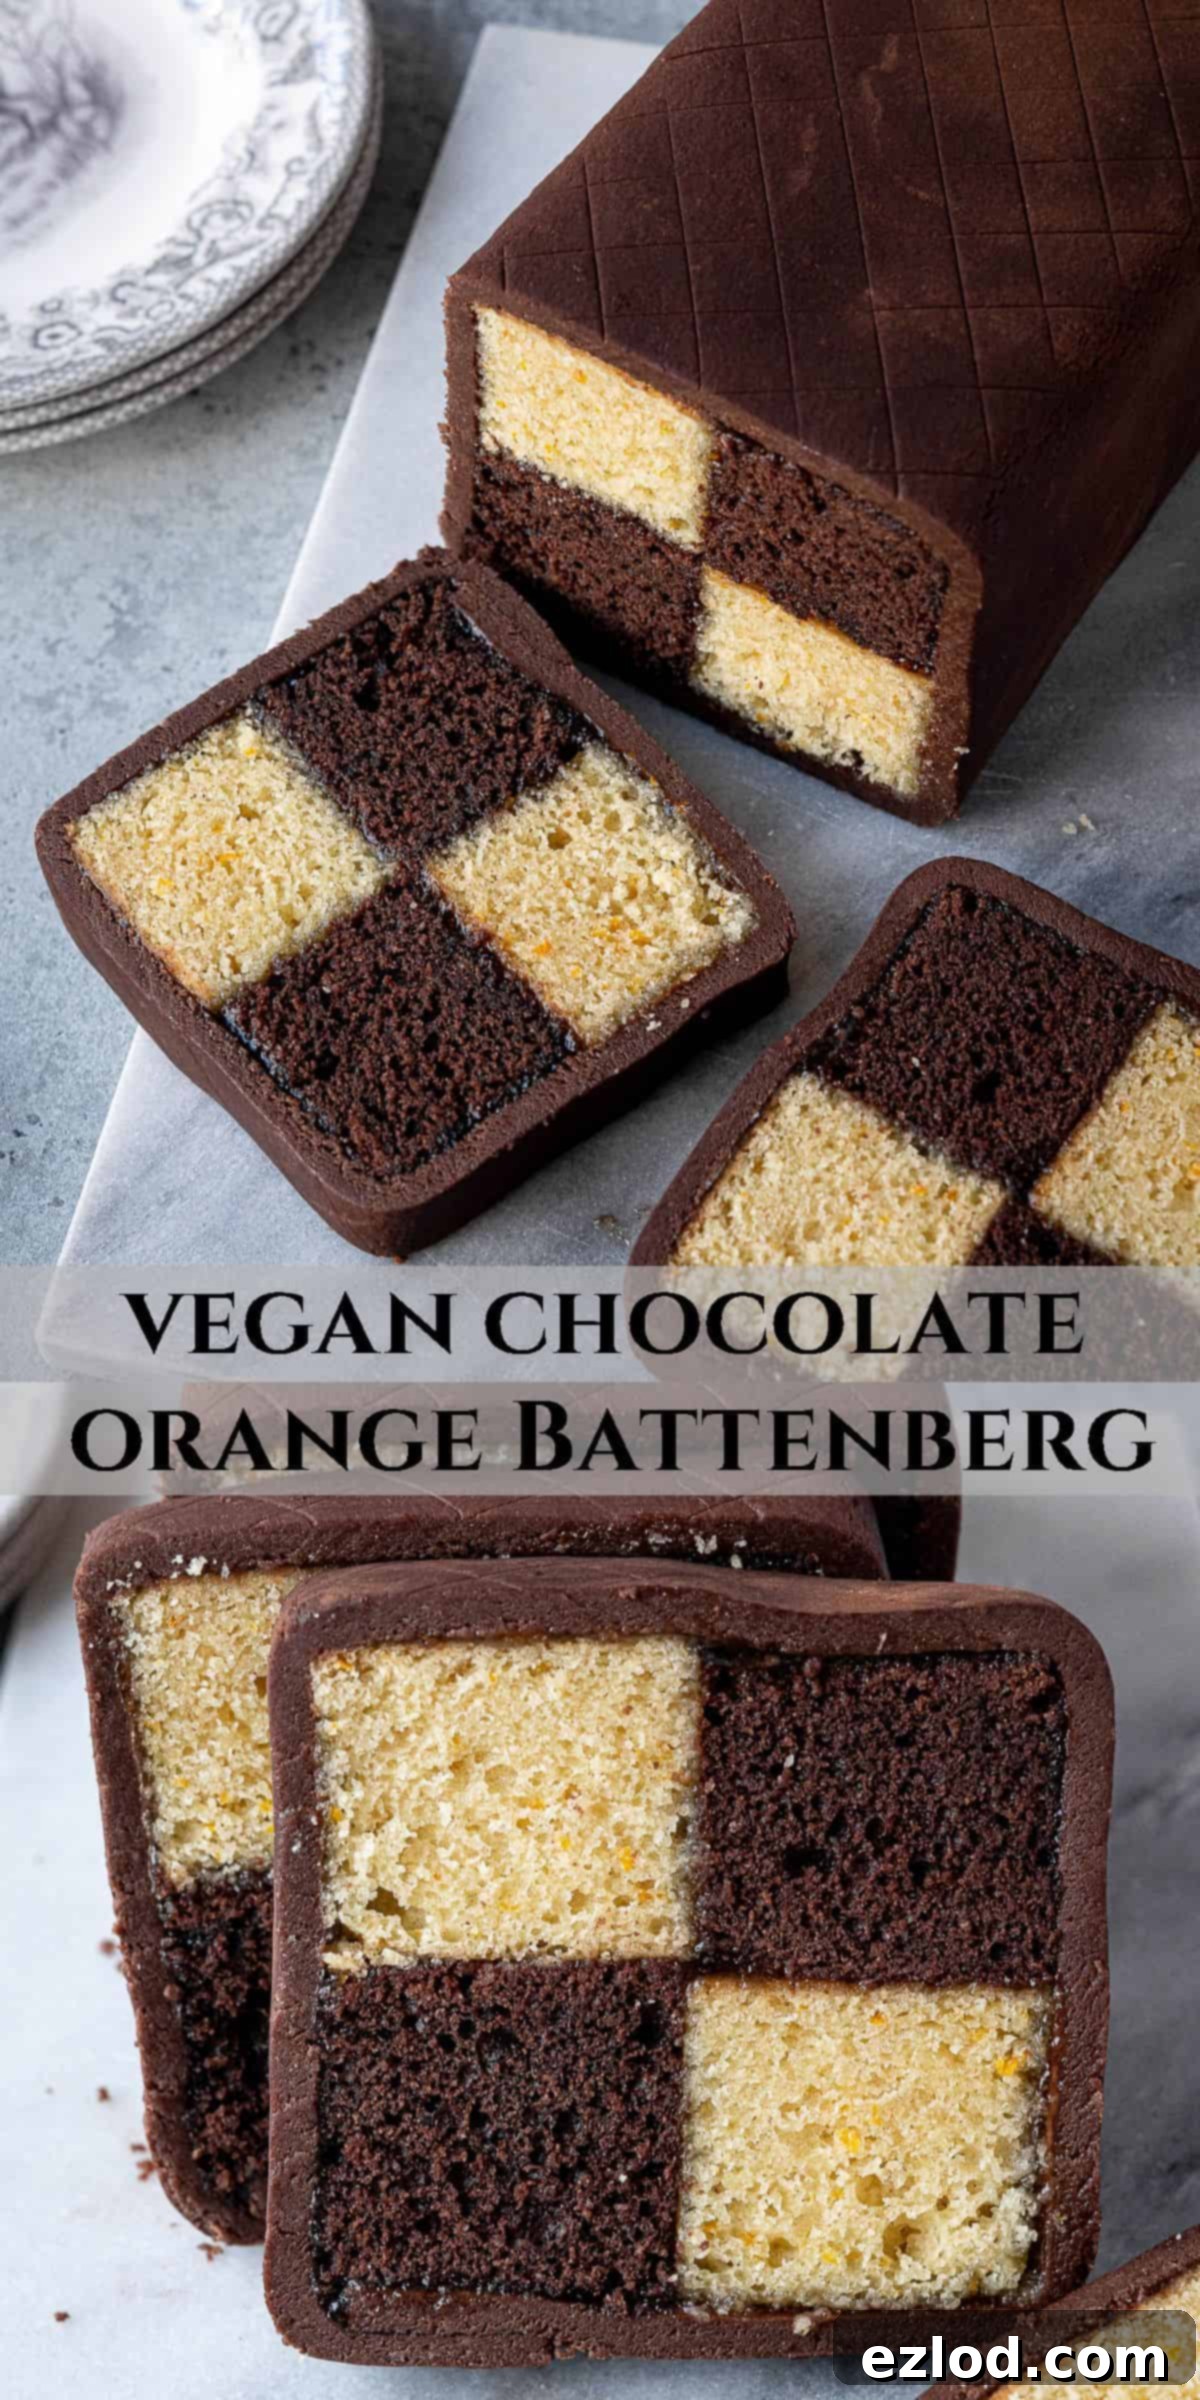
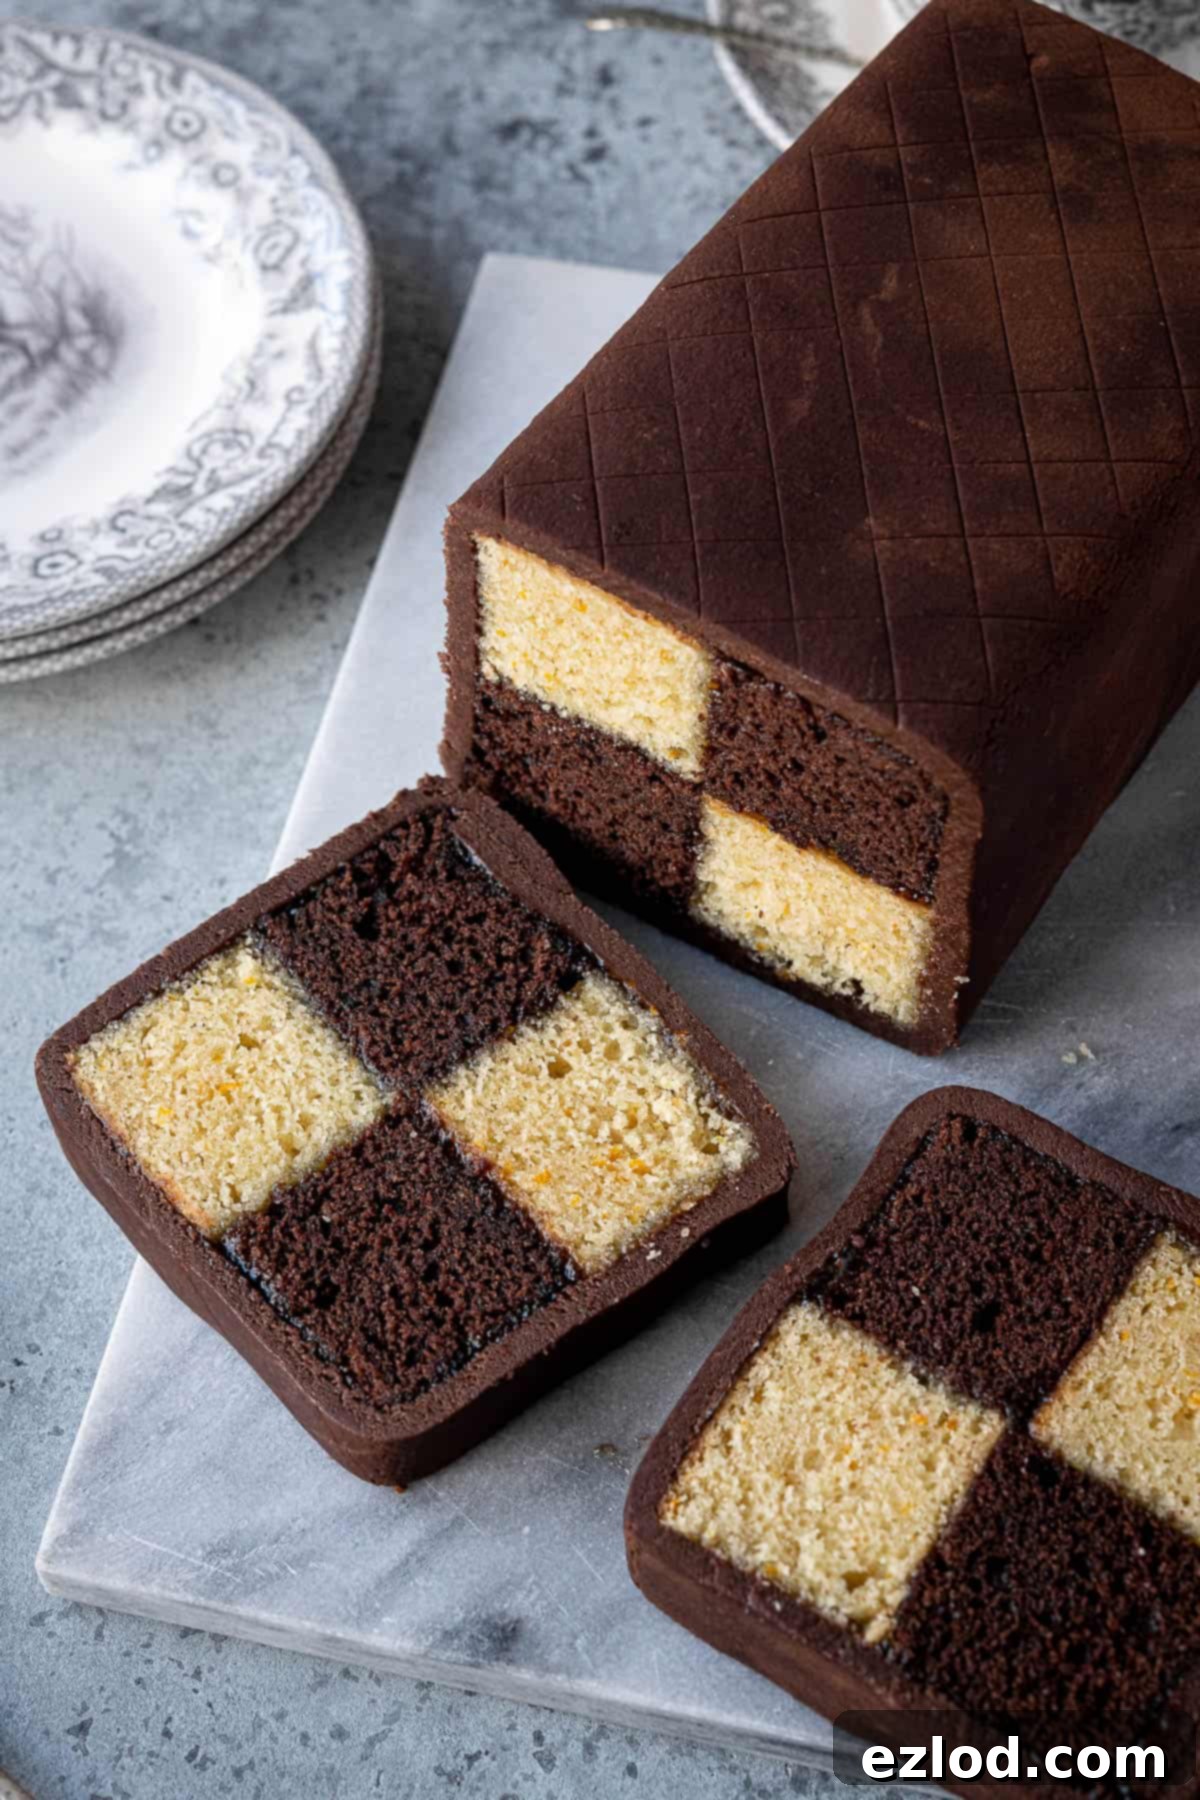
Decadent Vegan Chocolate Orange Battenberg Cake: An Easy, Dairy-Free & Eggless British Classic
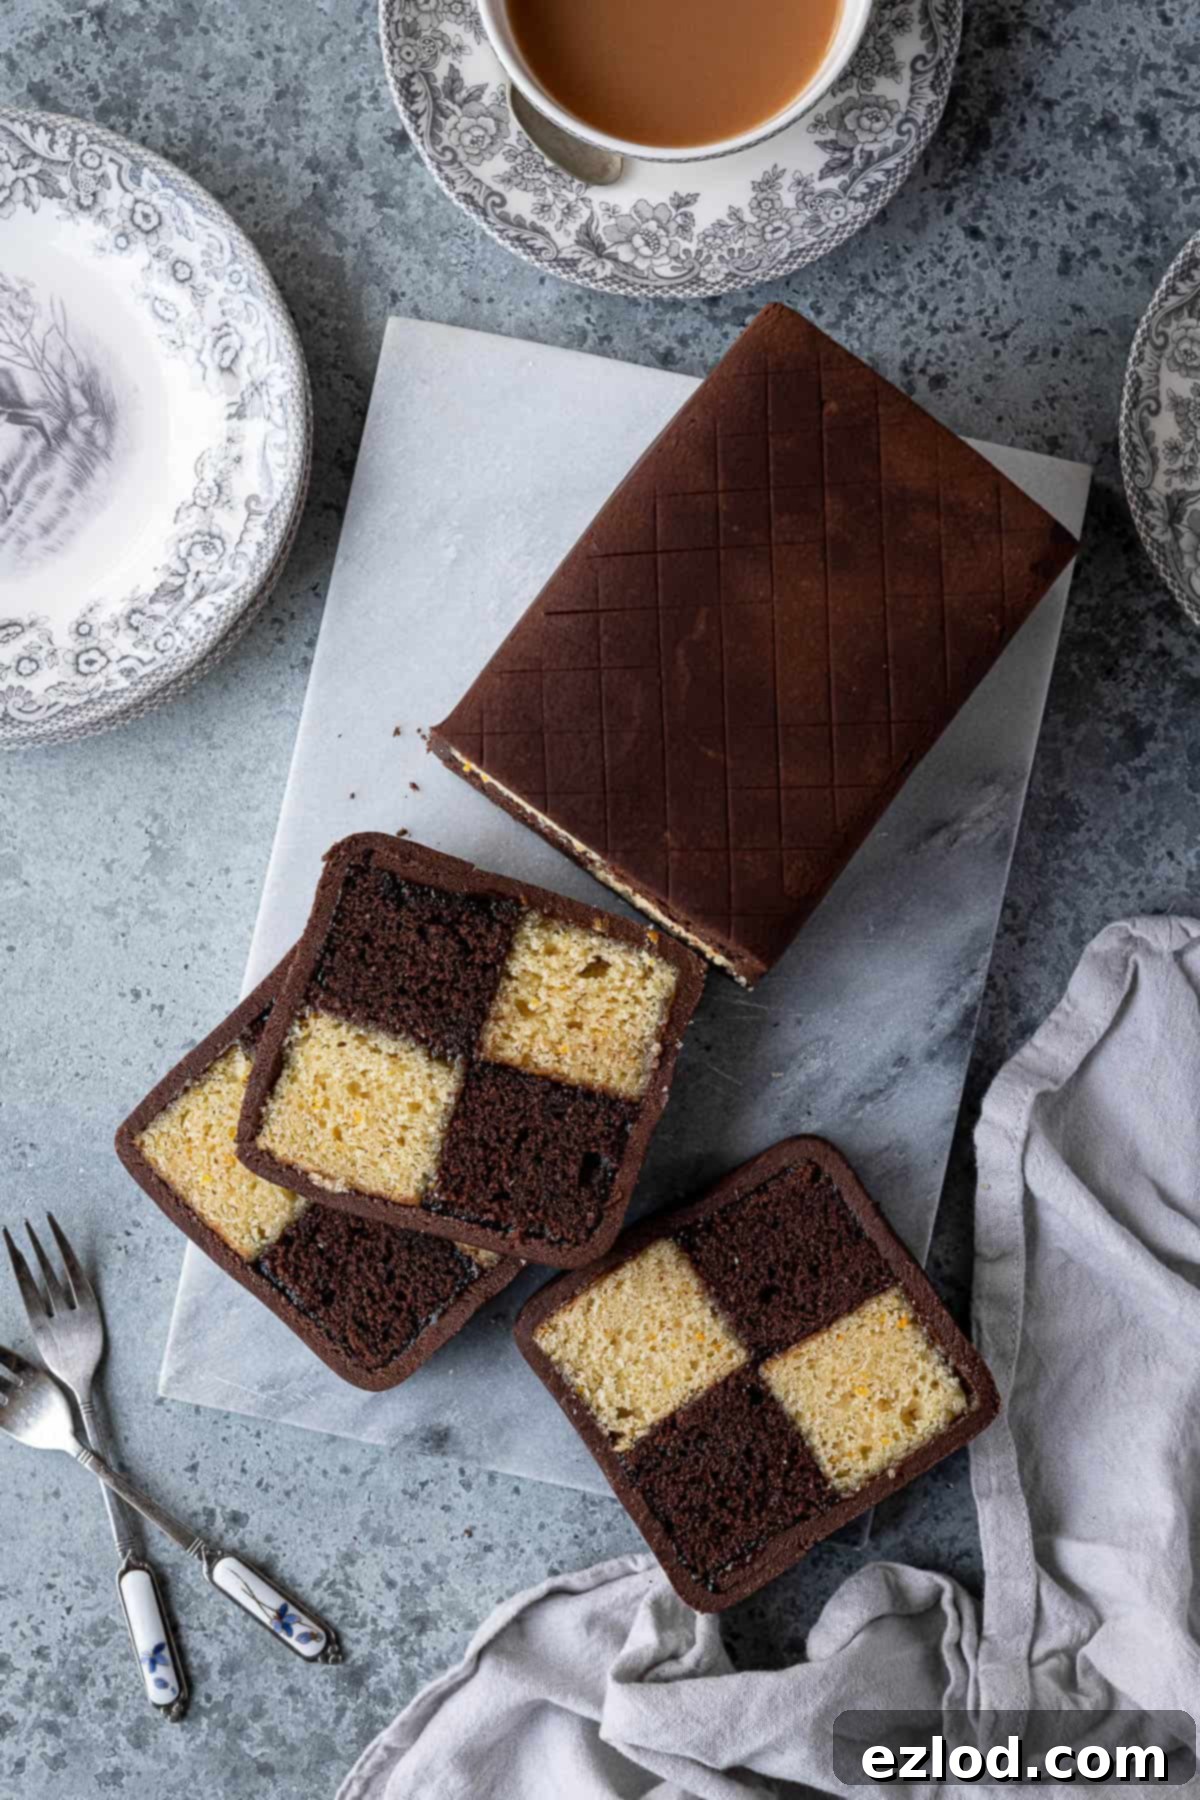
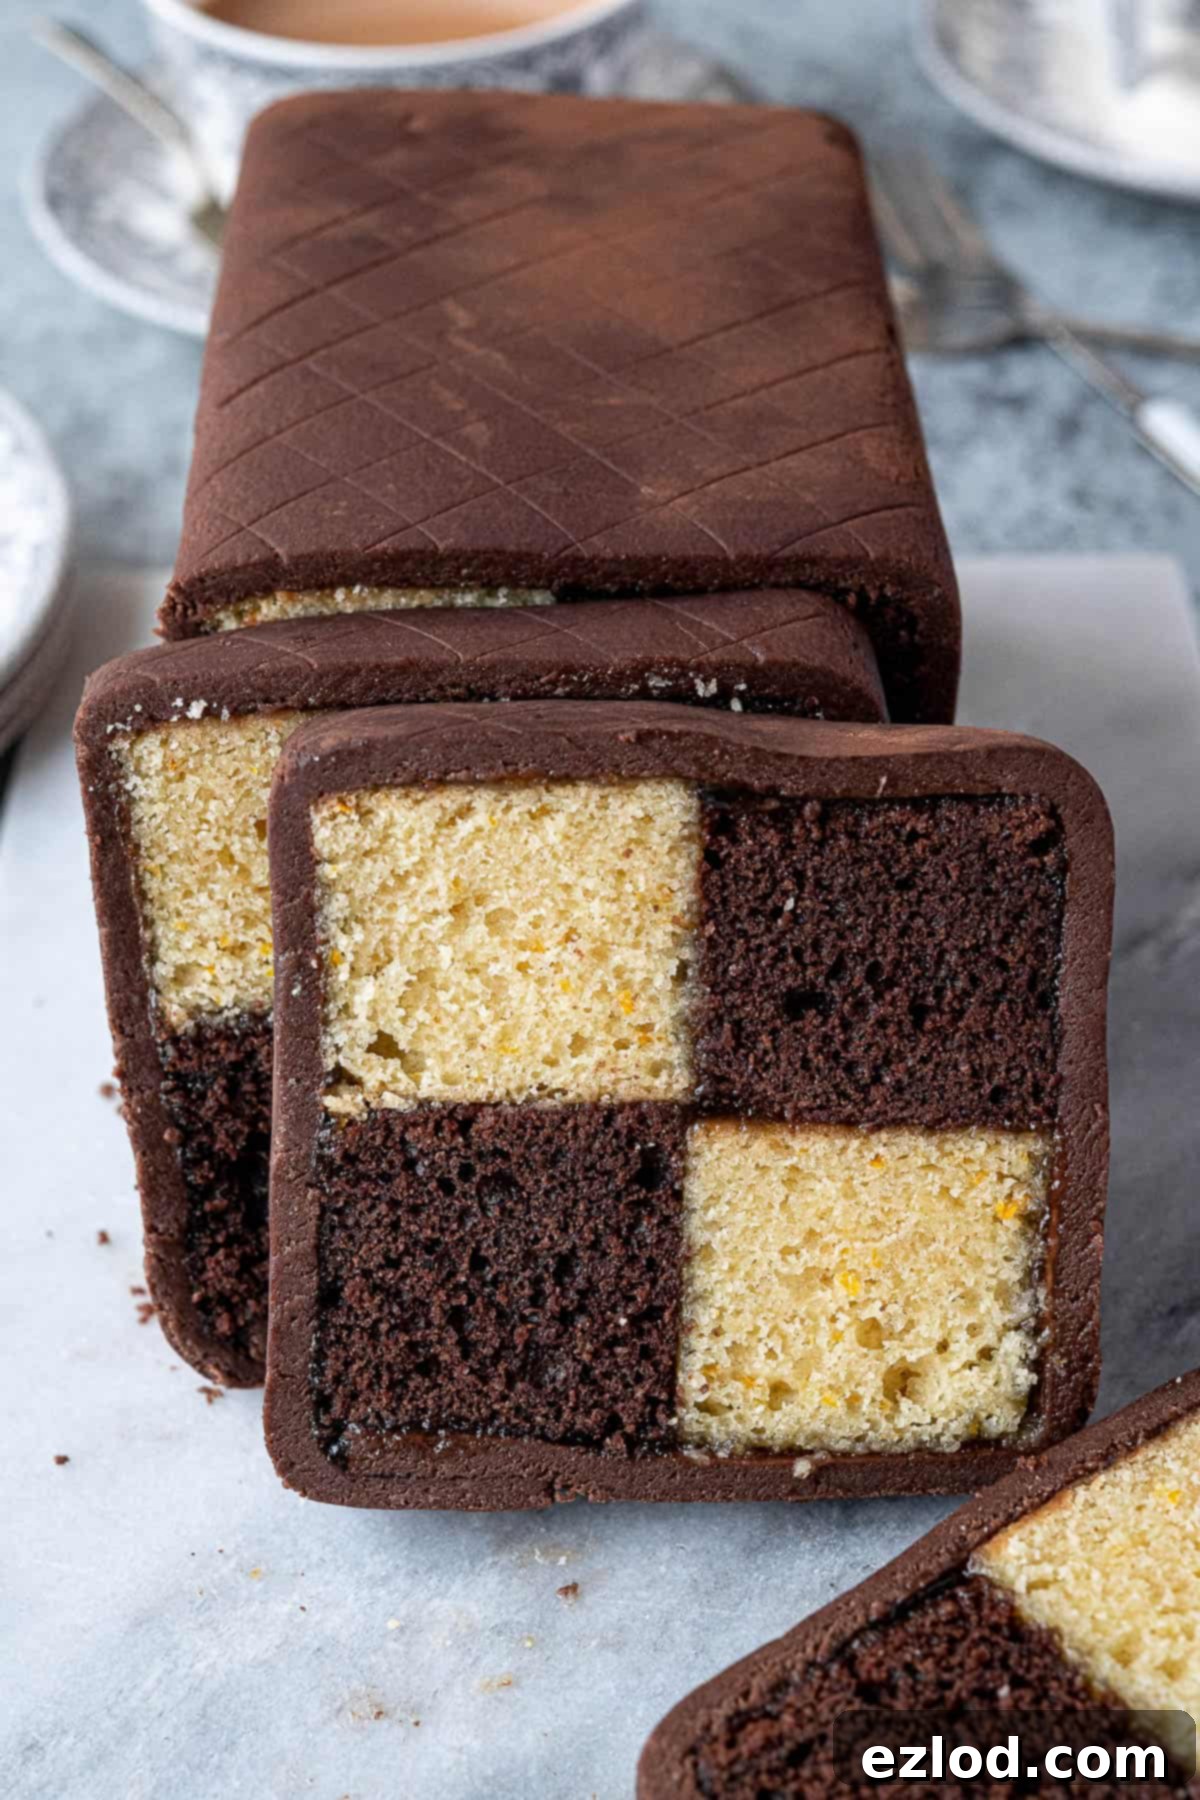
Prepare to fall in love with a delightful twist on a beloved British classic – this incredible Chocolate Orange Battenberg Cake! This recipe transforms the traditional pink and yellow almond sponge into a harmonious blend of rich chocolate and bright orange flavors, all while being completely vegan, eggless, and dairy-free. Imagine light, moist almond sponges, infused with zesty orange and deep cocoa, meticulously arranged in a striking checkerboard pattern, then enveloped in a luscious layer of marzipan. It sounds intricate, but you’ll be pleasantly surprised at how straightforward it is to create this show-stopping dessert right in your own kitchen.
For years, the classic vegan Battenberg recipe has been a firm favorite, celebrated for its delicate almond flavor and charming appearance. Building on that success, I’ve ventured into a new realm of indulgence with this chocolate orange variation, and honestly, the results are simply heavenly! The vibrant combination of chocolate, orange, and almond is truly a match made in culinary heaven, arguably even surpassing the original in its appeal. Each slice offers a perfect balance of flavors and textures: a tender crumb, the sweet tang of marmalade holding the layers together, and a rich, cocoa-dusted marzipan coating that adds an extra layer of decadence. This cake is not just a treat for the taste buds but also a feast for the eyes, making it an ideal center-piece for Easter celebrations, festive gatherings, or any occasion that calls for something truly special. Despite its elegant presentation, you won’t need any specialized equipment – just a standard 20 cm / 8 inch square cake tin, some baking parchment, and a bit of tin foil to guide you.
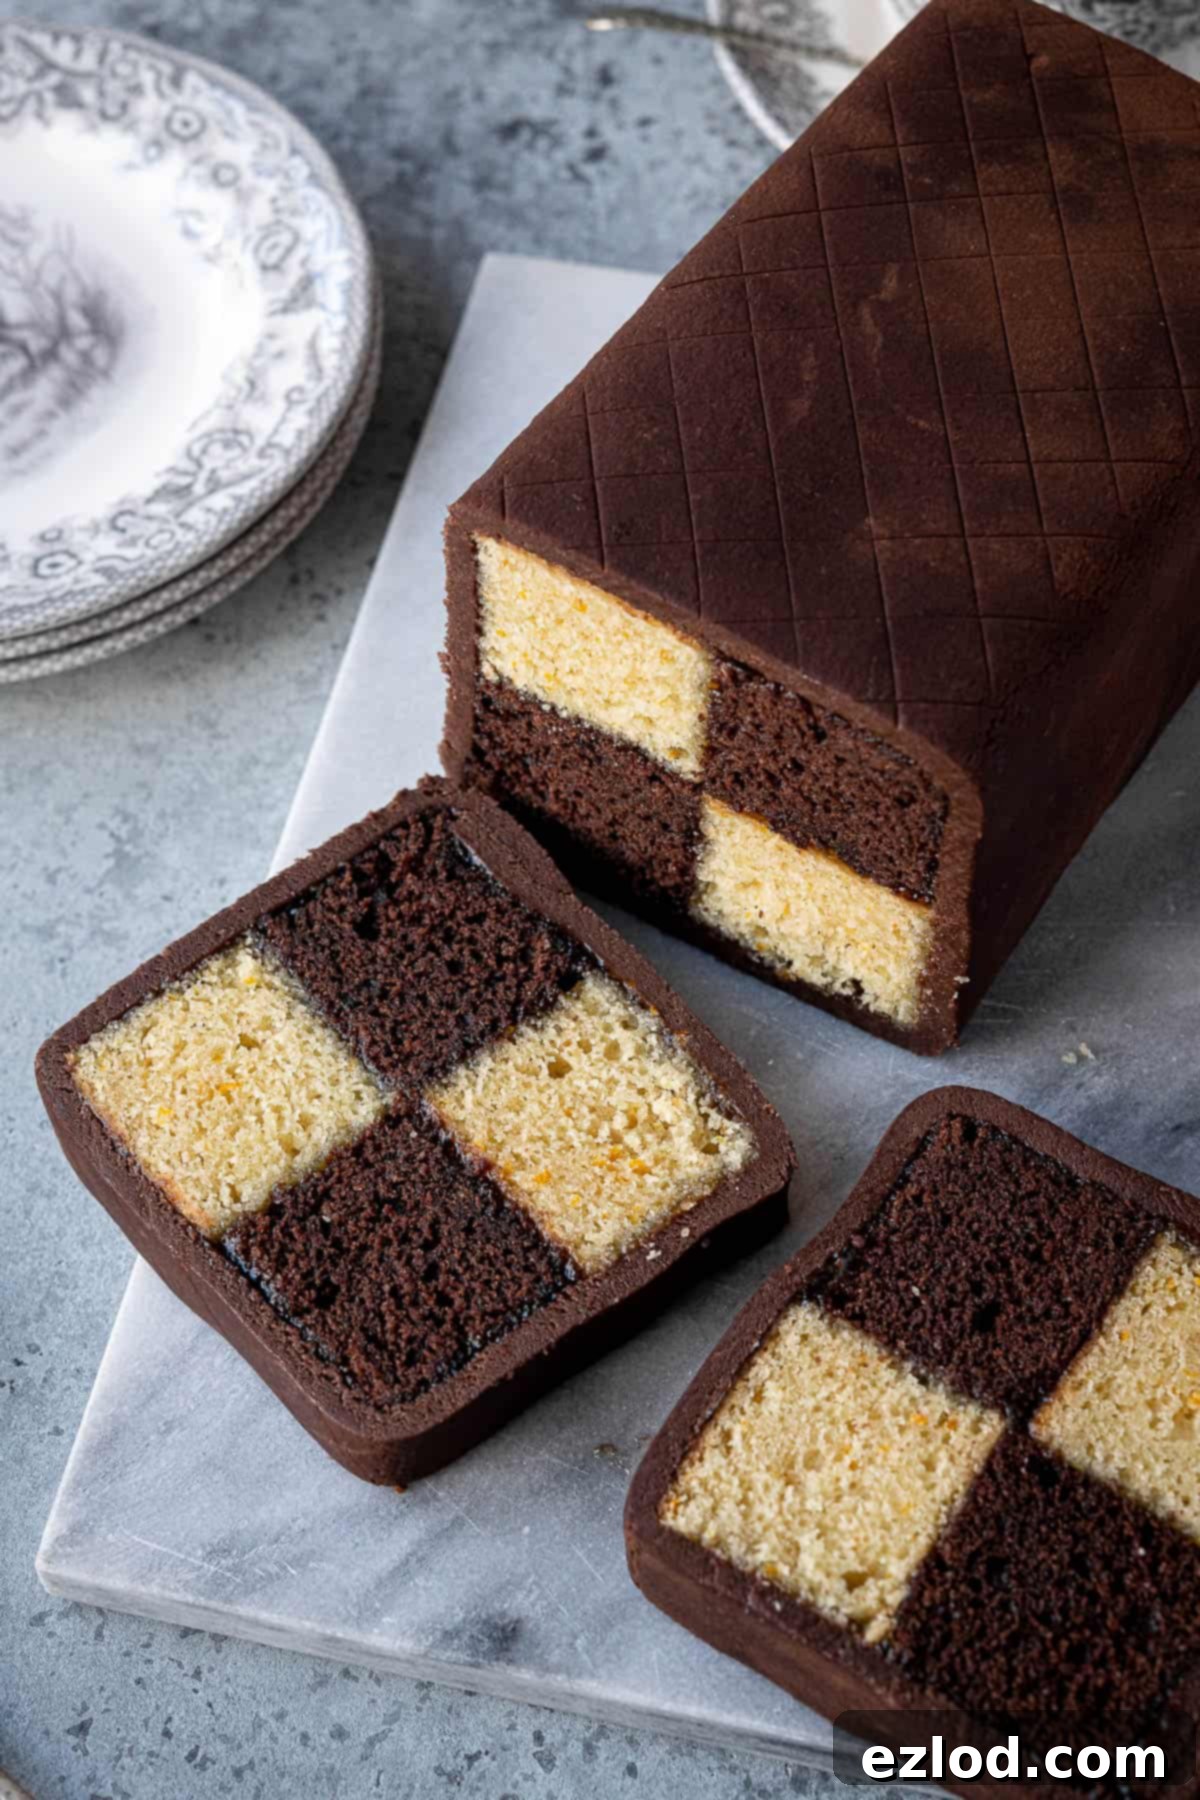
Unveiling the History of Battenberg Cake
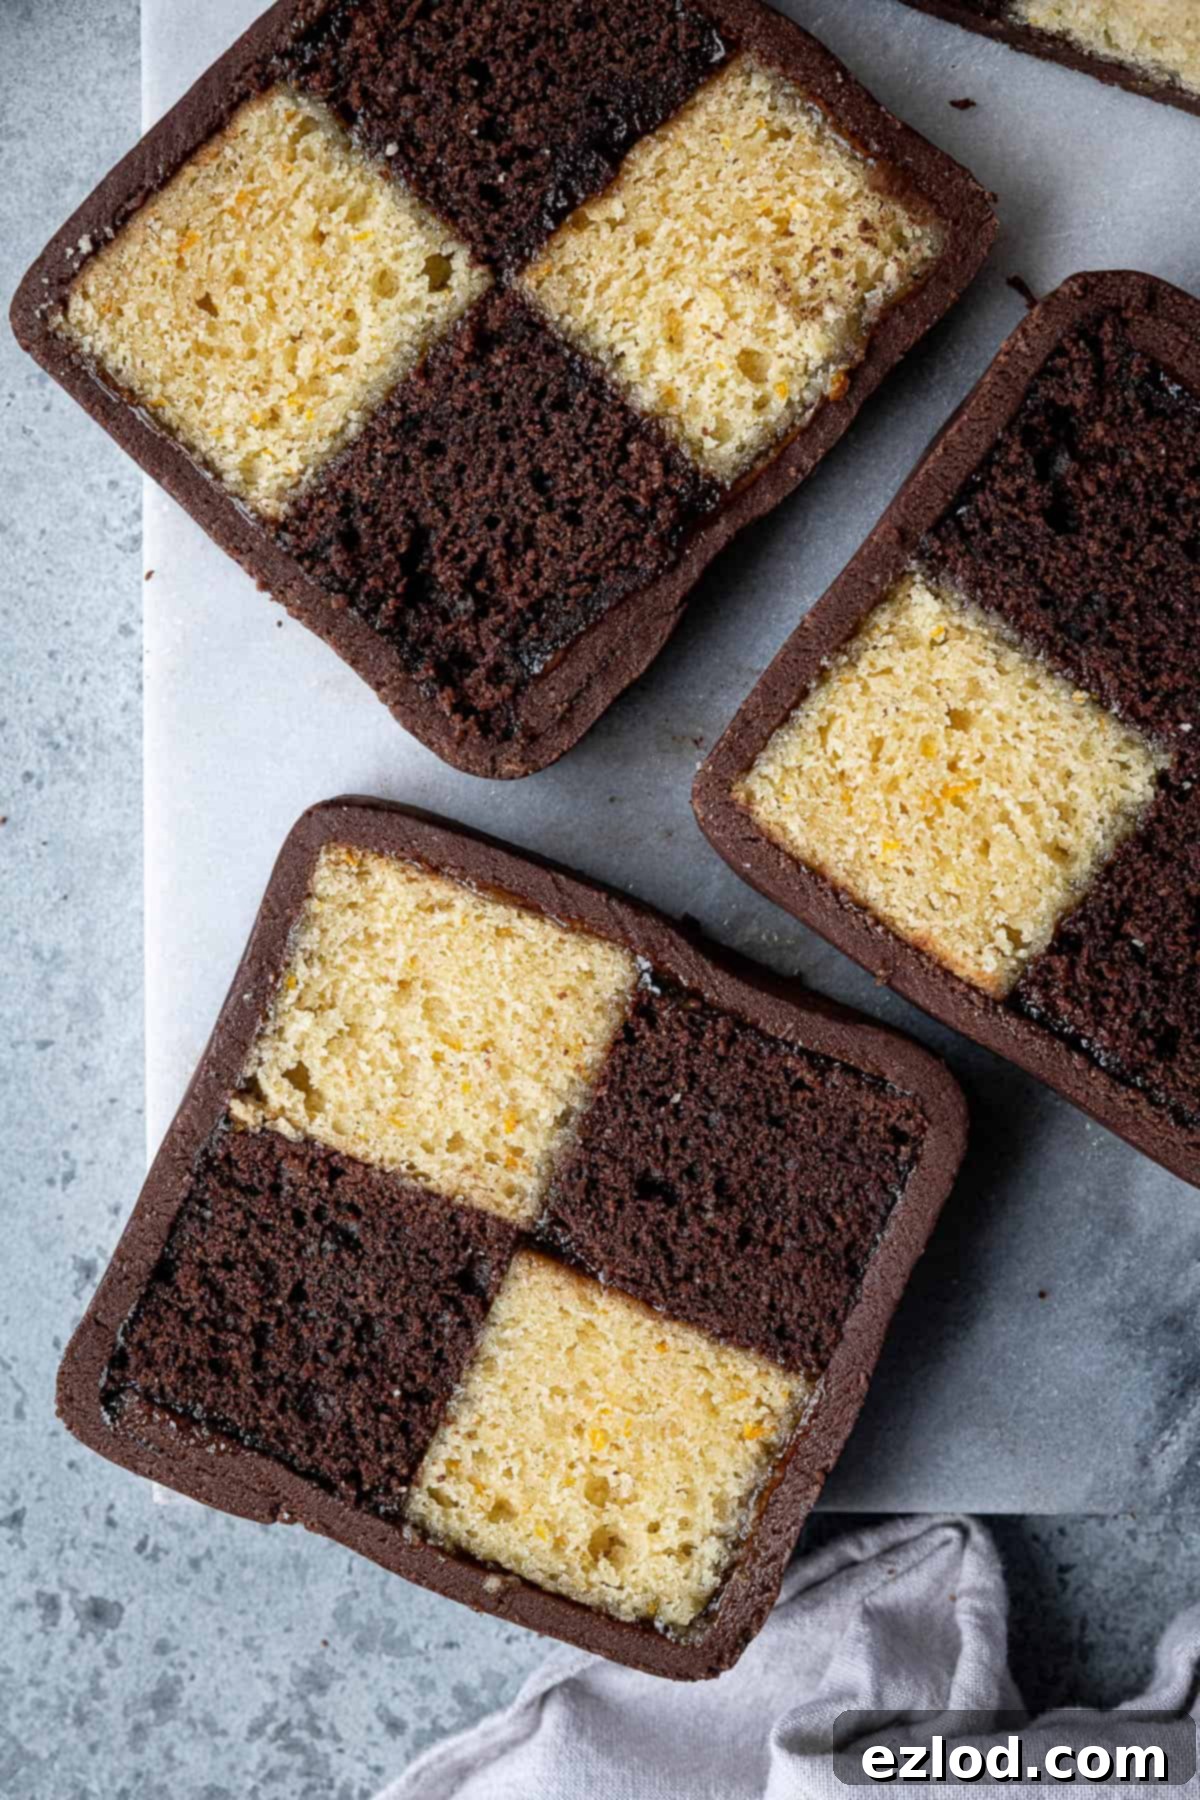
Battenberg cake, often spelled Battenburg, is a quintessential British confectionery that has delighted palates for over a century. Traditionally, it features a light, tender almond sponge cake, dyed distinctively pink and yellow, which are then cut and assembled into a charming checkerboard pattern. This colorful mosaic is then lovingly wrapped in a blanket of sweet marzipan, giving the cake its iconic appearance.
While early versions of the Battenberg cake sometimes boasted an impressive nine squares, modern iterations have largely adopted a simpler, more manageable four-square pattern. This adaptation likely stemmed from the practicality of mass production, making the cake more accessible and easier to slice. The origins of this beloved cake are shrouded in a touch of mystery and some friendly historical debate. The most widely accepted, though not definitively proven, tale suggests that the Battenberg cake was first created in 1884. Its purpose was to commemorate the marriage of Prince Louis of Battenberg to Princess Victoria of Hesse and by Rhine, who was a granddaughter of Queen Victoria and the grandmother of Prince Philip, Duke of Edinburgh. However, concrete documentary evidence to unequivocally support this romantic origin story remains somewhat elusive, adding to the cake’s charming mystique. Regardless of its exact birth, the Battenberg cake has firmly cemented its place in British culinary heritage as a delightful treat for all ages.
Essential Ingredients for Your Vegan Chocolate Orange Battenberg Cake
Crafting this vegan chocolate orange Battenberg cake requires a few key ingredients, each playing a vital role in achieving its perfect texture, flavor, and appearance. Here’s a detailed look at what you’ll need:
- Self-raising Flour plus Baking Powder: For the best, most tender crumb, a combination of self-raising flour and a little extra baking powder is crucial. This provides the ideal lift and structure for a sturdy yet delicate sponge that’s easy to trim and assemble. I highly recommend sticking to this combination for optimal results.
- Ground Almonds: As with my classic Battenberg recipe, ground almonds are indispensable. They don’t just add a wonderful, nutty flavor that complements the chocolate and orange beautifully, but also contribute significantly to the cake’s moist and tender texture. Do not skip them!
- Sugar: Caster sugar or superfine sugar is the preferred choice here. Its fine granules dissolve easily, ensuring a smooth batter and an evenly sweet cake. Granulated sugar can also be used if caster sugar is unavailable.
- Vegan Block Butter: The type of vegan fat you use makes a difference. Melting a solid block of vegan butter (such as Naturli Vegan Block or Flora Plant Butter) instead of oil helps create a slightly sturdier cake. This robust texture is essential for clean trimming and stable stacking, which are key to Battenberg’s signature checkered pattern.
- Non-Dairy Milk: Any unsweetened non-dairy milk will work perfectly. I personally find that soy milk yields the best results, contributing to a rich and moist crumb. Almond milk or oat milk are also excellent alternatives. Ensure it’s unsweetened to control the cake’s sweetness.
- Orange and Vanilla Extracts: To truly amplify the orange flavor, a combination of orange extract and fresh orange zest is used. The extract provides a concentrated citrus punch, while the zest offers bright, aromatic notes. It’s important to avoid substituting orange juice, as its acidity can alter the cake’s pH balance, potentially affecting the texture and even causing the cake to fail.
- Orange Zest: Always opt for unwaxed oranges when zesting. The wax coating found on many conventional oranges is often not vegan and is generally not ideal for consumption.
- Cocoa Powder: For a deep, rich chocolate flavor and color, Dutch-processed cocoa powder is ideal. In the UK, this is often simply labeled as ‘cocoa powder.’ Its darker hue and smoother taste are perfect for the chocolate sponge layer.
- Marmalade: Beyond adding a burst of tangy orange flavor, marmalade serves as the crucial adhesive that binds the cake layers together and secures the marzipan. Shredless marmalade is recommended for a smoother application and cleaner finish; if you can’t find it, you can gently warm and strain regular marmalade to remove the larger shreds.
- Marzipan: The iconic outer layer of Battenberg! I like to mix a little cocoa powder into the marzipan for a complementary chocolate flavor and an attractive dark coating, but this step is entirely optional. When purchasing marzipan, always check the label carefully to ensure it’s vegan-friendly, as some brands may occasionally contain egg.
Step-by-Step Guide: How to Make Chocolate Orange Battenberg Cake
(For precise measurements and detailed instructions, please refer to the comprehensive recipe card at the bottom of this page.)
Preparing the Tin and Batter
First, preheat your oven to 180°C (160°C fan/350°F/Gas Mark 4) and lightly grease a 20 cm / 8 inch square cake tin. Proper tin preparation is key for perfectly shaped cakes.
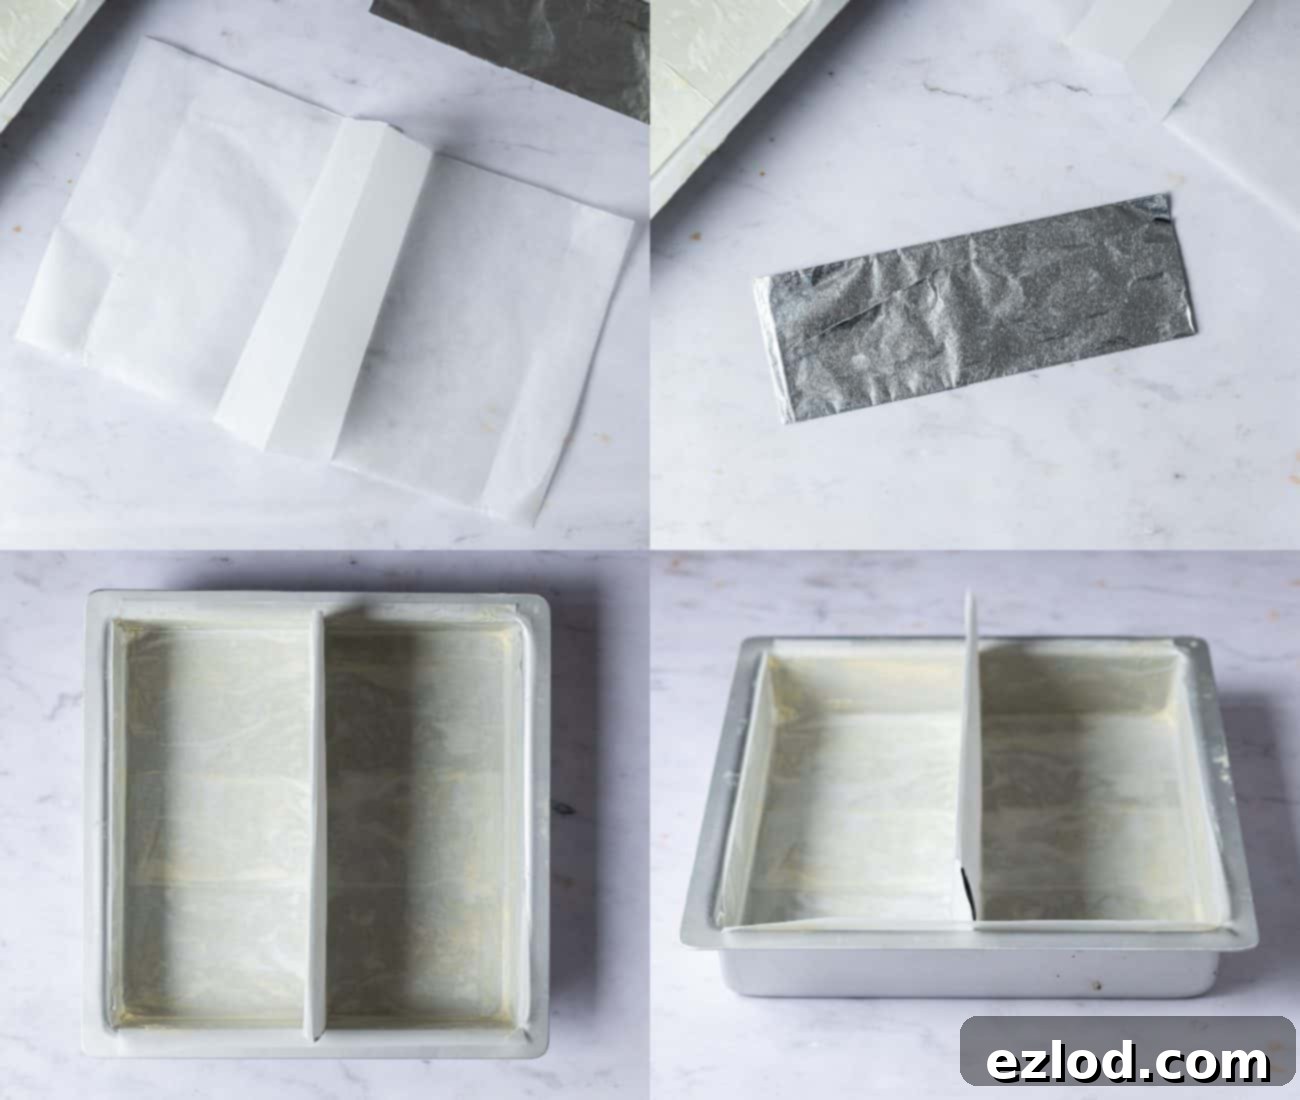
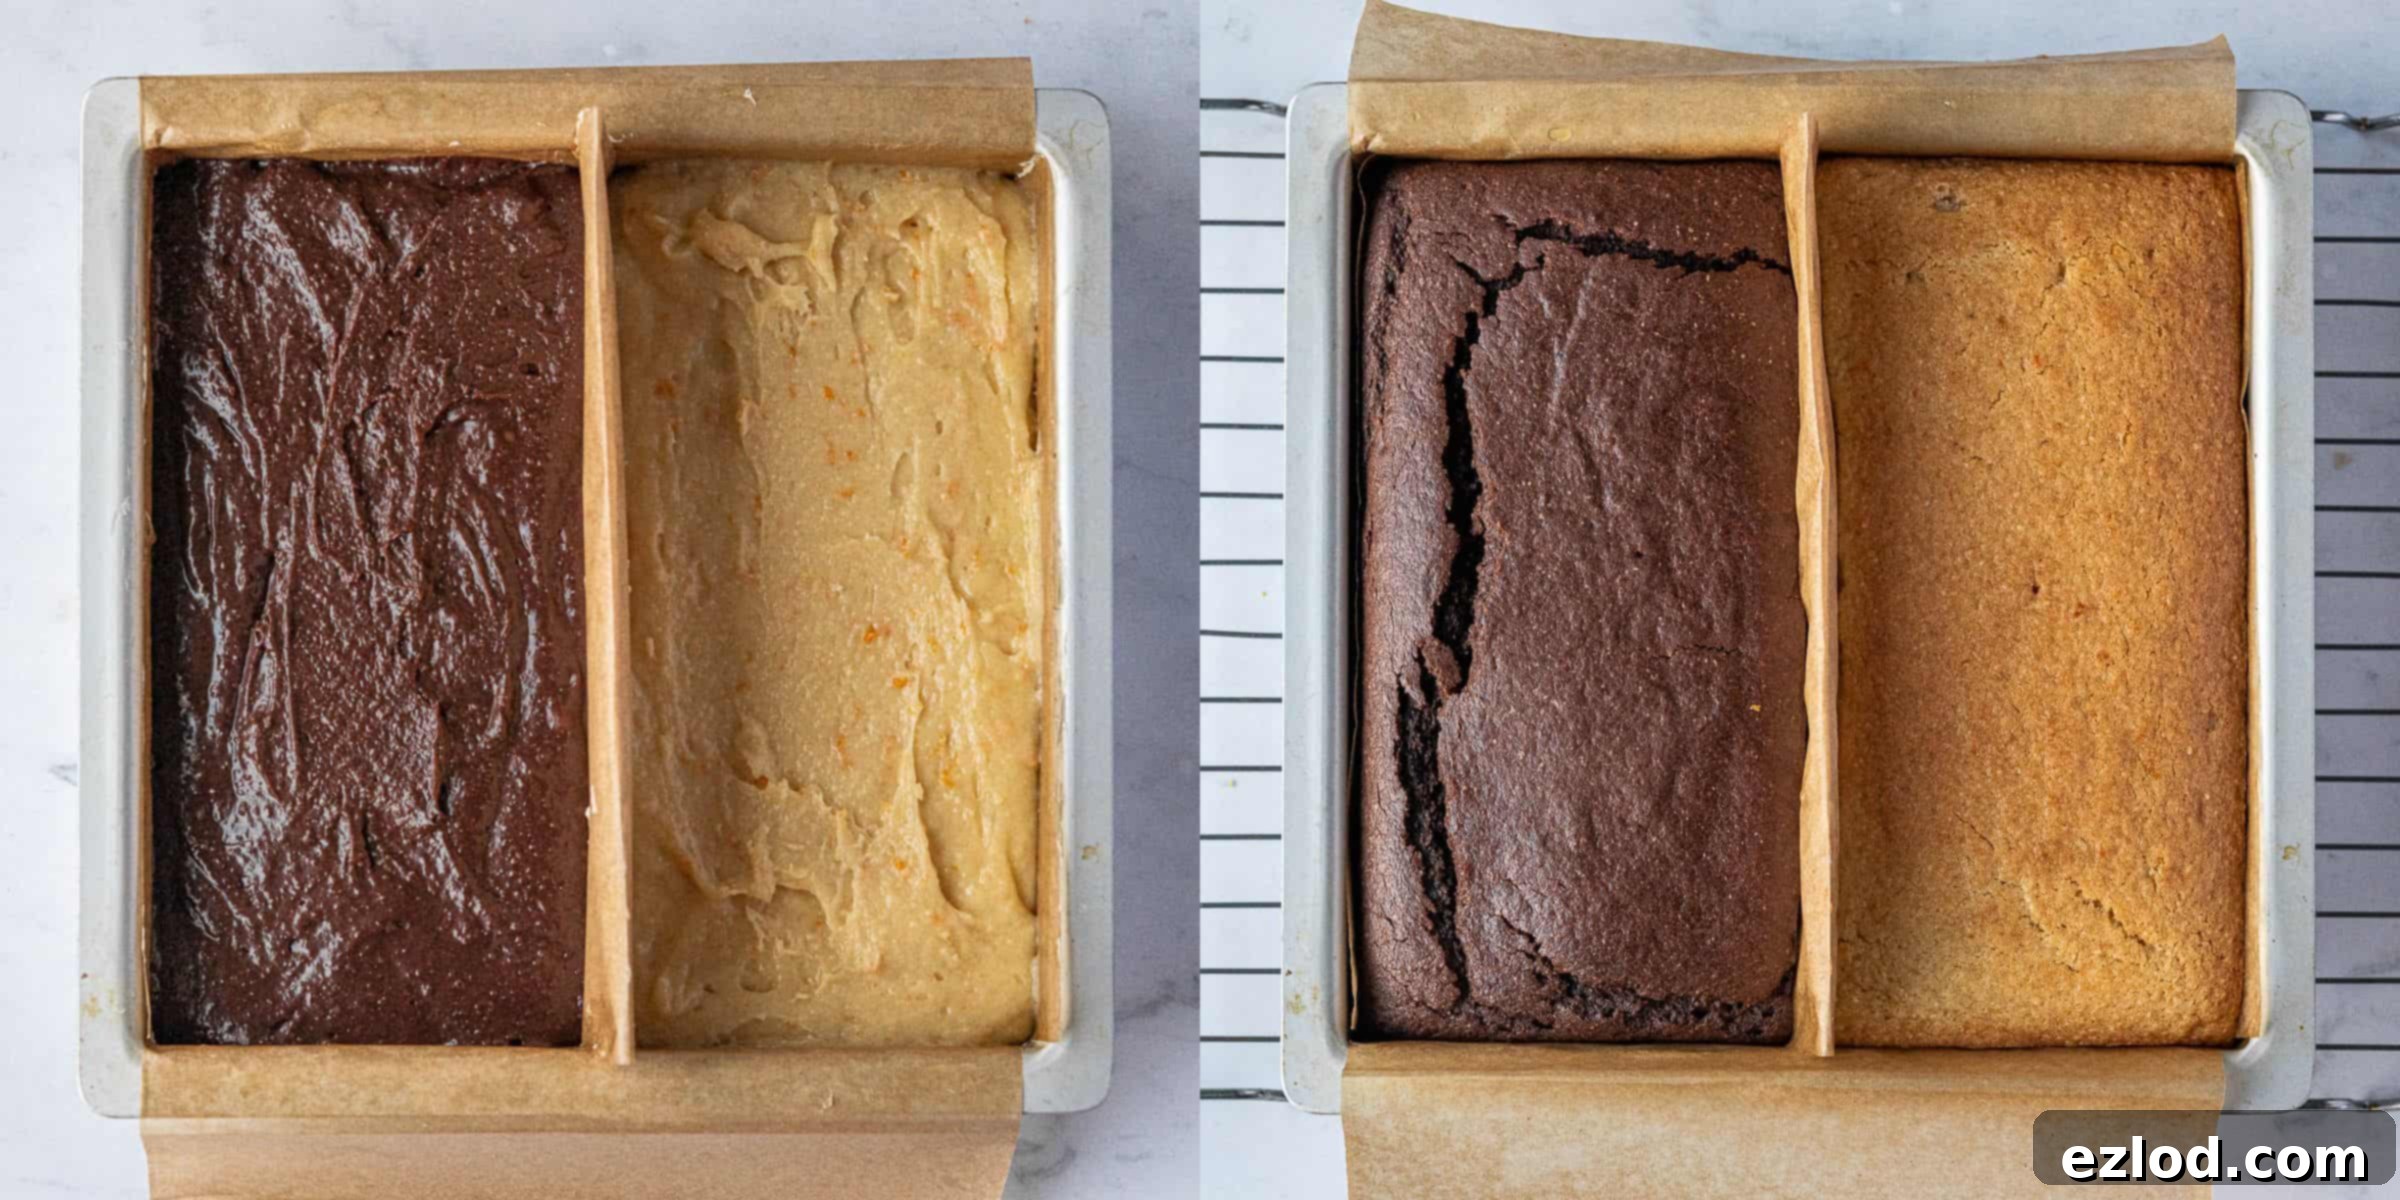
Next, prepare your parchment and foil divider. Cut a piece of baking parchment roughly 20x40cm, about twice the width of your tin. Fold it in half widthways, then gently push up the center fold to create a pleat that’s at least as high as your cake tin. Now, fold a piece of tin foil several times until it forms a thick, sturdy strip the same width as your tin and the same height as the parchment pleat. Insert this foil strip inside the parchment pleat. Carefully use this assembly to line your tin, ensuring the pleat runs precisely down the center, effectively dividing your square tin into two equal, smaller compartments. This ingenious method ensures you bake two separate cake flavors simultaneously in one tin. For non-stick tins, you might only need to line the pleated sides, but for others, add parchment strips to the remaining two sides.
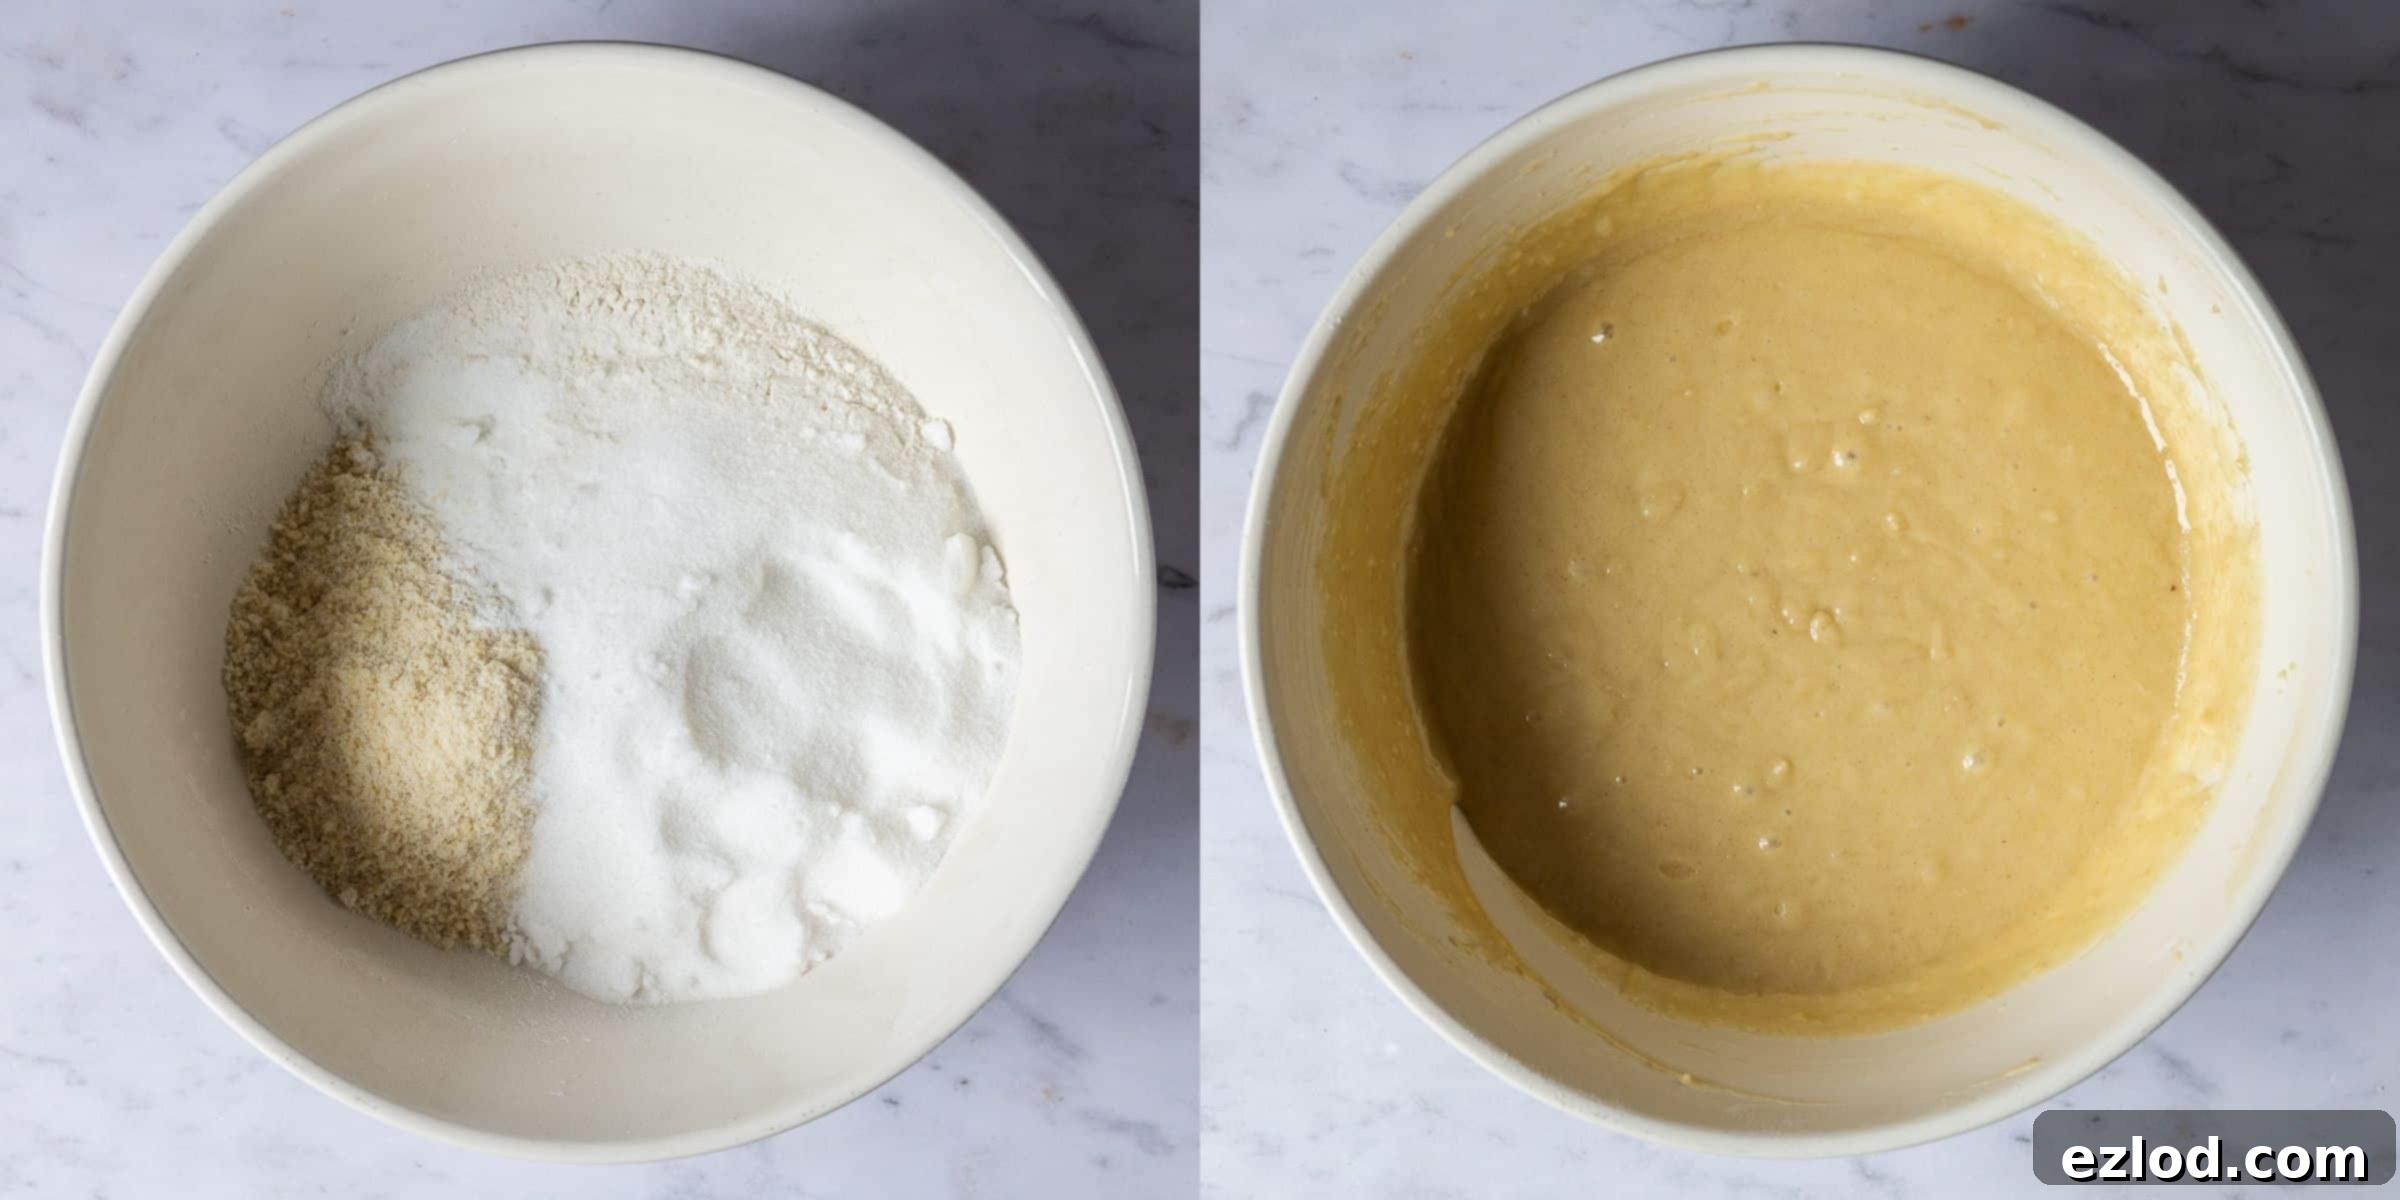
In a large mixing bowl, combine the dry ingredients: self-raising flour, caster sugar, ground almonds, baking powder, and a pinch of salt. Whisk them thoroughly to ensure they are well distributed and aerated, which contributes to a lighter cake texture.
Now, add the wet ingredients to the dry: the melted vegan butter, non-dairy milk (preferably at room temperature), and vanilla extract. Stir everything together gently until a smooth, uniform batter forms. Be careful not to overmix, as this can develop the gluten too much and lead to a tougher cake.
For precise and equally sized cake layers, use a kitchen scale to divide the batter accurately. Carefully pour exactly half of the batter into a separate bowl. Into this bowl, stir in the orange zest and orange extract until fully incorporated. This will be your vibrant orange sponge.

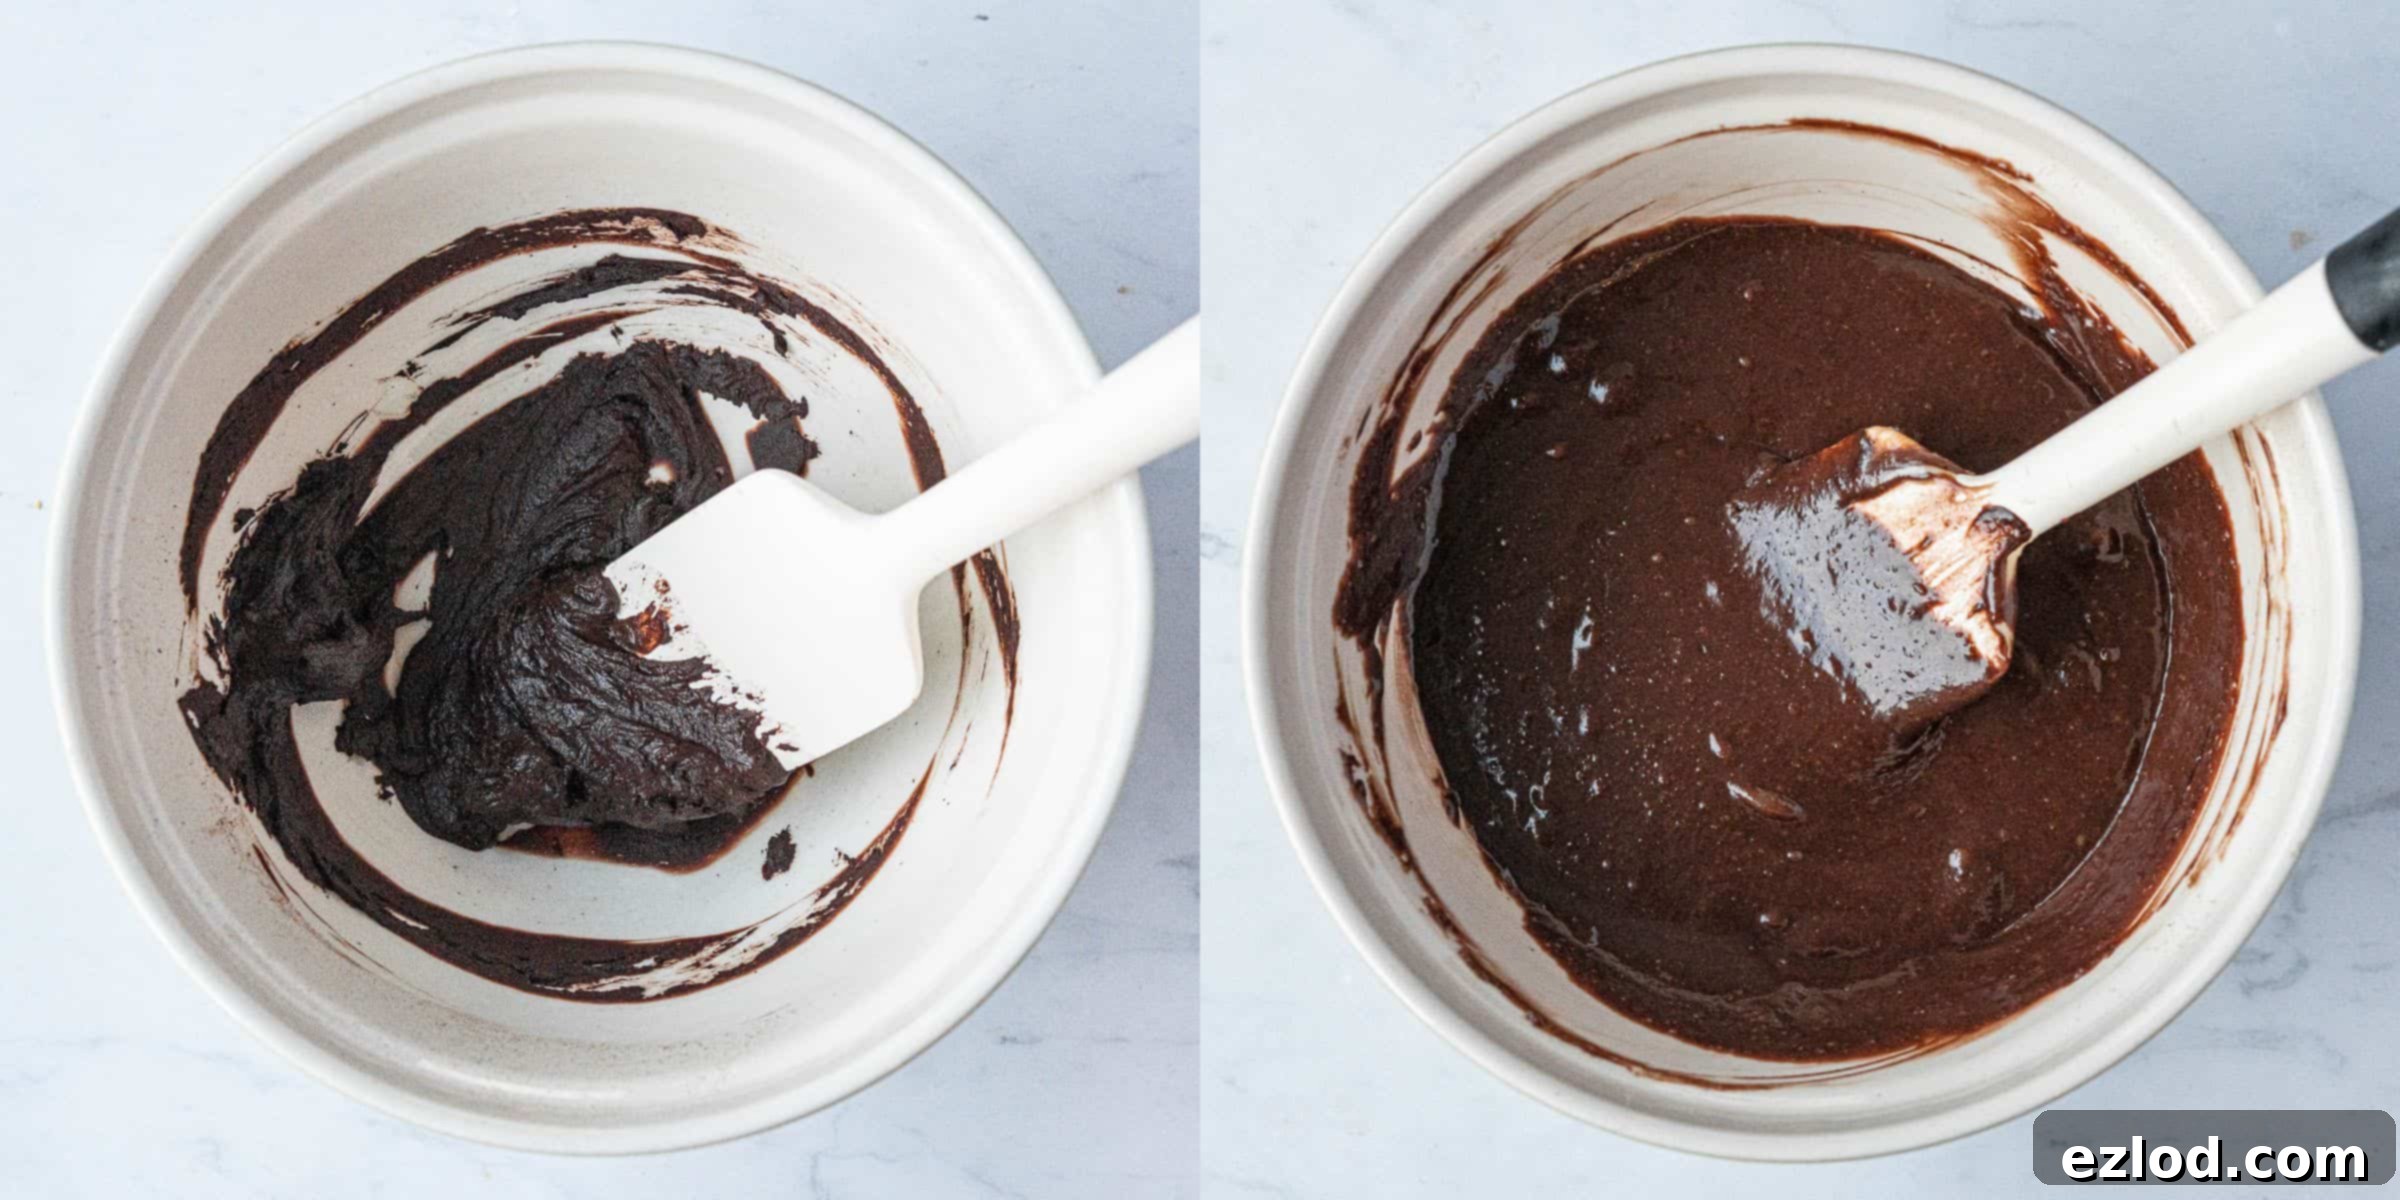
In another small bowl, mix the cocoa powder with boiling water to form a smooth, thick paste. This step helps prevent lumps and ensures a rich color and flavor. Add this cocoa paste to the remaining half of the batter and fold it in gently until the chocolate mixture is uniform in color. This will be your decadent chocolate sponge.
Carefully spoon or scrape the chocolate batter into one half of your prepared tin, ensuring it fills the compartment evenly. Repeat with the orange batter in the other half. Gently spread both batters level, then transfer the tin to your preheated oven. Bake for approximately 30-35 minutes, or until a skewer inserted into the center of each cake comes out clean, indicating they are fully cooked. The cakes should be lightly golden and spring back to the touch.
How To Assemble Your Battenberg Masterpiece
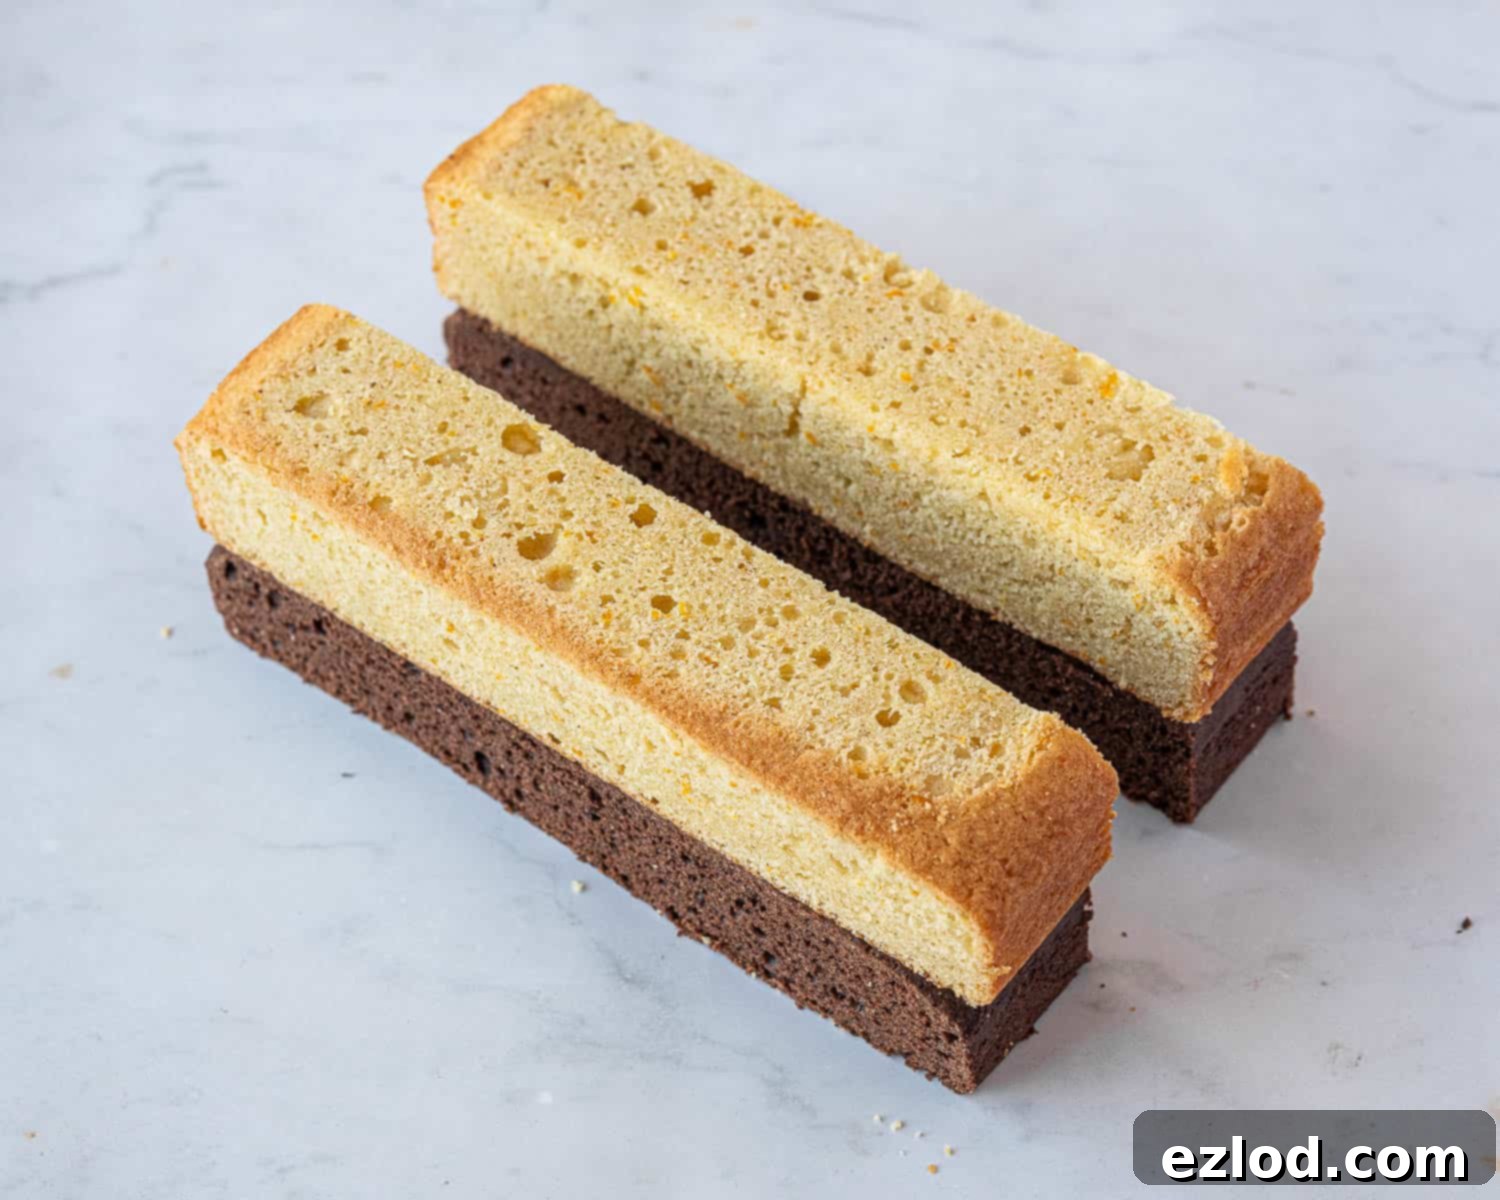
Patience is key for a beautifully assembled Battenberg. Once your cakes are completely cool (this can take several hours, or you can bake them the day before), carefully trim the tops to ensure they are perfectly flat and level. It’s crucial that both cakes are exactly the same height to achieve a uniform checkerboard pattern. If your cakes are warm, they will be too delicate to handle and trim neatly.
Next, place one cake directly on top of the other. Using a sharp, long knife, carefully trim the long edges to neaten them and ensure they are perfectly straight. For a truly professional finish and to achieve ideal square pieces, measure the height of your trimmed cakes. For instance, if your cakes are 4cm high, you’ll want to trim the width so they are twice as wide, i.e., 8cm. Then, slice each cake in half lengthways, resulting in four long, identical strips: two chocolate and two orange, each measuring your desired width (e.g., 4cm wide and 4cm high).
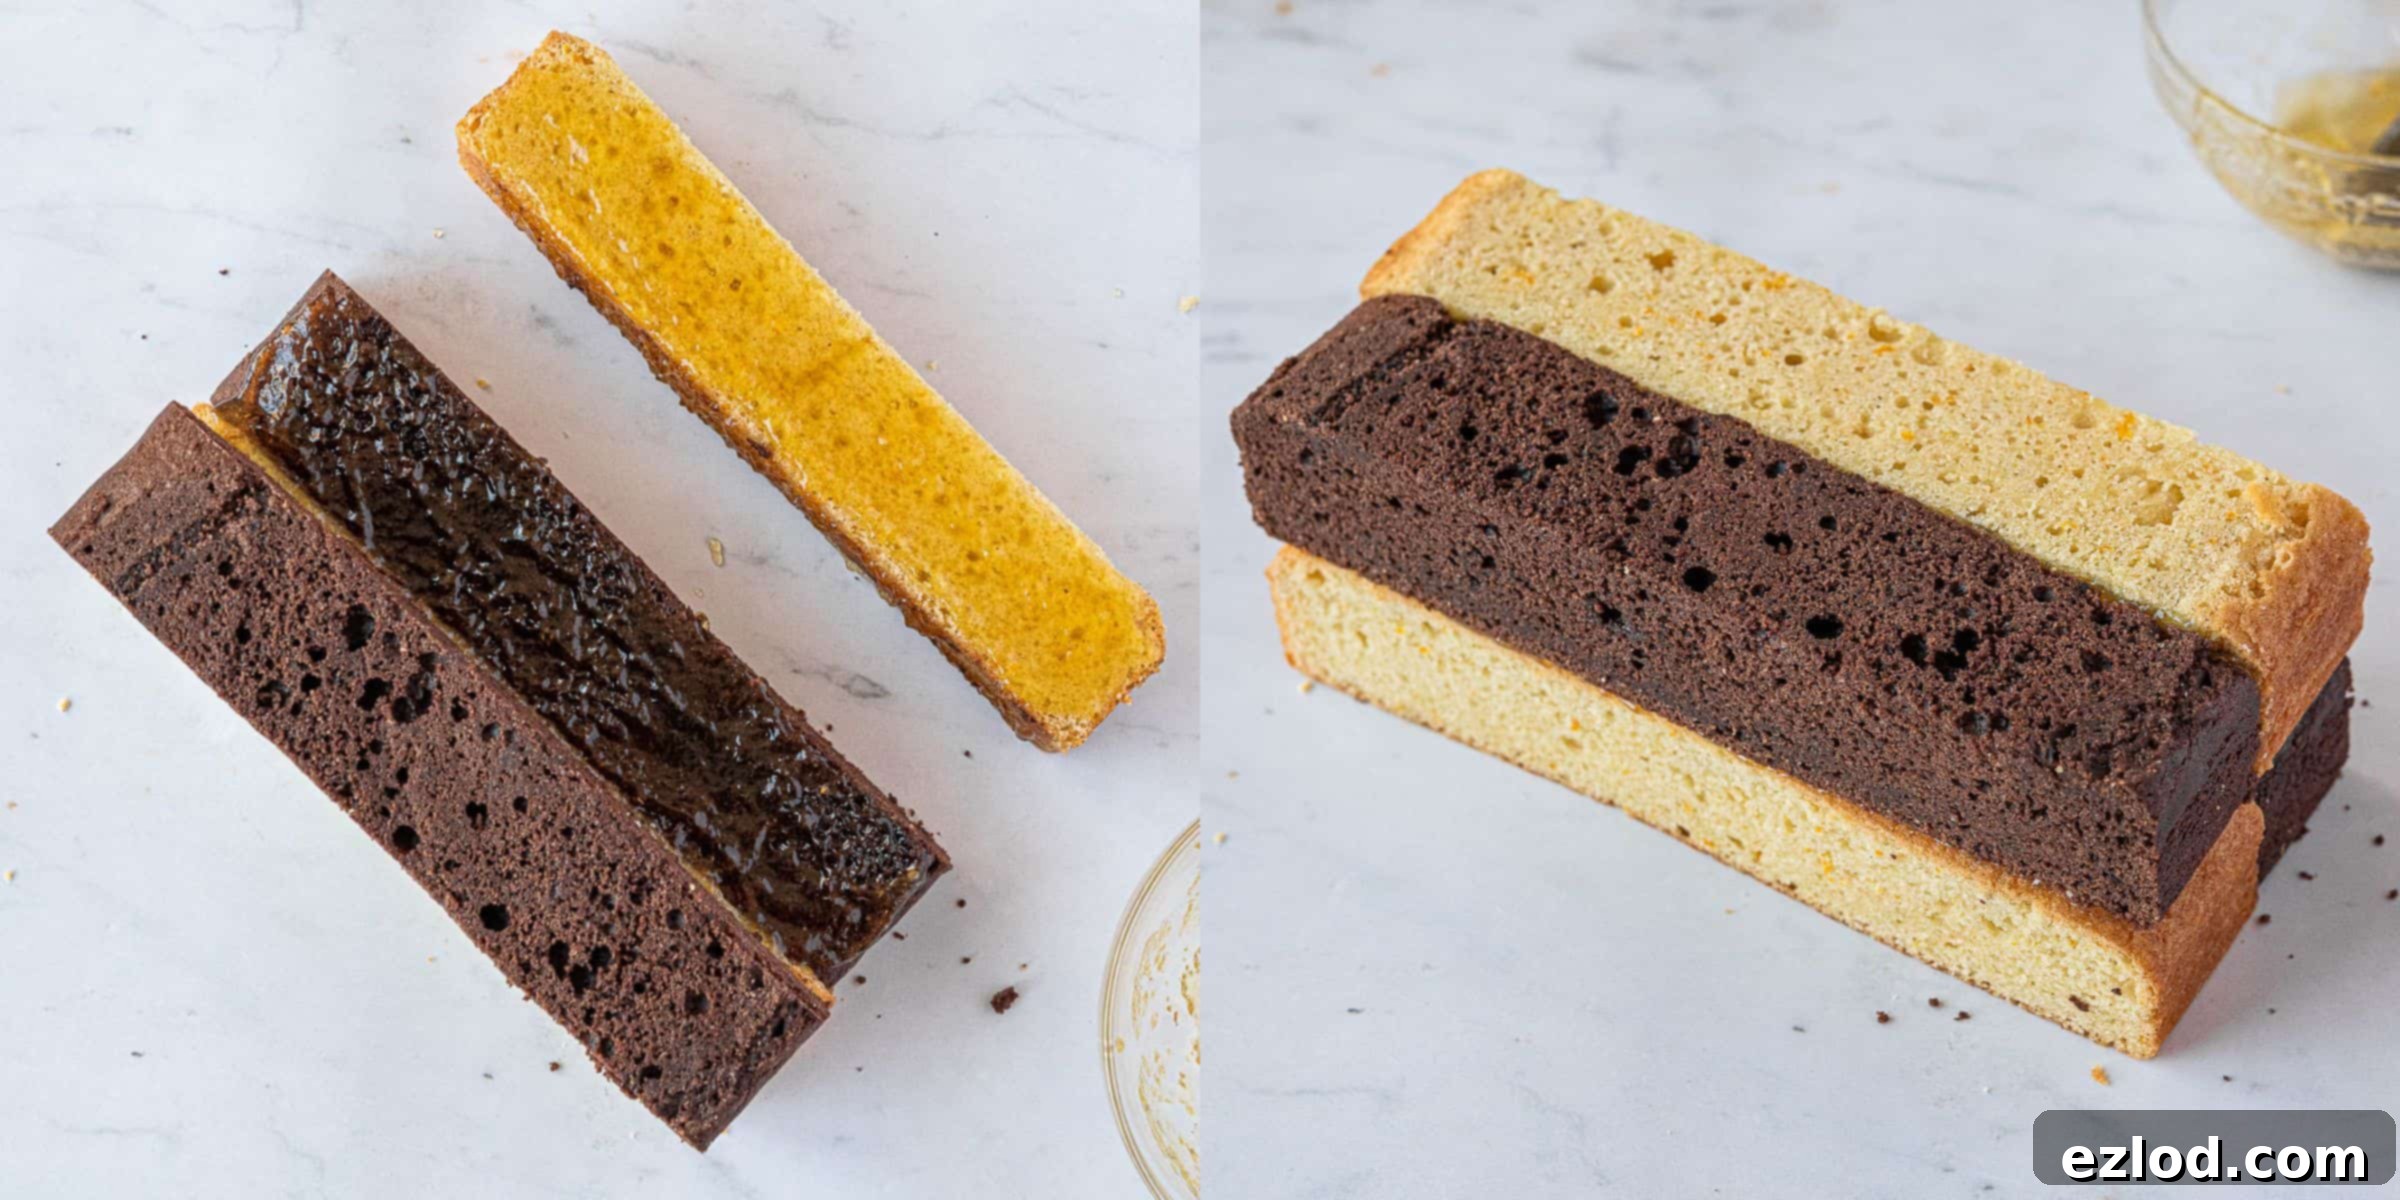
Now comes the fun part – assembling the checkerboard! Gently warm your shredless marmalade for a few seconds in the microwave if it’s too thick to spread easily. Spread a thin, even layer of marmalade along the long side of one chocolate cake strip. Carefully press an orange cake strip against it, ensuring they are perfectly aligned. Repeat this process for the second pair of chocolate and orange strips. Then, spread a thin layer of marmalade over the top of both assembled strips. Carefully place the remaining two strips on top, spreading more marmalade in between them to secure them. The goal is to create a pattern where chocolate sits above orange and orange sits above chocolate, forming the classic Battenberg checkerboard.
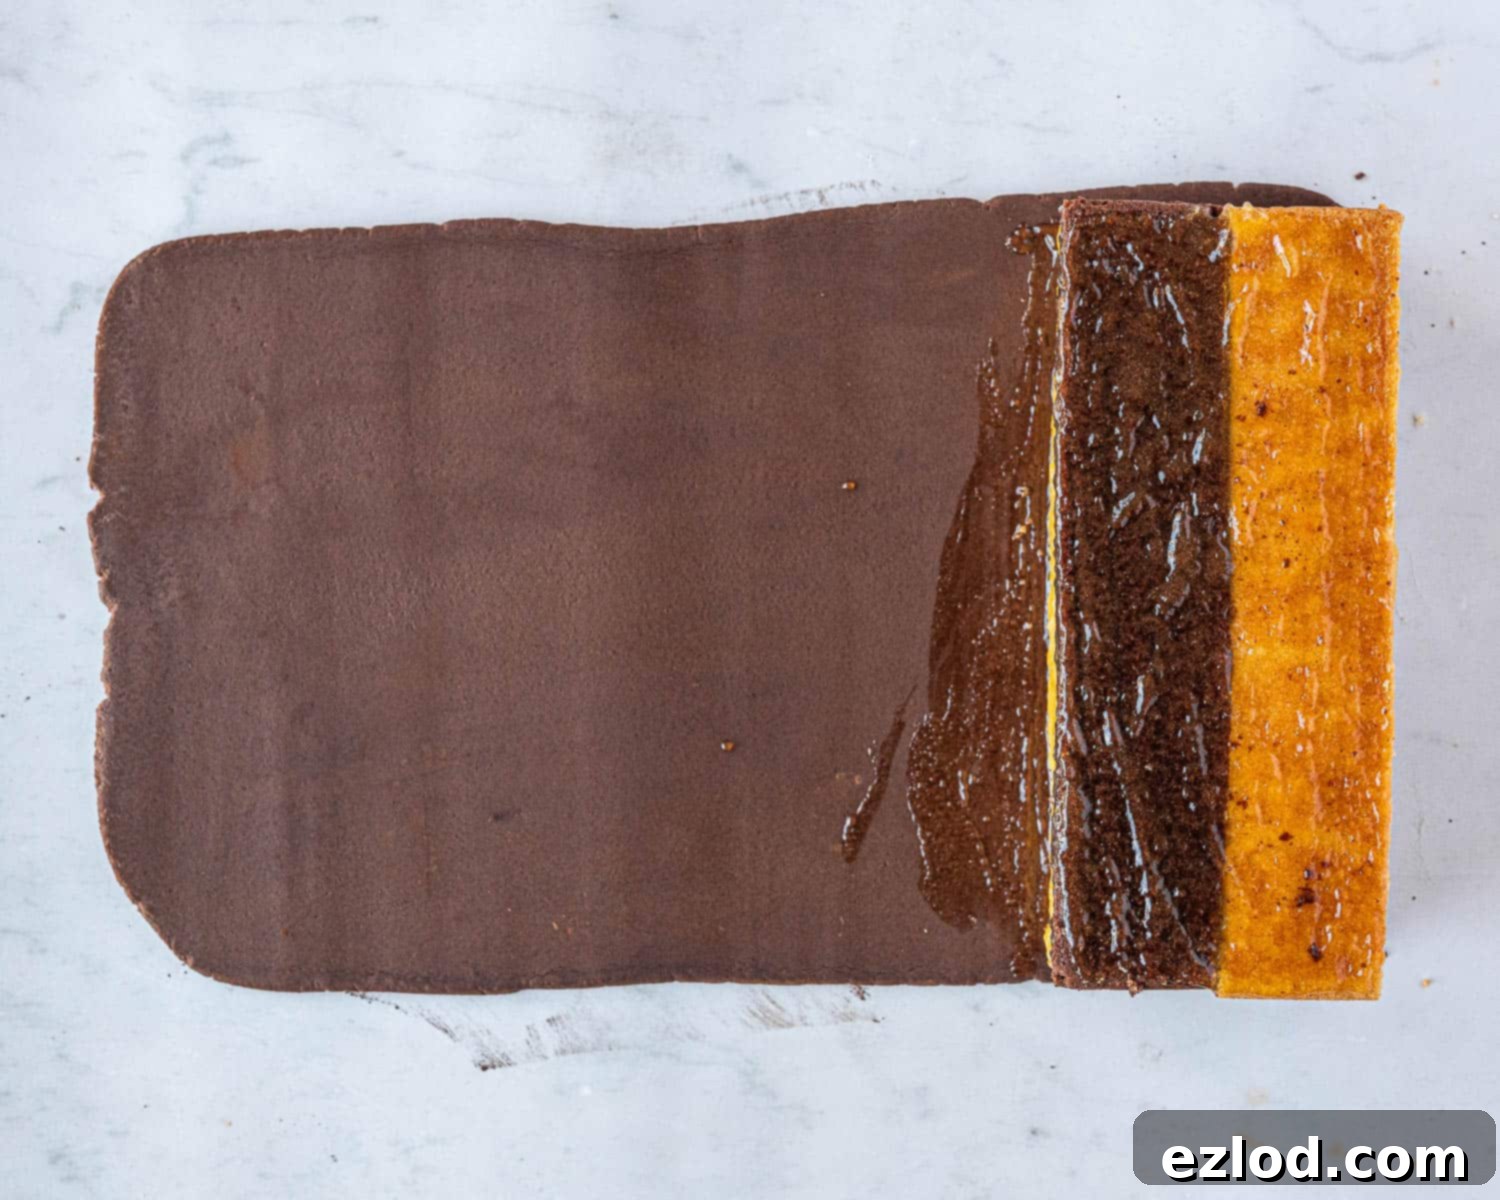
For the marzipan coating: if you desire chocolate marzipan, sprinkle the optional cocoa powder over your marzipan and knead it thoroughly until the color is consistent. If it feels too dry, add a tiny drop of water to help it combine. Lightly dust your work surface with icing sugar or a little extra cocoa powder (if using chocolate marzipan). Roll out the marzipan into a large rectangle, approximately 20x40cm, ensuring it’s thin enough to wrap your cake but not so thin that it tears. Trim one of the short edges of the marzipan to create a neat starting line.
Spread a thin layer of marmalade over the entire top and sides of your assembled cake block (leaving the short ends bare for now). Place the marmalade-coated cake, marmalade-side down, against the trimmed short edge of the rolled-out marzipan. Ensure it’s centered. Spread marmalade over the rest of the cake’s exposed surfaces.
Carefully and firmly roll the cake up in the marzipan, making sure it’s fully encased and snugly wrapped. The marzipan should adhere smoothly to the marmalade-coated cake, with no air bubbles.
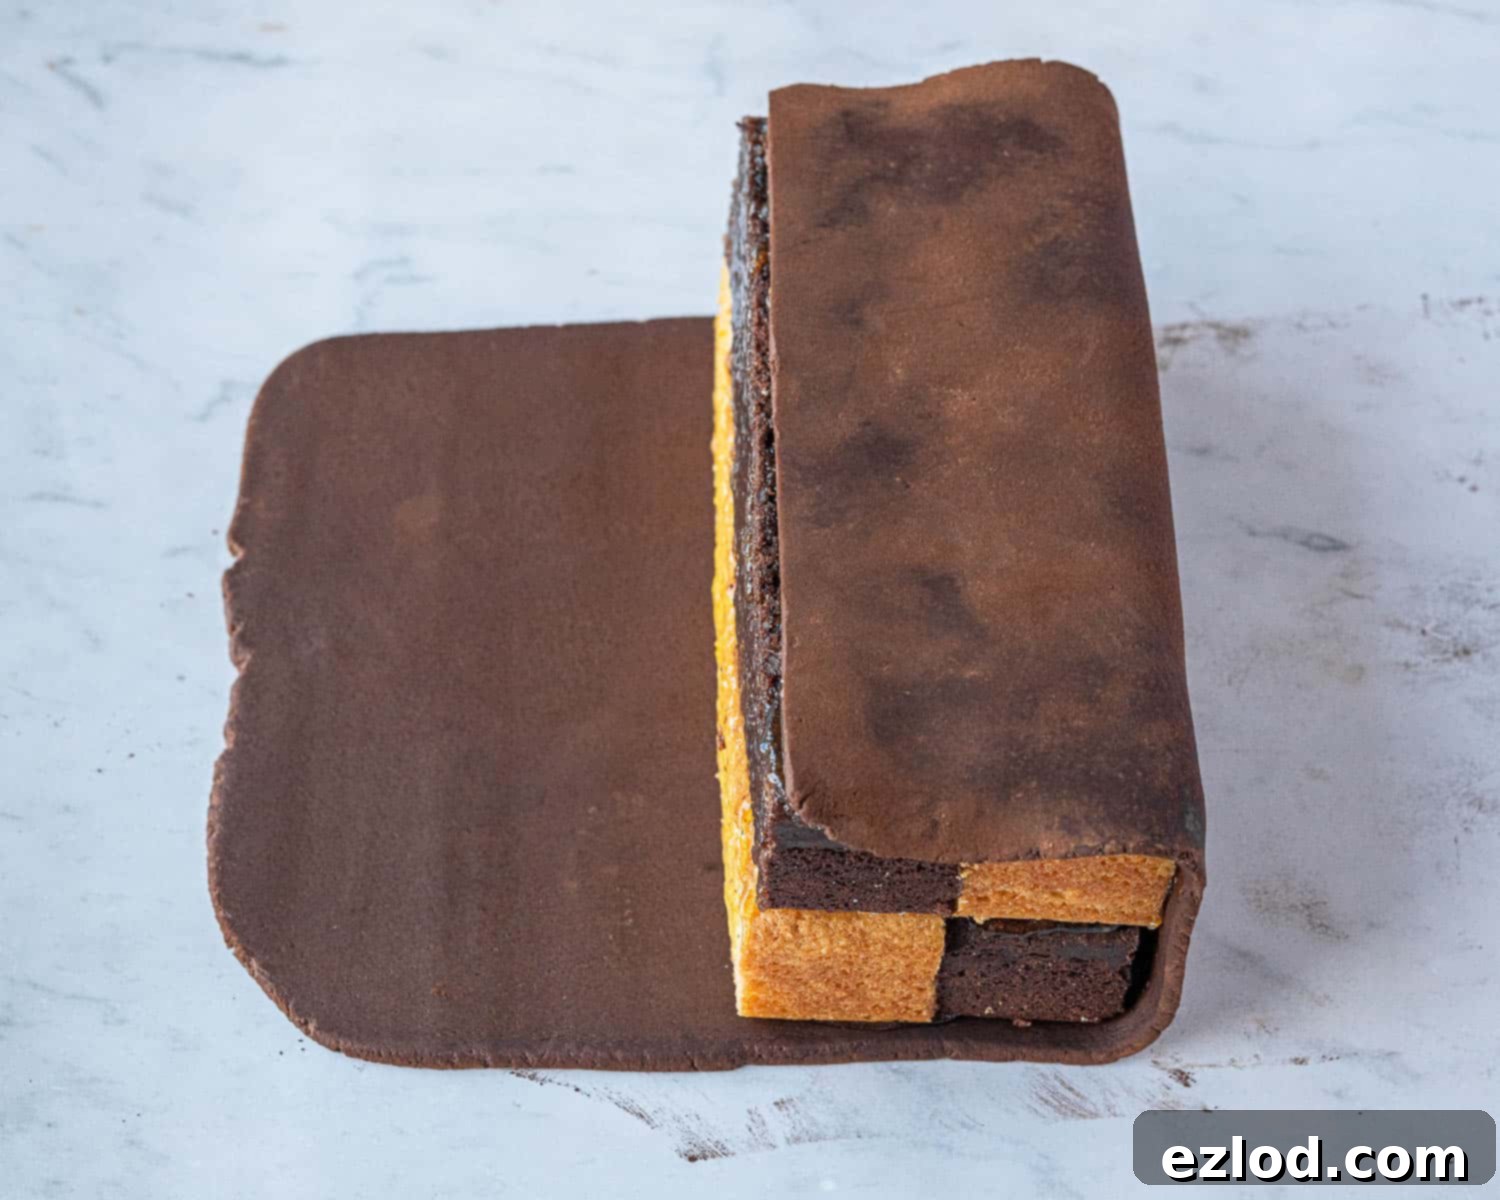
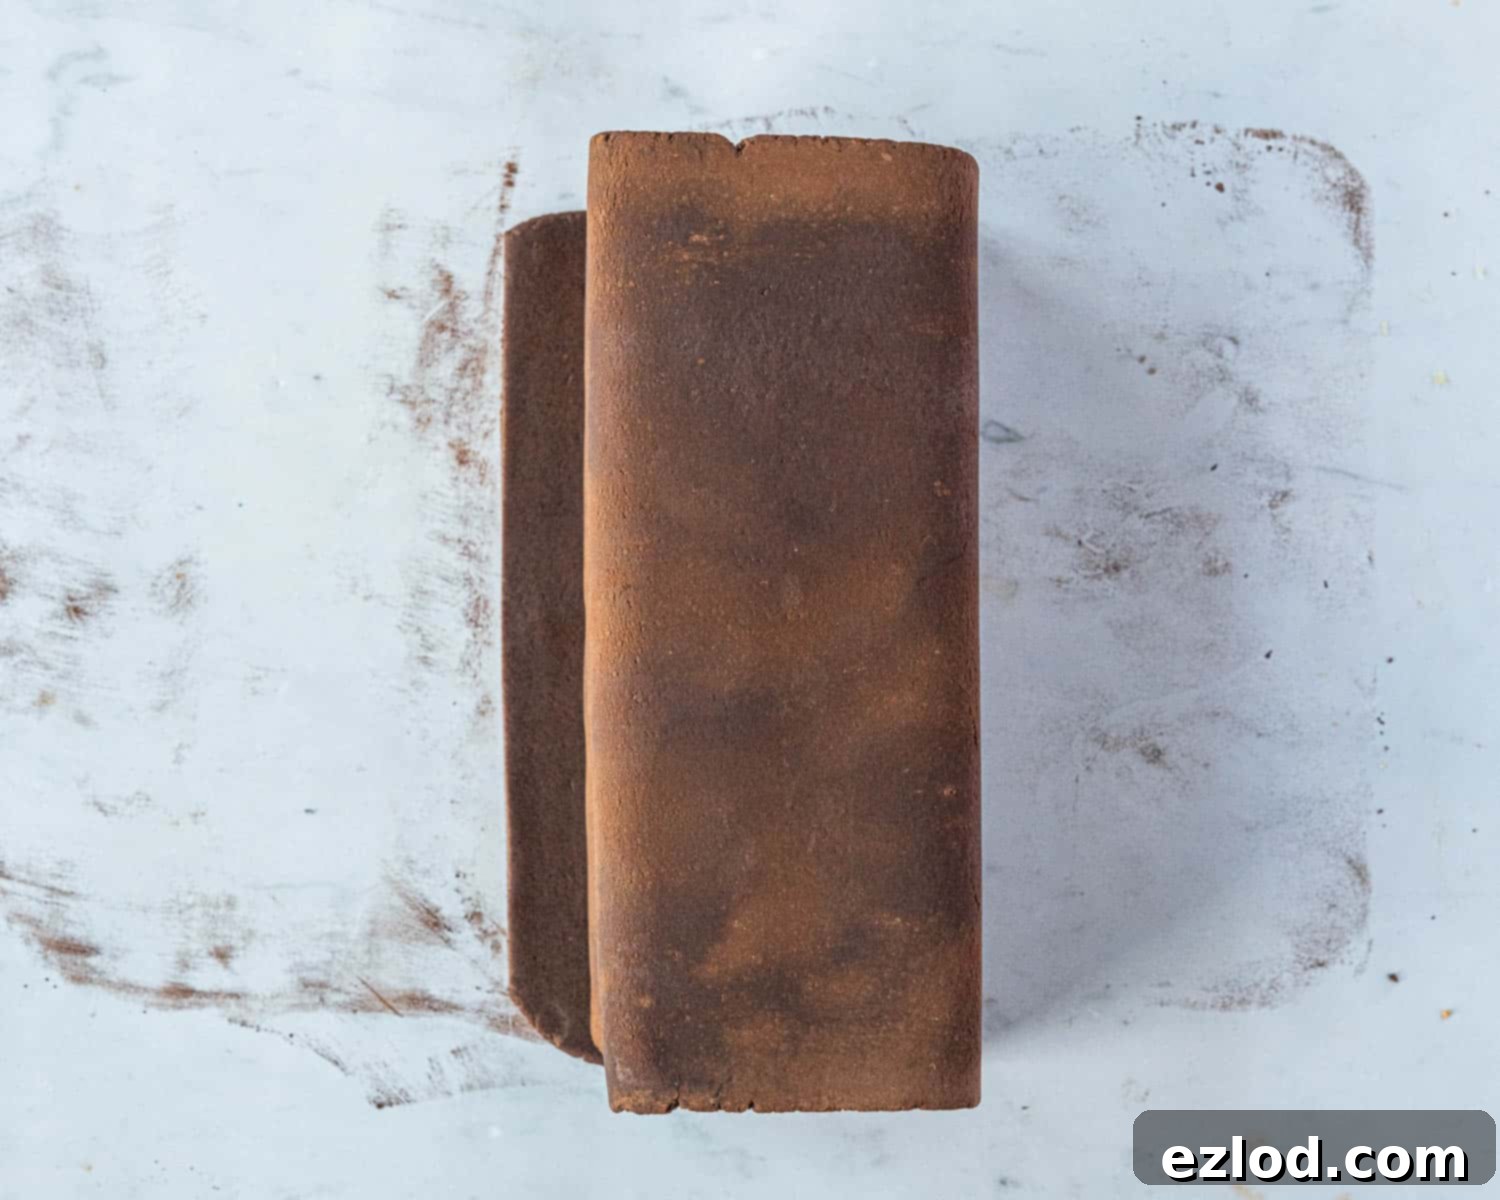
Trim any excess marzipan so that it overlaps by about halfway across the length of the cake. Brush this overlap with a tiny bit of water to create a seal, then gently press it down to secure the marzipan firmly around the cake. Flip the cake over so that the seam is on the bottom, out of sight.
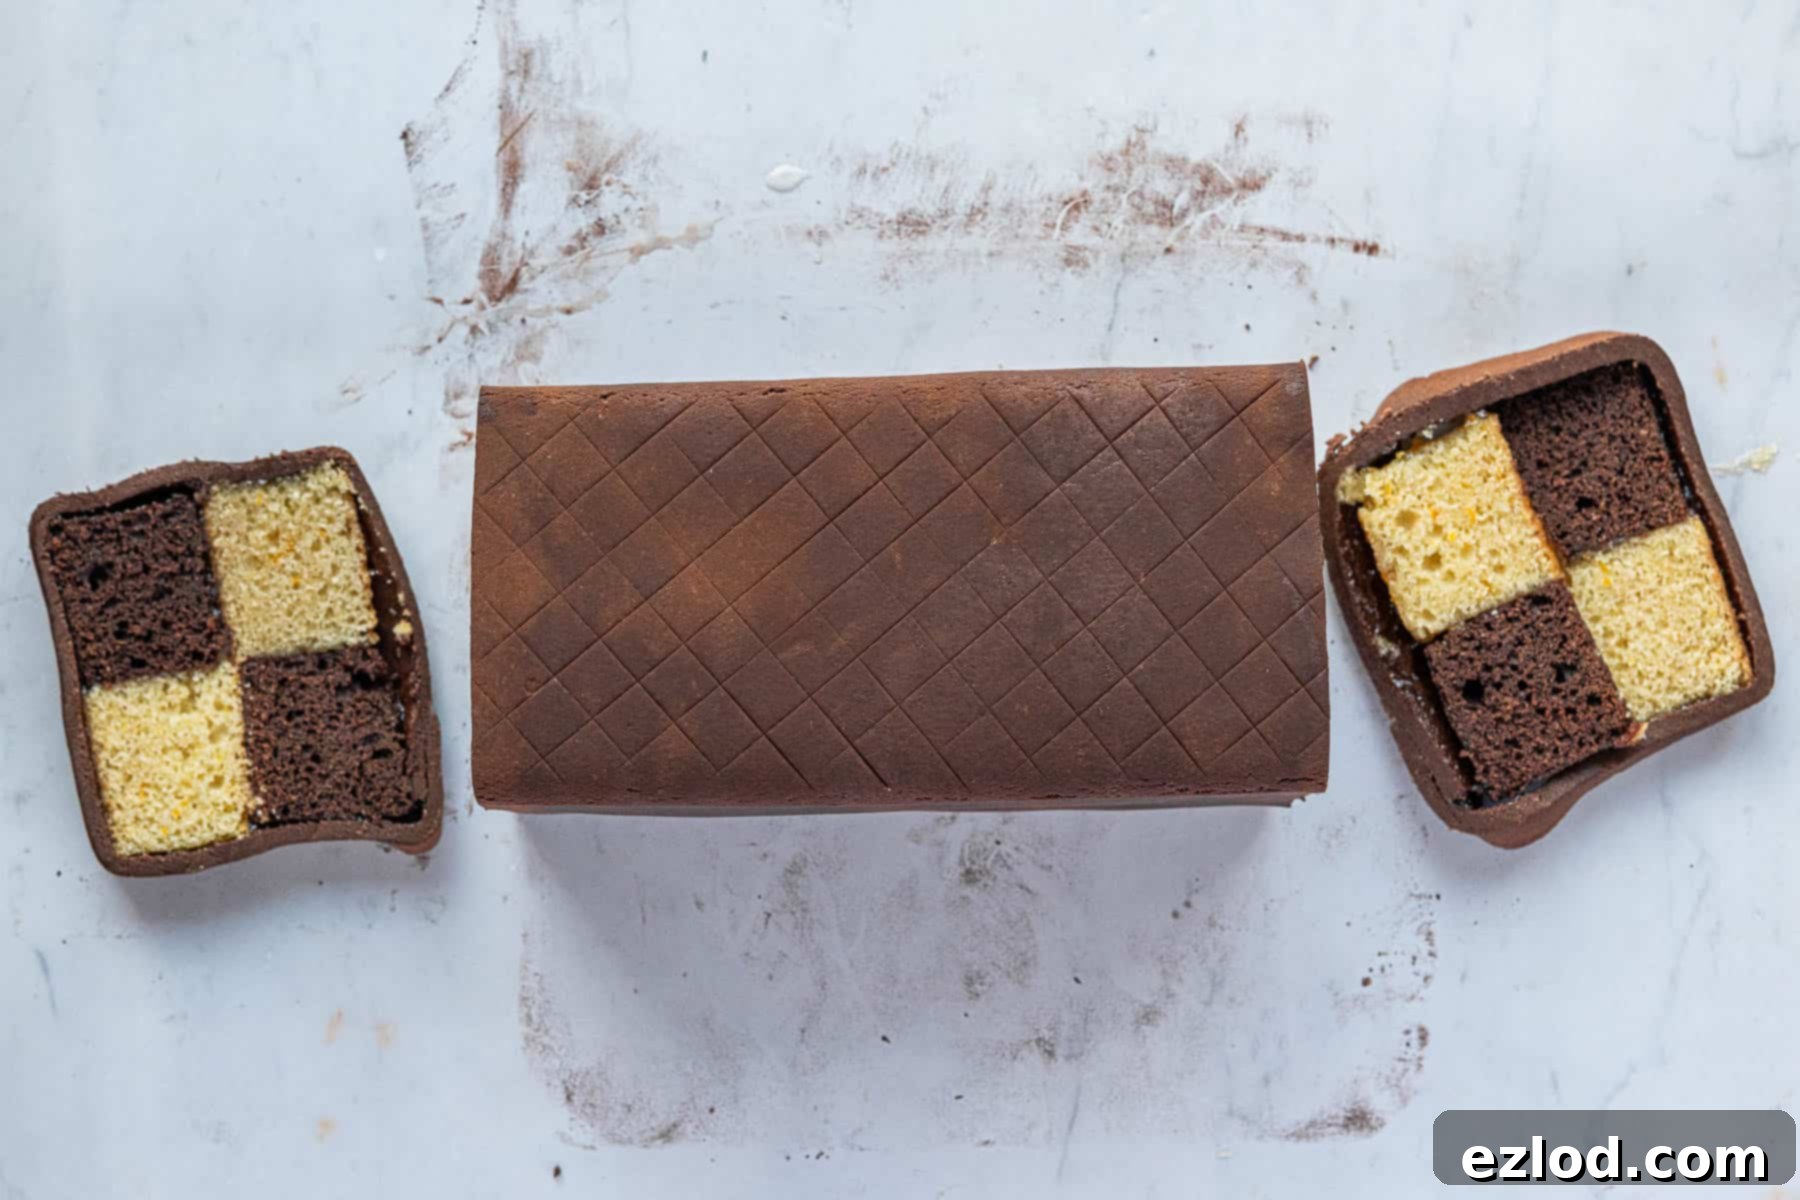
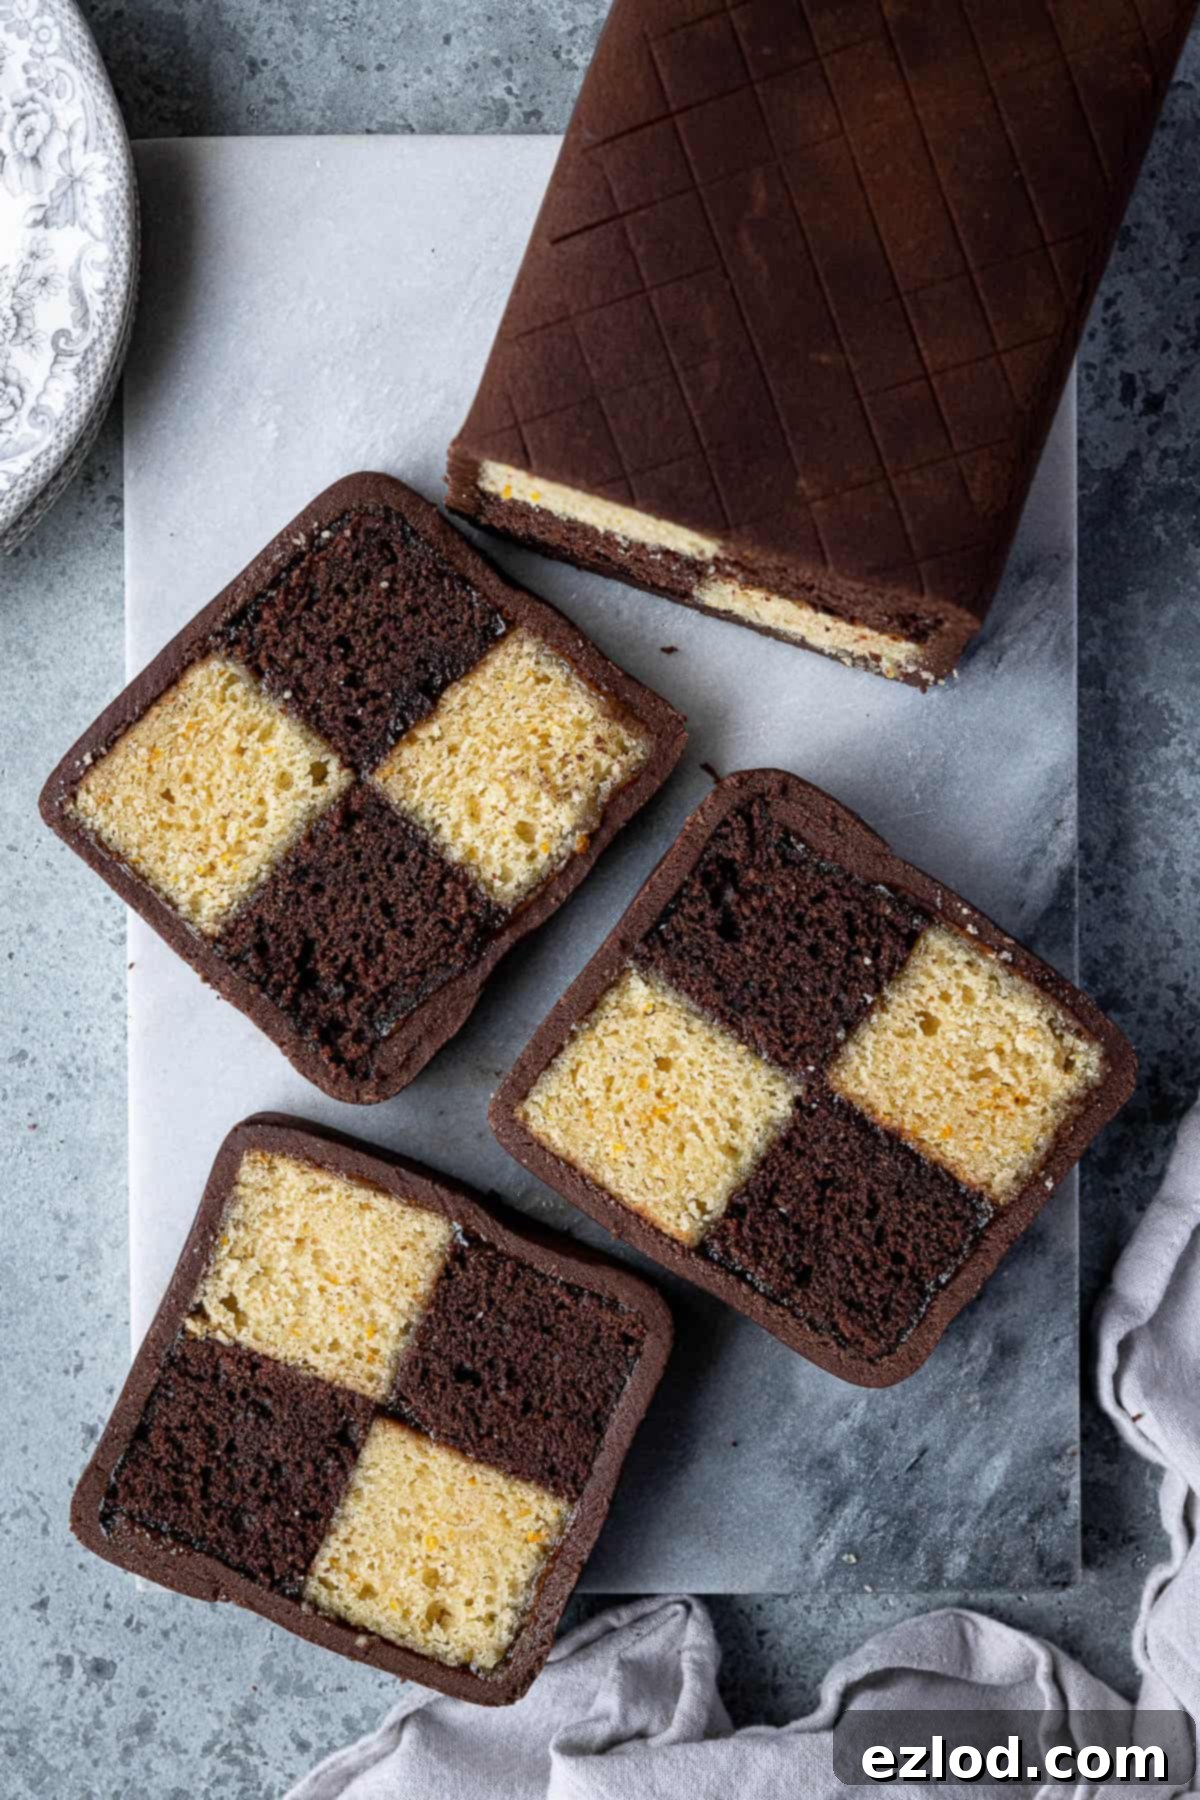
Finally, using a very sharp knife (wiped clean between cuts), slice a small piece off either end of the cake to neaten the edges and, most excitingly, reveal the beautiful checkerboard pattern within! For an extra touch of elegance, you can gently score diagonal lines across the top of the marzipan with a knife to create a traditional crisscross pattern.
Expert Tips for Battenberg Perfection
Achieving a picture-perfect Battenberg is easier with a few insider tips:
- Precision is Key: For the best results, always follow the recipe closely. In baking, accuracy is paramount, which is why I strongly recommend using gram measurements with a digital scale rather than cup conversions. Cup measurements are notoriously imprecise and can lead to inconsistent outcomes.
- Flawless Tin Lining: Take your time when lining the cake tin. An accurately placed divider ensures that both cake batters bake into perfectly equal halves, which is fundamental for a symmetrical checkerboard.
- Weighing Batter for Uniformity: To guarantee your chocolate and orange cakes are identical in size and rise, weigh the total batter before dividing it. Note the weight of your empty mixing bowl beforehand. Once the batter is made, weigh the bowl with batter, subtract the empty bowl’s weight, and then divide that number by two. This gives you the exact weight for each flavored batter.
- Chill for Clean Cuts: It is absolutely essential that the baked cakes are completely cold before you attempt to trim or slice them. Warm cakes are fragile and will crumble, making neat cuts nearly impossible. For convenience, you can bake the cake layers the day before assembly and store them in an airtight container overnight at room temperature.
- Mastering the Art of Trimming: To achieve those iconic perfect squares for your Battenberg, grab a ruler or tape measure. After leveling the cake tops, ensure both cakes are the exact same height. Then, measure their height (e.g., 4cm). To create square strips when stacked, you’ll want each individual strip to be as wide as it is high. So, if your cakes are 4cm high, trim the long edges of the combined cake block so it is 8cm wide (4cm x 2). Then slice this 8cm wide block in half lengthways to get four 4cm x 4cm strips.
- Marmalade Consistency: If your marmalade is too stiff to spread smoothly, warm it gently in the microwave for a few seconds until it becomes runny. For the cleanest look, shredless marmalade is ideal; if using a traditional marmalade, you can press the warmed jam through a sieve to remove any large pieces of peel.
- Optional Chocolate Marzipan: While I love adding cocoa powder to my marzipan for a chocolatey twist, this step is entirely optional. Plain marzipan is equally delicious and traditional.
Storing Your Chocolate Orange Battenberg Cake
This vegan Battenberg cake is wonderfully moist and maintains its freshness well. For the best flavor and texture, it’s ideal to enjoy it within one or two days of baking. However, it will keep beautifully in an airtight container at room temperature for 3-4 days. You might notice the marzipan becoming a little bit stickier after a day or so, but this won’t affect its deliciousness.
Unless your kitchen or ambient temperature is excessively warm, there’s no need to store this cake in the refrigerator. The fridge can sometimes dry out sponge cakes, so room temperature storage is preferred.
Can You Freeze Vegan Battenberg Cake?
Yes, you absolutely can freeze this cake! To prevent freezer burn and maintain its quality, wrap the entire cake or individual slices securely in several layers of plastic wrap, followed by a layer of aluminum foil. It can be stored in the freezer for up to one month. When you’re ready to enjoy it, simply allow the cake to defrost slowly at room temperature, ideally overnight.
Please note that upon defrosting, the marzipan may become slightly sticky due to moisture changes. For this reason, I generally don’t recommend freezing the cake in advance if you plan to serve it for a special occasion where appearance is paramount. However, freezing any delicious leftovers is an excellent way to savor your homemade Battenberg for longer!
Explore More Classic British Vegan Cakes:
- Vegan Coffee and Walnut Cake
- Vegan Golden Syrup Cake
- Vegan Angel Cake
- Vegan Jam and Coconut Sponge
- Vegan Earl Grey Tea Loaf
- Vegan Ginger Loaf Cake
- Vegan Lemon Drizzle Cake
- Vegan Malt Loaf
We hope you enjoyed baking and tasting this delightful recipe! If you tried this Chocolate Orange Battenberg Cake, please let us know how it went by rating it, leaving a comment below, or tagging @domestic_gothess on Instagram and using the hashtag #domesticgothess. Your feedback means the world to us!
All images and content on Domestic Gothess are copyright protected. If you wish to share this recipe, please do so by using the provided share buttons. We kindly request that you do not screenshot or post the recipe or content in full. Instead, please include a direct link to this post for the complete recipe. Thank you for your understanding and support!

Print
Chocolate Orange Battenberg Cake (Vegan)
Ingredients
Cake:
- 275 g (2 ¼ cups) self raising flour
- 220 g (1 cup) caster (superfine) sugar
- 80 g (⅔ cup) ground almonds
- 1 teaspoon baking powder
- pinch salt
- 180 g (¾ cup) vegan block butter/margarine (I use Naturli Vegan Block or Flora plant butter) melted
- 200 ml (½ + ⅓ cup) unsweetened non-dairy milk (I use soy) room temperature
- 1 teaspoon vanilla extract
- 1 teaspoon orange extract
- finely grated zest of 1 large orange
- 25 g (2 ½ Tablespoons) cocoa powder
- 2 ½ Tablespoons boiling water
To Assemble:
- shredless marmalade
- 500 g (17 ½ oz) marzipan
- 25 g (2 ½ Tablespoons) cocoa powder (optional)
Instructions
-
Preheat the oven to 180°C/160°C fan/350°F/gas mark 4. Grease a 20 cm/ 8 in square cake tin.
-
Cut a piece of baking parchment about twice as wide as the tin – 20x40cm. Fold it in half widthways then push up the centre fold to make a pleat at least as high as the tin. Fold a piece of tin foil over several times into a thick piece the same width as the tin and height as the pleat. Place it inside the pleat and then use this to line the tin, making sure that the pleat runs down the centre, dividing the tin into two smaller ones. Leave a bit of parchment overhanging on either side of the tin to make it easier to remove the cakes from the tin later. If your tin isn’t non-stick then you will also need to line the other two sides with strips of baking parchment. (See post above for step-by-step photos).
-
Place the self-raising flour, caster sugar, ground almonds, baking powder and salt in a large bowl and whisk to combine.
-
Add the melted butter, milk and vanilla extract and stir to form a smooth batter.
-
Using a scale for accuracy, pour half of the batter into a separate bowl and stir in the orange zest and extract.
-
In another bowl, mix together the cocoa powder and boiling water to form a paste. Add the other half of the batter and stir in the cocoa mixture.
-
Scrape the chocolate batter into one half of the tin, and the orange batter into the other half. Spread them level then bake for 30-35 minutes until a skewer inserted into the centre comes out clean.
-
Leave the cakes to cool in the tin for 20 minutes then carefully lift them out onto a wire rack using the overhanging sides and the centre pleat. It really helps to have a second person to help you do this as the cakes are delicate when warm. Peel off the parchment and leave them on the wire rack to cool completely.
-
Once the cakes are completely cold, trim the tops of them to level if necessary, they should be exactly the same height.
-
Place one cake on top of the other and trim the long edges to neaten them. If you want perfect squares then use a tape measure – the cakes should be twice as wide as they are high. Mine were 4cm high so I trimmed them to be 8cm wide.
-
Slice the cakes in half lengthways so you have two long strips of each colour.
-
Gently warm up about half a jar of marmalade until it is spreadable.
-
Spread a thin layer of marmalade over the long side of one of the strips and stick a strip of the opposite colour to it.
-
Spread a thin layer of marmalade over the top of both of those strips and stick the remaining strips on top, spreading more marmalade in between the two, to form a chequered pattern – chocolate above orange and orange above chocolate.
-
If you want chocolate marzipan, sprinkle the cocoa powder over the marzipan and knead it in until it is fully combined. Add a drop of water as needed if it is too dry.
-
Dust a surface with icing sugar or cocoa powder and roll out the marzipan into a rectangle about 20x40cm. Trim one of the short edges to neaten it.
-
Spread the top of the cake with marmalade then place it, marmalade side down, against the trimmed short edge. Spread marmalade over the rest of the cake (except the short ends).
-
Carefully roll the cake up in the marzipan so that it is fully encased.
-
Trim the excess so that it overlaps about halfway across the cake. Brush it with a little bit of water and gently press it down to seal. Flip the cake so that the join is on the bottom.
-
Use a sharp knife to slice a piece off either end to neaten the cake and reveal the pattern. If you like you can gently score lines on the top of the cake with a knife to make a crisscross pattern.
Notes
- For detailed tips, ingredient insights, and step-by-step photos, please refer to the full article above.
- For optimal baking results, always adhere strictly to the recipe. I highly recommend using a digital scale for precise gram measurements, as cup conversions can be inaccurate and may compromise the outcome.
- To ensure both cake layers are perfectly even, weigh your batter accurately before dividing it. Weigh the empty mixing bowl, then weigh the bowl with the finished batter. Subtract the empty bowl’s weight to find the total batter weight, then divide by two to get the exact amount for each flavor.
- The cakes must be completely cooled before trimming and assembling. Attempting to cut warm cakes will result in crumbling and an untidy finish. Baking the cake layers a day in advance and storing them overnight in an airtight container at room temperature is an excellent way to ensure they are fully cooled and firm for assembly.
