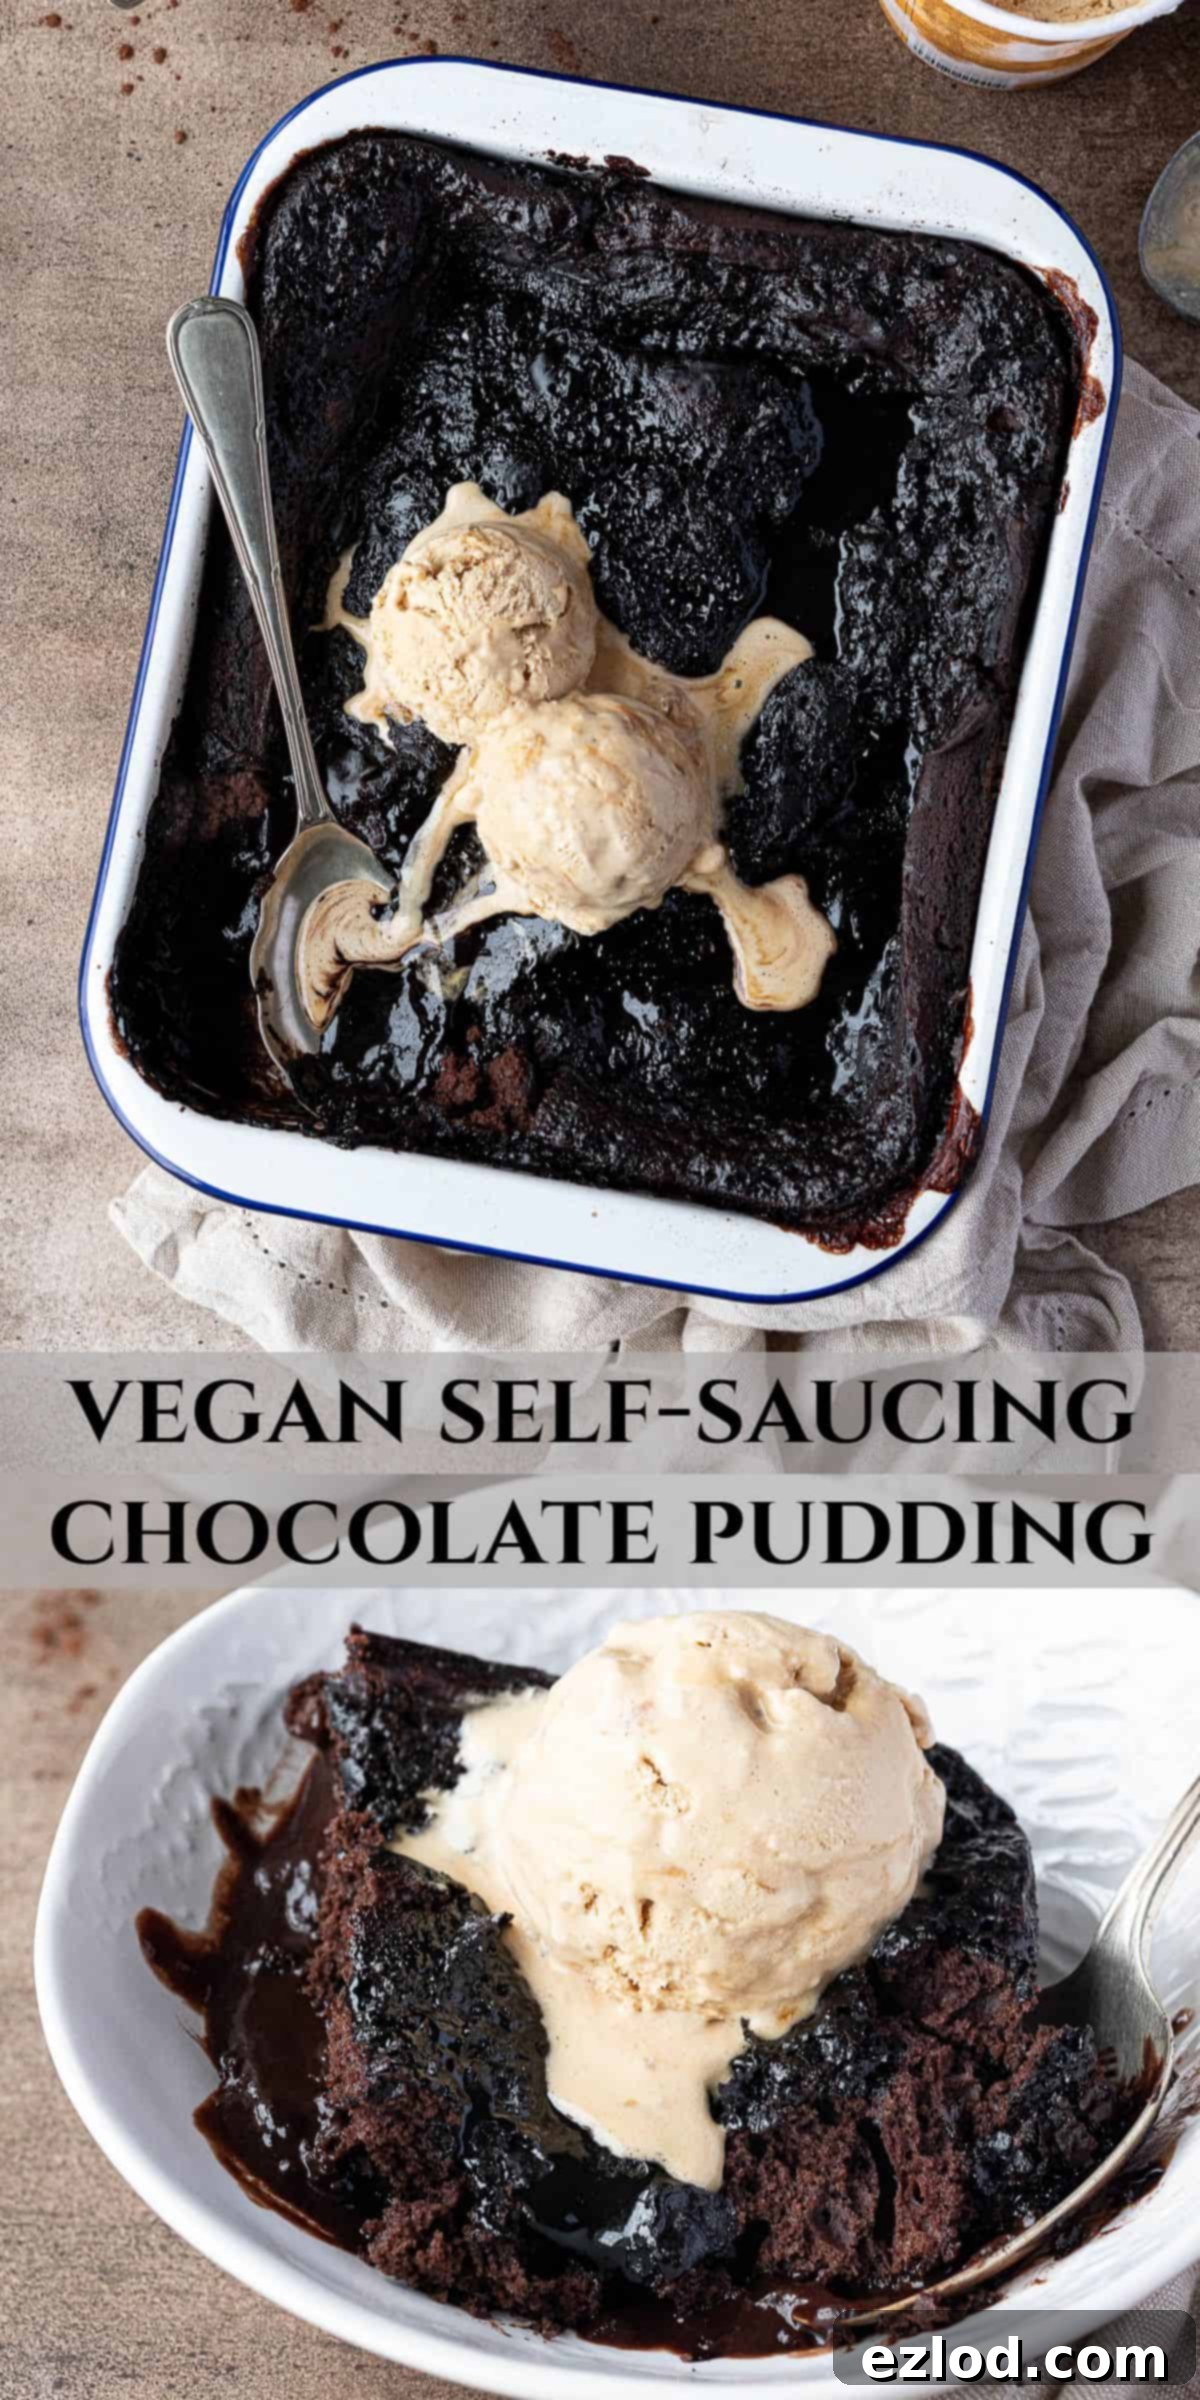
Indulgent Vegan Self-Saucing Chocolate Pudding: The Ultimate Easy Plant-Based Dessert
Prepare to be amazed by this incredibly simple yet utterly luxurious vegan self-saucing chocolate pudding. This plant-based twist on a beloved classic delivers all the warmth, comfort, and rich chocolatey goodness you could ever wish for, all while being surprisingly quick and easy to prepare.
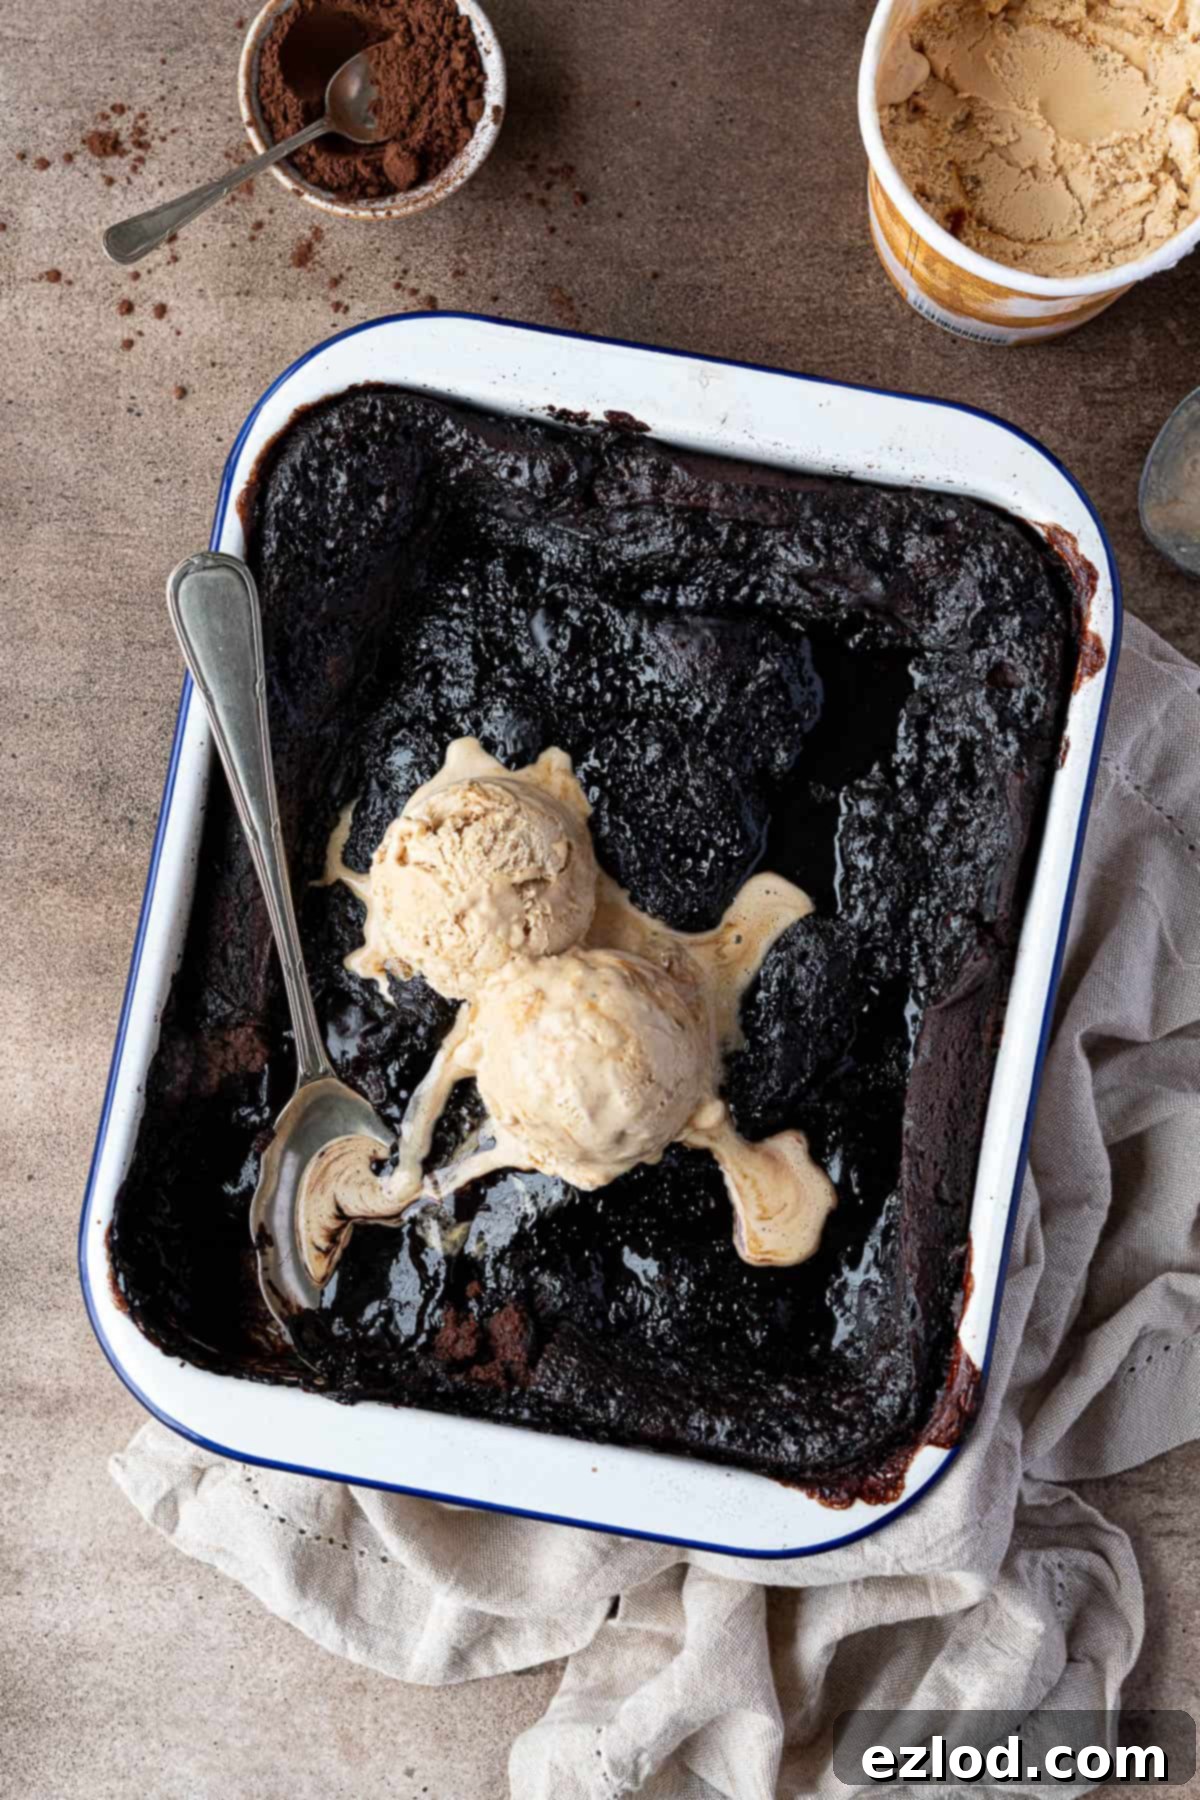
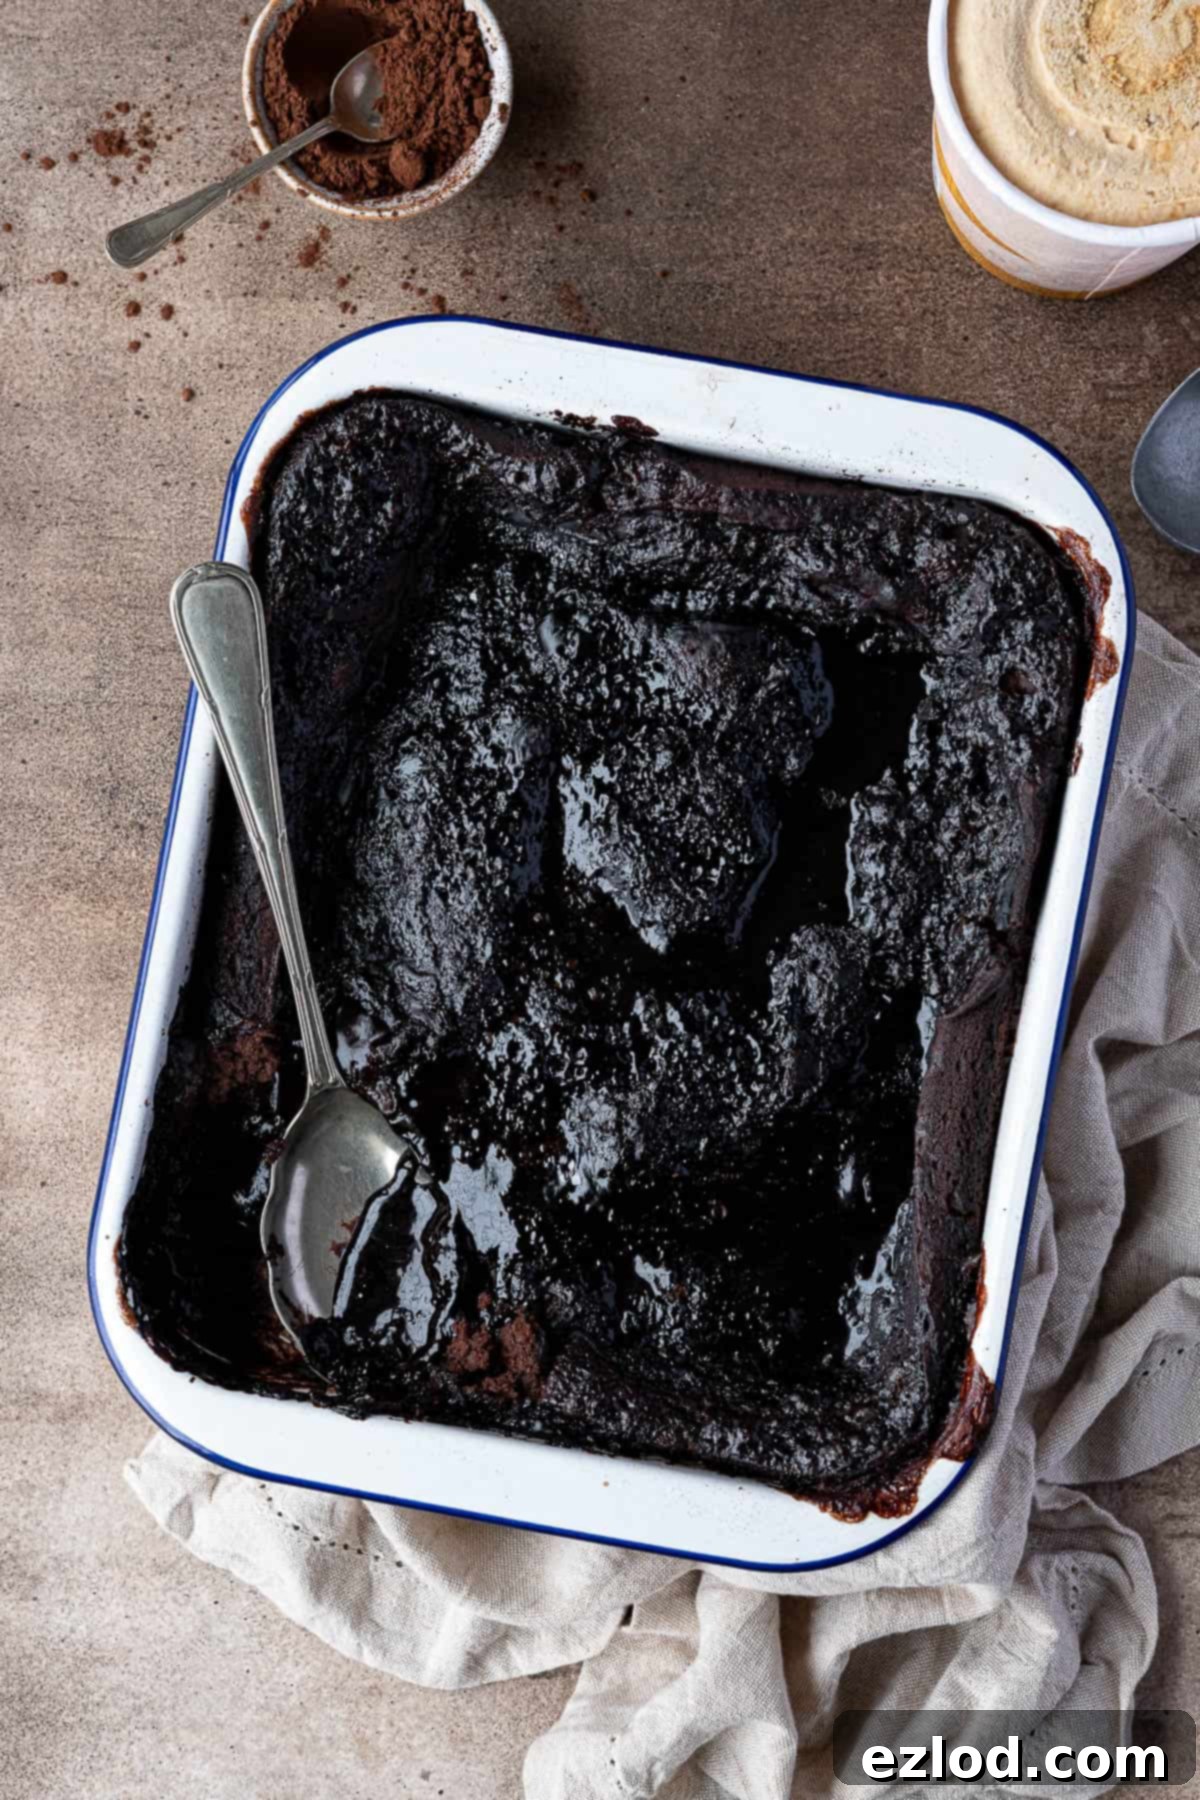
Baked to perfection in a single dish, this magical dessert truly self-sauces, forming a beautifully moist, tender chocolate sponge on top, beneath which a velvety, rich, and intensely gooey chocolate sauce mysteriously appears during baking. It’s a delightful culinary trick that guarantees a show-stopping finish with minimal effort, making it an absolute crowd-pleaser for any gathering or a cozy night in.
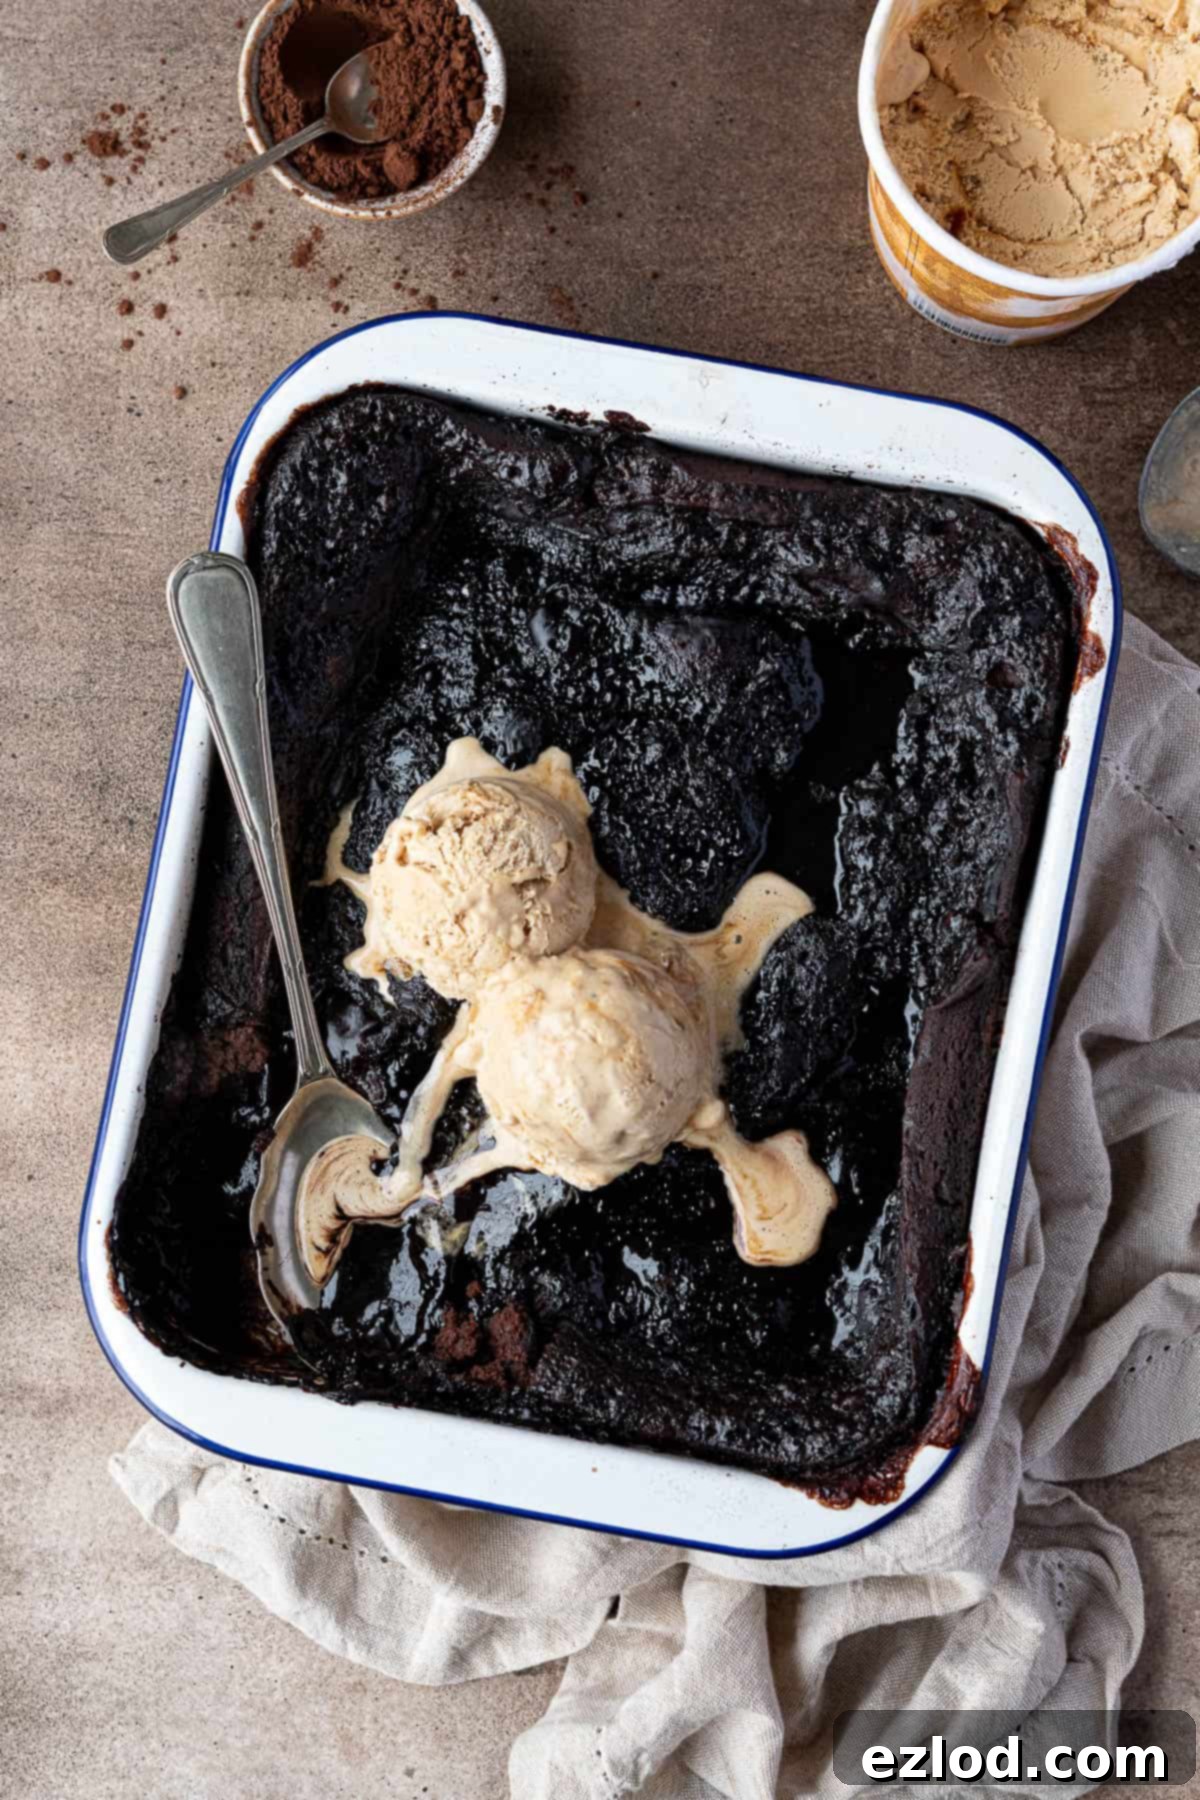
Whether you’re seeking a comforting treat during the chilly winter months or a decadent dessert to cap off a summer evening, this vegan self-saucing chocolate pudding is an exceptional choice year-round. Its profound warmth and rich flavor make it particularly appealing when the weather turns cold, transforming any meal into a special occasion.
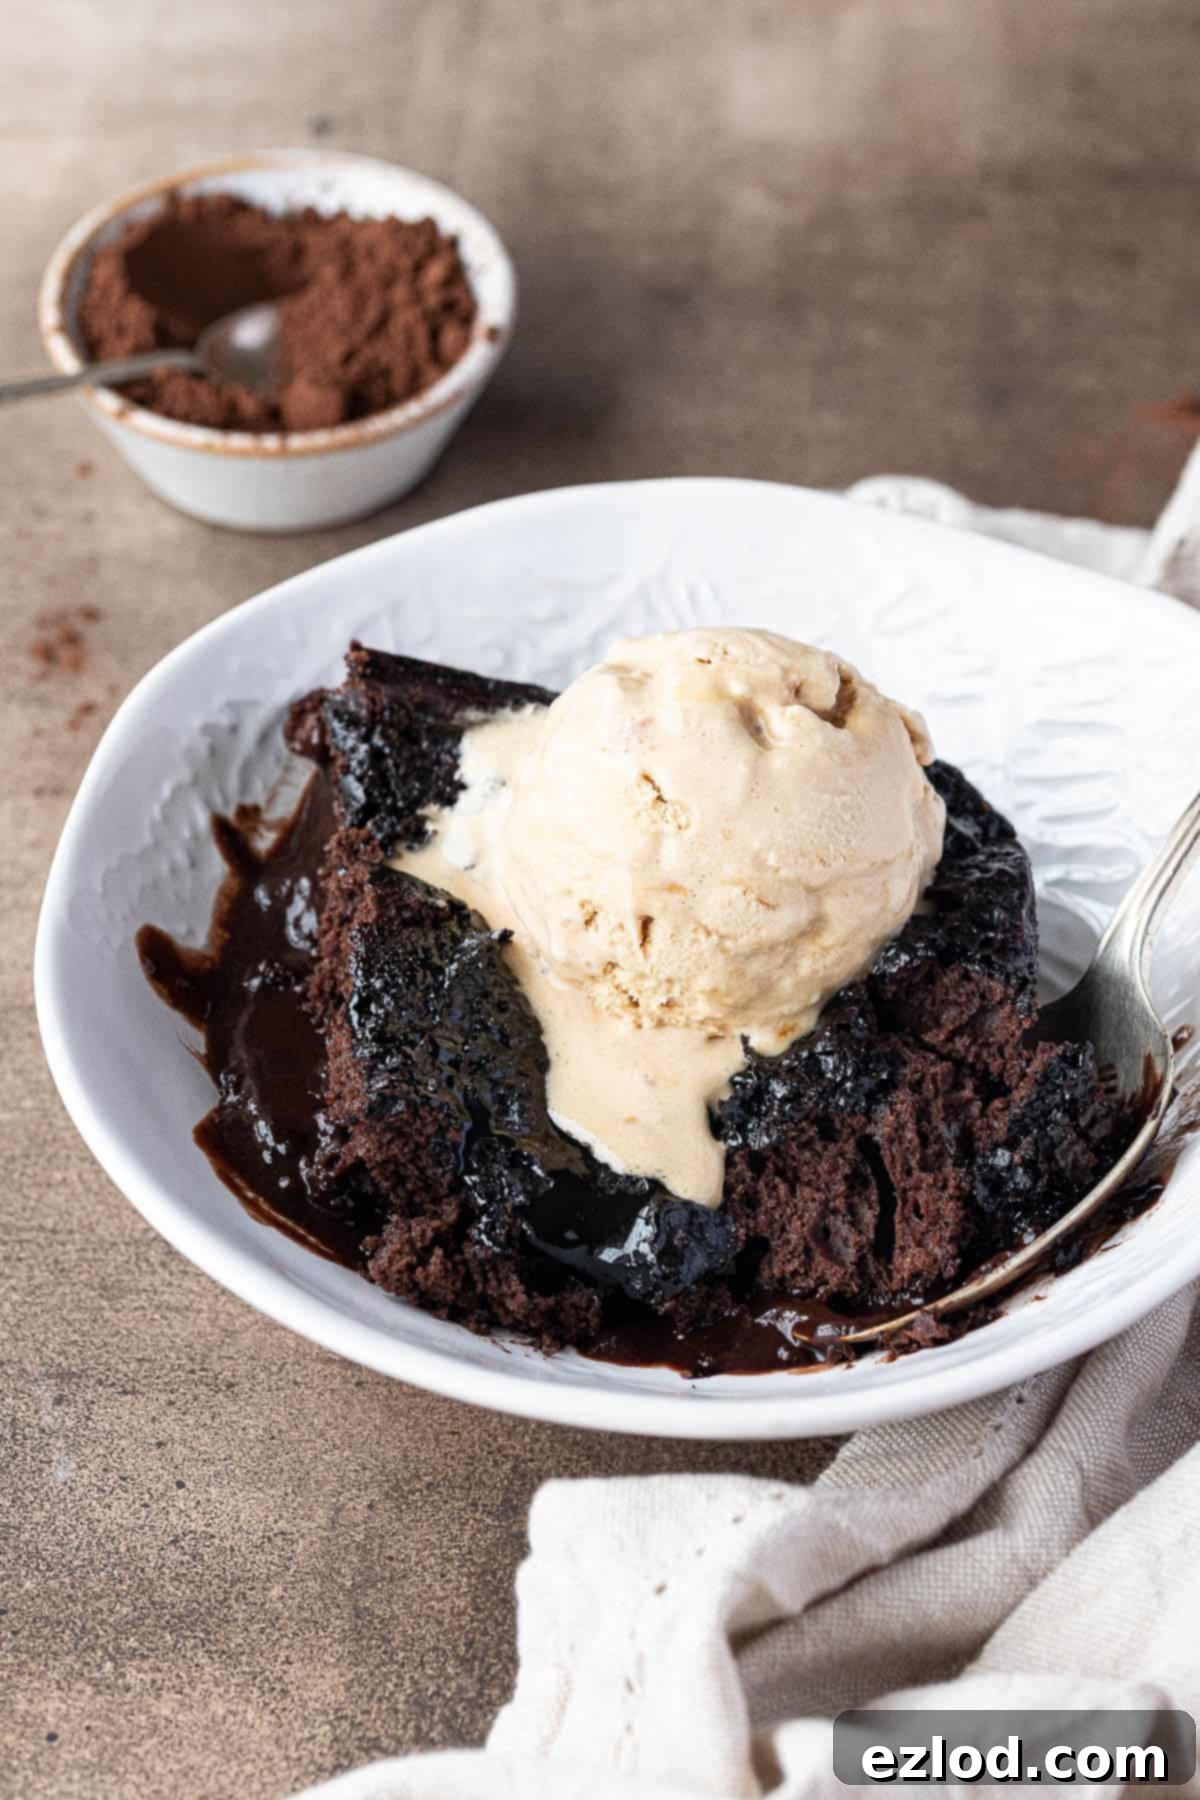
This dessert truly embodies cozy indulgence. Each spoonful offers a harmonious blend of soft, moist chocolate sponge cake contrasted by a luscious, glossy, and intensely rich chocolate sauce that collects at the bottom of the dish. The contrasting textures and deep chocolate notes create an unforgettable experience.
What makes this recipe truly outstanding is its ease of preparation. Crafted from readily available pantry staples, it’s a brilliant solution for a spontaneous weeknight indulgence. Yet, its impressive presentation and flavor profile mean it’s equally capable of dazzling guests at your next dinner party. It’s a versatile dessert that promises delicious results without demanding hours in the kitchen.
Unraveling the Magic: What Exactly is Self-Saucing Chocolate Pudding?
The self-saucing pudding is a celebrated culinary tradition, particularly cherished in the UK and Australia. It’s a testament to simple ingredients coming together in a surprisingly sophisticated way. At its heart, it’s a genius one-dish dessert where the cake batter and sauce ingredients are combined in a single baking vessel, then transformed by the heat of the oven.
The process is delightfully straightforward: a light, airy sponge batter is prepared as the base. Over this batter, a mixture of sugar and cocoa powder is evenly sprinkled, followed by the crucial addition of boiling water. As the pudding bakes, a remarkable transformation occurs. The sponge batter elegantly rises to the top, forming a moist and fluffy cake layer. Simultaneously, the hot water, combined with the sugar and cocoa powder beneath, melts and cooks down to create an irresistible, silky-smooth chocolate sauce that magically settles at the bottom of the dish. This creates two distinct yet complementary layers of pure chocolate bliss from a single bake, embodying true dessert magic and making it a firm favorite for its simplicity and spectacular outcome.
Gather Your Ingredients: What You’ll Need for This Vegan Chocolate Masterpiece
One of the many charms of this easy chocolate pudding is that it relies on common pantry staples. This means you can whip it up almost anytime the craving strikes, making it an ideal last-minute dessert option. Here’s a detailed look at the ingredients you’ll need to create this delectable treat:
- Plain Flour (All-Purpose Flour): This is the fundamental structural component of our moist sponge. We’re using standard plain (all-purpose) flour. For those interested in a gluten-free version, I haven’t personally tested it, but a good quality plain gluten-free flour blend should work beautifully. If your blend doesn’t already contain xanthan gum (which often acts as a binder in GF baking), consider adding an extra ¼ teaspoon to achieve the best texture.
- Sugar: Sugar plays a dual role here, contributing sweetness to both the cake and the sauce. For the sauce portion, light brown soft sugar is highly recommended. Its molasses content adds a deeper flavor and contributes significantly to the rich, gooey texture of the sauce, which granulated sugar might not fully replicate. For the cake batter, caster sugar (also known as superfine sugar) is my preference as it dissolves easily, but granulated sugar or even light brown soft sugar will also yield excellent results.
- Cocoa Powder: The star of our chocolate show! Dutch-process cocoa powder is ideal for this recipe. It’s a cocoa powder that has been treated to reduce its acidity, resulting in a darker color and a smoother, less bitter chocolate flavor. For those in the UK, this is typically what you’d find as “regular cocoa powder.” If you only have natural cocoa powder (which is more acidic) or cacao powder, they will still work, but the final color might be slightly lighter, and the flavor profile a touch different.
- Vegan Butter: Crucial for richness and moisture in the cake. I prefer using a melted block vegan butter (brands like Naturli Vegan Block or Flora Plant Butter are fantastic options). These block varieties usually have a higher fat content and better texture for baking. While tub-style vegan margarine can work if that’s all you have, please avoid any low-fat varieties, as they contain too much water and will negatively impact the cake’s texture.
- Unsweetened Non-Dairy Milk: This adds essential liquid to our batter without introducing dairy. Almost any kind of unsweetened non-dairy milk will work, but I personally find that soy milk yields the best results in baking due to its protein content, contributing to a tender crumb. Avoid tinned coconut milk as its high fat content and distinct flavor are not suitable for this recipe.
- Baking Powder: Our primary leavening agent for the sponge. It’s vital to use baking powder and not to substitute it with baking soda (bicarbonate of soda). These are chemically different and react in distinct ways; using baking soda instead will not provide the same lift and could result in a dense cake with an undesirable flavor.
- Vanilla Extract: An optional but highly recommended addition. A good quality vanilla extract enhances and rounds out the chocolate flavor, adding a subtle warmth and aromatic depth to the pudding.
- Instant Espresso Powder: Another optional but secret weapon for intensifying chocolate flavor. Adding a small amount of instant espresso powder to the batter deepens the richness of the chocolate without making the pudding taste like coffee. It simply boosts the cocoa notes, making the chocolate truly sing. If you prefer, you can happily omit it.
- Boiling Water: This is the magical liquid that transforms the sugar and cocoa into our luscious sauce. It is absolutely critical that the water you pour over the pudding is very hot (boiling). This ensures that the sugar and cocoa powder dissolve rapidly and properly, allowing them to form that perfectly silky, rich sauce underneath the cake as it bakes. For an extra layer of flavor, you can even use hot brewed coffee instead of plain boiling water.
Mastering the Bake: How to Craft Your Vegan Self-Saucing Chocolate Pudding
(For precise measurements and detailed step-by-step instructions, please refer to the comprehensive recipe card located at the very bottom of this page.)
Creating this stunning dessert is surprisingly straightforward, following a few simple steps:
- Prepare the Sauce Mixture: In a small bowl, combine the light brown soft sugar and cocoa powder designated for the sauce. Give it a good mix to ensure it’s evenly blended. This mixture will be sprinkled over the batter later, setting the stage for the magical sauce creation. Set it aside for now.
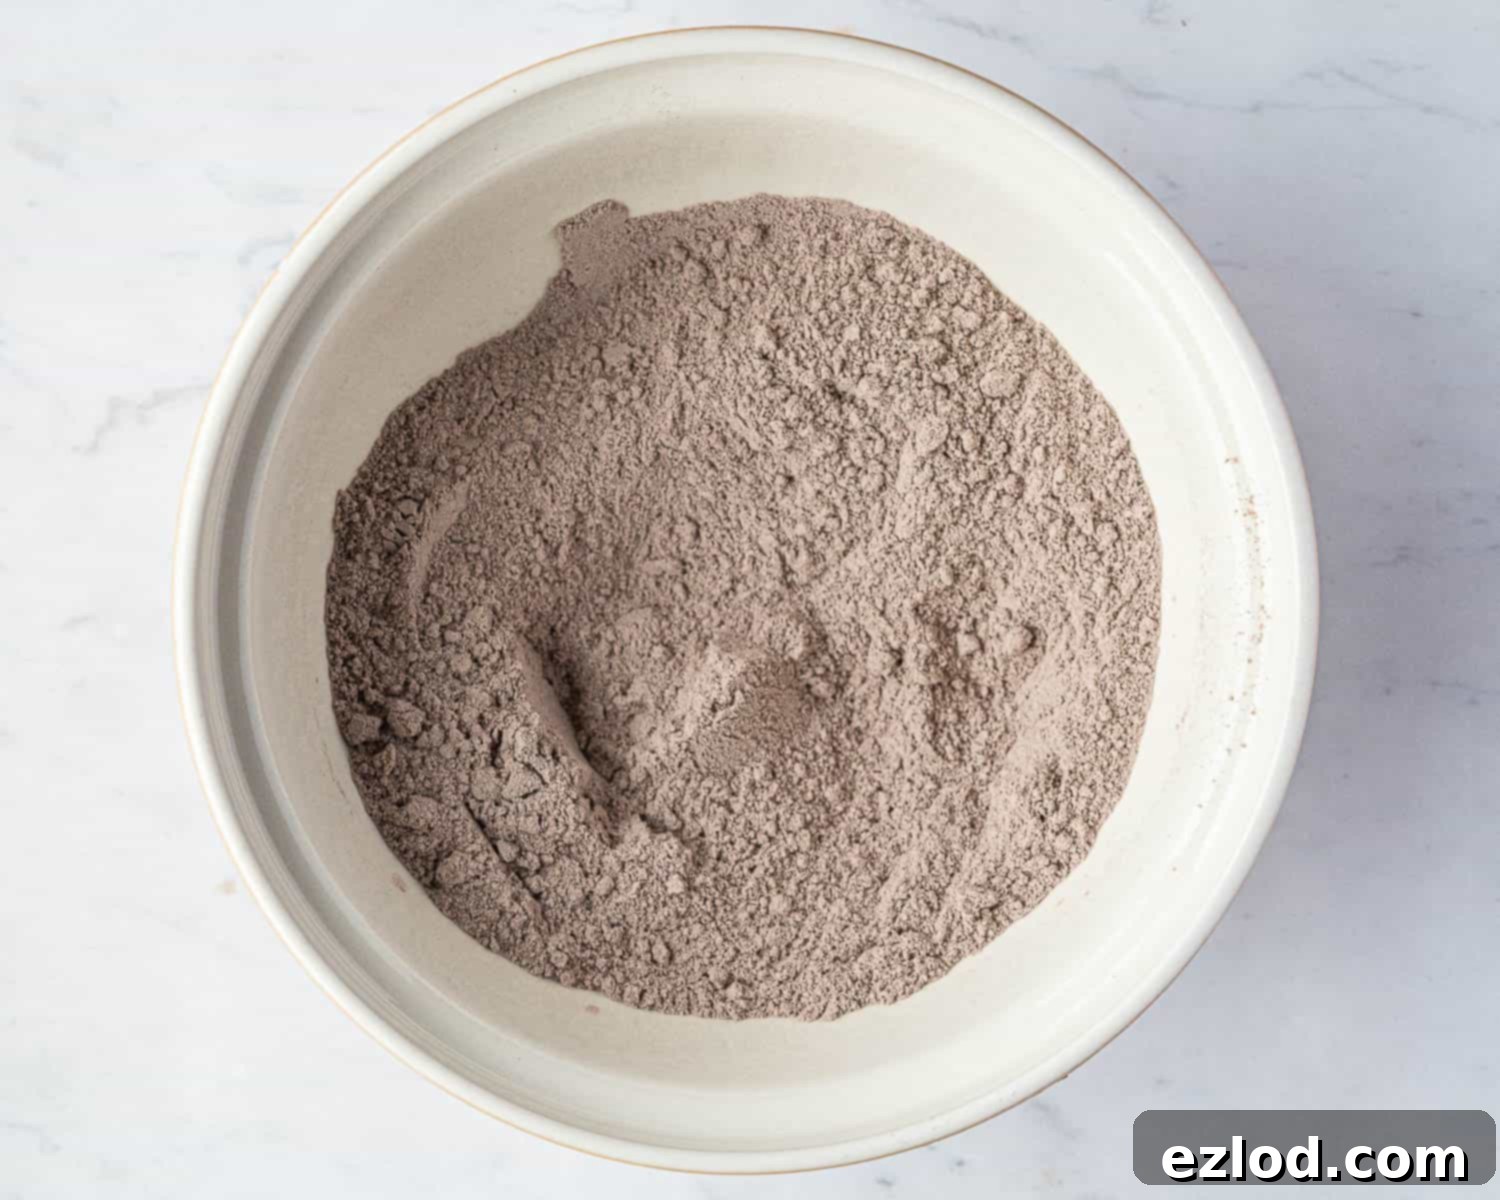
- Combine Dry Batter Ingredients: In a larger mixing bowl, begin by sifting together the plain flour, cocoa powder for the batter, baking powder, and the optional instant espresso powder. Sifting helps to aerate the flour and prevent lumps, ensuring a smooth cake. Once sifted, stir in the caster sugar and a pinch of salt. The salt is crucial for balancing the sweetness and enhancing the chocolate flavor.
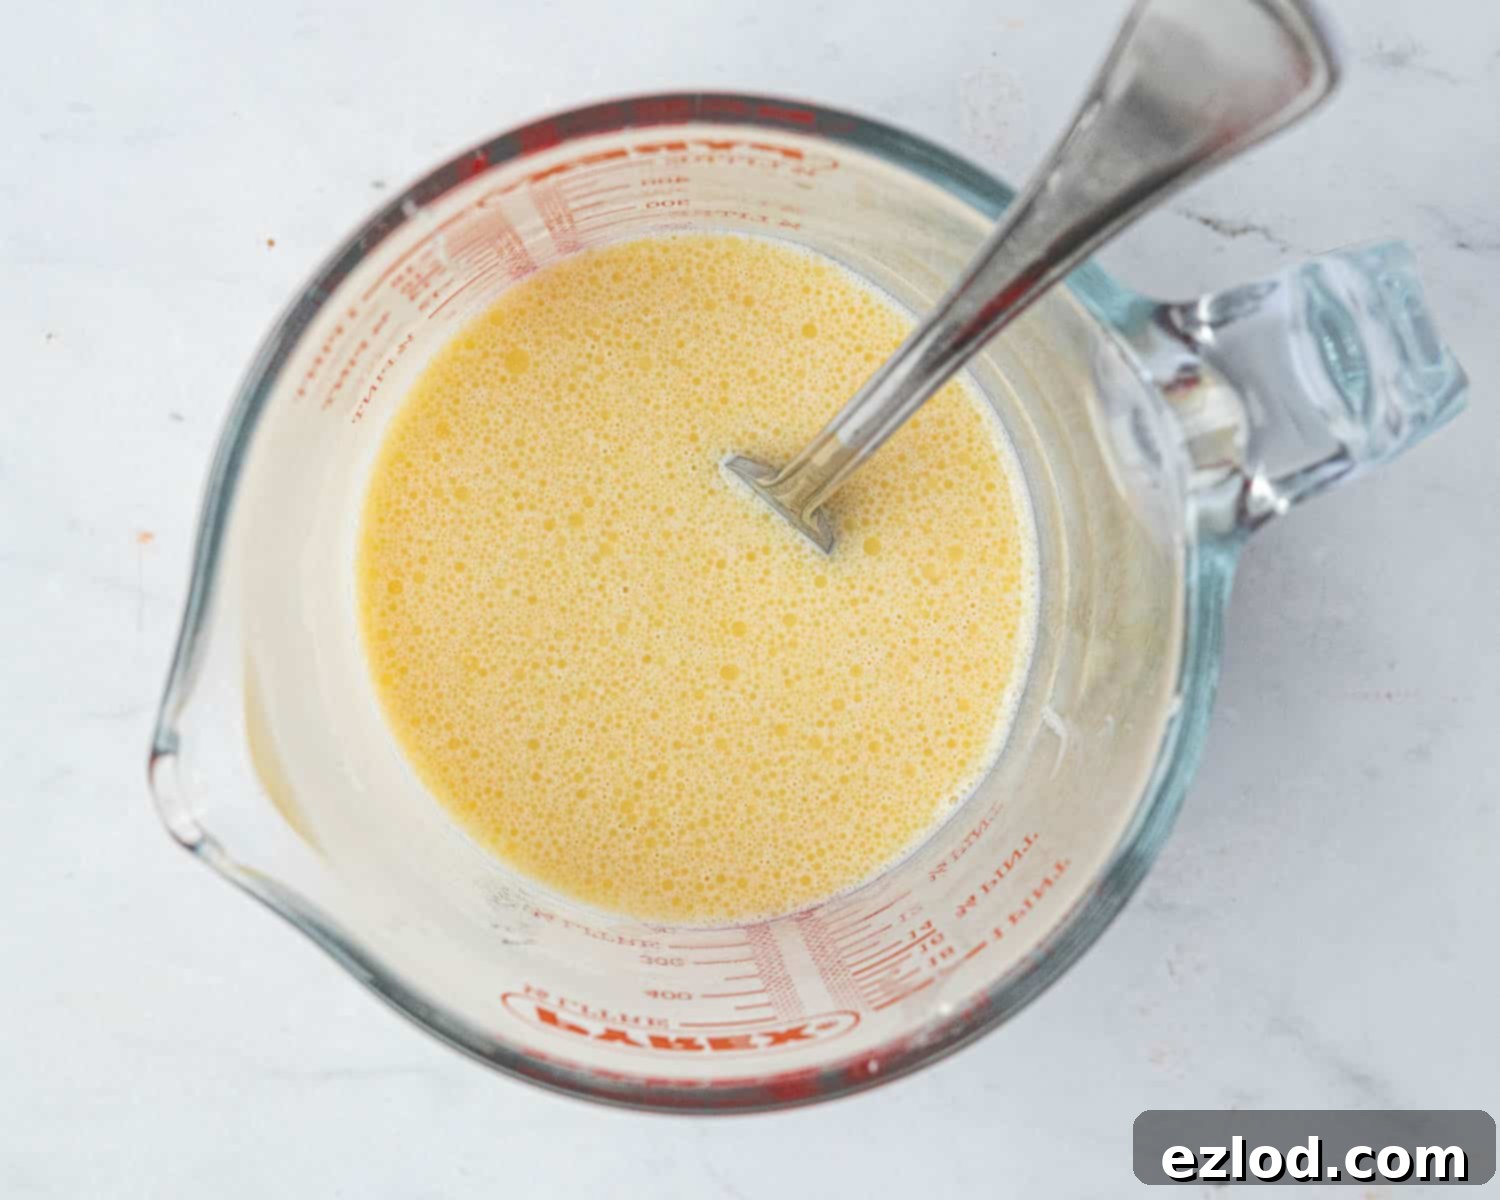
- Mix Wet Batter Ingredients: In a separate bowl or jug, whisk together the unsweetened non-dairy milk, the melted vegan butter, and the vanilla extract until well combined.
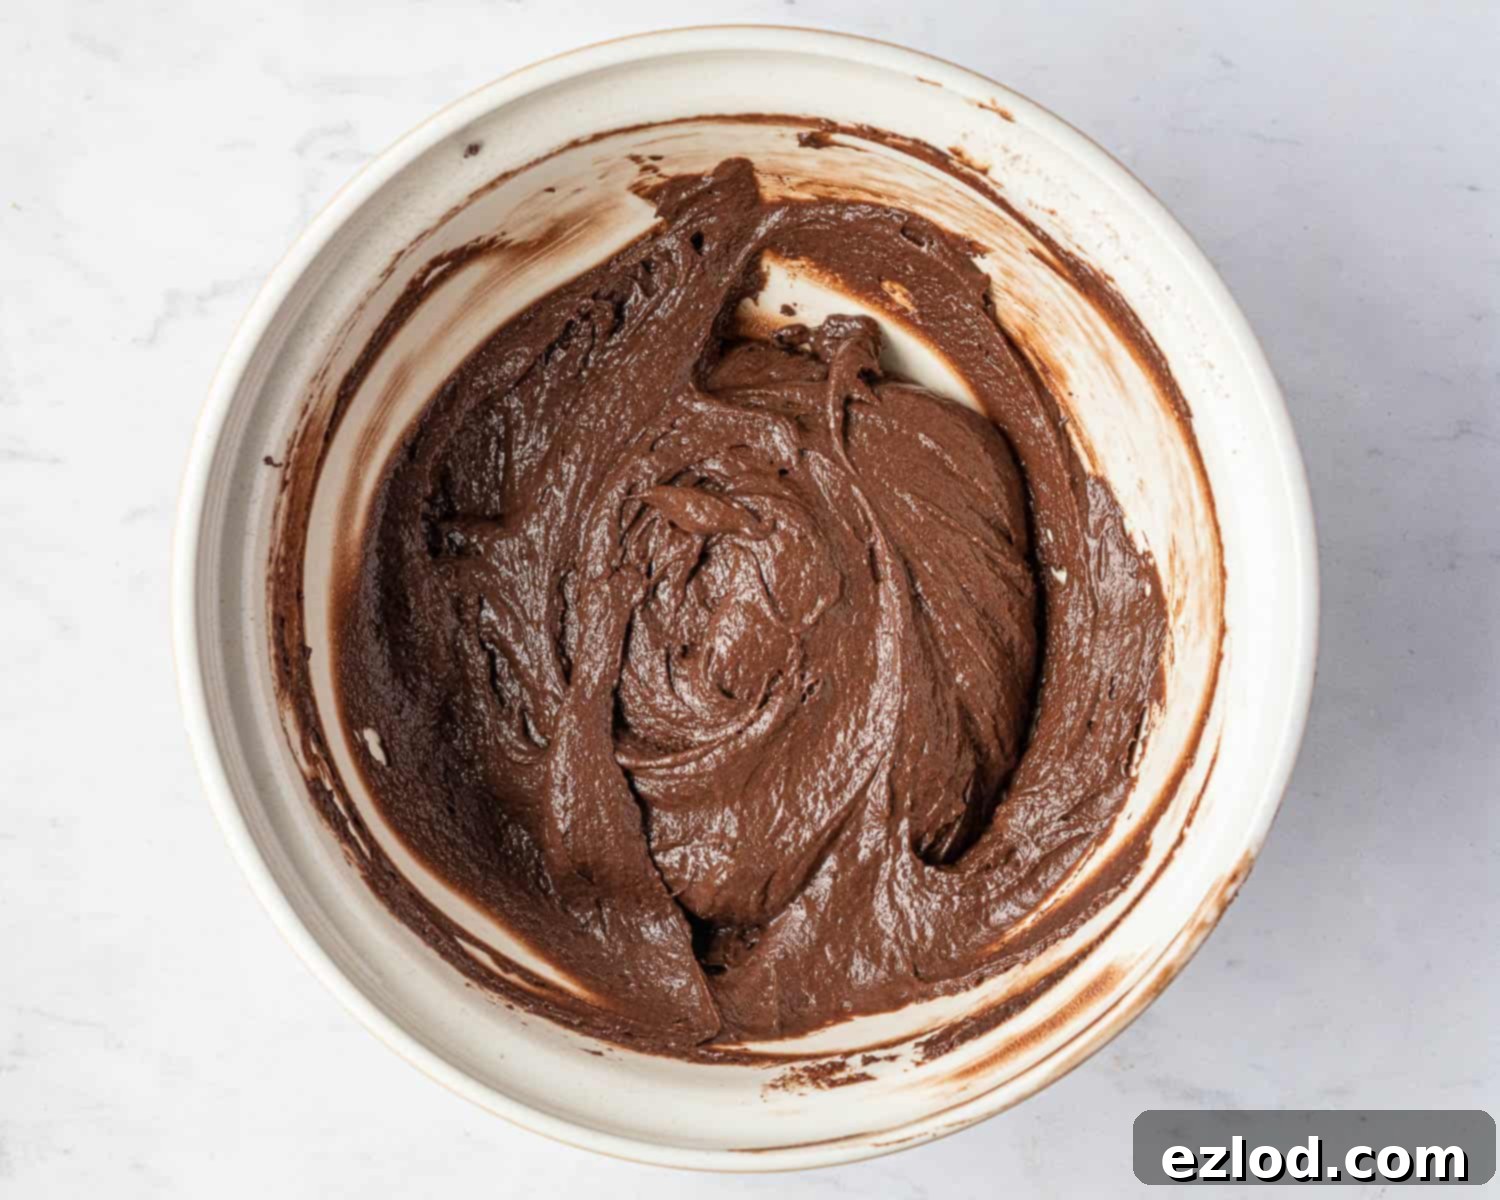
- Form the Batter: Pour the wet ingredients into the bowl containing the dry ingredients. Gently stir until a smooth, thick, and uniform batter forms. Be careful not to overmix, as this can lead to a tougher cake texture.
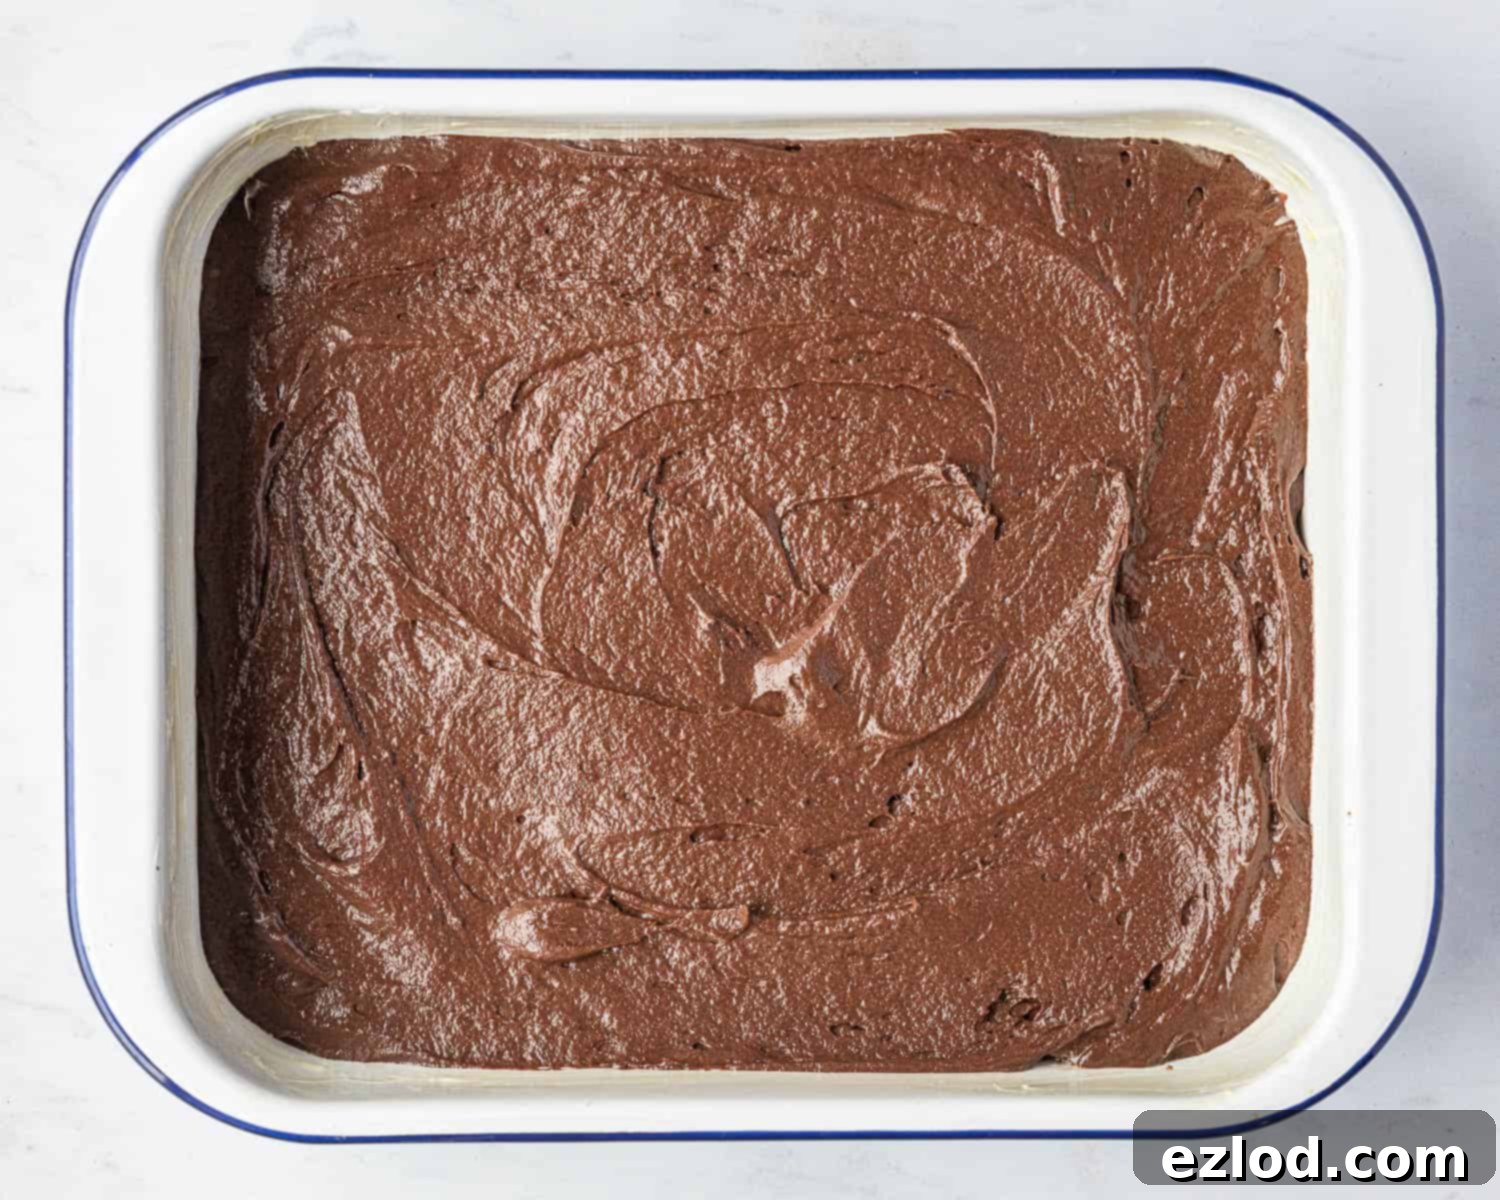
- Spread into Baking Dish: Scrape the prepared batter into your greased 20 x 24 cm (approximately 8×9.5 inch) baking dish. Use a spatula to spread it out evenly, creating a level base for your pudding.
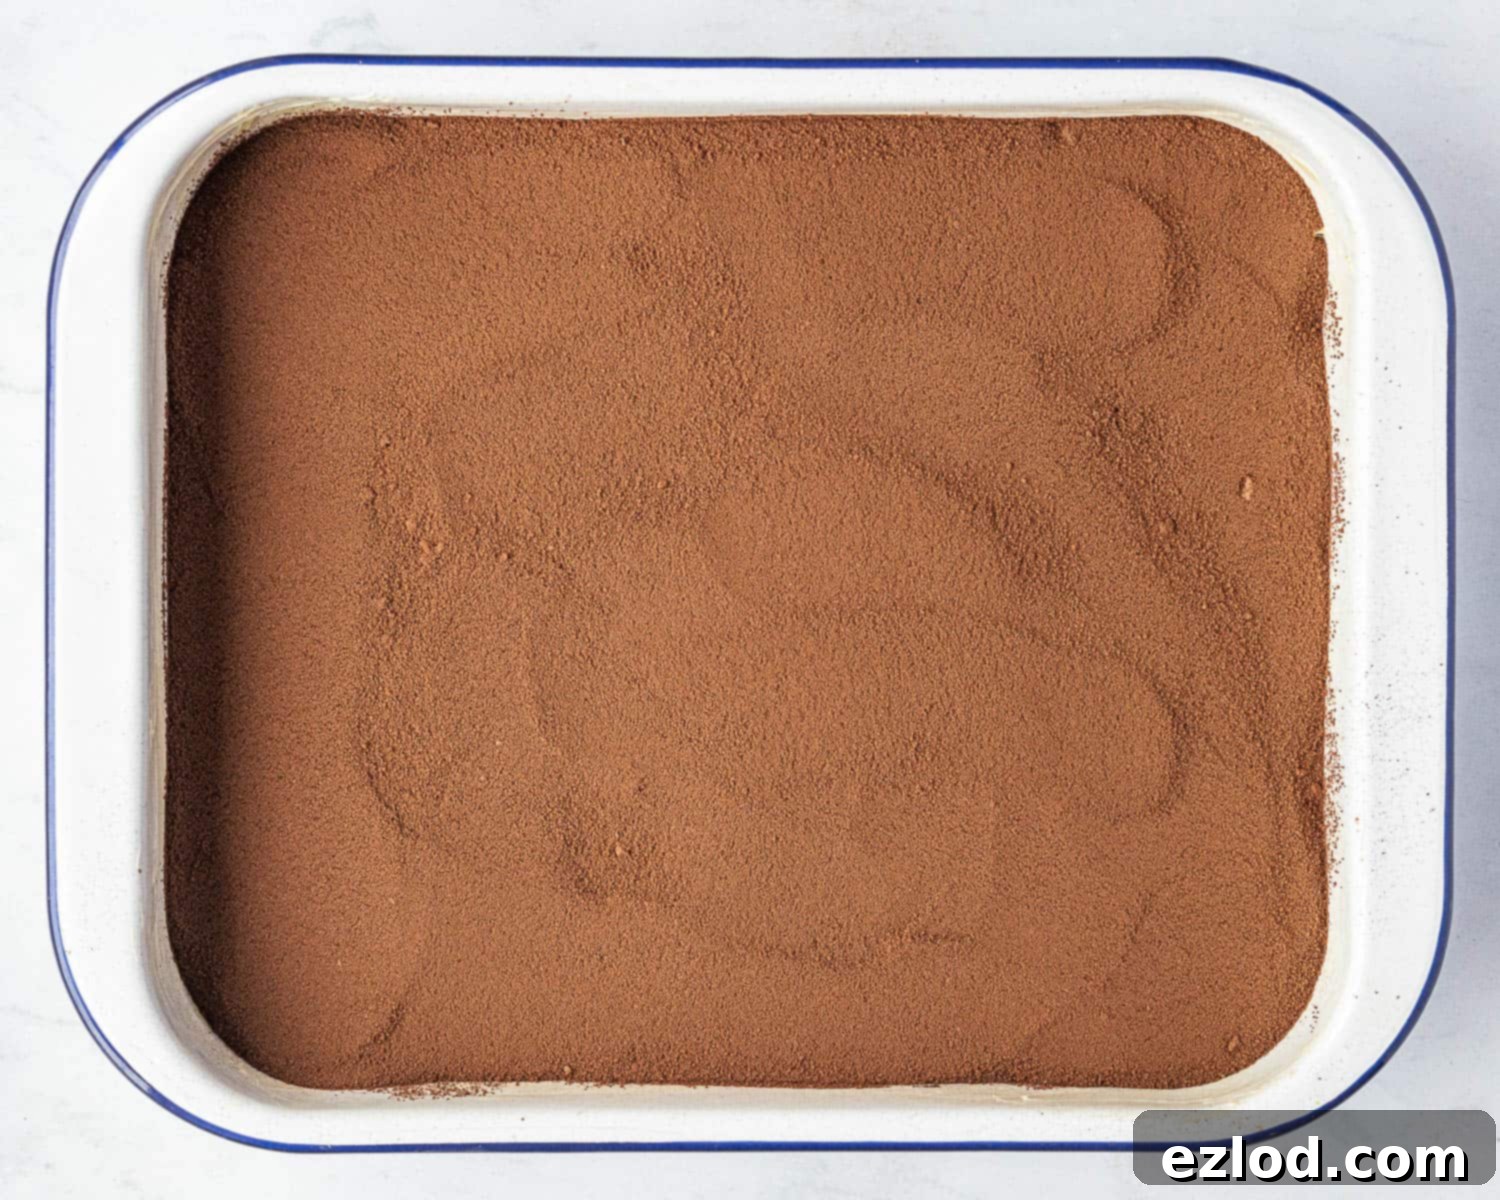
- Add Sauce Topping: Evenly sprinkle the reserved sugar and cocoa powder mixture over the entire surface of the batter. If needed, you can gently smooth it out with the back of a spoon to ensure full coverage.
- Pour Boiling Water: This is the crucial step for sauce creation. Very gently drizzle the boiling water over the back of a spoon, covering the entire surface of the pudding. The key here is *not* to stir it in, allowing the water to form a layer on top. This gentle method prevents the water from mixing directly into the batter, ensuring the sauce forms separately underneath.
- Bake to Perfection: Transfer the dish to a preheated oven and bake for approximately 30 minutes. The pudding is ready when the cake portion is set and a skewer inserted into the center of the cake (being careful not to go too deep and hit the sauce layer) comes out clean.
- Serve Warm: Allow the pudding to cool for just 5-10 minutes after baking. This brief resting period allows the sauce to settle and thicken slightly. Then, serve it warm, directly from the baking dish.
Expert Tips for Your Best Vegan Self-Saucing Chocolate Pudding
Achieving a perfect self-saucing pudding is easy with a few insider tips:
- Precision in Measurements: For consistently excellent baking results, I cannot stress enough the importance of using metric measurements with a digital scale. All my recipes are developed using grams, and this method offers unparalleled accuracy compared to cup conversions. Measuring by weight is not only far more precise but also typically less messy and more efficient!
- The Right Baking Dish: An approximately 20 x 24 cm (or 8 x 9.5 inch) baking dish is ideal for this recipe. If your dish is slightly larger, the cake and sauce layers might be a bit thinner, and baking time could be slightly reduced. If it’s smaller, the layers will be thicker, potentially requiring a few extra minutes in the oven.
- Gentle Water Application: When it’s time to add the boiling water, resist the urge to simply pour it directly onto the sugar and cocoa mixture. Instead, gently drizzle the boiling water over the back of a spoon. This technique disperses the water evenly and prevents it from immediately mixing with the cake batter, which is essential for the magical sauce layer to form correctly underneath.
- Balancing Sweetness: The sauce for this pudding is intentionally quite sweet and rich, as it needs to achieve a specific gooey texture. Therefore, I’ve kept the sugar content in the sponge itself relatively moderate. If you have a sweeter tooth, you can increase the sugar in the cake batter to 100g without compromising the overall structure.
- Do Not Alter Sauce Sugar: It is crucial *not* to reduce the amount of sugar specified for the sauce. The sugar content is vital for the sauce’s texture and consistency. Reducing it may result in a thinner, less luscious sauce.
- Embrace its Rustic Charm: Due to the way the water is poured over the top, the surface of this pudding often develops an appealingly rustic, slightly uneven appearance, and you might even see some small pockets of sauce peeking through. This is perfectly normal and part of its homemade charm! While you can reduce the boiling water to 250ml (1 cup) if you prefer a smoother top, be aware that this will result in less sauce with a slightly thicker consistency. Embrace its deliciousness over its visual perfection!
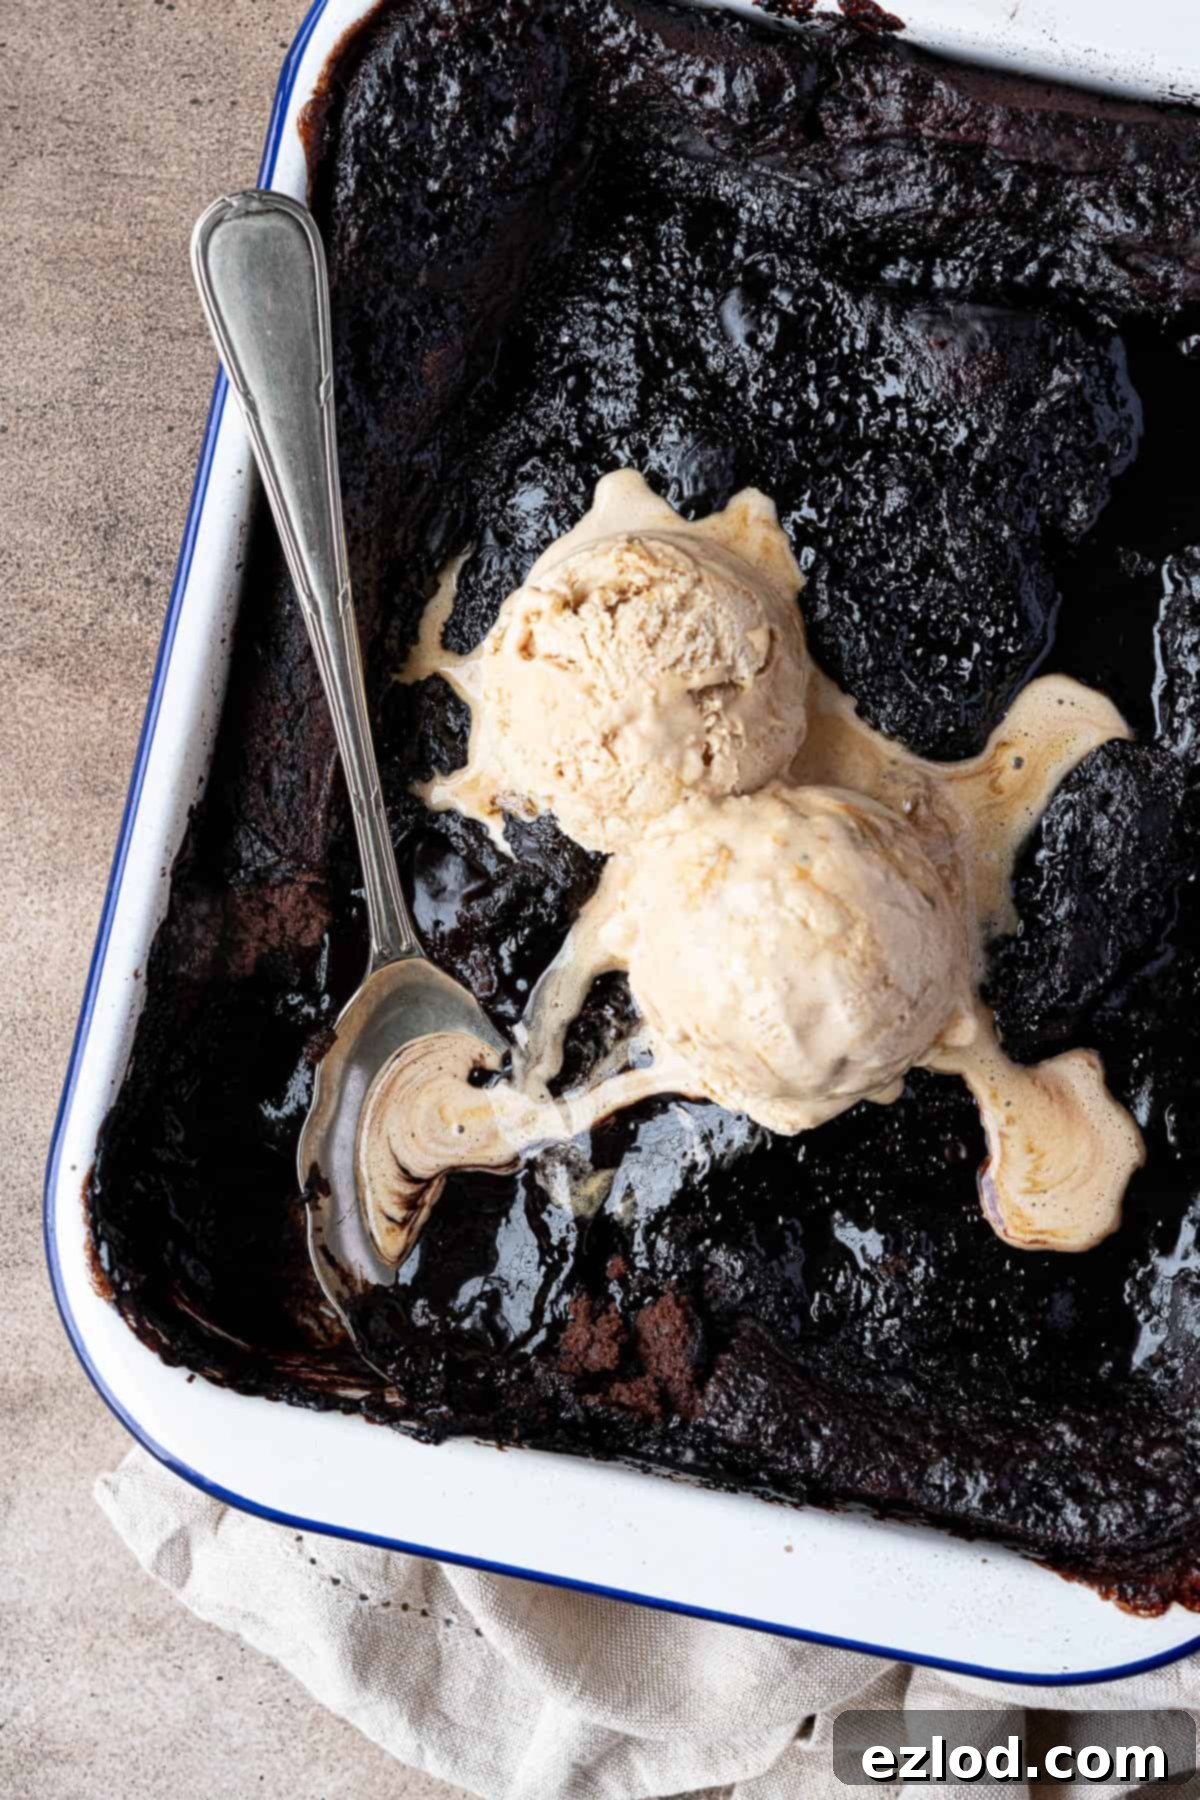
- Serving Suggestions: This isn’t a dessert meant for neat slices; it’s best served generously in dollops with a spoon, allowing you to scoop up both cake and abundant sauce. It pairs exquisitely with a scoop of creamy vanilla (or even chocolate!) ice cream, a drizzle of plant-based pouring cream, or a warm vegan custard. For a touch of freshness and balance, consider serving it alongside fresh strawberries or raspberries.
Planning Ahead: Can You Make This Pudding in Advance?
This vegan self-saucing chocolate pudding is undeniably at its peak when served fresh from the oven, still warm and with the sauce gloriously gooey. As the pudding sits over time, the delicious chocolate sponge will gradually absorb the rich sauce, altering the distinct two-layer experience.
If you find yourself with leftovers (a rare occurrence!), they can be covered tightly and refrigerated for 2-3 days. While not quite as spectacular as when freshly baked, the pudding still remains wonderfully delicious when reheated. You can gently warm individual portions in the microwave or reheat the entire dish in a moderate oven until heated through. It’s a comforting treat even on its second day.
Explore More Classic Vegan Pudding Recipes:
If you’ve fallen in love with this self-saucing delight, you might enjoy exploring other comforting vegan pudding recipes from my collection:
- Vegan Sticky Toffee Pudding
- Vegan Eve’s Pudding
- Vegan Spotted Dick
- Vegan Steamed Maple Syrup Sponge Pudding
- Vegan Steamed Chocolate Pudding
- Vegan Christmas Pudding
- Vegan Berry and Coconut Steamed Puddings
If you’ve had the pleasure of trying this recipe, please share your experience! Rate it, leave a comment below, or tag @domestic_gothess on Instagram and use the hashtag #domesticgothess so I can see your delicious creations!
All images and content on Domestic Gothess are protected by copyright. If you wish to share this recipe, kindly do so by utilizing the provided share buttons. Please refrain from screenshotting or posting the recipe or content in its entirety; instead, include a direct link back to this post for the complete recipe. Your understanding and support are greatly appreciated!

Print
Vegan Self-Saucing Chocolate Pudding
Ingredients
For the Self-Saucing Layer:
- 180 g (1 cup) light brown soft sugar
- 45 g (½ cup) cocoa powder
- 325 ml (1 + ⅓ cups) boiling water
For the Moist Chocolate Batter:
- 170 g (1 + ⅓ cups + 1 Tablespoon) plain (all-purpose) flour
- 30 g (⅓ cup) cocoa powder
- 2 ½ teaspoons baking powder
- ½ teaspoon instant espresso powder (optional, for enhanced chocolate flavor)
- 80 g (¼ cup + 2 Tablespoons) caster or granulated sugar
- pinch salt
- 160 ml (⅔ cup) unsweetened non-dairy milk (soy milk recommended for best results)
- 60 g (¼ cup) vegan butter (melted, block butter preferred)
- 1 teaspoon vanilla extract
Instructions
-
Preheat your oven to 180°C/160°C fan/350°F/gas mark 4. Lightly grease an approximately 20 x 24 cm (8×9.5 inch) baking dish.
-
In a small bowl, thoroughly mix together the light brown soft sugar and cocoa powder designated for the sauce. Set this mixture aside.
-
To prepare the sponge batter, sift together the plain flour, cocoa powder, baking powder, and optional espresso powder into a large mixing bowl. Stir in the caster sugar and a pinch of salt until well combined.
-
In a separate bowl or jug, whisk together the unsweetened non-dairy milk, melted vegan butter, and vanilla extract until smooth.
-
Pour the wet ingredients into the dry ingredients. Stir gently with a whisk or spatula until a smooth, thick batter forms. Be careful not to overmix.
-
Scrape the batter into your prepared baking dish and spread it evenly to create a level surface.
-
Evenly sprinkle the reserved sugar and cocoa powder mixture over the top of the batter. Gently smooth it out with the back of a spoon if needed to ensure full coverage.
-
Crucially, gently drizzle the boiling water over the back of a spoon across the entire surface of the pudding. Do NOT stir it into the batter. This allows the sauce to form beneath the cake.
-
Bake for approximately 30 minutes, or until the cake portion is set. A skewer inserted into the center of the cake section ONLY (avoiding the sauce layer below) should come out clean.
-
Allow the pudding to cool for 5-10 minutes before serving it warm, directly from the dish. This resting period allows the sauce to thicken slightly.
Notes
- Refer to the blog post above for comprehensive tips, detailed insights, and step-by-step photos to guide you through the process.
- For consistent and reliable baking results, all my recipes are developed using grams. I highly recommend using metric measurements with a digital scale rather than cup conversions, as cups can be quite inaccurate. Weighing ingredients provides far better and more consistent outcomes, plus it often leads to less mess!
