Rich & Creamy Homemade Hazelnut Praline Ice Cream Recipe
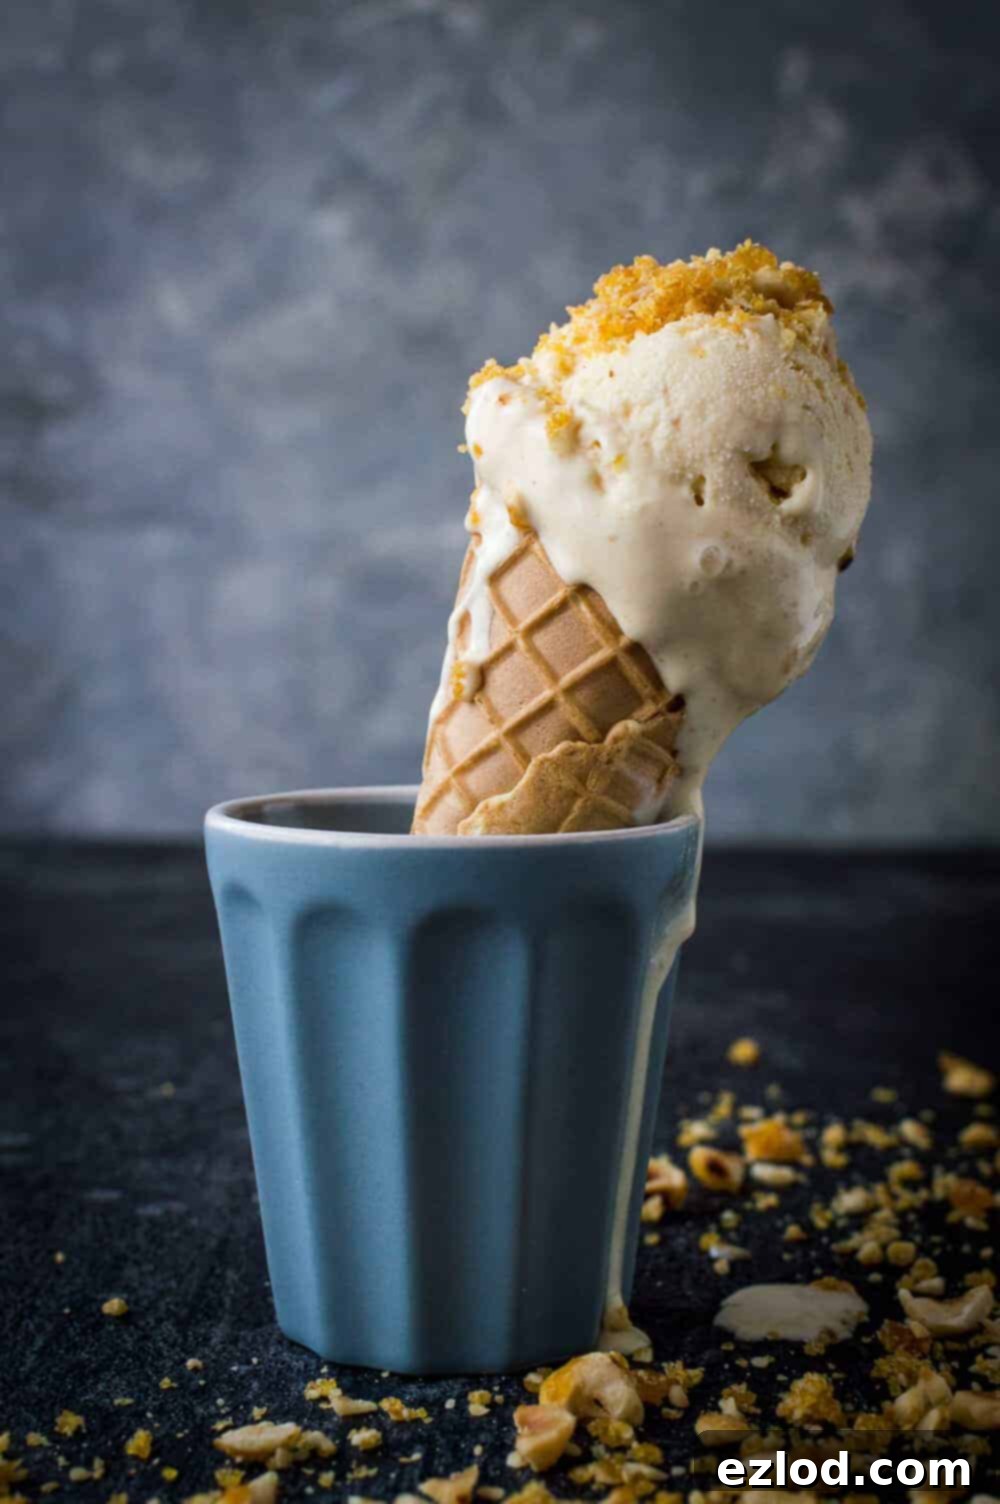
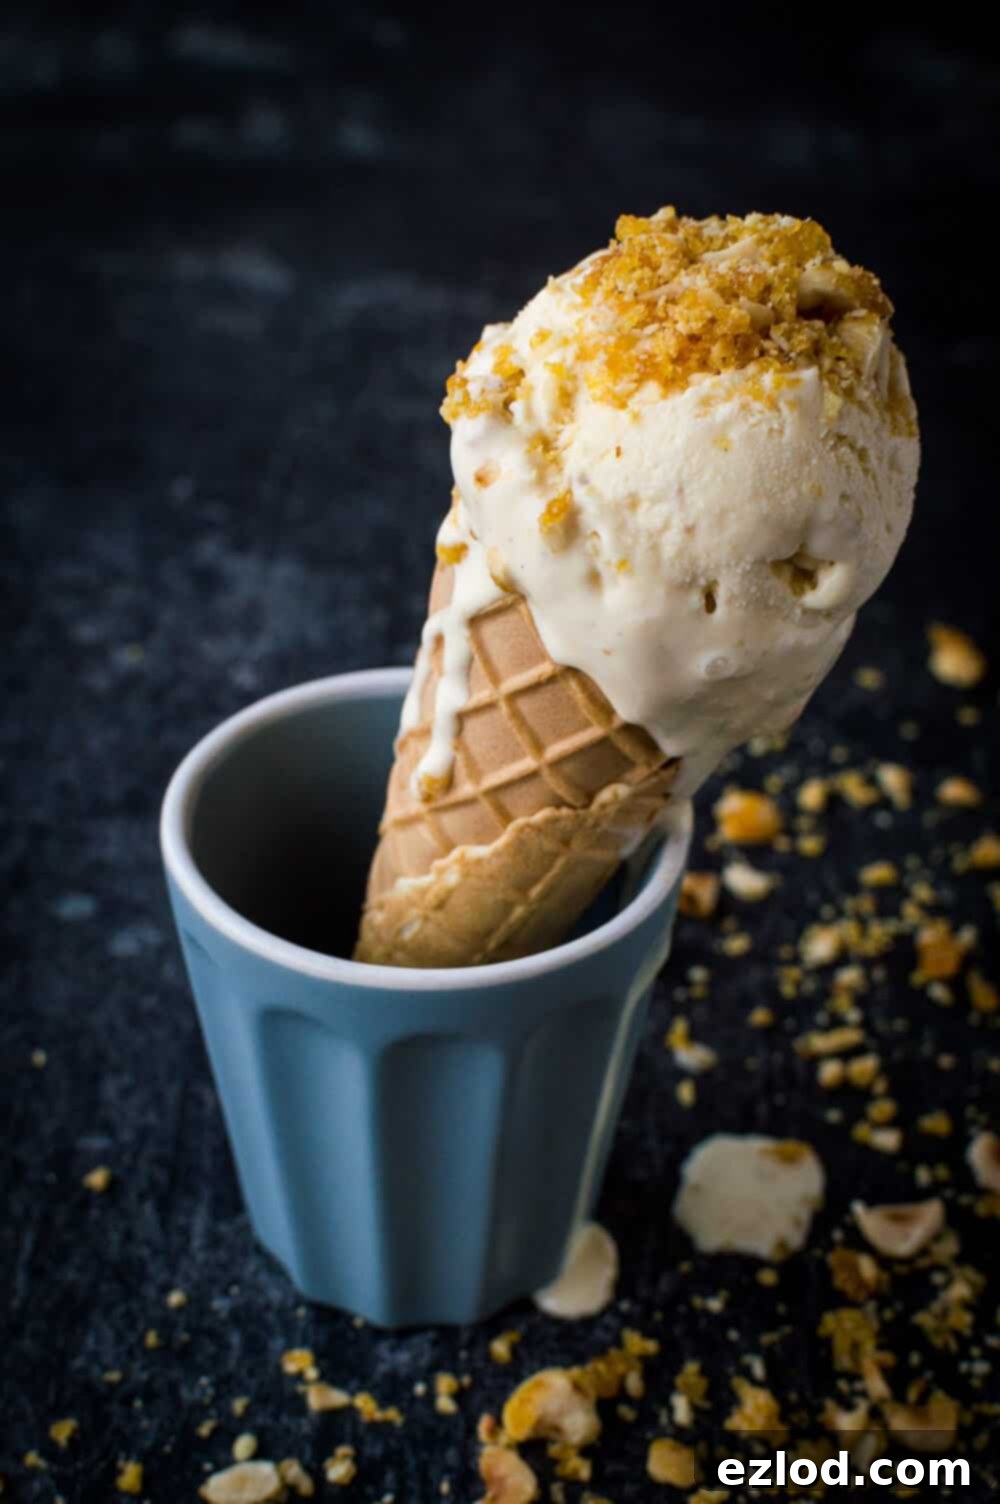
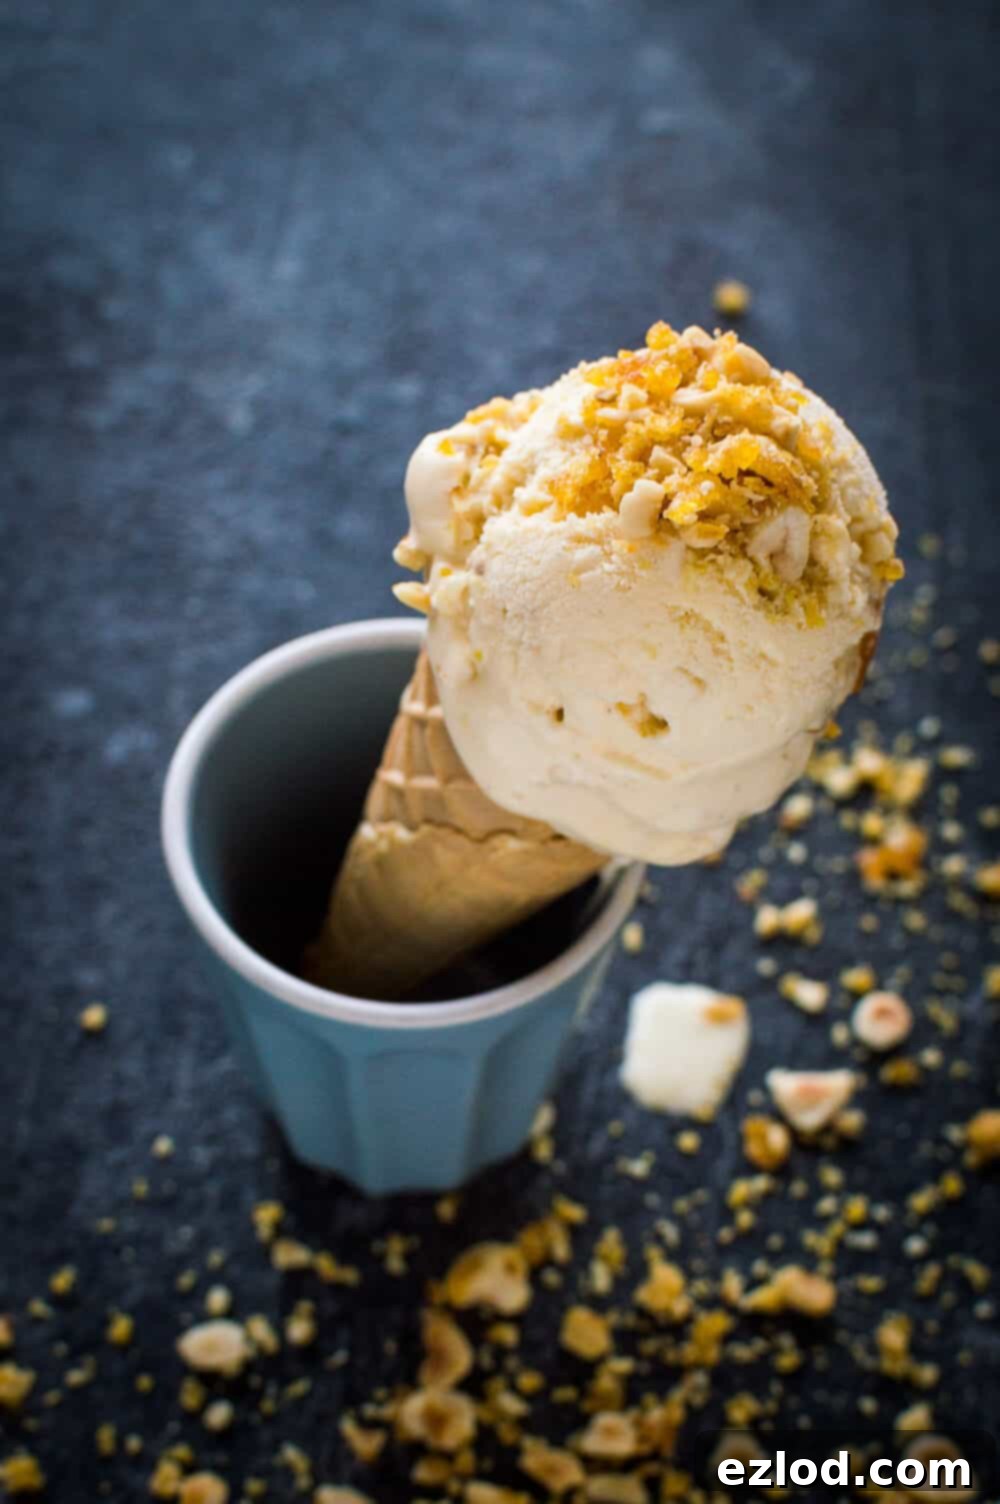
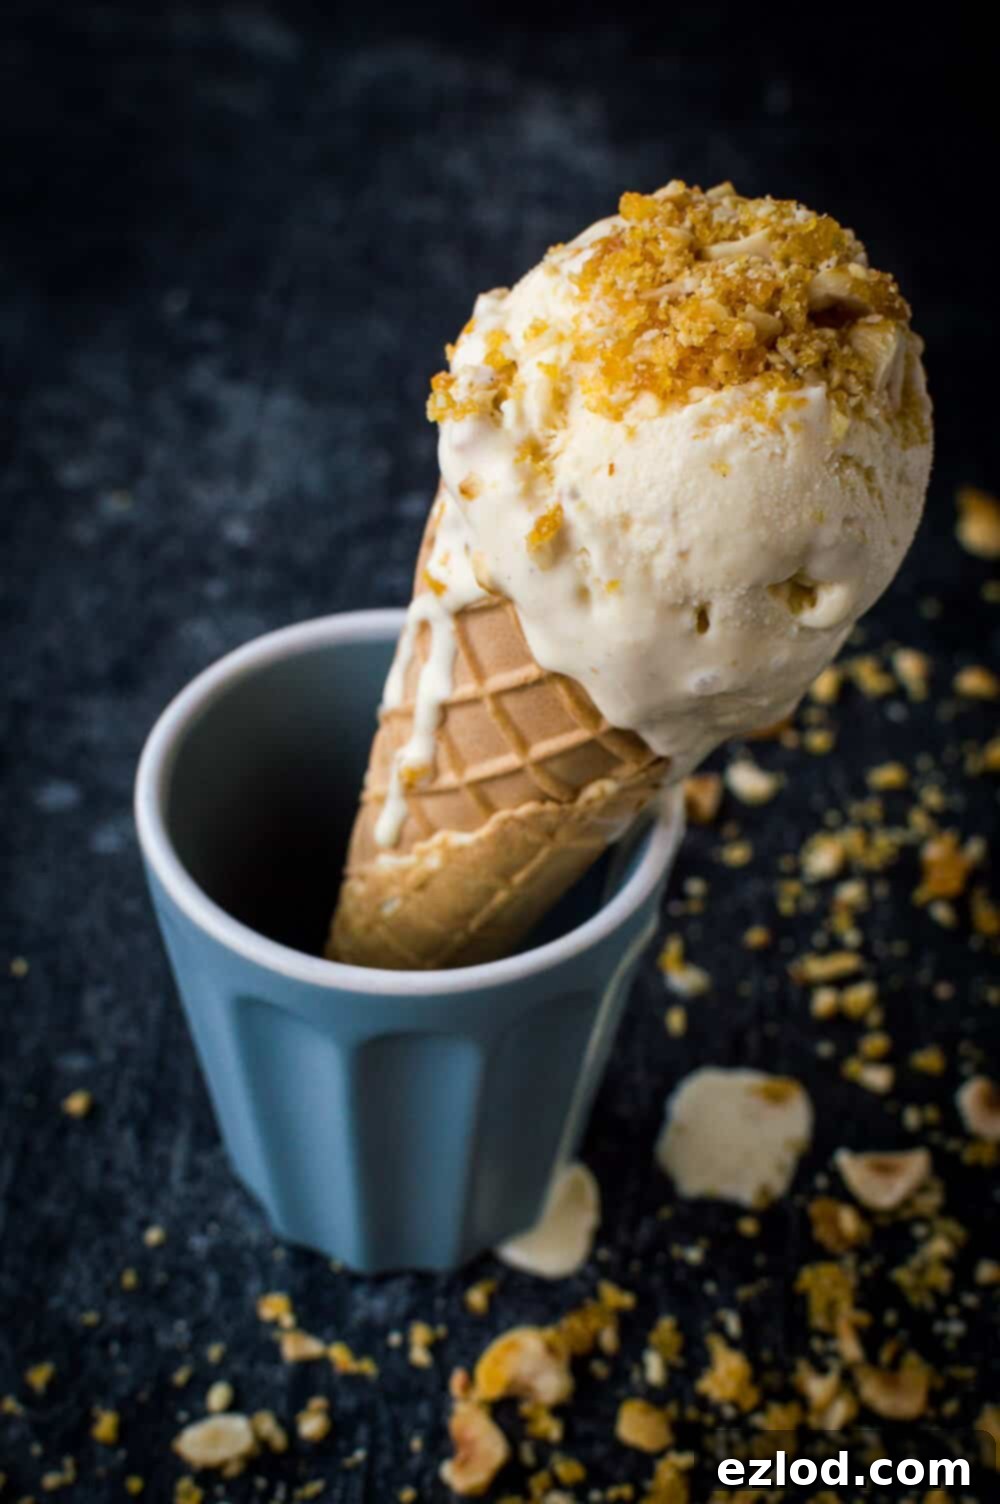
Prepare to fall in love with this truly decadent homemade hazelnut praline ice cream. Imagine a luxurious, incredibly rich and creamy vanilla ice cream base, generously studded and swirled with pieces of golden, crunchy hazelnut praline. It’s a flavor combination that’s absolutely irresistible, offering a delightful contrast of smooth and crisp textures in every single spoonful. While this recipe was perfected before the holidays, its timeless appeal makes it a perfect treat to enjoy any day, any season.

Why Homemade Ice Cream Reigns Supreme
Once you’ve tasted homemade ice cream, it’s hard to go back to store-bought. Even the simplest vanilla flavor, when made from scratch with quality ingredients, possesses a depth and freshness that commercial versions simply can’t replicate. This hazelnut praline ice cream takes that superiority to another level. The process might seem intimidating, but with a good recipe and a little patience, you’ll unlock a world of flavor that will impress everyone fortunate enough to try it.

The Unforgettable Magic of Hazelnut Praline
The true star of this recipe, beyond the velvety vanilla base, is undoubtedly the hazelnut praline. Praline is like “gold dust” when it comes to adding a textural and flavor dimension to desserts. It’s not just about the nuts; it’s the magical transformation of sugar into a crisp, caramelized coating that adheres to each hazelnut, creating something truly extraordinary. When folded into the churned ice cream, something wonderful happens:
- Softened Swirls: Some of the praline pieces gently soften within the creamy ice cream, transforming into heavenly, nut-studded toffee-like ribbons that melt in your mouth.
- Crunchy Surprises: Other pieces maintain their glorious crunch, providing a brilliant textural contrast that makes every bite exciting and satisfying. This duality is what sets this ice cream apart and makes it so incredibly moreish.
The nutty aroma of roasted hazelnuts, combined with the sweet, deep caramel notes, creates an intricate flavor profile that perfectly complements the rich vanilla custard. It’s a symphony for your taste buds.

Versatility: Perfect for Any Season, Any Occasion
This hazelnut praline ice cream is incredibly versatile. While it’s absolutely awesome enjoyed straight from a bowl or a waffle cone (perhaps with an extra sprinkle of crushed praline for good measure!), its rich flavor profile makes it an exceptional accompaniment to other desserts. Imagine a generous scoop melting gracefully atop a warm apple pie, a fudgy chocolate brownie, delicate crepes, or even a rich bread pudding. The cold, creamy texture and nutty sweetness provide a fantastic counterpoint to warm, baked goods.
And let’s debunk the myth that ice cream is only for hot weather. This particular flavor, with its deep, comforting notes of hazelnut and caramel, feels just as appropriate on a crisp autumn evening or a chilly winter night, especially when paired with a cozy, warm dessert. There is truly no bad way or wrong time to enjoy this sublime creation.

Essential Ingredients for a Divine Experience
Creating this magnificent ice cream starts with selecting the right ingredients. Each component plays a vital role in achieving that perfect creamy texture and rich flavor.
For the Creamy Vanilla Custard Base:
- Double (Heavy) Cream: This is crucial for the luxurious, velvety texture of the ice cream. Its high fat content prevents excessive ice crystal formation, ensuring a smooth mouthfeel.
- Full Fat Milk: Paired with the cream, full-fat milk contributes to the overall richness and helps create the ideal custard consistency.
- Caster Sugar: Fine granulated sugar dissolves easily and sweetens the custard without leaving a grainy texture. It also aids in preventing ice crystal formation.
- Large Egg Yolks: The cornerstone of any good custard-based ice cream. Egg yolks provide an incredible richness, contribute to the silky texture, and act as a natural emulsifier, ensuring a stable and creamy base. Don’t skip these!
- Vanilla Bean Paste or Vanilla Pod Seeds: For the ultimate vanilla flavor, use paste or fresh seeds. These offer a more intense and authentic vanilla essence than extract, which complements the hazelnuts beautifully.
- Pinch of Salt: A tiny bit of salt enhances all the other flavors, balancing the sweetness and bringing out the nuances of the vanilla and cream.
Crafting the Perfect Hazelnut Praline:
- Hazelnuts: Unsalted, raw hazelnuts are best. Roasting them yourself brings out their essential oils and deepens their nutty flavor.
- Caster Sugar: Used to create the caramel, it melts evenly and forms that perfect crunchy coating for the nuts.
- Water: A small amount of water helps the sugar dissolve uniformly and prevents it from crystallizing too quickly during the caramelization process.
- Pinch of Salt: Just like in the custard, a touch of salt in the praline balances the sweetness of the caramel and intensifies the nutty flavor of the hazelnuts.
Step-by-Step Guide to Your Homemade Hazelnut Praline Ice Cream
Making this ice cream is a process of two main parts: preparing the creamy vanilla custard and crafting the crunchy hazelnut praline. Follow these steps carefully for the best results.
Preparing the Luxurious Vanilla Custard:
- Prepare your setup: Have a large bowl ready, with a fine mesh sieve placed over the top. This is where your finished custard will be strained, ensuring ultimate smoothness.
- Heat Milk and Sugar: In a saucepan, combine the full-fat milk and caster sugar. Gently heat this mixture over medium heat, stirring occasionally, until the sugar completely dissolves and the liquid just begins to simmer or come up to a gentle boil. Remove it from the heat once it’s hot but not vigorously boiling.
- Whisk Egg Yolks: While the milk mixture heats, whisk the egg yolks vigorously in a separate heatproof bowl until they are light yellow and slightly thickened.
- Temper the Yolks: This is a crucial step to prevent scrambling. Gradually and slowly pour the hot milk mixture into the whisked egg yolks, whisking constantly and vigorously as you pour. This slowly raises the temperature of the egg yolks without cooking them.
- Cook the Custard: Pour the entire egg and milk mixture back into the saucepan. Cook over a low heat, stirring continuously with a wooden spoon or spatula. The custard will gradually thicken. It’s ready when it’s thick enough to coat the back of your spoon, and when you draw a line with your finger on the back of the spoon, the line remains clear. Be extremely careful not to let it get too hot, or the eggs will scramble. If it seems to be getting too hot, remove it from the heat temporarily while stirring.
- Strain and Chill: Immediately pour the cooked custard through the fine mesh sieve into the bowl with the cold double cream. Whisk them together until well combined. Stir in the vanilla bean paste (or vanilla pod seeds) and the pinch of salt. Cover the bowl with plastic wrap, pressing it directly onto the surface of the custard to prevent a skin from forming. Refrigerate until completely cold – ideally overnight, or for at least 6-8 hours. Proper chilling is vital for optimal churning.
Creating the Crunchy Hazelnut Praline:
- Roast the Hazelnuts: Preheat your oven to 150°C/300°F/gas mark 2. Spread the raw hazelnuts in a single layer on a baking tray. Roast for approximately 15-20 minutes, stirring them every 5-7 minutes, until they are richly golden brown and their skins start to crack. This step significantly enhances their flavor.
- Remove Skins: While the hazelnuts are still warm (but cool enough to handle), transfer them to a clean kitchen towel. Fold the towel over and rub the hazelnuts vigorously. Most of the skins should come off. Don’t worry if a few stubborn bits remain; it adds character.
- Prepare for Caramel: Line a heatproof baking tray or a silicone mat with baking parchment. This is where your hot praline will cool.
- Make the Caramel: In a small, heavy-bottomed saucepan, combine the caster sugar and water. Bring the mixture to a boil over medium-high heat. Do not stir! Instead, gently swirl the pan occasionally until the sugar dissolves and the mixture begins to bubble. Continue cooking without stirring until the caramel turns a beautiful amber color. Keep a close eye on it, as caramel can burn quickly.
- Combine Praline: As soon as the caramel reaches the desired color, remove the pan from the heat. Quickly tip in the roasted, skinned hazelnuts and the pinch of salt. Stir vigorously with a heatproof spatula until all the hazelnuts are thoroughly coated in the golden caramel.
- Cool the Praline: Immediately pour the hot hazelnut praline mixture onto your prepared baking parchment. Spread it out into a thin, even layer using your spatula. Allow it to cool completely and harden, which usually takes about 30 minutes to an hour at room temperature.
Churning and Combining:
- Churn the Custard: Once the custard is thoroughly chilled, churn it in your ice cream machine according to the manufacturer’s specific instructions. Churn until it reaches the consistency of soft-serve ice cream.
- Break Up Praline: While the ice cream is churning, break the cooled and hardened praline into pieces. Place them in a sturdy freezer bag (or between two sheets of parchment paper) and bash them with a rolling pin until they are broken up into small, irregular pieces. Alternatively, you can pulse them in a food processor, being careful not to turn them into a powder; you want distinct chunks for texture.
- Fold in Praline: When the ice cream is churned, gently fold in about two-thirds of the crushed hazelnut praline.
- Freeze to Firm Up: Transfer the ice cream to an airtight freezer-safe container. Sprinkle the remaining one-third of the praline over the top. Cover tightly and place in the freezer for at least 2-4 hours to allow it to firm up to a scoopable consistency before serving.
Tips for Ice Cream Making Success
- Don’t Rush the Chill: An ice cream base needs to be thoroughly chilled (preferably overnight) before churning. This ensures the best texture and prevents it from turning icy.
- Temper Eggs Slowly: When adding hot milk to egg yolks, do it very gradually and whisk constantly to temper the eggs. This prevents them from scrambling.
- Low Heat for Custard: Cook the custard over low heat and stir continuously. Patience is key here. If it gets too hot, it will curdle.
- Perfect Caramel: When making praline, don’t stir the caramel while it’s cooking, only swirl the pan. Keep a close eye on the color, as it can go from perfect to burnt in seconds.
- Texture is Key for Praline: For the praline, aim for a mix of smaller and slightly larger pieces when crushing. This gives variety in texture within the ice cream.
- Don’t Over-Churn: Churn your ice cream only until it reaches a soft-serve consistency. It will firm up more in the freezer. Over-churning can lead to a less creamy texture.
Customizing Your Hazelnut Praline Ice Cream
While this recipe is perfect as is, you can always experiment with variations to suit your taste:
- Chocolate Swirl: Fold in a ribbon of homemade or good quality chocolate fudge sauce during the last few minutes of churning, or when layering the ice cream into the freezer container.
- Coffee Kick: Add a teaspoon of espresso powder to the milk when heating for a subtle coffee undertone that pairs wonderfully with hazelnut.
- Different Nuts: Try this recipe with almonds or pecans for a different nutty flavor, creating almond praline or pecan praline ice cream.
- Spices: A pinch of cinnamon or cardamom could add a warm, aromatic dimension to the custard base.
- Chocolate Chunks: Along with the praline, fold in some chopped dark chocolate for an extra layer of decadence.
Storage Tips for Homemade Ice Cream
Homemade ice cream is best enjoyed within 1-2 weeks. To ensure it stays fresh and delicious:
- Airtight Container: Always store your ice cream in a freezer-safe, airtight container. This prevents freezer burn and the absorption of other freezer odors.
- Surface Protection: For an extra layer of protection against ice crystals, press a piece of parchment paper or plastic wrap directly onto the surface of the ice cream before putting the lid on.
- Scooping: If the ice cream is very firm, let it sit out on the counter for 5-10 minutes before scooping to allow it to soften slightly.

Hazelnut Praline Ice Cream
Ingredients
Custard:
- 300 ml (1 ¼ cups) double (heavy) cream
- 500 ml (2 cups) full fat milk
- 160 g (¾ cup) caster sugar
- 6 large egg yolks
- 1 tsp vanilla bean paste or the seeds from one vanilla pod
- pinch salt
Hazelnut Praline:
- 150 g (5.3 oz) hazelnuts
- 125 g (⅔ cup) caster sugar
- 2 Tbsp water
- pinch salt
Instructions
-
Pour the cream into a large bowl and set a fine mesh sieve over the top. Heat the milk and sugar together in a saucepan until just coming up to the boil.
-
Meanwhile, whisk together the egg yolks in a heatproof bowl. Gradually pour the hot milk into the egg yolks, whisking constantly. Pour the mixture back into the pan.
-
Cook over a low heat, stirring constantly until the custard has thickened enough to coat the back of a spoon, don’t allow it to get too hot or it will scramble. Pour the custard through the sieve into the cream and whisk together. Whisk in the vanilla and salt. Cover and refrigerate until completely cold. (I refrigerate it overnight).
-
While the custard is chilling make the praline. Preheat the oven to 150°C/300°F/gas 2. Spread the hazelnuts on a baking tray and roast for about 20 minutes, stirring every now and again, until richly golden.
-
Place the hazelnuts in a clean teatowel and rub to remove the skins. It doesn’t matter if you don’t get all of it off.
-
Line a heatproof tray with some baking parchment. Put the sugar and water in a small saucepan. Bring to the boil and swirl the pan (don’t stir) until the sugar dissolves. Keep cooking until the caramel turns an amber colour. Remove from the heat and tip in the hazelnuts and a pinch of salt, stir until they are covered in the caramel. Pour the praline on to the prepared tray and let it cool completely.
-
Churn the chilled custard in an ice cream machine according to the manufacturers instructions. Meanwhile, break the cooled praline into pieces and place in a sturdy food bag. Bash with a rolling pin until it is broken up into small pieces. Alternatively you can pulse it in a food processor.
-
Once the ice cream is churned, fold through about ⅔rds of the praline. Transfer to a container and sprinkle over the rest of the praline. Place in the freezer for a couple of hours before serving.
Frequently Asked Questions (FAQ)
- Can I make this ice cream without an ice cream machine?
- While an ice cream machine yields the best results for a creamy texture, you can try a no-churn method. After the custard is fully chilled, fold in the whipped heavy cream (separate from the recipe’s cream) until combined. Then, fold in the praline and freeze. However, expect a slightly different, denser texture.
- How long does homemade hazelnut praline ice cream last?
- When stored properly in an airtight container in the freezer, it typically lasts for 1-2 weeks. After that, it might start to develop ice crystals or lose some of its fresh flavor.
- Can I prepare the praline ahead of time?
- Absolutely! Hazelnut praline can be made several days in advance. Store the cooled, broken pieces in an airtight container at room temperature. Ensure it’s kept in a dry place to prevent it from becoming sticky.
- What’s the best way to get the skins off the hazelnuts?
- The most effective way is to roast them first. The heat loosens the skins. Then, while still warm, rub them vigorously in a clean kitchen towel. Don’t worry if a few tiny bits of skin remain; they are harmless and add a little rustic charm.
Conclusion
This homemade hazelnut praline ice cream is more than just a dessert; it’s an experience. The rich, velvety vanilla custard perfectly cradles the delightful, dual-textured hazelnut praline, creating a symphony of flavors and sensations that will leave you craving more. Whether you’re treating yourself, hosting guests, or simply looking for a sweet escape, this recipe promises to deliver pure bliss. Don’t hesitate to embark on this delicious journey – your taste buds will thank you!