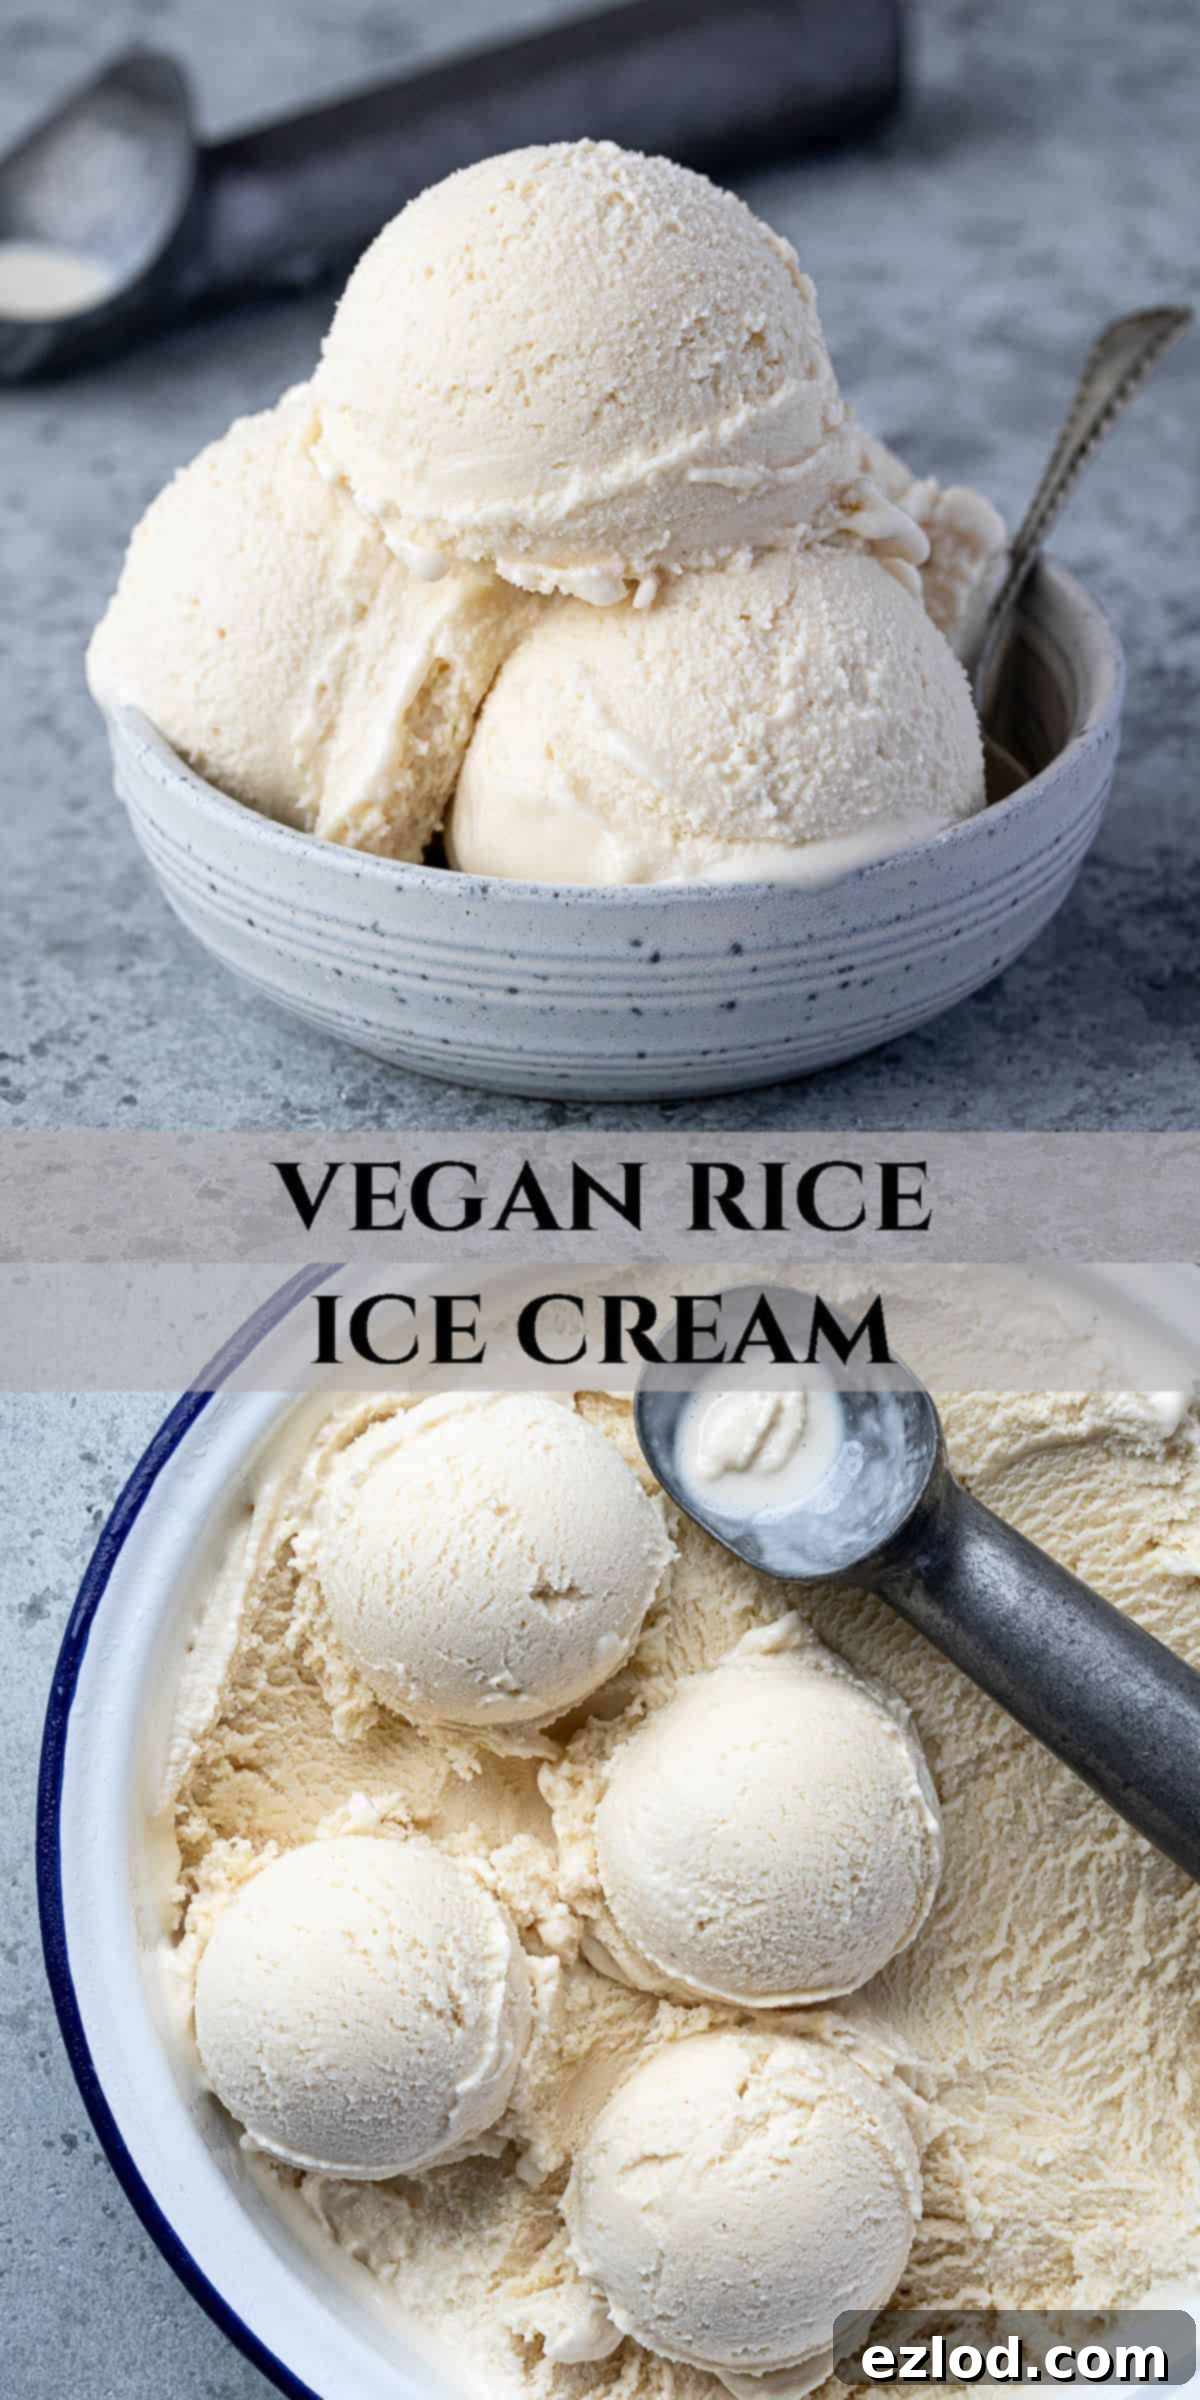
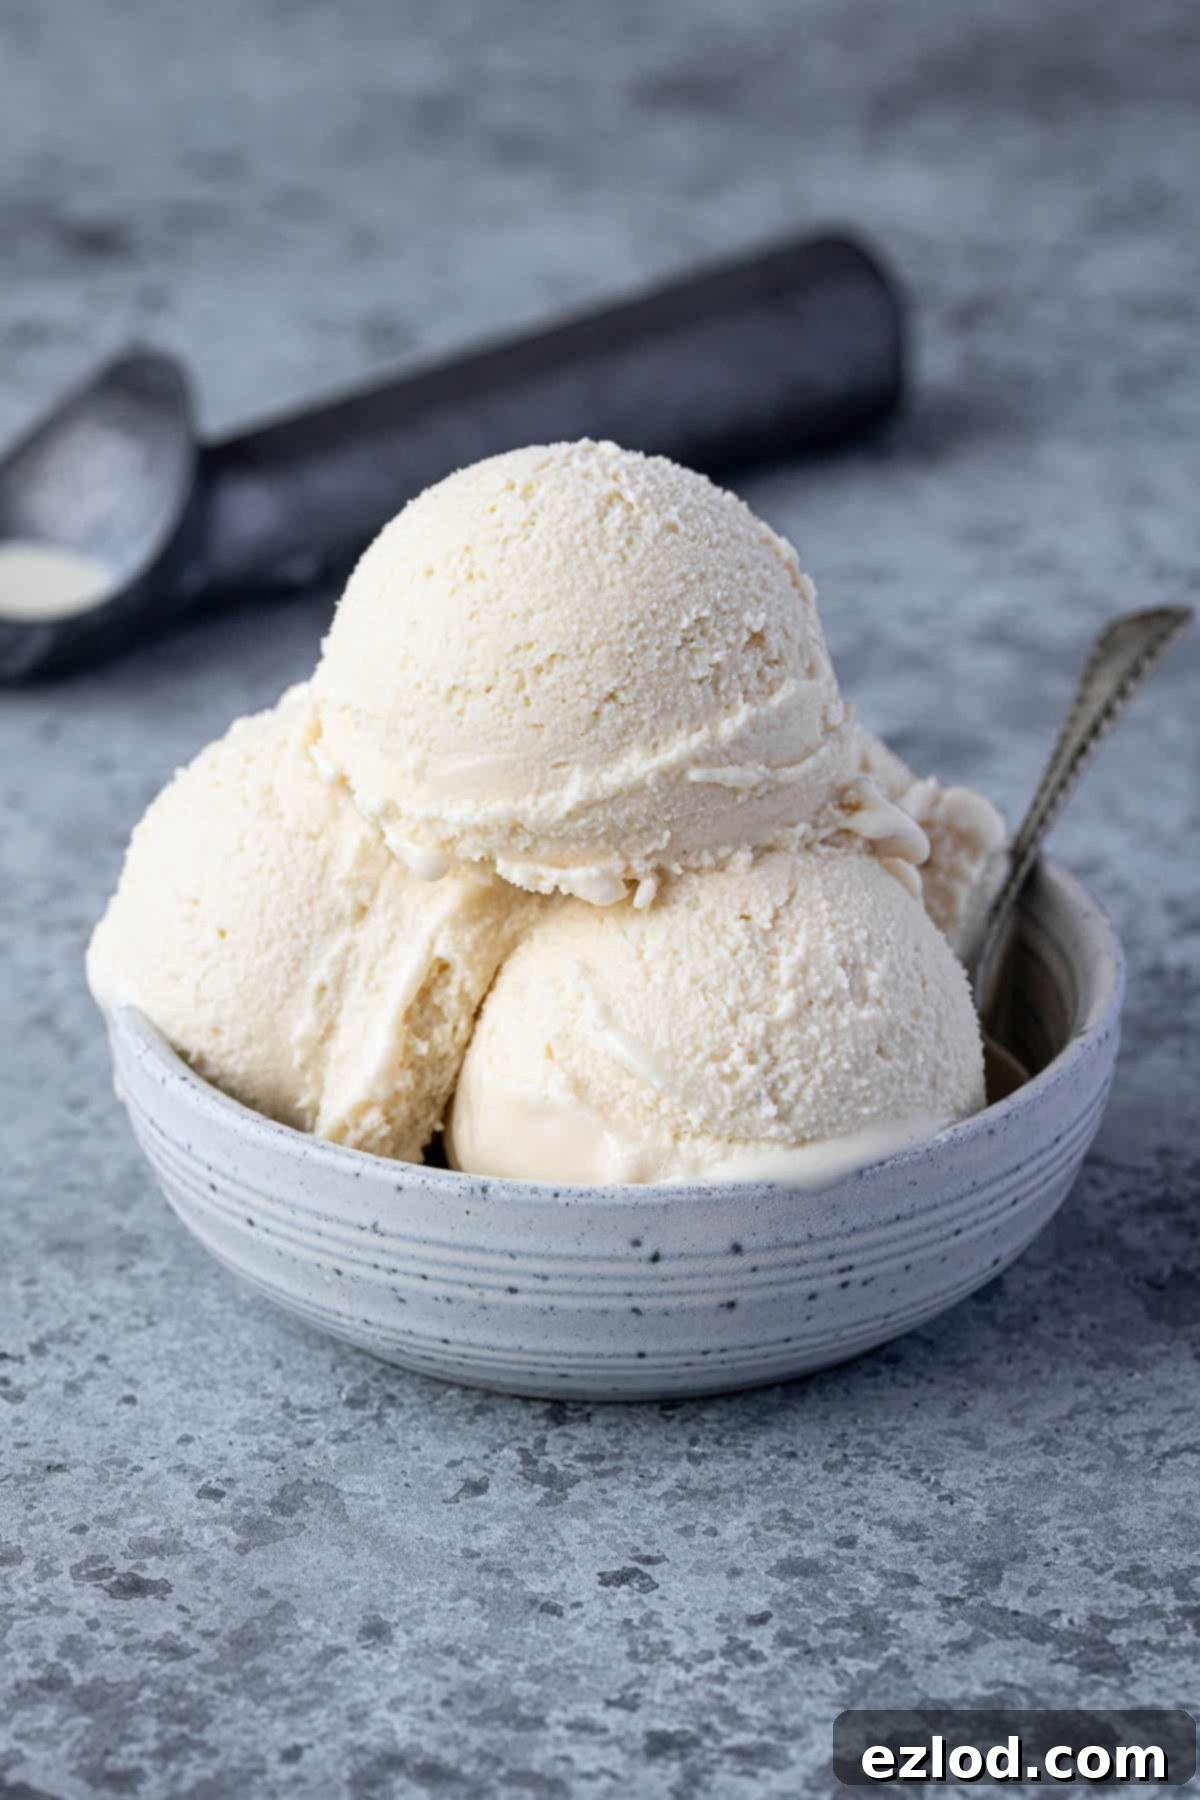
Creamy Vegan Rice Ice Cream: A Deliciously Smooth Dairy-Free Delight
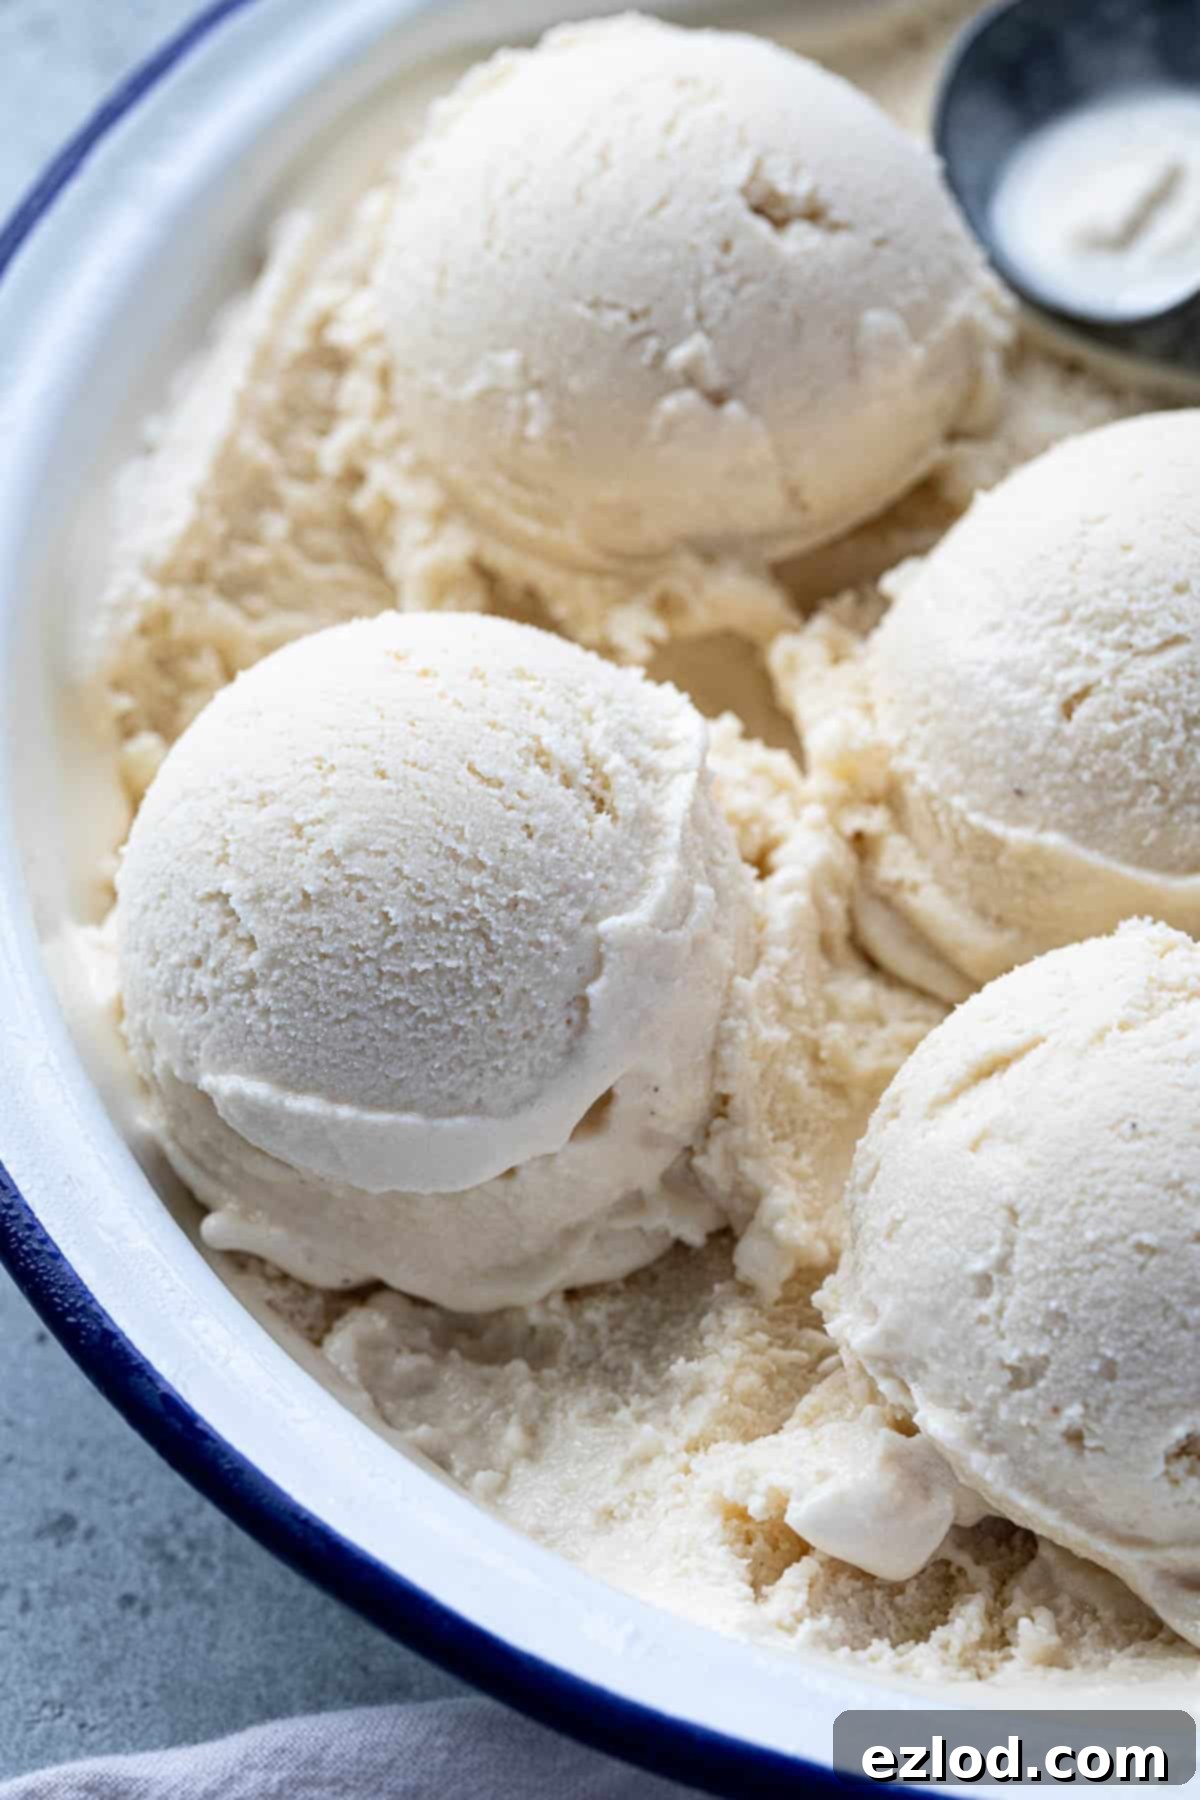
Experience the unparalleled creaminess of homemade vegan rice ice cream! This unique dairy-free dessert is crafted from a base of perfectly blended cooked rice, creating a surprisingly rich and smooth texture. With delightful hints of classic flavors like nutmeg, malt, and vanilla, it evokes the comforting taste of a frozen rice pudding. However, its versatility allows you to easily omit the nutmeg and malt to create a neutral canvas, ready for any flavor adventure you desire.
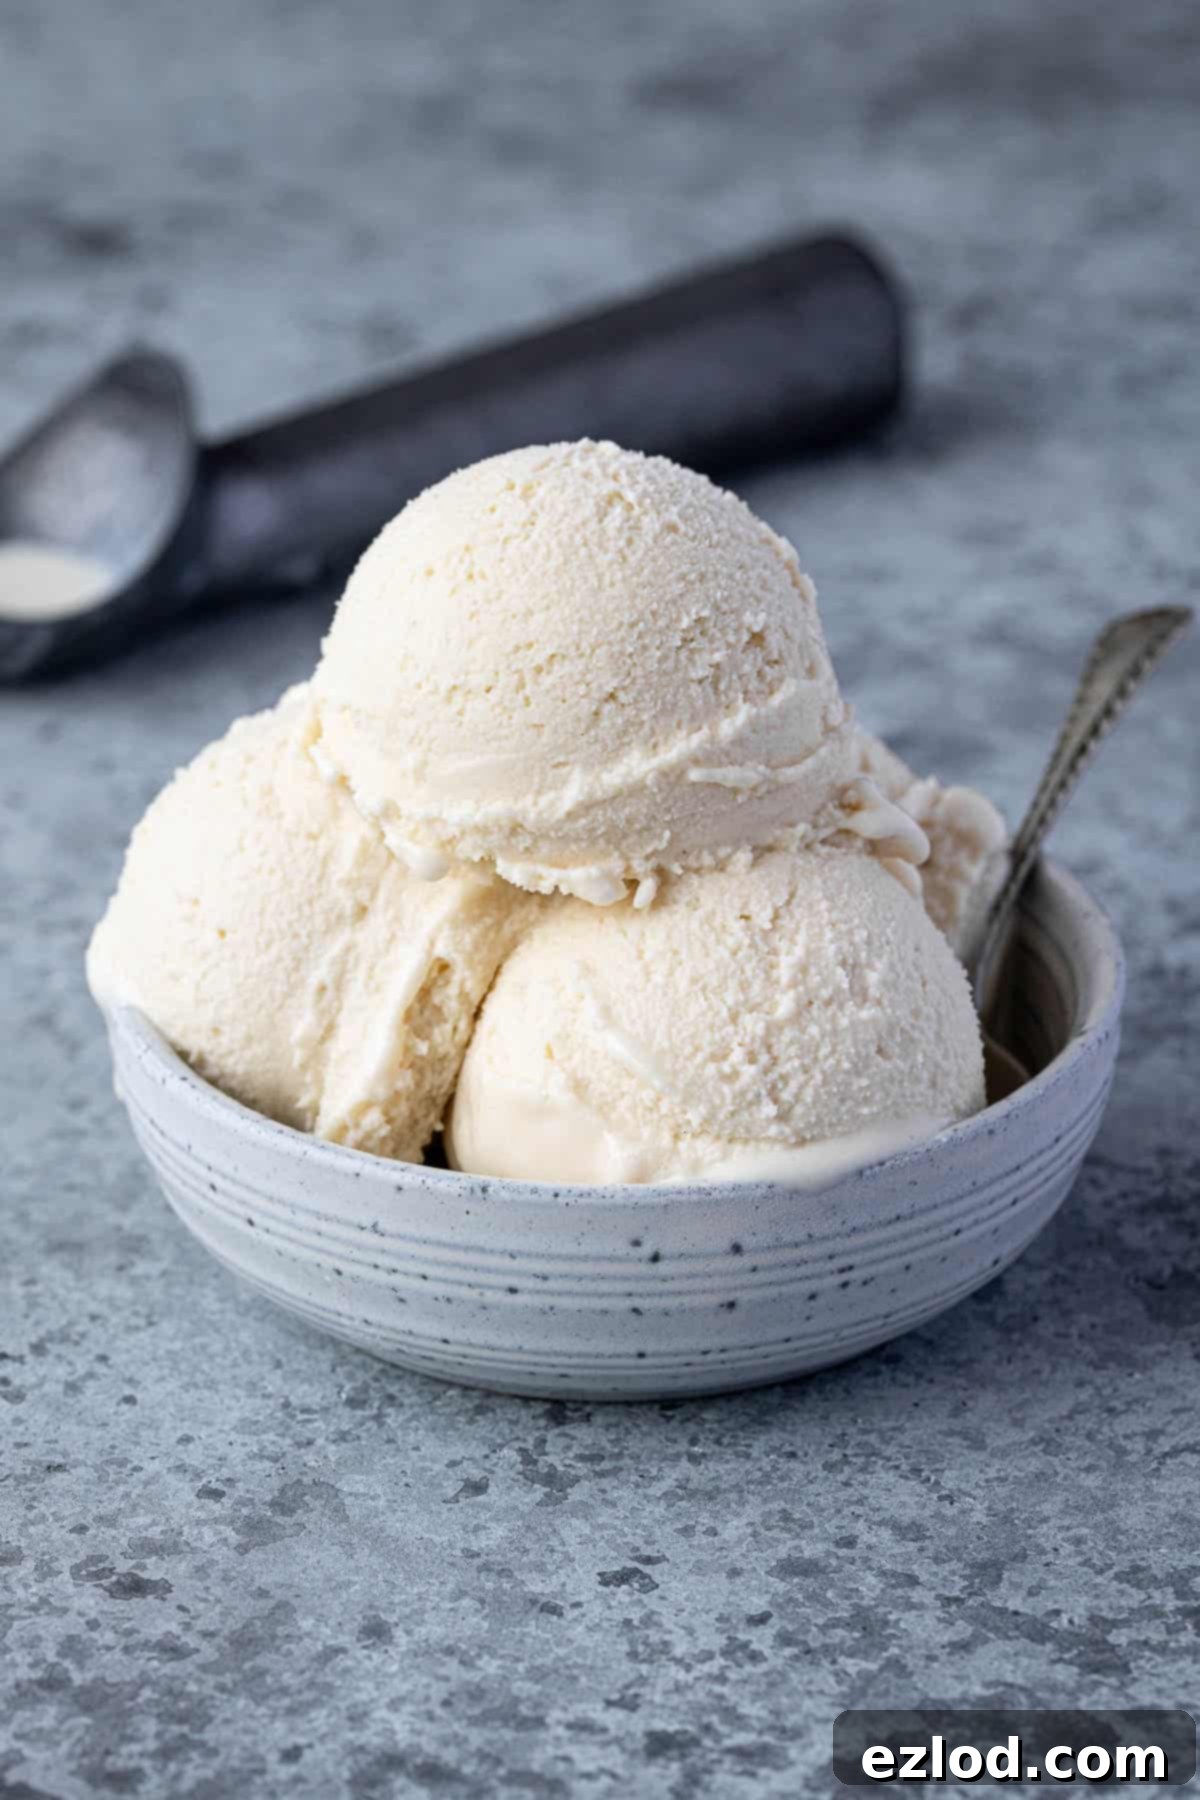
While many of my beloved vegan ice cream recipes rely on my tried-and-true oat and cashew base – a fantastic and adaptable foundation – I’ve always been keen to explore new horizons in the world of dairy-free frozen treats. This quest led me to develop this exceptional rice-based ice cream, a delicious departure that offers a distinctly smooth and satisfying experience.
The concept of rice ice cream isn’t entirely new; “Gelato di Riso” is a traditional Florentine delicacy, typically prepared by blending rice pudding with a custard base and then freezing it. My recipe draws vague inspiration from this classic, yet takes a modern, plant-based twist. Instead of incorporating whole grains of rice, I meticulously blend the cooked rice pudding until it achieves an incredibly smooth, velvety consistency. The result is a luxurious ice cream that melts in your mouth without any trace of a grainy texture, offering pure, unadulterated creaminess.
Beyond its unique texture and flavor, this vegan rice ice cream stands out as a remarkably allergy-friendly option. It is completely free from nuts, and with mindful ingredient choices, it can also be made without coconut or soy, catering to a wide range of dietary needs and preferences. This makes it an ideal dessert for gatherings or for anyone seeking a delicious frozen treat without common allergens.
For a truly classic experience, I’ve infused this recipe with the warm, comforting notes of vanilla, nutmeg, and malt, perfectly mimicking the beloved flavors of traditional rice pudding. However, the beauty of this recipe lies in its adaptability. The blended rice base provides a wonderfully neutral canvas, allowing you to effortlessly swap out these flavorings to create an endless array of different ice cream varieties. Whether you prefer fruity, chocolatey, or spiced, this adaptable base invites you to get creative and tailor it exactly to your taste!
Why Choose Rice for Your Vegan Ice Cream?
You might be wondering why rice makes such an excellent base for a creamy, dairy-free ice cream. The secret lies in its starch content. When short-grain rice is cooked thoroughly, even slightly overcooked, it releases starches that, when blended, create a naturally thick, emulsified, and incredibly smooth liquid. This rice milk base mimics the richness and body typically provided by dairy cream or high-fat nuts like cashews. It allows us to achieve a luxurious texture without relying on common allergens, providing a unique mouthfeel that is both light and decadent. Furthermore, toasted rice adds a subtle, nutty depth of flavor that complements a wide array of additional ingredients, making it an incredibly versatile foundation for your frozen creations.
What Essential Ingredients Do I Need To Make Creamy Vegan Rice Ice Cream?
Crafting this delightful vegan rice ice cream requires a handful of carefully selected ingredients, each playing a crucial role in achieving its signature creamy texture and comforting flavor. Here’s a detailed look at what you’ll need:
- Rice: For the best results, opt for a short-grained rice variety such as risotto rice (Arborio) or pudding rice. These types of rice have a higher starch content, which is essential for creating that incredibly smooth, creamy base when blended. The starches are what give the ice cream its body and prevent it from becoming too icy. Avoid long-grain rice as it tends to be less starchy and won’t yield the same rich consistency.
- Non-Dairy Milk: The choice of milk significantly impacts the final flavor and texture. A creamy, neutral-flavored non-dairy milk is ideal. I highly recommend unsweetened soy milk for its higher protein content and relatively neutral taste, which contributes to a richer mouthfeel. Oat milk is another excellent choice, offering a natural sweetness and creaminess. Cashew milk can also work well, providing a slight nutty undertone. Avoid very watery milks like almond or rice milk, as they may result in a less creamy ice cream.
- Vegan Cream: To enhance the richness and luxuriousness of the ice cream, a vegan cream is essential. Coconut cream is my go-to for its high-fat content and ability to provide a decadent texture. If using canned full-fat coconut milk, simply refrigerate the can overnight and scoop out the solid white cream from the top, leaving the watery liquid behind. Alternatively, a high-quality vegan double cream alternative, such as Elmlea Plant, works beautifully and offers a neutral flavor profile.
- Sugar and Golden Syrup: These sweeteners are not just for taste; they are crucial for the ice cream’s texture. Sugar contributes to the overall sweetness, but more importantly, it lowers the freezing point, helping to prevent the ice cream from becoming rock-hard and icy. Golden syrup, or alternative invert sugars like corn syrup or liquid glucose, further aids in this process. Its unique chemical structure interferes with ice crystal formation, ensuring a smoother, more scoopable consistency straight from the freezer. For the granulated sugar, white caster or regular granulated sugar is best for a neutral flavor and color.
- Vegan Butter or Spread: A touch of melted vegan butter or spread adds a wonderful richness and depth of flavor, contributing to a more luxurious mouthfeel. It also helps to carry flavors and makes the ice cream feel more indulgent, mimicking the fatty notes of traditional dairy ice cream.
- Vegan Horlicks (Optional): For an authentic “rice pudding” flavor experience, I highly recommend adding vegan Horlicks. This malted milk powder substitute imparts a distinctive malty hint that complements the rice and vanilla perfectly. If you can’t find it or prefer to keep the base neutral, it can easily be omitted without compromising the core recipe.
- Vanilla Extract: Always opt for high-quality vanilla extract over essence for a superior, more pronounced vanilla flavor. Vanilla bean paste is another fantastic choice if you want to see those beautiful vanilla specks and enjoy a more intense, complex vanilla profile.
- Nutmeg (Optional): A pinch of ground nutmeg is the classic spice companion to rice pudding, lending a warm, aromatic note. If you’re aiming for that traditional flavor, include it. For a plain base to customize, feel free to leave it out.
- Salt: A tiny pinch of salt is a secret weapon in sweet recipes. It doesn’t make the ice cream salty but rather balances the sweetness and enhances all the other flavors, making them pop.
How To Make Perfectly Creamy Vegan Rice Ice Cream: A Step-by-Step Guide
(For precise measurements and detailed instructions, please refer to the comprehensive recipe card located at the bottom of this page.)
Making this unique vegan rice ice cream is a straightforward process, but a few key steps ensure maximum creaminess and flavor. Follow these instructions carefully:
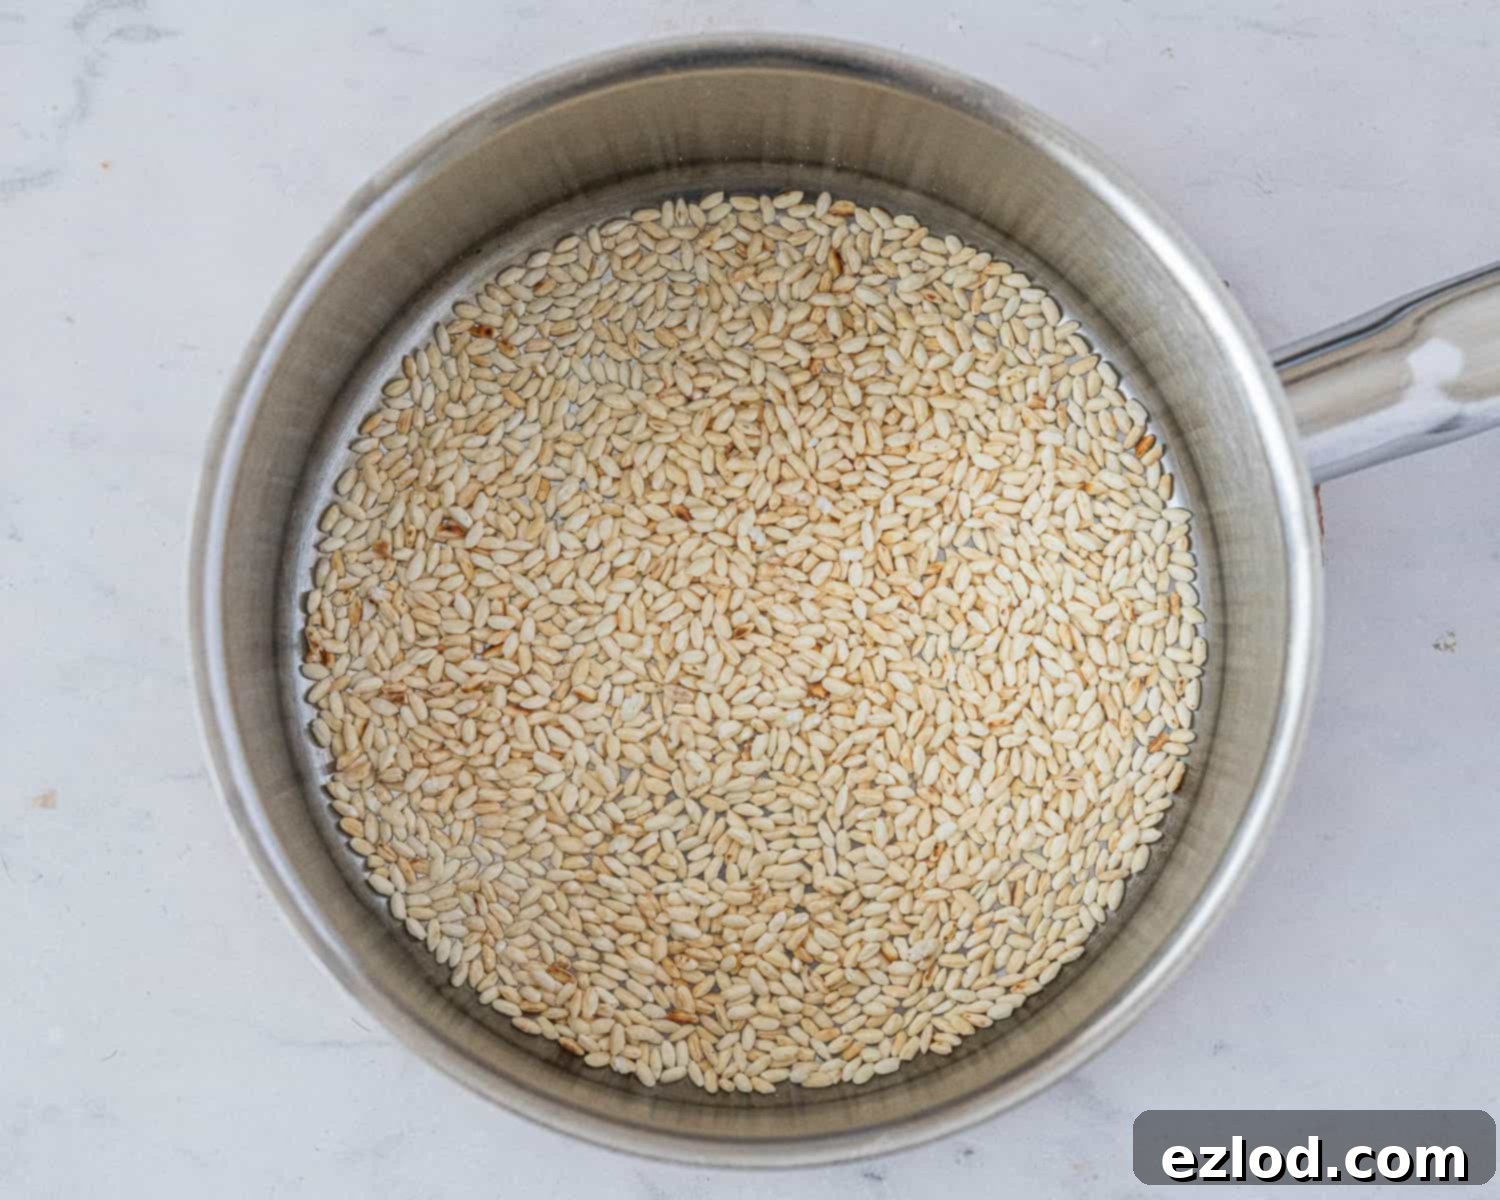
- Toast the Rice: Begin by placing your chosen short-grain rice (risotto or pudding rice) in a deep saucepan over a medium heat. Stir continuously for a few minutes until the rice grains are lightly toasted and acquire a beautiful golden hue. This crucial step isn’t just for color; toasting the rice imparts a subtle, nutty depth of flavor that greatly enhances the final ice cream. If you prefer a completely neutral base, you can skip this step, but I highly recommend it for added complexity.
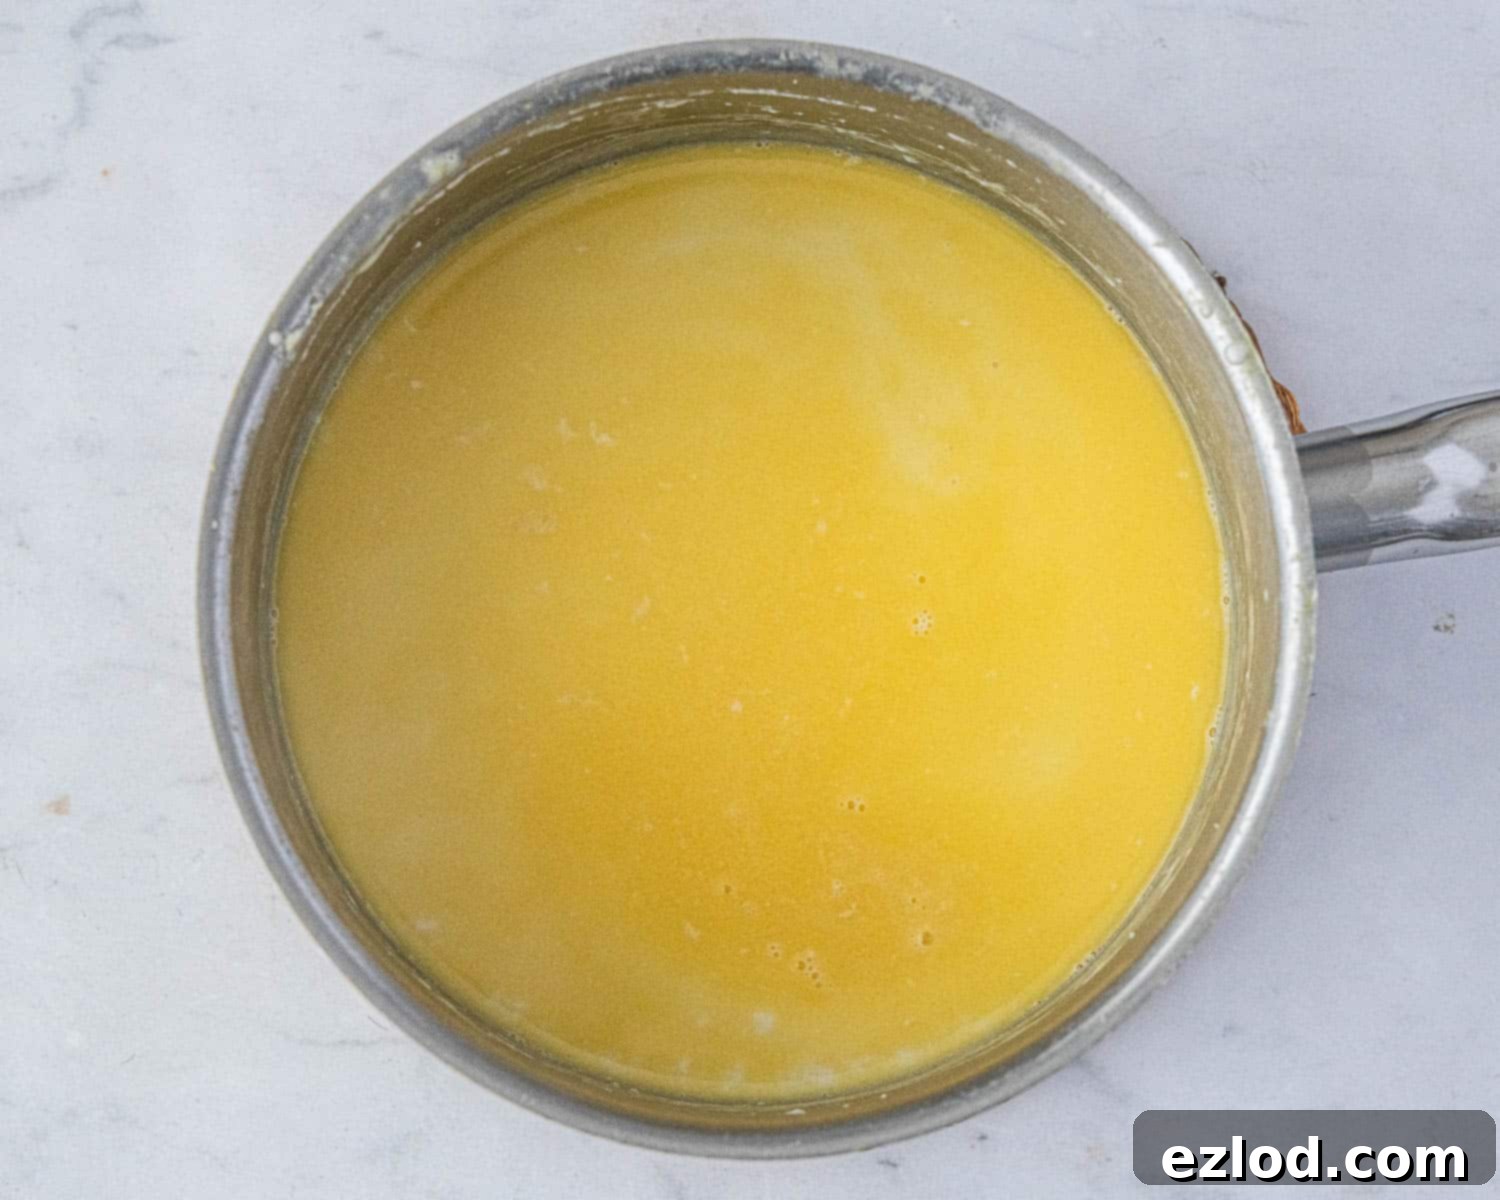
- Cook the Rice into a Pudding Base: Pour the non-dairy milk into the saucepan with the toasted rice. Bring the mixture gently up to a simmer over medium heat. Once simmering, immediately reduce the heat to the lowest possible setting. Continue to cook for approximately 20 minutes, stirring frequently to prevent sticking and ensure even cooking. The goal here is for the rice to become very soft, almost overcooked – this is key to achieving a silky-smooth texture after blending. The more thoroughly cooked and softened the rice is, the less likely you are to have any remaining grittiness in your ice cream.
- Incorporate Vegan Butter: Once the rice has reached the desired soft consistency, remove the pan from the heat and add the vegan butter or spread. Stir well until the butter has completely melted and is fully incorporated into the warm rice mixture. This adds essential richness and a lovely mouthfeel to the base.
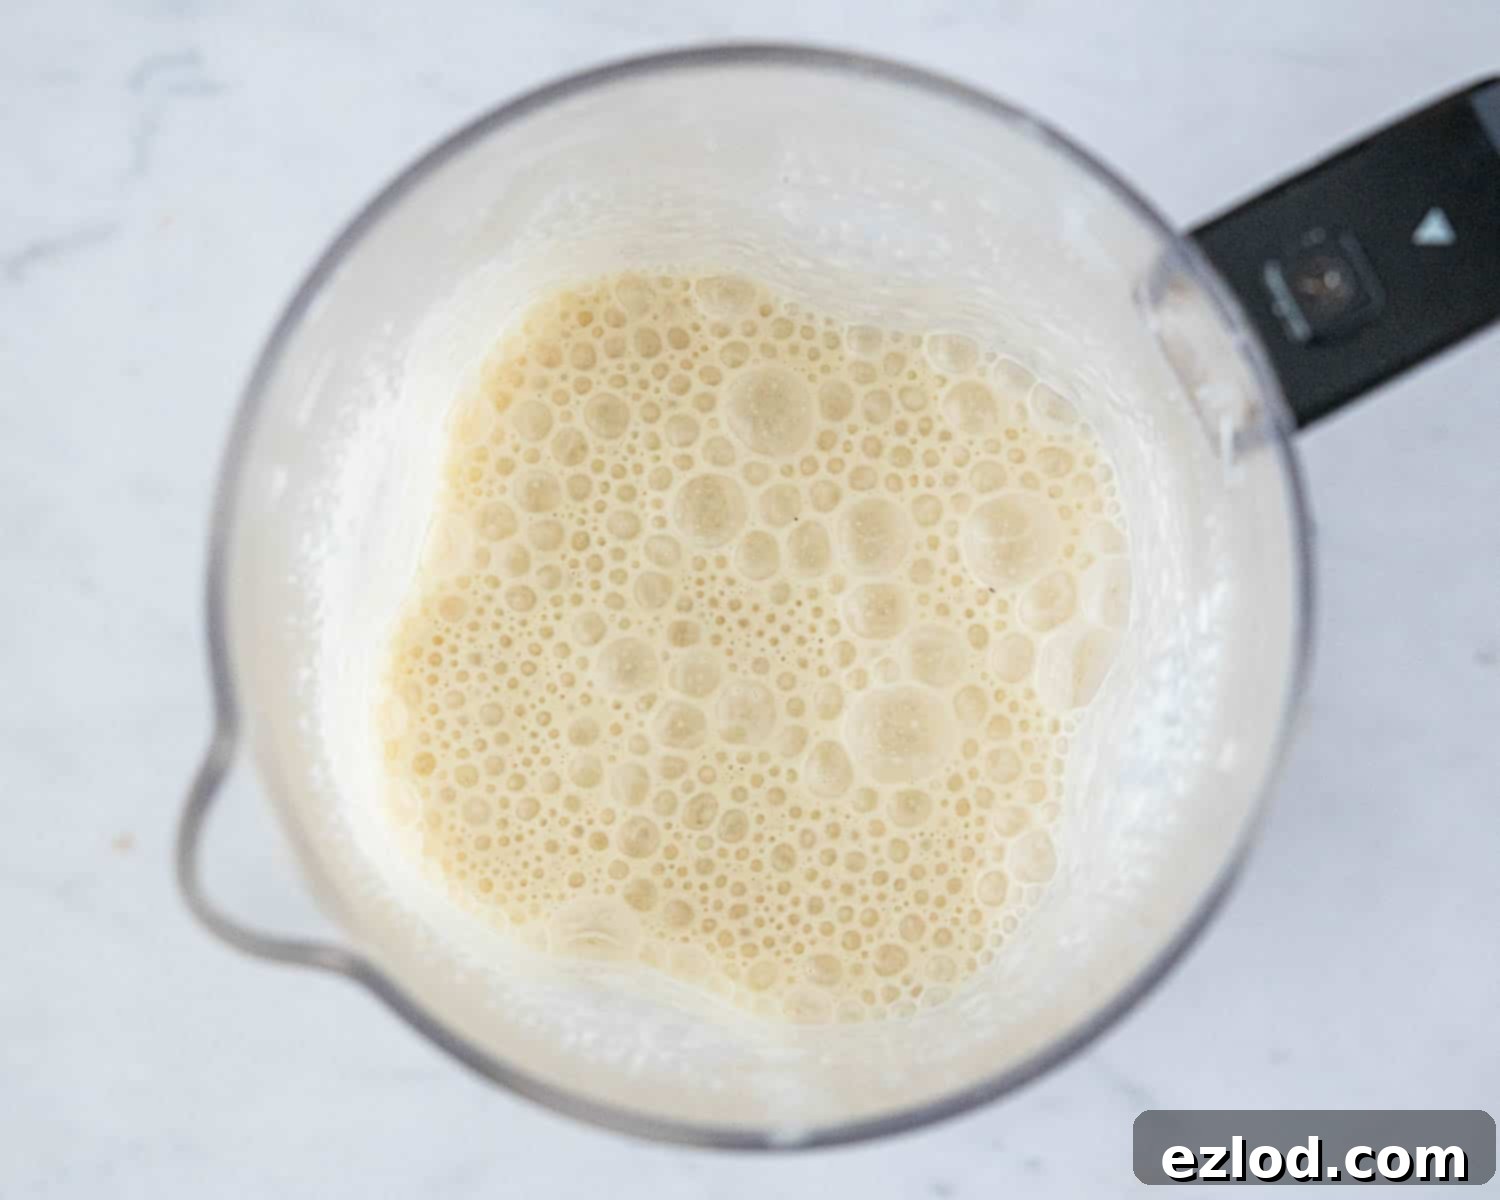
- Blend for Ultimate Smoothness: Carefully transfer the warm rice mixture to a high-speed blender. Add the vegan cream, granulated sugar, golden syrup (or alternative), vegan Horlicks (if using), vanilla extract, and salt. If you’re adding nutmeg, now is the time to include a pinch. Blend the mixture until it is exceptionally smooth and completely uniform. This step is critical; you want to ensure no rice grains remain discernible. The smoother you blend it, the creamier your final ice cream will be.
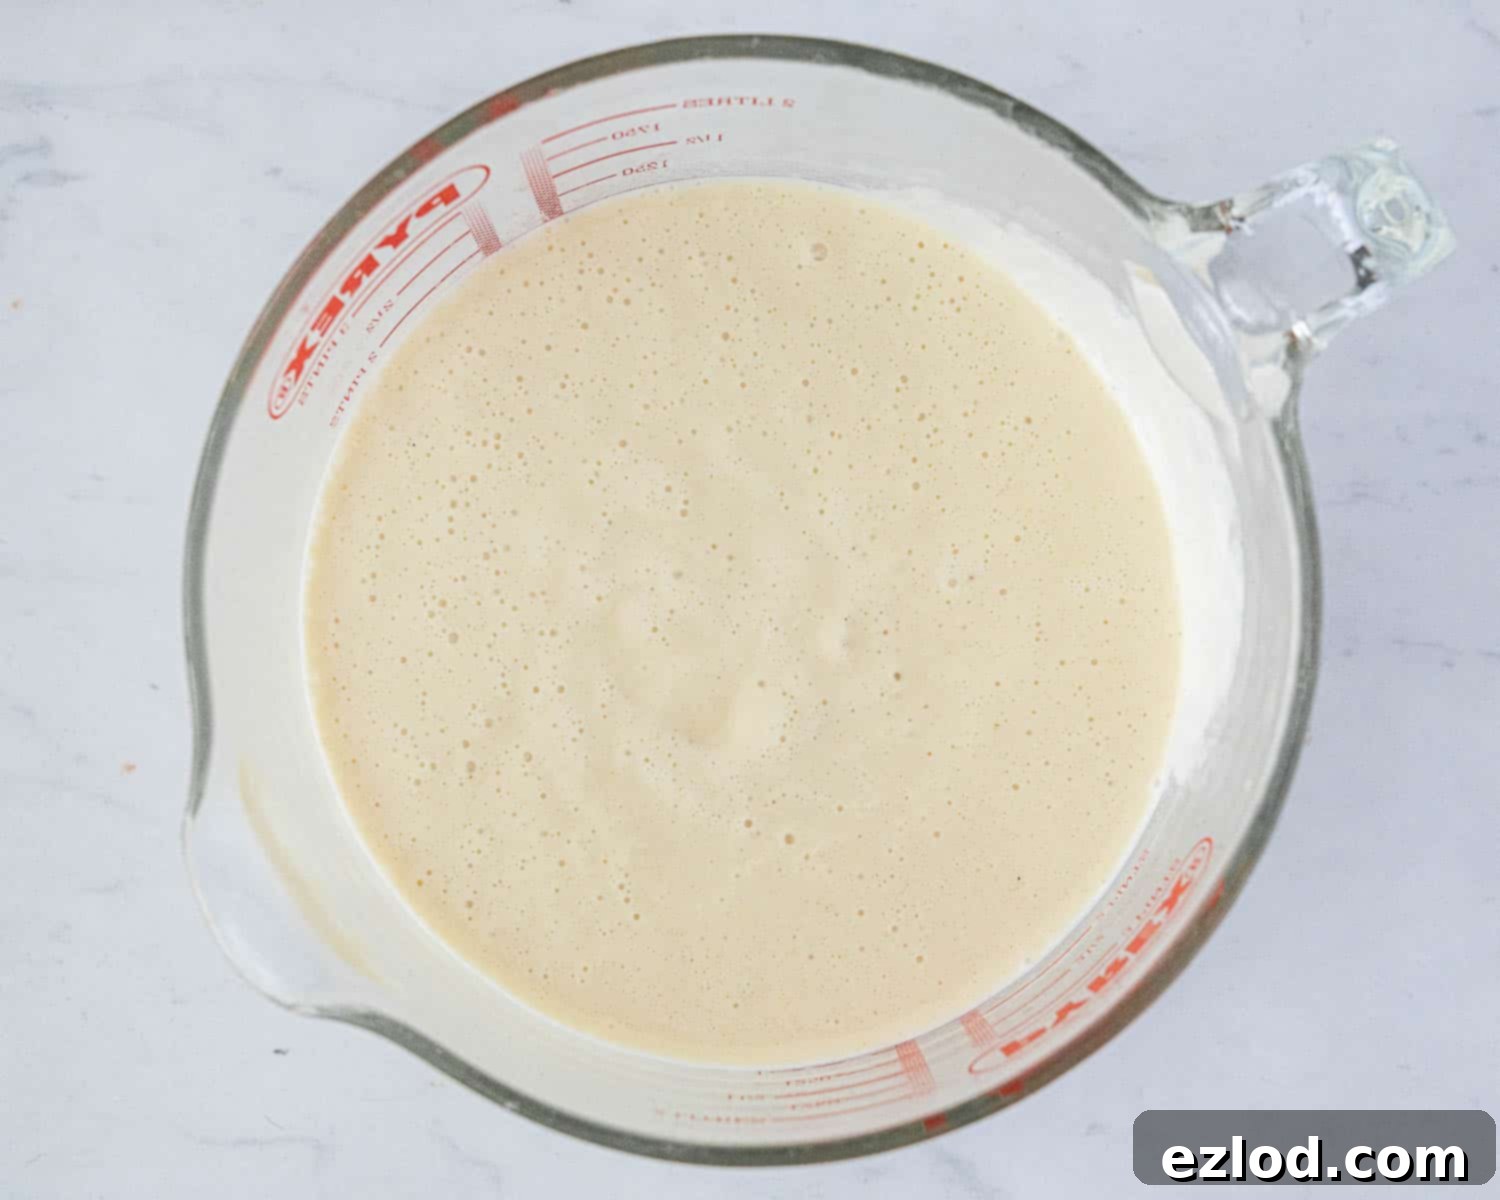
- Strain and Chill: For an extra-velvety texture, pour the blended ice cream base through a fine-mesh sieve into a clean bowl. This step catches any tiny unblended rice particles or impurities, ensuring a truly silky result. Cover the bowl with plastic wrap, pressing it directly onto the surface of the mixture to prevent a skin from forming. Refrigerate the base until it is completely cold – ideally for at least 6-8 hours, or even overnight. This chilling period is vital for the ice cream maker to churn efficiently and for the final ice cream to achieve its optimal creamy consistency.
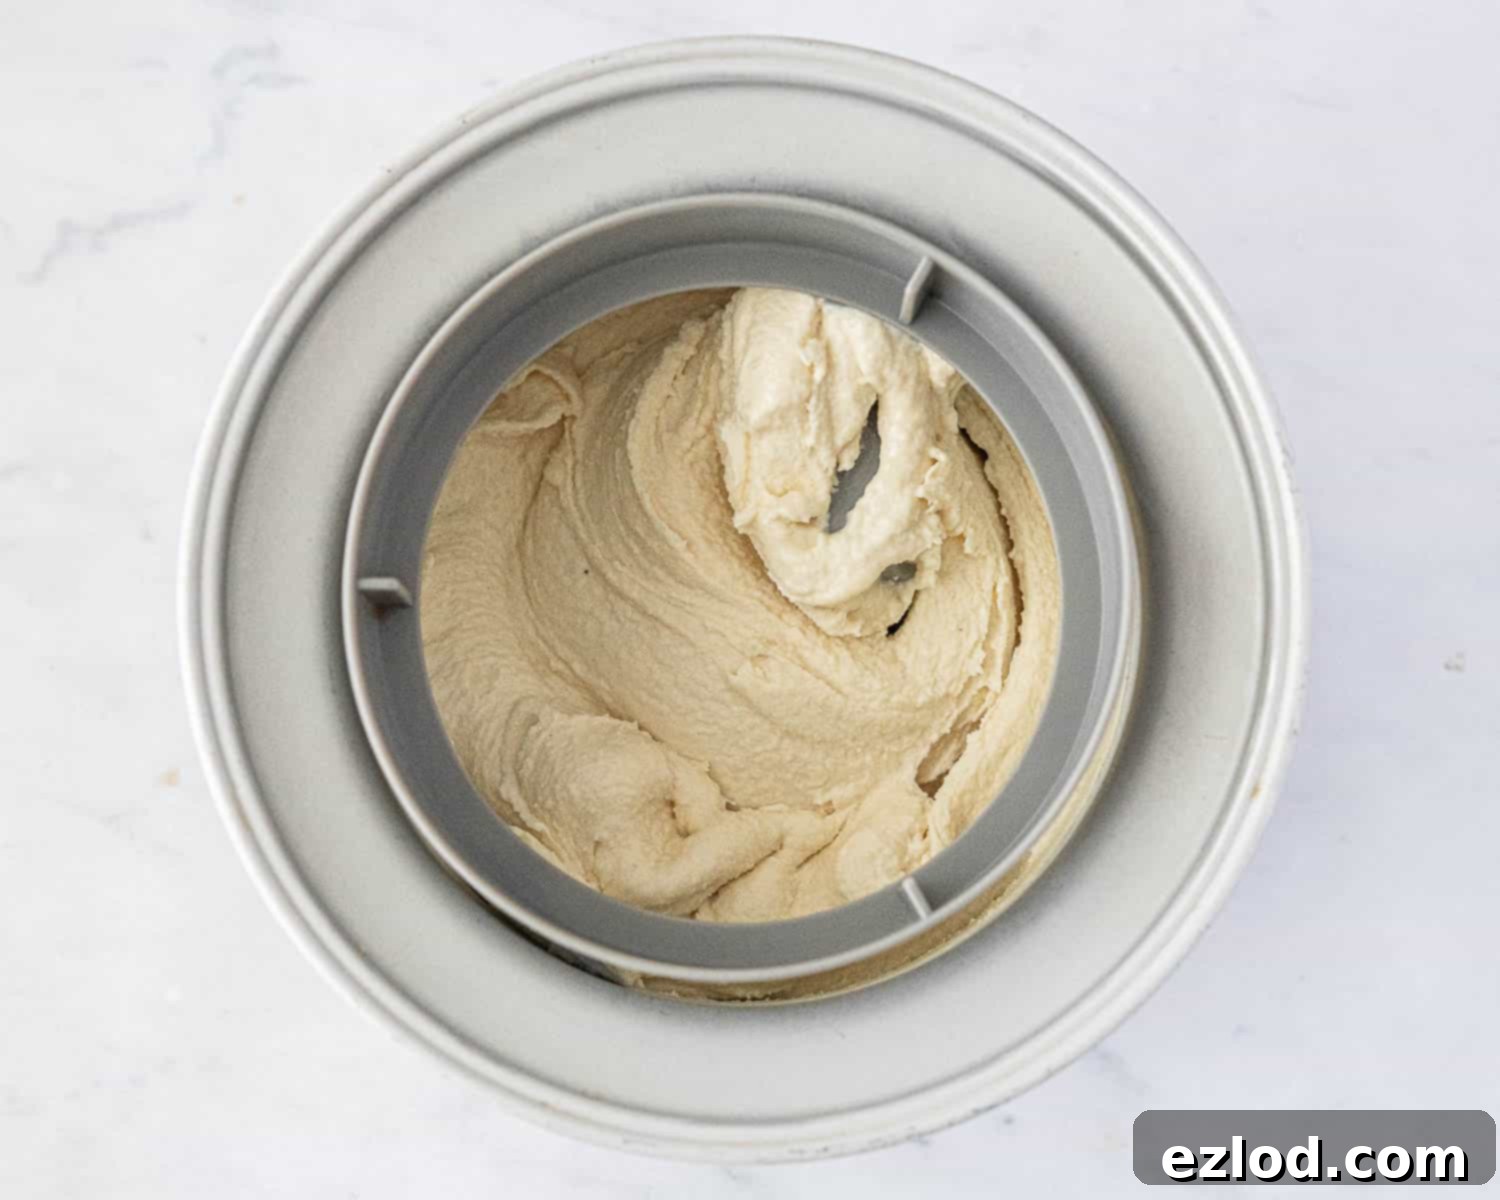
- Churn in an Ice Cream Maker: Once the ice cream mixture is thoroughly chilled, give it a final whisk to ensure everything is well combined. Pour the mixture into your ice cream maker’s frozen bowl and churn according to the manufacturer’s instructions. Churning typically takes 20-30 minutes, or until the ice cream reaches the consistency of soft serve. It should be thick, creamy, and soft, but not completely solid.
- Freeze to Set: Transfer the freshly churned soft-serve ice cream into a freezer-safe container. Press a piece of parchment paper or plastic wrap directly onto the surface to prevent ice crystals from forming. Place the container in the freezer for at least 4 hours, or until the ice cream is firm enough to scoop.
What If I Don’t Own An Ice Cream Maker?
Don’t despair if you don’t have an ice cream maker! You can absolutely still make this delicious vegan rice ice cream, though it will require a bit more manual effort, and the final texture might be slightly icier than machine-churned versions. The key is to break up ice crystals as they form.
Once your ice cream base is thoroughly chilled (this is even more critical without a machine), pour it into a large, shallow freezer-proof container. Place it in the freezer. Every 30-45 minutes, remove the container from the freezer. Using an electric mixer (or a sturdy whisk), vigorously beat the mixture for 1-2 minutes. This breaks up any ice crystals that have started to form, incorporating air and helping to create a smoother texture. Return it to the freezer immediately.
Repeat this process for at least 3-5 times, or until the ice cream reaches a thick, soft-serve consistency. The more you whisk, the creamier it will be. Once it’s soft-serve, allow it to freeze undisturbed for an additional 2-4 hours to fully set before serving. While it might not be as perfectly smooth as a machine-churned batch, it will still be a wonderfully creamy and flavorful homemade treat!
Top Tips for Perfect Homemade Vegan Rice Ice Cream:
Achieving the perfect scoop of homemade ice cream can be an art, and these tips will help ensure your vegan rice ice cream turns out beautifully every time:
- Embrace Metric Measurements: As with all my recipes, I cannot stress enough the importance of using metric measurements with a digital kitchen scale over volumetric cup conversions. Cups are notoriously inaccurate and inconsistent, leading to varying results. A digital scale ensures precision, which is crucial for the delicate balance of ingredients in ice cream, resulting in consistently better and more predictable outcomes. Plus, it’s often less messy!
- Toasting the Rice – Flavor vs. Neutral: Toasting the rice before cooking adds a wonderful nutty, complex flavor that truly elevates this ice cream. However, if your goal is to create a completely plain vanilla base that you can aggressively flavor later (e.g., with strong fruit purees or coffee), you can certainly skip this toasting step for a more neutral starting point.
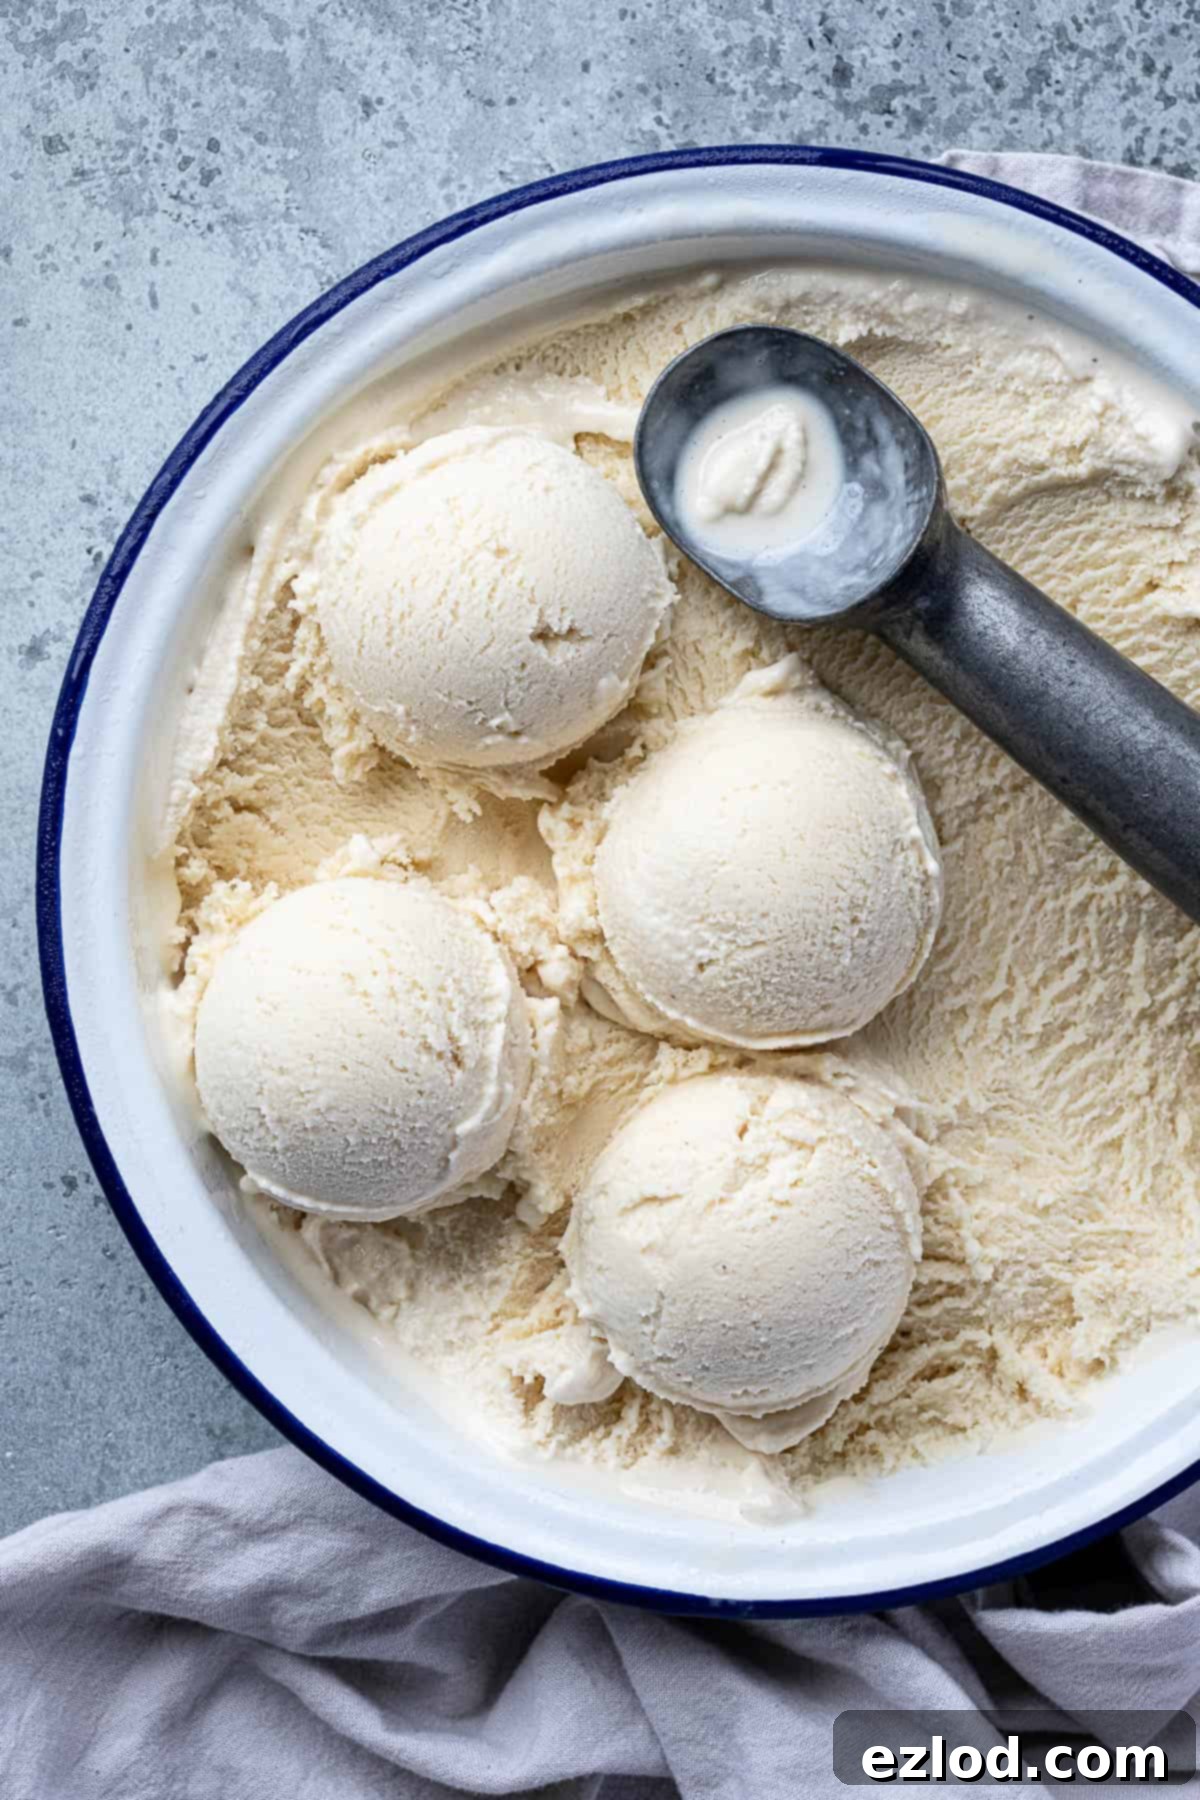
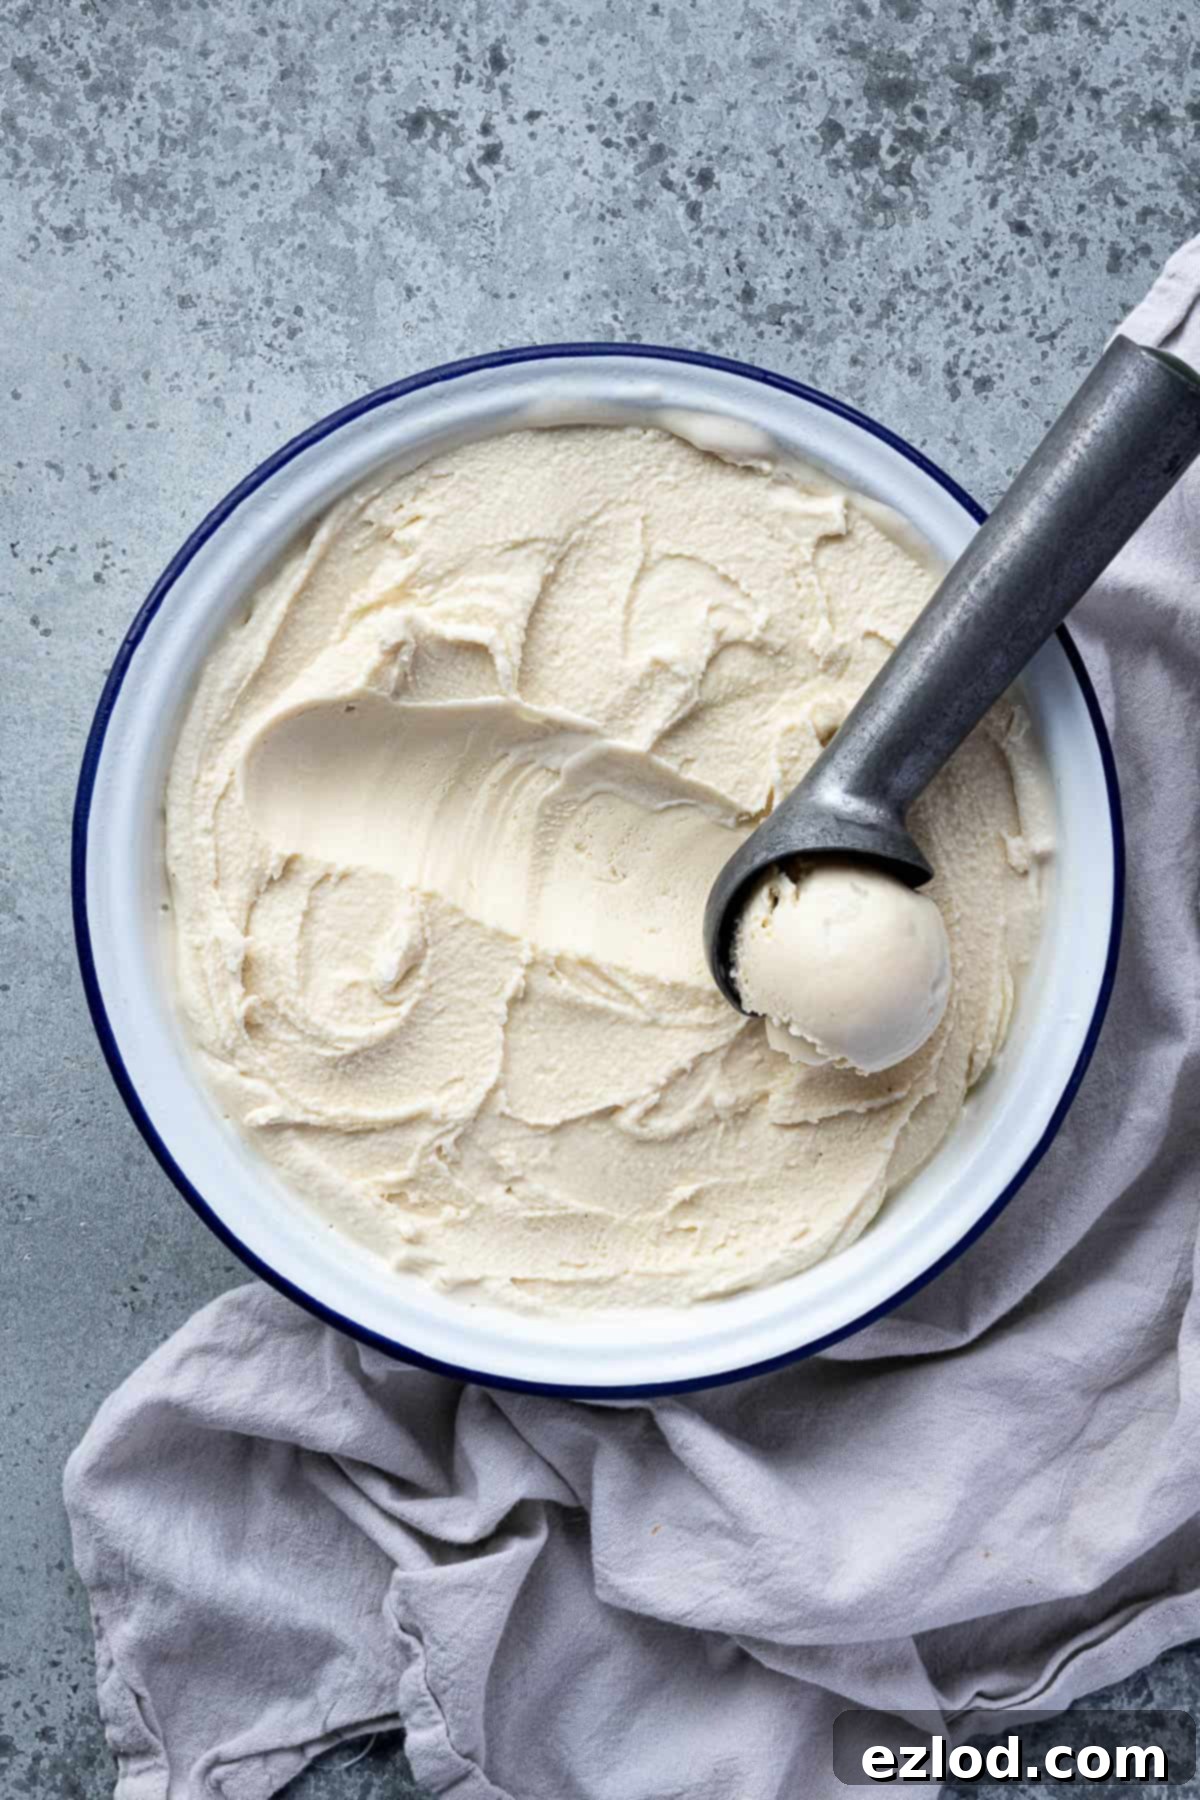
- Pre-Scooping Softening: This ice cream, like many homemade varieties, can become quite firm straight out of a deep freezer. For optimal scoopability and a perfect creamy texture, remember to remove it from the freezer at least 15-20 minutes before you plan to serve it. This allows it to soften slightly, making it much easier to scoop and enjoy.
- The Power of Your Blender: For the silkiest, most impeccably smooth ice cream base, a high-powered blender (such as a Vitamix or Froothie) is highly recommended. These blenders can pulverize the cooked rice to an unbelievably fine consistency. While a regular blender will still work, you might find the texture isn’t quite as supremely smooth and creamy, potentially leaving a very slight grittiness if the rice isn’t blended sufficiently. Straining through a fine-mesh sieve becomes even more important with a standard blender.
- Thorough Chilling is Non-Negotiable: This is arguably one of the most critical steps. Your ice cream base absolutely must be thoroughly chilled – ideally to refrigerator temperature (around 4°C/39°F) – before it goes into the ice cream maker. If the base is not cold enough, your ice cream machine will struggle to freeze it properly, leading to a much longer churning time and a potentially icier, less creamy final product. Plan ahead and give it ample time to chill, preferably overnight.
- Consider Your Ice Cream Maker Size: I personally use a 2-liter capacity ice cream maker. If your machine is smaller, you may need to divide the recipe and make half batches to ensure it churns correctly without overflowing. Overfilling an ice cream maker can prevent it from working effectively.
- Pre-Chill Your Storage Container: For extra insurance against melting, place the freezer-safe container you plan to store your churned ice cream in into the freezer for at least an hour before you finish churning. Transferring the soft, freshly churned ice cream into an already-cold container helps to minimize melting during the transfer process and speeds up the final freezing time.
- Don’t Skimp on the Sugar: Sugar plays a dual role in ice cream: flavor and texture. It’s not just about sweetness; sugar is a critical component that helps to prevent large ice crystals from forming, contributing significantly to that desirable creamy, scoopable texture. Remember that cold temperatures dull sweetness, so the unfrozen base should taste a bit sweeter than you want the finished, frozen ice cream to taste. Adjust to your preference, but be mindful of its structural importance.
- Proper Storage: Store your homemade rice ice cream in an airtight container to prevent freezer burn and absorb freezer odors. For an extra layer of protection against ice crystals, press a piece of parchment paper or plastic wrap directly onto the surface of the ice cream before sealing the lid. Enjoy within 1-2 weeks for the best texture and flavor.
Delicious Variations & Creative Flavor Mix-ins:
The beauty of this vegan rice ice cream base is its incredible versatility. While the classic nutmeg, malt, and vanilla combination is divine, it’s also a perfect canvas for your culinary imagination. Here are some ideas to inspire your next batch:
Base Flavor Variations:
- Pure Vanilla: For a clean, classic vanilla ice cream, simply omit the nutmeg and Horlicks. You can enhance the vanilla flavor by using vanilla bean paste or by steeping a split vanilla bean in the milk while the rice cooks, removing it before blending.
- Citrus Zest: Add a bright, refreshing note by incorporating a couple of strips of orange or lemon peel to the rice mixture while it’s cooking. Be sure to remove them before blending the base for a smooth finish.
- Spiced Delight: For a warmer, more aromatic profile, add a cinnamon stick or a few green cardamom pods to the milk while the rice simmers. Again, remove whole spices before blending. A dash of ginger powder or a tiny pinch of cloves could also be lovely.
- Coffee Infusion: Dissolve 1-2 teaspoons of instant coffee or espresso powder into the warm milk mixture before blending for a rich coffee rice ice cream.
Irresistible Mix-ins and Swirls:
Once your ice cream has reached a soft-serve consistency during churning, it’s the perfect time to incorporate delightful additions. For harder mix-ins, add them during the last minute or two of churning to ensure even distribution. For swirls and sauces, layer them with the churned ice cream as you transfer it to your freezer-safe container.
- Candied Nuts: Toasted and candied pecans, walnuts, or almonds add a lovely crunch and sweet, nutty flavor.
- Chocolate Chips or Stracciatella: Classic chocolate chips are always a hit. For a beautiful stracciatella effect, drizzle melted vegan chocolate into the ice cream maker during the last minute of churning, allowing it to solidify into delicate shards.
- Crumbled Cookies: Chopped Biscoff cookies, Oreos (check for vegan status, many are!), gingersnap cookies, or even homemade oatmeal cookies add wonderful texture and flavor.
- Fudge or Caramel Swirls: Recreate the rich chocolate fudge swirl from a vegan coffee ice cream recipe, or use a homemade or store-bought vegan caramel sauce for a gooey ribbon of sweetness.
- Fruit Compotes or Jams: Swirl in your favorite fruit jam or a simple homemade berry compote for a burst of fruity freshness. Think raspberry, cherry, or apricot.
- Nut Butters & Spreads: Ripple in creamy peanut butter, almond butter, or vegan chocolate hazelnut spread for rich, decadent ribbons.
More Vegan Ice Cream Recipes to Explore:
If you’ve enjoyed this unique rice-based creation, you’re in for a treat! There’s a whole world of creamy, delicious vegan ice cream flavors waiting to be discovered. Expand your frozen dessert repertoire with some of these other fantastic plant-based recipes:
- Classic Vegan Vanilla Ice Cream
- Rich Vegan Malted Chocolate Ice Cream
- Refreshing Vegan Mint Choc Chip Ice Cream
- Aromatic Vegan Coffee Ice Cream with Chocolate Swirl
- Nutty Vegan Pistachio Ice Cream
- Sweet & Tart Vegan Raspberry Ice Cream
- Indulgent Vegan Peanut Butter and Cookies Ice Cream
- Caramelized Vegan Biscoff Ice Cream
- Fun Vegan Chunky Monkey Ice Cream
- Zesty Vegan Lemon Ice Cream
- Decadent Chocolate Peanut Butter Ice Cream
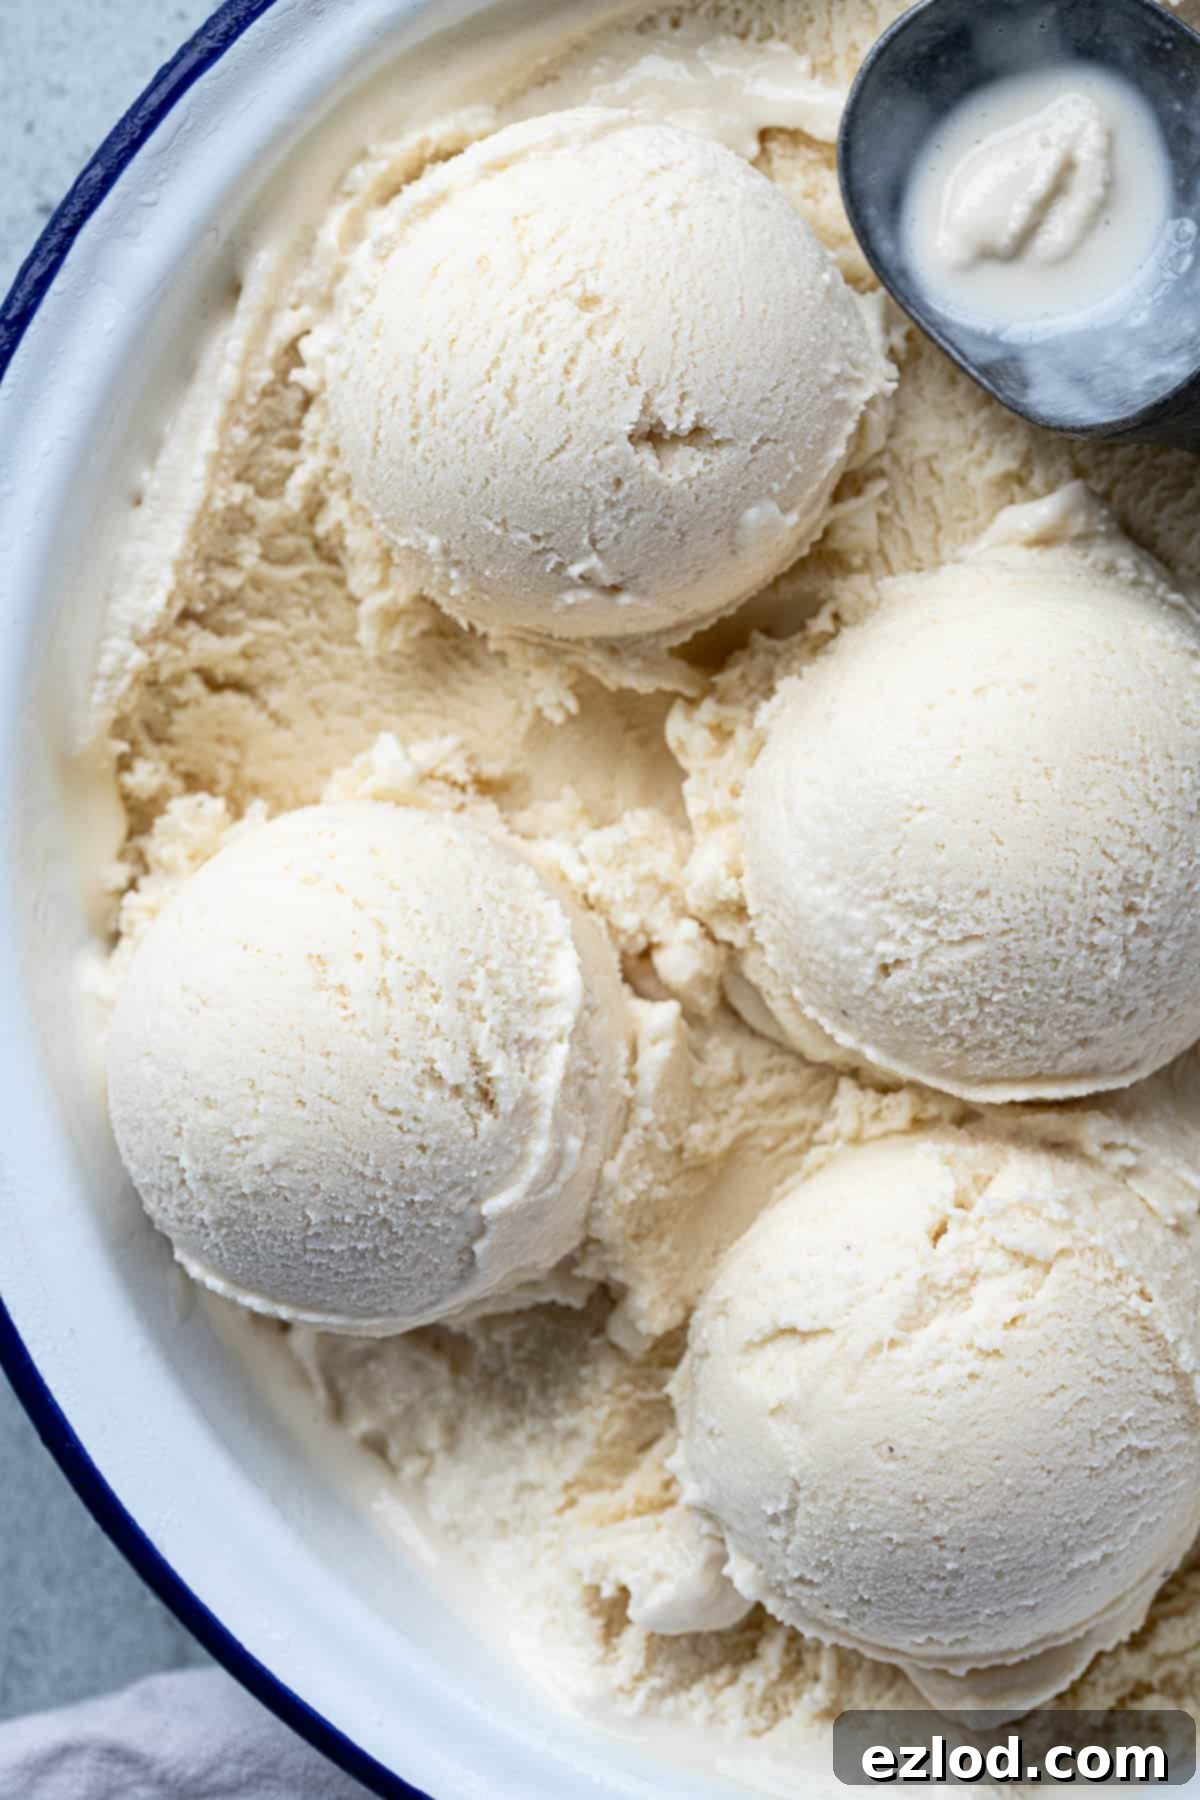
If you’ve given this creamy vegan rice ice cream recipe a try, I’d love to hear how it turned out for you! Please take a moment to rate the recipe, leave a comment below, or share your creations on Instagram by tagging @domestic_gothess and using the hashtag #domesticgothess. Your feedback is truly appreciated!
All images and content on Domestic Gothess are copyright protected. If you wish to share this recipe, please do so by using the provided share buttons. Do not screenshot or post the recipe or content in full; instead, kindly include a direct link to this post for the complete recipe. Thank you for your understanding and support.

Vegan Rice Ice Cream
Ingredients
- 60 g (⅓ cup) risotto or pudding rice (short-grain is best)
- 550 ml (2 ⅓ cups) unsweetened non-dairy milk (soy, oat, or cashew recommended for creaminess)
- 30 g (2 Tablespoons) vegan butter or dairy-free spread
- 250 g (1 cup) coconut cream or vegan double cream alternative
- 115 g (½ cup) caster or granulated sugar (for sweetness and texture)
- 20 g (2 Tablespoons) golden syrup (or corn syrup or liquid glucose, crucial for smooth texture)
- 15 g (2 Tablespoons) vegan Horlicks (optional, for malty flavor)
- 2 teaspoons vanilla extract (or vanilla bean paste)
- ¼ teaspoon salt (to balance sweetness)
- pinch ground nutmeg (optional, for classic rice pudding flavor)
Instructions
-
Place the rice in a deep saucepan over a medium heat. Stir continuously until the rice is lightly toasted and golden, which typically takes a few minutes. This step enhances the flavor.
-
Add the non-dairy milk to the saucepan. Bring the mixture to a gentle simmer, then immediately reduce the heat to the lowest possible setting. Cook for about 20 minutes, stirring frequently, until the rice is very soft, almost overcooked. Ensure it doesn’t boil over.
-
Remove the pan from the heat. Add the vegan butter or spread to the cooked rice mixture and stir until it is completely melted and incorporated.
-
Transfer the rice mixture to a high-speed blender. Add the vegan cream, sugar, golden syrup, vanilla extract, vegan Horlicks (if using), salt, and a pinch of ground nutmeg (if desired). Blend thoroughly until the mixture is exceptionally smooth and creamy, with no visible rice grains.
-
For an extra-silky texture, pour the blended base through a fine-mesh sieve into a clean bowl. Cover the bowl with plastic wrap, pressing it directly onto the surface to prevent a skin. Refrigerate until completely cold, ideally for at least 6-8 hours or overnight.
-
Once thoroughly chilled, give the mixture a good whisk. Pour it into your ice cream maker’s frozen bowl and churn according to the manufacturer’s instructions until it reaches a soft-serve consistency (typically 20-30 minutes).
-
Transfer the churned ice cream to a freezer-safe container. Press parchment paper or plastic wrap directly onto the surface, then seal with a lid. Freeze for about 4 hours, or until firm enough to scoop and enjoy.
Notes
- Please refer to the detailed article above for instructions on how to make this ice cream without an ice cream machine, as well as additional tips, ingredient details, and substitution suggestions for optimal results.
- Recipe adapted from: https://food52.com/recipes/80653-hannah-bae-s-toasted-rice-ice-cream
