Ultimate Low Carb Cauliflower Au Gratin: A Healthy Comfort Food Side Dish
Welcome to your new favorite side dish! This Cauliflower Au Gratin recipe is the epitome of low-carb, comforting indulgence, crafted so perfectly you’ll never even think about potatoes. It’s an ideal choice for those following the 21 Day Fix, 2B Mindset, or Weight Watchers, and it’s incredibly easy to make Keto-friendly. Get ready to transform humble cauliflower into a creamy, cheesy masterpiece that’s perfect for any meal, from a simple weeknight dinner to a festive holiday spread. This post contains affiliate links for products I’m obsessed with.

The Journey to Cauliflower Au Gratin: A Relatable Tale
Friends, I confess: I had every intention of sharing this incredible recipe with you much sooner. My original plan was to post it about two months ago. But as often happens in life, unforeseen circumstances, both delightful and otherwise, conspired against me.
In my defense, the first delay was a rather unwelcome stomach bug that swept through our household, putting a temporary halt to all culinary ambitions and photo shoots. Before that, however, there was a more… shall we say, delicious predicament. It was a recurring “cheese issue.”
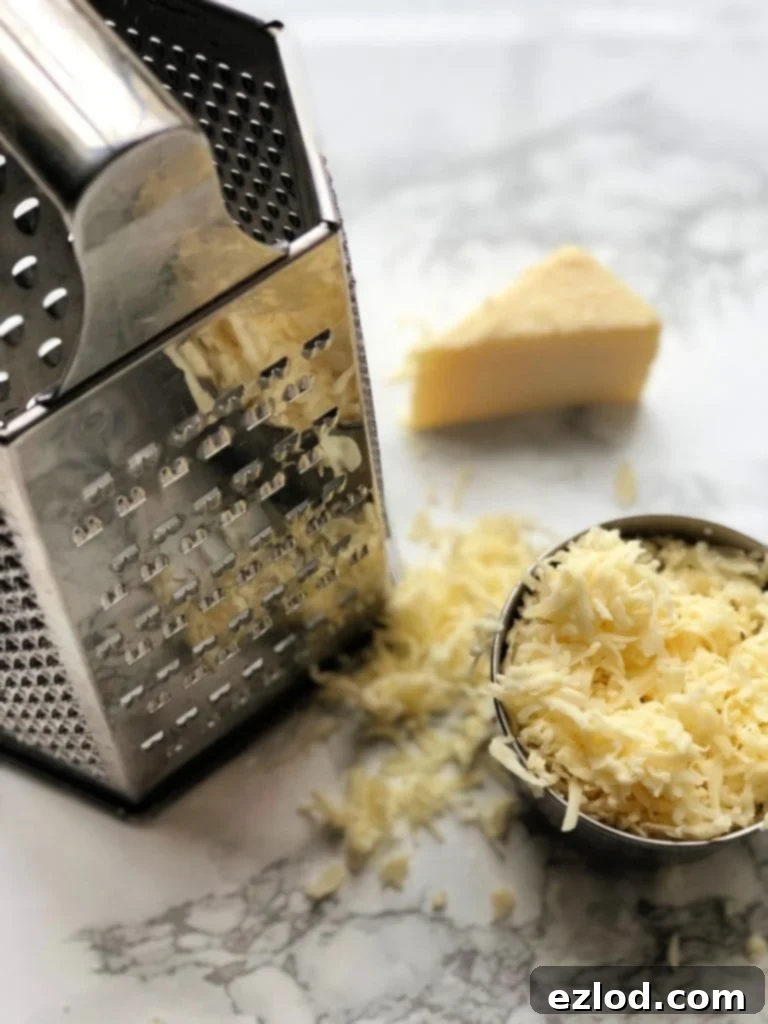
The cheese issue is a common plight among comfort food enthusiasts. I would diligently purchase all the necessary ingredients for this Cauliflower Au Gratin, including a generous supply of luscious cheese. But then, as if by magic (or rather, my inability to resist its siren call), I would find myself nibbling, then snacking, then devouring said cheese before I even had a chance to prepare the dish for its grand photographic debut. Why is cheese so utterly amazing and impossible to keep around? It’s a mystery and a delicious dilemma!
Why Cauliflower is the Ultimate Low-Carb Hero
Despite the cheesy setbacks, I’m thrilled to finally bring you this incredible Cauliflower Au Gratin recipe, just in time for your next holiday gathering, be it Easter, Thanksgiving, or simply a cozy Sunday dinner. But let’s be real – you don’t need a special occasion to enjoy this dish. It has quickly become my new favorite go-to side, and I fully intend to make it a regular feature in my meal rotation!
Cauliflower is truly a culinary chameleon. It’s incredibly versatile, capable of transforming into everything from rice and pizza crust to creamy mashed “potatoes” and, of course, this divine au gratin. Beyond its amazing adaptability, cauliflower is also packed with nutrients. It’s low in calories and carbohydrates, yet rich in fiber, vitamins C and K, and various antioxidants. This makes it an outstanding choice for anyone looking to enjoy comforting, hearty dishes without the carb overload often associated with traditional potato-based gratins. It effortlessly soaks up all the rich, cheesy flavors, providing a tender-crisp texture that perfectly complements the decadent sauce.
How to Make Cauliflower Au Gratin: Step-by-Step Perfection
Creating this delicious Cauliflower Au Gratin is surprisingly simple, yielding impressive results every time. Here’s a detailed look at the process:
Step 1: Perfectly Prepping Your Cauliflower
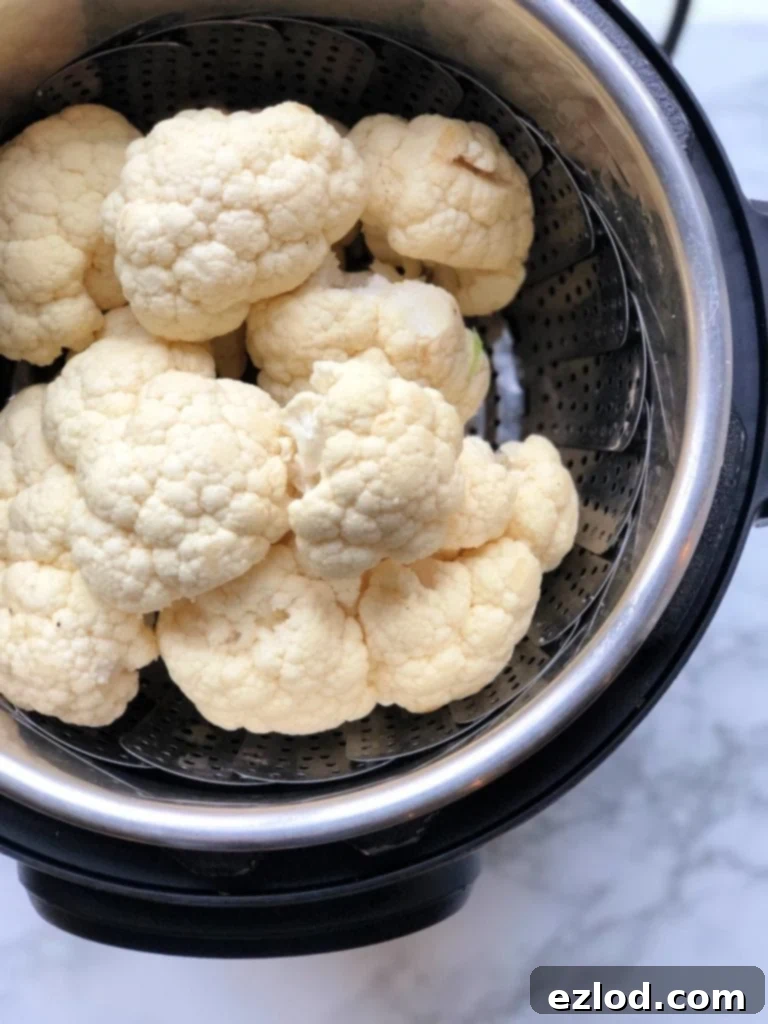
The first step is to gently soften the cauliflower. You want it tender enough to absorb the cheese sauce but still retain a slight bite, preventing a mushy texture. I often use my Instant Pot and favorite steam basket for this. Steaming for “zero minutes” in the Instant Pot, with a quick release, is a fantastic way to achieve that ideal al dente texture without overcooking. Simply place the cauliflower head on the trivet with one cup of water, set to steam for zero minutes, and release pressure quickly. Then, carefully remove and cut into florets.
If you don’t have an Instant Pot, a stovetop method works just as well! Bring 4-5 cups of water to a boil in a large Dutch oven or saucepan. Cut your cauliflower into florets and steam them for about 6-8 minutes, or until the outside is tender but the center still has a slight crispness. Drain thoroughly before proceeding.
Step 2: Crafting the Creamy Cheese Sauce
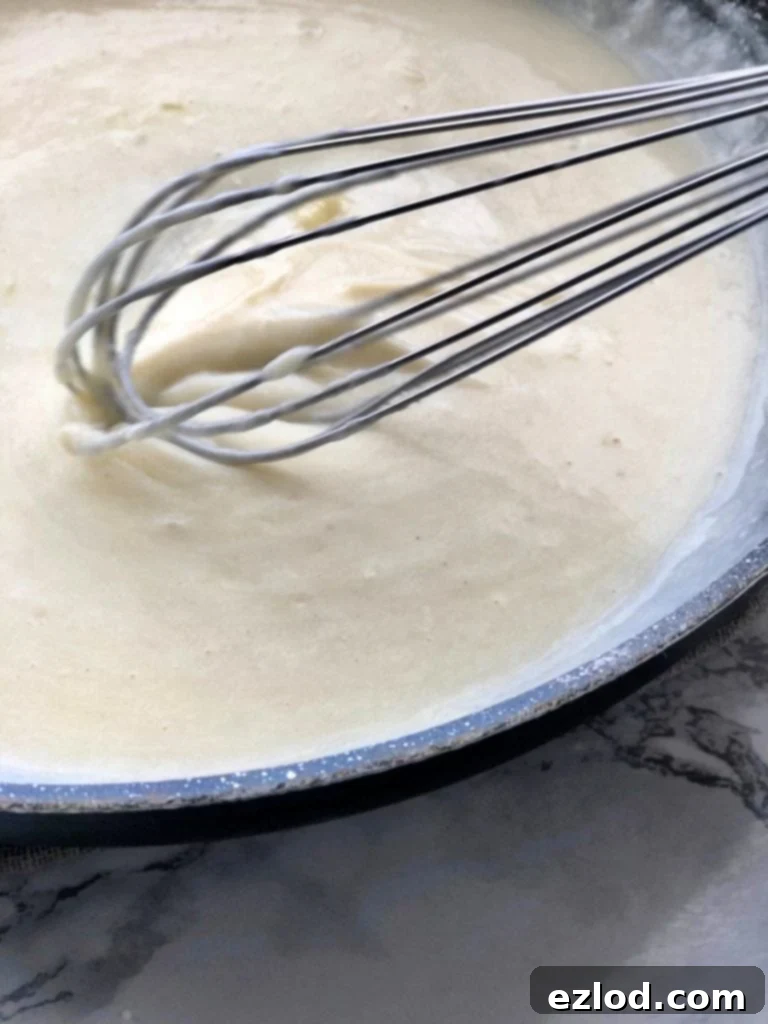
Next, we create a very simple yet incredibly flavorful cheese sauce. This is where the magic truly happens! In a large skillet, melt your butter (or vegan butter/ghee) over medium heat. Sprinkle in your choice of flour – gluten-free flour, whole wheat flour, or for a keto version, almond flour. Stir this mixture constantly to create a roux. This roux is essential for thickening the sauce and preventing lumps.
Slowly whisk in the unsweetened original almond milk, ensuring a smooth consistency. Continue whisking as the mixture heats, bringing it to a gentle boil. You’ll notice it begin to thicken beautifully. Once it reaches your desired consistency, remove the skillet from the heat. Now for the best part: stir in the shredded extra-sharp cheddar cheese until it’s completely melted and smooth. For an extra layer of savory depth, I love adding a bit of Pecorino Romano. This also offers a wonderful salty kick. Feel free to experiment with other cheeses like Gruyère or Parmesan for different flavor profiles.
This is also the perfect time to personalize your sauce. Add a touch of fresh minced garlic for a pungent kick, or a pinch of garlic powder if you prefer. For an even more gourmet touch, sauté some thinly sliced leeks before making your roux, or stir in a tiny pinch of nutmeg – it really enhances cheesy flavors! Don’t forget to season with Himalayan salt and black pepper to taste. A good cheese sauce is all about balancing those flavors!
Step 3: Assembly and Baking to Golden Perfection
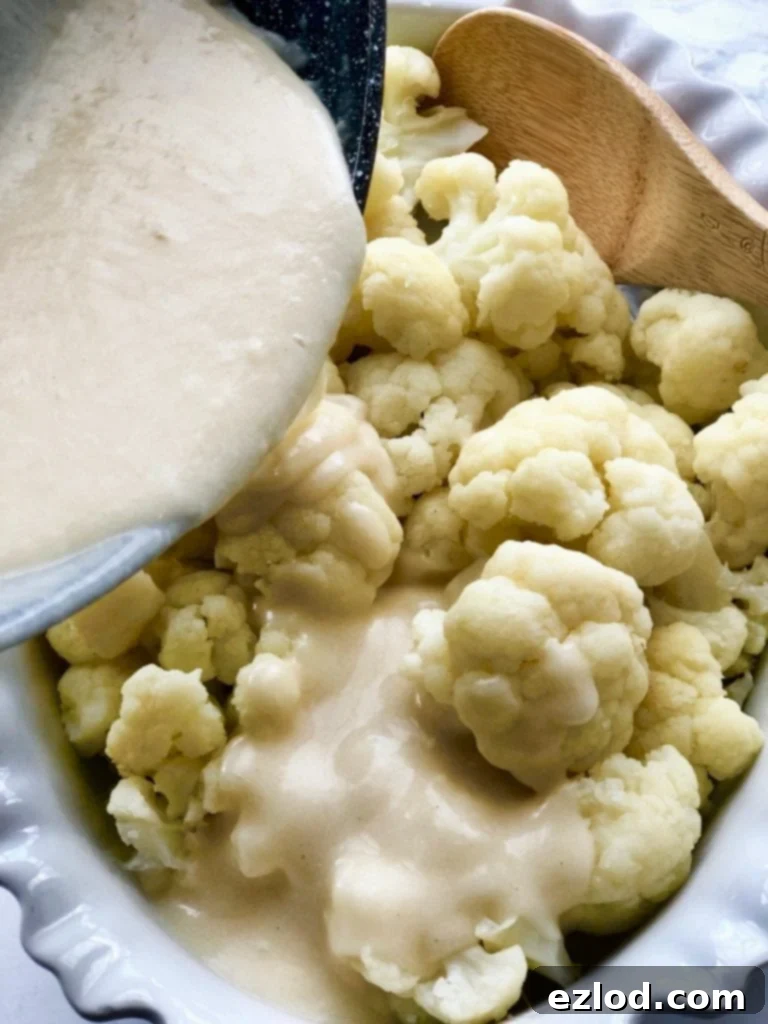
With your perfectly steamed cauliflower and luscious cheese sauce ready, it’s time to bring it all together. Place the cauliflower florets evenly in a baking dish. Then, generously pour the creamy cheese sauce over the cauliflower, ensuring every floret is thoroughly coated in this delicious goodness. We want maximum cheesiness in every bite!
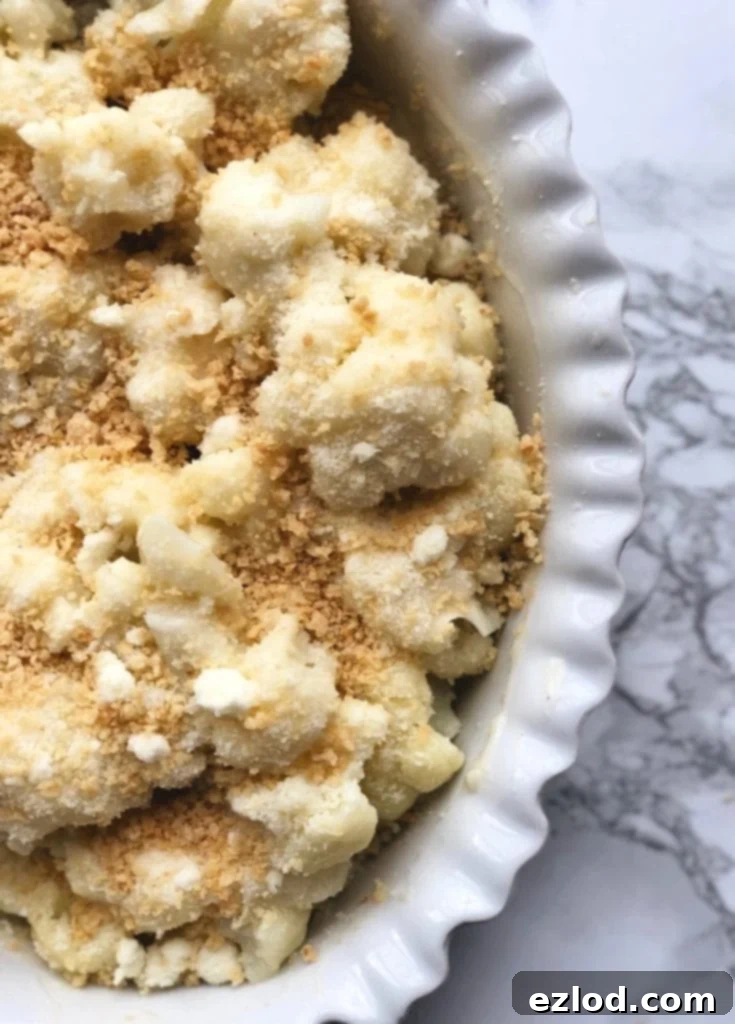
For the topping, I typically sprinkle some extra Pecorino Romano cheese and a generous layer of gluten-free panko breadcrumbs. The panko creates a wonderfully crispy, golden-brown crust. However, if you’re strictly following a Keto diet, omit the breadcrumbs entirely. Instead, you can top it with crushed pork rinds for a fantastic crunchy texture, or simply add more shredded cheese for an extra gooey finish. Honestly, it’s absolutely delicious even without a breadcrumb topping!
Bake the dish in a preheated oven until the cheese sauce is bubbly and the edges of the cauliflower begin to brown. For that ultimate golden-brown, crispy top that everyone loves, I highly recommend a quick broil for the last few minutes. Just keep a close eye on it to prevent burning!
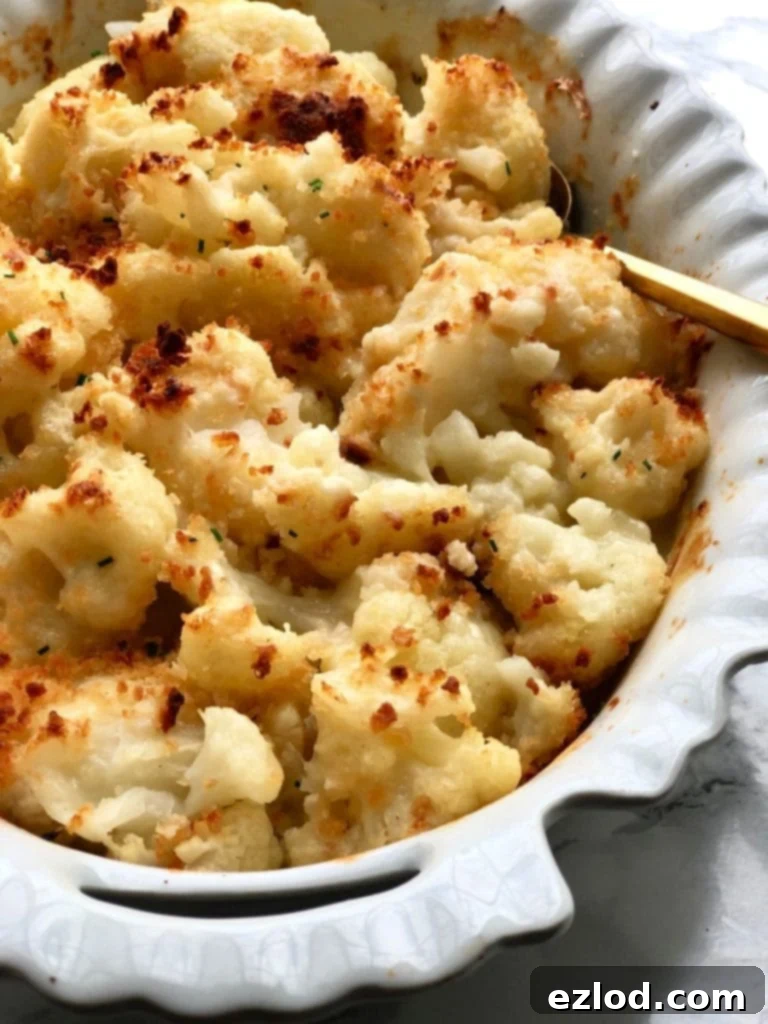
Isn’t she beautiful? The aroma alone will have everyone rushing to the table!
Meal Prep and Freezing Tips
Can I Prep This Cauliflower Au Gratin in Advance?
Absolutely! This Cauliflower Au Gratin is a fantastic candidate for meal prepping, making your life so much easier on busy days or when hosting. To prep ahead, simply soften your cauliflower florets and prepare the cheese sauce according to the recipe instructions. Once both are ready, combine them in your baking dish, cover tightly with foil or plastic wrap, and refrigerate for up to 3 days. When you’re ready to bake, just pull it out of the fridge, sprinkle with your chosen topping, and bake as directed, adding an extra 5-10 minutes to the baking time to ensure it’s heated through. This ensures a fresh-tasting dish without the last-minute rush.
Can I Freeze This Cauliflower Au Gratin?
You can freeze Cauliflower Au Gratin, but it’s generally best to do so before baking or after a partial bake. Freezing a fully baked au gratin can sometimes result in a slightly more watery texture upon thawing and reheating, due to the cauliflower releasing moisture. If freezing before baking, assemble the dish in a freezer-safe baking dish, cover tightly with foil, and freeze for up to 2-3 months. Thaw in the refrigerator overnight before baking as usual, possibly adding an extra 10-15 minutes to the bake time. If you decide to freeze after partial baking, ensure it cools completely before freezing to prevent ice crystal formation. Keep in mind, the texture of the cauliflower may be a bit softer after freezing and reheating, but the flavor will still be delicious!
Dietary Adjustments and Portion Guidance
Is This Cauliflower Gratin Low Carb or Keto-Friendly?
Yes, this Cauliflower Au Gratin is inherently lower carb, making it a fantastic alternative to traditional potato gratins. With just a couple of simple adjustments, it can be easily adapted to be fully Keto-friendly! First, when preparing your cheese sauce, swap out the gluten-free or whole wheat flour for almond flour to create the roux. Almond flour is a great low-carb thickener that won’t compromise the creamy texture. Second, ensure you eliminate the gluten-free panko breadcrumbs from the topping. As mentioned earlier, crushed pork rinds make an excellent crunchy, Keto-approved alternative, or simply enjoy it with an extra layer of melted cheese. With these minor changes, you’re all set to enjoy a decadent, low-carb, and Keto-compliant side dish!
What Are the Portion Fix Containers for This Cauliflower Au Gratin?
For those following the 21 Day Fix program, tracking your containers is crucial. This Cauliflower Au Gratin can be easily incorporated into your meal plan. If you divide this hearty dish into 4 generous servings, each serving will count as: 1 Green container (for the cauliflower), 1 Blue container (for the cheese), and 1 teaspoon (for the butter/ghee). If you’re planning a larger meal, such as a holiday dinner, and divide the dish into 8 servings, your counts will be: 1/2 Green, 1/2 Blue, and 1/2 teaspoon per serving. The small amount of flour or breadcrumbs used in the recipe is typically negligible and doesn’t require a yellow container count. If you were to count it, it would be a tiny fraction (1/8 or 1/16 yellow depending on servings), proving it’s truly not worth the calculation!
What Are the Weight Watchers Freestyle Points for This Cauliflower Au Gratin?
For Weight Watchers members looking to enjoy this delicious au gratin while managing their points, a simple substitution can make a big difference. To keep the SmartPoints (or Freestyle Points, as per the original system) down, I highly recommend using reduced-fat cheddar cheese. I’ve calculated the points using 50% less fat cheese, which still delivers an incredibly satisfying and cheesy flavor profile.
- If you divide this recipe into 4 servings, each portion will be approximately 5 FS points.
- If you divide this recipe into 8 servings, perfect for a lighter side or holiday spread, each portion will be approximately 2 FS points.
Remember to adjust your specific points based on the exact brands and ingredients you use, especially if using different types of cheese or full-fat dairy. You can also find a direct link for personal points calculation here.
Frequently Asked Questions About Cauliflower Au Gratin
Can I use frozen cauliflower for this recipe?
Yes, you absolutely can! If using frozen cauliflower, there’s no need to thaw it first. You can steam it directly from frozen, either in your Instant Pot or on the stovetop. Just be aware that frozen cauliflower can sometimes release more water than fresh, so ensure you drain it very well after steaming to prevent a watery au gratin. You might also want to pat it dry with a paper towel before adding the cheese sauce.
What other vegetables can I add to the au gratin?
While cauliflower is the star, this dish is quite adaptable! You could add some steamed broccoli florets for a broccoli-cauliflower blend, or a handful of fresh spinach (which will wilt down as it bakes). For a touch of color and sweetness, try adding a few thinly sliced bell peppers or some sautéed mushrooms to the baking dish before pouring over the cheese sauce. Just make sure any additional vegetables are pre-cooked to a tender-crisp stage, similar to the cauliflower, so they bake evenly.
How do I store leftovers and reheat them?
Leftover Cauliflower Au Gratin stores wonderfully! Simply transfer any remaining portions to an airtight container and refrigerate for up to 3-4 days. To reheat, you can use the microwave for a quick warm-up, but for best results, I recommend reheating in the oven. Place individual portions in an oven-safe dish, cover lightly with foil, and bake at 350°F (175°C) for about 15-20 minutes, or until heated through and bubbly. If you want to crisp up the topping again, remove the foil for the last few minutes.
Why is my cheese sauce lumpy?
Lumpy cheese sauce is usually due to two main reasons: not whisking the flour and butter (roux) thoroughly, or adding the milk too quickly. To avoid lumps, ensure your roux is completely smooth before adding any liquid. Then, gradually whisk in the cold almond milk, a little at a time, ensuring each addition is fully incorporated before adding more. Constant whisking during this stage and as the sauce thickens is key to a silky-smooth sauce. If you do end up with a few lumps, don’t despair! A quick pass with an immersion blender or pouring the sauce through a fine-mesh sieve can often rescue it.
More Amazing Healthy Cauliflower Side Dishes:
- 21 Day Fix Kung Pao Cauliflower
- Baked Buffalo Cauliflower or Air Fryer Buffalo Cauliflower
- Spicy Roasted Cauliflower
- Garlic Cilantro Cauliflower Rice

Cauliflower Au Gratin [21 Day Fix | Keto Friendly | Gluten Free | WW ]
Pin Recipe
Ingredients
- 1 small to medium head of cauliflower about 4 cups
- 4 teaspoons gluten free flour or whole wheat flour or sub almond flour for keto
- 4 teaspoons vegan butter butter, or ghee
- 1 cup unsweetened original almond milk
- 1 1/4 cups shredded extra sharp cheddar cheese use Daiya for dairy free!
- 2 tablespoons Pecorino Romano Cheese
- 1/4 teaspoon garlic powder optional, leave out or sub with 2 cloves of fresh garlic
- 1/4 teaspoon Himalayan salt
- 3 tablespoons gluten free panko
Instructions
Instant Pot
-
Place head of cauliflower on trivet and add in one cup of water to the IP. Set to steam for ZERO minutes. Quick release after pot comes to pressure and carefully remove cauliflower. Cut into florets.
-
Follow the stovetop directions 2-4
Stove Top | Oven
-
In a large dutch oven or sauce pan, boil 4-5 cups of water. Cut cauliflower into florets and steam for about 6-8 minutes, or until tender on the outside but still crisp in the middle.
-
Preheat oven to 375. In a large skillet, melt butter over medium heat. Sprinkle in the flour and stir. Slowly whisk in the almond milk, and continue to whisk until the mixture comes to a boil and begins to thicken. Once thickened, remove sauce from heat and stir in cheddar cheese until fully melted, adding garlic powder and salt. Taste and adjust seasoning if desired.
-
Place cauliflower florets in a baking dish and pour cheese sauce over florets, making sure to coat them all with cheese. Sprinkle Pecorino Romano on top, as well as the panko bread crumbs.
-
Bake for 20-25 minutes or until cheese is bubbly and the cauliflower begins to brown. Optional (but recommended) broil cauliflower for a few minutes on high to crisp it up even further.
Notes
21 Day Fix: 4 servings – 1 GREEN, 1 BLUE, 1 TSP (per serving); 8 servings – 1/2 GREEN, 1/2 BLUE, and 1/2 TSP (per serving)
WW link for personal points: Cauliflower Au Gratin
Nutrition
Conclusion: Your New Favorite Healthy Side
This Cauliflower Au Gratin is more than just a side dish; it’s a celebration of healthy eating that doesn’t compromise on flavor or comfort. With its rich, creamy cheese sauce, tender cauliflower, and adaptable nature for various dietary needs, it’s destined to become a staple in your kitchen. Whether you’re aiming for low-carb, keto, or following structured programs like 21 Day Fix or Weight Watchers, this recipe proves that delicious and wholesome can go hand-in-hand. Give it a try – your taste buds (and your health goals) will thank you!
