Luxuriously Creamy Vegan Vanilla Ice Cream (No Coconut & Oat-Based!)
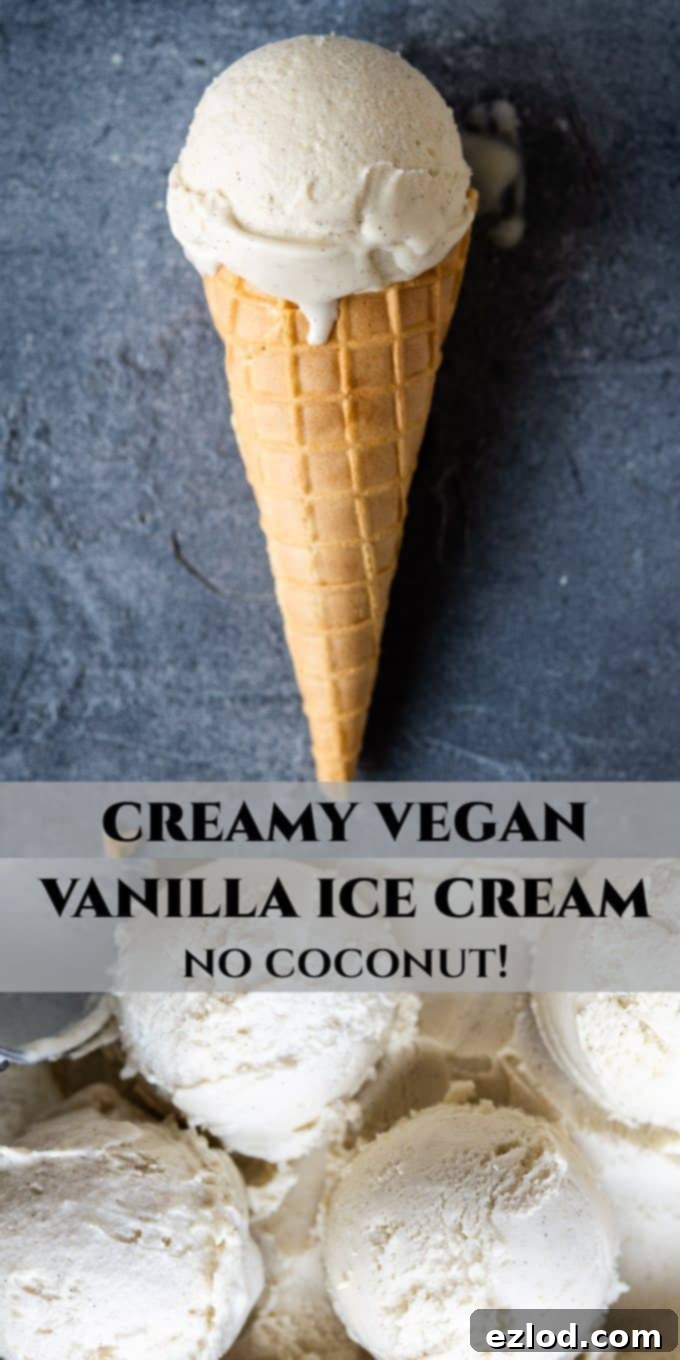
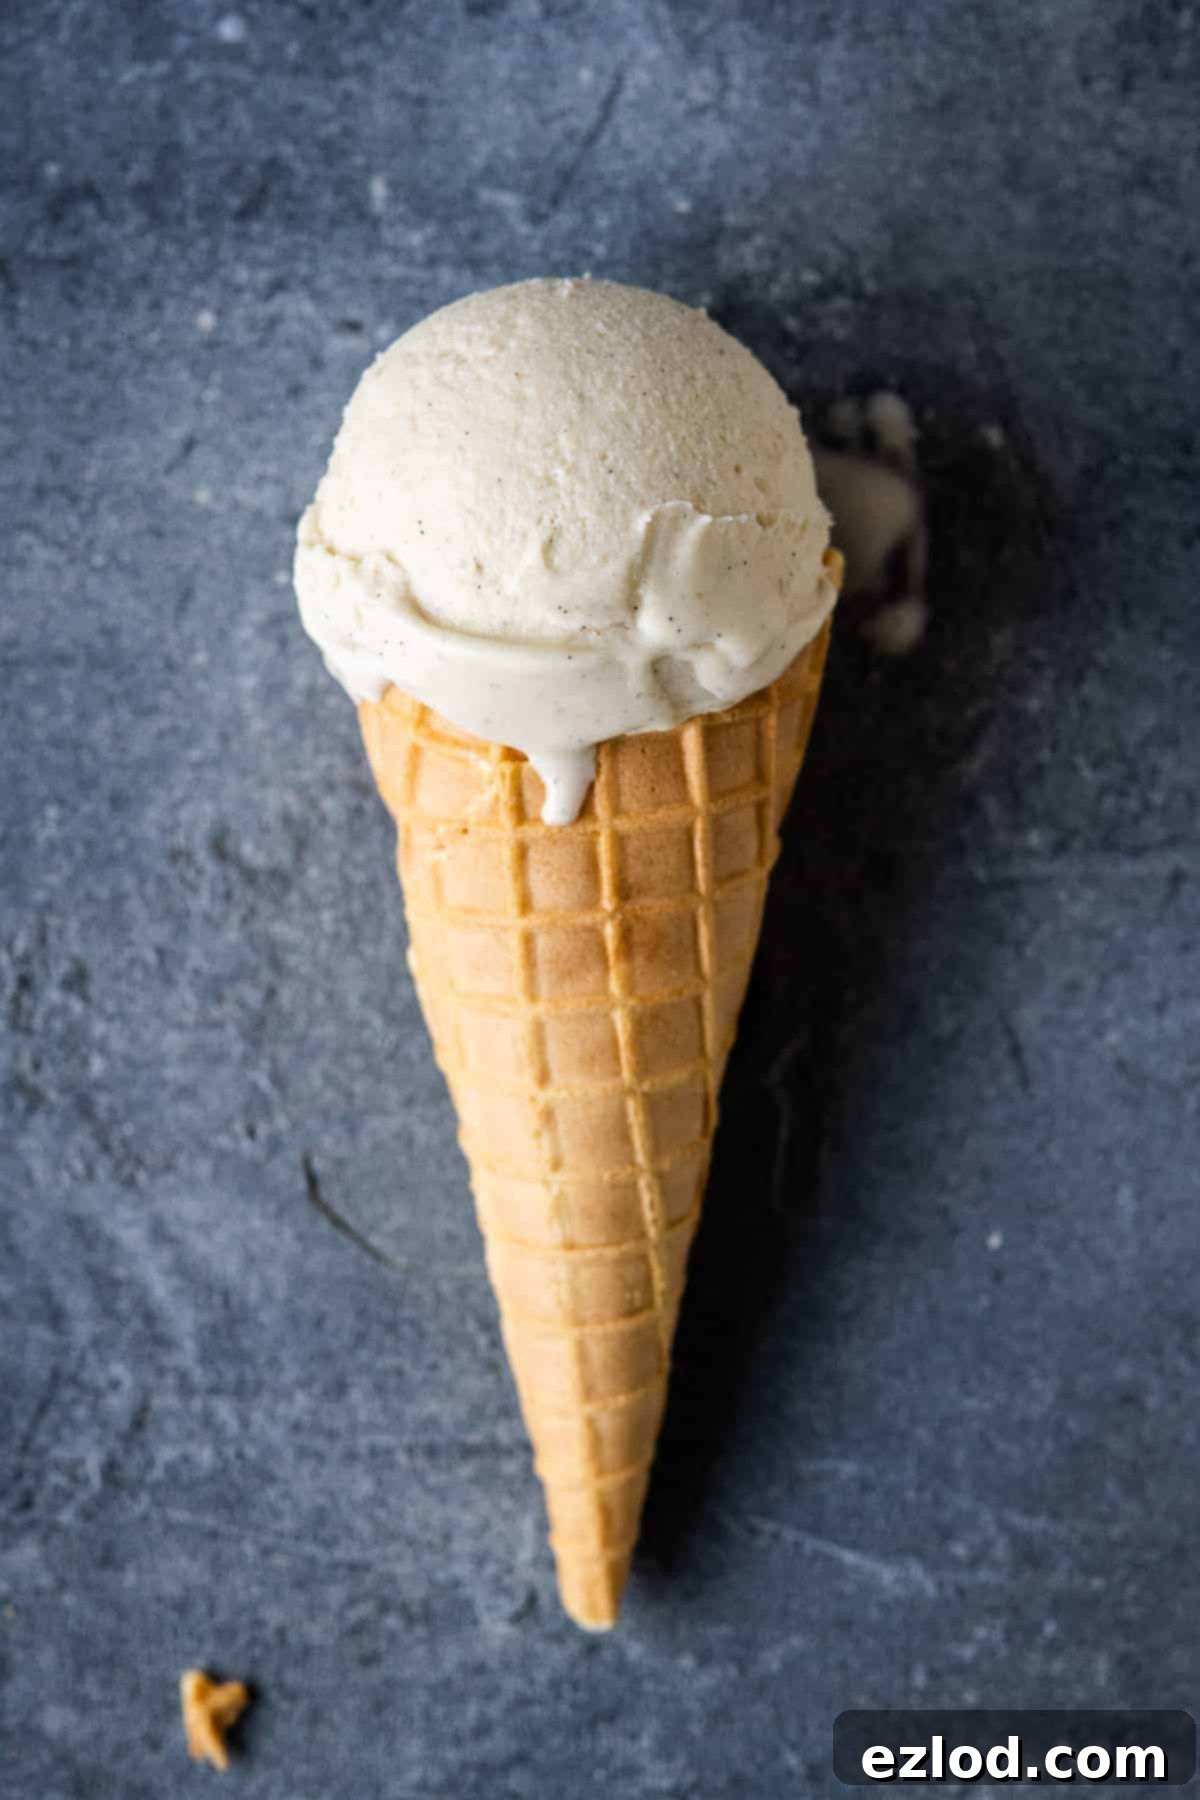
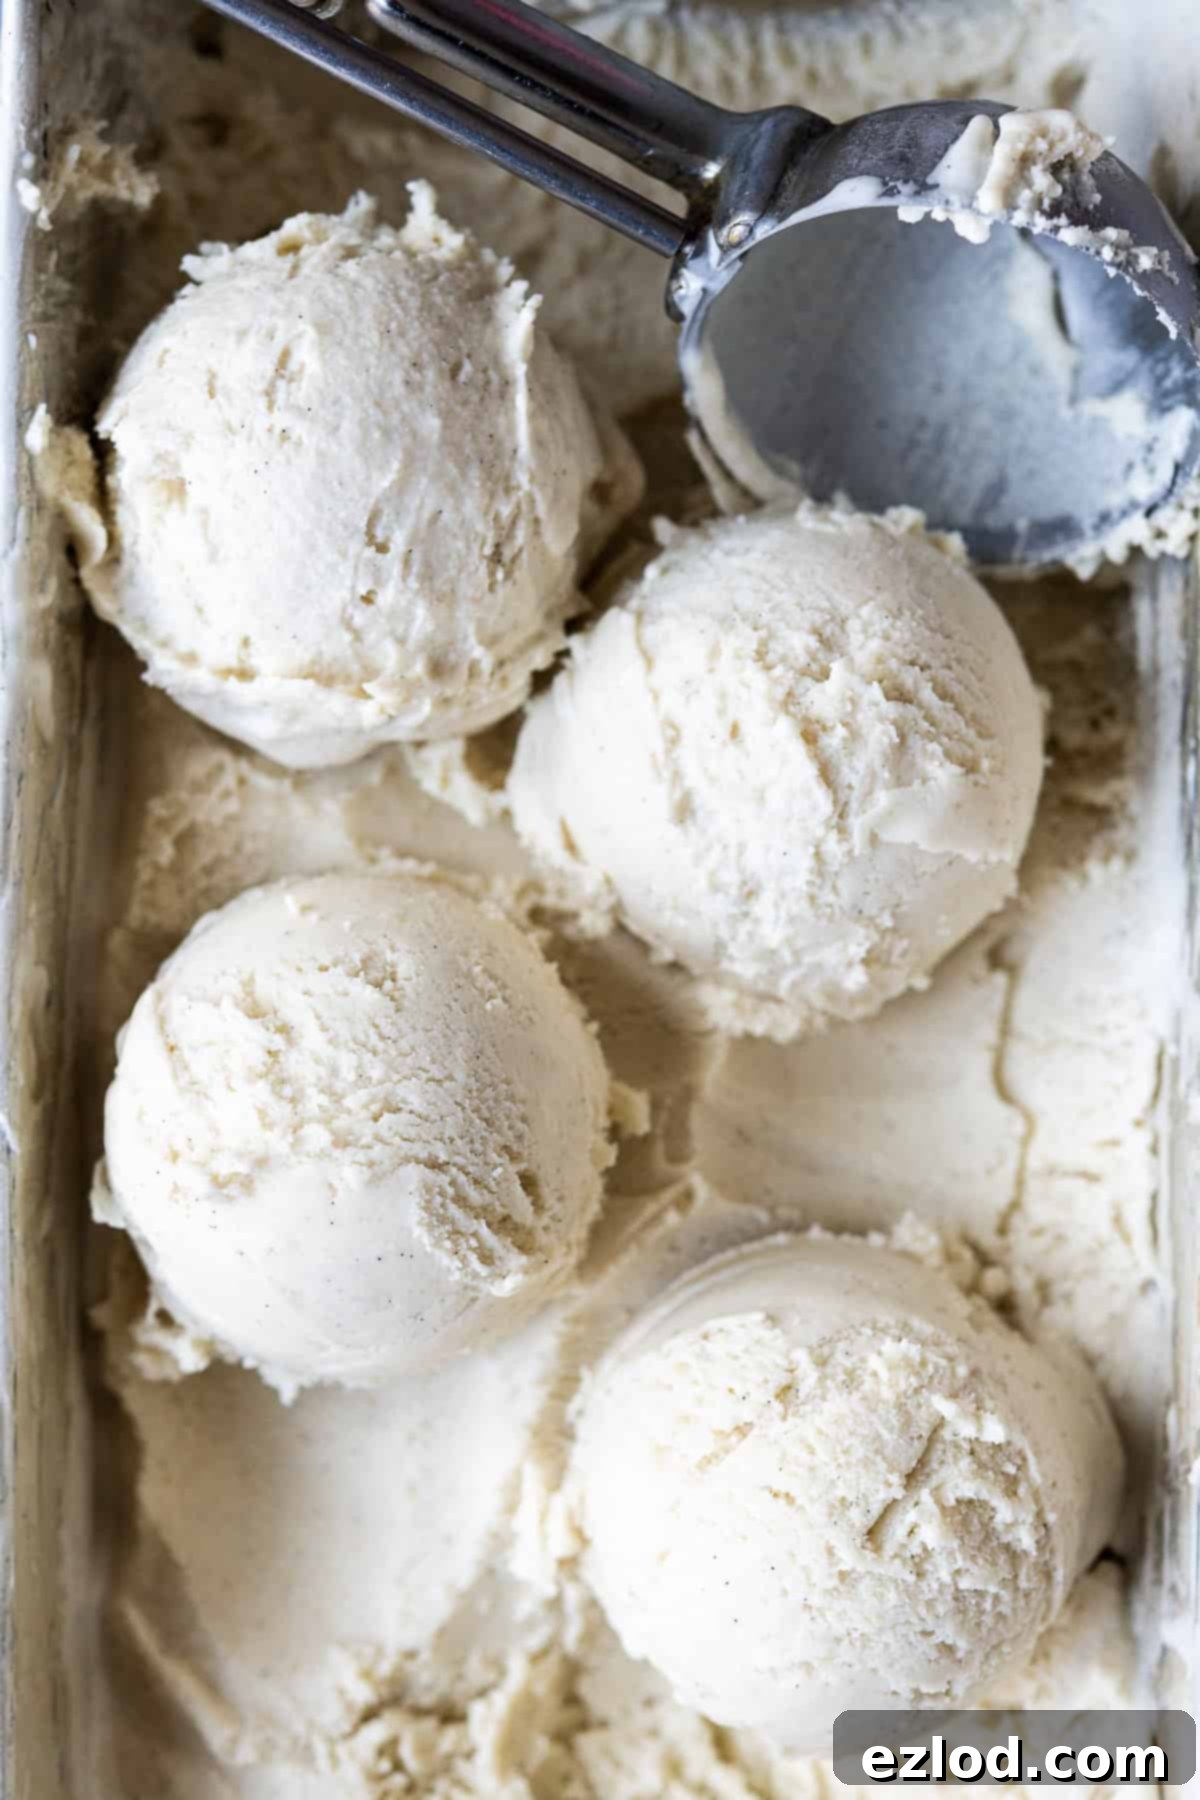
Indulge in the purest vanilla flavour with this incredibly rich and silky-smooth vegan vanilla ice cream. Crafted without a trace of coconut, its secret lies in a brilliant oat-based recipe that ensures a neutral base, allowing the exquisite vanilla bean to shine through. Prepare for a truly delightful plant-based dessert experience!
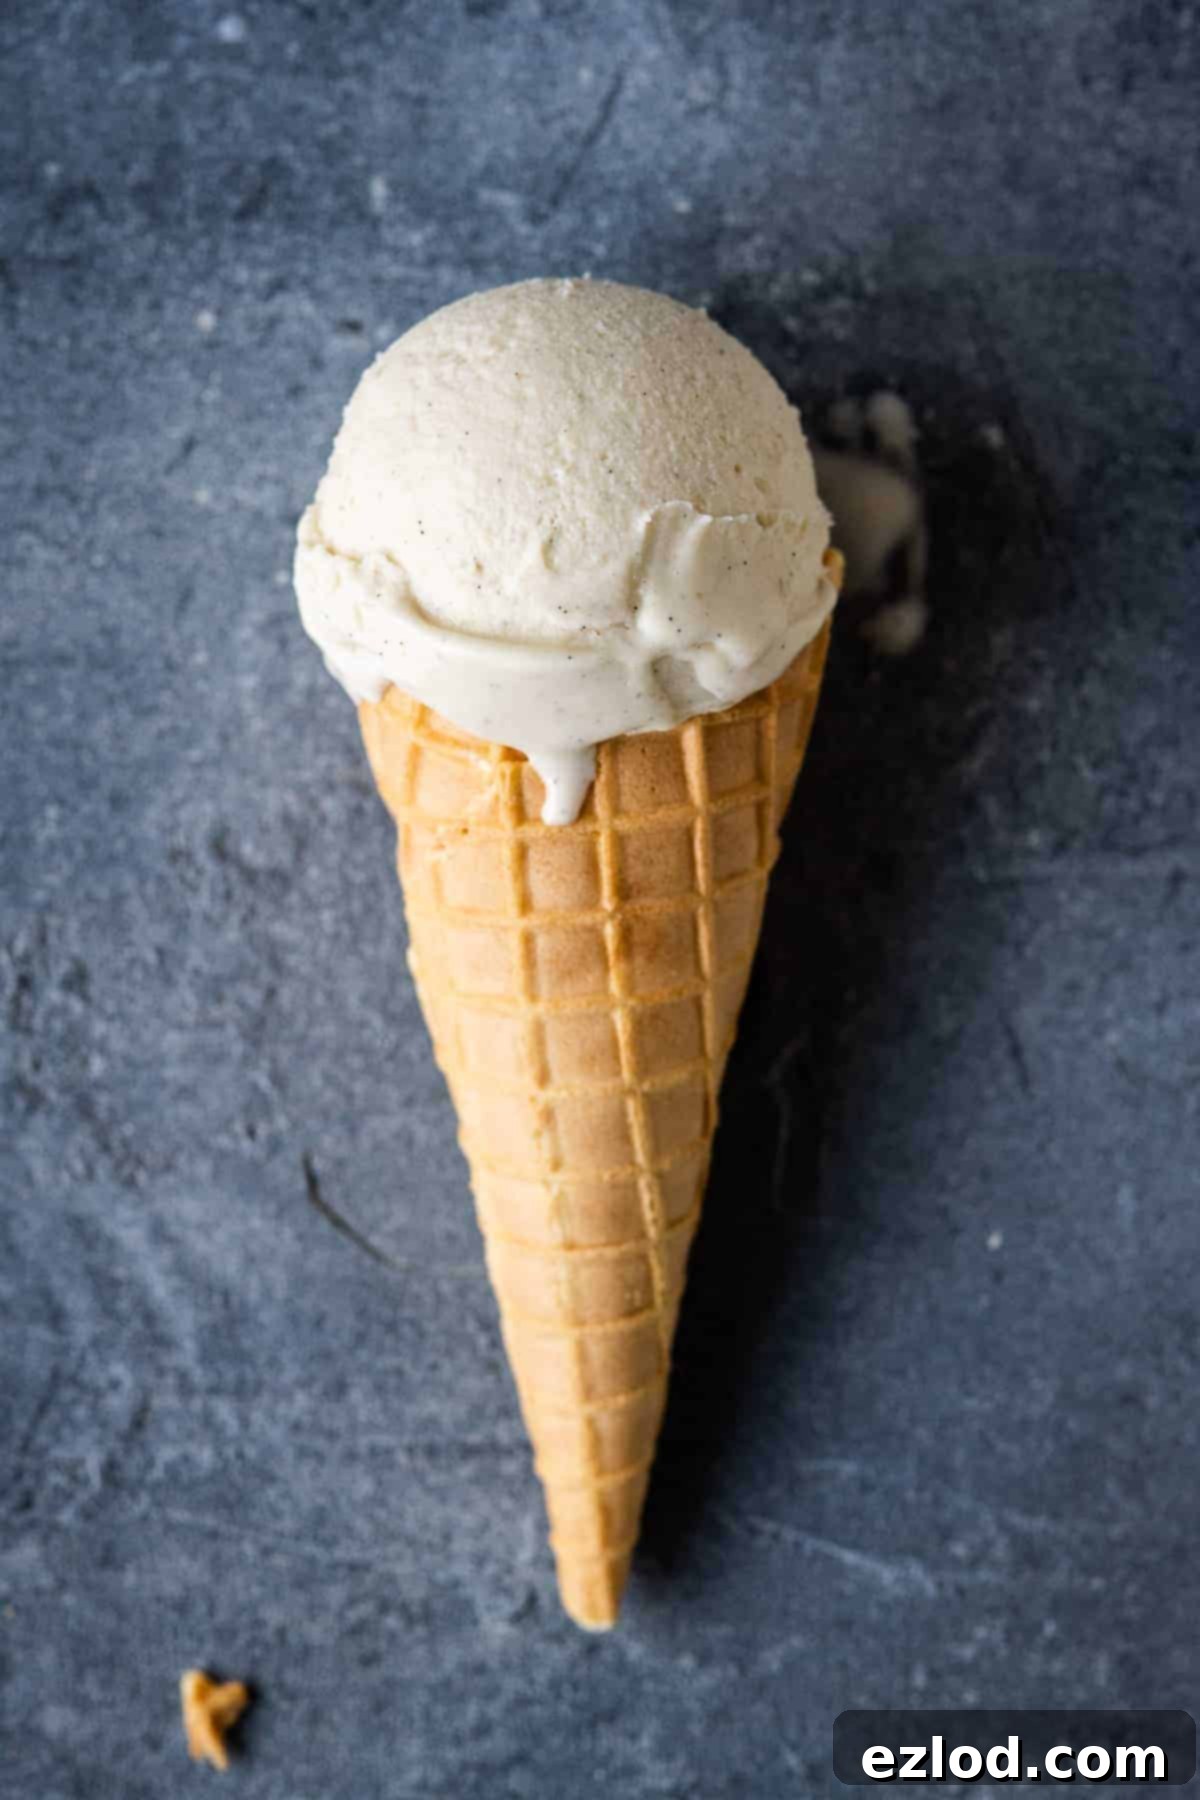
When it comes to vegan ice cream, coconut milk often serves as the go-to base, and for good reason! Its naturally high-fat content mimics the richness of traditional dairy cream, making it an excellent choice for many dairy-free desserts. However, there’s a common challenge that arises: the distinct flavour of coconut. While delicious in its own right, coconut can sometimes overpower other, more delicate flavours, especially when you’re aiming for a classic like vanilla.
As much as I appreciate and love coconut-based treats, and have successfully used it in various vegan ice cream recipes, there are times when its robust flavour simply isn’t what I’m looking for. When the goal is an authentic, unadulterated vanilla ice cream, I want that iconic vanilla flavour to be absolutely front and centre, without any tropical undertones competing for attention. This is precisely why I developed this unique recipe – a true game-changer for anyone seeking a pure vanilla experience in their plant-based desserts.
The Secret to Pure Vanilla: Our Oat-Based, Coconut-Free Ice Cream
This vegan vanilla ice cream stands apart from the crowd because it completely bypasses coconut milk. Instead, it harnesses the power of a cleverly combined base featuring blended cooked oats, softened cashews, and a neutral plant-based milk. Yes, I know what you might be thinking – oats in ice cream? It might sound a little unconventional, almost like making ice cream from porridge! But trust me on this; the results are nothing short of spectacular.
This innovative base creates an incredibly smooth, wonderfully creamy, and remarkably rich ice cream that truly lets the delicate essence of vanilla shine. The oats and cashews provide the perfect neutral canvas, offering a luscious texture without any dominant flavour that could compete with your premium vanilla beans. The outcome is a truly pure and indulgent vanilla bean ice cream that will satisfy even the most discerning palates.
A Versatile Base for Endless Creations
Beyond its stellar performance as a vanilla ice cream, this recipe is also an incredibly versatile foundation for countless other flavours. Once you’ve mastered the art of this creamy base, you can easily customise it by stirring through your favourite mix-ins after the churning process. From chocolate chips and cookie dough to fruit swirls and nut butter ripples, the possibilities are virtually endless, making it a fantastic staple recipe for any vegan dessert enthusiast.
The inspiration for incorporating oats into ice cream comes from Miyoko Schinner’s brilliant cookbook, The Homemade Vegan Pantry. This book is an invaluable resource for anyone looking to craft their own plant-based staples from scratch, and I highly recommend it. (A small note for my UK readers: the measurements are primarily in US cups, which can be a minor inconvenience, but the recipes are well worth the conversion effort!).
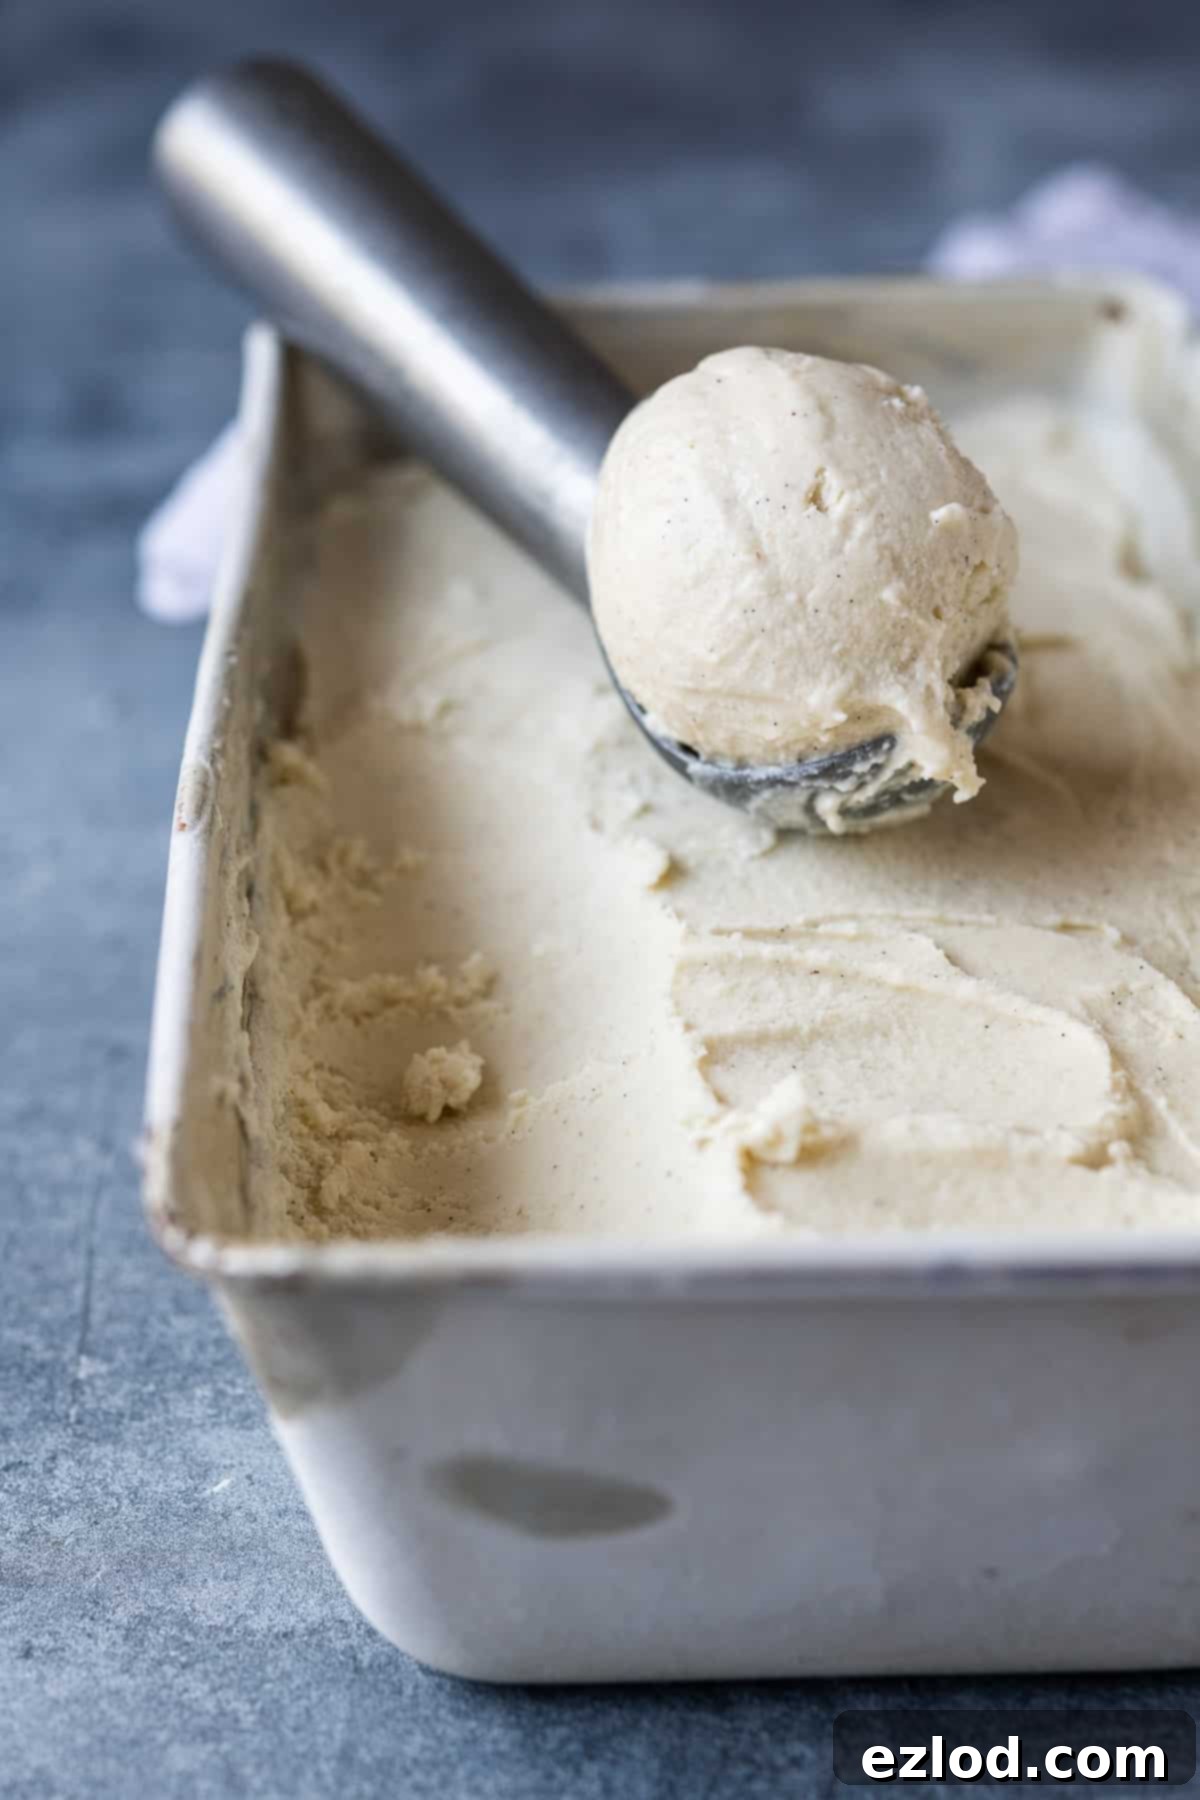
Essential Ingredients for Your Dairy-Free Vanilla Ice Cream
Crafting this exquisite vegan vanilla ice cream requires a handful of carefully selected ingredients, each playing a crucial role in achieving that perfect creamy texture and sublime vanilla flavour. Here’s a closer look at what you’ll need:
- Cashews: These are the backbone of our creaminess! Unroasted cashews, when properly soaked and blended, create a luxuriously smooth and rich cream that forms the core of our ice cream base. To ensure they blend perfectly, they need to be softened. You have two main options for soaking: either cover them with boiling water and let them sit for about an hour, or opt for a longer soak by covering them with cold water overnight. The goal is a truly soft, pliable nut ready for blending.
- Porridge Oats: Regular rolled oats or quick-cooking oats work equally well for this recipe. These humble grains are simmered with plant milk until exceptionally tender, then blended into the mixture. They contribute significantly to the smooth, almost custard-like consistency of the ice cream, without imparting any strong oat flavour.
- Plant Milk: For a truly neutral base that allows the vanilla to shine, unsweetened soy milk is my top recommendation. It boasts a mild flavour profile and a naturally creamy texture that closely resembles dairy milk. While you can experiment with other plant milks, remember that their individual flavours (e.g., almond, cashew, oat milk) will subtly influence the final taste of your ice cream. Always choose unsweetened varieties to control the sugar content.
- Caster Sugar: I prefer white caster sugar (superfine sugar) because its neutral sweetness ensures the vanilla remains the star. Granulated sugar can also be used. While you could substitute with natural liquid sweeteners like maple syrup or agave, be aware that these will impart their own distinct flavour to the ice cream. It’s also vital not to significantly reduce the amount of sugar, as sugar is not just for sweetness; it’s crucial for achieving the desired creamy texture and preventing the ice cream from freezing too hard.
*A note on sugar: Some white sugars are processed using bone char, making them non-vegan. In the UK, most sugar (excluding royal icing sugar) is vegan-friendly. In the US, you may need to look for organic sugar or explicitly vegan-certified brands. Sugar derived from sugar beets is always vegan, while cane sugar may vary depending on the processing method.
- Cocoa Butter or Refined Coconut Oil: Adding a touch of extra fat is key to enhancing the richness, smoothness, and overall creaminess of your homemade ice cream. Cocoa butter lends a subtle hint of white chocolate flavour, which I personally enjoy in vanilla. If you desire an absolutely pure, unadulterated vanilla experience, opt for refined coconut oil, as it has a neutral flavour. Be sure to use refined coconut oil, not virgin, which retains a coconut taste. While you can omit this fat, the resulting ice cream won’t be quite as luxurious or creamy.
- Xanthan Gum: This might seem like an unusual ingredient, but it’s a common secret in commercial ice creams. Stabilisers like xanthan gum (or guar gum) prevent ingredients from separating, minimise ice crystal formation, and maintain a consistently smooth and creamy texture. Xanthan gum is widely available in most supermarkets and functions similarly to guar gum, which can be harder to source. You can omit it if necessary, but the ice cream might be slightly less smooth.
- Vodka (Optional): A small amount of alcohol, such as vodka, is an optional but effective trick to help prevent the ice cream from freezing too solid. It interferes with ice crystal formation, resulting in a slightly softer scoop straight from the freezer. Even with vodka, homemade ice cream will still be quite firm when first removed from the freezer, so a short rest is usually needed.
- Vanilla: This is, of course, the star! For the most profound vanilla flavour, I highly recommend using the seeds from two fresh vanilla pods or a tablespoon of good quality vanilla bean paste. While vanilla extract will still work, the paste or fresh pods will deliver a superior, more intense vanilla presence.
- Salt: Just a tiny pinch of salt works wonders in elevating the other flavours. It helps to balance the sweetness and brings out the full depth of the vanilla, making the overall taste more complex and satisfying.
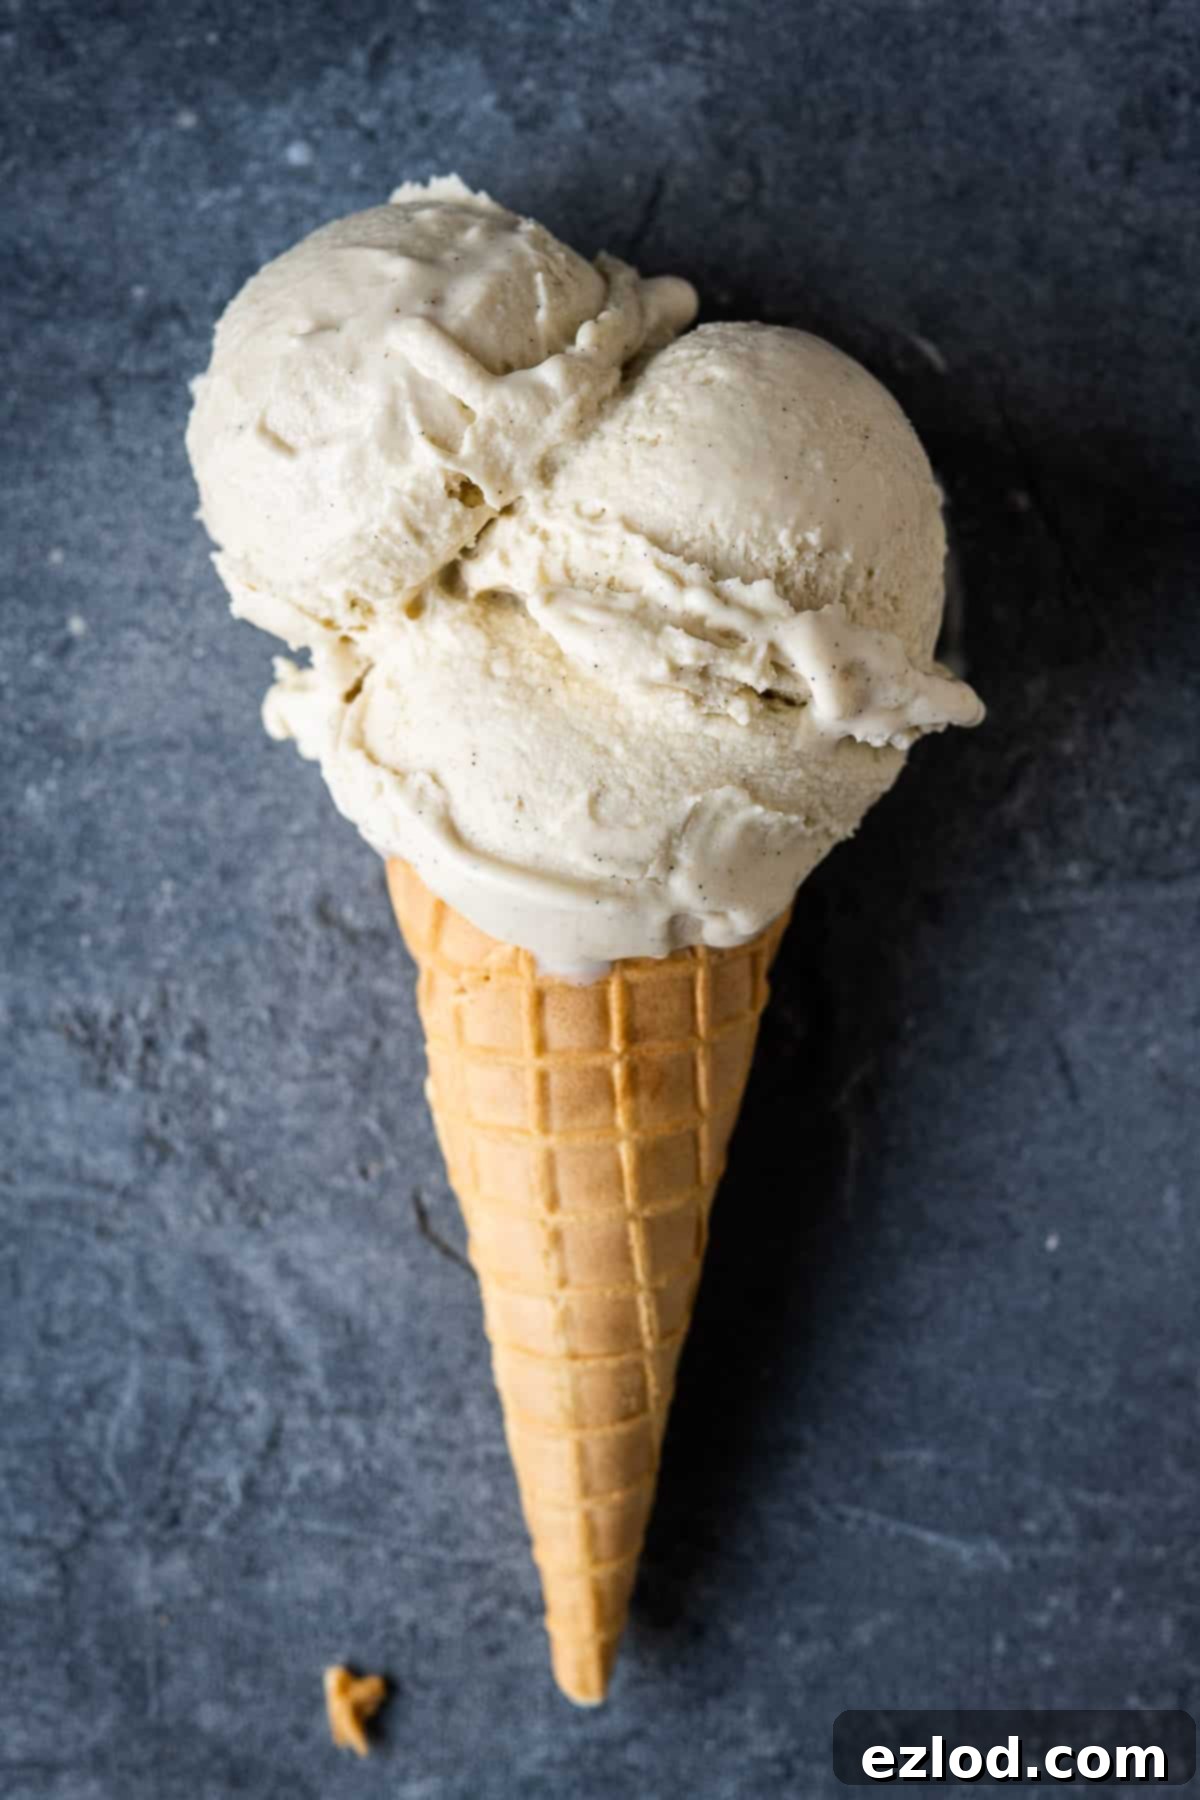
How to Make Your Own Creamy Vegan Vanilla Ice Cream: A Step-by-Step Guide
Making homemade vegan ice cream is a rewarding process, and with this detailed guide, you’ll achieve perfect results every time. Follow these steps carefully to create a rich and creamy vanilla treat. (For precise ingredient quantities and full instructions, please refer to the recipe card below.)
- Prepare Your Ice Cream Maker: First things first, ensure the bowl of your ice cream maker is thoroughly frozen. The freezing time varies by model, but typically requires at least 11-24 hours in the freezer. A fully frozen bowl is crucial for proper churning.
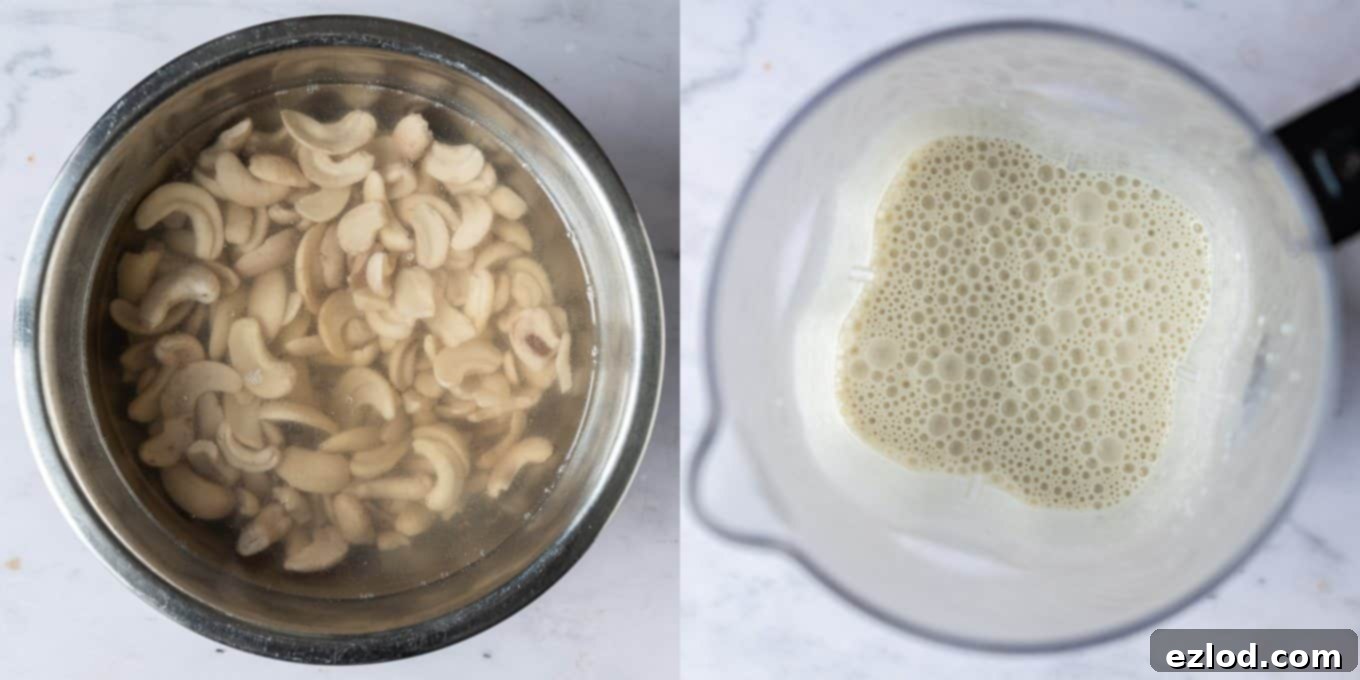
- Soak the Cashews: To achieve that wonderfully smooth texture, your cashews need to be properly softened. You have two convenient options: either cover the cashews generously with boiling water and let them soak for about an hour, or for a more hands-off approach, cover them with cold water and let them soak overnight. Whichever method you choose, make sure they are very tender before the next step.
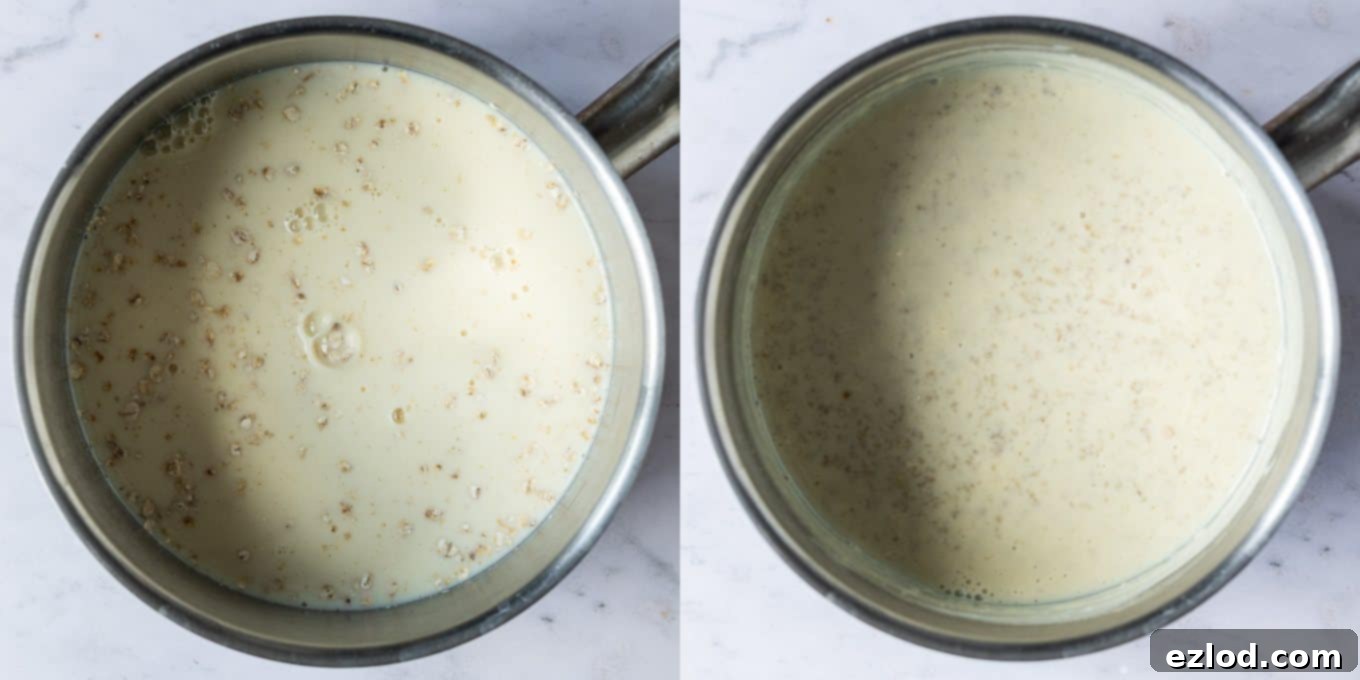
- Cook the Oats: In a medium saucepan, combine the porridge oats with half of the unsweetened plant milk. Bring this mixture to a gentle simmer over medium heat. Cook the oats for approximately 10 minutes, stirring frequently to prevent them from sticking to the bottom of the pan. Continue cooking until the oats are extremely soft and have absorbed most of the liquid, creating a thick, porridge-like consistency.

- Blend the Cashews: Once the cashews are soft, drain them thoroughly. Transfer the drained cashews to a high-speed blender, along with the remaining half of the plant milk. Blend on high until the mixture is incredibly smooth and creamy, with no gritty pieces remaining. You might need to stop and scrape down the sides of the blender a few times to ensure everything is incorporated.

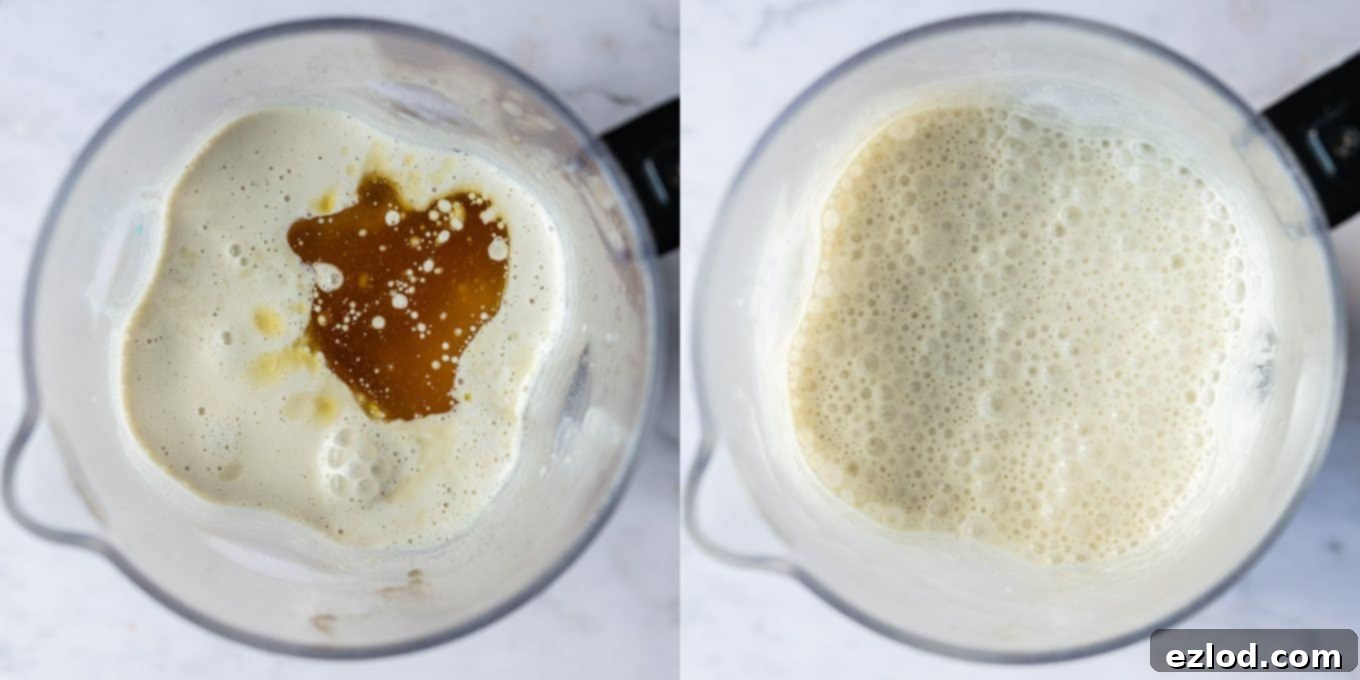
- Combine and Blend All Ingredients: Add the cooked oat mixture to the blender with the cashew cream. Then, incorporate the caster sugar, melted cocoa butter (or refined coconut oil), xanthan gum (if using), vanilla bean paste (or seeds from vanilla pods), salt, and the optional vodka. Blend everything together for several minutes until the mixture is utterly smooth, velvety, and completely uniform. This step is crucial for an ultra-creamy ice cream.

- Chill the Base: Pour the blended ice cream base into a bowl, cover it tightly, and refrigerate until it is completely chilled. This step is vital for the ice cream to churn properly and develop the right texture. I often leave mine in the fridge overnight, but it will require a minimum of four hours. Do not skip this chilling period.
- Churn the Ice Cream: Once the mixture is thoroughly chilled, give it a quick whisk to ensure everything is well combined. Pour the base into your pre-frozen ice cream maker bowl and churn according to the manufacturer’s instructions. Churn until the mixture reaches the consistency of soft-serve ice cream.
- Freeze for Final Firmness: Transfer the freshly churned soft-serve ice cream to a freezer-safe container. Cover it securely and freeze for at least four hours (or until solid) before serving. Keep in mind that homemade ice cream, especially dairy-free versions, tends to freeze quite firm. For the best scooping experience, let it sit at room temperature for about fifteen minutes before serving to allow it to soften slightly.
No Ice Cream Maker? No Problem! Manual Method for Vegan Vanilla Ice Cream
Don’t have an ice cream maker? You can absolutely still enjoy this delicious vegan vanilla ice cream! The process requires a bit more manual effort, and the final texture might be slightly icier than with a machine, but it will still be incredibly tasty.
Here’s how to do it without an ice cream maker:
- Chill the Base: After you’ve prepared and blended your ice cream base (Steps 1-5 above), ensure it’s thoroughly chilled in the refrigerator for at least 4 hours, or ideally, overnight. This step is non-negotiable for any method.
- Initial Freeze: Pour the well-chilled base into a large, shallow freezer-safe container. A metal loaf tin or a wide, flat container works best, as it increases the surface area for faster and more even freezing. Place it in the freezer.
- Whisk Every 30 Minutes: Every 30 minutes, remove the container from the freezer. Using an electric mixer (or a sturdy whisk), vigorously whisk the ice cream mixture. The goal here is to break up any ice crystals that are forming and incorporate air, which helps create a smoother texture. Scrape down the sides and bottom of the container to ensure even freezing.
- Repeat Until Soft-Serve: Continue this process of freezing and whisking every 30 minutes. You’ll notice the mixture gradually thickening and becoming creamier. Repeat for about 2-3 hours, or until it reaches a consistency similar to soft-serve ice cream.
- Final Freeze: Once it reaches soft-serve consistency, cover the container tightly and allow it to freeze for another 2-4 hours, or until it’s firm enough to scoop.
- Serving: Just like with the machine-made version, let the ice cream sit at room temperature for 10-15 minutes before scooping to achieve the perfect consistency.
While this method requires more attention, it’s a perfectly viable way to enjoy homemade vegan ice cream without specialized equipment.
Tips for Success and Delicious Variations
To ensure your vegan vanilla ice cream turns out perfectly every time, and to inspire some creative variations, here are a few extra tips:
- Quality Vanilla Matters: Since vanilla is the star here, invest in good quality vanilla bean paste or fresh vanilla pods. The difference in flavour compared to standard extract is truly noticeable.
- Don’t Rush the Chill: The chilling time for the base (at least 4 hours, preferably overnight) is crucial. A well-chilled base churns faster and produces a smoother, creamier ice cream with smaller ice crystals.
- Sugar for Texture, Not Just Sweetness: Remember that sugar plays a vital role in the texture of ice cream by lowering its freezing point. Don’t significantly reduce the sugar content, or your ice cream will likely turn out too hard and icy.
- Get Creative with Mix-Ins: Once your ice cream has finished churning and is at a soft-serve consistency, this is the perfect time to fold in your favourite additions! Think crushed vegan cookies, chocolate chunks, toasted nuts, swirls of fruit compote, or even a drizzle of vegan caramel.
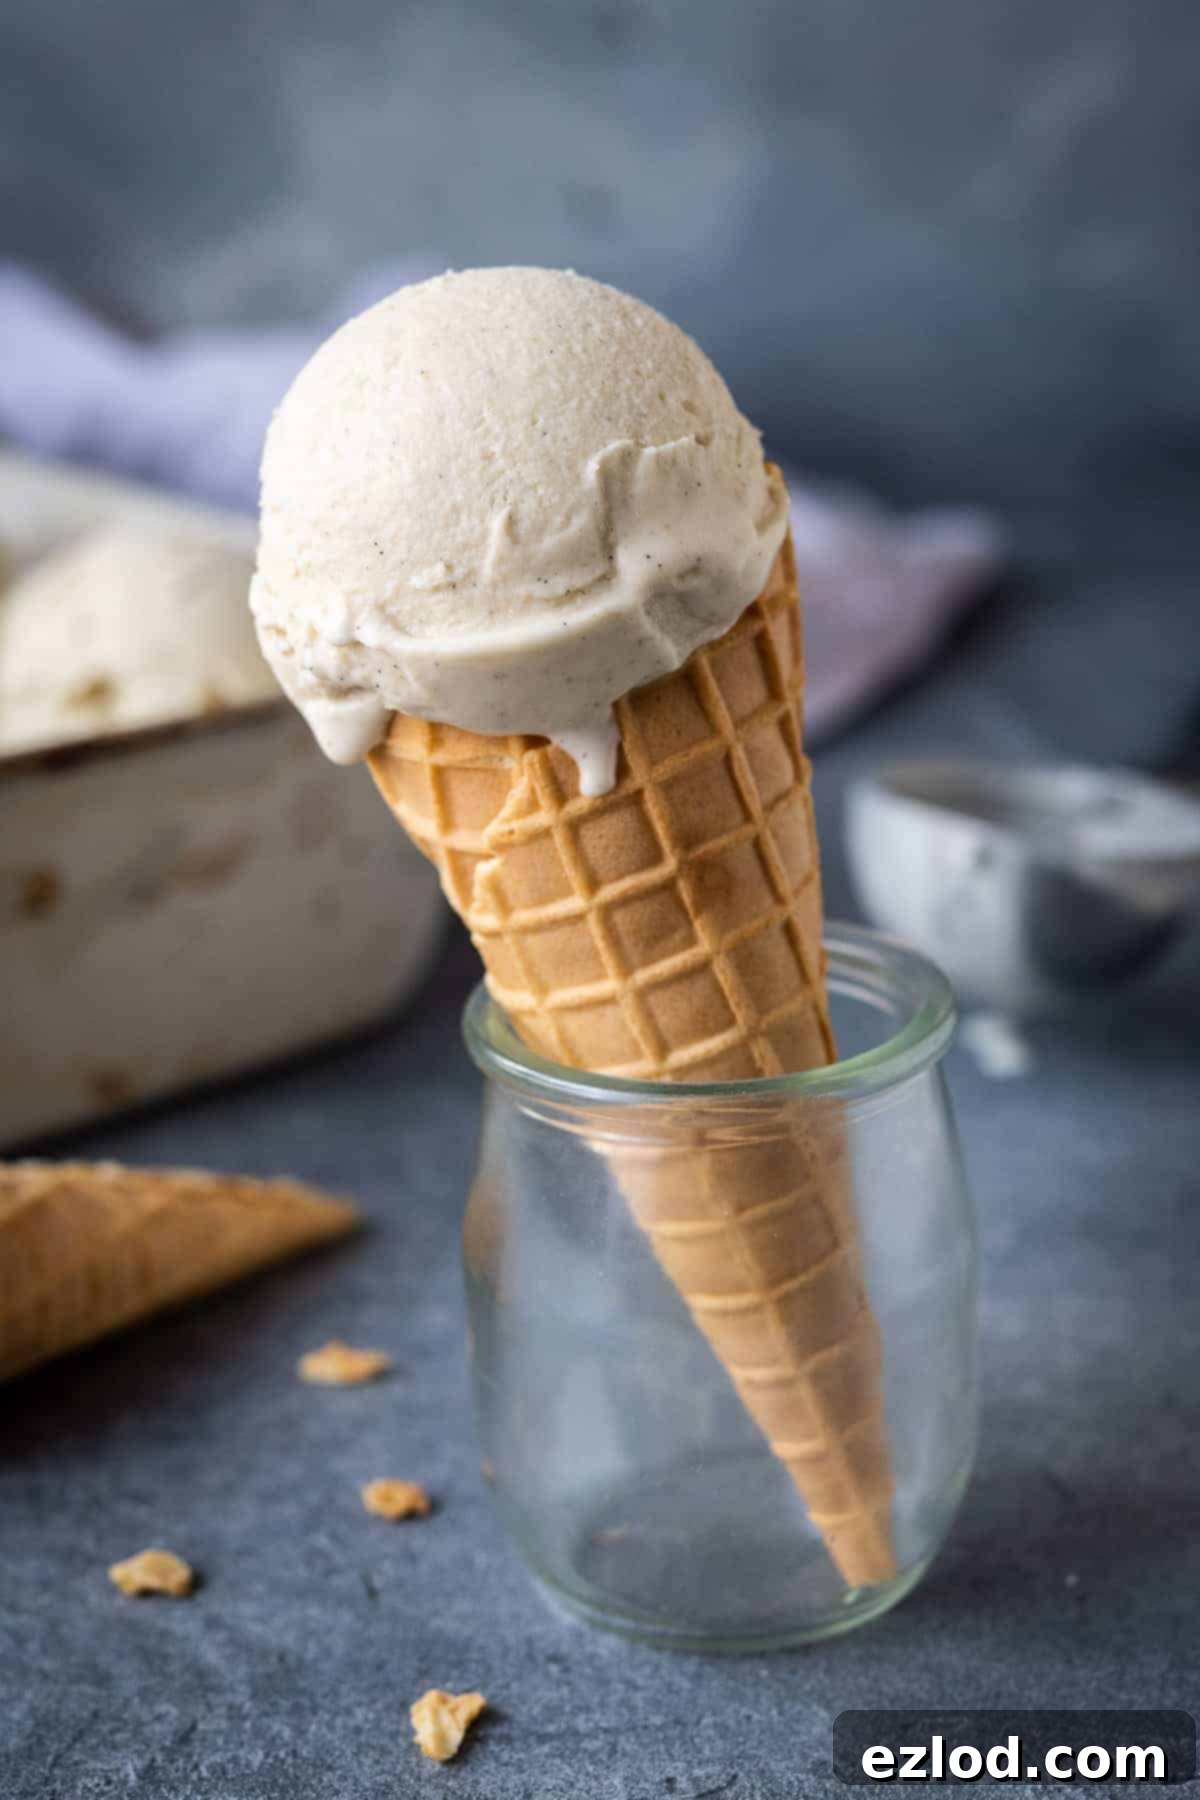
- Serving Suggestions: This versatile vegan dessert pairs beautifully with fresh berries, a warm slice of apple pie, chocolate fudge sauce, or simply enjoyed on its own in a waffle cone.
More Delicious Vegan Ice Cream Recipes to Explore:
If you’ve enjoyed this recipe, you might like to try some of my other favourite vegan ice cream creations:
- Creamy Vegan Chocolate Ice Cream
- Vegan Chunky Monkey Ice Cream
- Vegan Peanut Butter and Cookies Ice Cream
- Vegan Chocolate Coconut Sorbet
- Mango Lassi Sorbet
- Vegan Roasted Banana Ice Cream with Rum Caramel Swirl
If you tried this recipe, we’d love to see it! Why not tag @domestic_gothess on Instagram and use the hashtag #domesticgothess to share your creation?
*All images and content on Domestic Gothess are copyright protected. If you want to share this recipe, please do so by using the share buttons provided. Do not screenshot or post the recipe or content in full.*

Print
Vegan Vanilla Ice Cream
Ingredients
- 150 g (1 cup) unroasted cashews
- 25 g (¼ cup) porridge oats
- 800 ml (3 ⅓ cups) unsweetened non-dairy milk (soy is best)
- 45 g (1 ½ oz) cocoa butter OR 3 Tbsp melted refined coconut oil*
- 160 g (¾ cup) caster (superfine) sugar (granulated is also fine)
- ⅛ tsp xanthan gum (optional)
- 1 Tbsp vanilla bean paste or the seeds from 2 vanilla pods
- ¼ tsp salt
- 2 Tbsp vodka (optional)
Instructions
-
Make sure that the bowl of your ice cream maker has been in the freezer for long enough, mine takes 11 hours to fully freeze.
-
Soak the cashews; either cover them with plenty of boiling water and leave to soak for 1 hour, or cover them with cold water and leave to soak overnight.
-
Place the porridge oats in a saucepan with half of the milk and bring to a gentle simmer. Cook for about 10 minutes, stirring often to prevent the bottom from catching, until the oats are very soft.
-
Drain the soaked cashews well then place them in a blender with the other half of the milk and blitz until smooth.
-
Melt the cocoa butter or coconut oil in short bursts in the microwave. Add it to the blender along with the oat mixture, caster sugar, xanthan gum (if using), vanilla, salt and vodka (if using). Blend well until completely smooth.
-
Pour into a bowl, cover and refrigerate until completely cold; I leave mine in there overnight but it will take at least four hours.
-
Once the mixture is thoroughly chilled, give it a whisk then pour it into your ice cream maker and churn according to the manufacturers instructions until it reaches soft serve consistency.
-
Transfer the ice cream to a freezerproof container and freeze for about four hours before serving. Once fully frozen the ice cream will be quite solid straight out the freezer, let it warm up at room temperature for fifteen minutes before scooping.
Notes
- *Cocoa butter gives the ice cream a hint of white chocolate flavour whereas refined coconut oil doesn’t impart any flavour. You can omit the fat if you want but the ice cream wont be quite as creamy.
- See post above for instructions if you don’t have an ice cream machine.
